|
|
|
May 20, 2024 15:32:27 GMT
|
|
you make a fantastic job,
i searched for a supercharger and i found your blog here,
i found myself here, done it like youe 2 years ago with MG YA 1976
doen all myself, designed and print some parts ....
i can t wait that you start the engine the first time
this will be a great moment for you, i hooe all will work fine, espacaley the blower i am interested in
i have a MG TA too and this car needs a blower. i can buy one from Moss but so expensive grrr
I'll keep my fingers crossed that it goes the way you want it to go
|
| |
MG TA Nr 1932, MG YA Nr 1675, Spartan Kit Car 3.0 V6 Essex
Story how to build a carbon hardtop
" MG TA hardtop " you find it on mgexp
|
|
|
|
gazzam
Part of things
 
Posts: 740 
|
|
|
|
Thanks Franz, glad you like my project . I’ll look up your car on mgexp. Did a bit of sanding of the newly veneered glovebox lid and gave it a coat of sanding sealer. Then a second coat six hours later. I want to follow exactly the same procedure as all the other bits. That way I can be totally confused when it turns out differently… Still haven’t totally finished bolting the floor in. There are a couple of bolts that need two people to get done up. Either that or one person with five foot long, triple jointed arms! Still, I managed to spend a couple of hours more on it. But it’s 99.9% done, so I moved onto carpet. Made a piece for the driveshaft tunnel and glued it in place. Then the trans cover. Sewed up a nice simple gear lever boot and sewed it to the carpet before gluing it in place. I’m loving this carpet. Careful ( very ) application of the heat gun to the back side softens it and allows it to be shaped to some degree. 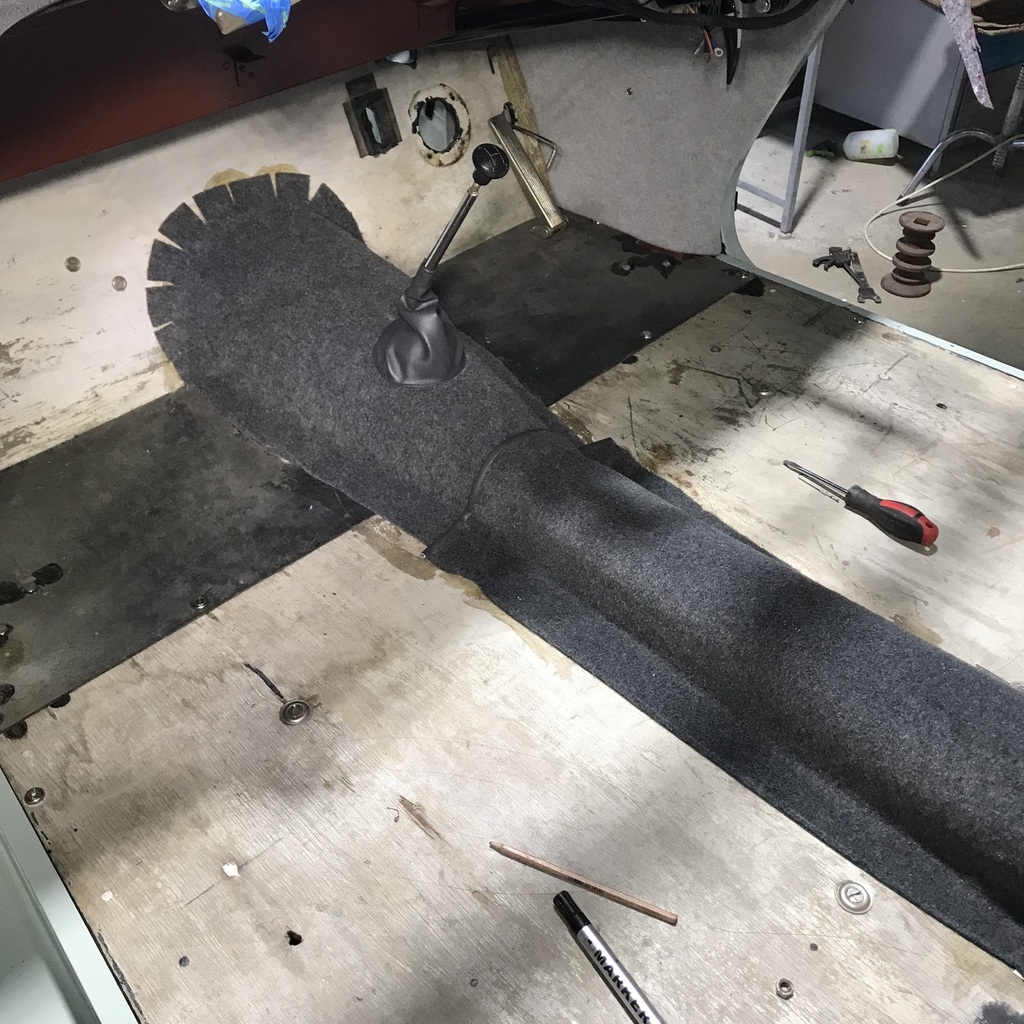 Also trimmed and fitted the footwell panels I made a while ago. The light grey in the pic above. Next a couple of flat pieces. Hopefully nice and simple. Thanks. |
| |
|
|
teaboy
Posted a lot
   Make tea, not war.
Posts: 2,125
|
|
|
|
|
I’m keeping my fingers crossed for the glovebox.
|
| |
|
|
|
|
|
May 21, 2024 18:31:15 GMT
|
Hello Do you do the 3d design yourself? Here is maybe something interesting www.mgexp.com/forum/t-series-and-prewar-forum.46/new-kingpin-seal-design.4275843.4283039/the eos of my wije had a damaged axle boot fitting a new one is a lot of work, so I took a glued one declan has a slightly different solution many roads lead to Rome My dentist scanned my teeth today, I need a new bridge the temporary is now being printed with a resin printer I offered him to print it myself, I only need the stl I'm keeping my fingers crossed for you, because I know how great it is when you pass a challenge you are on a good way you will do it |
| |
MG TA Nr 1932, MG YA Nr 1675, Spartan Kit Car 3.0 V6 Essex
Story how to build a carbon hardtop
" MG TA hardtop " you find it on mgexp
|
|
gazzam
Part of things
 
Posts: 740 
|
|
|
|
Carpet is pretty much done. Some progress shots: 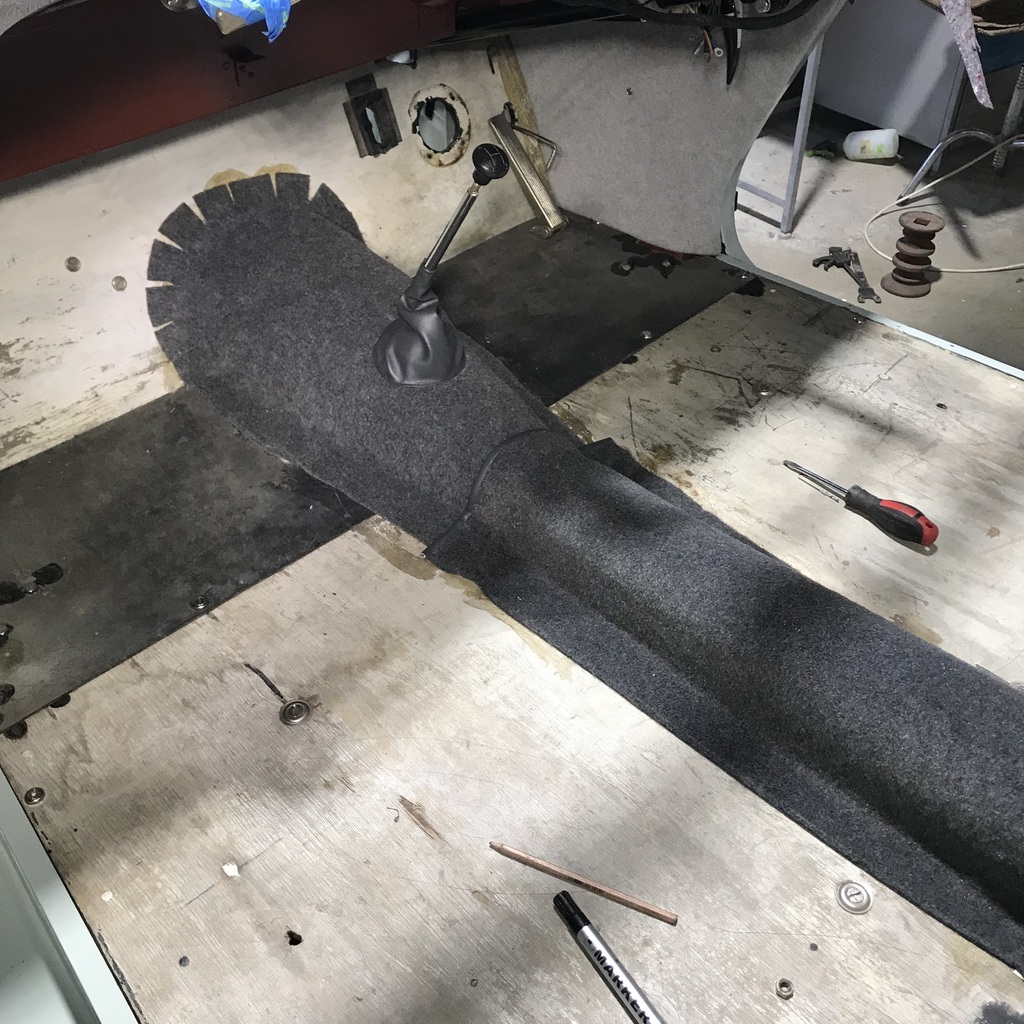 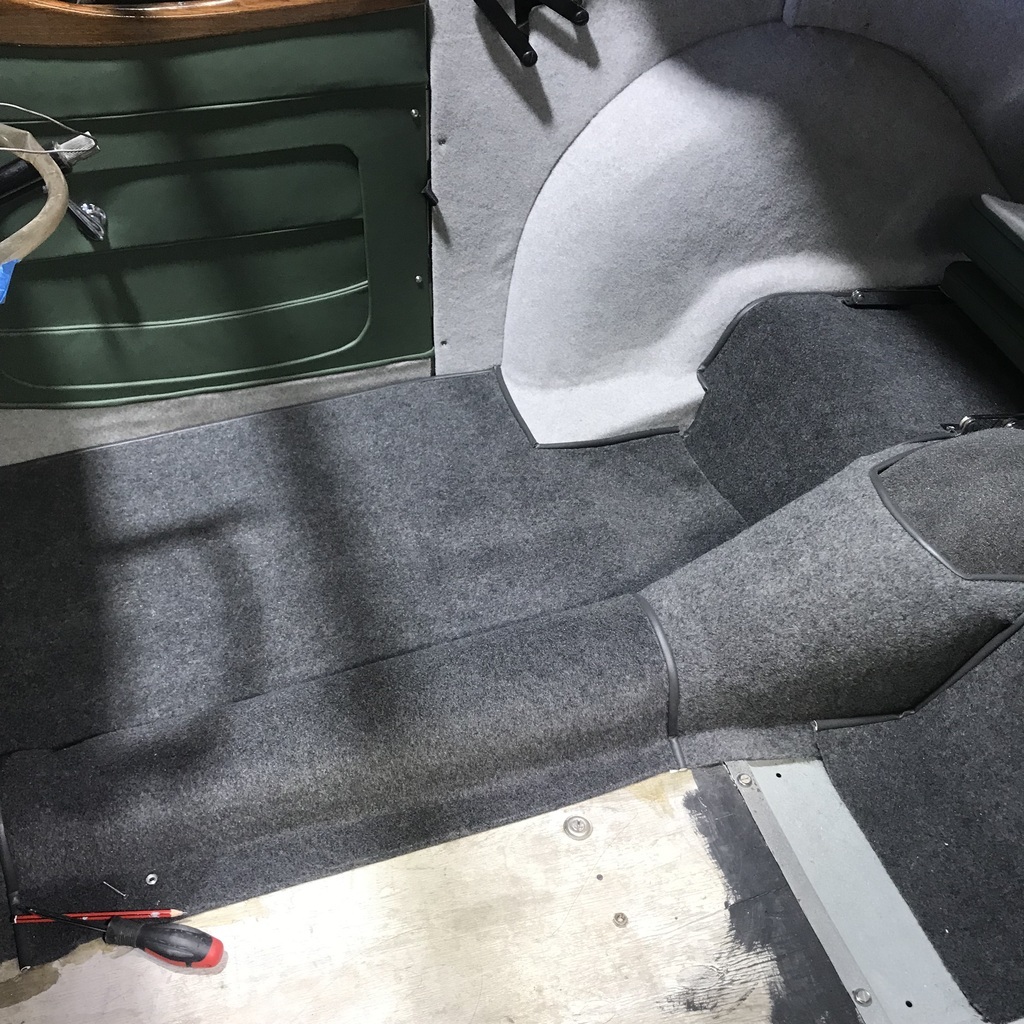 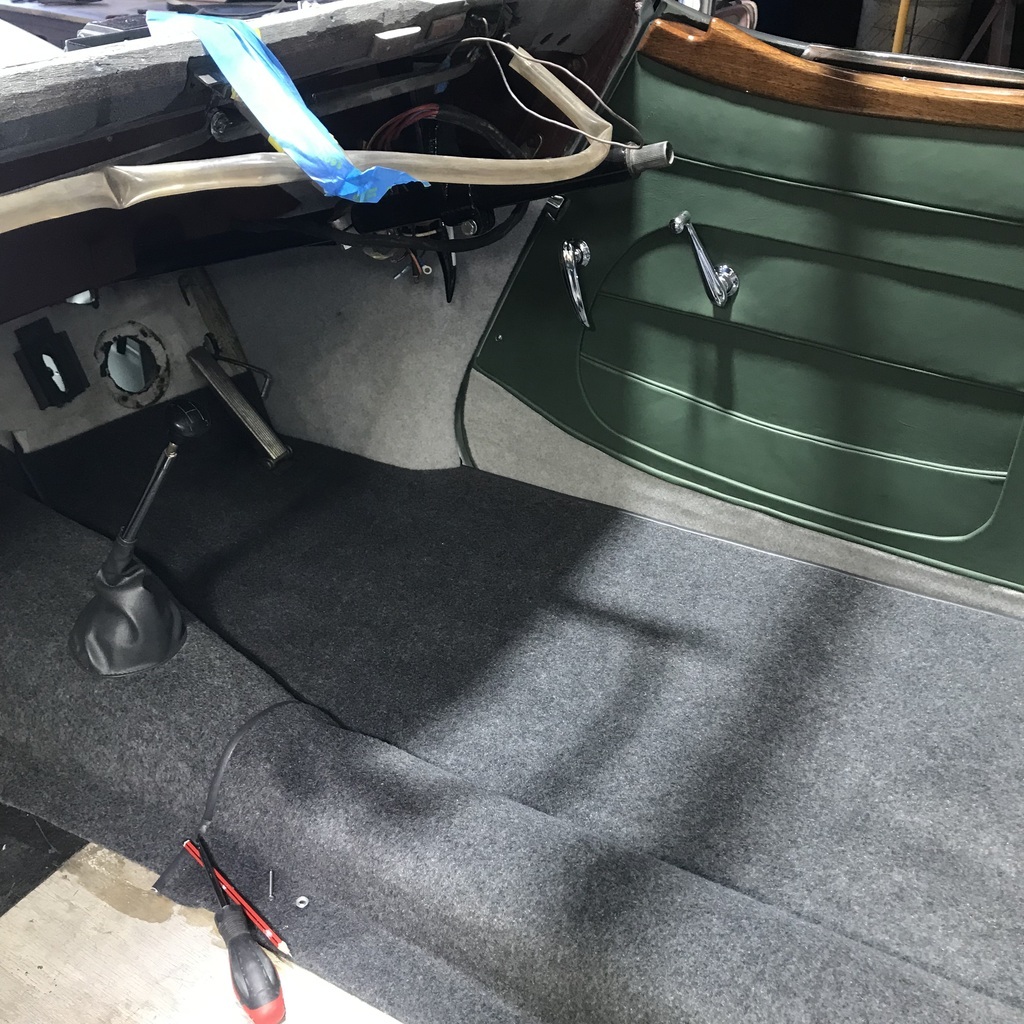 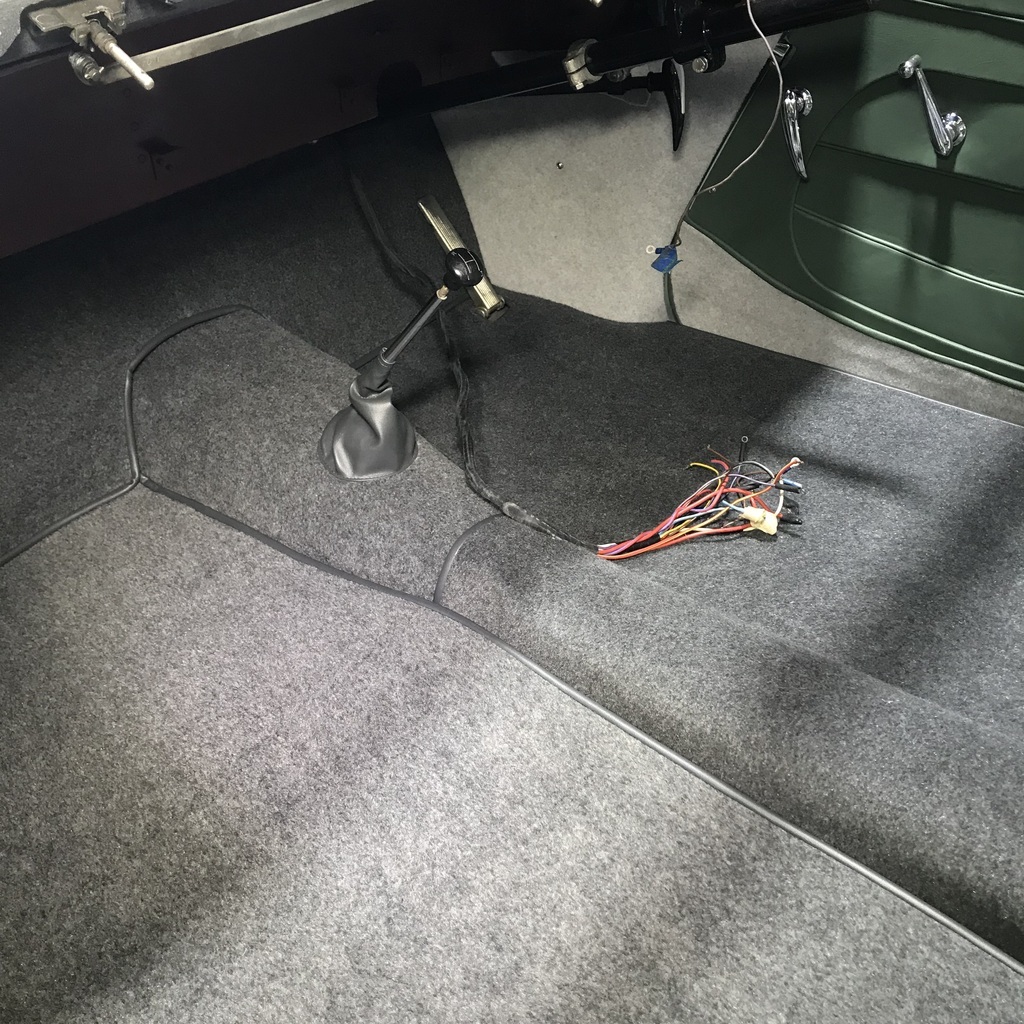 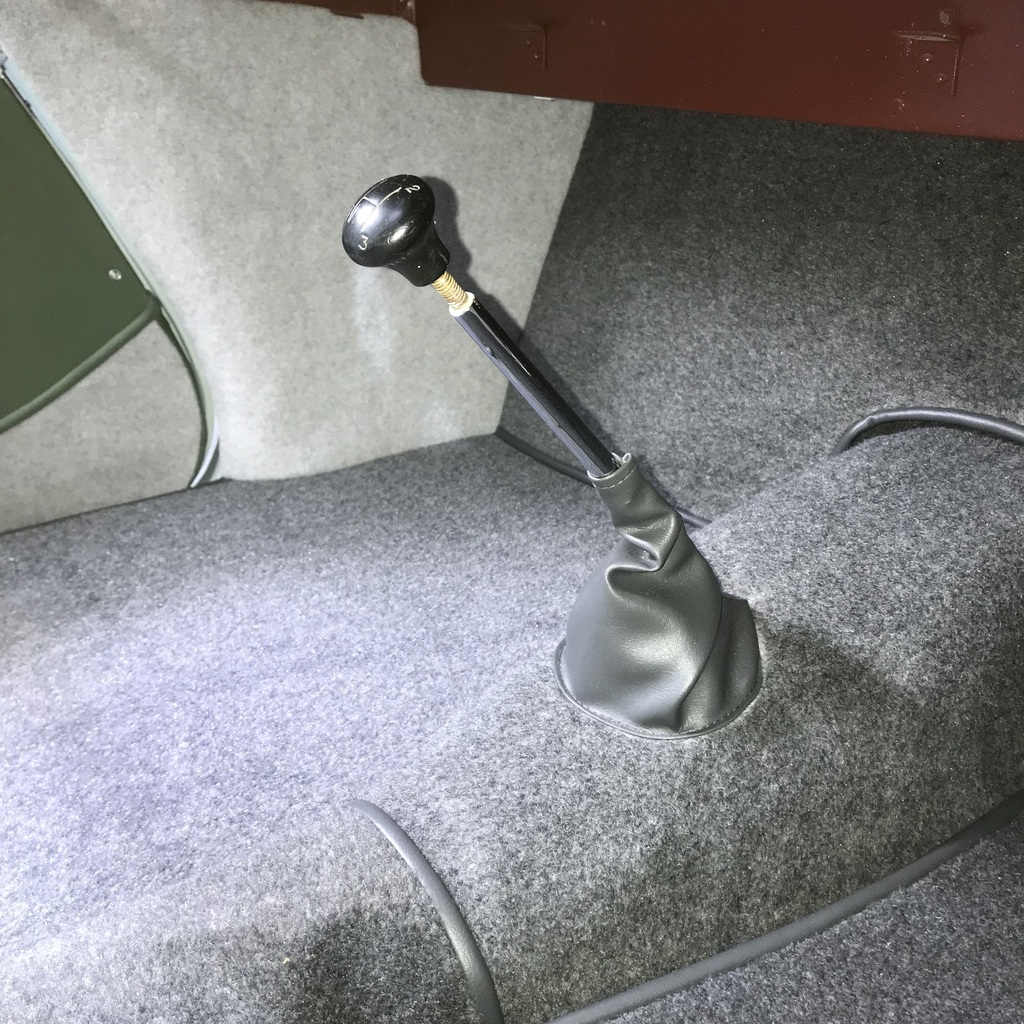 Only a couple of details left to finish. Some furflex for the A pillars and the inside where the roof attaches needs trimming. There will also be something to do in the glovebox area. That will have to wait for the dash to be installed. Speaking of the dash, I put a clearcoat on the two glovebox lids. I found two little spots where the veneer had lifted. They were about the size of a couple of match heads. This is in the original veneer, not the stuff I put on. In the circled area. 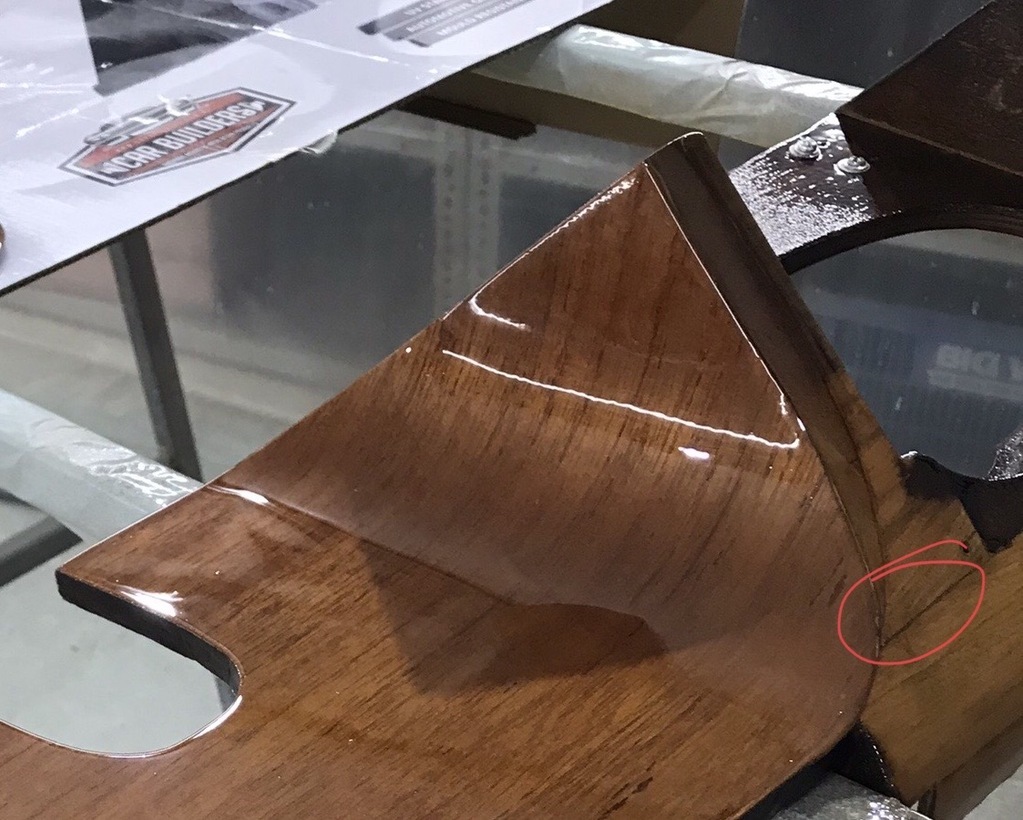 So I got a scalpel and made a small slit, then injected some superglue using a .5mm needle. It worked, as in there was no longer any movement. Dabbed a bit of clear on it after a quick rub with 1000 grit. I think it will cut back and polish ok. We'll see. Thanks |
| |
|
|
|
|
|
|
|
|
Nice edging on the carpet, did you stitch it on?
|
| |
|
|
gazzam
Part of things
 
Posts: 740 
|
|
|
|
For sure Mark, all the binding is sown. The last bit of sewing was to make the furflex strips. 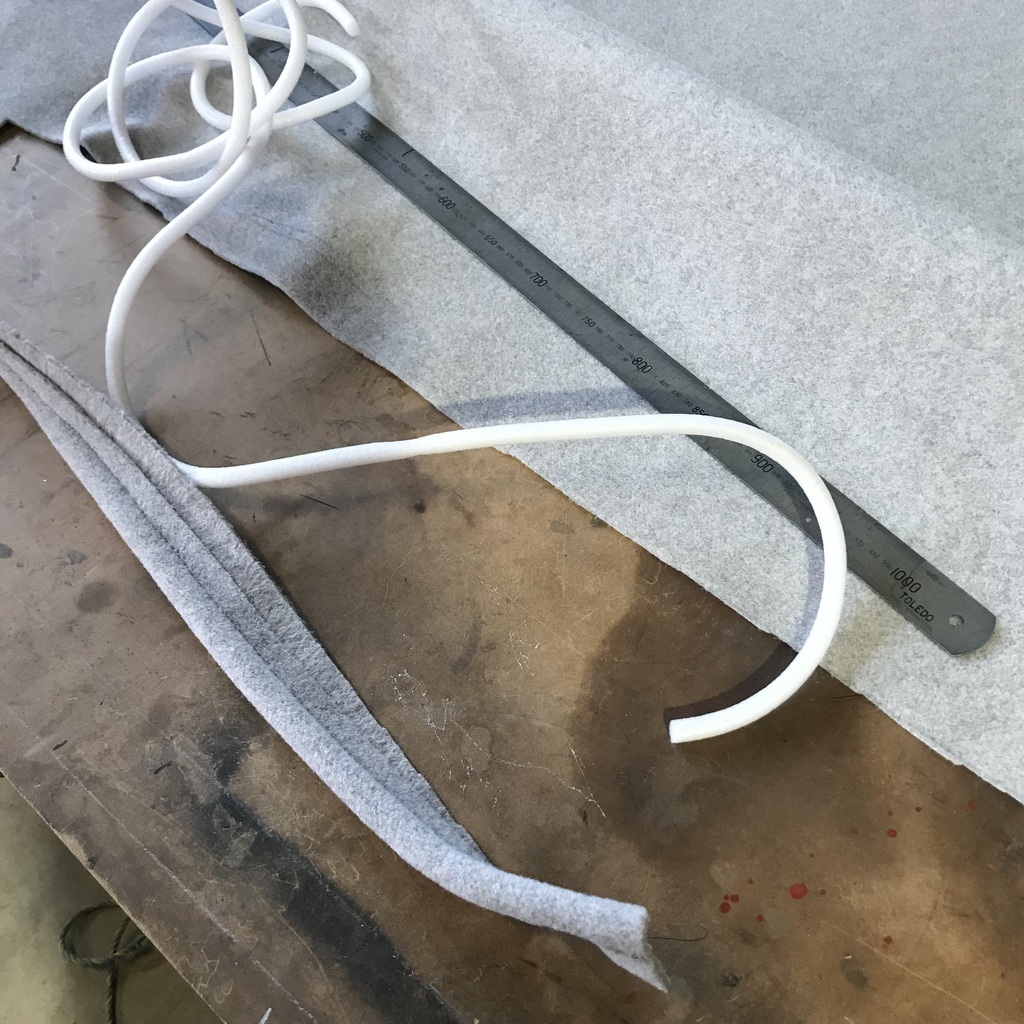 I rescued some of this foam piping when the council had the last curbside rubbish pickup. There were two bags with 250 metres in each, so I have enough to do several cars! The furflex in place. 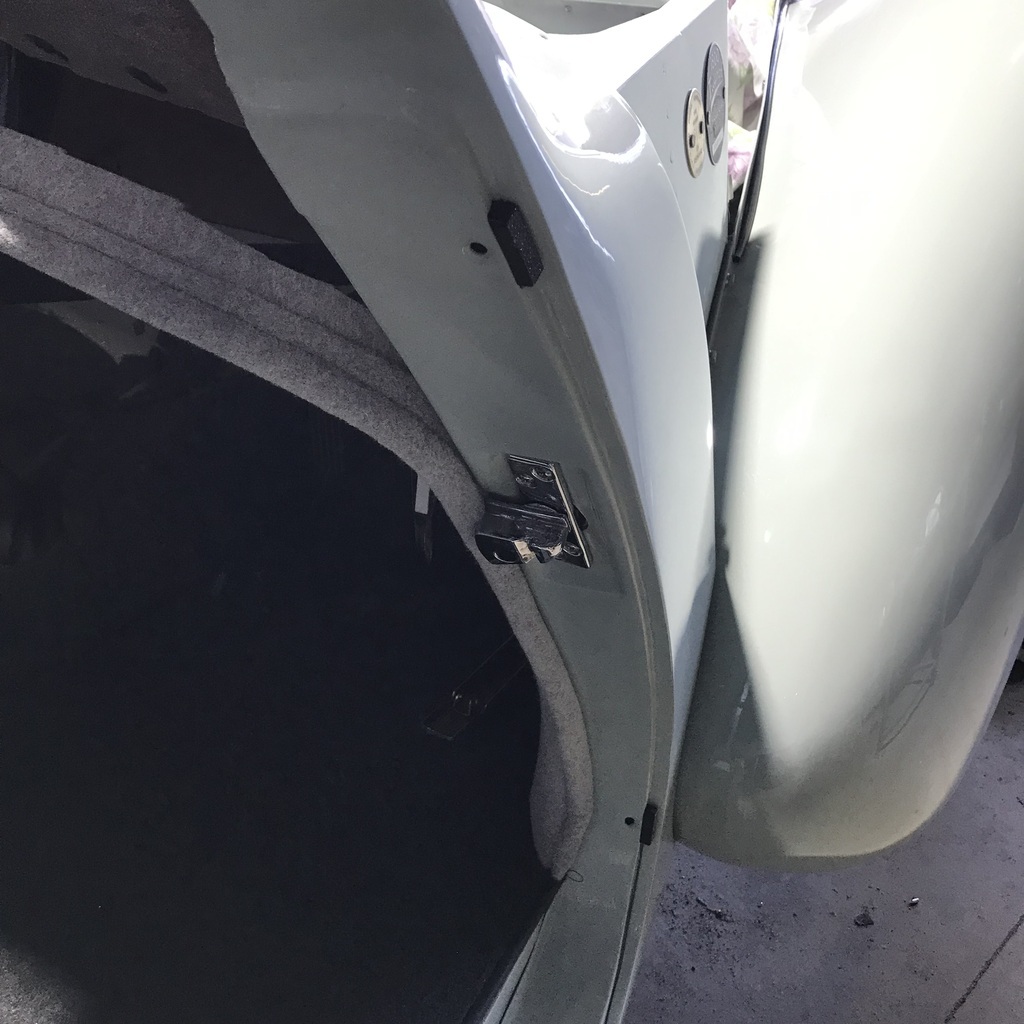 Used to be able to see through these door gaps, not anymore. The loose bit at the top finishes the edge of the dash. Front guards are now fully bolted on, with the various body piping strips in place. Bar one, the one that goes between the back of the guard and the A pillar. It can wait til the bonnet’s in place so I can work out the correct length. My favourite offsider gave me a hand to get the boot lid mounted. 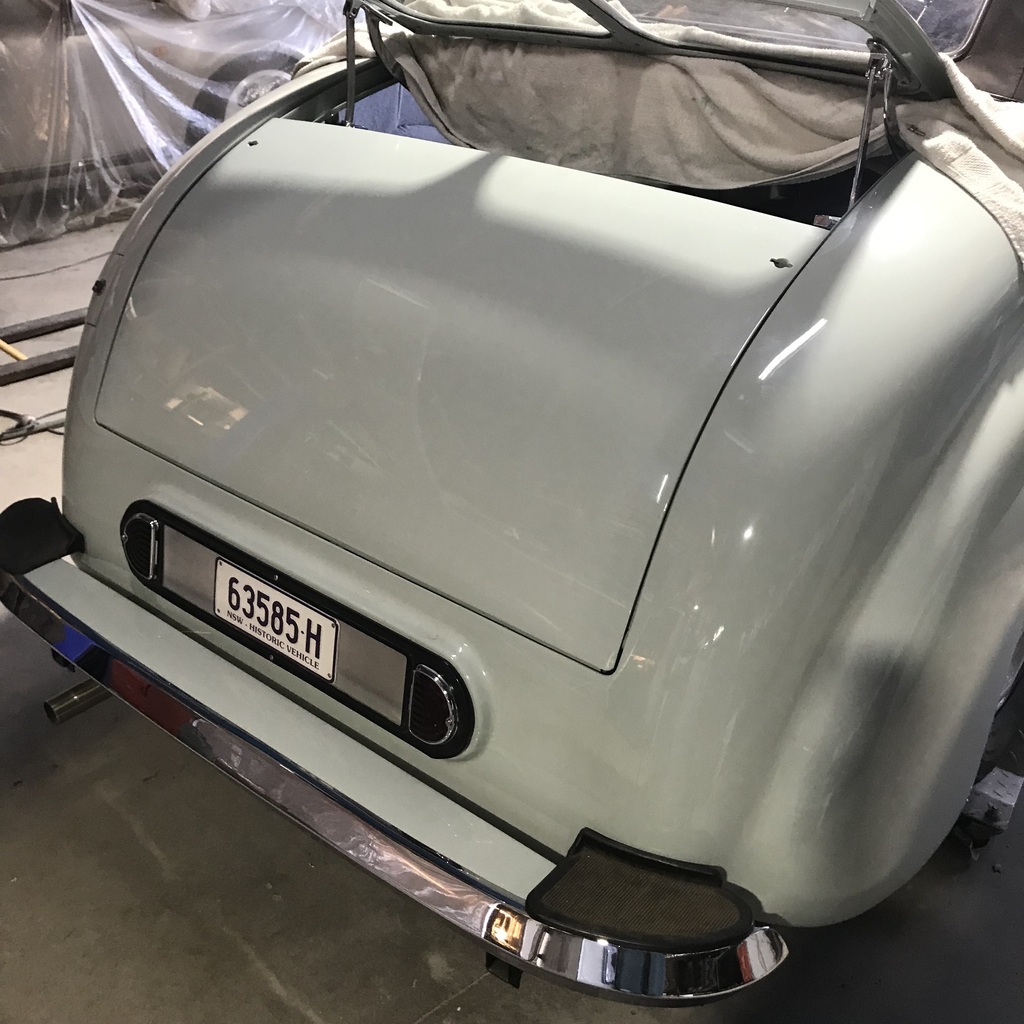 And the boot seal showed up today, so was able to get it all in place. 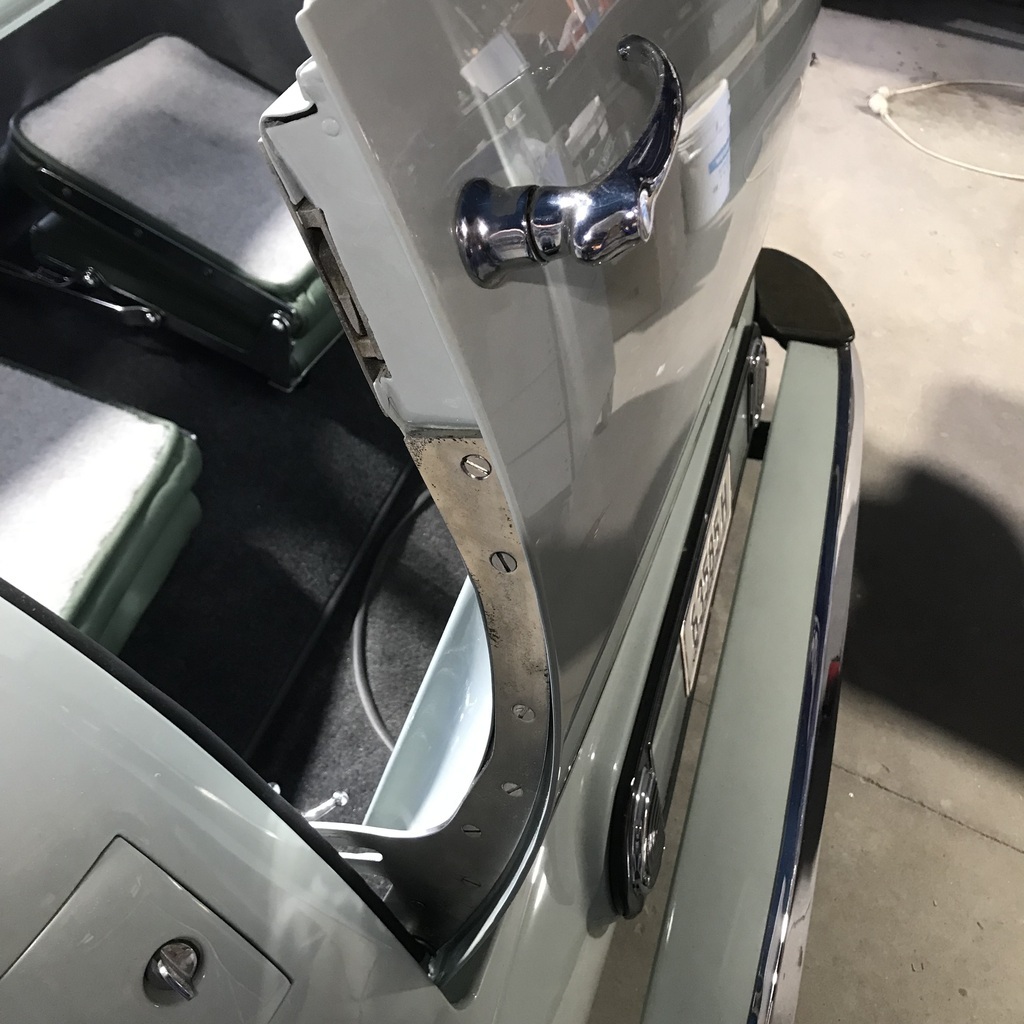 And started getting the holes for the brake and clutch pedals sorted. The brake pedal hole is huge because of the original master cylinder. You might remember that it was replaced ages ago, so the big hole needs fixing. 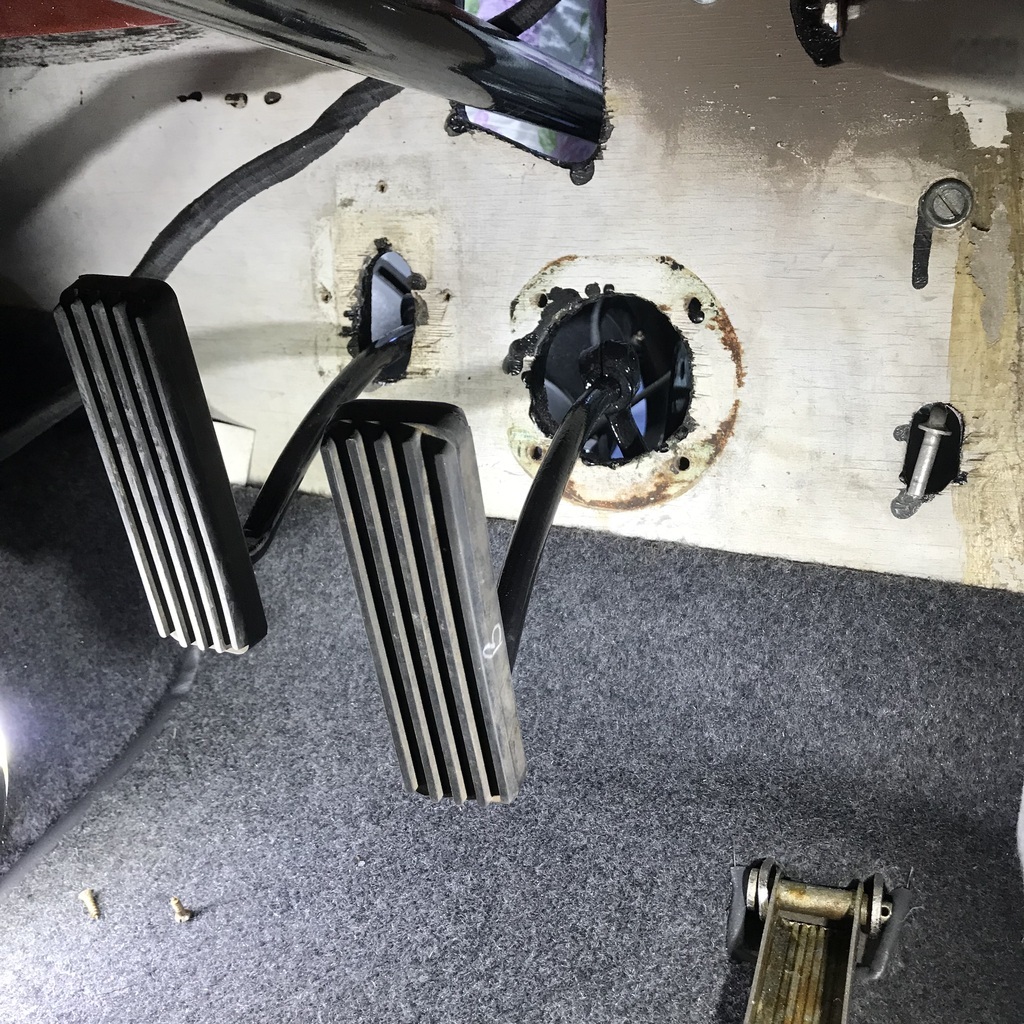 I got as far as making a larger copy of the clutch one ( on the left below ) but I’m going to sleep on it and see if I can come up with a better idea. 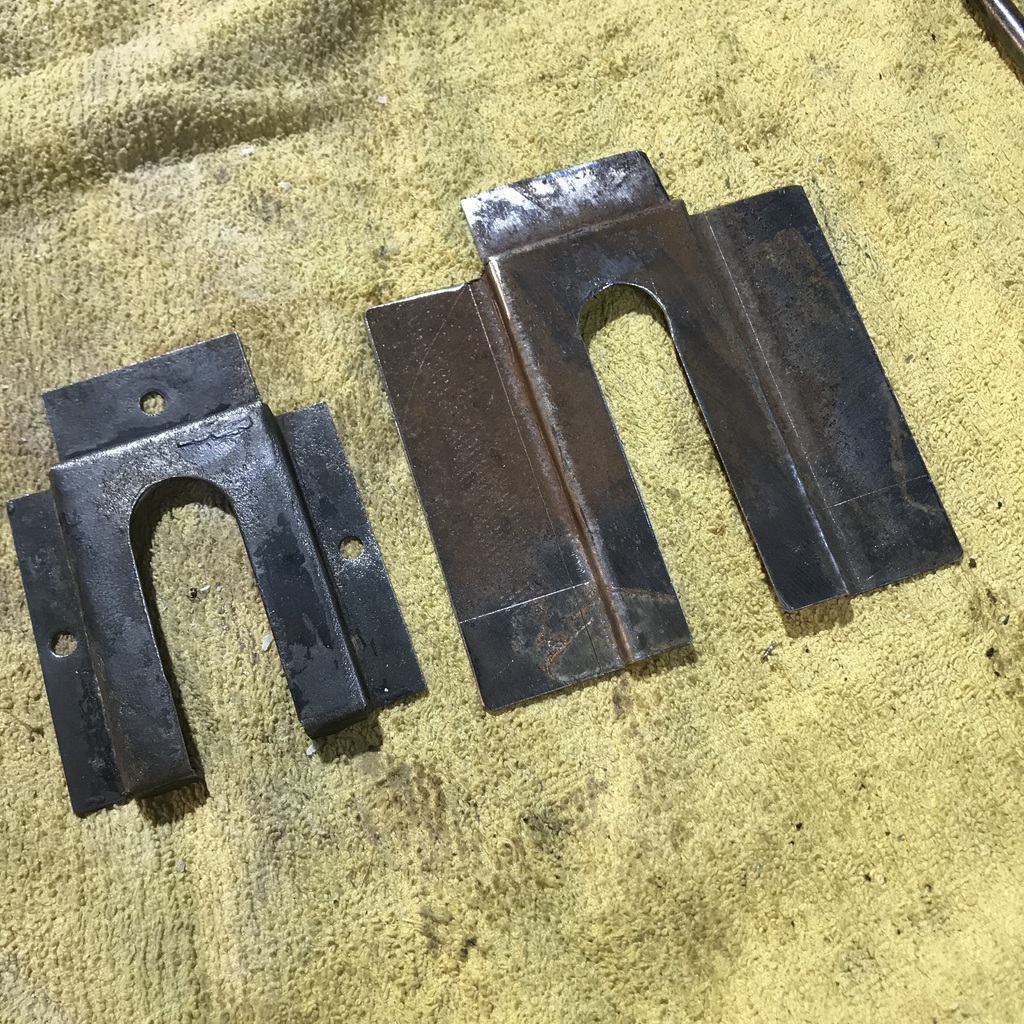 Thanks. |
| |
|
|
|
|
|
May 23, 2024 15:12:15 GMT
|
|
Depending on how much it moves, a CV boot is an excellent way of sealing up brake pedals.
|
| |
|
|
gazzam
Part of things
 
Posts: 740 
|
|
|
|
Mark, unfortunately I didn’t have any CV boots in my stash. But you’re right, that would work well. So I went with plan A, but with a twist. Rather than one 6mm thick piece of rubber, I cut three thinner ones out of an old inner tube and went with layers. I was thinking this might be a bit more compliant. Made the holes a bit offset from each other. The pedal stalk (? if that’s what it’s called ) doesn’t move smoothly through the hole in the floor. I did try to get it as good as I could, but it still moves probably a quarter of an inch, side to side, as you push the pedal through it’s stroke. So anyway, it’s in place and so is the carpet. 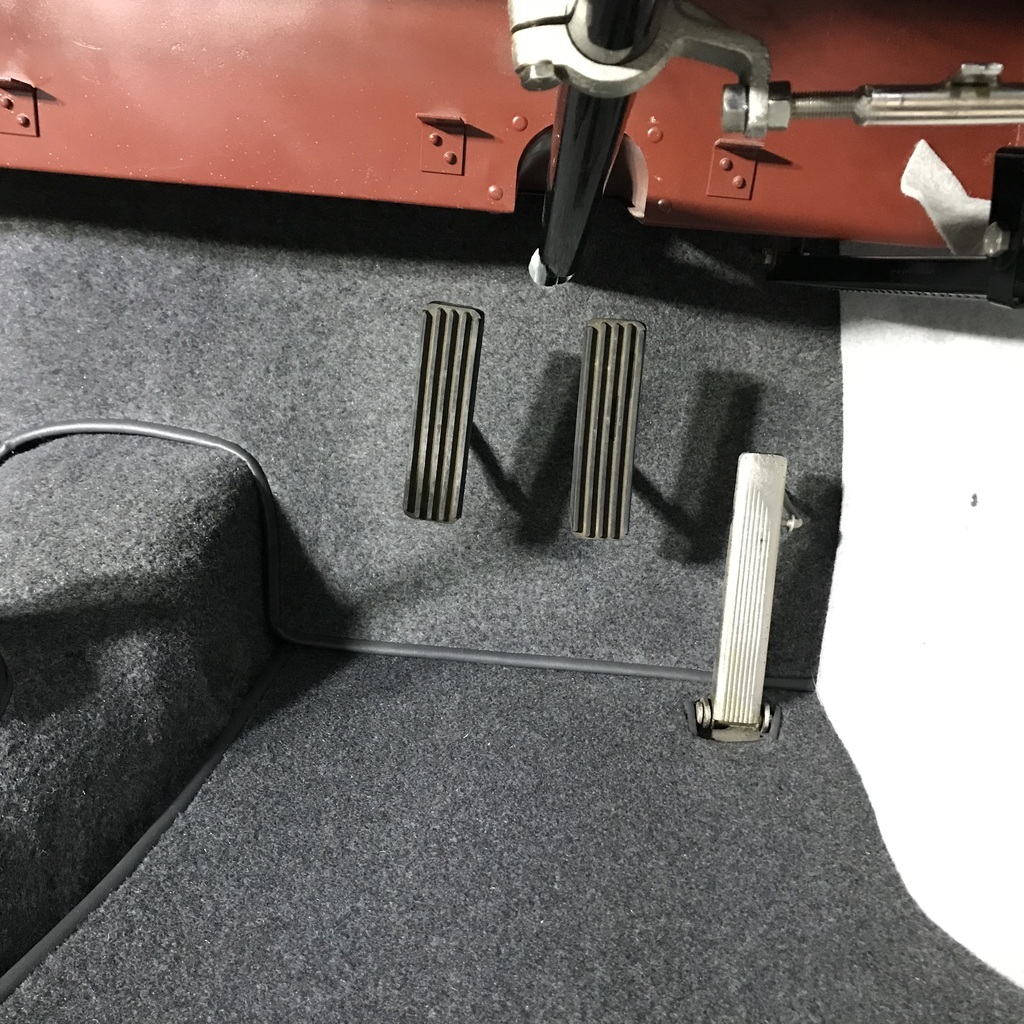 Prior to that, I adjusted the boot lid closing. You might remember I made new latching plates a while back. These things: 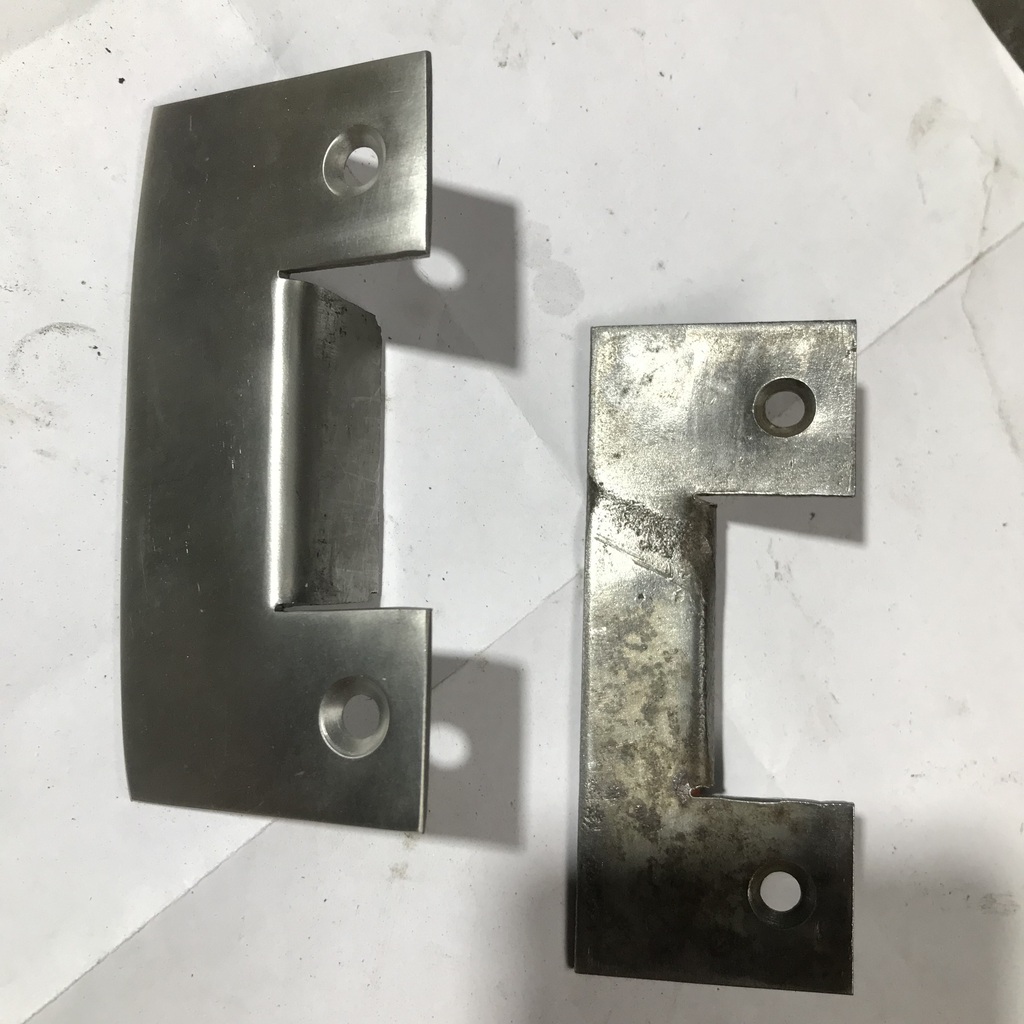 I should have done a test fit when I was working on the bootlid. But I didn’t, so I modified both sides to get the boot to latch nicely. I’m not happy with the fit of the rear windshield either. So when the weather warms up I may remove it and after getting it to fit properly, repaint it. Should have done a test fit of it also. It'll do for now. Then I spent ages trying to get the hood to fold all the way down. It was binding on one side against my nice trimmed signboard panel. Only one side, because you know… Hand built car. Eventually found the 3mm clearance it needed and all was good. 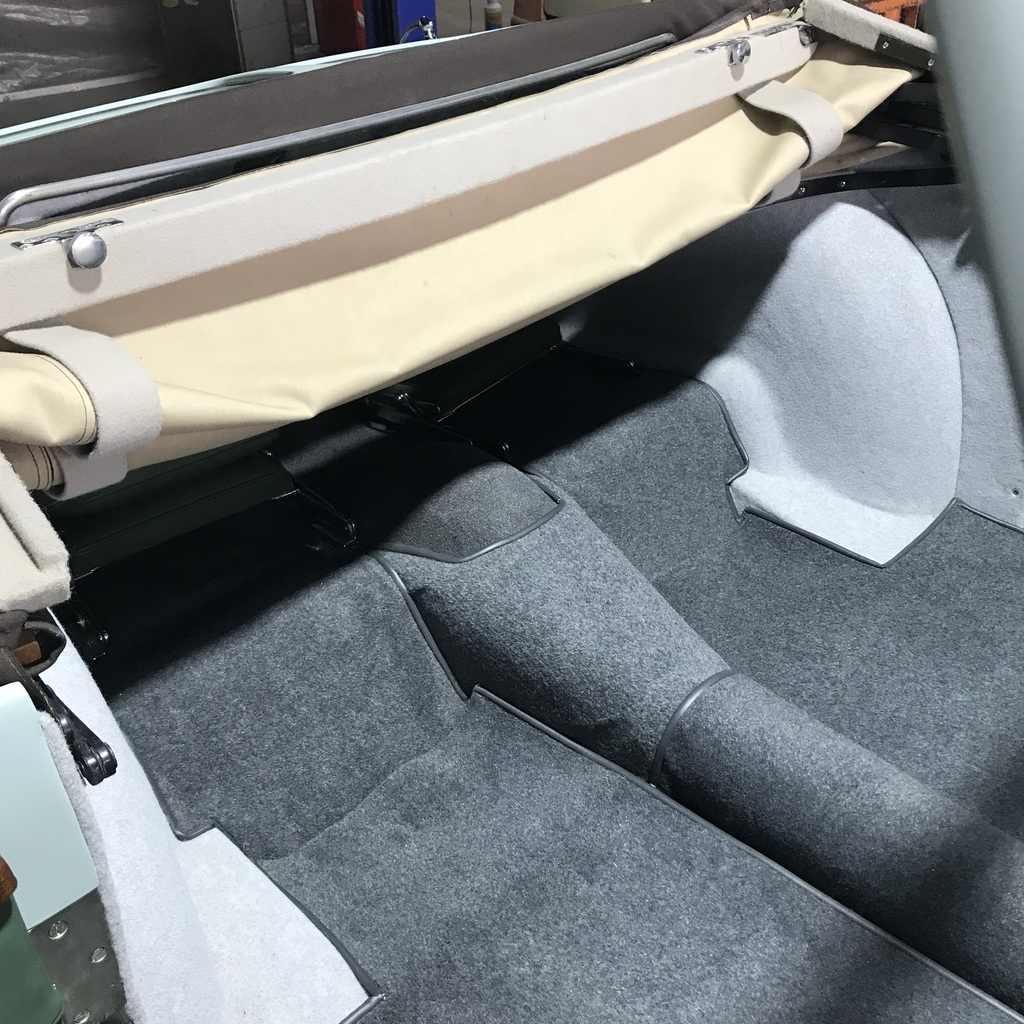 And the inside with the hood up. Almost a shame to stick a seat in, eh? Certainly a spare tyre hanging off the inside of the bootlid isn’t going to make it look any better! 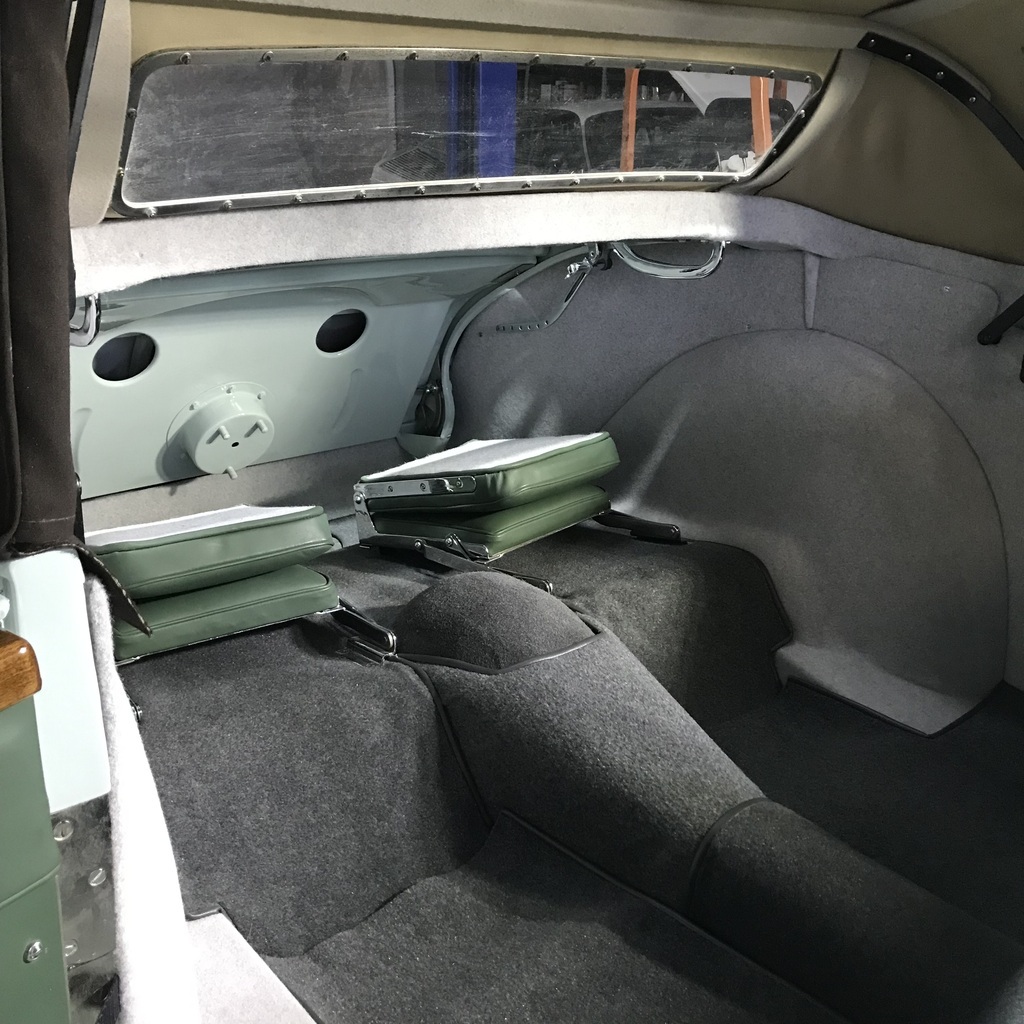 Thanks. |
| |
|
|
|
|
|
|
Davey
Posted a lot
   Resident Tyre Nerd.
Posts: 2,348
|
|
May 24, 2024 11:29:52 GMT
|
|
Looking awesome.
|
| |
K11 Micra x3 - Mk3 astra - Seat Marbella - Mk6 Escort estate - B5 Passat - Alfa 156 estate - E36 compact
Mk2 MR2 T-bar - E46 328i - Skoda Superb - Fiat seicento - 6n2 Polo - 6n polo 1.6 - Mk1 GS300
EU8 civic type S - MG ZT cdti - R56 MINI Cooper S - Audi A3 8p - Jaguar XF (X250) - FN2 Civic Type R - Mk2 2.0i Ford Focus - Mercedes W212 E250
|
|
gazzam
Part of things
 
Posts: 740 
|
|
|
|
Thanks men, I’m pretty happy with it so far. Spent a fair bit of the morning modding the coffee machine, so didn’t have as much car time as I’d have liked. This is the (upside down) back of the front seat. With the leather masked off. 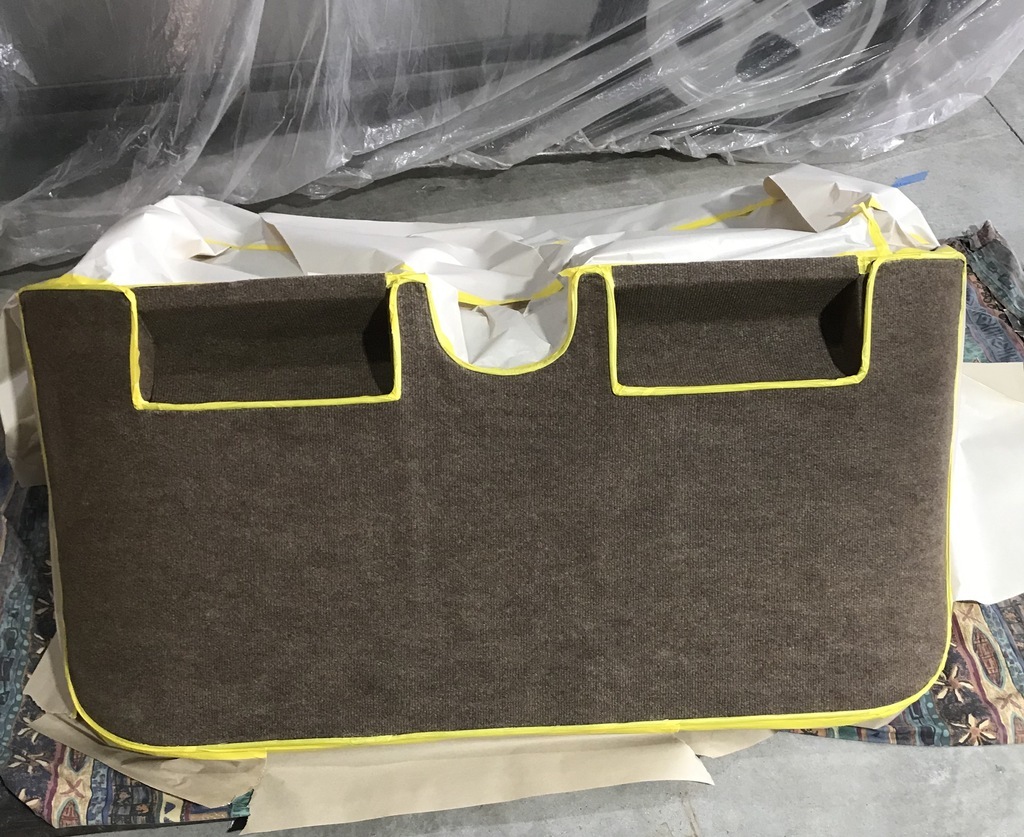 That is the same brown carpet that was used everywhere. I’ve had this car for nearly eight years and I didn’t know the back of the seat was covered in that stuff. Didn’t even notice it when I took the seat out of the car. My point here is that it’s not in a very obvious position. So I am going to recolour it, rather than make a lot of work for myself by actually changing it. And after a bit of rattle can action. Involving a secret mix of spray paints. 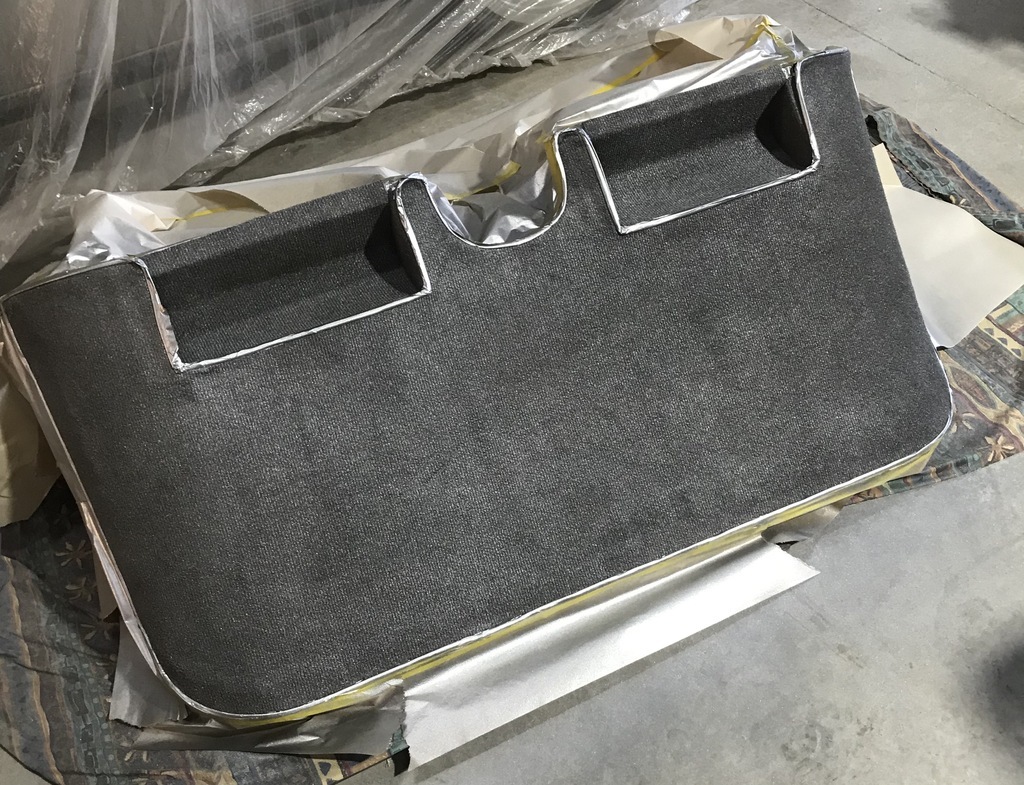 Quite pleased with the result. I also put the windscreen back in, but only to mark the position of the screw holes. I’d filled them all with epoxy, so they had to be redrilled. And that wasn’t possible with the screen in place. Same goes for the top dash mounting screws. So there was a bit of trial fitting of dash bits. 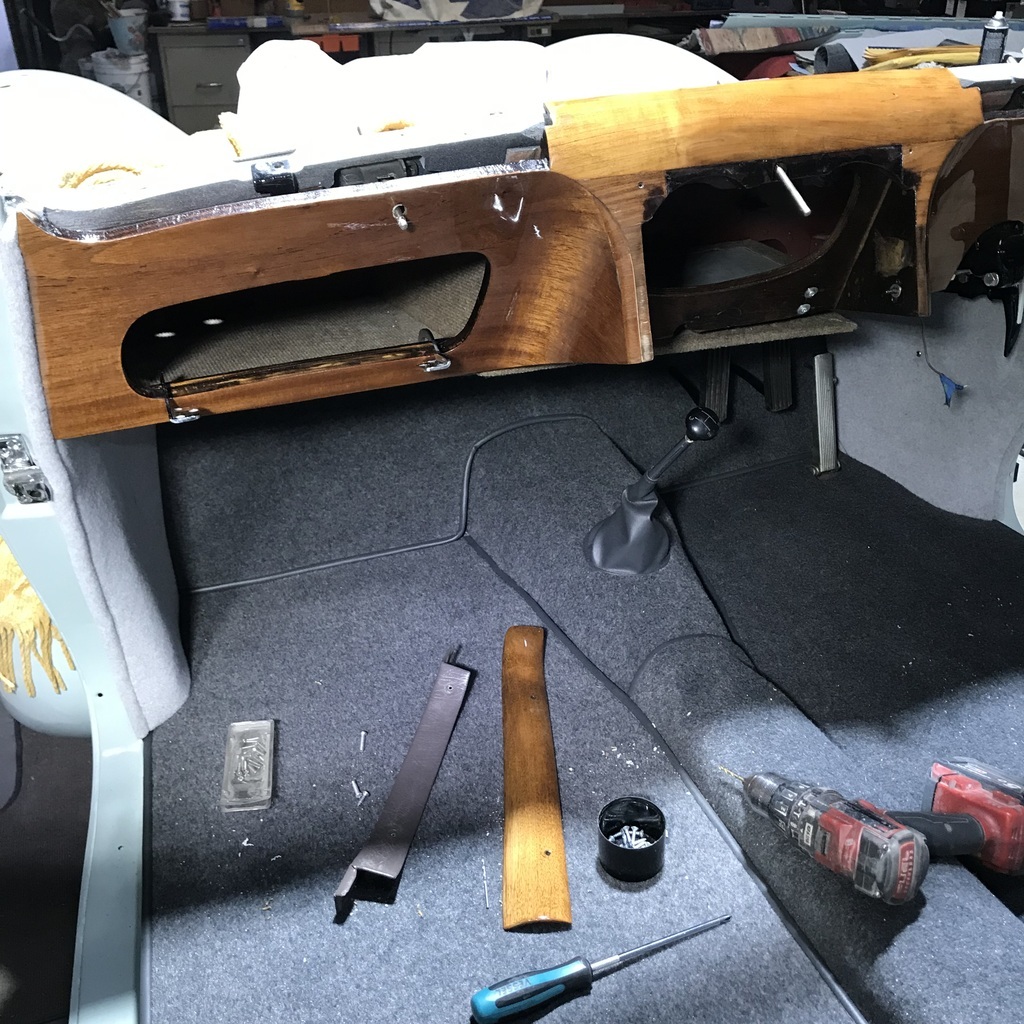 And I was able to use this beautiful little hammer that I found at the Quirindi beano. 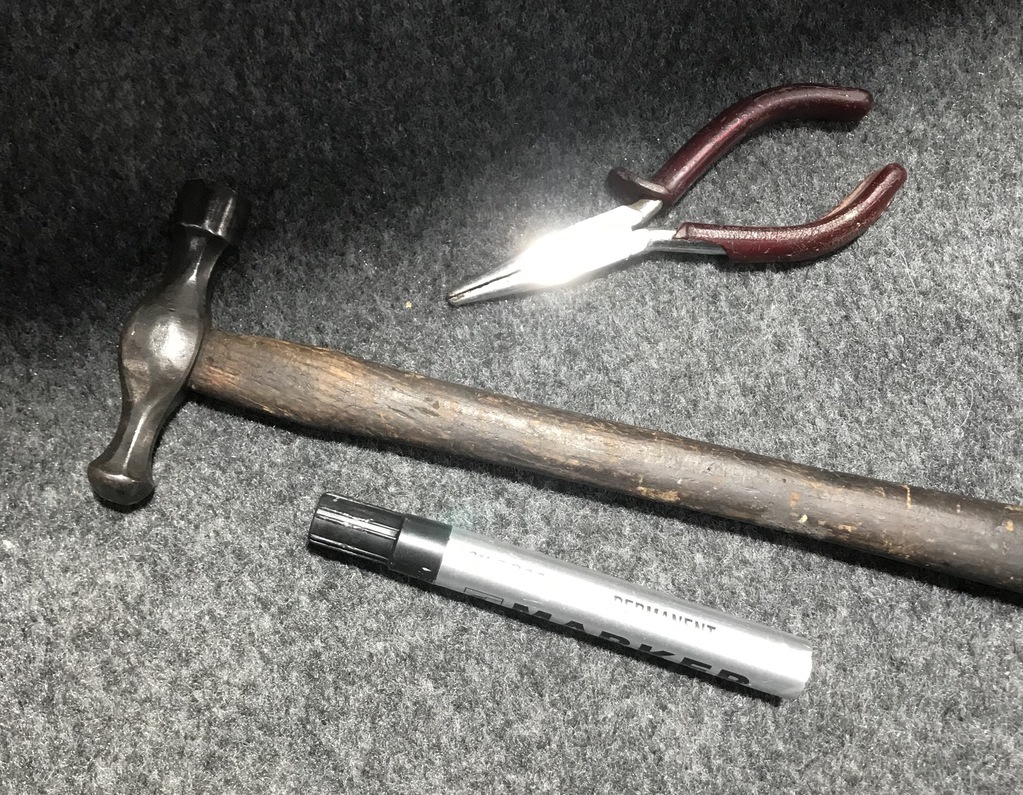 To tack in the furflex. Rather than use a non period staple gun… 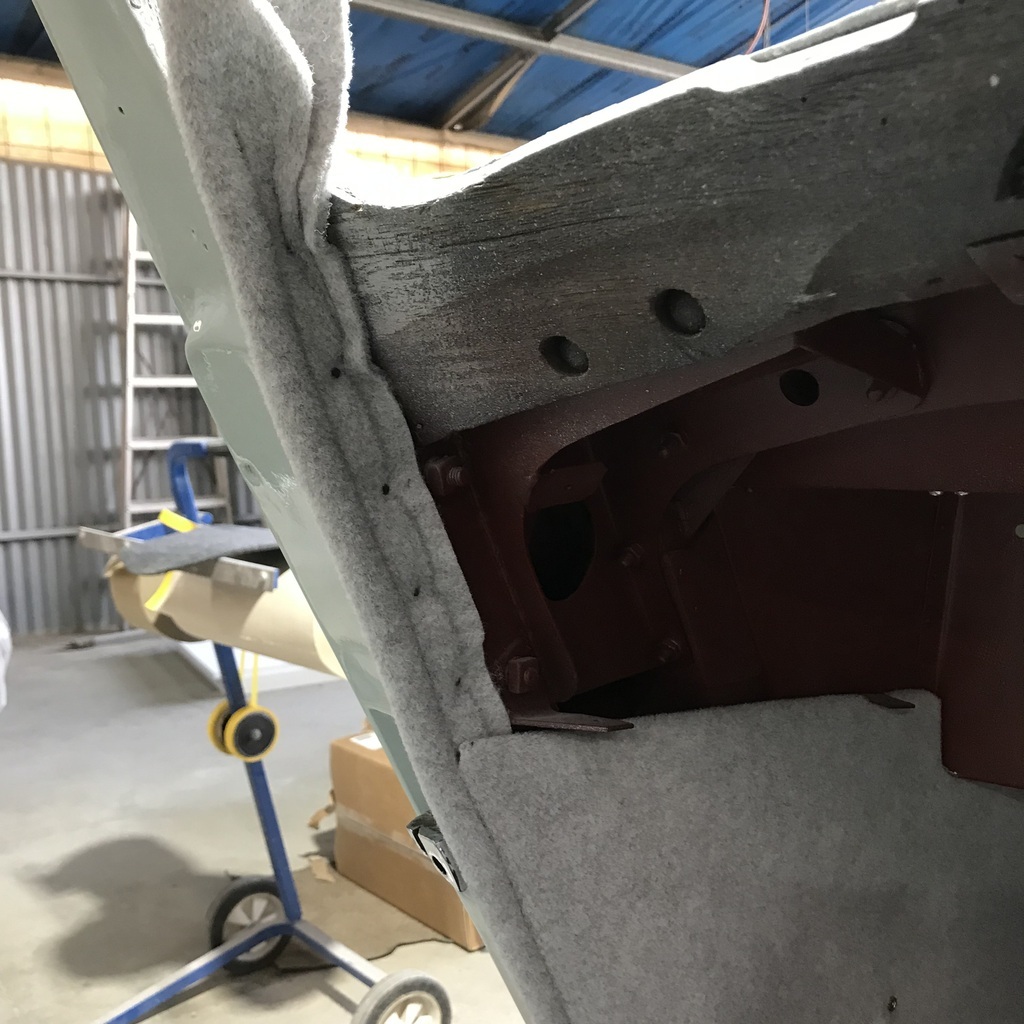 Thanks. |
| |
|
|
gazzam
Part of things
 
Posts: 740 
|
|
|
|
Ticked a couple of items off the list today. Windscreen is in. 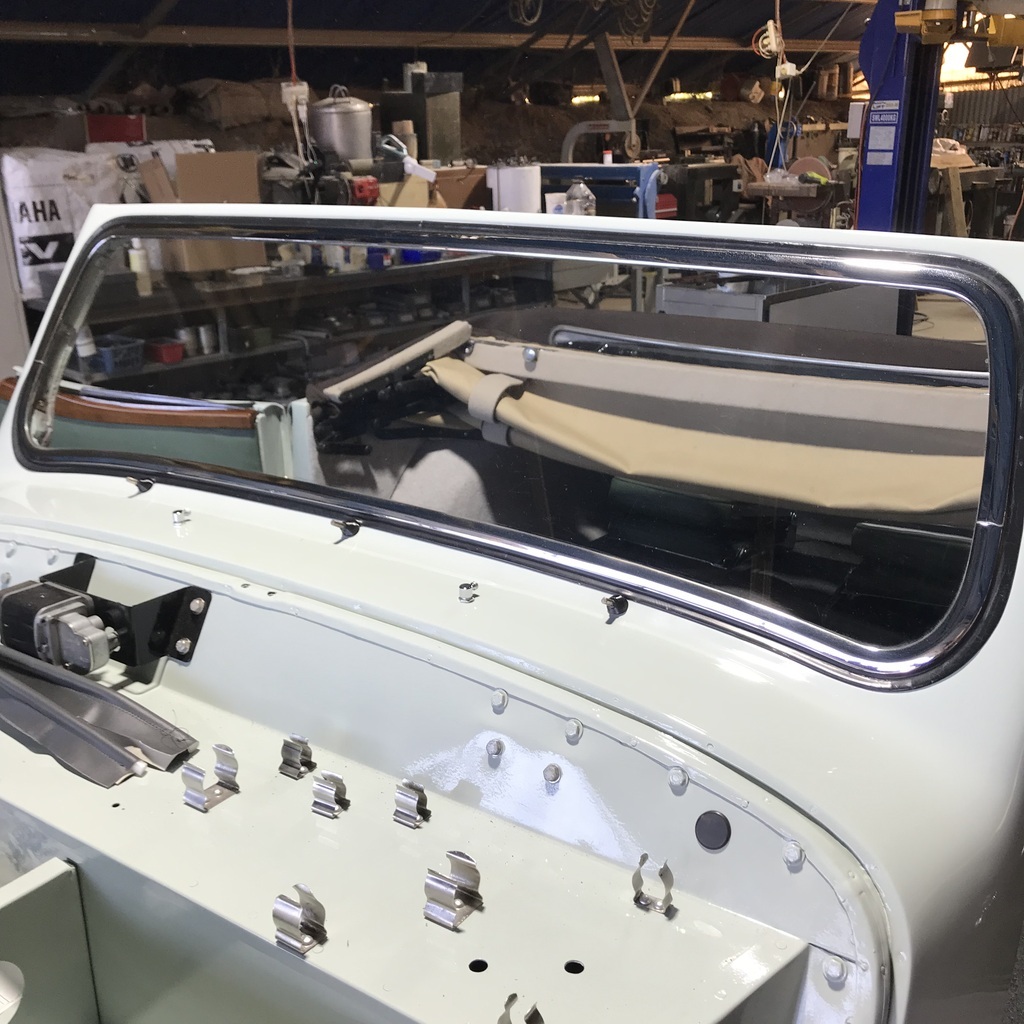 The last bits of wood have had a coat of 2k clear. I hope I’ve finished cleaning spray guns for a little while! 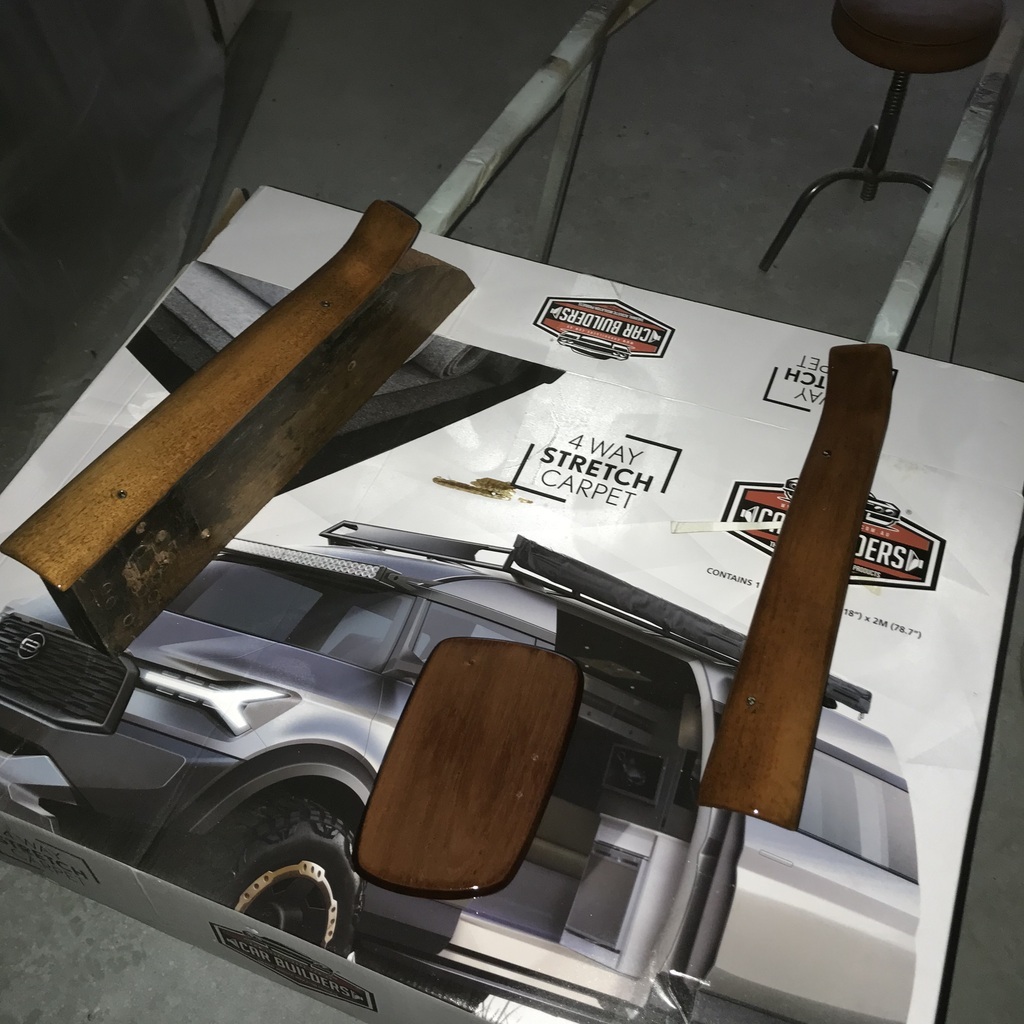 I can finish off the dash, once these bits are dry. And the seat is in. 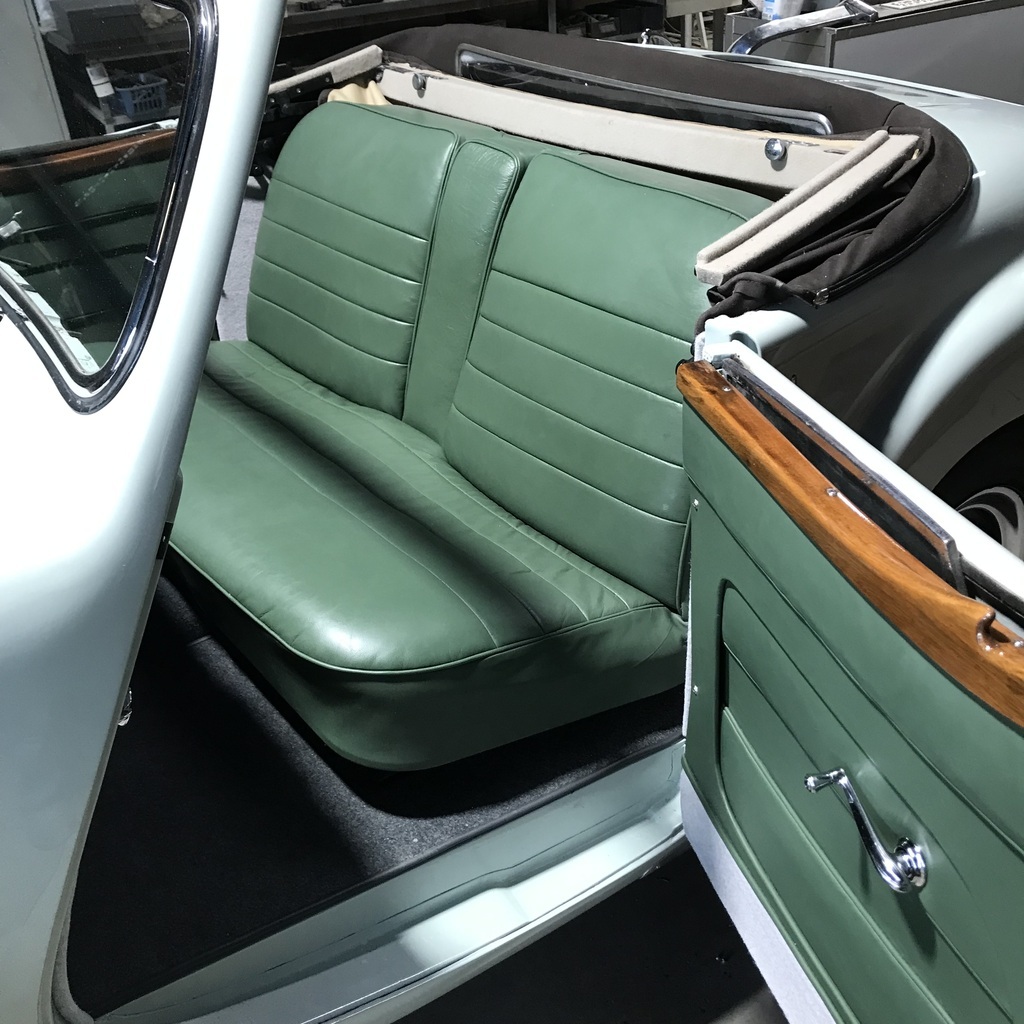 Mrs G helped with that. Hung it off the forklift, but it took both of us to jiggle it around and squeeze it in. Not bolted down yet, that’s a job for tomorrow. All in all a beaut day, weather and progress wise. Thanks. |
| |
|
|
|
|
|
May 26, 2024 11:38:20 GMT
|
|
Looking very classy 🙂👍🏻
|
| |
1967 Triumph Vitesse convertible (old friend)
1996 Audi A6 2.5 TDI Avant (still durability testing)
1972 GT6 Mk3 (Restored after loong rest & getting the hang of being a car again)
|
|
|
|
|
May 26, 2024 13:53:22 GMT
|
|
I have been watching your progress in silent awe - truly exceptional.
|
| |
|
|
gazzam
Part of things
 
Posts: 740 
|
|
|
|
Thanks fellows. Very nice of you . Today started off ok. Got the seat bolted in. A bit of a struggle with the spring loaded adjuster mechanism, but I finally got it bolted in. Then I found that this bit of trim, the formerly manky piece that was subjected to bondage, wasn’t going to work. 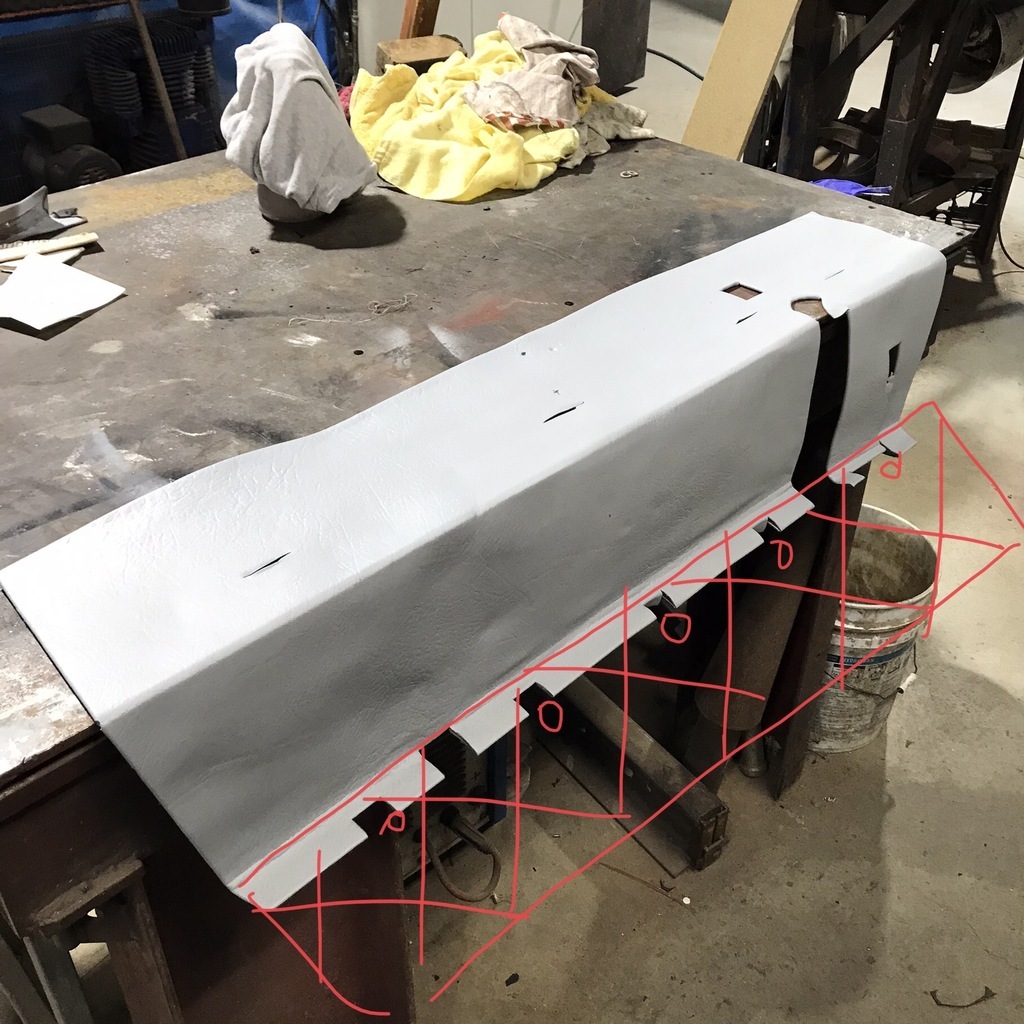 A shame but as I discovered it’s meant to go behind the top of the footboard. Between the body and the footboard actually. The footboard clamps it in place. The red circles are the bolts at the top of the (red hatched) footboard. Hope that makes sense. It wasn’t installed that way but I’m sure it was meant to be. Now that it’s a lot firmer and the right shape, it just won’t fit correctly unless it goes between the body and the footboard. And there’s no way I’m pulling all that out again to get it in there. The carpet ( glued ) would have to come up, to get the gearbox cover off the let the footboard move at all. So I reckon I’ll trim it with carpet, which should be better for sound insulation anyway. And then another disappointment. 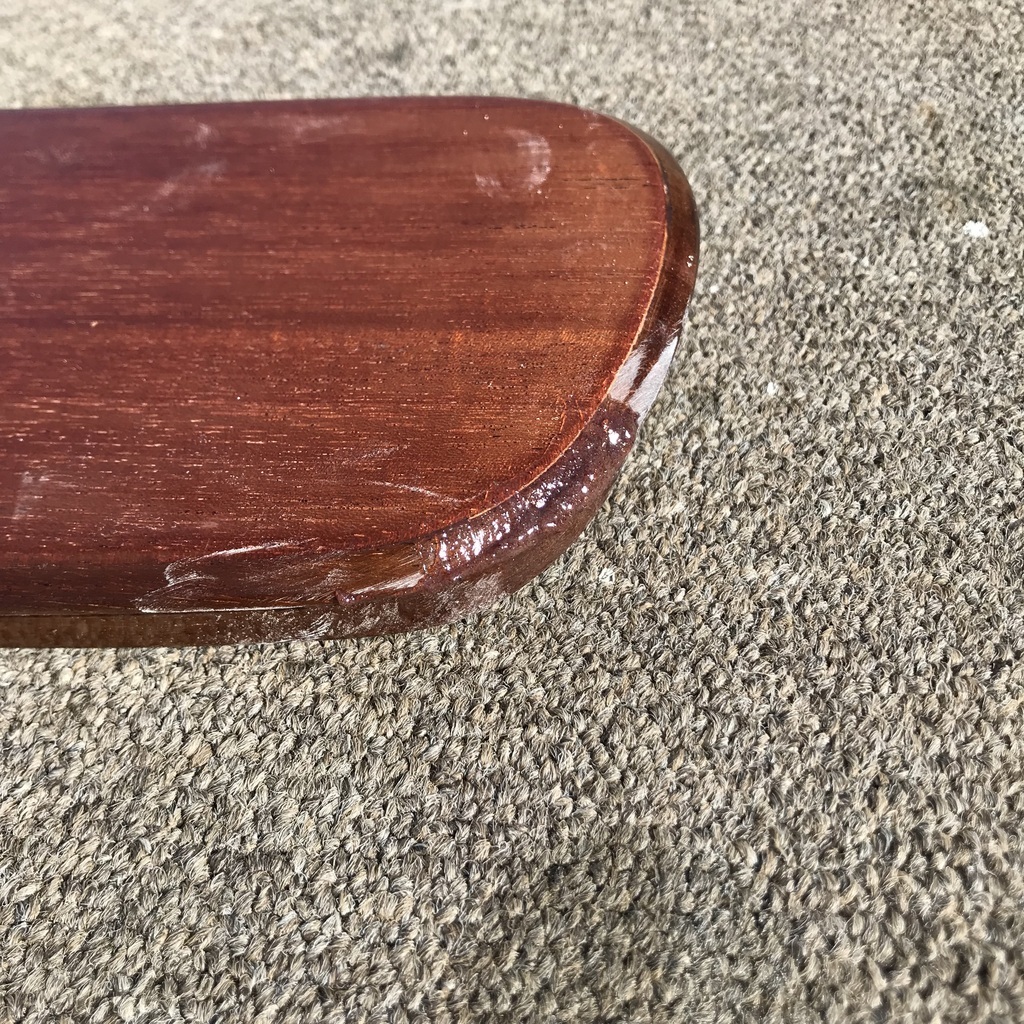 That is one of the glovebox lids, with some epoxy mixed with sawdust. Because some idiot dropped it. I could have kicked my a*rse till my nose bled. I was getting it ready to fix it in place, had it sitting in the dash but not screwed to the hinges. Got distracted and when I came back to it, picked up the dash. I thought, 'lucky I spotted that' as I remembered the lid was just sitting there. Then I blo0dy fumbled it! What a clumsy moron! Anyway, despite me being ready to cut my own throat at the time, the patch is done, the lid resprayed and I think it’s ok. I’ll see what further damage I can do to it tomorrow, once the paint is dry. Added bonus of cleaning a spray gun. I knew it was a mistake to put away all the spray stuff! Took the radiator into my rad man. Don’t know why I didn’t do it before. Nice little detail on it. 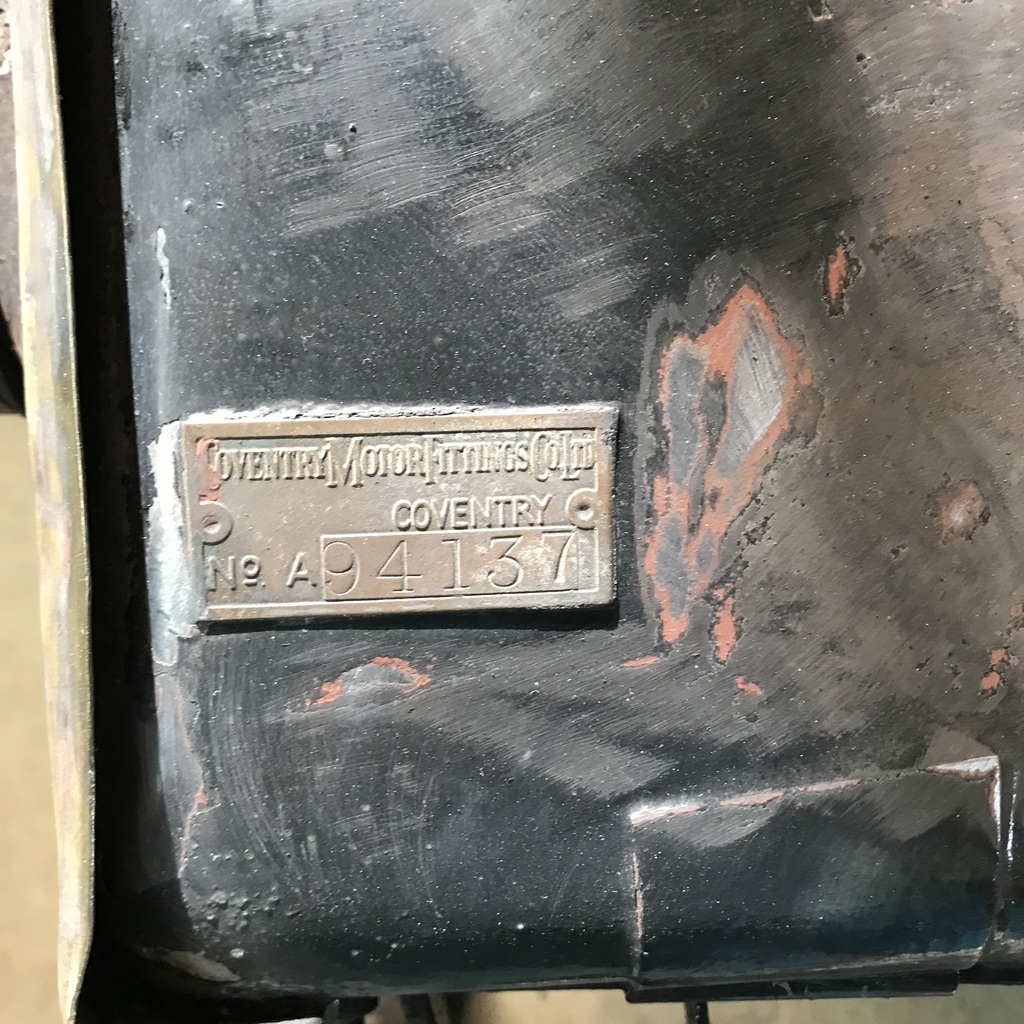 Thanks. |
| |
|
|
|
|
|
May 27, 2024 22:19:57 GMT
|
|
I think wev'e all got that T shirt, a real pain when it happens.
|
| |
|
|
gazzam
Part of things
 
Posts: 740 
|
|
|
|
After sleeping on it, I had to at least try the rejuvenated piece. It had been through all that bondage after all! It wasn’t exactly back to it’s youthful shape, but not far off. This is how far the floors etc had to come out. 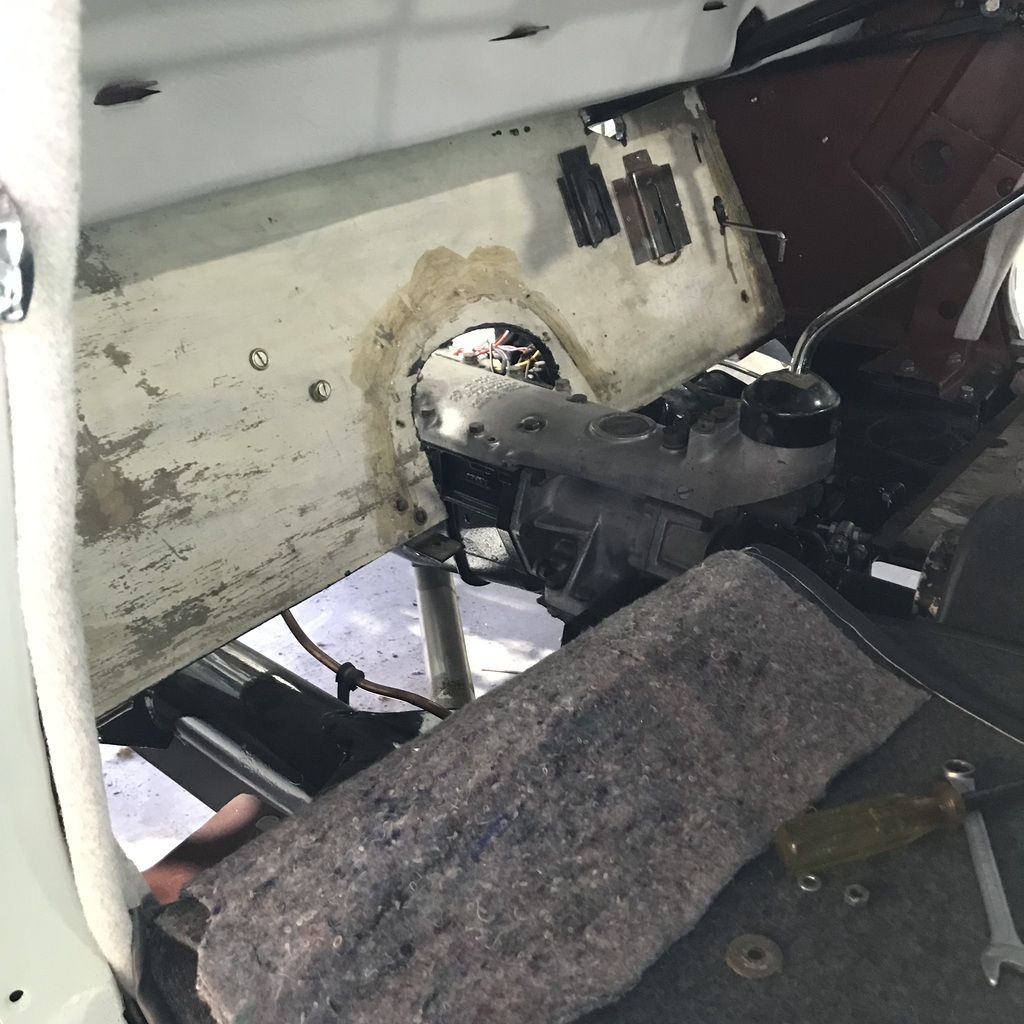 And after about four hours we’re back to here. 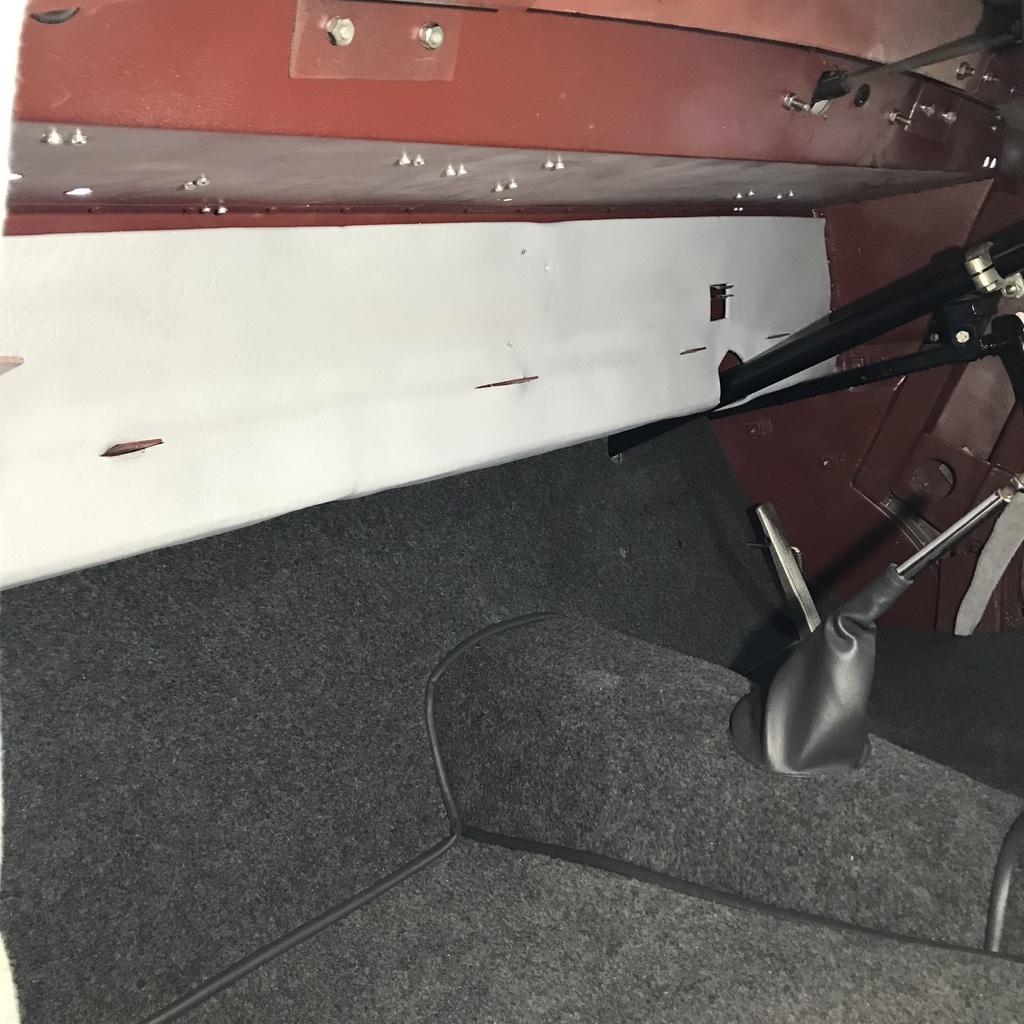 But I’m happy that an original piece is back in there. Even if the vinyl has been recoloured. Spent even more time on the dash. This time I avoided throwing it on the ground again. Just lots of fiddly screwing stuff together, being very careful because it’s like a piece of delicate jewellery. And it’s in position, maybe for good though I doubt it. 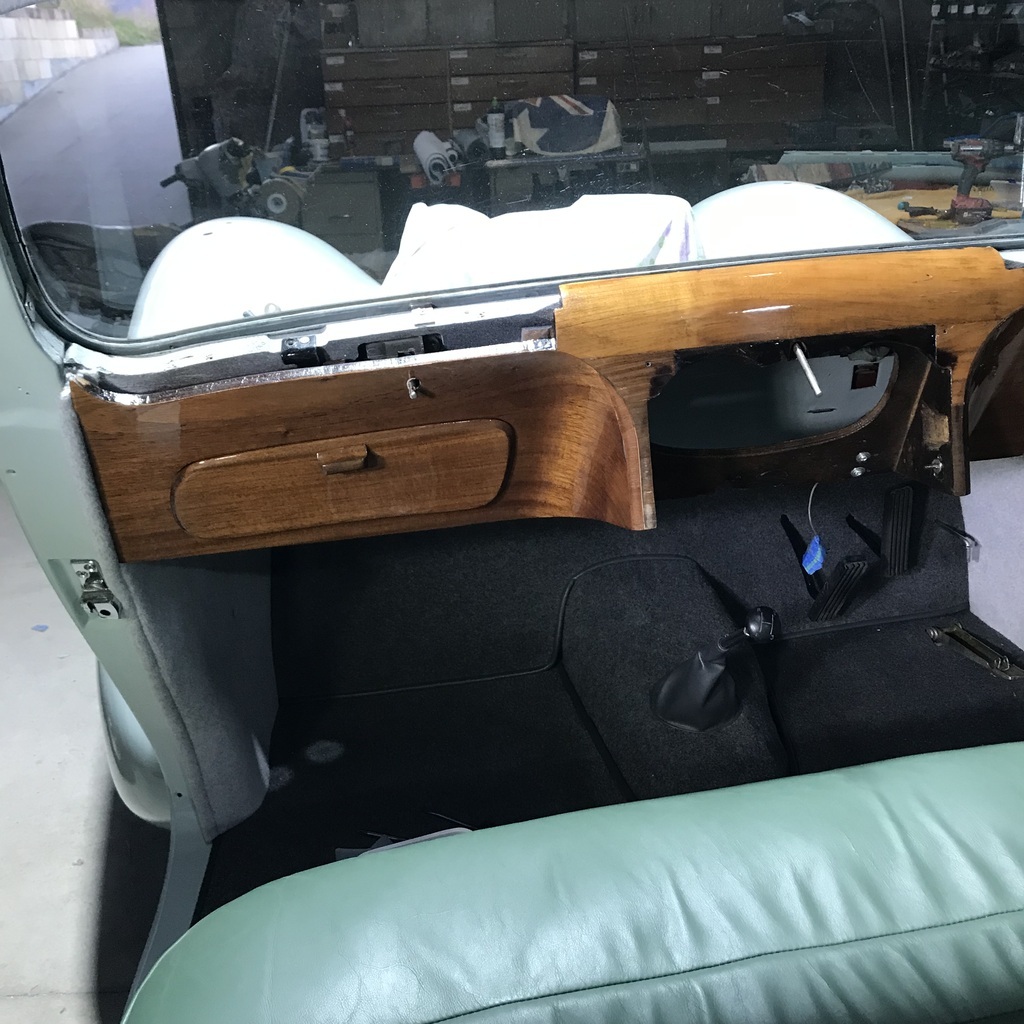 Now to get all the bits behind it, that make up the actual gloveboxes, all fitting together so it will hold stuff. And I want it nice to touch. Not sure what to use in there. Thanks. |
| |
|
|
|
|
|
May 28, 2024 11:56:57 GMT
|
|
Excellent work all coming together very nicely!
|
| |
|
|
|
|
|
May 28, 2024 12:00:19 GMT
|
And I want it nice to touch. Not sure what to use in there. Thanks. Boobies, boobies are nice to touch. Oh, did I say that out loud??  |
| |
|
|
|
|


