gazzam
Part of things
 
Posts: 740 
|
|
|
|
Thanks T. Yep, Davey, takes up less space in the shed as a bonus! Blocked the two guards with 180 grit, first up this morning. I’ll be glad to see these back on the car. For some reason I had it in my head that they were going to be easy - just a quick rub back and topcoat. I must have been insane. They have been a metric s**t ton of work. And they’re not finished yet. I’ll sand them with 400# tomorrow and if they pass muster, I might get them topcoated as well. Then, when I get some more epoxy hardener, I’ll prime the undersides and topcoat them wet on wet-ish. Then they have to be colour sanded and polished. (Just the topside, I’m not crazy!) And they are fekkin huuge. Anyway, whinge over. After giving them a coat of epoxy, I got started on one of the doors. Wet sanded it with 1200, then 1500 then a Trizact 3000 grit disc wet on the DA. Then compound and polish. No wonder I feel like a beer! Only pic of the day. Polished door in foreground, marine mammals in back. 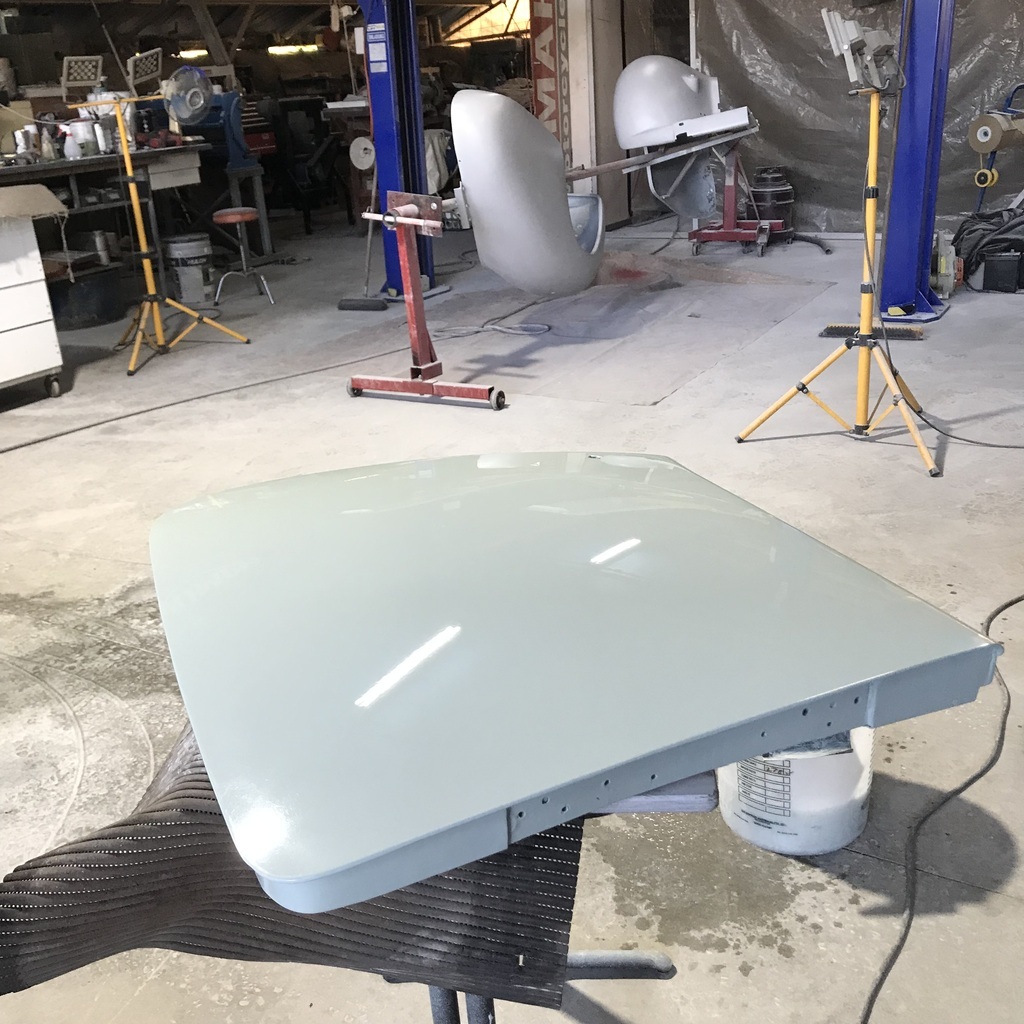 Thanks. |
| |
|
|
|
|
gazzam
Part of things
 
Posts: 740 
|
|
|
|
Changed my mind about sanding and painting the guards. I decided to warm them out in the sun all day and let the primer shrink now rather than later… That’s my theory anyway. Also, I’ve earned a break from them. So I started on putting the passenger door back together. I won’t say it was the simplest thing I’ve ever done but it co-operated in the end. 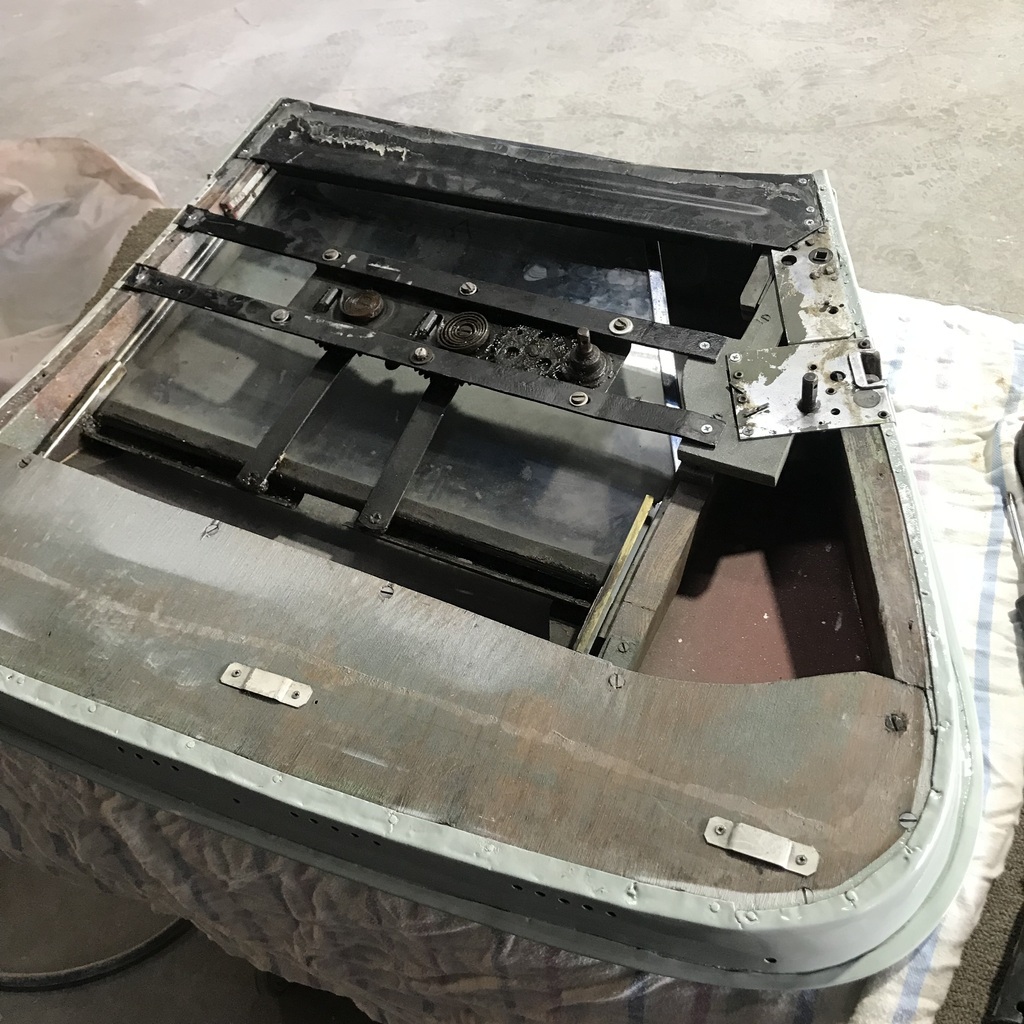 I had the mad thought of printing some grommets for the windscreen wiper spindles. I say mad, because the pc and printer wouldn’t reliably hook up to the new-to-me phone ( refurbed iphone 7 ) I had already drawn a grommet and eventually got it to print. But it wasn’t right, so I redrew it and then couldn’t get the buggers to talk to each other. A real exercise in screaming frustration. I’ll try it again tomorrow with a cable between the phone and the pc. Then I’ll probably take a hammer to the phone! So I walked away from the electronics and got the angle grinder out. Cut the lifting frame apart and removed it from the body. 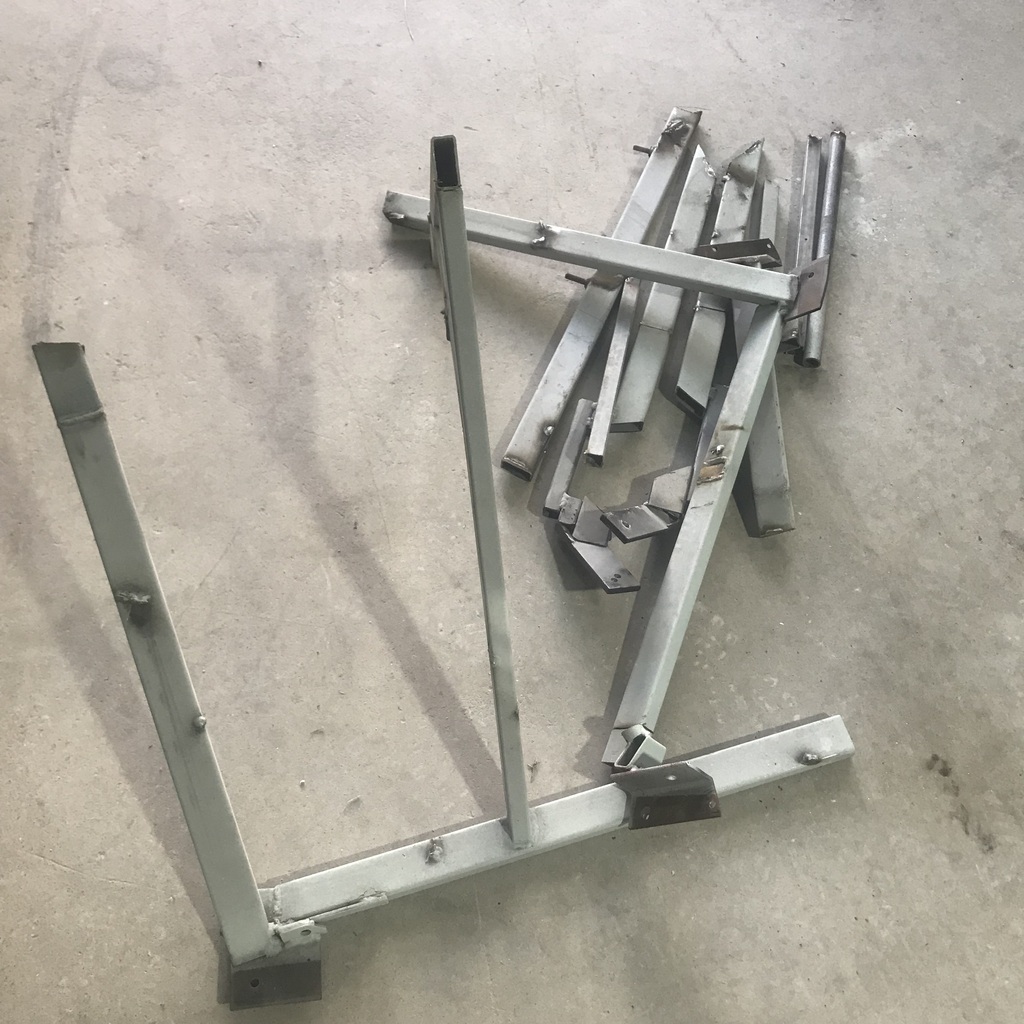 And mounted the door. 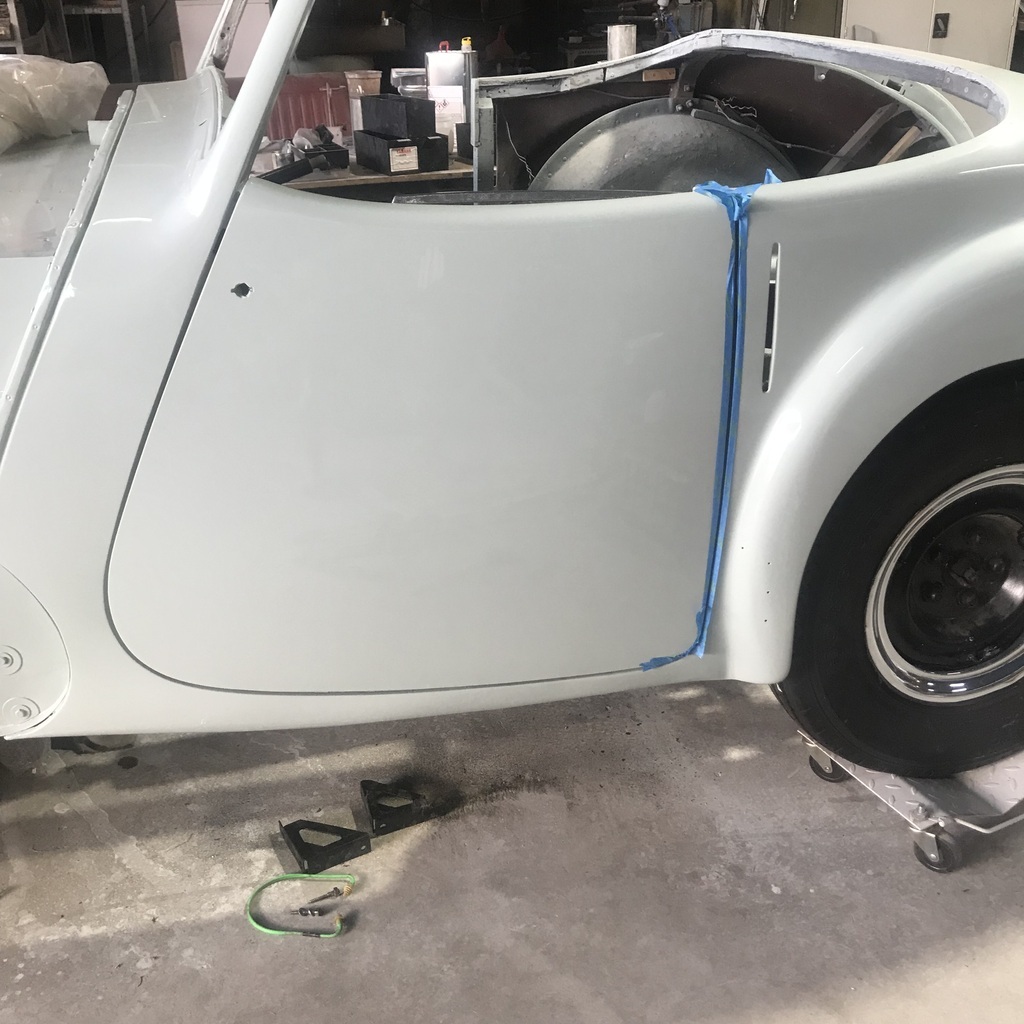 Much more satisfying than unco-operative computers! Thanks. |
| |
|
|
gazzam
Part of things
 
Posts: 740 
|
|
|
|
I colour sanded the driver side door yesterday, so first thing this morning I compounded and polished it. Then I assembled the window, winder and latch mechanisms. It must have got a bit of a shock because, in stark contrast to last time it was assembled, it now has matching screws throughout! Next I screwed the hinge on, and then mounted it on the body. There were no signs of things having changed shape either, so that’s a relief. So it was time to sand the guards with 400 grit, in prep for topcoats. First rubbed guide coat all over them.  They’re looking more like marine life than ever. Once they were sanded and dusted off, I moved them into the booth. Then wag remover and wiped over with a tac rag. Finally they’re green!  Now that the doors are on, I can bolt the body down to the chassis. There will be a bit of fiddling about with shims to get the door gaps as good as possible. This is starting to feel like assembly now! Thanks. |
| |
|
|
teaboy
Posted a lot
   Make tea, not war.
Posts: 2,125
|
|
|
|
|
Fantastic as ever, Gazza.
|
| |
|
|
gazzam
Part of things
 
Posts: 740 
|
|
|
|
Thanks T, that’s the best finish I’ve ever had. Almost a pity to touch rhem with sandpaper! Time to bolt the body to the chassis. I should have made templates of the mounts while they were easy to get at. But I would have put them somewhere and not been able to find them when needed. So I made one out of a thin pice of tin, so it could be slipped between the body and chassis easily. That made it possible to cut something out of a piece of rubber, like this.  And it’s sandwiched in here, between body and chassis. 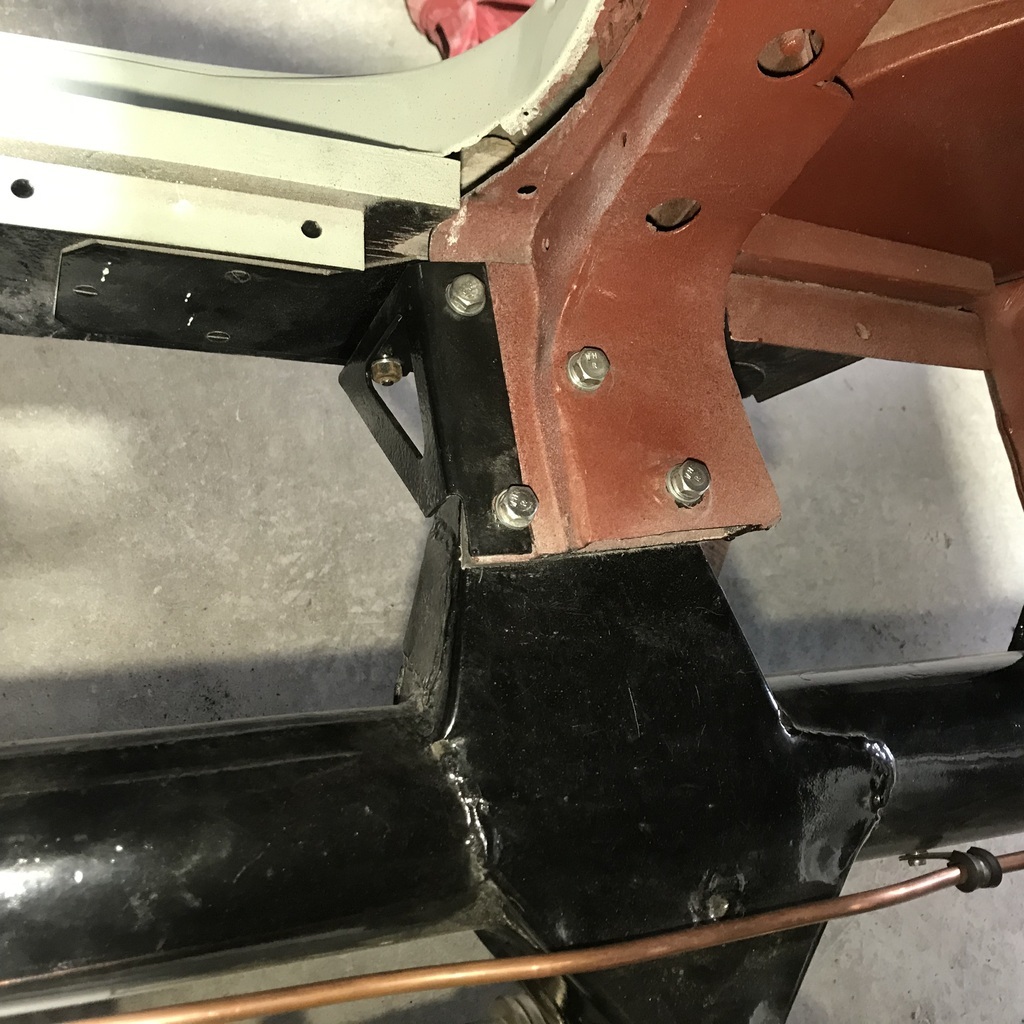 Just one of the eight body mounts. With quite a bit of mucking around, I finally ended up with rubber shims of varying thickness, and finished with these door gaps. 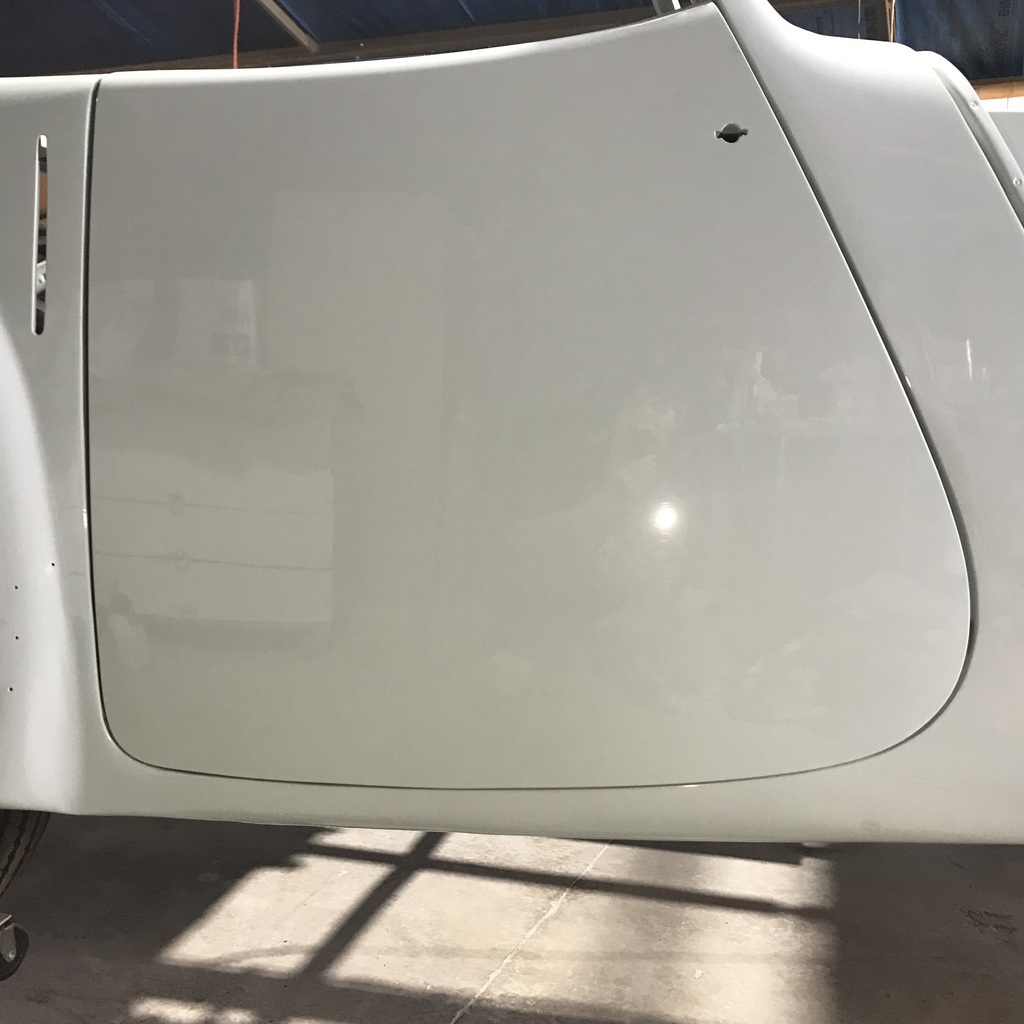 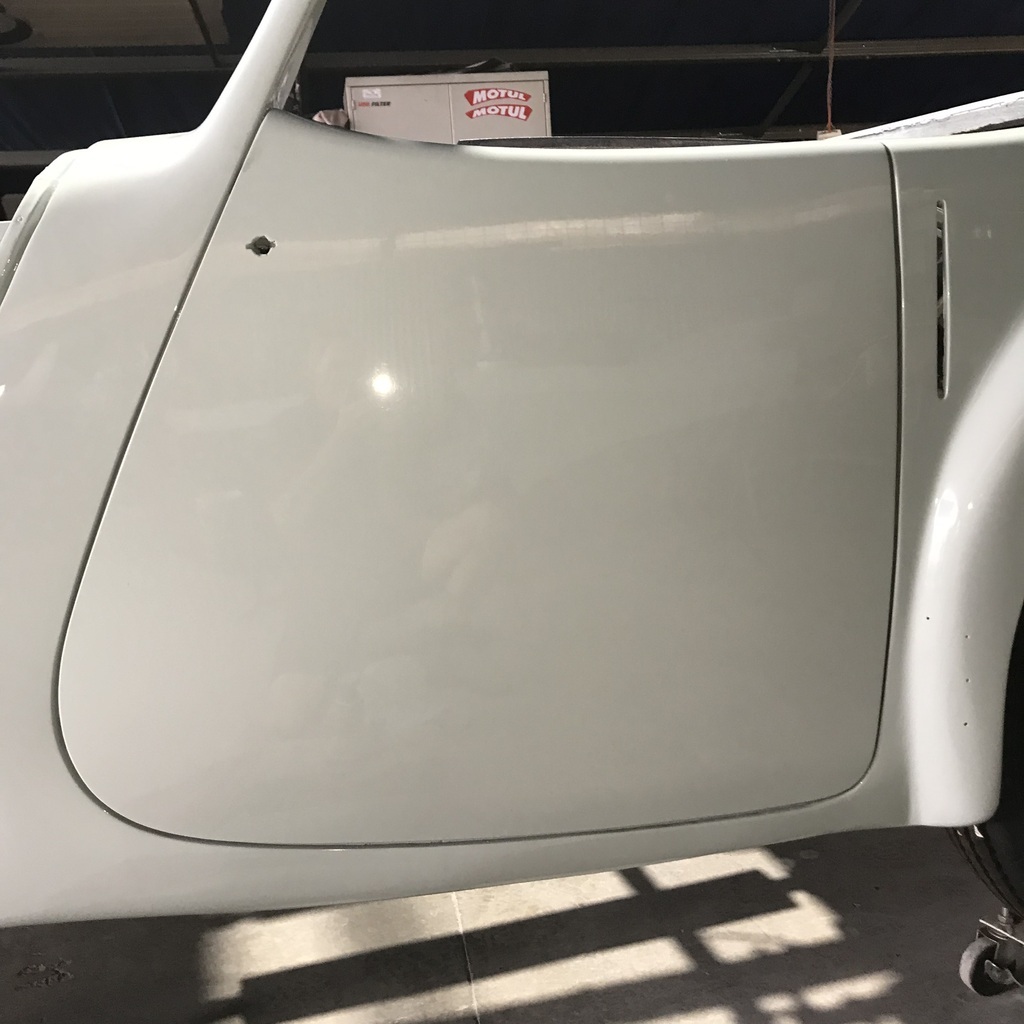 I can live with those. Next was to secure the fuel tank. I made new supports ages ago, but left the top straps until I was happy with the actual position of the tank. Not that there was much room for it to move, but the straps that were supporting it weren’t original, and they were well dodgy. And the inlet had to line up with the filler pipe, so that had to wait till the body was on. I started with some strips of stainless. 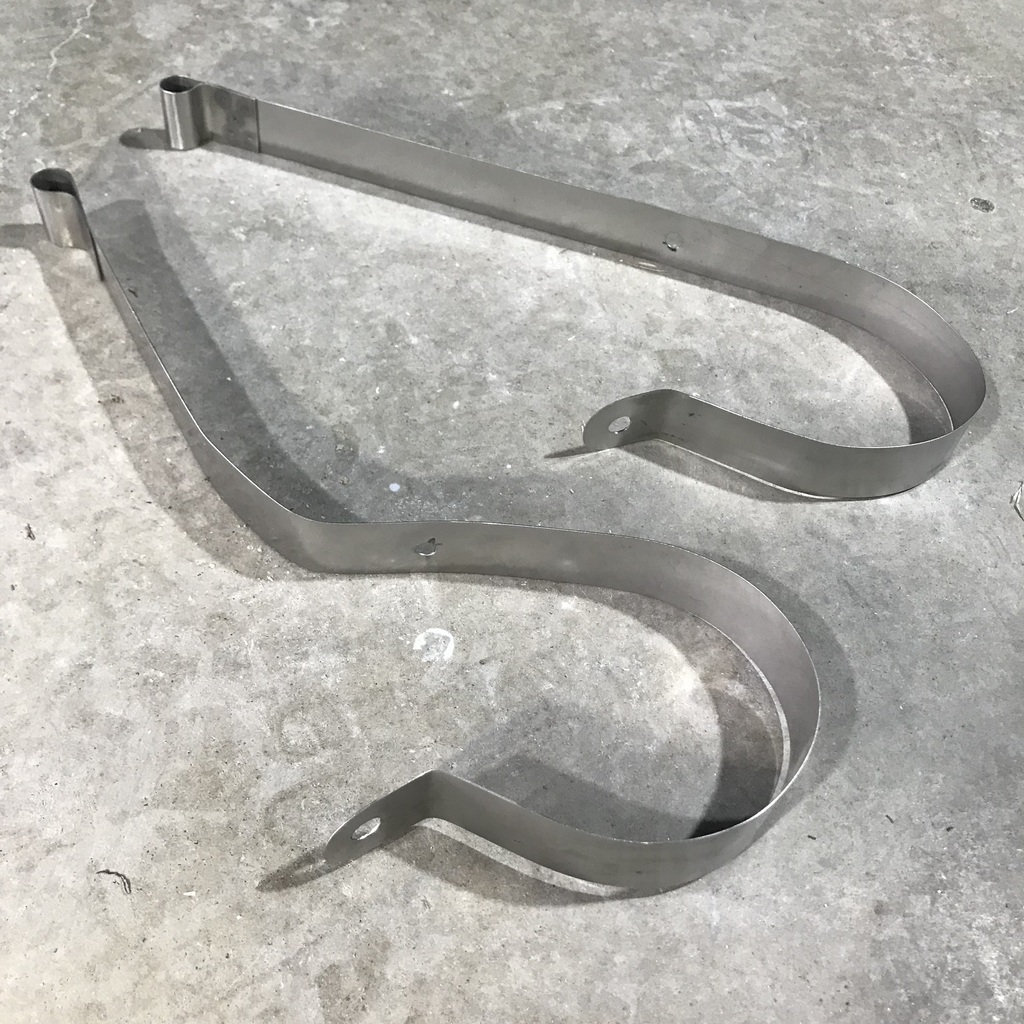 As you can see, one end was rolled around a tube and spot welded together. Then drilled a hole through it and a piece of ally bar.  Then the two pieces are joined across the tank by a bit of threaded rod.  The filler pipe had a few rust holes that needed welding. Used a piece of copper to back up the weld.  Couldn’t get any copper behind all the holes. I love my mig! Best welder ever.  And ground back. 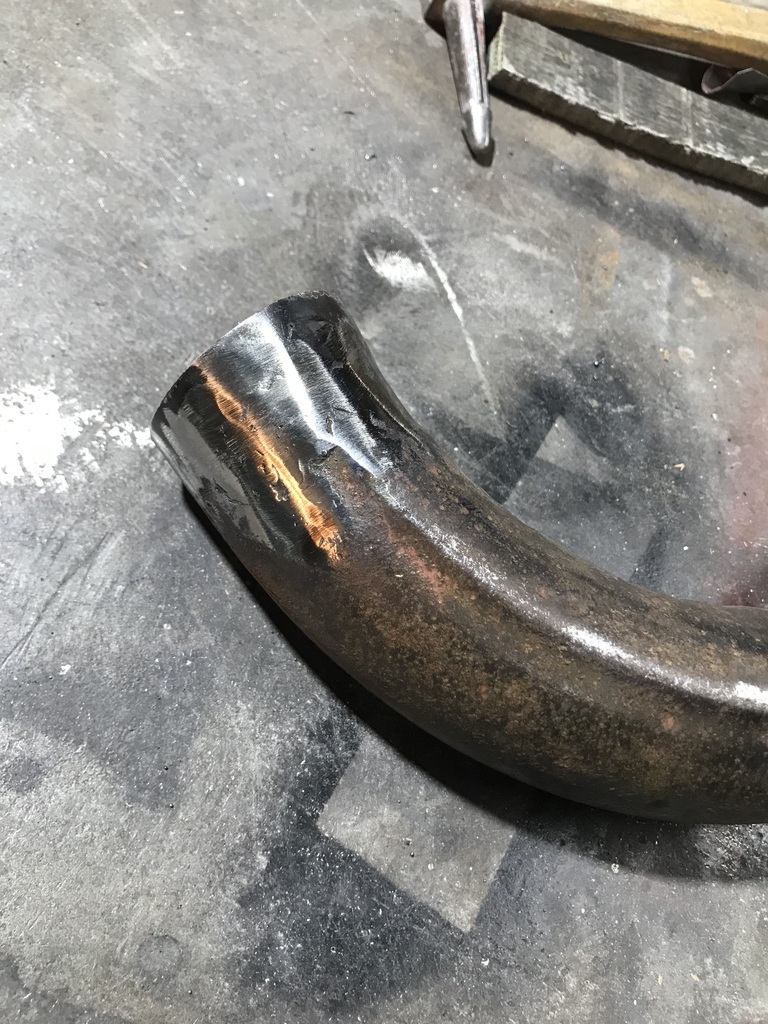 Thanks. |
| |
|
|
gazzam
Part of things
 
Posts: 740 
|
|
|
|
More work on the fuel inlet pipe. Because the fuel tank is not in exactly the same place as before, the fill pipe needed altering. I cut it and welded a piece about an inch long in the straight part and another piece about the same length on the end. Forgot to take any pics, until it was painted. As it is now, ready to go in.  Also drew a gasket to go at the filler cap end. It took about 10 minutes, but really should have taken about two. It just needs more practice.  And printed it.  Then realised that two would be better. So, printed another. They fit on like this. The red bit is the steel washer that bolts to the filler cap box. 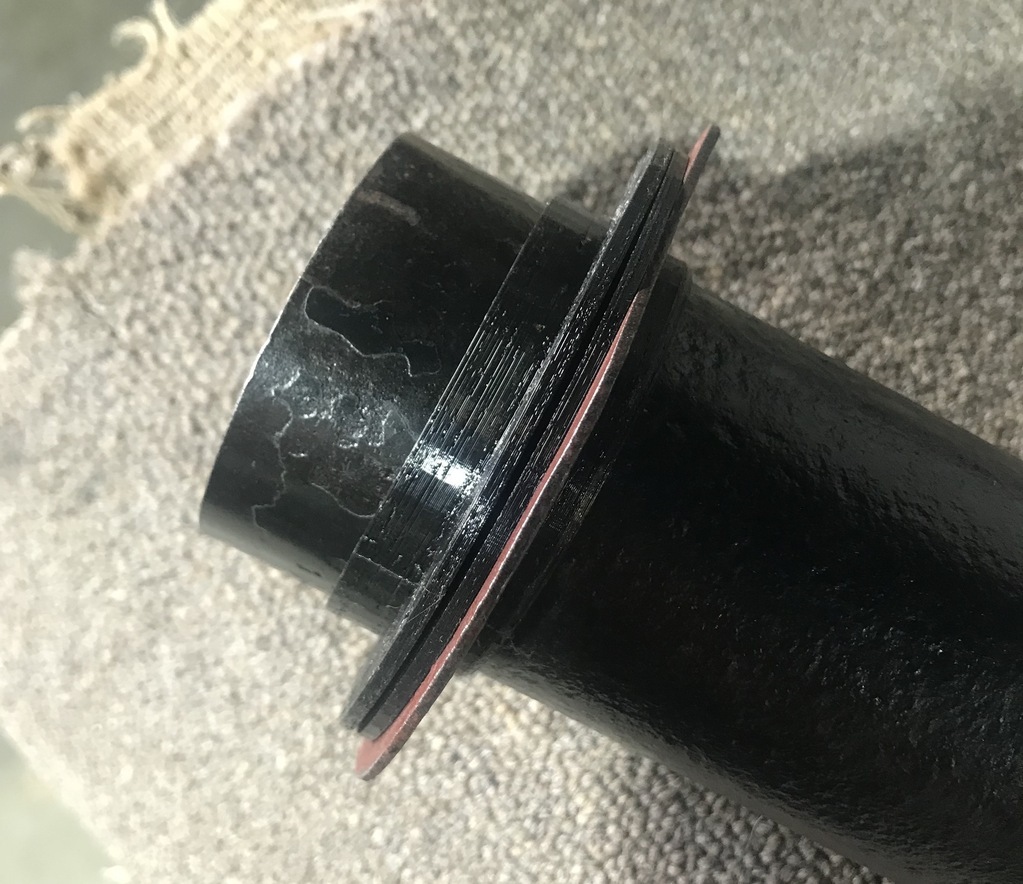 Also got the number plate assembly fitted. It had a gasket made of about half a pound of rtv. That needed to be removed and it went into place like it was meant to! After a good clean of course.  Thanks. |
| |
|
|
|
|
|
Apr 10, 2024 12:17:12 GMT
|
|
Wow, I stay off the forum for a couple of days and you have almost finished it! Nice work.
|
| |
|
|
gazzam
Part of things
 
Posts: 740 
|
|
|
|
Cheers Mark. Still a fair bit to do, but the end is in sight. Finished the fuel fill pipe. The eight screws that hold the fuel pipe and the filler lid, four each, are incredibly fiddly to get at. You'd be surprised at how long it took, but it’s done. 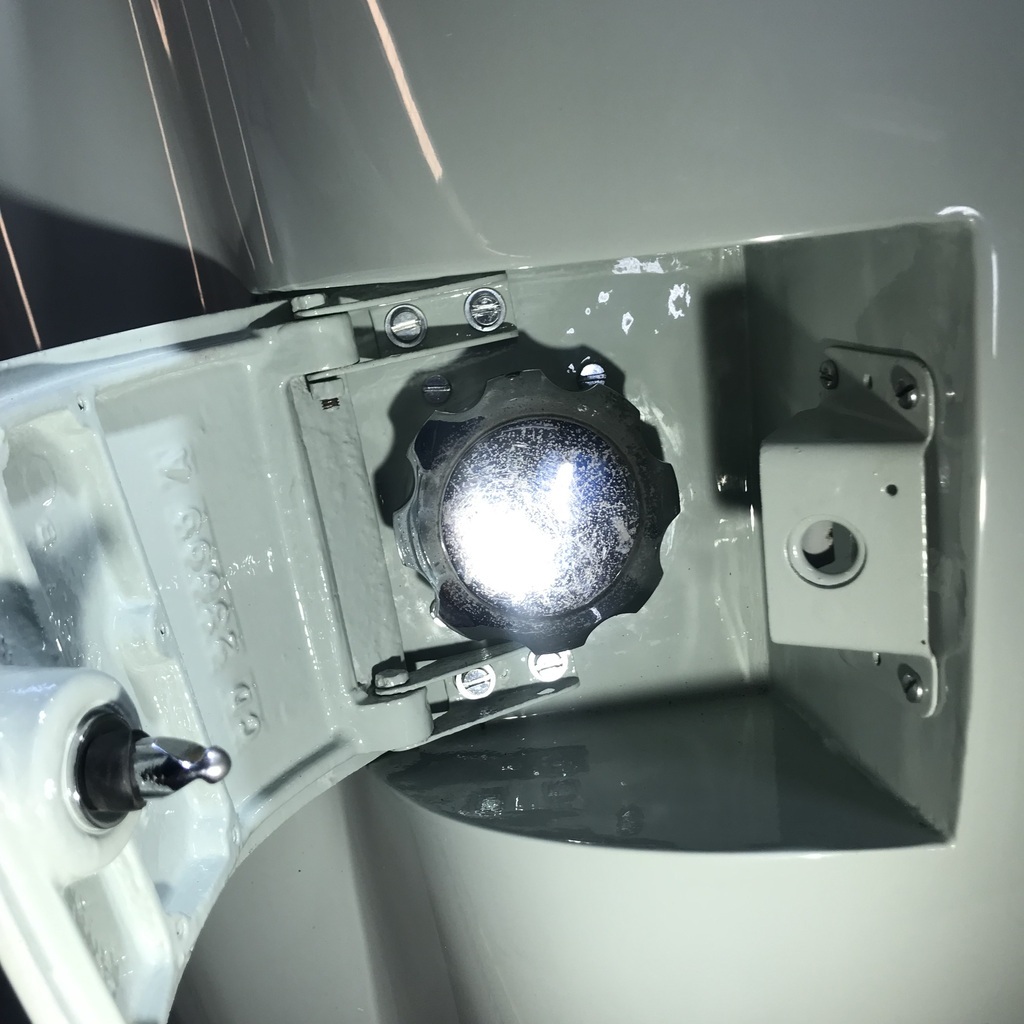 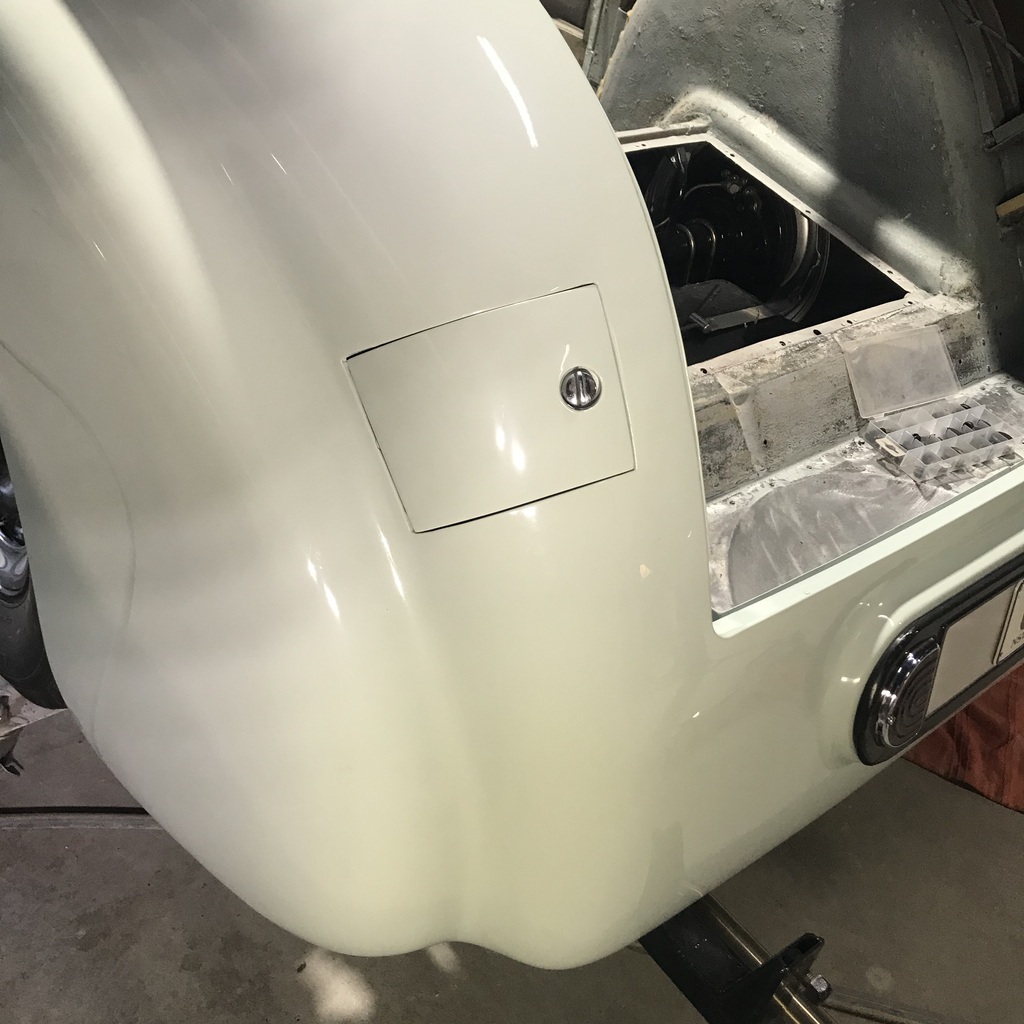 The colour looks very different between those two pics. I’d say it’s halfway between them. I’m pleased with it, I think it is very 'period' as they say. Got the floorboards out of storage and gave them a scrub. I’m pretty sure they’re original. They’re ply and in pretty good order. This is the piece that goes under the rear seats. The hole is above the fuel sender. 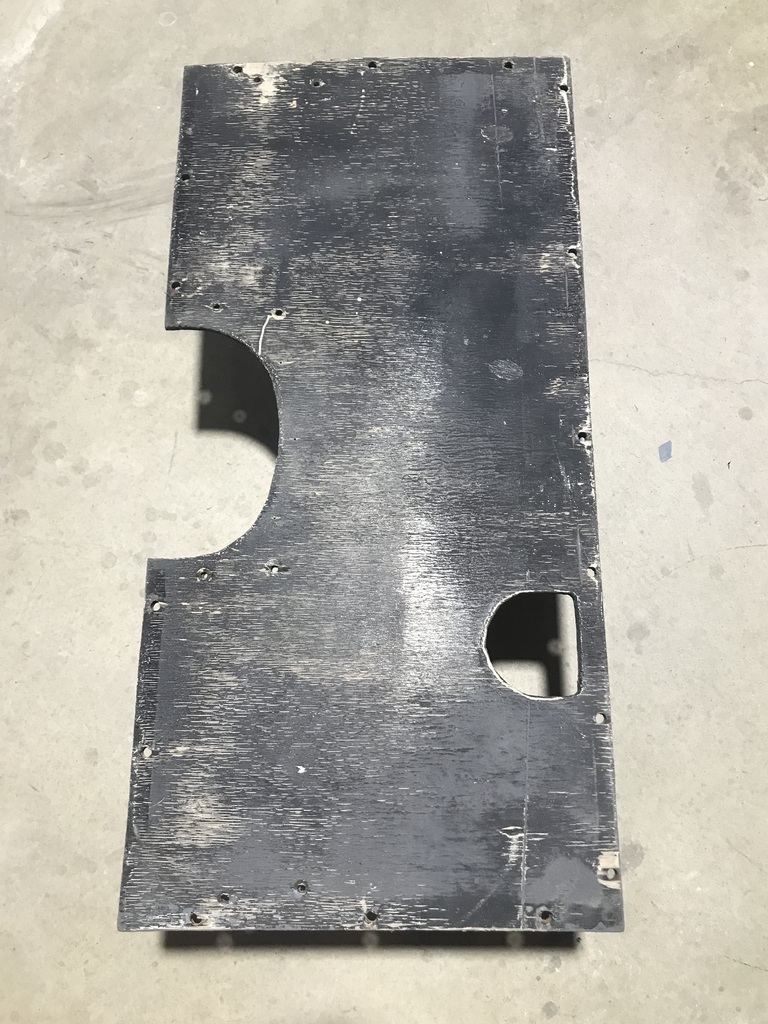 Did a test patch to see whether this paint is suitable.  Also spent a fair bit of time on the door latches. Mostly the driver side. It was about 10mm short of where I wanted it to be when closed. Did a bit of fettling on the door and picked up about 3mm.  That’s the passenger side, which is ok, but I massaged the fit on the driver side to move the latch closer to the exterior. The catch goes here, on the A pillar. 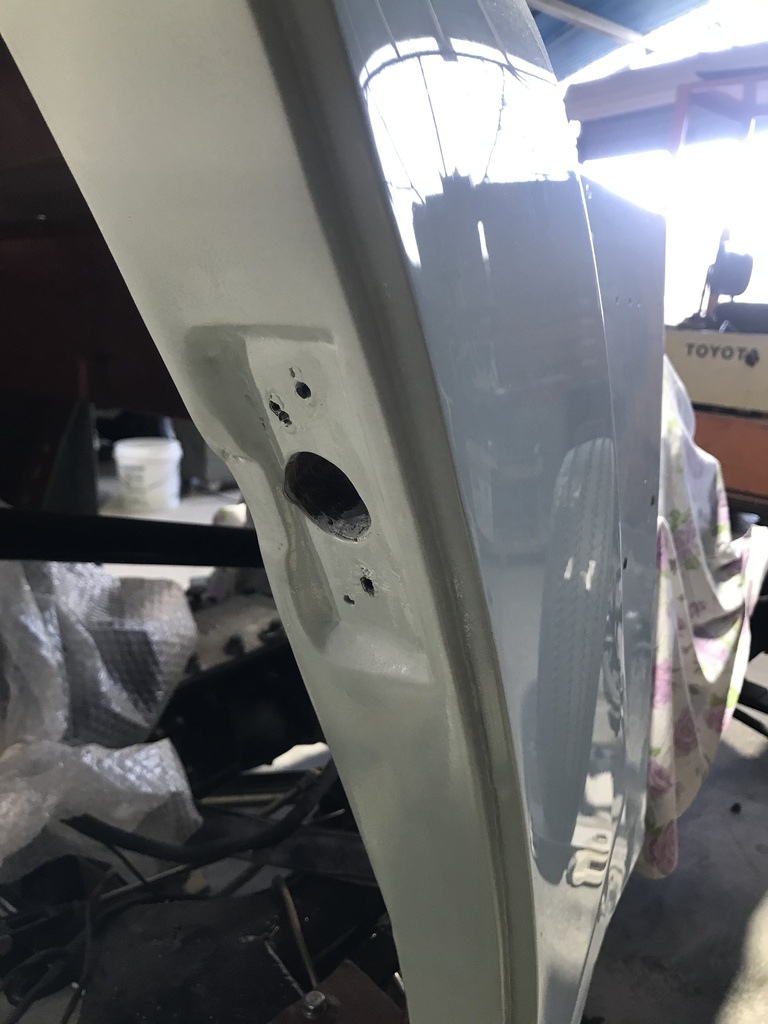 I’ve moved it as far inboard as possible, by redrilling the holes. This is the catch, in pieces.  The next step is to make a replacement brass bush, circled, with an off centre hole. As I said, passenger side is ok. 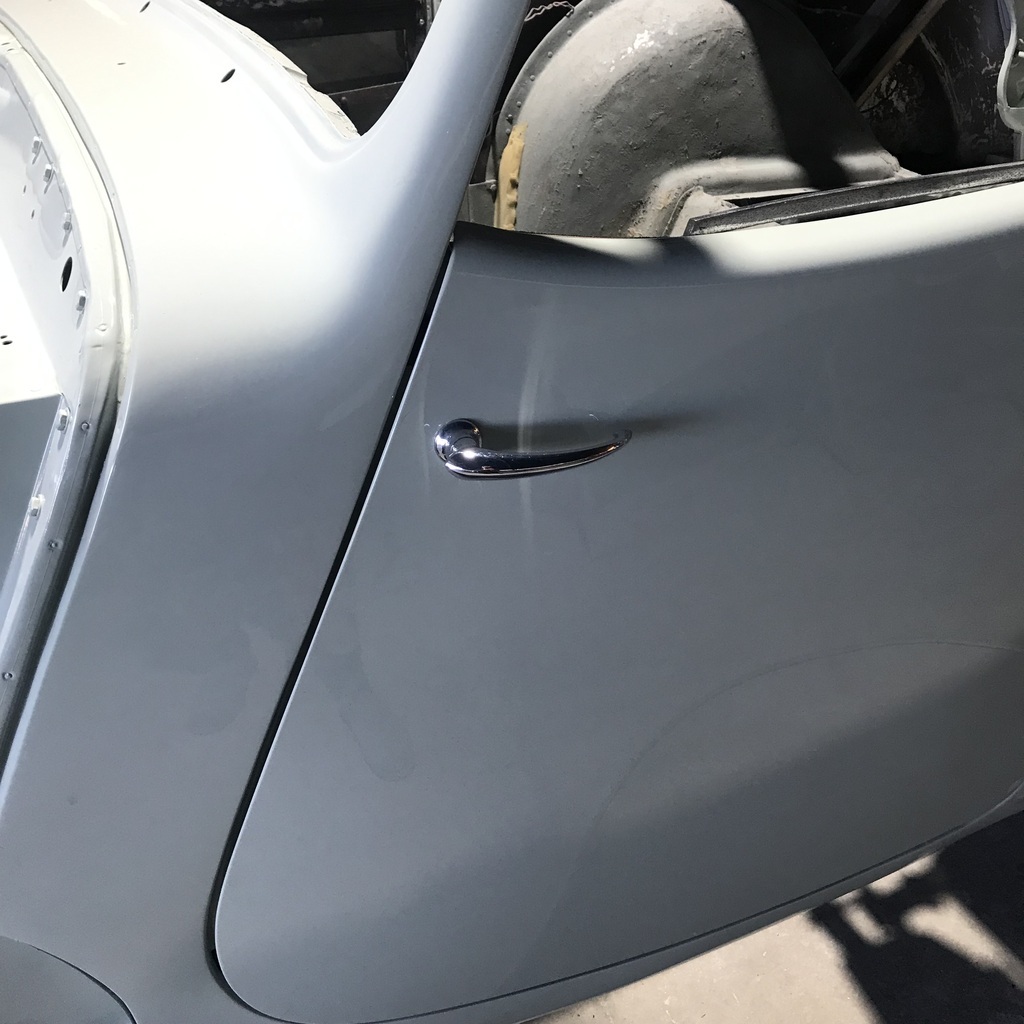 Thanks. |
| |
|
|
gazzam
Part of things
 
Posts: 740 
|
|
|
|
Had the day off from the Triumph yesterday, all I did was inject some epoxy into the holes for the rhs door latch and catch. So I can redrill them to pull the door more in towards the body. I also picked up some more hardener for the epoxy primer, so I could shoot the underside of the front guards, hopefully the last primer needed on this car. That involved a drive in the 930 and I’m happy to report that the boost is working. It had a problem with an O ring between the turbo and intercooler recently, and it seems I’ve finally fixed it. This morning I scratched the underside of the front guards with 80# and scrubbed them with soapy water. That was 'prep'. After they'd dried, I masked anywhere the topsides might get directly sprayed, and gave them a nice coat of epoxy. Waited a couple of hours and gave them one nice wet coat of colour. I had also block sanded the bootlid with 400 grit, dry. You might remember, I thought it was ok when I had the drama with the doors and what looked like silicone contamination. Well, when I chopped the bootlid with 1000 grit, I found a lot of little divots that were too deep to sand out. So… Anyway, I don’t think something is painted properly unless it’s done three times. The only photos of the day. 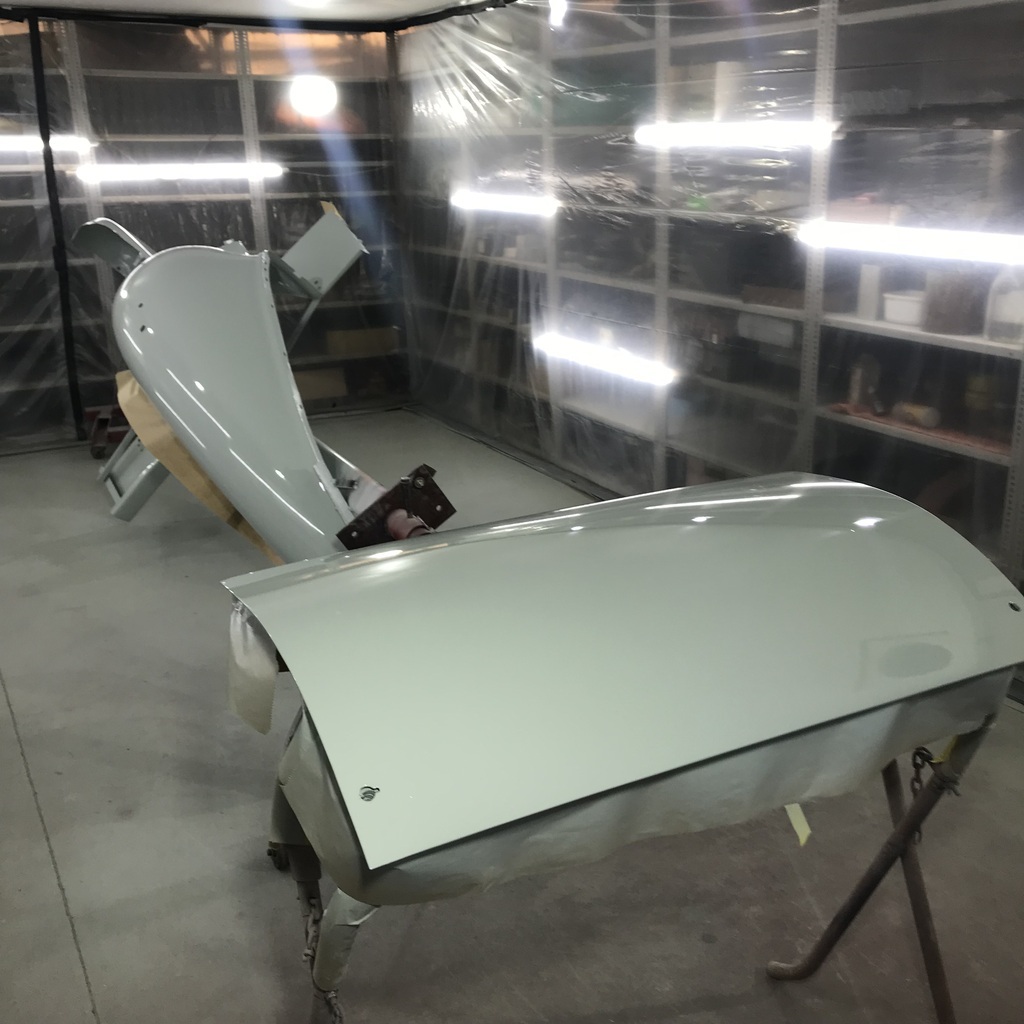 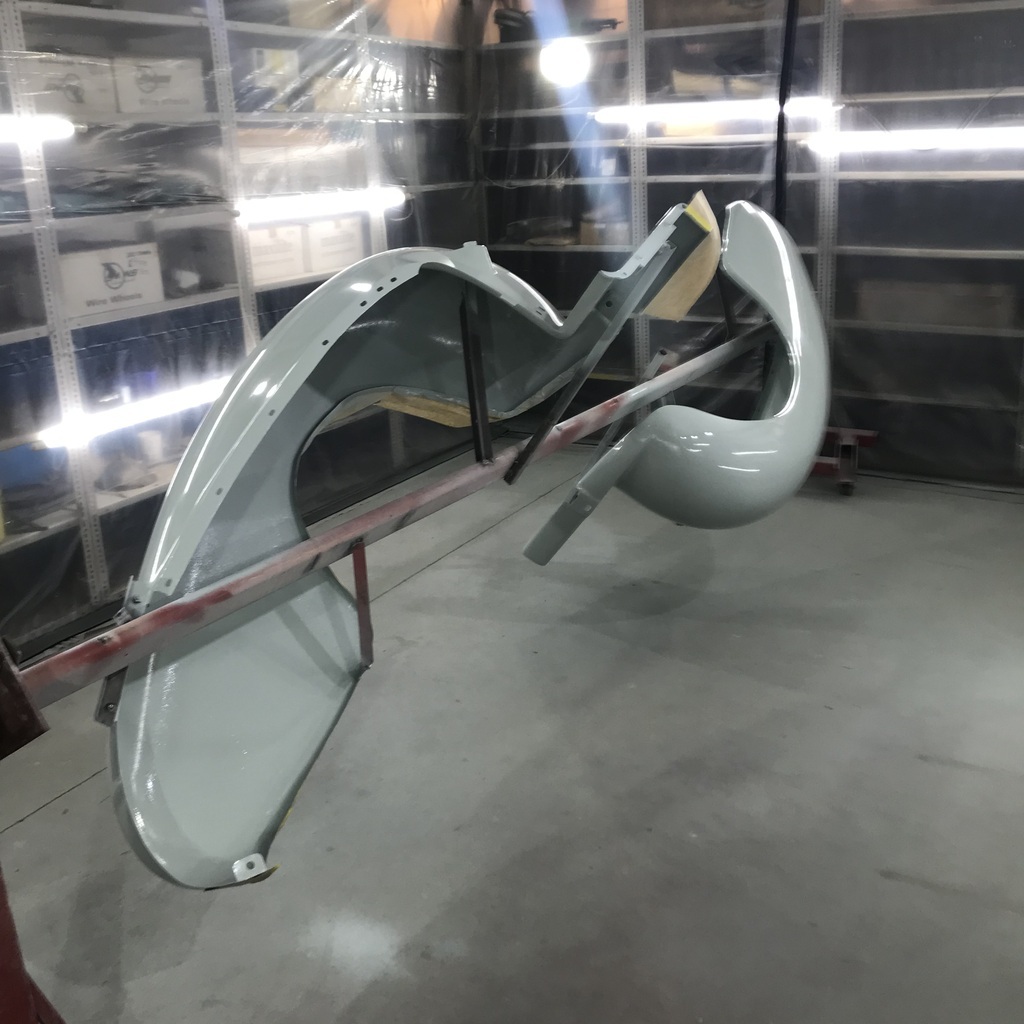 Hopefully (I use that word a lot!) that’s the last time I have to clean spray guns on this resto. Thanks. |
| |
|
|
|
|
|
Apr 13, 2024 20:35:53 GMT
|
|
Looks great from where I’m sitting. I do like the colour.
|
| |
1967 Triumph Vitesse convertible (old friend)
1996 Audi A6 2.5 TDI Avant (still durability testing)
1972 GT6 Mk3 (Restored after loong rest & getting the hang of being a car again)
|
|
|
|
jamesd1972
Club Retro Rides Member
Posts: 2,921  Club RR Member Number: 40
|
|
|
|
|
Had a drive in the 930? And the turbo is now working?
Is there something you want to share more on ?
Triumph is coming together nicely
James
|
| |
|
|
gazzam
Part of things
 
Posts: 740 
|
|
|
|
Looks great from where I’m sitting. I do like the colour. Thanks, I think it will suit the car. I should mention again that I was limited in body colour choice by the trim, as it was fresh and nicely done when I bought the car. Thanks James. I was asked about it a while back because there was a glimpse of it in a photo background. I had to look up what a 'G body' was… Anyway an O ring between the turbo and intercooler had failed. Boost was awol. Fixed now. Getting the floors sorted. I’m going with the existing ply pieces, can see no reason not to use them. They just need to be painted black on the underside. 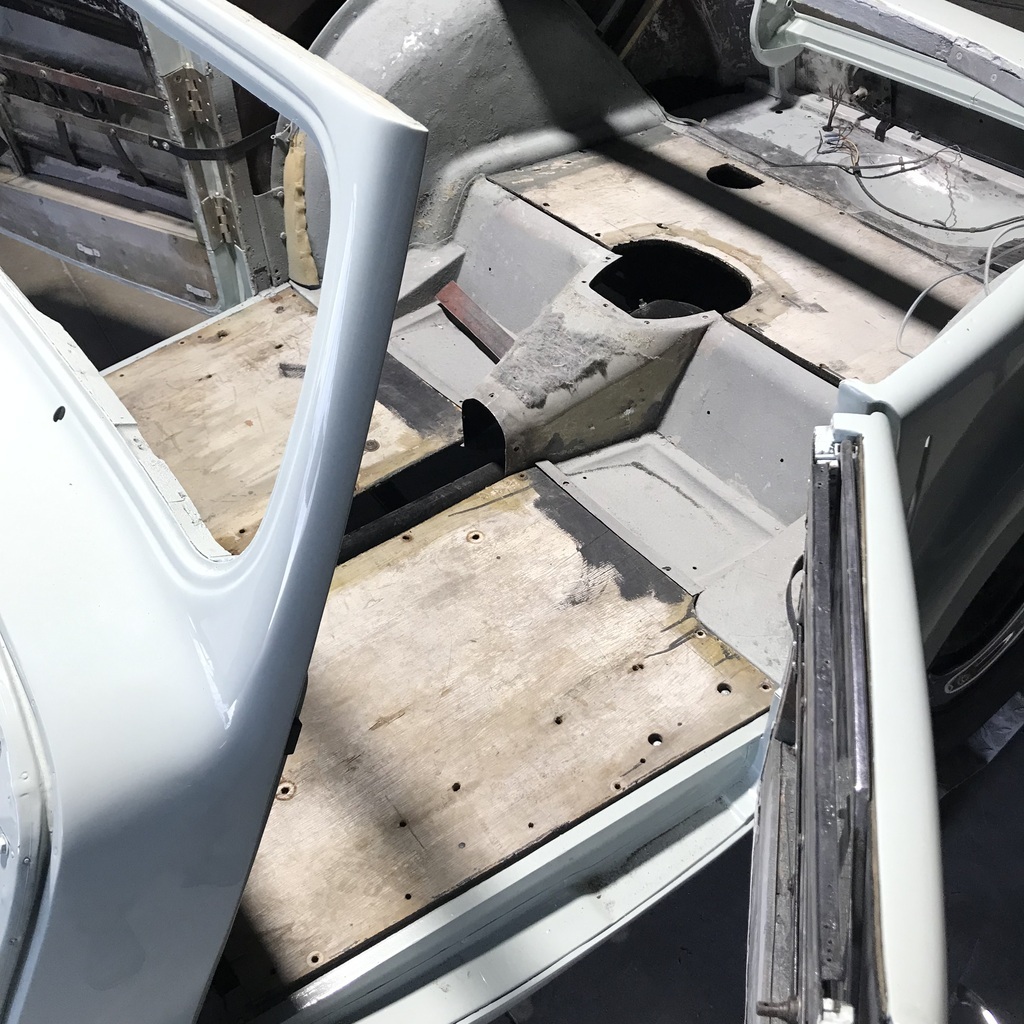 I’m short of fasteners, because where I replaced the missing captive nuts, there were generally nuts and bolts. Mostly different threads. Lots of fun with the wire wheel on the bench grinder to get this lot cleaned up. That’s maybe half of the useable ones. All BSF. 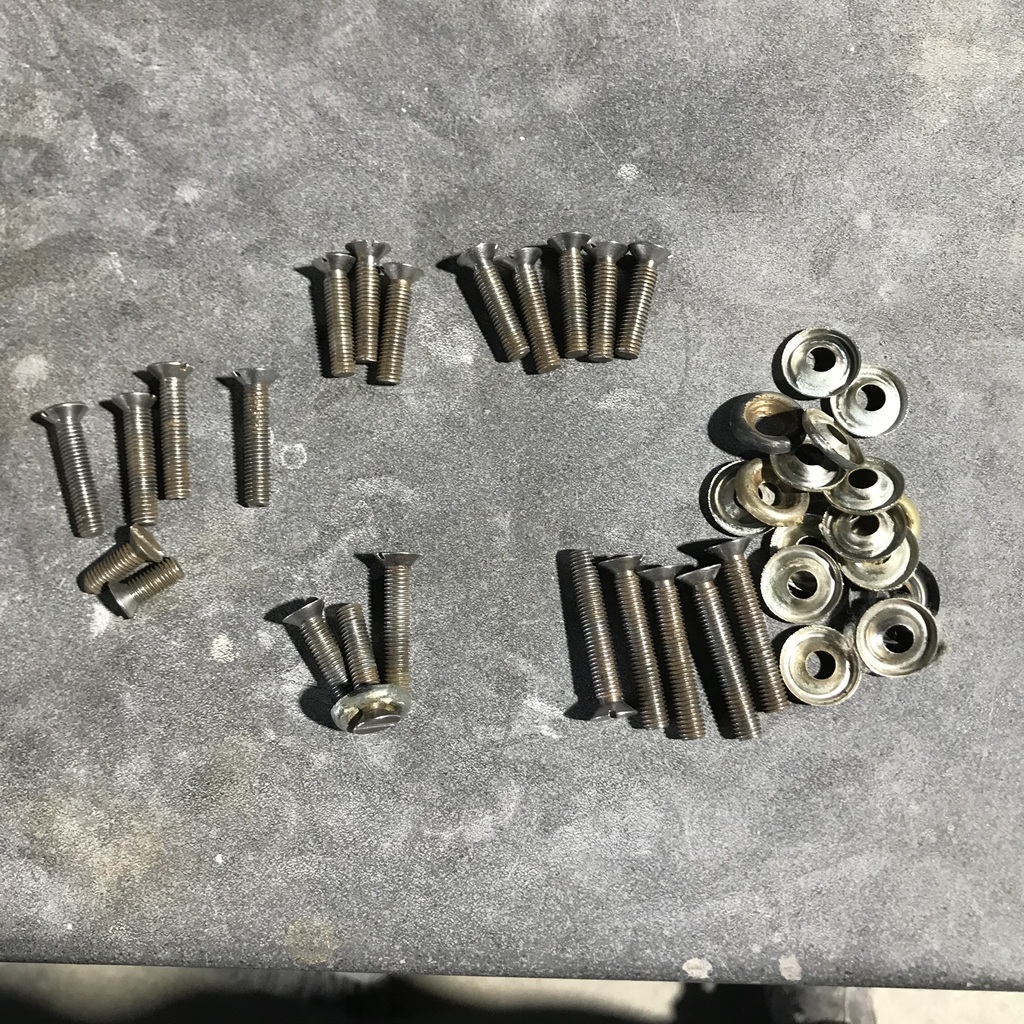 Spent a fair bit of time getting this little beastie drawn up. 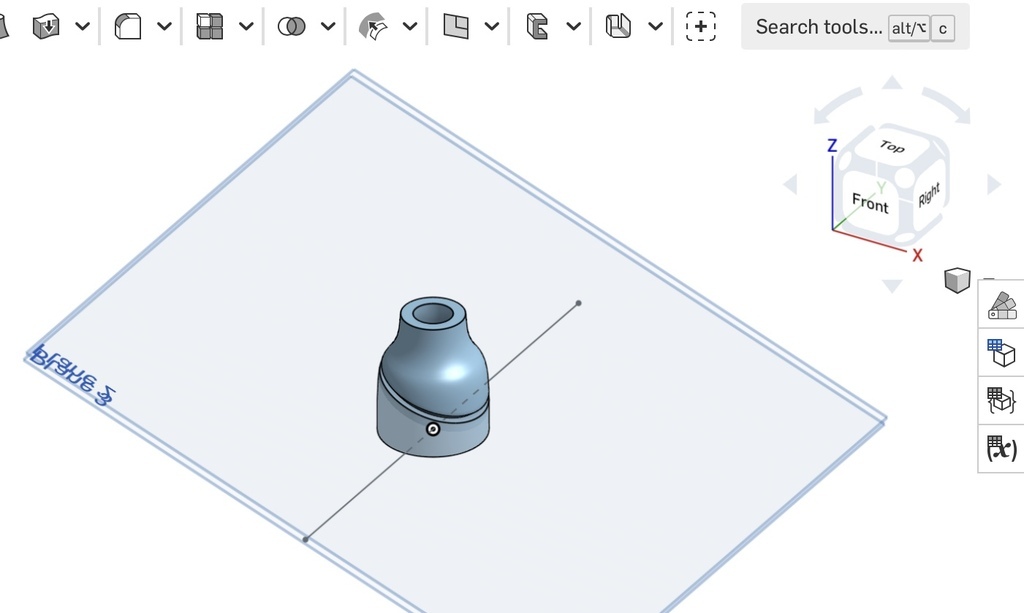 That’s the replacement for the wiper spindle grommets. I have one useable original, but need three. I had the basic shape, that was pretty easy. But it took ages to work out how to get the groove at an angle. I printed one but couldn’t get it to fit, so I widened the groove and I think it’s now ok. But when I altered a few settings on the printer, to try for a better finish, the computer said no. I’ll try again tomorrow. Had a win of sorts with my connectivity problem. Put the SIM card back into my old phone, the one with a bad camera, and it hooked up to the desktop straight away. So I can have a camera or frustration free internet access, just not with the one phone… Thanks. |
| |
|
|
jimi
Club Retro Rides Member
Posts: 2,224 
|
|
Apr 14, 2024 10:47:46 GMT
|
Don't know how mobile providers are in Oz, but in the UK I'd just get a free payg sim for your bad camera phone and buy cheap data bundles for it ( normally last 30 days) as and when you need internet access. Over here you can get 5Gb data (+ unlimited calls & texts) for under £5 😉 I use a bit of flat bar with a tapped hole in it for that kind thing, stops them getting pinged all over the workshop  |
| |
Last Edit: Apr 14, 2024 11:26:44 GMT by jimi
Black is not a colour ! .... Its the absence of colour
|
|
gazzam
Part of things
 
Posts: 740 
|
|
|
|
Cheers Jimi, I’m finding it pretty easy to keep my old phone in the workshop and just change the sim over. Good tip with the bolt holder, I was lucky to find one that pinged yesterday! Found the problem with the printer. The nozzle was blocked and there was a funny blob in the filament, inside the feed mech. It was an easy fix, after watching a vid on the process, just a bit fiddly. The printer came with a spare nozzle, so that made it pretty quick. This is the feed mechanism and the filament with strange blob, after I cut it to get it out. 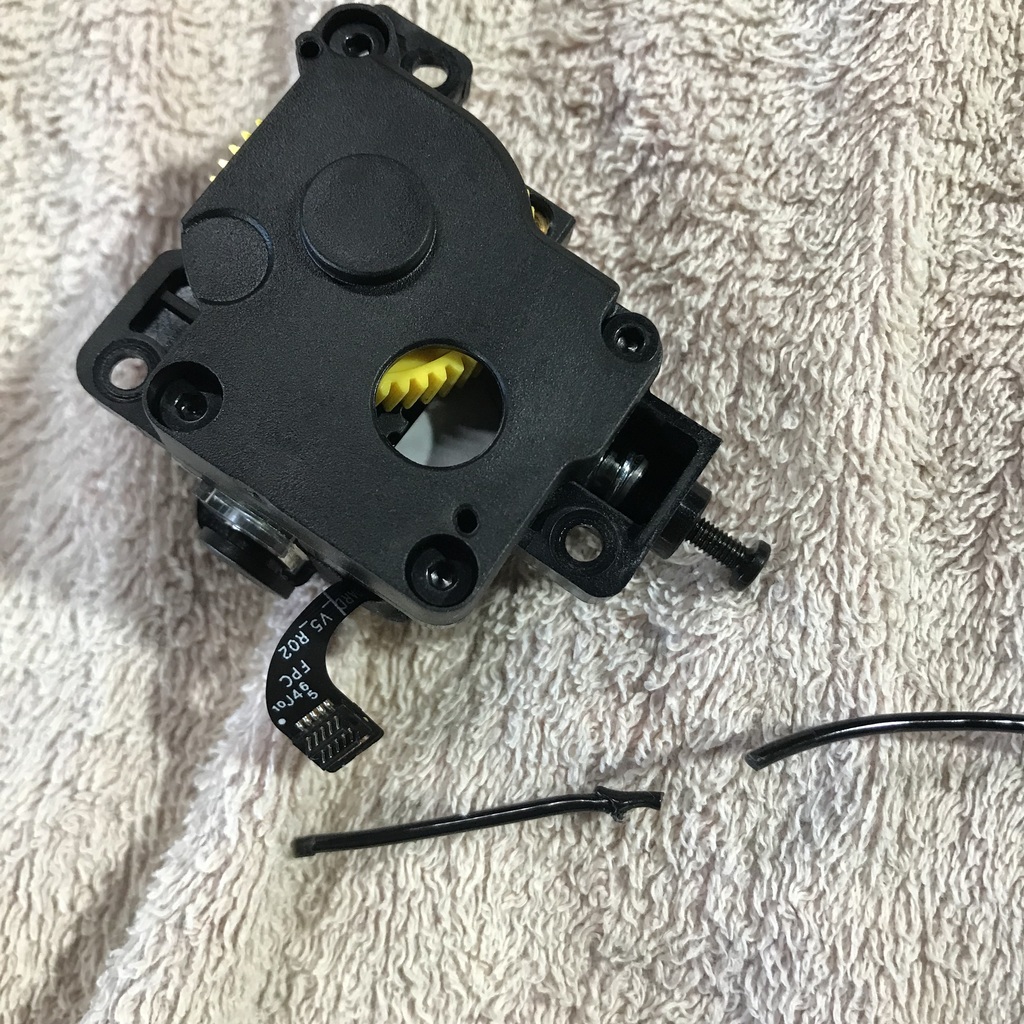 Then I spent a bit of time fiddling with designs and printing, to get the grommet to fit the car. The groove was the problem. The failures. That’s the three original ones at the back. Only one is any good, the others have gone soft and gooey, almost liquid rubber.  Anyway, I finally got the size and groove right, and was able to fit it and get the spindle through it. 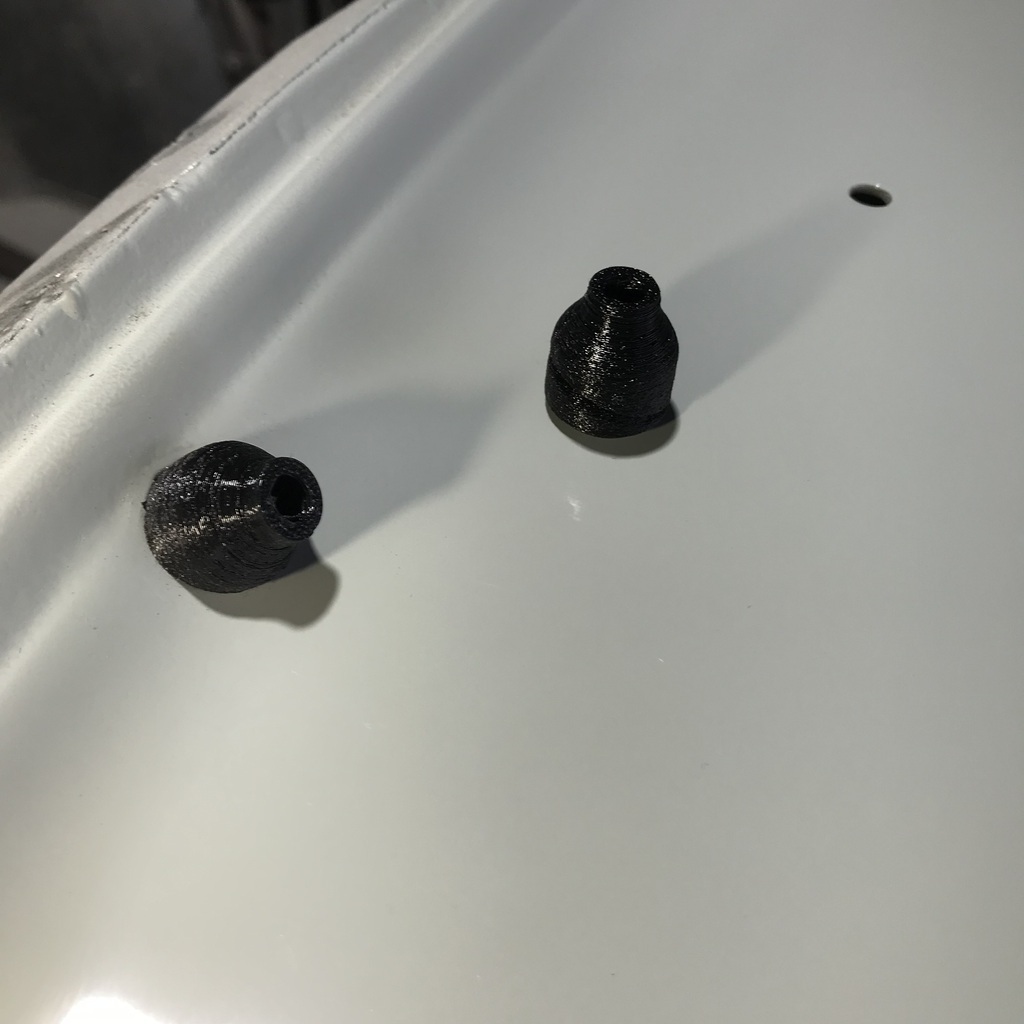 I'd like a better surface finish, but I can live with it. Tried to print a third one, and the printer clogged again. I’ll pull it apart again, but I have to work out how to clear the hole in the nozzle. I hope this is not an ongoing problem, but I have read that flexible filament is prone to it. In the middle of this, I prepared and painted the floors. 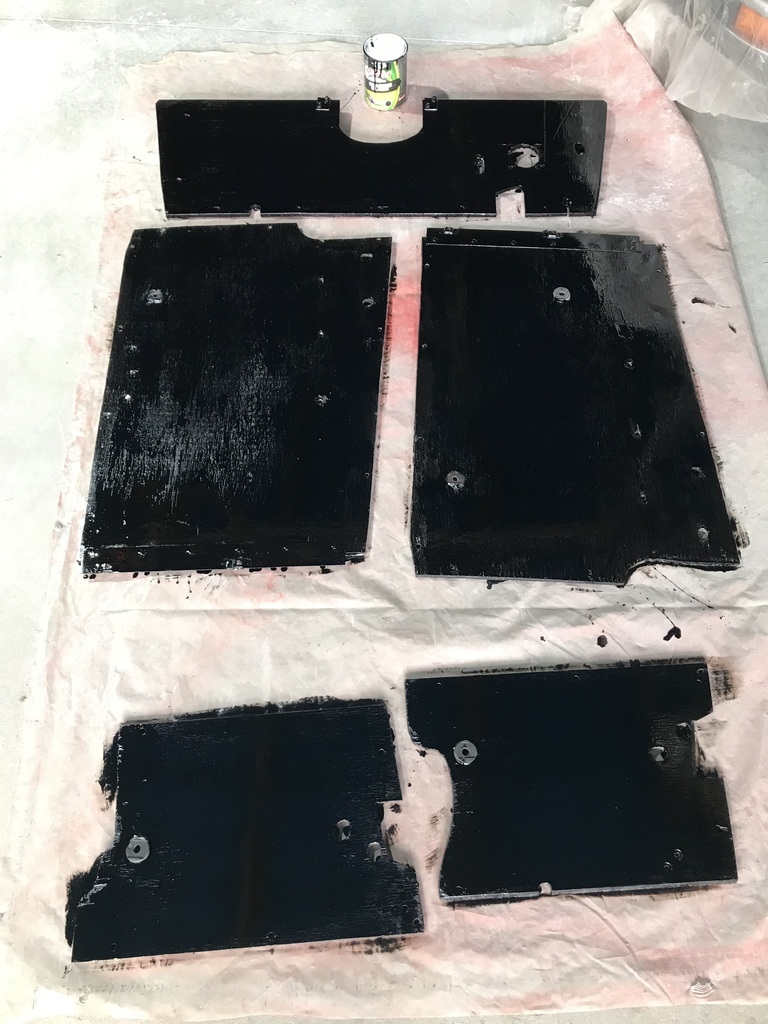 Then I tried to fit a headlight bracket, only to have one of the bolts seize and turn the captive nut. I was able to get it out without too much butchery, but I’d better run a tap through them all. I’ve had more productive days… Thanks. |
| |
|
|
gazzam
Part of things
 
Posts: 740 
|
|
|
|
Got the printer working, it was the same sort of filament blob in the extruder. No idea why. So I printed the final wiper grommet. Why they look like a spider made them, I don’t know. Apparently the filament absorbs water, so maybe that’s the problem so I’ll try drying it. But it’s really not very humid here, so I doubt that’s the problem. Something has changed though. This is one of the door bumpers that I printed some time back, with the latest spider web ones. It’s lovely and shiny smooth. Not so the grommets.  If I work out what’s wrong I’ll redo them. They better than they look in that shot. Anyway, they’re in for now. I just want to get on with car stuff, away from computer stuff. So I’ve started to 'populate' the firewall.  Not properly mounted yet, as I can’t find the bag that has the regulator screws and the cover for that junction block in it. I really should try and remember which way I was facing when I threw it over my shoulder… Also got the forward floorboard in and the fuel pump mounted. Plus fuel line to carb finished. 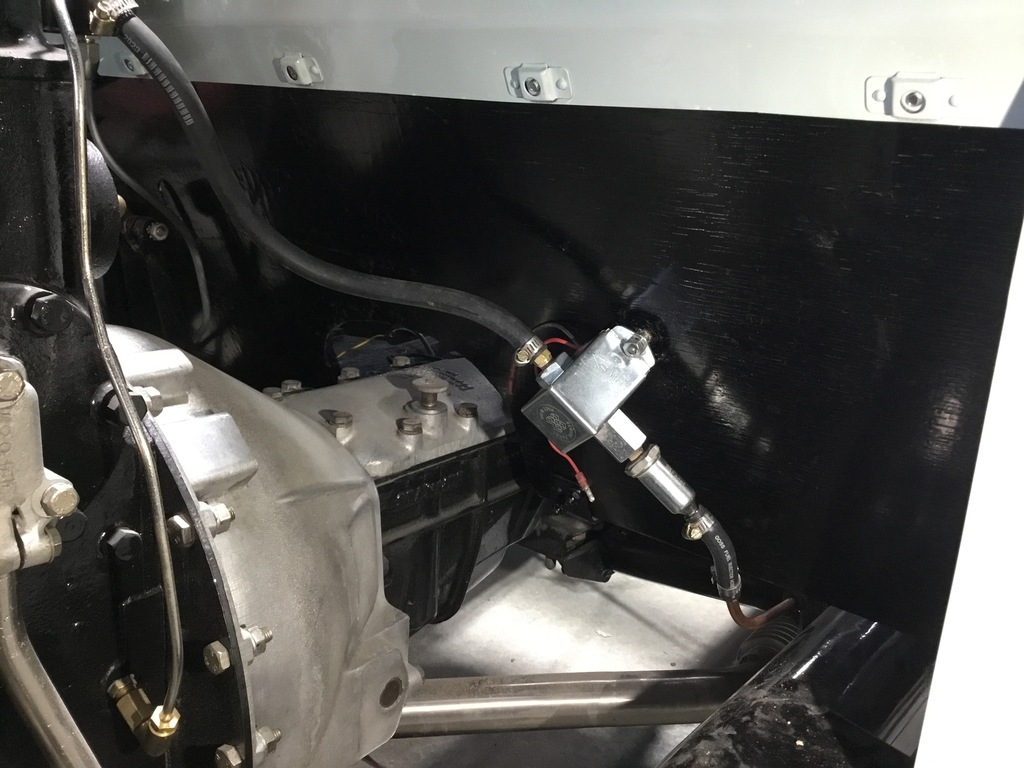 Thanks. |
| |
|
|
gazzam
Part of things
 
Posts: 740 
|
|
|
|
A more productive day than yesterday. For some reason my new refurbished phone won’t send a wifi signal to the new refurbished desktop. But my old refurbished phone will. (But it won’t take photos) The old phone is obviously pals with the desktop, as it hooks up reliably with seconds. Remarkable how much more you can get done when that happens. And how much more stable your blood pressure is. So today I printed a heap of stuff. For the proposed CNC plasma cutter. I bought some plans and have collected just about all the ingredients, bar the steel and the bolts and nuts. One of the pieces I got printed today. 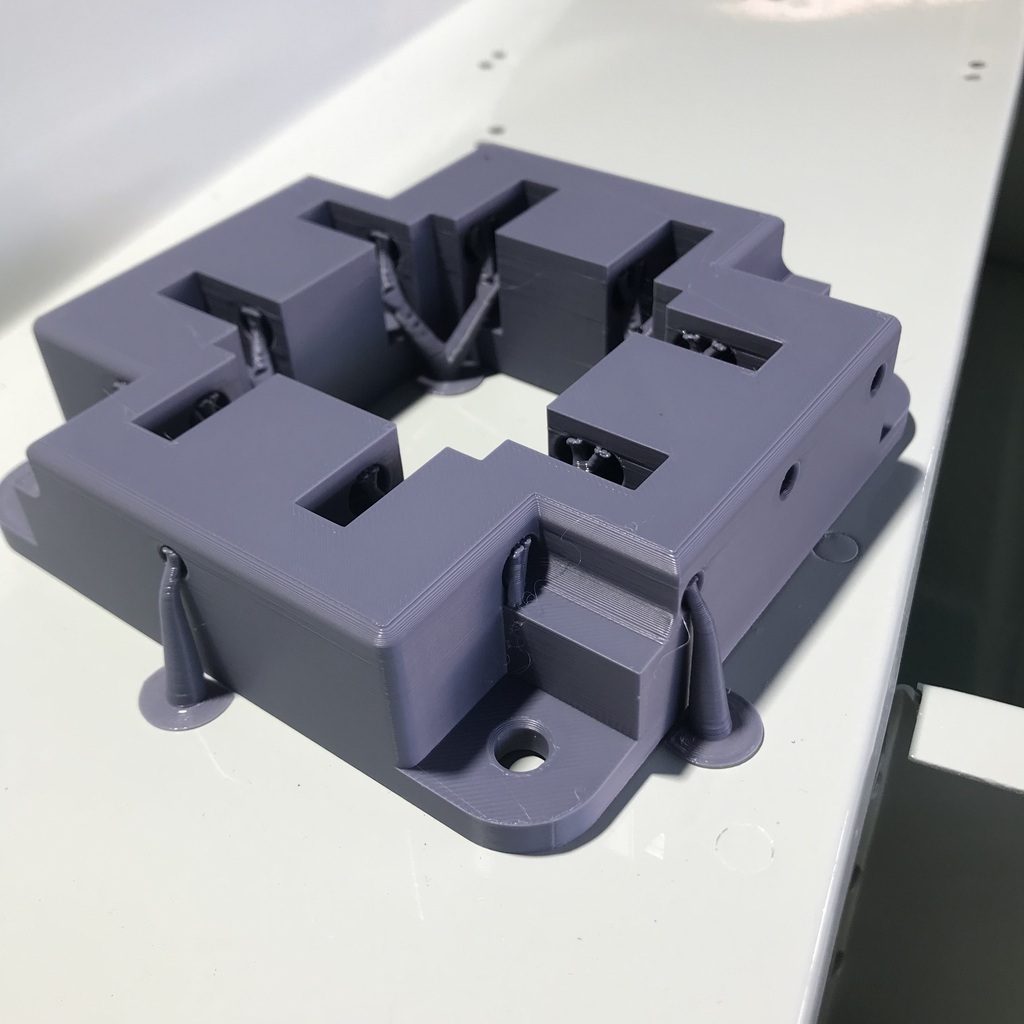 While that was happening, as it took two and a half hours, I got started on something I’ve been putting off. The trim in the back quarters. The trim generally, really. But the back quarters because I thought they were going to be problematic. Started with cardboard.  Had to replace this bit of obviously original wood. 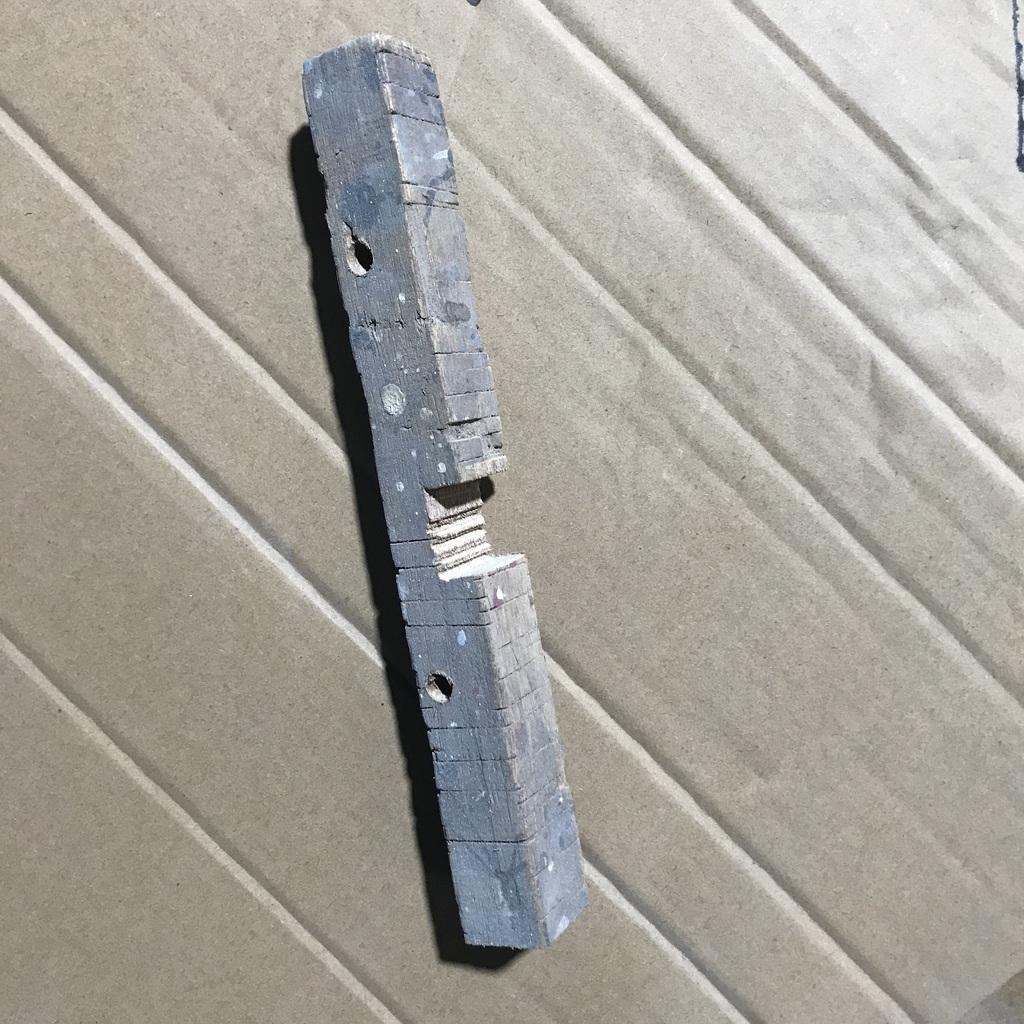 With a much wider piece. So I can get a screw in to hold the new trim panel.  Who does work like that? I know it won’t be seen, but could they not find something that didn’t look like a piece of scrap? Most of the stuff I use is just stuff I have, saved in the hope that it will come in handy. But at least I go to the trouble of making it look like it was meant to be used in that spot. Anyway, rant over, used the cardboard to cut a piece of signboard. Very suitable signboard actually.  And with a little fettling it looks like it might work. 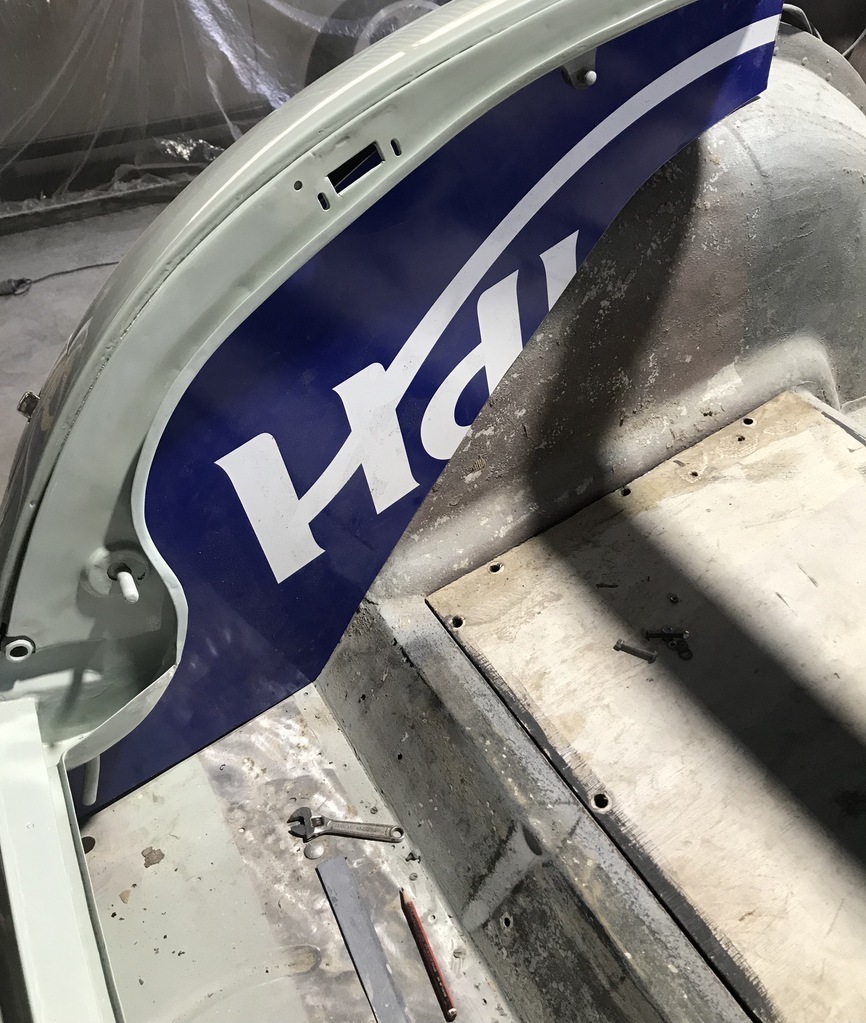 Also got a lot of little bits plated. I can now get some more big bits bolted up!  Thanks. |
| |
|
|
|
|
|
Apr 17, 2024 11:03:00 GMT
|
Why they look like a spider made them, I don’t know. Apparently the filament absorbs water, so maybe that’s the problem so I’ll try drying it. I think your nozzle temps are too hot for the filament and possibly your travel speed it too high also. If you can hear a small popping as the filament comes out of the nozzle its too hot and you need to drop it down a few degrees and maybe try a few mm/sec slower in the software you are using as a slicer. Filament can absorb moisture, but as you say...we live in a hot place (and dry) so as long as the filament was in a sealed bag with a desiccant sachet in when you got it..should be right. Anyway. Fantastic work as always.... in awe of the progress and the quality of the work...love it! Andrew |
| |
Last Edit: Apr 17, 2024 11:03:12 GMT by db7v12
|
|
gazzam
Part of things
 
Posts: 740 
|
|
|
|
Thanks Andrew. The thing is that initially the prints were excellent, as can be seen in the photo above. I did change a few settings, but I then did a factory reset before the last print. And I printed a heap of things before I had any problems. I do put the roll of filament in a bag with desiccant when it’s not being used, but I still have to suspect it’s the culprit. I think that’s all it can be. Finished the pair of side trims for the boot area.  These were not nearly as difficult to make as I was expecting. I now keen to get on with the trimming, but haven’t made a decision on carpet colours yet. Also cut a couple of infill pieces for the corners of the boot. These are made of the same signboard material and painted. They close the boot off from the outside. Sort of.  And in keeping with my policy of painting everything multiple times, this is the piece that goes in the rear bumper.  That’s not a reflection, but the white paint underneath. It’s supposed to be warmer next week, (not that it’s cold now, 21C today) so I’ll repaint it then. Also printed some more bits for the plasma cutter. There’s only one or two bits left to do now. 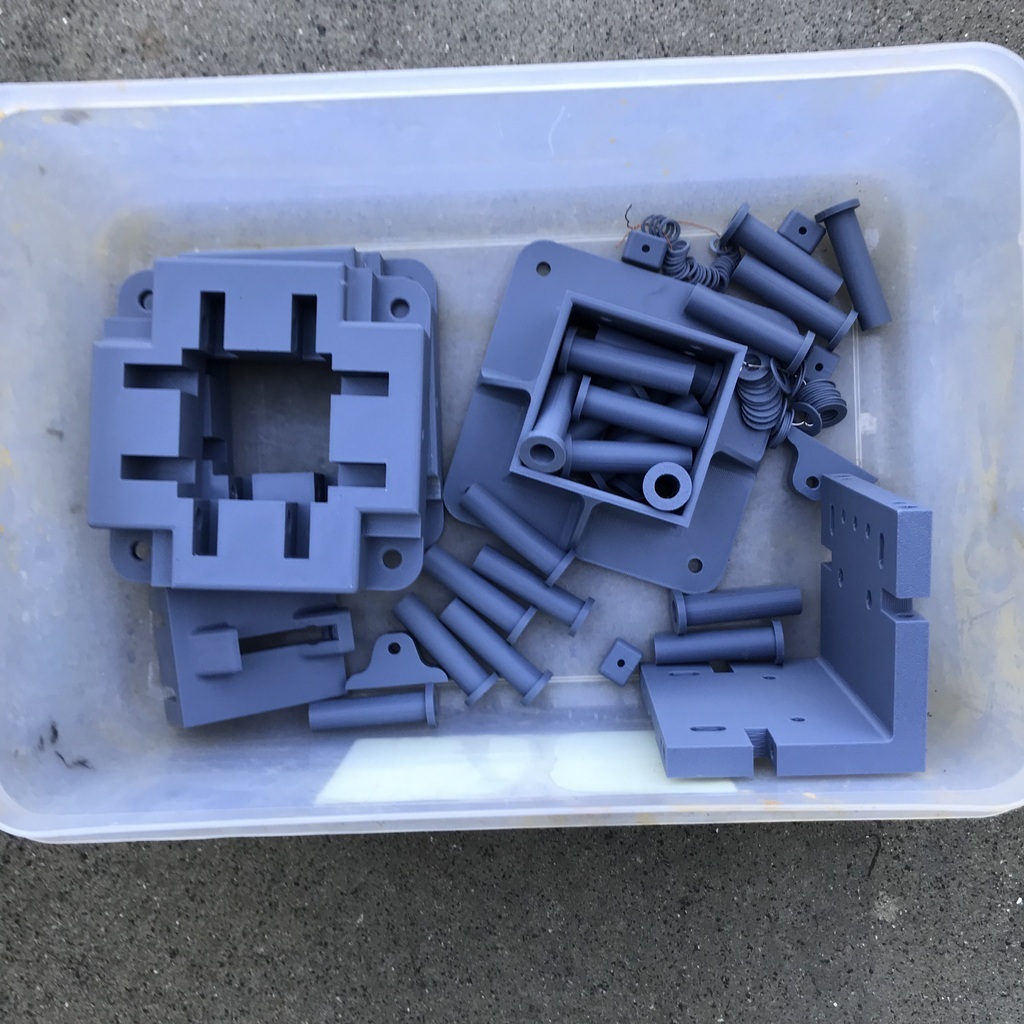 Thanks. |
| |
|
|
gazzam
Part of things
 
Posts: 740 
|
|
Apr 19, 2024 10:01:52 GMT
|
A bit more on the inside today. The front kick panels were previously just carpet glue to the body, with some foam in places to make it sit a bit better. I used one of the carpet pieces as a template to cut my favourite material, composite signboard. 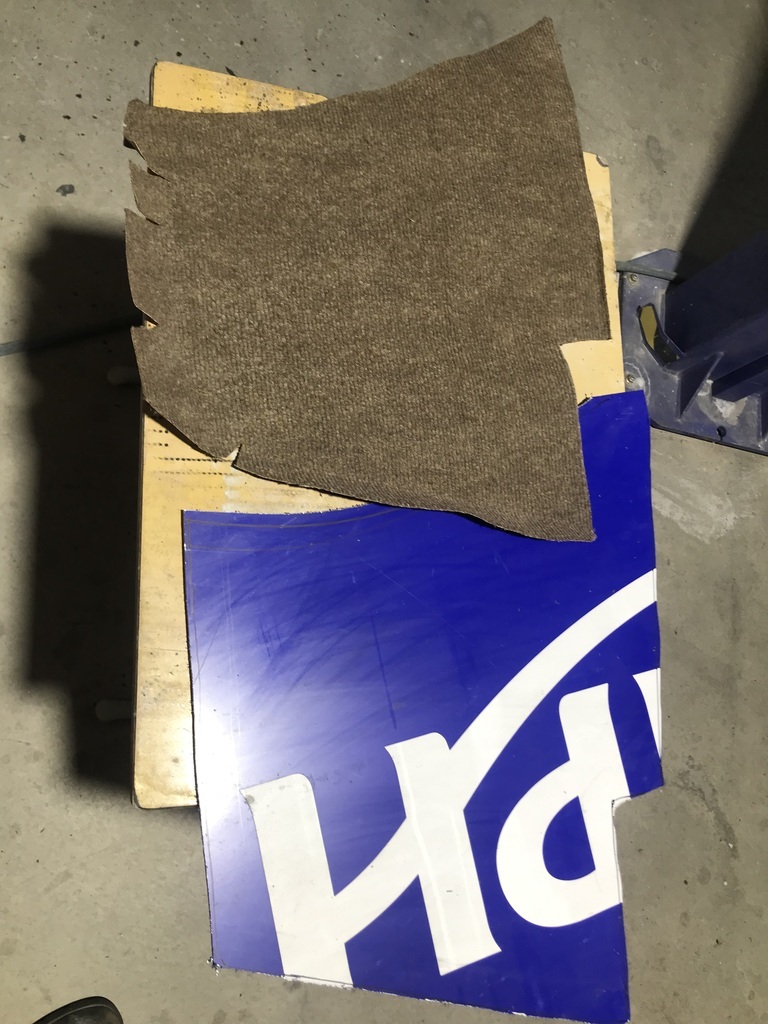 And after using a dead blow hammer and a piece of railway track as an anvil, the resulting piece should work a treat. Once it’s trimmed. 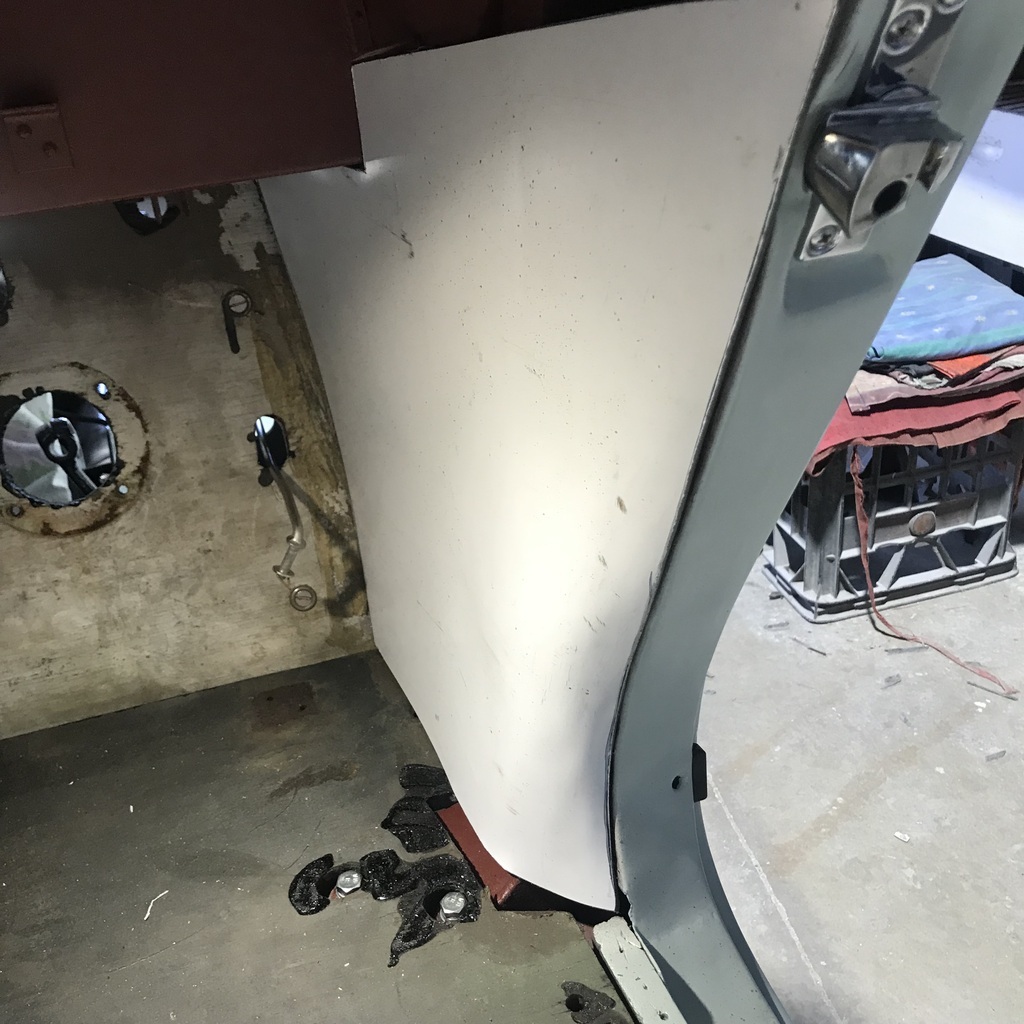 And I finally started colour sanding the bootlid and front guards. I really, really hate colour sanding, but I can put it off no longer. Got the bootlid polished and about 2/3 of one if the guards chopped with 1200 grit. Time for a beer! Cheers. |
| |
|
|
gazzam
Part of things
 
Posts: 740 
|
|
|
|
A problem occurred when I attempted to fit the last windscreen wiper spindle grommet. This is the result. 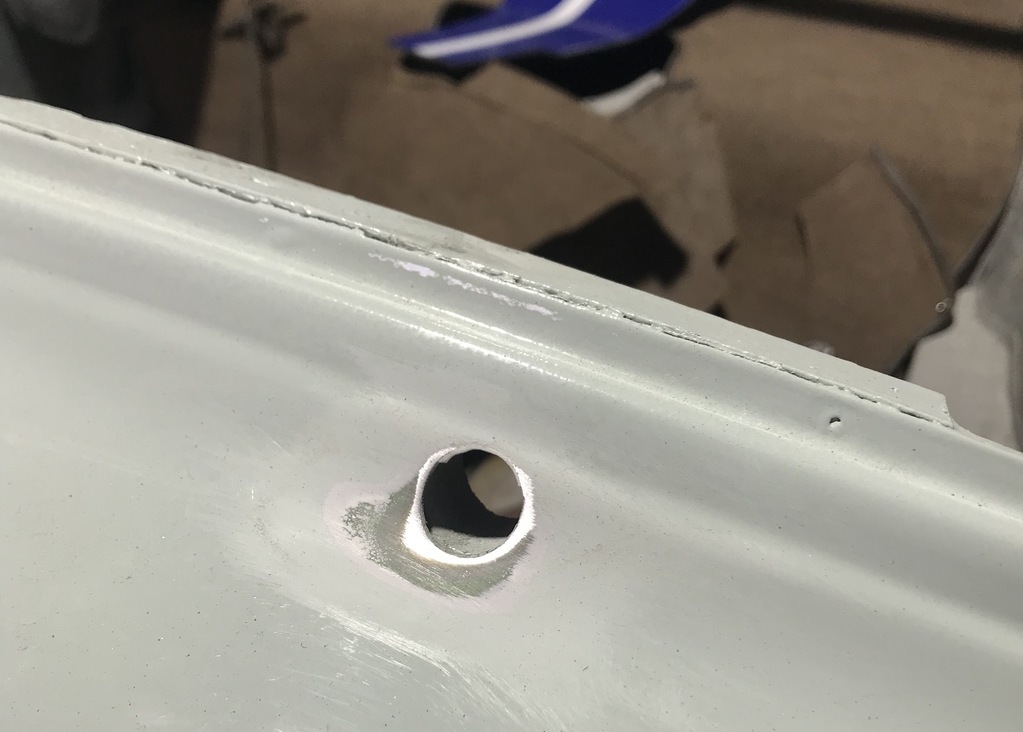 The reason it looks like that is that the paint chipped. I’ve sanded it back so I can blow some paint on there when I repaint that bumper bit. Thinking about it as I type this, I should have walked away and thought about it. The chip was very small, really just a crack. I should have dried the flexible filament and tried reprinting after changing the design to give the grommet a larger od. If that had worked, a 2mm increase in radius would have covered the chip. Anyway, I didn’t think of that and I did walk away, but only after I’d sanded it just to check that it hadn’t chipped because I'd left too much original paint there, and the film build was excessive. It wasn’t, I found ally very quickly. So I went to town to look at carpet. I brought some home, but will have to see if Mrs G approves. I have no eye for colours. Except I KNOW red and biscuit go together perfectly! And I got some more wet sanding done on the marine mammals. They’re ready for 1500 grit. They have a few fisheyes, maybe five between them. So I’ll leave them and with a tiny brush, dab a bit of paint in them (when I paint those other bits). Then when that’s hard, complete the sanding and polishing. I think I may have contaminated the workshop with silicone by spraying tyre shine, when I was getting cars ready for the show. Also loosely bolted up one of the inner guards and headlight brackets. Just as a test, but with luck it’ll be permanent. 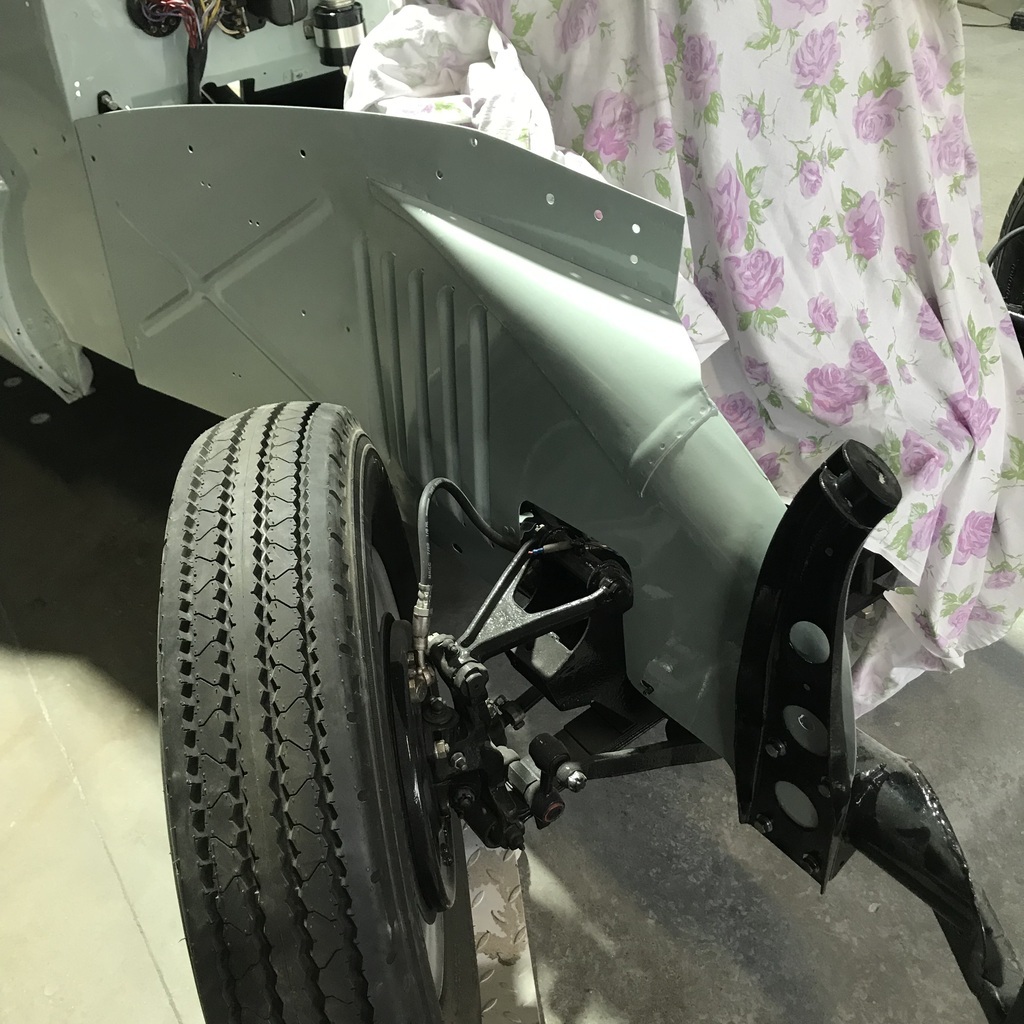 Thanks. |
| |
|
|
|
|


