gazzam
Part of things
 
Posts: 741 
|
|
|
|
Glen, I wasn’t aware of that, and hadn’t considered it. As far as these screws go, it shouldn’t be a problem. They’re fixing steel hinges to wood. I had a few ml of epoxy left over yesterday, so I quickly masked the body after degreasing the area that would be covered when the ally was tapped down and nailed over the join at the firewall box. 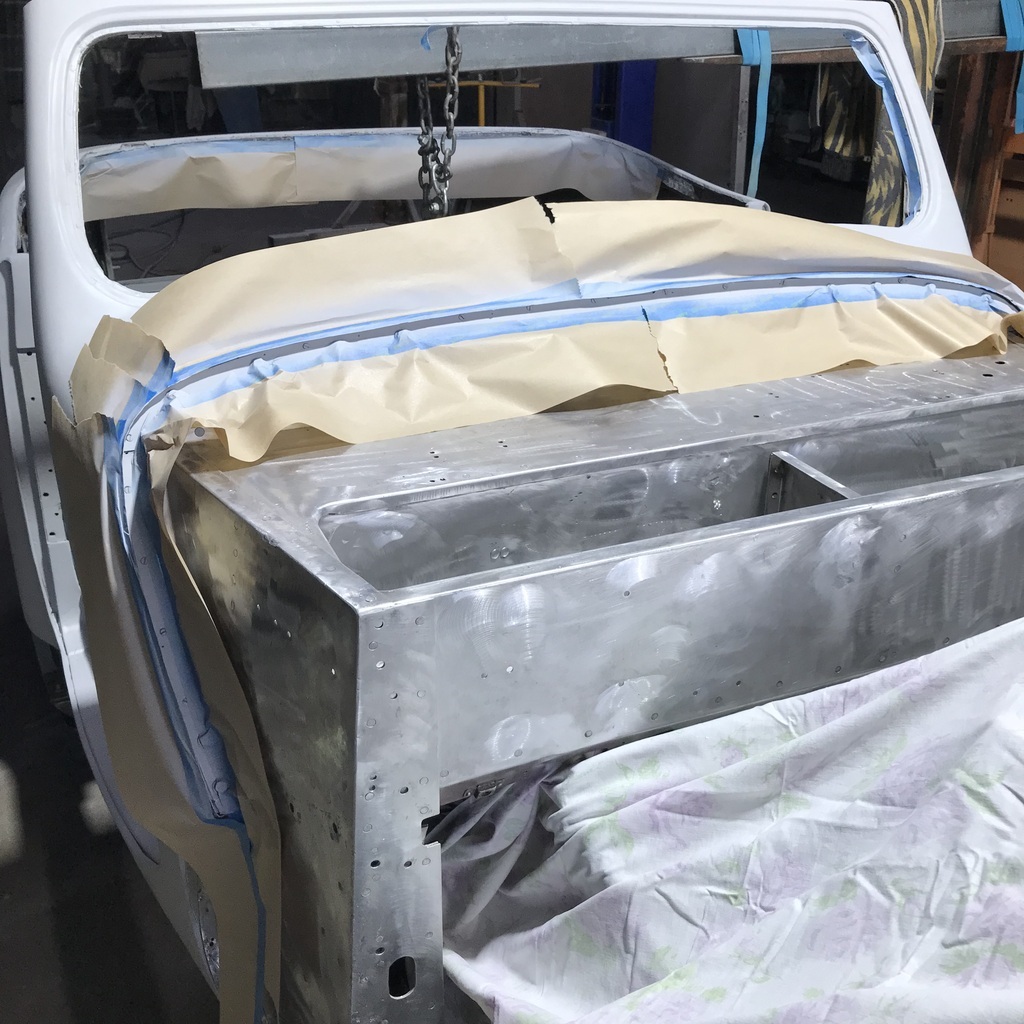 My good wife helped get the body back on the rotisserie first thing this morning. Then after breakfast I tapped over and nailed the aluminium and the firewall is back on!  Then prepared the boot lid and doors for a coat of spray polyester, on the repaired areas. Gave it a few hours to harden ( 35C helps ) while I prepped the bare ally for a coat of epoxy. Sanded the doors/ boot lid, masked the body and got a nice coat of epoxy on the areas that needed it.   All this, body, doors and boot lid are at the same stage now. Thanks. |
| |
|
|
|
|
gazzam
Part of things
 
Posts: 741 
|
|
|
|
Because the body is once more on the rotisserie, I was able to finish these welds. I’d be embarrassed to show the tacks done when the body was on the chassis, ie. on my back getting burned. 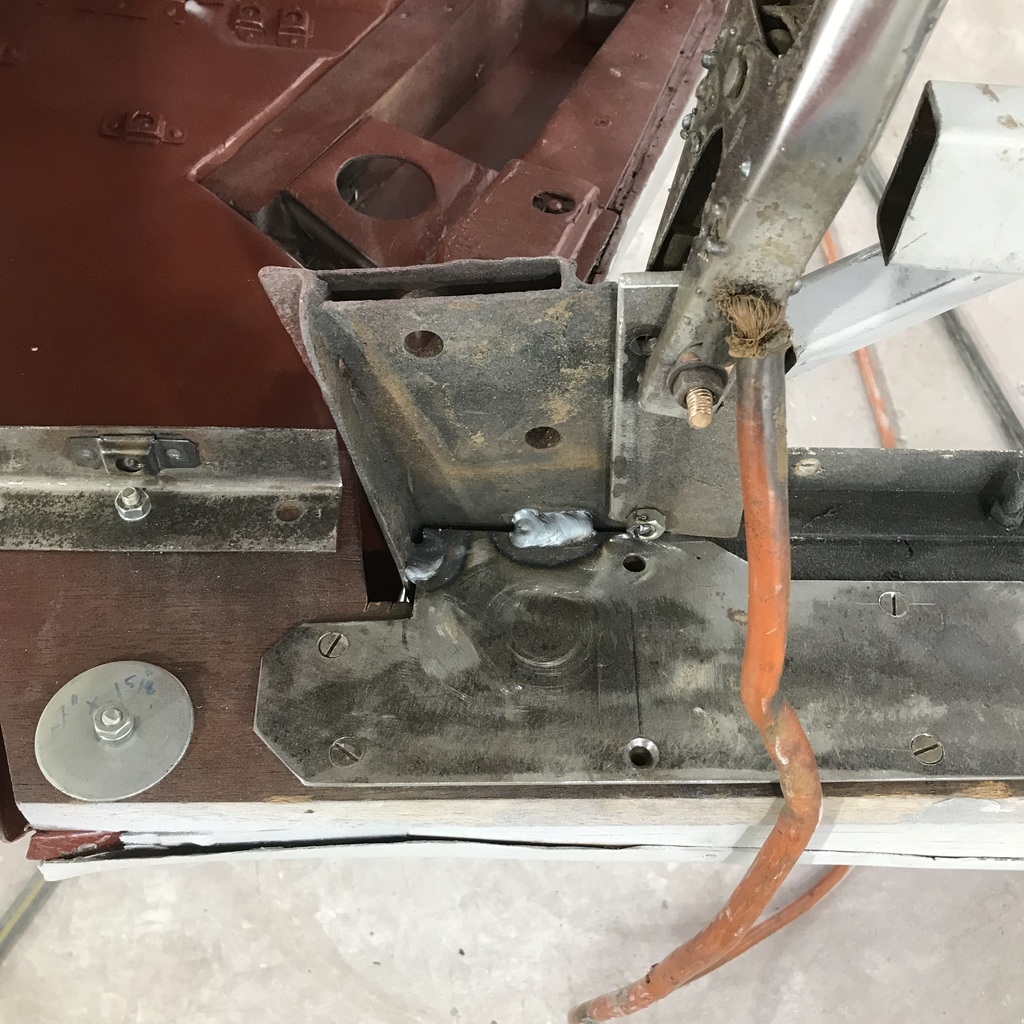 They had only been tacked previously, as I was adjusting door gap and they locked in the angle of the firewall box thingamyjig. ( Just for you Tea, the Aussie spelling, note the extra ‘a’ ) While it was on it’s side I tidied up some bit and pieces, getting ready for underbody paint. Still not sure what I’m putting on there though. 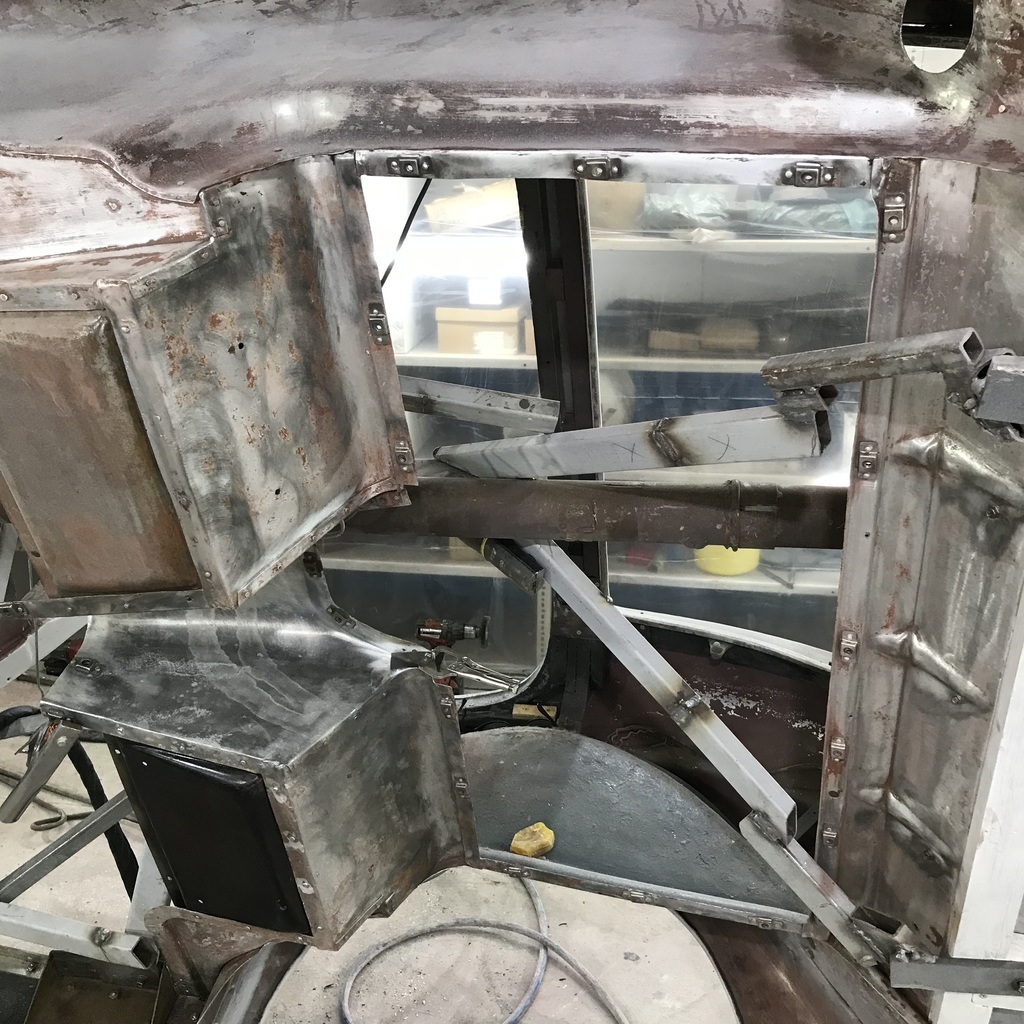 Had a bit of a win with a very small rust repair on this steel piece. One of the floors under the front seat. It’s the black bit, lower left in the pic above. Repairs needed in green circles. Cut a strip of sheet and put a fold in it.  Marked a line by clamping the repair piece on top. 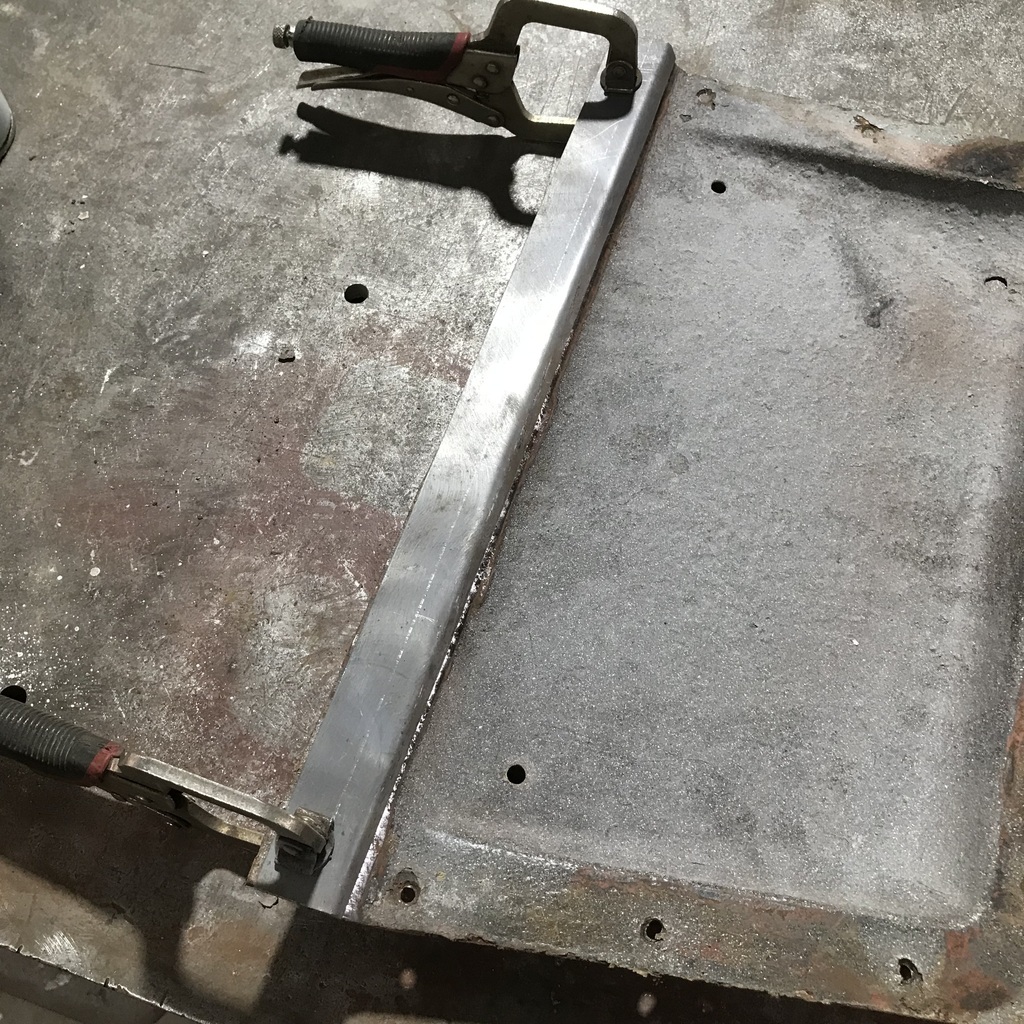 And then cut it the thickness of the material back from that. About a very thin cut off wheel back. Then tacked it together.  Migged and ground back. Why is it that repairs that will never be seen, turn out so well? That’s one of the best I’ve ever done and I doubt it’s ever going to be seen, by anyone other than me. 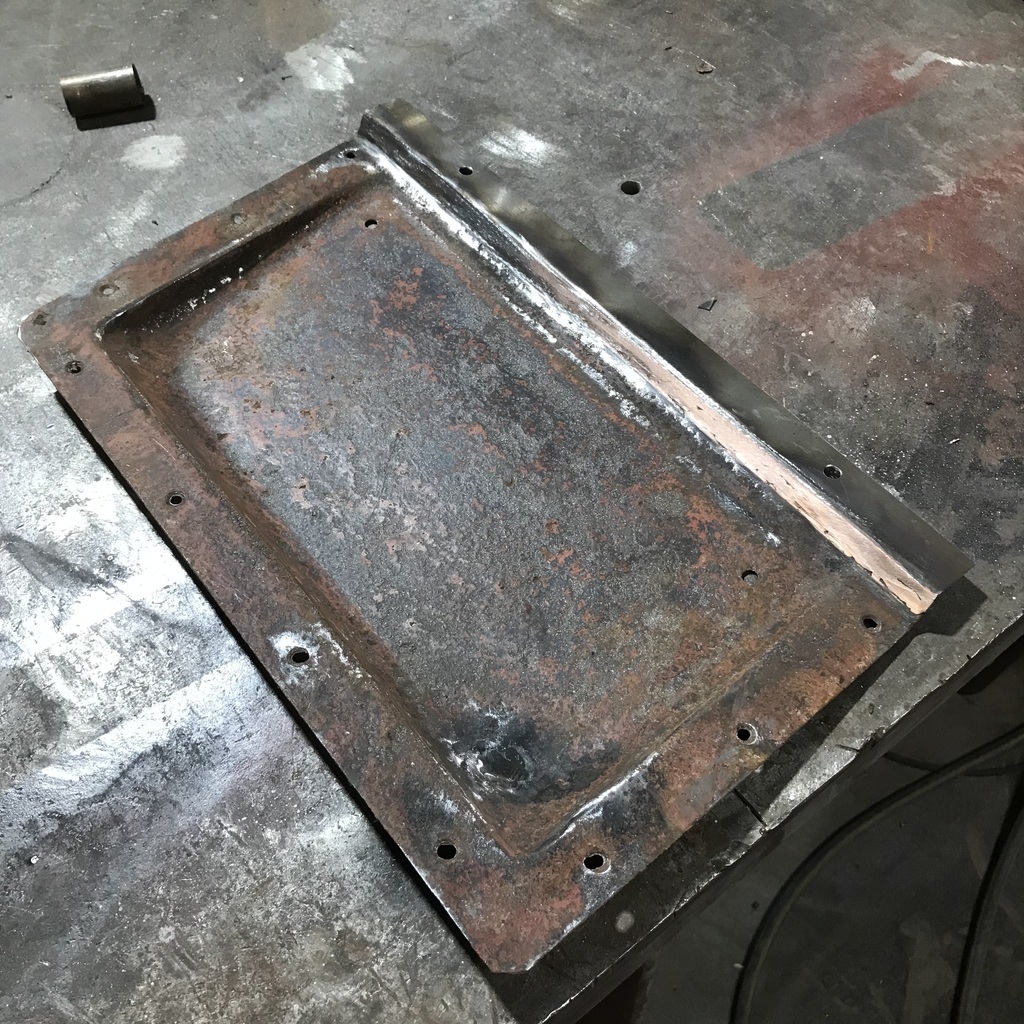 Then spent a frustrating couple of hours trying to weld up a 35mm split in the same area. But effing dirty ally this time… 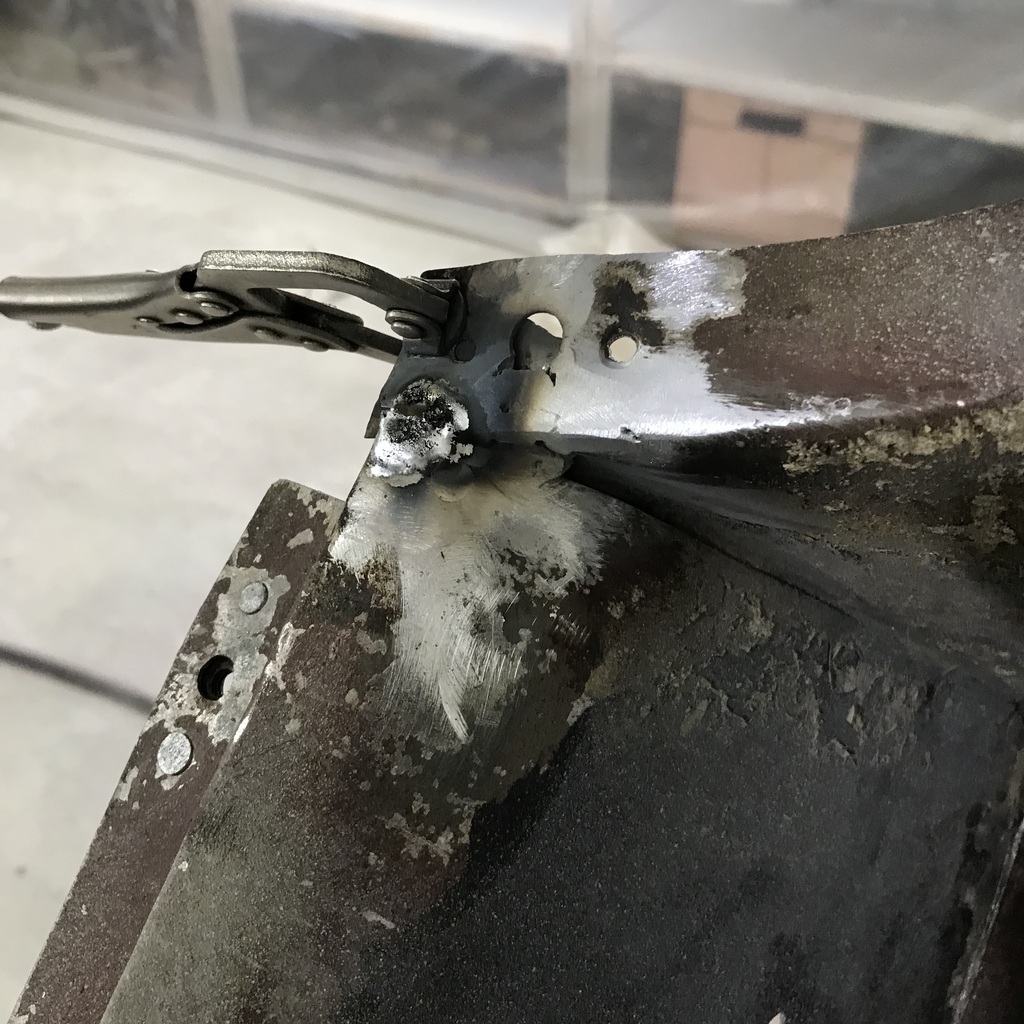 Thanks. |
| |
|
|
75swb
Beta Tester
Posts: 1,052
Club RR Member Number: 181
|
|
Feb 27, 2024 10:06:59 GMT
|
Migged and ground back. Why is it that repairs that will never be seen, turn out so well? That’s one of the best I’ve ever done and I doubt it’s ever going to be seen, by anyone other than me.  The evidence is here! It is a lovely repair, and you'll always know it's there, and so will some strangers on the internet, and we'll think enviously of it as we make another pigeon poo weld in a visible spot! |
| |
|
|
|
|
|
Feb 27, 2024 13:08:58 GMT
|
|
For the underbody I personally would coat in a couple of thick coats of epoxy primer, then a coat of stonechip, then a coat of gloss (black?) to waterproof it as dirt falls off gloss better.
|
| |
|
|
gazzam
Part of things
 
Posts: 741 
|
|
|
|
Cheers 75swb. That’s two of us anyway! Mark, I’ve thought about stoneguard. I like how it hides bad stuff. So, because they’re very ripply, double skin aluminium, I’ll use it just under the rear guards. They'd look terrible with straight gloss showing every little flaw. I just don’t think it would look right on the wood and other bits that are pretty straight. On those bits I’ll use the same stuff that I put on the chassis. Brush on a coat of DTM and then spray a coat of gloss. I fully agree about the gloss, nothing better for resisting dirt. With that as a plan, I’ve got the underside ready. Been all over it with a wire brush in the drill and 80# sandpaper. Just have to keep overspray off it now, because I think it will be painted last. Made this little support bracket. Just a folded bit of ally with one of the captive nuts riveted to it. I knew it was meant to be there because there’s one on the other side. 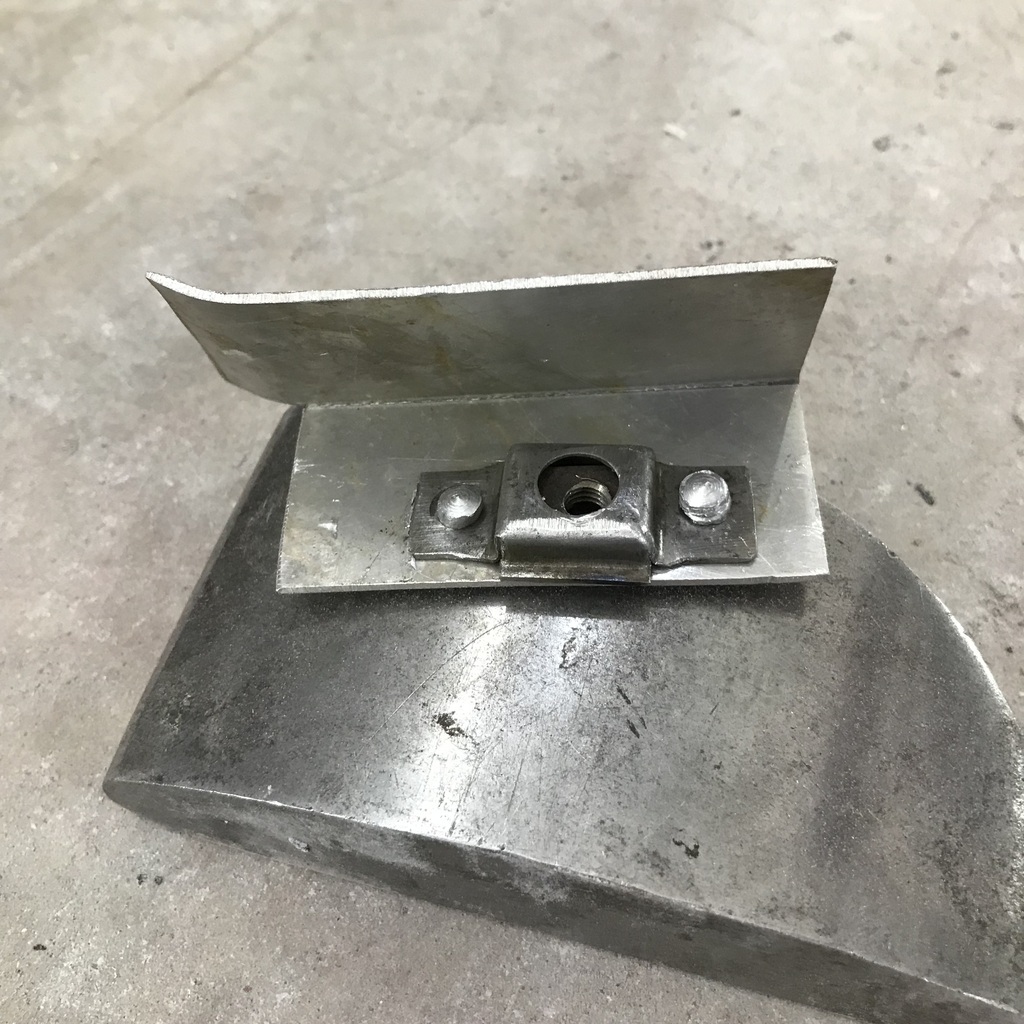 It goes in here, where that bit of blue masking tape is, in the well behind the rear wheel, at the side of the boot floor. It holds up a little piece of ply that closes the hole. 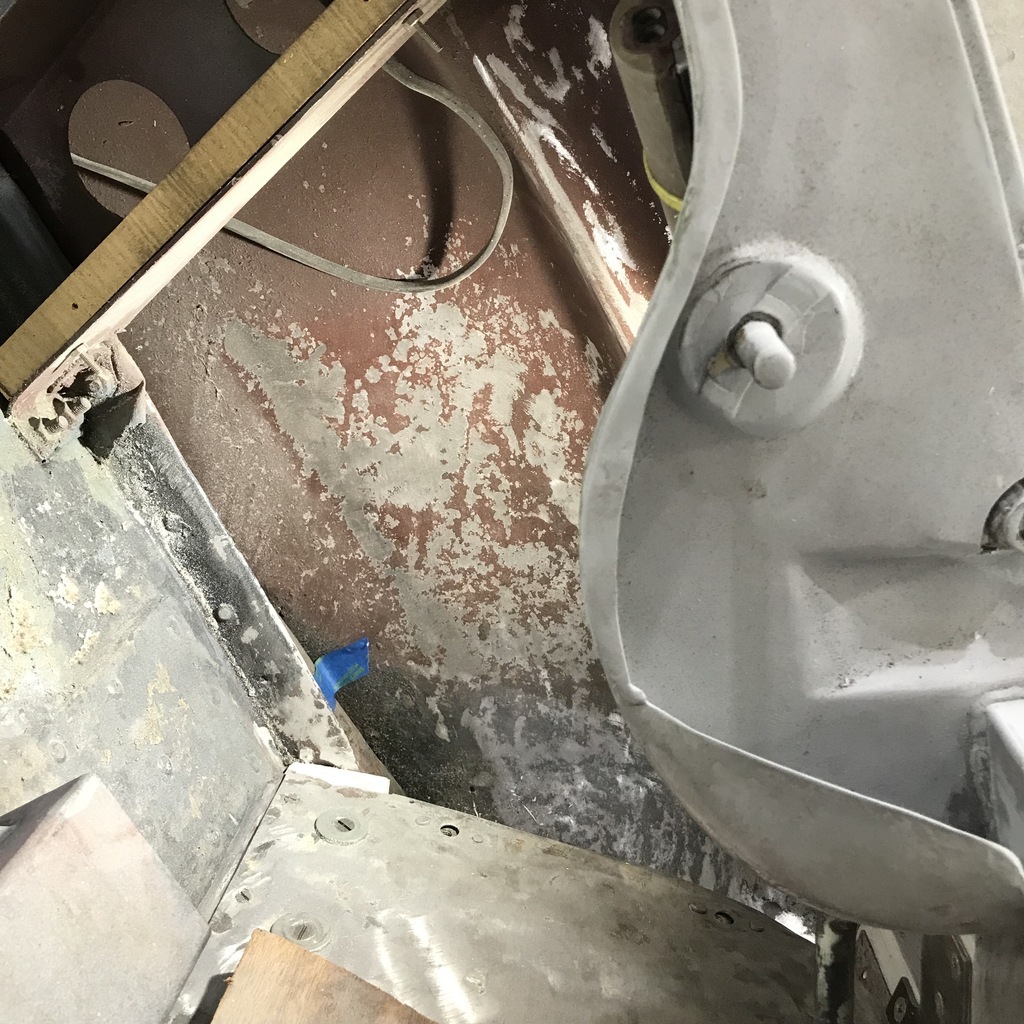 And I think that’s the last bit I have to make for the body repairs. It was much easier to rivet in place than I thought it would be. It looked like a nightmare to get at, but it was ok. And this replacement rivet is, hopefully the last actual repair. 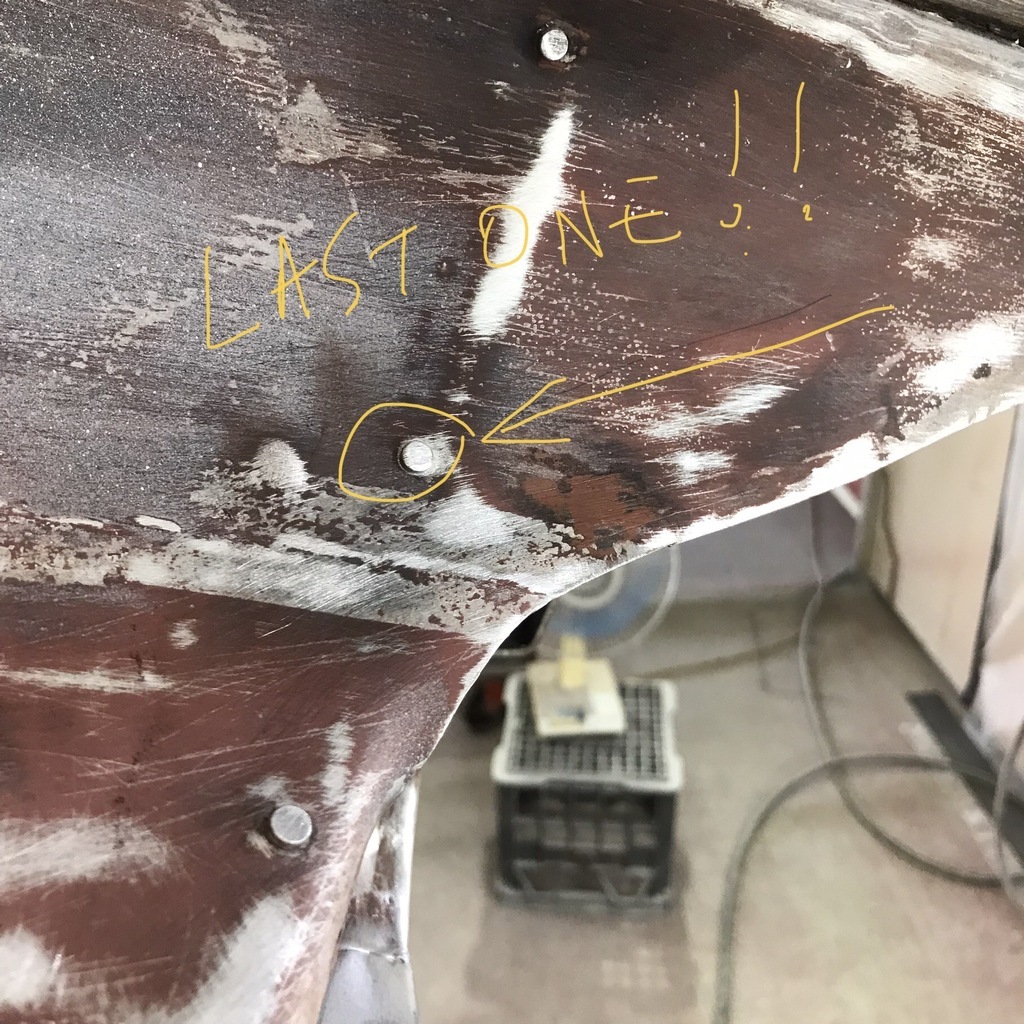 Bit of a milestone. It’s 35C, I think it must be time for a beer! Cheers. |
| |
|
|
gazzam
Part of things
 
Posts: 741 
|
|
|
|
Had a day off from the Triumph, waiting on sandpaper. And it’s too hot to be doing much anyway. So I had a bit of a play with this. 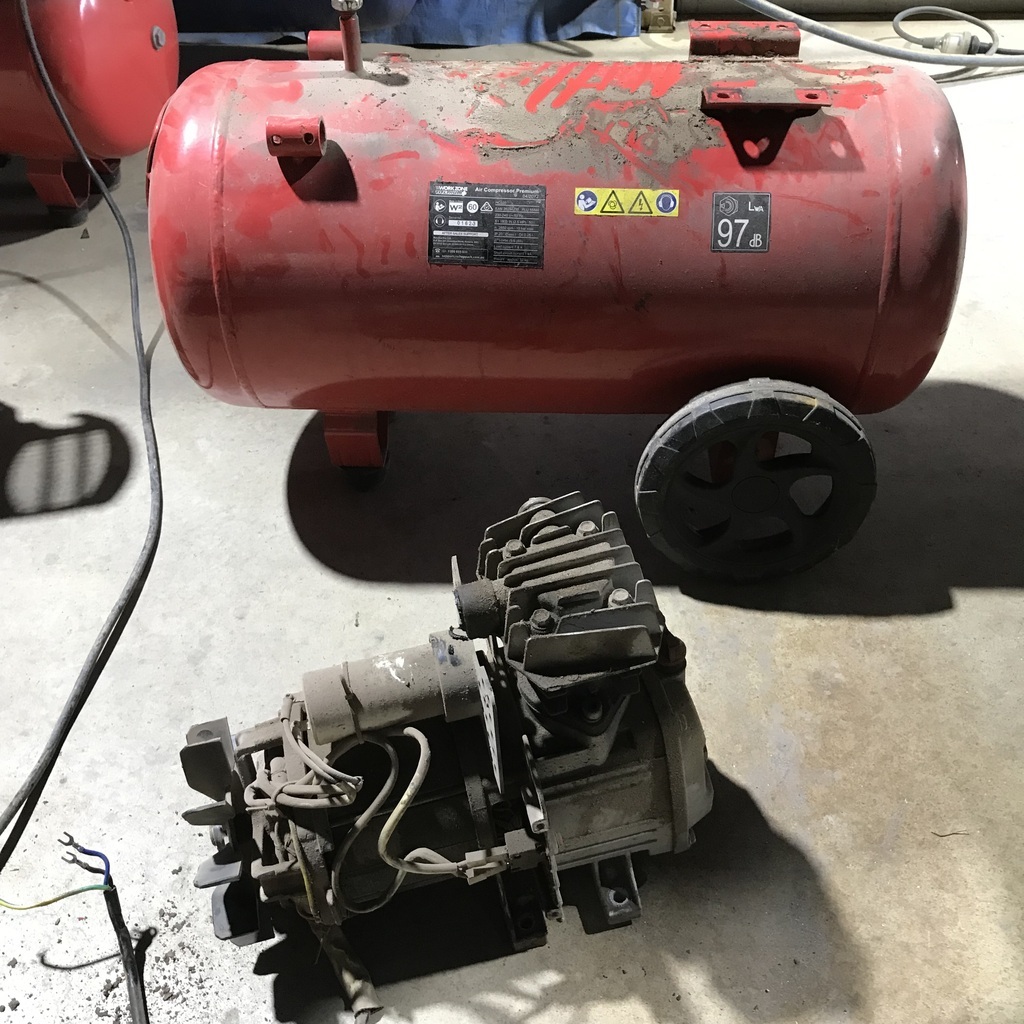 I noticed there was oil dripping from the air line ( supply ) when I moved the sandblaster out of the booth. Not much, but ideally there shouldn’t be any oil or water. Proving that my Aldi compressors might be past their use by date. So I looked on t’web and found this.  Plan is to mount it on one of the tanks ( I have 2 Aldis - same age, usage ) and plumb the tanks together. Once I have it set up, I’ll see how much air it delivers and how it performs. It’s oil free so should be good for paint spraying. If it lasts long enough to get a coat of paint on! Not that it was particularly cheap, just that it’s oil free. How’s it lubed? We shall see… Thanks. |
| |
|
|
|
|
|
Feb 29, 2024 10:32:13 GMT
|
|
Teflon lined screws like a supercharger?
|
| |
|
|
glenanderson
Club Retro Rides Member
Posts: 4,354
Club RR Member Number: 64
|
|
Feb 29, 2024 15:18:29 GMT
|
|
We rain oil-free compressors for a while at my old job. They were quiet, but not great performance wise, nor were they particularly long lasting. It’s a long time ago though, so maybe things have improved.
Back to the stainless screws; I hadn’t registered that you’d used them to join the steel brackets to the wood frame, I thought you’d used them through the alloy. 😃👍
|
| |
My worst worry about dying is my wife selling my stuff for what I told her it cost...
|
|
gazzam
Part of things
 
Posts: 741 
|
|
|
|
Teflon lined screws like a supercharger? Possibly, can’t find anything on them. And nothing came with it. Fiddled around with the compressor tanks. Worked out how I’ll mount them together and cut and drilled a few bits of scrap steel. Took all the plugs out and washed them out with degreaser and then truckwash. Sat them out in the sun to dry. Predicting 39C, so that should do it. Temps are supposed to get a bit more reasonable from tomorrow, so might feel a bit more like doing stuff. I did do a little on the Triumph today. I’m waiting on some 400 dry rub sandpaper, so progress on the outer body has come to a halt. It’s good to let the primer coat get plenty of time to harden, so less chance of any shrinkage later. That’s the theory I’m going with anyway… So I decided to get on with the underbody. Fortuitously saw this on a YouTube vid, so I made one. Wish it was my idea, because it’s a beauty. 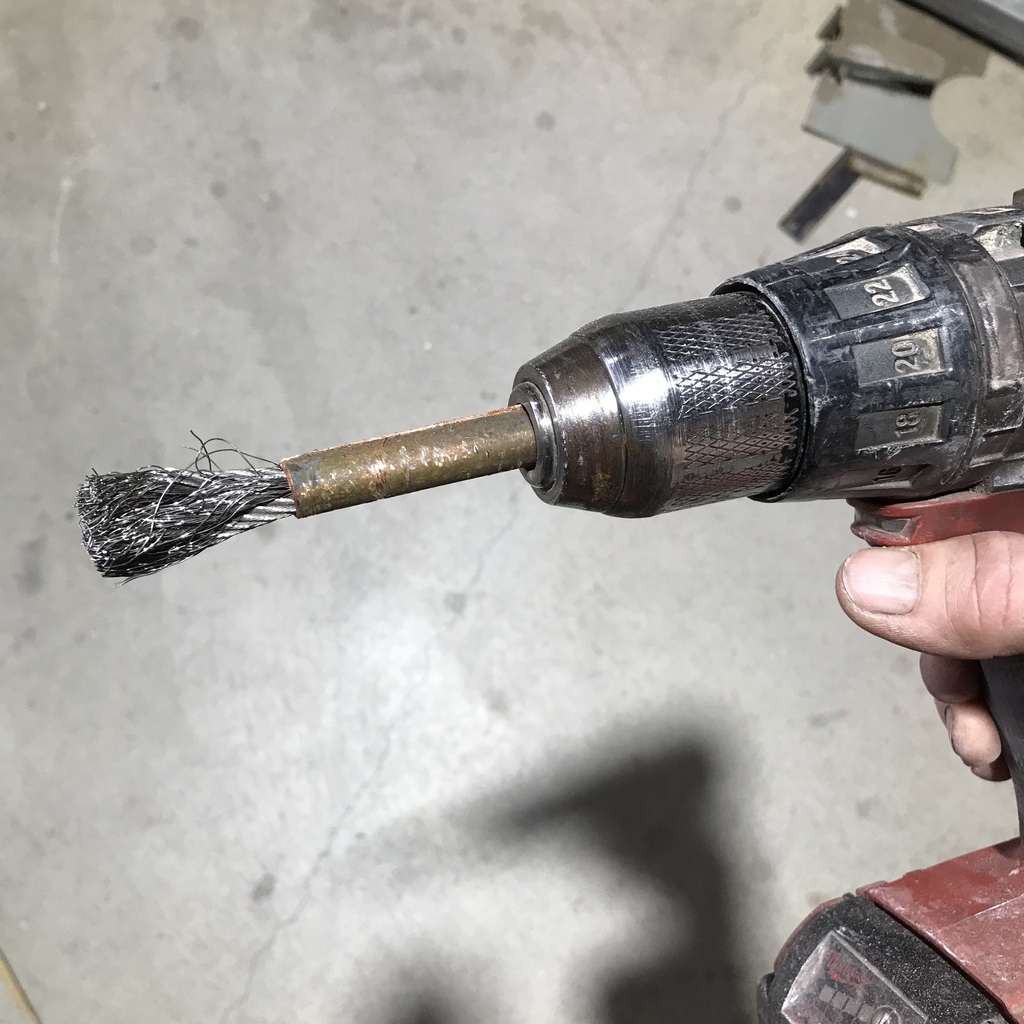 Just some pieces of wire rope squeezed into a split piece of half inch copper pipe. Gets into those places other drill mounted wire brushes cannot. Used it to finish the underside and then masked up. 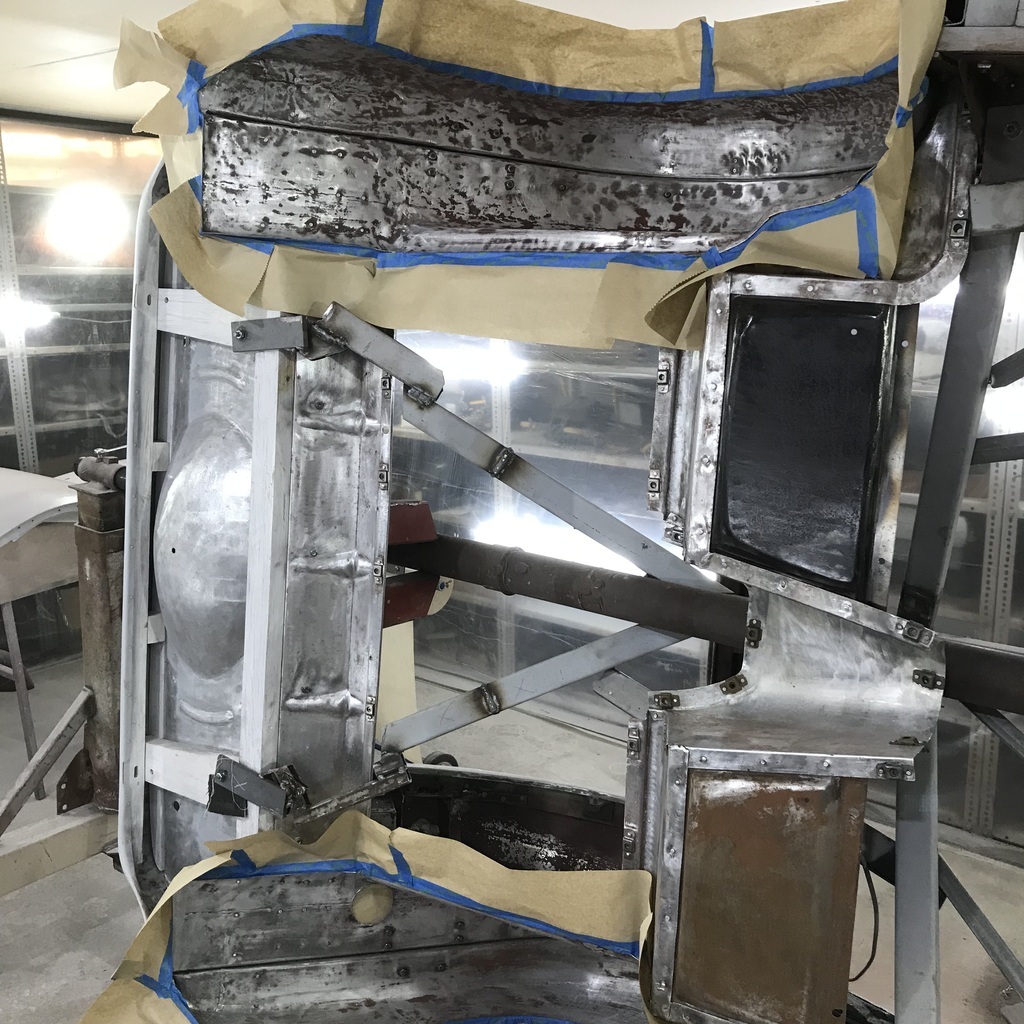 Treated it with wag remover first, then a quick go over with 180#, then another wag remover. Then some Upol Acid 8 etch primer. 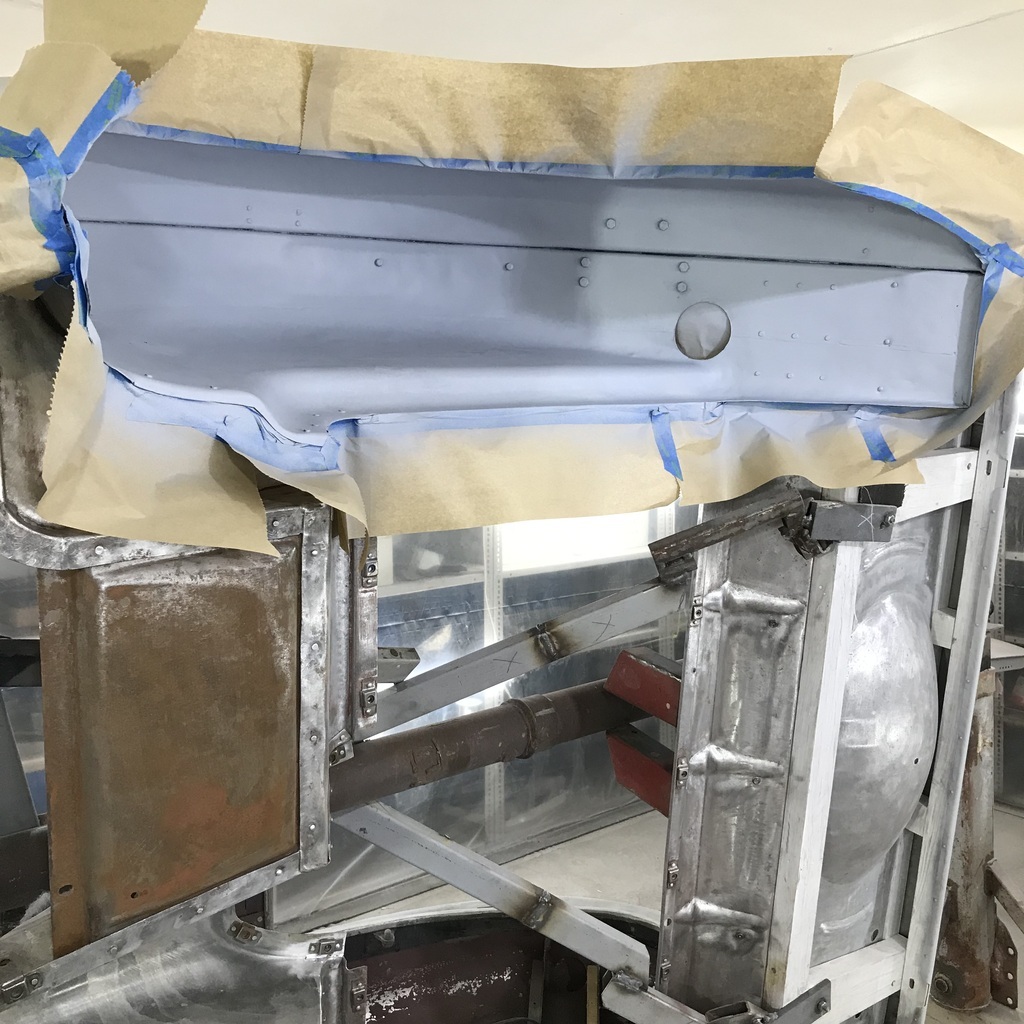 Looks better already. Ready for Gravitex (stoneguard) in the morning. Thanks. |
| |
|
|
gazzam
Part of things
 
Posts: 741 
|
|
|
|
Gave the undersides of the rear guards a coat of stoneguard this morning and allowed 4 hours for it to dry. Temp is over 30C so that should be plenty. Then sprayed a good wet coat of epoxy. No pics as it all looks the same as the first coat of primer, all grey. I allowed that 3 hours to go off. Then a coat of 2k black.  The compressor mod is progressing. 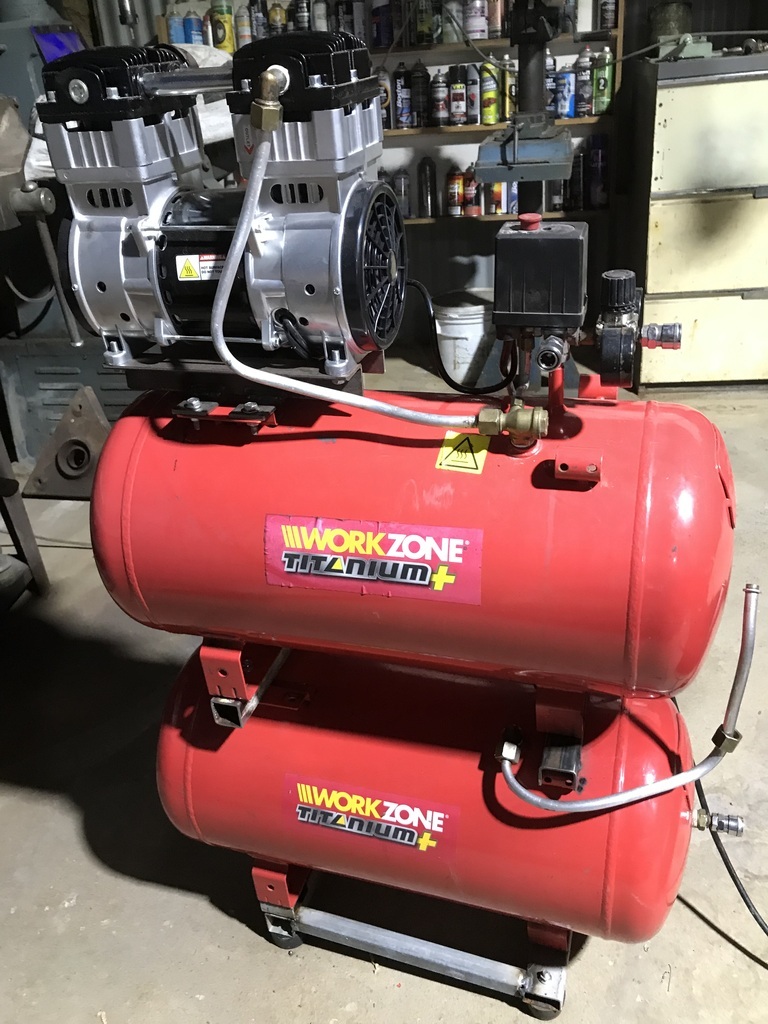 Just need to sort out a fitting for the link between tanks and it’ll be up and running. Thanks. |
| |
|
|
|
|
gazzam
Part of things
 
Posts: 741 
|
|
|
|
Took a break from paint and sanding, and did a bit of plating. The door and boot lid hinges were previously painted and powder coated. I’ve expressed my views on powder coat before, so won’t hoe that particular row again. The selection of screws used on the door hinges, and it was a very wide selection, were painted over. Not a good idea, in my book. Can’t remember what the screws on the boot lid were, or whether they were painted. But now that I have nice stainless screws for both lots of hinges, plating was my answer for a finish on the hinges that would stay nice for quite a while. The problem was the size of these bits. Especially the boot hinges, they’re about 500mm long and my regular nickel plating bath can’t hold that length. The door hinges were ok, I ran them diagonally. For the boot hinges I had to use a different tub. That I can’t heat the electrolyte in. And I only have a certain quantity of electrolyte. So I got the electrolyte nice and hot, being careful not to overheat it, in the regular tub. Then transferred it to the longer tub. I filled a couple of plastic bottles with hot water ( the electrolyte needs to be at about 50C ) and put them in the tub.  That’s the longer tub with one of the boot hinges hanging on the centre support, getting plated. The nickel anodes are hanging on the outer supports. And at the end of the whole plating faff, I have this.  They’ll look ok with the stainless screws. Thanks. |
| |
|
|
gazzam
Part of things
 
Posts: 741 
|
|
|
|
Sandpaper arrived Monday morning, so I put some guide coat on the rear guards and got stuck in. Also did one of the doors and the boot lid. Didn’t get any pics, it all looks much the same. I was a bit distracted by the other parcel in the mail. The used desktop arrived, and I needed to get it set up with a screen, keyboard etc (that I had), and then see if I could get the Wifi to work through my phone. That all went surprisingly smoothly, so then I was able to have a go at Onshape, one of the free online CAD programs that was mentioned on here. Boy, would I like to be 25 years old again! Not really, but I’m sure it might be easier to pick up this stuff. Anyway, that was yesterday, and I didn’t do a post as there really wasn’t much to report. Other than my falling hopes of getting to grips with CAD. This morning, all keen on manual labour, I masked the newly painted black under the rear guards and wiped it down with wag remover. Then gave it a nice thick coat of epoxy primer. And had a few more goes at Onshape. In between watching various YouTube vids. My excellent wife came up with something for me to attempt to design. I couldn’t think of anything I wanted to print with the bright green filament that came with the printer. I wasn’t going to print a ‘benchy’. For those who don’t know, that’s a cartoonish little boat, that in all fairness is used to compare speed/quality. I’m not one for emojis, but if there’s one with a finger down the throat, I’d be tempted, when it comes to the curse word that people apparently print. A waste of the earth’s resources. Anyway, she suggested a replacement for the thing I’d recycled out of a wire grill off something. It’s a doohickey to sit her shampoo bottle on in the shower. I'd replated it but it kept rusting. Anyway I got enough of the basics sorted out in Onshape to get a design. And it was a bit too early for a beer, so I thought I’d try hooking up the printer. Now, it’s all wireless shenanigans, and my track record isn’t good with that sort of thing, so it just goes to show they must have that stuff just about foolproof. Because I printed this. 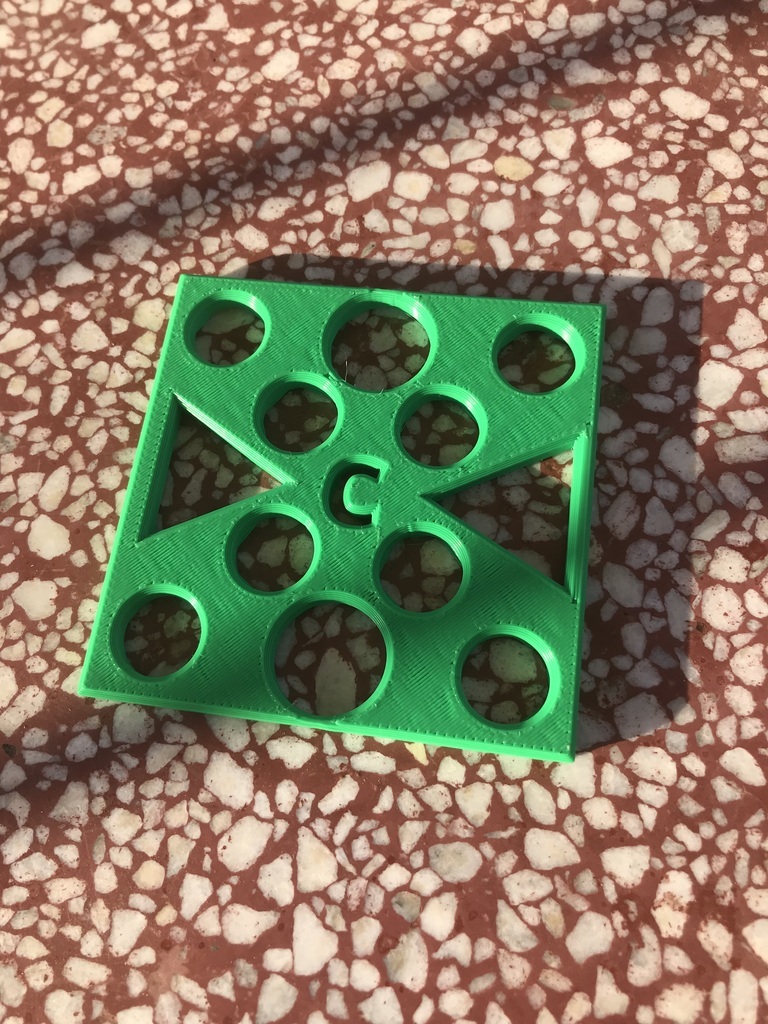 Now it’s far from perfect. Not as smooth as I’d hoped. Certainly not good enough for the blank for a mould. But it’s my first go, and I only unpacked the desktop yesterday and I hadn’t plugged the printer in till today. And at least it’s not a frikken benchy… Thanks. |
| |
Last Edit: Mar 5, 2024 7:49:43 GMT by gazzam
|
|
gazzam
Part of things
 
Posts: 741 
|
|
|
|
Yesterday I blocked the front half of the Triumph and the remaining door with 180#. Then gave those a good wet coat of epoxy primer. So it’s still just grey, no pics. I final sanded the firewall box with 400#, it’s ready for topcoat. Got the sewing machine out and made a cover for the printer. The workshop gets pretty dusty at times. Some would argue that it’s most of the time… So better to have them covered. 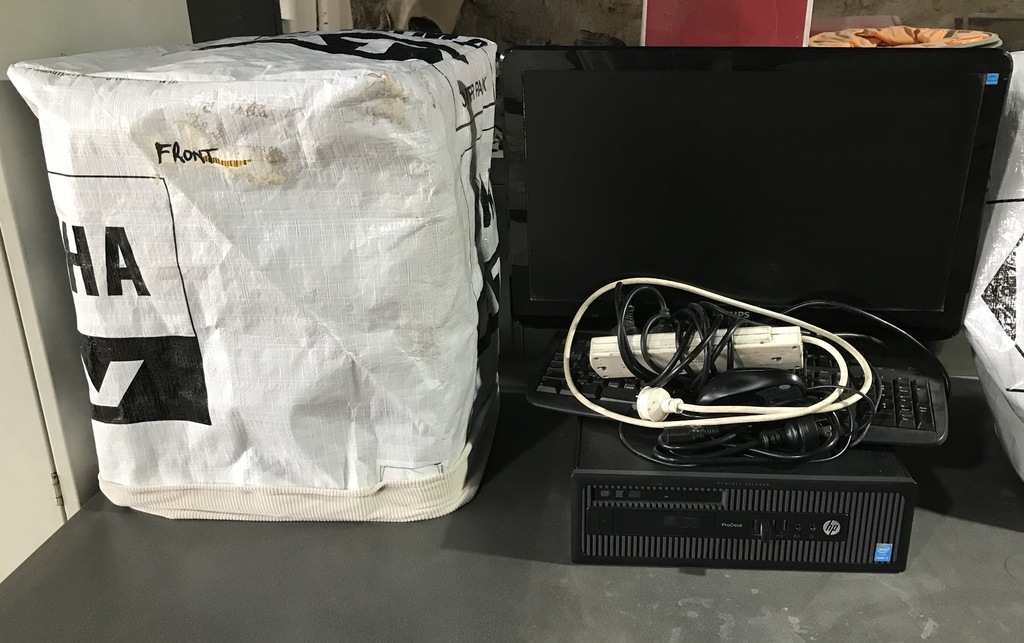 This morning I ran one up for the desktop. Good use for the Yamaha packaging that I’ve had for years. 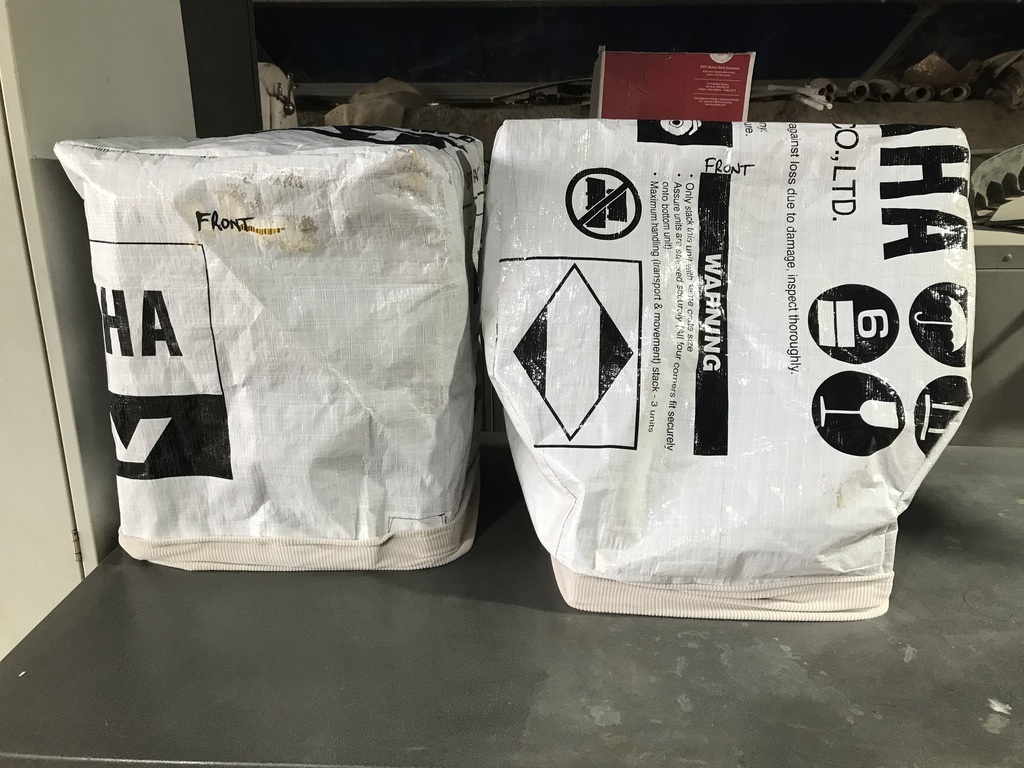 Had a day off from the Triumph today, played with a couple of others, getting them ready for our club show this Saturday. The Healey even got an oil change, as well as a wash. 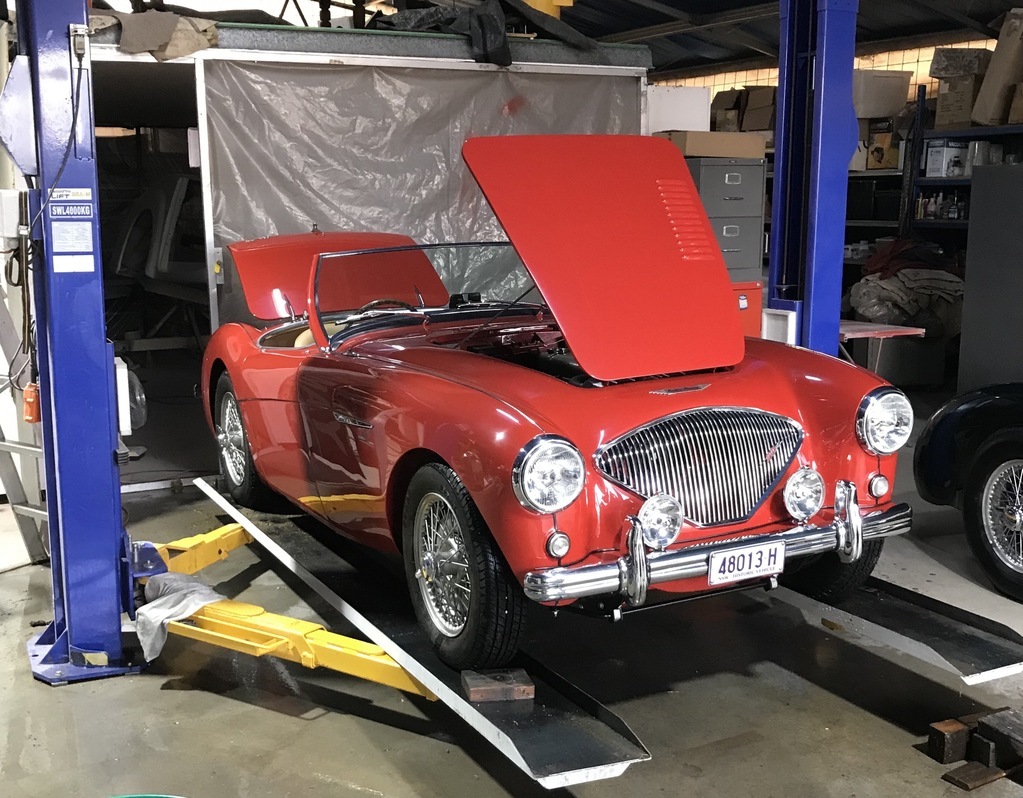 Thanks. |
| |
|
|
|
|
|
|
|
You have too many toys! (not jealous at all!)  |
| |
|
|
|
|
|
|
|
|
Obviously I’ve not been paying proper attention….. hadn’t realised you have the Healey!
What else lurks?
|
| |
1967 Triumph Vitesse convertible (old friend)
1996 Audi A6 2.5 TDI Avant (still durability testing)
1972 GT6 Mk3 (Restored after loong rest & getting the hang of being a car again)
|
|
gazzam
Part of things
 
Posts: 741 
|
|
|
|
|
|
| |
|
|
gazzam
Part of things
 
Posts: 741 
|
|
|
|
Went to help clean up after the club show. Had a nice bbq breakfast with some of the other members. Was home before lunch but didn’t get near the Triumph. I went to get in the skid steer to fix a bit of our road where one of the cars bottomed out. Just started to climb in and was attacked by wasps. They got me 6 or more times. I took a phenergan, but felt unwell for the rest of the day. Unsure whether it’s the wasps or the drug. So Sunday was pretty much a write off. Today I had a bit of a play with the 3D printer, and the CAD program. Refined the wife’s shampoo and conditioner holders then tried some actual car stuff. I received some PLU filament in the post, so tried it out. It’s the black stuff. Sort of rubbery, I think it’ll work. 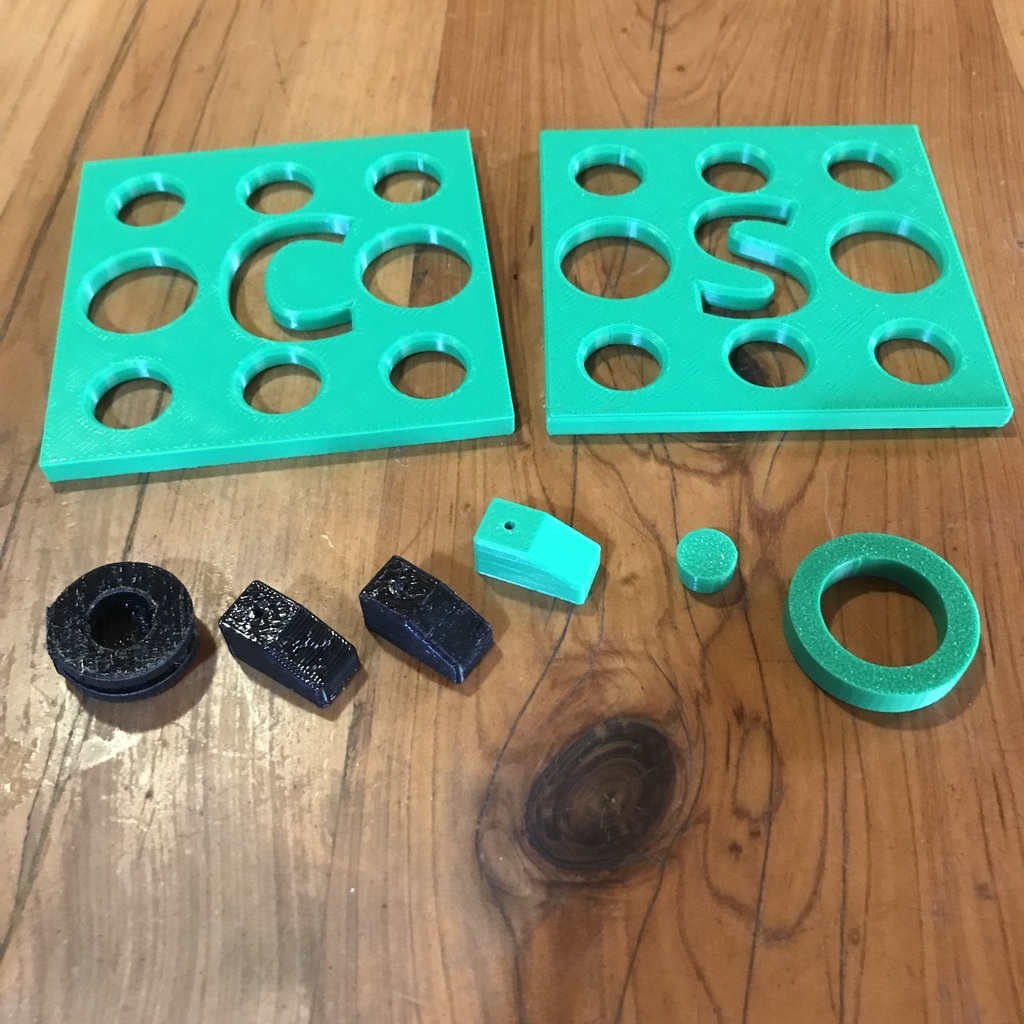 And made a very minor start on blocking the Triumph with 400# dry. 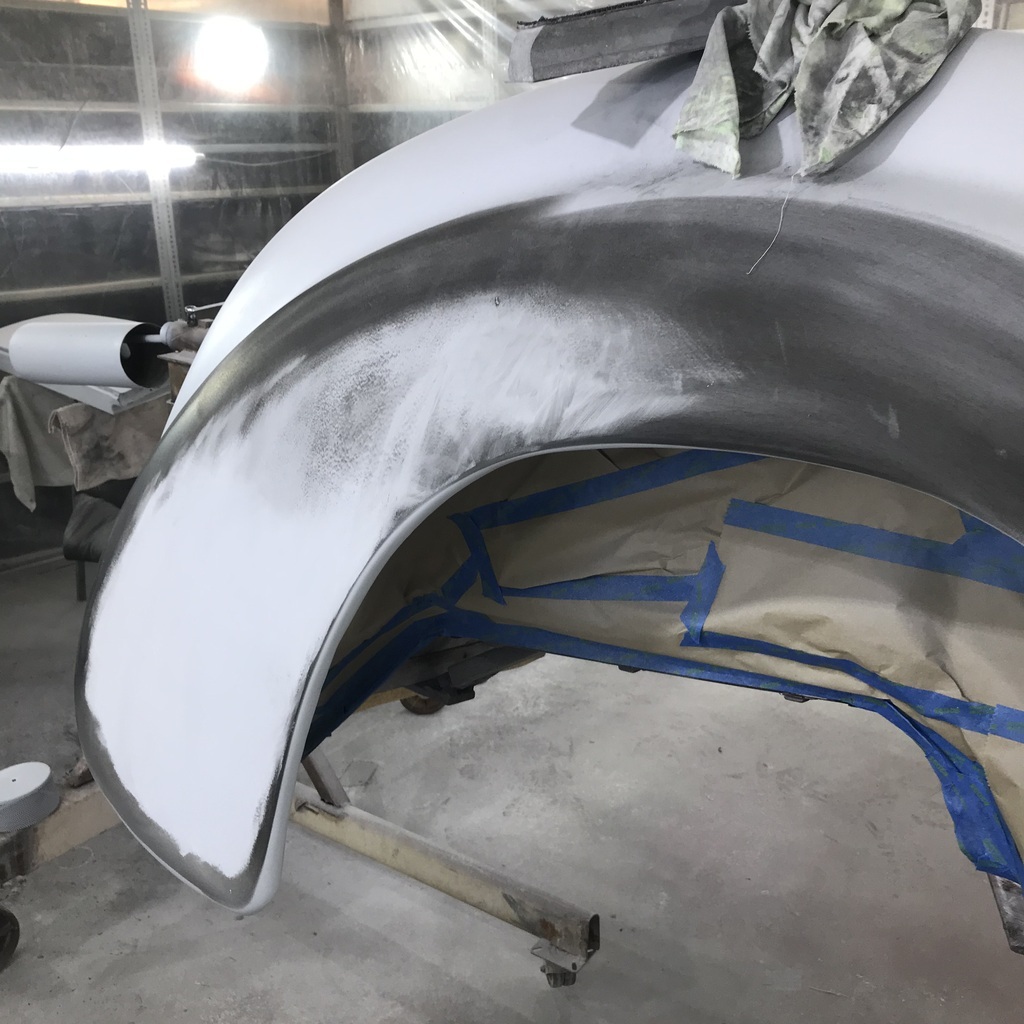 Thanks. |
| |
|
|
glenanderson
Club Retro Rides Member
Posts: 4,354
Club RR Member Number: 64
|
|
|
|
|
Liked for the progress, not the wasp stings.
Pretty much every time I see how kind your climate is to elderly tin, it’s soon followed by a reminder that the price you pay is an excess of stingy, bity, critters hell bent on ruining your day.
|
| |
My worst worry about dying is my wife selling my stuff for what I told her it cost...
|
|
gazzam
Part of things
 
Posts: 741 
|
|
Mar 11, 2024 10:32:42 GMT
|
|
I think you may be overstating it just a little Glen.
I should have kept away from the phenergan - I’ve had ill effects from it in the past. These were a lower dose tablet though, and I thought they’d be ok.
And mostly if you get too close to a paper wasp nest, you’ll get one or two stings. And they sting for less than a minute.
TBH it really is very benign here, insect wise.
The only thing you need to watch out for is a brown snake.
They can kill you.
But they don’t like us either and are only a problem if you stumble onto one by accident. Make sure they know you’re around and you’ll never see them!
Cheers.
|
| |
|
|
glenanderson
Club Retro Rides Member
Posts: 4,354
Club RR Member Number: 64
|
|
Mar 11, 2024 11:59:52 GMT
|
|
We have a wild bee colony in our garden, which are quite welcome as they are very good neighbours. We had some wasps last year that I left alone too because they do a good job of pest control. Also, because they stung my father in law, so they’re obviously on my side. 😃👍
|
| |
My worst worry about dying is my wife selling my stuff for what I told her it cost...
|
|
|
|


