gazzam
Part of things
 
Posts: 741 
|
|
|
|
You might remember that I cut away some of the support frame, so that I could get at the boot timbers. Well, now that the boot is done, those pieces could be welded back into place. 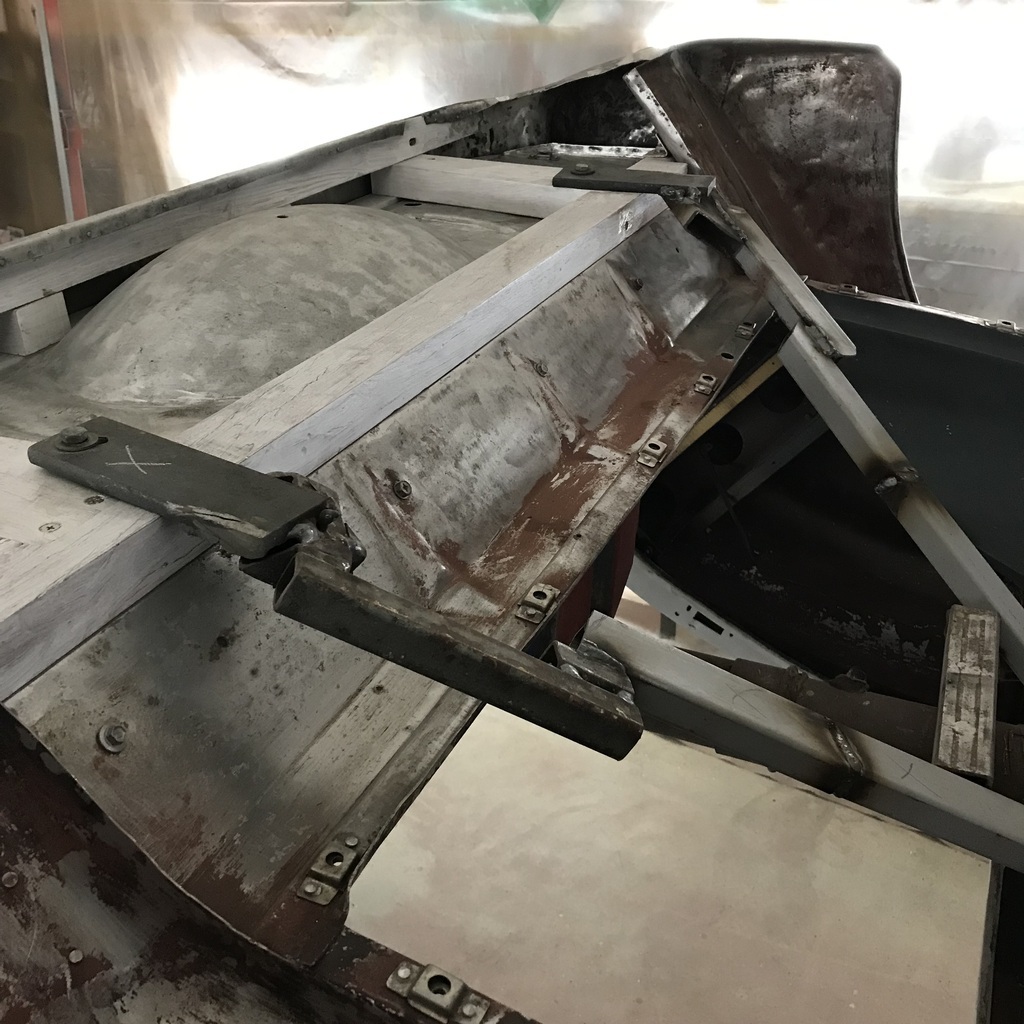 That means I no longer have to trust the clamps that held it when it was right way up on the rotisserie. This one and it’s mate are now gone. 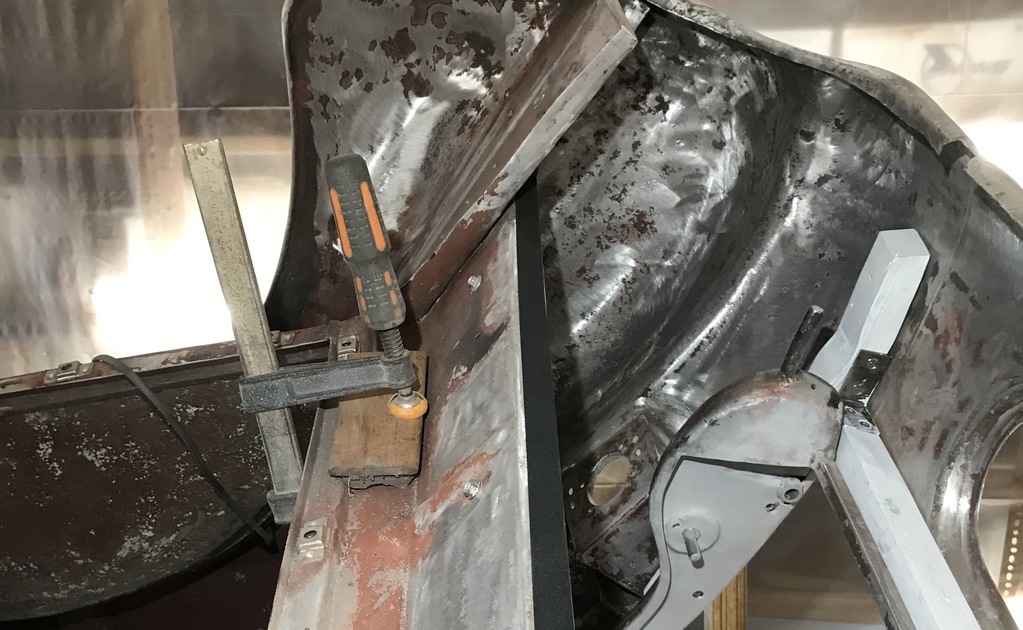 And I got some colour on! 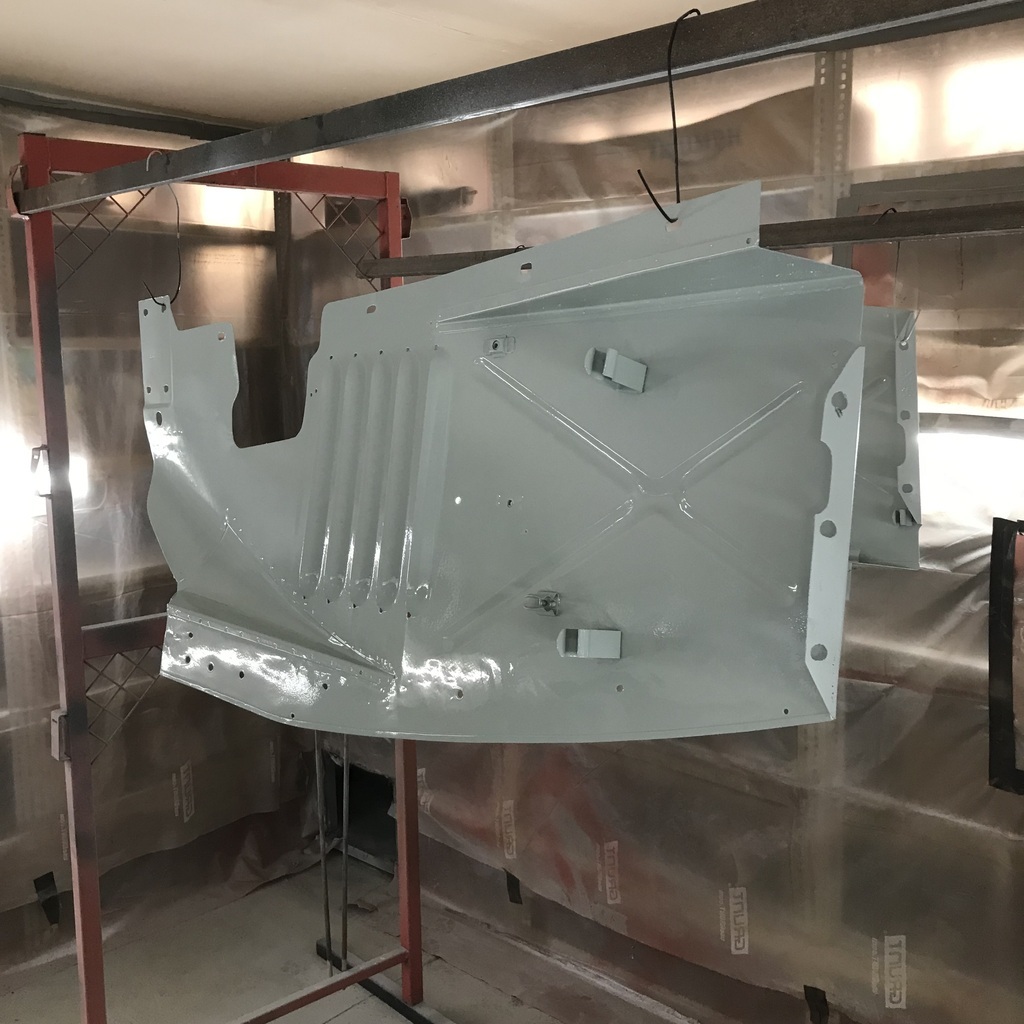 Just the two inner guards, really as a colour test. I had some paint mixed up from a colour sample that was as close as I could find to the pic I posted a little while back. It was a bit too dark so I added some white to bring it back a little. Just so I don’t forget, it was 20% white by weight. The white was some that I had matched to the car as it was, so it’s good that it won’t go to waste. So I really can’t put off the sanding marathon any longer! Thanks. |
| |
|
|
|
|
gazzam
Part of things
 
Posts: 741 
|
|
|
|
Had a slow couple of days on the Triumph. Our club has it’s annual show coming up, so I spent some time putting up some signs on the main road. I did get a start on the filler work. Gave the lower rear part of the back guards a skim coat. Sanded it back with 80# and then sealed it with epoxy. 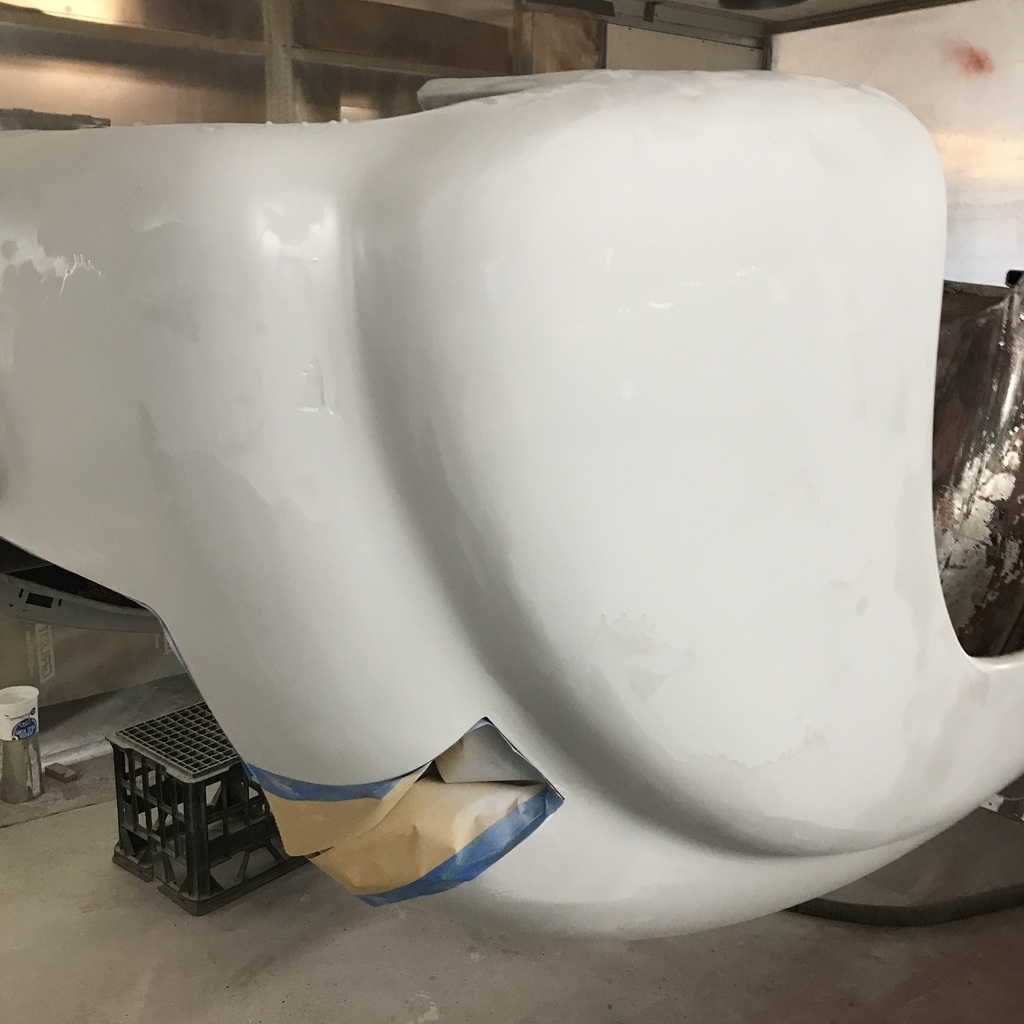 Remembered that I had forgotten a little job on the passenger sill. This is the B pillar/sill bracket. The red circled bolts weren’t tightening and the yellow ones were missing. 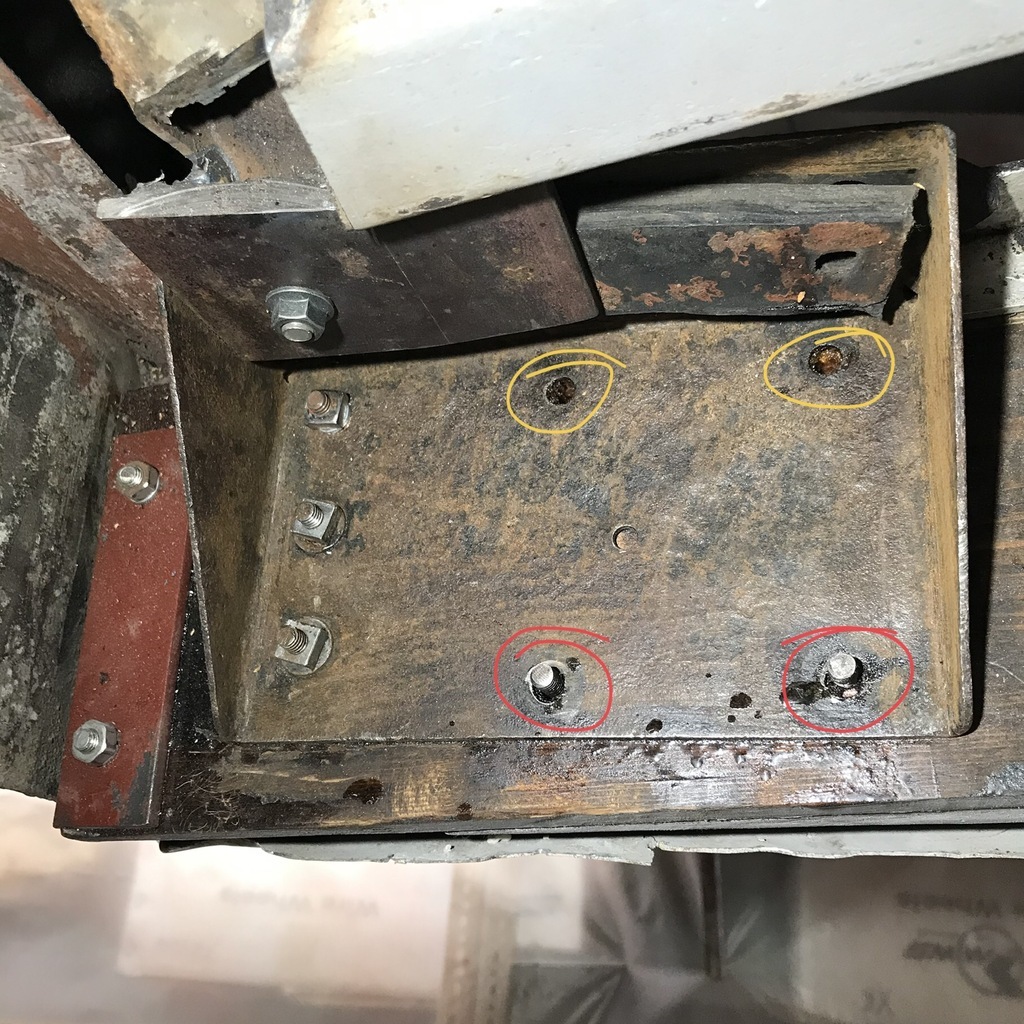 So I made this. It’s about 1.5mm thick. 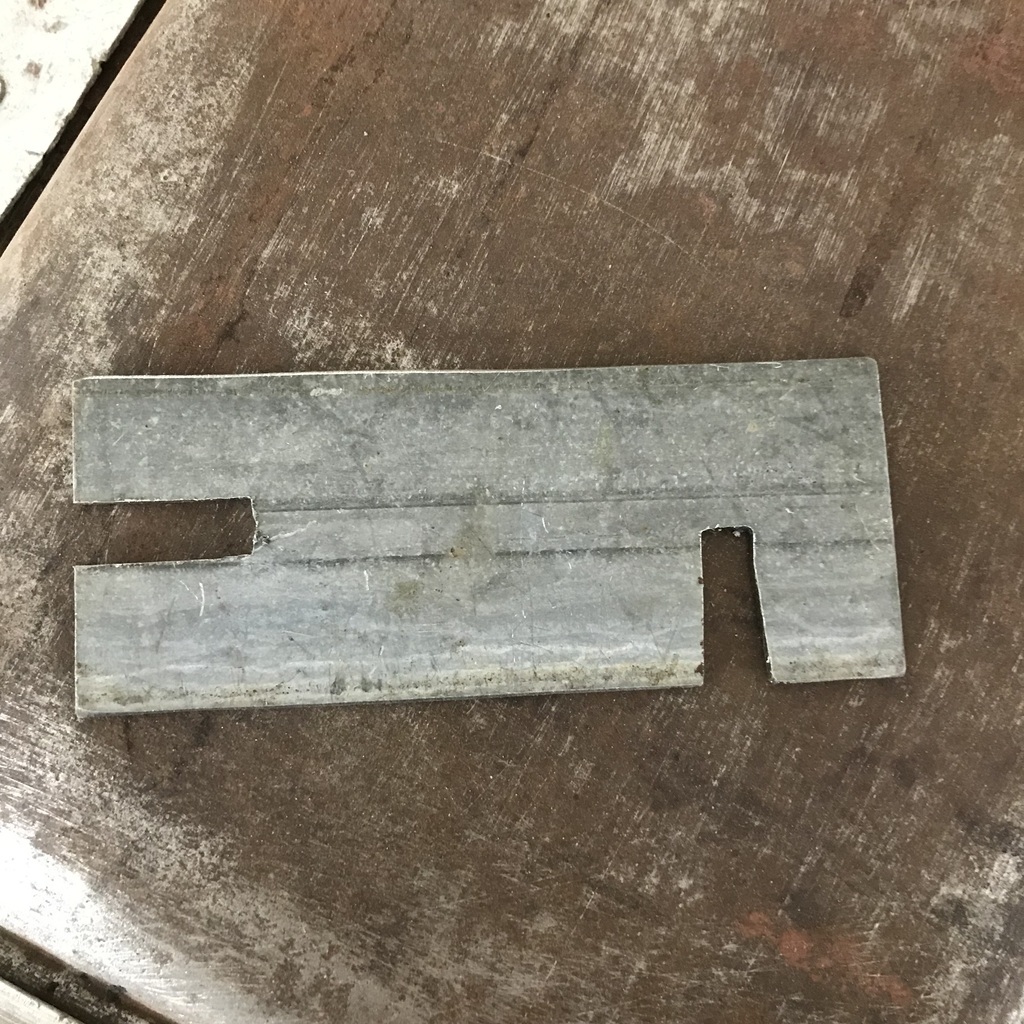 I was able to remove a couple of screws and prise this apart a few mm. Then slip it in, and it went under the heads of the cuphead bolts and caught the square section of the bolt. 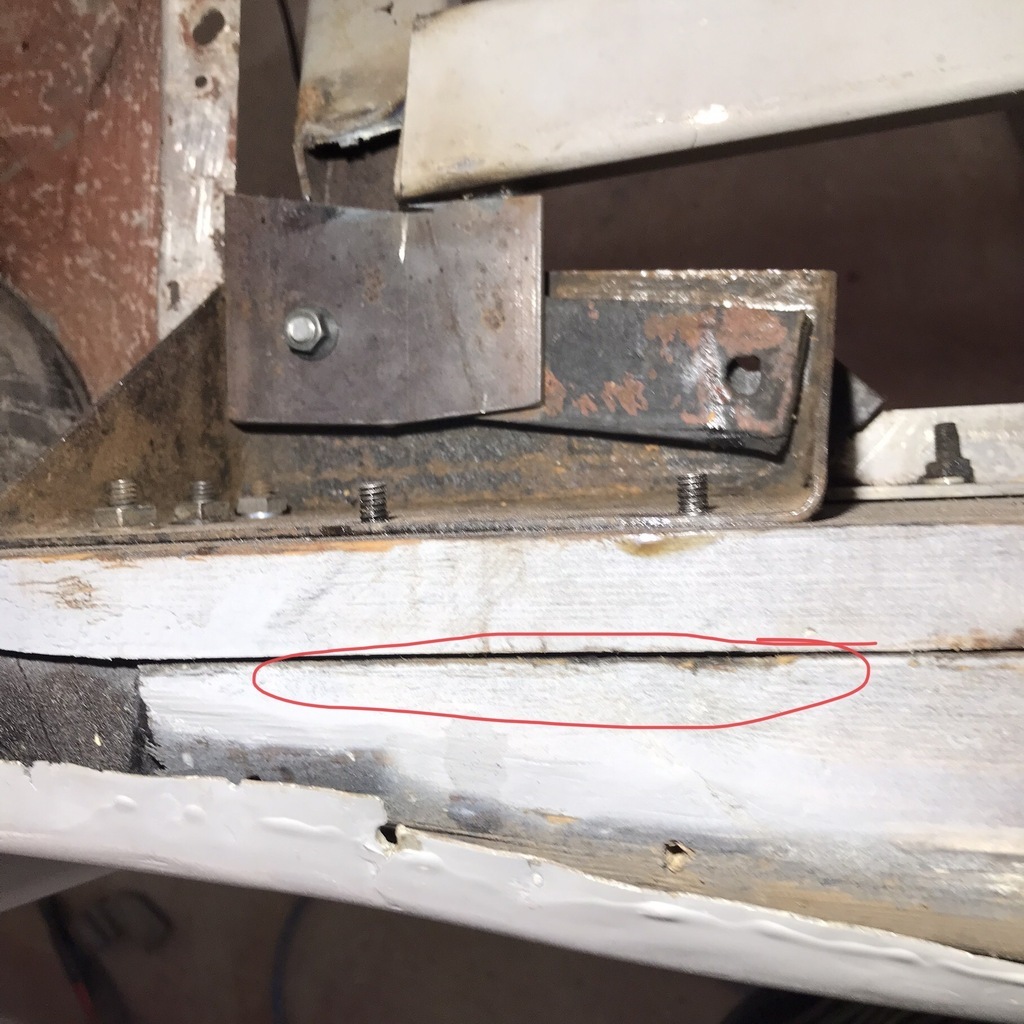 That stopped the bolts turning. I drilled holes though the sill for the missing countersunk head bolts. Then taped over the holes on the outside of the sill and filled them with timber preserver. This to harden the timber so the countersunk heads won’t pull in. This is the sill that I didn’t do, but I don’t think it’s original. The timber is softer than ideal. 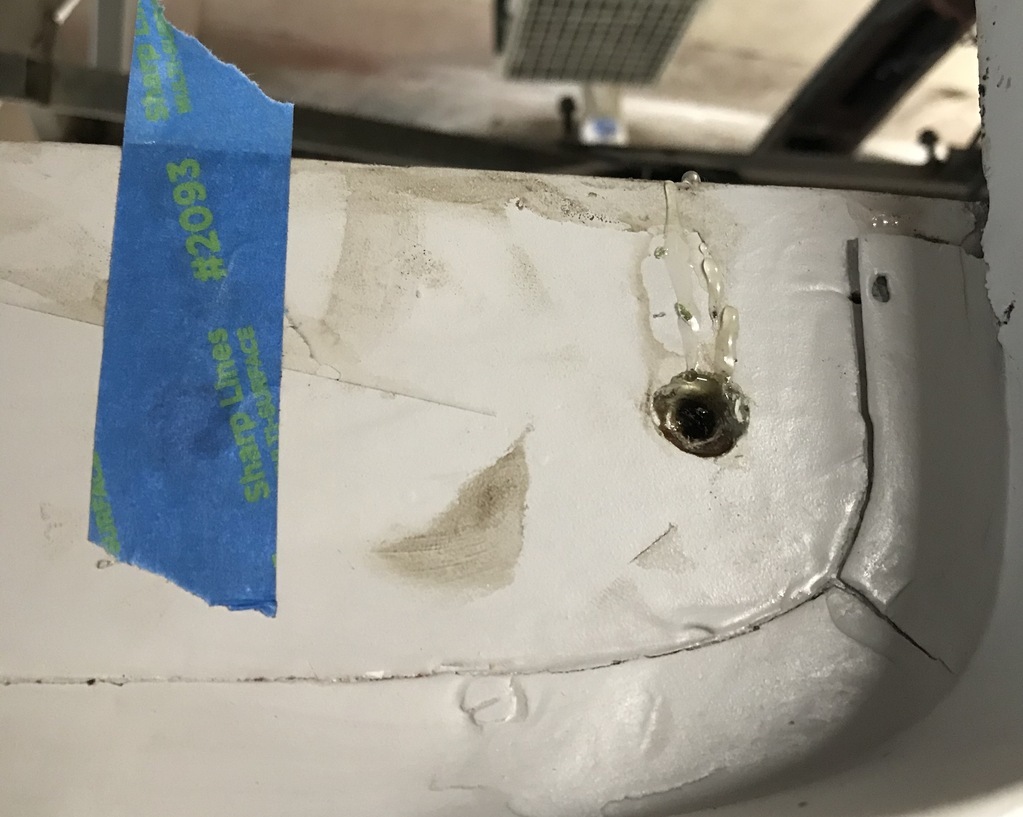 Finished rescrewing the rear windscreen mounting brackets. 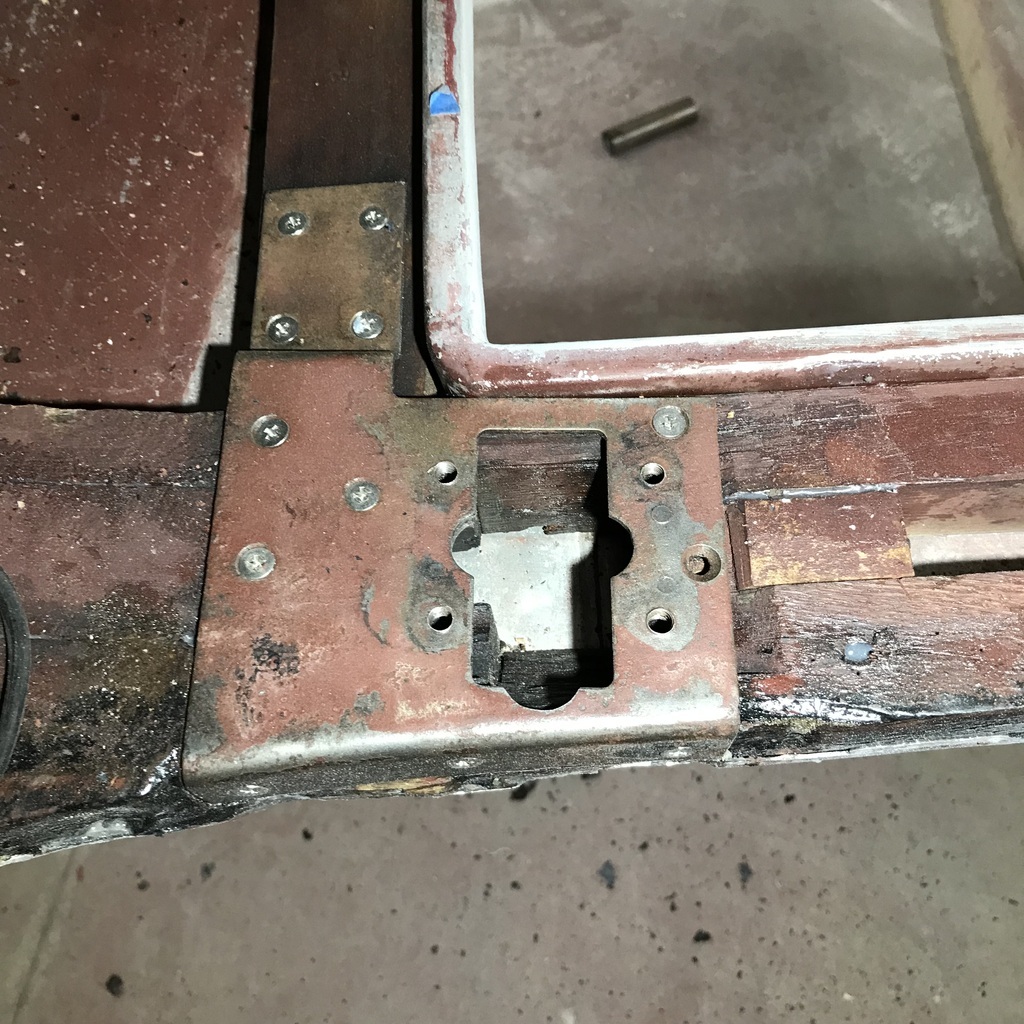 Been making progress with the stripping of the underbody “paint”. 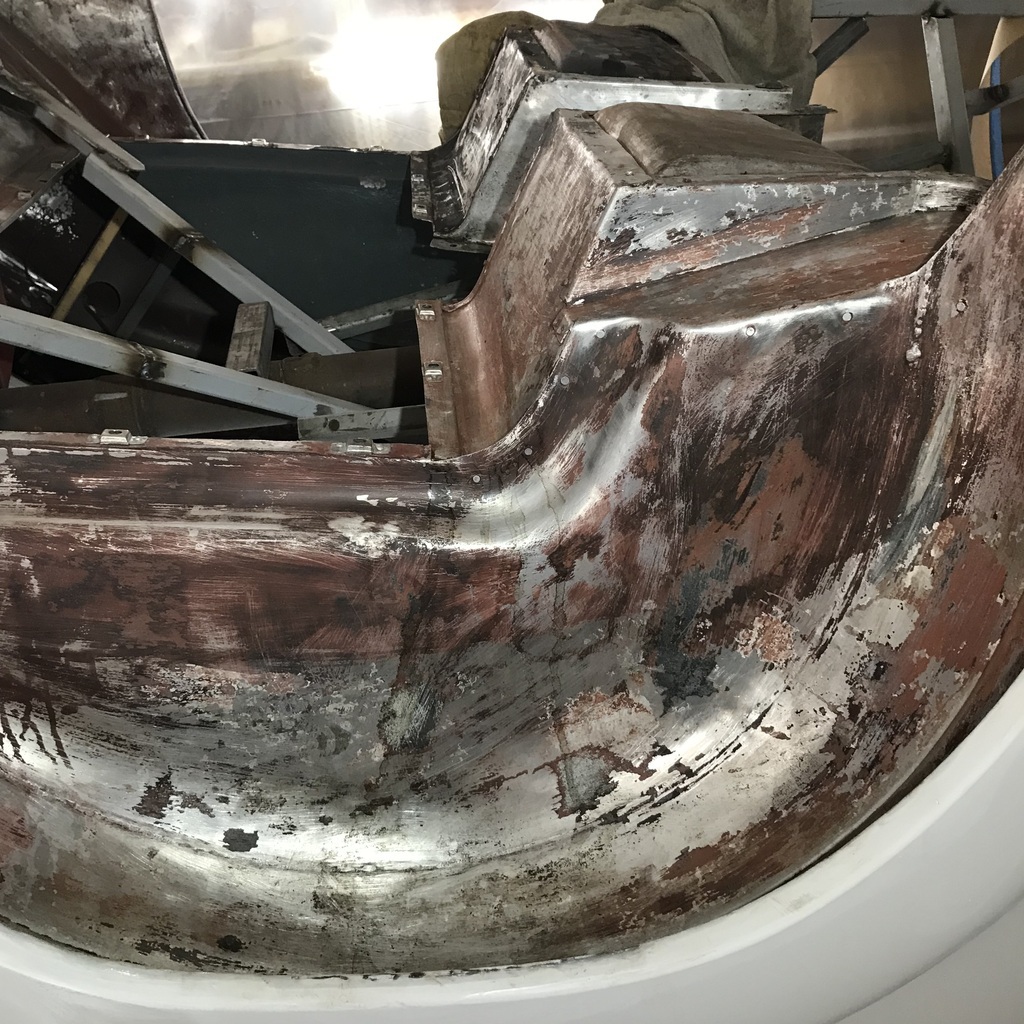 The plastic sheet around the booth walls has seen a couple of paint jobs and a fair bit of sandblasting. So I pulled it down and made a couple of changes to the lighting and put up fresh sheet. What a difference! 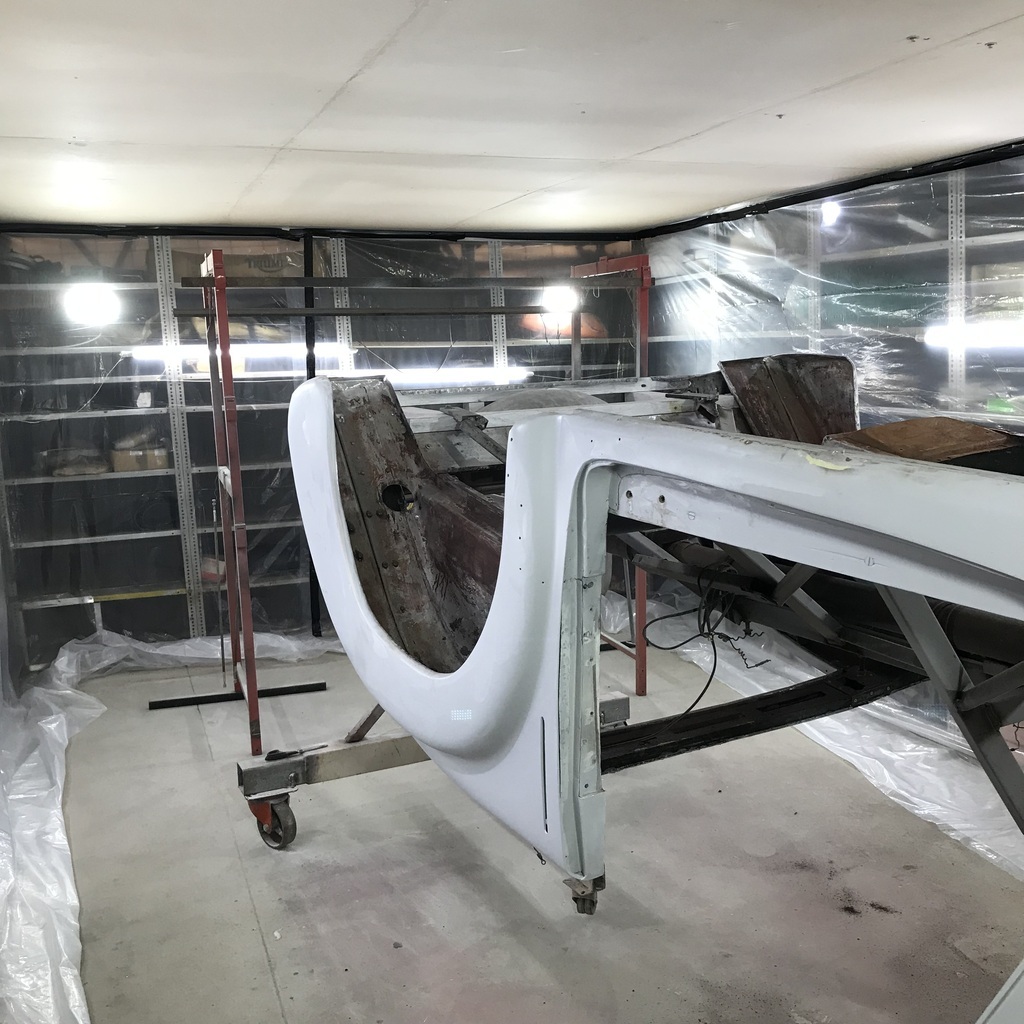 The excess plastic at the bottom still needs to be trimmed in that shot. Thanks. |
| |
|
|
gazzam
Part of things
 
Posts: 741 
|
|
|
|
Little bits done today. Painted what I hope is the last of the black pieces. Other than the whole underside, obvs. 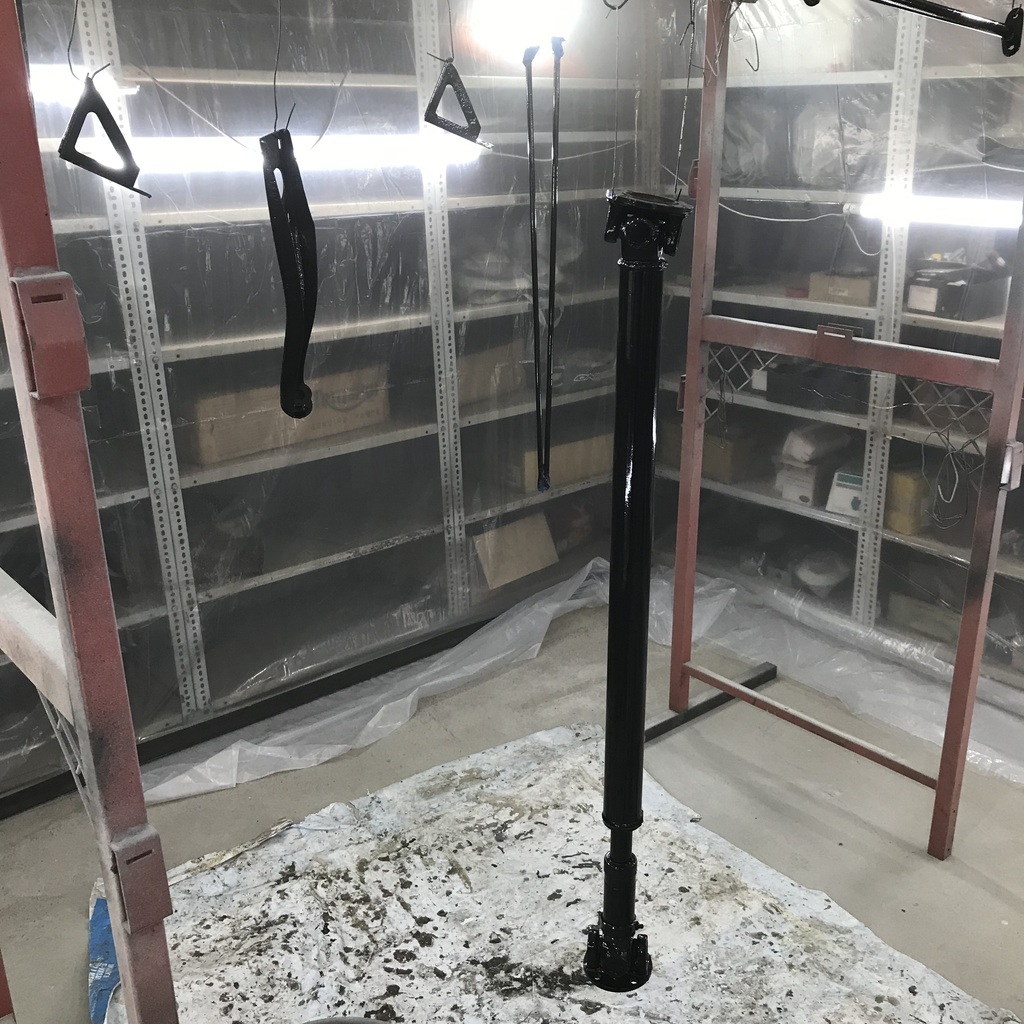 Driveshaft plus a few other small parts. That was before breakfast. We needed to rob the beehive, and that was the job for straight after breakfast,as the temp was climbing steadily. Once that was done I could get back to the workshop. I finished the new plastic lining along the floor with some 4 inch conveyor belting laid along the edge. But I didn’t have enough, so went for a short drive north. All of 3 km, to a business that recycles rubber conveyor belts from the mines, into various other products. They have a freebies section and I picked a nice thick piece to hold my sheet down. I drilled and screwed the tab on the driver’s sides body to the underside of the repaired sill. Then drilled and nailed it, through mostly original holes in the aluminium skin. 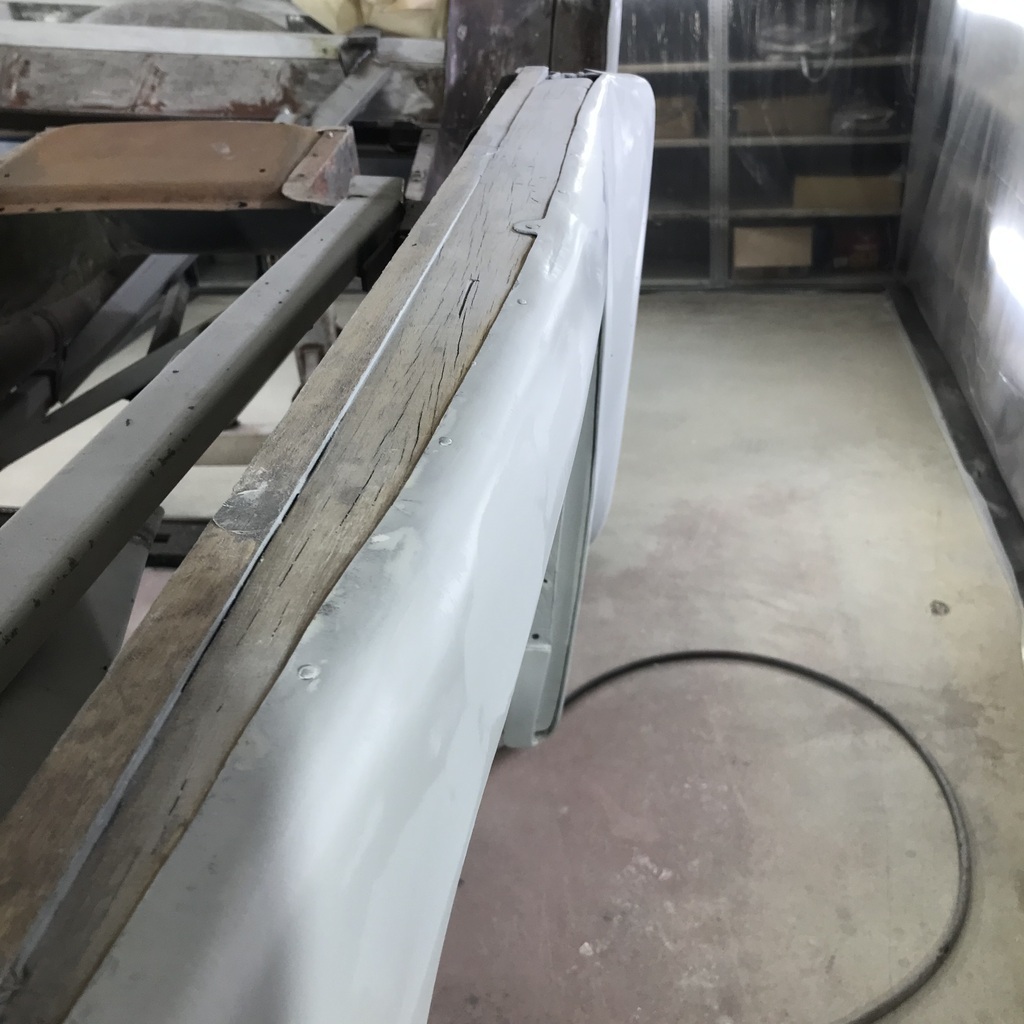 Scratched this part of underside of the body, from the front wheel arch to the rear body mount, with some 80# and gave it a skim of filler. After a couple of goes it is just about ready for some spray polyester. Then sanded and sealed with epoxy. 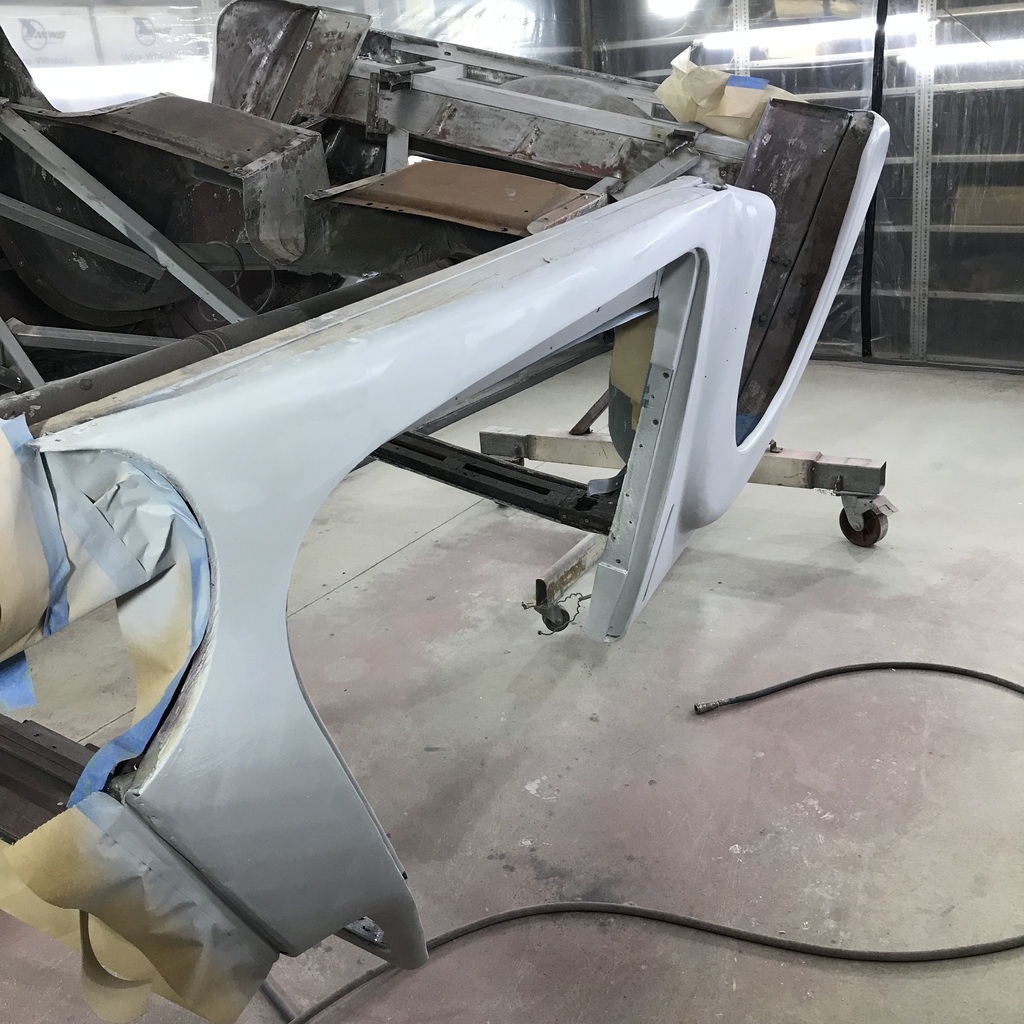 Thanks. |
| |
Last Edit: Feb 16, 2024 8:51:32 GMT by gazzam
|
|
75swb
Beta Tester
Posts: 1,052
Club RR Member Number: 181
|
|
|
|
|
Your progress is so consistent it's excellent. Cars going to be better than new! Do share some show pictures when it happens
|
| |
|
|
gazzam
Part of things
 
Posts: 741 
|
|
|
|
Cheers 75. Will certainly get some pics. It’s on 3 weeks from today. More filler work today, the other ( passenger) side this time. Didn’t take any photos. Just imagine a mirror image of those last shots. That didn’t take very long really. I'd already screwed the undersill tab, that I made a few posts back, to the wood. I did tap it down and nail it through the existing holes, but because this is the sill that I didn’t fix, it didn’t need to be predrilled. Because softwood. Then I found that there was a high spot on the rear end. One that wouldn’t tap down. About where one would be if the new wood was pressing on the aluminium skin… 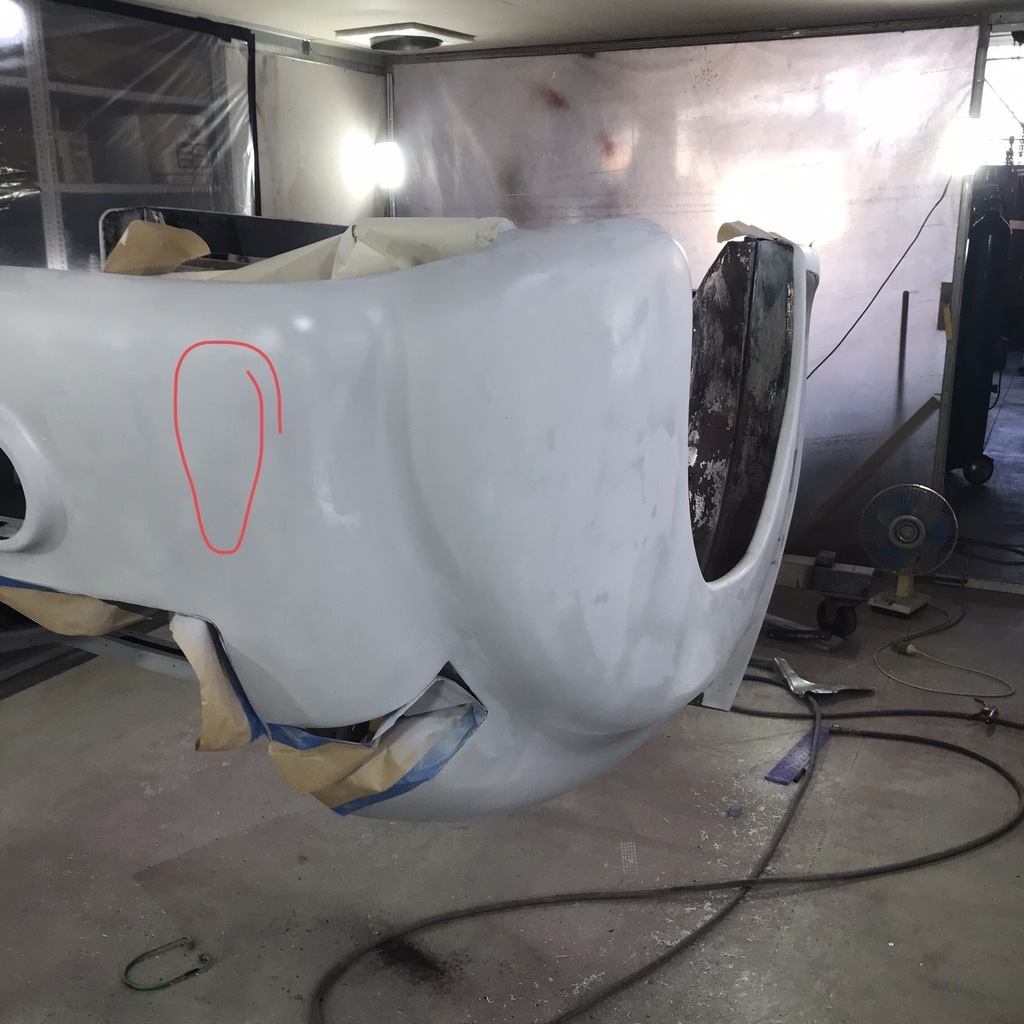 I didn’t want this to push a lump into the body, if things moved at all. So then I spent the best part of half a day creating a small gap between the piece of wood and the skin. This particular bit of wood is pretty much in there permanently now that the rest of the boot has been assembled around it. It would be a major job to get it out. So I tried various things to make a gap, mostly without success. Then I unscrewed the 14 (!) screws that hold it in and was able to wiggle it enough to get some serious sandpaper behind it. Anyway it’s now ok, but I am concerned enough about things changing shape that I’ll take it off the rotisserie, put it back on the body and check boot / door gaps etc once the bodywork is done. Then put it back on the rotisserie to paint it. By the time that was done, I'd had enough, so I sealed it with a quick coat of epoxy, and went for a cleansing ale. Thanks. |
| |
|
|
gazzam
Part of things
 
Posts: 741 
|
|
|
|
Bodywork is well underway. Sanded it with 80# and scratched the obvious low spots with the same. Then a skim coat of filler where necessary. Mostly this was where I had done any repairs. Once it had been blown clean and a few areas masked to avoid a buildup of primer, it looked like this on both sides. 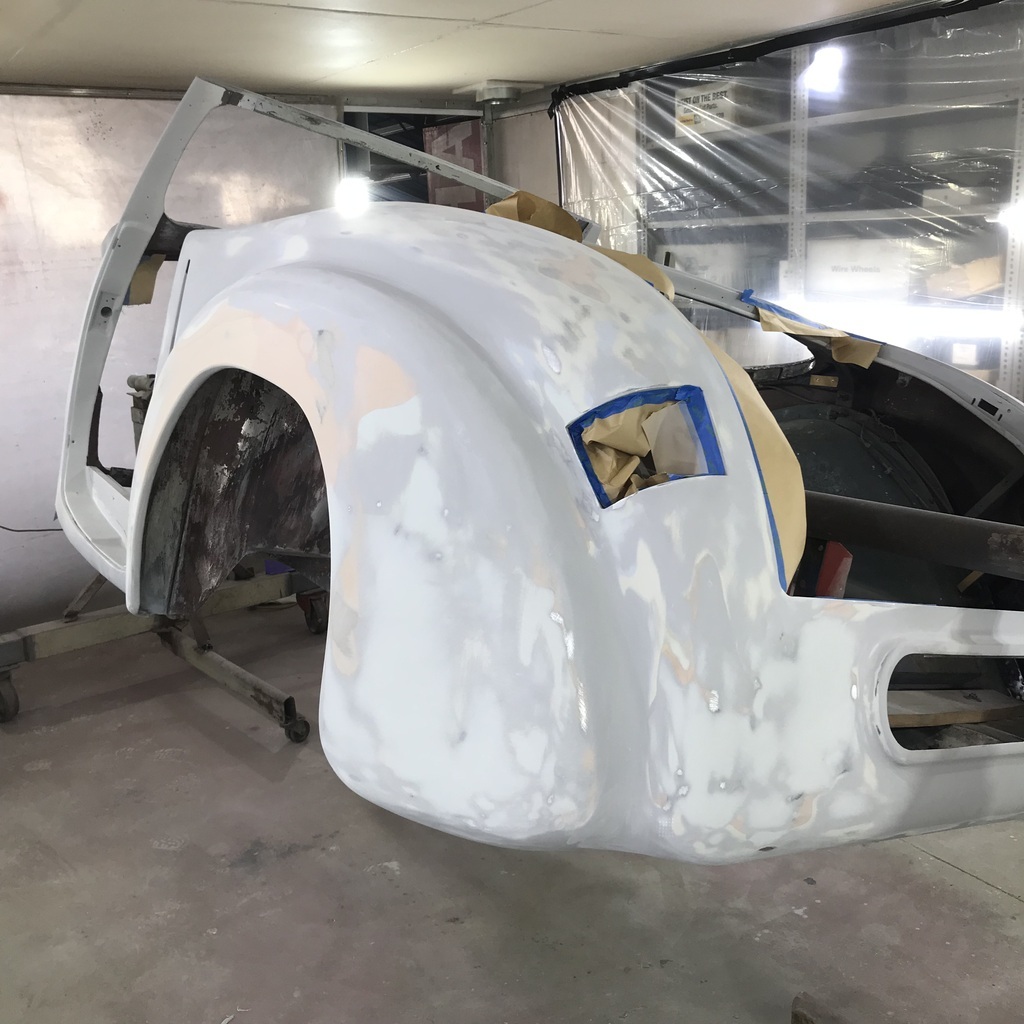 Then a quick coat of epoxy to seal the filler. 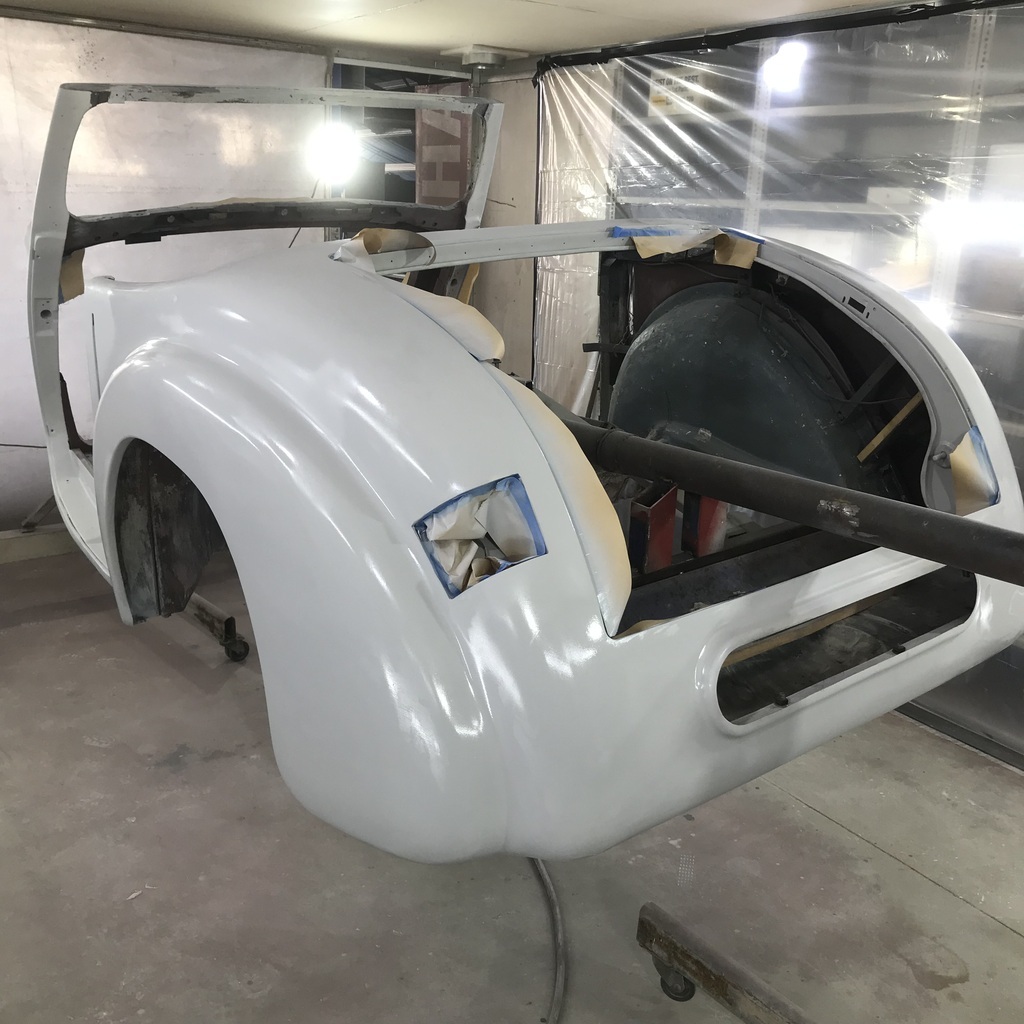 And that’s it for the day. Tomorrow should see it ready for a coat or two of polyester. Thanks. |
| |
|
|
gazzam
Part of things
 
Posts: 741 
|
|
|
|
Did a bit more detail work on the body. Nothing photo worthy - car looks much the same as yesterday. Because I was mixing epoxy to seal the filler on the body, I prepared the air cleaner for paint. It was pretty rough. 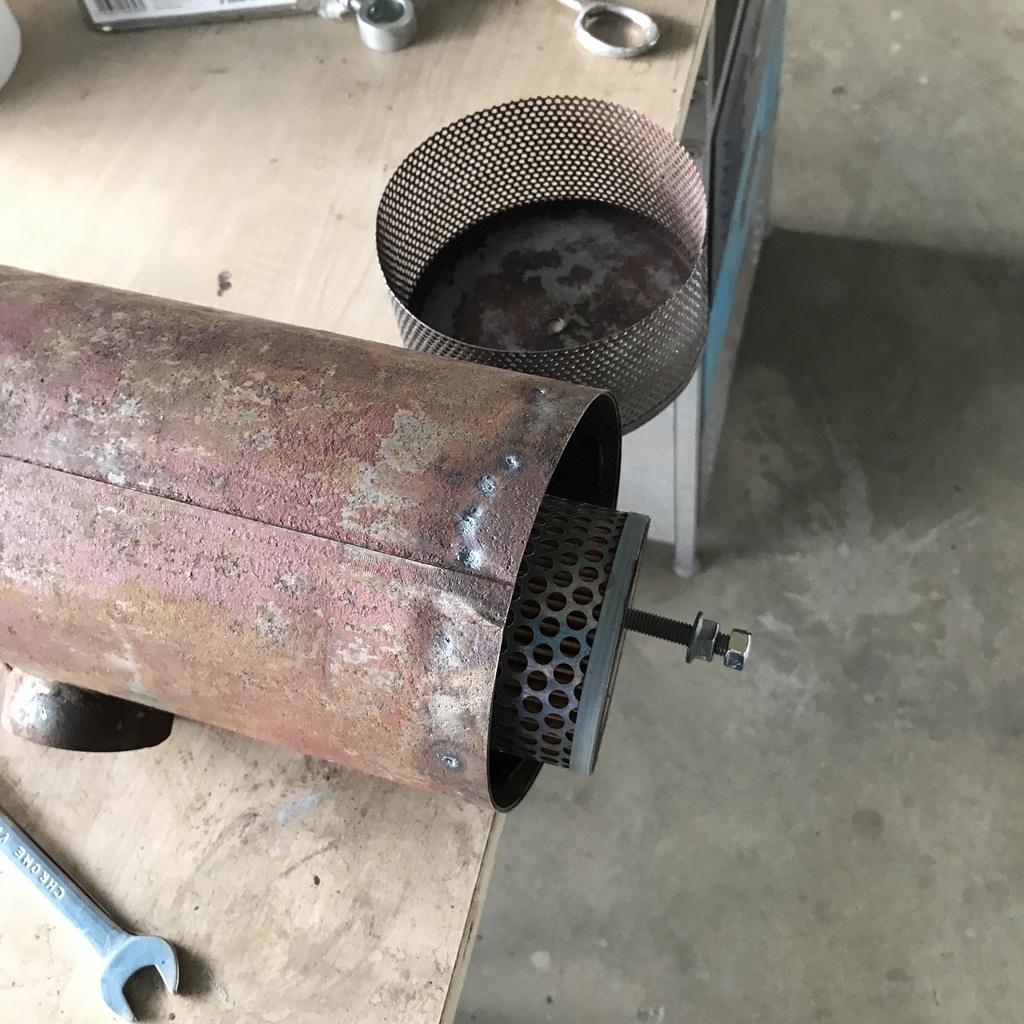 So it needed treating for rust ( phosphoric ) and some sandblasting. Gave it a couple of coats of epoxy and once it was dry to touch, spread filler over the spot welds and rust pits. 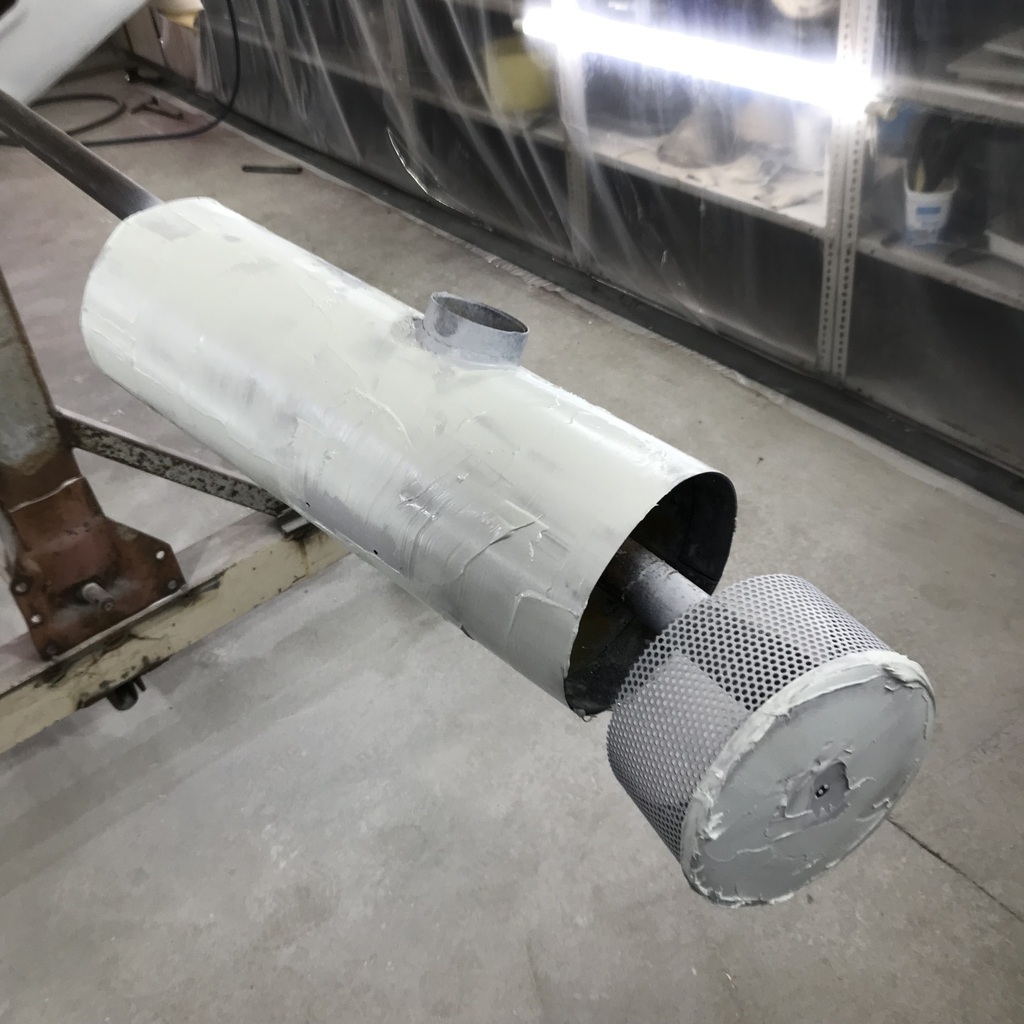 Plan for the body is to go over it with 120 grit, mask it and then try out the Upol Reface. Thanks. |
| |
|
|
gazzam
Part of things
 
Posts: 741 
|
|
|
|
Readying the body for polyester. Cleaned with wax and grease remover. Then scratched it with 120 grit. Then degreased it again. Covered any bare aluminium with Upol Spot 3. 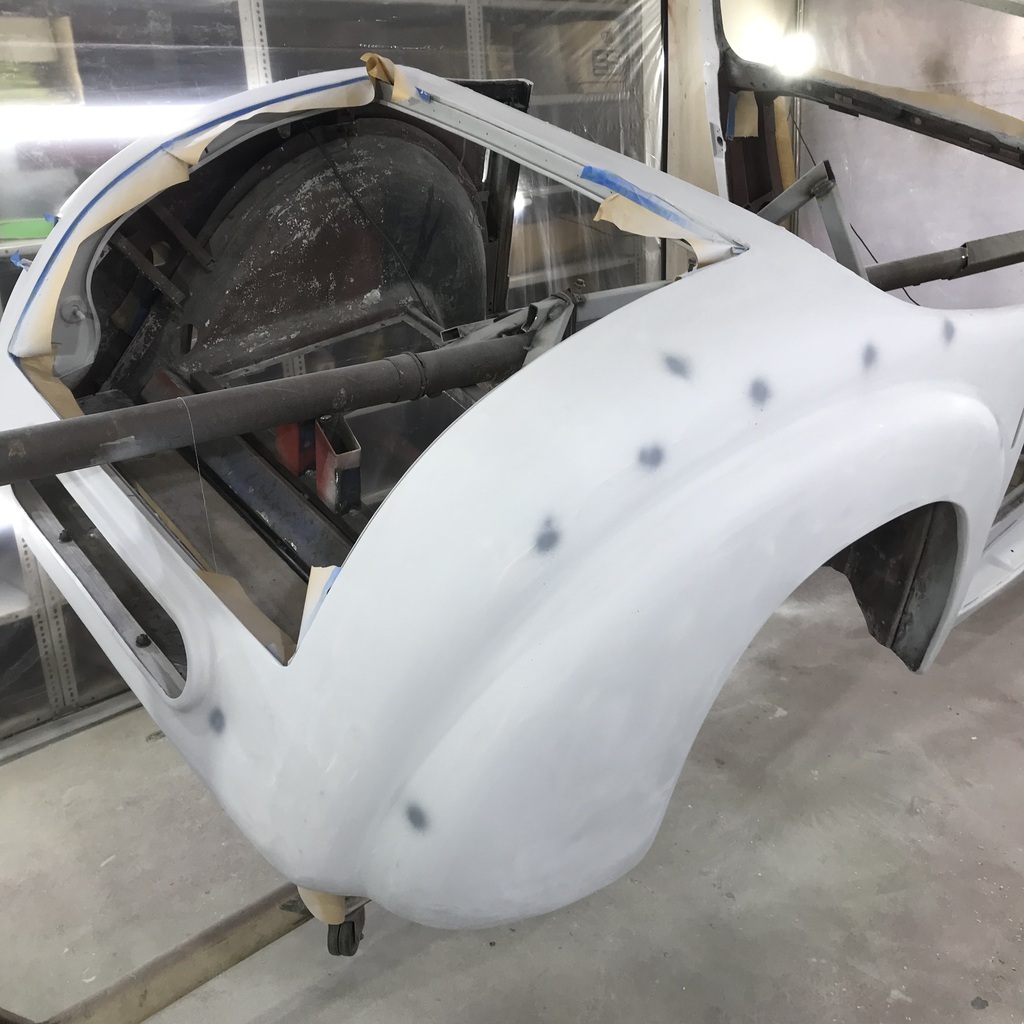 Then masked it. Didn’t want to have to sand any polyester overspray off if it could be avoided. 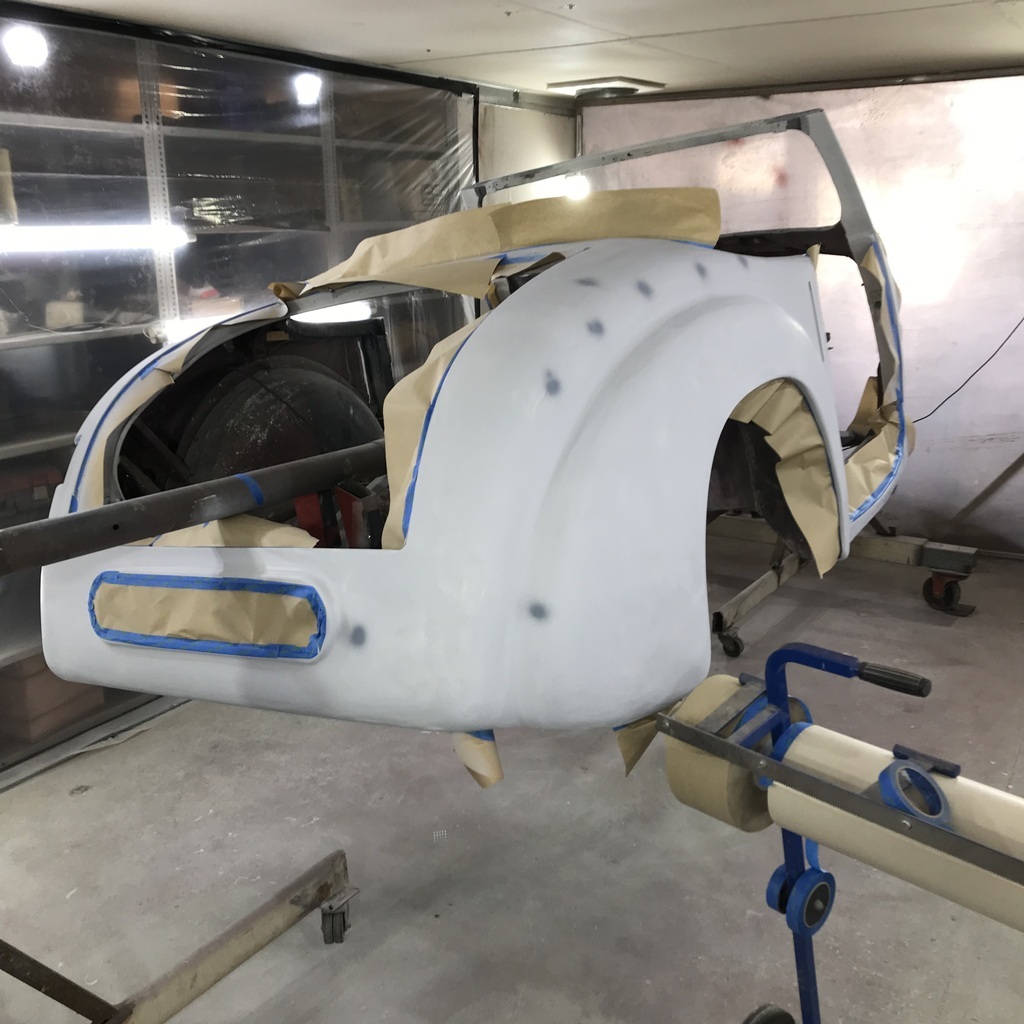 And as a test, to see if the spray gun I planned to use would actually spray it, mixed up 60 grams and tried it. Seemed to go ok, if it looked a little like underbody schutz, so I mixed up a half pot and got into it. Then another half pot, and it was done. 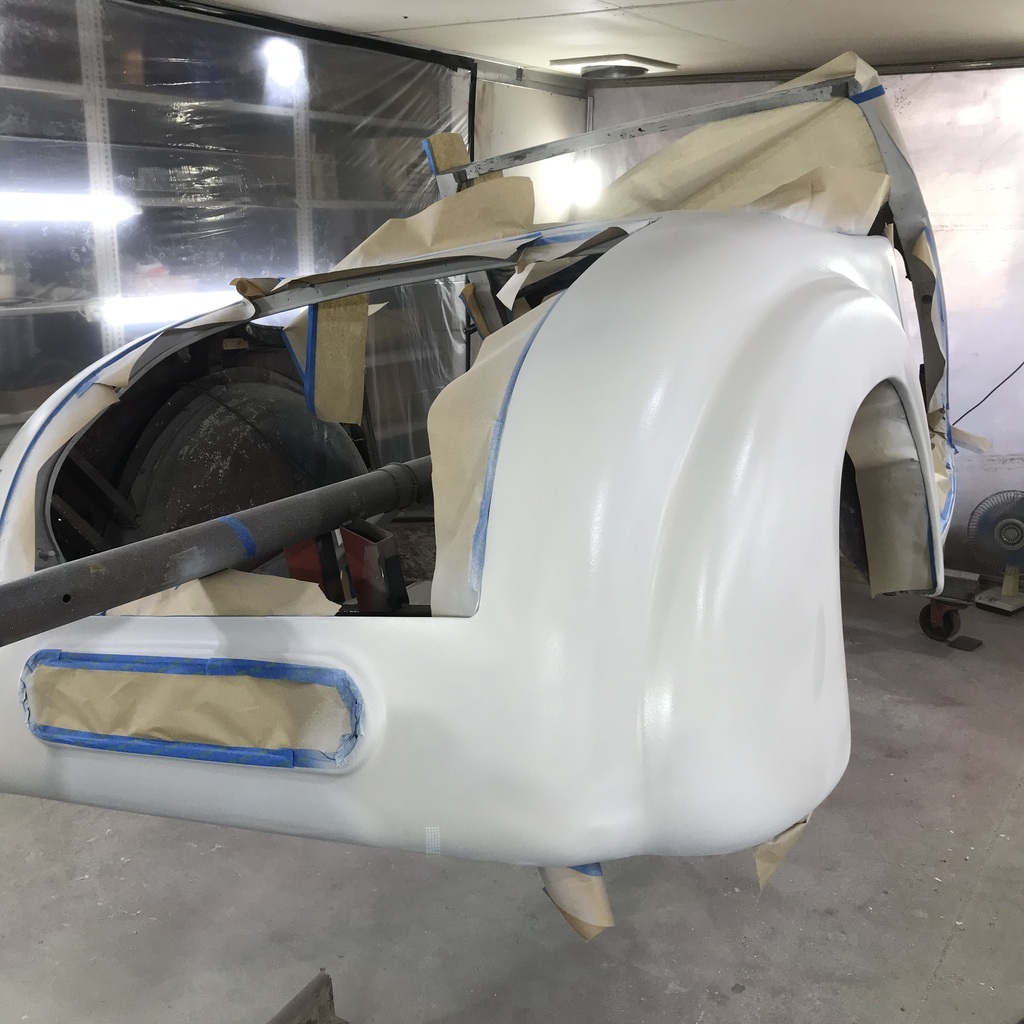 We'll see how it sands tomorrow. Also sanded the air cleaner. 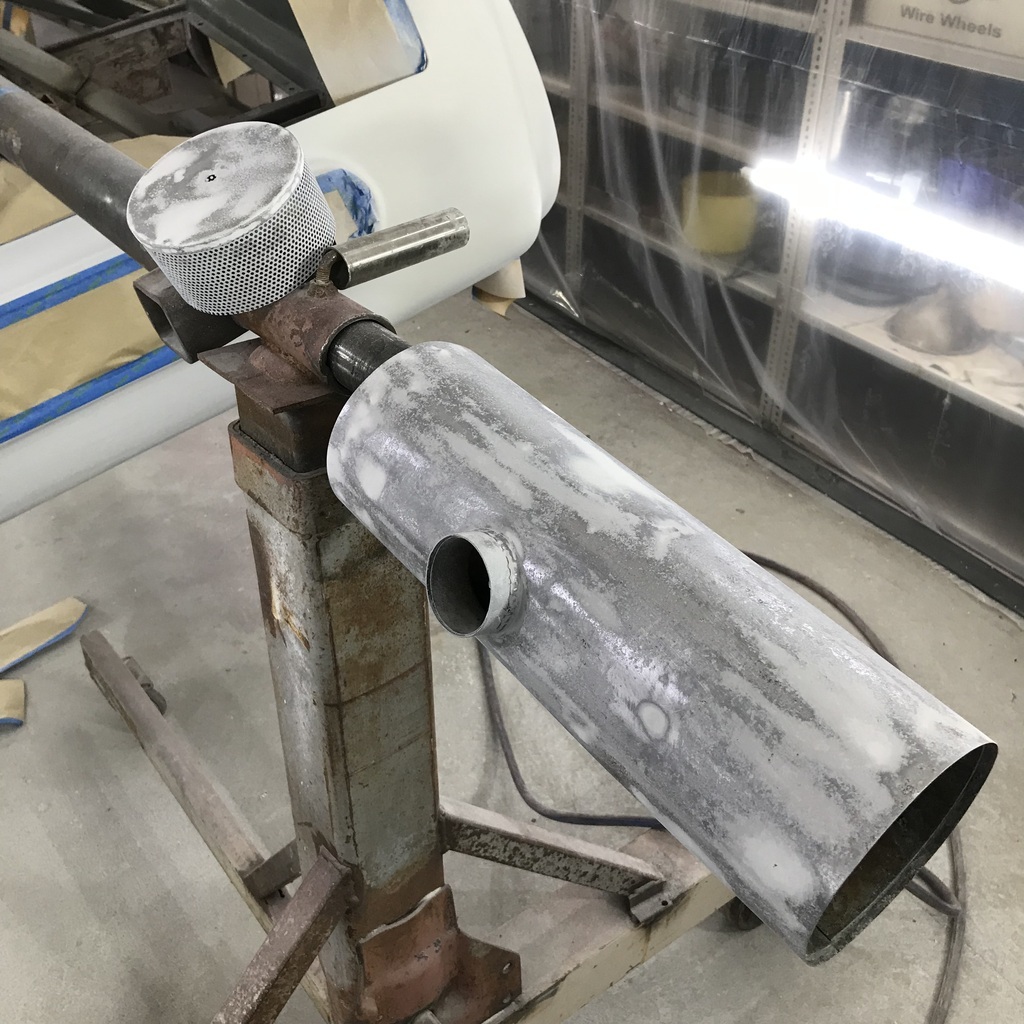 And gave it a coat of primer surfacer out of a spray can I had. 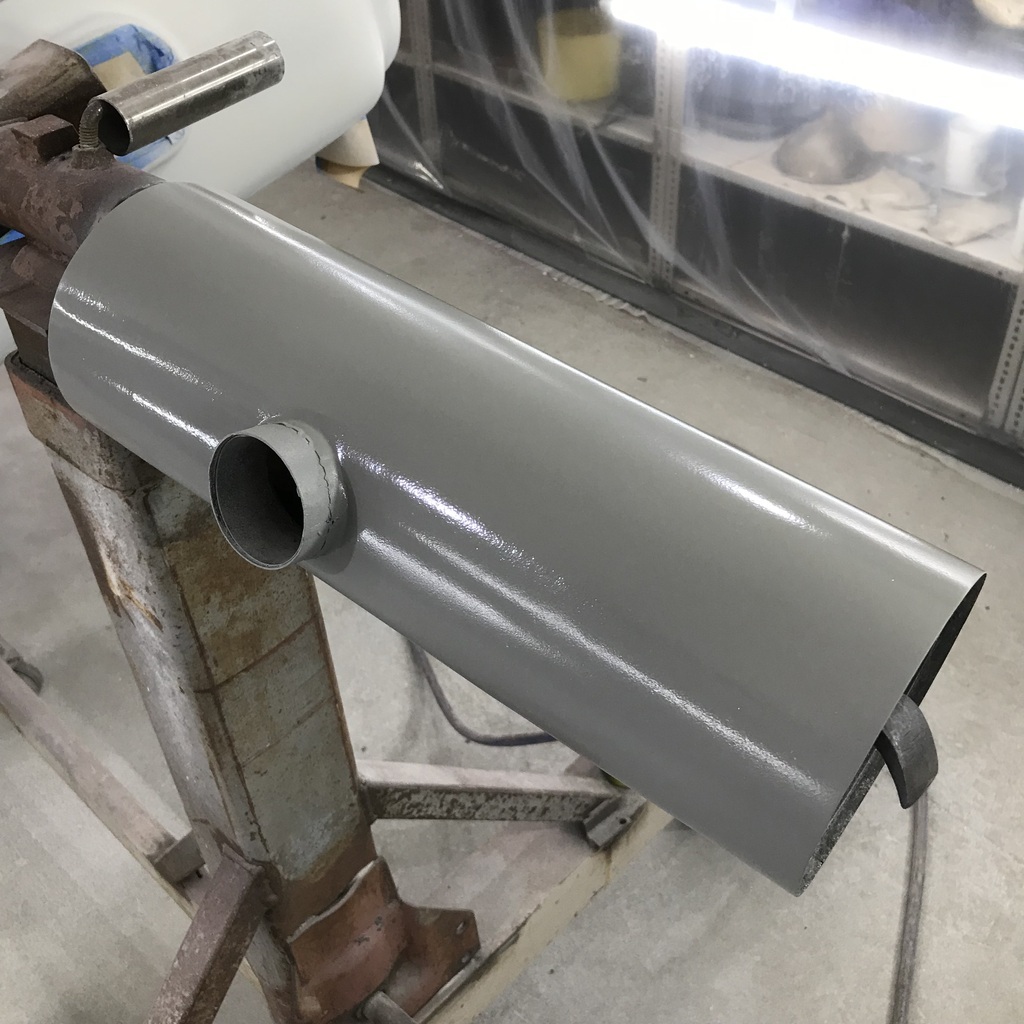 Thanks. |
| |
|
|
gazzam
Part of things
 
Posts: 741 
|
|
|
|
Can recommend Upol Reface. My (cheap) gun has a 2.5 fluid tip, and Upol advises 2 - 3. I’m thinking a 3 might be better for a flatter finish off this gun, but the surface is like stonechip and acts like a guide coat. And it sands easily. As advertised. After sanding with 180 grit, there were a few low spots. Gave them a scratch and shot some more Reface, just where needed. About an hour and a bit later it was hard, so I sanded them and removed all the masking. Then went all over it, marked areas that needed attention, ie filling, with bits of masking tape. 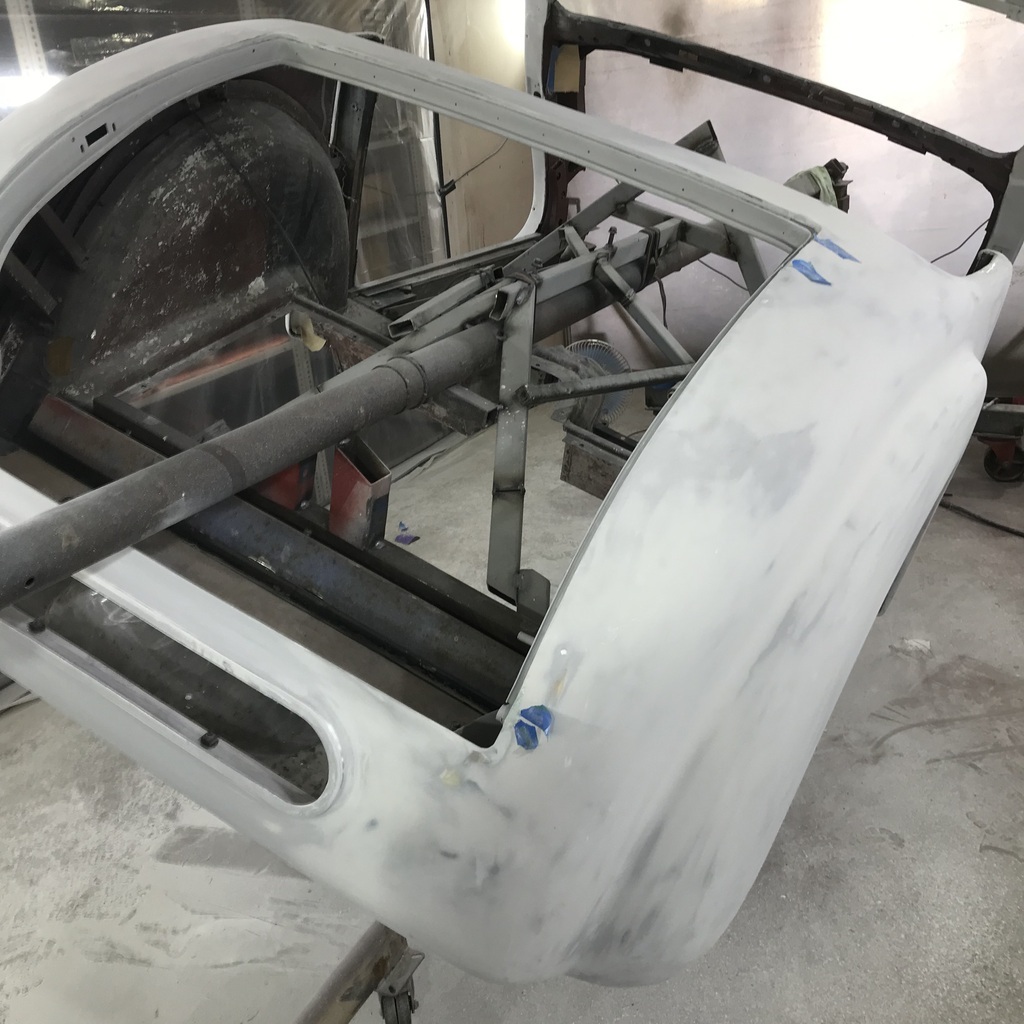 Once they were sorted I blew all the dust off and started masking it again. For what I hope is the last coat of epoxy before topcoats. Only got about halfway through masking and it was time to pick up our Rosie from the vet. She’s just had a tumour cut out of her chest. Very restless and presumably uncomfortable. Just hope they got it all. End of play. Thanks. |
| |
|
|
gazzam
Part of things
 
Posts: 741 
|
|
|
|
First up I finished masking, and wiped it down with wax and grease remover. After breakfast it was well and truly warm enough, so gave it a coat of epoxy. Once that was touch dry, I opened the end wall so the body could be wheeled out of the booth. Then I hooked it up to the fork and cut the few welds to remove it from the rotisserie. Wheeled the chassis underneath and lowered the body onto it. Then mounted the doors. 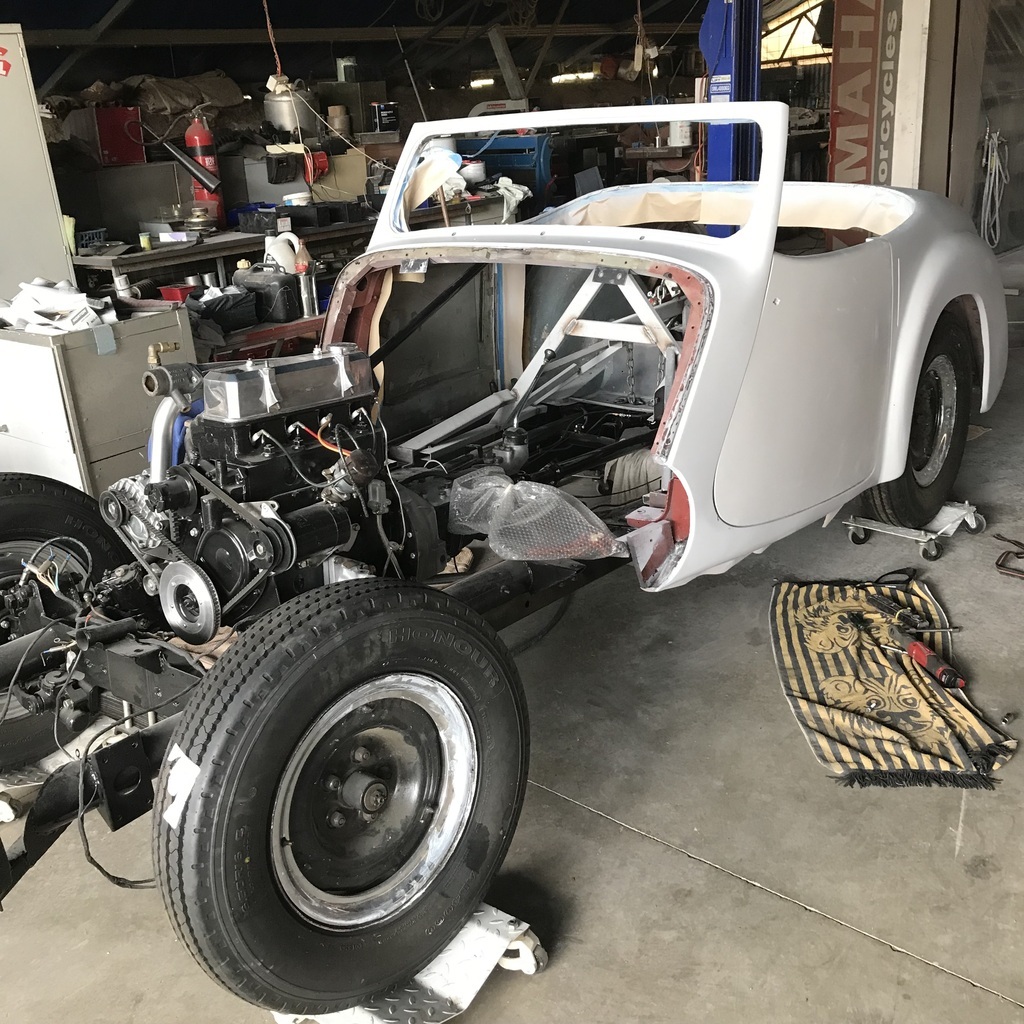 Packed some of the body mounts, in order to get the door gaps about where they should be. Had to loosen the newly tightened B pillar bolts to get some movement. Then replaced the firewall box. 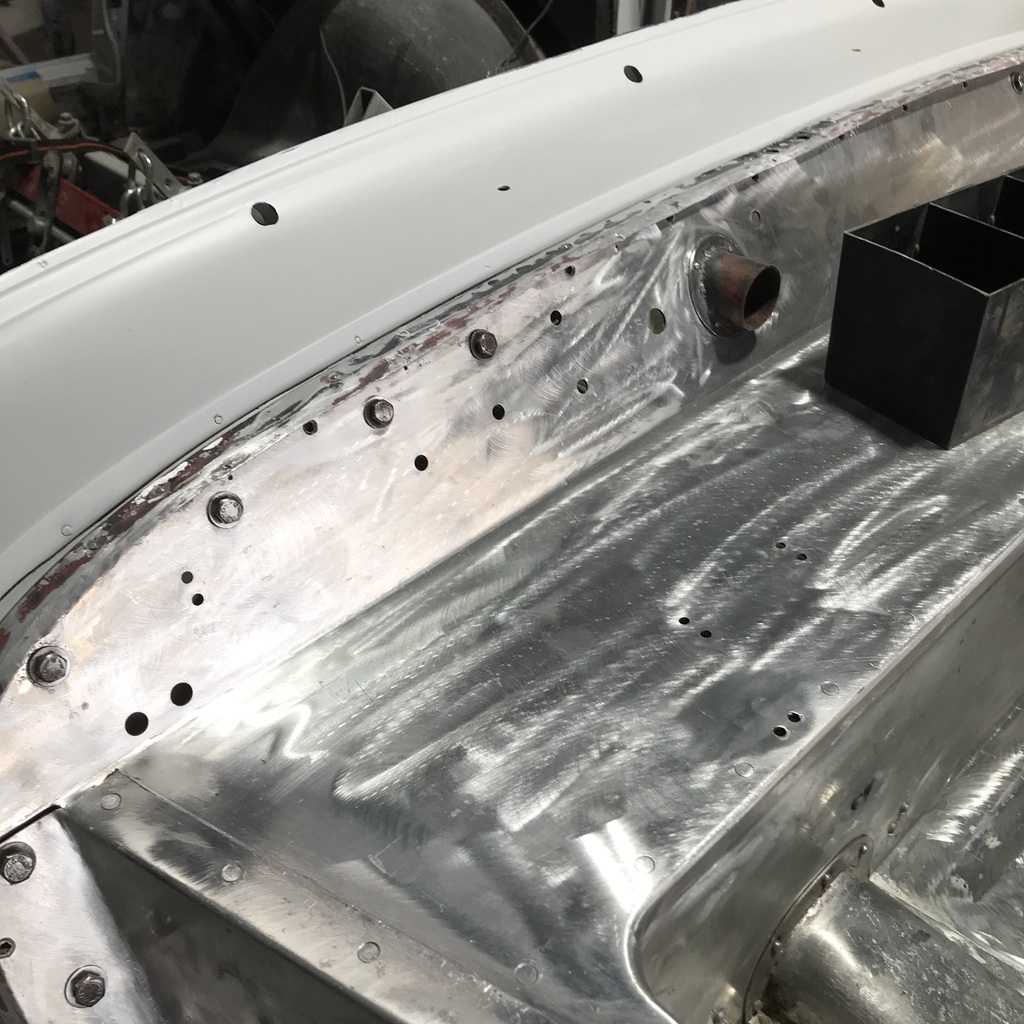 Those bolts aren’t tight yet, but they won’t be coming back out! Barring some disaster, that is. Fingers crossed! The close of play this afternoon. 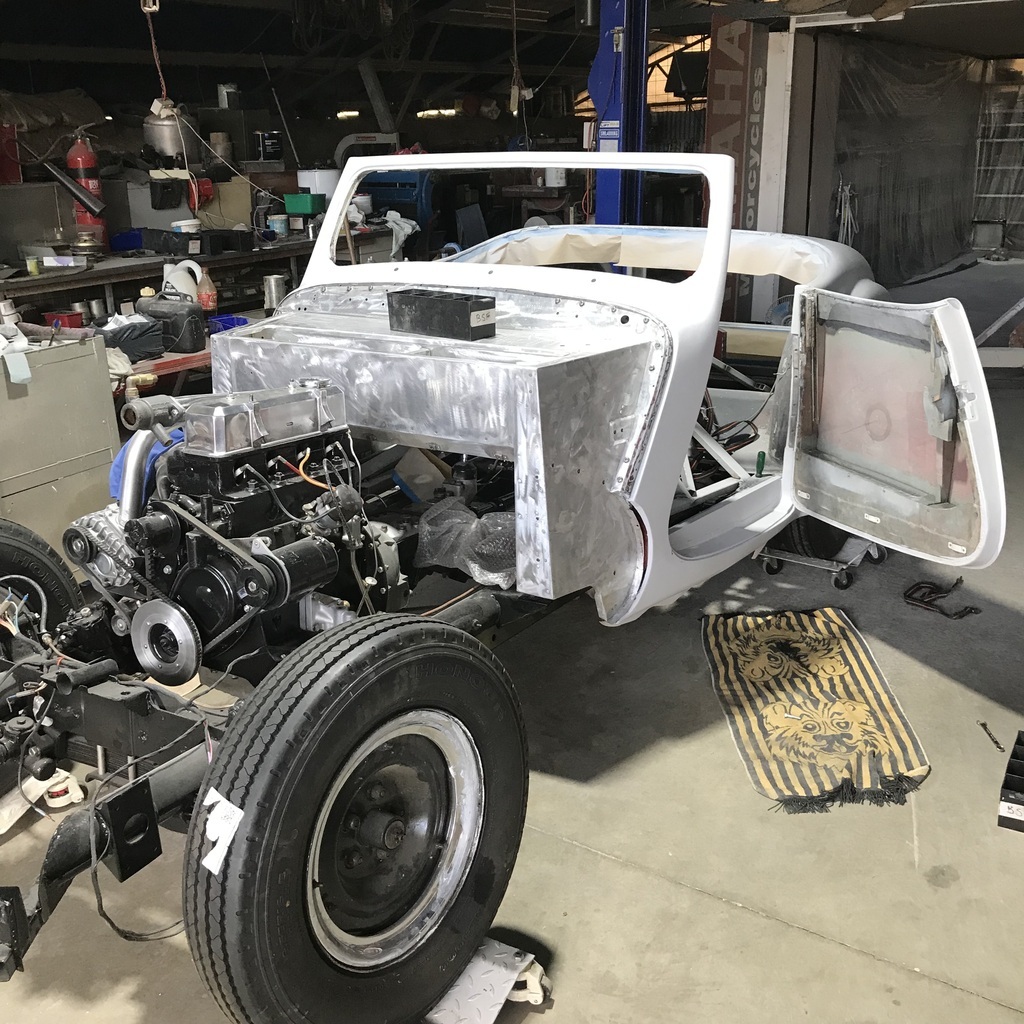 Thanks. |
| |
|
|
|
|
gazzam
Part of things
 
Posts: 741 
|
|
|
|
Sixteen bolts and eighteen screws and it’s finally in position, hopefully forever. 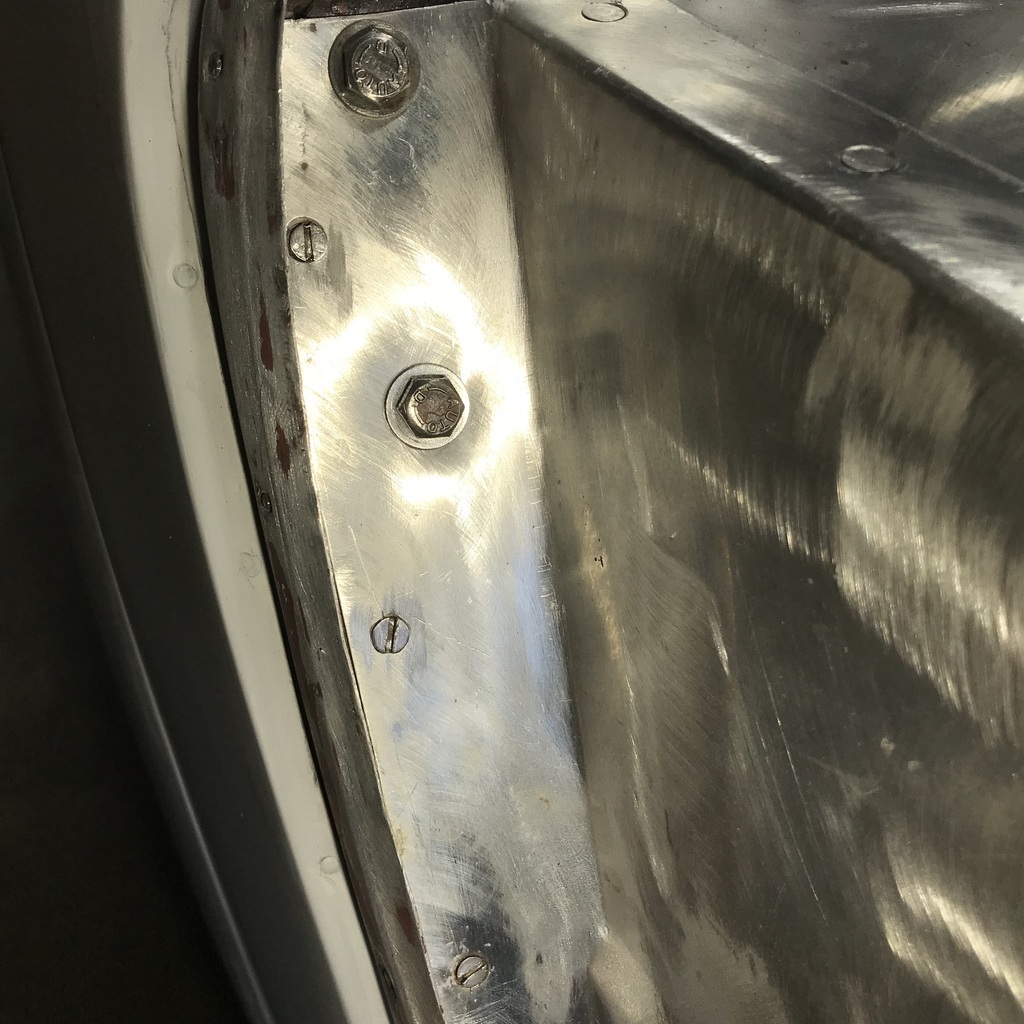 I won't tap the ally over and nail it down just yet, though tbh, I’m not sure why. That will have to be done before the epoxy on the bare ally. Made a couple of reinforcement plates to bolt the firewall box to the chassis. To go in here: 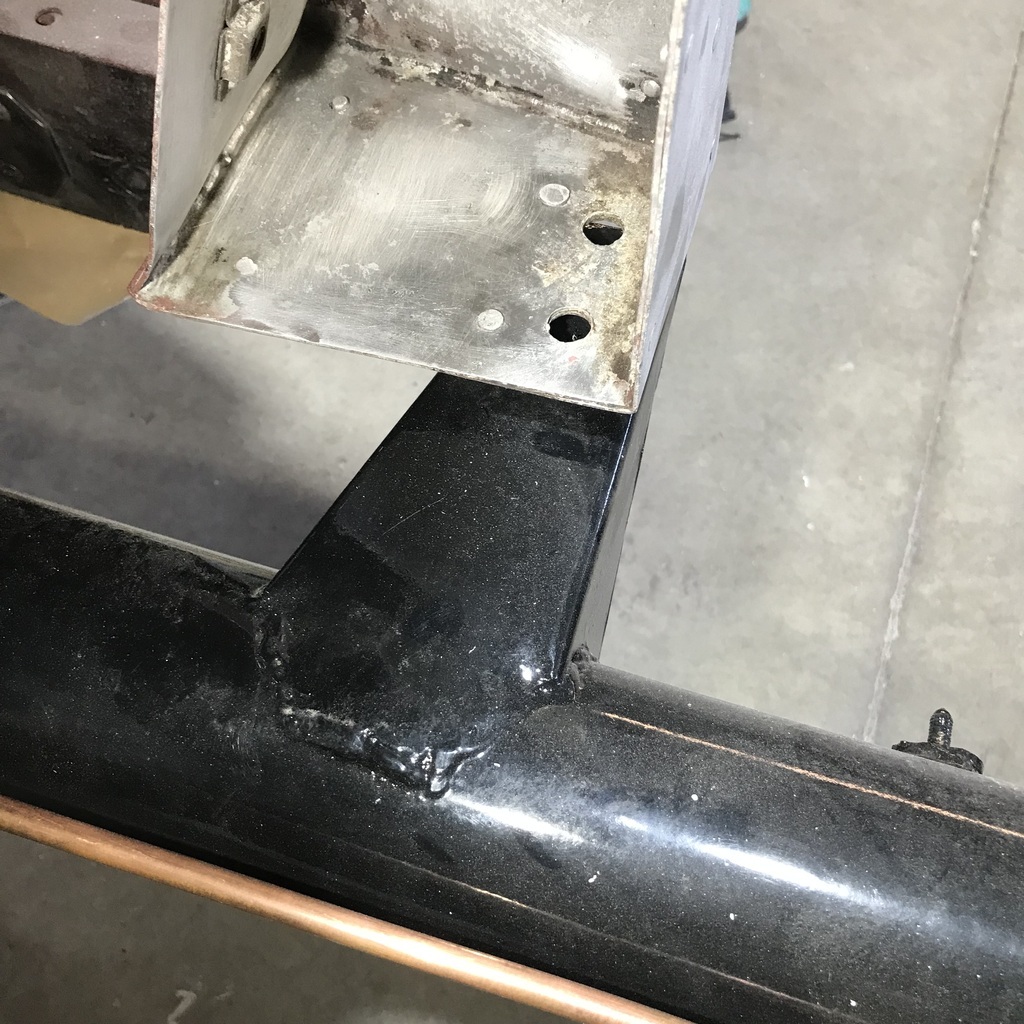 Cut a piece of paper and used the dirty finger technique. 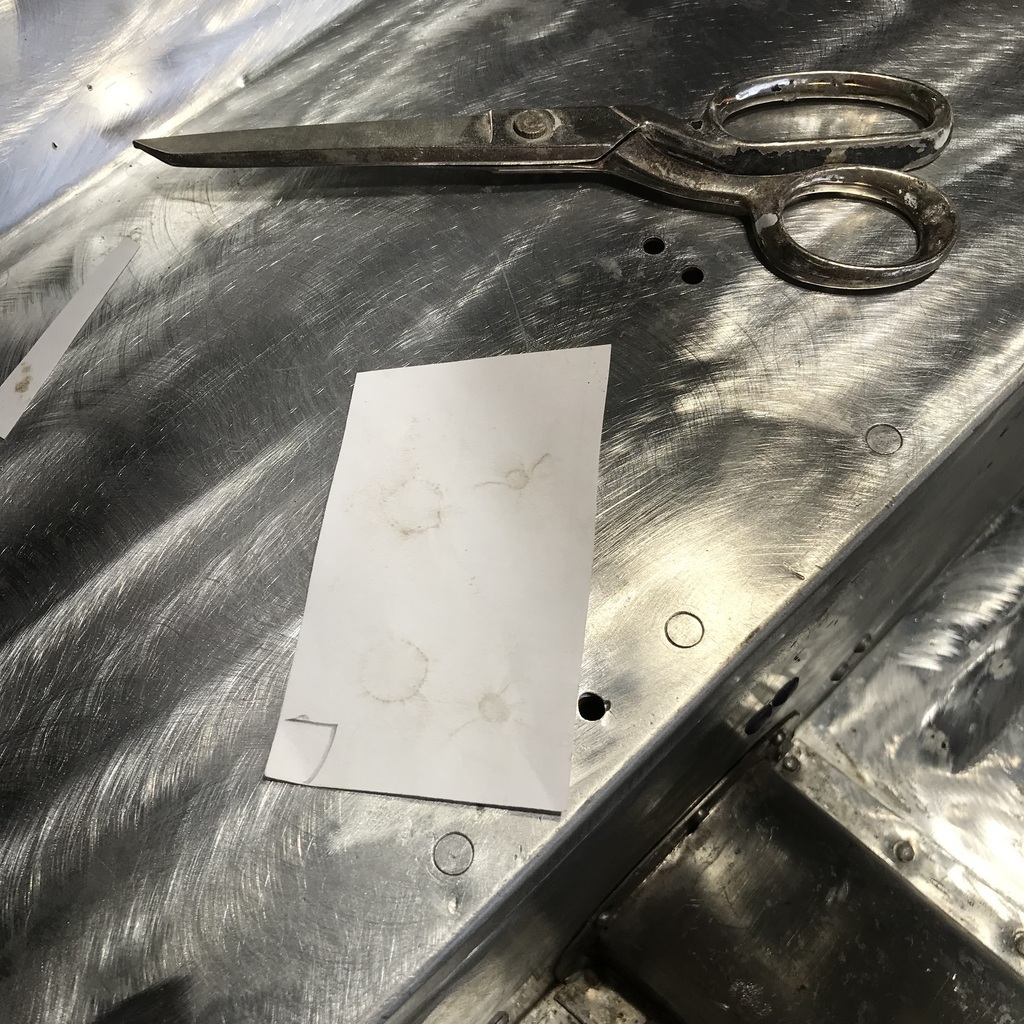 Then duplicated that in 6mm ally. The partial holes are to clear rivets in the original. As you can see they are in different side to side as you might expect with hand built. 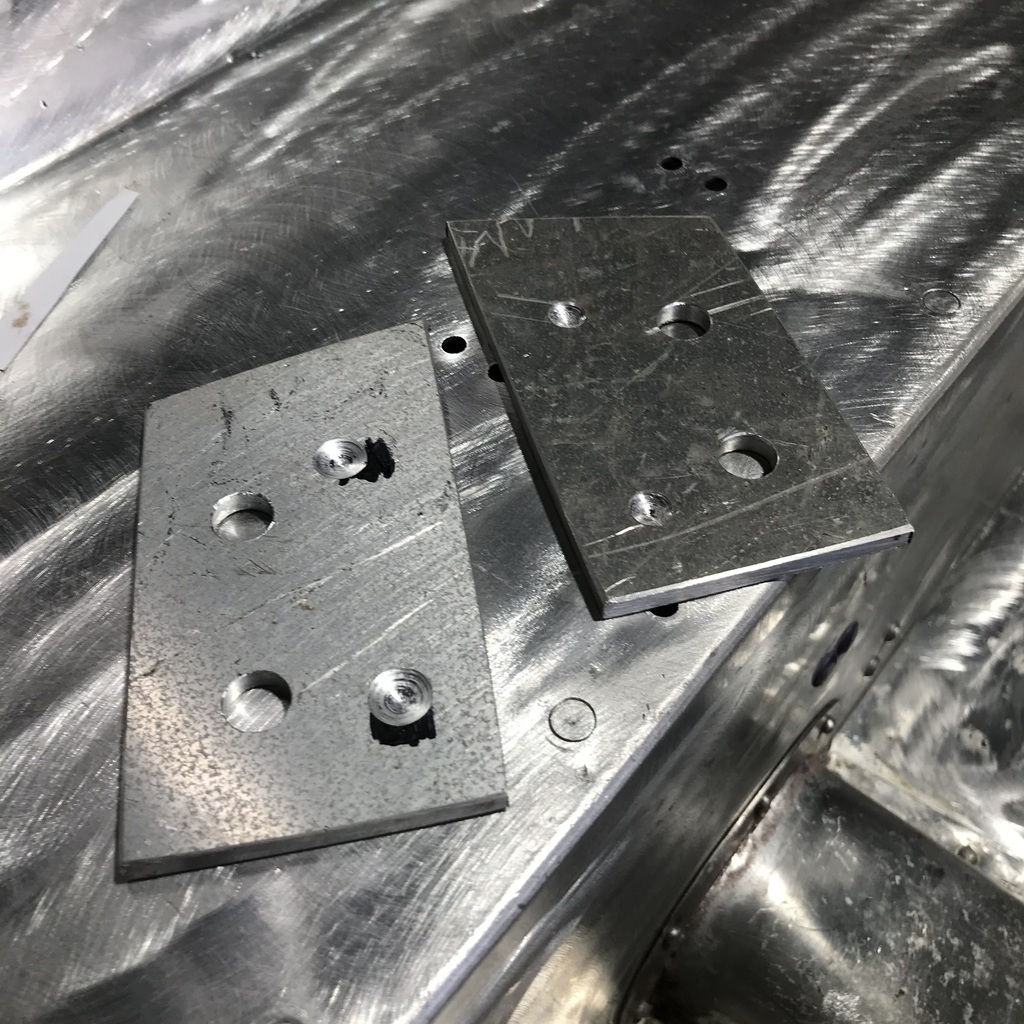 Then, later I was looking through photos to see if there was anything I might have missed before tightening up all those bolts and screws. I found this. 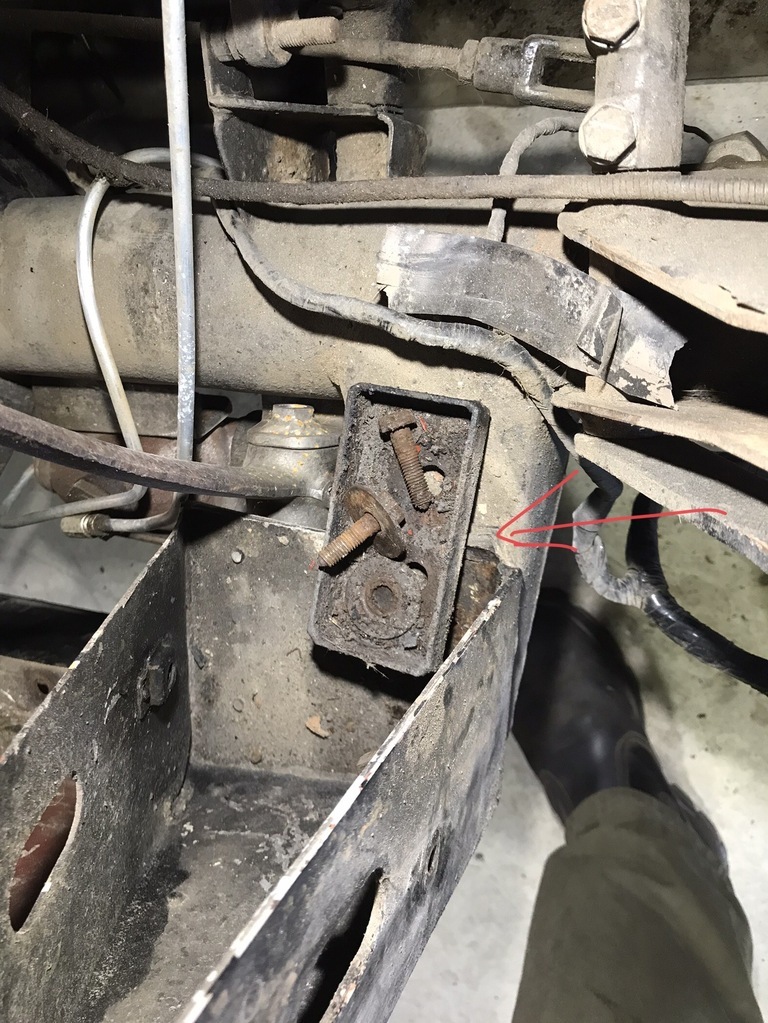 That looks like Triumph's version. Oh well, I probably won’t be able to find it anyway… There’s a bit to do with door and boot gaps. The passenger door needs a bit of weld to close the gap on the hinge side. Drivers door gaps are ok, but the whole door needs to be twisted about half an inch. At the moment I have a strap pulling the lower front corner in towards the body, while the epoxy that I’ve injected into the wooden corner joints goes off. Hopefully it will stay that shape when the epoxy has hardened, but I’m not confident. The boot needs a little bit of weld on each side to get the gaps right, or at least to where I can live with it… Across the bottom is lovely. Very happy with that. I was bemoaning that wood screws were no longer available, it’s all tek screws now, whinge, whinge. Then I had the bright idea of typing in ‘slot head wood screws’ and pretty much the first ad that came up was for exactly the size I needed for the doors and boot lid. In stainless, no less. Perfect. And they arrived the next day. Thanks. |
| |
|
|
gazzam
Part of things
 
Posts: 741 
|
|
|
|
Wonder of wonders, the glue worked! 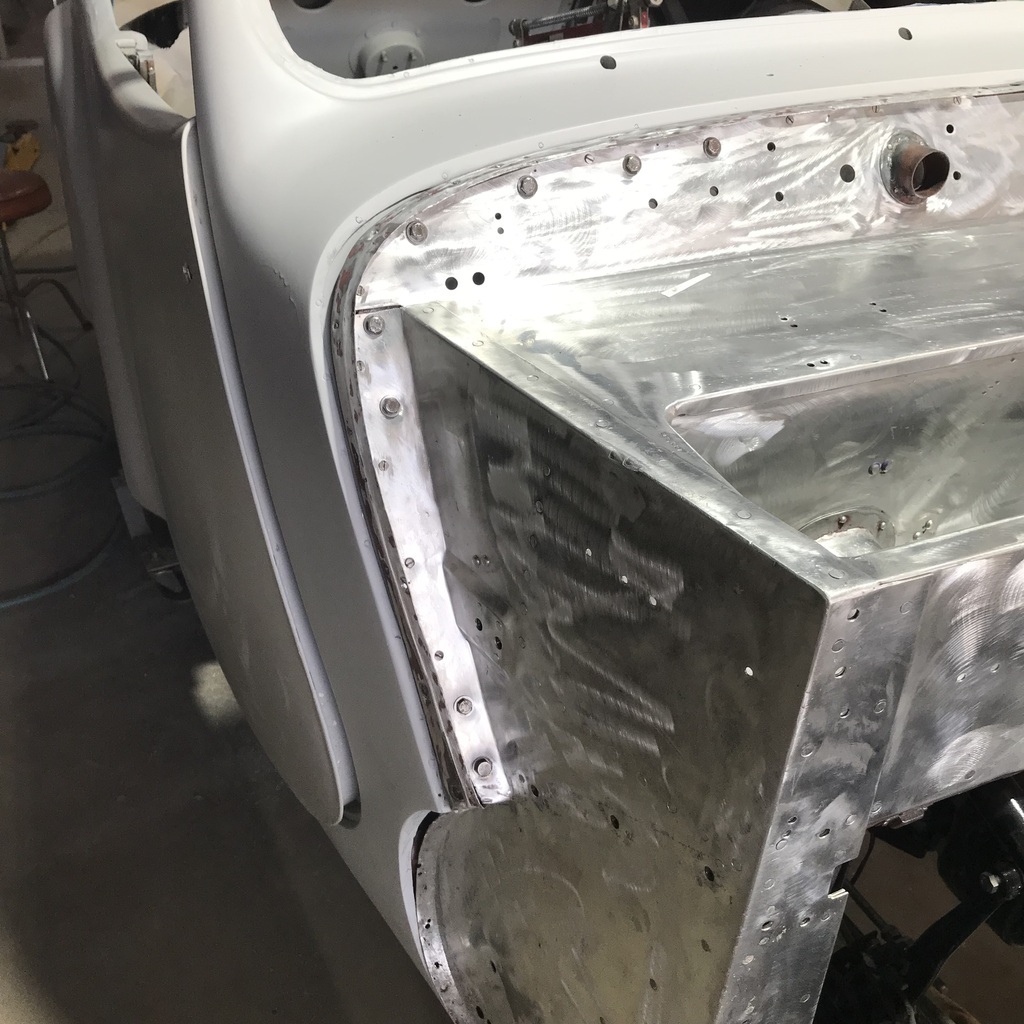 Thats close enough to the body line for me. Previously it was about a half inch proud at the bottom, when flush at the top. There are bump rubbers at the top and bottom of the front edge ( of the door ) and the latch is in the middle. So the latch will pull any minor misalignment out when it’s closed, but the closer to correct, the better. Also added some weld to the rear edge of the lhs door. 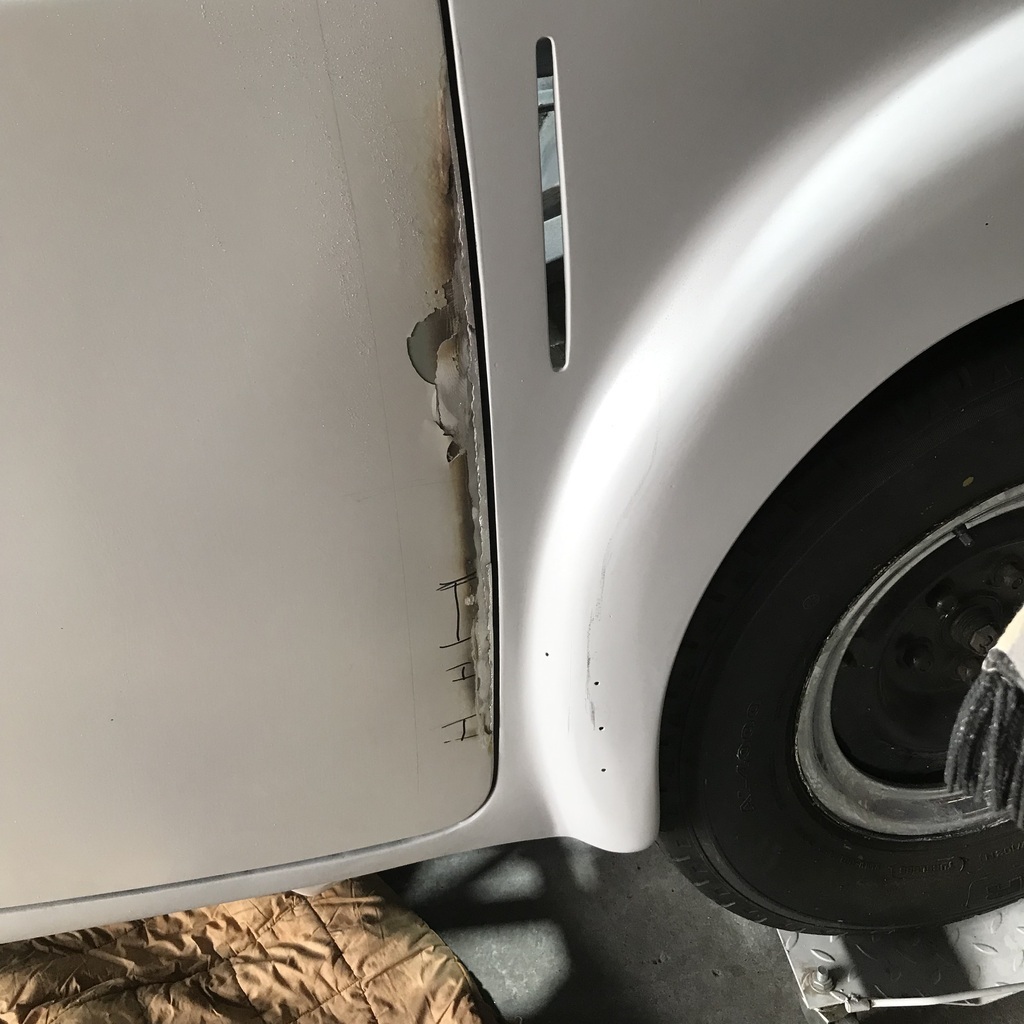 That almost cost me another welding helmet. Horrible, grey, porous looking globs of wibblepoo is how I’d describe the weld. I tried 3 different filler wires, every AC balance setting the welder has and cleaned everything, including the filler rod with acetone. None of it made one zac of difference. Strange thing is, that when ground down, they look fine. So you can appreciate that I was reluctant to attack the boot lid. But it welded like it wanted to. Didn’t matter which filler wire, left the acetone in the cupboard, and didn’t touch my new stainless wire brush. 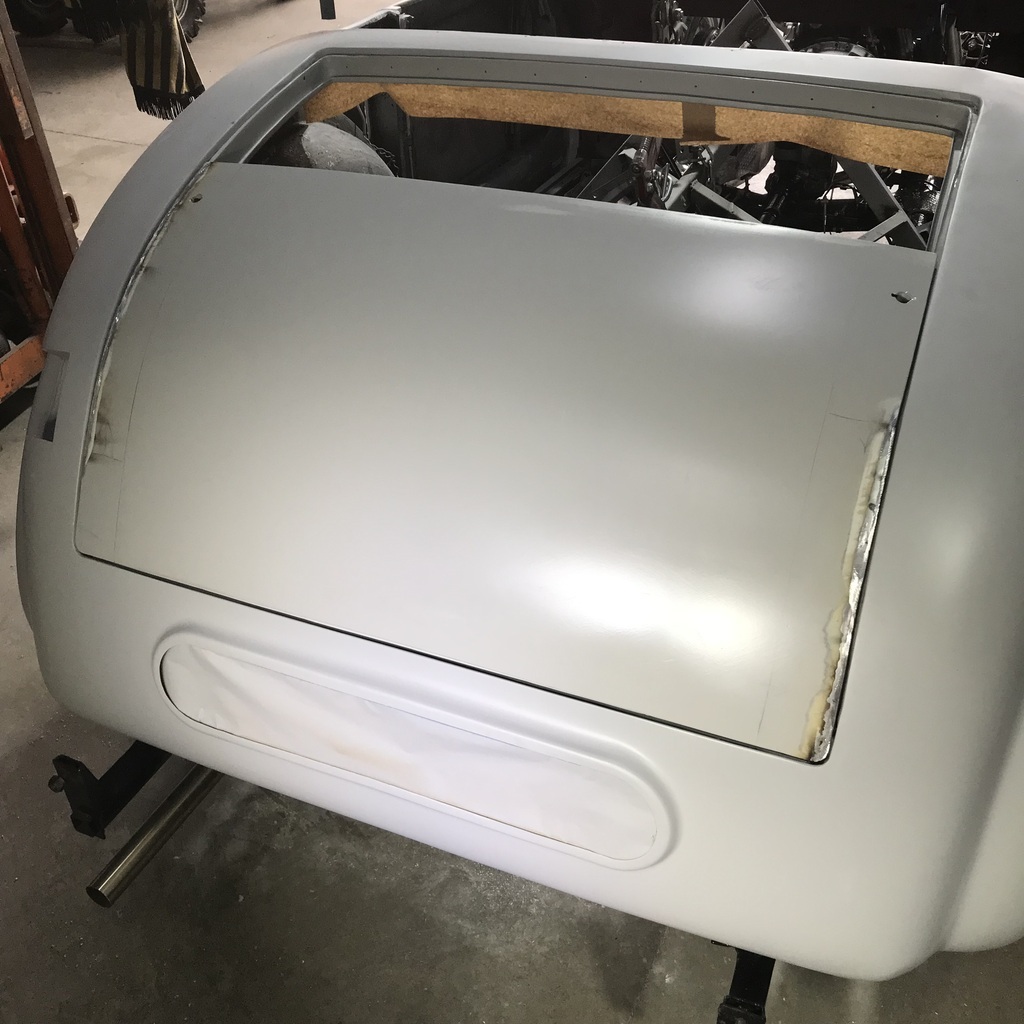 Need to make a filler strip to go in here. One on each side. 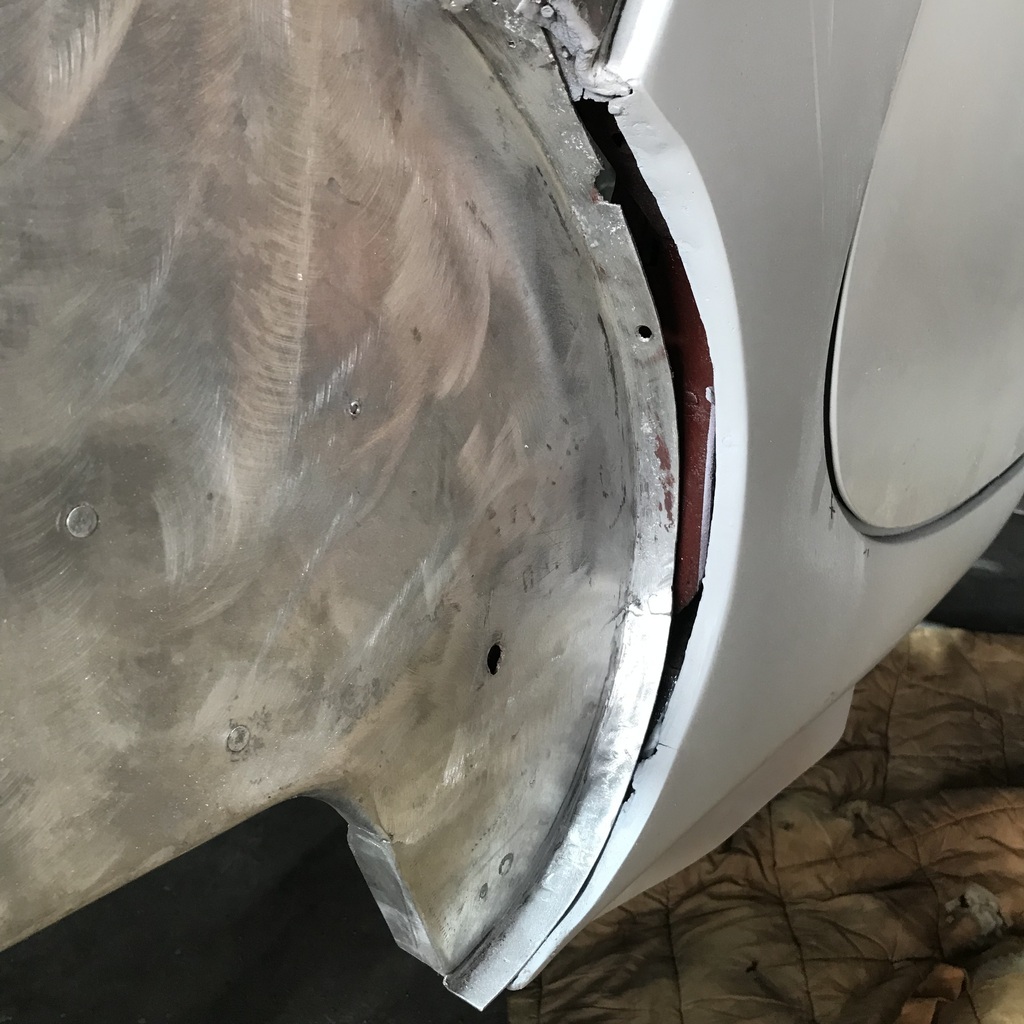 Which I did, and attached them with genuine 1948 pop rivets. But forgot to get a pic. So no one will know. Thanks. |
| |
|
|
gazzam
Part of things
 
Posts: 741 
|
|
|
|
|
I’m looking for some advice.
The Triumph needs several small rubber parts. Things like door and bonnet bump rubbers, windscreen wiper shaft grommets, fuel filler neck grommet etc. are just the ones that come to mind.
I know they can be printed with a filament called TPU. At least I’ve read that tyres for RC cars can be made from TPU and I think that’s the sort of toughness and flexibility I’m after.
In order to print something, it needs to be designed first.
So I would need software like Fusion 360 on a computer and then get the instructions to the printer on a stick or connect the computer to the printer.
I only have an old desktop, which I’m sure is too old to run software like that. And an iPad.
So I would need a computer, software and the printer.
The printer would live in my workshop, which doesn’t have full time internet and is too far from the wifi in the house. But I could use my phone, if needed. And ideally the computer would be at my house.
That’s just what I’ve learned, putting all that into action is a big step further…
Or I could just make silicone moulds and cast them. That sounds like a much easier proposition.
But I like the idea of being able to print other stuff.
So, if you have any suggestions, ideas or advice, I’d be pleased to hear it.
|
| |
|
|
glenanderson
Club Retro Rides Member
Posts: 4,354
Club RR Member Number: 64
Member is Online
|
|
Feb 24, 2024 12:17:03 GMT
|
|
Personally, the biggest issue with investing in all that kit, would be the fact that 18 months down the line it’ll all be as out of date as a Betamax video recorder; making the dozen or so bits you manage to make as expensive in time and money as if you’d hand crafted them from platinum.
Much better, I would suggest, to engage the services of someone that can model and design them for you, and then get them printed professionally. Making up a small batch of each would not only give you some spares, but might also allow you to recoup some costs by selling some on.
|
| |
My worst worry about dying is my wife selling my stuff for what I told her it cost...
|
|
|
|
|
Feb 24, 2024 14:31:36 GMT
|
|
|
| |
|
|
|
|
|
Feb 24, 2024 15:47:29 GMT
|
|
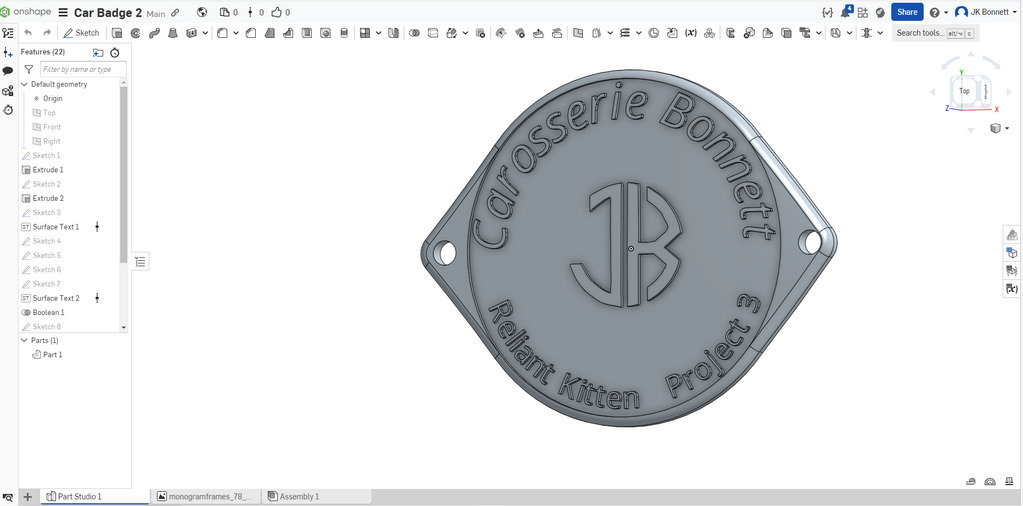
I've been using onshape too and found it great, my son does cad for work so I have a coach too, he also has a cheap 3d printer which works OK but I'm contemplating splashing out a bambu 3d printer as a retirement present to myself, It'll never pay go it's self but what hobbies do.
|
| |
|
|
|
|
|
Feb 24, 2024 16:13:07 GMT
|
I've been using onshape too and found it great, my son does cad for work so I have a coach too, he also has a cheap 3d printer which works OK but I'm contemplating splashing out a bambu 3d printer as a retirement present to myself, It'll never pay go it's self but what hobbies do. RetroPower have a Bambu and in one of the episodes Callum mentions the exact model that they have. I believe from memory that it wasn't hugely expensive in the scheme of things, perhaps about £1500 and that does everything they need. Whenever I buy tools, I go for the very best that I cannot afford, always professional grade and never diy because of the quality, product support and good supply of spare parts that comes with the price. Agreed, you can pay a lot of money for rubbish which is why it is always good to be guided by recommendations based on length of service and durability. |
| |
|
|
|
|
|
Feb 24, 2024 18:31:20 GMT
|
|
|
| |
|
|
gazzam
Part of things
 
Posts: 741 
|
|
|
|
Thanks for the discussion gents. I’m pretty keen on a printer, one of the reasons being that I’m also keen on building a CNC plasma table and I’ve bought some plans that include instructions for some 3D printed parts. I can buy the parts (or get someone to print them) but the cost of that would go a way toward buying a printer. Can get a refurbed desktop for $300 and a Bambu P1S for under $1100. Just have to get my head around having more computers in my life. I’m much more an analogue person. Anyway, back to the Triumph… First up I drilled all the holes in the doors, B pillars and boot lid to take the lovely stainless screws that I mentioned a few days ago. Eleven in each door hinge and eight in each of the boot lid ones. So now I have a blister on my palm… Drilled the holes and put new bolts through the firewall box and the wooden sill that I’d replaced. 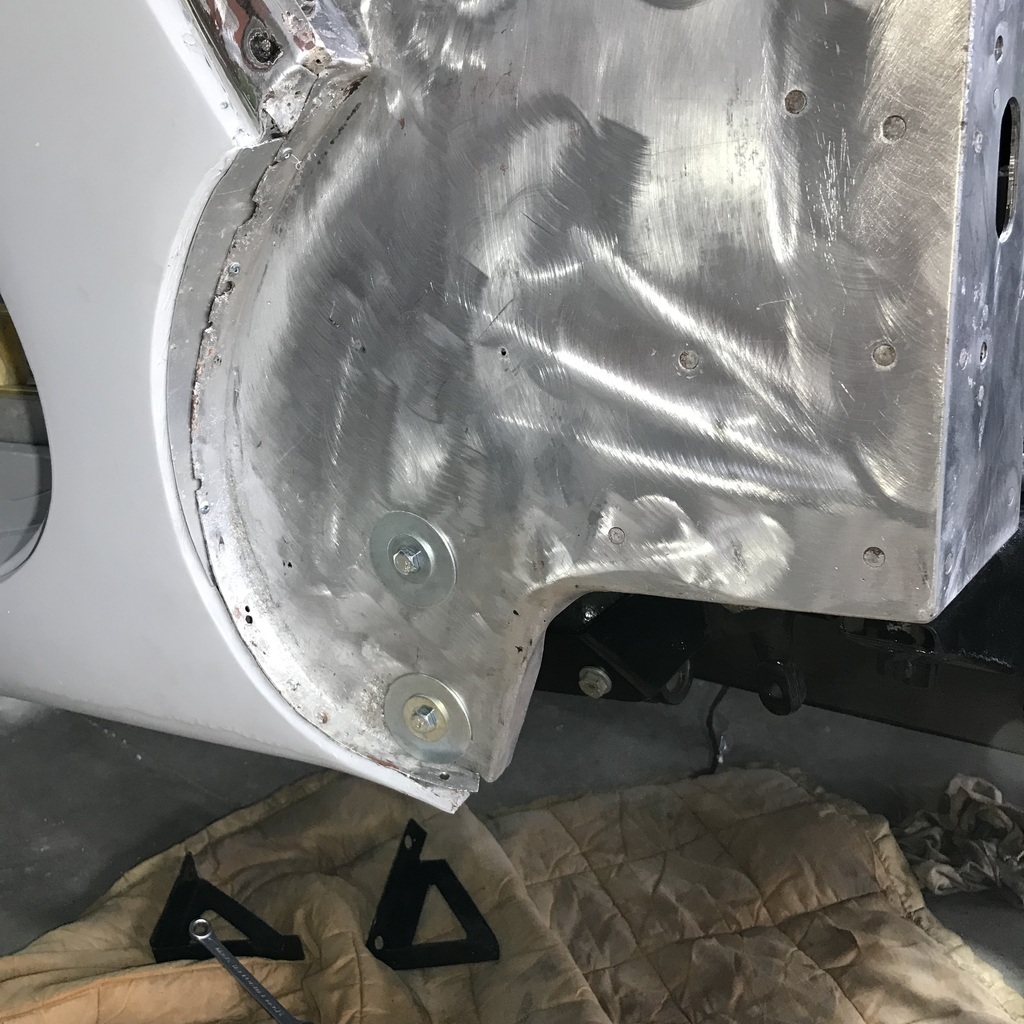 On the other side of that is a small angle bracket that’s held on by the top bolt. It is the support for the front part of the floor. The spirit level is there to make sure it’s in line with the main floor support. 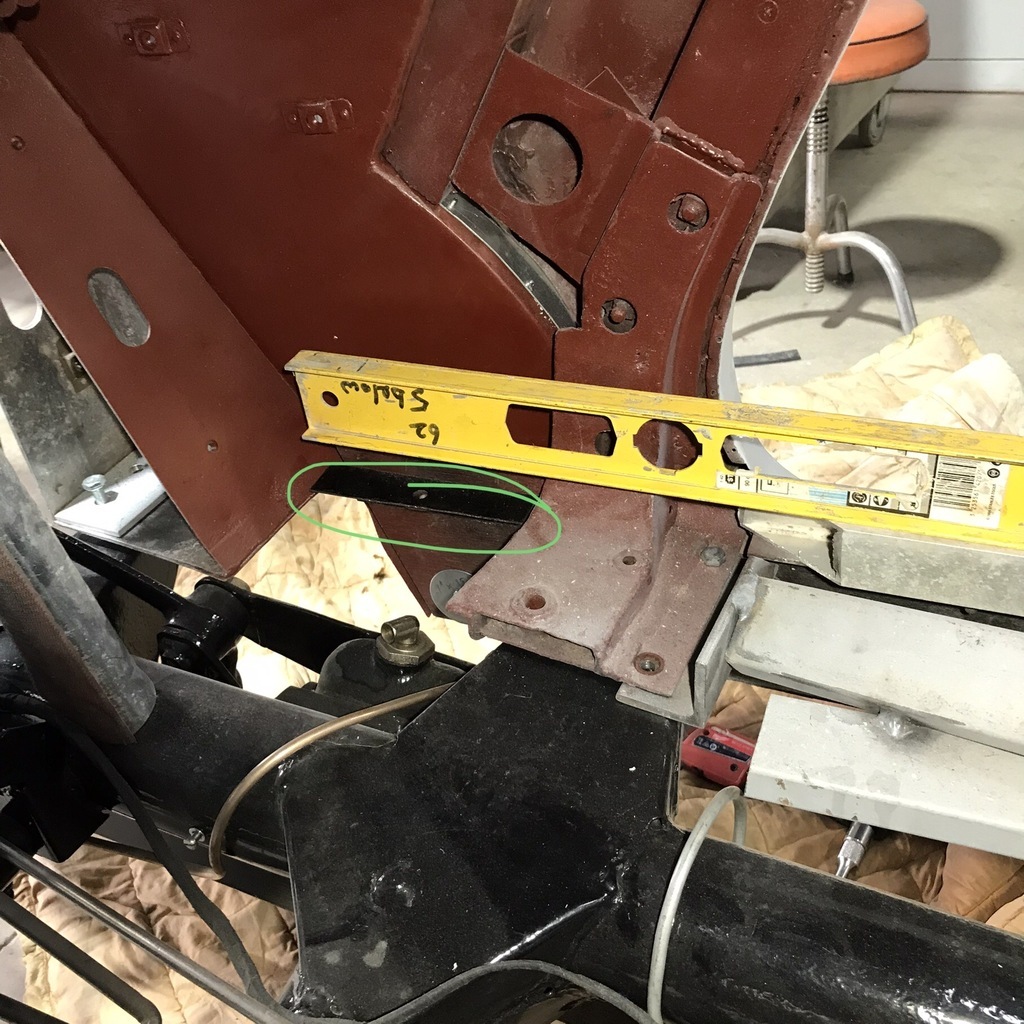 I had removed the boot and doors to repair the filler and primer that was burnt when I added some weld to them. The stuff above was squeezed in while waiting for filler to harden. 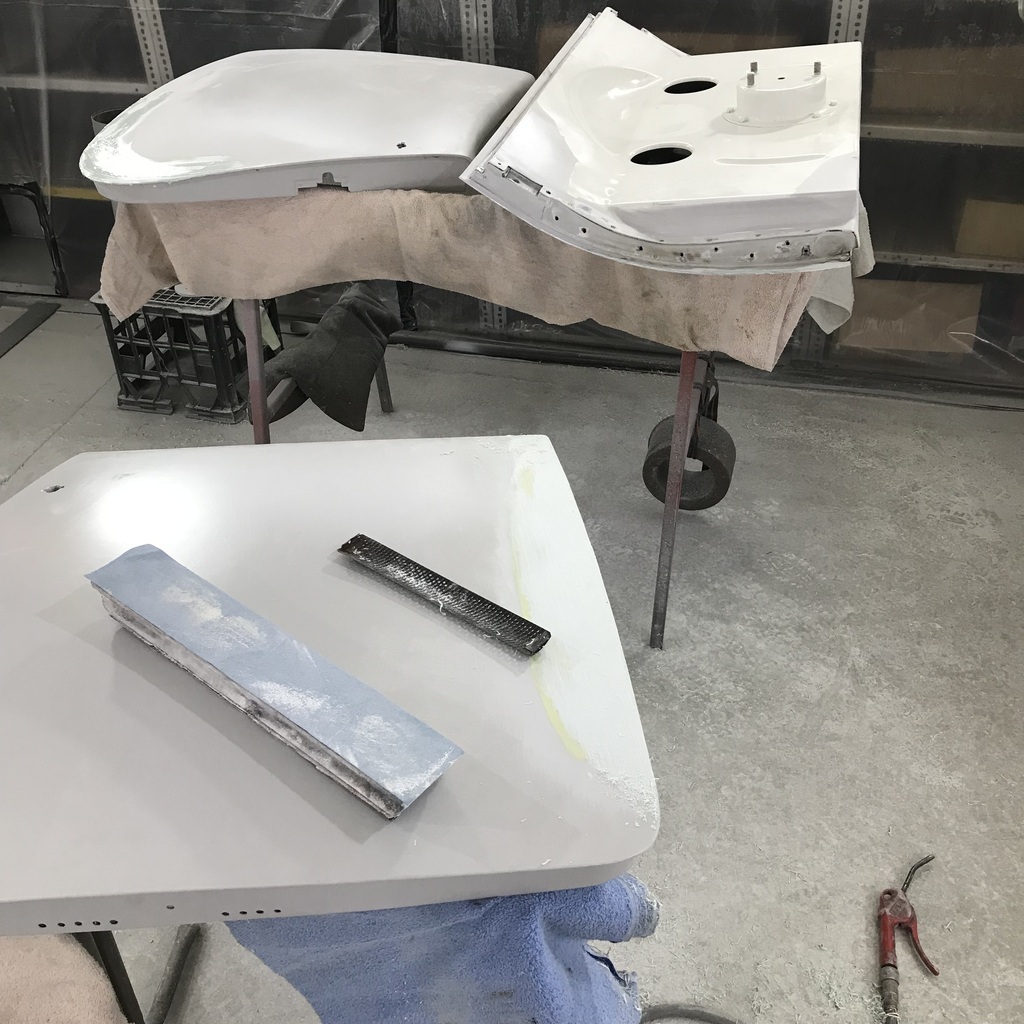 Sealed them with a coat of epoxy and called it a day. Cheers. |
| |
|
|
glenanderson
Club Retro Rides Member
Posts: 4,354
Club RR Member Number: 64
Member is Online
|
|
Feb 25, 2024 12:30:34 GMT
|
|
I hate to be the one to say it, but aluminium and stainless are very poor bedfellows. I have no doubt that your climate will go a long way to negating the reaction between them, but in cold wet Blighty that would be a recipe for serious galvanic corrosion to the alloy in short order.
|
| |
My worst worry about dying is my wife selling my stuff for what I told her it cost...
|
|
|
|


