gazzam
Part of things
 
Posts: 740 
|
|
|
|
Distributor assembled and into the hole he goes, as Dave Allen would have said. 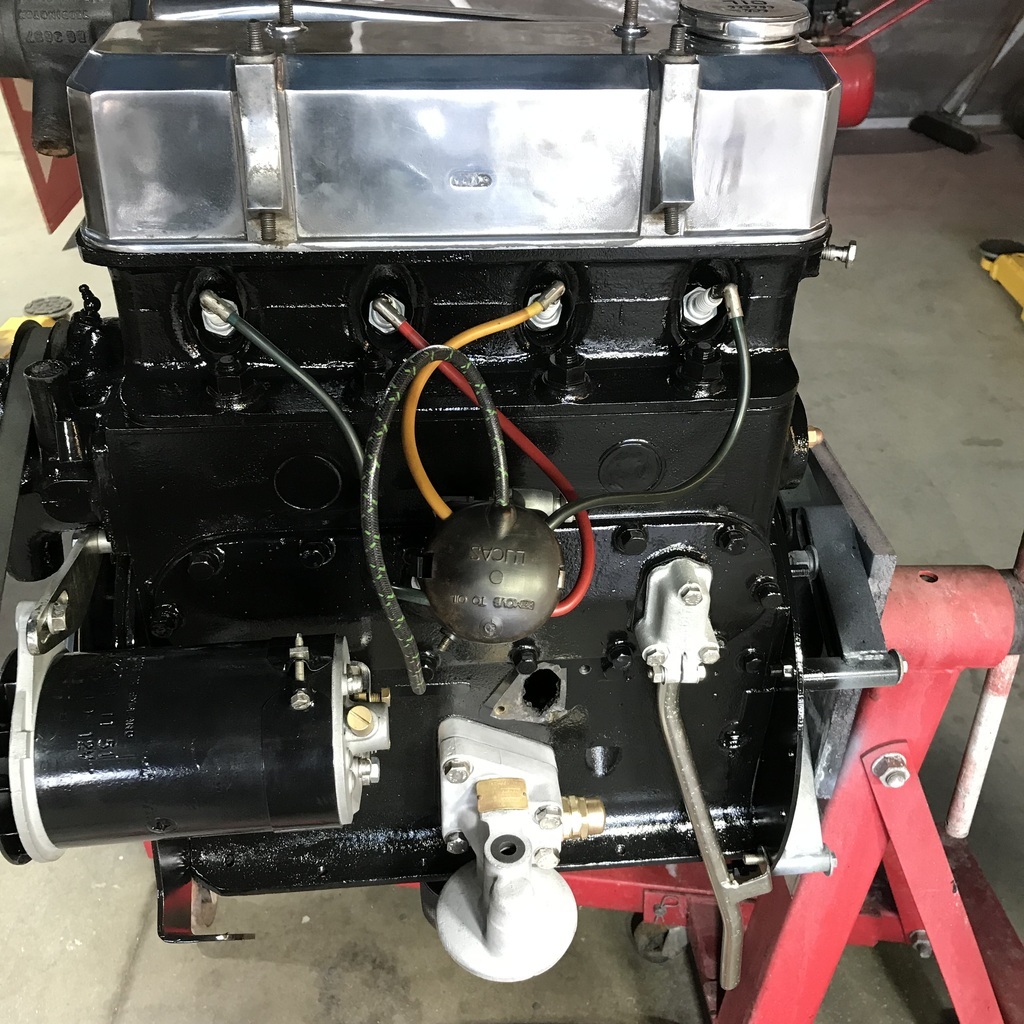 Only the fuel pump missing from this side now. Started on the gearbox, stripping paint and cleaning the alloy bits. 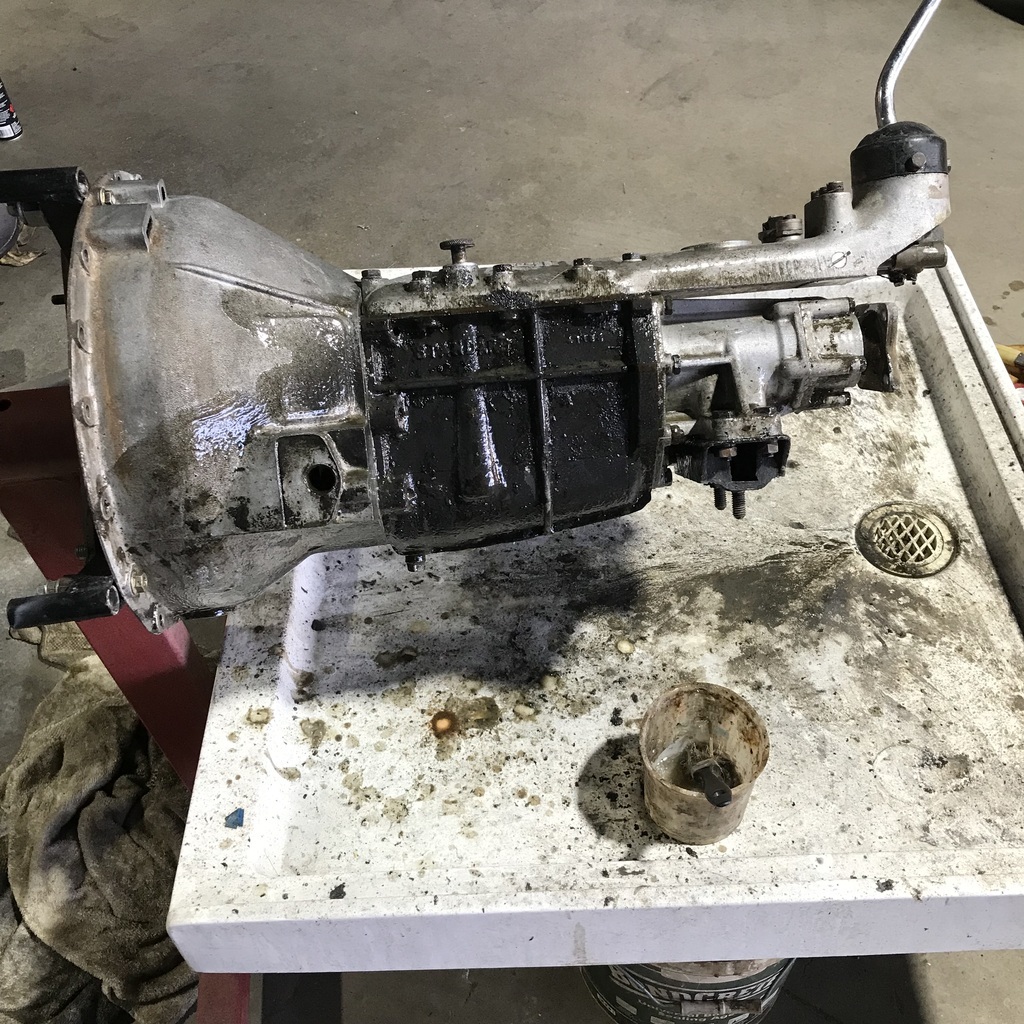 The only bolt that I broke as I was pulling this car apart was the one that clamps the arm onto the clutch actuating shaft. This one. 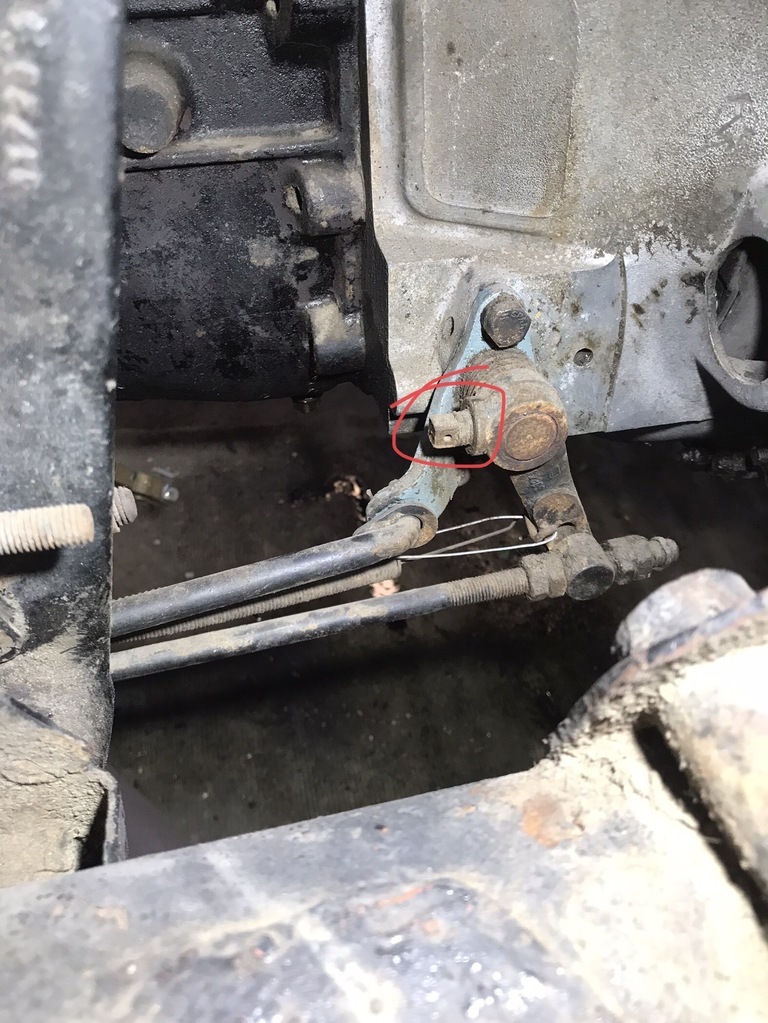 I got the broken off bit out by welding a nut to it. Luckily the thread in the arm was ok. But I didn’t have a 7/16 BSF replacement. So I found a suitable bolt, this one. 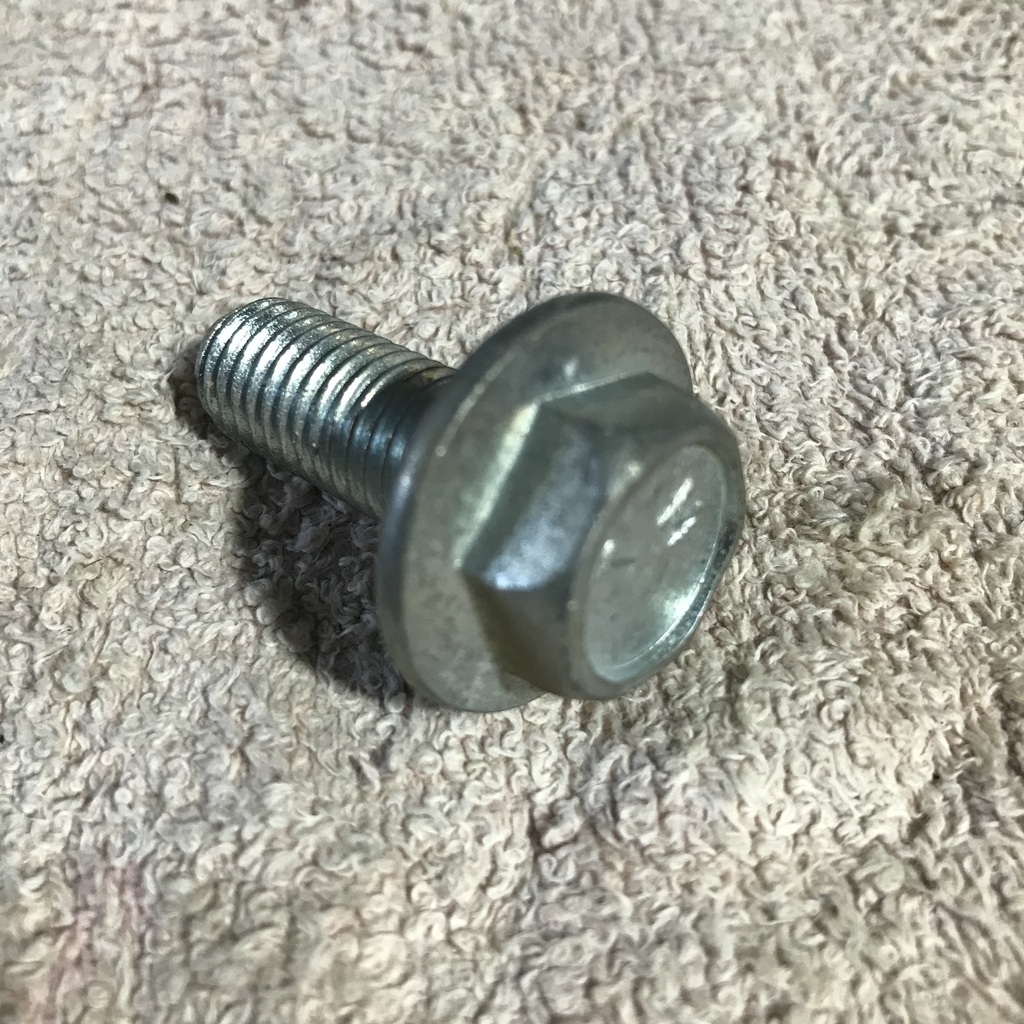 Turned the shank down and cut the thread. Then turned the end down to go into a hole I drilled in the shaft. 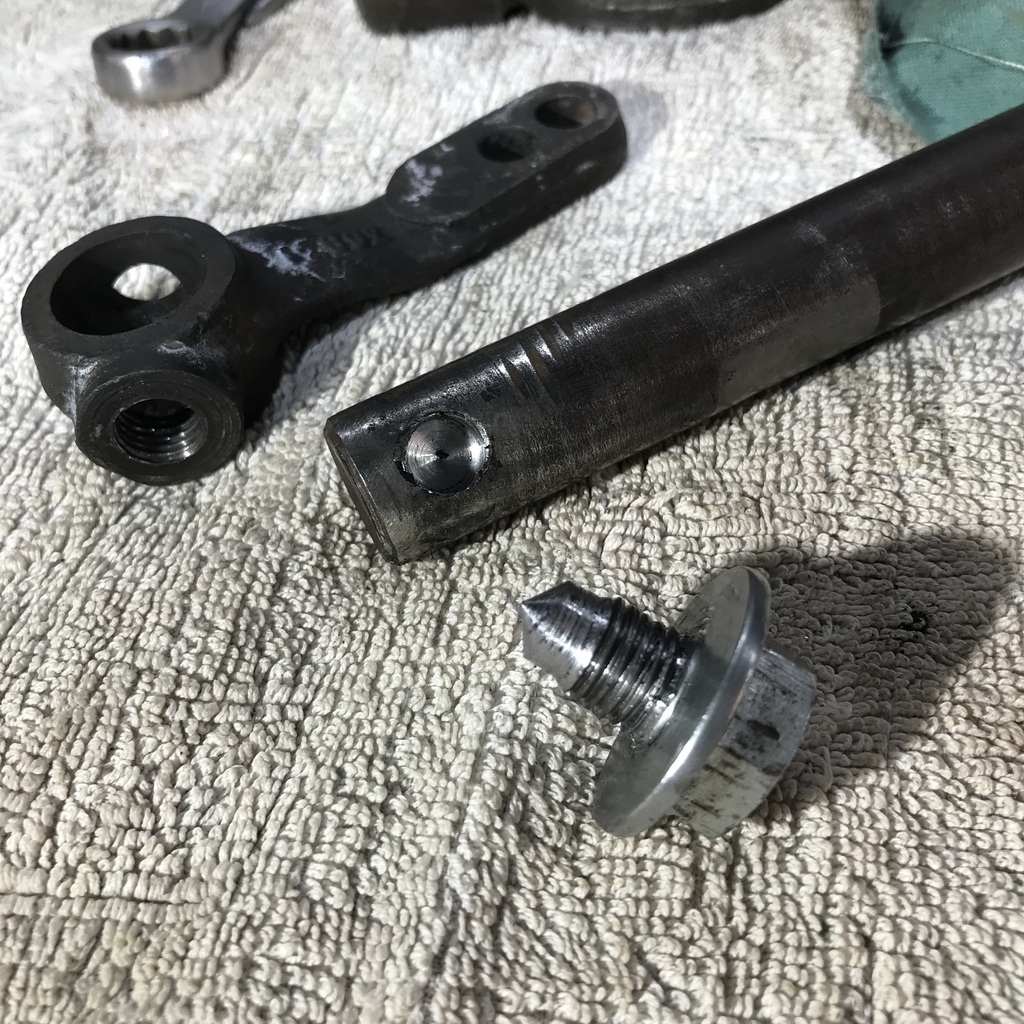 I made the head look more suitable, needs a lock wire hole yet. 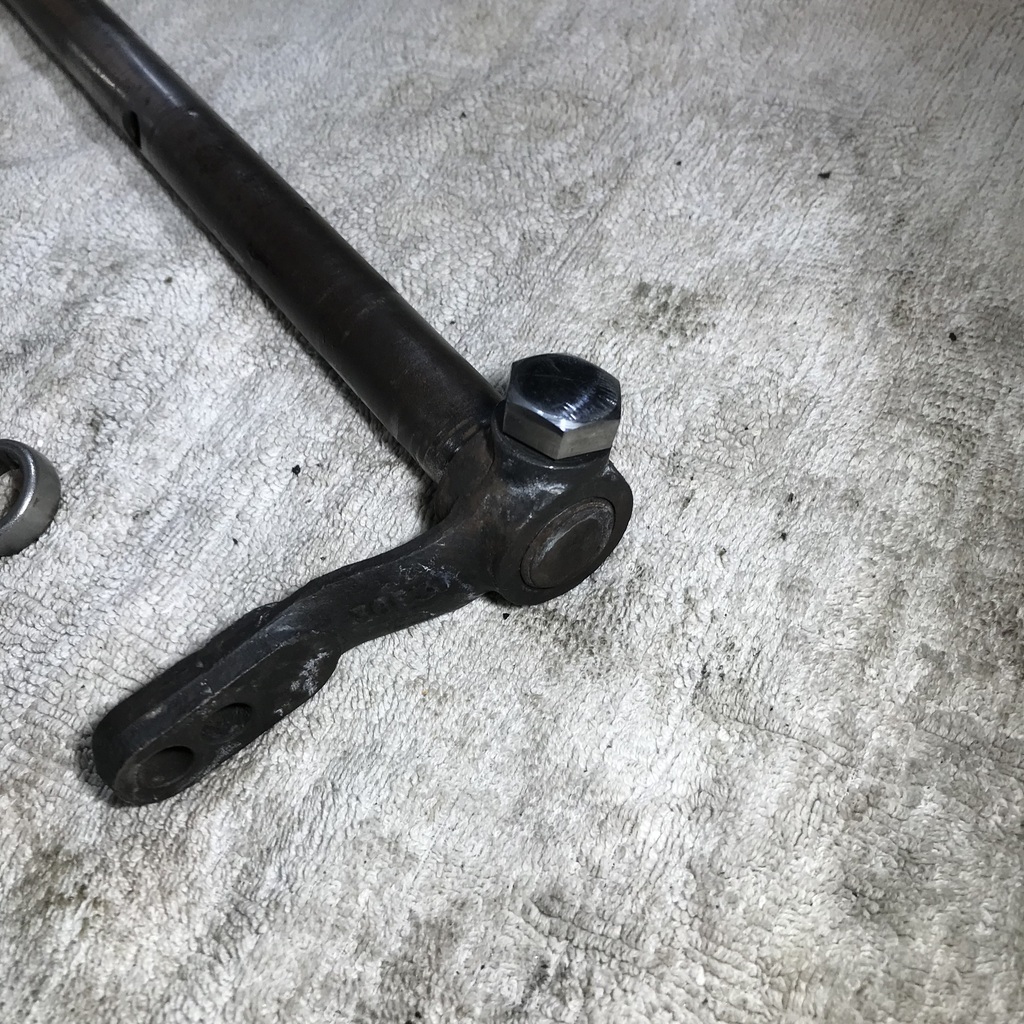 This is the exhaust manifold. It weighs about one tonne and has been coated with something really tough. 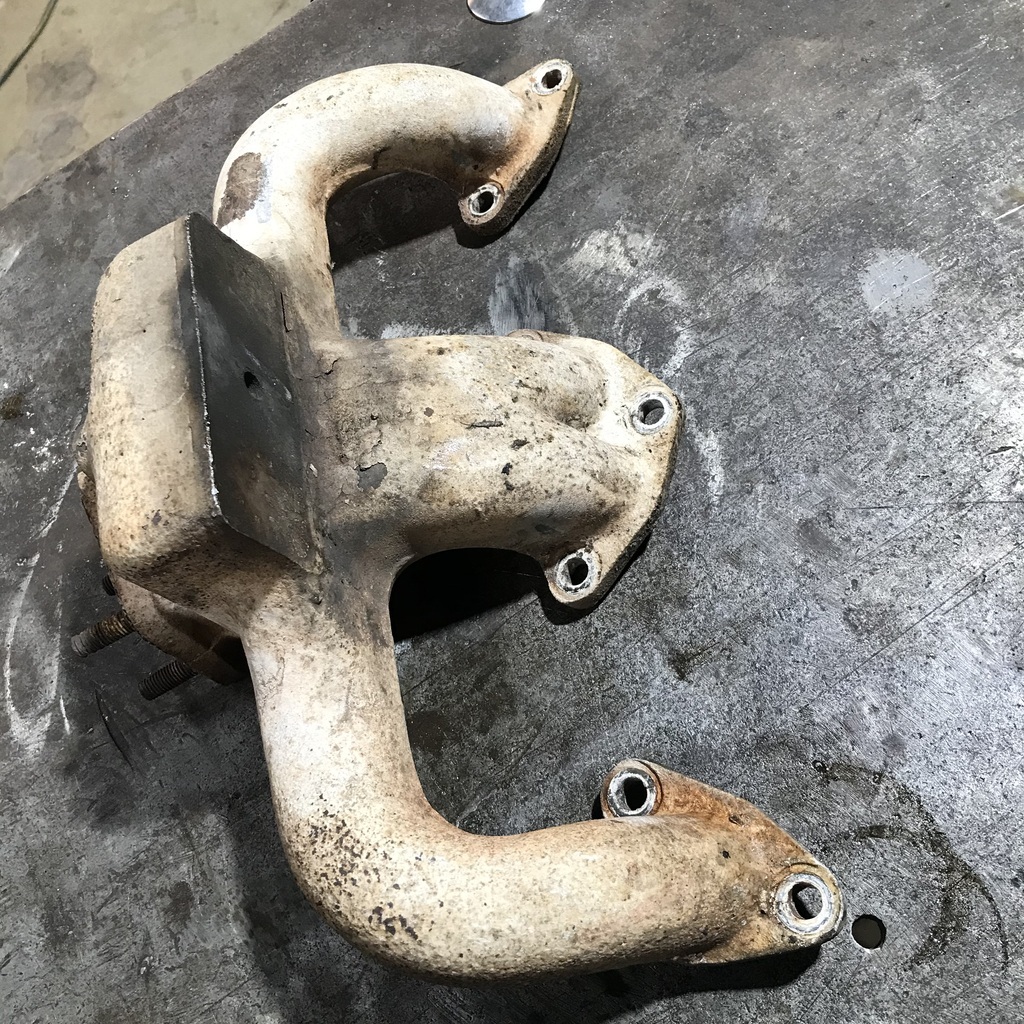 I tried sandblasting and its going to take forever. So I’m thinking that rather than spending a heap of time removing that white stuff it will be more fun to make a set of headers. How hard can it be? Thanks. |
| |
Last Edit: Oct 30, 2023 8:21:23 GMT by gazzam
|
|
|
|
|
|
|
|
|
|
What about putting the manifold in a fire to see if it will get it hot enough for whatever it is to flake off?
|
| |
|
|
|
|
|
Oct 30, 2023 17:20:25 GMT
|
|
Well if you are going to build a manifold, you could turbo it..!
|
| |
|
|
gazzam
Part of things
 
Posts: 740 
|
|
|
|
I thought that was an excellent idea Homer, so I tried the oxy/propane torch, serious fire bans here atm so no fires, but it didn’t do anything worthwhile. Had a little job to do on the XJ today. And fix the tv aerial on the roof. So not a lot of time on the Triumph. I decided to remake the brackets that hold the air filter on top of the engine. They are chrome and rusty in places. Polished stainless will be a suitable replacement. No chromers in the area and while I could nickel plate them, they’re a bit knocked about. So I cut two strips of stainless from some scrap. Its 14# by my measuring tool. That’s the circular thing. And one of the original brackets. 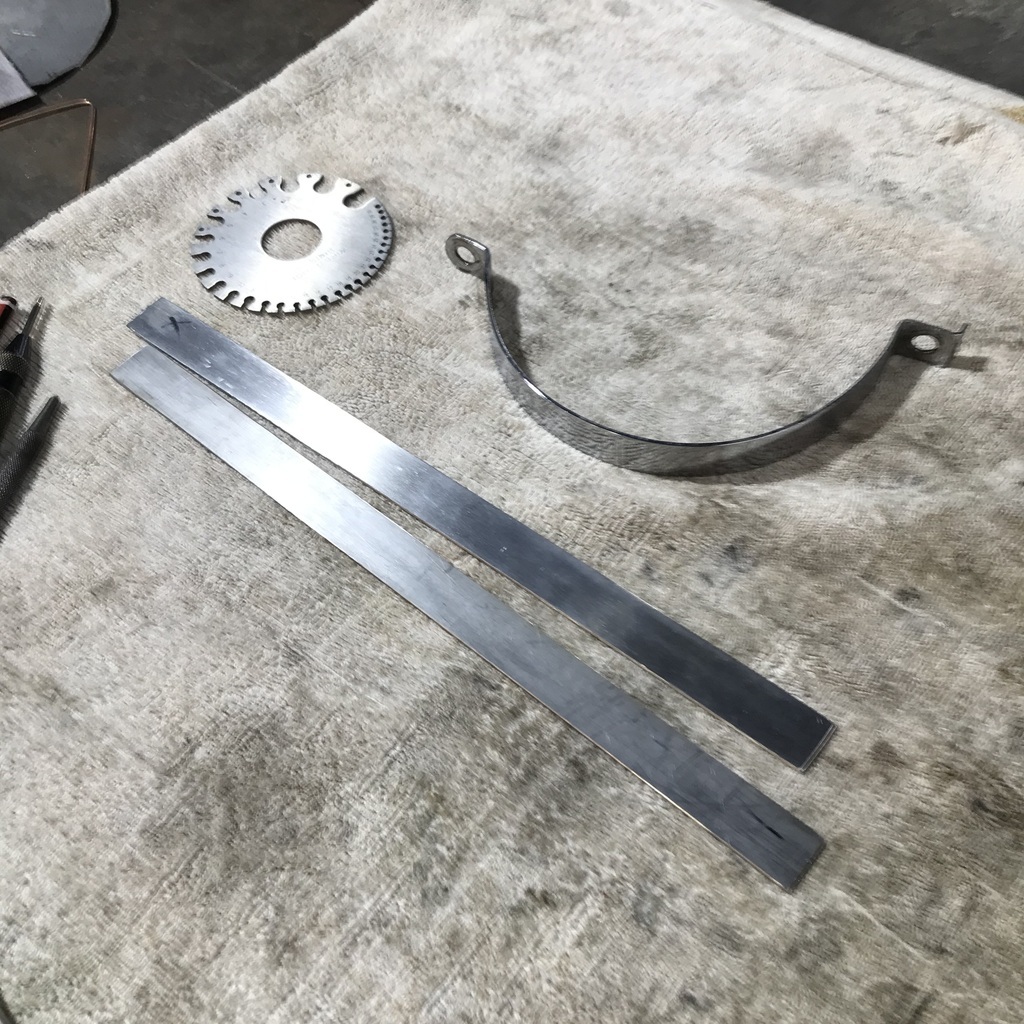 Thought it would be easier to polish them before bending. I drilled one hole and then sanded them with 320 grit in the DA. Then used my latest favourite tool. This scotchbrite wheel has been sitting near the buffer, still in it’s bag, for months. I can’t even remember where I got it. But I’ll be getting another when it’s worn out. Cleans up the 320 scratches in stainless beautifully. But it’s not very aggressive. Also used it to clean up the bakelite distributor cap a couple of days ago. 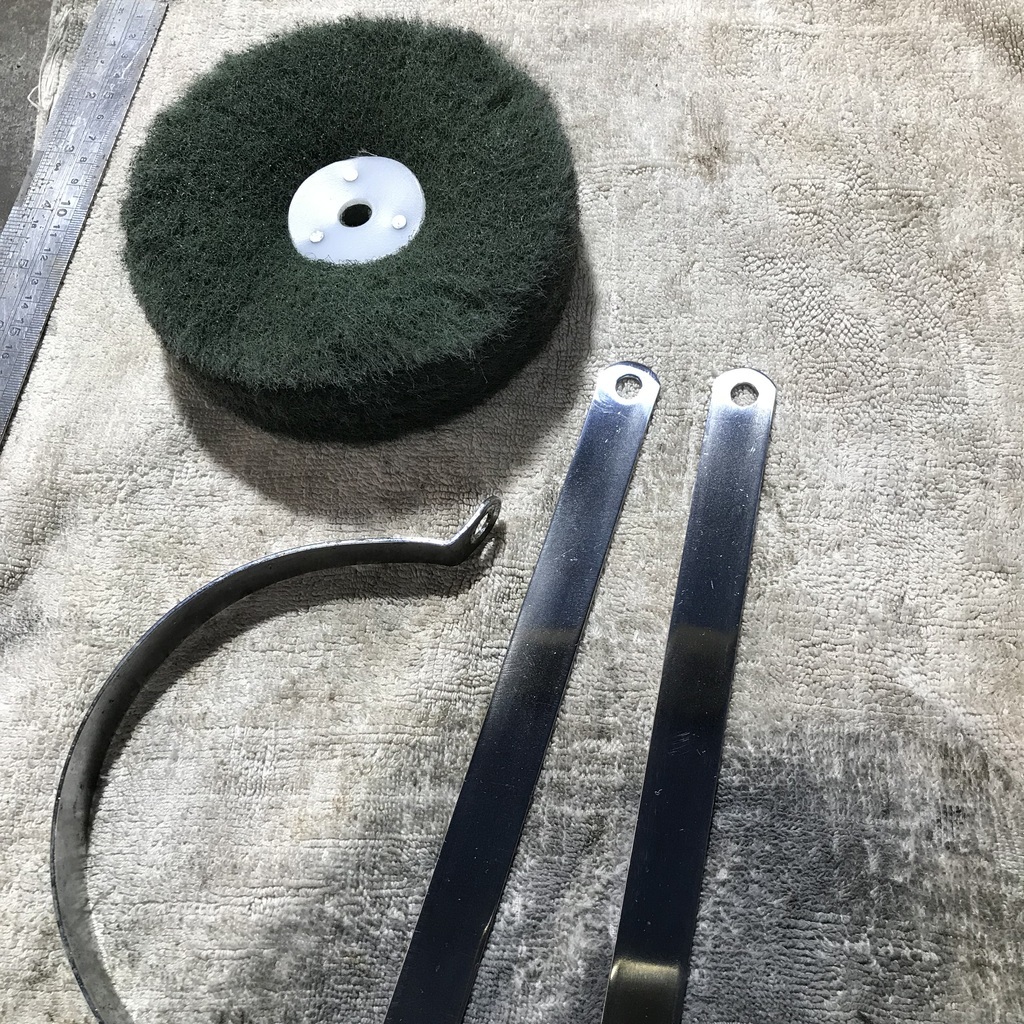 Finished up for the day with the second bend done and another hole yet to drill. 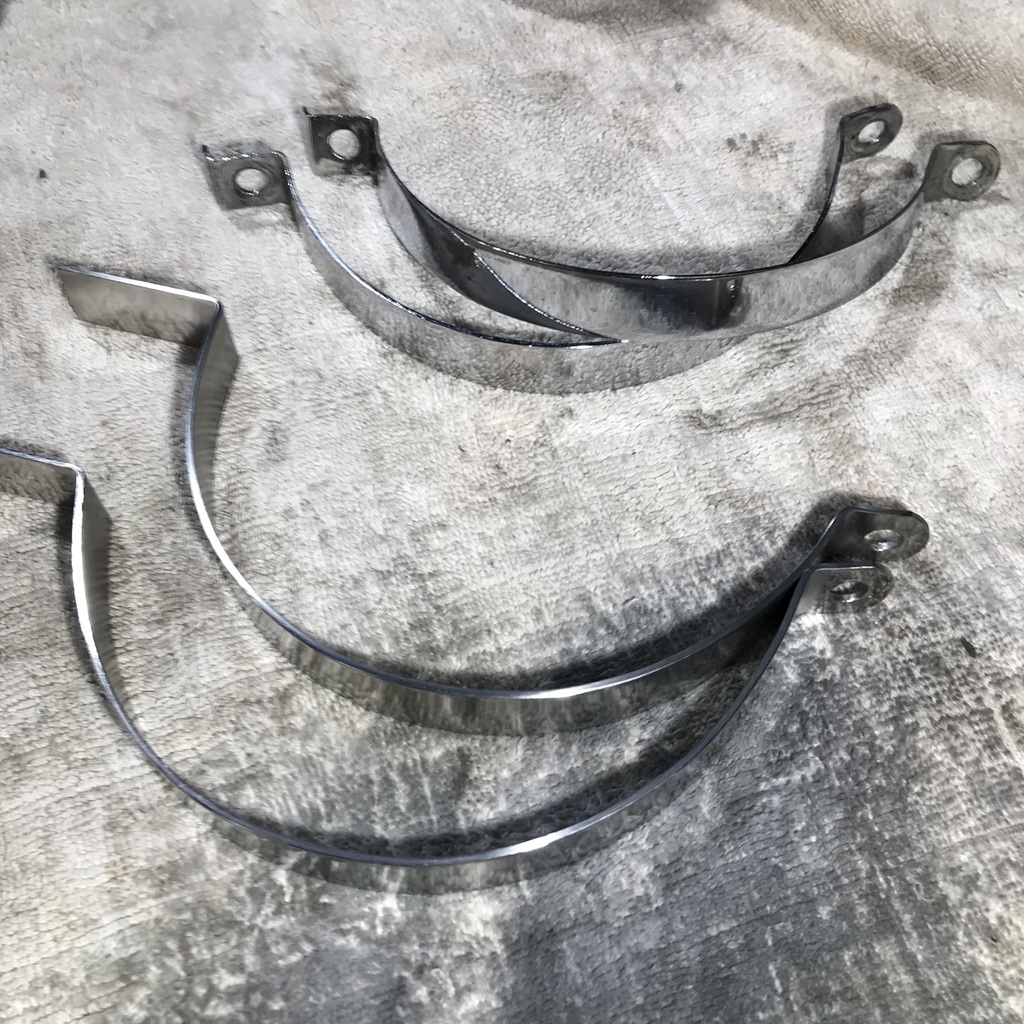 Thanks. |
| |
Last Edit: Nov 1, 2023 6:45:06 GMT by gazzam
|
|
gazzam
Part of things
 
Posts: 740 
|
|
|
|
Didn’t seem to get much done on the Triumph today. A couple of small house jobs took some time, maybe more than I thought. Anyway the two stainless straps are done. The originals, at the back in this shot, look fine but there are patches of chrome missing. 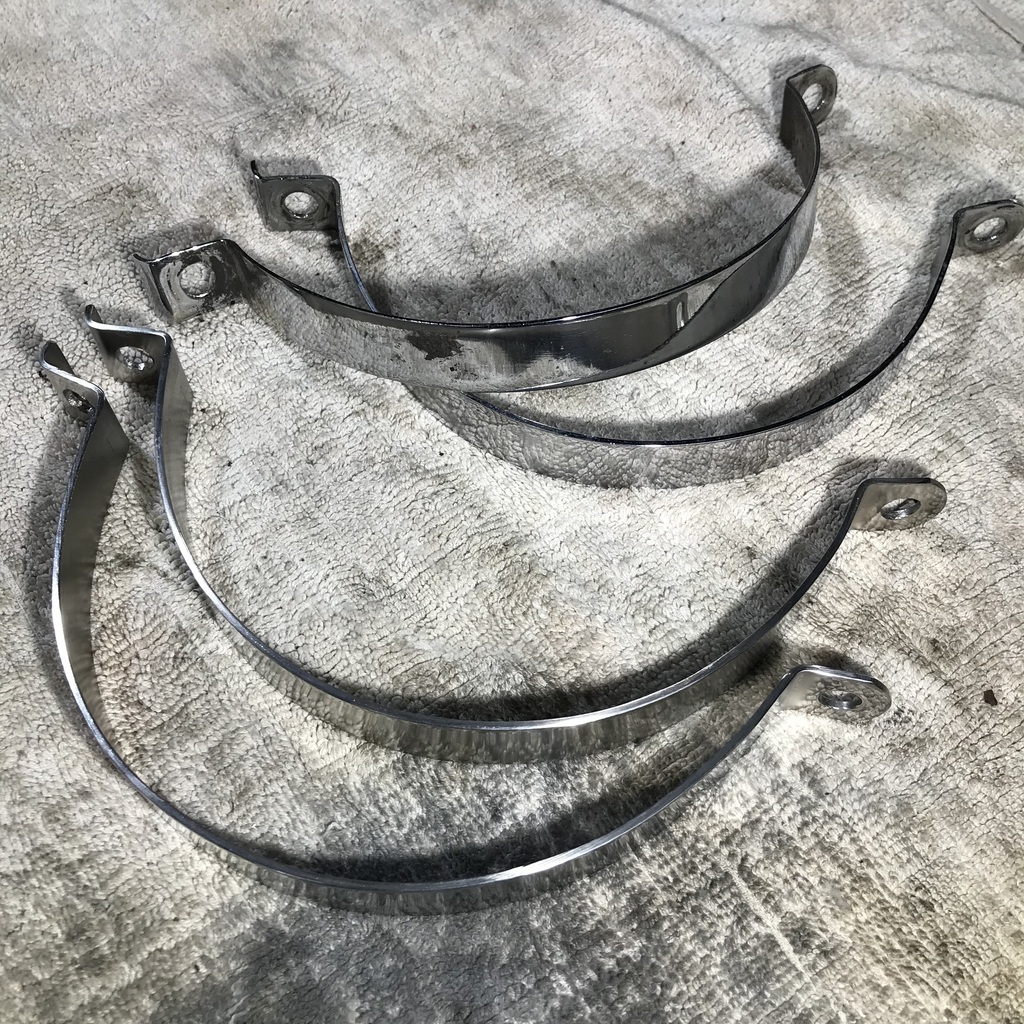 And I spent an age looking for the air filter, and when I found it another age getting it apart. It isn’t claimed to be an air filter, just a silencer. And with very good reason. 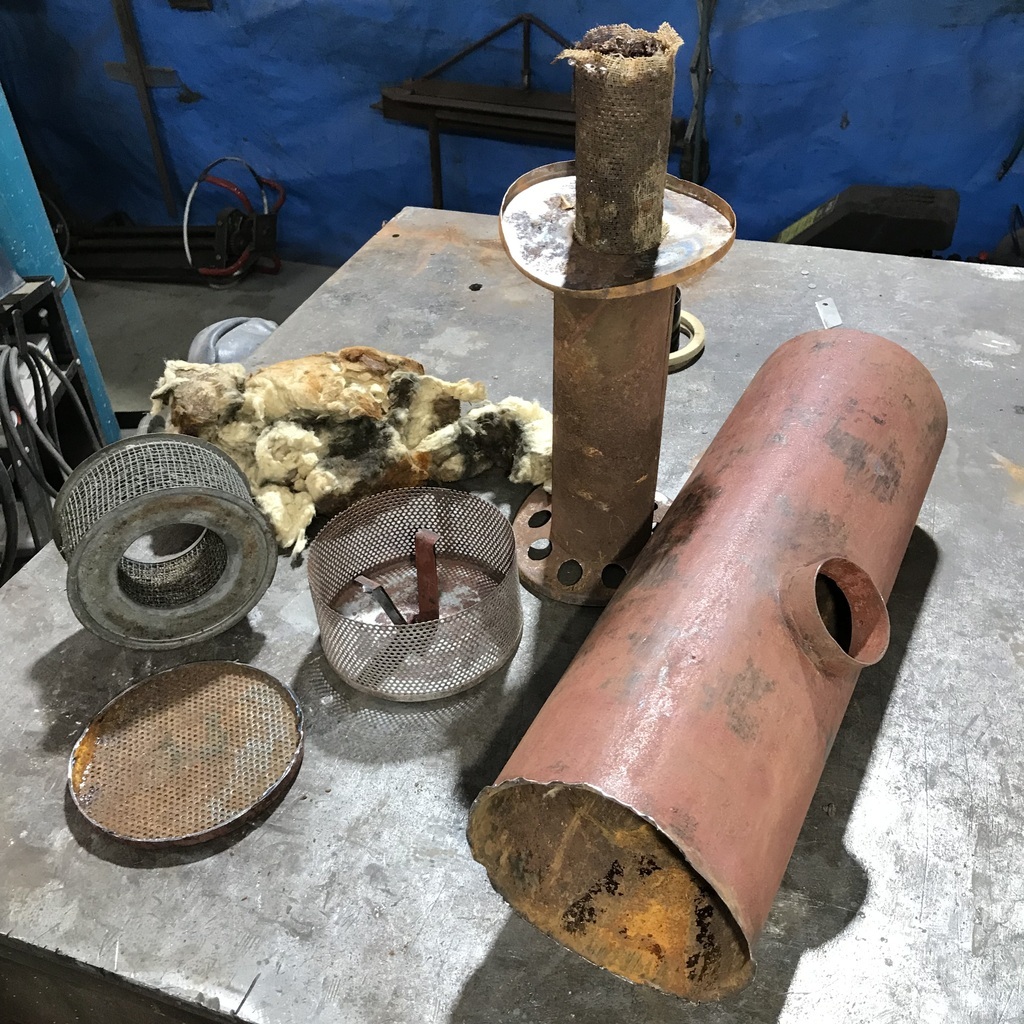 There are some small dents to knock out of the outer shell. It needs to look good, occupying the spot on top of the engine as it does, so I want it smooth and shiny. But the inside stuff will be discarded, in favour of a more effective filter. Just have to work out how I’m going to do that… Suggestions very welcome. Thanks. |
| |
Last Edit: Nov 1, 2023 6:53:20 GMT by gazzam
|
|
gazzam
Part of things
 
Posts: 740 
|
|
|
|
Picked up the gasket paper yesterday, so I used the old sump gasket as a template to cut a new one. Turned the motor upside down and cleaned the gasket face. 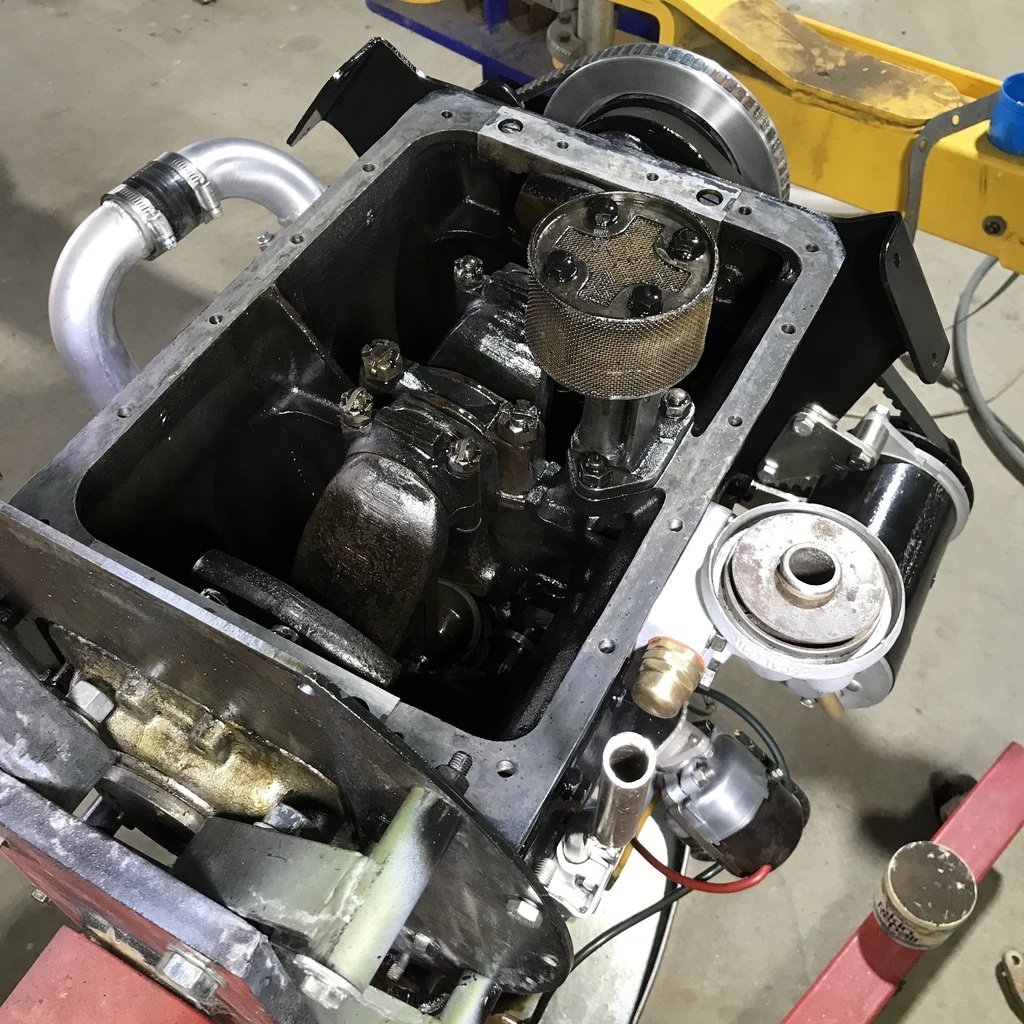 Had a bit of a look around inside the bottom end, hopefully I’ll never have to see this again. But the conrods are interesting in their length… 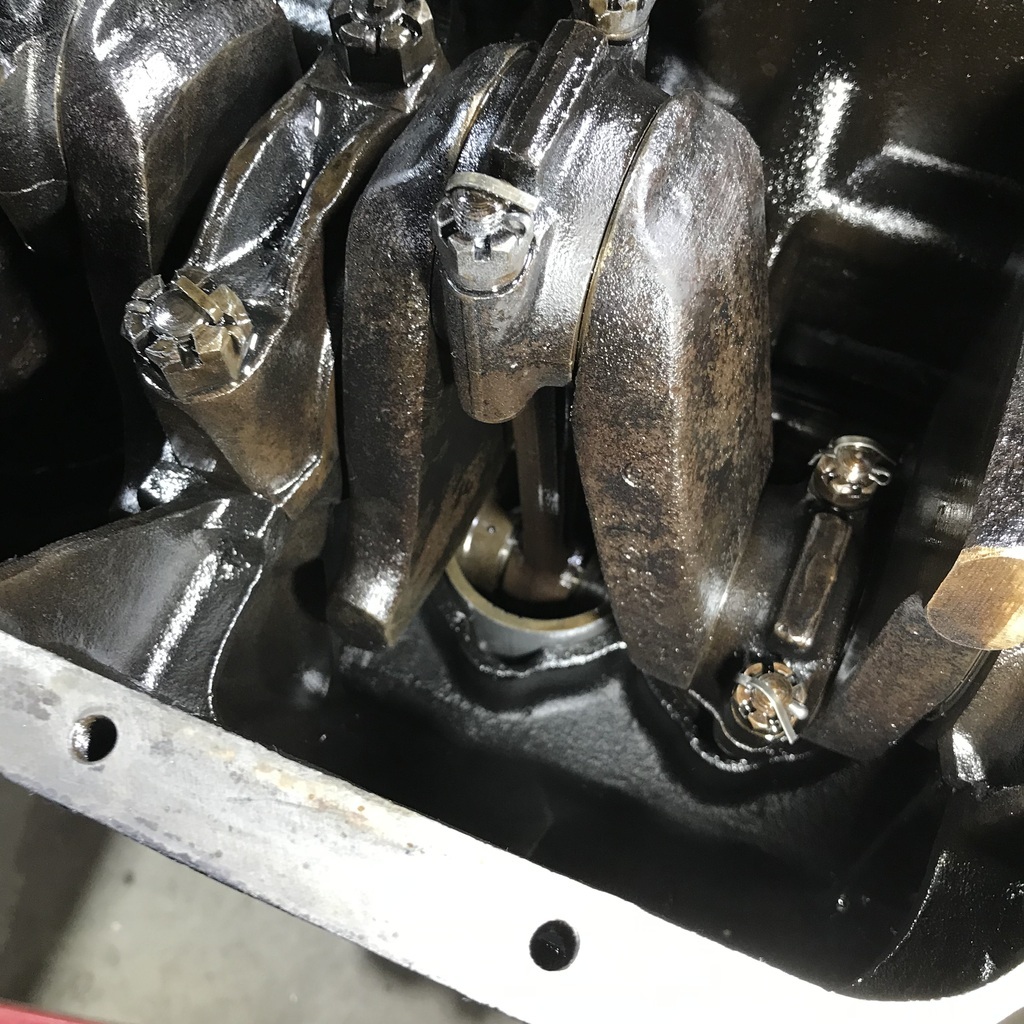 And it all looks ok, in a 75 year old, grubby sort of way. Maybe if the bearing caps weren’t lock wired on, I would have taken one or two off, just for a look. A parcel of bolts and nuts arrived a few days ago, so I was able to put the sump back on with matching bolts. Bliss. 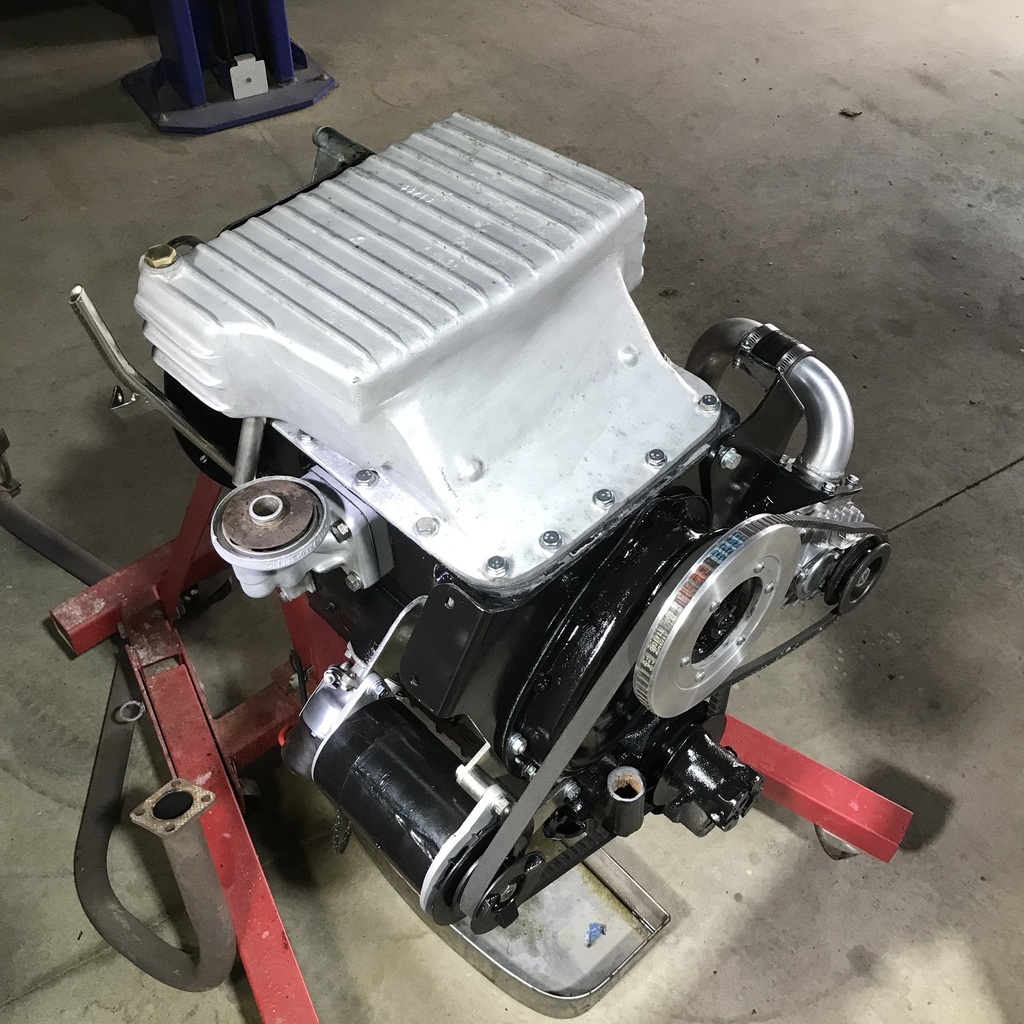 And I cut these out of some 6mm stainless. Some pipe and bends should get here in the next few days. 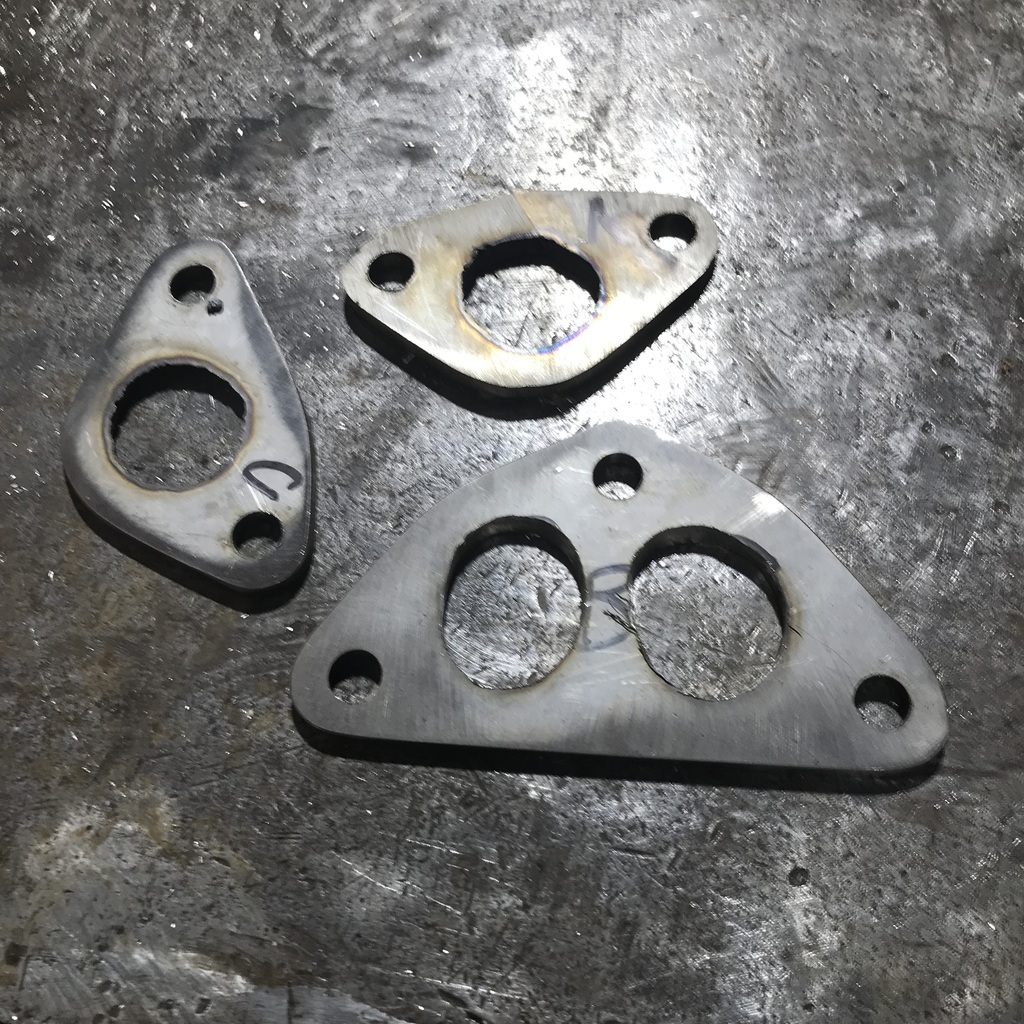 I have an idea for the air filtration, involving two of these and a ‘Y’ branch to fit inside the original housing. More as events unfold… 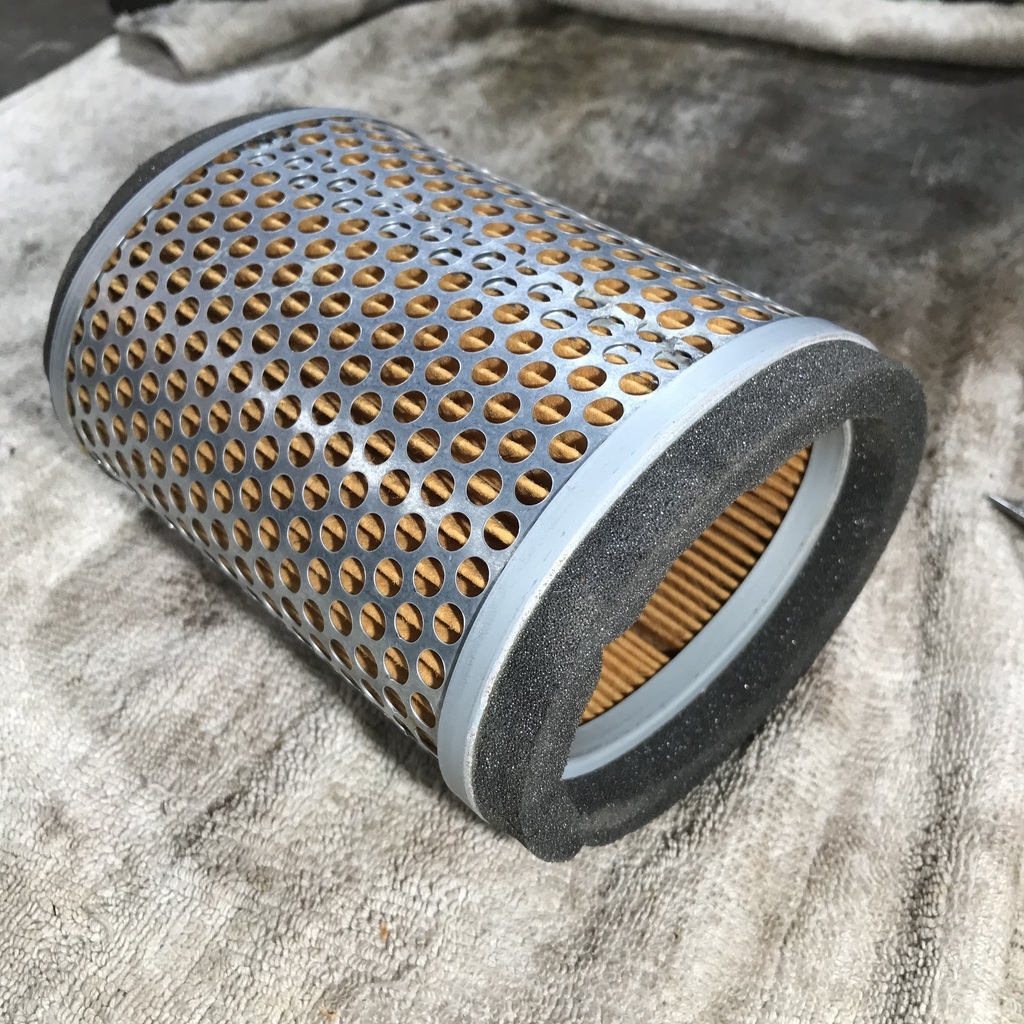 They’re Triumph T'bird, left over from my shop. I was going to put them on Gumtree. But then I’d have to deal with those people. I'd rather use them here. Or burn them. Thanks. |
| |
Last Edit: Nov 3, 2023 9:46:05 GMT by gazzam
|
|
|
|
|
|
|
|
A great project and excellent workmanship. The thread is a good read and I'm following it with great interest. Thank you for sharing it with us.
|
| |
|
|
glenanderson
Club Retro Rides Member
Posts: 4,353
Club RR Member Number: 64
|
|
|
|
|
I would often sooner burn stuff than deal with people too.
|
| |
My worst worry about dying is my wife selling my stuff for what I told her it cost...
|
|
teaboy
Posted a lot
   Make tea, not war.
Posts: 2,125
|
|
|
|
I would often sooner burn stuff than deal with people too. Burn the people with it. |
| |
|
|
gazzam
Part of things
 
Posts: 740 
|
|
|
|
Thanks John, glad you enjoy it. Cheers. Loved the comments on the typical Gumtree ass*oles. All I achieved today was to make these two brake lines and install them. 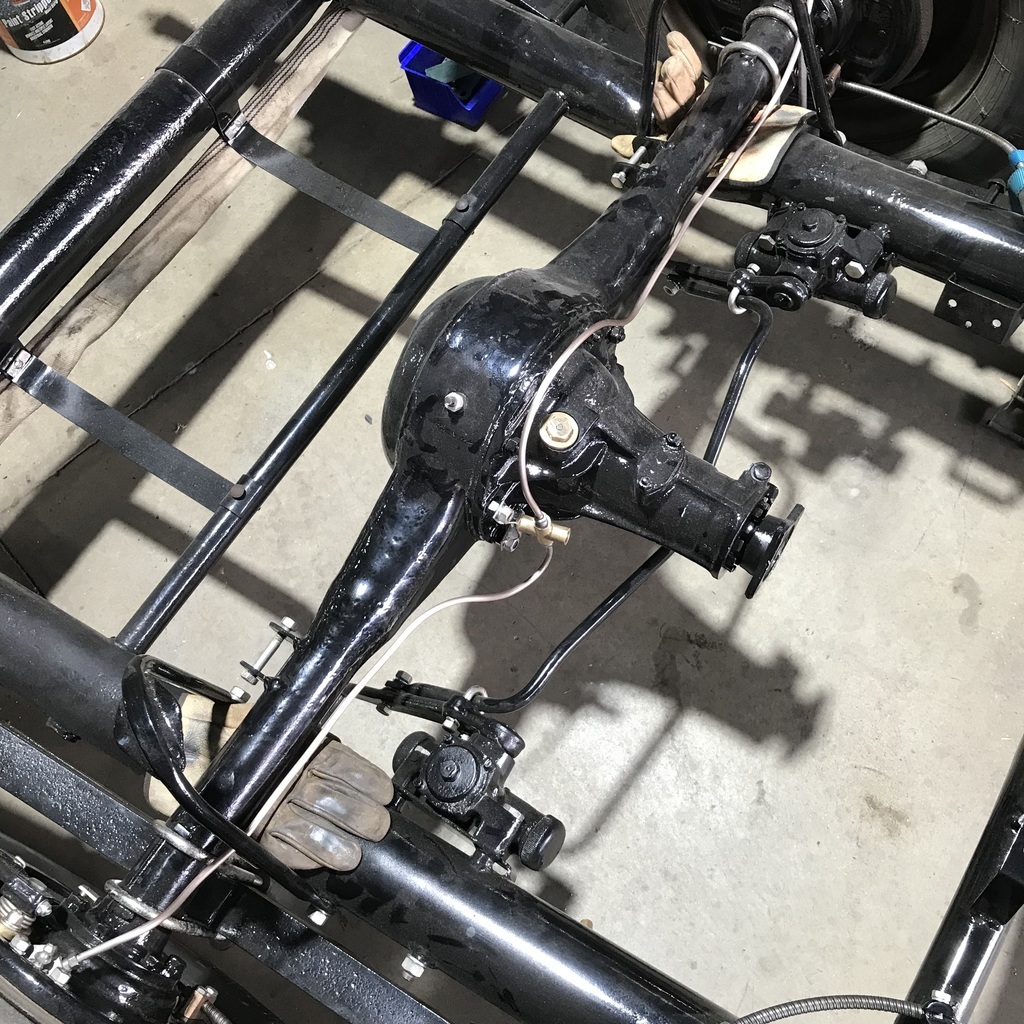 I did drill the hole in the axle to move it, but nothing went to plan. More investigation needed. Will report later. Thanks. |
| |
|
|
|
|
gazzam
Part of things
 
Posts: 740 
|
|
|
|
Didn’t go near the axle position snafu at all today. I call it a snafu because of what I found after I moved the axle rearward on the left hand side. I found that it ( the axle ) was now pointed towards the left, by about the same amount as I thought it had been previously pointing to the right. My only answer is that I stuffed up the measurement before, and it wasn’t out of whack at all. I did find that there’s over 6mm runout on each of the back tyres. Maybe they were both lined up just the right way to give me that huge out of whack measurement that I got before. Either that or I can’t read a tape measure. Anyway I’m leaving it alone for a while. Plenty of other stuff to do. Painted the gearbox. 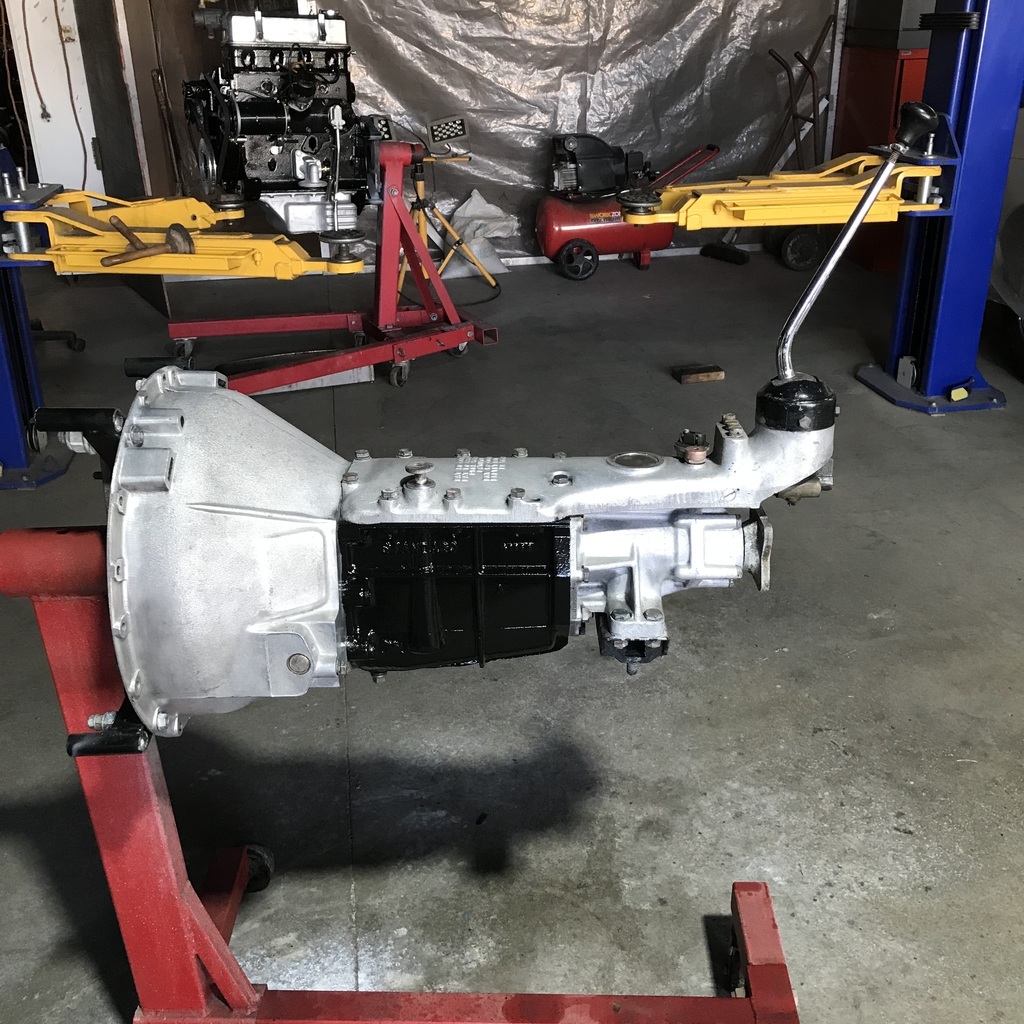 I would have plated all the bolts etc, but I’m hoping that the larger tyres will negate the need to change the gearbox. The plan is to see what it’s like with the increased tyre diameter. I’m sure if I’d spent ages making it as pretty as I could , I would be changing it in the near future. Reverse karma or something. Also reassembled the brake mc and bolted it on. A bit hard to make out among all the black so… 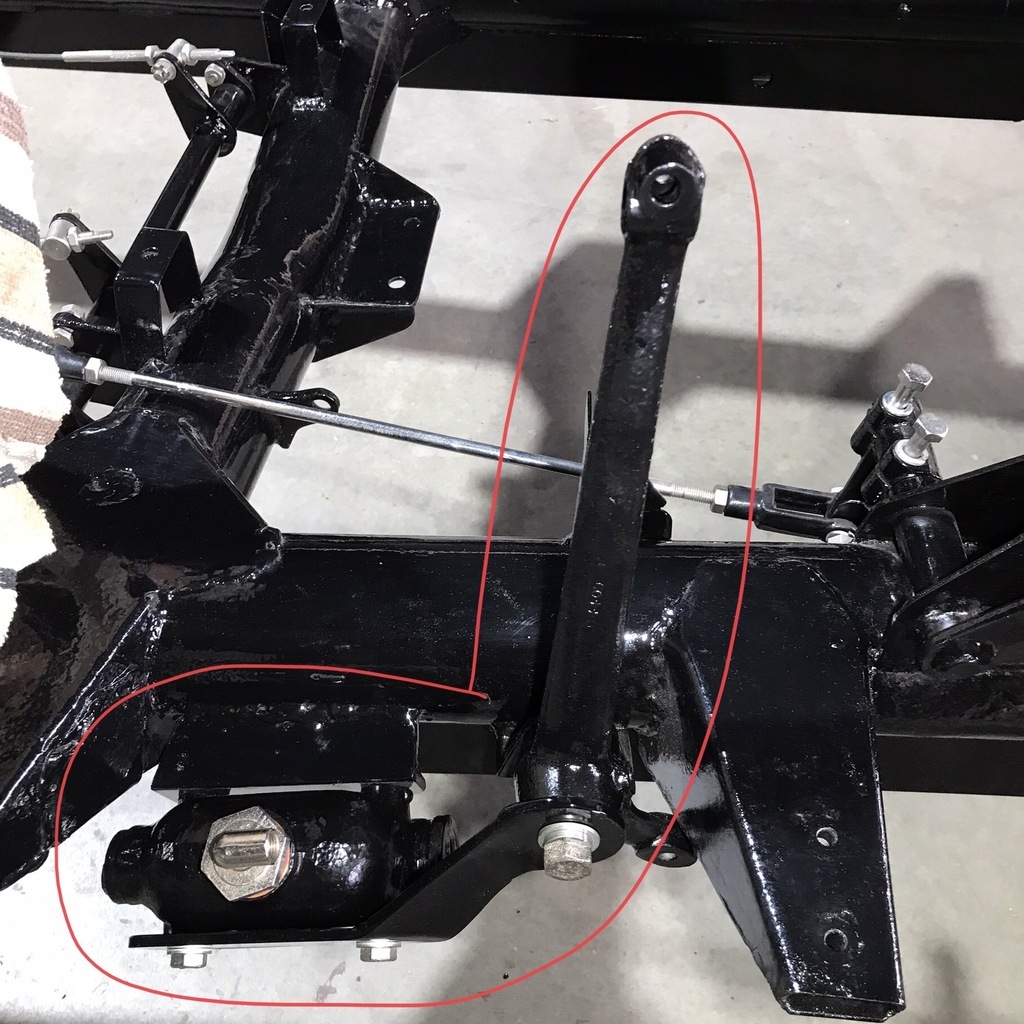 Also started on the air filter mods. Made an oval tube, just a bit bigger than the filter, out of 19# 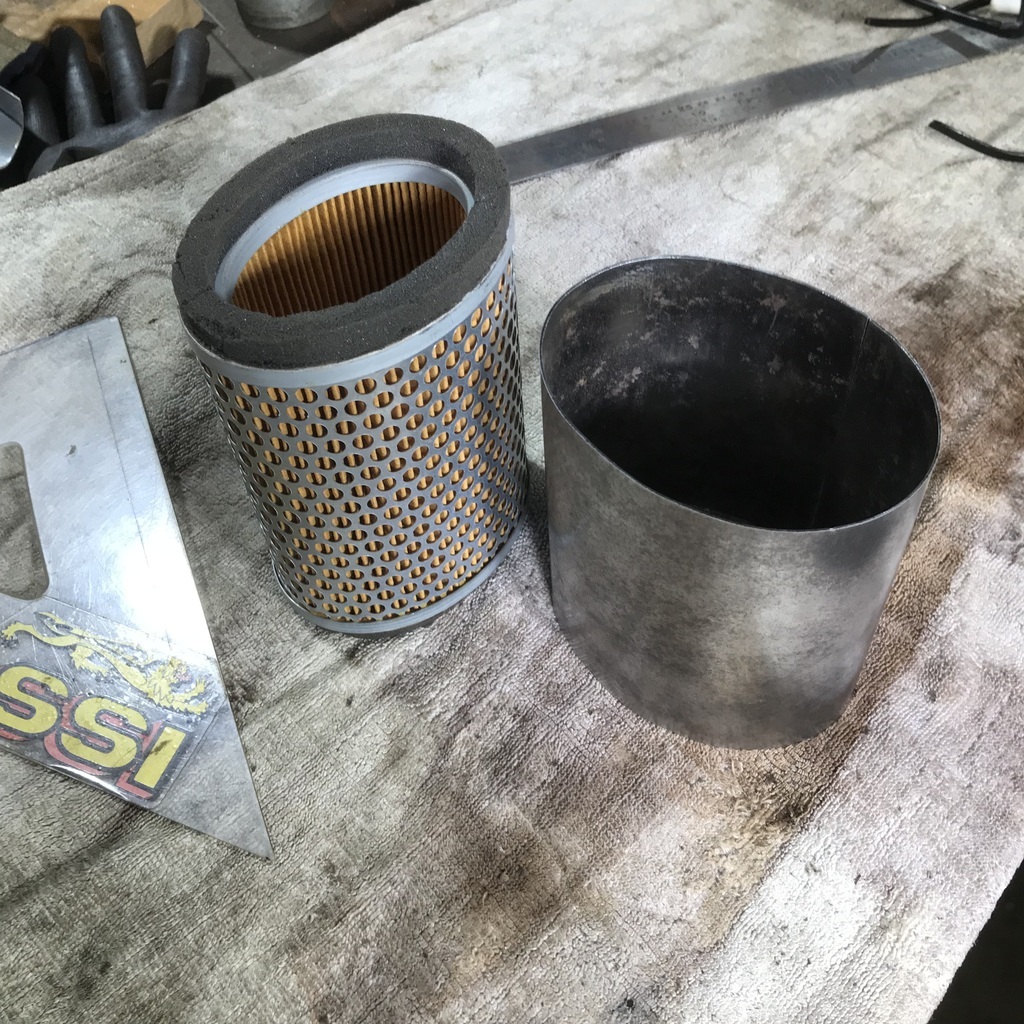 Then folded a piece of the same stuff. 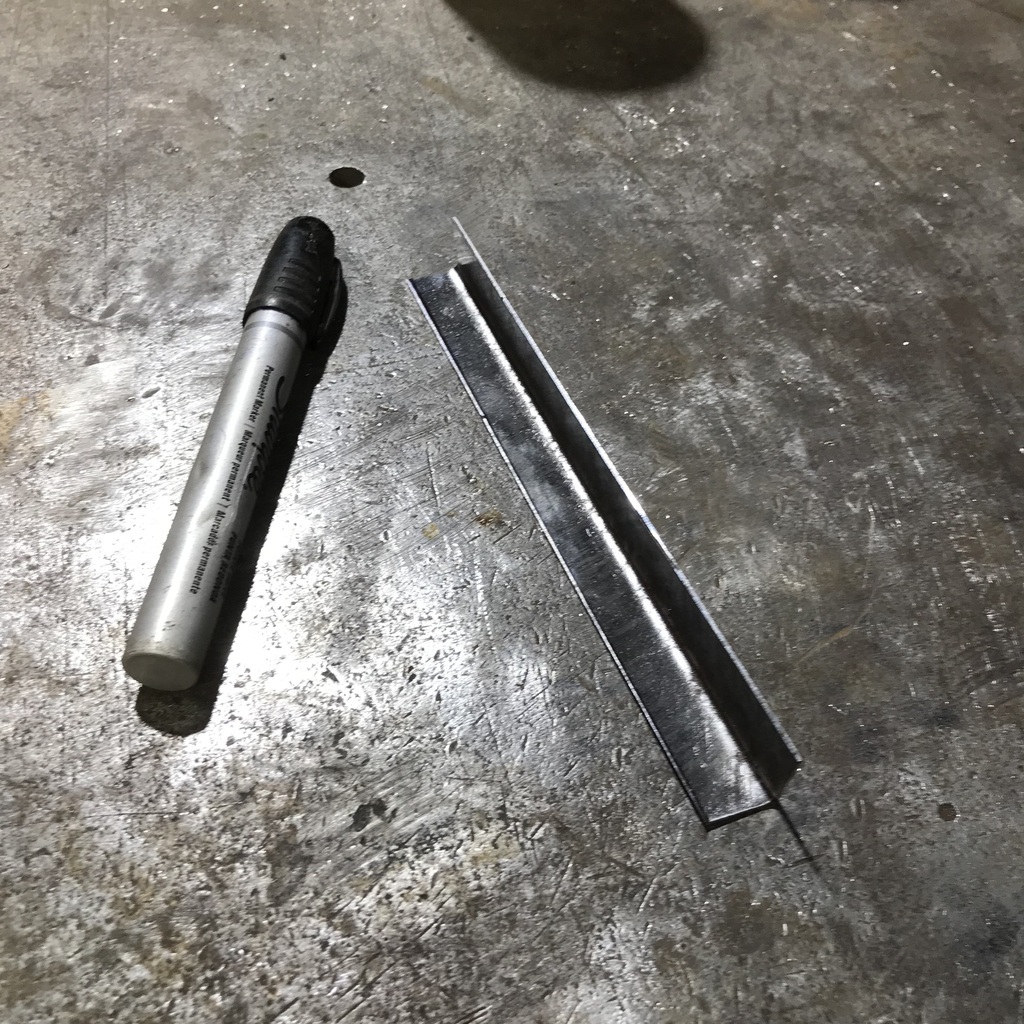 And a few minutes with the shrinker turned it into this. With a second one obvs… 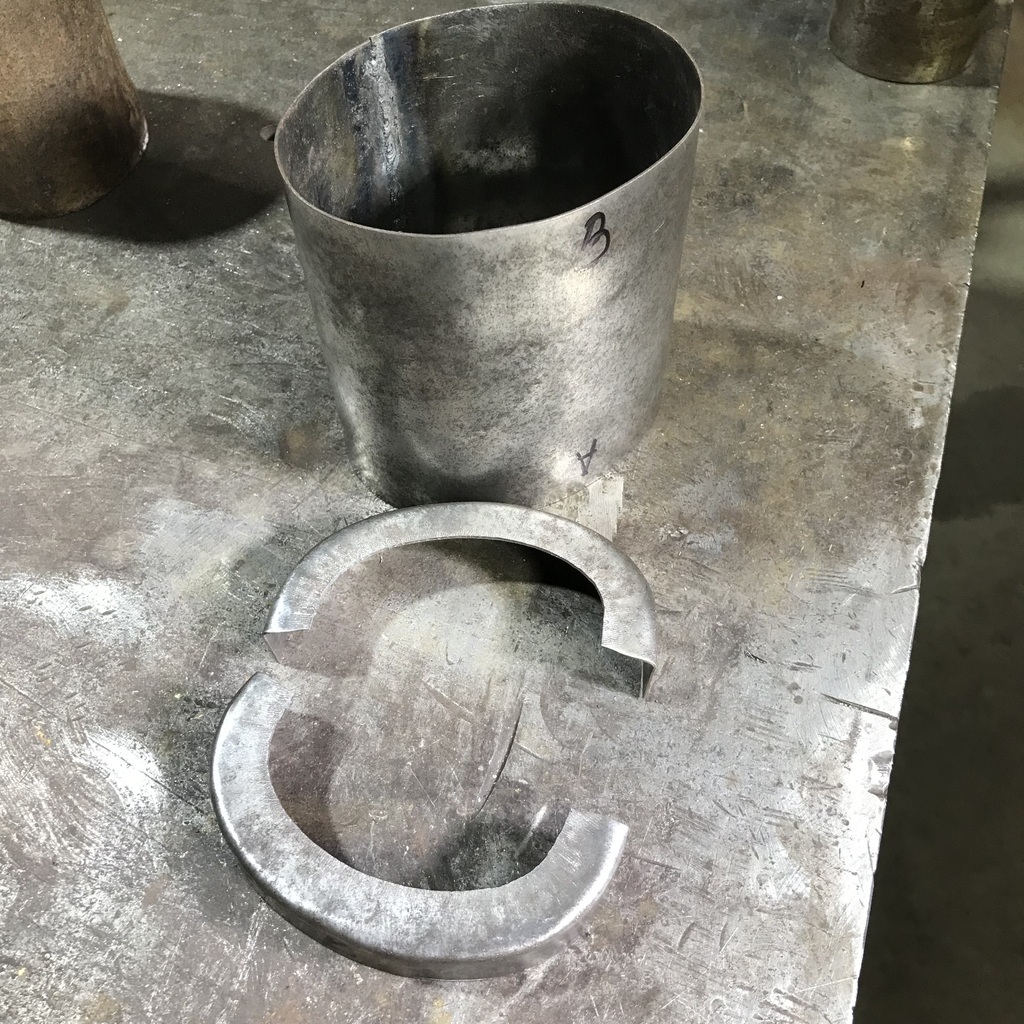 Welded together. Times four. 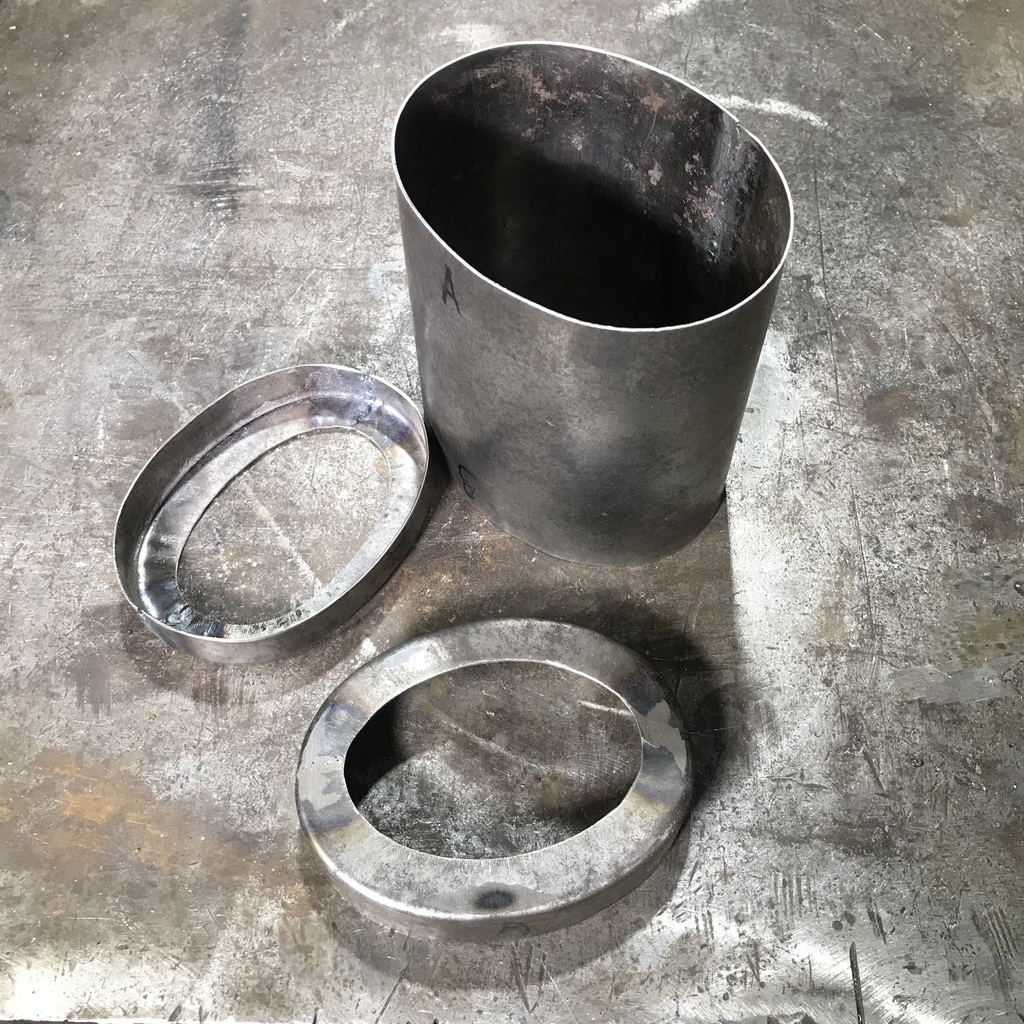 So the filters will go like this, one each end. With a through bolt hold them in place. 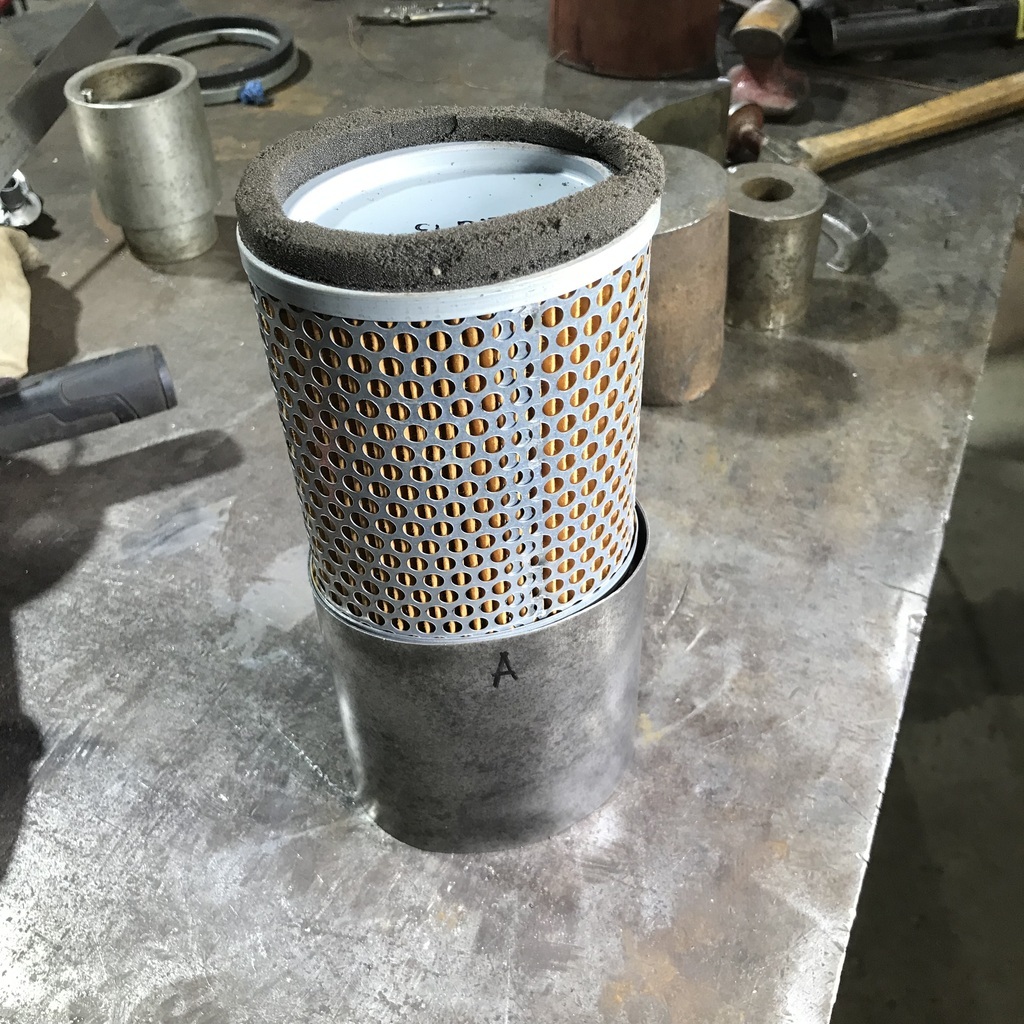 Now I have to cut a tube into the side and mount it inside the original housing. Should work, hopefully. Thanks. |
| |
|
|
gazzam
Part of things
 
Posts: 740 
|
|
|
|
Carrying on from yesterday with the air cleaner mod. Drilled holes in the outer housing to rosette weld the curved pieces in place. 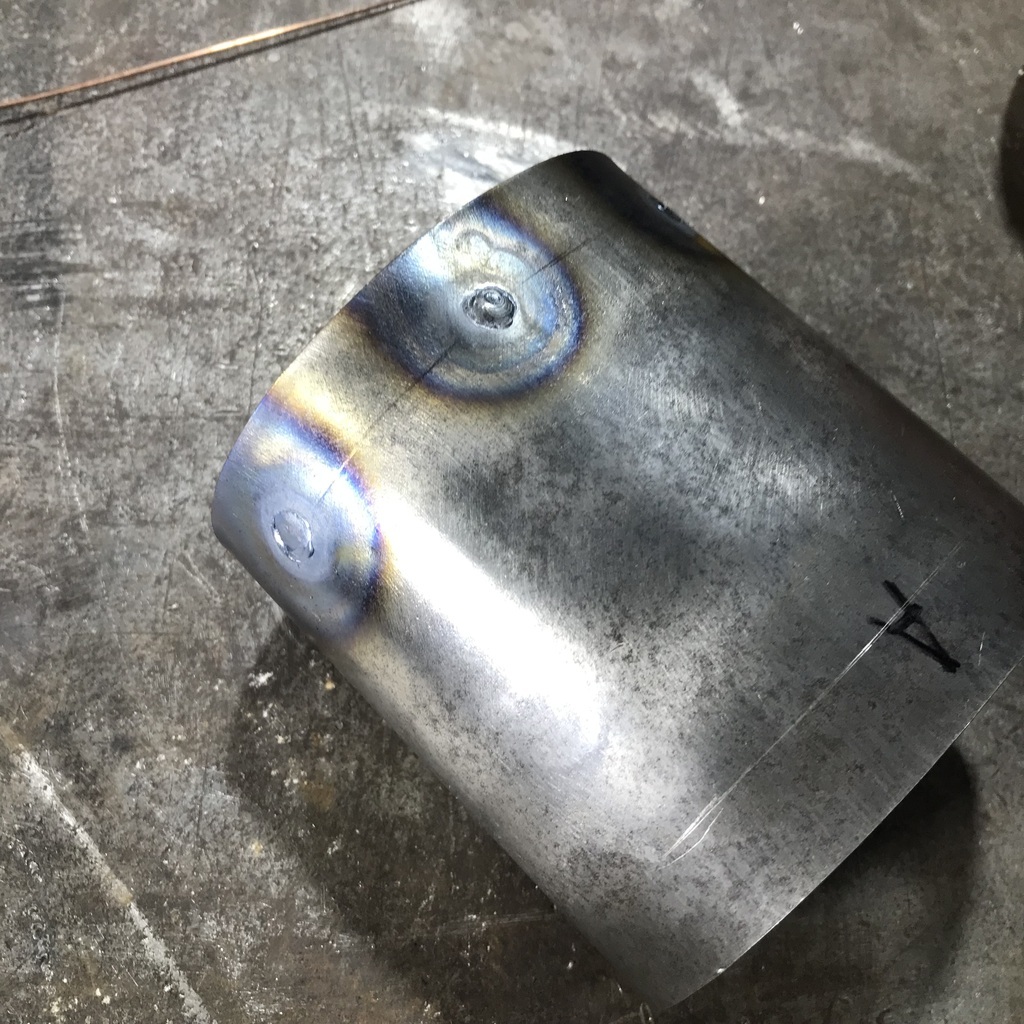 Made a short tube to go inside the outlet tube of the original housing. 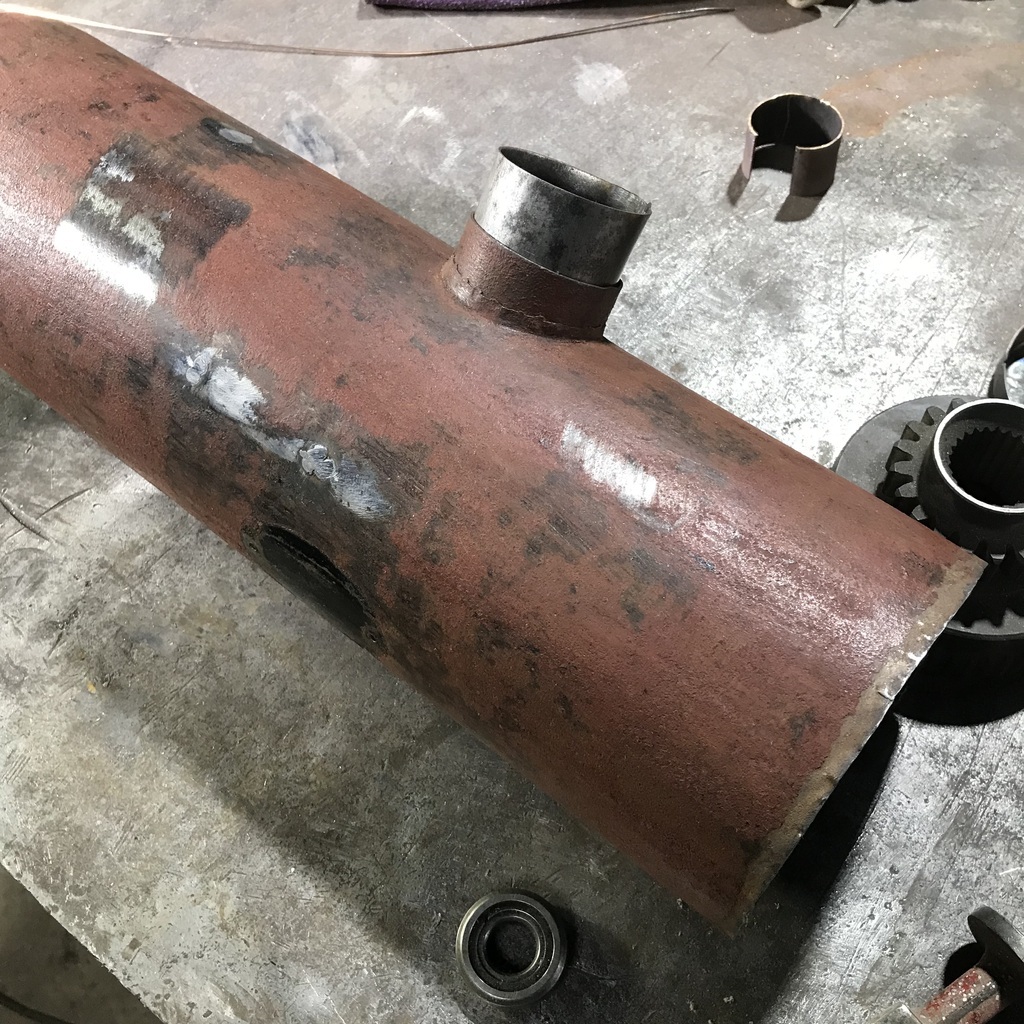 Then welded it to the filter holder. 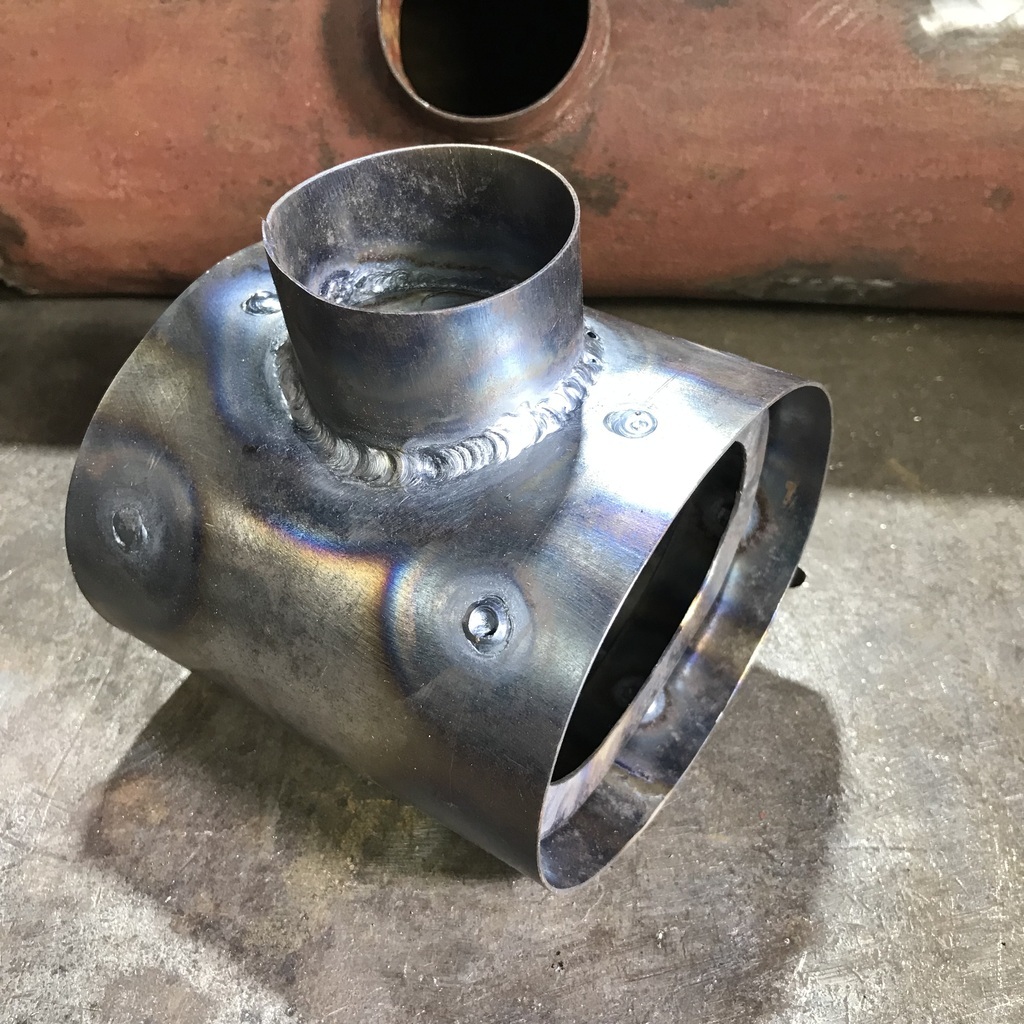 Now it needs a hole inside that tube and then it can be mounted inside the original housing. But first I need to clean up the surface rust in the housing, so it can sit in the molasses bath for a week or so. This lot arrived in the mail today. 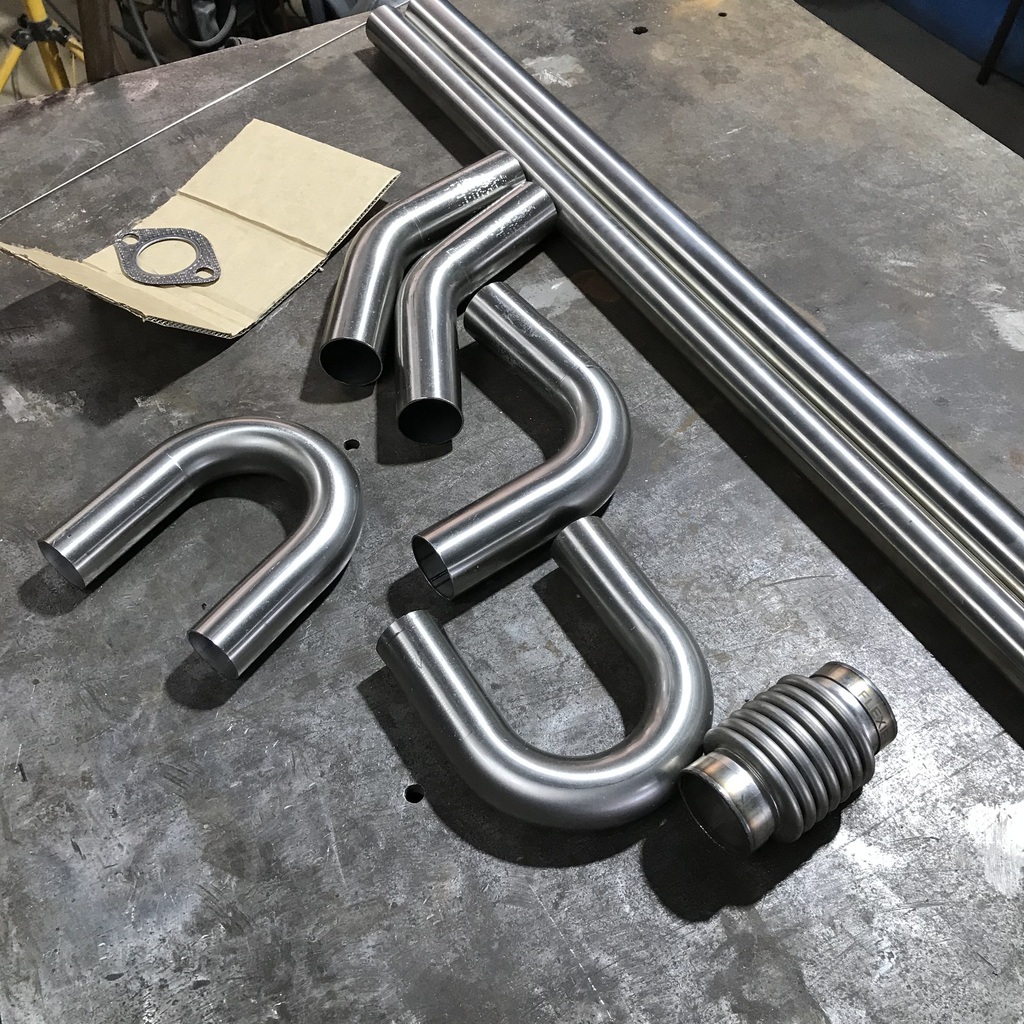 So I made a start on the headers. The Offenhauser look. 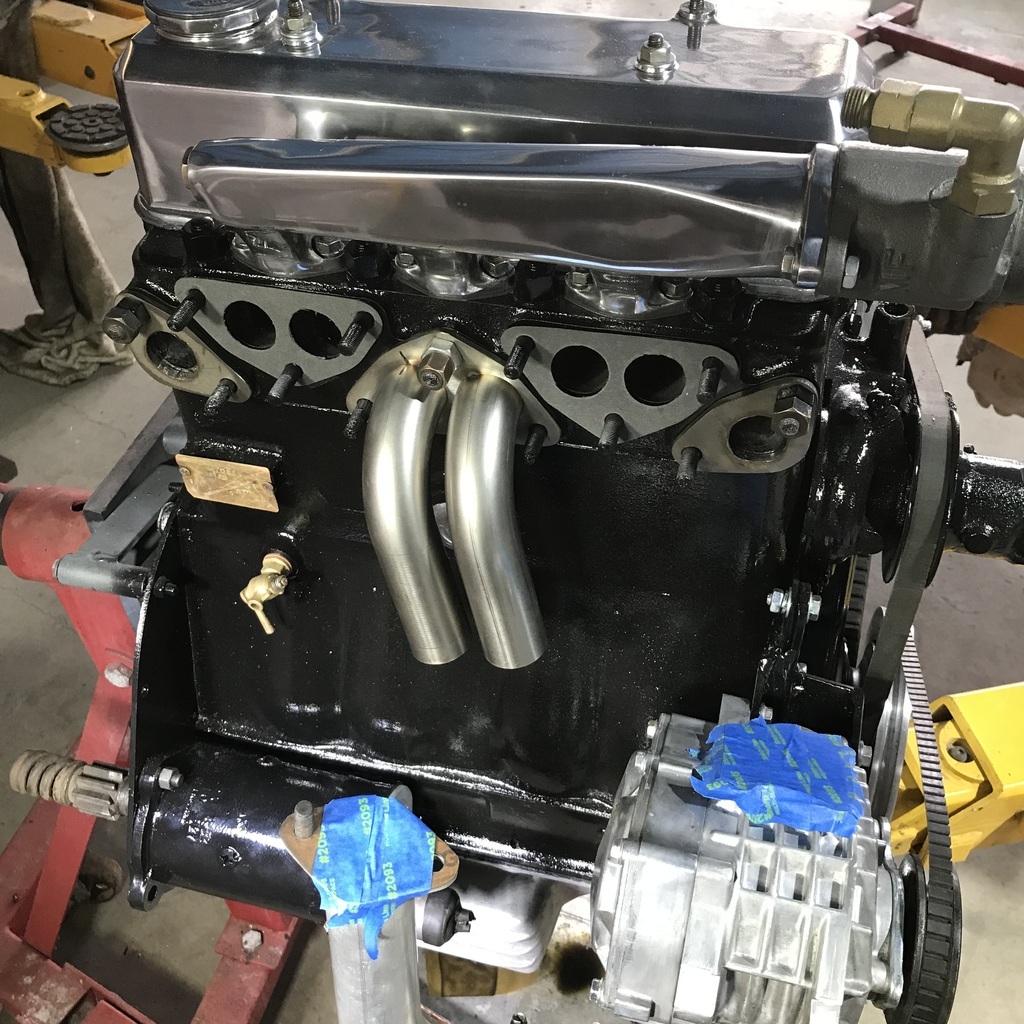 I needed to make the collector before getting too excited about downtubes. This Incan statue is the startling point. 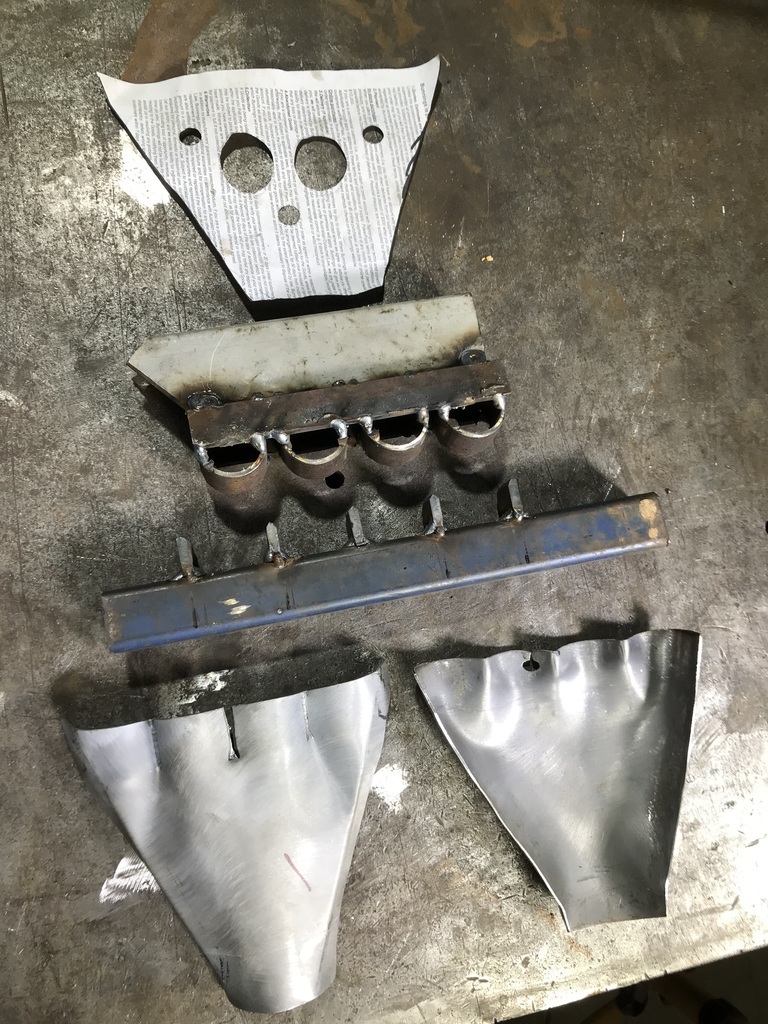 The top piece is simply a paper template for the sheet that the collector is made from. (that also got used to mark the holes in one of the flanges, paper is obvs in short supply) In the middle is the press tool to form the four half circles. And at the bottom are two test pieces I made from mild steel so as not to waste my precious stainless. I had to modify the press tool as it was forming too small a hole on the 'four' side. Once that was done I was able to get a pair of stainless halves. Tacked together. 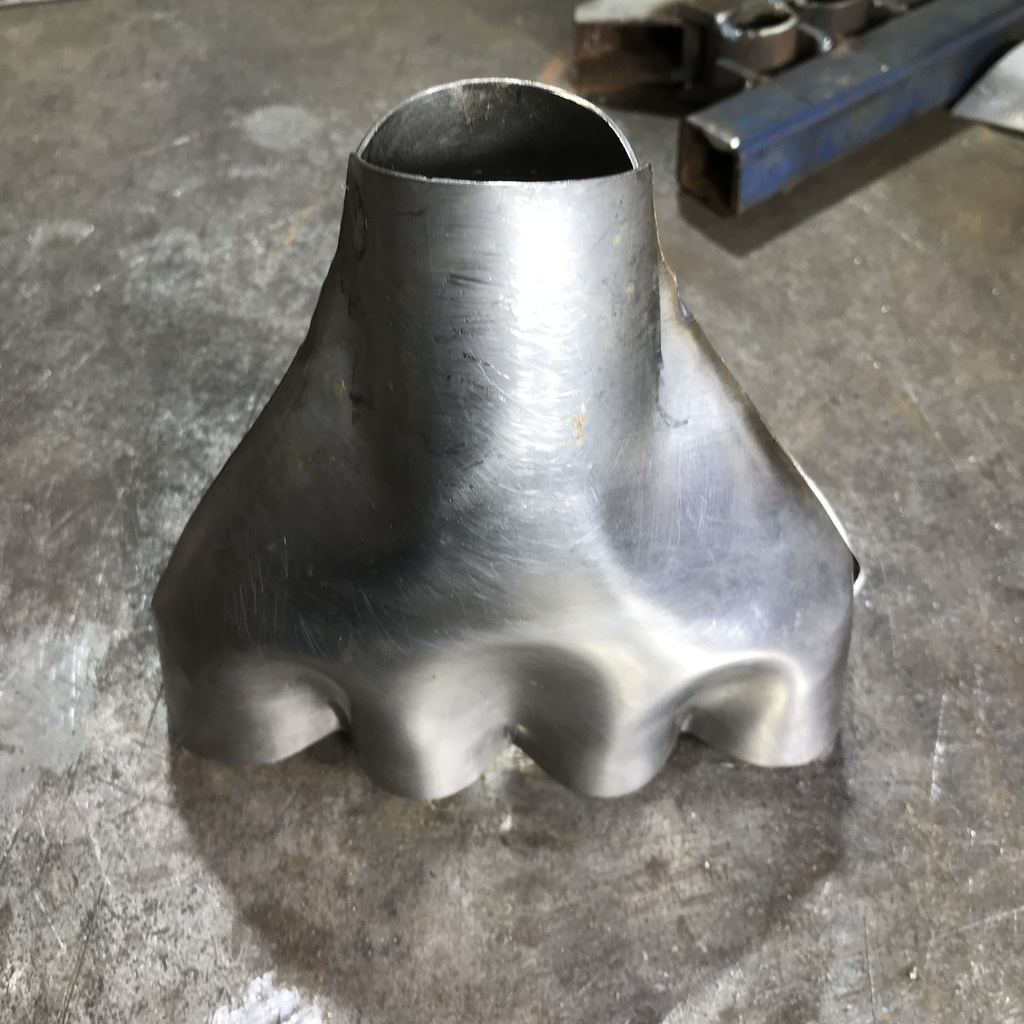 A bit of fettling required, but I think it’ll work. Thanks. |
| |
Last Edit: Nov 6, 2023 9:08:57 GMT by gazzam
|
|
gazzam
Part of things
 
Posts: 740 
|
|
|
|
Added about 100mm to the two central downpipes and fiddled around getting the angle towards the block and getting clearance between the back of the starter and the supercharger. A few untack and retack scenarios. 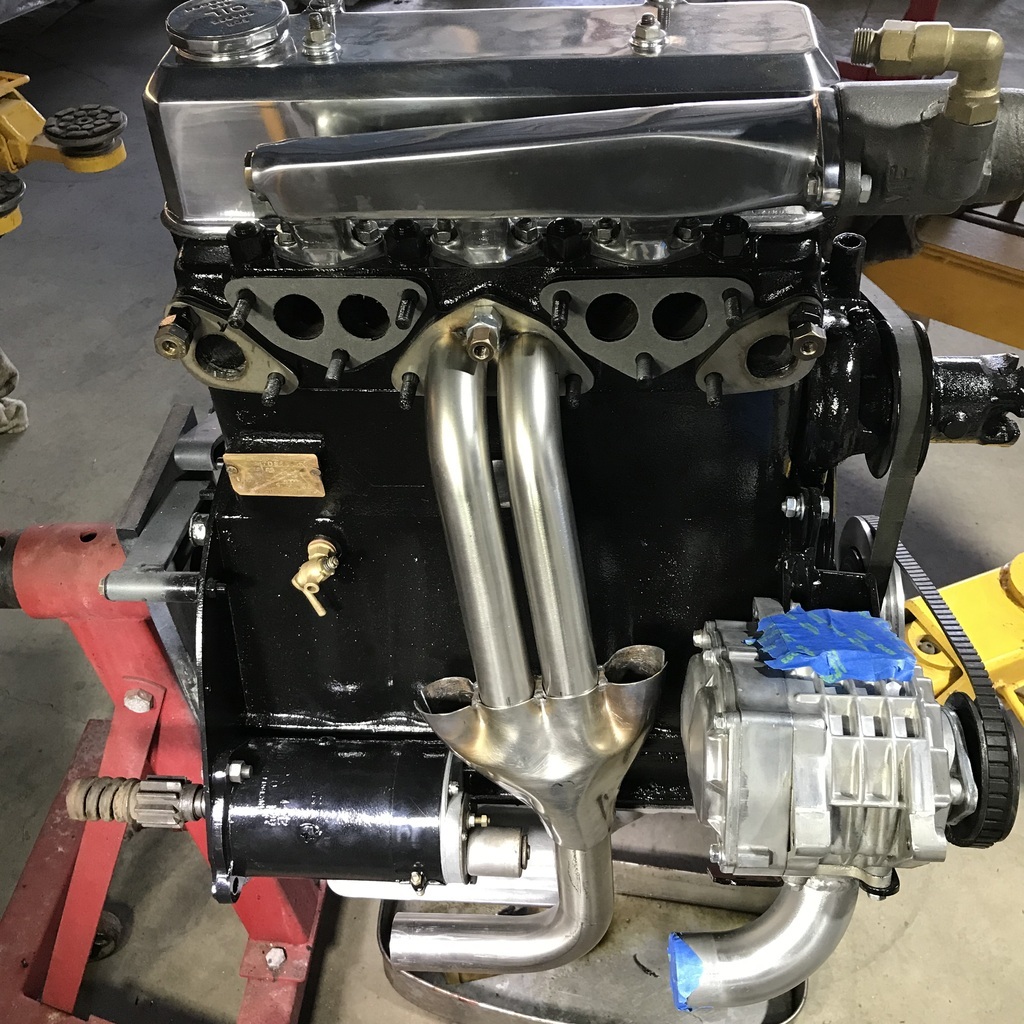 And checked for clearance from the inlet manifold. 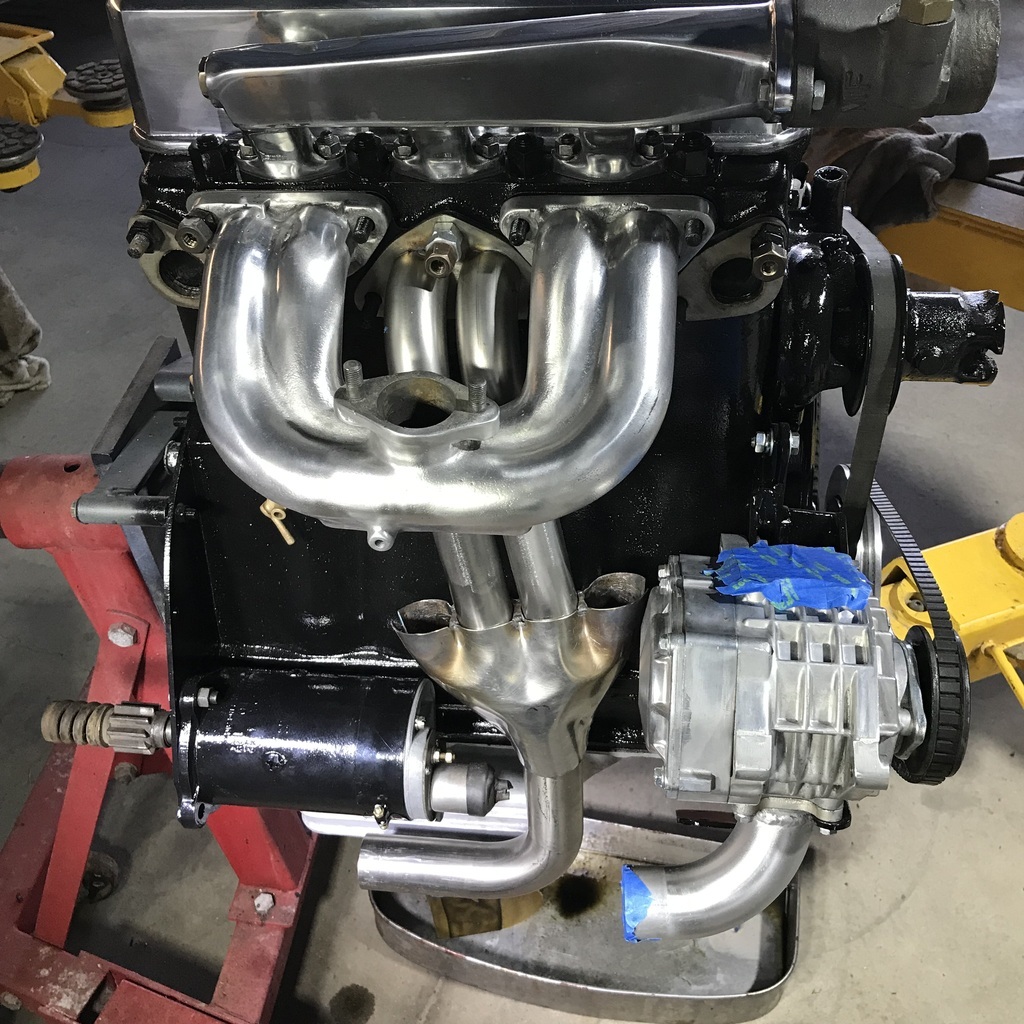 Then added the outer downpipes. That sounds so easy. I should probably point out that the downpipes were made from 180 degree bends cut in two. And some straight pipe added. 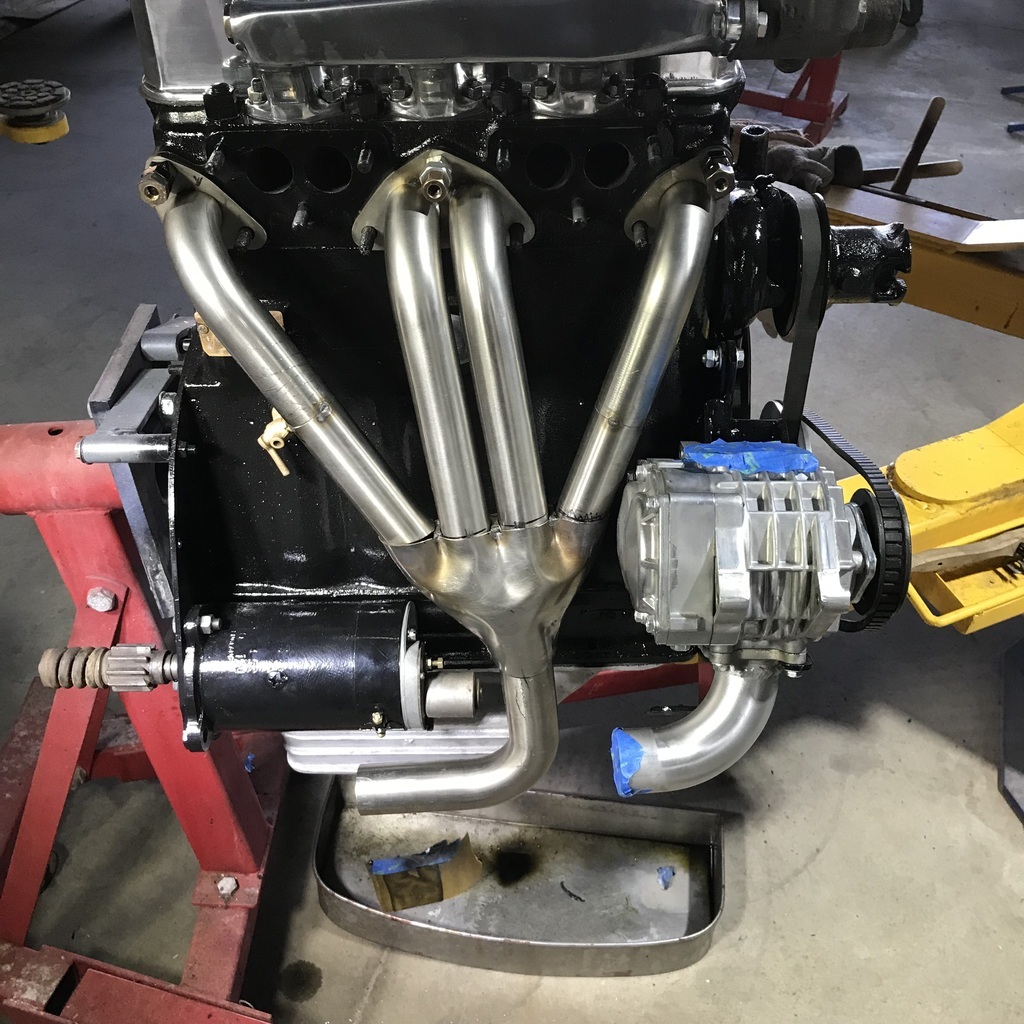 And all tacked together. 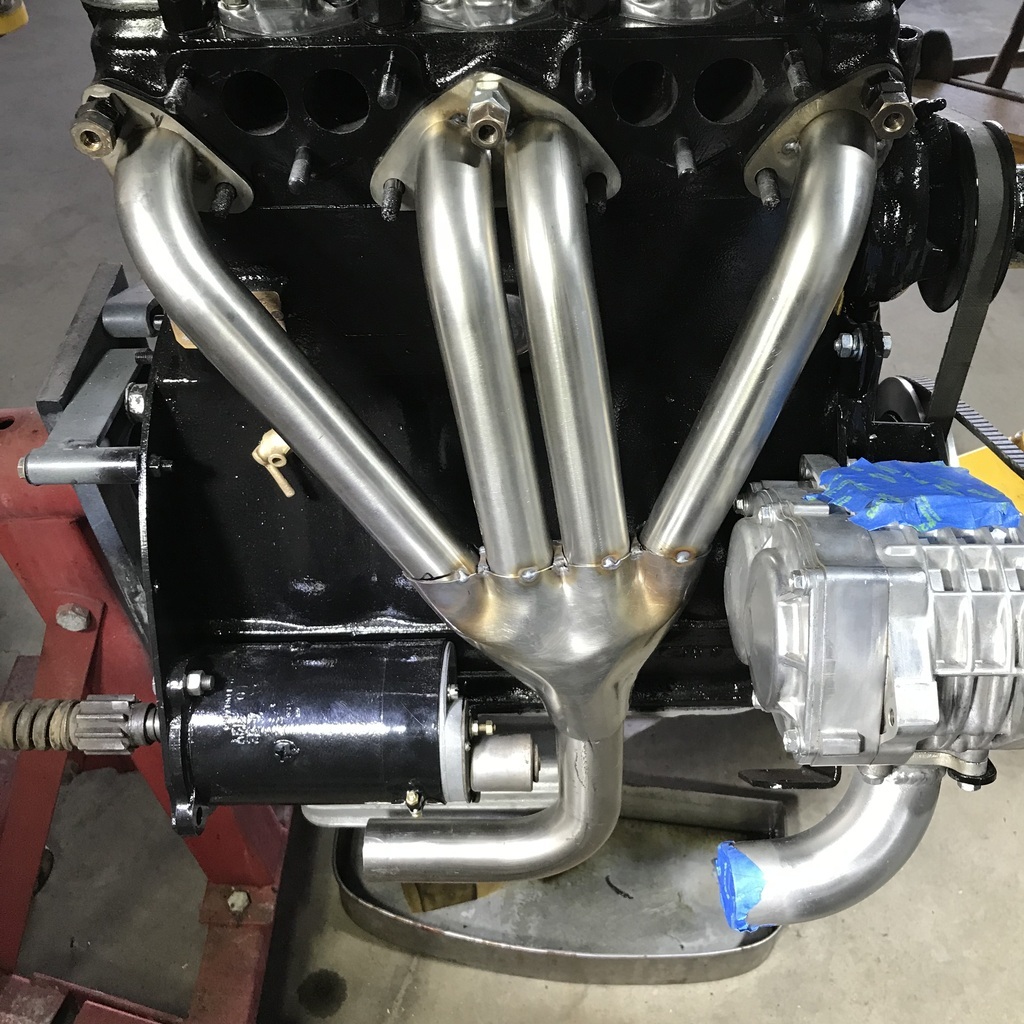 Now for lots of difficult welds. I hate welding around pipes. Access is only good for a bit better than half way round. And I find it hard to swivel my wrist as I bumble my way round. And the bl00dy thing will change shape as heat goes into it. Fun and games. But I must say I’m pleased so far. I don’t think I’ll be selling this car. Thanks. |
| |
|
|
Zagato
Part of things
 
Posts: 80
|
|
|
|
|
Fantastic work!
I would be tempted to put some louvres or a flap in the bonnet sides so you can get a glimpse of that handiwork without having to open the bonnet top!
It would also allow some of the extra heat to exit the engine bay……
|
| |
Last Edit: Nov 7, 2023 18:05:10 GMT by Zagato
1959 Abarth Double Bubble resto project
1989 Lotus Esprit LHD
1997 Lotus Eprtit GT3
1996 Jaguar XJ6 Sovereign manual gearbox from factory
Porsche 356A Coupe replica
Formula 27 Super Seven replica Alfa Nord powered
|
|
|
|
|
|
|
|
To stop it from distorting could you attach it to the old exhaust manifold whilst you're finishing the welds?
Amazing workmanship as always!
|
| |
Liam...
'96 854 TDI SE, '99 V70 2.5D S, '05 C70 2.0T Collection, '05 S80 2.0T SE
|
|
gazzam
Part of things
 
Posts: 740 
|
|
|
|
Thanks Zagato. But I’m not a big fan of louvres. Too difficult to paint. Excellent idea, Liam. When I first removed the tacked up work-in-progress, I tried that. It didn’t line up. I didn’t think any more about it, just accepted that it wasn’t mirror image. Something must have been wrong then, because it certainly fits now. I should have realised that this would be a very unusual motor if that was the case. It would have worked I think. It probably would have made manoeuvring the thing around to where I could get at it to weld it, a bit more difficult though. Swings and roundabouts. So anyway, it is welded up. The bit I was most worried about was here. Between the pipes, coming into the collector. 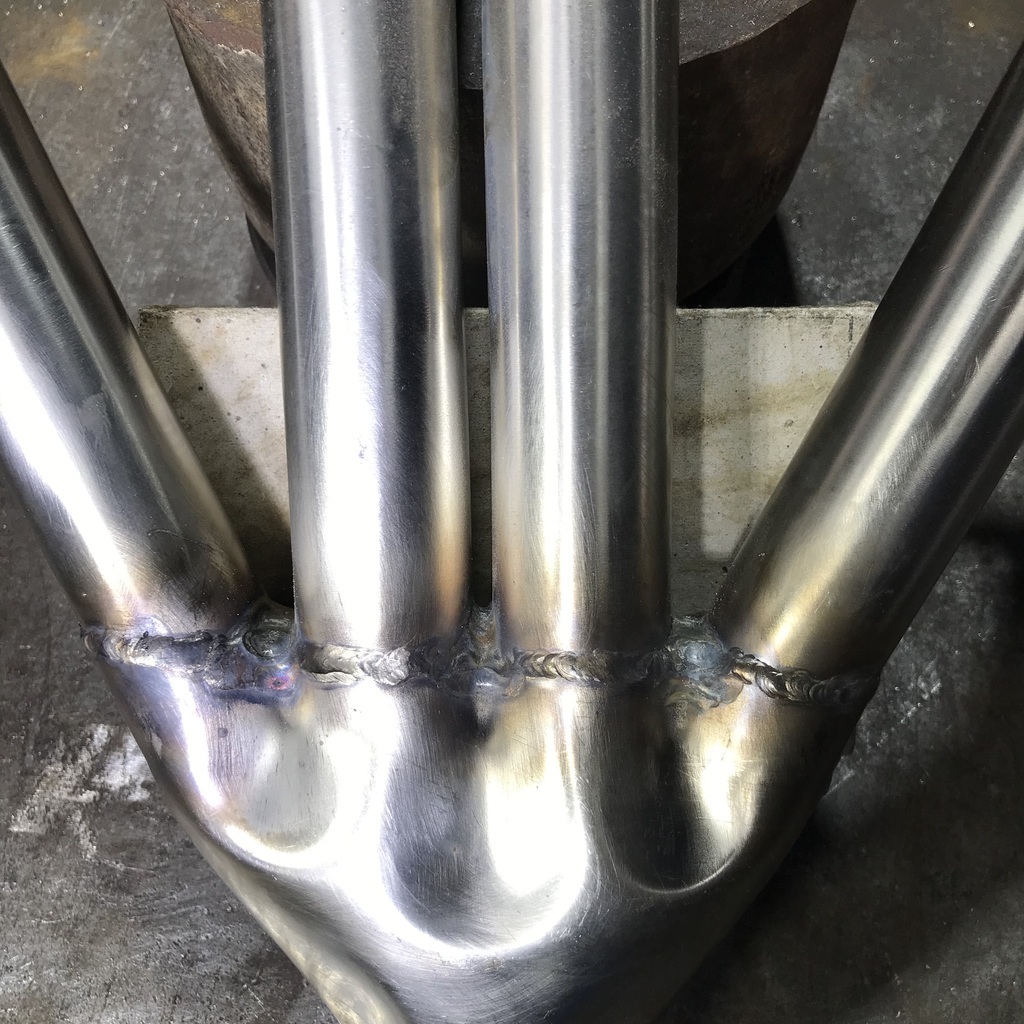 I used a piece of fibre cement board behind the pipes to try and trap the argon and a bit more than an inch of stickout on the tungsten. It worked ok, but the weld is probably equal amounts of tungsten and filler rod! And of course it did change shape. But it wasn’t too hard to get it back. A little bit of spreading. The outers had pulled in by about 5mm. 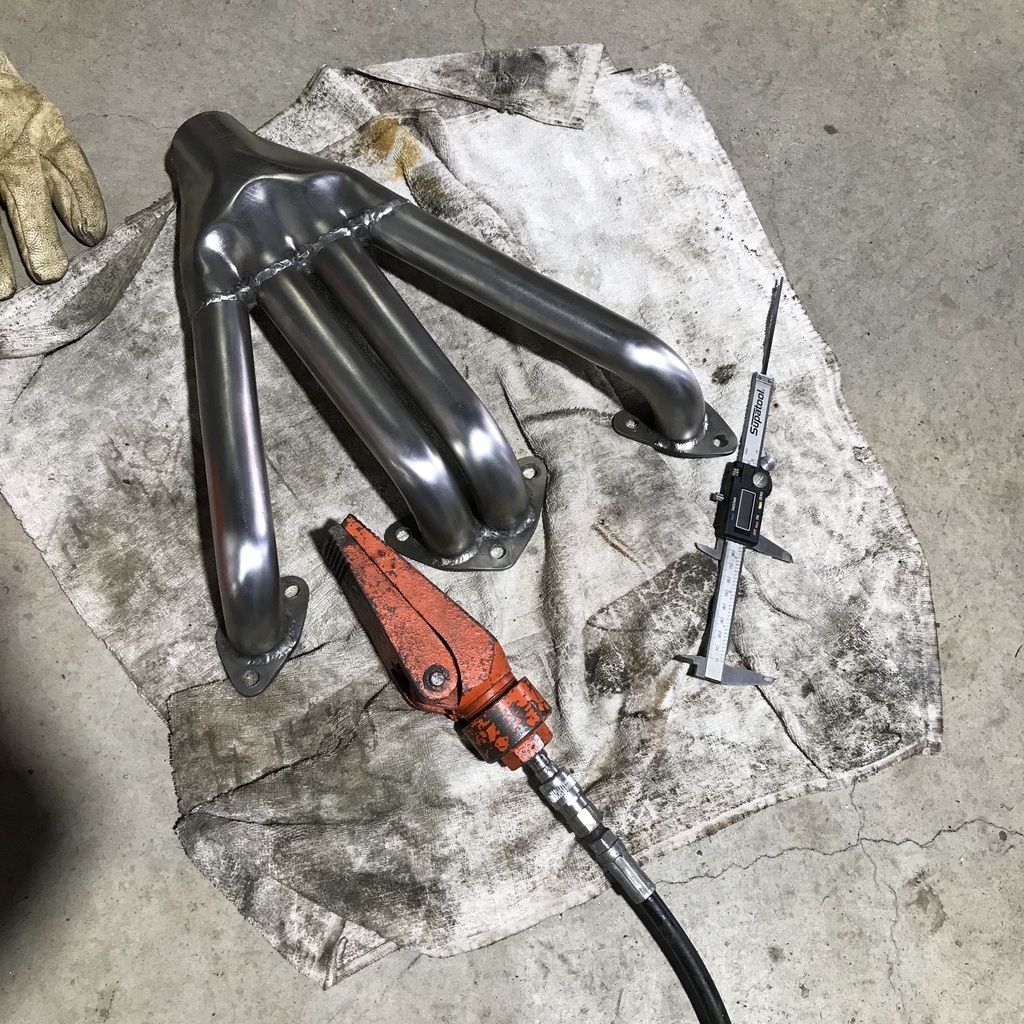 And the centre pair had moved in about 3mm. Pullled it down to the steel table with bolts on the outer two with a spacer packing up the centre. 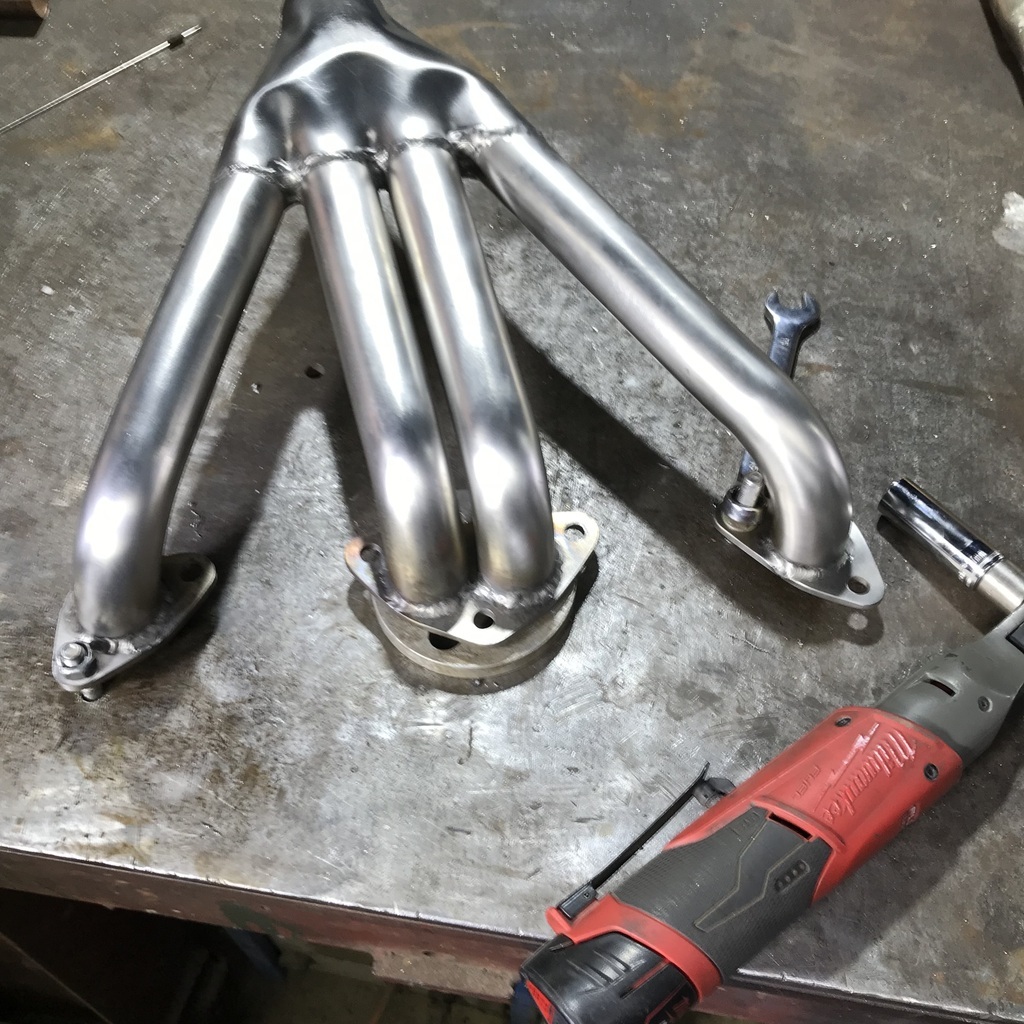 Then a bit of surfacing on the belt sander. 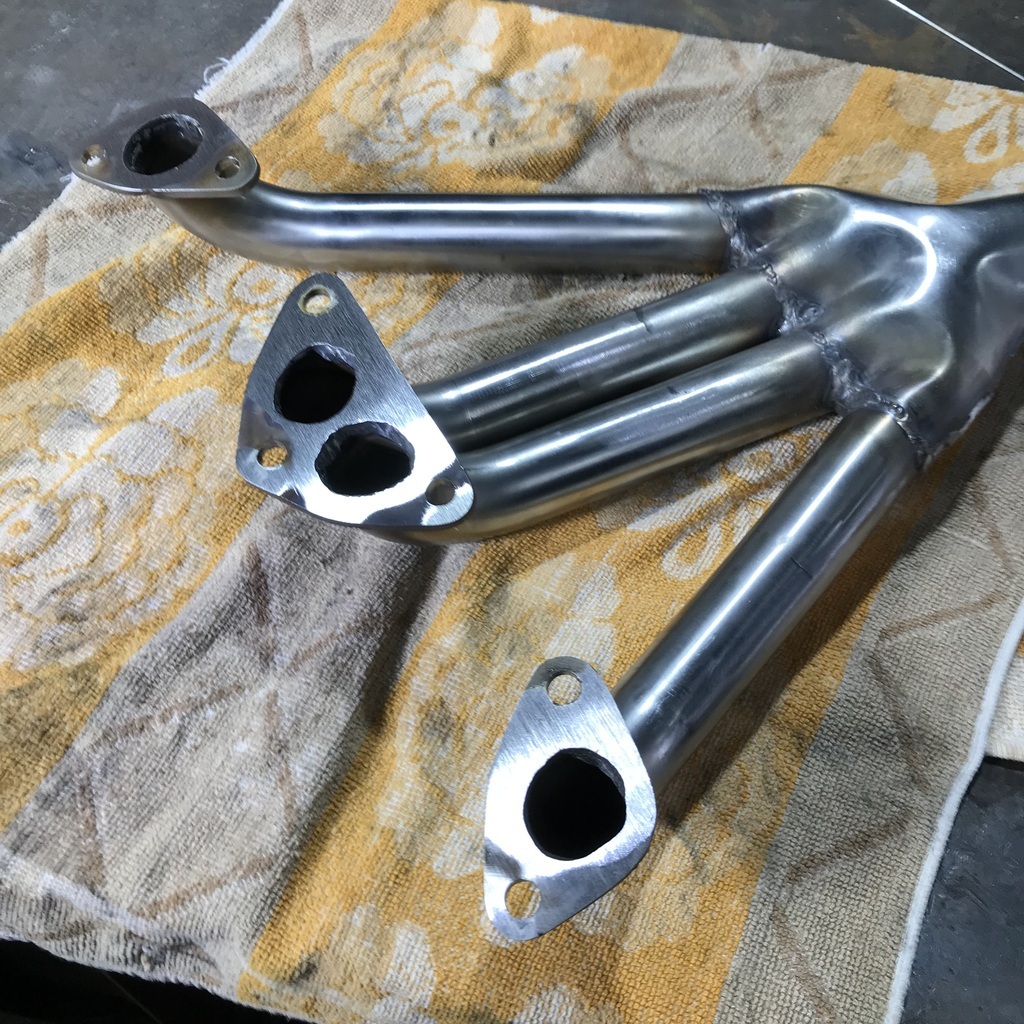 And here it is in place. Just have to make gaskets and put the outlet in the collector, but I’m waiting on some flanges. One has to go on that pipe and it’ll be easier to weld before the pipe is part of the headers. 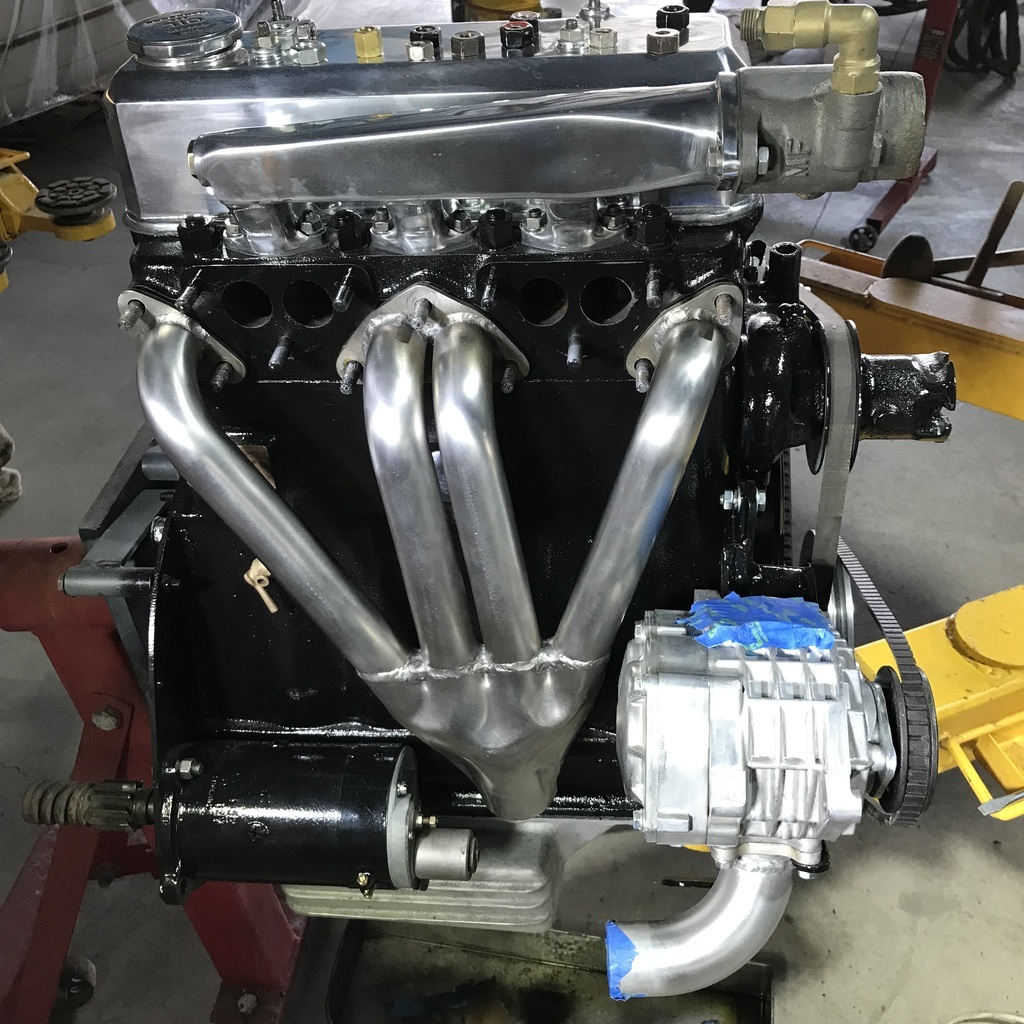 And with the inlet manifold in place. Pretty pleased how this side of the motor is looking. 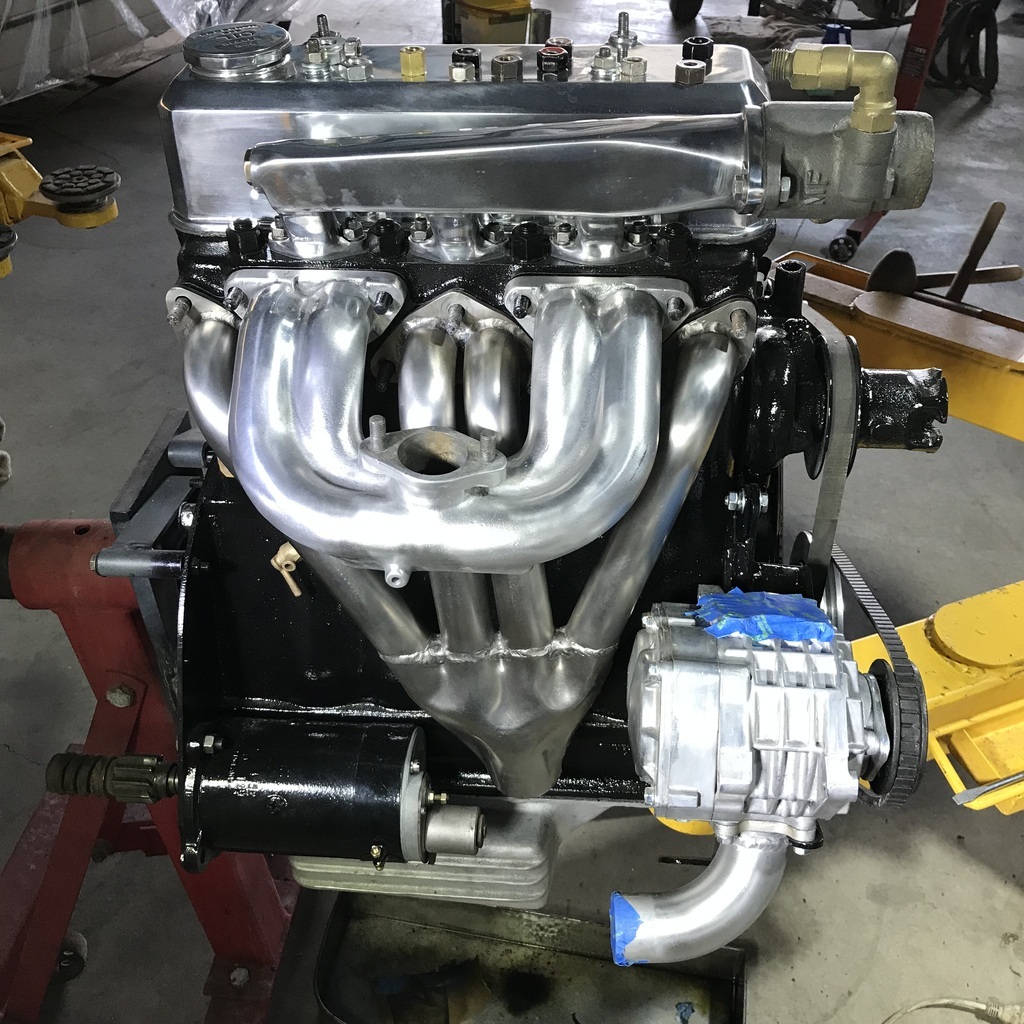 Thanks. |
| |
|
|
glenanderson
Club Retro Rides Member
Posts: 4,353
Club RR Member Number: 64
|
|
|
|
|
Really nice work. 👍
I wish I could match your progress. Most of the time I am just too tired after work to even start.
|
| |
My worst worry about dying is my wife selling my stuff for what I told her it cost...
|
|
|
|
|
|
|
|
Absolutely brilliant work.
|
| |
|
|
gazzam
Part of things
 
Posts: 740 
|
|
|
|
|
Thanks Glen, you do realise I’m retired? Not having to go to work gives me a few more hours for this stuff. I doubt I’d make as much progress otherwise!
Thanks John, much appreciated.
No post tonight, wife has had me fiddling about with a piece of furniture. Hopefully I’ll finish it tomorrow and we have a car club run on Saturday, so I won’t get back to the Triumph till Sunday.
Cheers.
|
| |
|
|
glenanderson
Club Retro Rides Member
Posts: 4,353
Club RR Member Number: 64
|
|
|
|
...you do realise I’m retired? I hadn't spotted that somewhat significant fact.  I'm not necessarily looking forward to retirement, but I am looking forward to working to my own schedule rather than someone else's. That and not having to get up at 03:00 for an early shift.  |
| |
My worst worry about dying is my wife selling my stuff for what I told her it cost...
|
|
|
|


