gazzam
Part of things
 
Posts: 740 
|
|
|
|
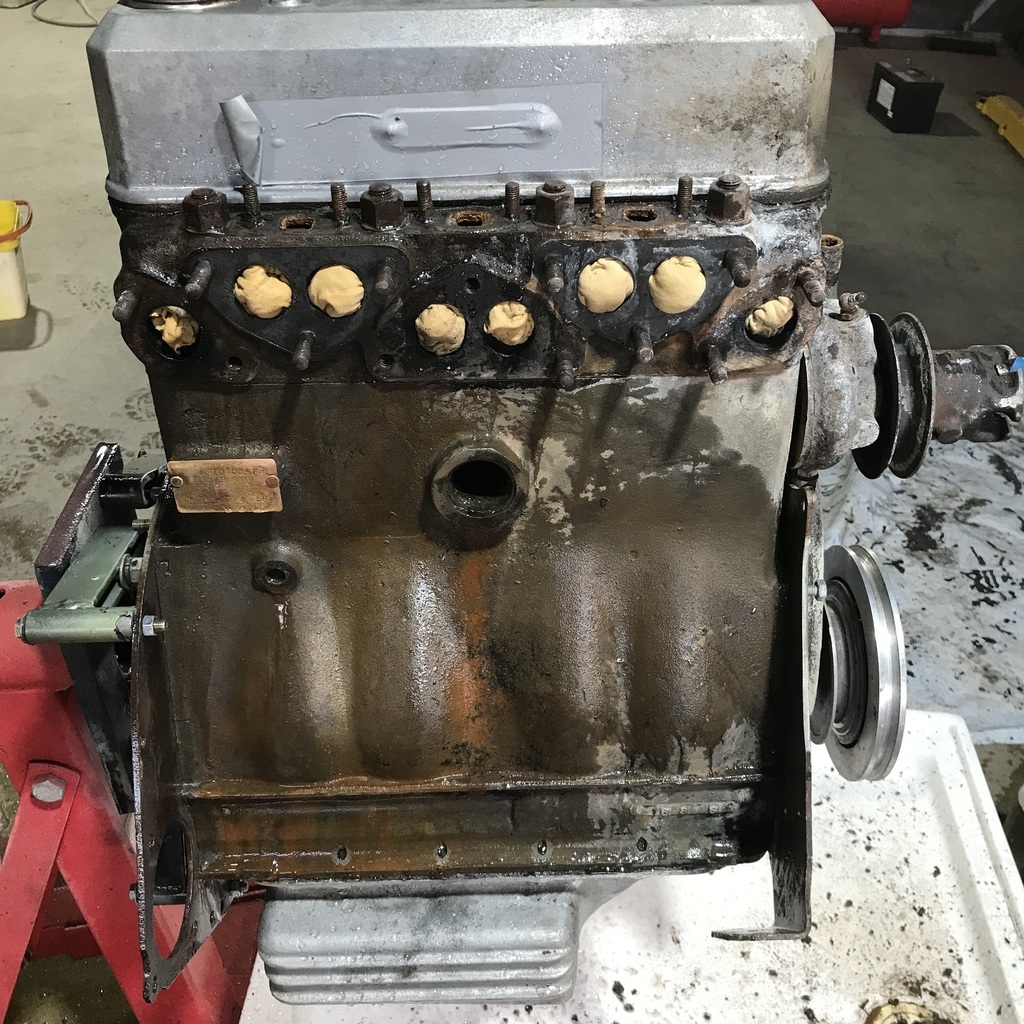
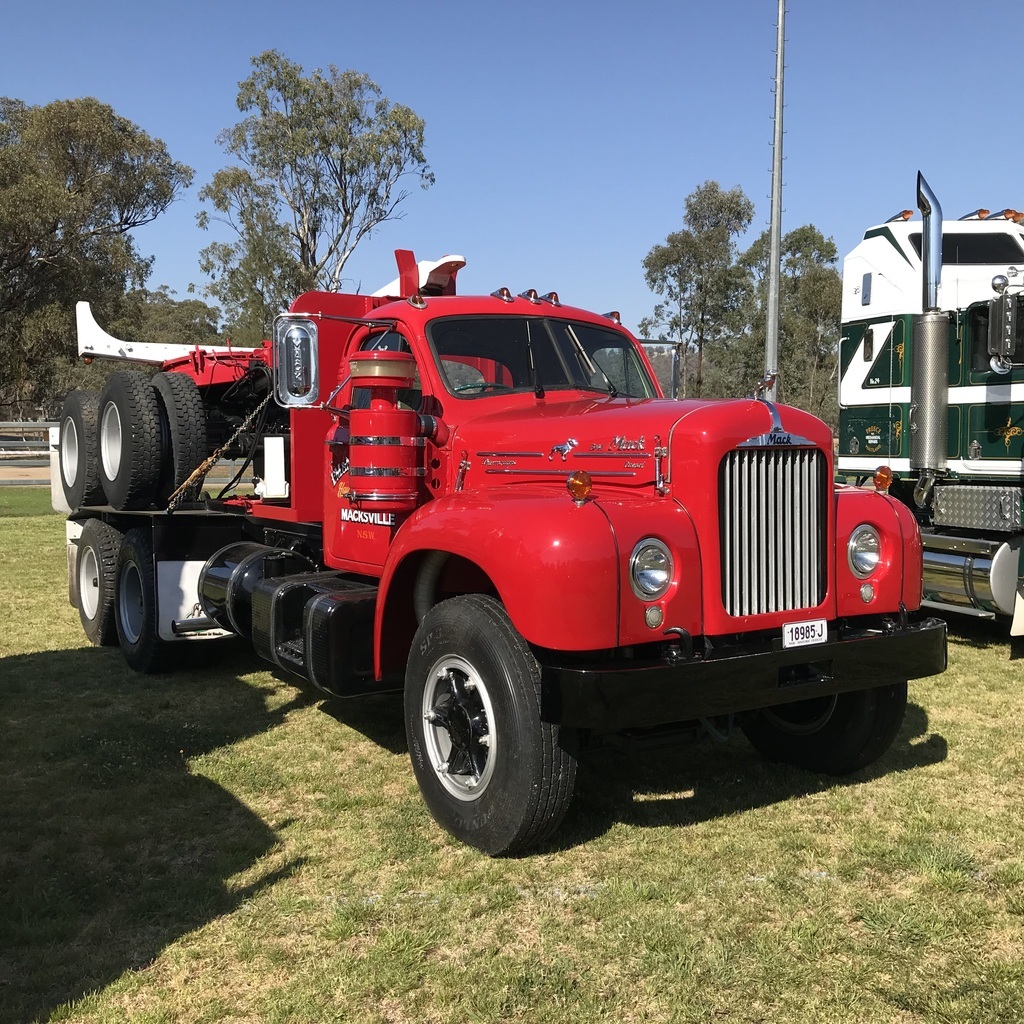
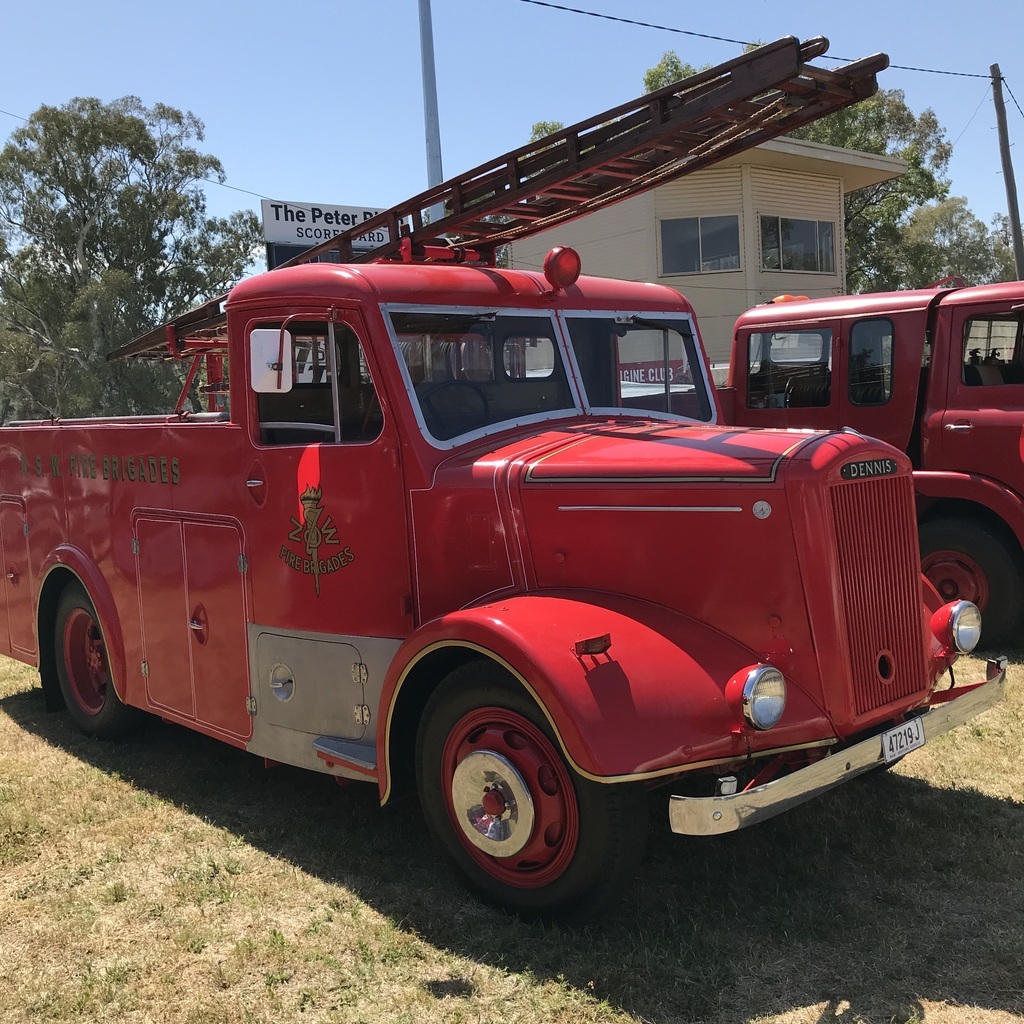
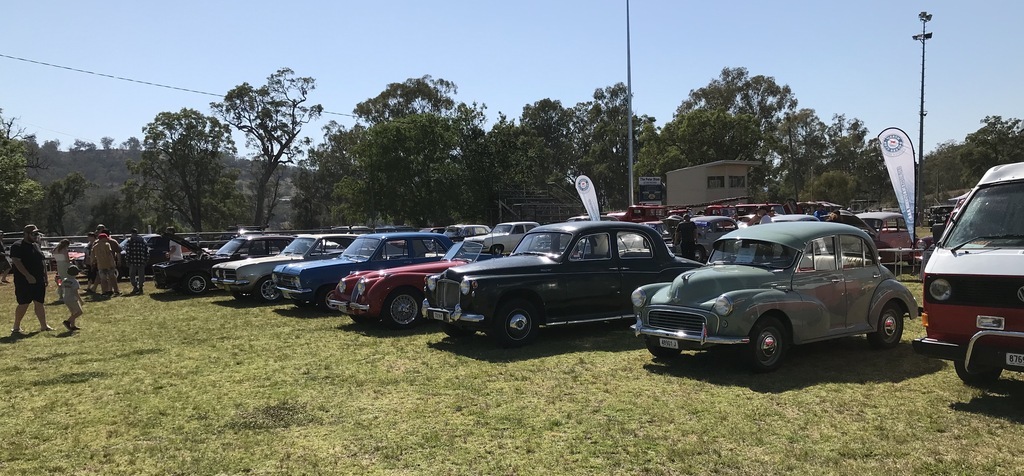
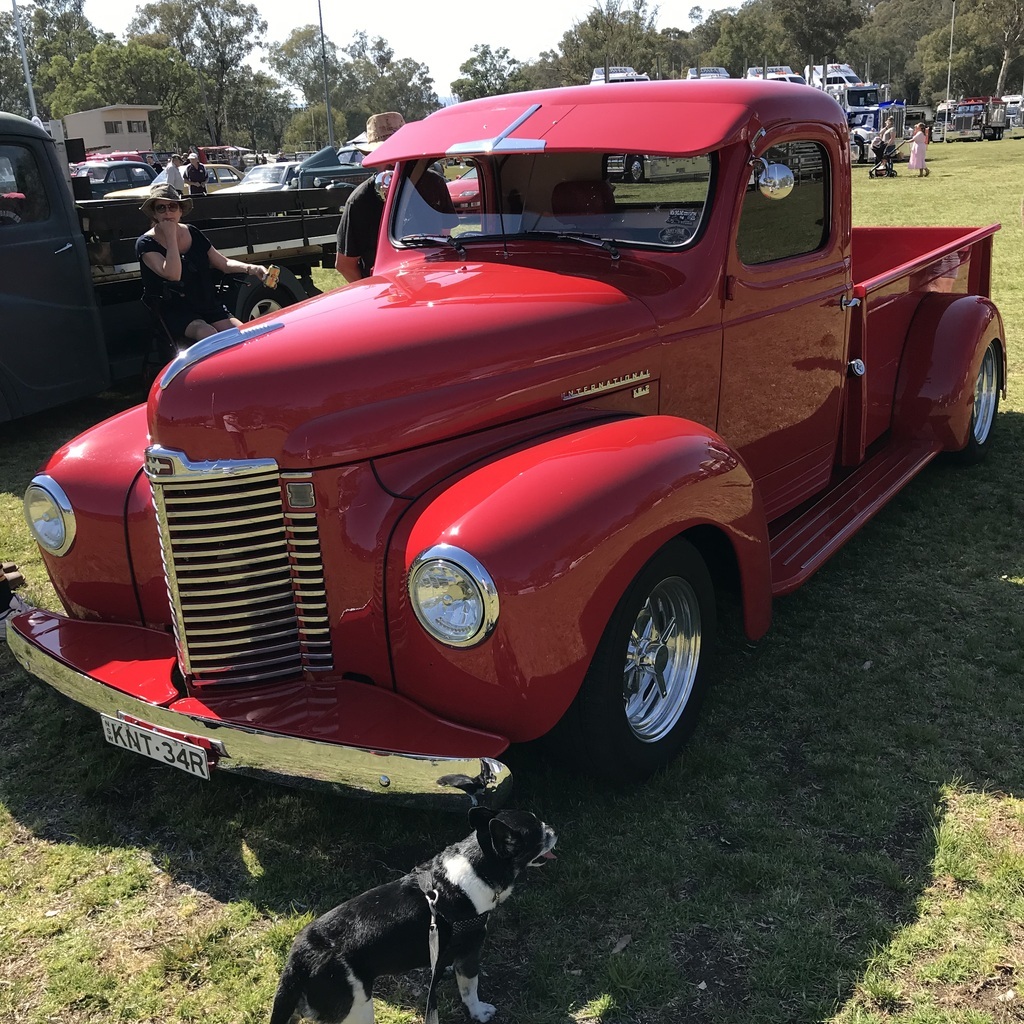
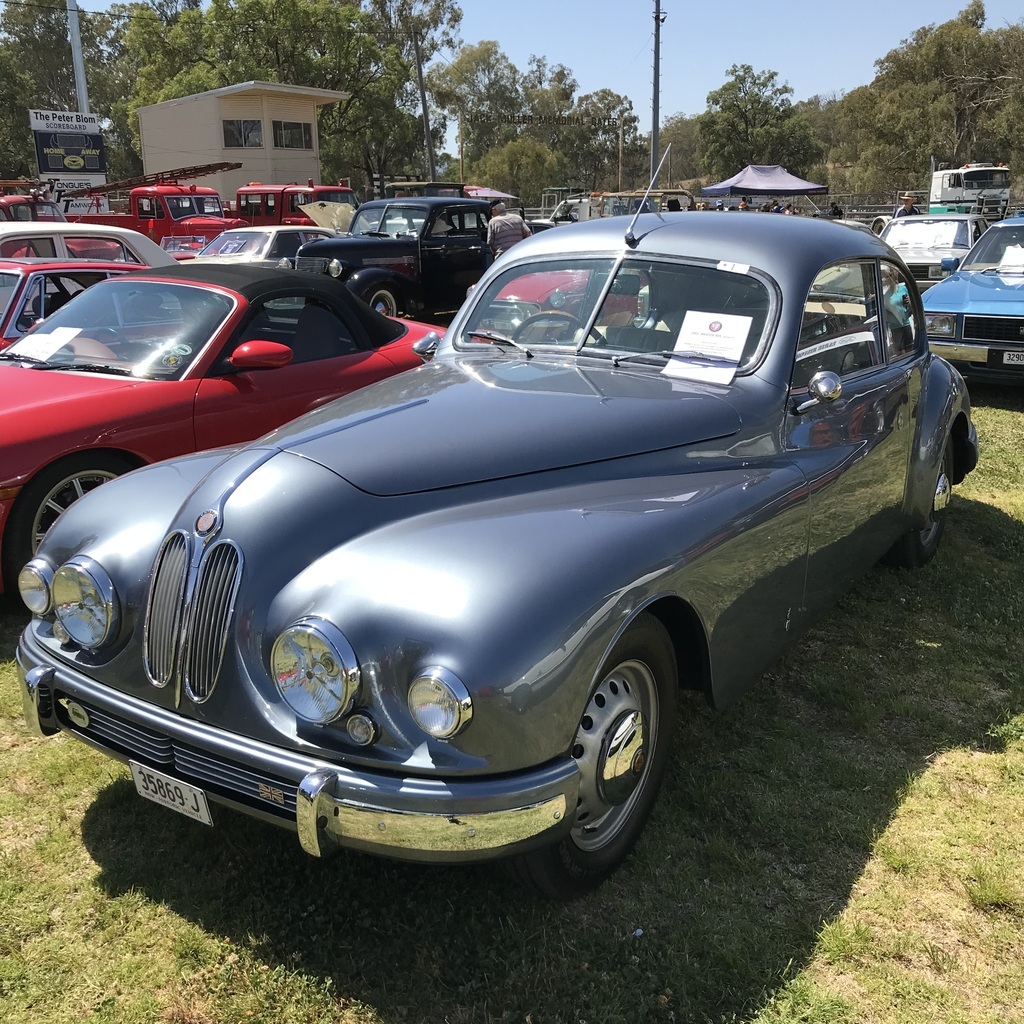
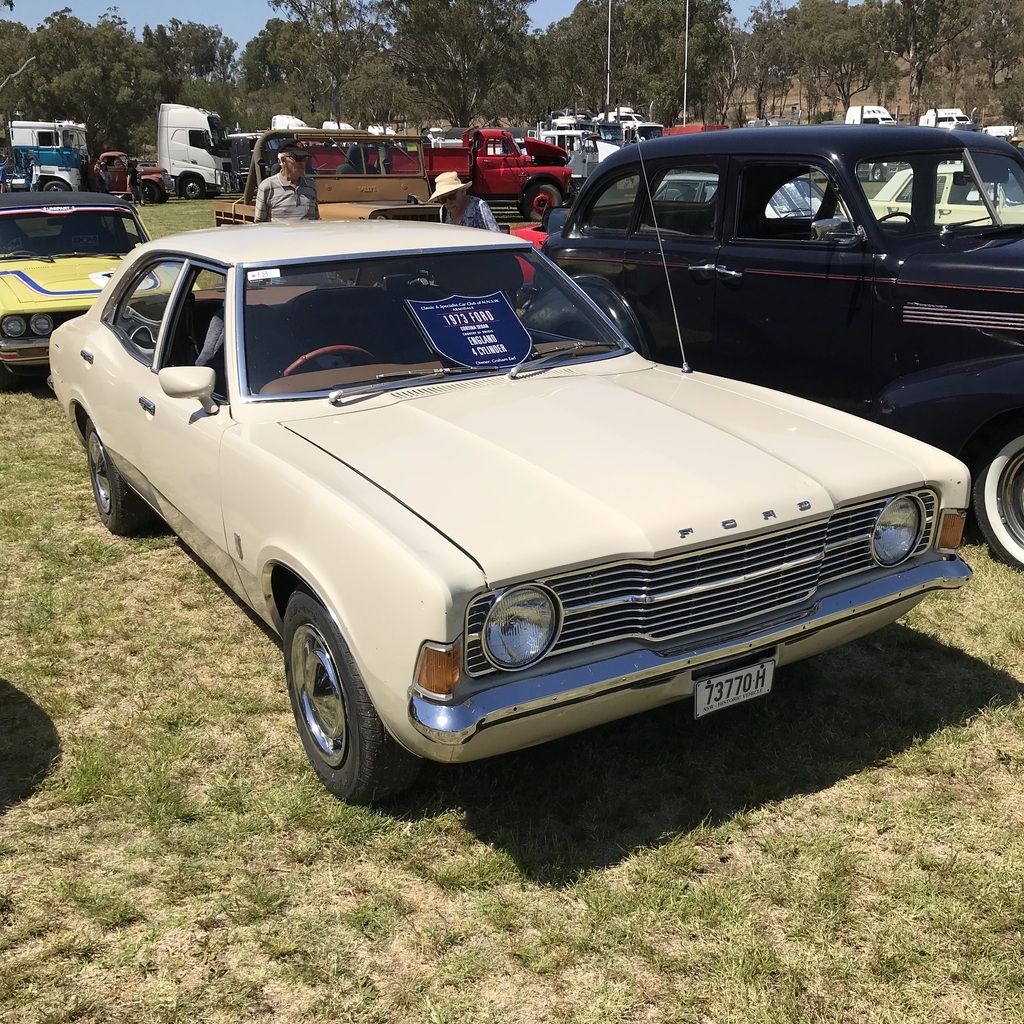
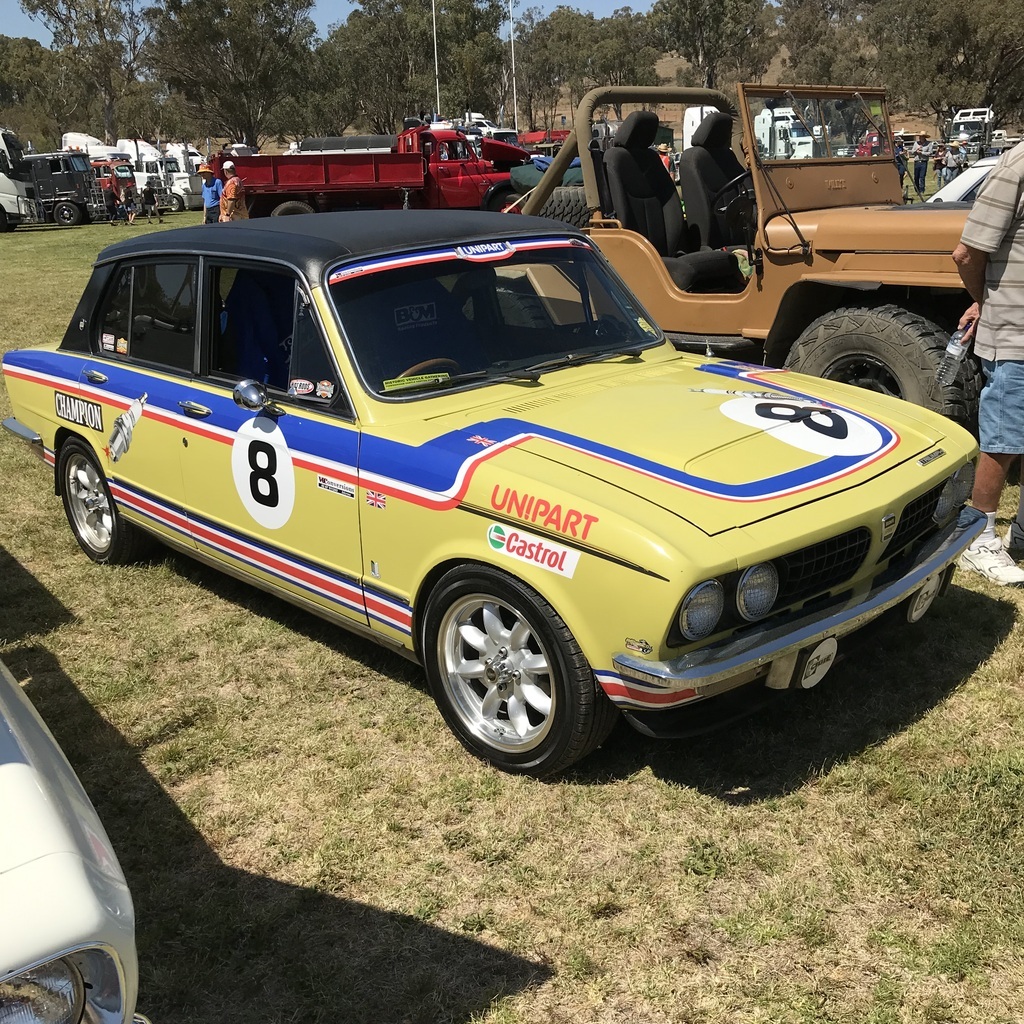
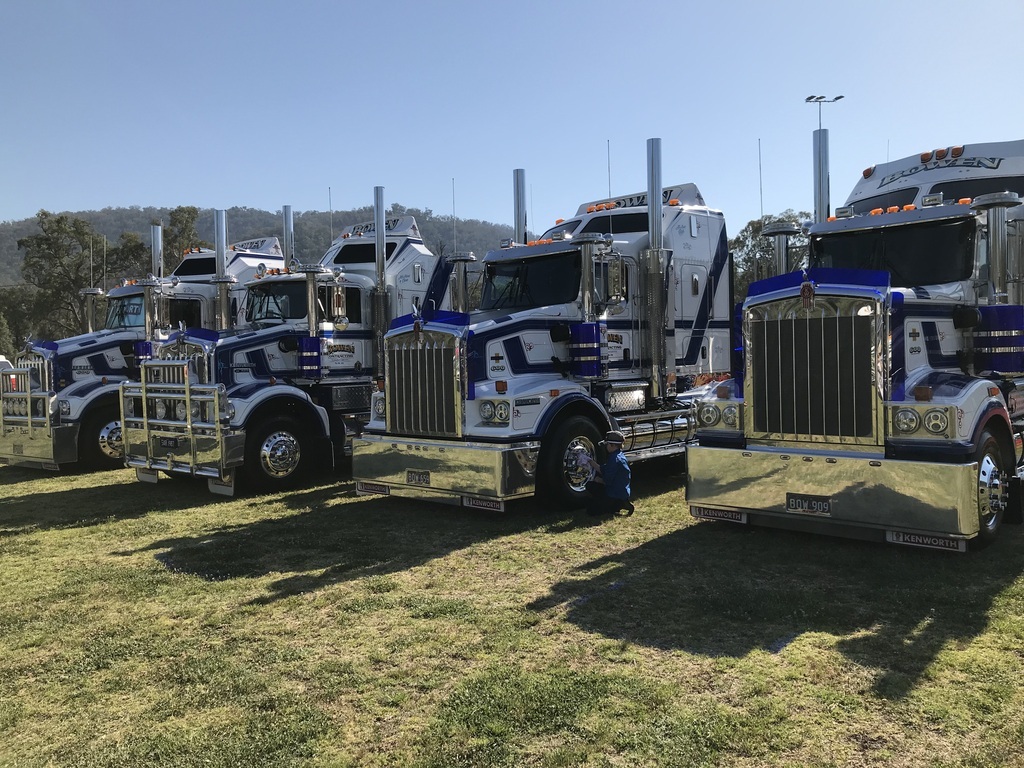
Getting the engine ready for paint. Took out the distributor. That’s the hole with the green plug. Then paint stripper. 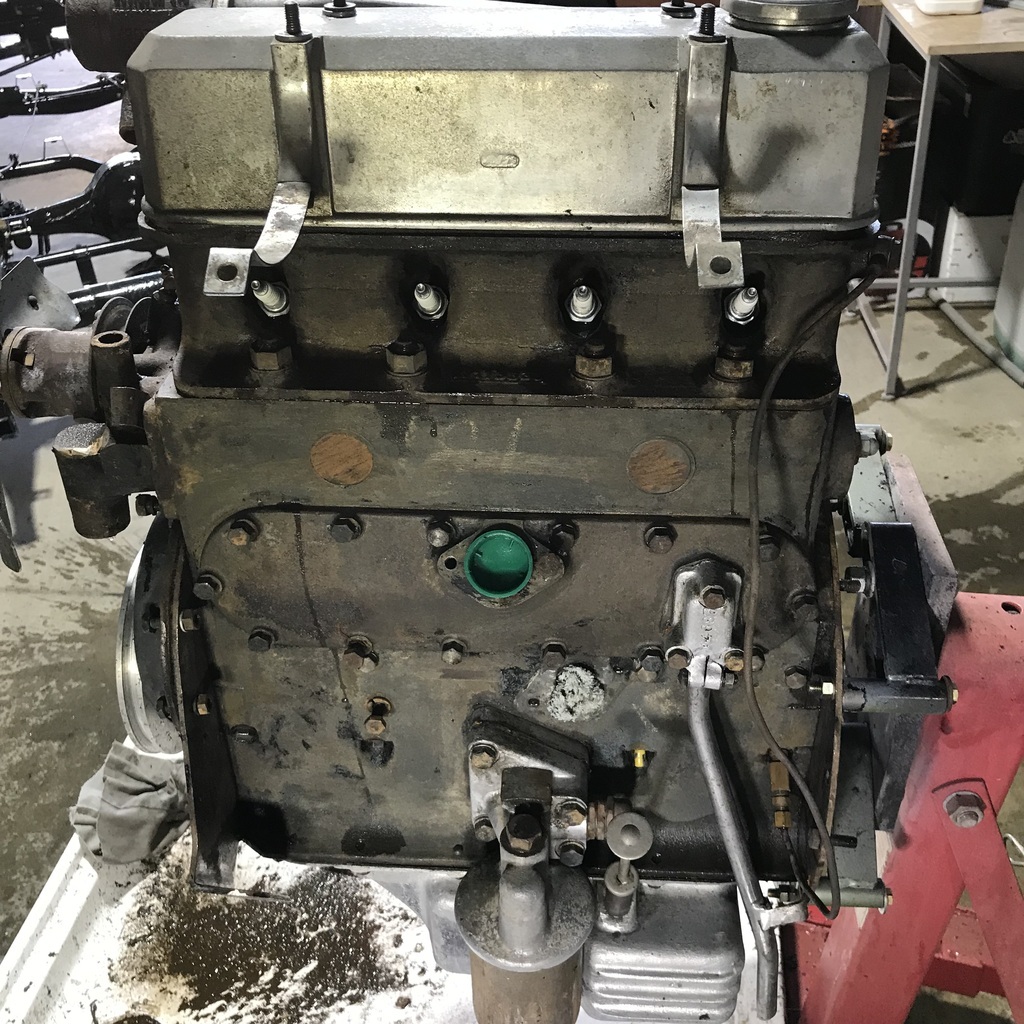 On the other side, the inlet and exhaust manifolds had to come off after I poked a screwdriver through the only expansion plug on that side. I was going to take them off anyway, that just gave me an additional reason. Plugged the inlet and exhaust holes with rag. 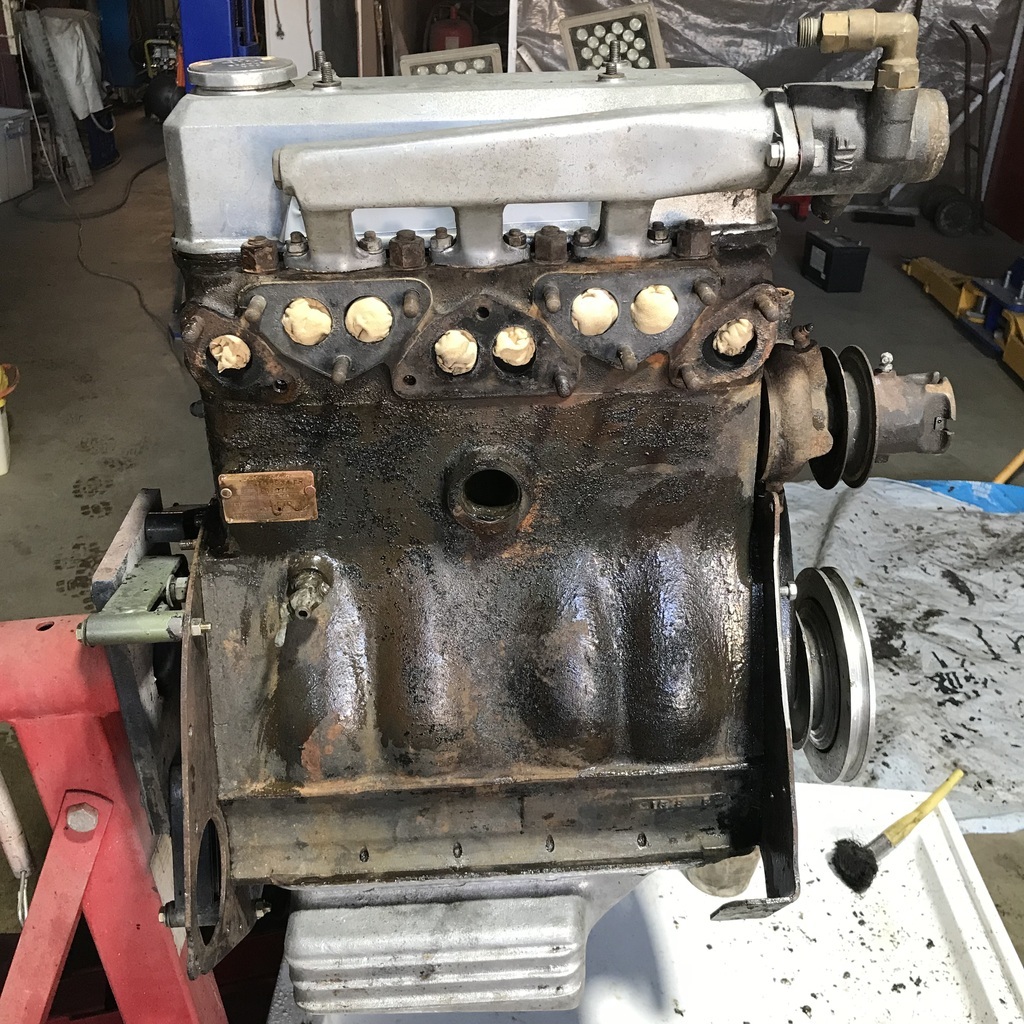 I know now why the compression was ok, this engine had a factory rebuild! 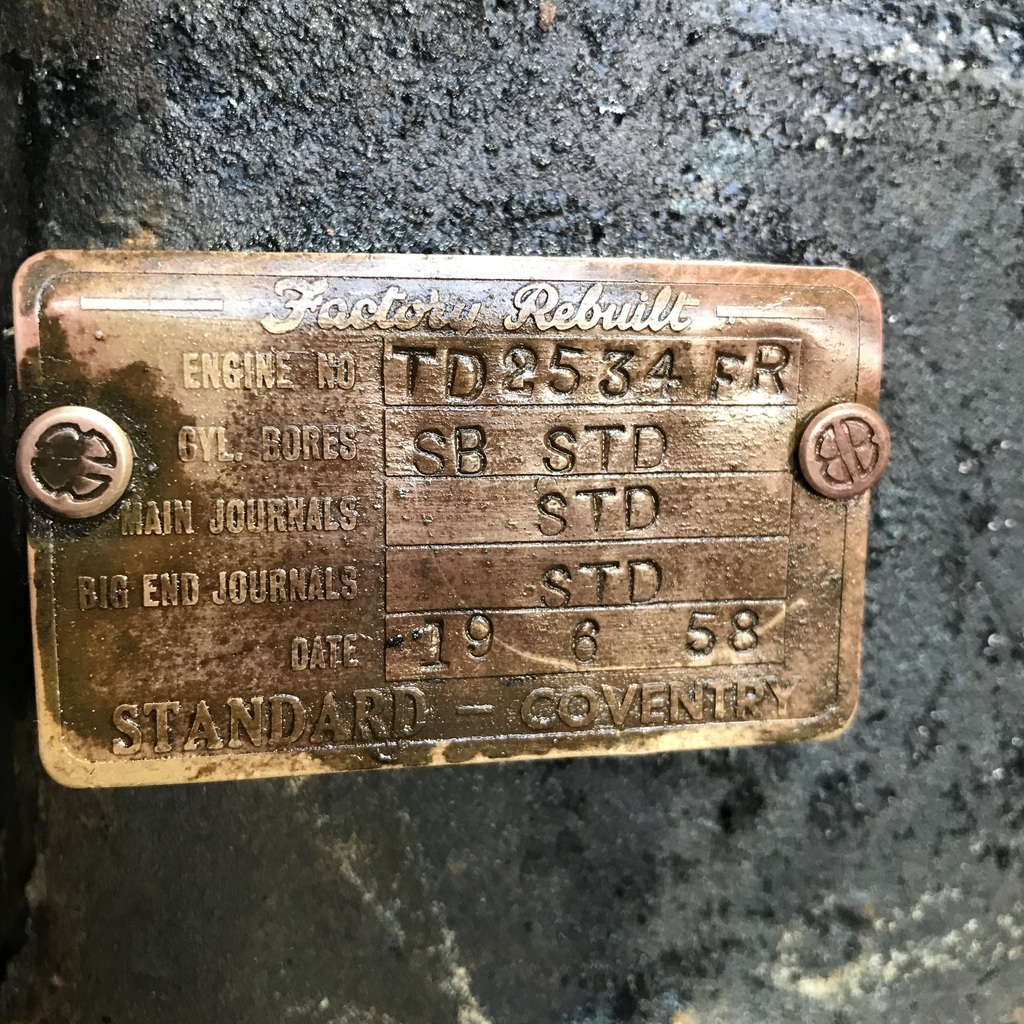 I’m still looking for a T5 trans, even if I can find one that’s stuffed, just to be sure it would fit. Taking the XK for a run to a car show at Dungowan this weekend. There will be a swap meet (not quite the size of Beaulieu…) but you never know what might be there. I also have to talk to someone about a 2500 Triumph that I heard about a while back. See if it’s a manual/od. I have a tyre on the way. It’s actually a light truck tyre, just one to see if it looks ok and also to compare to the originals height wise. There might be a bit of gearing up available just with tyres. If it’s ok, I’ll order the other 3… Thanks. |
| |
|
|
|
|
nze12
Part of things
 
Posts: 193
|
|
Oct 20, 2023 17:13:56 GMT
|
|
I'm taking my T5 out of the XJS today - what measurements do you need?
|
| |
1986 BMW E30 refreshed to original spec
1973 BMW E12 520 converting to Motorsport 530
1982 XJS V12 converting to 5 speed manual
Many landscaping projects overriding above!
Cogito cogito ergo cogito sum!
|
|
|
|
jamesd1972
Club Retro Rides Member
Posts: 2,921  Club RR Member Number: 40
|
|
Oct 21, 2023 10:31:02 GMT
|
|
Nice show, amazing what comes out of sheds for a day out isn't it !
James
|
| |
Last Edit: Oct 21, 2023 10:31:27 GMT by jamesd1972
|
|
|
|
|
Oct 21, 2023 19:32:48 GMT
|
|
^^^^ This!
Thanks for posting the pics
|
| |
1967 Triumph Vitesse convertible (old friend)
1996 Audi A6 2.5 TDI Avant (still durability testing)
1972 GT6 Mk3 (Restored after loong rest & getting the hang of being a car again)
|
|
nze12
Part of things
 
Posts: 193
|
|
|
|
Cheers Ken, These two measurements if you could. Height of the input shaft and length of just the actual gearbox. Thanks, much appreciated.  Yellow dim = 147mm Green dim = 233mm Ruler dimensions note!  Other things to consider is the number of splines on, and diameter of the input shaft. The one I have is out of a late 90s Falcon and has 10 splines which is an exact fit for the Jaguar V12 clutch plate. As I mentioned before, Commodores are different. Also to note is the input bearing retainer which is also the carrier for the release bearing - there are a number of different sizes. If you go down this path and have to swap the tailhousing, make sure you get the selector shaft and mechanism that belong to the unit you are swapping to - they are all different as well. Cheers! Ken. |
| |
1986 BMW E30 refreshed to original spec
1973 BMW E12 520 converting to Motorsport 530
1982 XJS V12 converting to 5 speed manual
Many landscaping projects overriding above!
Cogito cogito ergo cogito sum!
|
|
gazzam
Part of things
 
Posts: 740 
|
|
|
|
Thanks Ken, that gives me something I can work with. Yep, the shaft size/spline looks like a real minefield. Lots to consider. The tyre arrived and when mounted this is the difference. Measured at 35mm. Both marked as 650-16. 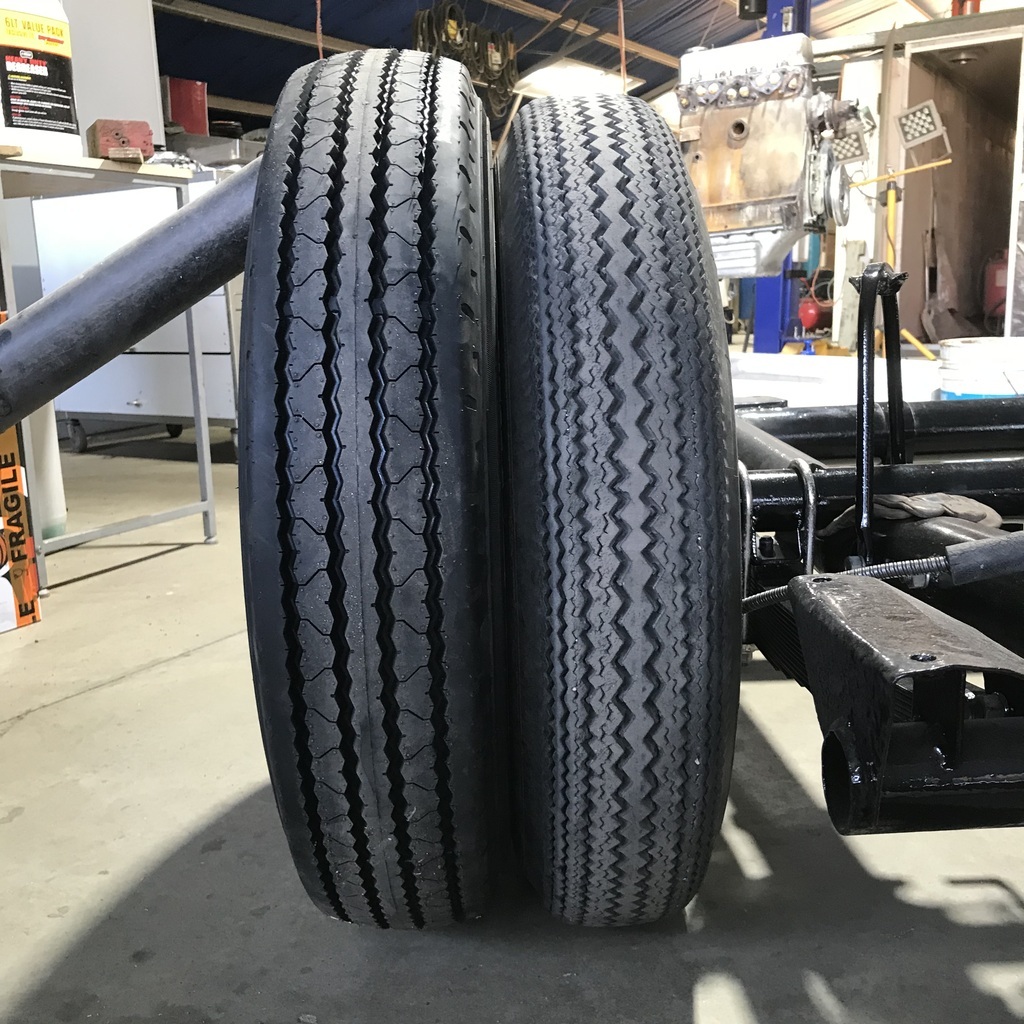 I might have to tub the rear! There are rub marks on the left hand inner guard, so it’s going to be tight. So I don’t know whether to buy the other 3 or not. As I said before, they’re light truck tyres but they have a pretty thin sidewall so I don’t think they will be too harsh riding, particularly at the lowish pressure I’ll be running. If I can get these tyres to fit at the rear ( I don’t think the front will be a problem) I’ll be tempted to see how the car feels, I might not need a gearing change. Thanks. |
| |
|
|
gazzam
Part of things
 
Posts: 740 
|
|
|
|
As I said, the left rear tyre was previously rubbing on the inner guard. 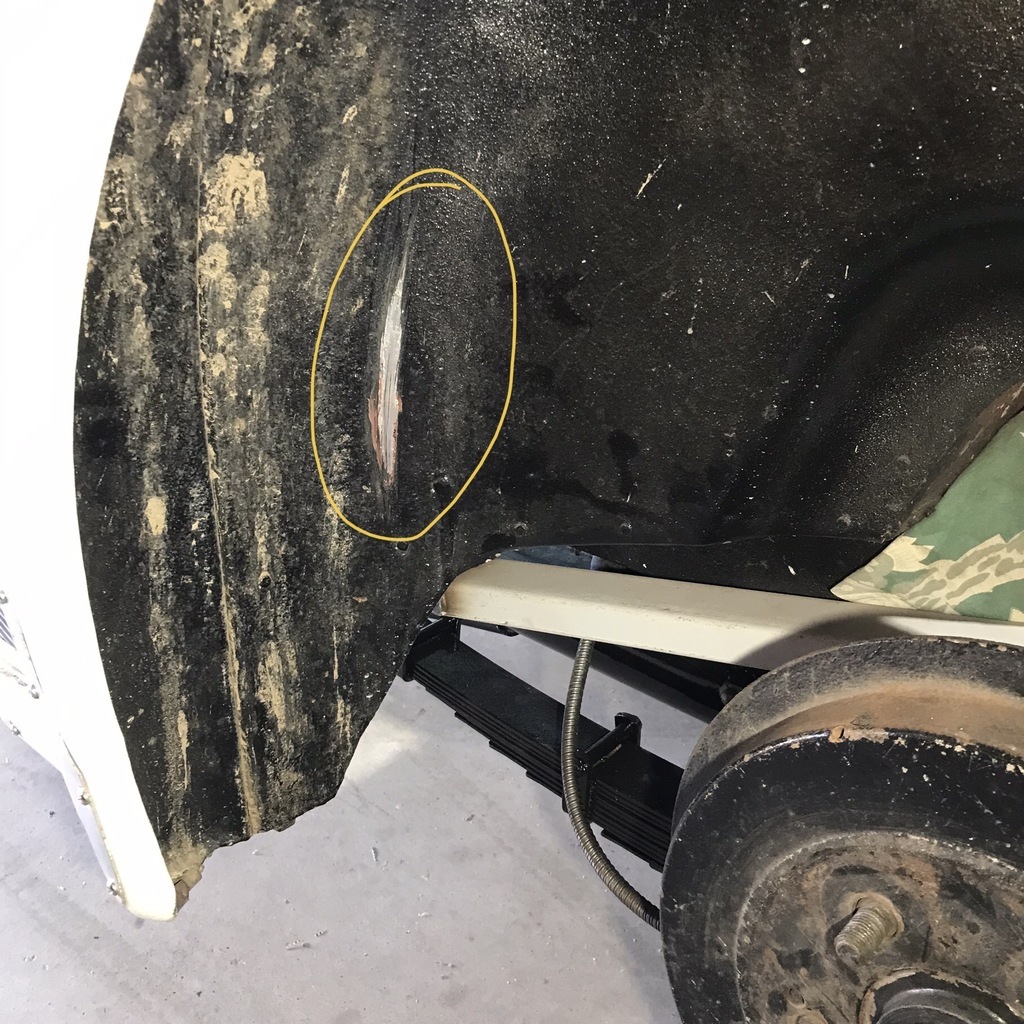 So I decided to put the body back on the chassis to try the larger tyre. The tyre went in but not much room to spare. Much tighter on the lhs. So I did some measuring and found that the axle is not square to the chassis. Undid the left side u bolt and moved the axle back a bit into the depression in the chassis. The picture shows the rear spring from underneath. The yellow outline is the centrebolt. The hole in the axle that it goes into is circled in green. It needs to go back about 12mm. This would ease the clearance problem. The red circle is about where the centrebolt needs to be located. 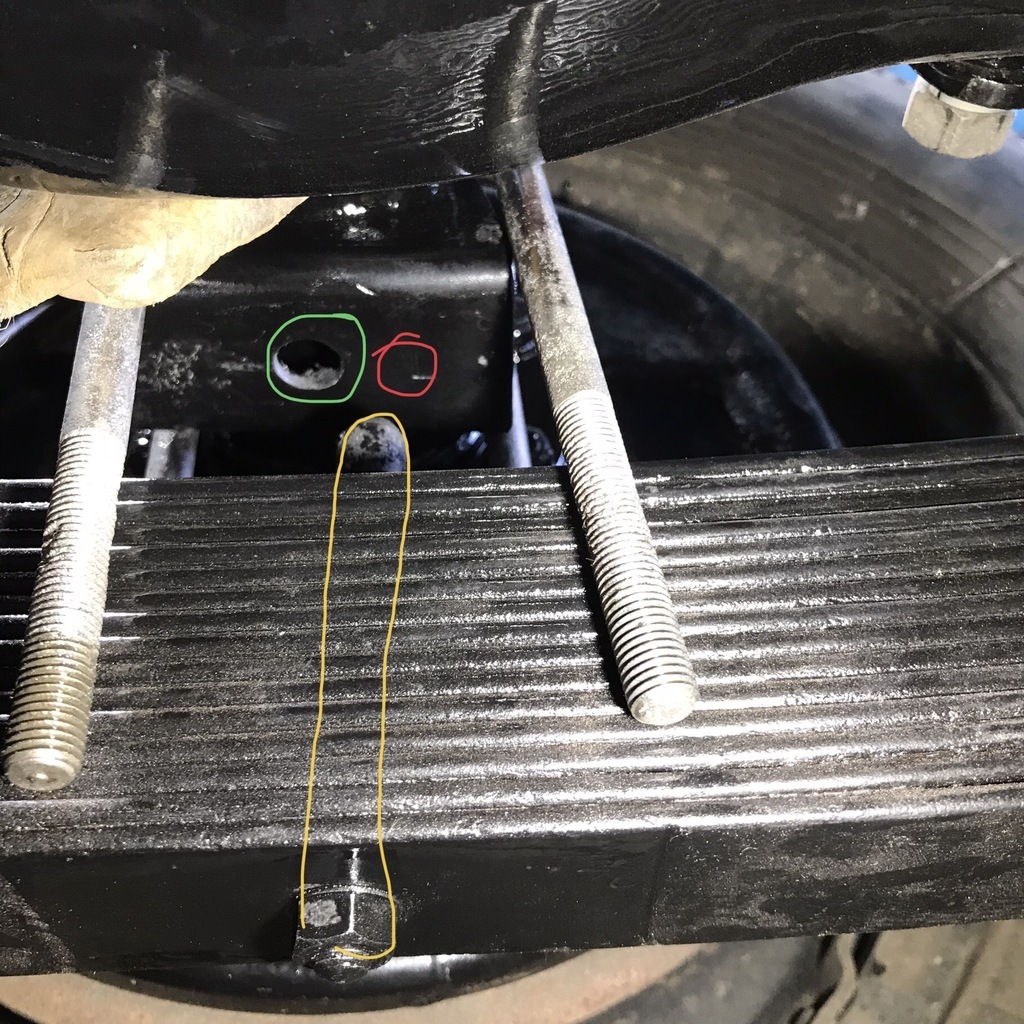 My question is this: Any reason not to just drill a new hole and use that? If I haven’t made myself clear, or you need any more photos, let me know. Thanks in advance. Other than that I’ve started working on the engine bits. Lots of fasteners to plate plus a couple of alloy pieces to polish. Tappet cover before. 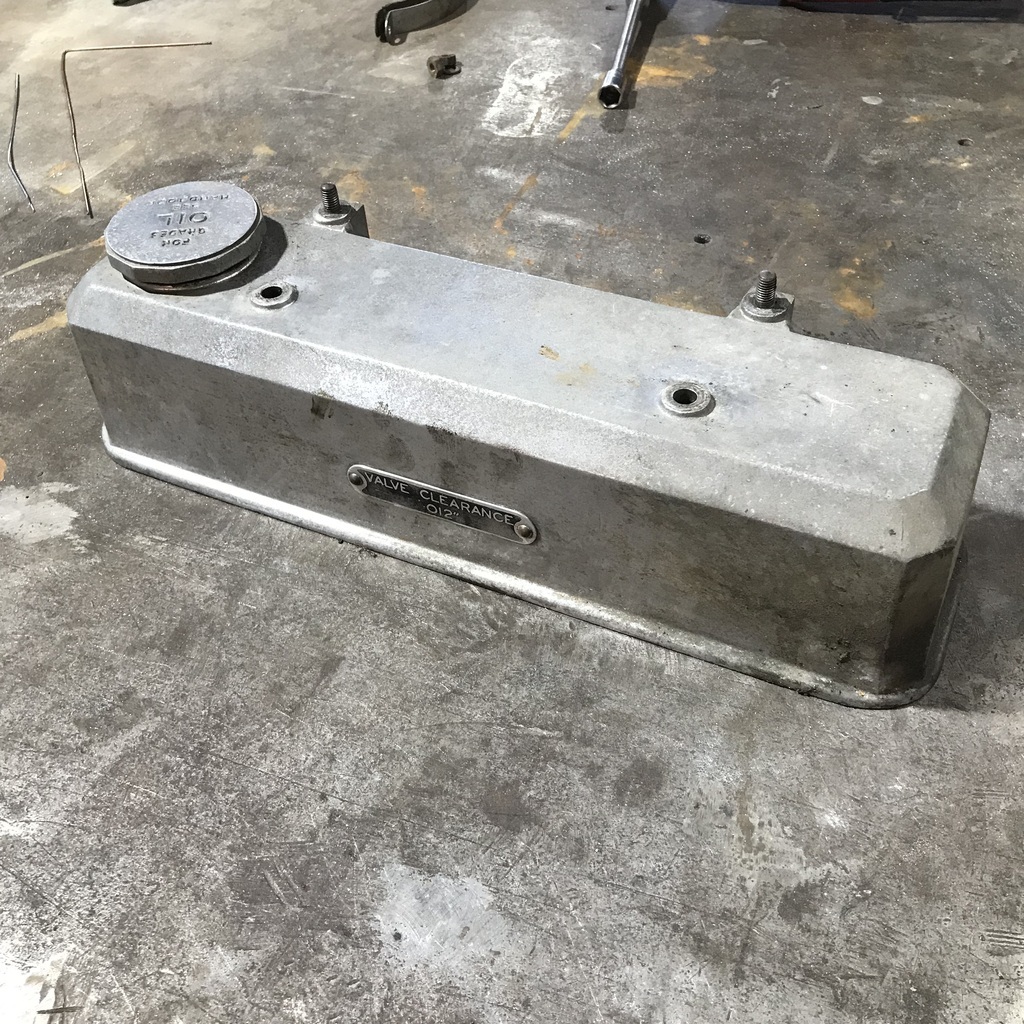 After the treatment. 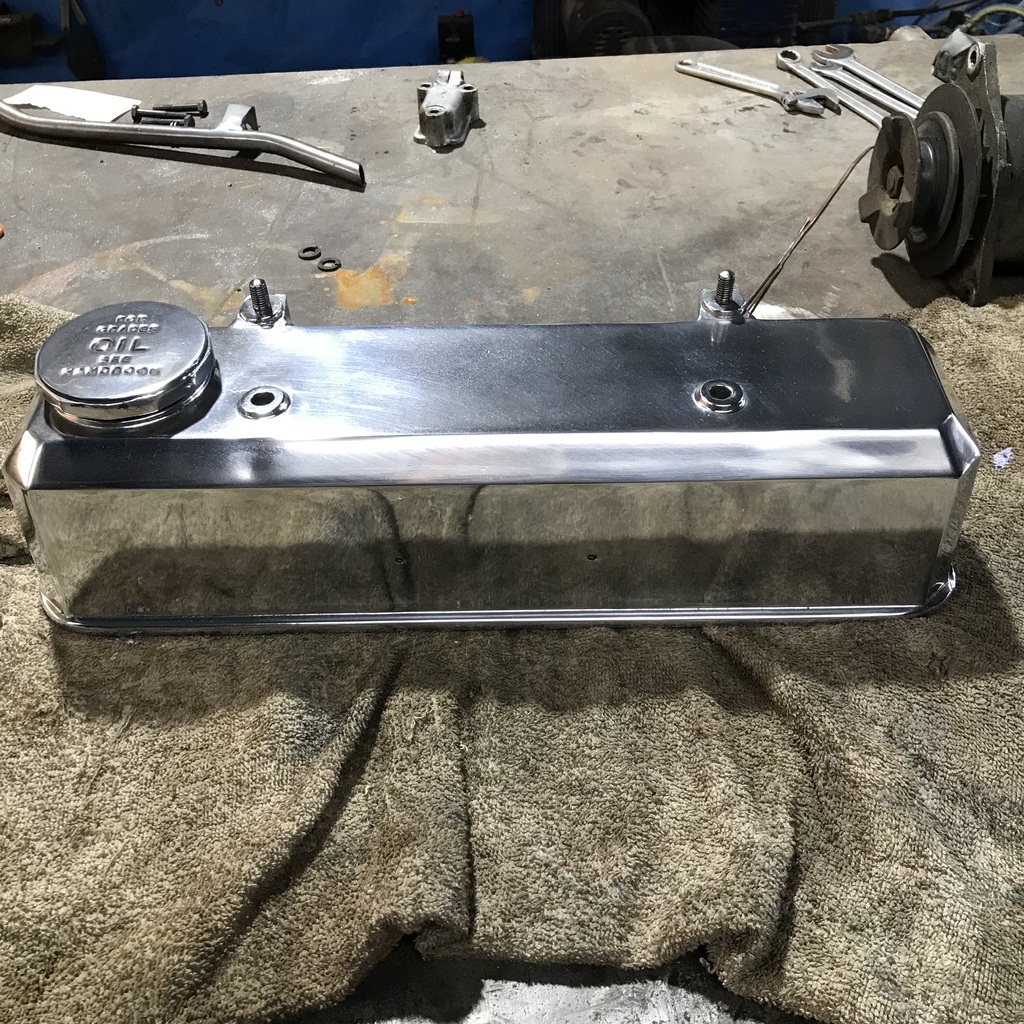 Mostly though it is just wire wheeling nuts and bolts. Not very interesting, but totally necessary. Thanks. |
| |
|
|
|
|
|
|
|
|
The hole is only for location so should be fine?
|
| |
Nuttier than squirrel sh...
|
|
|
|
|
Oct 23, 2023 18:37:28 GMT
|
|
No problem moving the hole, you may want to weld up the original as well?
Main thing is to centreline the car and do some plumb bob measuring to ensure the axle is square to the chassis (and is also square to the front axle). Location for/aft does not matter as long as it's all square.
|
| |
|
|
|
|
|
|
|
Oct 23, 2023 20:45:43 GMT
|
|
I think that sort of out of tollerance was normal back then, when I did our minor spring hangers I made a jig to locate them, did one side then moved to the other and the jig was something like 15 mm out to the original hanger, did centreline and plumb as described above (several times), eventual conclusion was it must have been built like it, In my case it was easy enough to weld the second hanger on the same as the other, If I was in your position I would re drill the locating hole as you suggest.
|
| |
|
|
gazzam
Part of things
 
Posts: 740 
|
|
|
|
Thanks blokes, I don’t think it’s worth trying to work out why its out of whack. I’ll just move it and it should be ok. I’m not sure I want to burn my nice paint Mark, so it may not get welded up! Today was a slog along and prep bits sort of day. Stripped the generator. Bead blasted the end housings, the other bits have to be painted. 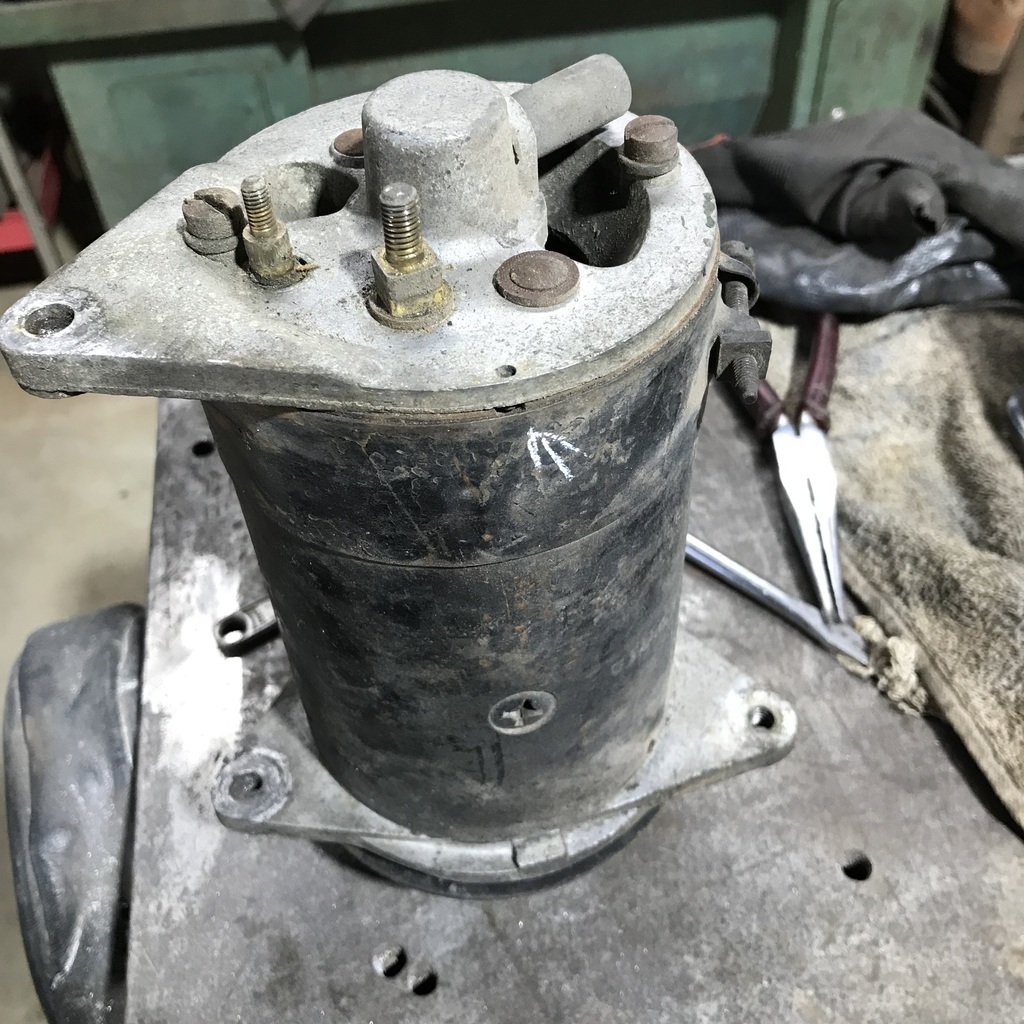 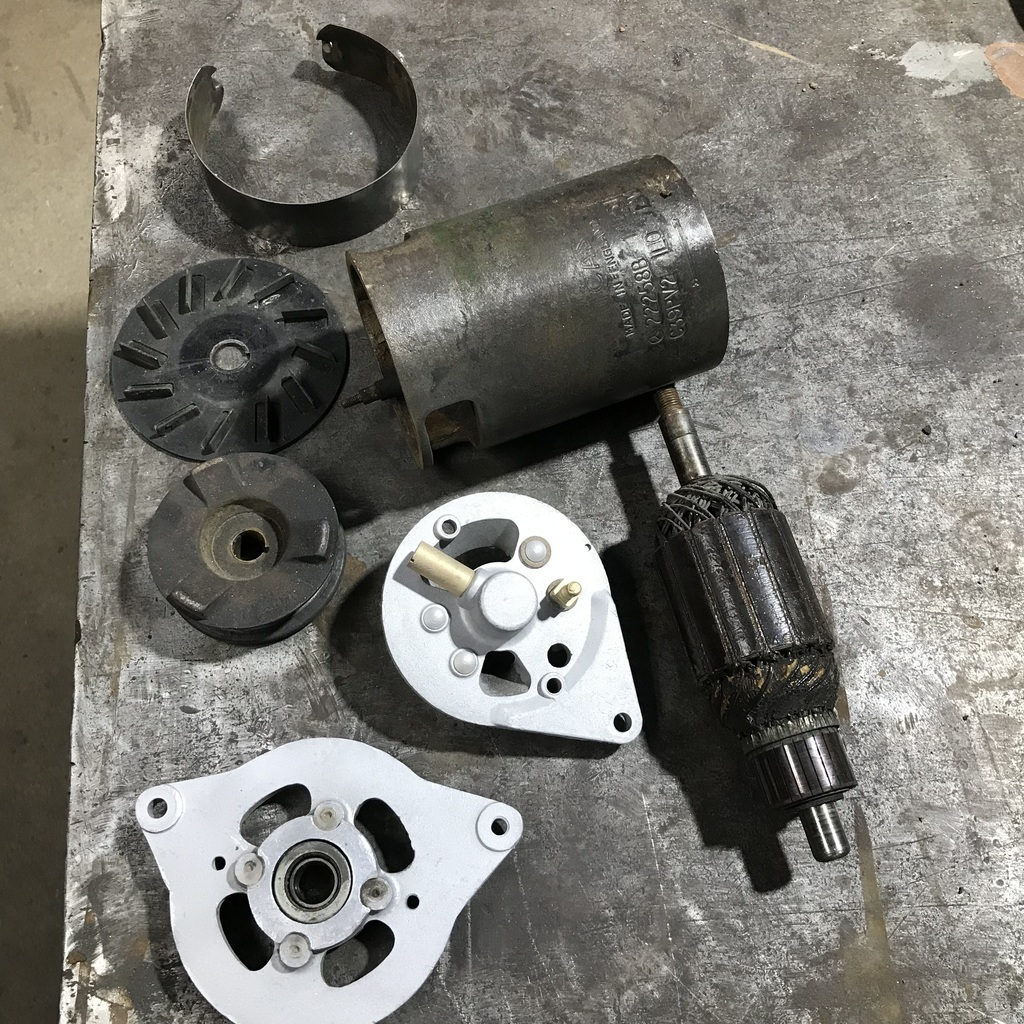 Removed the oil filter assembly and sump. 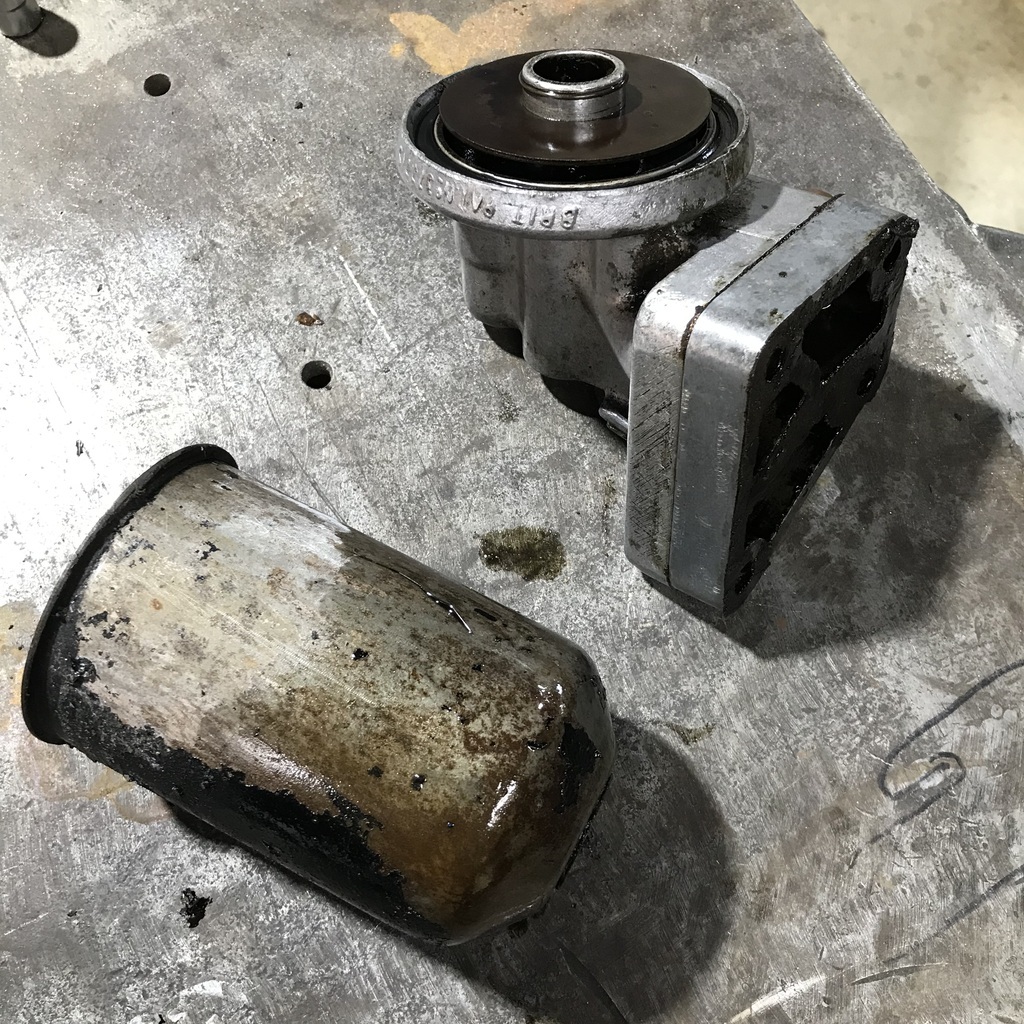 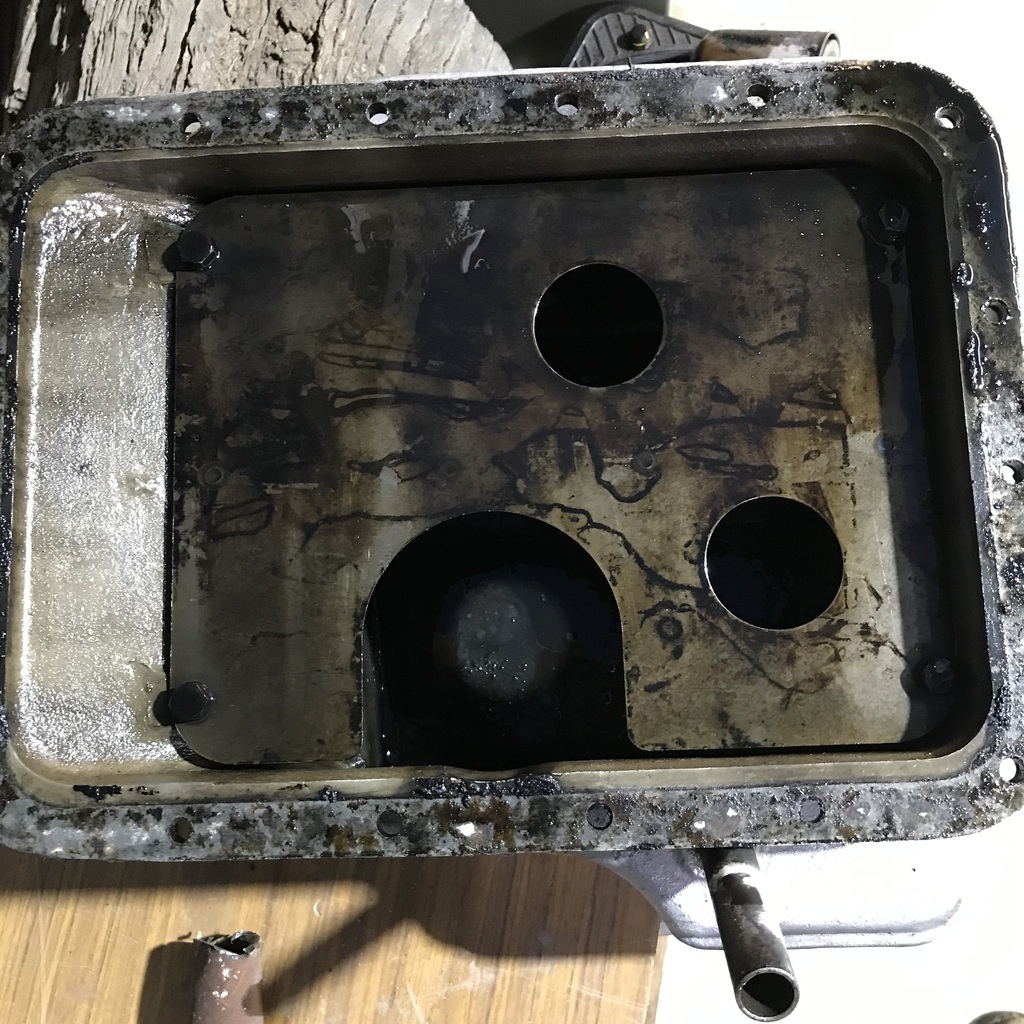 The sump had obvs been off before, there were 7 different types of bolt in the 18 that held it on! Had to weld one of the lugs on the crankcase vent. Where the clamp bolt goes was broken off on one side. I thought this would be a real drama - 75 year old oil soaked ally, but it went surprisingly well. Had to touch up the bolt faces in the mill. 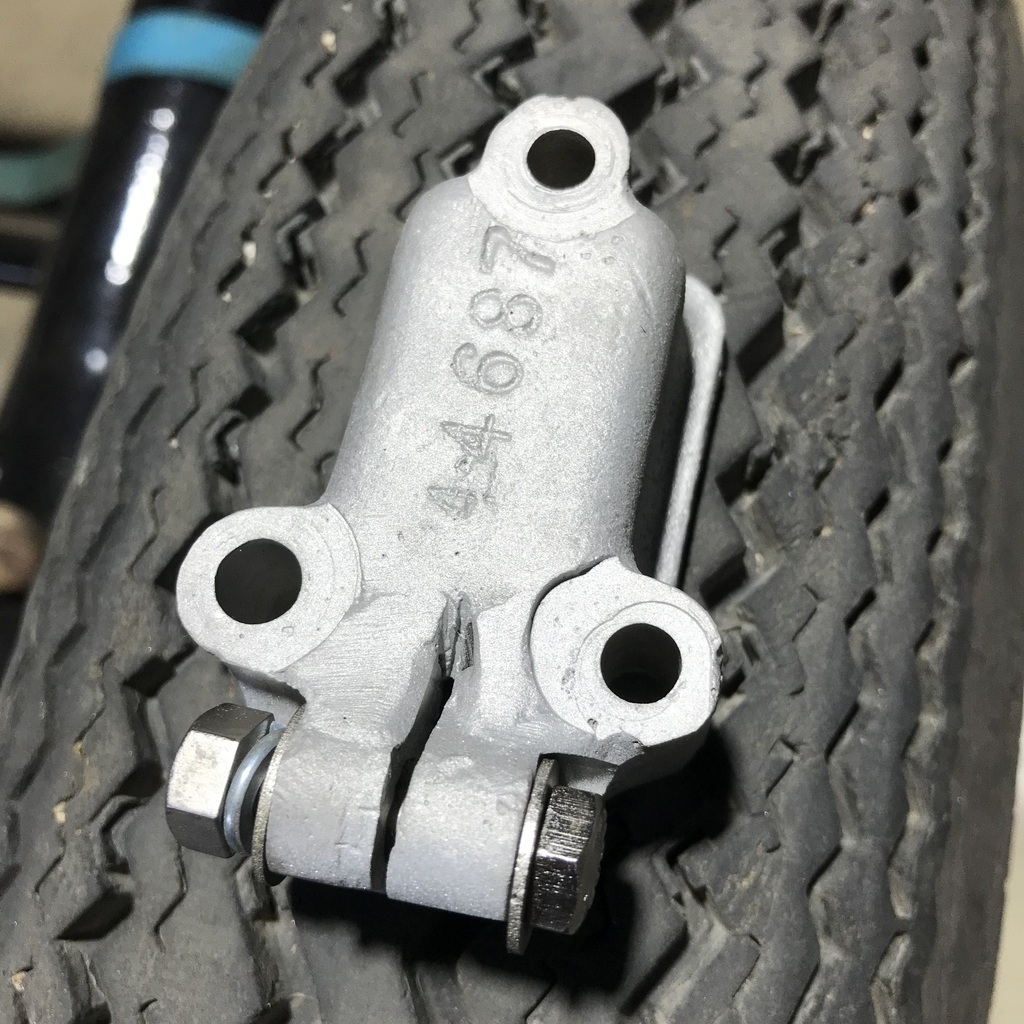 And got this little lot plated. 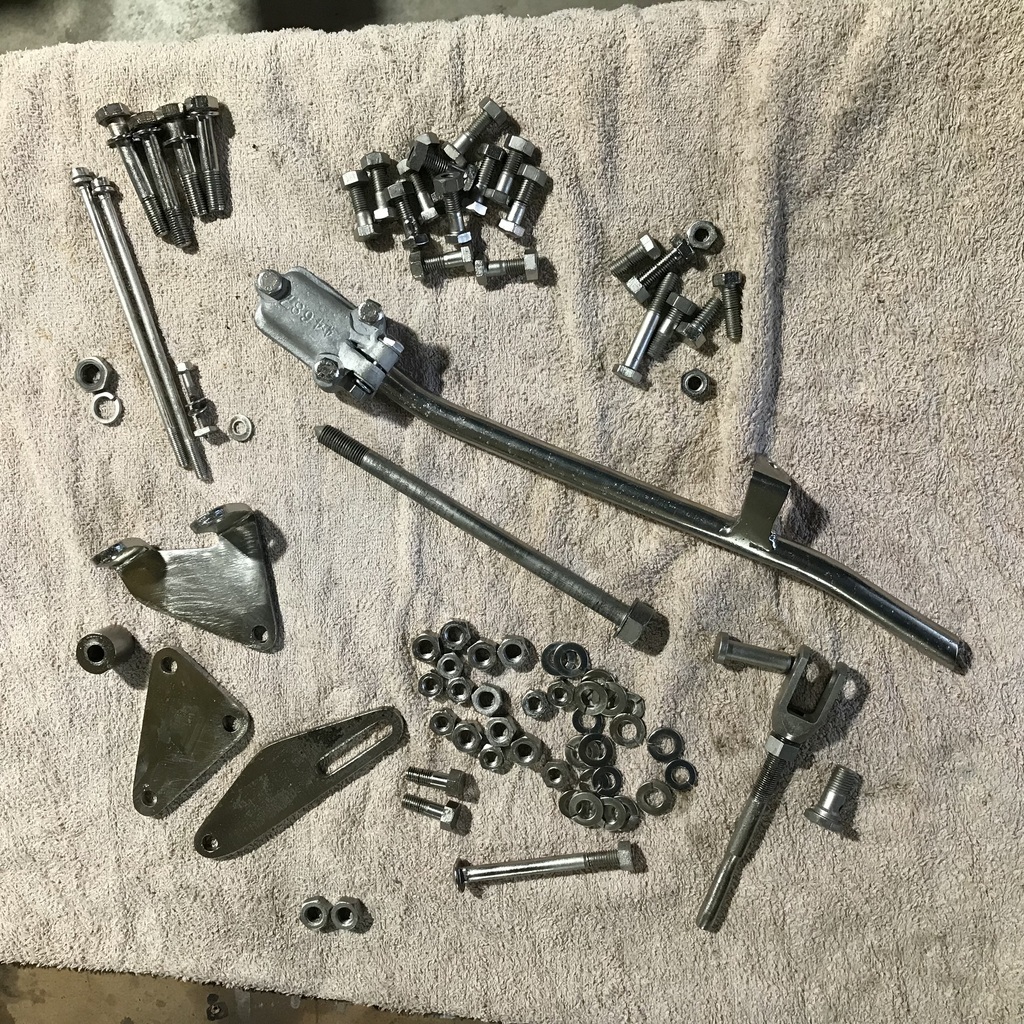 All in all a good day. Thanks |
| |
|
|
jamesd1972
Club Retro Rides Member
Posts: 2,921  Club RR Member Number: 40
|
|
Oct 24, 2023 10:58:19 GMT
|
|
Could always tap and plug with a hex grub screw ?
What does the manual say about setting up springs ? the LR is pretty specific about only tightening up everything once on its feet bearing weight.
Adjusting the holes sounds like a good correction possibility as well.
James
|
| |
|
|
gazzam
Part of things
 
Posts: 740 
|
|
|
|
James, The hole that might be welded up (or not) is in 1/8 inch, so a bit thin to tap. No manual other than an operators, which tells me how to decoke the engine but not how to set up the springs… Thanks for the thoughts and comments though. Only photos I took today were of the starter motor, so I can put it back together. I’ll only bore you with one. It can be the ‘before' shot… 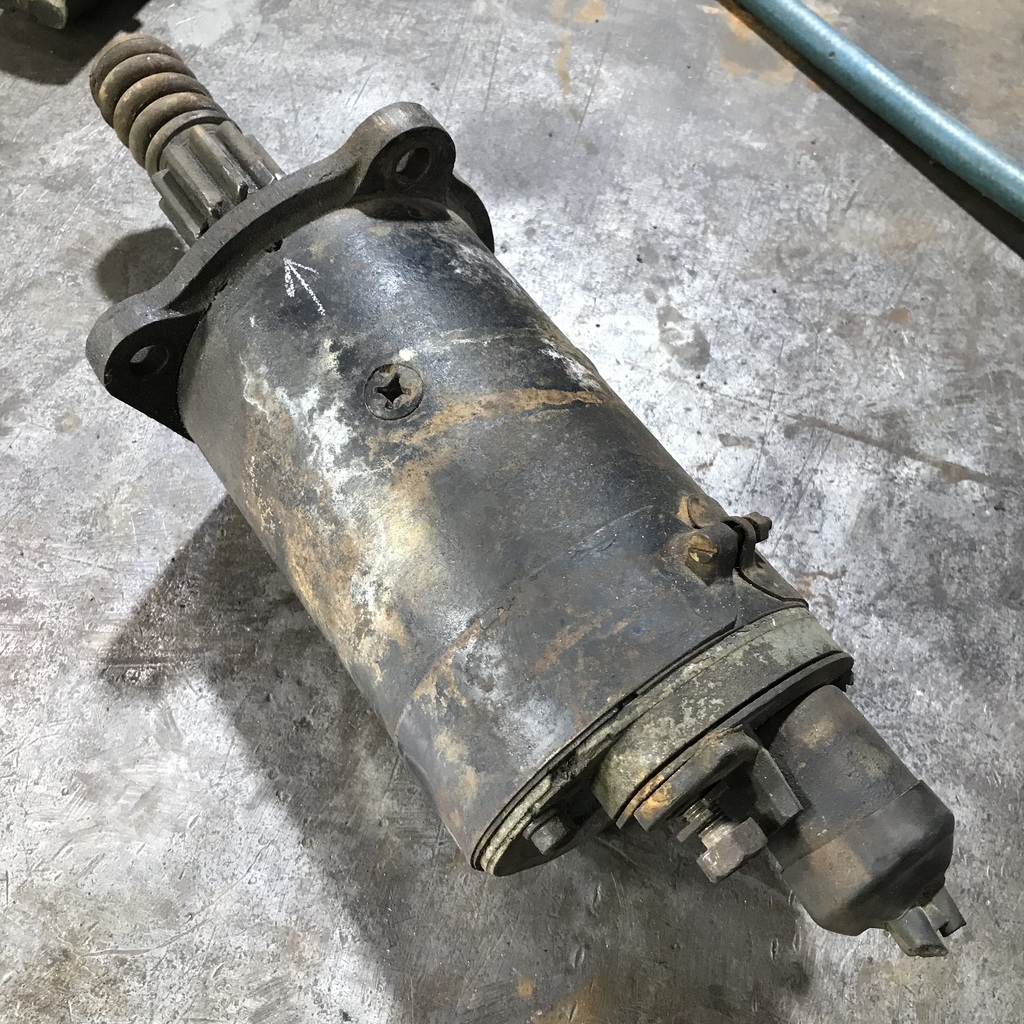 Also cleaned up the sump. That involved going over it with one (or two) of those 75mm red scotchbrite roloc discs. It was a very rough casting, so that might make it hold a little less grime. I’ve yet to bead blast it, which will even up the finish nicely. Spent most of the day in town, picking up various bits - paint for the engine, surface ground flywheel ( had a bad clutch shudder before, so I hope that will cure it ), gasket material, ordered a fuel pump kit etc etc. Also had an eye test and have to have a cataract done soon, so thats a bonus. Thanks. |
| |
|
|
gazzam
Part of things
 
Posts: 740 
|
|
|
|
Finished preparing the engine for paint. Many applications of phosphoric acid rust stuff, spray on keep moist, wire brush, repeat, repeat. And eventually it looks like this. 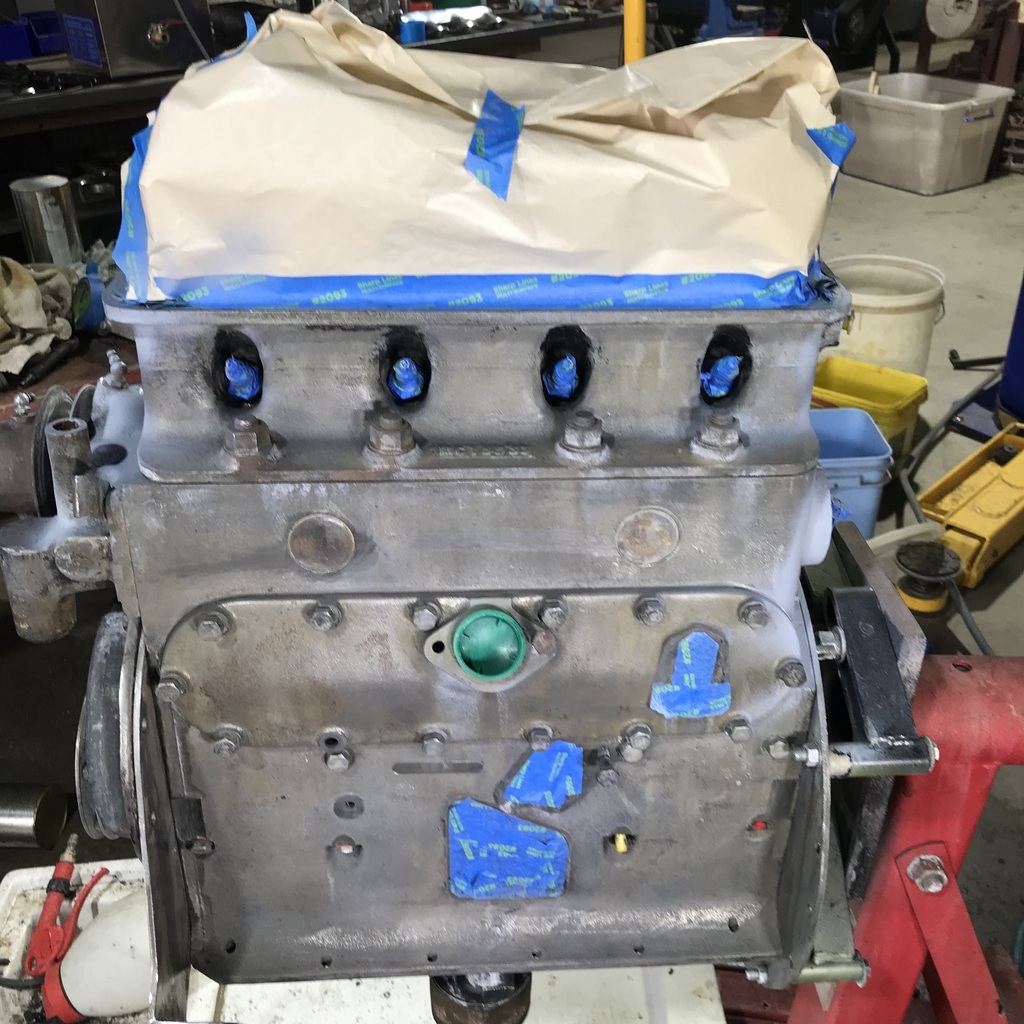 Then primer. Used VHT, nice stuff to apply. 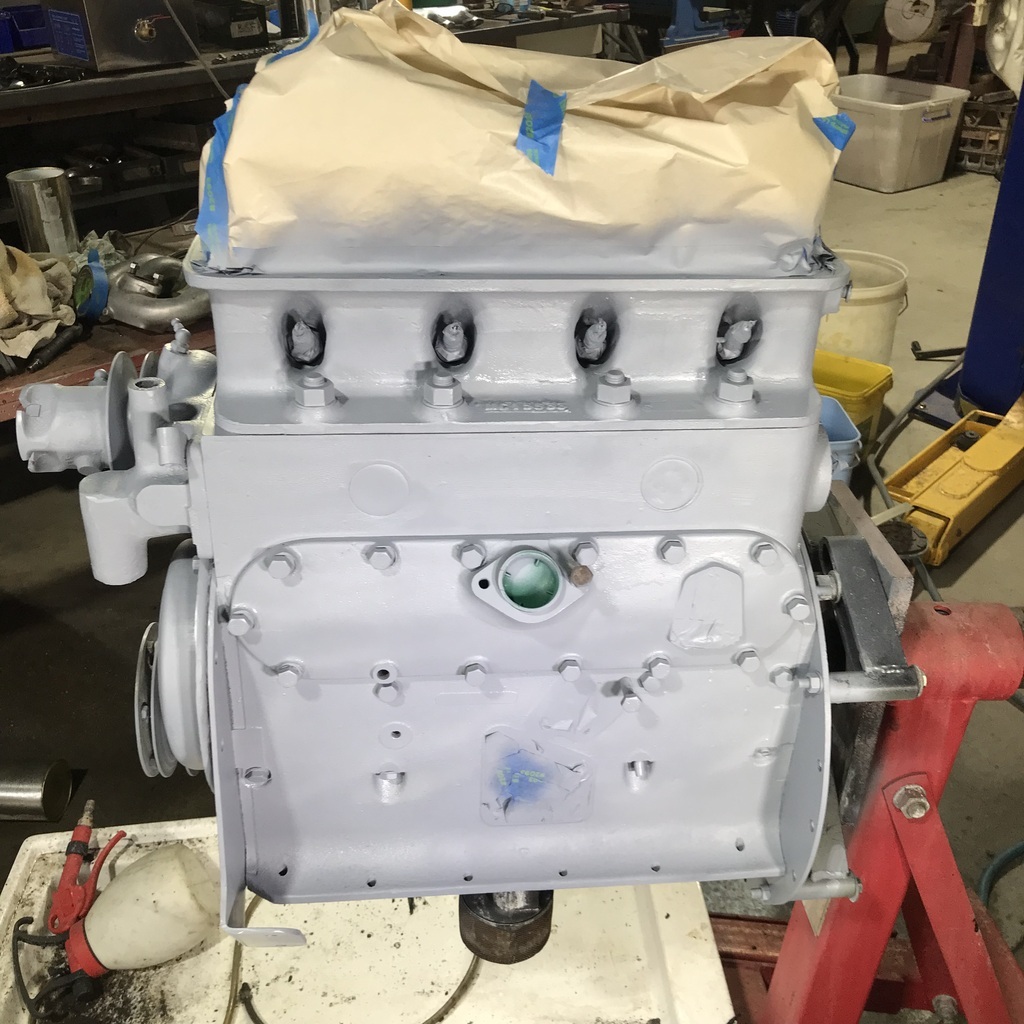 Then topcoat, VHT again. 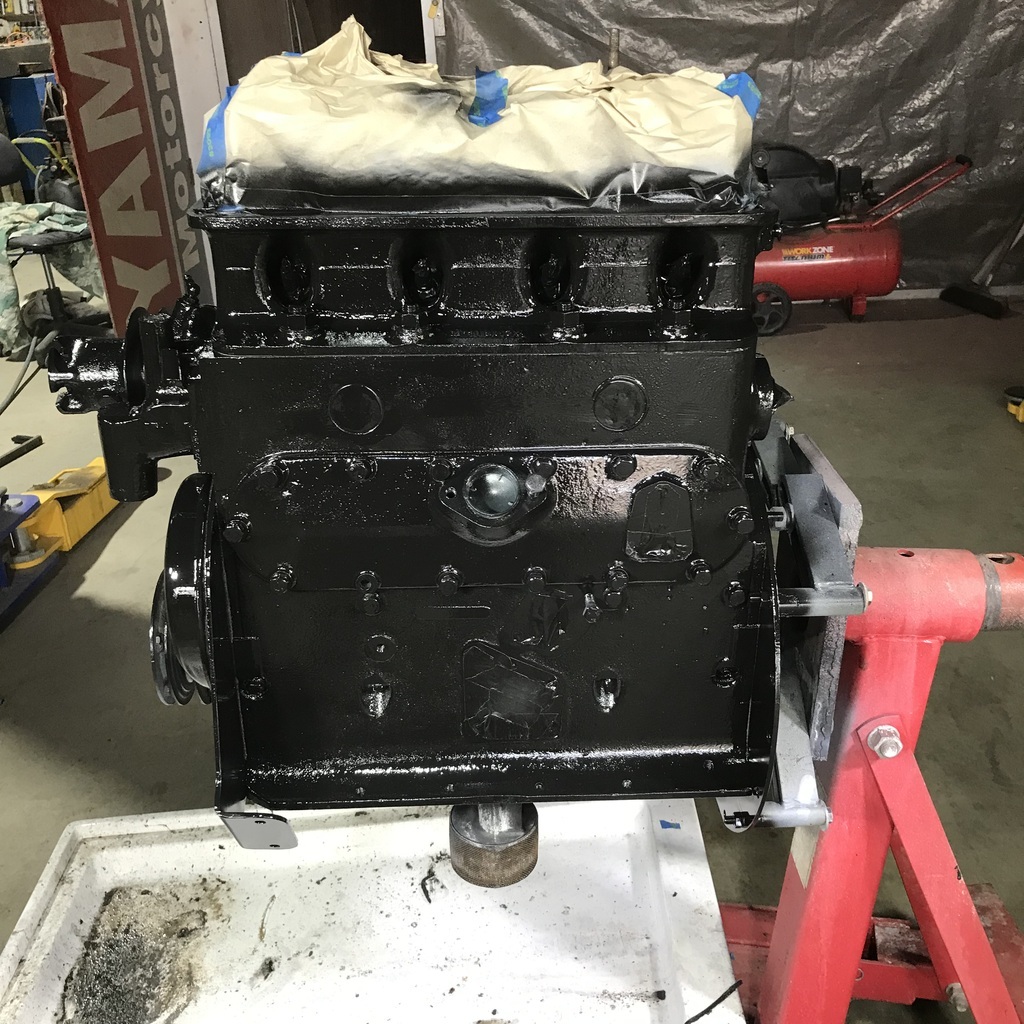 It’ll never be this clean again! Also blasted and painted the relevant pieces of the generator, starter motor, brake m/c, brake reservoir, supercharger ( I love typing that word! ) bracket, oil filter. All the engine ancillaries. Used the same paint as the chassis. Should be able to put a few bits back on the motor tomorrow. Thanks. |
| |
|
|
gazzam
Part of things
 
Posts: 740 
|
|
|
|
Starting to put pieces back onto the motor. First was the pulley for the supercharger ( that word again). 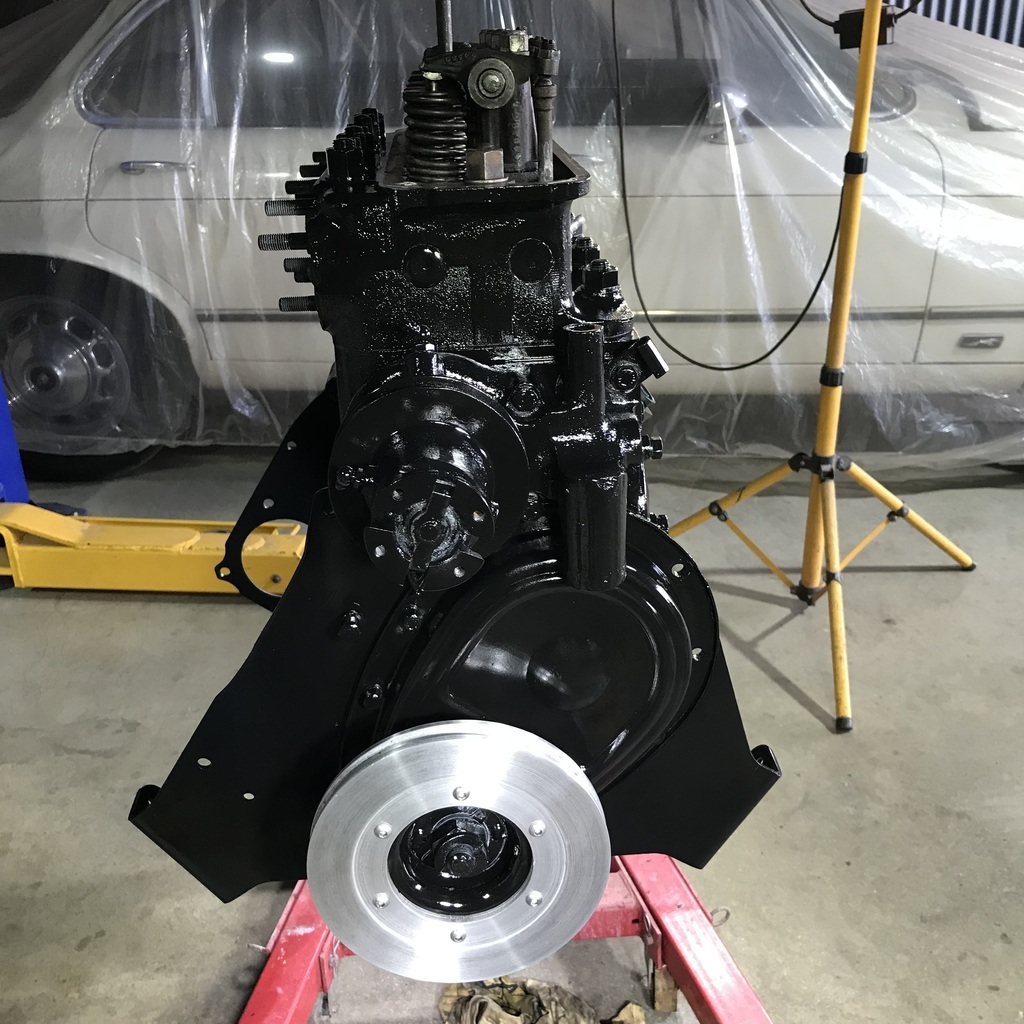 I will admit that I chucked it on the lathe and gave it a pretty up. Then used the big belt sander to dress the gasket faces of the water thingamy. 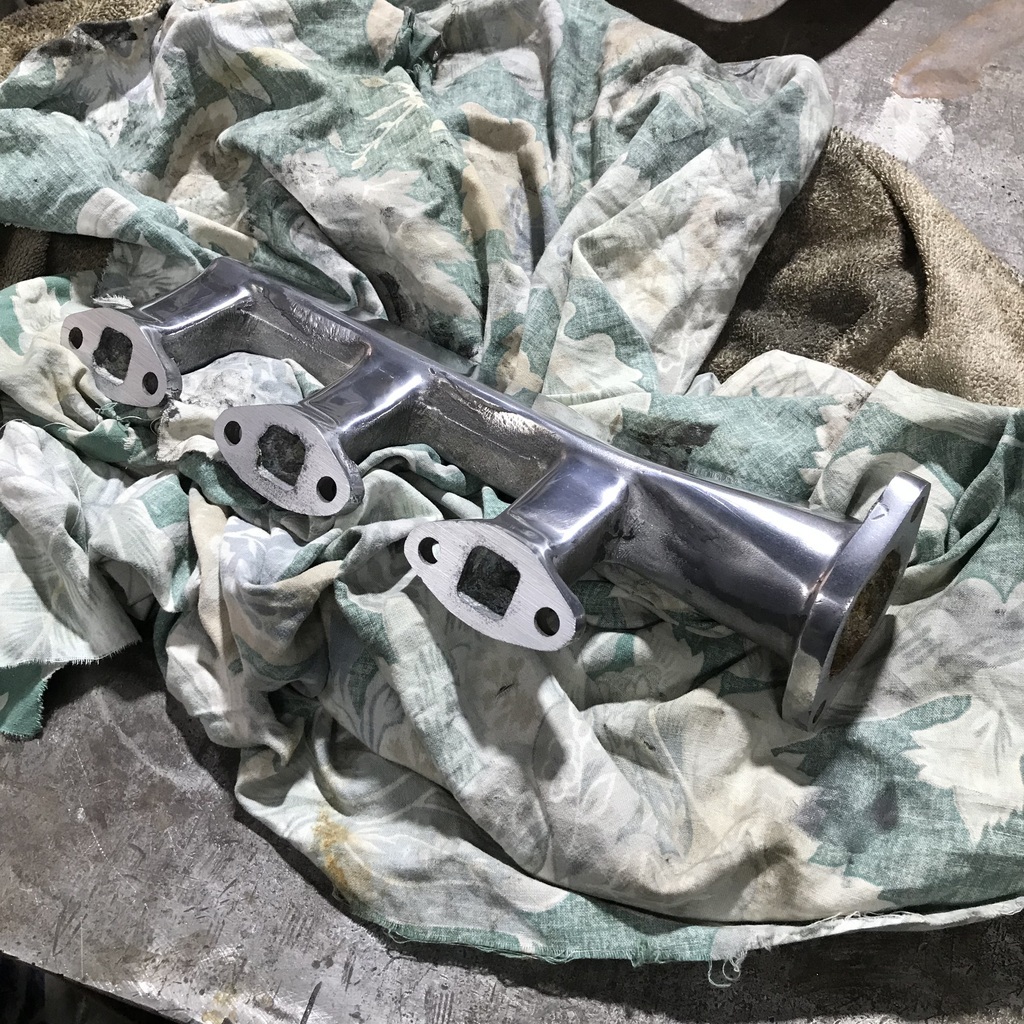 And after making some gaskets, it’s the second bit of bling to go on. 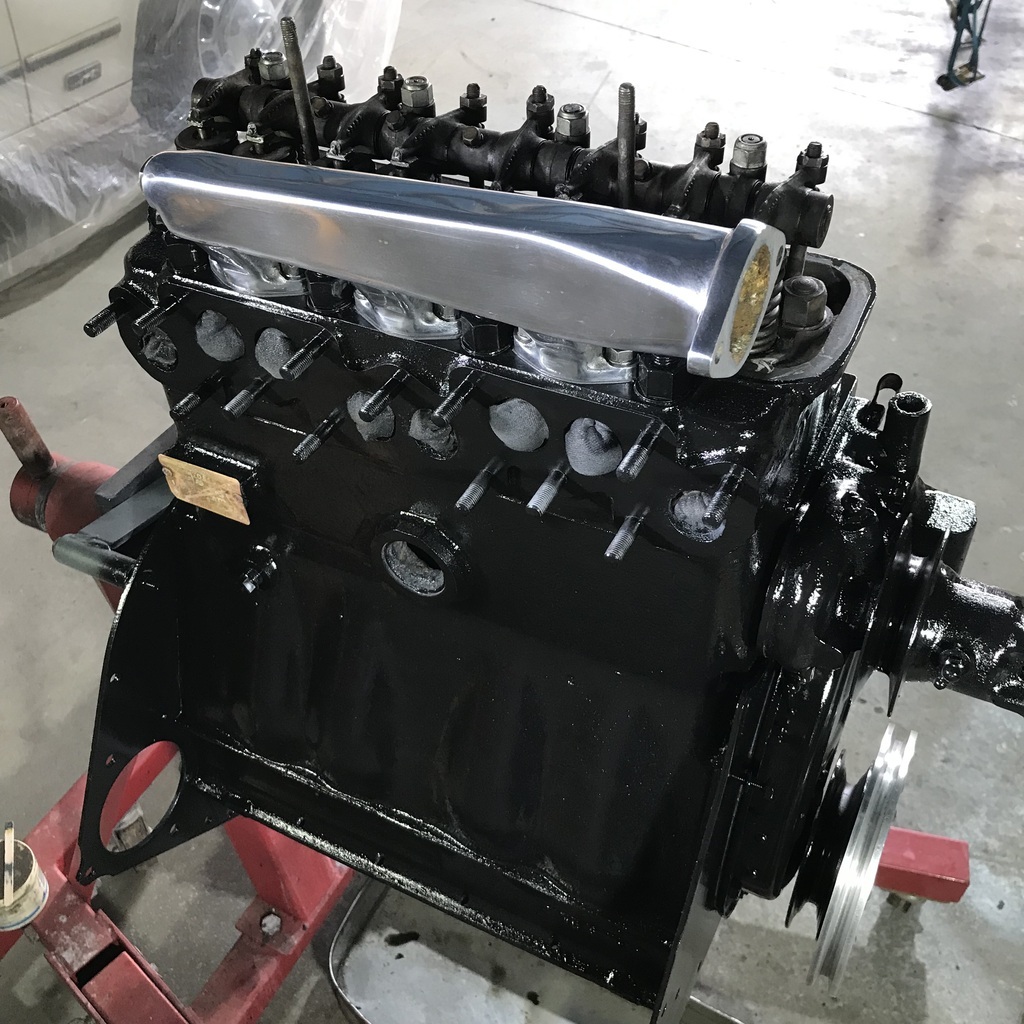 Then onto generator assembly. All the bits after painting and plating. 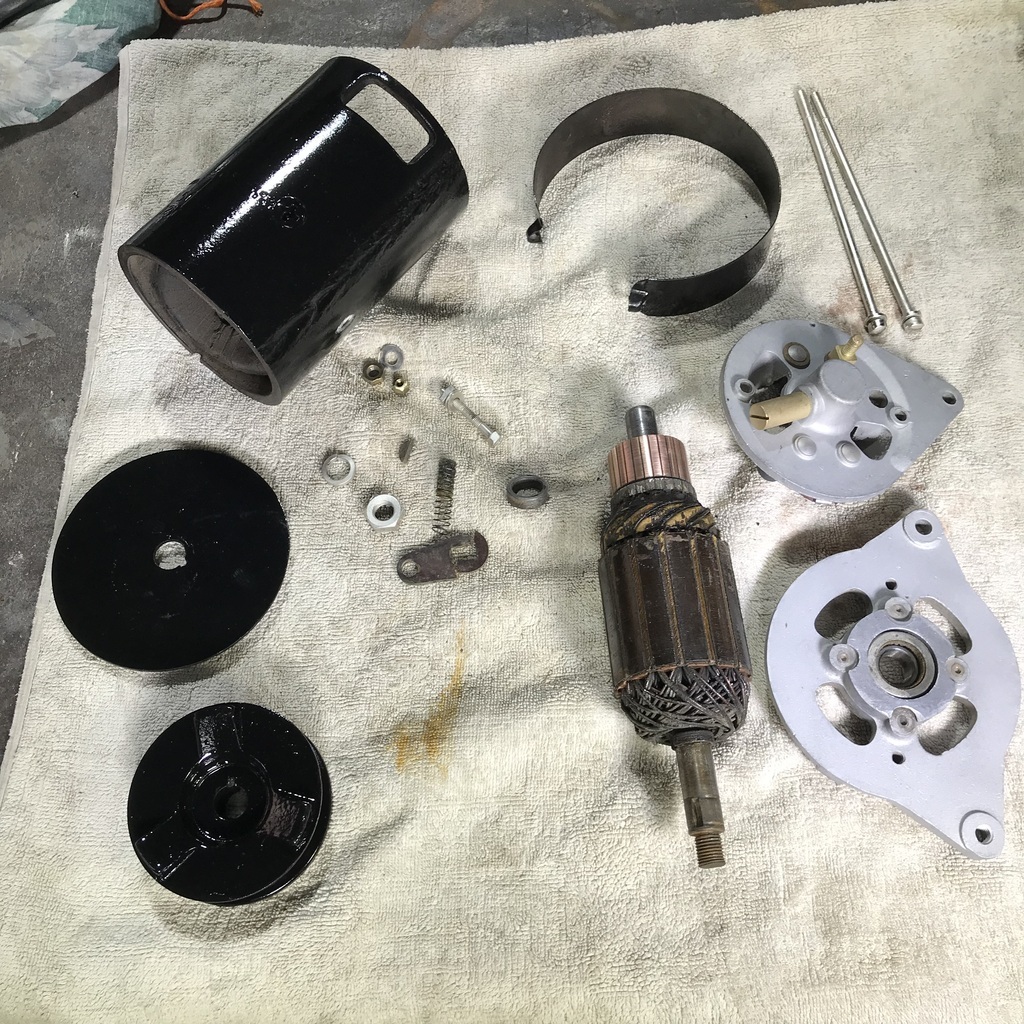 And after working out the puzzle of the brackets and bolts, more completion. 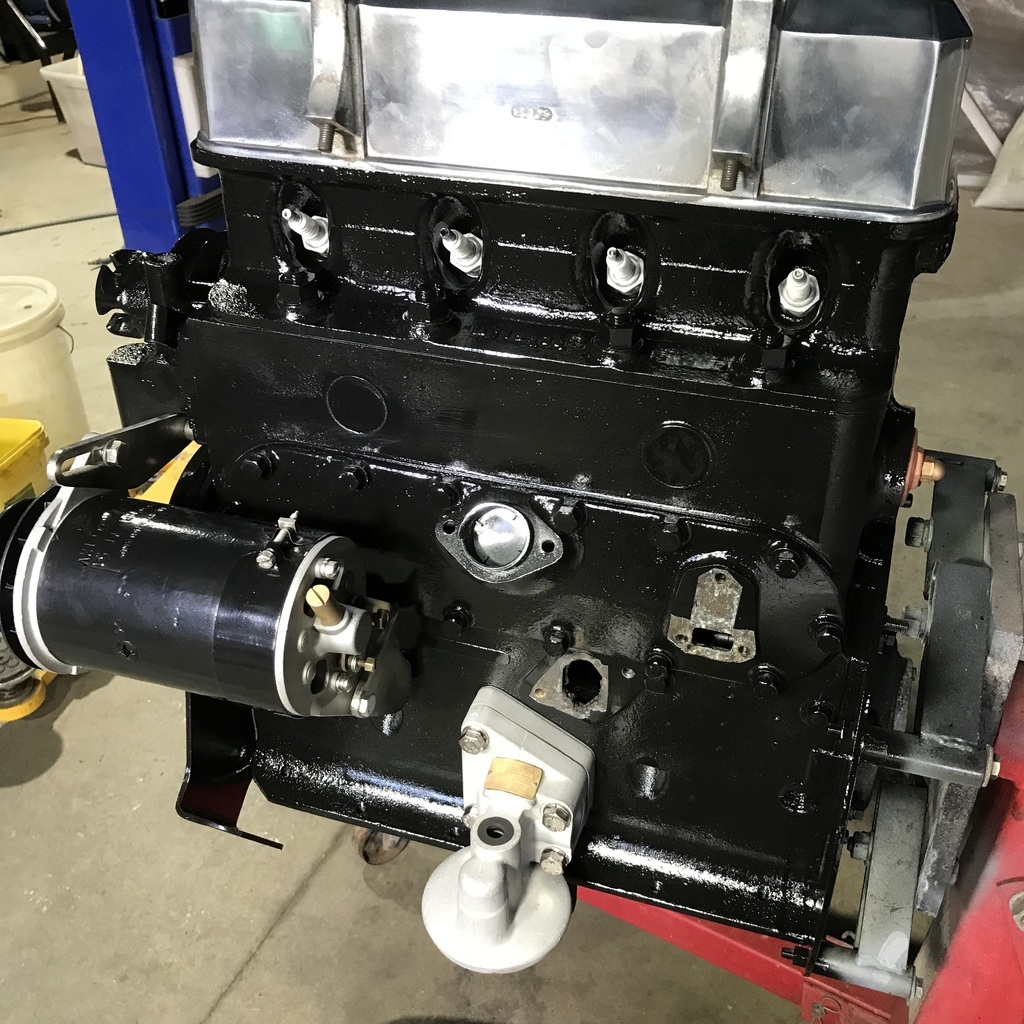 That shot also has the oil filter assembly on the motor as a test fit. And the tappet cover sitting in place just to keep dust out. Before that happened, had to make some gaskets. The sandwich block is an ideal tracing template. 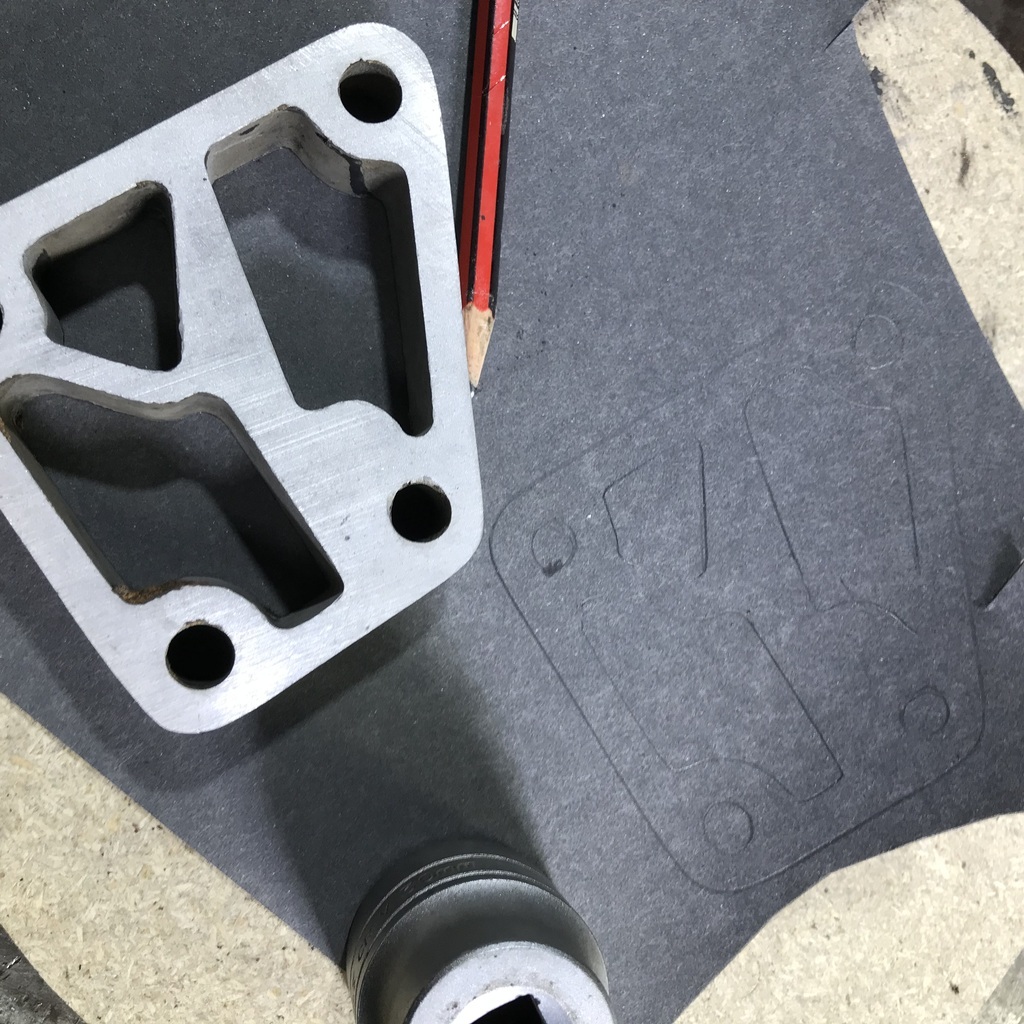 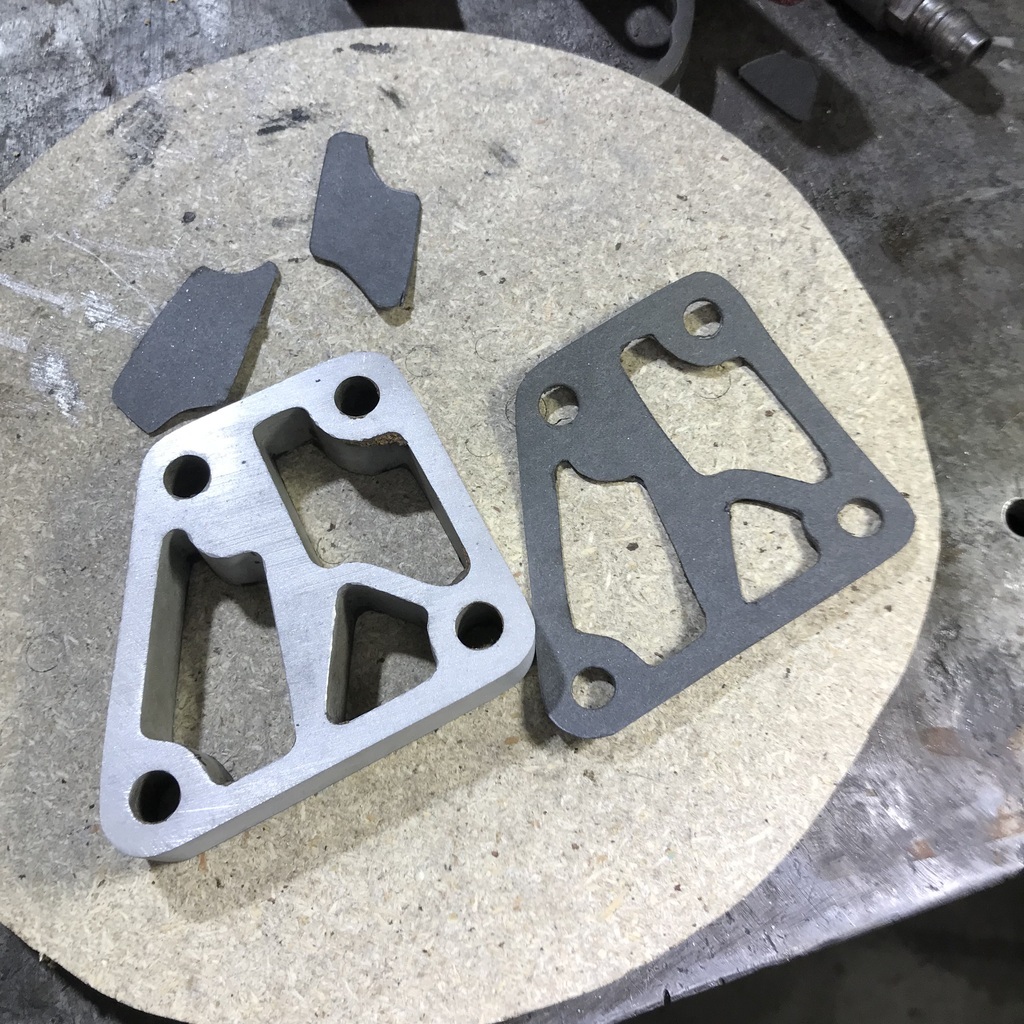 Good to be putting things back together. Still plenty more to go. Thanks. |
| |
|
|
gazzam
Part of things
 
Posts: 740 
|
|
|
|
I went to put the starter motor back together and realised I hadn’t plated these bits. 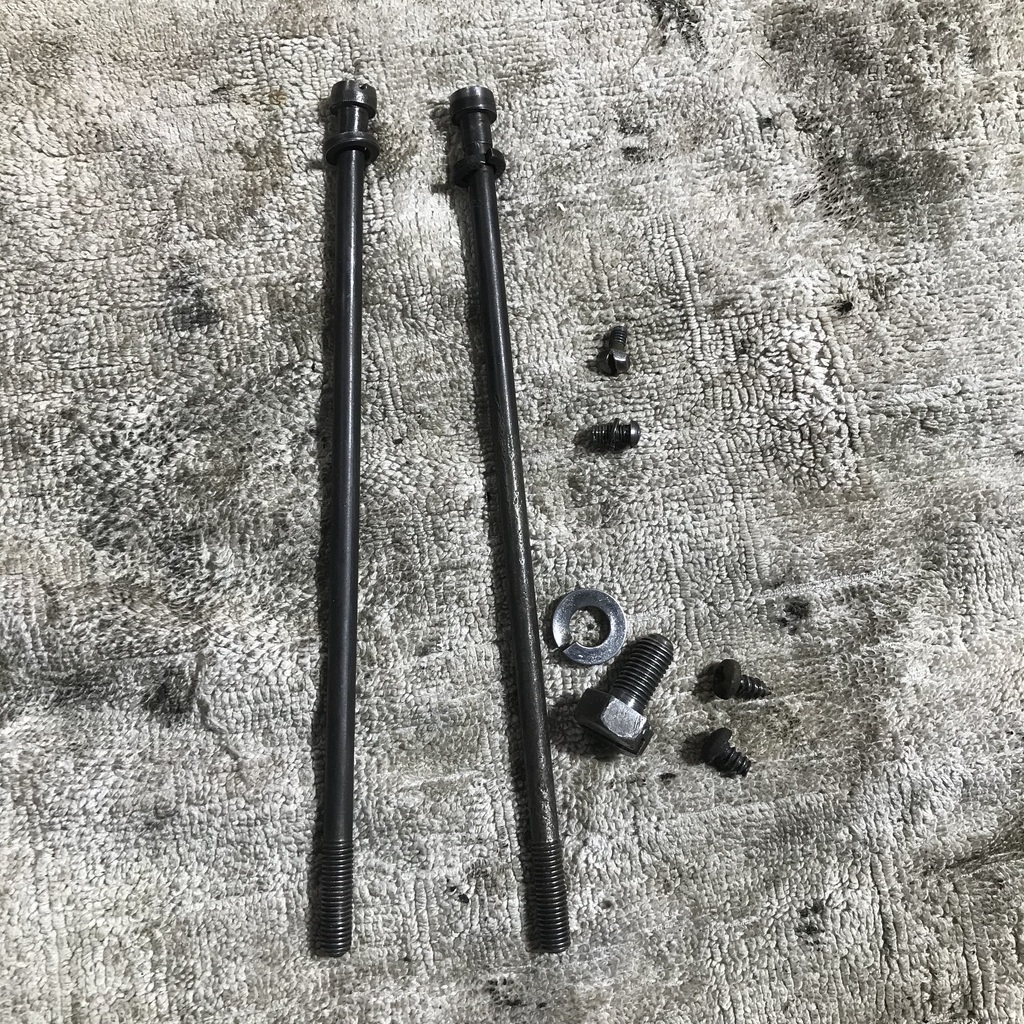 So I decided to have a look through the engine parts littering my shed and see what else needed plating. The distributor was the first thing I came across. 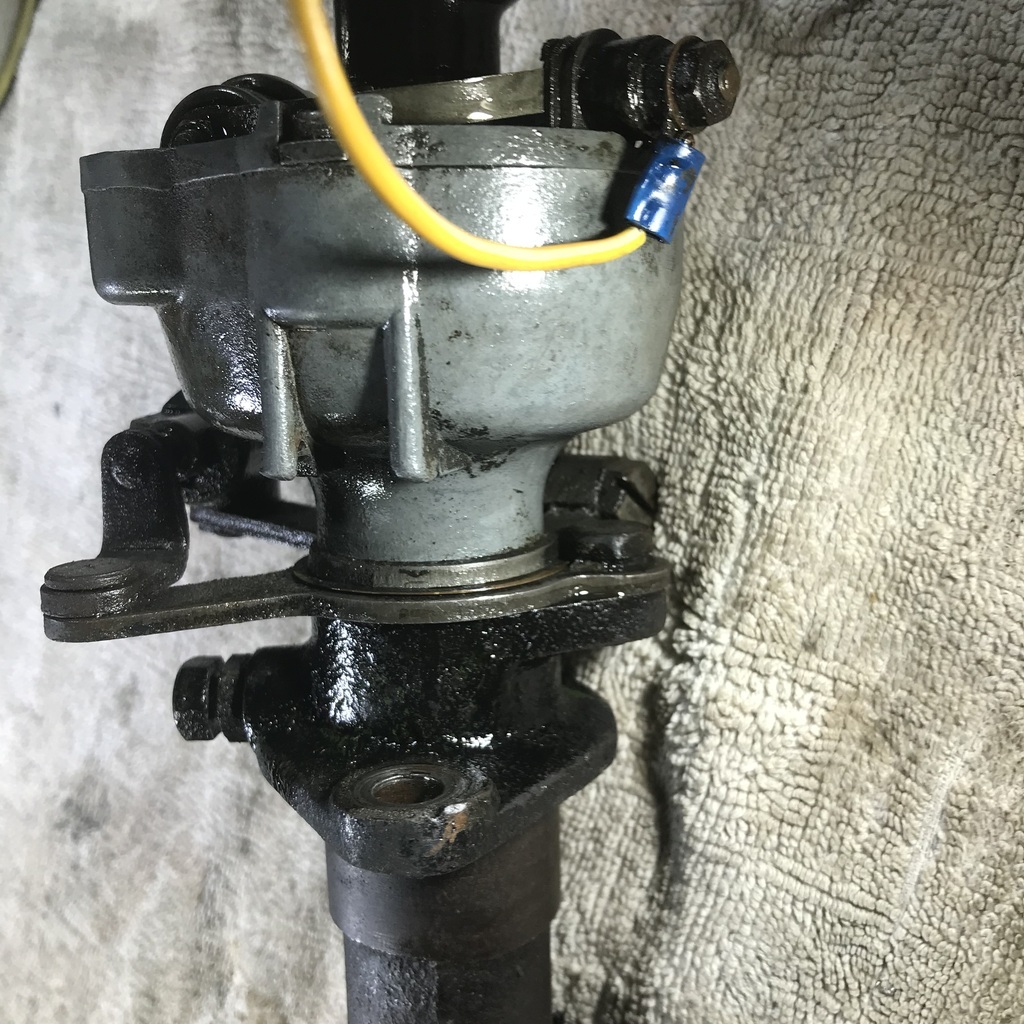 Lots of bits on it. Some nuts and bolts plus these main pieces. 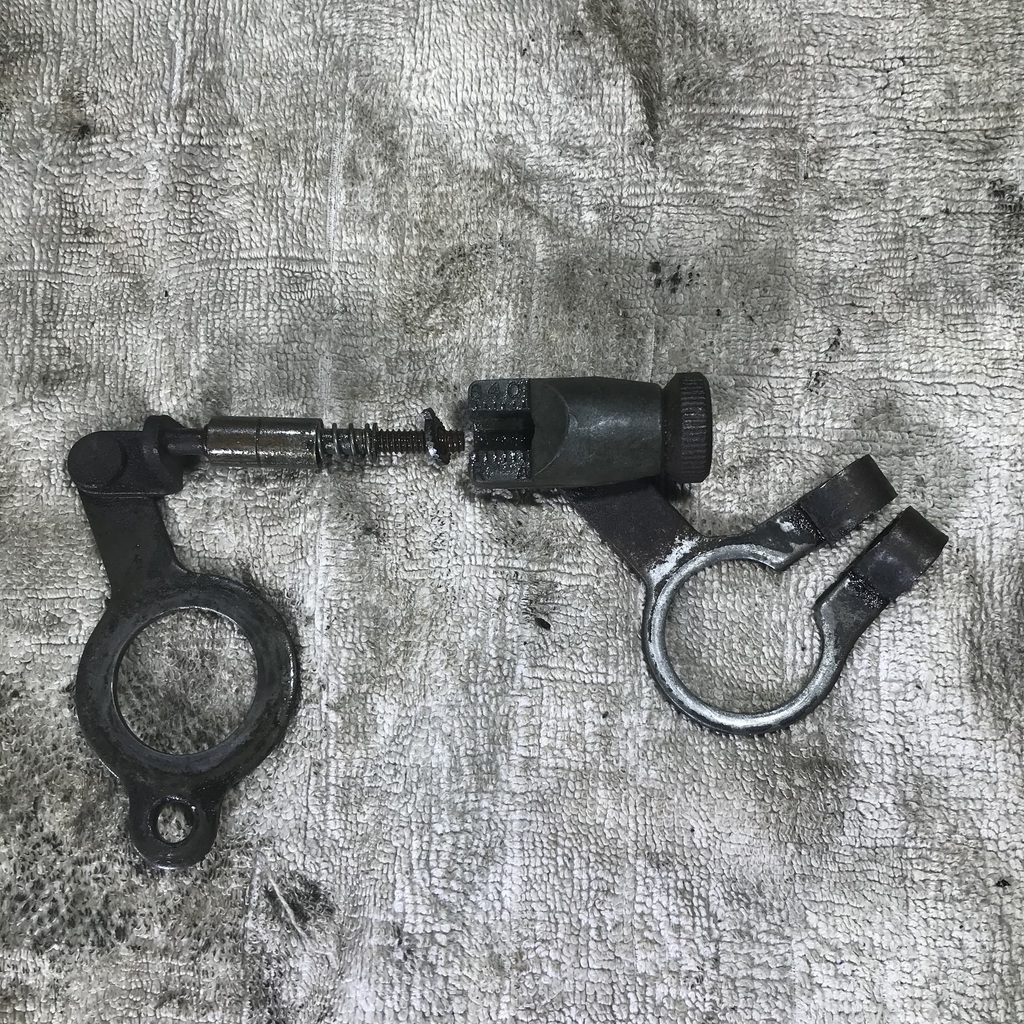 Then there’s the fuel pump. This is the mechanical pump that wasn’t working. I’ve ordered a kit for it, so if it works I’ll not reinstall the electric one that was fitted. So there’s a few of it’s bits to plate. 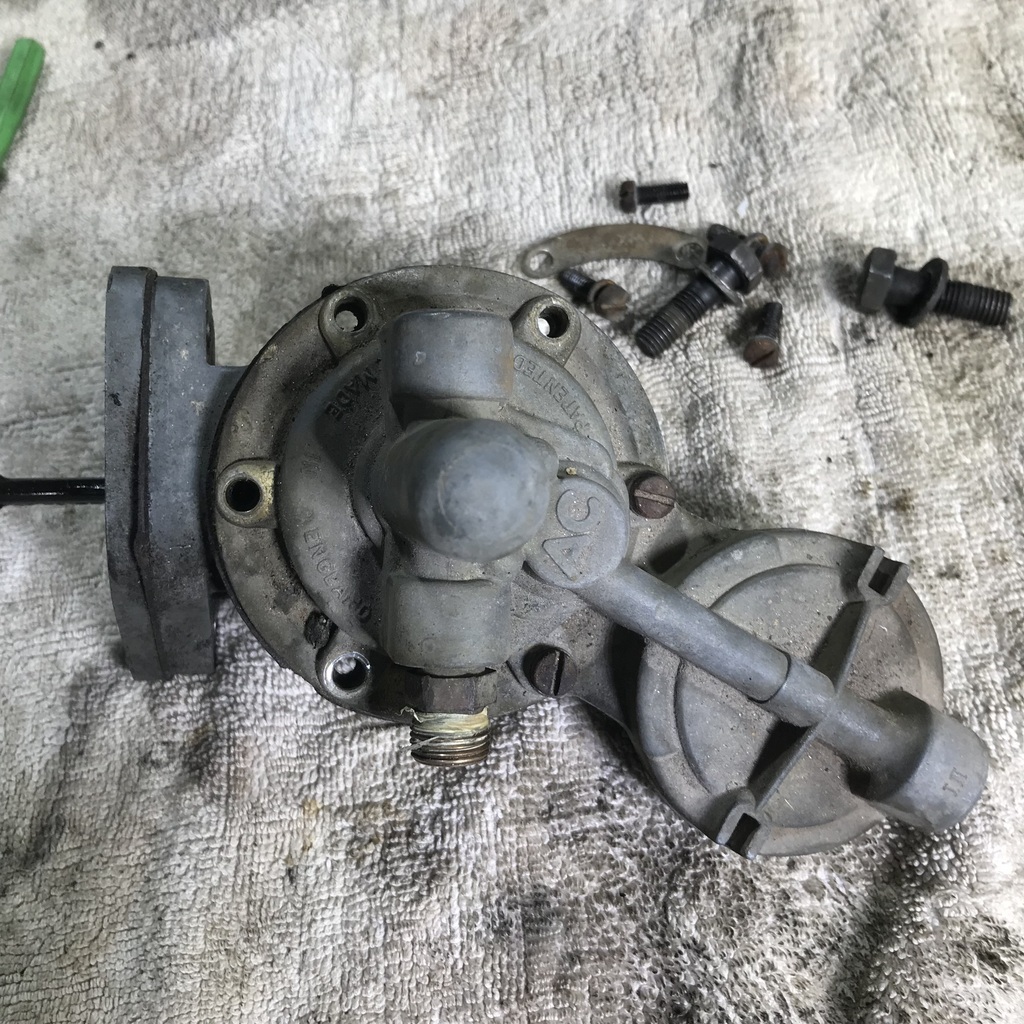 Also cut all the nipples off the old brake lines and there are a couple of small brackets that hold brake unions. 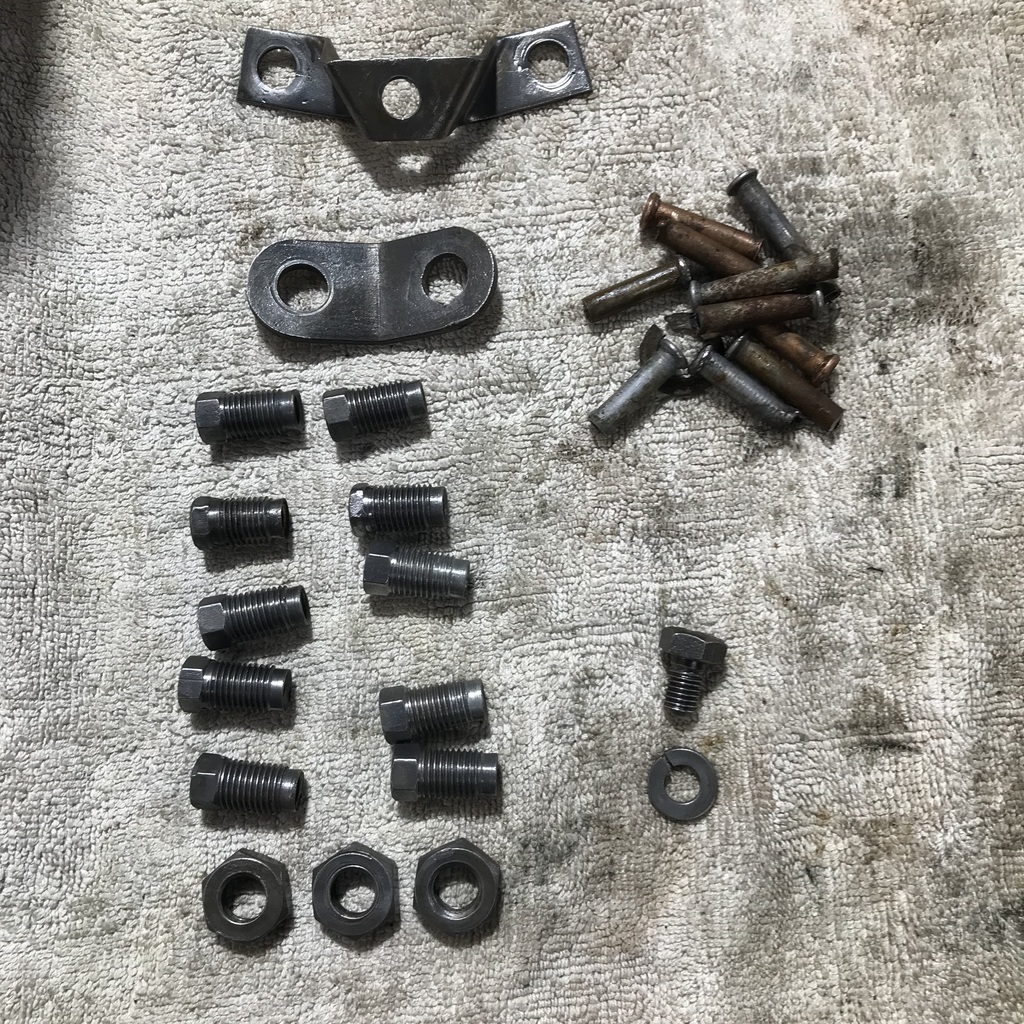 And after a lot of wire wheeling, ultrasonic bathing, bead blasting, I have with this lot. 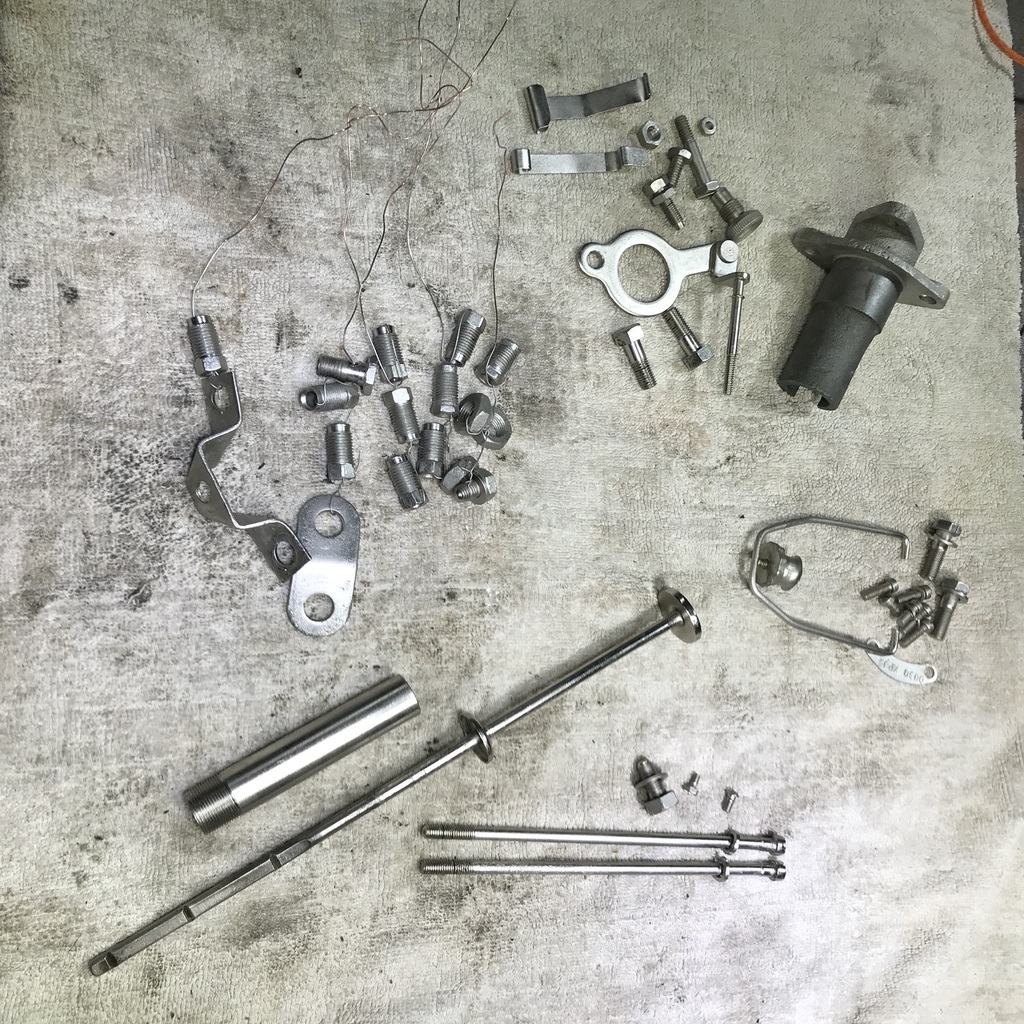 Time for a beer! Thanks. |
| |
Last Edit: Oct 28, 2023 7:50:55 GMT by gazzam
|
|
jamesd1972
Club Retro Rides Member
Posts: 2,921  Club RR Member Number: 40
|
|
|
|
|
That was a few hours in the workshop !
James
|
| |
|
|
glenanderson
Club Retro Rides Member
Posts: 4,353
Club RR Member Number: 64
|
|
Oct 28, 2023 10:08:46 GMT
|
|
I think I might have to get around to giving this plating lark a go.
|
| |
My worst worry about dying is my wife selling my stuff for what I told her it cost...
|
|
gazzam
Part of things
 
Posts: 740 
|
|
|
|
Can recommend it Glen, very satisfying. Not much done today, I was expecting visitors. Some guys I used to go on an annual ride with, turned up just before midday and suddenly it was beer o’clock. Prior to their arrival I assembled the starter motor. 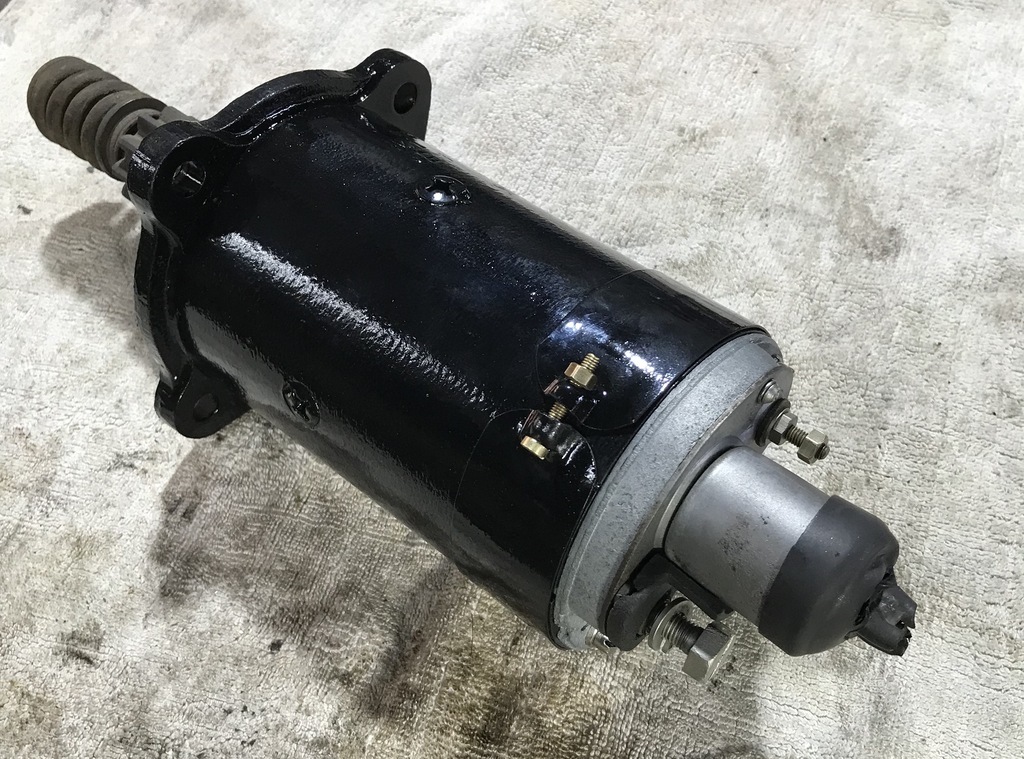 And cleaned up the distributor cap. Before. So I could get the leads back in the right order. 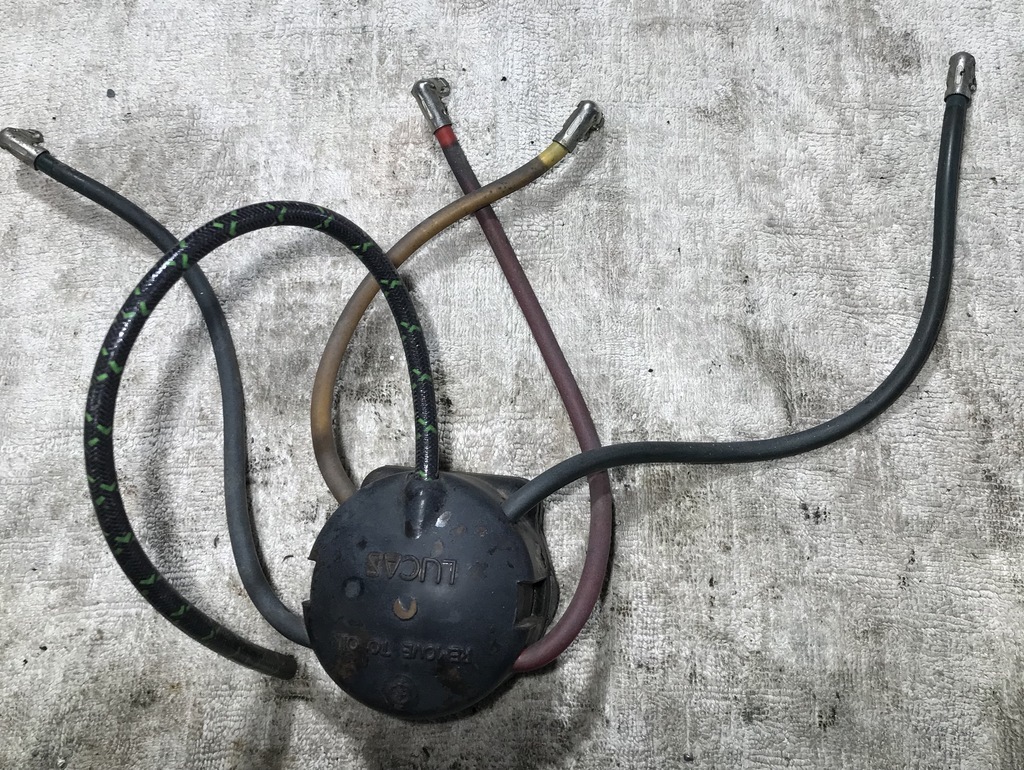 And after. 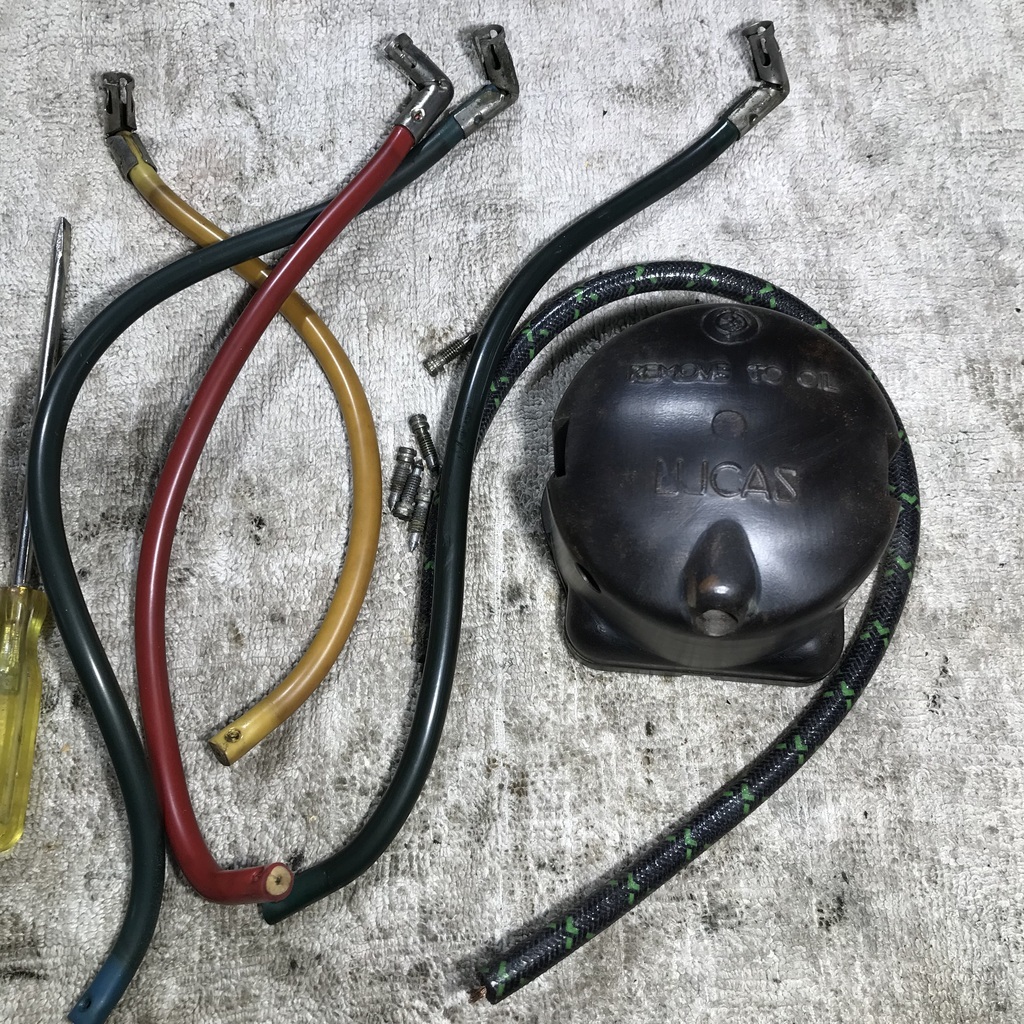 This lovely little thing is the external advance/ retard mechanism. I couldn’t separate the diecast bit from the steel part, so I wasn’t game to plate it for fear of contaminating the nickel bath ( doesn’t like zinc ). 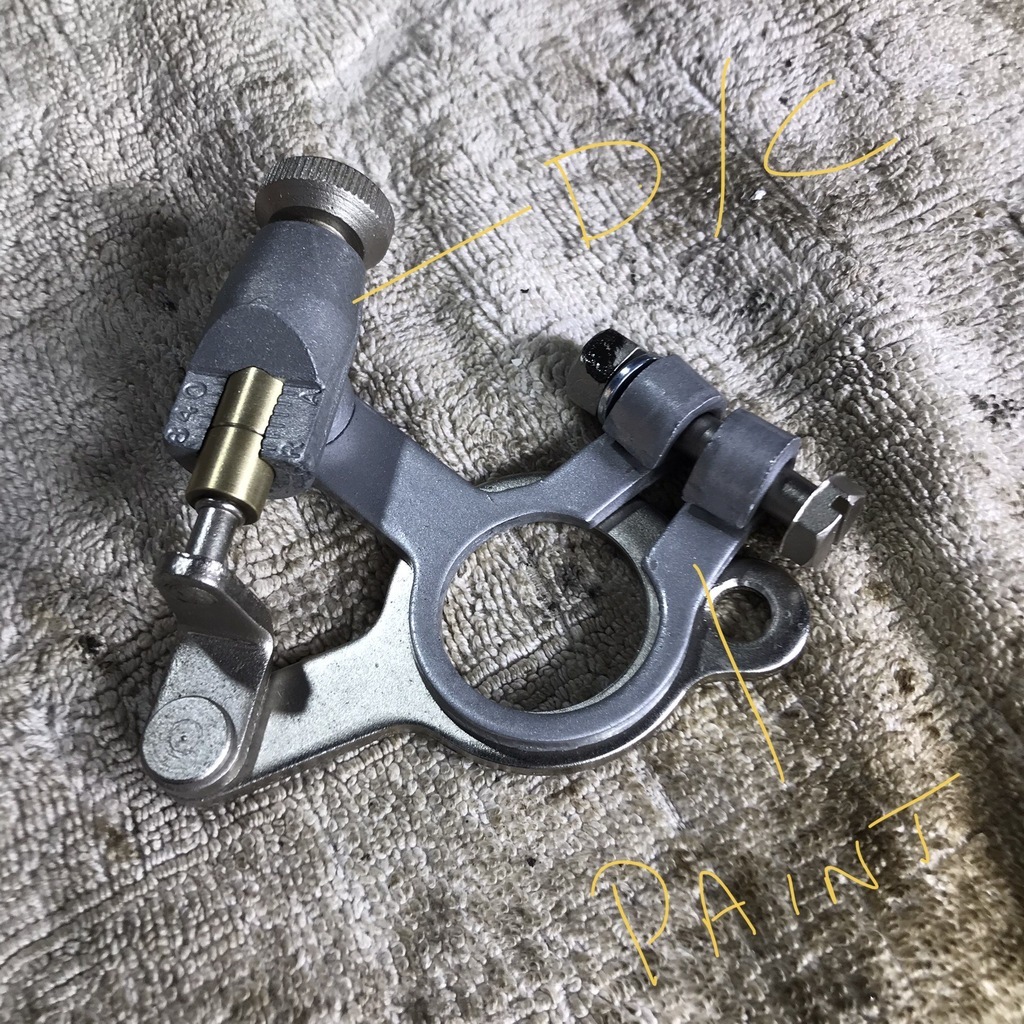 So I painted the steel part with the silver version of the chassis paint. I think it will be ok. Must run, we’re expected at a get together at the home of our earlier visitor. There could be beer. Thanks. |
| |
Last Edit: Oct 29, 2023 5:21:34 GMT by gazzam
|
|
|
|


