|
|
|
|
|
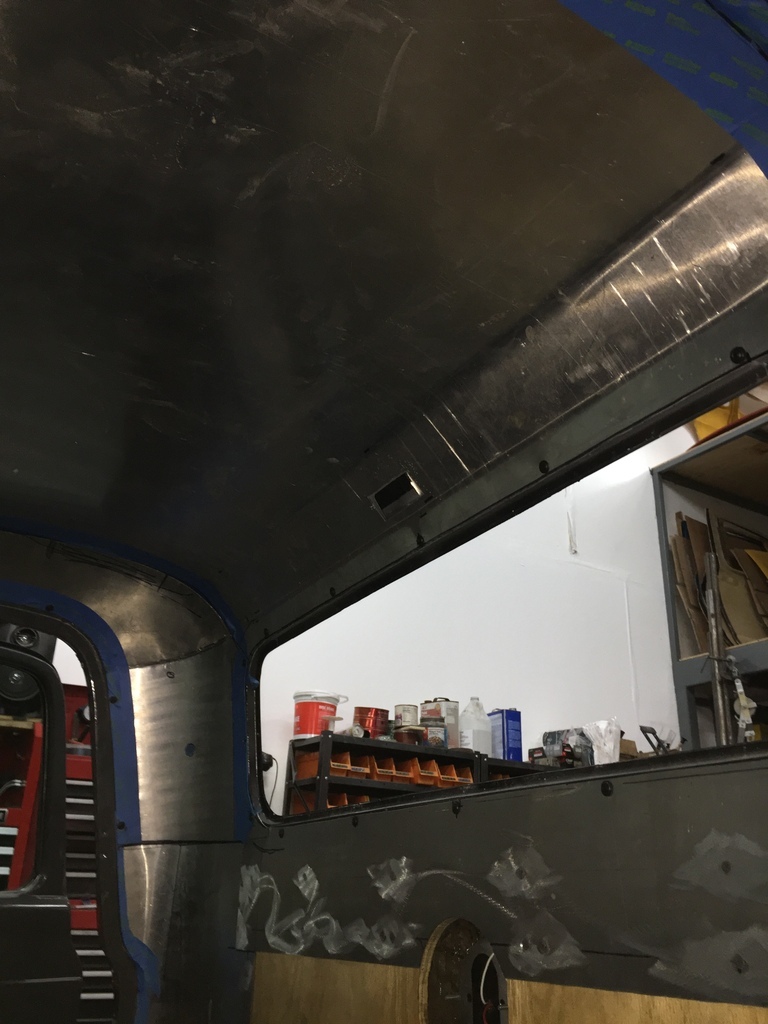
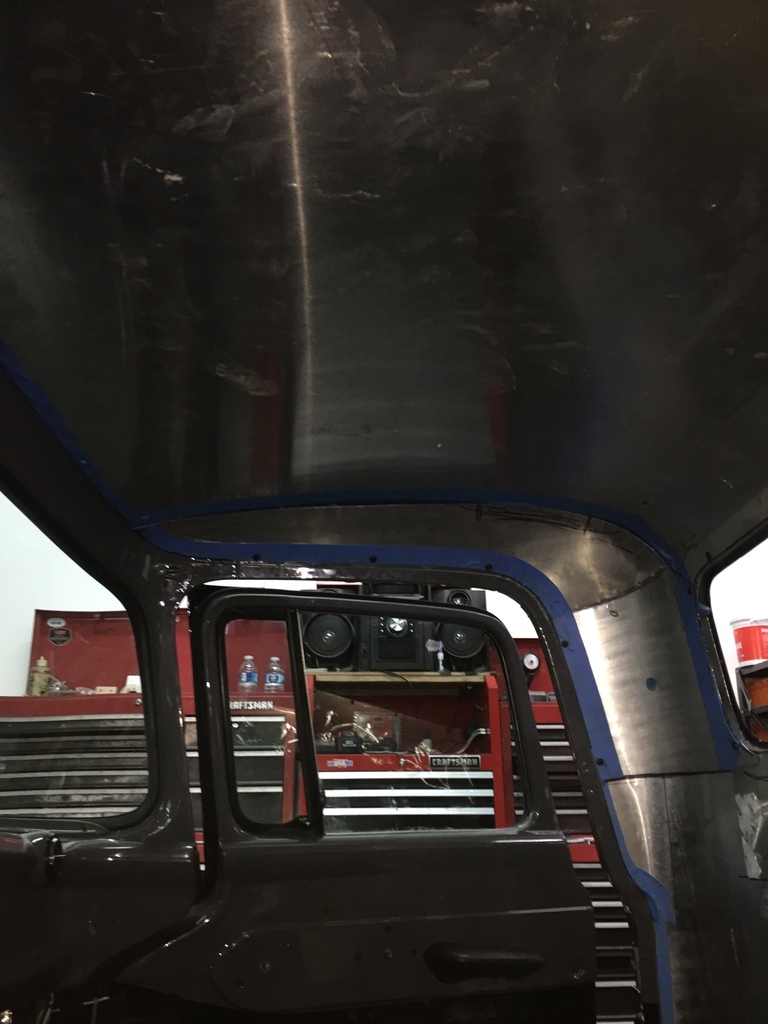
I mounted the seats. They are aftermarket, meant for early Mustangs. So I figured, since I built the seatrisers to fit the '66 Ranchero seats I had in it before, everything would be pretty close. It still took quite a bit of modification, but it is mostly done. I'm sitting a little bit higher than before, but right now I've got enough space above my head. Hopefully that is still OK after the headliner goes in. If not, I'll cut and modify the seat risers ( some more...) ( they are already powdercoated, if I have to major cutting & welding the powdercoat will have to be stripped off first, and recoated after doing the mods ). I think they look pretty good in there...    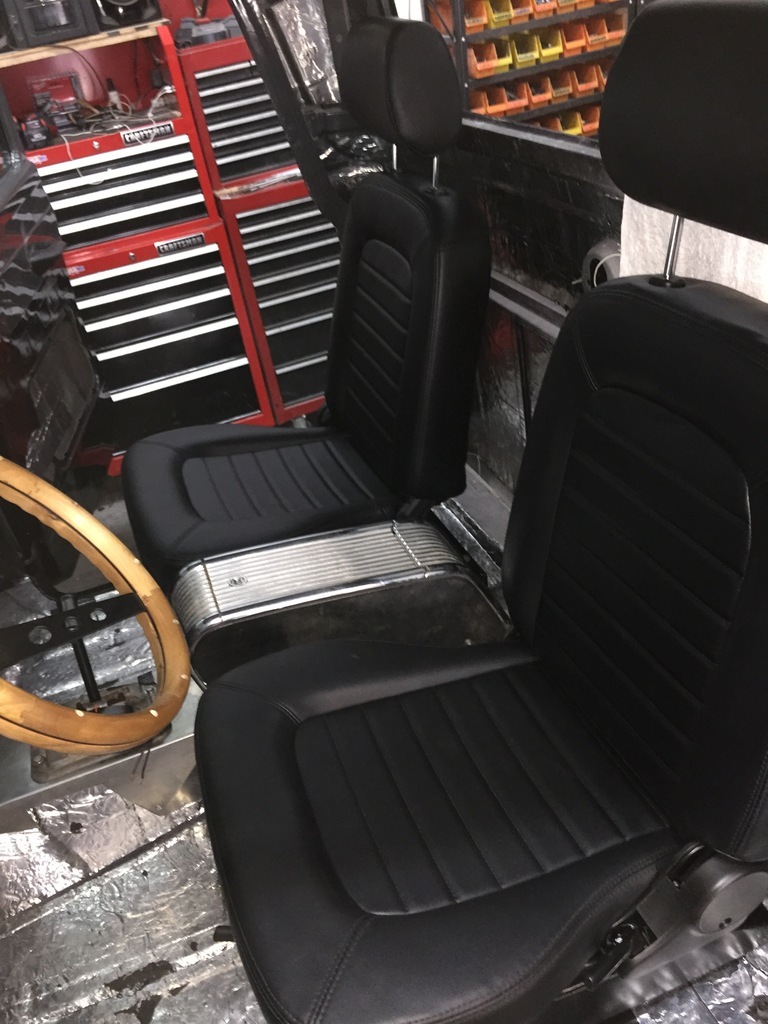 |
| |
|
|
|
|
|
|
|
|
|
I took the shifter completely apart, so I could have the visible ( chrome) parts powdercoated satin black. I rebuilt it with new bushings ( the ones I could buy, I had to make some out of brass too on my lathe) And put it back together with a new pointer ( to tell you which gear you are in) And some other missing parts I had to make. I had put a little riser on my transmission tunnel ( when I first built the truck). I made a transition piece out of some sheet aluminum to make fitting carpet easier, later. 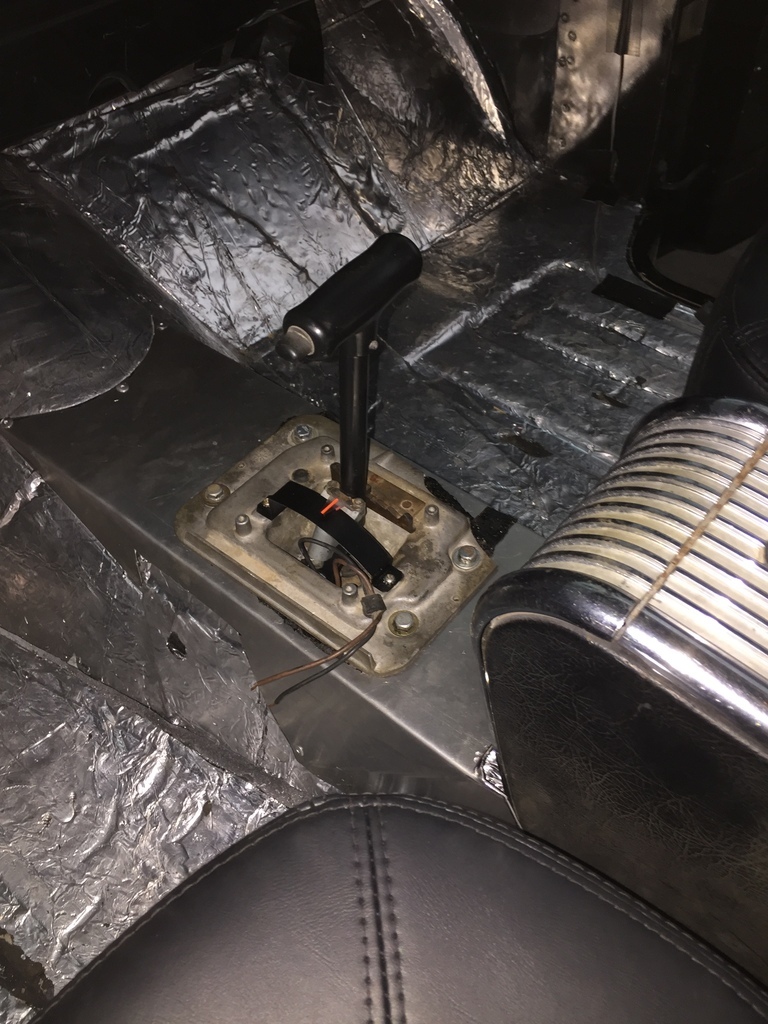 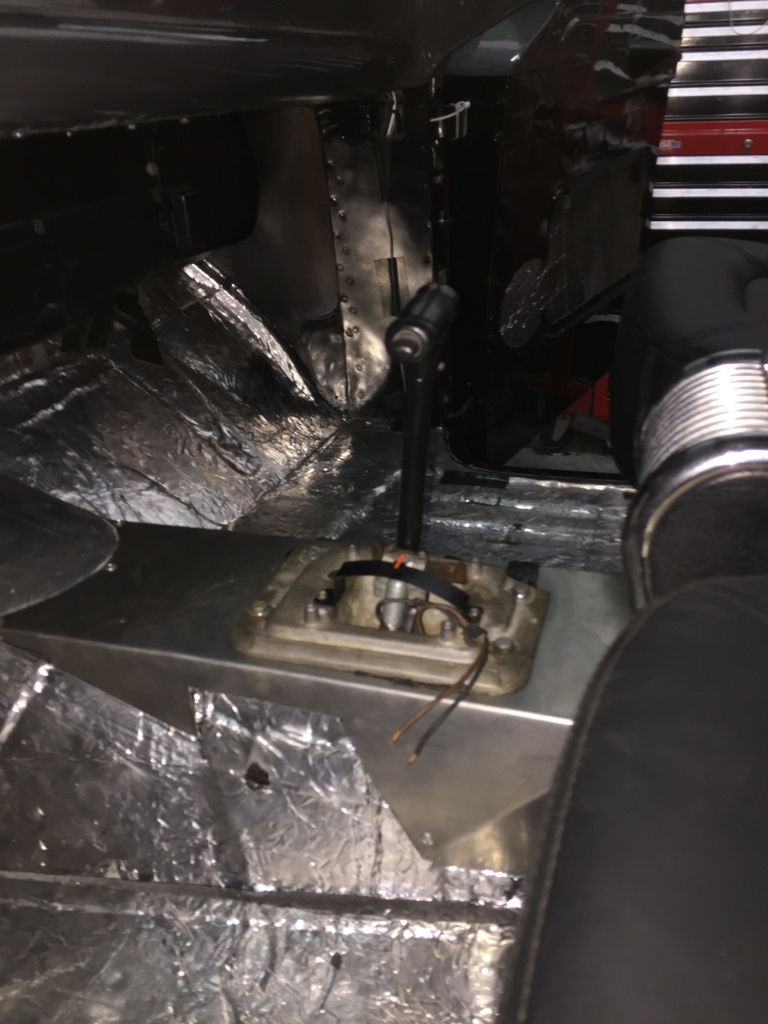 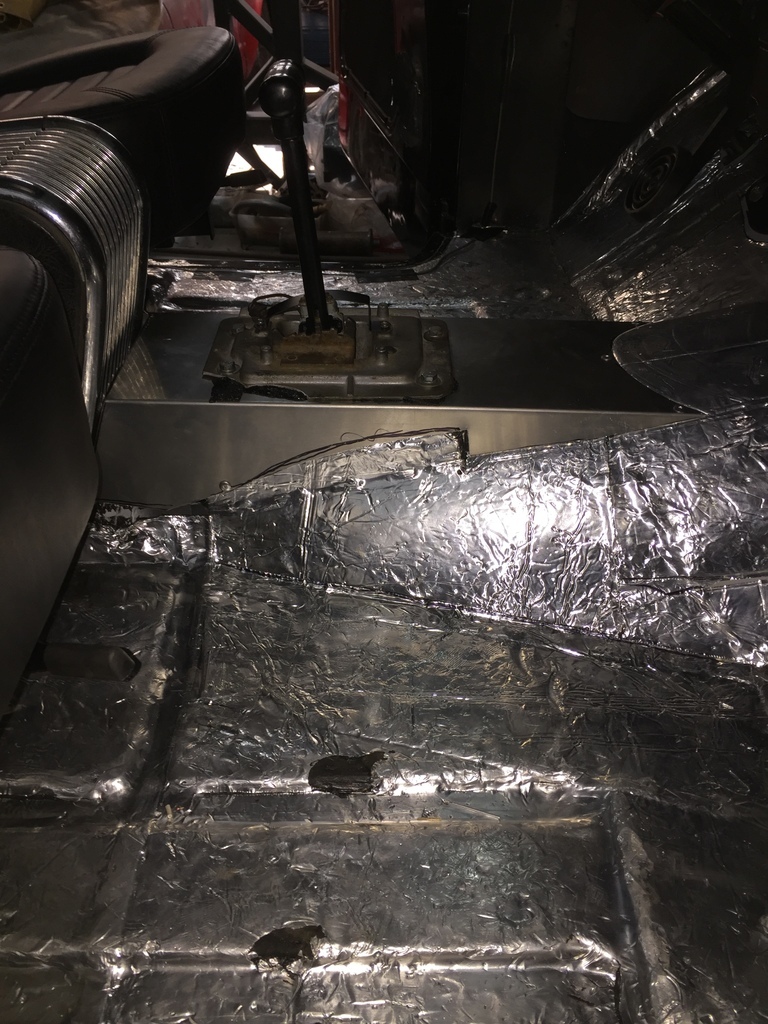 When the shifter was mounted to the tunnel, I could adjust the linkage. And then I could put in the neutral safety switch, and wire it. And I put in the starter, and wired it ( partly off the neutral safety switch). |
| |
|
|
|
|
|
|
|
Not sure I showed this... Its my spare wheel. I made a hold down for it out of a Halibrand style faux knock off (a Compomotive piece) I did that a couple of weeks ago... 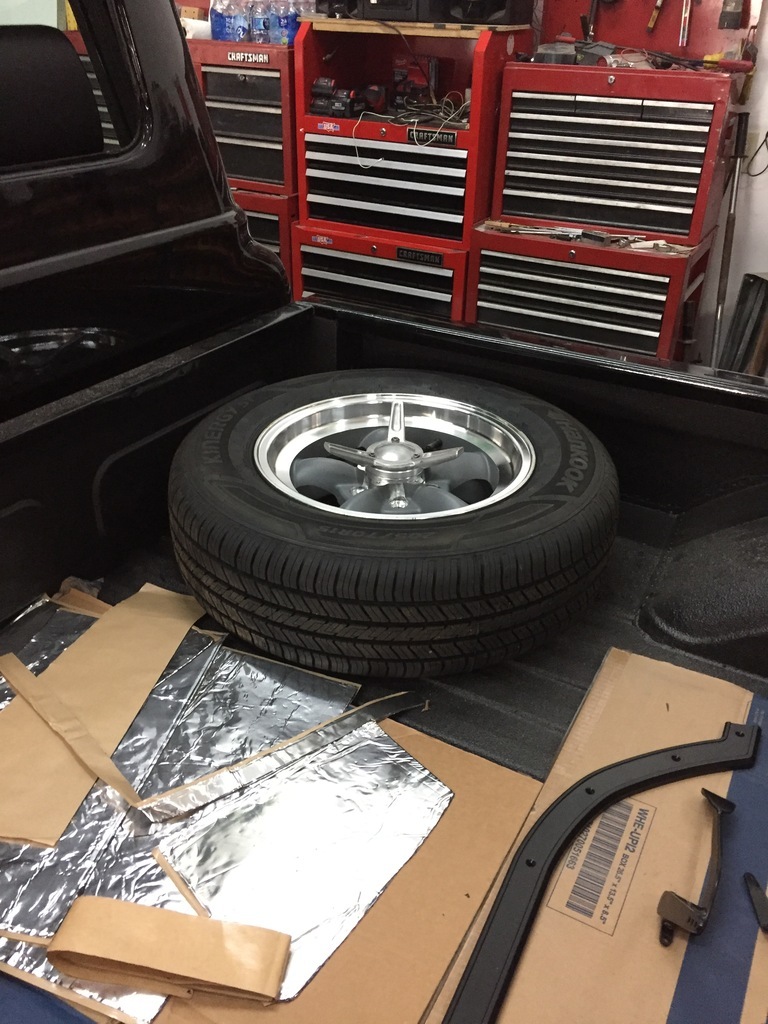 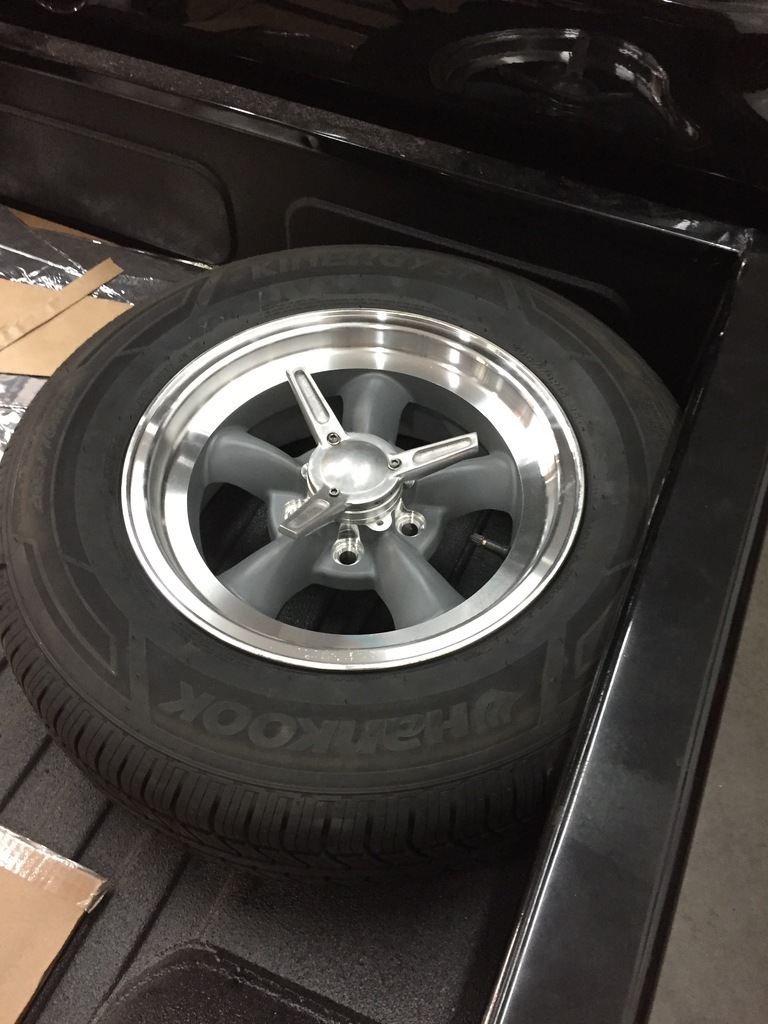 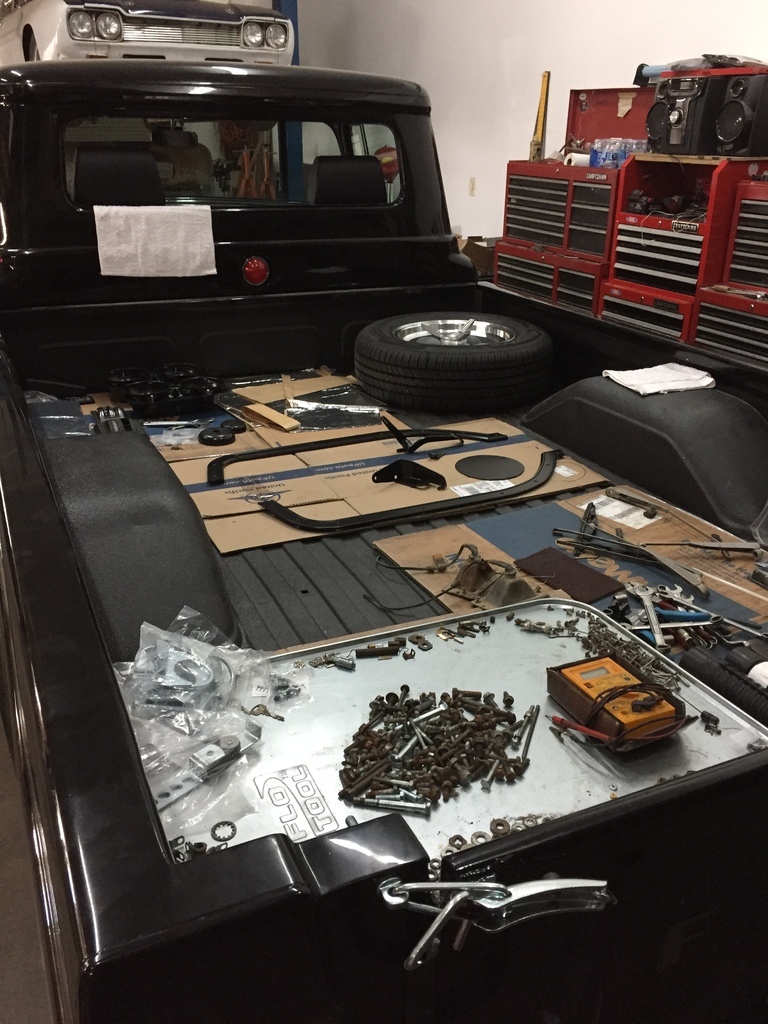 |
| |
|
|
|
|
|
|
|
|
Very tidy solution for the spare wheel.
As always your work really makes me smile and realise how much time goes into a build.
|
| |
|
|
braaap
Posted a lot
  
Posts: 2,746
|
|
|
|
|
As grizz said nice work as usual!
Will You add a tonneau cover or will that spare tyre always be exposed to the arizona sun?
|
| |
|
|
mylittletony
Posted a lot
  
Posts: 2,421
Club RR Member Number: 84
Member is Online
|
1960 Ford Truck. mylittletony
@mylittletony
Club Retro Rides Member 84
|
|
|
|
That's really coming together, I expect your finished by now! 😉
|
| |
|
|
|
|
|
|
|
Thanks guys.  grizz grizz, yeah it takes a lot of time. ( and I always guess wrong, its always more time...  ) braaap, No tonneau cover, so it will get its share of heat and sunshine...  mylittletony mylittletony, I'm trying to keep momentum.  This is actually kind of a tricky point of the build for me, I'd love to get back to doing metal fab work (on the '32), but I know if I would let it stall it would be that much harder to pick it back up. I'm seeing the light at the end of the tunnel, though. Hopefully the wrenching part will be done soon ( still a couple of parts to go back on ), put all the fluids back in, check the electrics, do a nut & bolt check ( suspension, steering, etc ), And the interior... |
| |
|
|
|
|
|
May 29, 2023 10:03:03 GMT
|
|
Those seats look like they were made for the truck - well done !
|
| |
|
|
|
|
|
May 29, 2023 10:09:52 GMT
|
|
Superb! Where did the centre console come from?
|
| |
|
|
|
|
|
May 29, 2023 10:41:38 GMT
|
Thanks guys.  westbay westbay , I like the seats a lot. I had a set of '66 Ranchero seats in the truck, but they needed to be upholstered and get some springs replaced. To get that done was more than these 2 new ones. Added bonus, I could get them with or without headrests ( the '66 seats came without ). So I got the headrests for extra safety... horrido , the console is out of a '63 Ford Falcon. |
| |
|
|
|
|
|
|
|
|
|
I just ran out of parts to put on the truck...  Until the grille comes back from the chrome shop. And until the interior is in. Don't know when the grille comes back, so I guess the interior is next... I did do the nut & bolt check and put it back on its wheels. Exhaust is back on, etc.  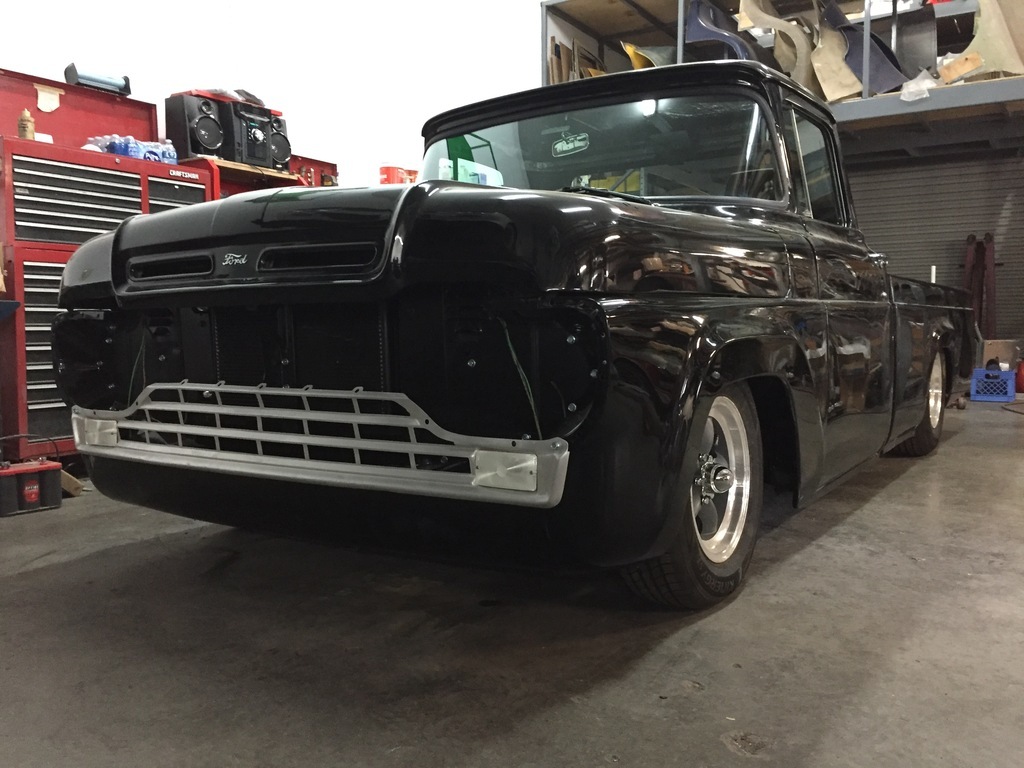 I did a little cleaning/ detailing/ painting in the engine compartment.  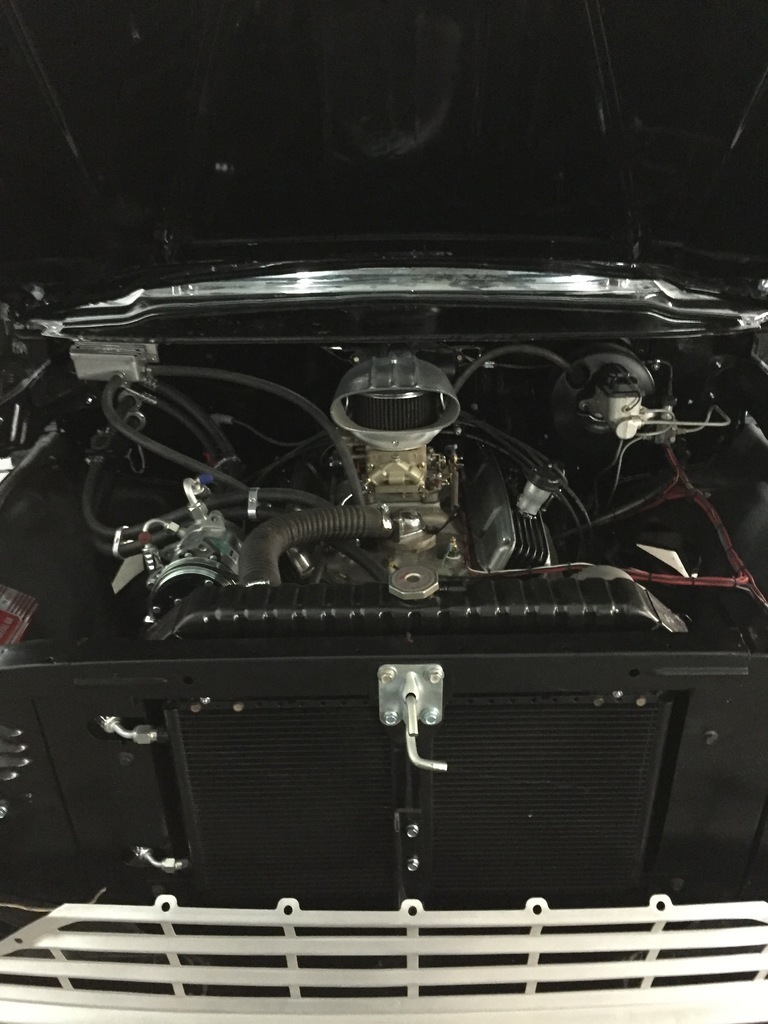 |
| |
|
|
|
|
|
|
|
I can finally show you guys my new interior. Here it is. 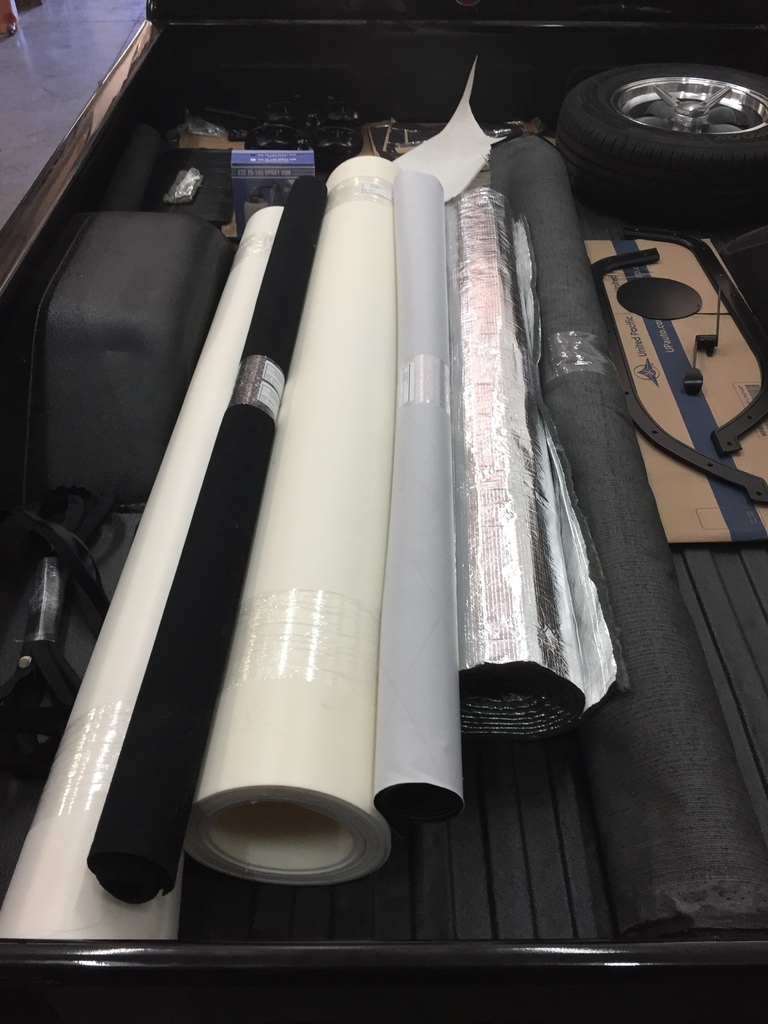  Some assembly required... |
| |
|
|
|
|
|
|
|
|
This is only my second interior ever.
I haven't been taught how do this, and I haven't watched any YouTube How-To's ( I probably should have...)
But I did have a friend who was an upholsterer (He passed away years ago), so I saw him work occasionally.
There are gaps in my knowledge.
Here are the first round of those.
- I bought way too much of some of the supplies, and not enough of some others.
- When I carefully made the backings (in aluminum, because I don't like Masonite), I didnt allow enough space for the carpet and the other upholstery.
-Some of the upholstery material will soak up the glue, so when you use too much of it will bleed through and ruin the panel.
2 steps forward, one step back...
|
| |
|
|
|
|
|
|
|
My plan is to make this interior out of Vinyl ( black), faux Suede ( black), and limo grade carpet ( black). I bought good quality stuff because I figure my with my inexperience I can use all help I can get. I started by evening out some of the bumps and ridges on the floor. I used Landau padding foam for that, its a pretty hard foam and you can shape it a bit by sanding it. 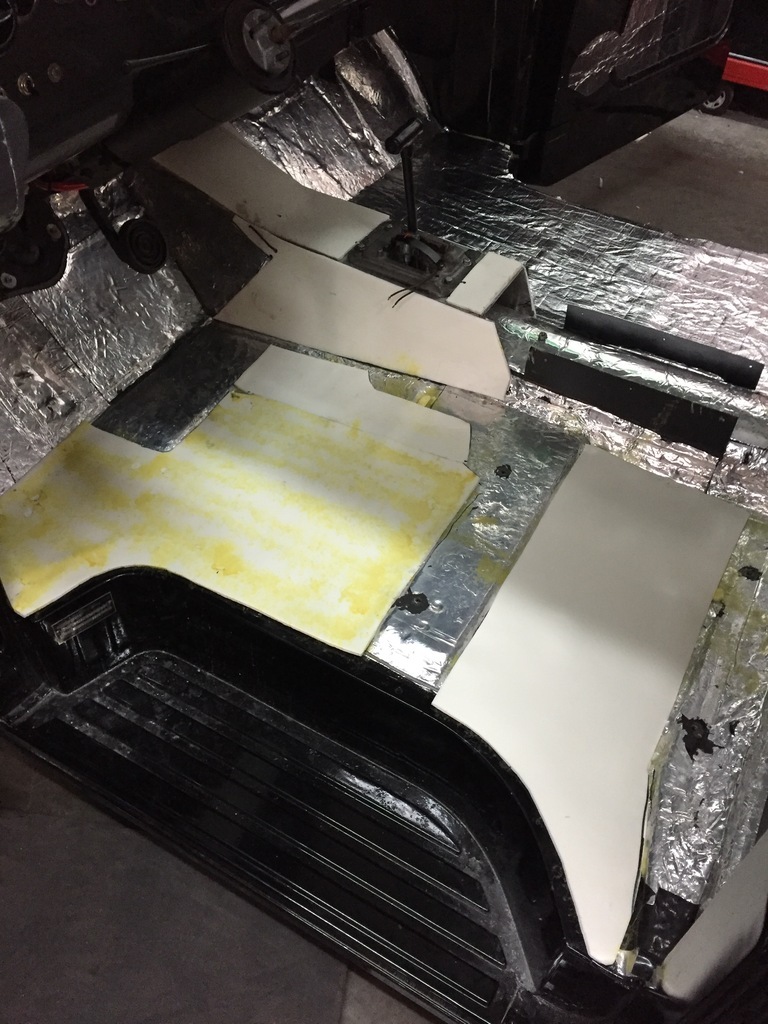 With an extra layer of insulation. 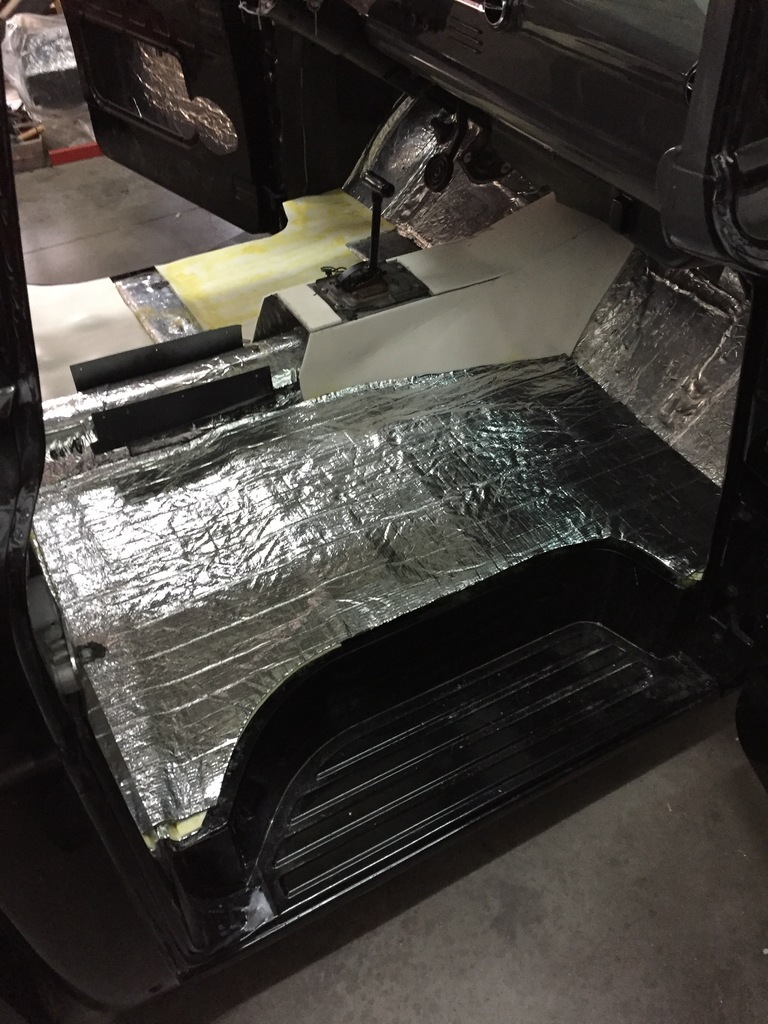 I covered the transmission tunnel in the Faux Suede 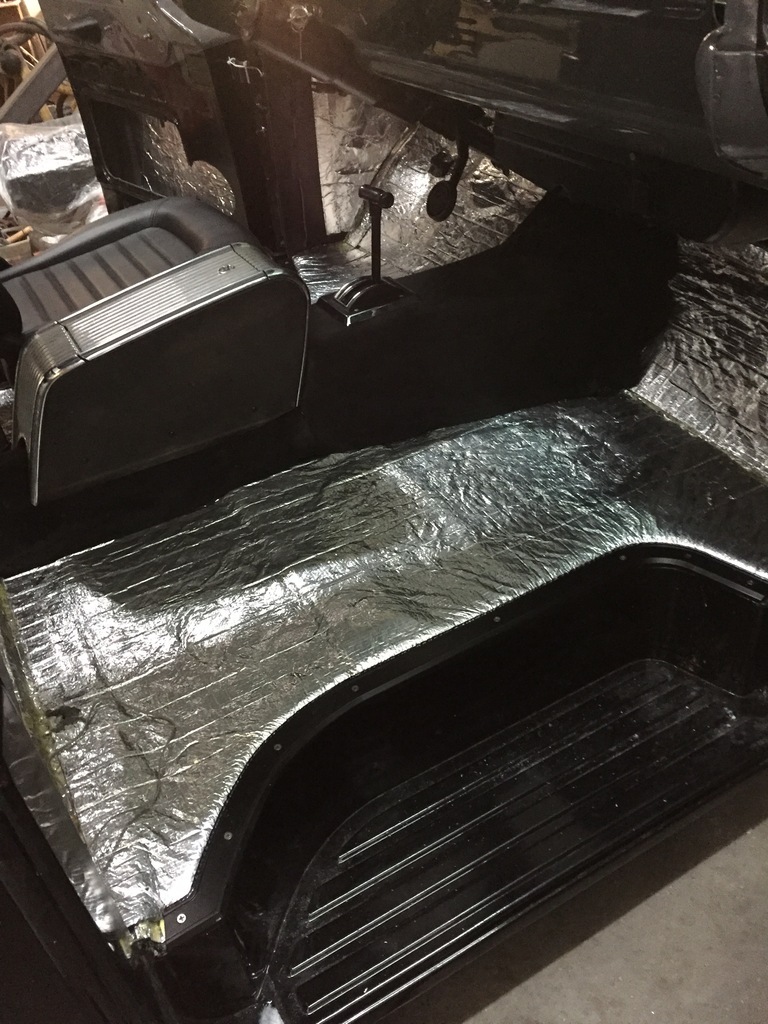 |
| |
|
|
|
|
|
|
|
The scuff plates are aftermarket ( these trucks didnt have anything to finish the edge of the carpet off, or even carpet...) 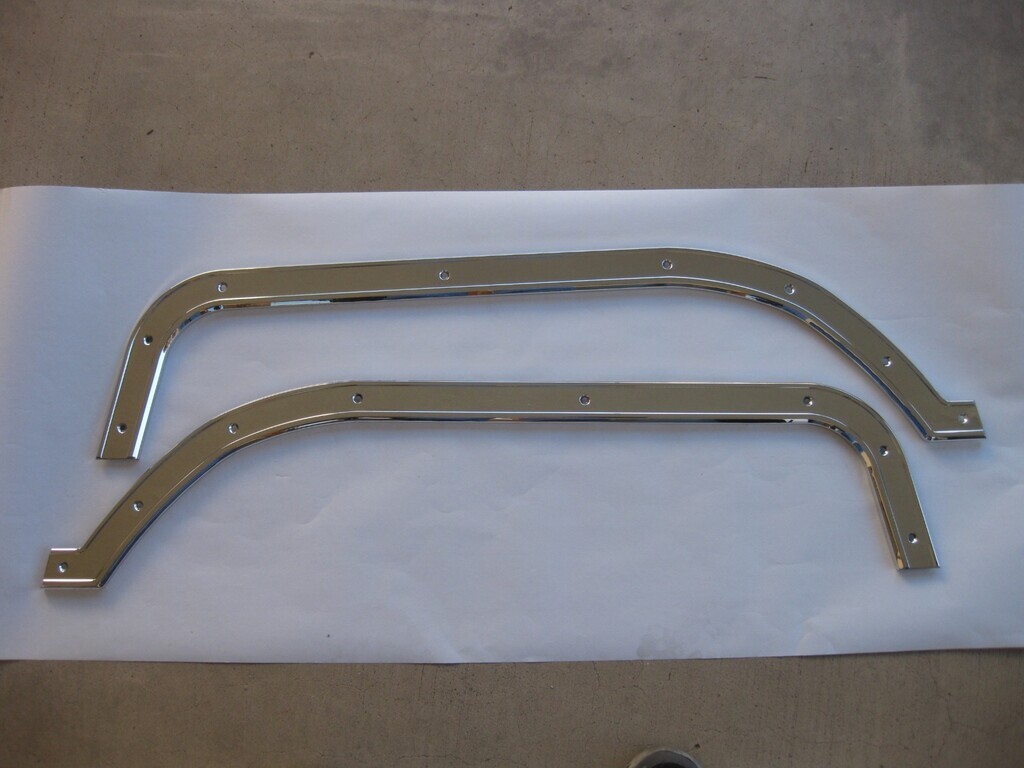 But I thought they were too shiny and billety looking. So I had them powder coated satin black. 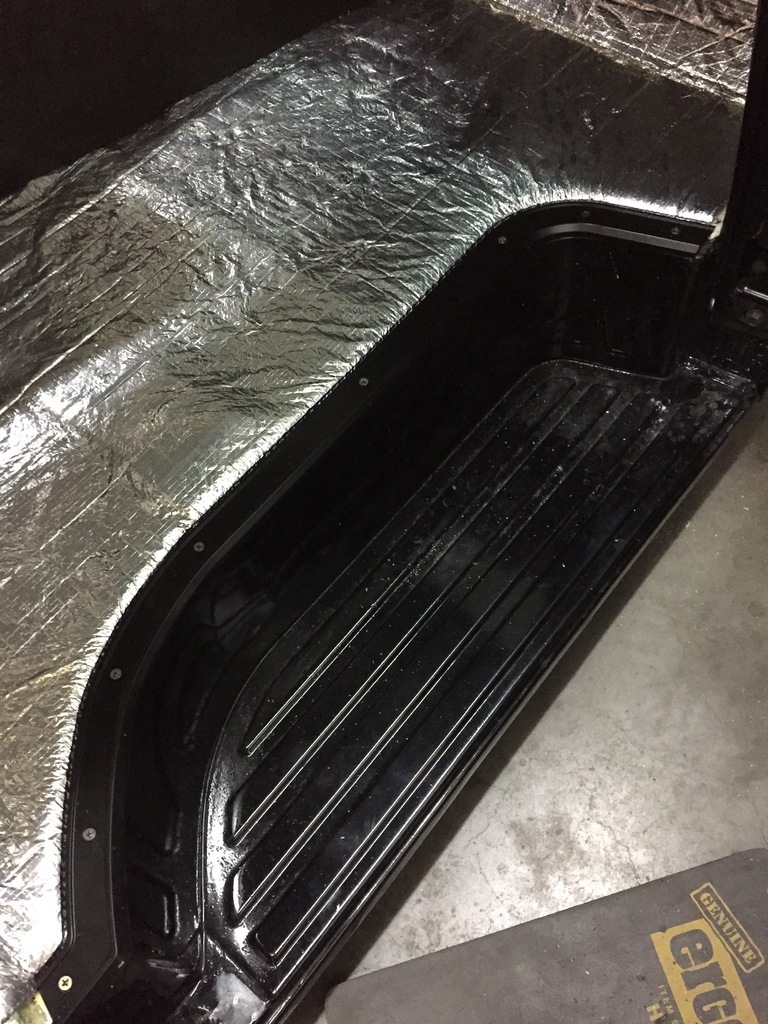 |
| |
|
|
|
|
|
|
|
Tranny tunnel.  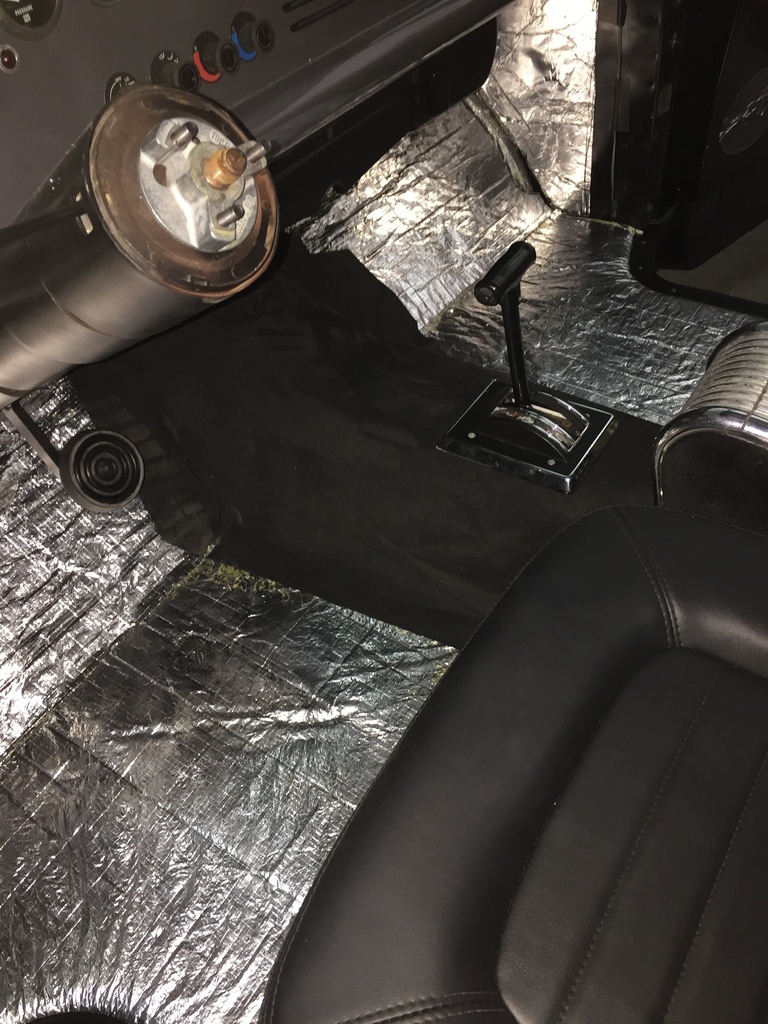 With the rebuilt shifter, with a new bezel ( that had to be modified to work).  |
| |
|
|
|
|
|
|
|
Carpet.  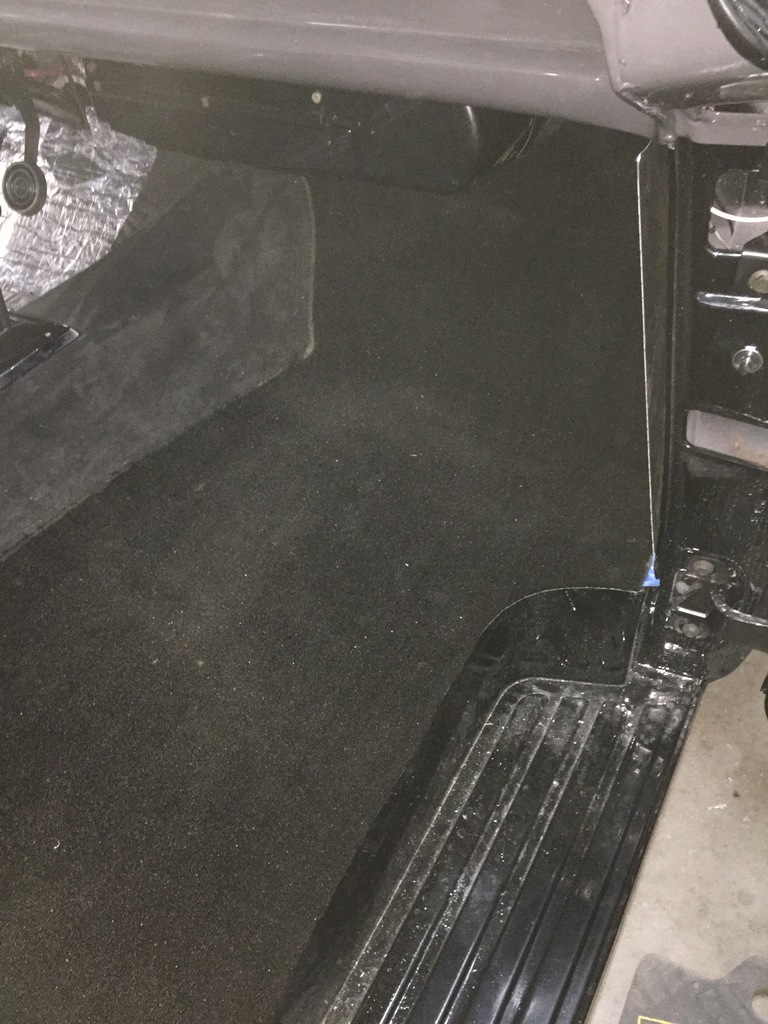   Its just sitting in place, right now. I didnt buy enough edging material to finish off the edges, so I'll have to go back to the supplier and get some. After that I can glue them down. |
| |
|
|
|
|
|
|
|
|
|
This is where the glue soaked through the faux suede, ruining it. So that will have to be redone. 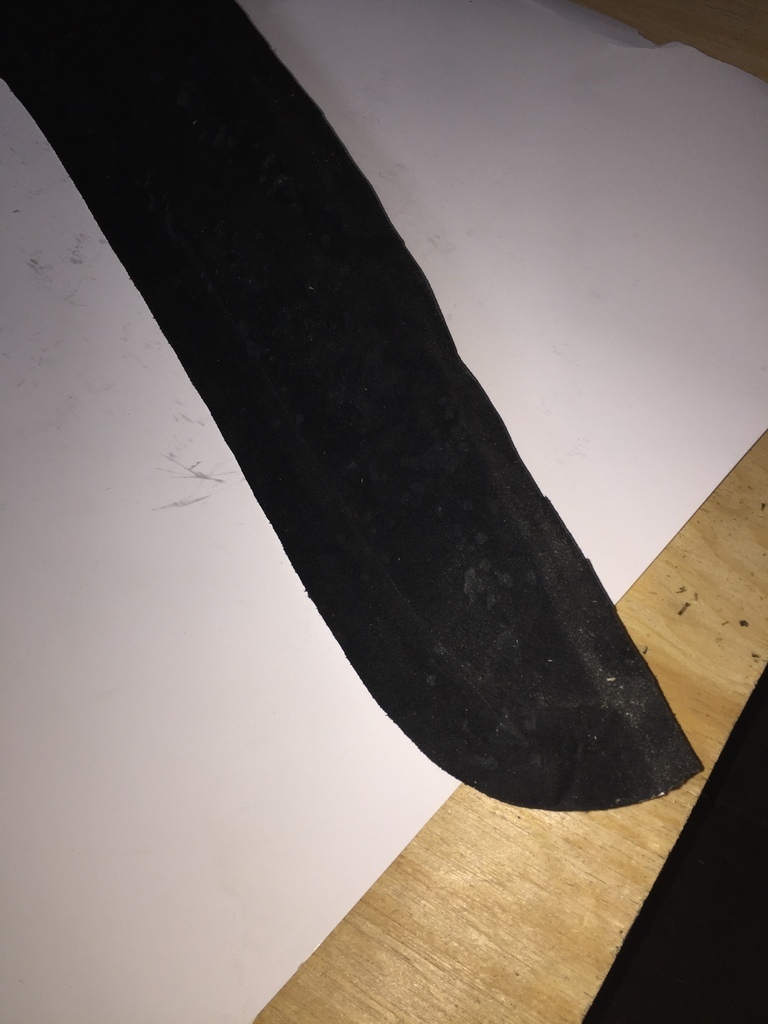 Test piece with less glue...  |
| |
|
|
|
|
|
|
|
|
What a humdinger of an update this was on the interior.
As I was reading and looking, I realised my grin was just getting wider and bigger.
Amazing progress, work and result so far.
So the faux suede messed with your progress, but I see a massive victory here.
Will the powder coated edge strips be robust enough in position?
Your work always makes me feel good, just because guys like you still exist and make the effort to do it right.
|
| |
|
|
|
|


