|
|
|
|
|
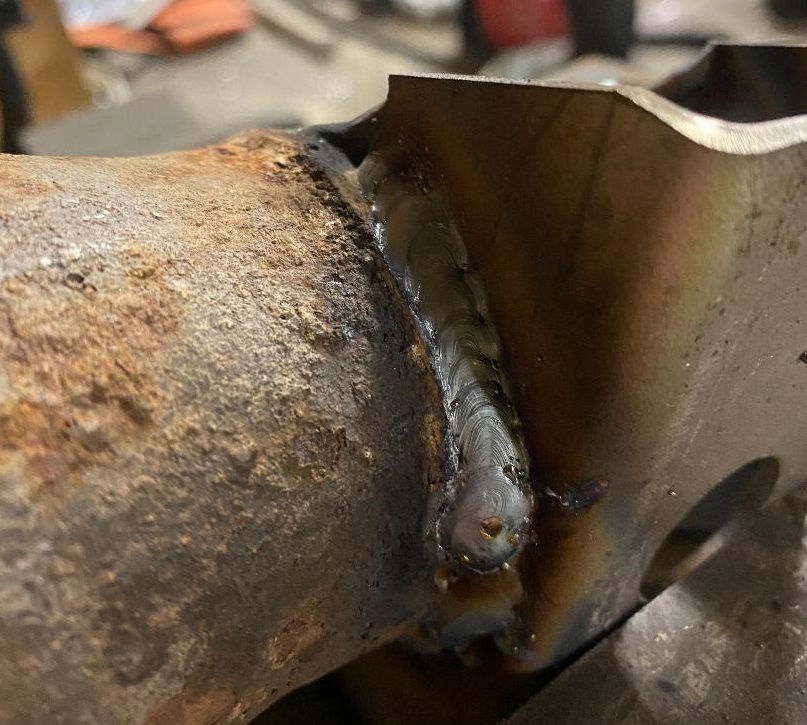
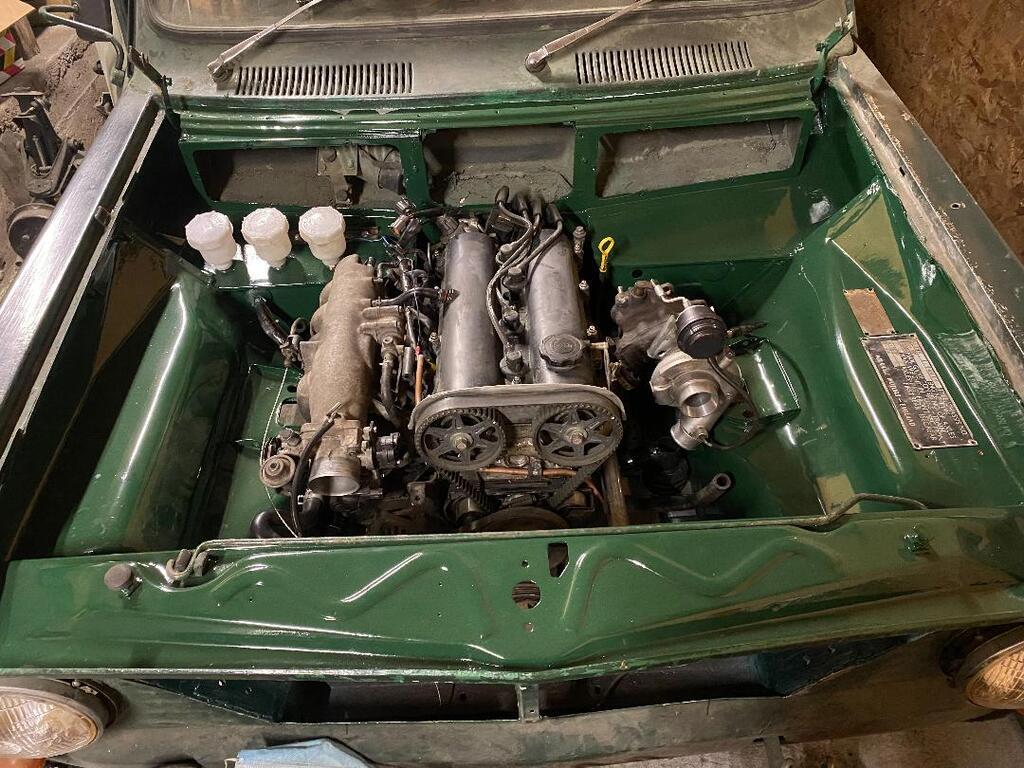
So I got the last silicone hose I was missing, the engine now starts and makes some really, REALLY cool noises  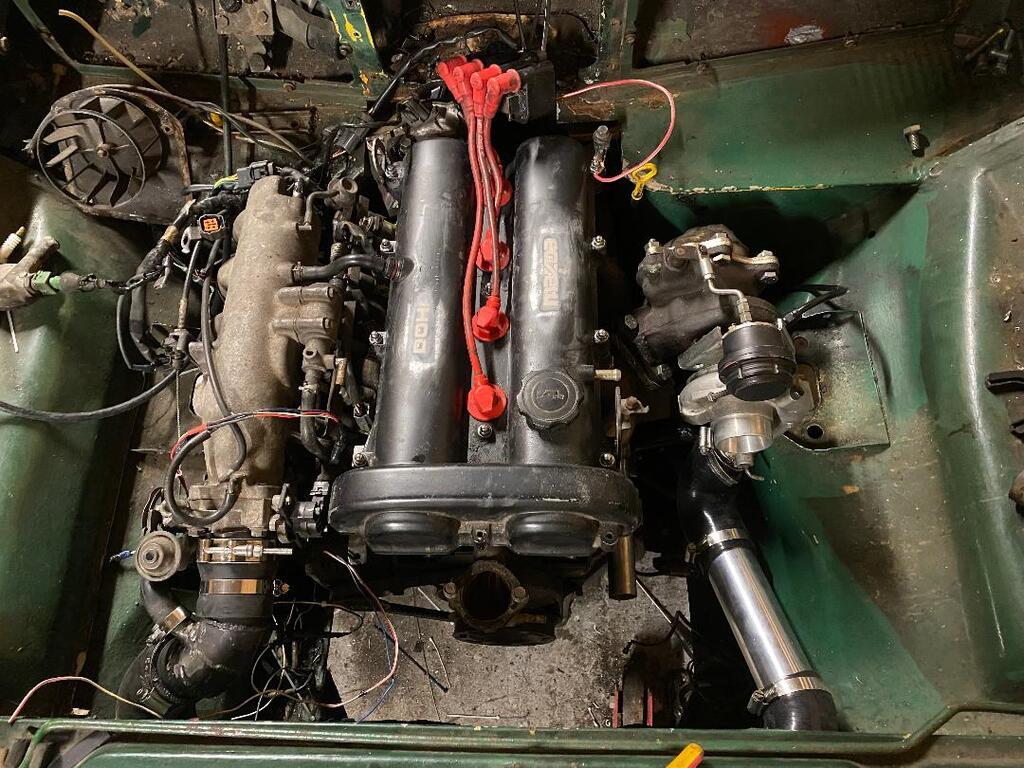 I then went about freeing up some space up the front of the engine, and getting the coolant system sorted. I used a 30mm core plug, I've read a lot of people saying to put a smear of sealer on them so that's exactly what I did. Removed the cambelt, cam pulleys and the plate which covers the bolts securing the coolant neck. Removed the coolant/thermostat neck and tapped the core plug in. 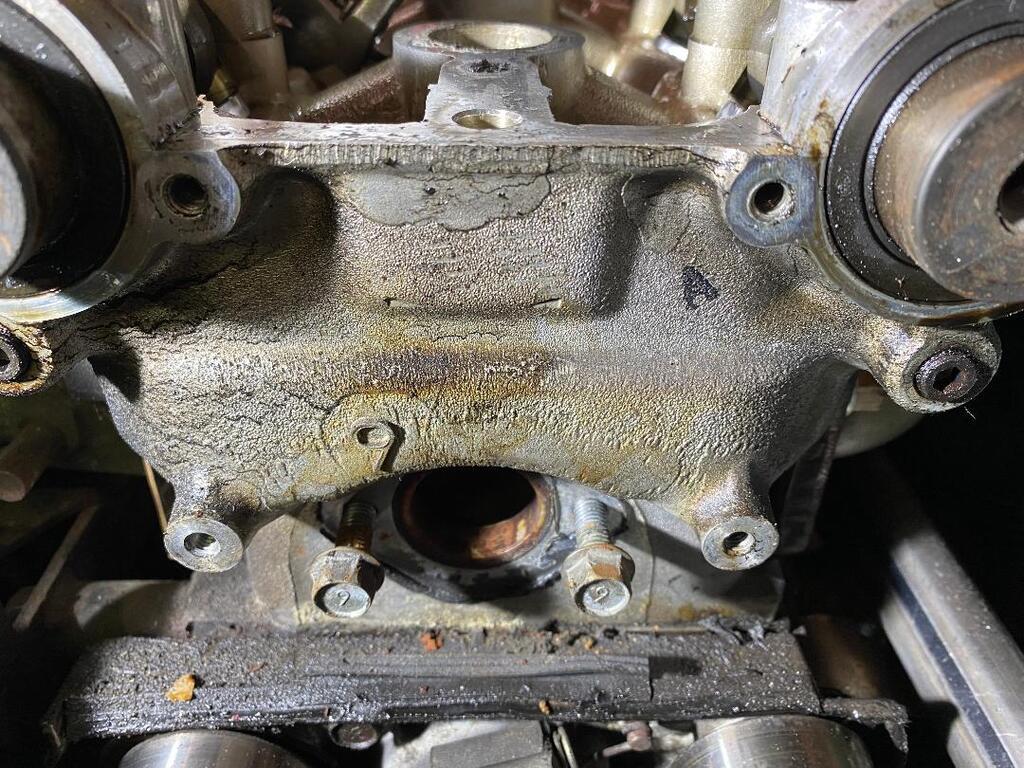 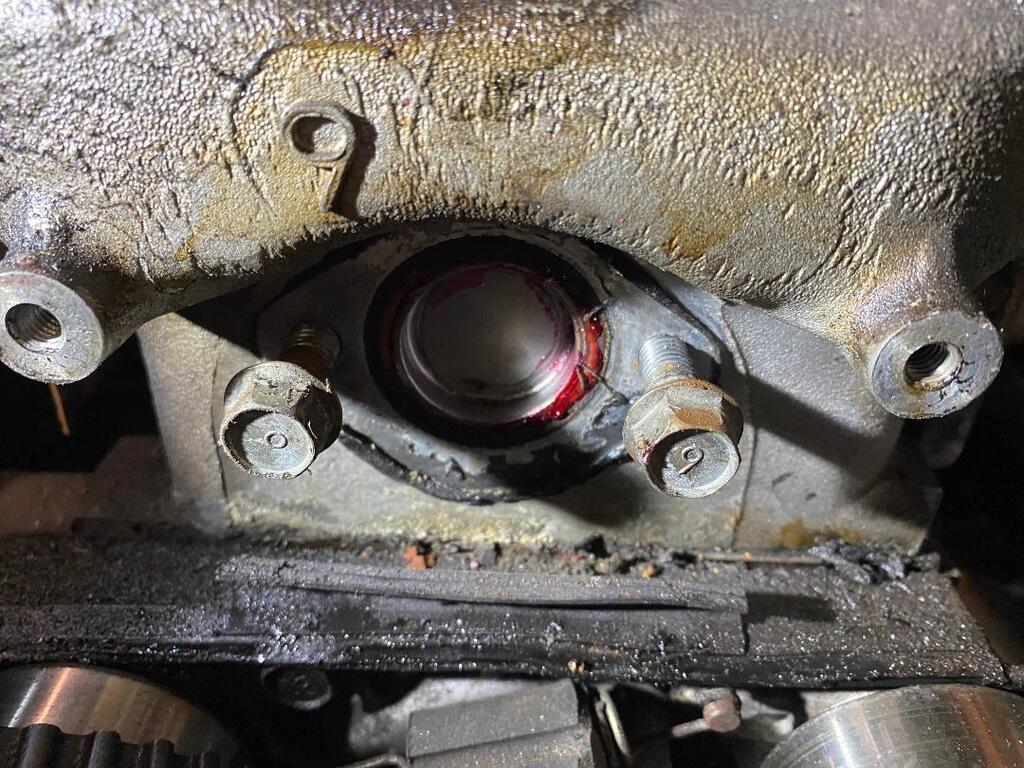 This brings up a small issue, there is a small coolant hose that goes from the intake manifold to the coolant neck and then from there to the waterpump. I have bypassed this with a copper line I've run behind the cambelt. It will be "P" clipped with 2 clips using the coolant neck bolts. 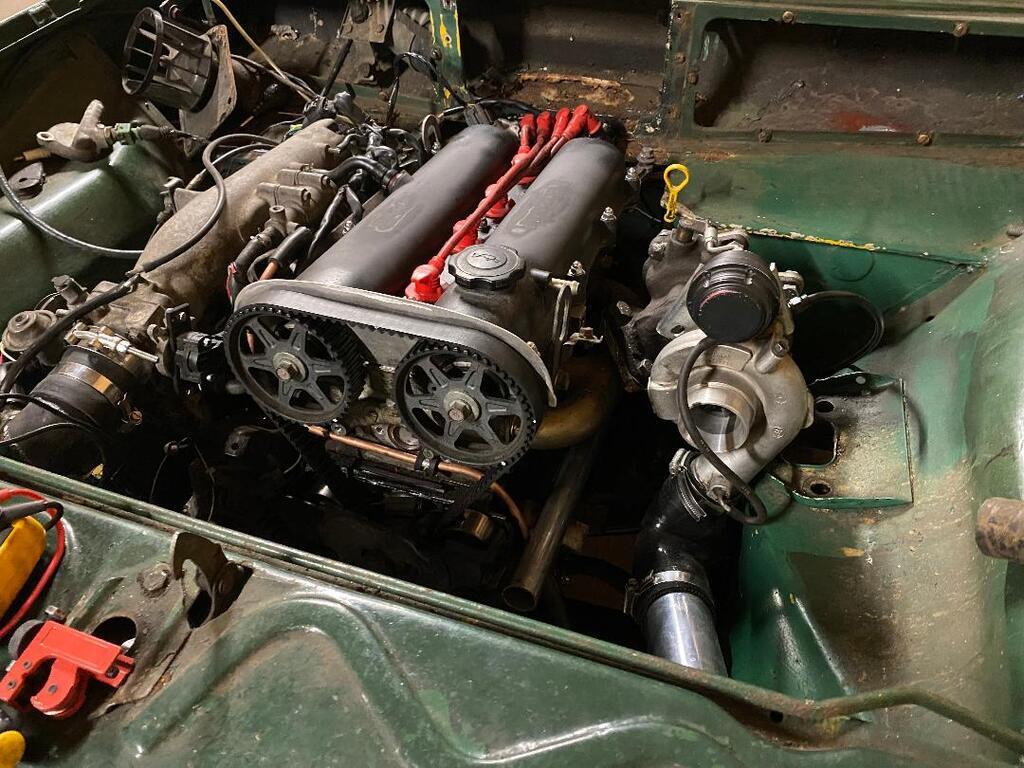 I got my hands on an exhaust backbox for a reasonable price that fits nicely under the back of the van. It's fairly small so I might end up swapping it to something else as I feel it might be too loud. 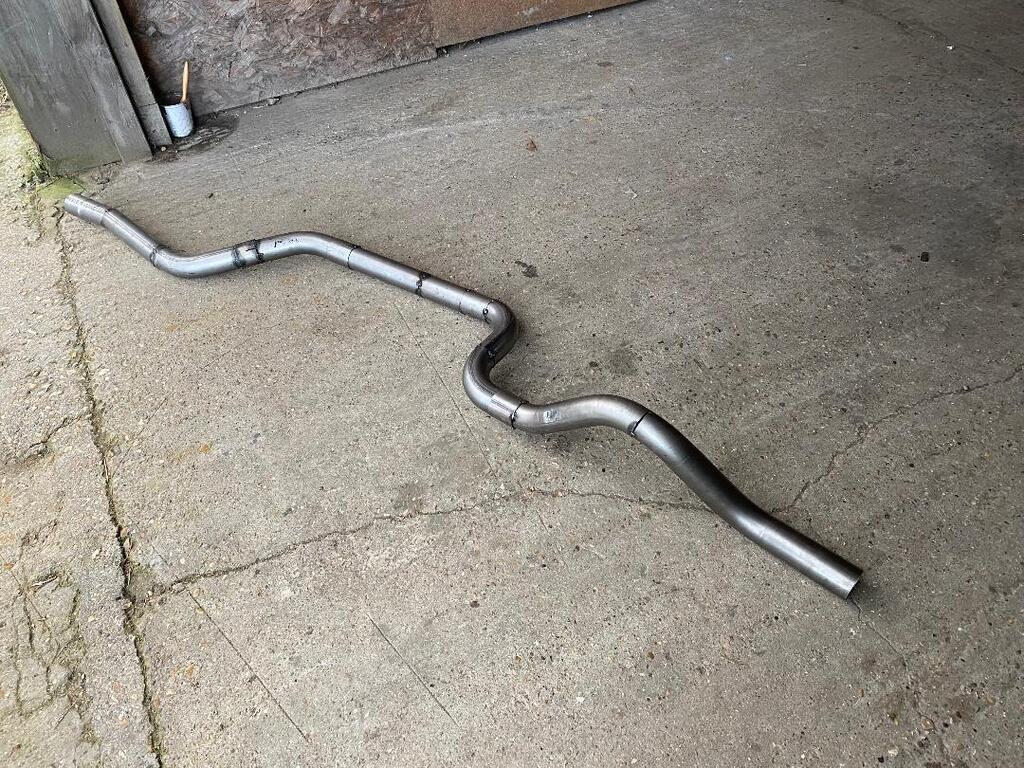 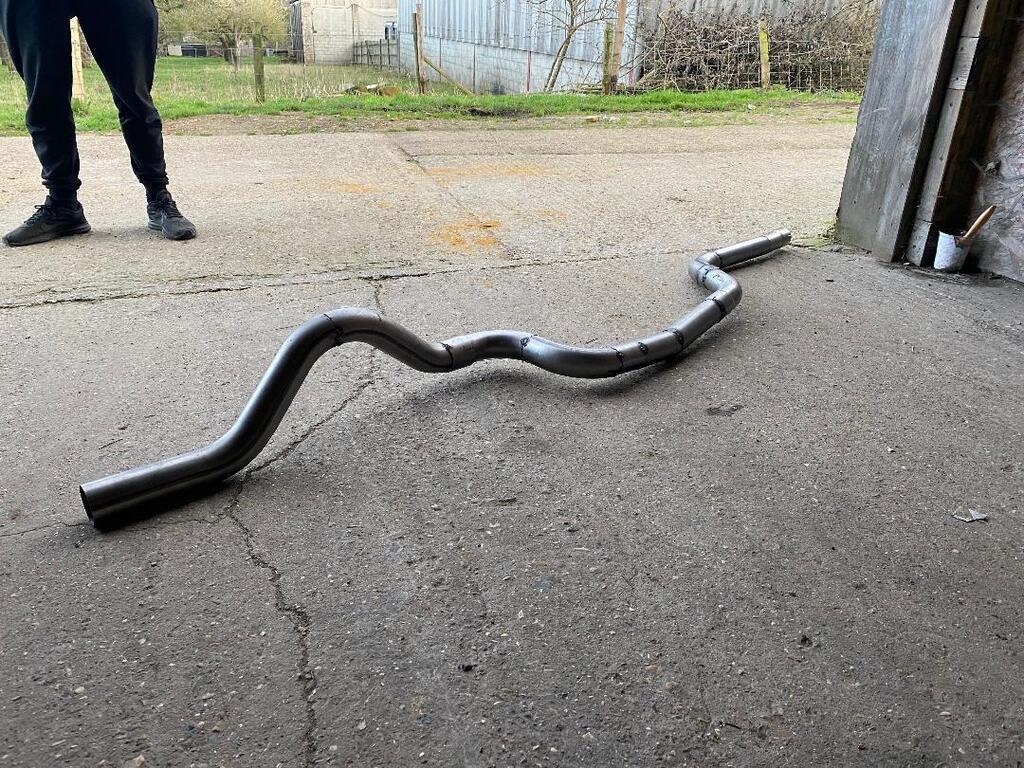 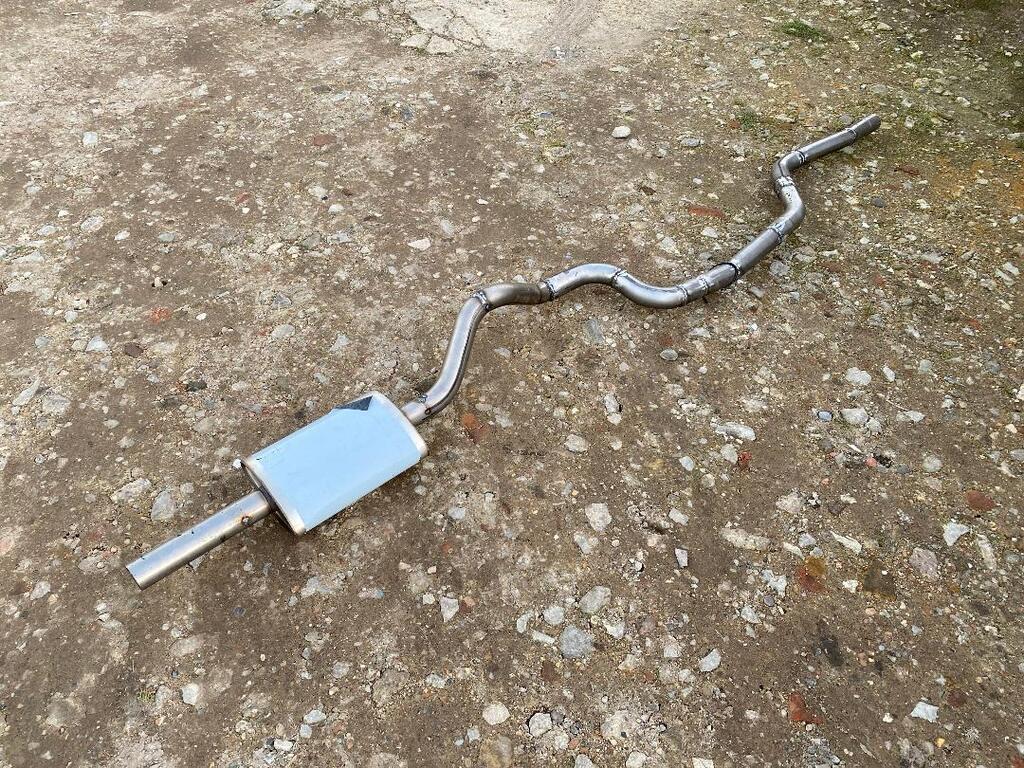 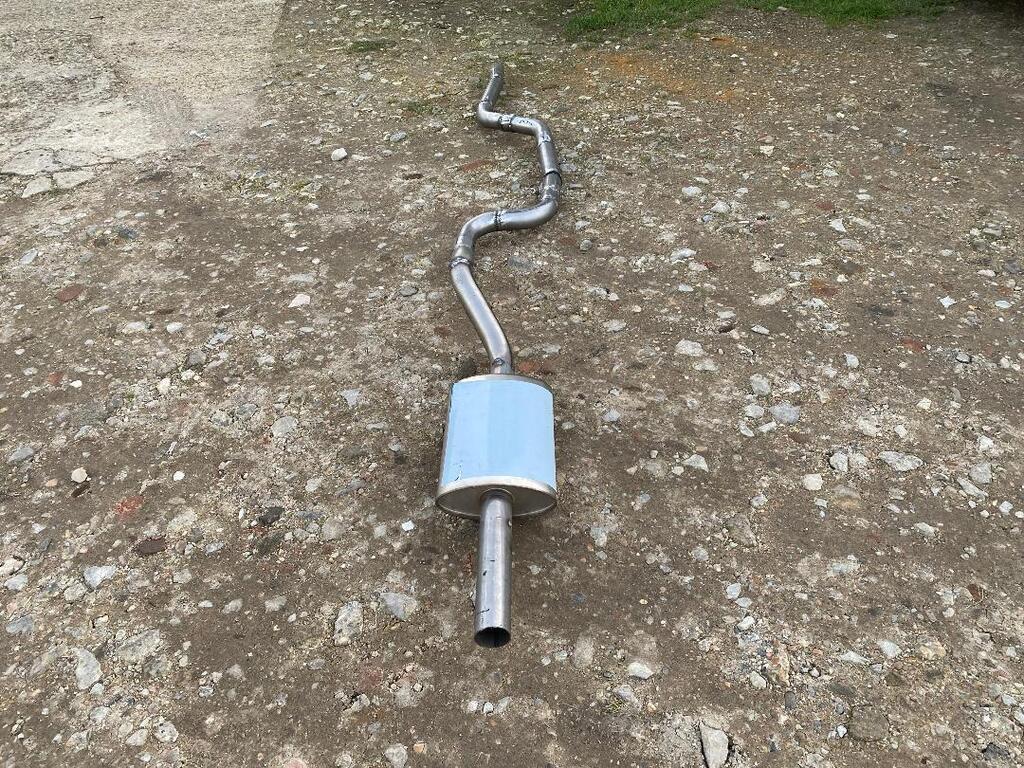 The main section of the exhaust is all seam welded, for now the over-axle section is only tacked together I'll get it seam welded later on. I've also had a go at tidying up the wiring harness, I've removed a huge amount of the MX5 harness which I don't need, the wiring was still a mess after, with wires for fuel pumps etc temporarily here there and everywhere so I've spent some time permanently wiring these in. I fitted a relay for the fuel pump to be triggered by the ECU, for some reason this doesn't work despite having a look on MEITE to get it to switch on with the ignition. So instead I've fitted a toggle switch on the dashboard to control the fuel pump. This is only powered with the ignition on, therefore the pump will need both the ignition and the pump switch on. This means if there is an incident the fuel pump can be killed via the ignition despite the switch still being switched on. 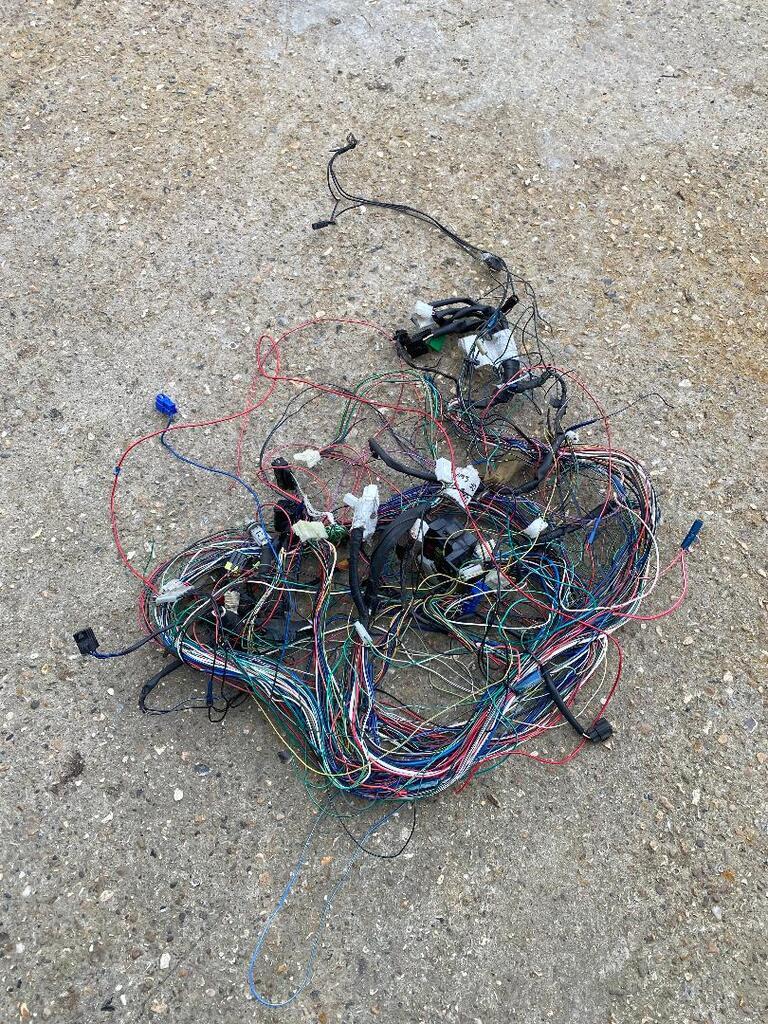 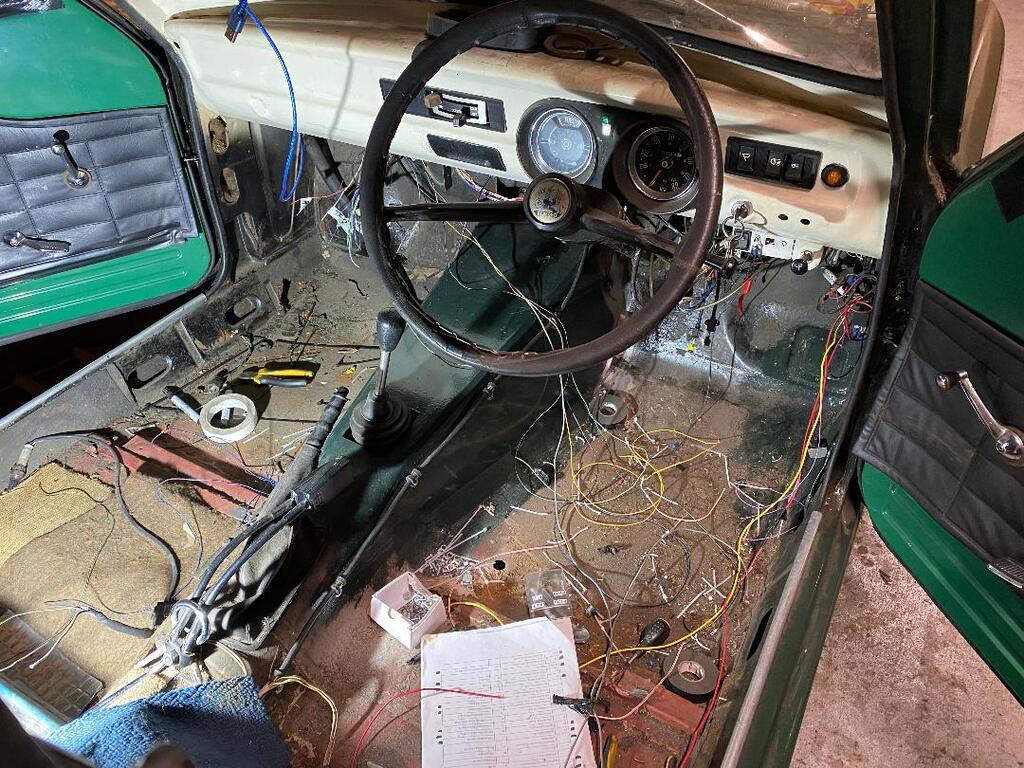 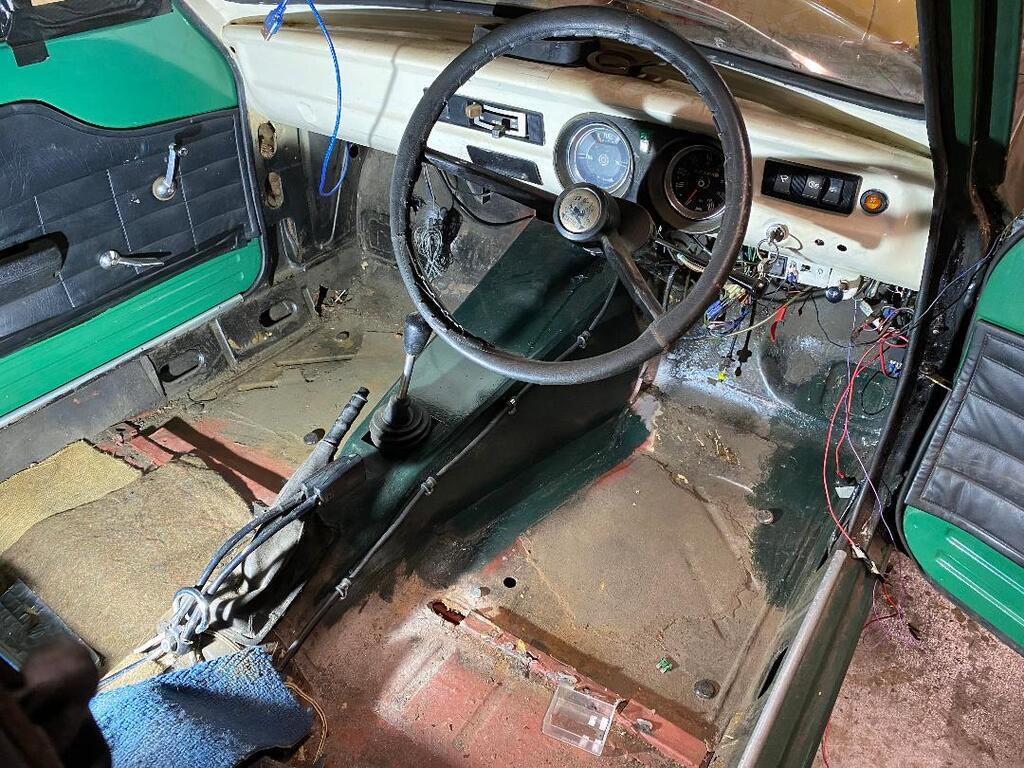 New leads and plugs, which have improved the engine starting and running noticeably! 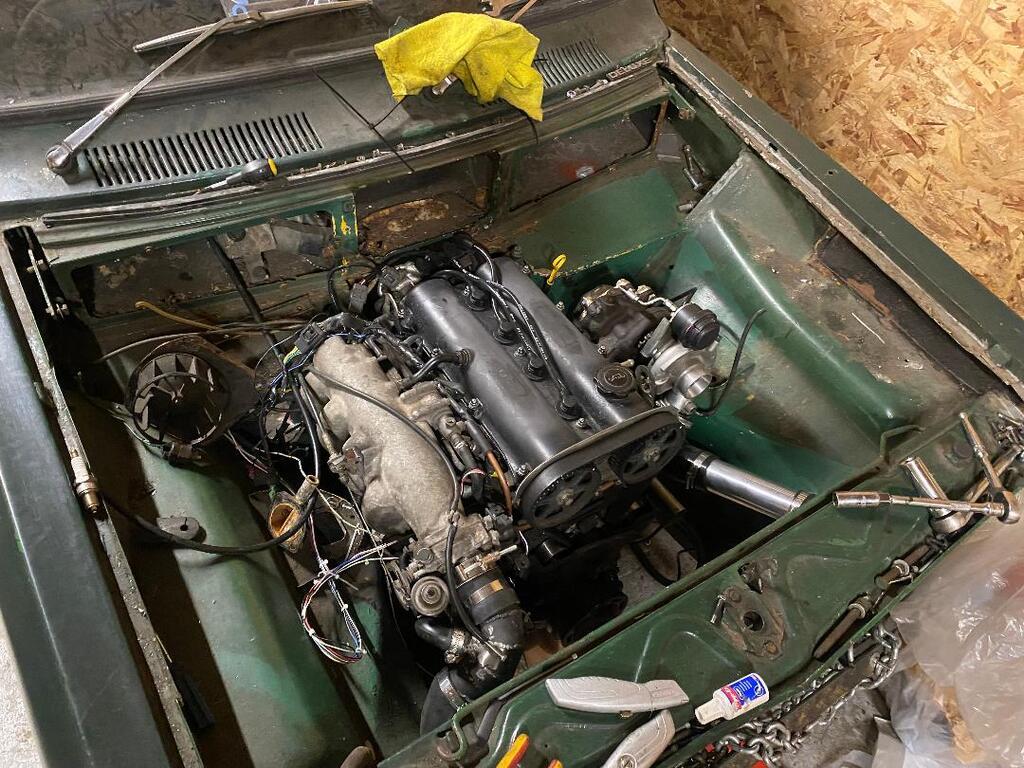 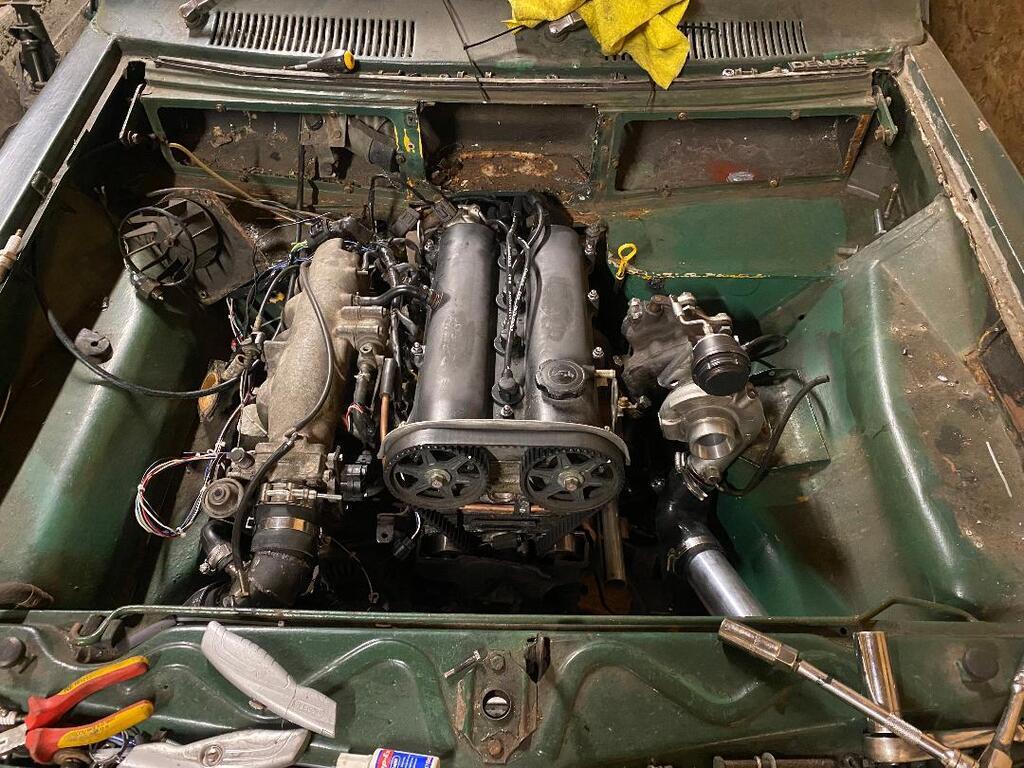 I'm still so happy with how at home the engine looks in the bay, despite it being a tight squeeze it doesn't look too out of place especially after the final tidy up!!! Unfortunately there's physically no space for a bigger radiator, so hopefully with the coolant reroute and a 12v fan I should be okay. I did a Zetec swap on the Escort and kept the original radiator from the 1300xflow and that's never overheated. Only time will tell. 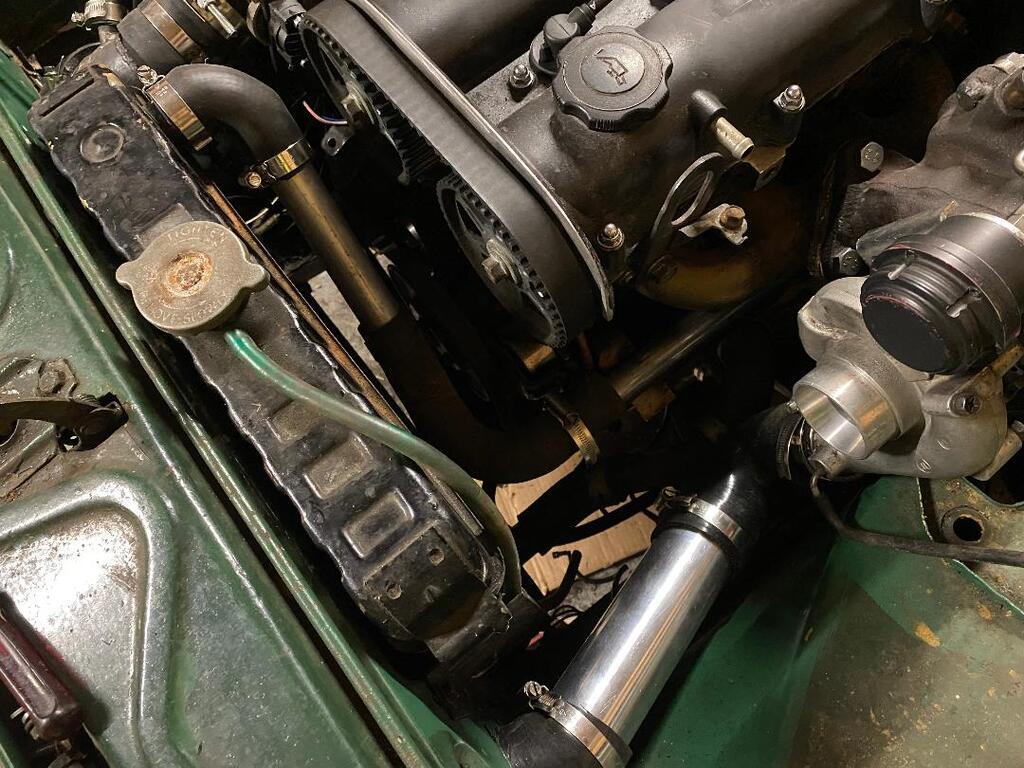 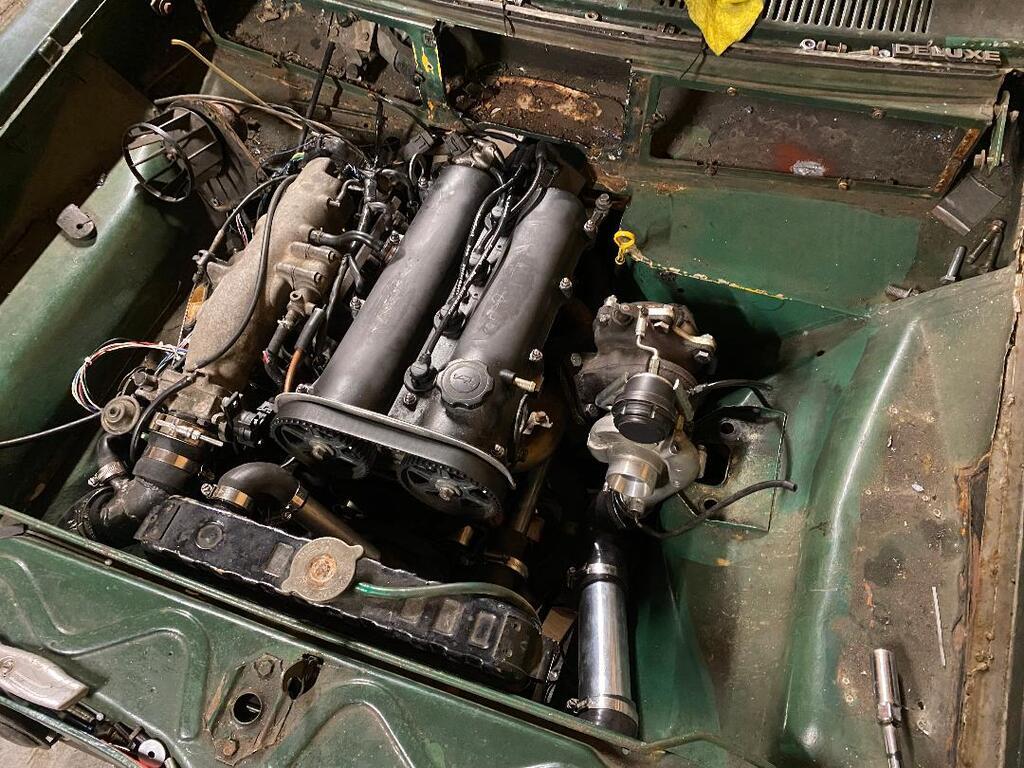 This will let me get the engine fired and warmed up, but in the long run will need the top radiator hose rerouted to allow space for the 12v fan. Removing everything unnecessary from the front of the engine was defiantly worthwhile as it should allow space to get a fan in! Cheers!  |
| |
|
|
|
|
|
|
|
|
|
I'll always love an MX5 turbo into an old chassis! From experience doing a similar thing, you may find things do start to get a little toasty under there. If so, an alloy Civic rad works well as will be no wider than your current one (perhaps narrower). I did a similar conversion on my Mazda B2000 a couple years back and it was awesome  not as awesome as this though! Well bookmarked! |
| |
|
|
thomfr
Part of things
  Trying to assemble the Duett again..
Posts: 687
|
|
|
|
|
Great build!
You could consider to have your radiator recored with a thicker pack. Does not make it much fatter but increases the capacity considerably. Alternatively you could add an oil cooler (somewhere). Would also help considerably.
Thom
|
| |
73' Alfa Giulia Super
64' Volvo Duett
65' Volvo Duett
67' Volvo Amazon 123GT
09' Ford Focus 1.8
20' VW ID4
71' Benelli Motorella
65' Cyrus Speciaal
The difference between men and boys is the price of their toys
|
|
|
|
|
|
|
|
When I built my Astra GTE into an Autograss car, because it had an electric fuel pump I relayed the pump so the fuel pump would switch off when the oil light came on. With an injection car the pump won’t kick in until you have oil pressure. No bad thing there though.
The vans looking great.
|
| |
|
|
|
|
|
|
|
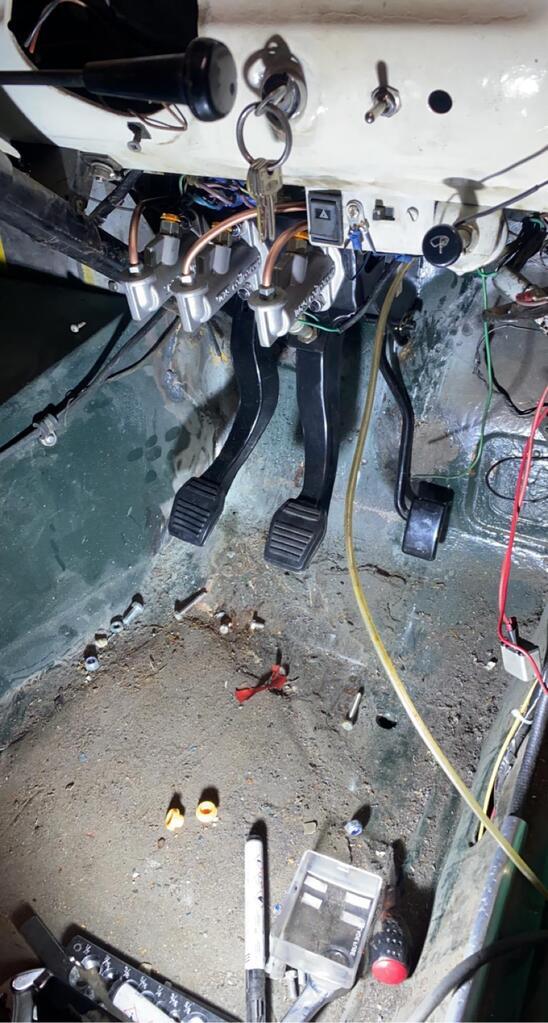
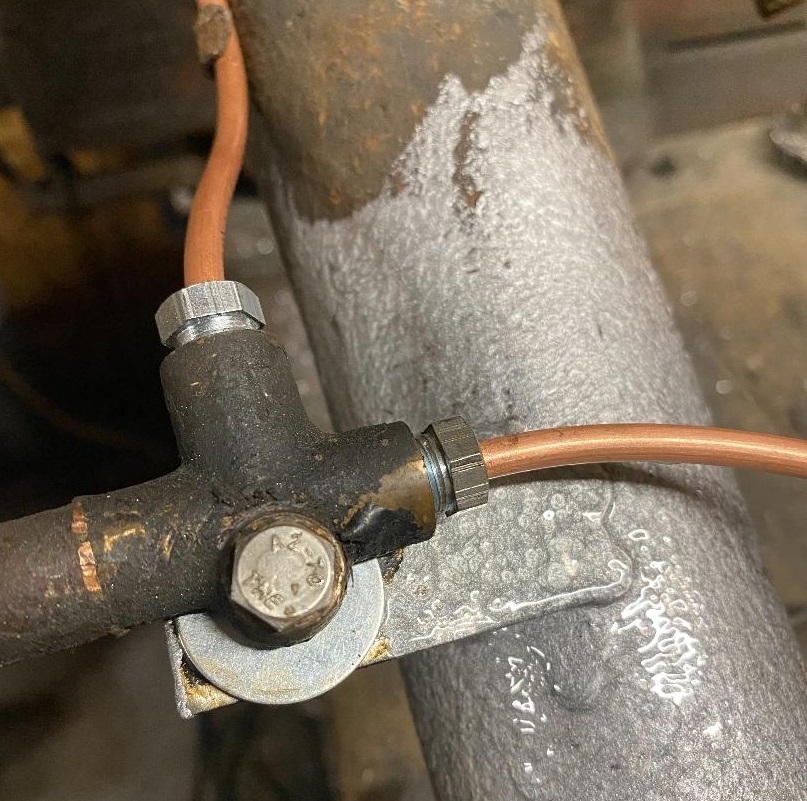
Thanks for the comments!! Defiantly something to think about, but for now I'll aim to get it finished and worry about it overheating when it starts overheating  I also really like the idea of wiring the fuel pump really to the oil pressure switch, would defo be good for when the engines running and it looses oil pressure! Anyway, I decided I can't really make any more progress with the engine sitting in the engine bay, so out it comes. 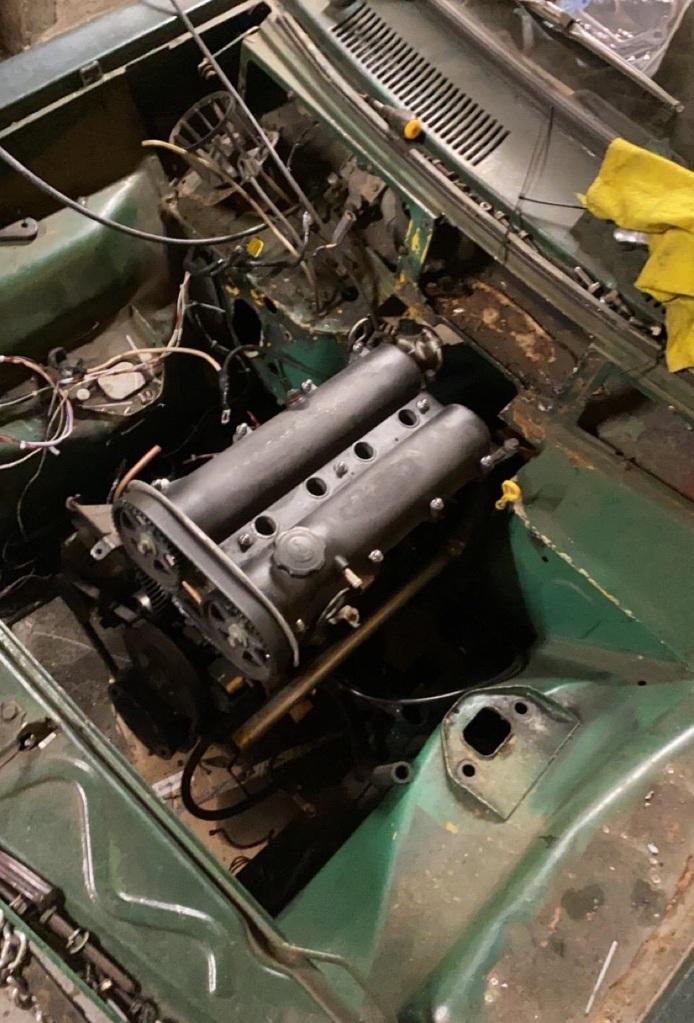 As I've done a coolant reroute on the mazda engine, people usually use a spacer around the back of the head with place for both the outlet for the heater, and the ECU temp sensor, as space is a premium around the back of the head in the van, I found a forum thread online for a "spacerless coolant reroute". This is what I've done below, drilled and tapped an M12x1.5 thread for the temp sensor (which will ensure its still before the thermostat) as for the heater, I'll deal with that later on! 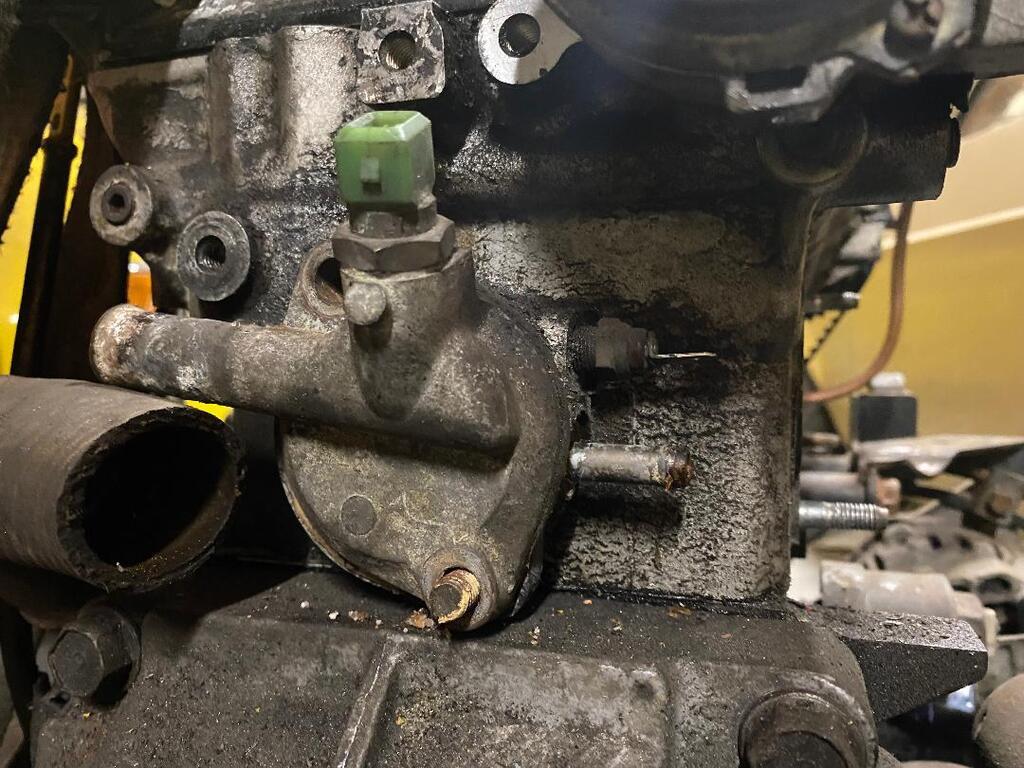 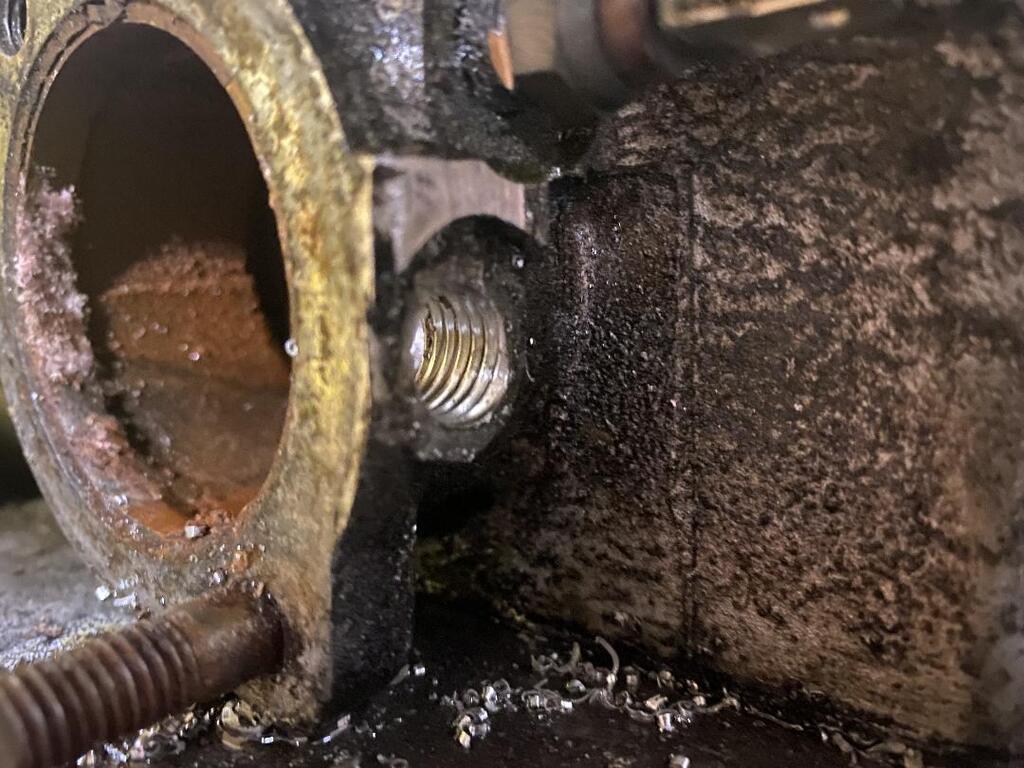 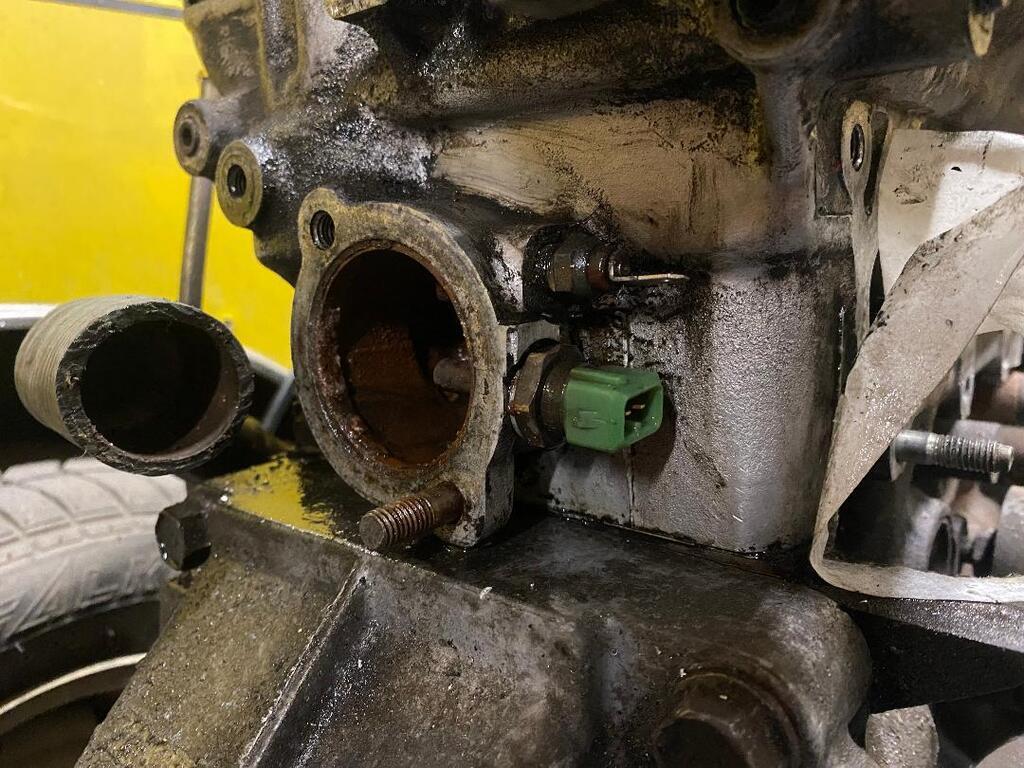 I also picked up a Bias Pedal box from a Mk2 Escort, this will also allow me to convert the van from cable to hydraulic clutch to suit the MX5 Engine. 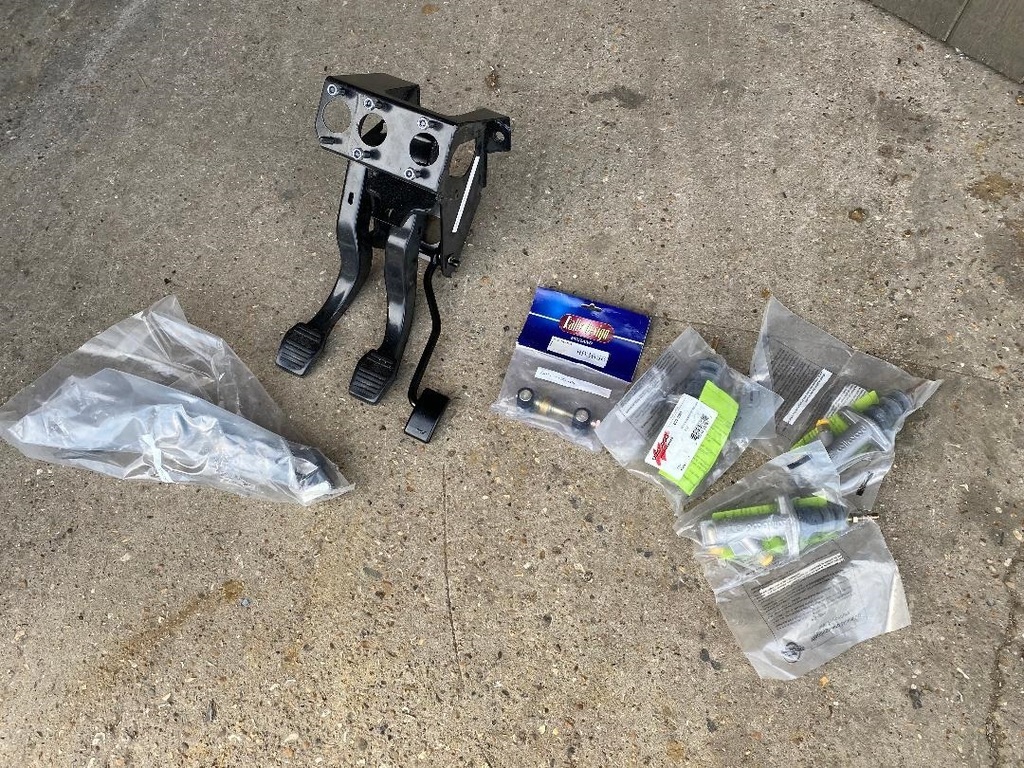 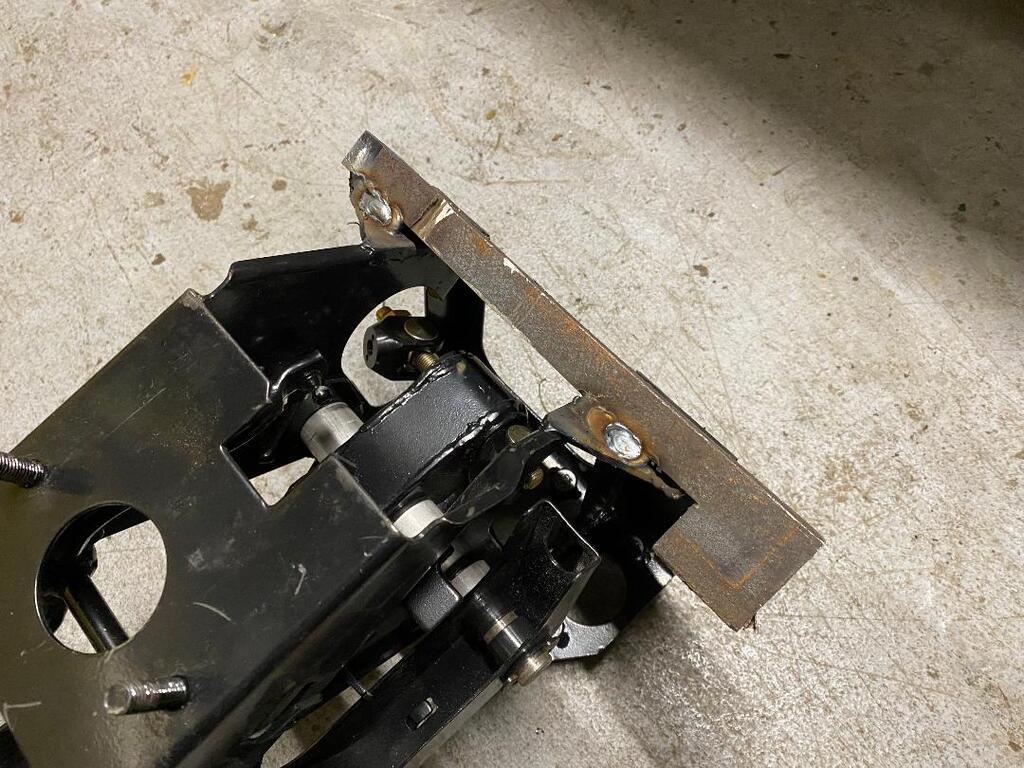 New compared to old; 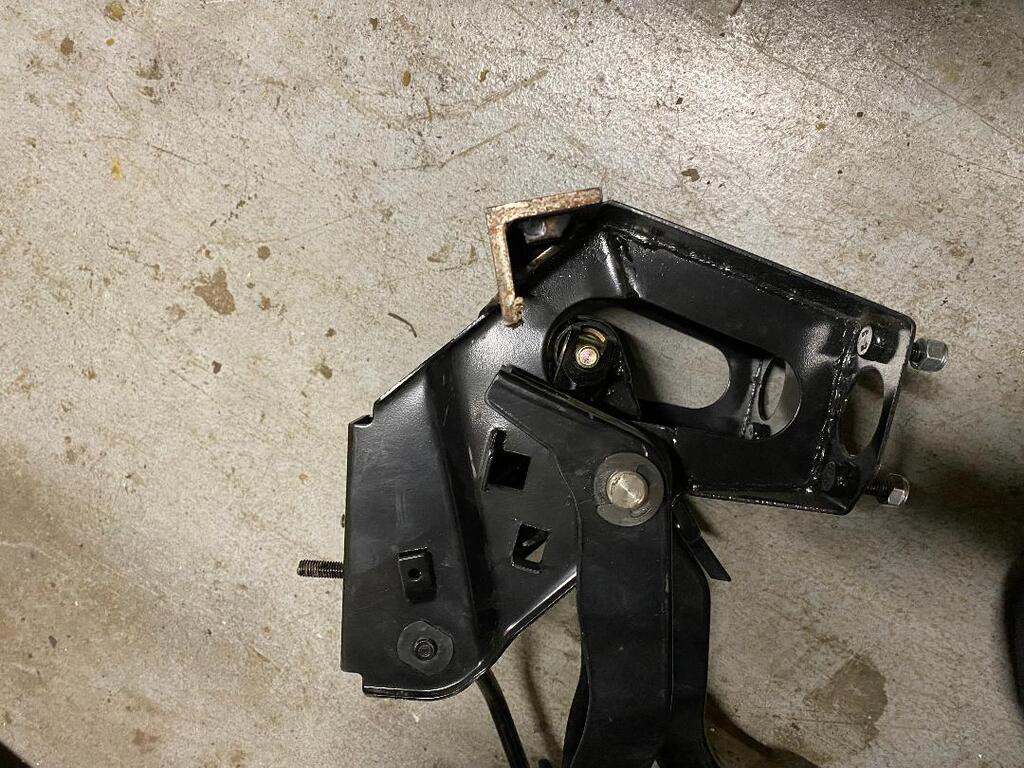 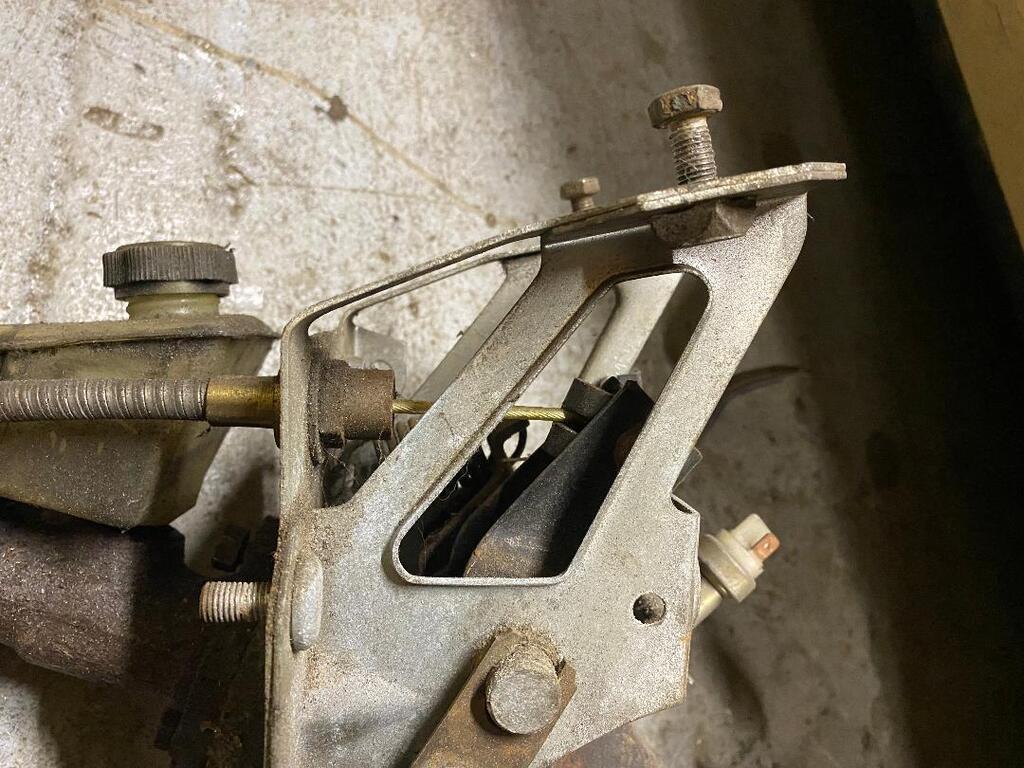 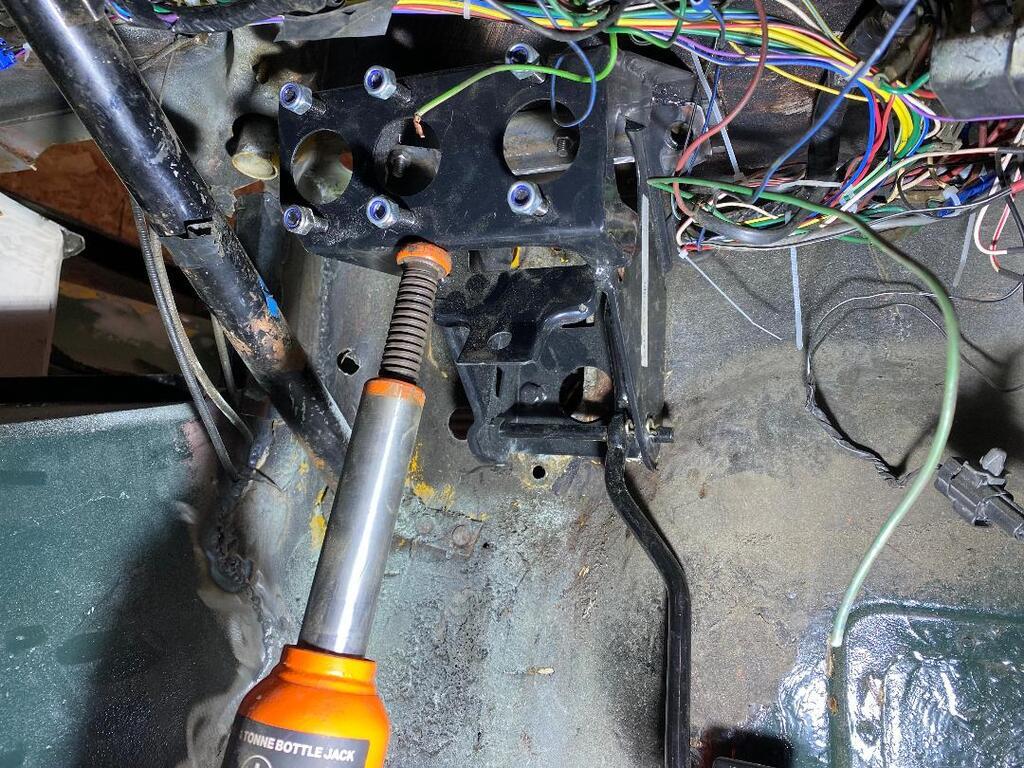 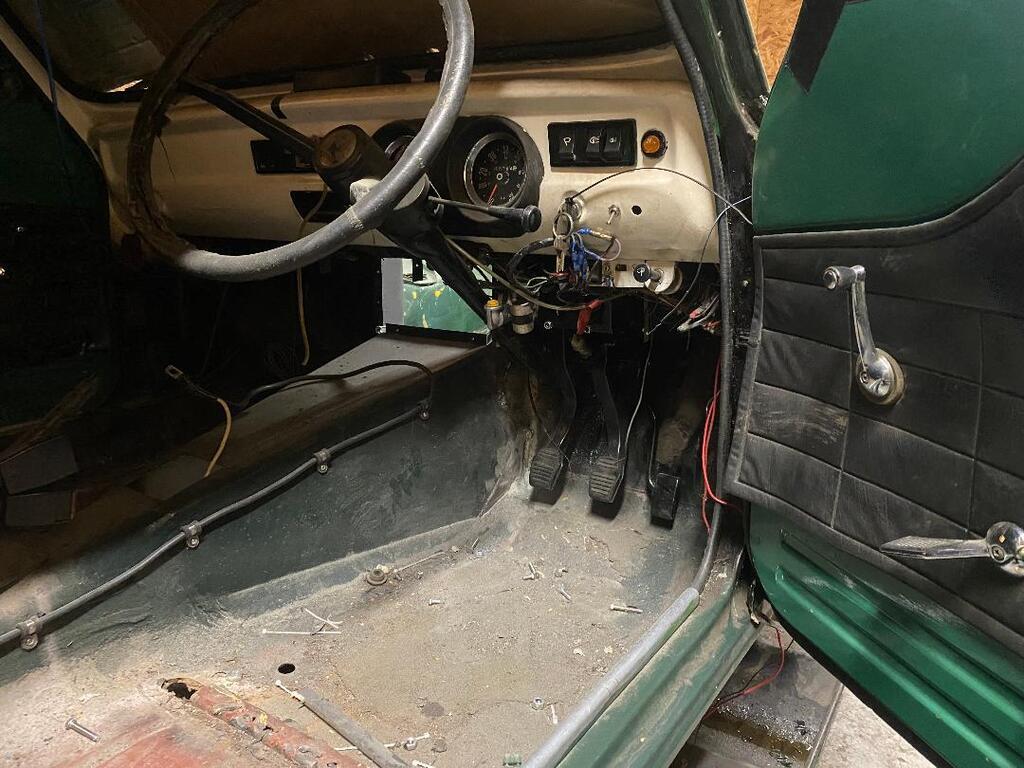 Fingers crossed that'll all work without problem, I've ordered the reservoirs so will need to figure out a way to route the lines from the reservoirs to the master cylinders, and its pretty tight! After this I've just worked on finishing off the bulkhead & engine bay in general, tidying it up and trying to keep it as factory looking as possible. It looks half decent, I've made an access hatch panel jobbie that is bolted on at the back from the inside using captive nuts, this will enable me access the rear of the engine in situ, to get to the thermostat, coolant hose etc around the back of the engine. Drilling out spot welds for the old battery tray; 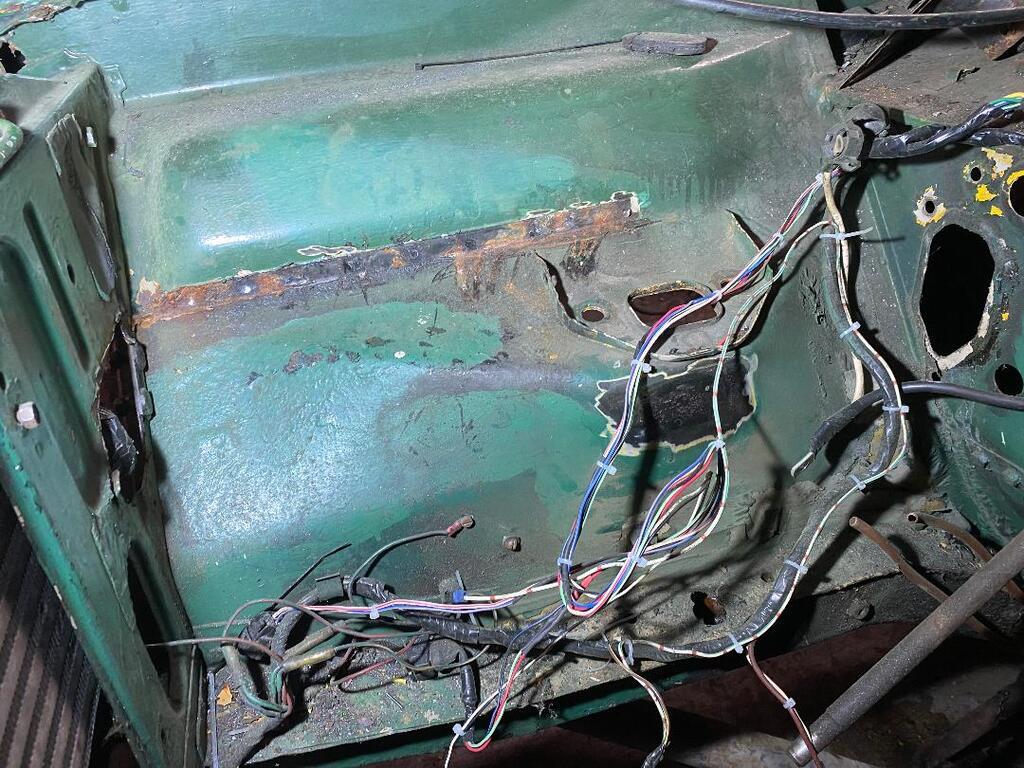 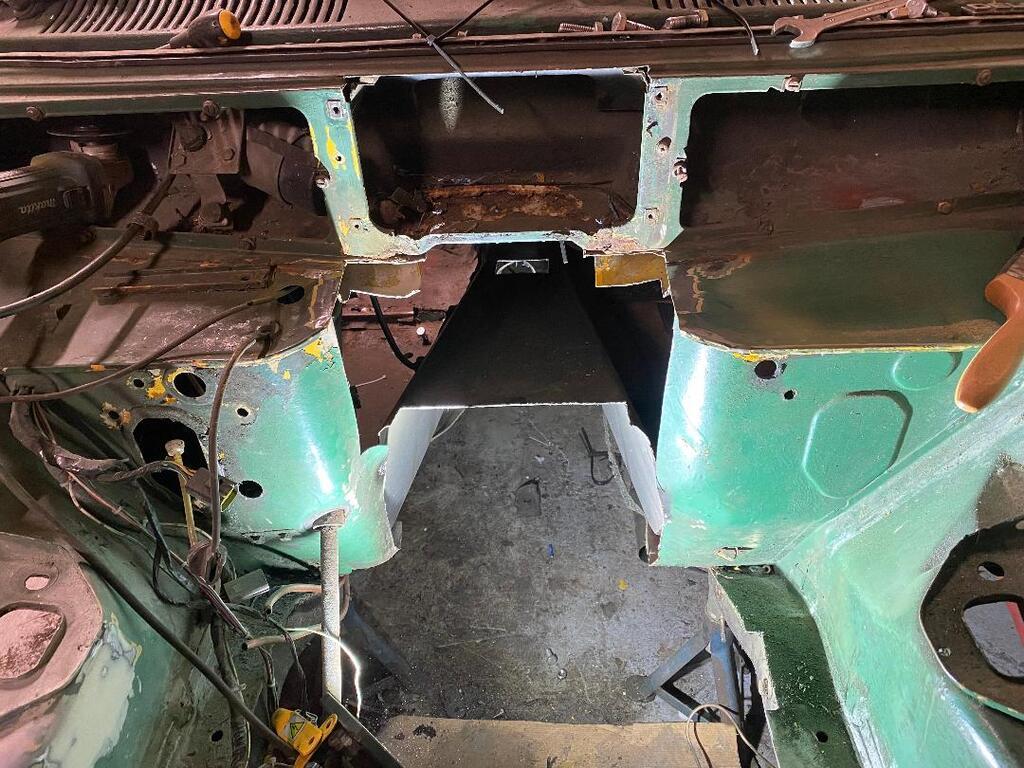 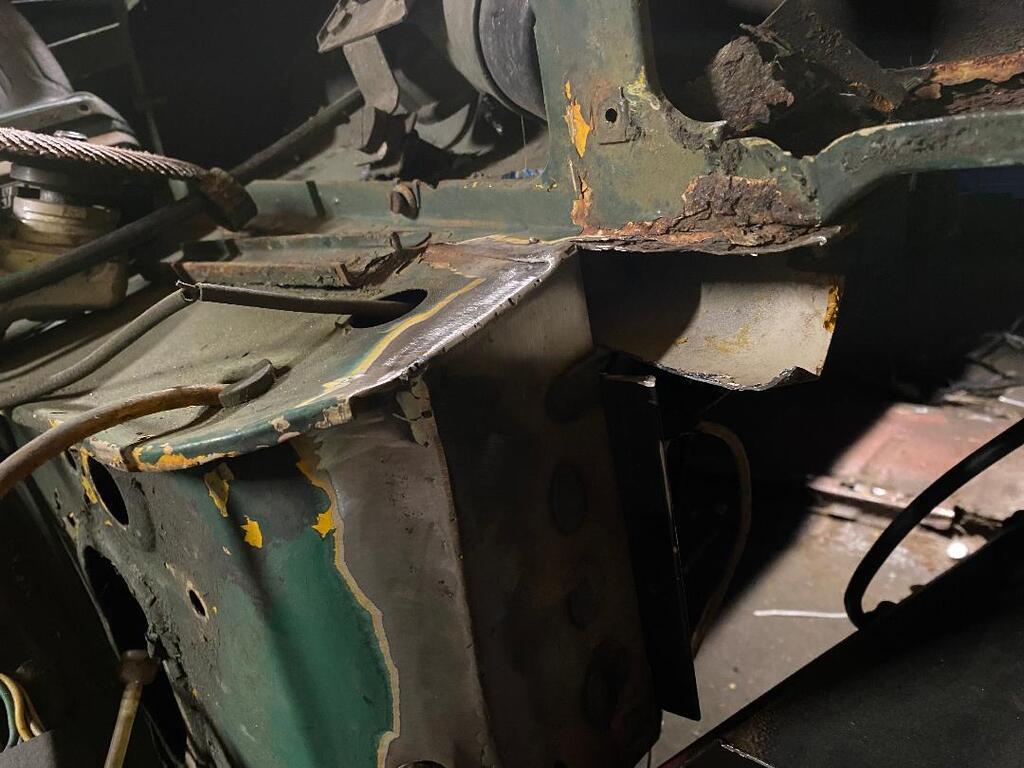 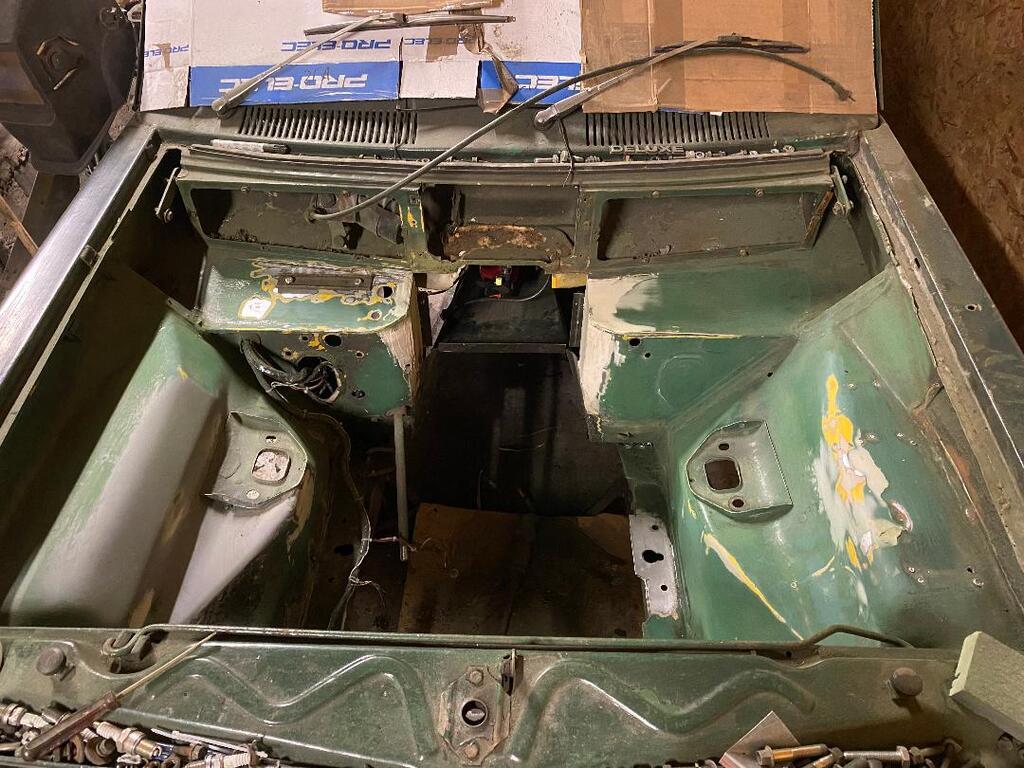 Unfortunately, the large hole where the original master cylinder came through (that wont fit anymore with the intake manifold in the way) is right in the way of mounting the new Bias pedal box. So I have cut the entire section out and welded a sheet of 1mm steel in. I will have to redrill a hole for the throttle cable later on but hopefully that will be the only hole in that area. 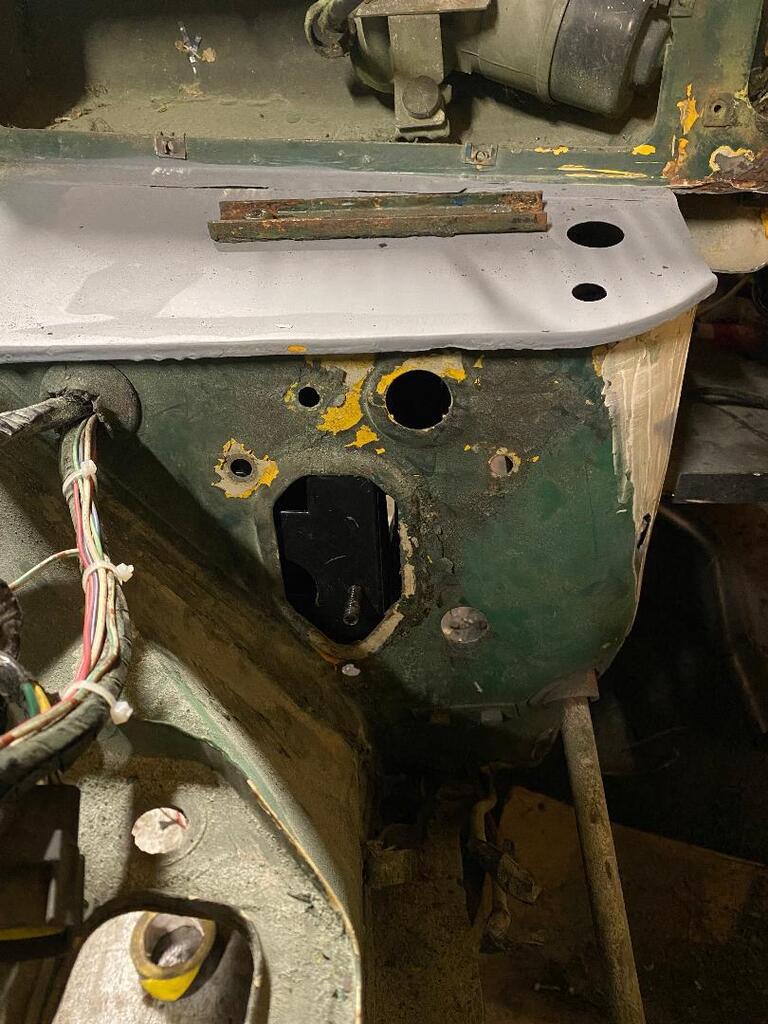 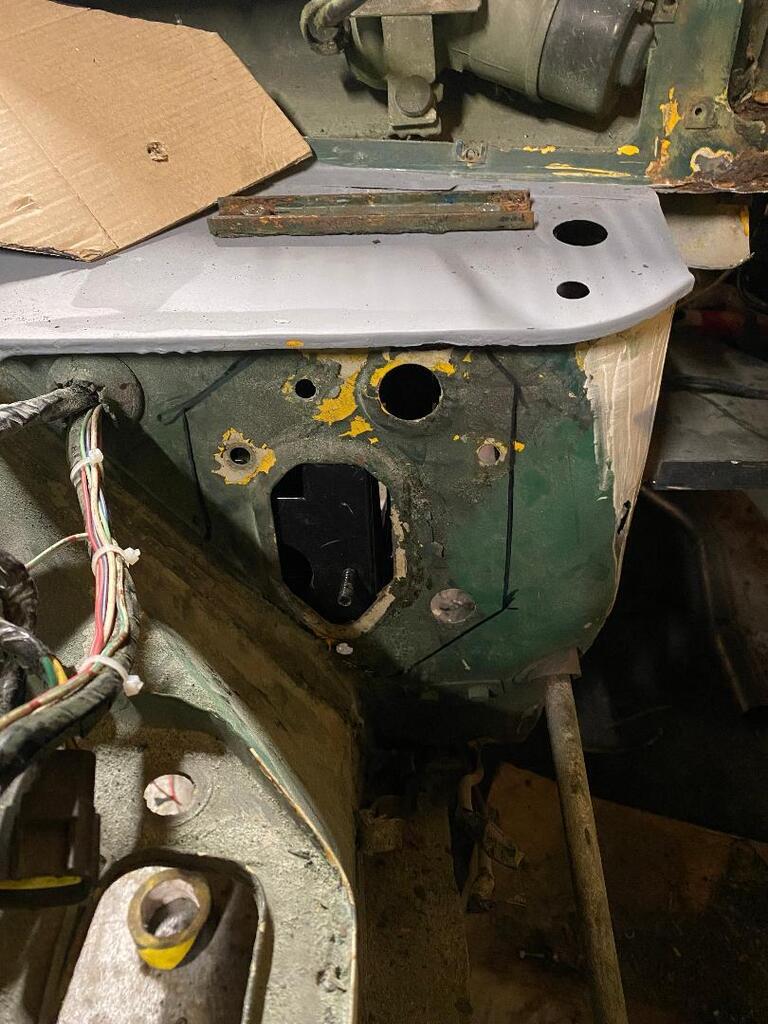 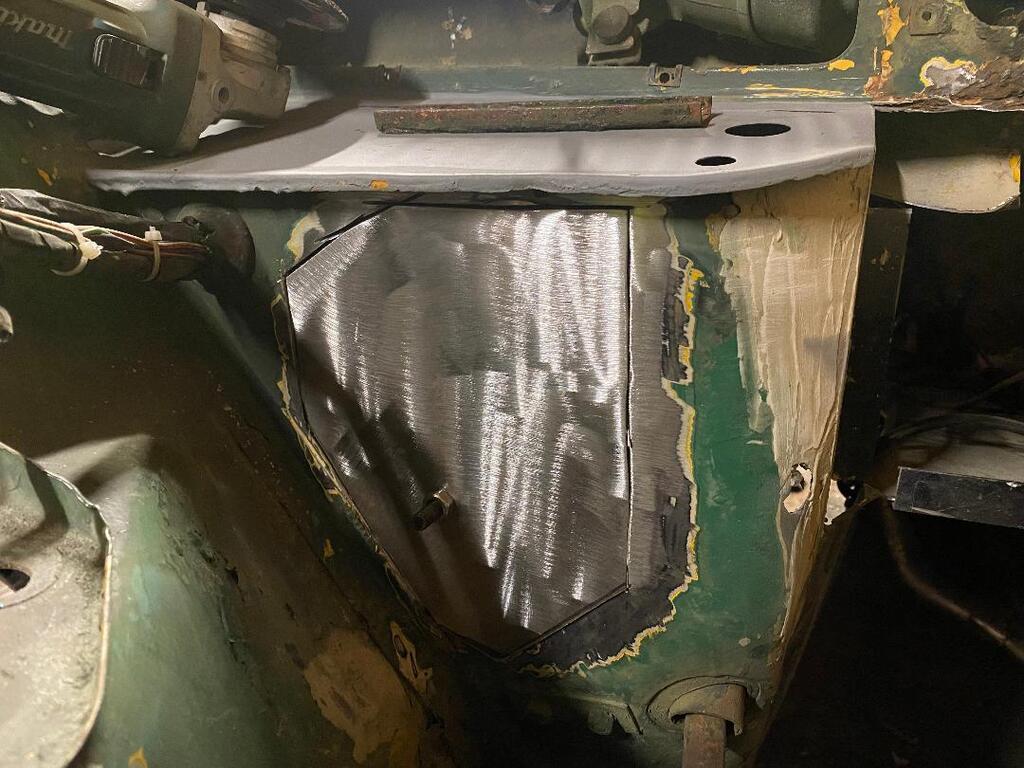 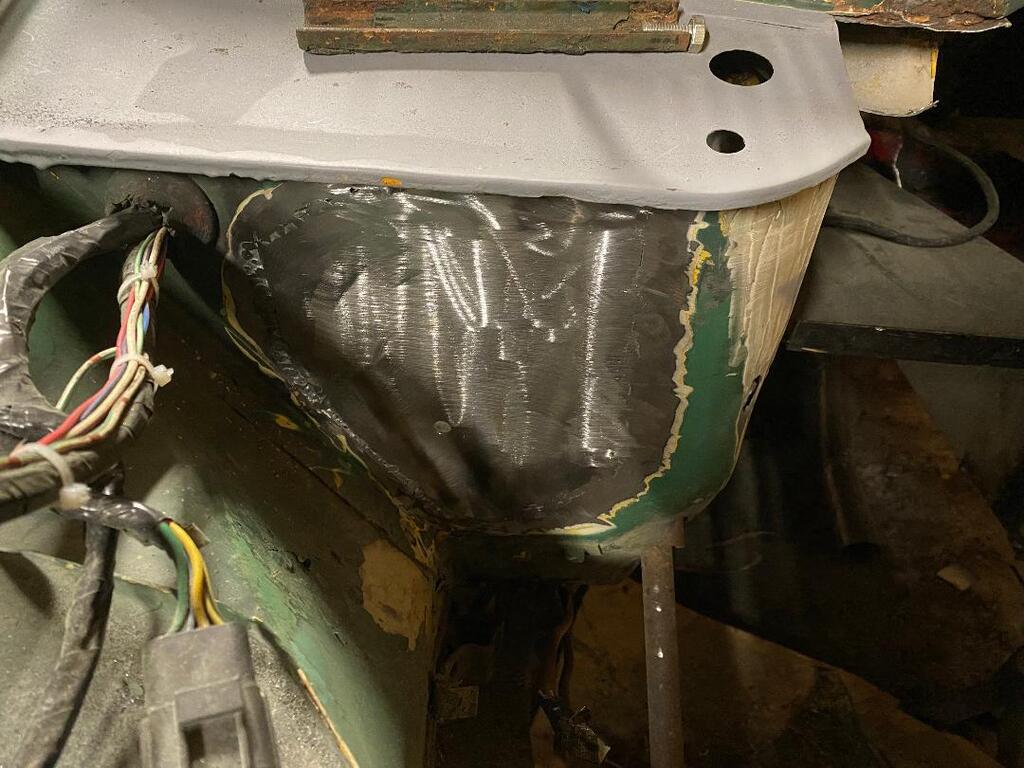 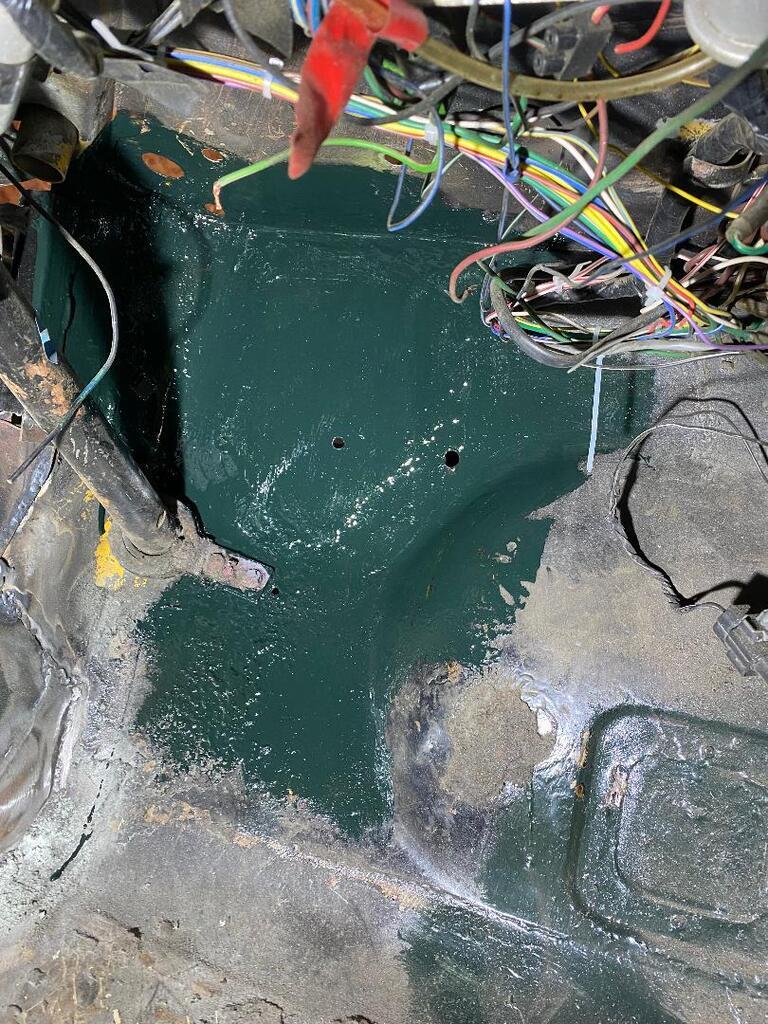 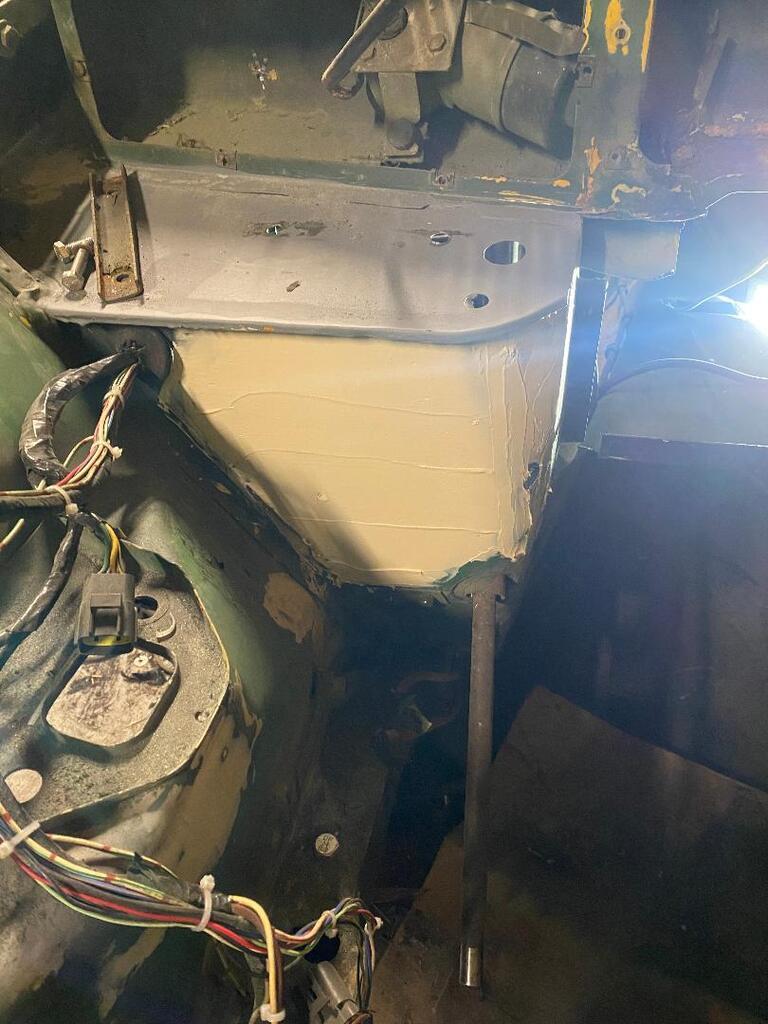 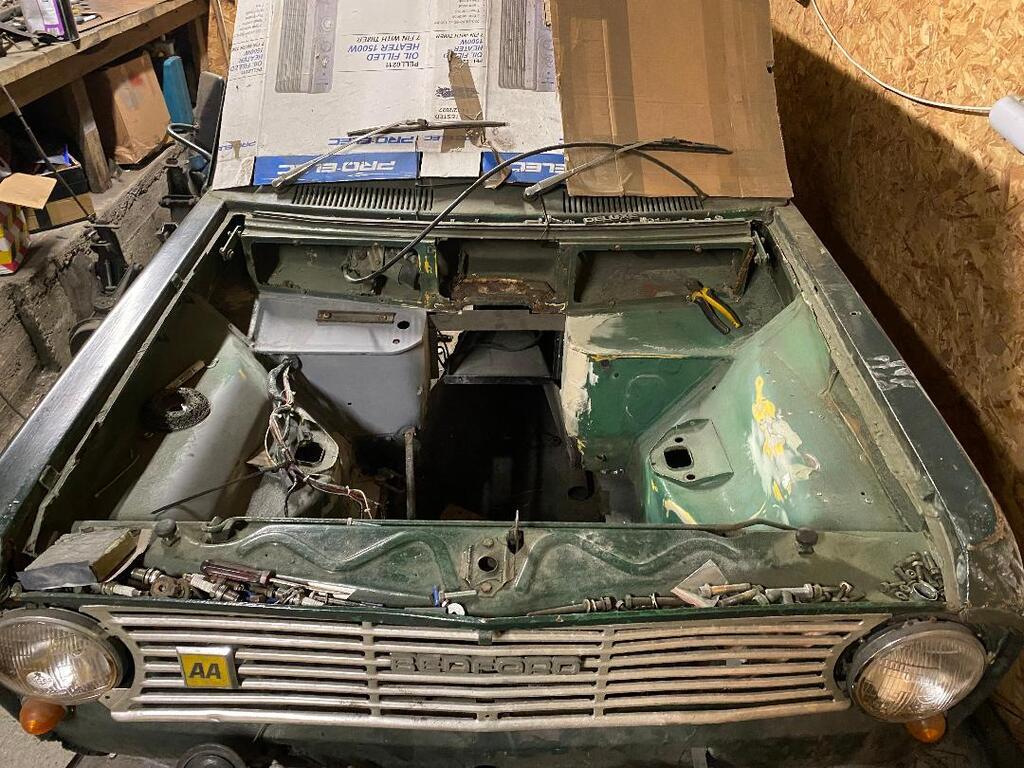 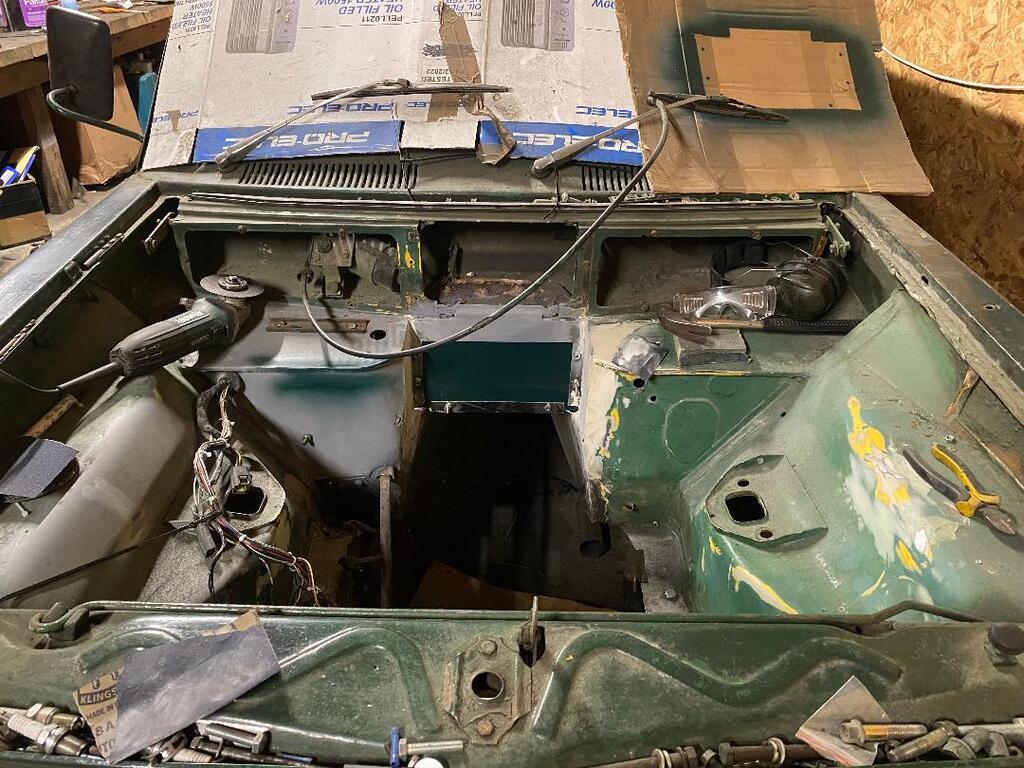 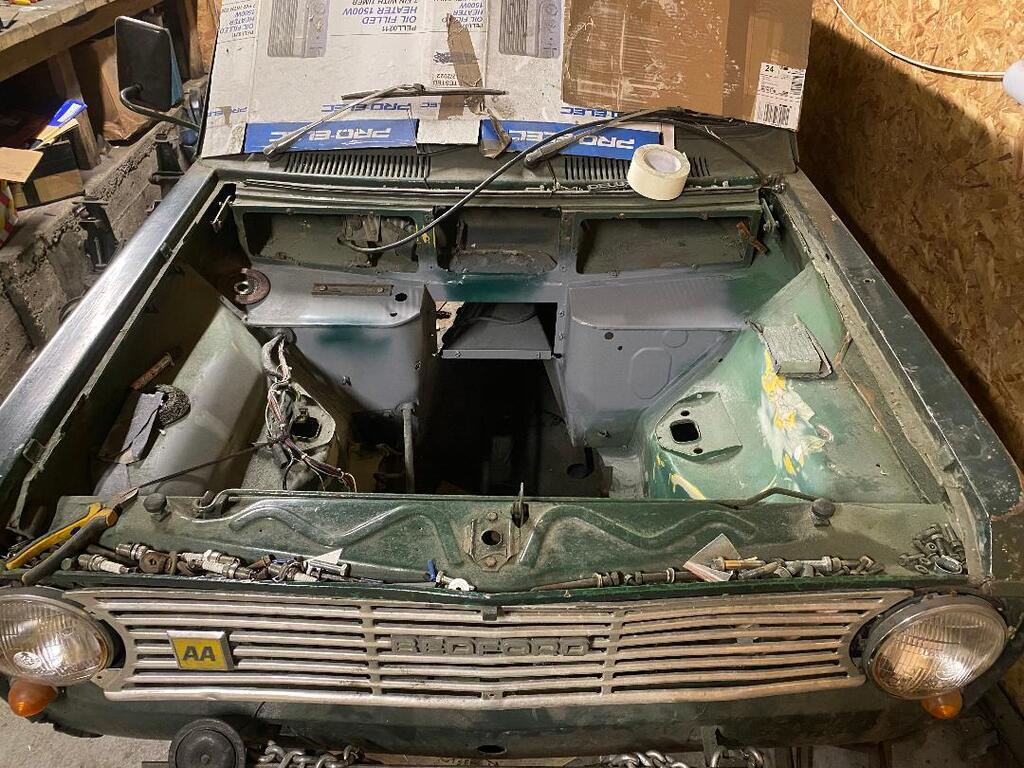 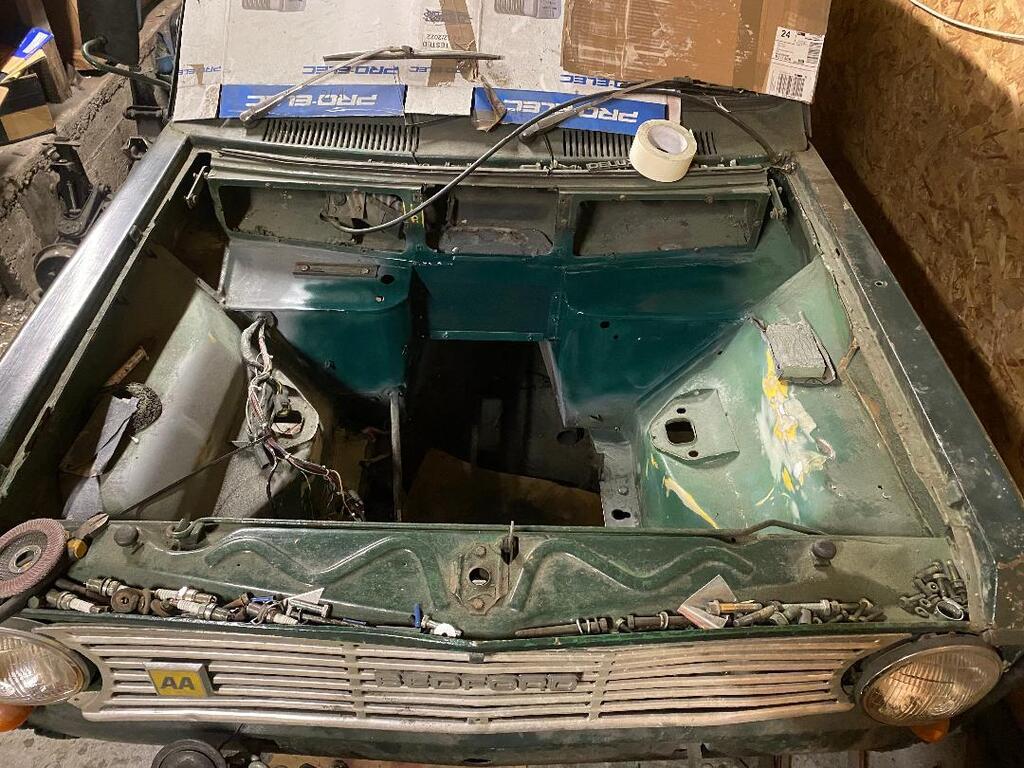 And that's where I'm at. Having a nightmare with the sump, the oil return for the turbo was leaking badly, I assume from where it got heated up during the welding process. Anyway, I've ordered a 16mm aluminium fitting I'm getting Tig welded in, so that should resolve all the leaking problems, maybe even the first old car I've owned which doesn't leak crazy amounts of oil but I'm not holding my breathe as afterall, I've put it together.  After that I don't see why I cant look at putting the engine back in for the last time! Cheers for reading! |
| |
|
|
|
|
|
|
|
|
The bay is really starting to look great!
|
| |
|
|
|
|
|
|
|
Feb 18, 2022 18:01:08 GMT
|
Ahhhh, yes. I've never seen these before, but I really like the look of them. The heater is a bit of a mystery at the moment anyway. It was originally in the engine bay where the engine sits now so I'll need to fit a new heater elsewhere. Probably a Mini heater under the dashboard on the gearbox tunnel (if I can find the space obviously). Done that before and it works well. I will defo look to fit one of these diverters though when I get round to it! Thanks |
| |
|
|
|
|
|
Mar 16, 2022 22:12:30 GMT
|
Haven't really made as much progress as I've wanted with the van, just been busy with other, to be honest more important things but it's still moving in the right direction! Especially with where I am at the moment it just needs building back up, most of the fabrication/getting things to fit work has been done, the ECU and wiring is in ready to go so shouldn't be much longer, although I always say that and 100% of the time ends up being a lot longer!!  Photos; 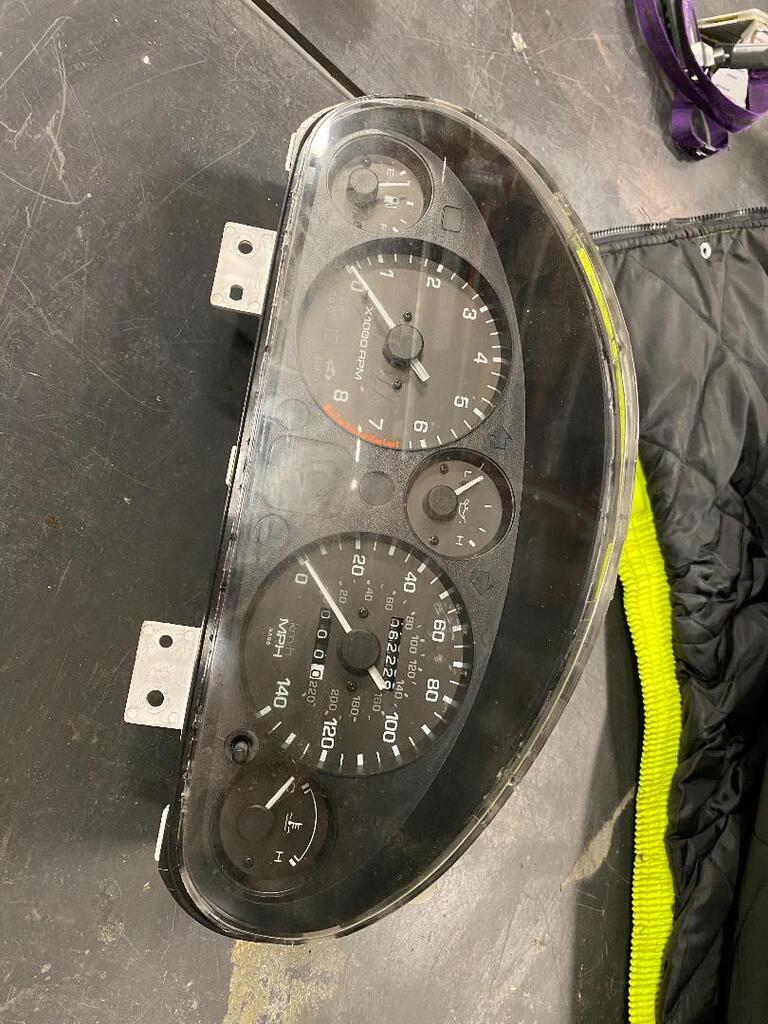 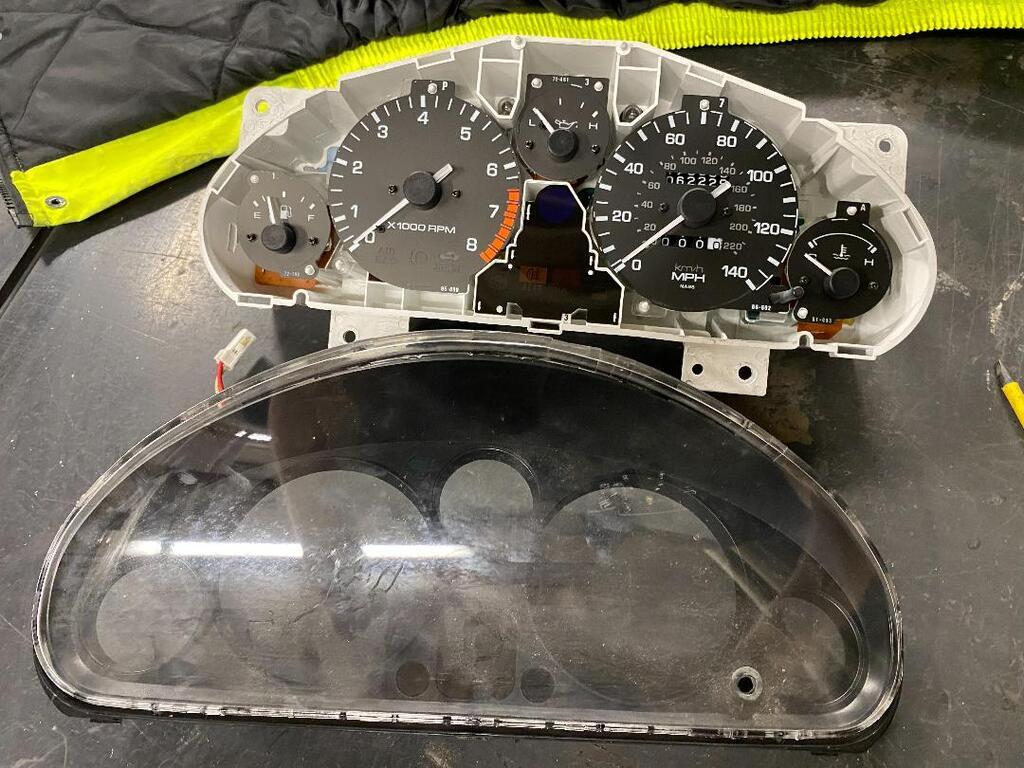 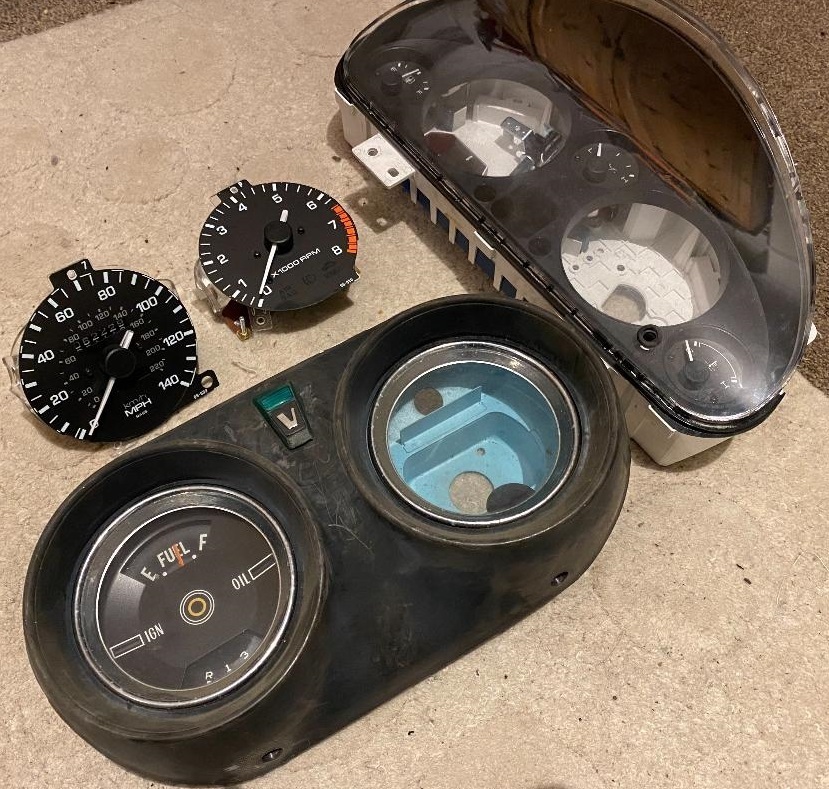 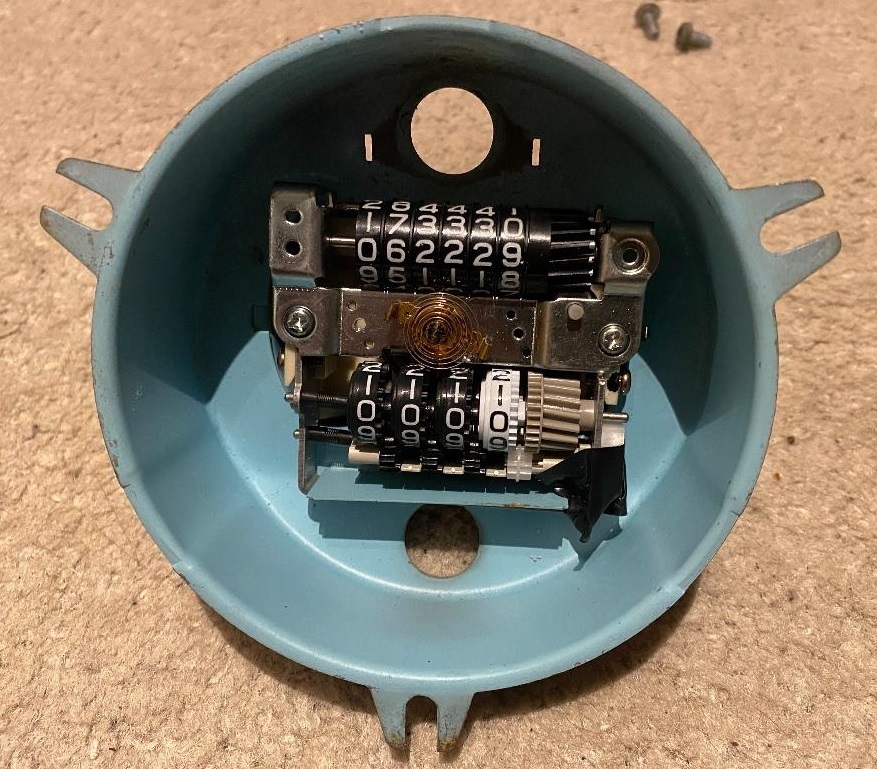 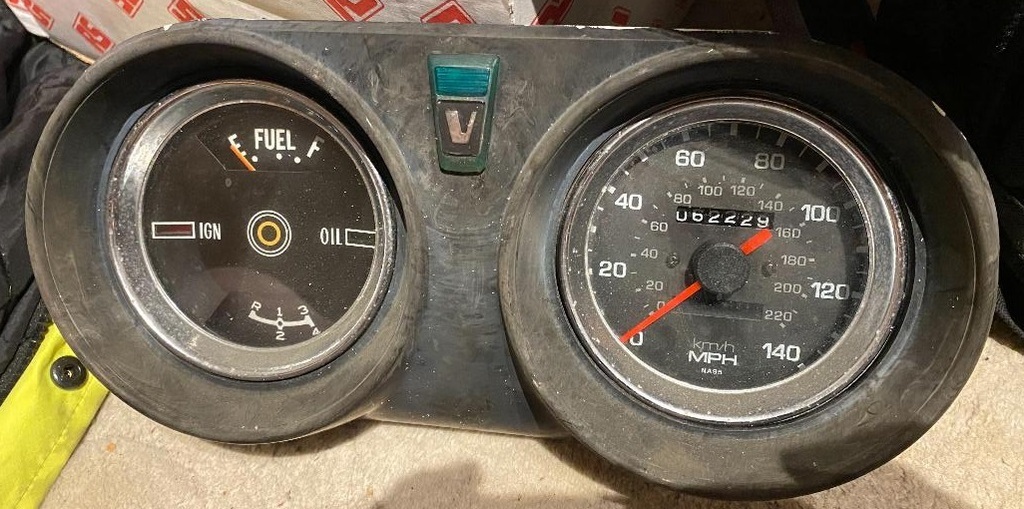 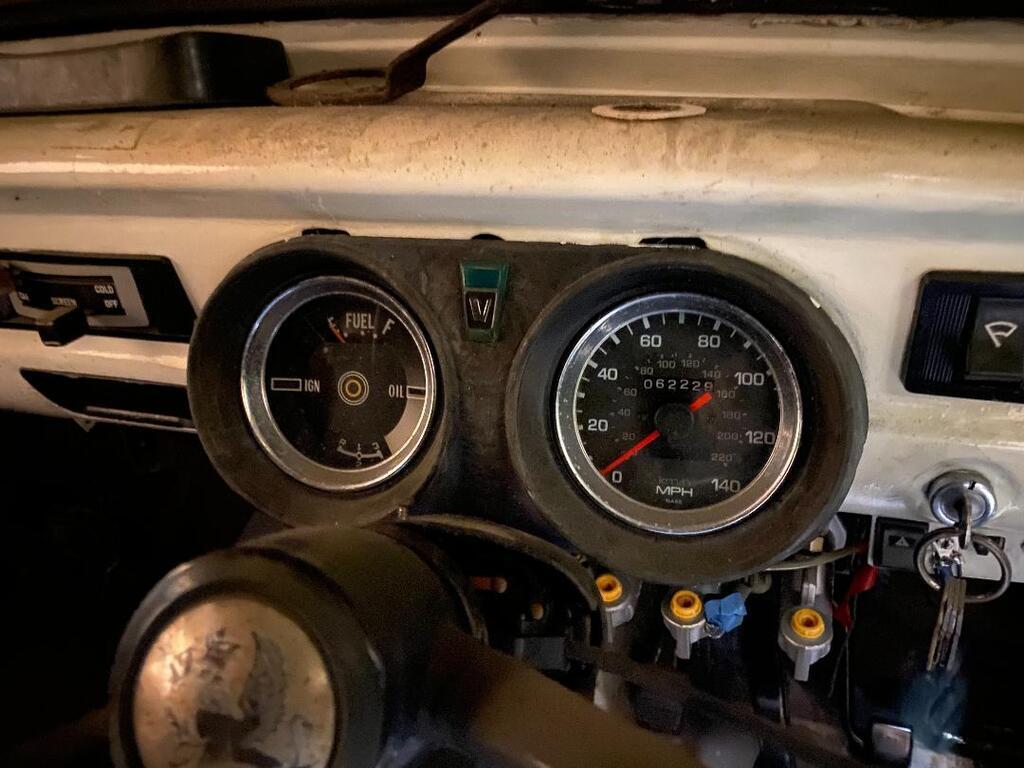 Looks quite smart I think, like everything will need more work later on. Doubt it'll read the right speed but as the gearbox & speedo are MX5 now the speedo will work, If it made sense to me I could probably choose a certain diff ratio to get it as accurate as possible, but I reckon I'll just stick a 3.89 diff in just for the best of both worlds and just hope the speedo is reasonably accurate  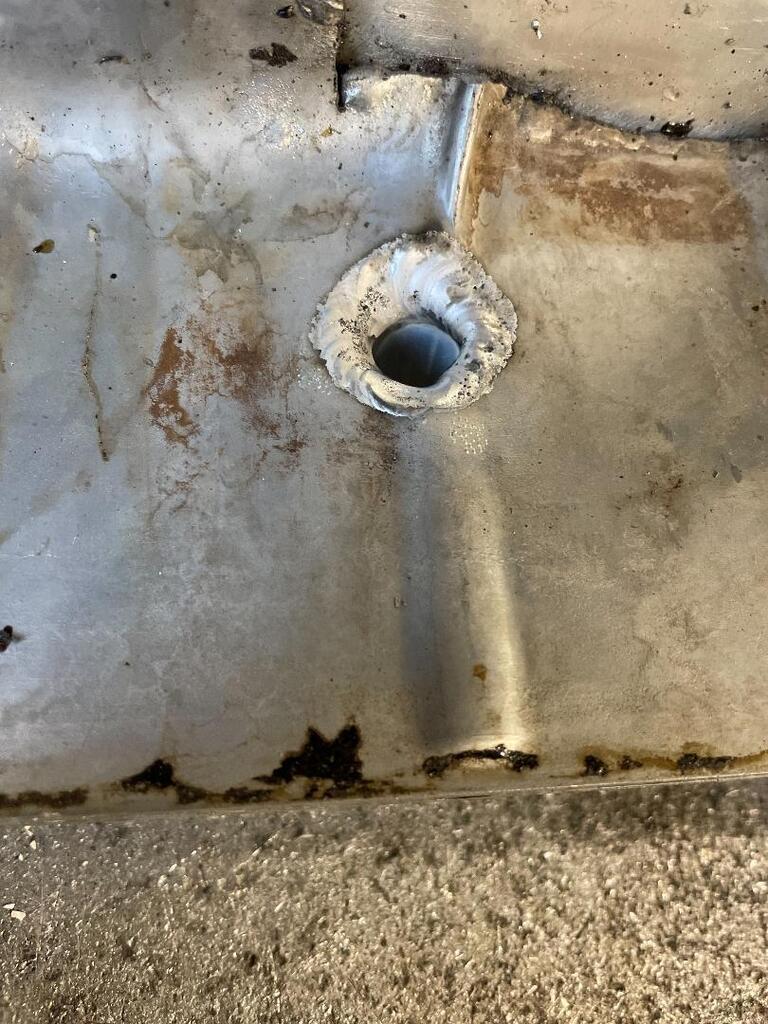 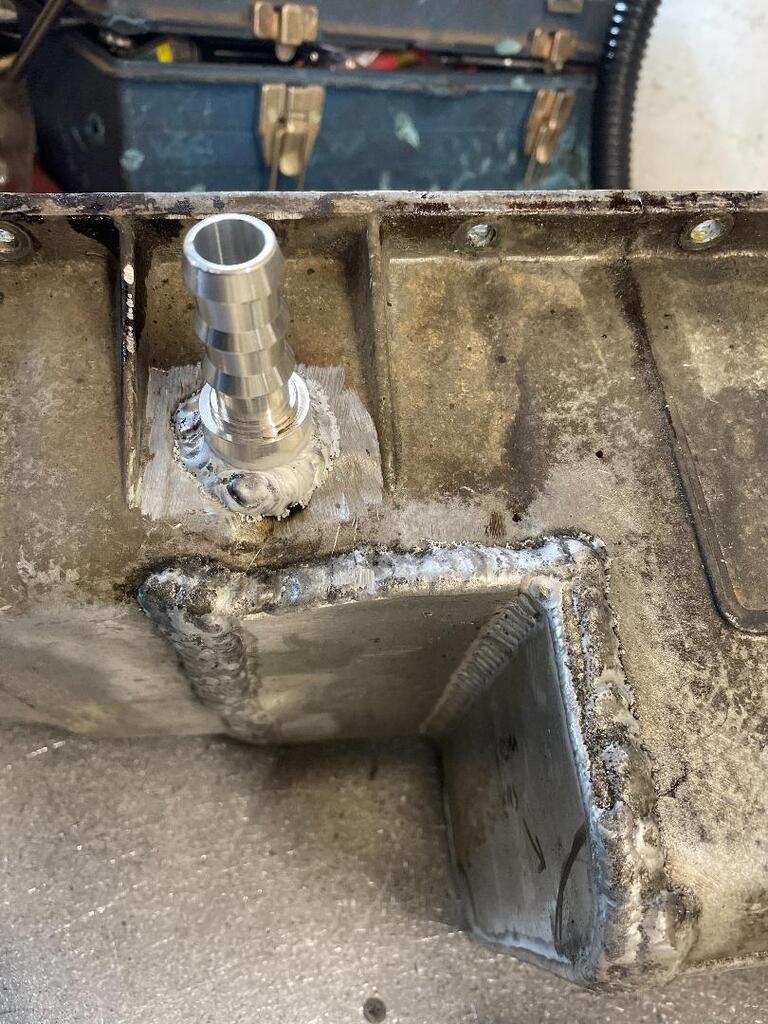 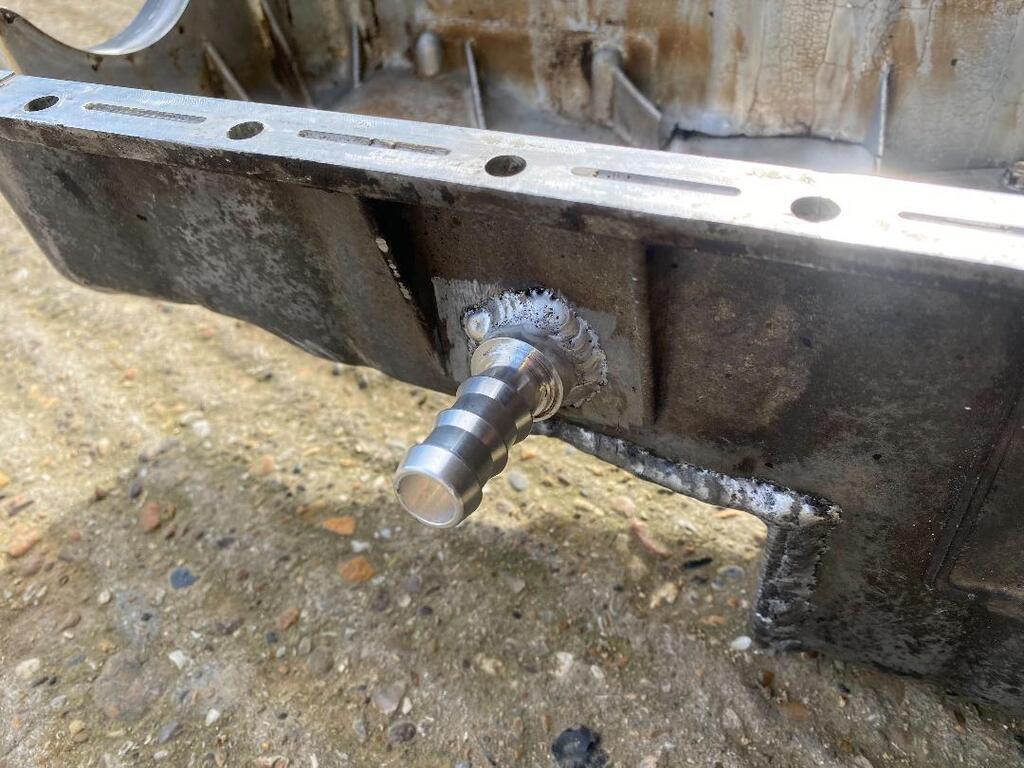 The sump was leaking really really badly from the turbo oil return fitting, think I mentioned it in my last post but its now got a piece TIG welded on, has been put back together since and hasn't leaked a drop of oil just yet!!! 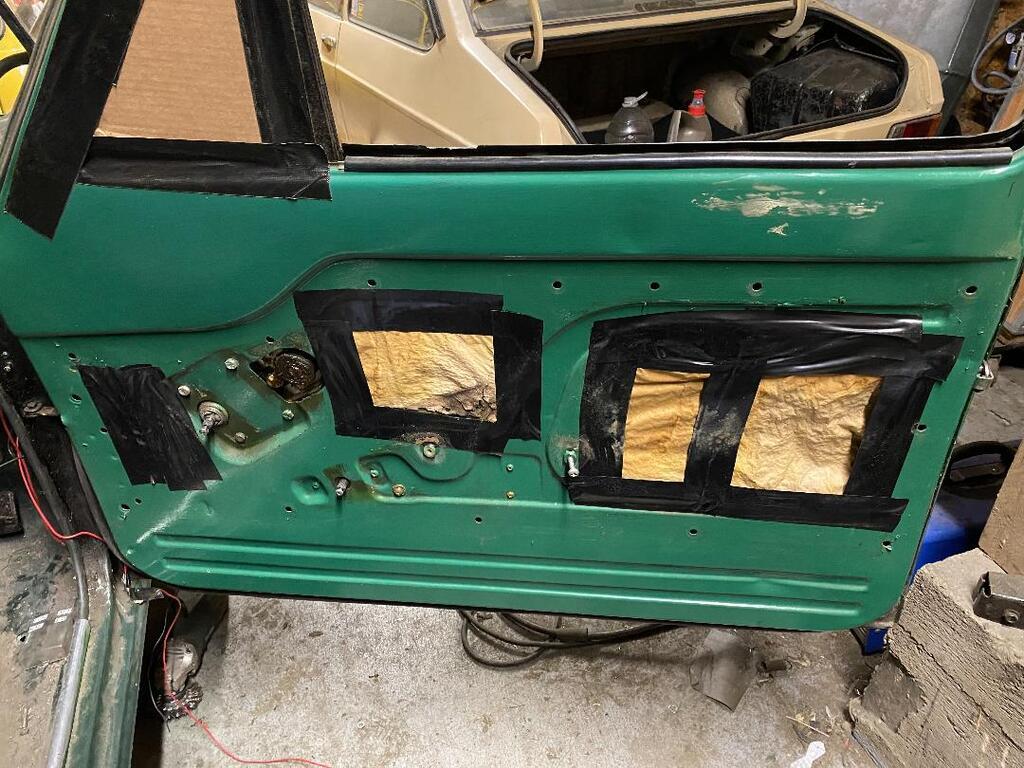 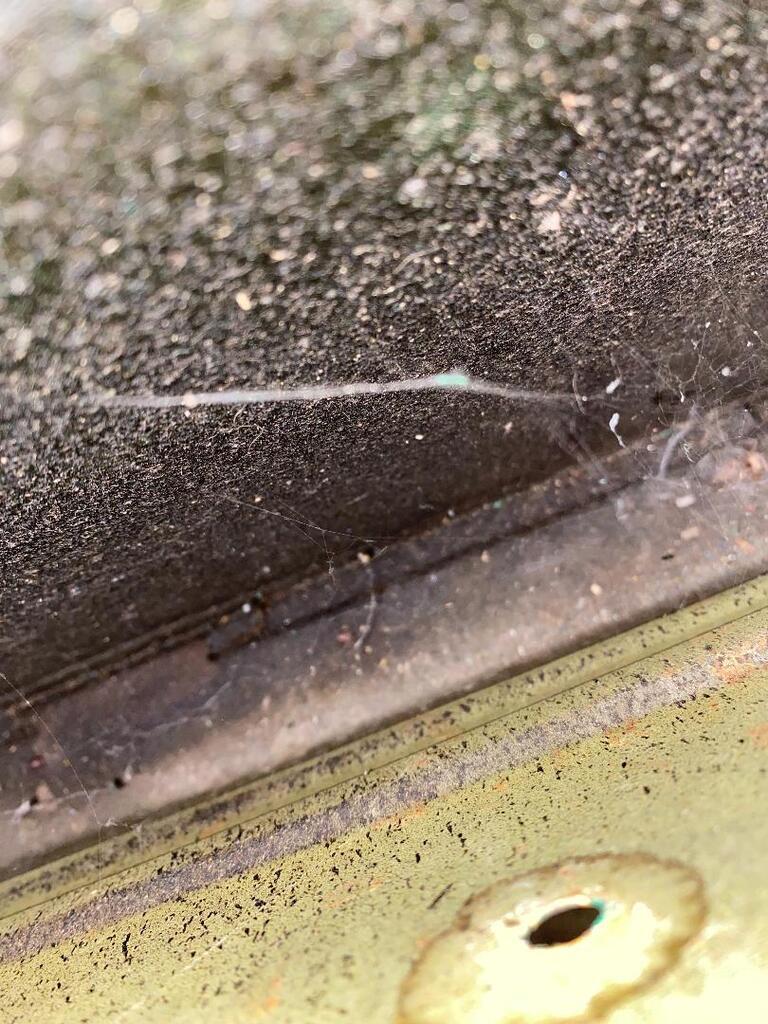 I'm still amazed how well the van has survived, it's hard to tell but the photo right above here is the bottom inside the door, no sign of rust which is incredible considering how old it is. 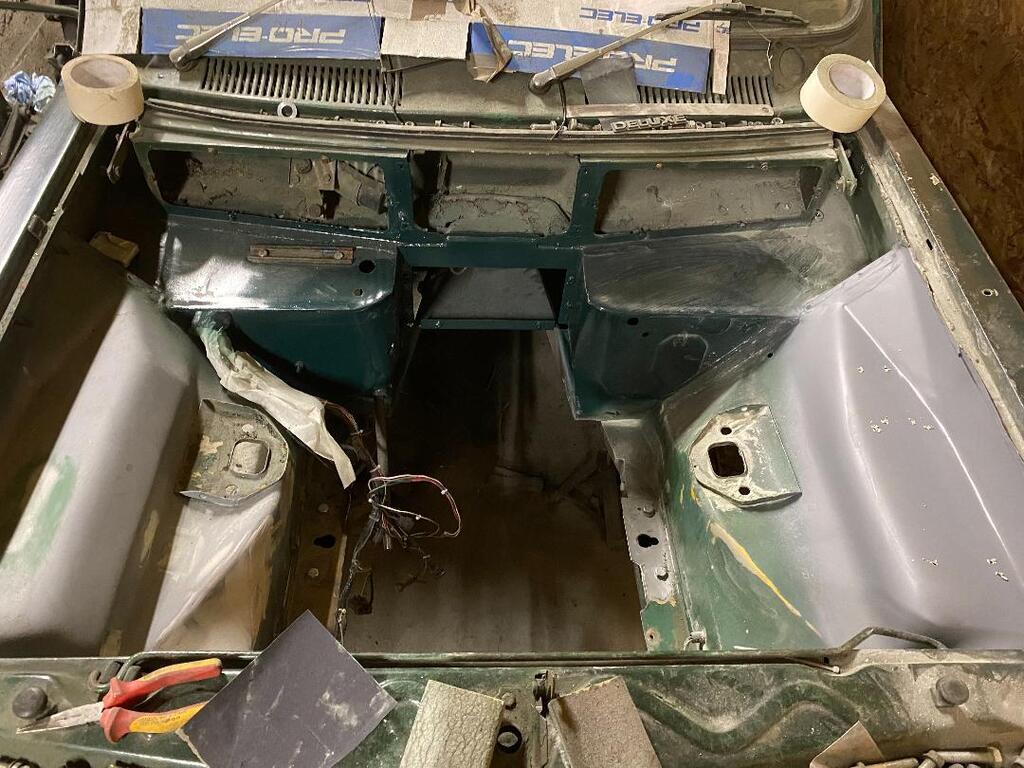 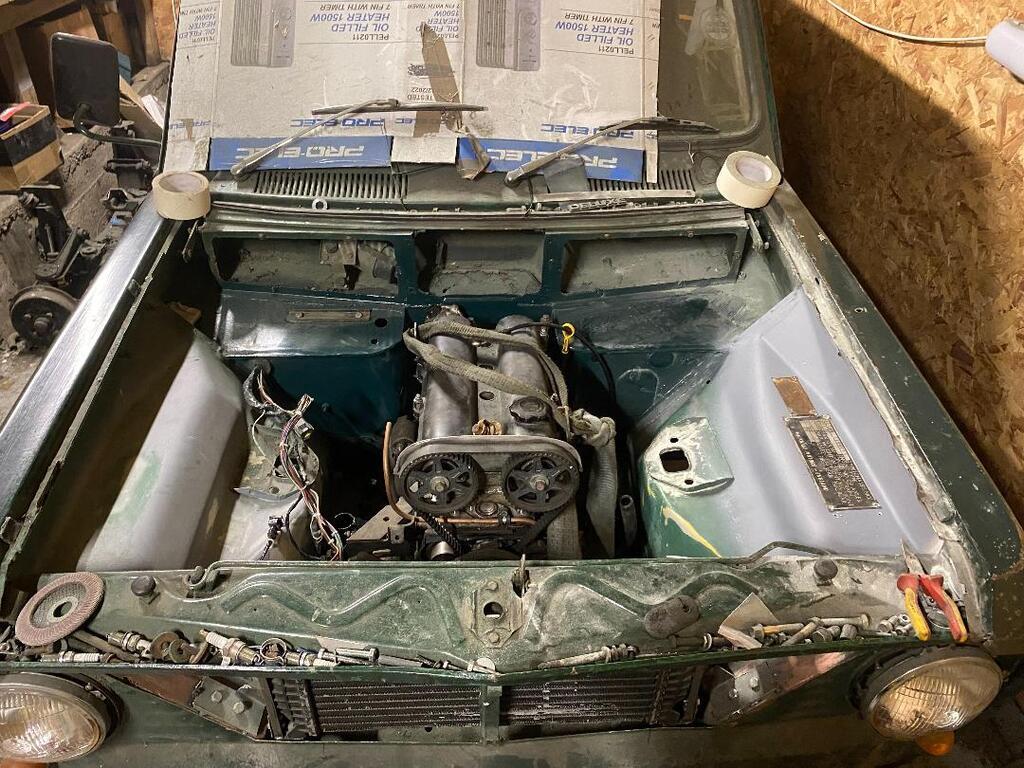 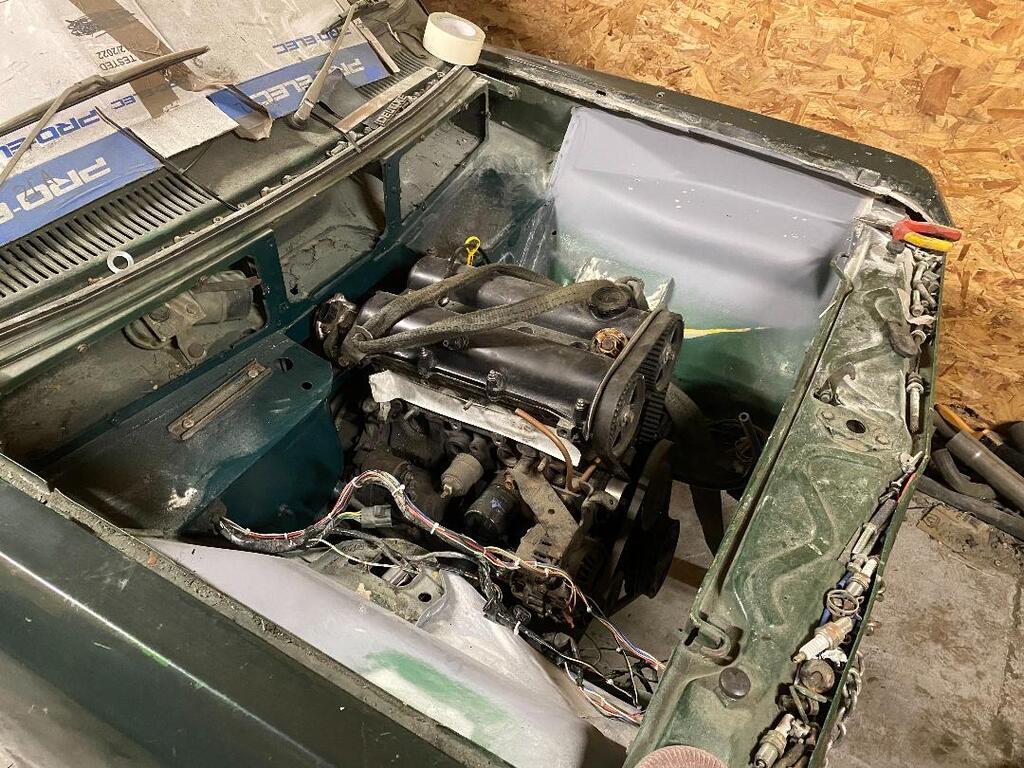 I put the engine back in quickly to make sure clearances are all good before I go ahead and paint it, all seems okay. 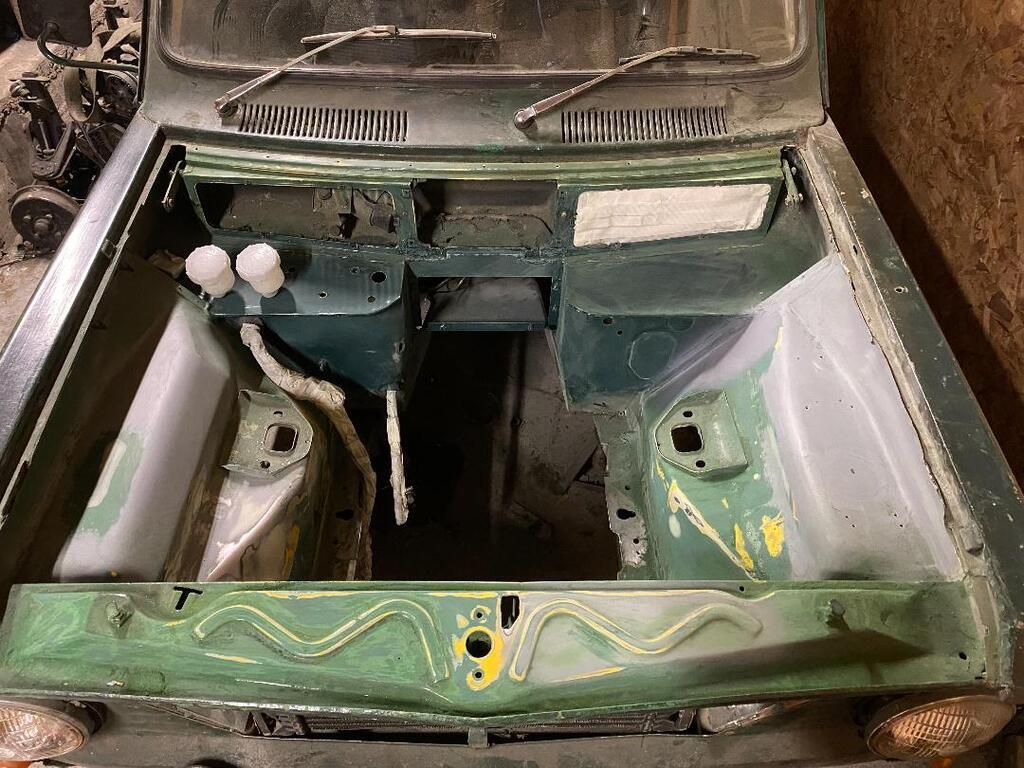 Decided on positions for the brake fluid reservoirs (the third one isn't in this photo) 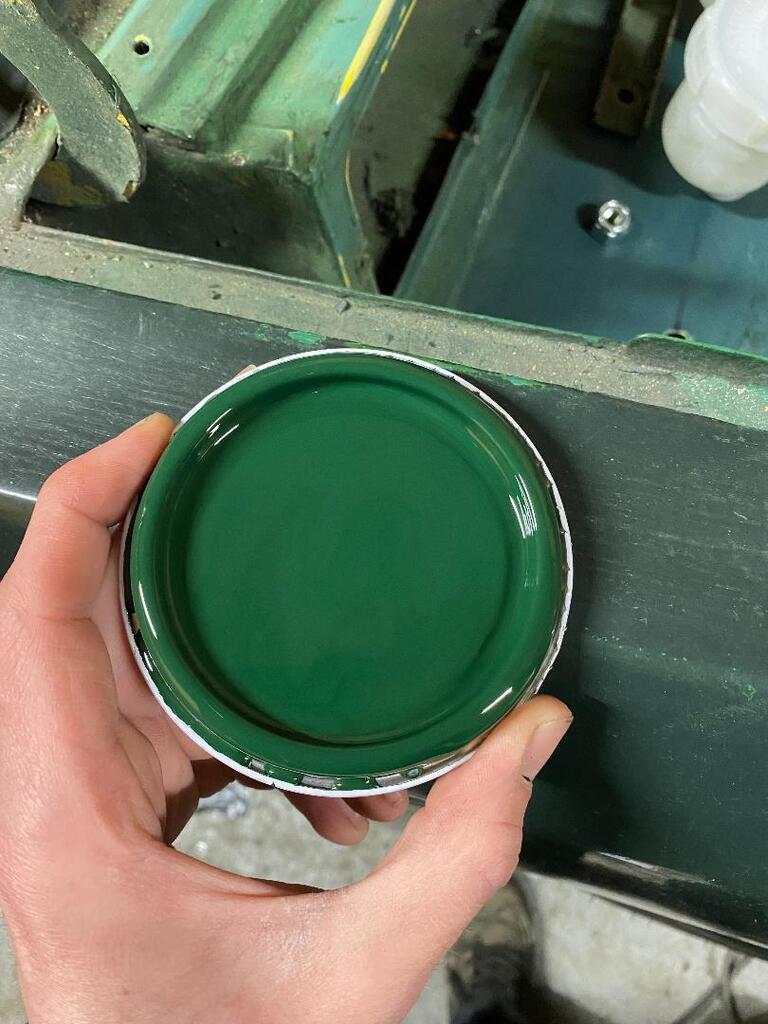 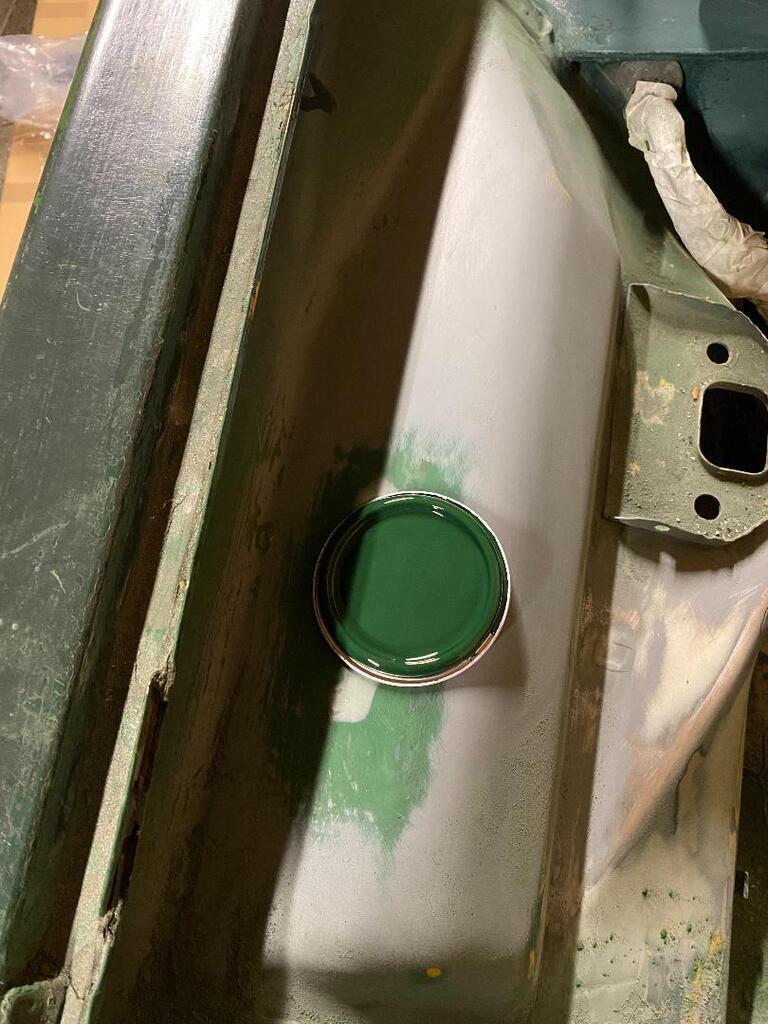 Got the paint delivered, just a small can to make sure I liked the colour. 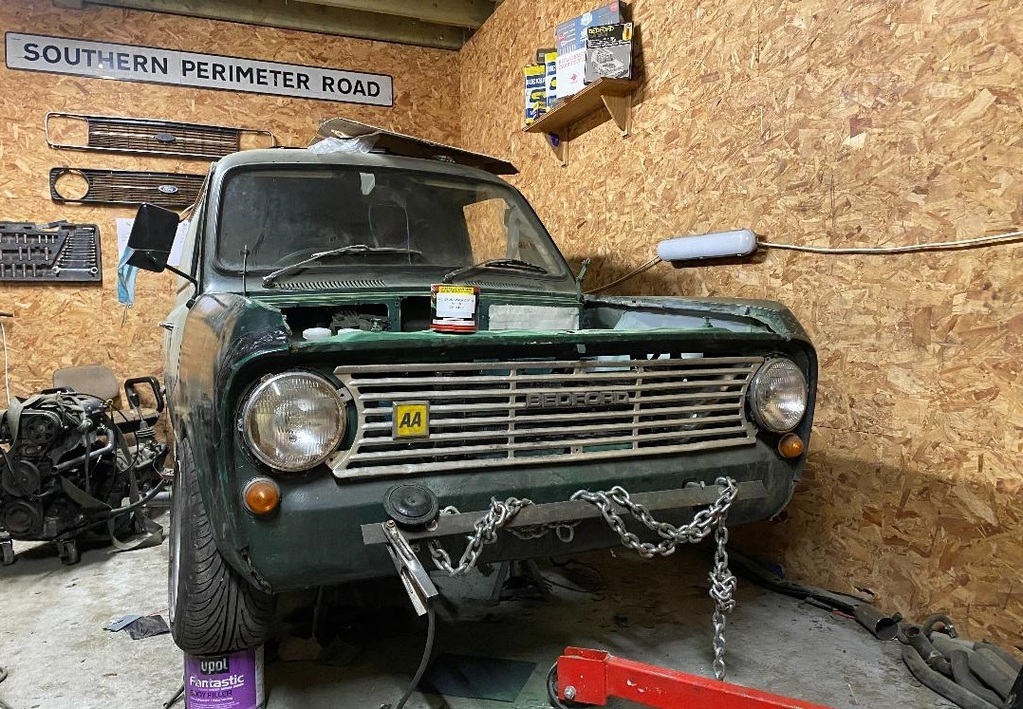 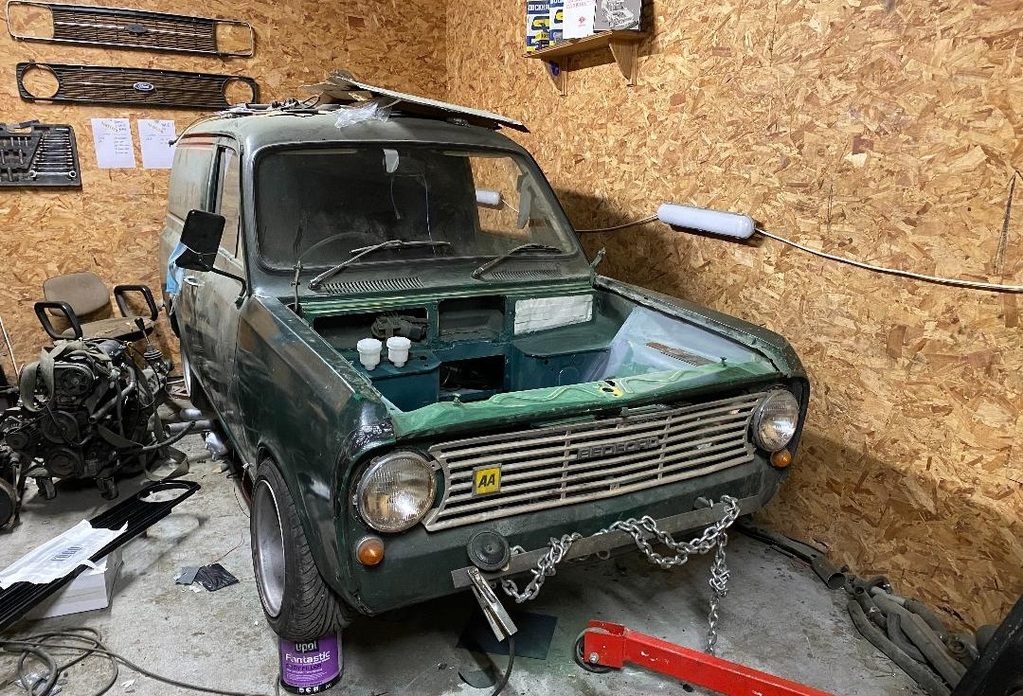 Ready for High Build Primer; 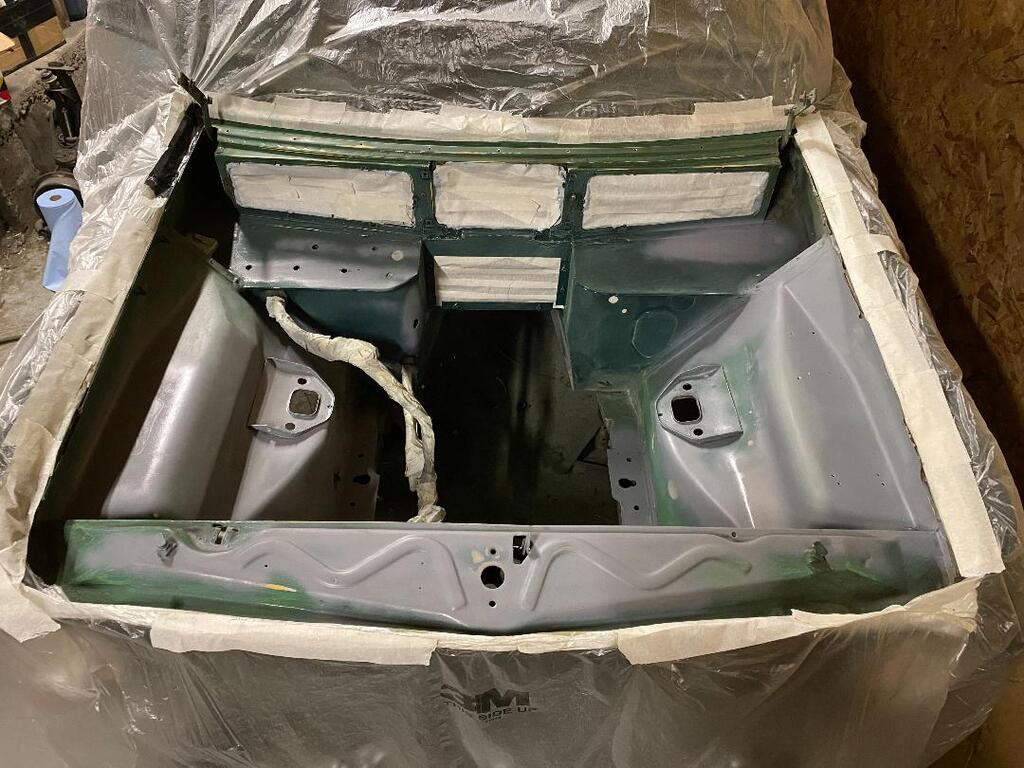 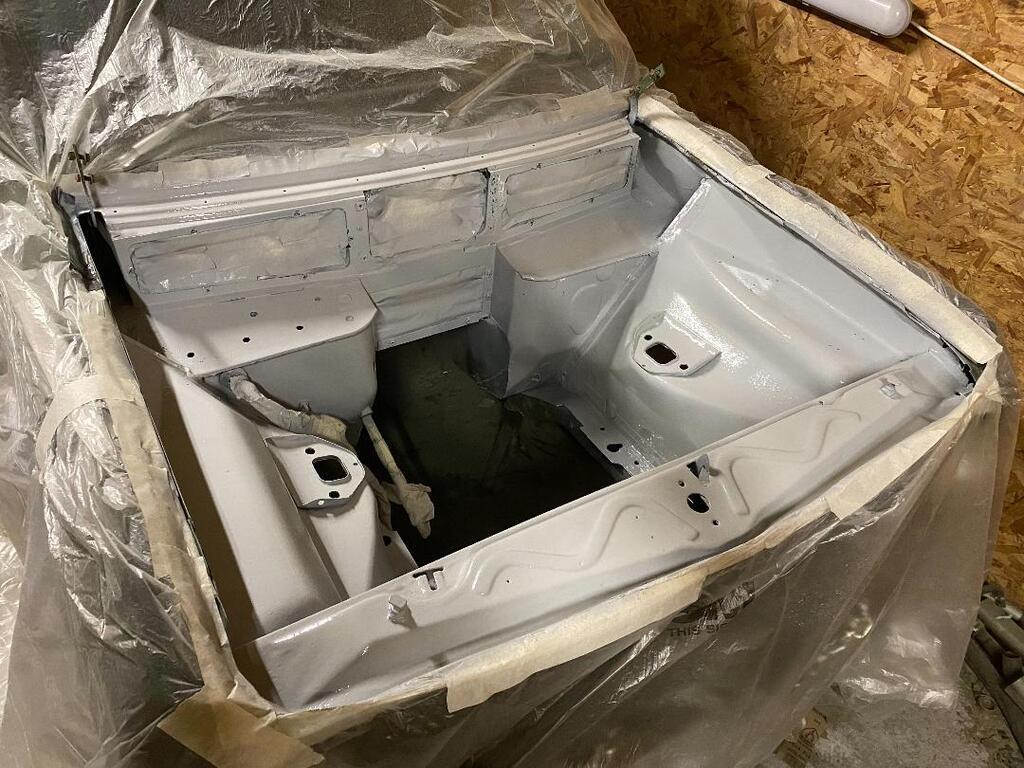 Sanded down ready for the colour; 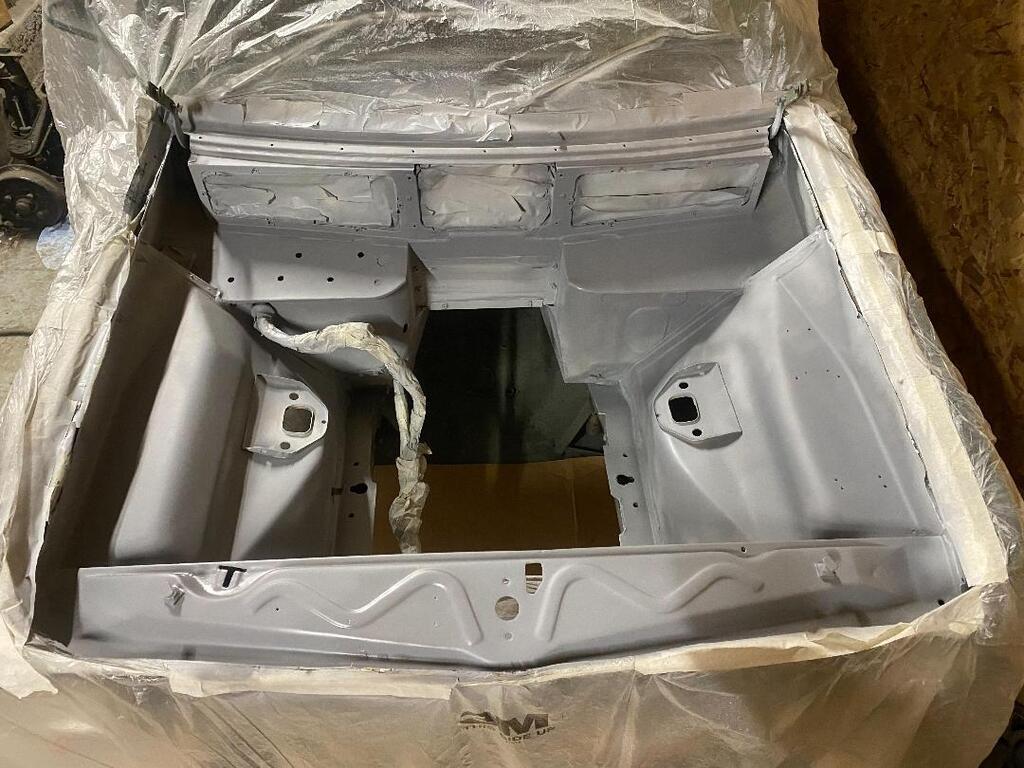 And finally in colour; 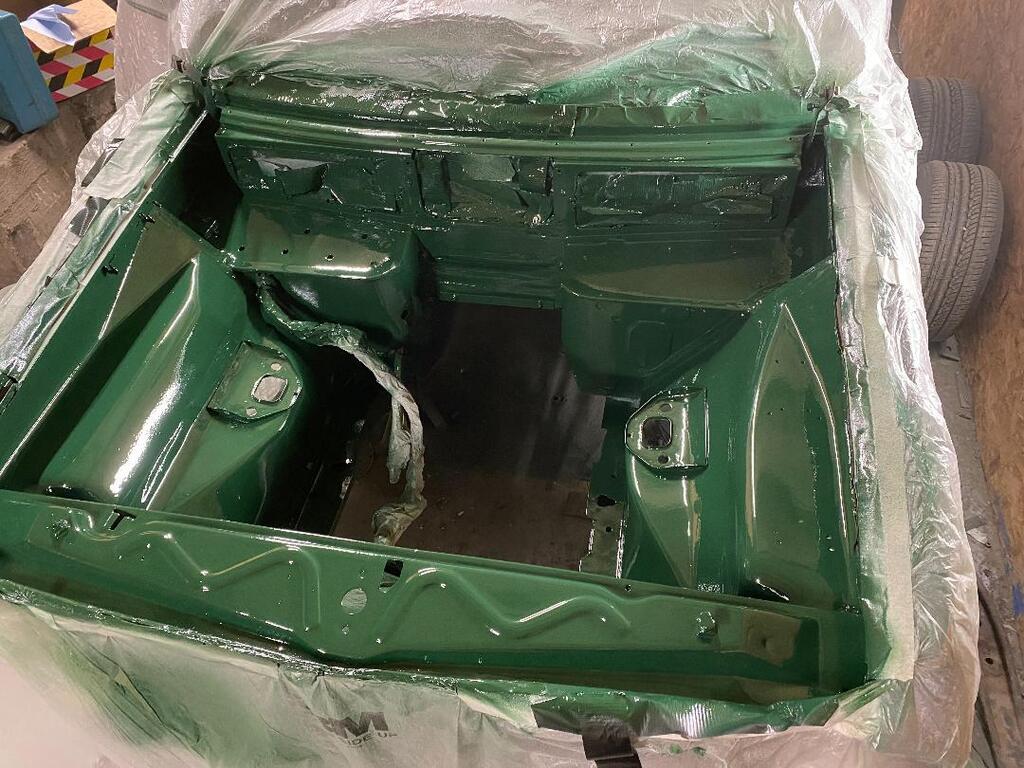 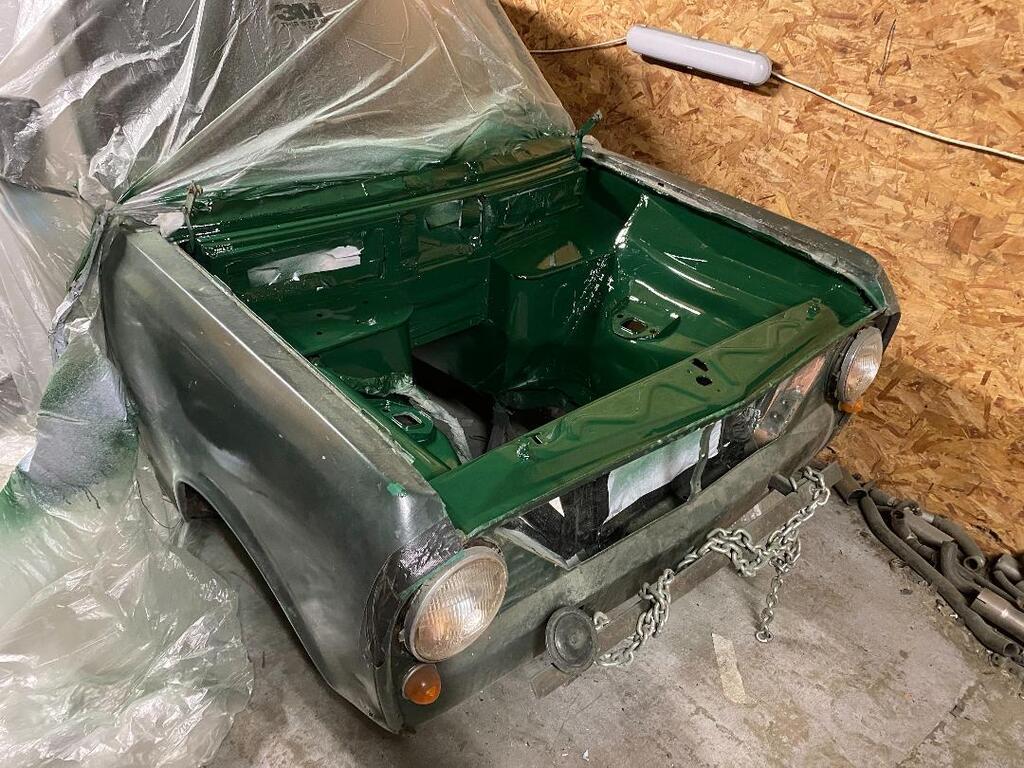 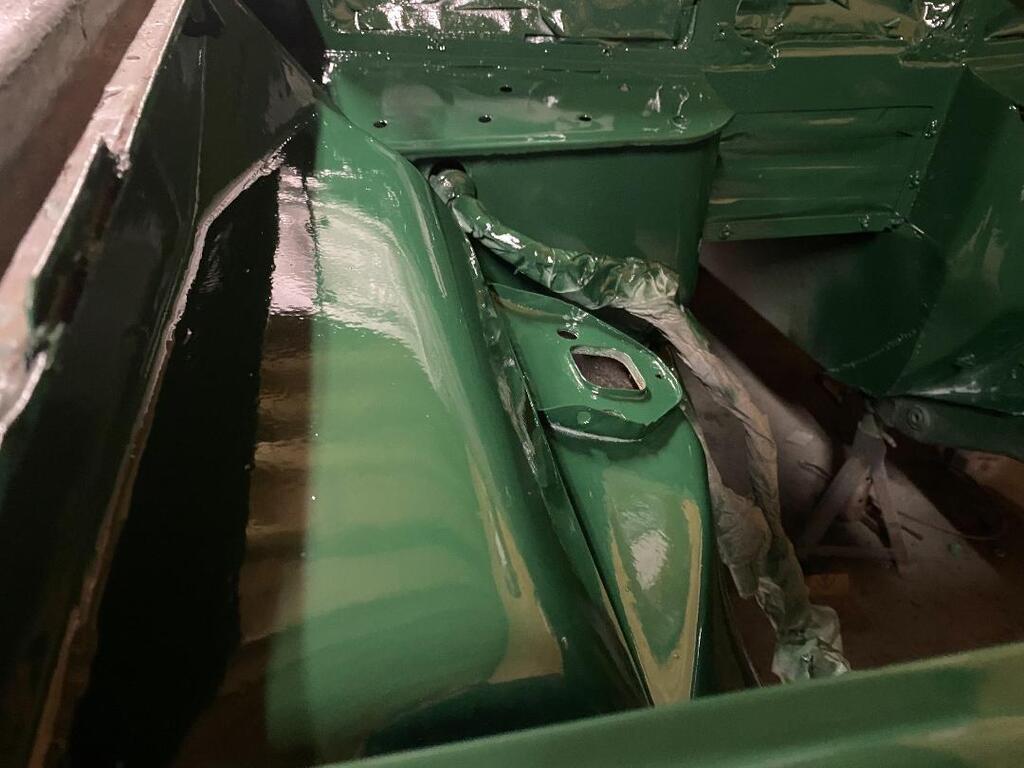 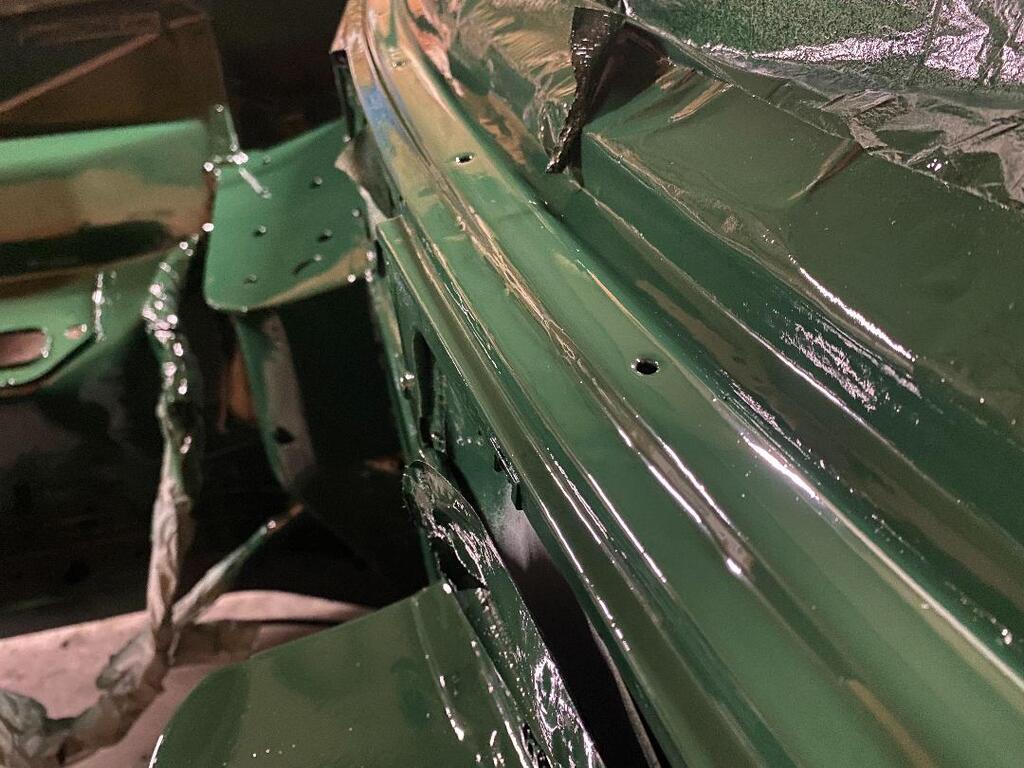 I mean, you could defiantly pick holes in it, but I'm happy. If there are any imperfections which end up annoying me I'll sand and polish them out, the paint is on nice and thick so I will be able to work with it once its cured. Now to put it all back together, Can't wait!!!!!   Cheers |
| |
|
|
philsford
Part of things
 
Posts: 733
Club RR Member Number: 100
|
1970 Bedford HA Turbophilsford
@philsford
Club Retro Rides Member 100
|
|
|
|
Looking good, these vans were everywhere when I was a kid then they suddenly all vanished a bit like escort and maestro vans have. Well done, it will be brilliant with the turbo'd mx5 motor.
|
| |
|
|
|
|
|
|
|
|
|
|
Love this! Will be great fun. Think all old vans are rare because they were run into the ground and scrapped as being worthless.
|
| |
Nuttier than squirrel sh...
|
|
|
|
|
Mar 17, 2022 18:29:34 GMT
|
|
I am LOVING this!!!!!
|
| |
|
|
|
|
|
Mar 17, 2022 19:41:01 GMT
|
|
Paint finish looks better than most OEMS do in the engine compartment today (If they bother to topcoat it at all!)
|
| |
|
|
|
|
|
Mar 21, 2022 13:32:29 GMT
|
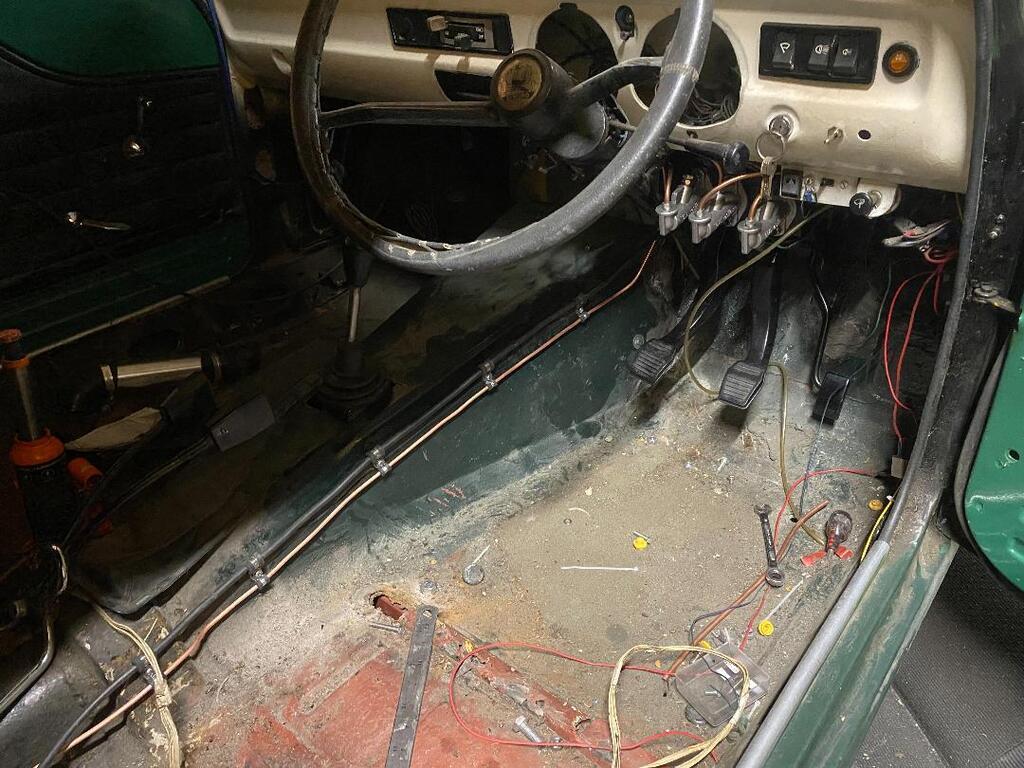
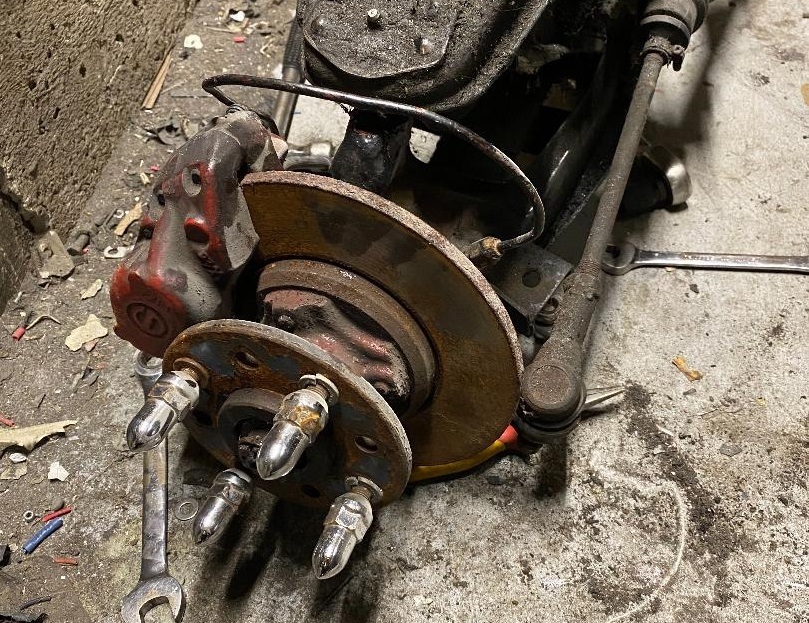
Cheers for the comments  Forgot to take a photo after I'd undersealed the gearbox tunnel, but everyone's seen underseal before so I'm sure you can imagine it. Just before underseal; 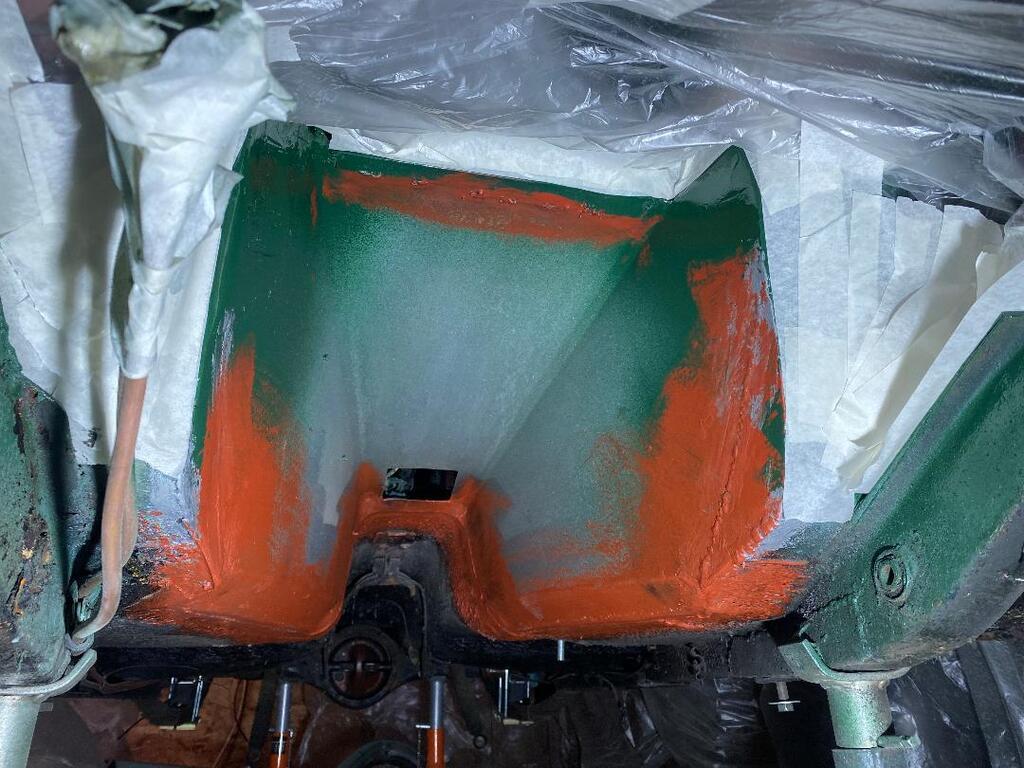 After that, before I put the engine and box back in, the chassis rails etc, basically anywhere I could, I filled with cavity wax to hopefully prevent it rust as much as possible. Then lifted the engine & box in place; 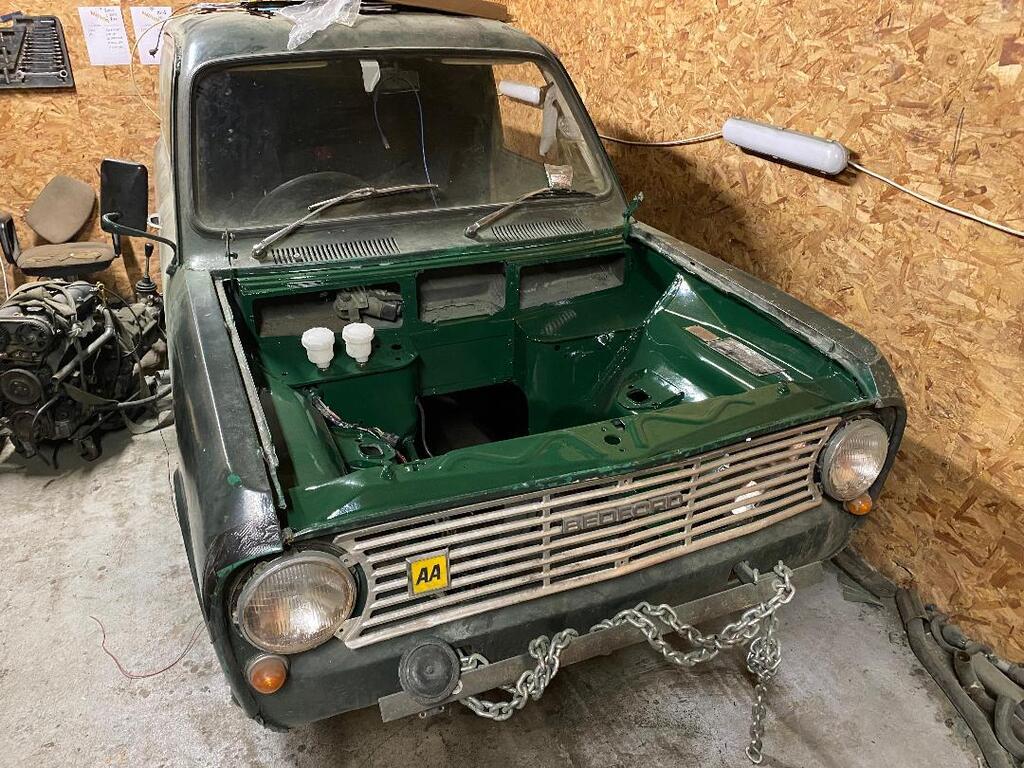 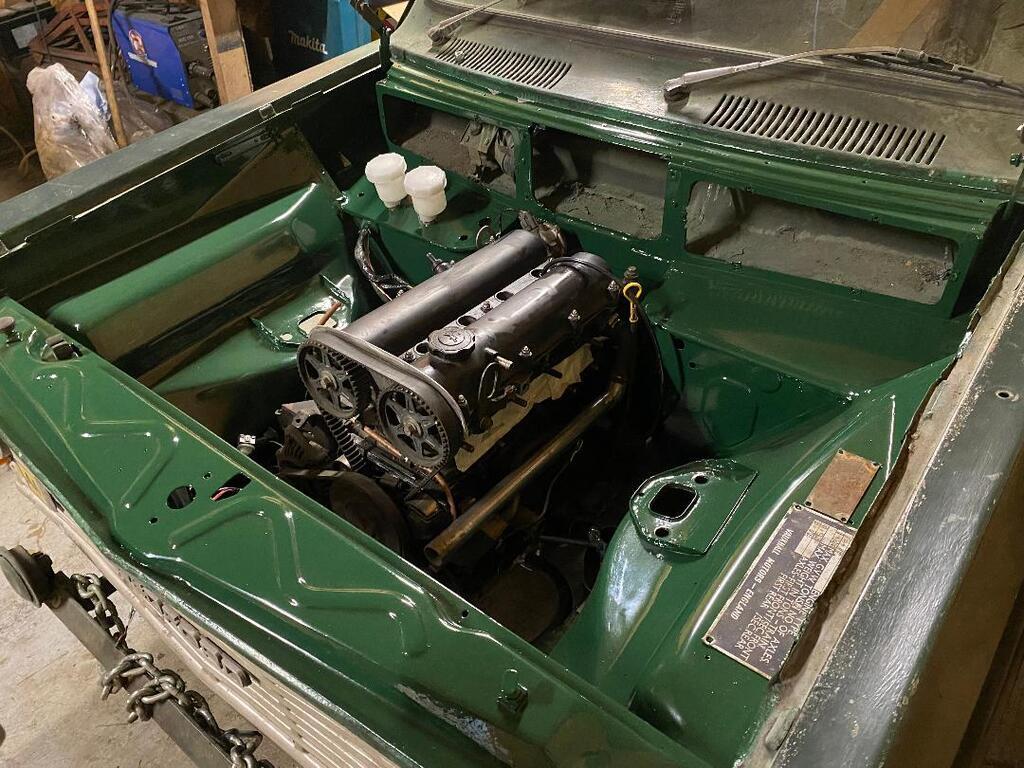 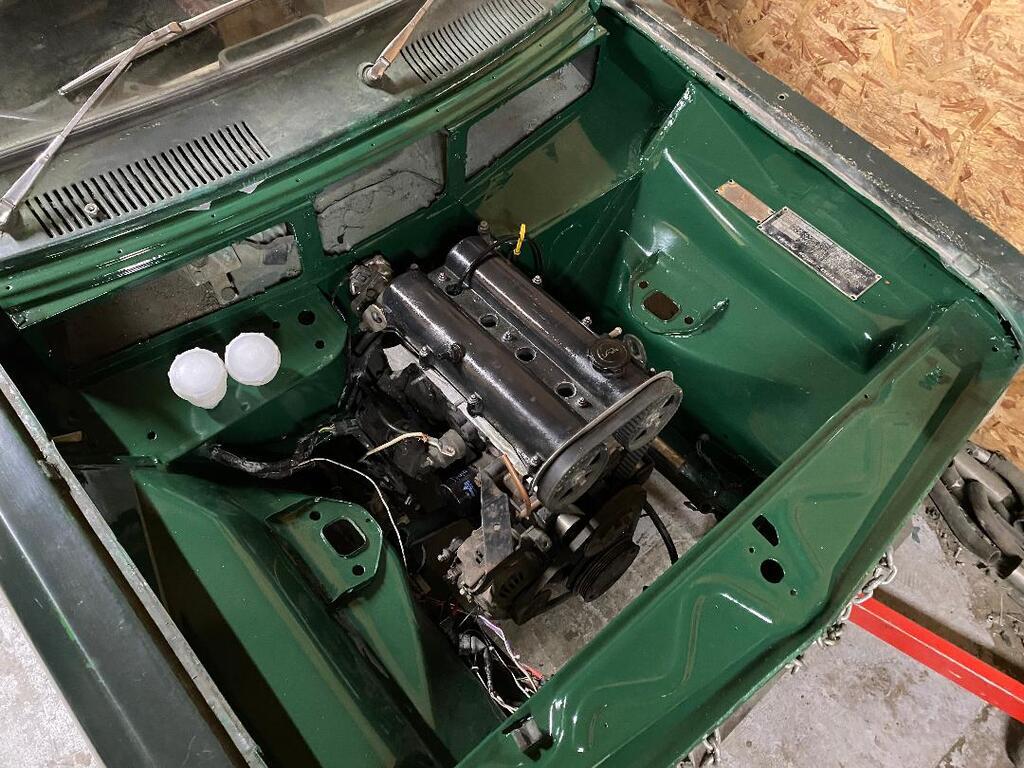 I've been working on the pedal box, figuring out the best way to run the lines from the reservoirs, down to the master cylinders. Like everything else so far, there isn't much space to work with, but I think I've figured it out. Once that's done I'll run all the lines to the brakes from the master cylinders and I really should see the light at the end of the tunnel then, won't be much left to do. Thanks! |
| |
|
|
|
|
|
Apr 15, 2022 12:56:21 GMT
|
|
|
| |
|
|
|
|
|
|
|
Apr 15, 2022 15:18:01 GMT
|
Love it! Coming along a treat!  Thanks for posting updates. |
| |
1968 Mini MkII, 1968 VW T1, 1967 VW T1, 1974 VW T1, 1974 VW T1 1303, 1975 Mini 1000 auto, 1979 Chevette, 1981 Cortina, 1978 Mini 1000 1981 Mini City, 1981 Mini van, 1974 Mini Clubman, 1982 Metro City, 1987 Escort, 1989 Lancia Y10, 1989 Cavalier, 1990 Sierra, 1990 Renault 19, 1993 Nova, 1990 Citroen BX, 1994 Ford Scorpio, 1990 Renault Clio, 2004 Citroen C3, 2006 Citroen C2, 2004 Citroen C4, 2013 Citroen DS5. 2017 DS3 130 Plenty of other scrappers!
|
|
|
|
|
Apr 15, 2022 15:38:06 GMT
|
|
Glorious...
All just glorious!!
|
| |
***GARAGE CURRENTLY EMPTY***
|
|
|
|
|
Apr 15, 2022 20:28:51 GMT
|
|
I'm still living these updates. It'll be ready for summer!
|
| |
|
|
|
|
|
Apr 15, 2022 21:07:11 GMT
|
|
Can’t wait to see this on road I believe you live close to me as I have seen your escort a few times
|
| |
|
|
|
|


 not as awesome as this though! Well bookmarked!


 After that I don't see why I cant look at putting the engine back in for the last time!


