|
|
|
Jul 15, 2021 12:47:56 GMT
|
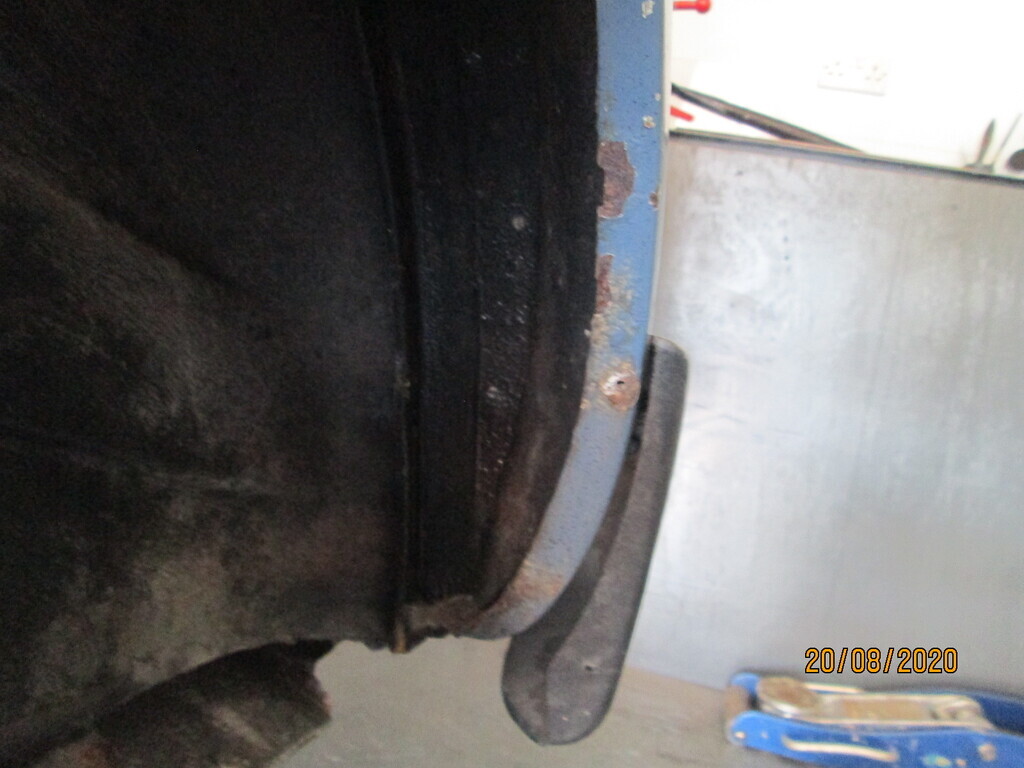
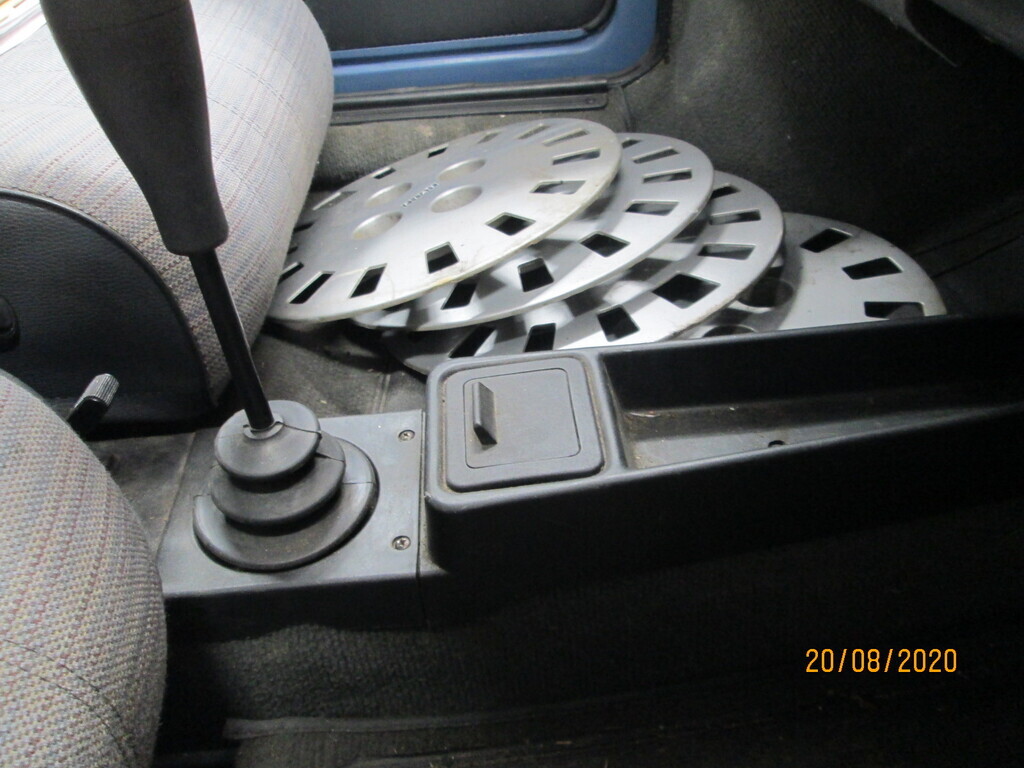
Hi Everyone I'm new to this forum, although not new to car projects. I thought you might like to see what I'm up to with my current "toy". I bought this over 2 years ago, in the UK, with Polish registration and no paperwork. I sorted that problem by getting a letter from the factory in Poland confirming the build date. I was then able to apply for UK registration.  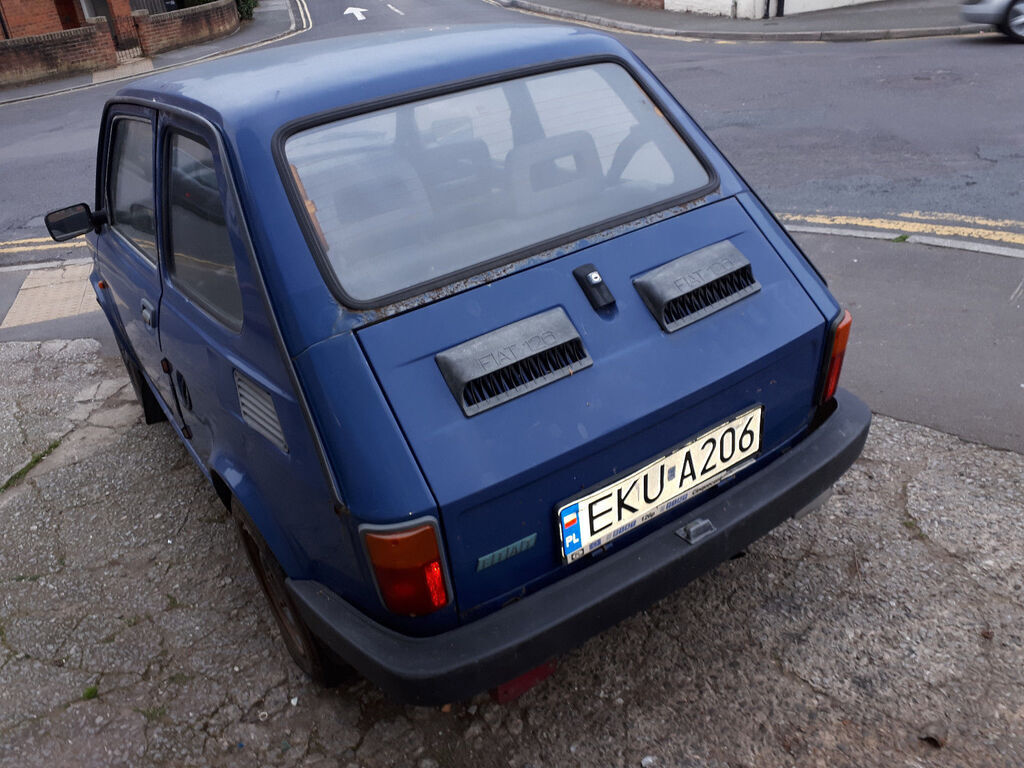 First job was to a disc brake conversion which needed a change to 13" wheels 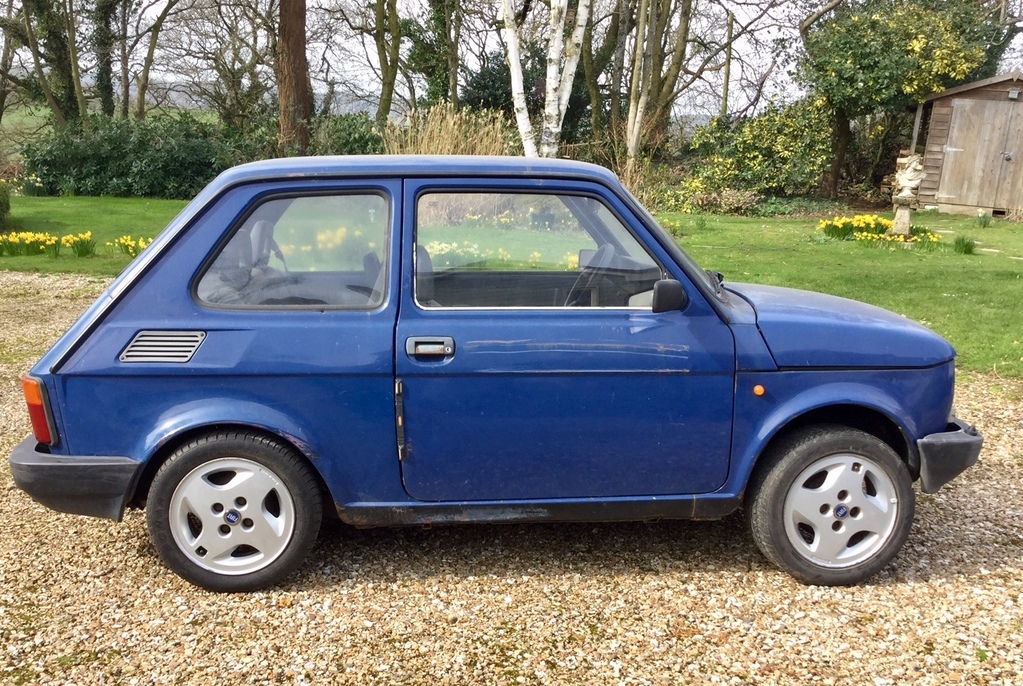 Next was a "sports" steering wheel and Smart car seats 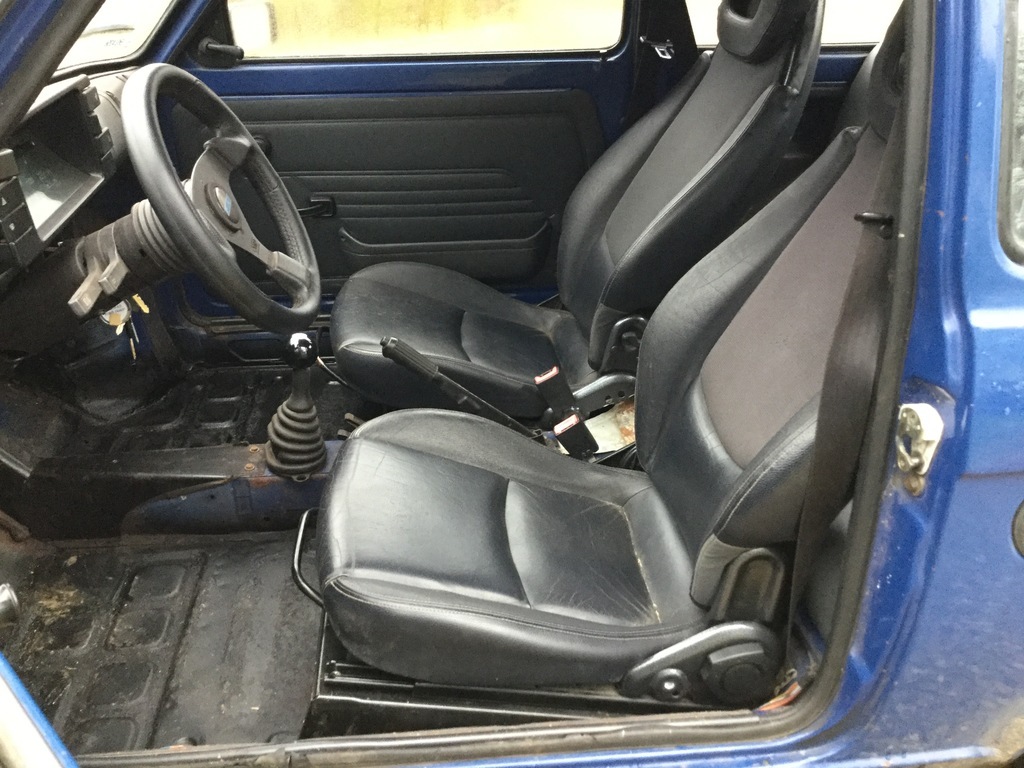 Then conversion to right hand drive plus "reverse eye" front spring and lowered rear spring to match 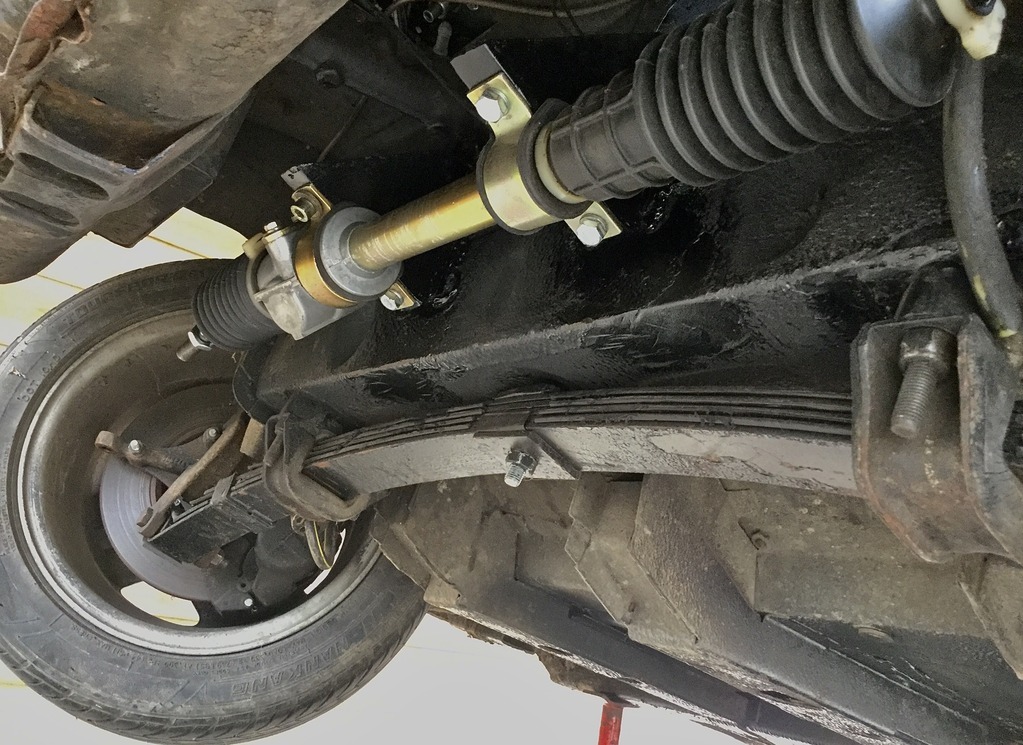 New front panel 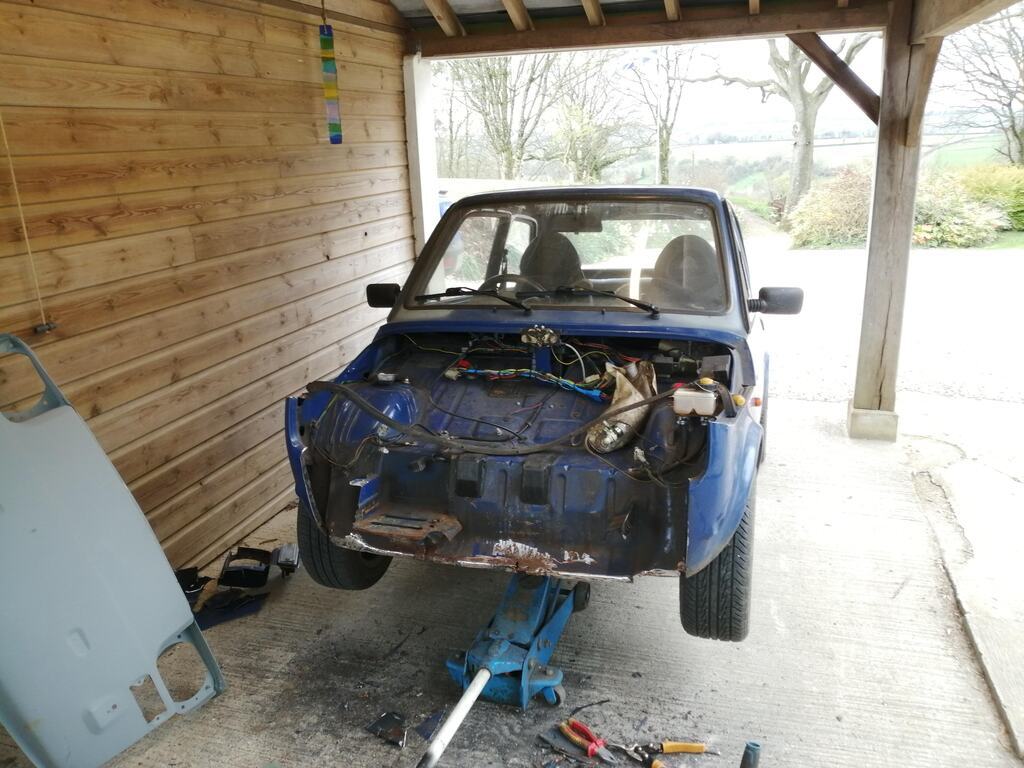 along with chrome bumpers, 6x13 ATS classic wheels with 175/50 tyres (this pic shows only the fronts fitted)  Coming up is lowering the front suspension even more, sunroof as fitted to early 126's and a full respray(colour not decided yet) I hope you like it. |
| |
|
|
|
|
|
|
|
Jul 15, 2021 17:15:08 GMT
|
|
This looks great and the ATS wheels really suit it.
My parents had these new - a 1974 N reg is a mustard yellow colour and then a 1980 W reg in light blue. Five of us + roof rack used to go on holiday in them!
Bookmarked 😎
|
| |
|
|
|
|
|
Jul 15, 2021 18:10:21 GMT
|
|
|
| |
|
|
|
|
|
Jul 15, 2021 18:53:03 GMT
|
Now with all 4 ATS wheels fitted. I really must wash it before its MOT   |
| |
|
|
|
|
|
Jul 17, 2021 18:44:35 GMT
|
|
Great work. How difficult was the RHD conversion ? Would be great if you could give some more detail on the conversion.
|
| |
Last Edit: Jul 17, 2021 18:46:31 GMT by rustymetal
|
|
|
|
|
Sept 20, 2021 22:53:37 GMT
|
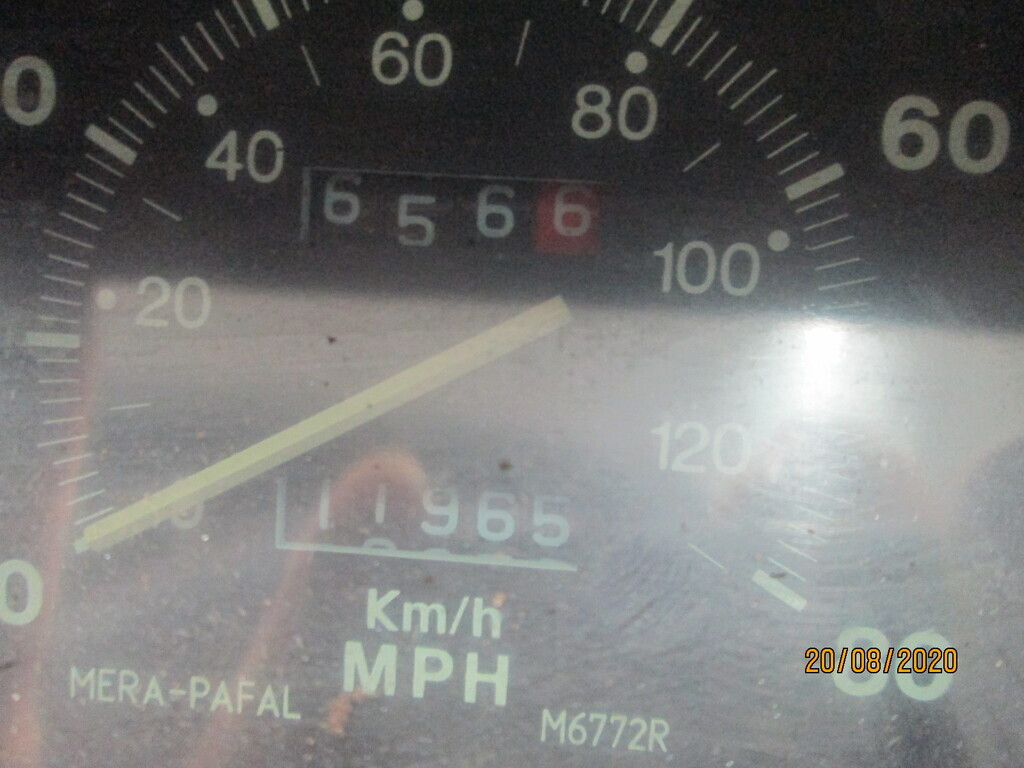
Rustymetal - just spotted your post, sorry for the delay in replying. RHD conversion not too difficult, the hardest part getting all the parts.The best way would be to get all the parts including the front bulkhead from a scrap 126, but I couldn't find such a car. I started when I came across a NOS steering rack on ebay. Later I found an RHD pedal box with brake & clutch pedals. Later still an RHD accelerator pedal. My car originally had a steering box, so didn't have the mounts for the rack. The mounts are available but very expensive for what they are. I made a set based on measurements taken from photos on the internet.I also bought new, the rack rubber mounts and brackets which again gave me some useful measurements. I also had to buy new track rod ends. After that it was a case of ripping all the old stuff out and welding in the brackets. Pedals are an easy change over and the original brake master cylinder moves over and bolts in place to the back of the pedal box. You need to cut another hole above the master cylinder and get another clip on cover. The bracket that holds the steering column to the dash was removed & welded into the right side of the car. The column itself needed lengthening by about 3". Instruments/wiring took a while. The wiring loom is mainly on the left side of the car so has to be extended to the re-located switches & instruments. I bought a secondhand loom so I could simply extend the wires with the correct colour coding.  I also took the opportunity to "retro" the car by fitting an earlier speedo which involved rebuilding the dash as shown here... 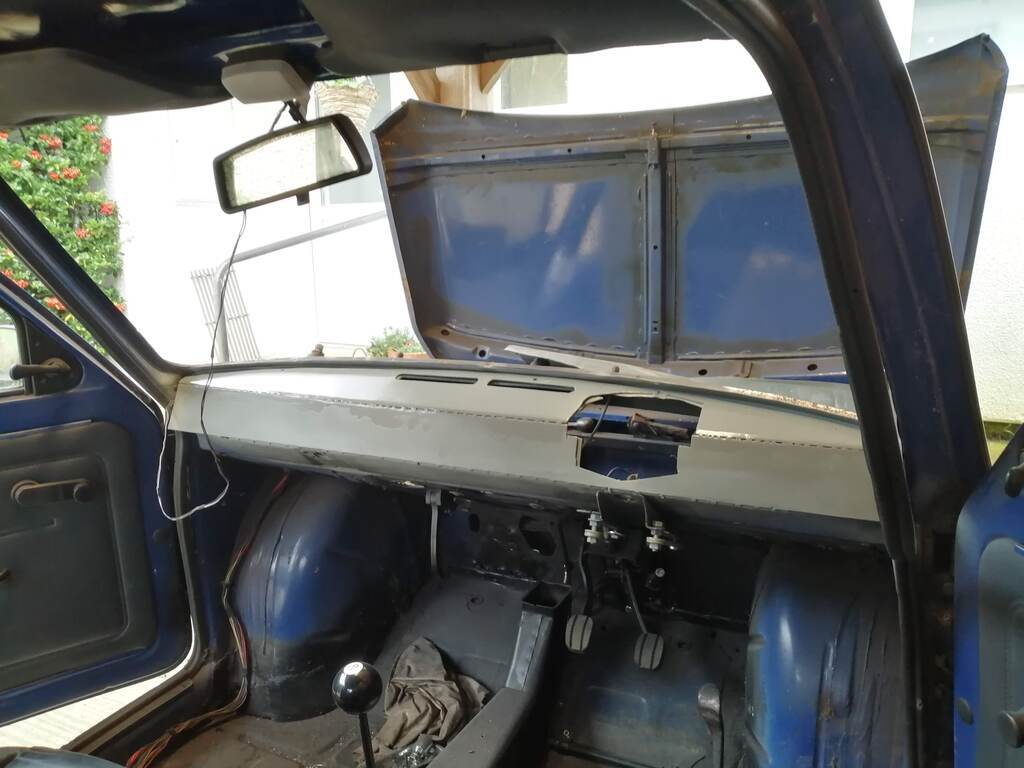 My car is only really a 2 seater because I've fitted Smart car seats which don't recline. While I was at it, I also lowered the steering column and re-aligned the brake & clutch pedals to give a comfier driving position. |
| |
|
|
|
|
|
Sept 20, 2021 23:11:56 GMT
|
The next thing I've just done is fit a sunroof from a Fiat 500. It's basically the same as the 126 but the 500 has a more "domed" roof. It's a very simple but effective way to fit a sunroof - would work on any car. I started off by dismantling the 500 sunroof & clamping the front frame to my workbench to flatten the curve. 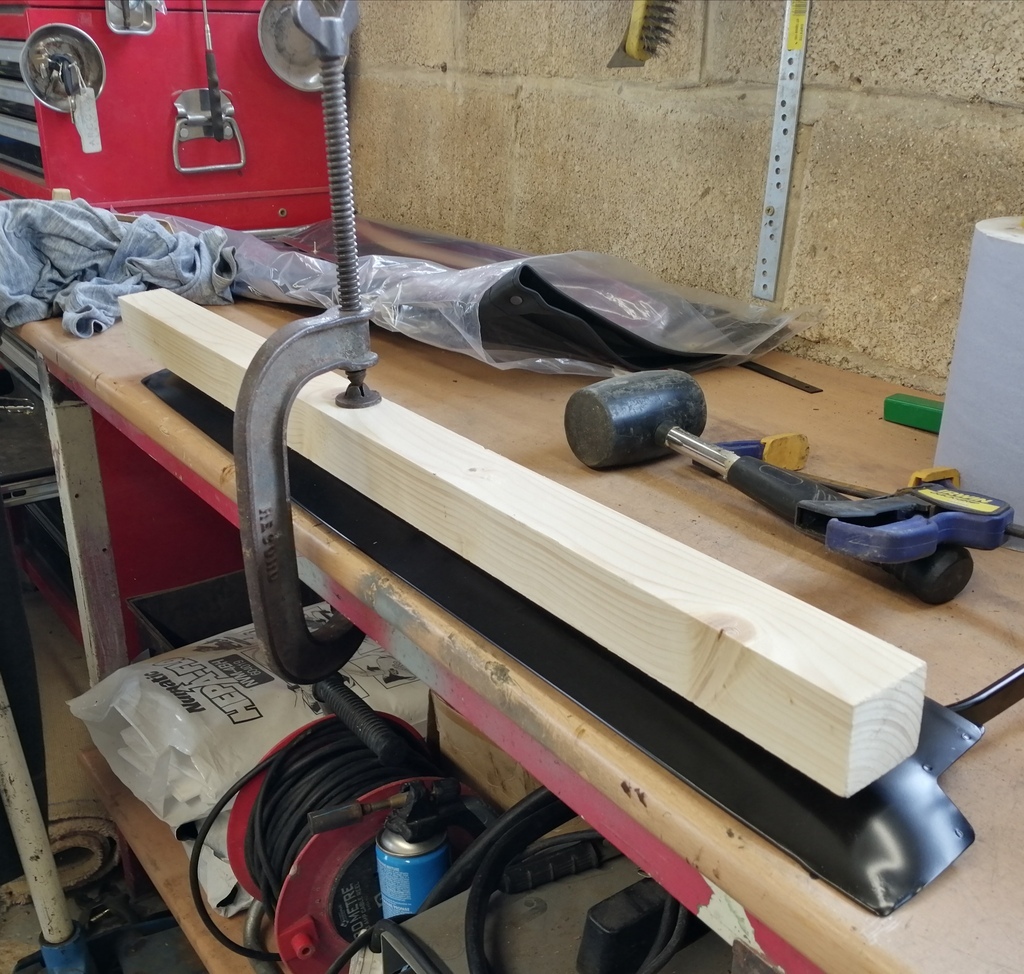 Then taking measurements from the fixings on the sunroof, I cut a hole in the roof... 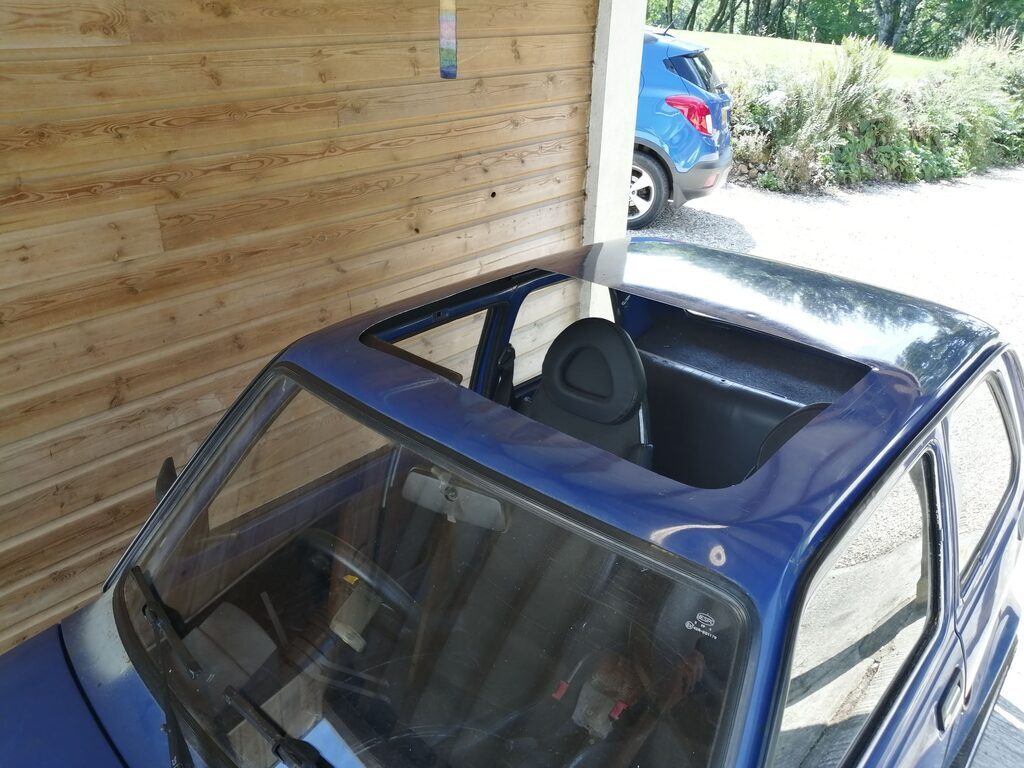 Next I made up a frame to strengthen the roof, curved to match the dome of the roof.  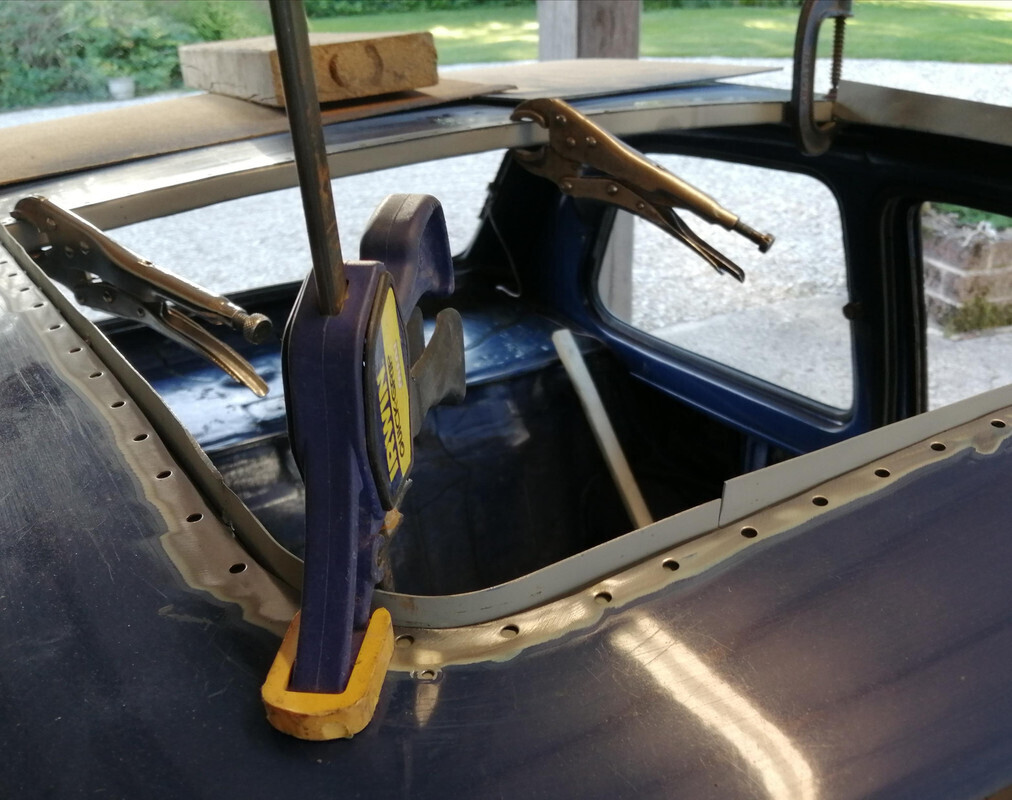 With the frame welded in position, I added a couple of bolts that the front frame hinges on and fitted the cover itself. The back part is held down with a series of bolts through the roof. The position of these bolts is critical to ensure the roof is taught when closed. Here's the finished roof - it will be coming apart soon for a full respray. (Headlining not yet finished)     |
| |
Last Edit: Sept 20, 2021 23:13:33 GMT by minijohn
|
|
|
|
|
Sept 21, 2021 8:51:09 GMT
|
|
Nice project, (and interesting write up,)
I bought one of these years ago for my ex, even at 6ft 5ins I used it for 12 months driving 16 miles each way to work lol,
Pity it was so rotten at a time when I had neither the tools or confidence to undertake such a project,
Loving the interior mods and looking forward to seeing future updates on this thread,
Nigel
|
| |
BMW E39 525i Sport
BMW E46 320d Sport Touring (now sold on.)
BMW E30 325 Touring (now sold on.)
BMW E30 320 Cabriolet (Project car - currently for sale.)
|
|
|
|
|
Sept 21, 2021 9:59:48 GMT
|
|
Enjoyed your write-up. Very skilled work, most impressive. Addition of the sunroof was a great idea. Must be great fun driving the car.
|
| |
|
|
|
|
|
Sept 21, 2021 11:04:13 GMT
|
|
Cool! I like the backdating. Is this aircooled or water?
|
| |
|
|
|
|
|
|
|
Sept 21, 2021 12:54:20 GMT
|
Thanks for the comments. Yes it's great to drive with the roof open and it's quite pleasing the car's actually quieter than before. I wonder how watertight it will be? Horrido, it's air cooled. The car is a 1990 Polish model, so not the most desirable 126. As such, I have no worries about modifying anything !! Here's a photo of the dash finished, although I'm thinking that when I do the respray, I'll ditch the vinyl, move the switches (to the roof??) and paint the dash body colour. That's sort of retro and modern at the same time.  My current "task" is trying to make the suspension a bit softer as it's hitting the bump stops because I've lowered it. The rear springs have been cut down by 1 coil and I've shortened the rear bump stops. At the front, the spring is what's known as "reverse eye" - the eyes that the uprights attach to are above the spring rather than below. I've also dismantled the spring and flipped the middle leaf. Rear shock absorbers have been fitted to the front as they're shorter and work better on a lowered 126. There's about 10mm travel before the spring hits the bump stops. I've trimmed a bit off the bump stops and drilled a hole through the rubber to soften them but more work is needed. I would like to get it this low but then I think I'd have no suspension at all. 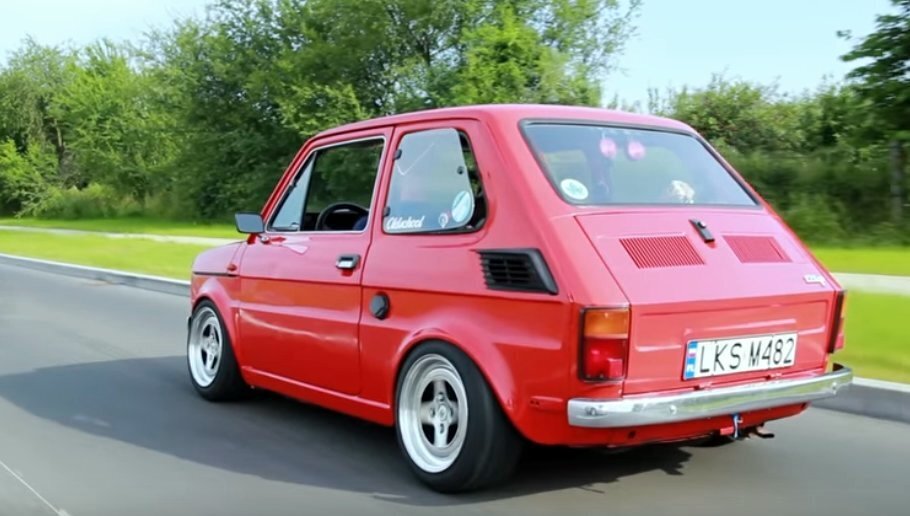 |
| |
Last Edit: Sept 22, 2021 20:04:46 GMT by minijohn
|
|
|
|
|
Oct 21, 2022 20:57:15 GMT
|
Wow, I cant believe it's over a year since I last posted an update. Latest mods include lowered rear springs (as opposed to just cut down springs), shorter and stiffer rear shock absorbers, cut down rear bump stops although I'm going to try running the car without rear bump stops. I removed the front bump stops and the front end immediately felt much better. The car is resprayed in RAL1021 yellow. Tinted film on the rear windows,square rear number plate. The reversing light has gone and the rear fog light is an LED tail light designed for a motorbike, connected up on only the bright setting. New dash switches and demister vents from Car Builder Solutions. Here's a few photos....   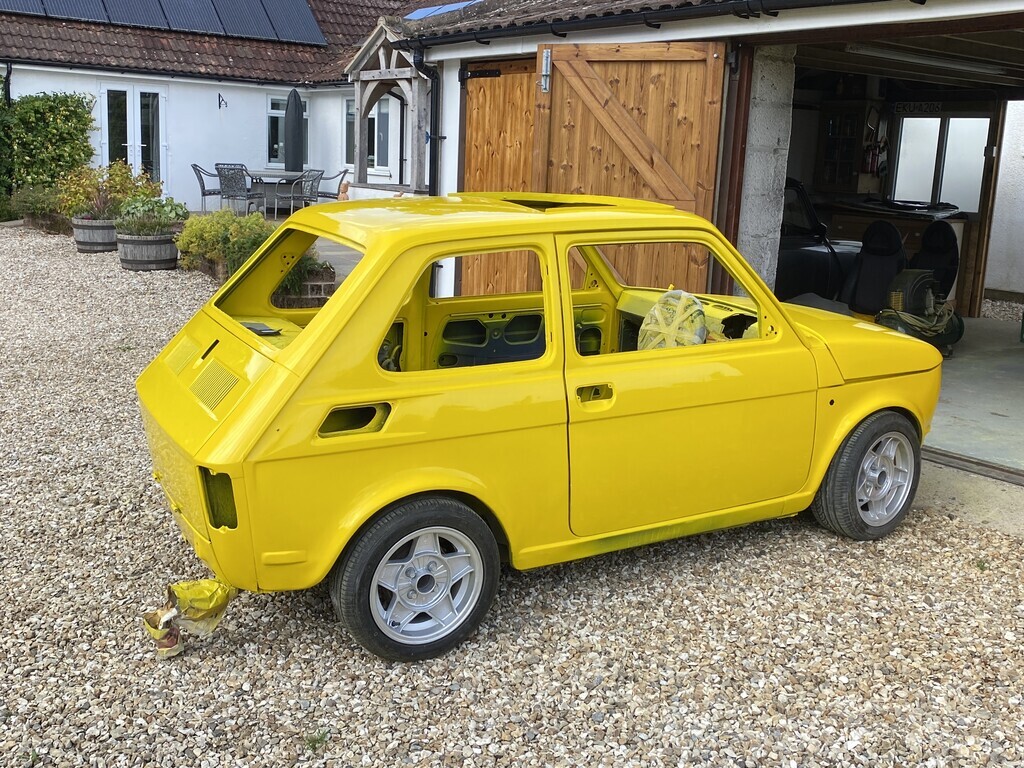 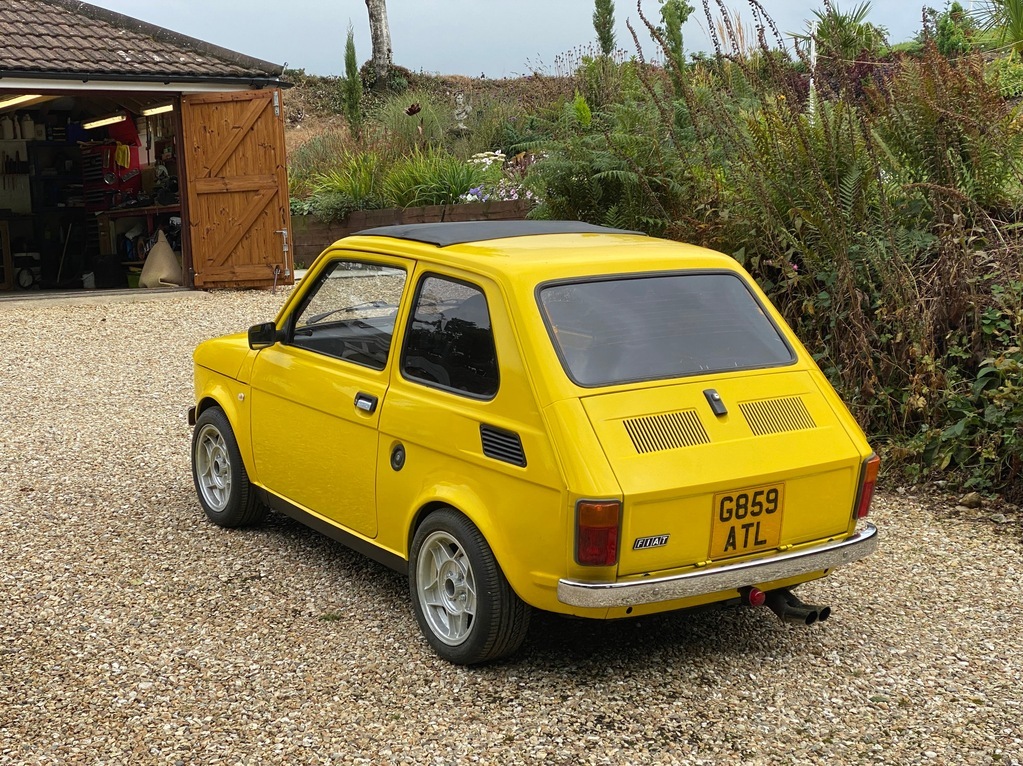 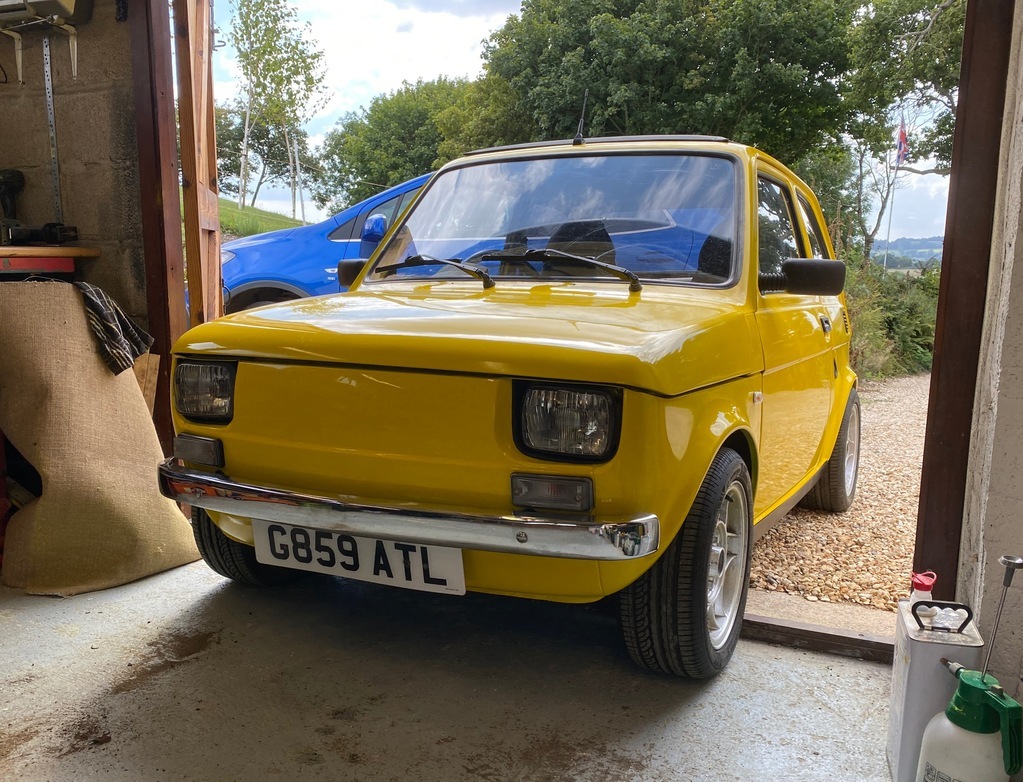 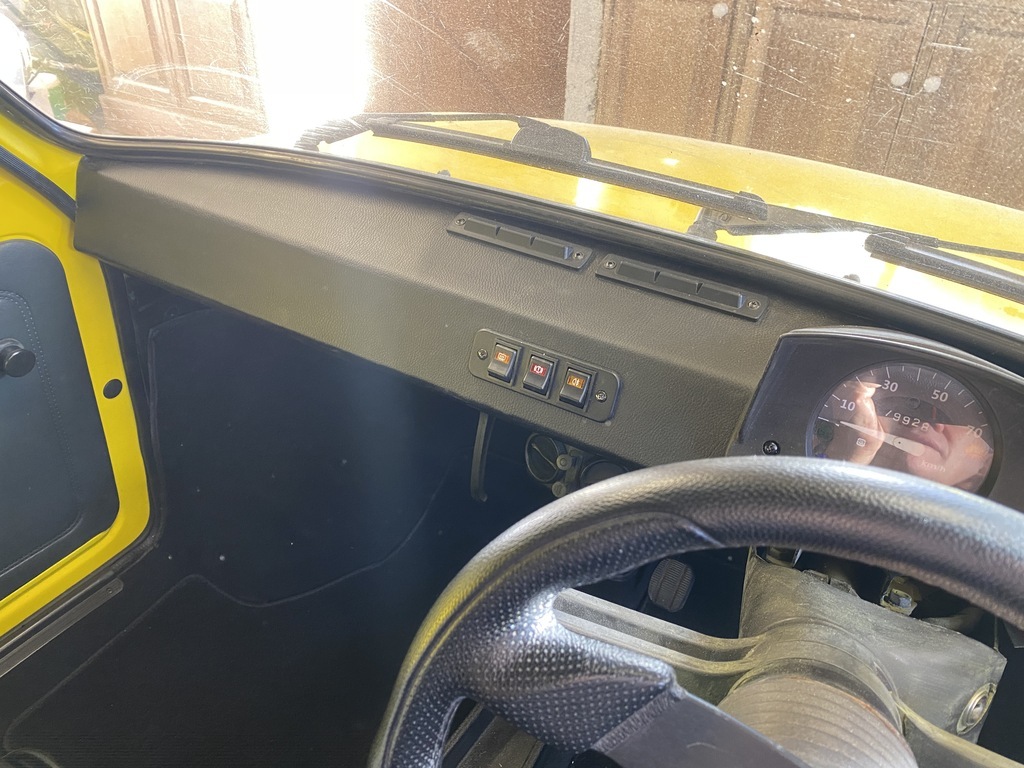 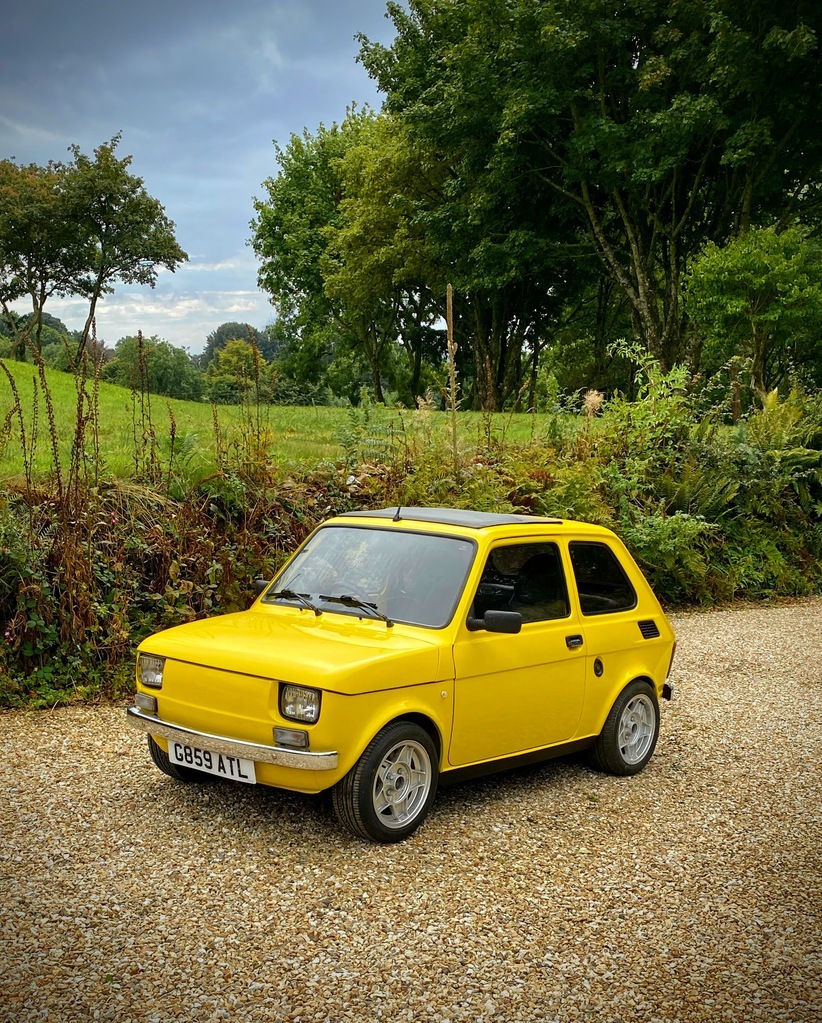 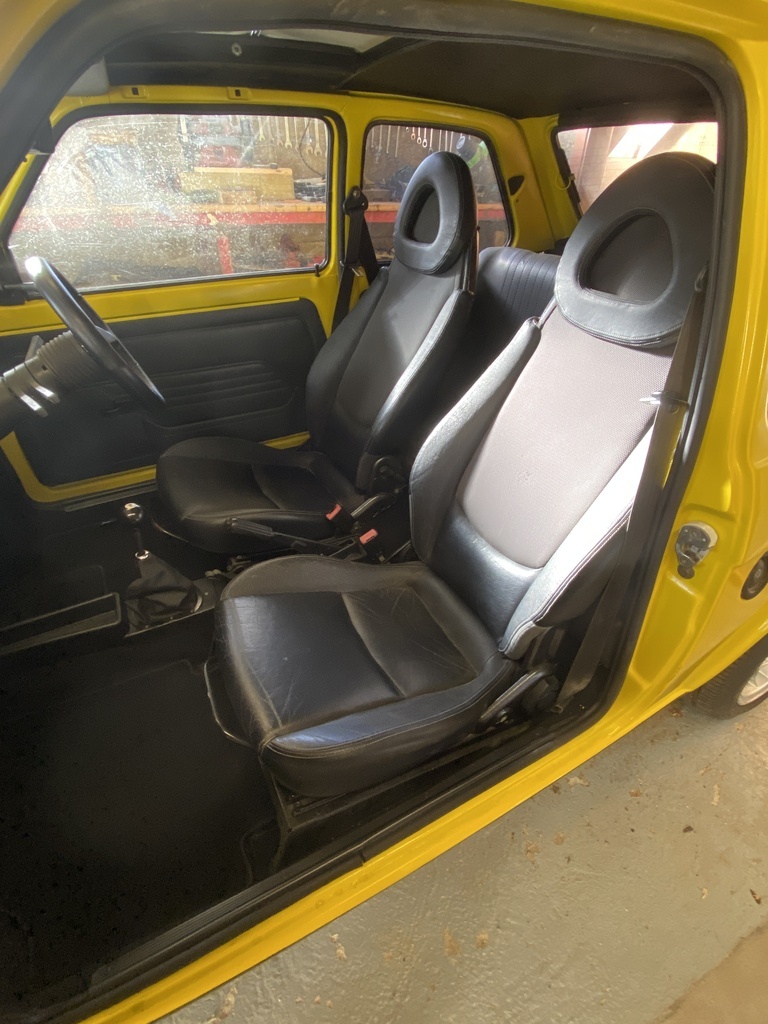 |
| |
Last Edit: Oct 21, 2022 21:10:39 GMT by minijohn
|
|
|
|
1990 Fiat 126DarrenW
@darrenw
Club Retro Rides Member 74
|
Oct 21, 2022 21:08:07 GMT
|
|
Perfect colour choice!
|
| |
|
|
|
|
|
|
|
Dec 21, 2023 21:55:37 GMT
|
Sorry, I've only just seen your post. Yes, a few updates in the last year.... I've ditched the reverse eye front spring as it was giving me too much positive camber and even worse it wasn't even on each side.I messed about for ages with shims behind the top arms but it was never right. I've now fitted a re-tempered/lowered front spring which has sorted the camber issue. At the MOT in February, there was a slight imbalance in the front brakes (slight pull to the left). The discs & pads were new a couple of years ago and as I've hardly done any miles, they were hardly worn at all. To rule out the pads being faulty, I changed them over over side to side, but it was still pulling to the left slightly. (tyre pressures all OK) I've since fitted a new master cylinder, new rear drums/shoes and new front calipers - but struggling to get a firm pedal. I'm wondering if the master cylinder is assembled incorrectly - maybe a seal back to front? - that's my next job. Once I have this sorted I'm going to sell it - I fancy a Bedford Rascal pickup I've also put some sidestripes on the car 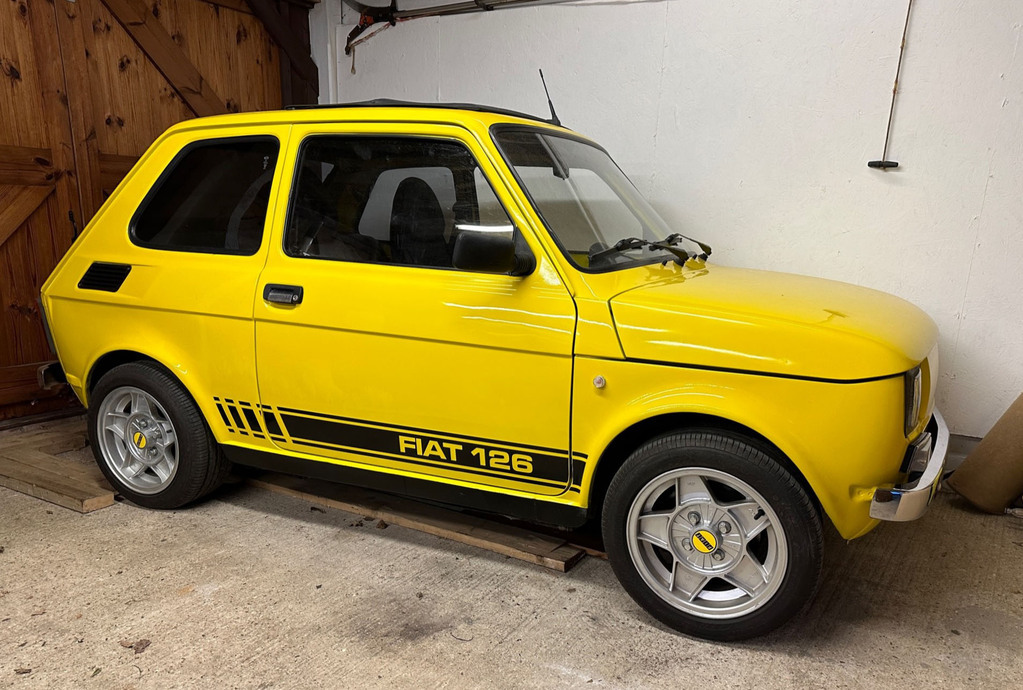 |
| |
Last Edit: Dec 22, 2023 11:37:16 GMT by minijohn
|
|
|
|
|
Dec 21, 2023 21:57:31 GMT
|
|
Excellent!
|
| |
|
|
dikkehemaworst
Club Retro Rides Member
Posts: 1,636
Club RR Member Number: 16
|
1990 Fiat 126dikkehemaworst
@dikkehemaworst
Club Retro Rides Member 16
|
|
|
|
Nice!! Abarth stripes with 126 script!! Thats original!!
|
| |
|
|
|
|
|
Dec 22, 2023 11:30:12 GMT
|
|
The side stripes I saw on ebay for the latest style of Fiat 500 with the word ‘ABARTH’
I asked the seller if he could make them with ‘FIAT 126’ in the same font - which he did and didn’t charge me any extra.
|
| |
Last Edit: Dec 22, 2023 11:38:43 GMT by minijohn
|
|


