|
|
|
|
|
I hope these photos clarify the idea of the line following through back to front. I'm aiming for smooth lines and nothing aggressive or oddball like a Bat Mobil! 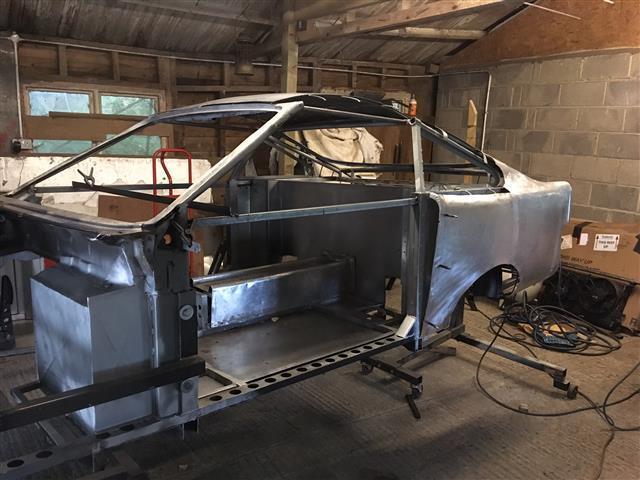 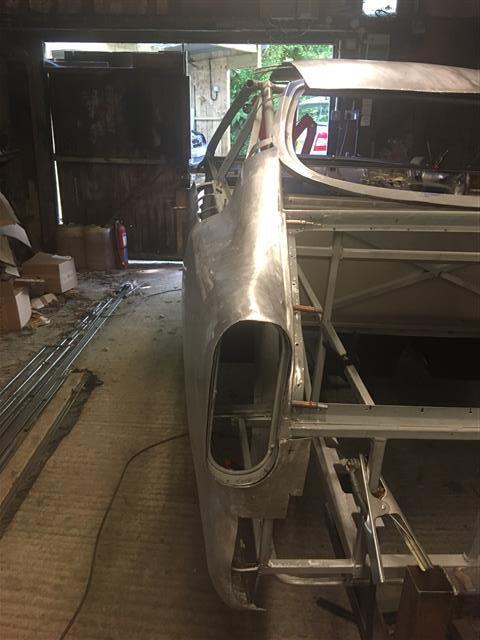 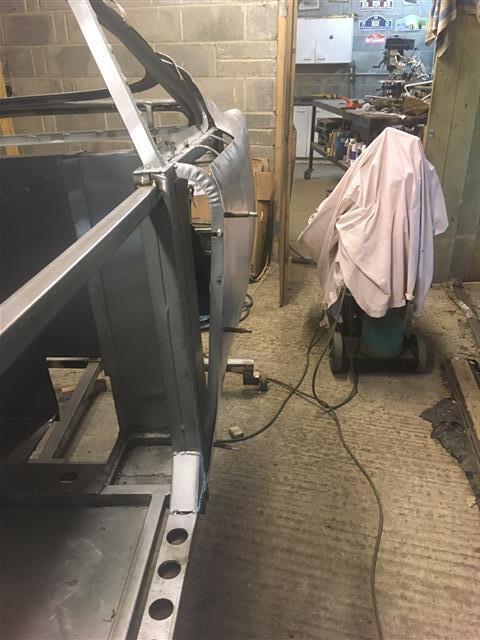 And a better picture showing the tube that was cut out yesterday 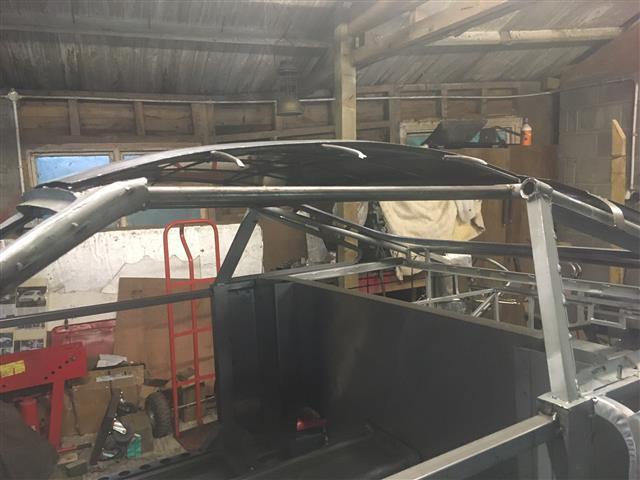 Thank you for your comments. |
| |
|
|
|
|
|
|
|
|
|
Looking good John  You sure you don't want batmobile tailfins  |
| |
|
|
|
|
|
|
|
Looking good John  You sure you don't want batmobile tailfins    |
| |
|
|
|
|
|
|
|
You sure you don't want batmobile tailfins  We can make it work! Where's your sense of adventure? ;-) |
| |
|
|
|
|
|
|
|
|
|
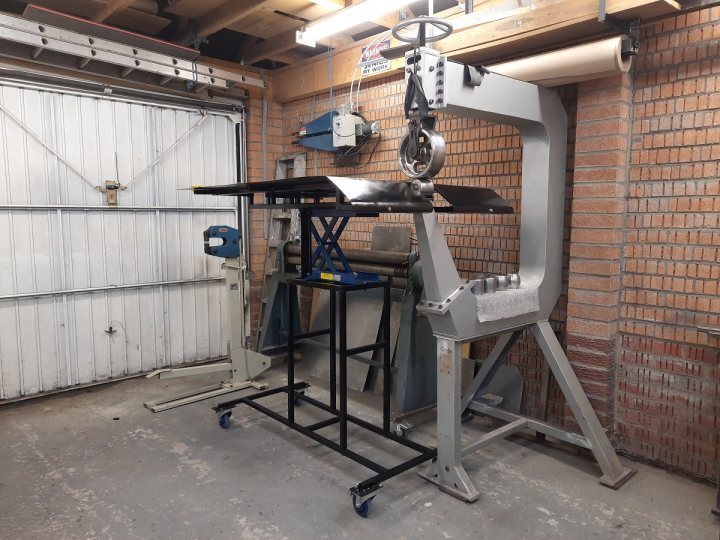
Please don't regard any of my meanderings in the realms of metal shaping as tutorials. I'm just reporting what I'm doing and how I am tackling the various panels. In most cases, I have little experience on which to draw which is why sometimes my first attempts don't work very well. I did say that I would explain how I formed the reverse curve which was quite easy on the small piece that I formed. This time I decided to make the section larger to avoid a join in an area which is difficult to planish. The first thing was to make a paper pattern based on the side that has already been done 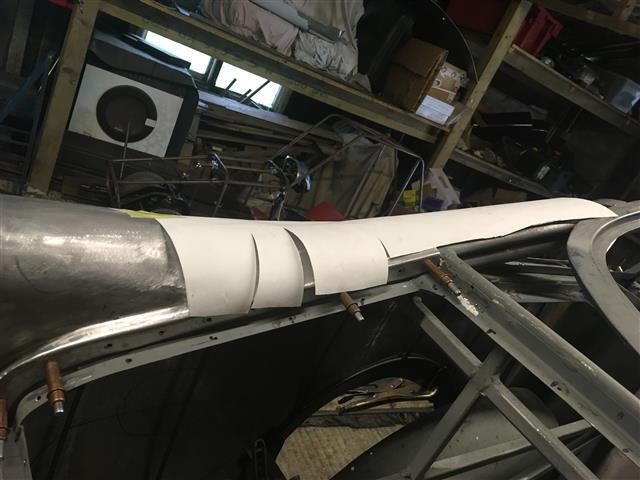 This is useful because it shows exactly where stretching has to take place. After cutting the aluminium blank I put a manual bend in by forming it round the top roller. 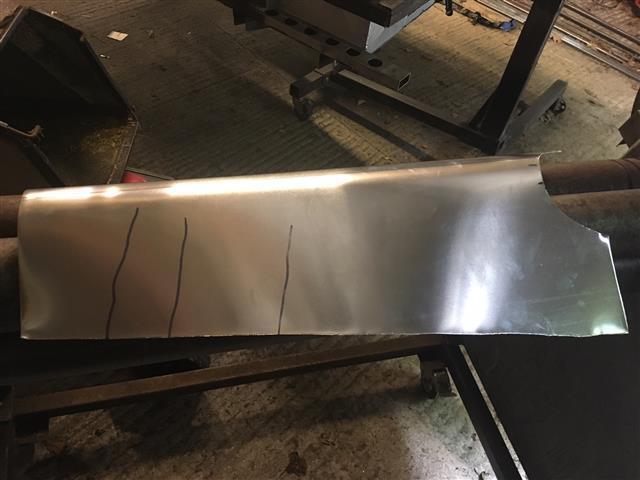 With the CROWN of the curve at the bottom I wheeled either side of the curve to stretch the aluminium and this causes the curve to bend or bow. 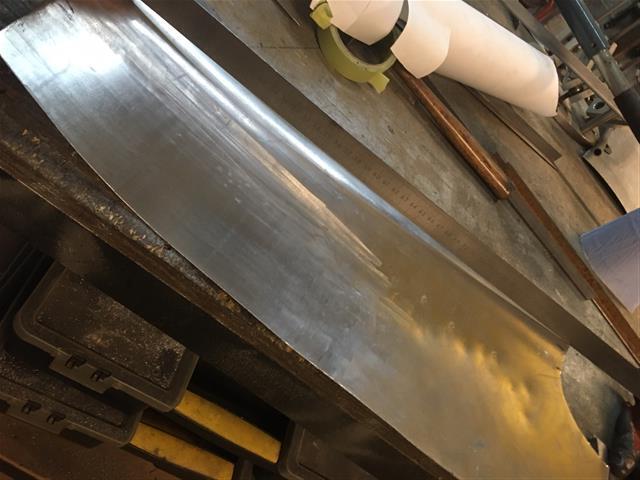 After a spell wheeling, the panel needs adjusting with a slapper to flatten the curled up ends and keep it under control. 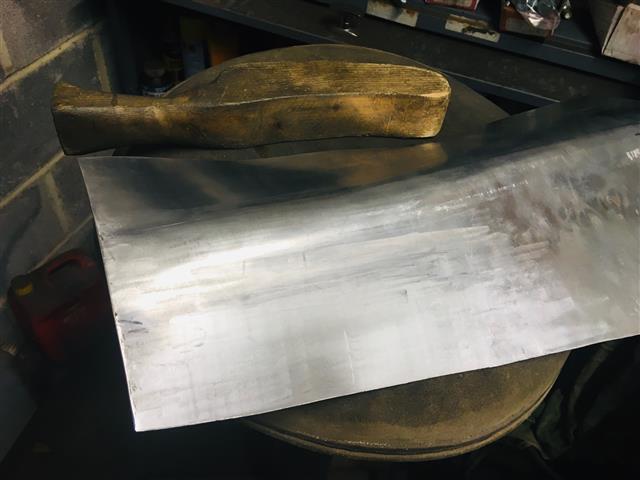 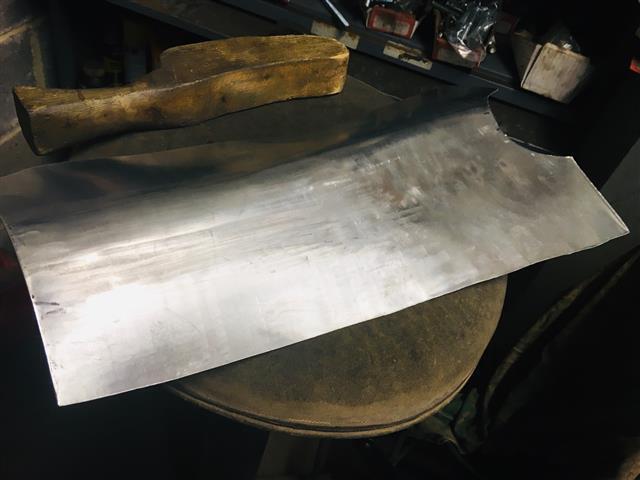 There is a long way to go but we're heading in the right direction. 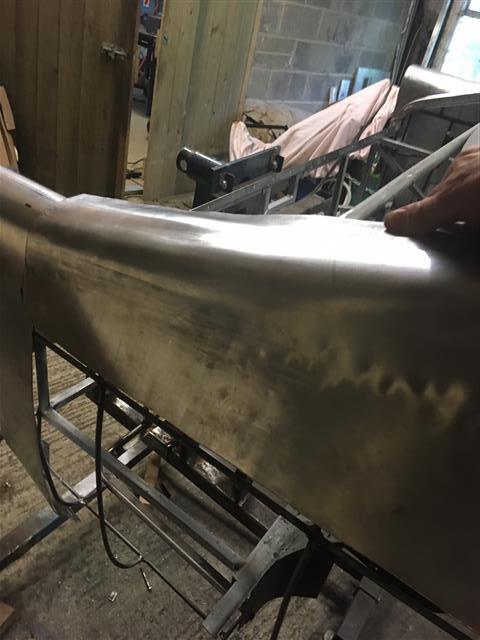 |
| |
|
|
|
|
|
|
|
This Rolls Royce has a similar top of the rear fender going into similarly stacked tail lights. But it follows a much straighter line than the Aston Martin does. And for me, it works... The side trim with a very slight downward curve to the rear helps it though ( maybe once the sides are farther along, that could be something to play with some tape to see what that would do on yours... ) Love how this car is coming along, John. 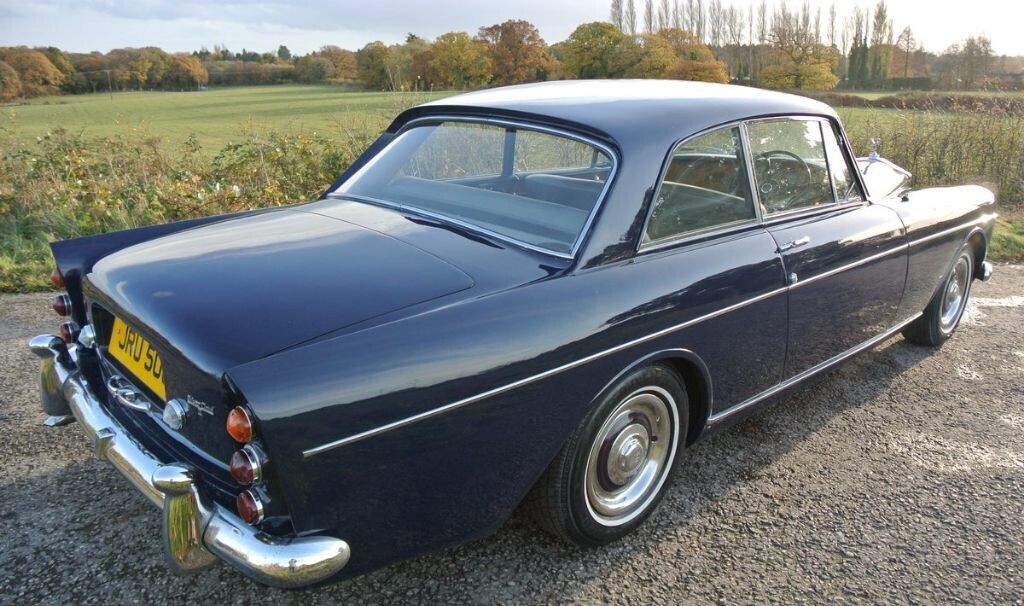 |
| |
|
|
|
|
|
|
|
|
Interesting that they are the same lights as the DB5 and very similar to the series Land Rover, the main difference being the price.
|
| |
|
|
|
|
|
|
|
There have been a number of times today when I questioned the benefit of making this panel in one piece. I've found it difficult to form. There is quite a lot going on and it didn't help when I got carried away with the reverse curve and ended up over stretching resulting in the need for some serious shrinking. So even at that early stage the piece looked a bit worked on and even more so when shape was put in with the bossing hammer. 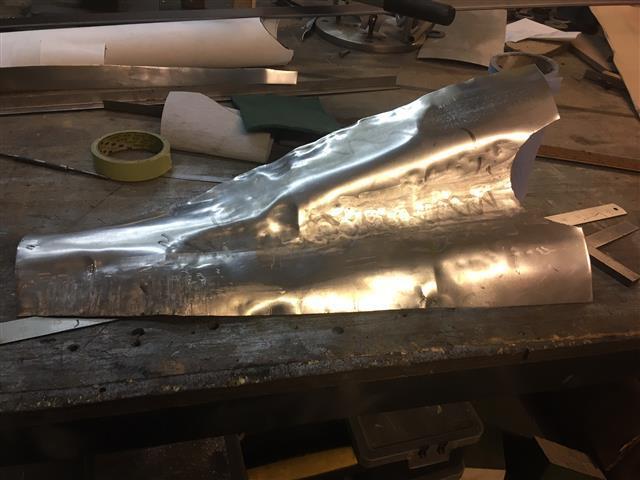 But little by little with alternate planishing and hammering the shape evolved but still a long way to go before the curves flow and most importantly it matches its partner on the other side. 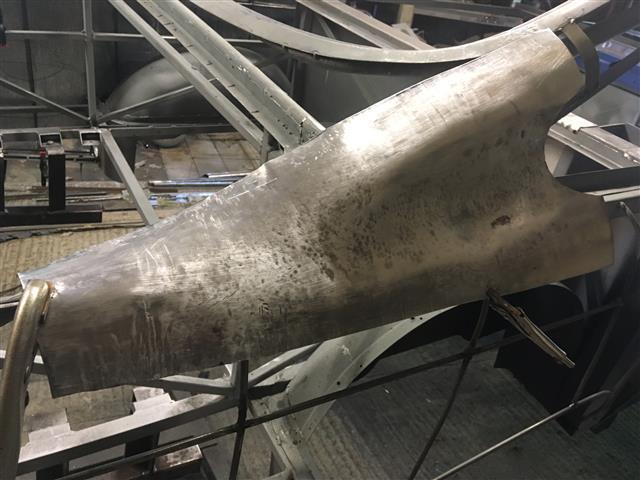 |
| |
|
|
|
|
|
|
|
One lesson I have learnt over the years I've been trying to shape metal is that no matter how bad things might look early on in the development of the panel do not bin it because it will invariably turn out nicely in the end as in this case. I've probably spent 8 or 9 hours making it but I'm pleased with the end result which is now ready to be trimmed and welded. 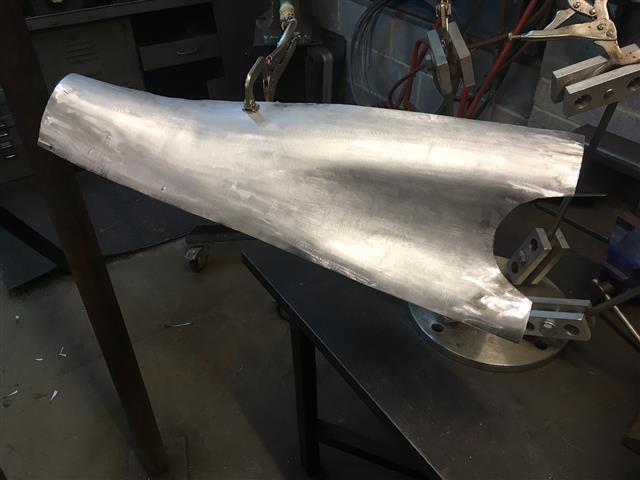 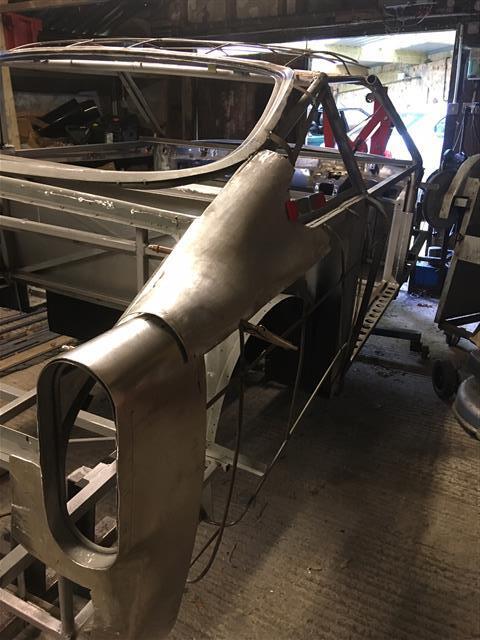 I'll probably make the lower panel next before any welding. |
| |
|
|
|
|
|
|
|
Amazing transformation John  great work! |
| |
|
|
|
|
|
|
|
Amazing transformation John  great work! Ha ha, yes it surprised me as well but I always keep in my mind Wray Shelin's comment that metal is putty and can be made into any shape. |
| |
|
|
|
|
|
|
|
Once again Simon Hall of SiFab has done a cracking job making the tank, this time in aluminium. The first tank he did for me was for the G15 in stainless steel which was also excellent. 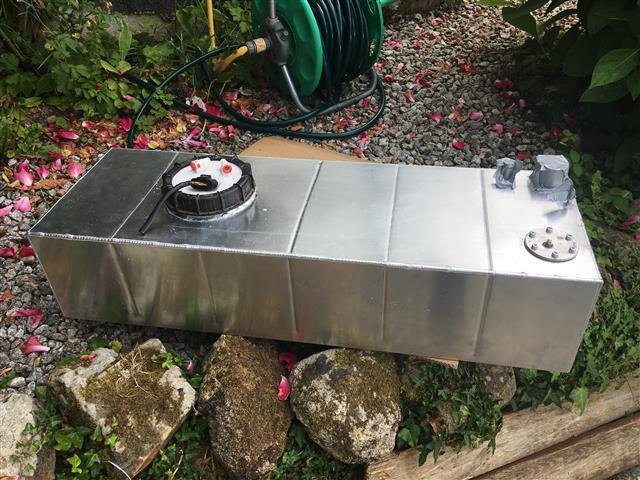 |
| |
|
|
|
|
|
|
|
|
|
|
|
| |
Last Edit: Jul 6, 2021 17:36:41 GMT by rdodger
|
|
|
|
|
|
|
That really is interesting because I was thinking on the same lines. On the face of it, it's a great idea if you are wheeling on your own because it will stop the panel from sagging in a corner which is what causes distortion. It would be interesting to hear what a professional has to say about it. |
| |
|
|
|
|
|
|
|
I forgot to mention that the template for the revised body tubes (these are the ones with a curve that fit above the door and replace the straight ones) has been sent off to Tom Wood at Tube Bender tube-bender.co.uk/ for forming. Although I have bought cds tube from them, this is the first time I've asked them to do any bending. They keep the tube in stock and what I've asked them to do is not a problem. I'll post some photos when I receive them. Meanwhile I'm chipping away at the panels, today being spent welding. Perhaps not a lot to show for it but the welding went well and the shape is pretty good I think. Once again the Octopus did a fine job holding the two pieces together while tacking. 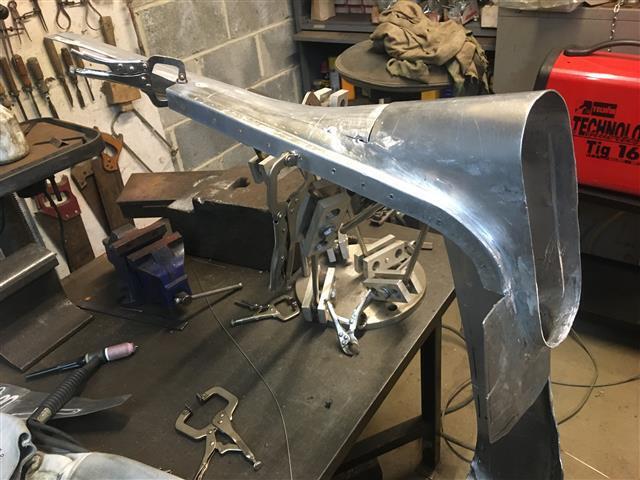 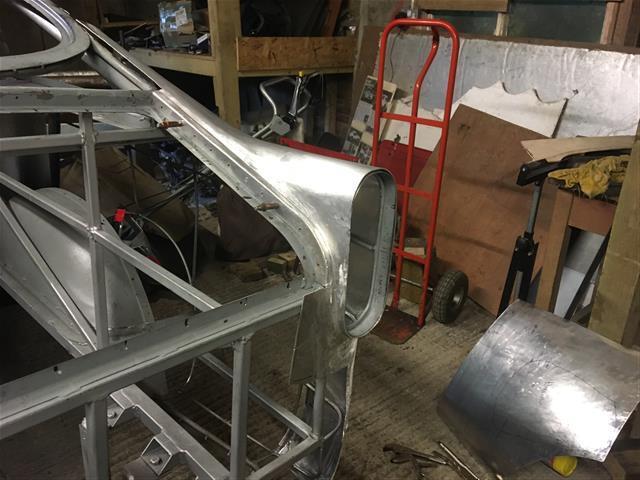 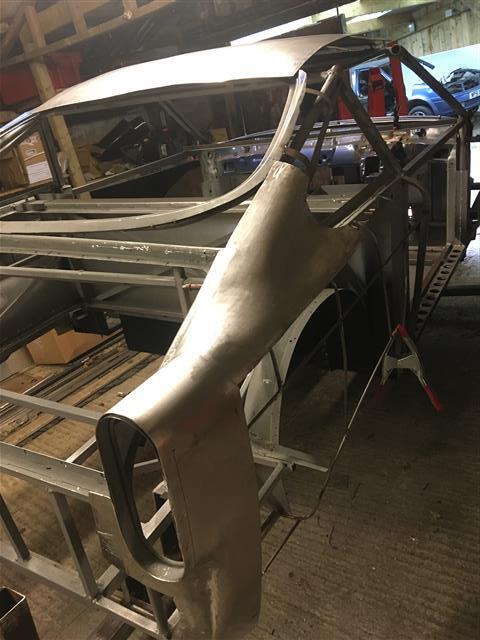 |
| |
|
|
|
|
|
|
|
I found these rather nice clamps on Amazon and they arrived this morning. Very strong spring and gripping power and with rubber tips to avoid damage to the soft aluminium. They should be idea for holding the panels on the wire frame. 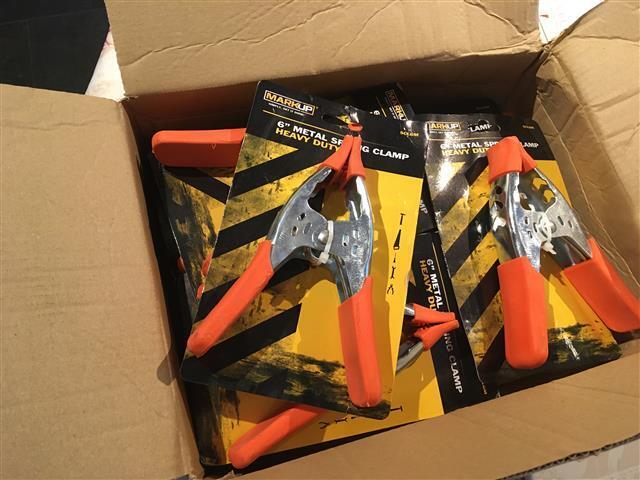 A friend of mine who is a master metal shaper once demonstrated using off-dolly how to move unwanted metal from a high to a low. It was quite extraordinary but if you accept the concept that metal is putty, quite credible. The same thing can be done with the wheeling machine by pulling the panel up when it's moving away and then and then you simply push it forward and the metal goes with it. I was able to try this with this last panel and it's quite amazing how it works. The two panels were clecoed together and the trimming line marked. I always scribe a couple of lines across both panels so that they can be lined up eaxactly when clamping prior to welding. 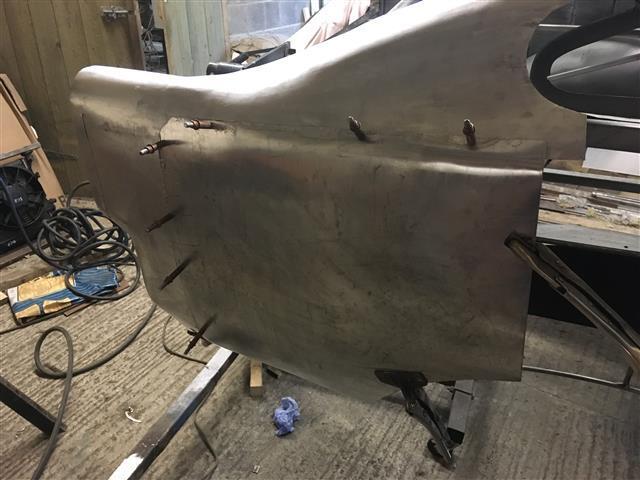 I'm now pretty happy with the shape and I've just started tacking the two pieces together. 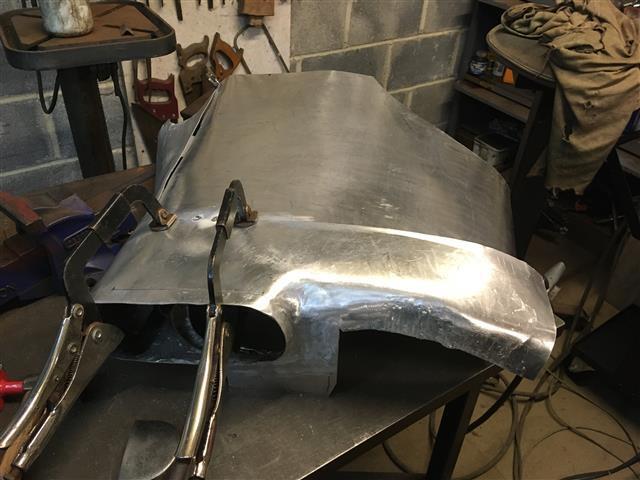  |
| |
|
|
gazzam
Part of things
 
Posts: 742 
|
|
|
|
|
Coming together vey nicely. That rear end is looking quite stylish.
I’ve had a bit of a revelation on the TIG front. I noticed that the earth clamp was getting quite hot. Tried unsuccessfully to get a better connection where the lead attaches to it. So I replaced the clamp and it’s a different machine. I don’t know how I didn’t spot it before this, I suppose I had gloves on. Anyway, might be worth checking on yours.
|
| |
|
|
|
|
|
|
|
Coming together vey nicely. That rear end is looking quite stylish. I’ve had a bit of a revelation on the TIG front. I noticed that the earth clamp was getting quite hot. Tried unsuccessfully to get a better connection where the lead attaches to it. So I replaced the clamp and it’s a different machine. I don’t know how I didn’t spot it before this, I suppose I had gloves on. Anyway, might be worth checking on yours. Ah, now that is interesting, I'll check. Thank you. Two good bits of news today. The bent tubes arrived from Tube Bender. They match the template perfectly and what amazing service. A nice firm to do business with. The second, I heard from Mark Shillaber at SRD that he has received the ecu loom so I'm hoping it won't be long before he gets the engine on the dyno. Moment of truth time because we'll know if the engine is any good or not. |
| |
|
|


