|
|
|
Aug 27, 2023 20:08:36 GMT
|
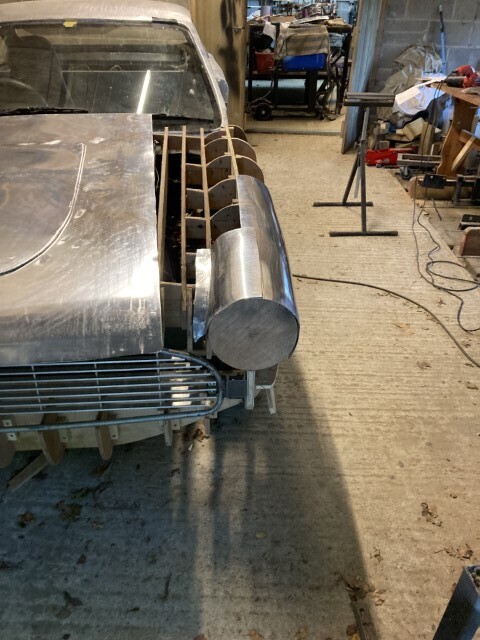
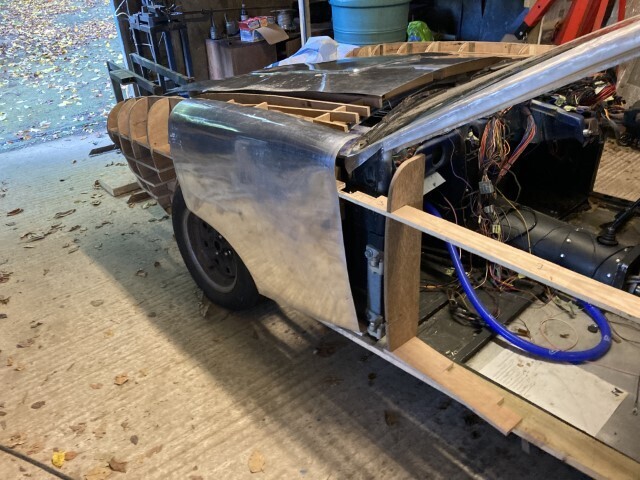
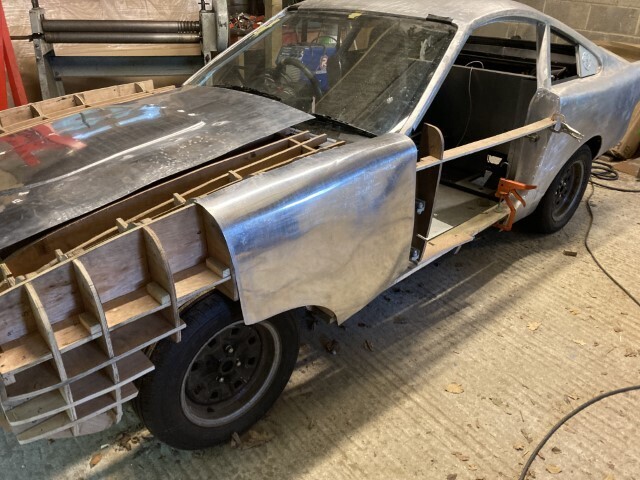
Right, good questions. I'm following the modern trend of having the windscreen end of the bonnet overlapping the scuttle, sitting 30mm higher and semi shrouding the roots of the wipers. Our MK1 Octavia has a similar arrangement so the precedent has been set. From the front the bonnet does seem to project outside the A post but it does in reality line up perfectly with the doors (not yet made) and the rear quarter panel. This photo illustrates what I mean. 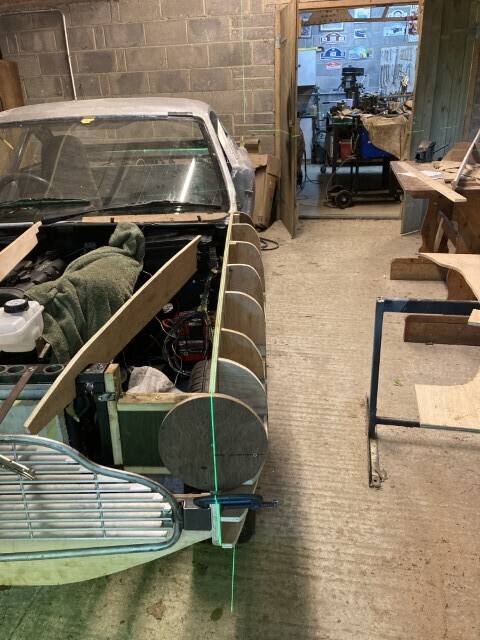 |
| |
|
|
|
|
75swb
Beta Tester
Posts: 1,052
Club RR Member Number: 181
|
|
Aug 27, 2023 21:02:21 GMT
|
|
Staple it down, bit of resin for strength and send it?
|
| |
|
|
|
|
|
Aug 27, 2023 21:05:07 GMT
|
|
Love it!
|
| |
|
|
|
|
|
|
|
|
|
And not dissimilar to Horrido's render which is encouraging. Now follows an enforced break while we take the TR over to the Isle of Man for a few days. 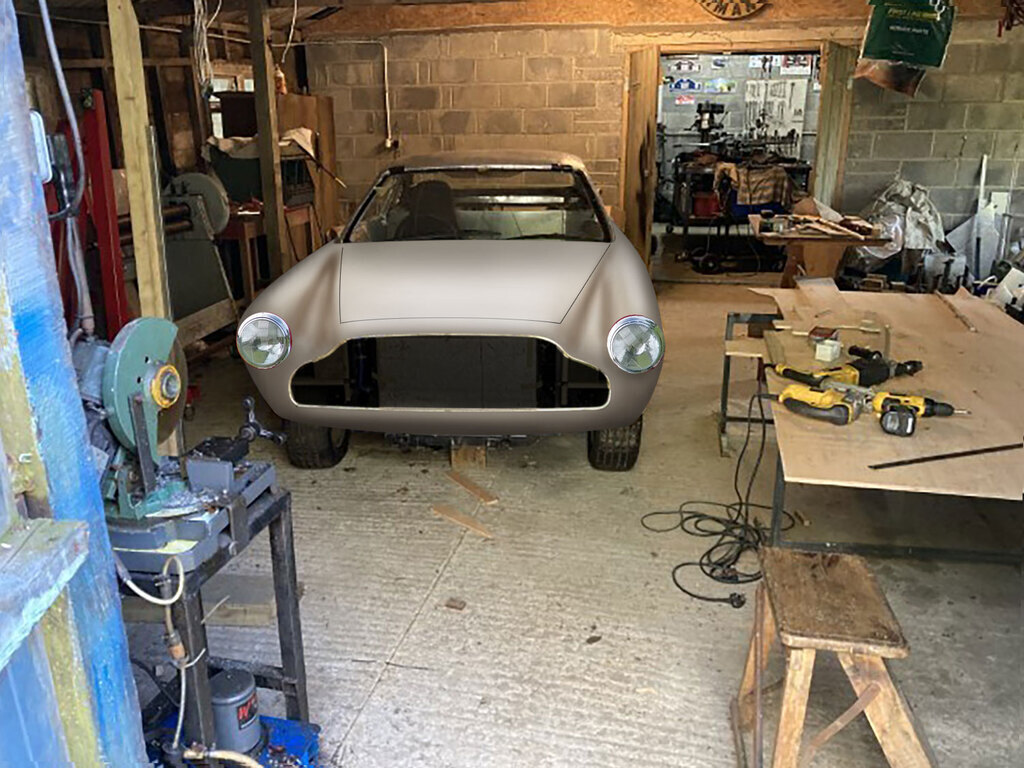 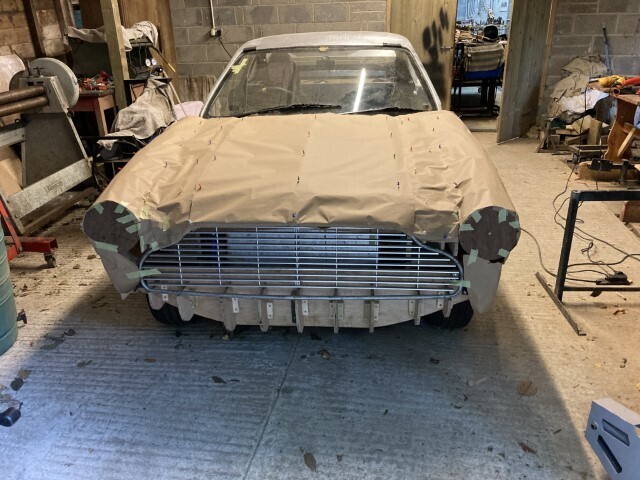 |
| |
|
|
16grit
Part of things
 
Posts: 215
|
|
|
|
Very much enjoying your work on this Thinking about your scuttle/wing detail, I thought of my Davrian, as this has a slightly unusual arrangement where the lower corners of the screen are actually covered by the wing tops as the shape morphs into the doors, hope you can get an idea of this from the pics 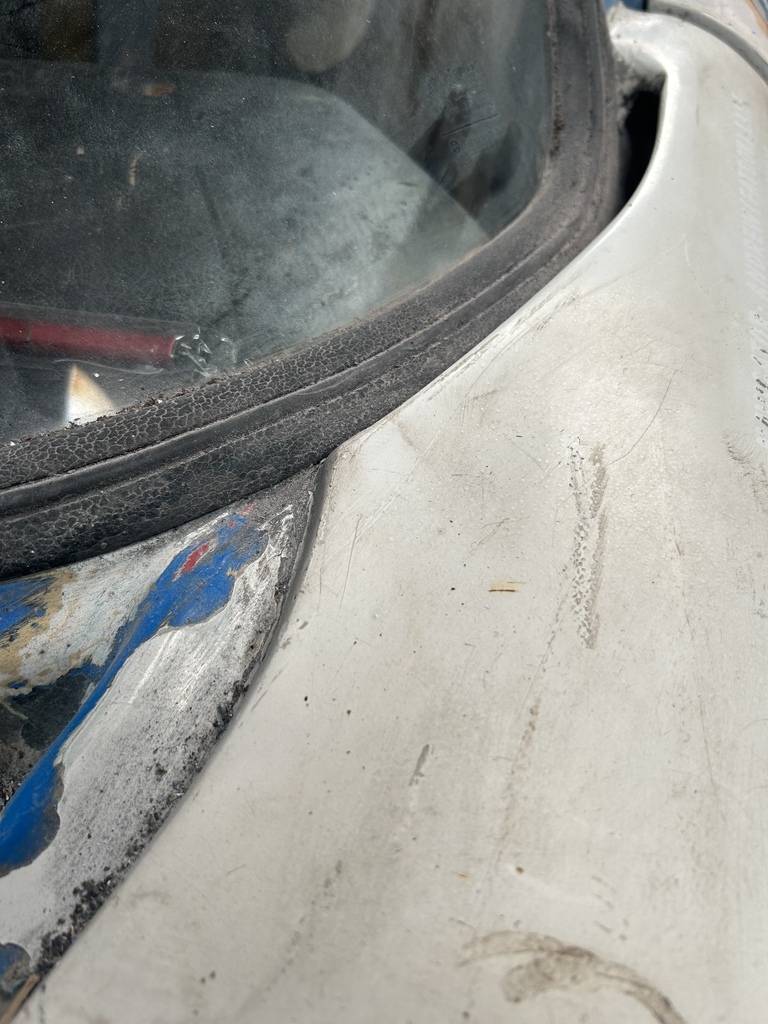 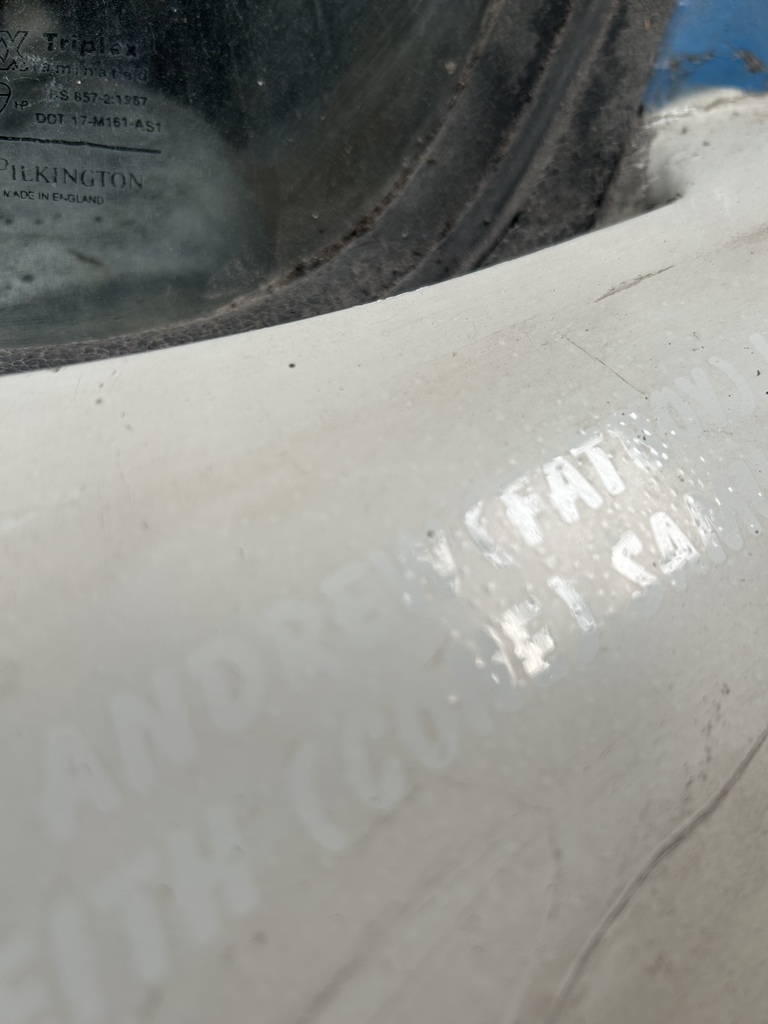 |
| |
|
|
|
|
|
|
|
|
ah yes i forgot the door skins were not fitted yet , thank you john .
|
| |
|
|
|
|
|
|
|
Sept 16, 2023 12:26:35 GMT
|
|
|
| |
|
|
|
|
|
Sept 30, 2023 15:03:04 GMT
|
It's quite extraordinary that now, with the polished top wheel, how its surface finish transfers itself to the panels so that they too have a pleasing polished surface. This also aids spotting the lows and highs which can we worked out. 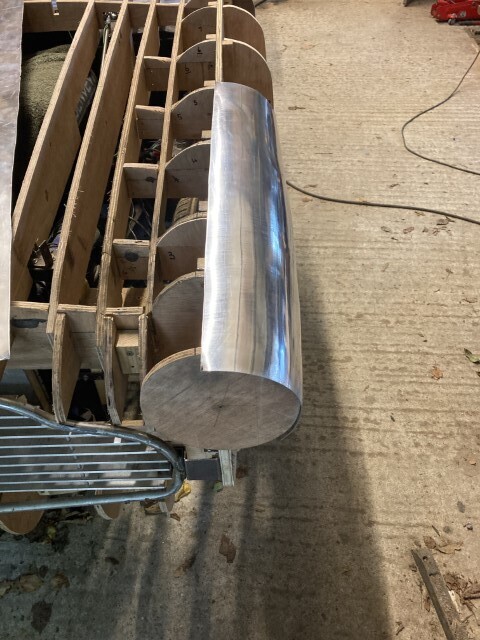 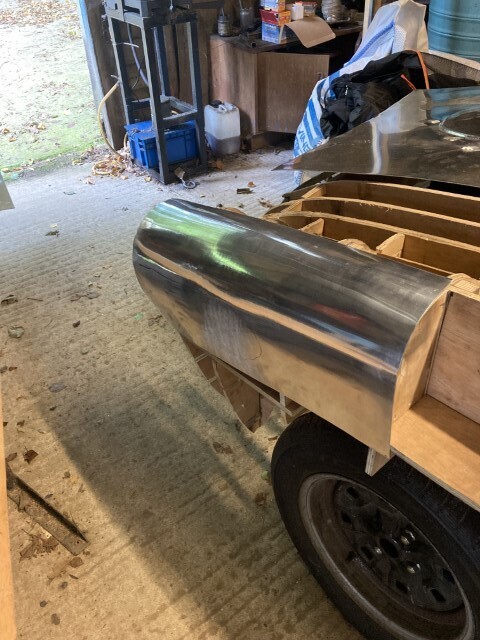 |
| |
|
|
|
|
|
|
|
|
|
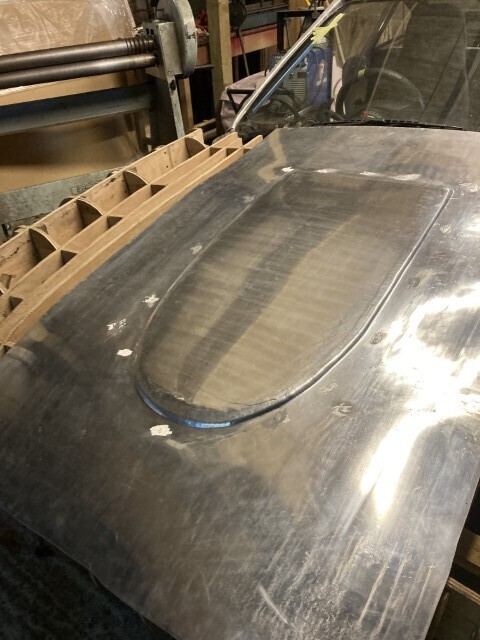
Armed with the knowledge gained with the previous panel, I tackled its counterpart with a little more confidence not a little bolstered by a better understanding of how the metal moves, particularly the the effect of putting shape in one section and how it adversely affects the shape in another part of the panel. Here is an example. In the first picture it shows the rough shape having been blocked out with a bossing mallet and the second, a steel rule on edge showing the concave dish that develops in the flat lower section. 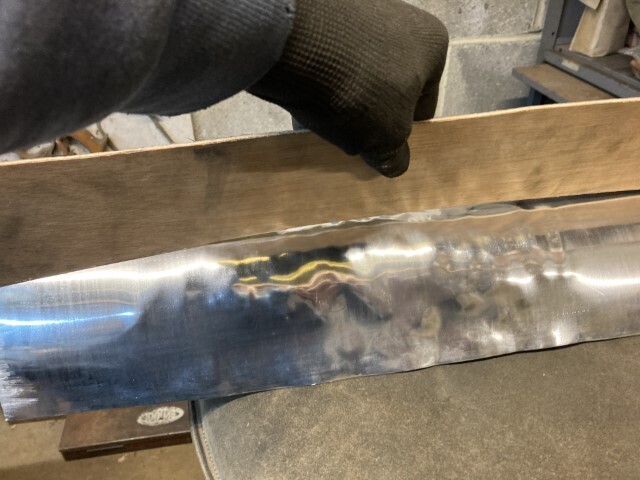 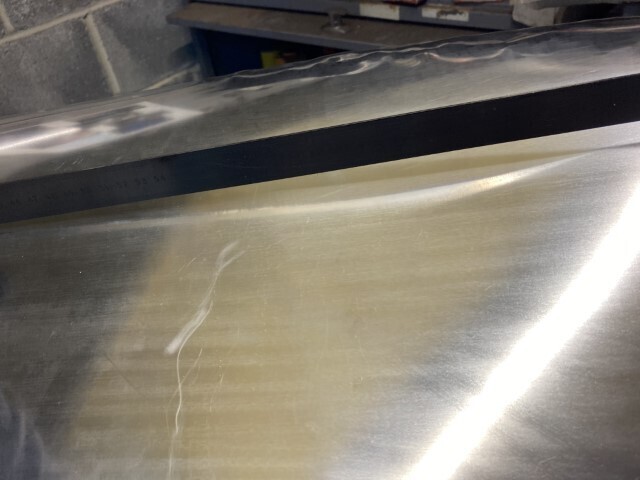 Don't lose control of the panel is great advice handed out in many of the instructional metal shaping videos. It is vital to spot when the panel is starting to go off on its own and rectify the situation before it develops into a major issue. Metal moves slowly and it is necessary to encourage the shape to develop in easy stages, for example, blocking, smoothing and shape adjustment before repeating the process. Producing a panel using traditional methods really is a very difficult and complex operation, the route to a perfect panel being full of obstacles all intent on preventing the arrival at the destination. Perhaps as a little more than a beginner I should have prefaced the above by saying that these are just my observations and insights into a highly skilled trade that I can only dip into. I would be very happy to take advice from any time served metal shapers who may be following this thread. Thank you for your continued support and encouragement. |
| |
|
|
75swb
Beta Tester
Posts: 1,052
Club RR Member Number: 181
|
|
|
|
|
Your talents never cease to amaze me, that and that you're still taking time to learn despite having built cars before!
|
| |
|
|
|
|
|
Oct 23, 2023 17:18:57 GMT
|
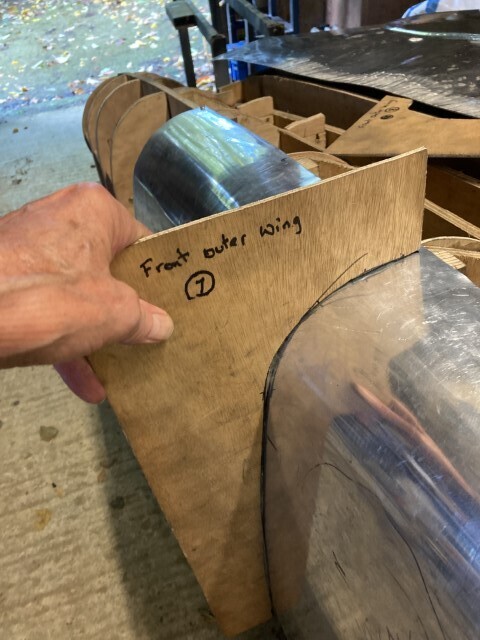
Since the last offering nearly three weeks ago, there has been a lot of effort but not a huge amount to show for it. Quite a bit of time has been spent on tweeking and adjusting the buck to produce a more flowing curvature and in some cases, rectifying stations that were not the correct shape. The next panel is the outer wing section back to the scuttle which, I naively thought would be quite easy and straightforward. When will I ever learn? Every panel no matter how insignificant fights me every inch of the way and in the end it becomes a battle of attrition and this one is no exception. And the thing is, it doesn't become any easier. My plan was to form the radius following on from the headlamp profile using the slip rollers and then just wheel in a bit of shape where needed and this is how I started. The curvature corresponding to the first two stations was pretty close but it was a mile off all the way to the scuttle. No matter how much I tried I could not get it right and in the end, in desperation, I hit on the idea of annealing the part of the curvature that wouldn't play ball and using some timber cut to suit, pressing in the correct shape without interfering with the front ten inches or so which was pretty much right. It needed two different timber profiles cutting and several pressings moving progressively along the panel. It's not far off now and just needs nit picking out the few lows that show up when looking down the side of the panel. Dare I hope that armed with the knowledge gained from forming this side that the otherside will be a doddle? It would be a brave man who bet on that! 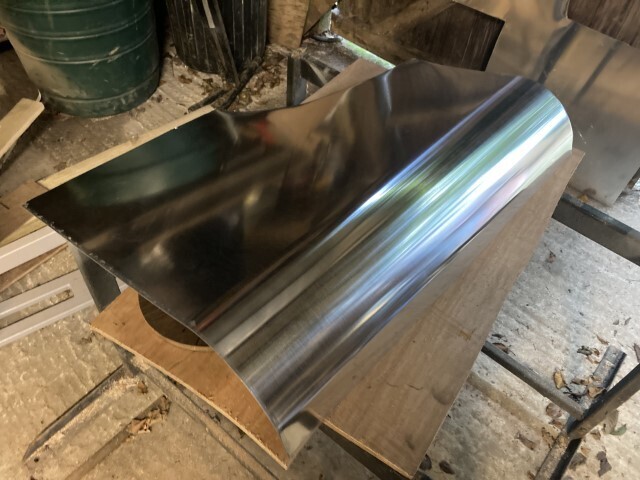 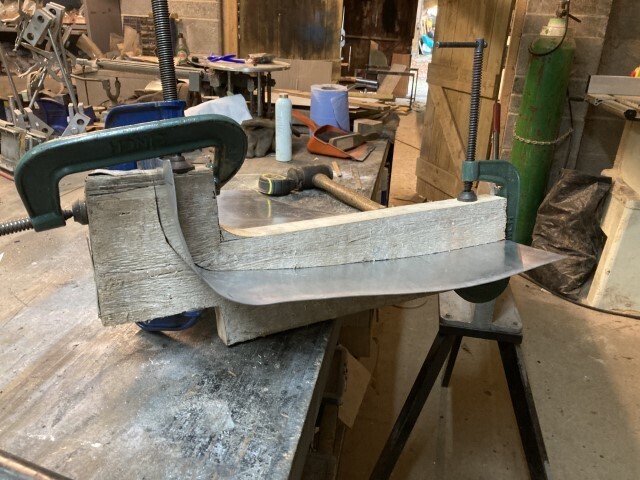 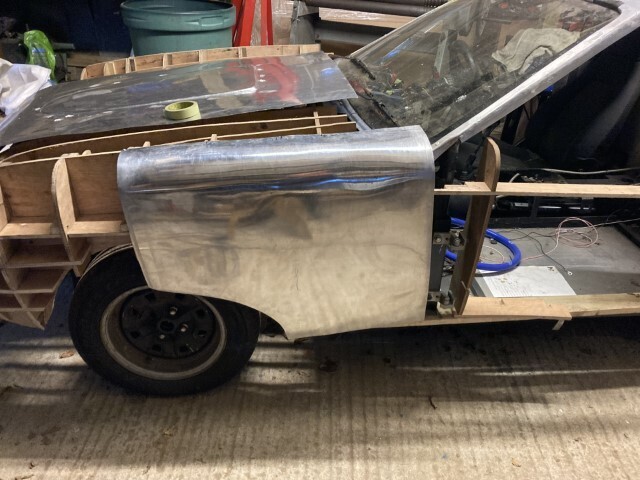 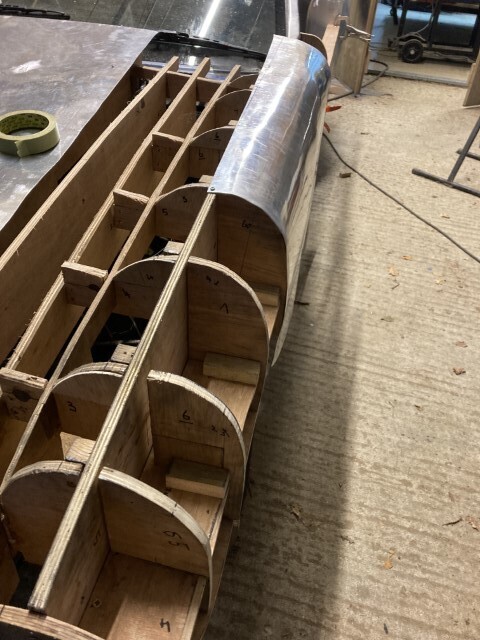 |
| |
|
|
|
|
|
Oct 23, 2023 18:31:23 GMT
|
|
Can't add much except amazing work - knowing how metal moves is such a dark art.
|
| |
|
|
|
|
|
Oct 23, 2023 18:57:22 GMT
|
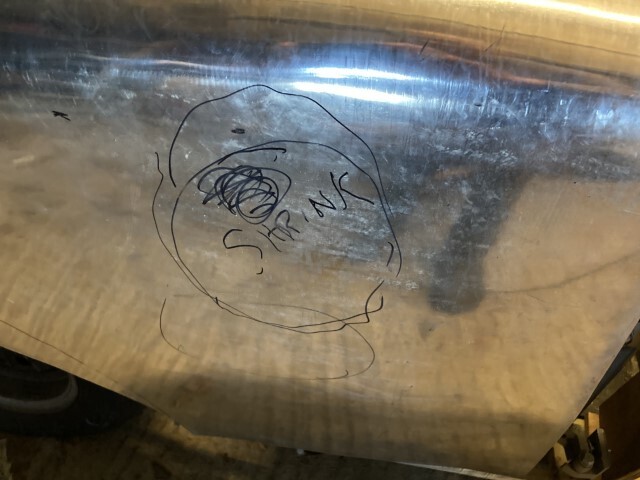
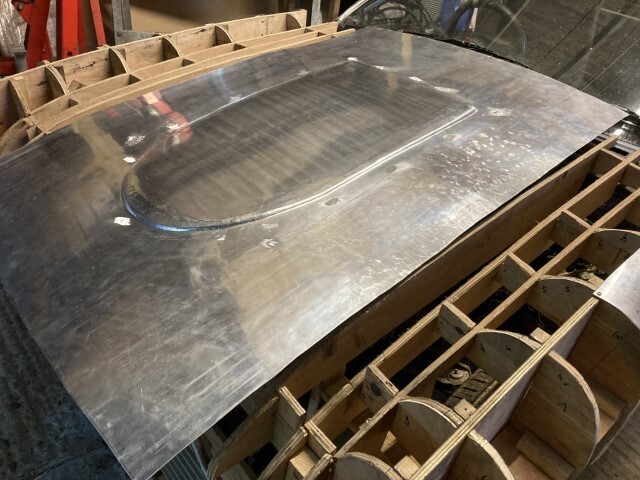
Can't add much except amazing work - knowing how metal moves is such a dark art. You're not wrong there, it really is a black art which is probably why I find it so addictive and challenging and ending up with something close to the desired result is all the more satisfying because of the difficulties along the way. The large panel containing the bulge is also going to be tricky. You'll notice the wavy edge nearest the camera which indicates that either the metal inboard of the edge has stretched more than the edge thus causing the buckle or the edge itself , has been stretched more than the metal towards the inside also causing the waviness and my problem is that I don't know which. The panel is too large for me to wheel on my own but I am hoping to have some help tomorrow so I might have some answers soon. Having just studied the photo and tried to do a bit of analysis, the worst problem is towards the front and I reckon that if that part of the panel were wheeled from the centre to the edge, the stretching would bring the raised bit down. Certainly worth a try. 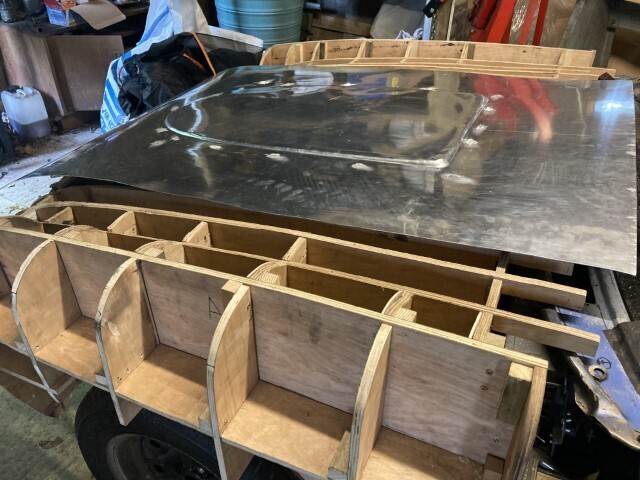 |
| |
|
|
|
|
|
|
|
|
being as usual completely ignorant on this John , would it have made any difference to do the top longtitudinal shape on the sheet first , then try to do the lateral curve ?
|
| |
|
|
|
|
|
|
|
being as usual completely ignorant on this John , would it have made any difference to do the top longtitudinal shape on the sheet first , then try to do the lateral curve ? That's a good question and a very sensible suggestion and you may well be right because what we're left with is an awful lot of shrinking on the sticky out bit as well as a lot of stretching inboard to bring it down. It's only single curvature so it should be easy enough to flatten it back to where it was. I can then wheel the panel as a whole and hopefully it will do what we want it to. This really is seat of the pants stuff so I really appreciate your helpful comments. Thank you. |
| |
|
|
|
|
|
Oct 26, 2023 12:55:38 GMT
|
|
|
| |
|
|
|
|
|
Oct 31, 2023 18:38:00 GMT
|
|
I wish I lived nearer as I'd love to come and watch/help to learn about metalwork.
|
| |
|
|


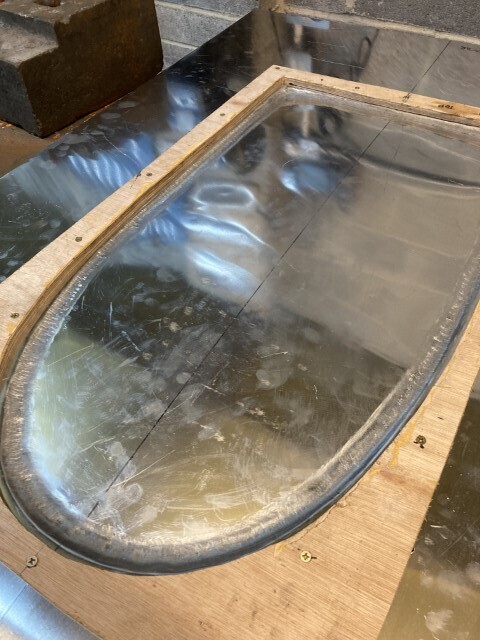
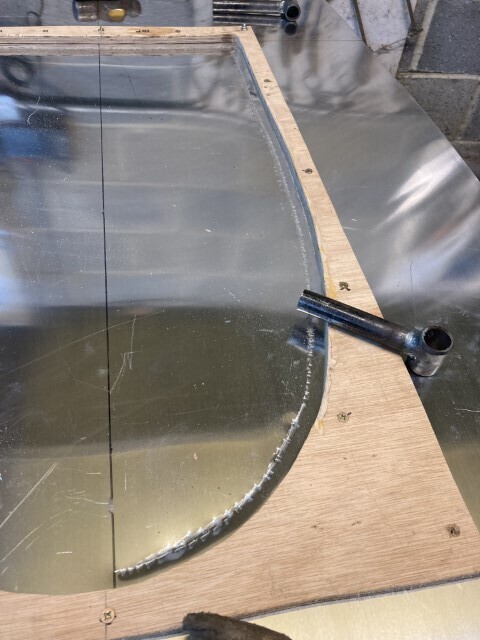
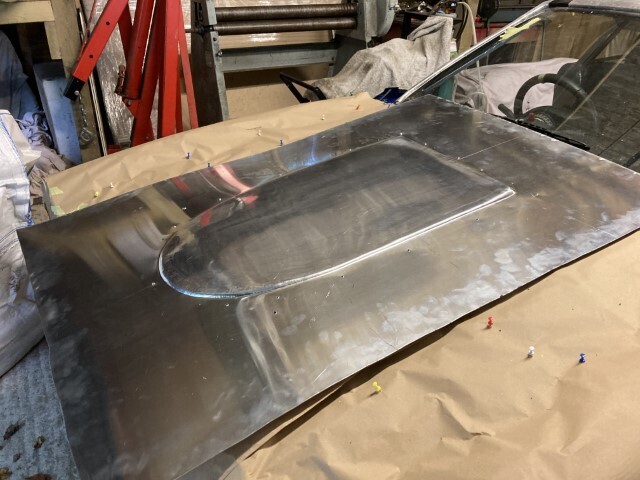
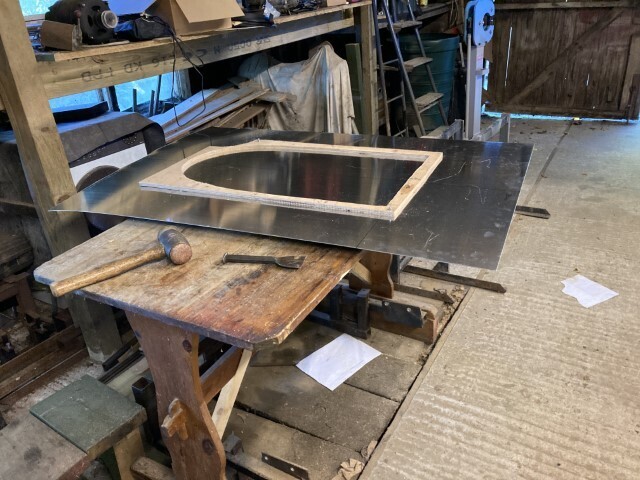
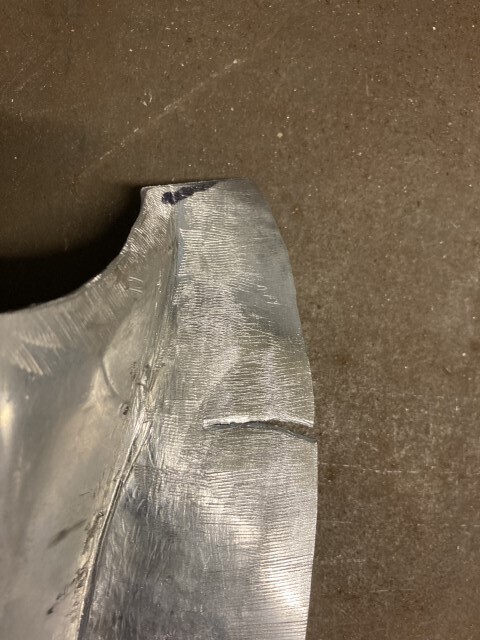
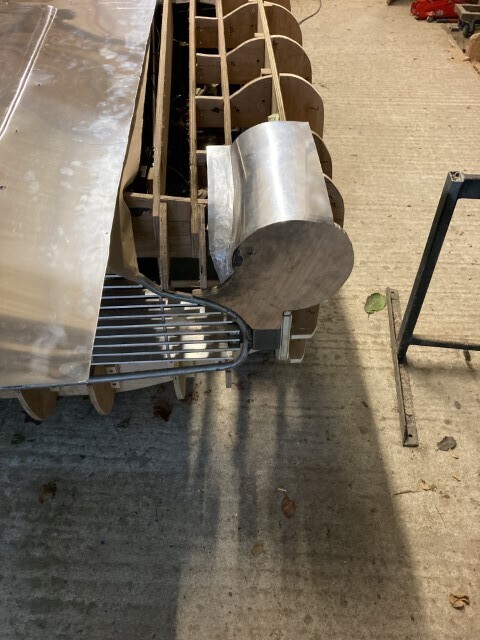
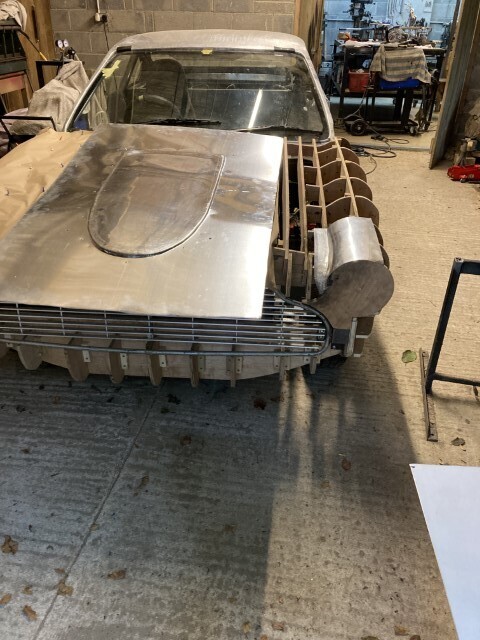


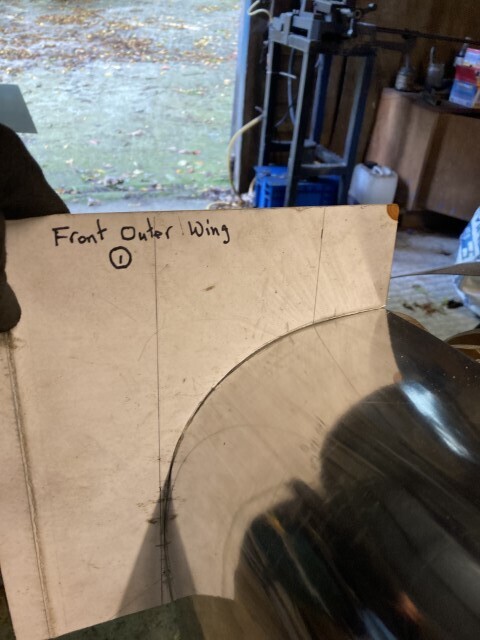
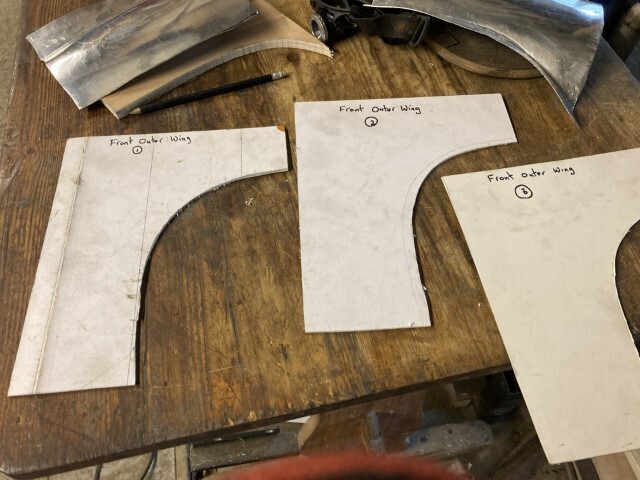
 . I'm now making profile gauges which not only ensure that this panel stays in shape but mainly that its opposite number on the other side is the same.To further assist in the symmetry, I'm going to make flexible shape patterns which I have never done before but they are a great idea and the brainchild of Wray Shelin