|
|
|
|
|
|
I'm in total awe- fantastic work and a great read to boot. Looking forward to more!
As someone who's never owned any kind of "desirable" classic car like the XK120, did the value of the thing prevent you from upgrading to front disks? Or is it purely a matter of wanting the car to drive/act as originally as possible?
|
| |
1985 Volvo 760 "Jurbo"
|
|
|
|
gazzam
Part of things
 
Posts: 741 
|
|
|
|
|
Well, I’ve obviously been putting too much in my previous posts. Last one was the smallest in a few ways and it gets the most response.
Very gratifying. Thankyou for all the nice things you’ve said.
I’m not changing the brakes - for the type of driving this car will see, the drums are fine. The 120 in the model name is for one hundred and twenty MILES per hour. It will be lucky to ever see 120 kmh. Not that I don’t like speeding, just that I prefer a more modern vehicle to do it in.
Cheers all.
|
| |
|
|
|
|
|
|
|
Modern disc brakes on a Jagwar? What a preposterous idea. Oh, hang on...  |
| |
|
|
gazzam
Part of things
 
Posts: 741 
|
|
May 20, 2021 12:25:35 GMT
|
Fun little project, albeit something I had no idea would be necessary. This is the brake pedal and master cylinder assembly: 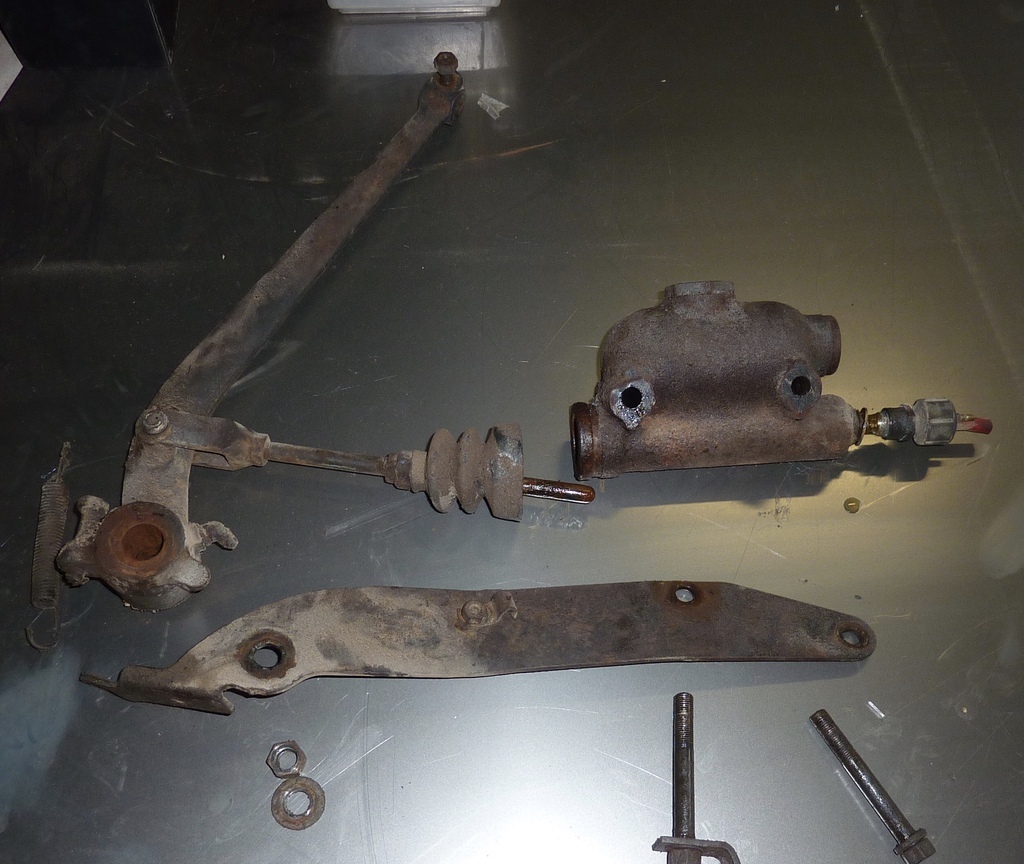 And here is the worn out needle roller bearing from the pedal pivot: 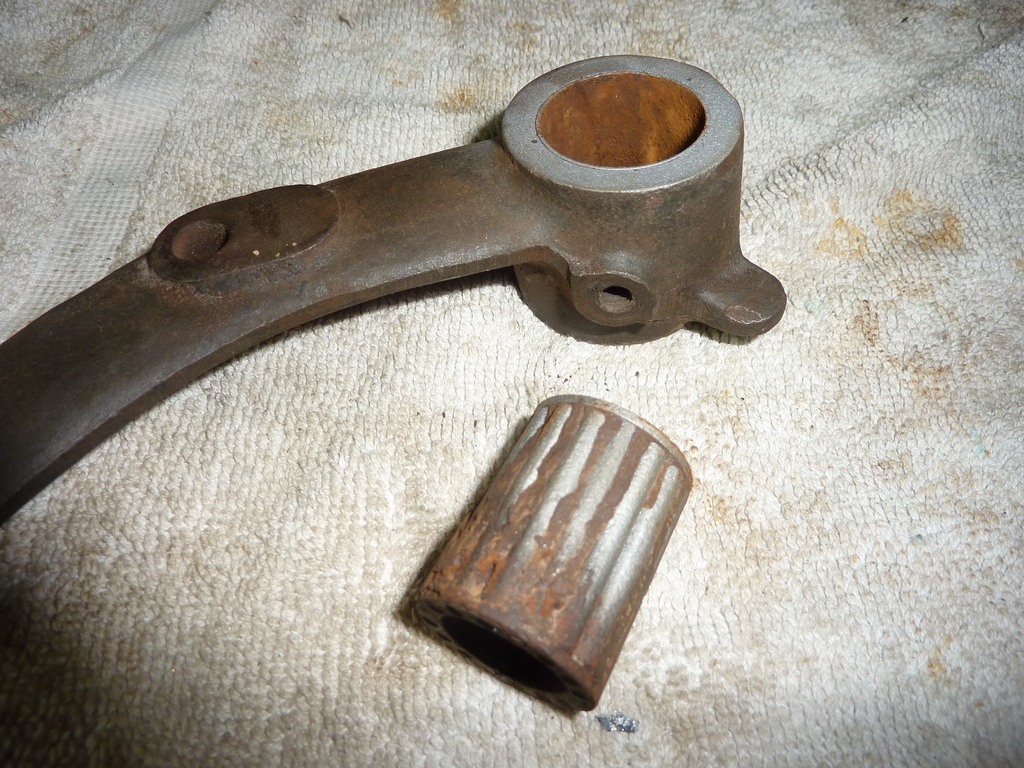 There was a bit of movement between the bearing and the pivot on the chassis. I decided to replace it with a brass bush. Good excuse to try out the furnace that I’d made to melt some aluminium a while back. 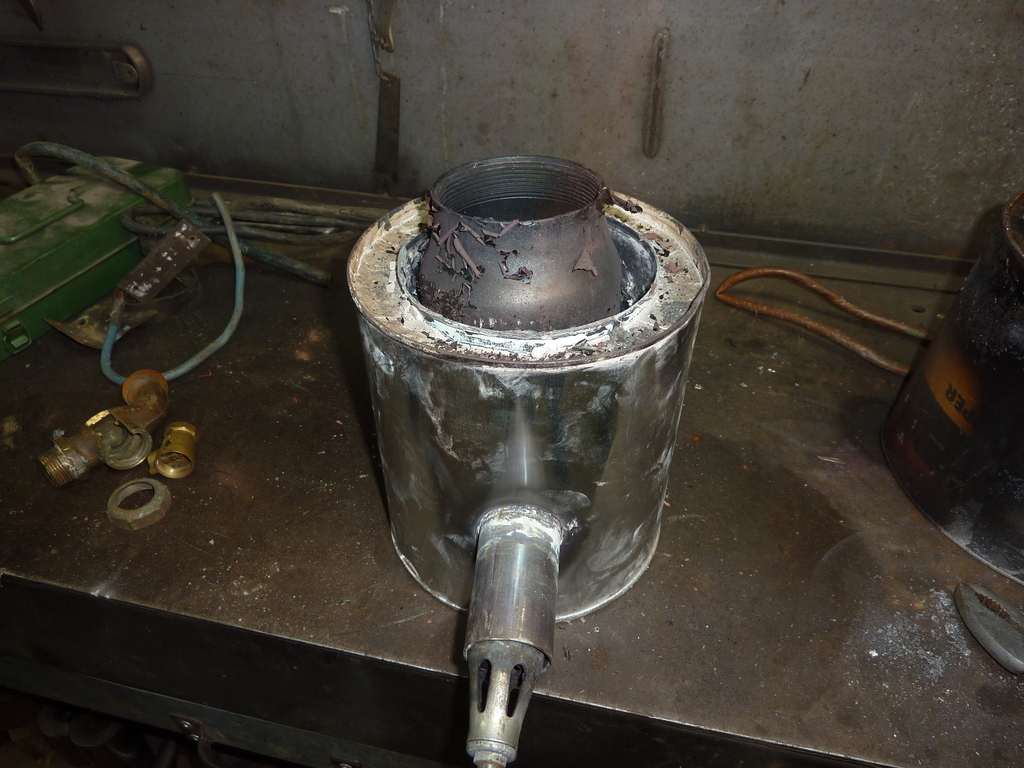 The only thing I could find to use as a crucible was the screw on top for an argon bottle. That’s it in the furnace with the paint mostly burnt off. I use a propane torch ( just visible in the photo ) and it successfully melted some brass scrap - old taps etc. Poured into a mould and ended up with this: 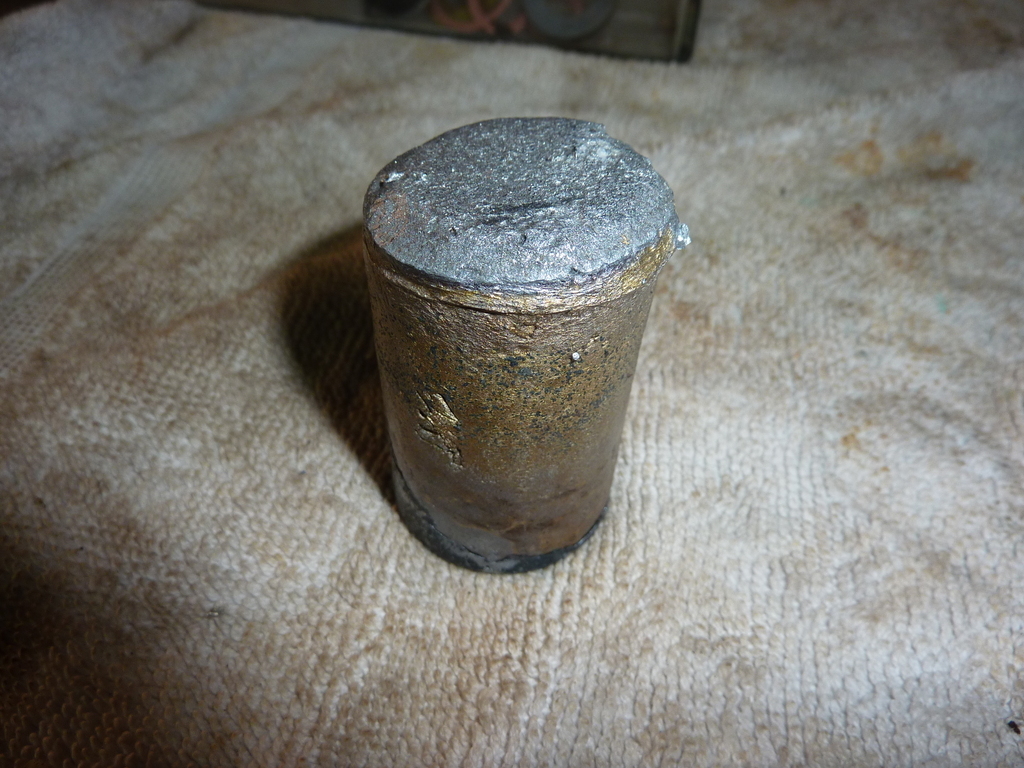 The silver bit on top is the remains of the aluminium cylinder that was the mould. Luckily I had the cylinder in a tub of sand, or the fact that aluminium melts at a lower temp than brass may have been a problem... Anyway, after a bit of latheing I had this: 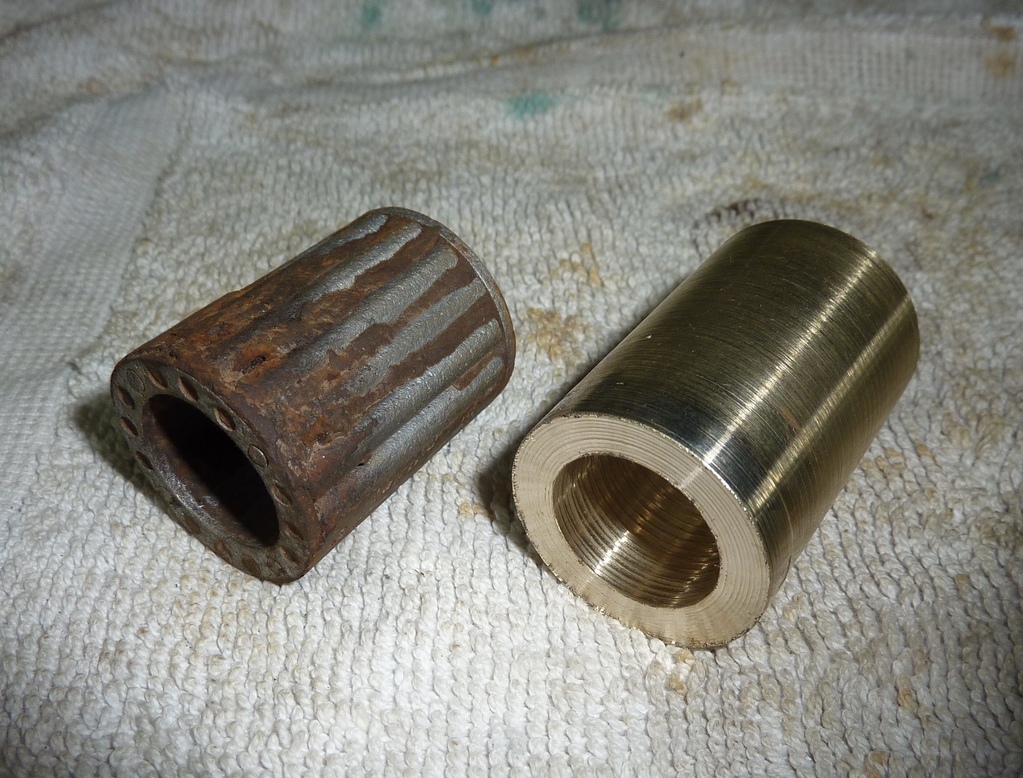 I love playing with brass in the lathe, it makes amateurs look good. Turned a grease groove and added a couple of holes. 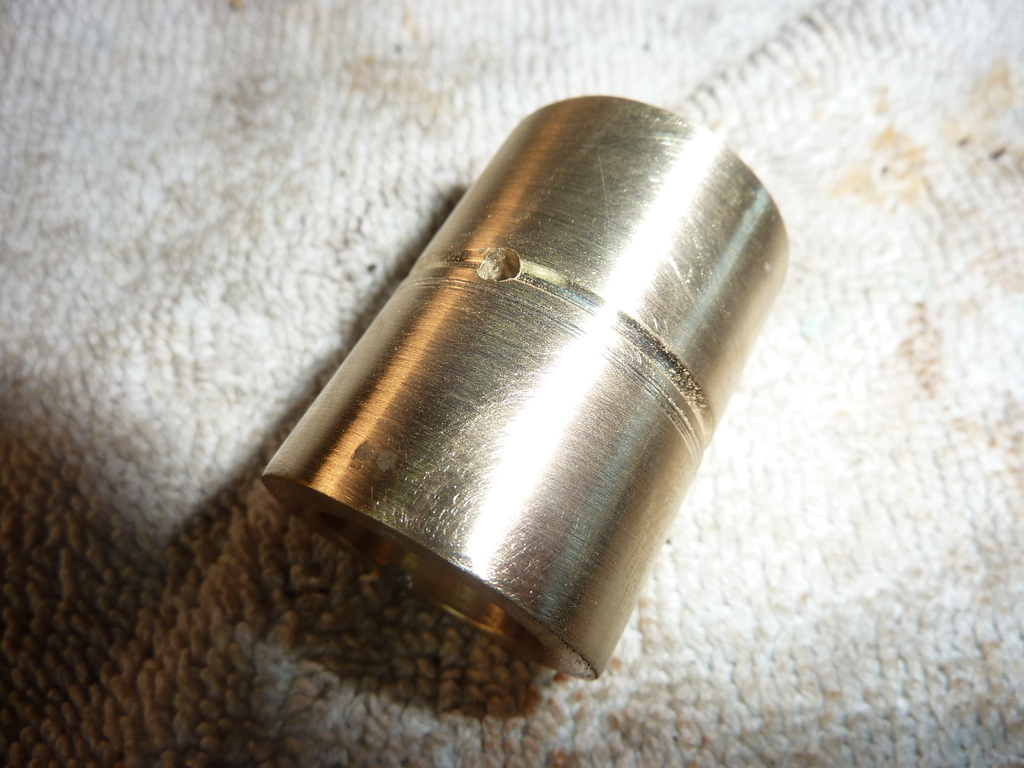 And it goes here on the chassis: 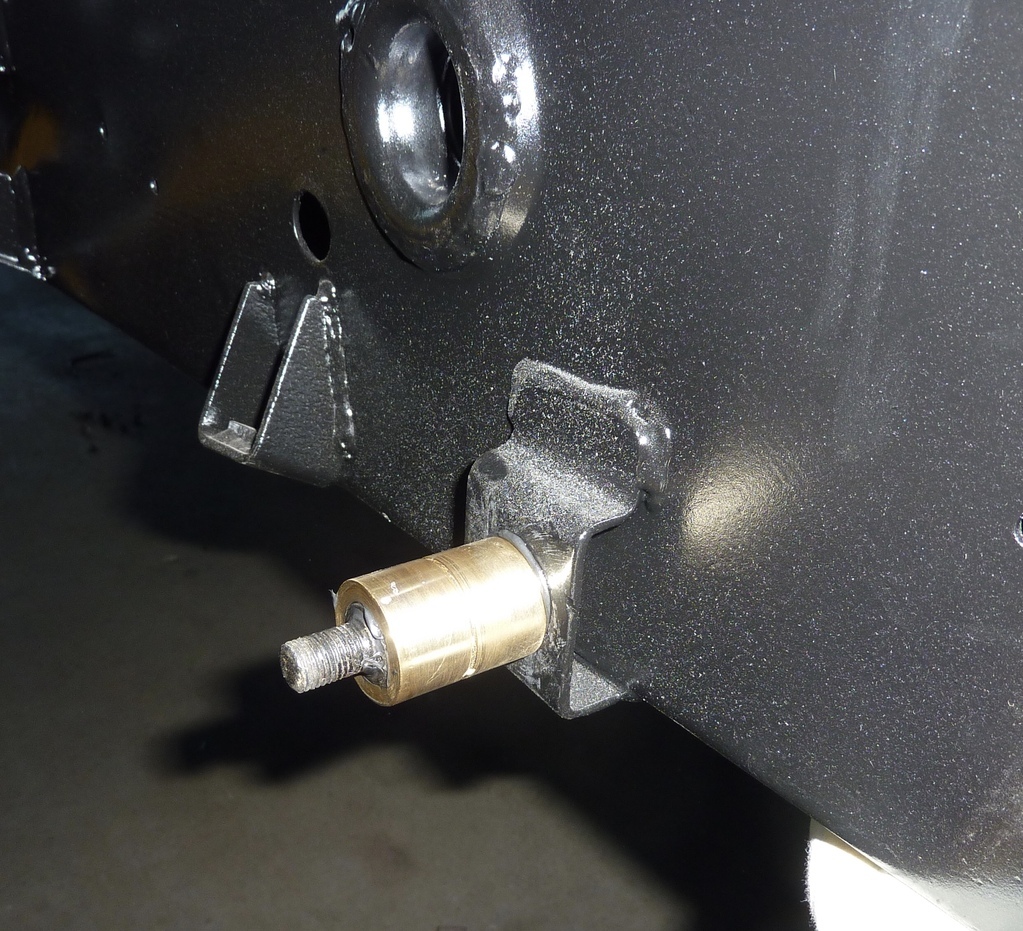 That’s all for now. Comments and queries welcomed, cheers Garry |
| |
|
|
|
|
|
May 20, 2021 13:22:47 GMT
|
|
Hi,
Got to ask, is there anything you can't do ?? 😁😁
This thread just gets better each update,
I could only achieve your various skills in my dreams,
Nigel
|
| |
BMW E39 525i Sport
BMW E46 320d Sport Touring (now sold on.)
BMW E30 325 Touring (now sold on.)
BMW E30 320 Cabriolet (Project car - currently for sale.)
|
|
|
|
|
May 20, 2021 19:11:49 GMT
|
|
Not one of Jaguars finest bits of engineering - a needle roller bearing in the path of all the road dirt & debris!
|
| |
|
|
|
|
|
|
|
May 21, 2021 16:06:36 GMT
|
|
I saw the cruddy completely knackered roller bearing and wondered where you'd get one and how much it would cost.
I totally forgot that you are a metal working genius and you'd create your own.
Very envious of your skills.
As with everyone else, I'm really enjoying watching you work wonders on this project.
We're all going to be gutted when you've finished.
😃
|
| |
|
|
gazzam
Part of things
 
Posts: 741 
|
|
May 21, 2021 17:23:47 GMT
|
Hi, Got to ask, is there anything you can't do ?? 😁😁 Had to show this to my wife. After she regained her ability to talk, reminded me of my attempts at dancing. |
| |
|
|
gazzam
Part of things
 
Posts: 741 
|
|
May 21, 2021 17:28:36 GMT
|
I totally forgot that you are a metal working genius and you'd create your own. 😃 Hardly. Melt brass. Turn rough cylinder. Brass is that easy to work, if fingernails were a bit harder you wouldn’t need tools! Thanks anyway. I wish you were right. Would make up for having two left feet. |
| |
|
|
|
|
gazzam
Part of things
 
Posts: 741 
|
|
May 21, 2021 17:29:36 GMT
|
Not one of Jaguars finest bits of engineering - a needle roller bearing in the path of all the road dirt & debris! Yeah, not their cleverest work! |
| |
|
|
gazzam
Part of things
 
Posts: 741 
|
|
May 23, 2021 11:52:51 GMT
|
Another unforeseen project... The clutch pedal assembly as it was removed: 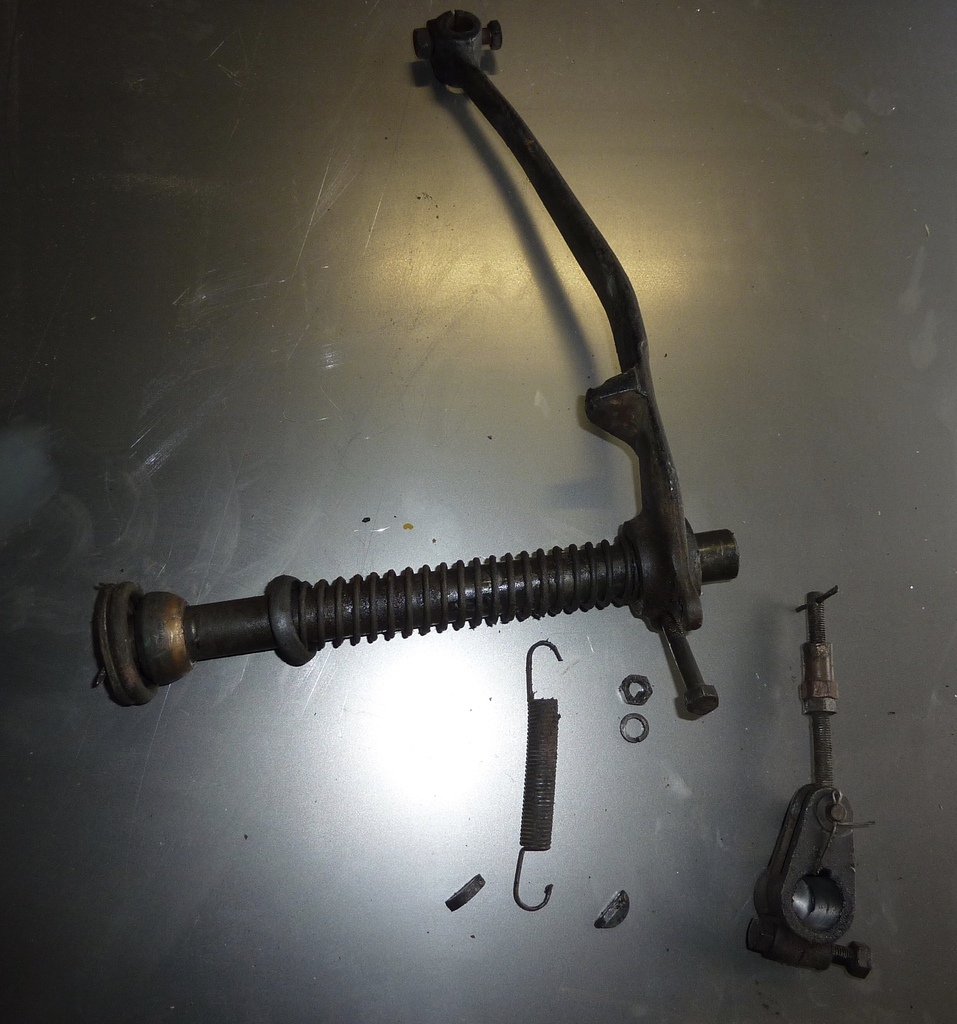 This is the problem area. The clevis has about 2mm play at the pin, where the holes had become elongated and the pin worn. 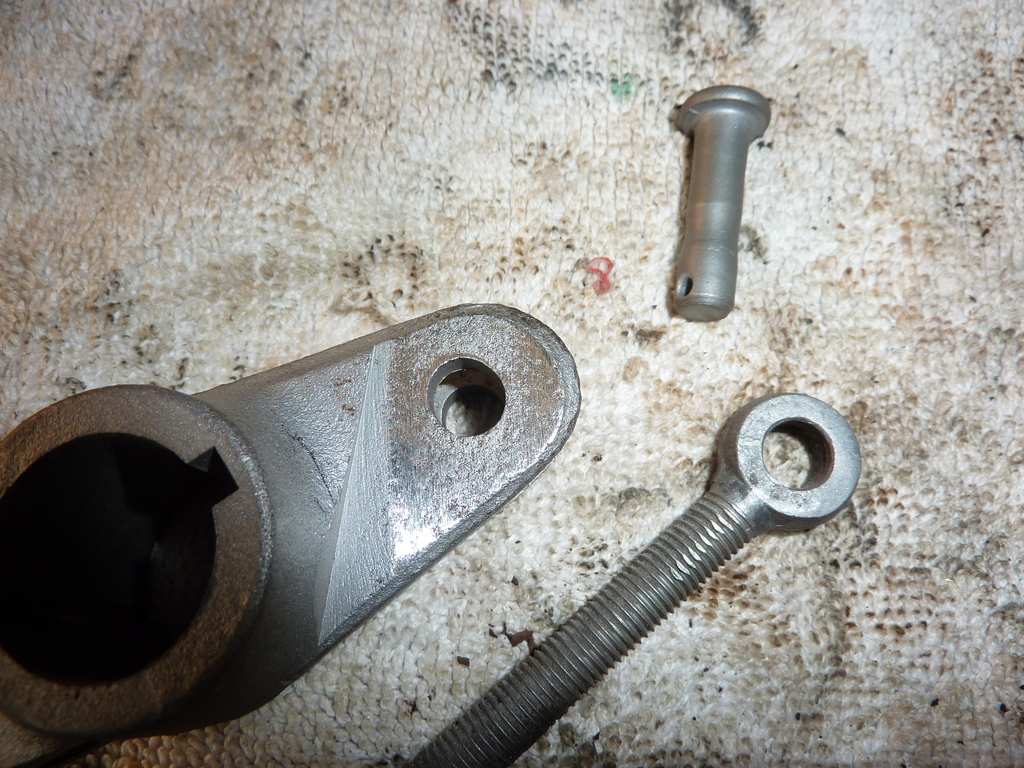 So I reckoned the best fix was a larger diameter pin. I drilled out the holes half a millimetre at a time, until the holes were circular. 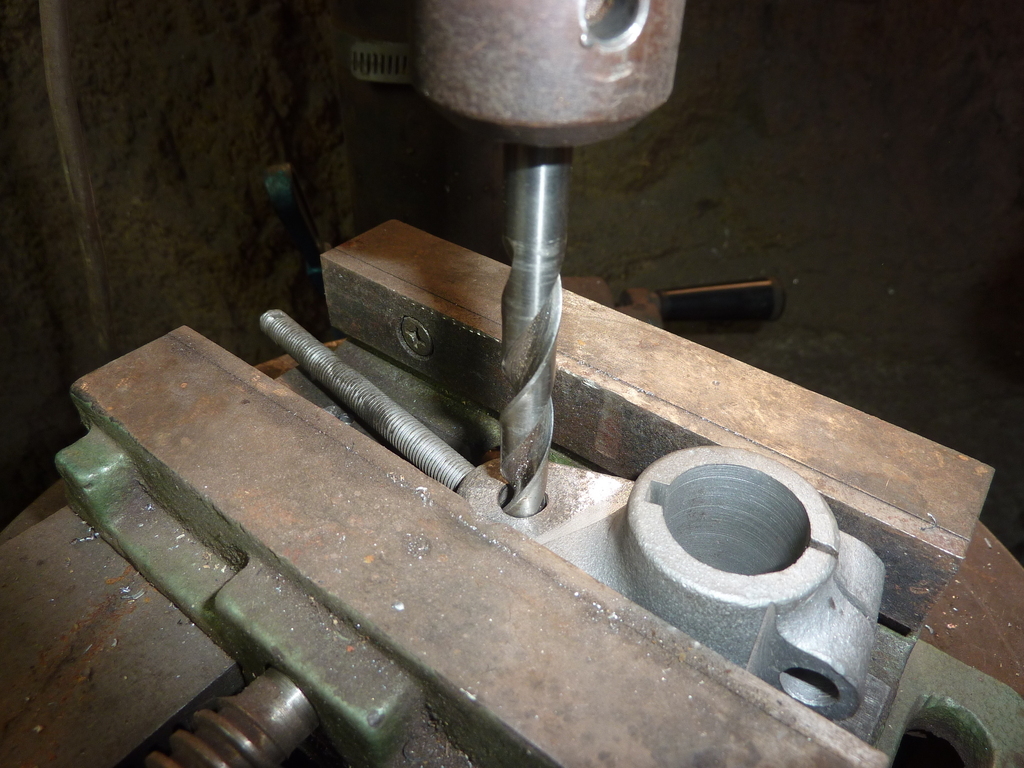 Then got a piece of half inch rod to make a new pin. 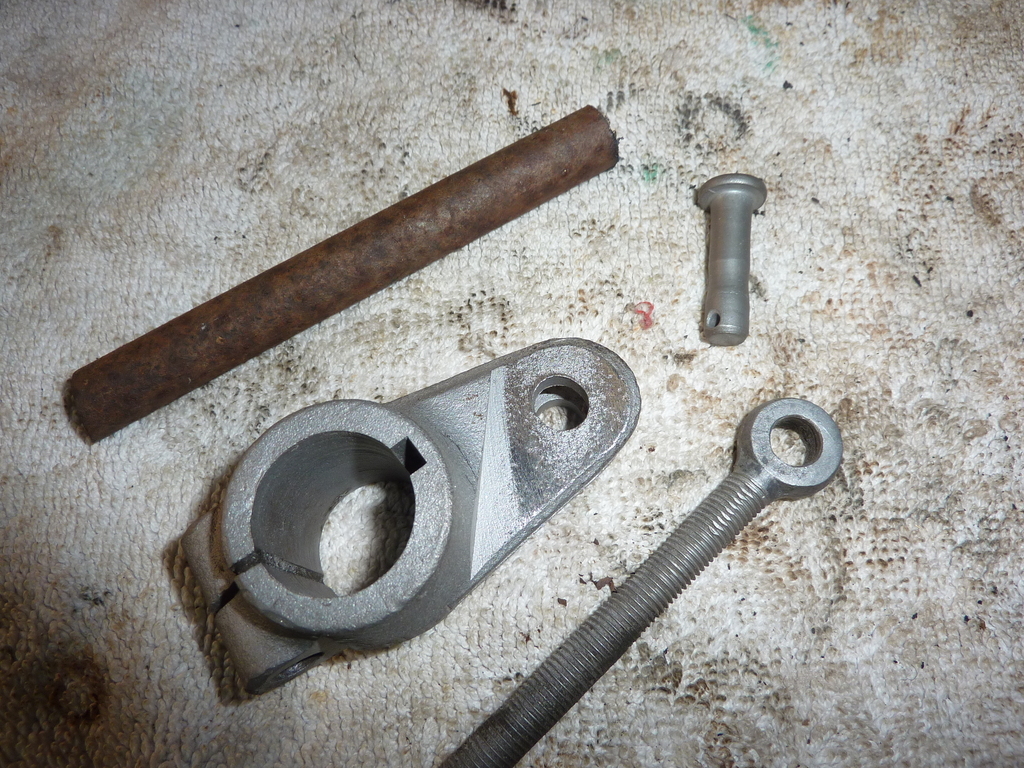 More latheing. This time in steel, more chance of looking amateur... This isn’t a complicated bit so it wasn’t hard. 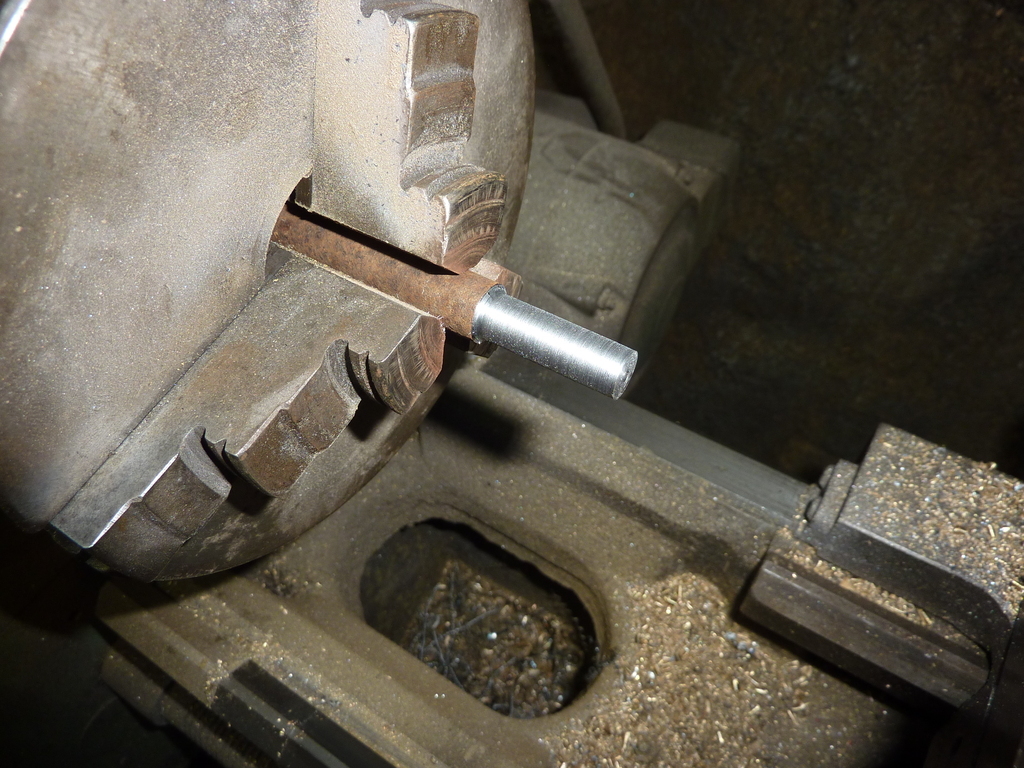 Turn down until the clevis is a nice fit. 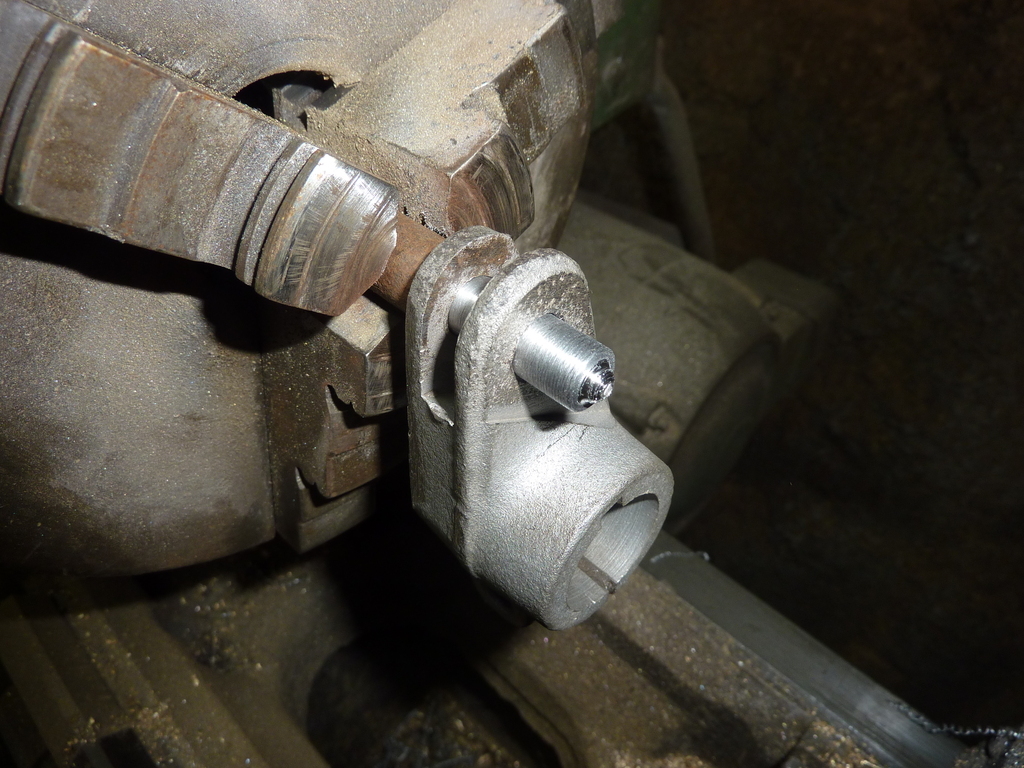 Reverse it in the chuck and cut the head. 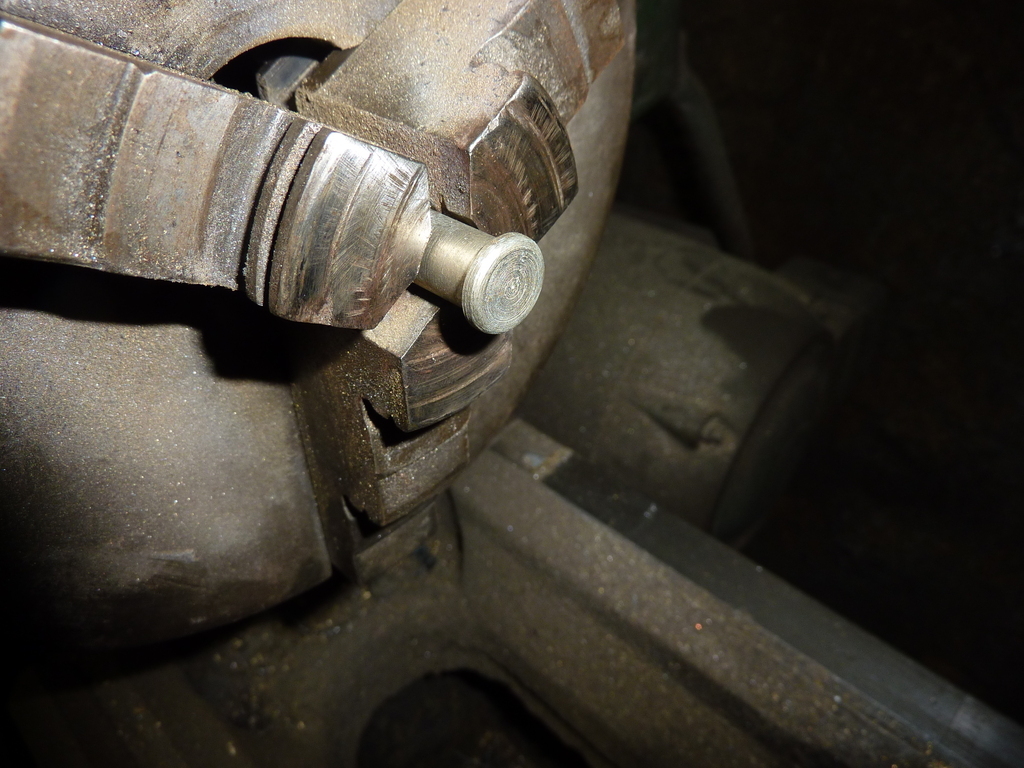 Trim to length and drill a hole, for a split pin and it’s done. Yet to be plated. 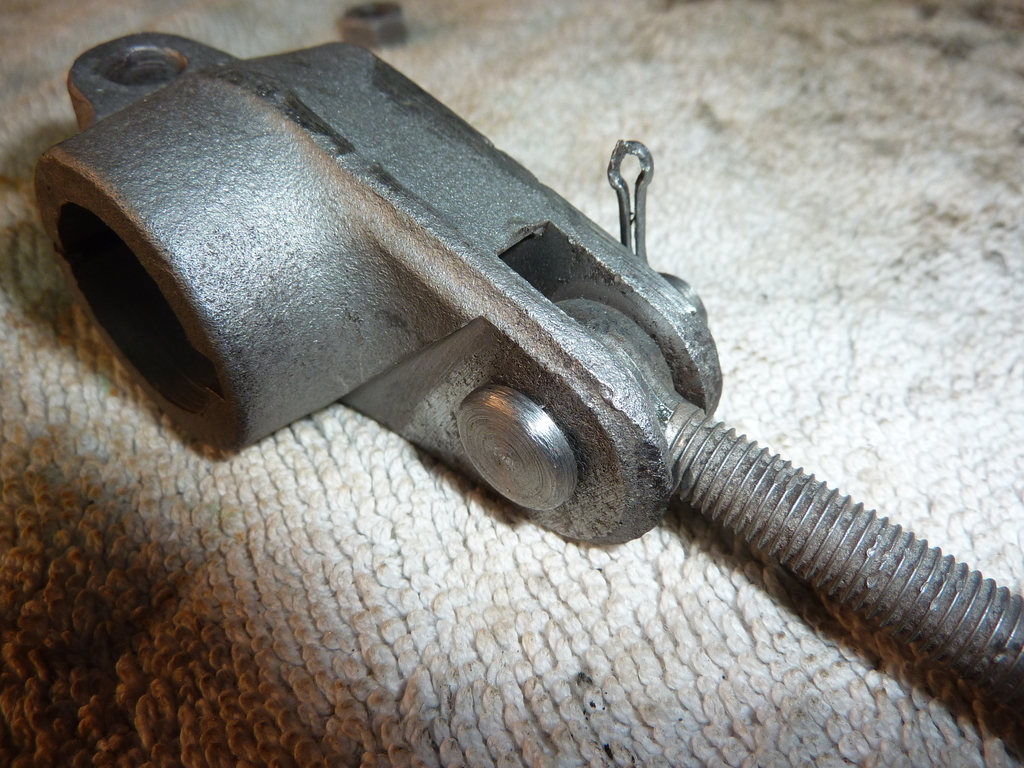 That’s all for now, comments and queries welcomed cheers Garry |
| |
|
|
gazzam
Part of things
 
Posts: 741 
|
|
May 27, 2021 10:14:58 GMT
|
The engine is ready to go back in the chassis, but the brake lines - at least those near the engine - need to go in first. Time to make some brake lines. Started by bead blasting the brass unions and plating the ferrules. 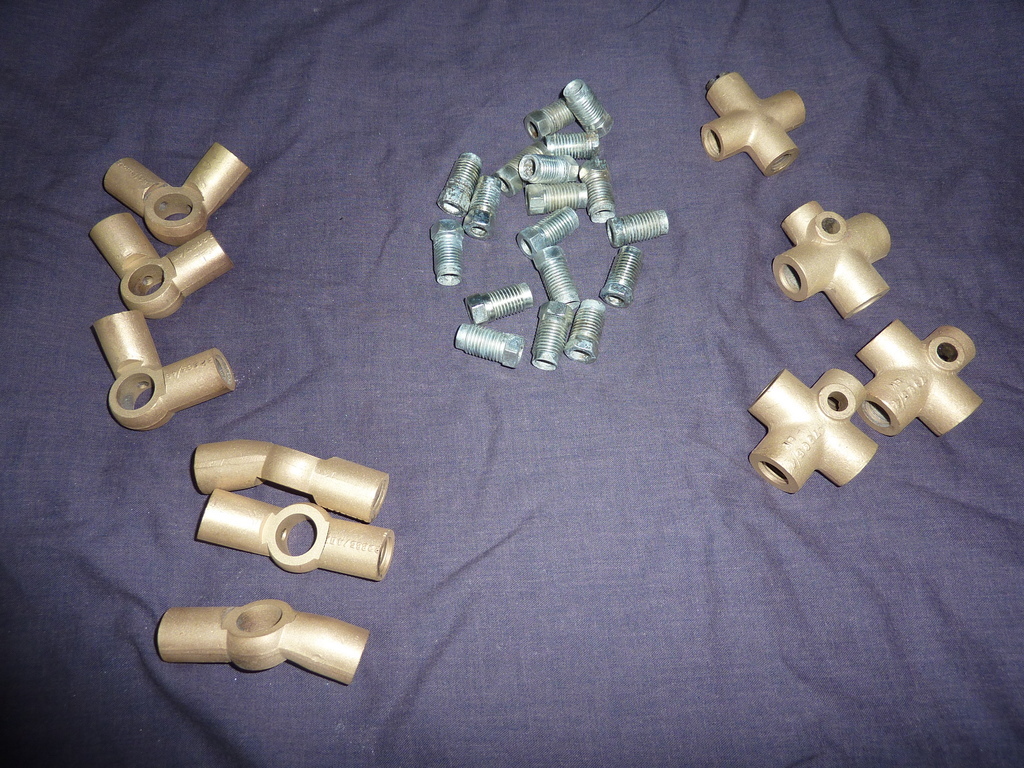 The new 1/4 inch flaring tool had arrived. It’s the same type as the 3/16 one I already had, as I’d had success with that one previously. This is it with a test flare on a short piece of 1/4 tube. 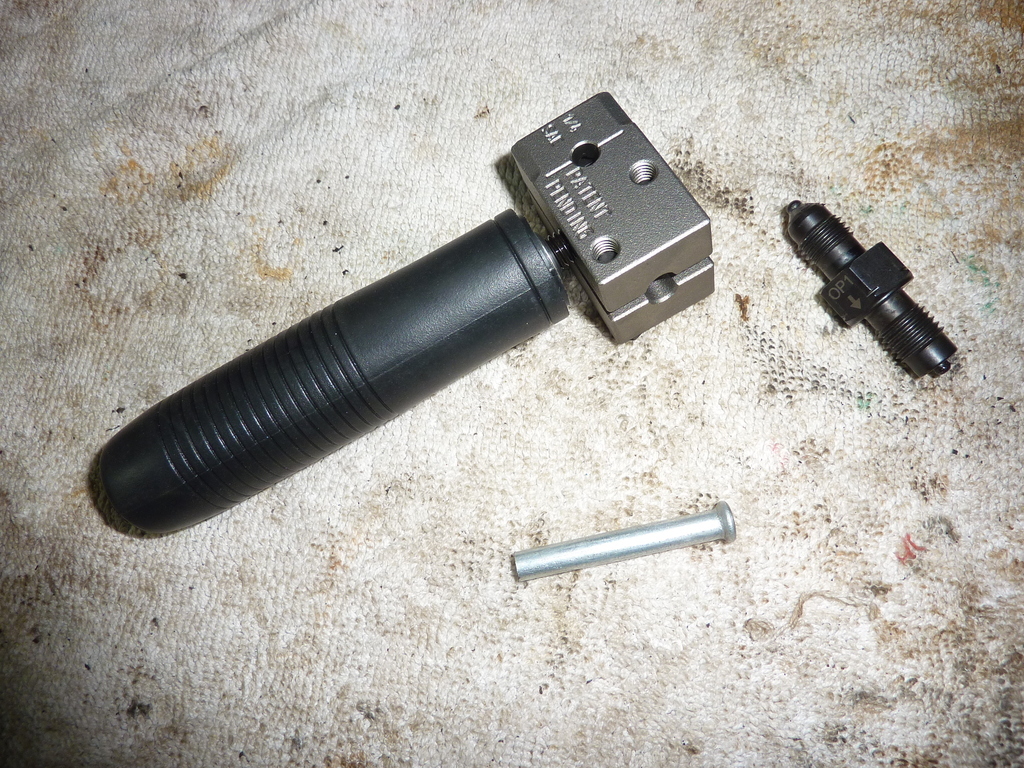 Started on the front left. Gave the bores of the cylinders a rub with some 320 wet and dry paper, on the advice of my brake parts supplier. He had a neat saying about marks on the cylinder surfaces - if your finger can’t feel it, neither can the seal. Bolted them on so I had a starting point. 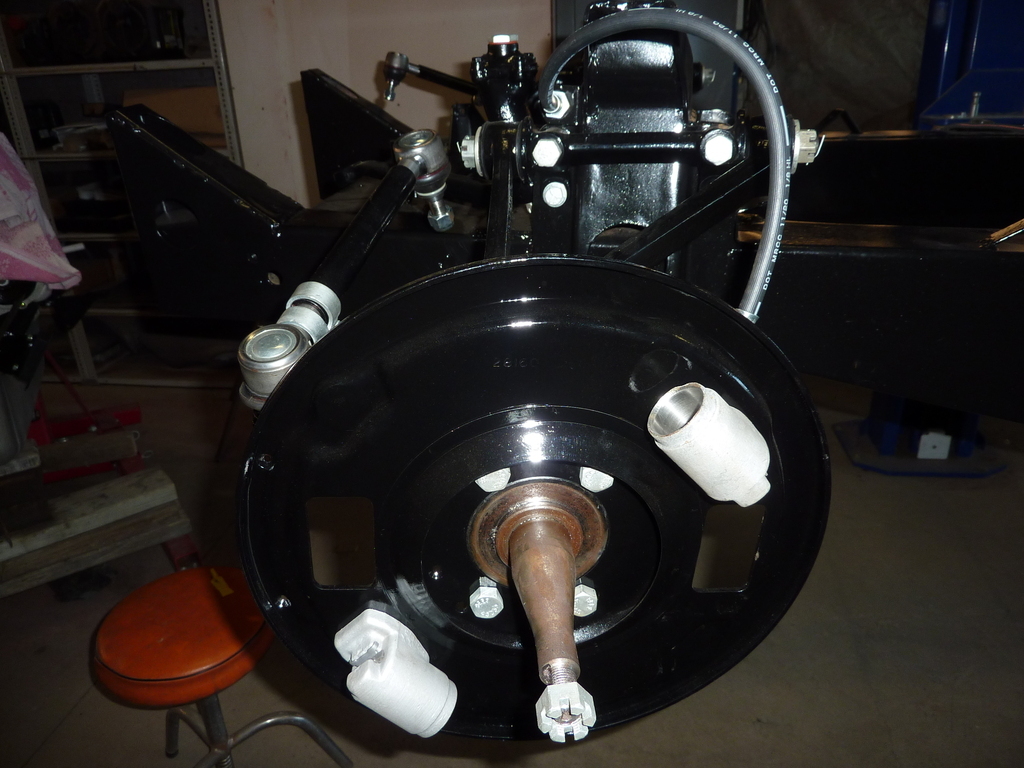 The first two hard lines were the ones that connect the two cylinders. One pipe per side. These were more difficult than they look. Not much room for error. The banjo bolts in this photo are yet to be plated. But I did smarten up the unions on the wire wheel. Because I thought they might resist dirt if they were burnished rather that just bead blasted. And I like to add some bling! 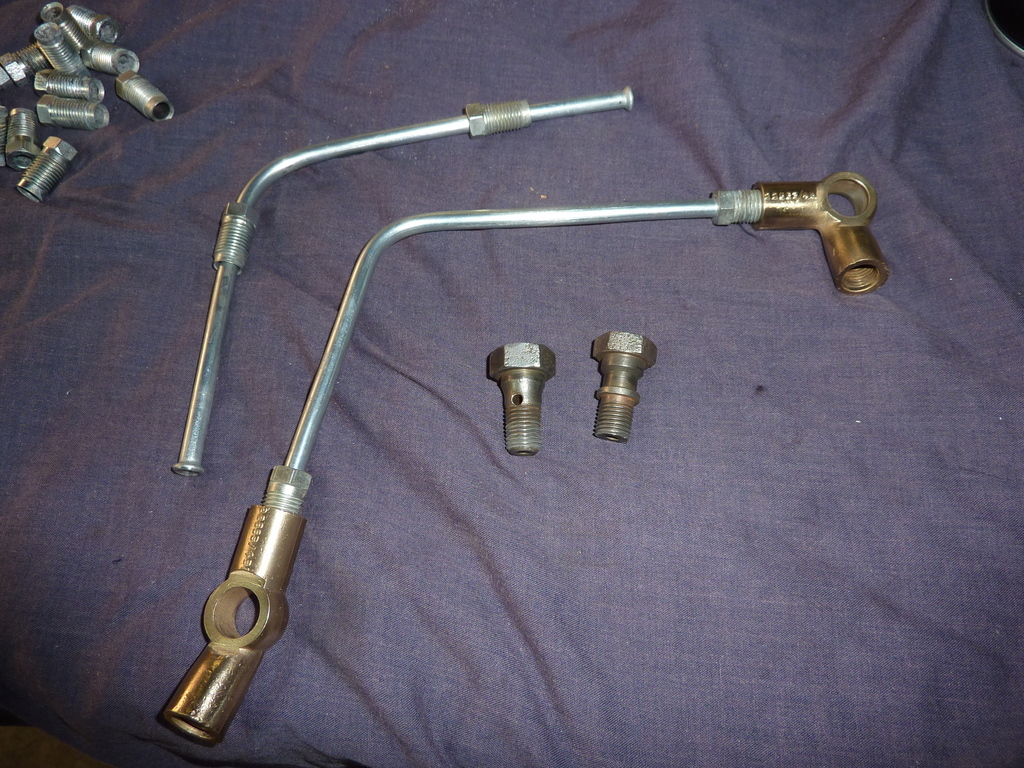 The engine area of the chassis, brake lines done and in place. 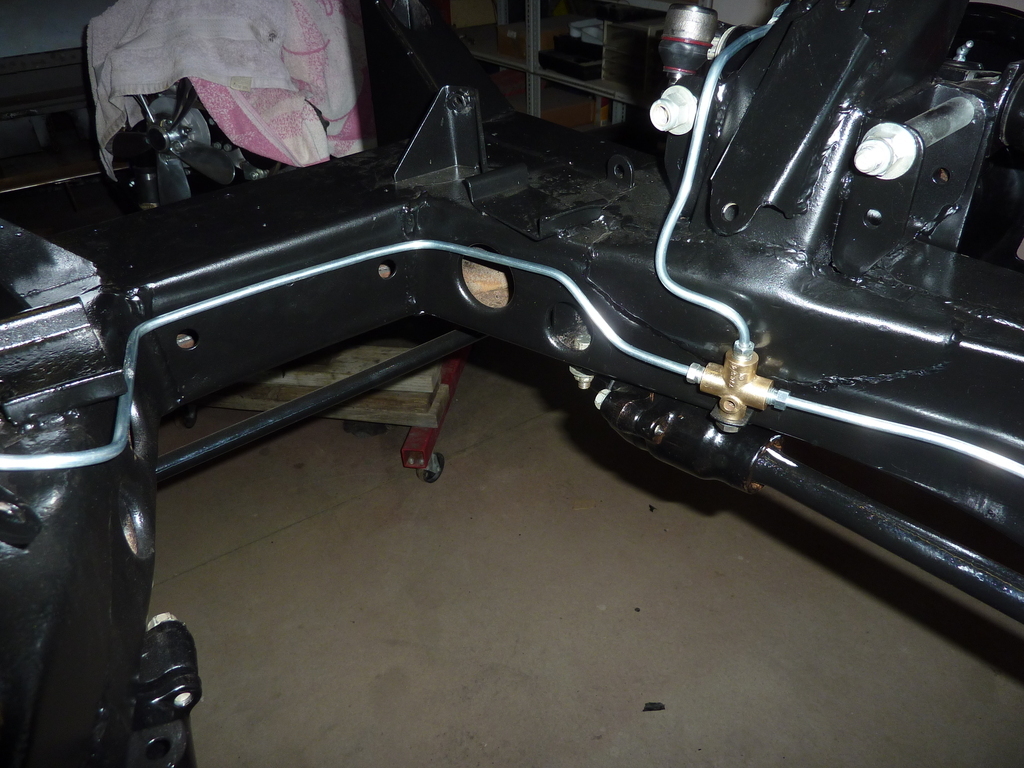 The rear end: 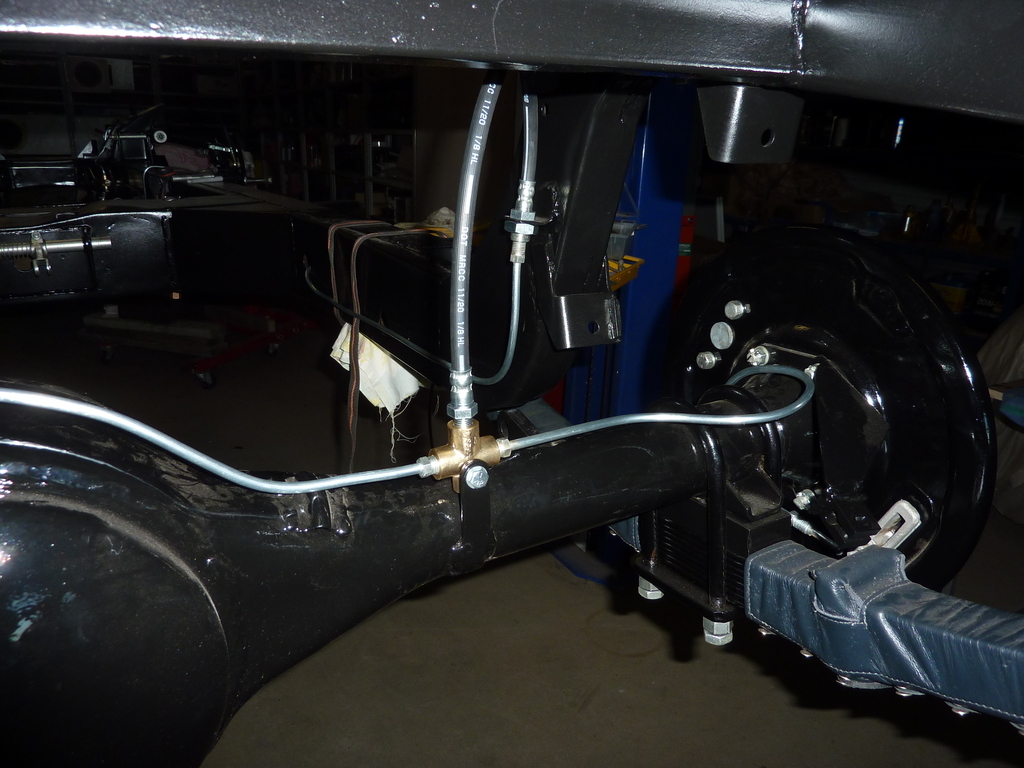 That’s all for now, comments and queries welcomed cheers Garry |
| |
|
|
|
|
|
May 27, 2021 11:21:43 GMT
|
|
Those brake lines are amazing! I'm loving the home brew bush too
|
| |
1966 Ford Cortina GT
2018 Ford Fiesta ST
Full time engineer, part time waffler on Youtube - see Jim_Builds
|
|
gazzam
Part of things
 
Posts: 741 
|
|
May 29, 2021 14:28:52 GMT
|
So the brake lines are done. The front cylinders are on the backing plates but no seals in them yet. It will be a while before the car needs brakes so there isn’t any point in putting the seals in. Even though I’m going to use silicone brake fluid, the system won’t be completed until the car is almost finished. Put the front hubs on and then all the wheels. No brake drums etc, just need wheels so I can move it around. 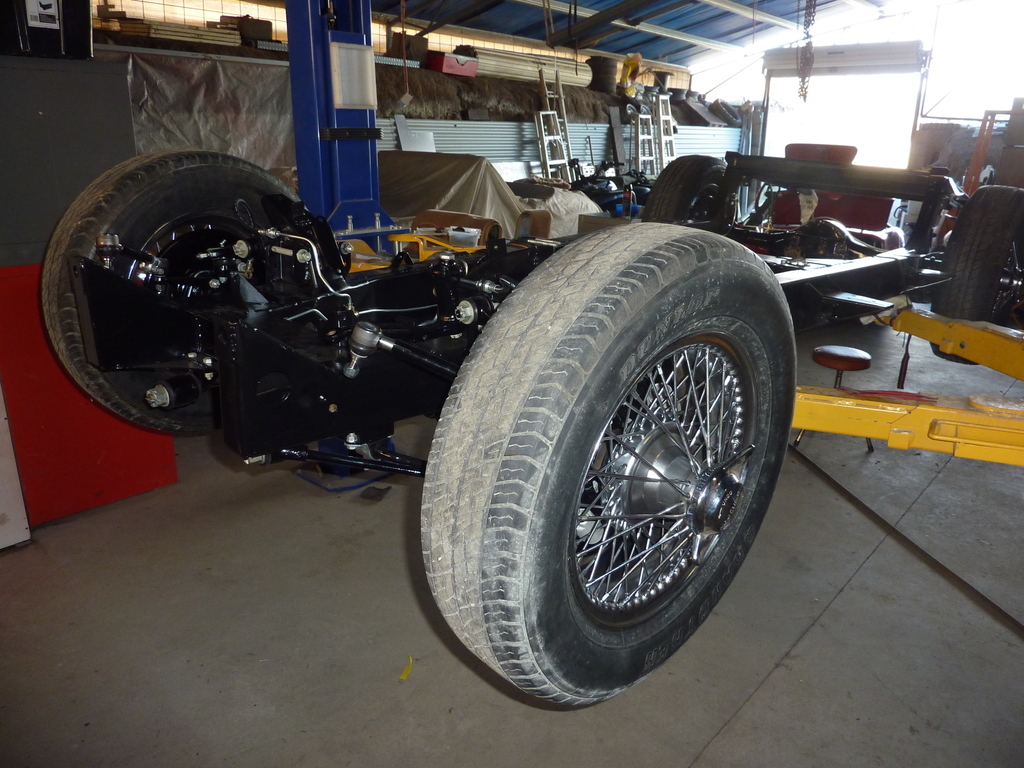 Finally it’s time to get the engine and trans off their stands and reunite them in the chassis. 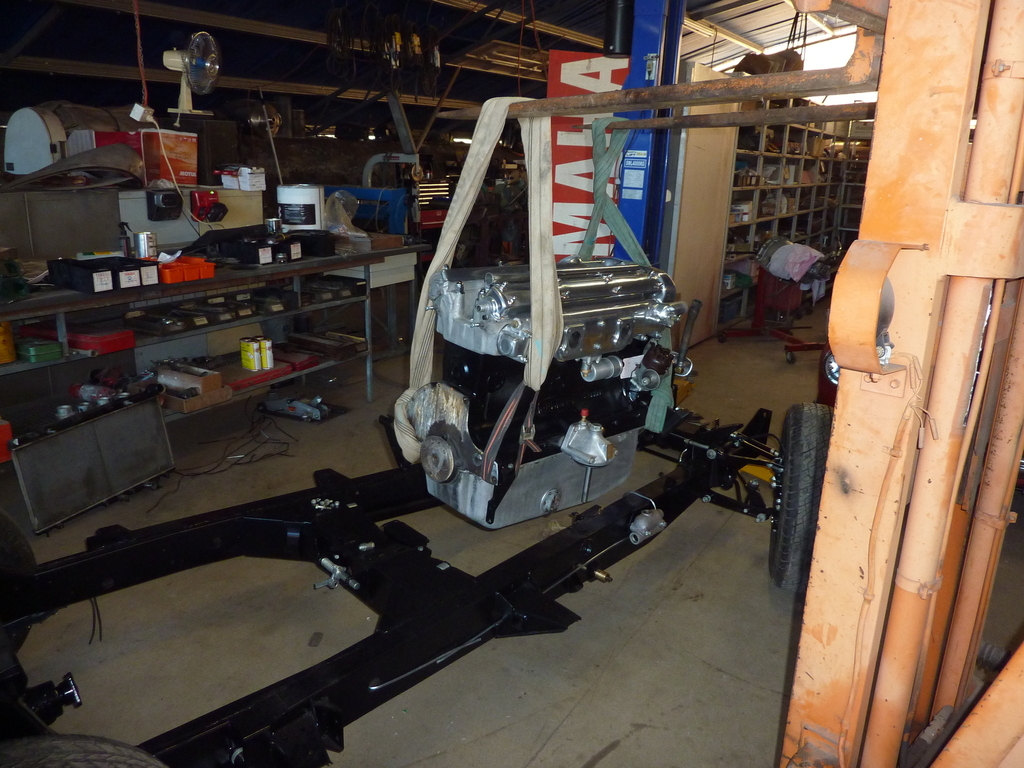 That’s the first lump in place. Don’t know about the steering though, does it have too much toe out? 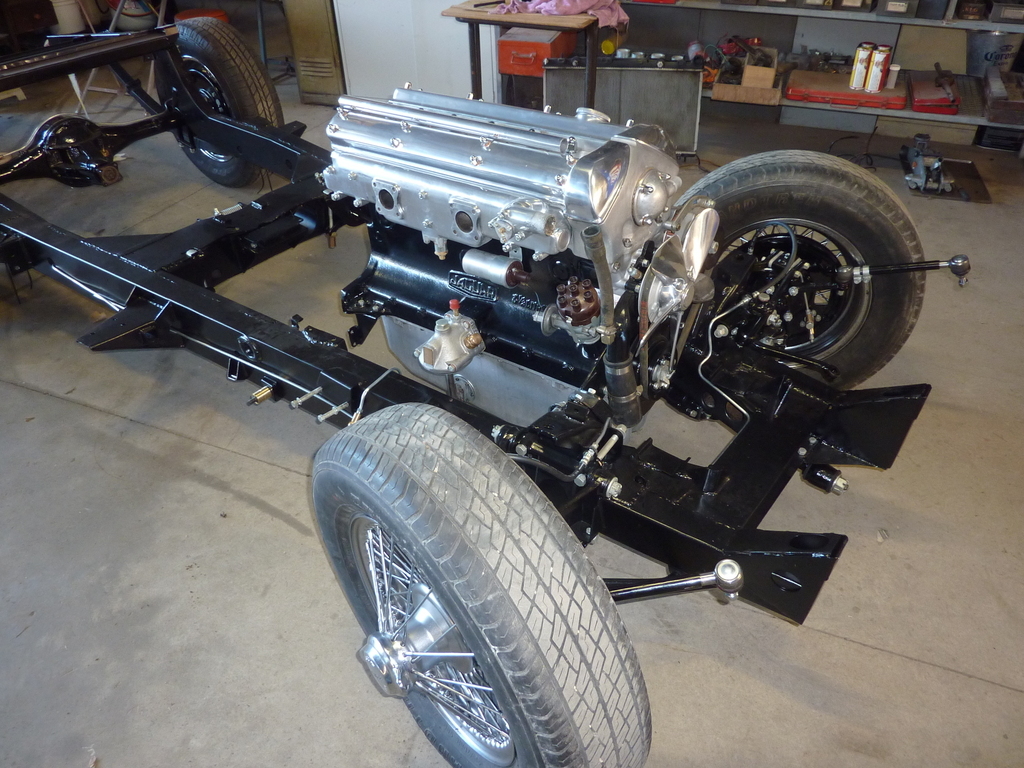 Forgot to take any pictures of the flywheel and clutch going on. It was all pretty uneventful, just as you want it - no stripped threads. Clutch action was fine previously, so hopefully it will be again. Now for the gearbox. This did get a little bit tense. The engine is largely supported by the bellhousing/ gearbox at the rear. The bellhousing is VERY securely bolted on. A lot of bolts. There is one rear engine mount, but it’s more to counter torque reaction ( I think ) than take any weight. I thought it would be ok, but once I got the flywheel and clutch on it started to bend and the engine was very slowly tilting rearward, so I quickly got a jack under it then a strap around it and hooked it up to an overhead chain block. 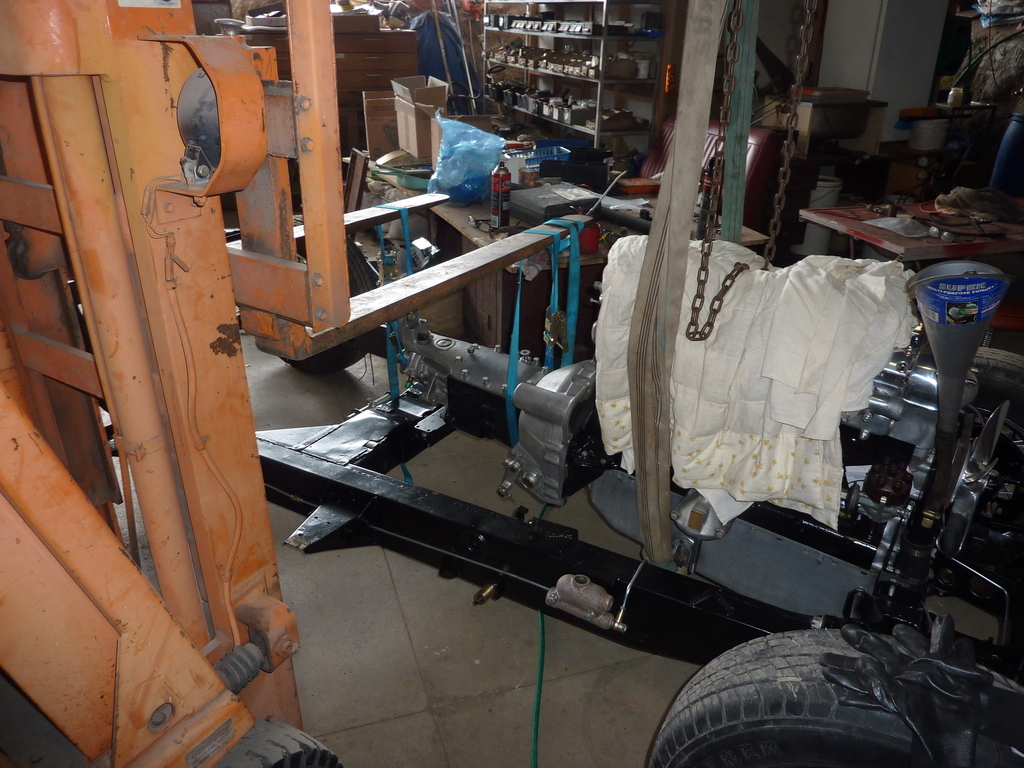 Bit of a milestone - engine, gearbox, chassis reunification. Might have had a beer to celebrate. 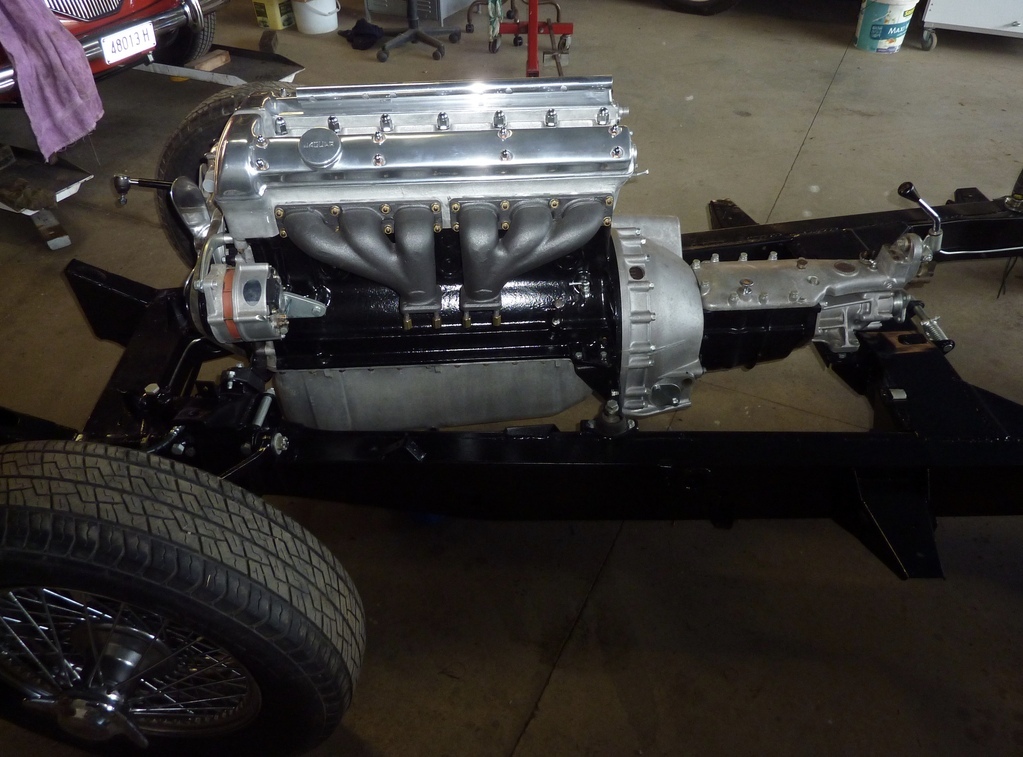 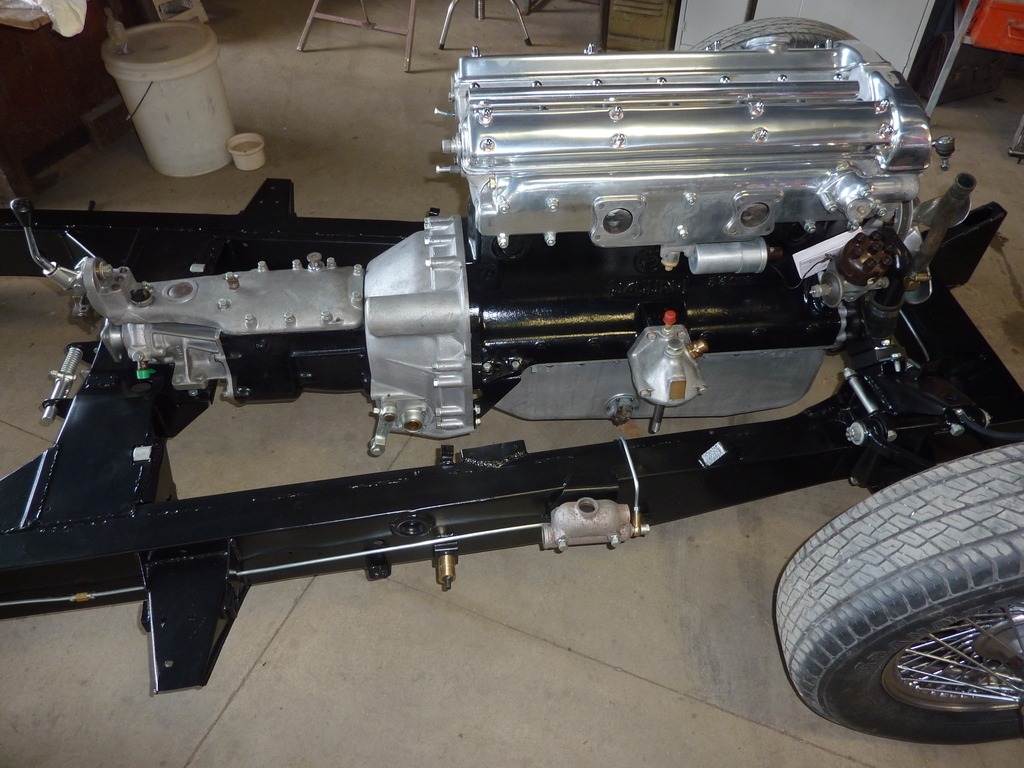 That’s all for now, Comments and queries welcomed Cheers Garry |
| |
|
|
|
|
|
May 29, 2021 16:01:52 GMT
|
|
Amazing! That engine is a work of art 👍 I saw a Mille Miglia recreation on CarandClassic with a rather fetching teardrop headrest cowl - seeing as you are rather good at this metal bending lark - could be a nice addition? 😎
|
| |
|
|
|
|
|
May 29, 2021 17:12:45 GMT
|
Not one of Jaguars finest bits of engineering - a needle roller bearing in the path of all the road dirt & debris! Yeah, not their cleverest work! Even the brass is overkill! Mine is a steel pin that the cast brake pedal slots onto, and then a grease nipple was added to the outside and becomes part of the 500 mile grease regimen. That lasted long enough that it's not even worn out after 70 years and 105,000 miles- in spite of the distinct lack of greasing that had gone on in recent years. That should outlast you! |
| |
|
|
75swb
Beta Tester
Posts: 1,052
Club RR Member Number: 181
|
1952 Jaguar XK120 restoration 75swb
@75swb
Club Retro Rides Member 181
|
|
|
|
That last shot is so clean. What dreams are made of! I chuckled at the toe out comment too.
|
| |
|
|
gazzam
Part of things
 
Posts: 741 
|
|
|
|
Might be a project for when the car is finished. A removable one. |
| |
|
|
gazzam
Part of things
 
Posts: 741 
|
|
|
|
did the value of the thing prevent you from upgrading to front disks? Or is it purely a matter of wanting the car to drive/act as originally as possible? Just noticed this. Thanks for the nice comments. I really didn’t think at all about the brakes - they are well up to the type of driving this car gets. If I had thought about them I would have dismissed the conversion to discs because of the extra work and the cost! |
| |
|
|
|
|


