gazzam
Part of things
 
Posts: 742 
|
|
|
|
|
The wooden wheel is an idea I pinched from somewhere. It’s for use on aluminium. The metal ones mark the surface too much ( and probably remove material )
I really can’t remember where I read about them, but it was easy to make. I used a nice straight piece of oak ( I think ) and didn’t use the lathe. The only important things are to get it to fit nicely on the shaft ( I made it to fit a 125mm angle grinder) and to make sure the fixing nut thing sits below the face of the wood, otherwise it will mark the ally badly.
It’s a bit of a mental test drilling the holes in the right order so you keep a central hole to work from, but it’s not rocket science.
From memory I cut a circle with a jigsaw and trued it up by holding it against the sander once I had it mounted on the angle grinder. I don’t have a photo to hand, but there is one on my post 29, if you can find it. If you can’t find it or need any others let me know.
Works a charm on ally panels.
|
| |
|
|
|
|
pptom
Part of things
 
Posts: 475 
|
|
Nov 26, 2021 12:36:59 GMT
|
|
Thanks, found it, page 9.
Very interesting, I never knew such a thing existed, I'll have a look into them.
Tom
|
| |
|
|
|
|
|
Nov 26, 2021 13:05:22 GMT
|
|
i think i've seen Kindig using hard rubber shrinking discs
|
| |
|
|
|
|
|
Nov 27, 2021 14:16:35 GMT
|
|
The wooden shrinking disc is fascinating and reminds us how strong oak can be. I needed to replicate an Alfa factory tool to unstick and pull the cylinder head from the block; the factory tool used a stonking piece of steel plate to push against the head studs. I didn’t have that kind of metal but did have an off-cut of oak … worked (and continues to work) great. Tough stuff! John
|
| |
Last Edit: Nov 27, 2021 14:18:08 GMT by jjeffries
|
|
gazzam
Part of things
 
Posts: 742 
|
|
|
|
Just in case anyone thought I’d thrown in the towel, I thought I’d better make some noise. Have been making progress with the Jag - just not very photo worthy. Shots of one coat of primer look much like shots of the next coat of primer. I’ve also not been rushing things. This has been partly due to the rainy weather but also because I like to let primer filler have plenty of time to settle down. I’d prefer it does it’s shrinking before blocking it rather than after. Another job has needed doing and I may as well hijack my own thread… The Healey started leaking coolant not long after I finished it’s restoration. I was convinced it was from the head gasket. My only explanation was that maybe the gasket had failed from the engine sitting for 18 months empty of coolant. I know that sounds ridiculous, but I couldn’t think of any other cause. I hadn’t had the head off it. It was a strong runner, so I basically tarted it up. Replaced welch plugs and a few gaskets, paint etc. I tried two different chemicals to try to avoid pulling the head off. All they did was make a mess if the engine bay. 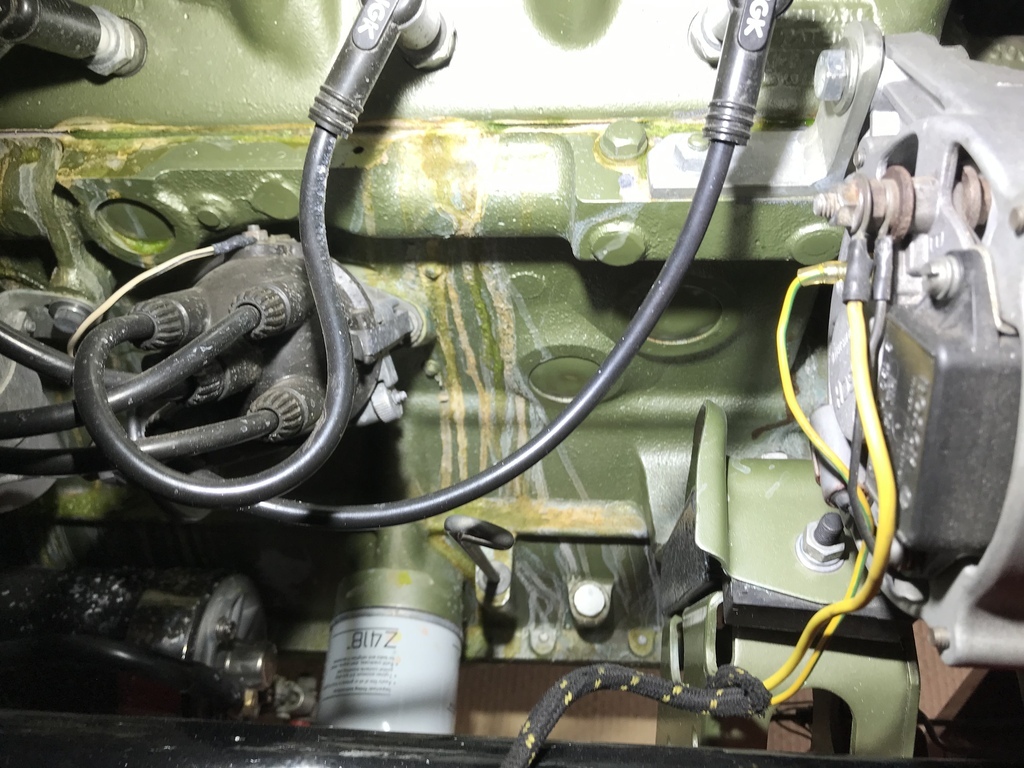 Luckily, just as I was about to bite the bullet and take the head off, it occurred to me to get a mirror and have a look at the weep hole one the water pump. I wish I’d thought of that before - those stains took the paint off the motor. The rest of the engine bay cleaned up nicely,but it was a lot of work. Repainted the side of the motor up to about the spark plugs, after removing the starter, distributor, coil and alternator. 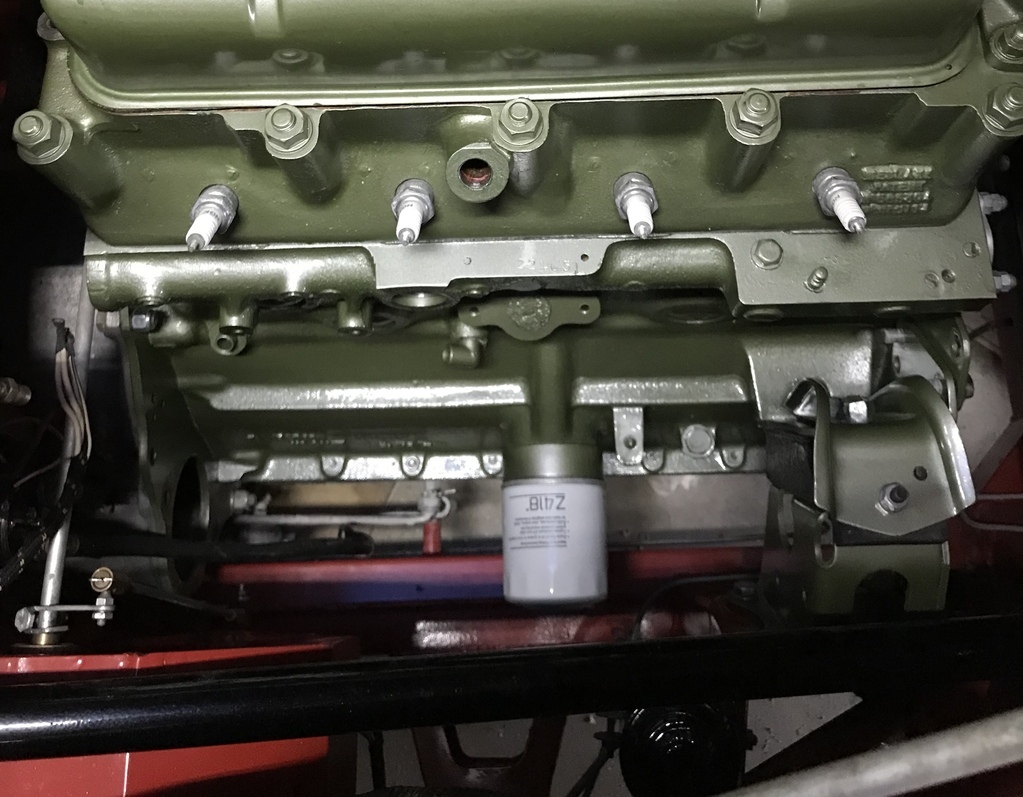 Mostly reassembled, new water pump turned up today, got it painted and should be okay to replace and test tomorrow. 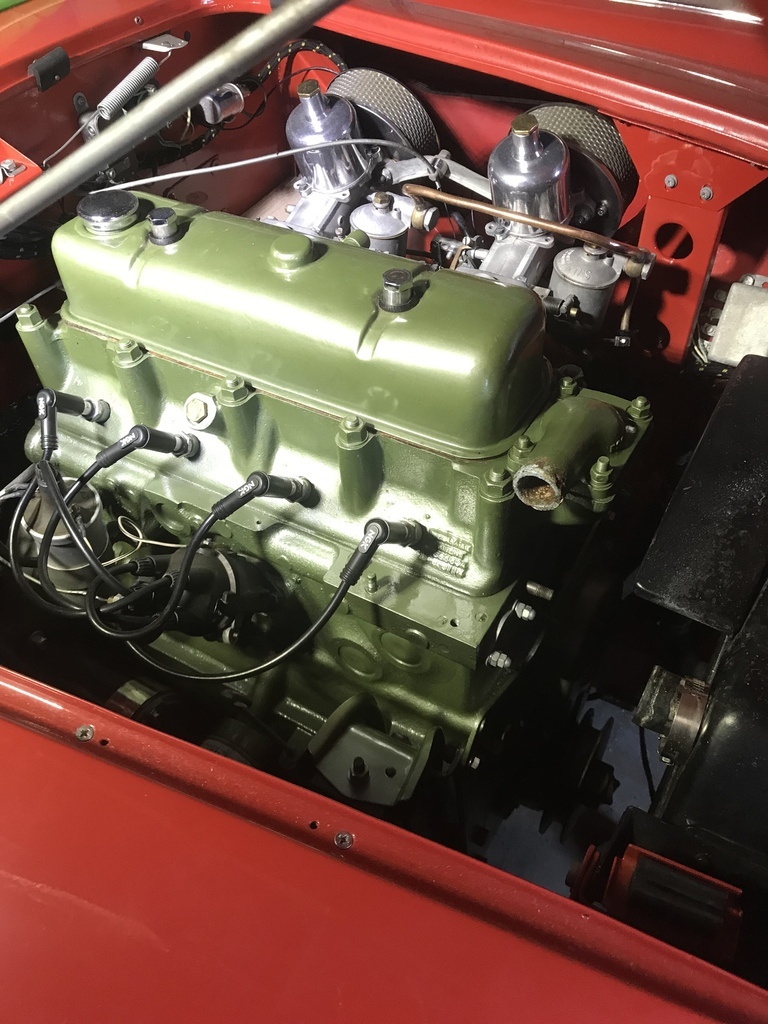 As always, comments, suggestions etc. welcome. |
| |
|
|
gazzam
Part of things
 
Posts: 742 
|
|
|
|
So today was supposed to be easy - put some goop on the gasket, wriggle the water pump over the 3 studs without mangling the radiator fins, get the 3 nuts on and tighten them up. What could go wrong? Well for starters, one of the nuts felt funny as it got to the point of tightening. We all know that feel. Sure enough it wasn’t going to tighten. Just pulled the stud out of the block. Great, I thought, stripped thread, probably in the block. But the stud wasn’t full length. Even better - broken off stud in the block. I started to mentally prepare to remove the radiator ( curse word ) and grille so I could get a straight shot at the front of the block. This is the stud that came out. 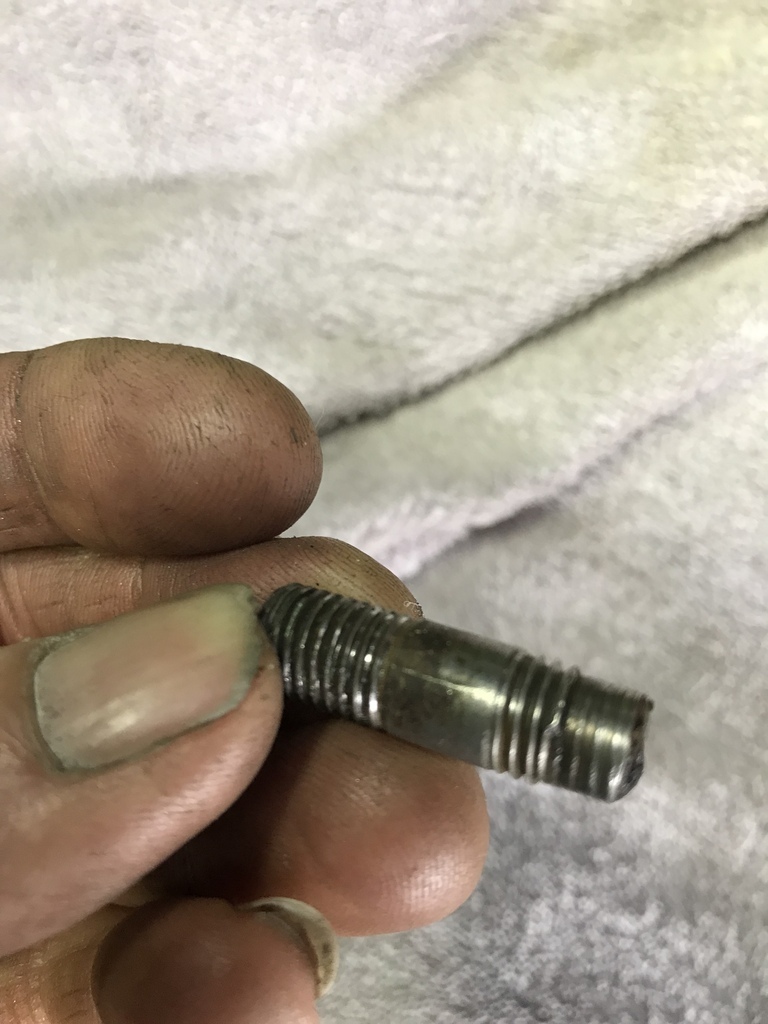 It was held in with some sort of glue. 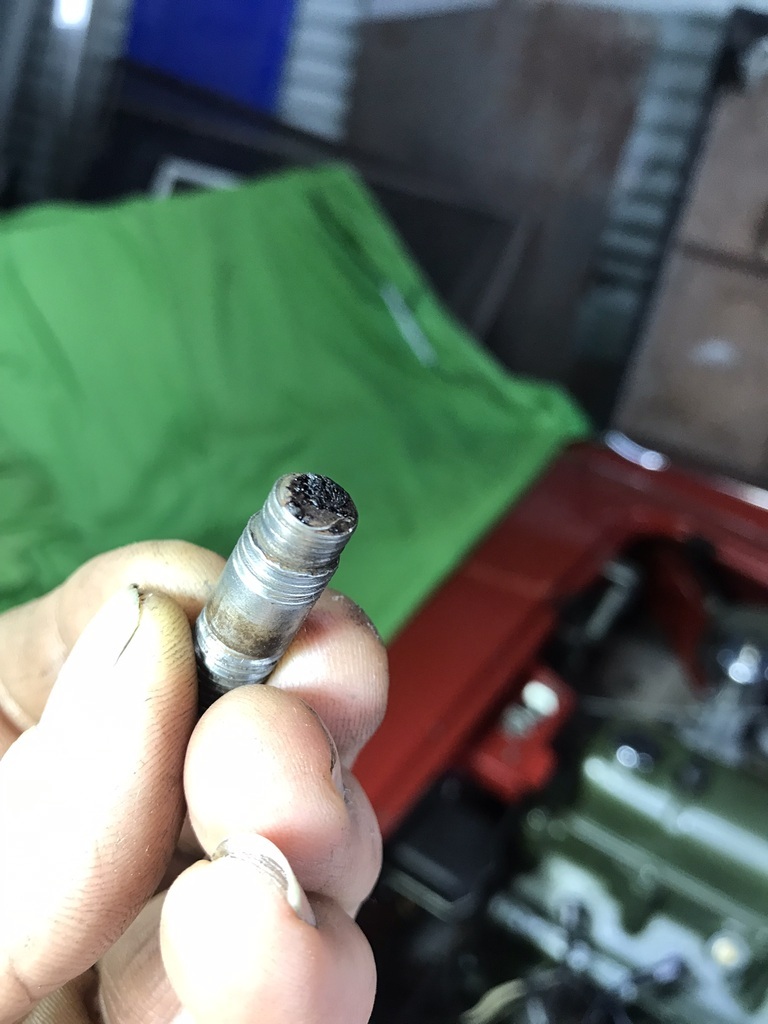 That’s the black stuff on the end that was stuck in the hole.I’d already cleaned off the threads to try and work out the pitch. So I got a mirror to see what I could see. I could see threads in a hole. No broken off stud. WTF? I thought it looked like UNF. But threads into cast iron ( the block ) are usually UNC. The people at The Healey Factory, where I bought pretty much all the parts I needed for the restoration have been very helpful, so I rang Chris in their workshop and he confirmed UNC. I should add that that I have no affiliation, just a satisfied customer. So I tried a UNC tap. 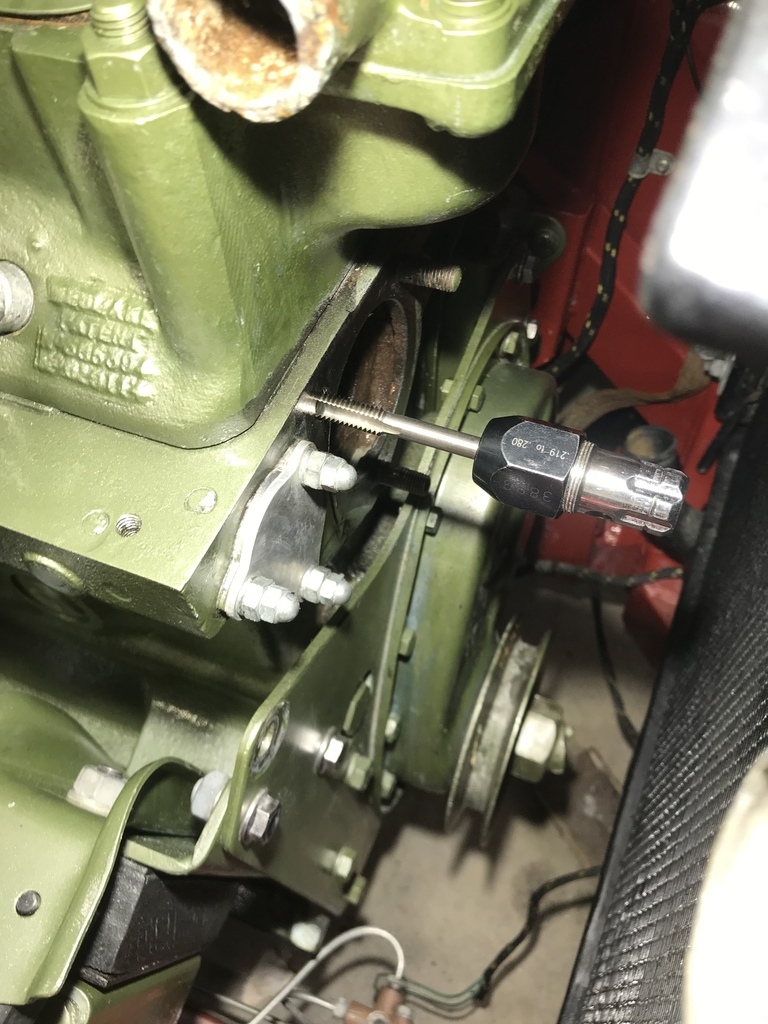 Was almost able to wind it in by hand. Cleaned out the thread beautifully. Screwed in a bolt to check everything was hunky dory. 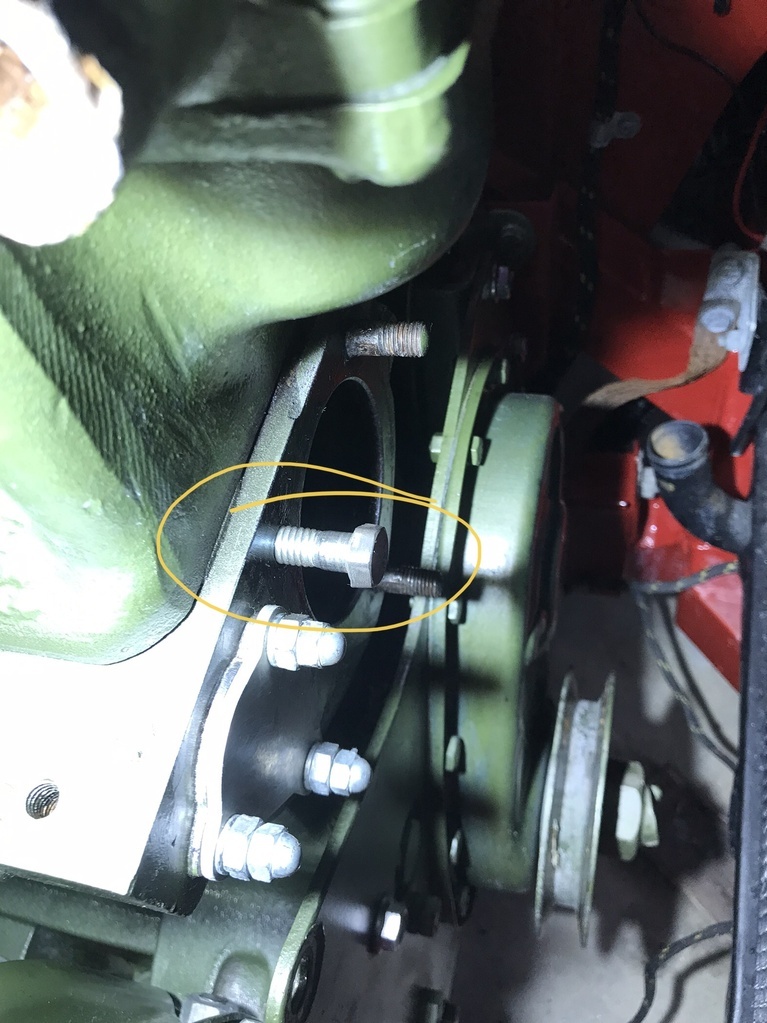 So I put that bolt in the lathe and turned down the head to the same diameter as the shank. 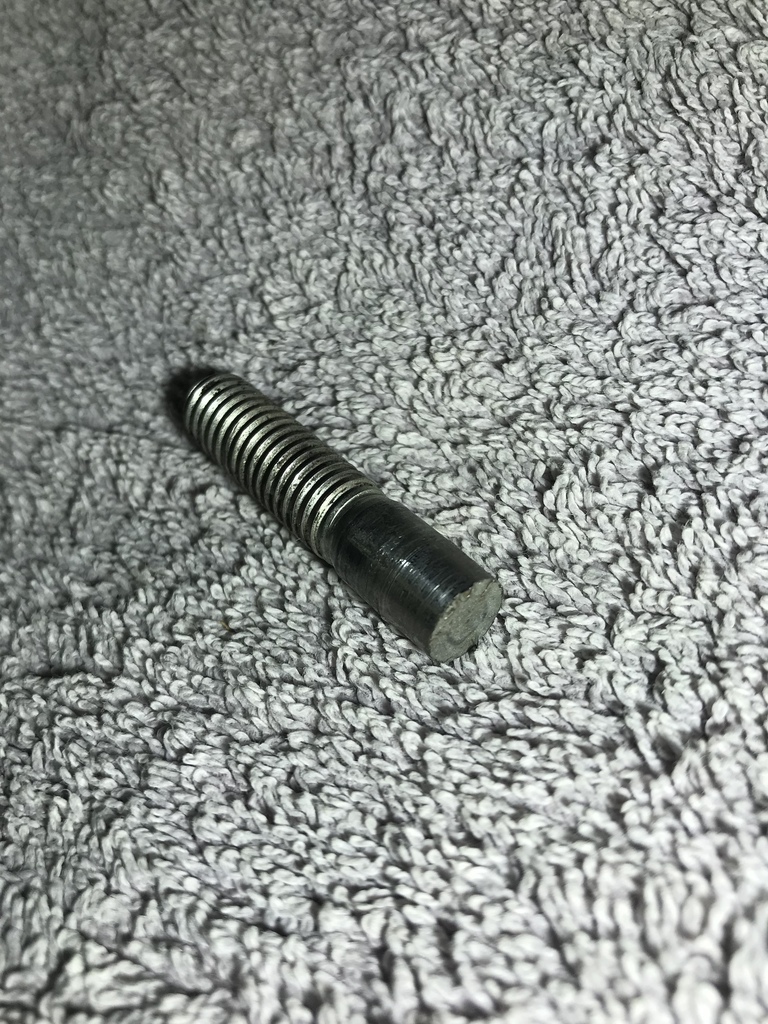 That way it would be long enough to cut the BSF thread to make it a replacement stud. 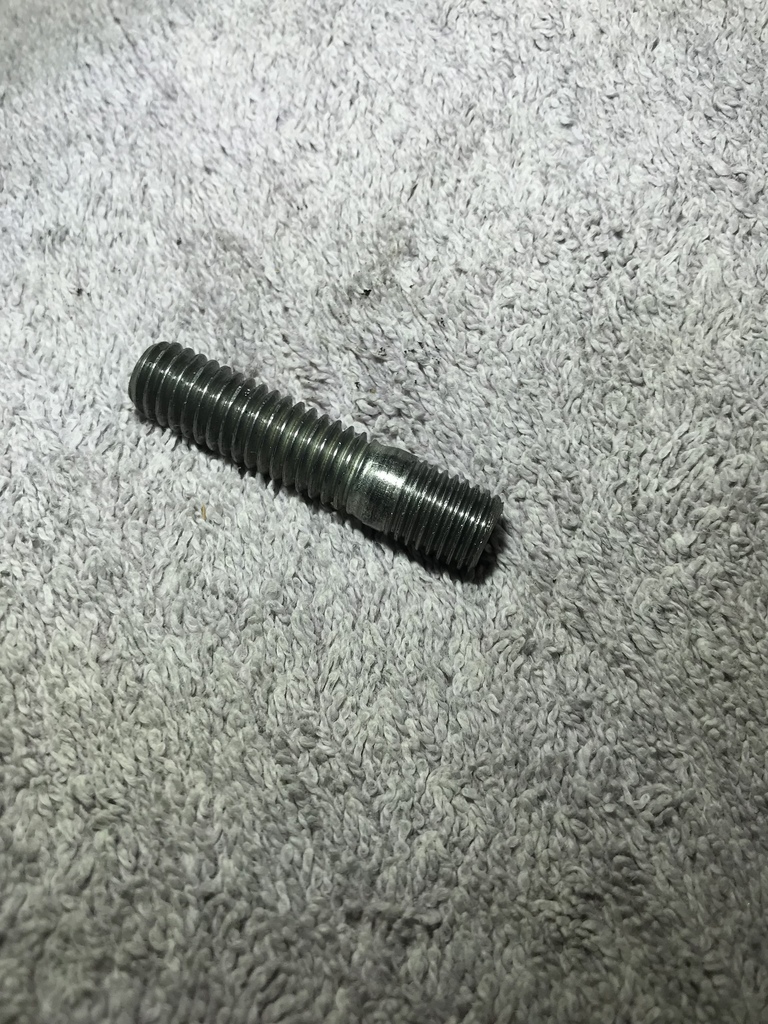 In position, with some sealant on the thread. 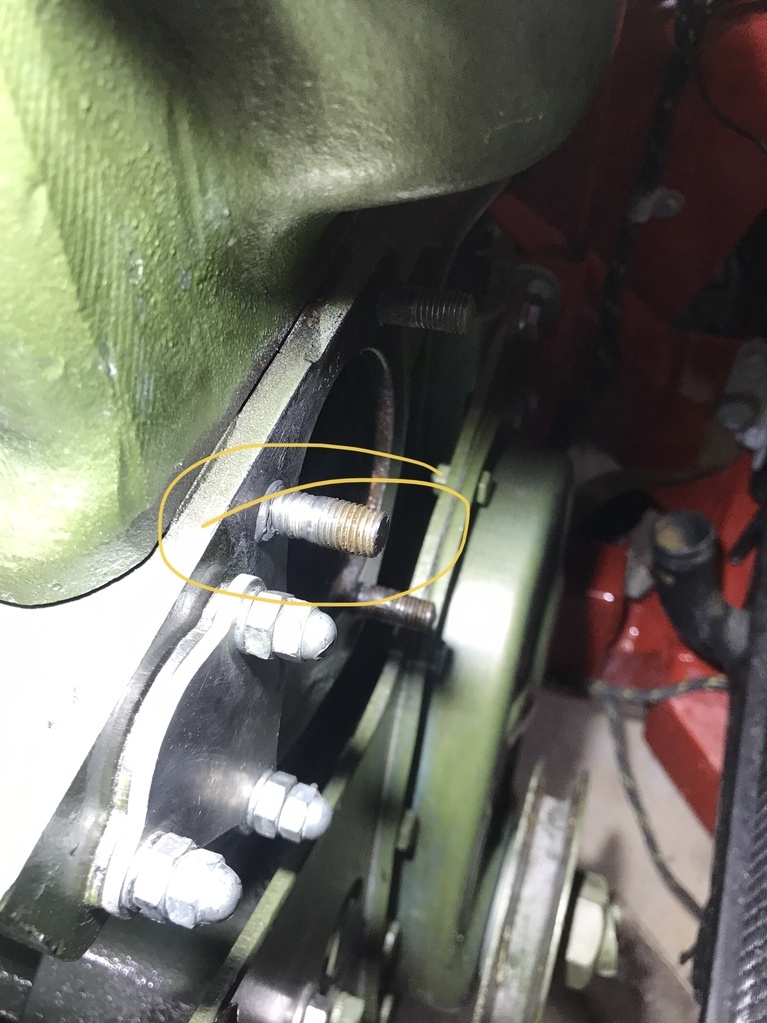 After that it was just mount the pump, refit the hoses, fill it with coolant and start it. Except that it would start but not rev. And some coolant, ( a tiny amount ) appeared at the head gasket. Not happy. But I took a deep breath and loosened the distributor to see if advancing or retarding would make it run. Advancing made it better, but not completely cured. So I must have been one tooth out when I replaced the distributor. Lifted the dizzy just enough to advance the rotor one tooth. Button everything up for another try. All good, runs normally. Got it up to operating temp with no further coolant leakage. Did this several times over an hour or more. No problems. I’m hoping it was just some residual coolant in the ( fibrous ) gasket that came out when it got hot. Still baffled as to why the stud was glued into a hole with a good thread. Couldn’t the bodger find a UNC bolt FFS? That’s enough thread hijacking. Normal Jag service will ( hopefully ) be resumed shortly. |
| |
|
|
|
|
|
|
|
|
What Witchcraft is this!!!
No-one EVER gets a decent threaded hole in a block with a damaged stud - quick, bring out the pitchforks and bales of fire!!
Seriously, it's pretty cool to be able to turn your own threads to make a stud.
|
| |
|
|
gazzam
Part of things
 
Posts: 742 
|
|
|
|
I did cut my own thread, just not the way you think. I happen to have a set of BSF dies. 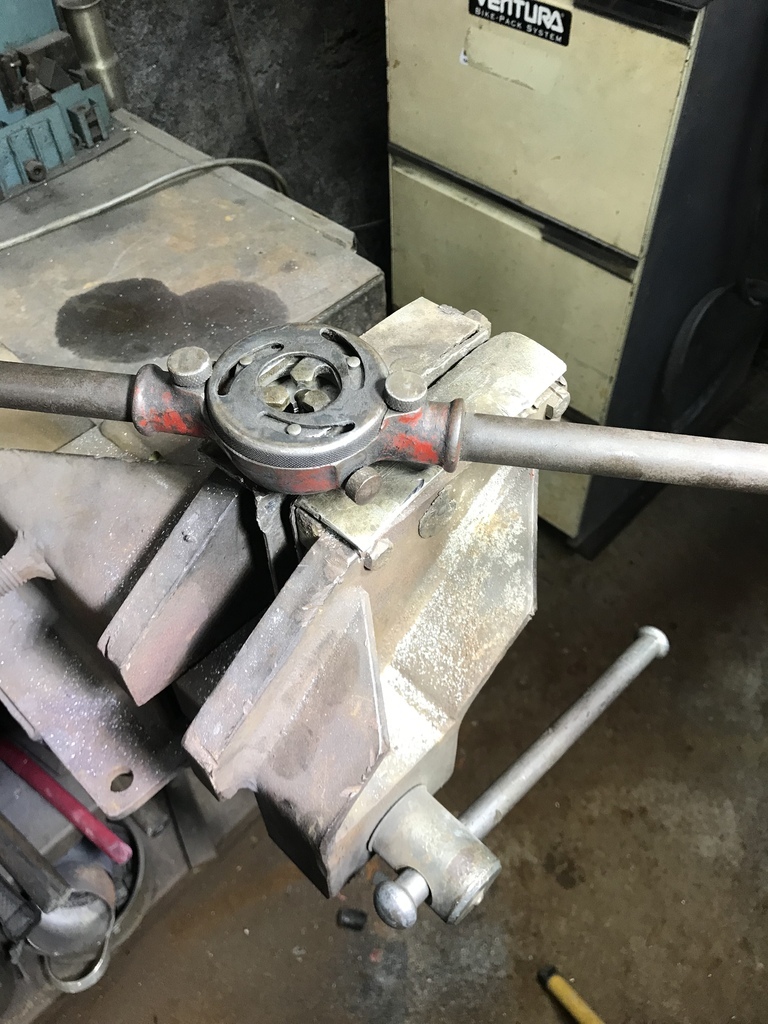 I thought it was pretty cool being able to reuse the original nut! But I’m still wondering about the scenario that lead to a broken stud being glued into a perfectly good EMPTY threaded hole. Answers on a postcard to the address on screen… |
| |
|
|
Davey
Posted a lot
   Resident Tyre Nerd.
Posts: 2,348
|
|
|
|
|
Sounds like normal mechanic laziness to me. Loving the work so far.
|
| |
K11 Micra x3 - Mk3 astra - Seat Marbella - Mk6 Escort estate - B5 Passat - Alfa 156 estate - E36 compact
Mk2 MR2 T-bar - E46 328i - Skoda Superb - Fiat seicento - 6n2 Polo - 6n polo 1.6 - Mk1 GS300
EU8 civic type S - MG ZT cdti - R56 MINI Cooper S - Audi A3 8p - Jaguar XF (X250) - FN2 Civic Type R - Mk2 2.0i Ford Focus - Mercedes W212 E250
|
|
gazzam
Part of things
 
Posts: 742 
|
|
Dec 12, 2021 10:55:12 GMT
|
Normal service has been resumed. Some of the car, a fair bit of it really, is finished. We have some shiny surfaces! Boot area: 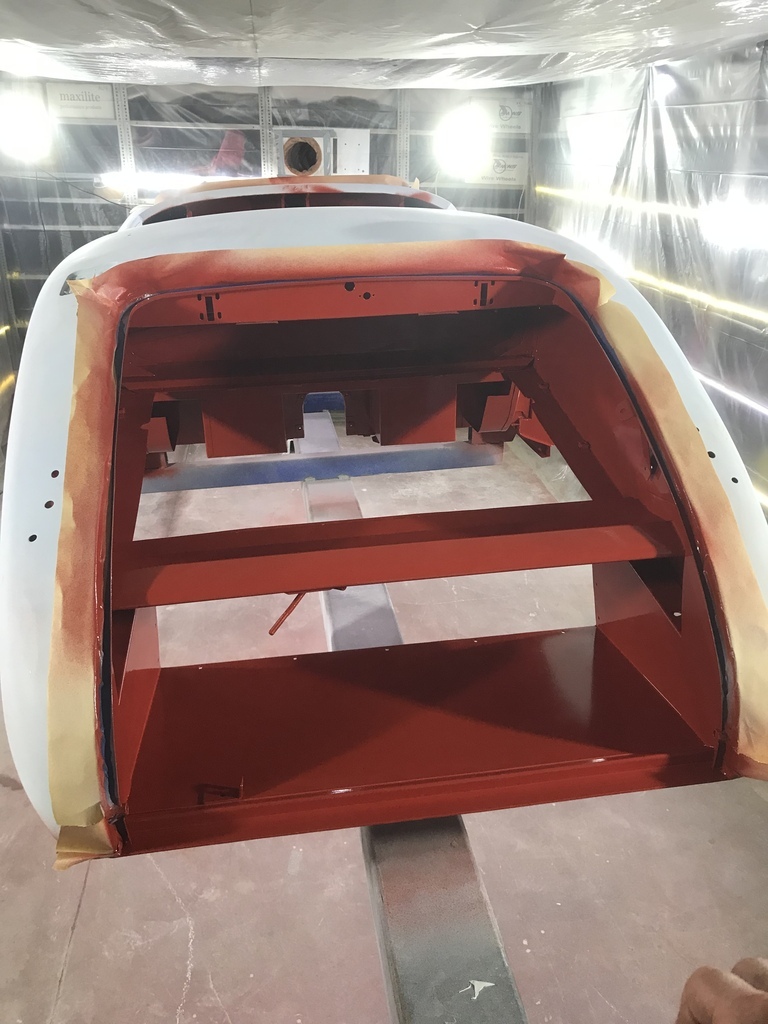 And under the rear: 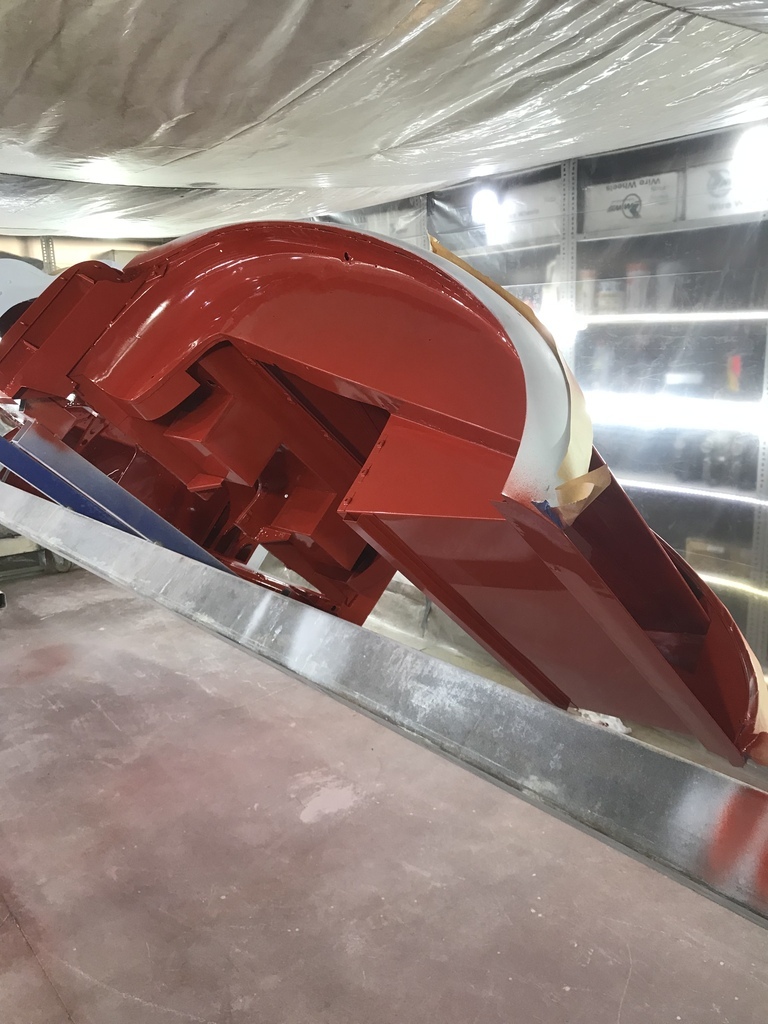 Under the front guards: 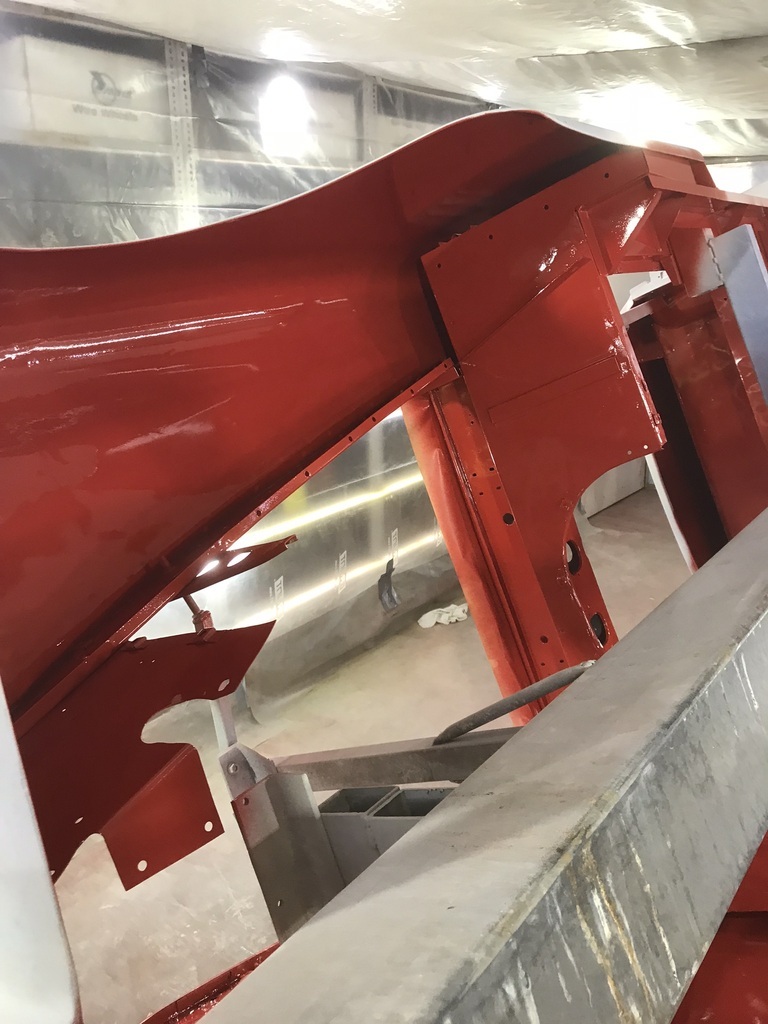 Under the dash: 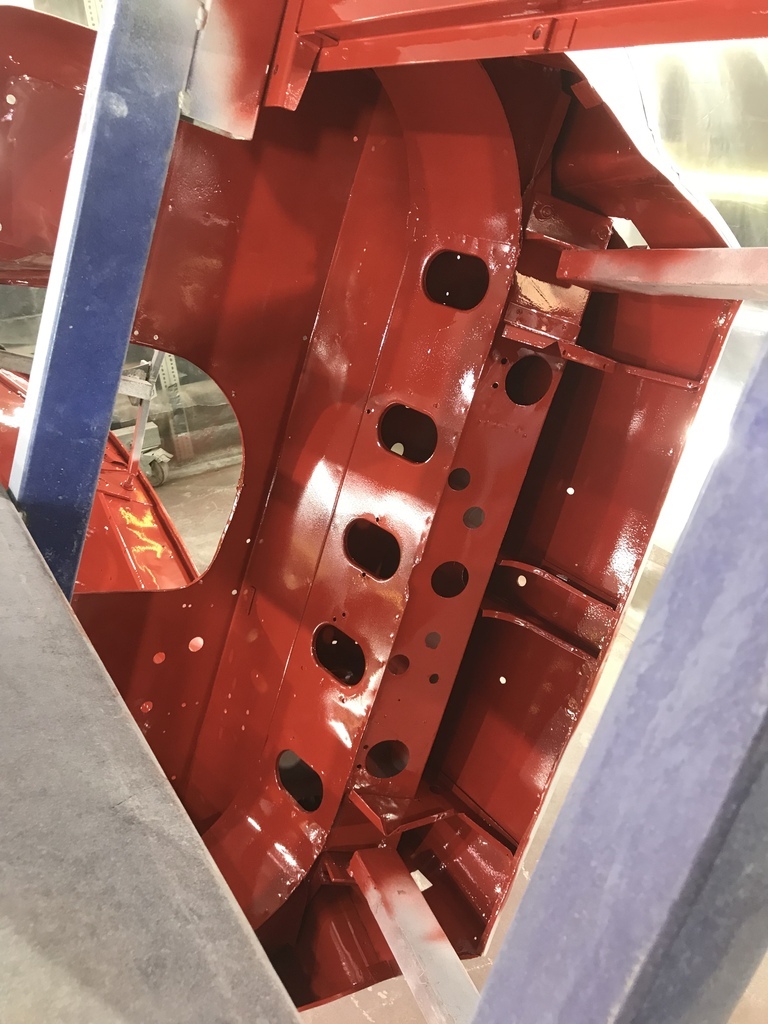 I spent a day sanding/preparing all those areas. At the end of it I had no fingerprints and couldn’t pick up a hot cup of tea, but it’s good to have it done. There was a fair bit of exposed filler and bare metal so a full coat of epoxy was needed. Today was quite a big effort. I didn’t want to sand it all again, so the colour had to go on within a few hours of the epoxy. I was thinking it would only take a couple of hours for both coats, but it was four and a half before I was cleaning the second gun. It is a real hard thing to paint. Close to half of this new shiny surface will be covered with upholstery, but you and I will know it’s nice underneath the carpet etc. The outside bits - the stuff that matters most with a paint job - is well on the way to colour also. It’s just about ready for the final coat of epoxy. Then it will be time for wet sanding. I wanted to get the colour on all the underside bits before they saw any water. Too many crevices to catch sanding slurry. Rest assured it’s RED, not brown as it looks in these photos. Now for the outside…. |
| |
|
|
|
|
|
|
|
|
|
|
|
"Rest assured it’s RED, not brown as it looks in these photos." Phew ! thank goodness for that !  |
| |
|
|
nze12
Part of things
 
Posts: 193
|
|
Dec 13, 2021 16:54:58 GMT
|
"couldn’t pick up a hot cup of tea" Try picking up a cold beer instead!  |
| |
1986 BMW E30 refreshed to original spec
1973 BMW E12 520 converting to Motorsport 530
1982 XJS V12 converting to 5 speed manual
Many landscaping projects overriding above!
Cogito cogito ergo cogito sum!
|
|
|
|
|
Dec 13, 2021 18:29:30 GMT
|
|
lovely level of workmanship keep it up owen
|
| |
|
|
gazzam
Part of things
 
Posts: 742 
|
|
Dec 16, 2021 10:44:22 GMT
|
Thanks Owen, much appreciated. Don’t worry nze12, I had no problem picking up a cold beer. The second was even easier… A few more red bits today. Plus epoxy on the latch and hinge sides of the doors. In my haste to get some colour on I’ve made a bit of a mistake in timing on the painting of the underside of the body. I should have waited till I had the final coat of epoxy on the outside before doing the colour coat on the underside. Now I will have to mask off the finished stuff before the epoxy and then again before putting colour on the outside. The wet sanding will destroy most of the masking anyway, but I wouldn’t be comfortable reusing the masking in case some primer flakes off and contaminates the topcoat. Anyway back to today’s efforts. 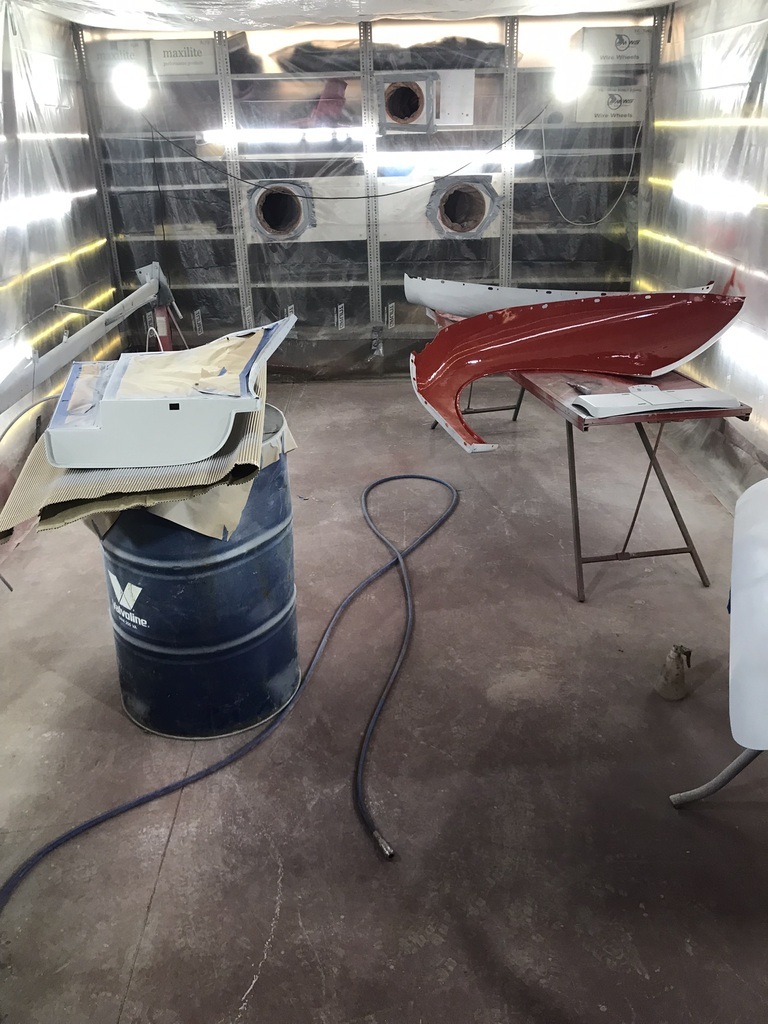 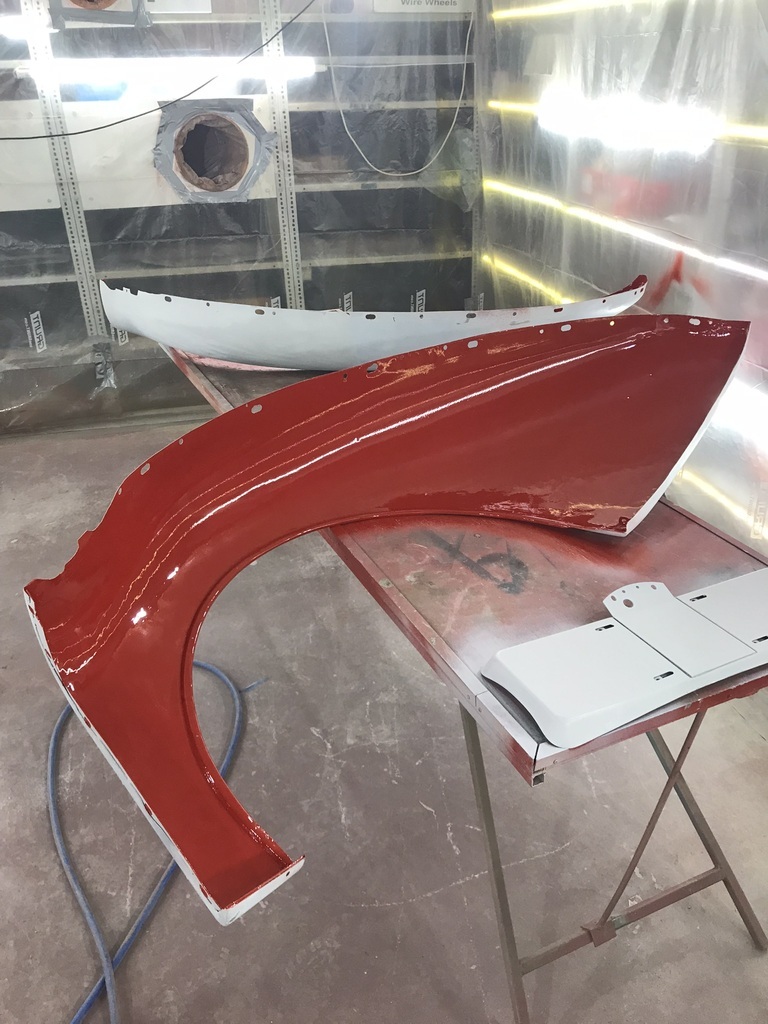 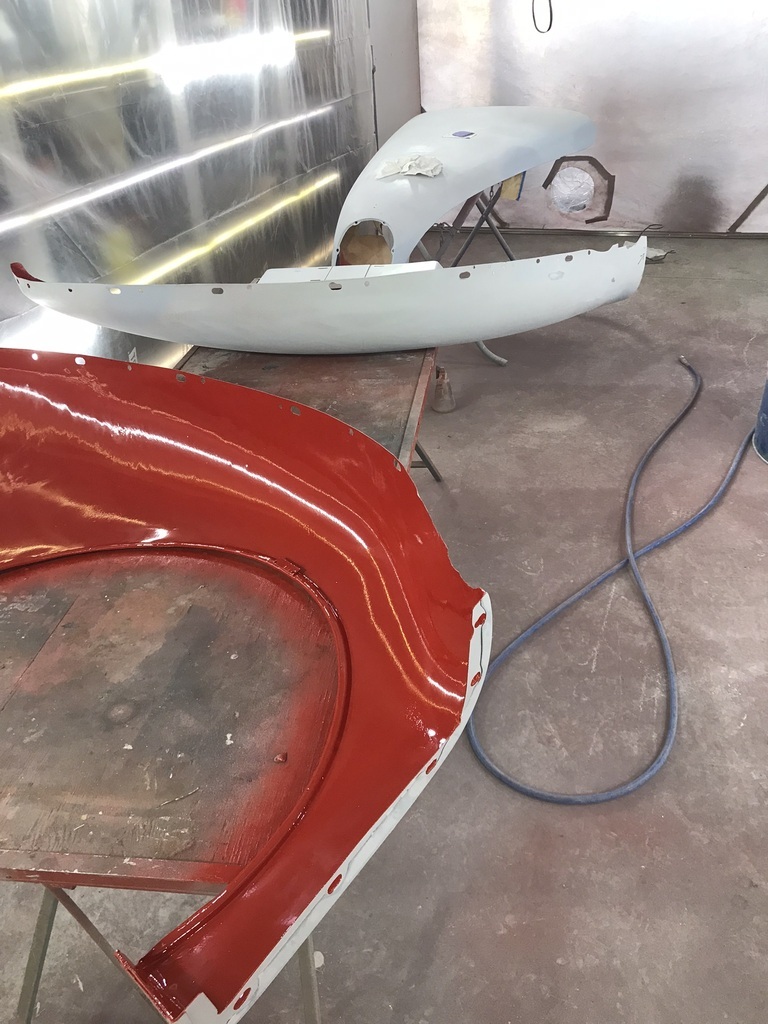 Actually I’ll have to double mask these guards as well. But I chose to do it in order to get some filler sealed up as we are in for some more humidity. And I’d rather mask that bit twice than sand it once. Apparently some 2k paint has a 5 day window where you can put topcoat over epoxy without sanding, but the stuff I’m using only has a couple of hours. That’s all for now, as always comments etc welcome. |
| |
|
|
gazzam
Part of things
 
Posts: 742 
|
|
Dec 31, 2021 20:51:40 GMT
|
Happy New Year everyone. I’ve not been idle, just not been doing much that’s particularly photo worthy. Mostly sanding and masking, seeing which brand of masking tape is the least worst. This was a real cow to cover up. 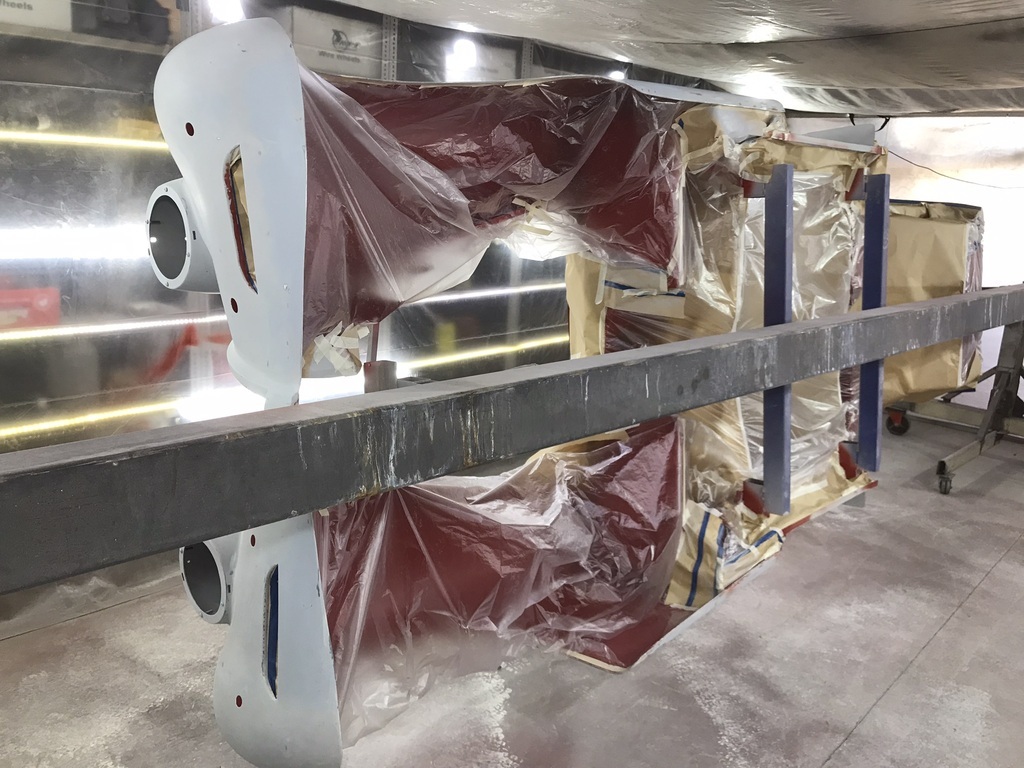 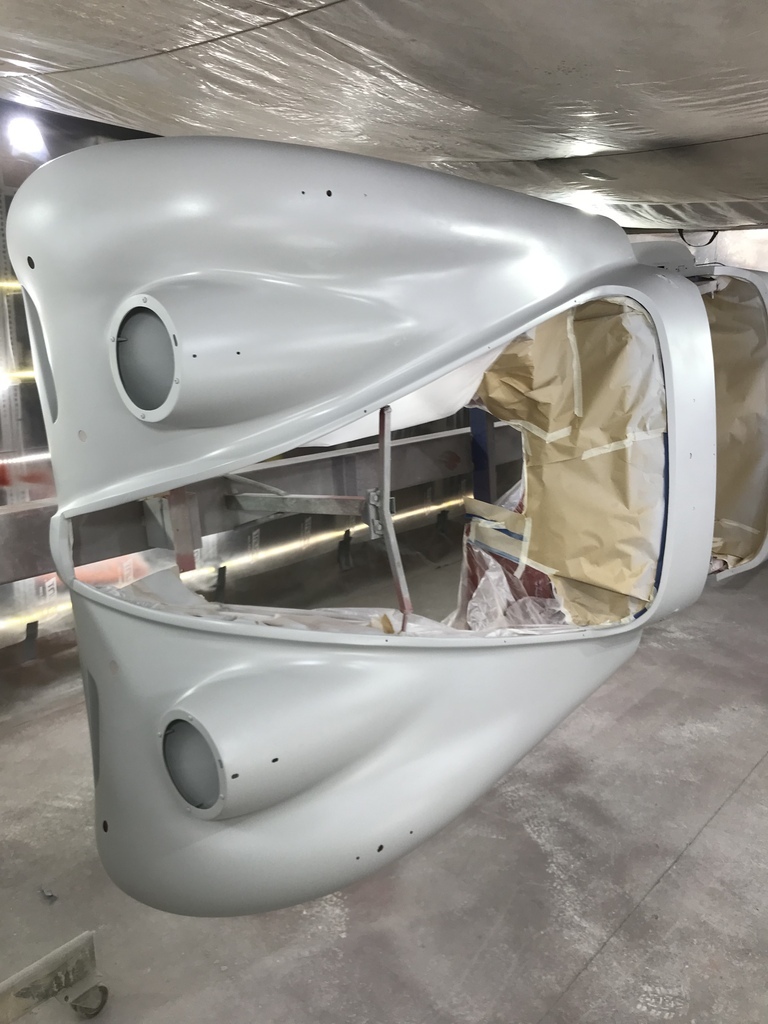 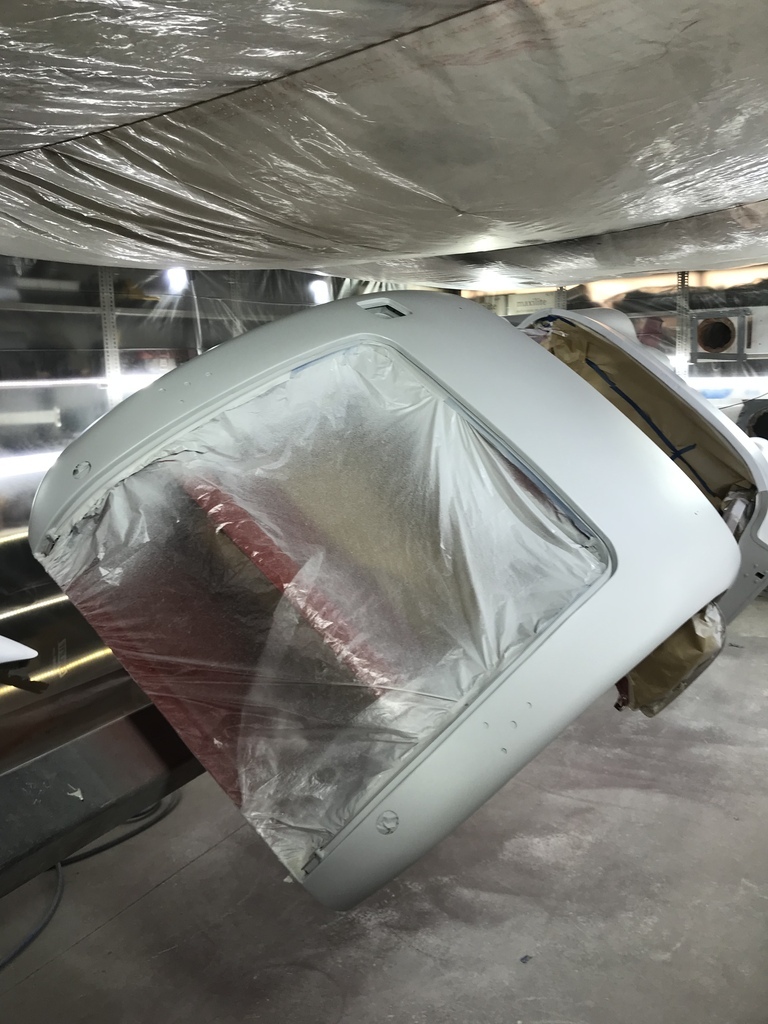 And that is hopefully the final coat of primer on it. So after wet sanding, I’ll get to do it again… Also did some more plating. Lots of nuts, bolts and washers. The tedious but very necessary stuff. The bonnet hinges had been on and off so many times they were starting to look pretty second hand so I pulled them apart and redid them. Along with the boot hinges, accelerator pedal and some other bits. 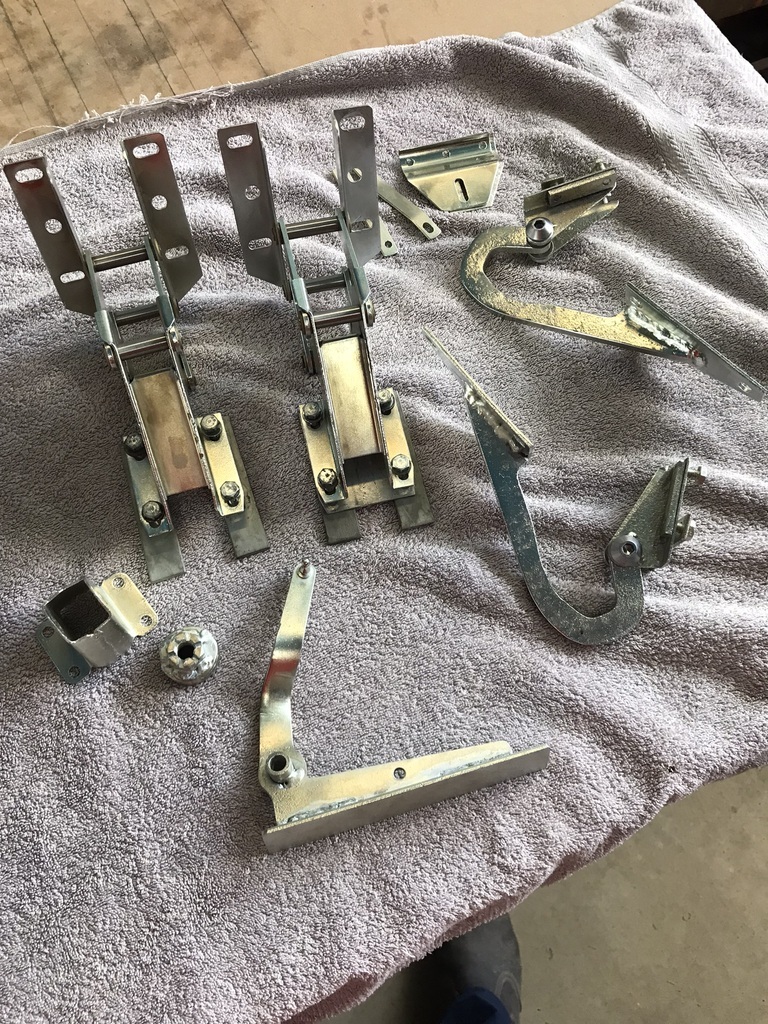 But the big news is the colour is on most of the removable body panels. Bonnet done, other pieces covered to avoid overspray. 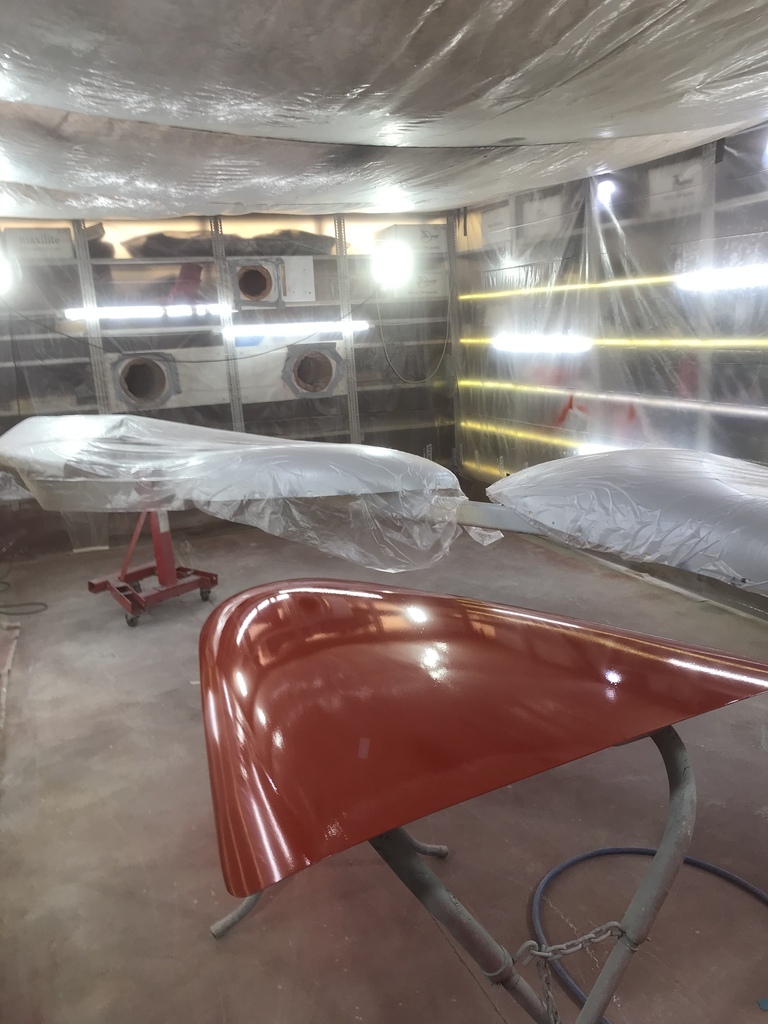 I painted one piece at a time, leaving the plastic over the yet to be painted ones. I’m not concerned about overspray on the bits once they’re done as they’ll be sanded and buffed. 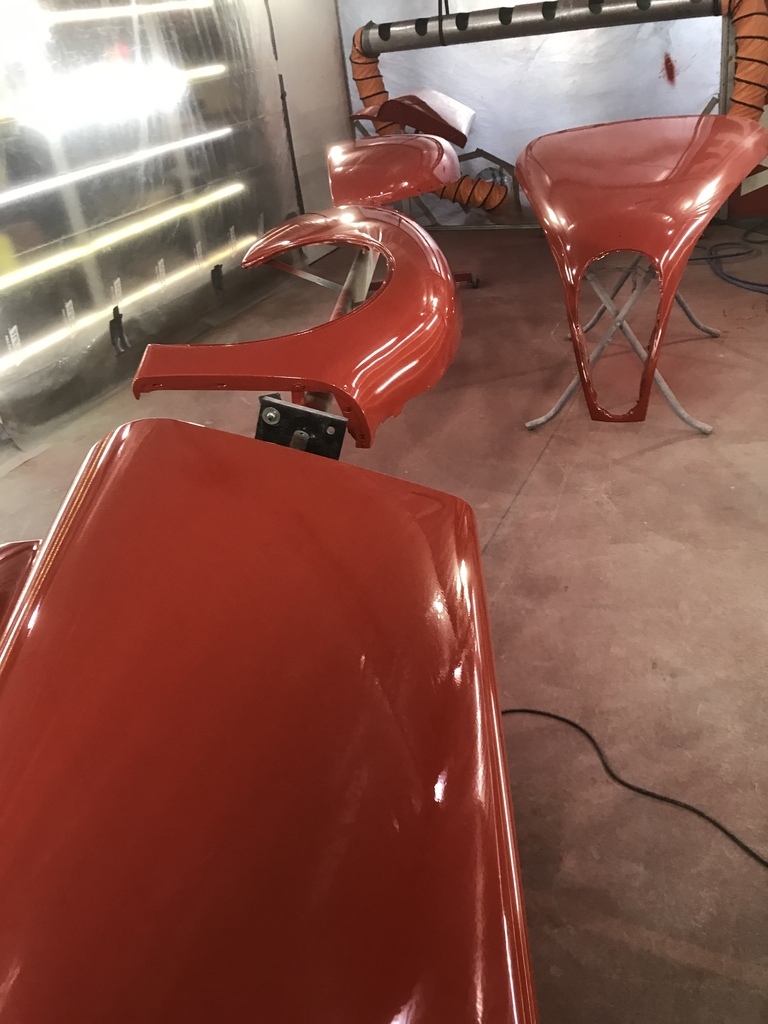 Pretty chuffed with the finish though. Obligatory reflection photo: 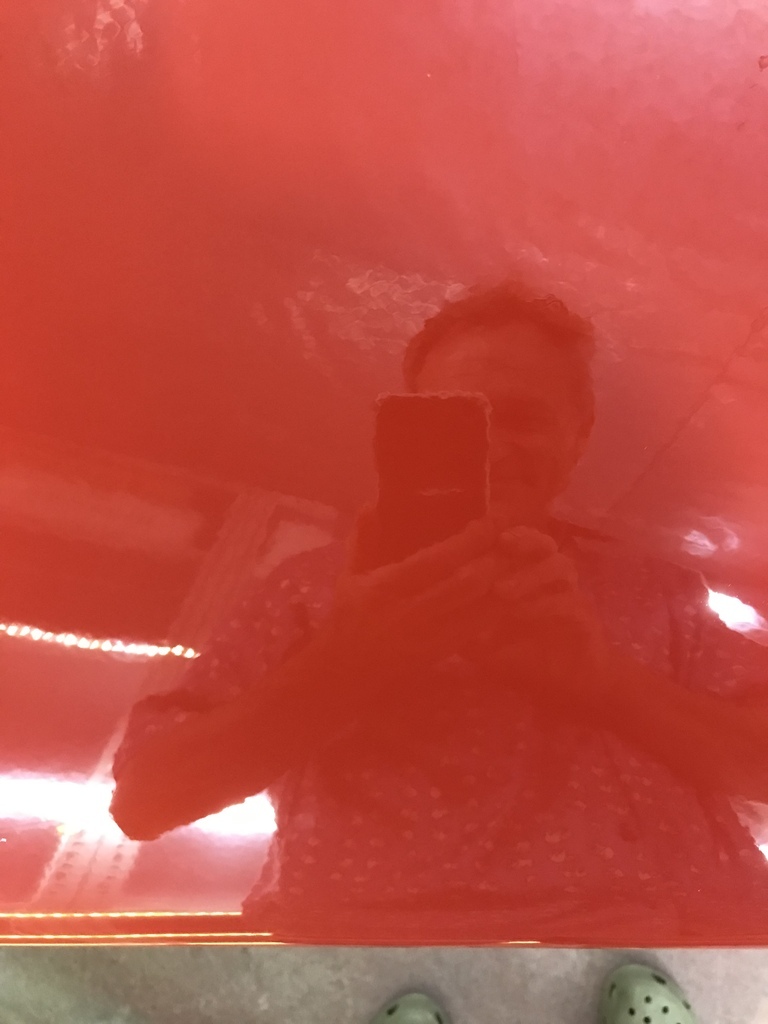 Just to prove my amateur status, I had to get a run… 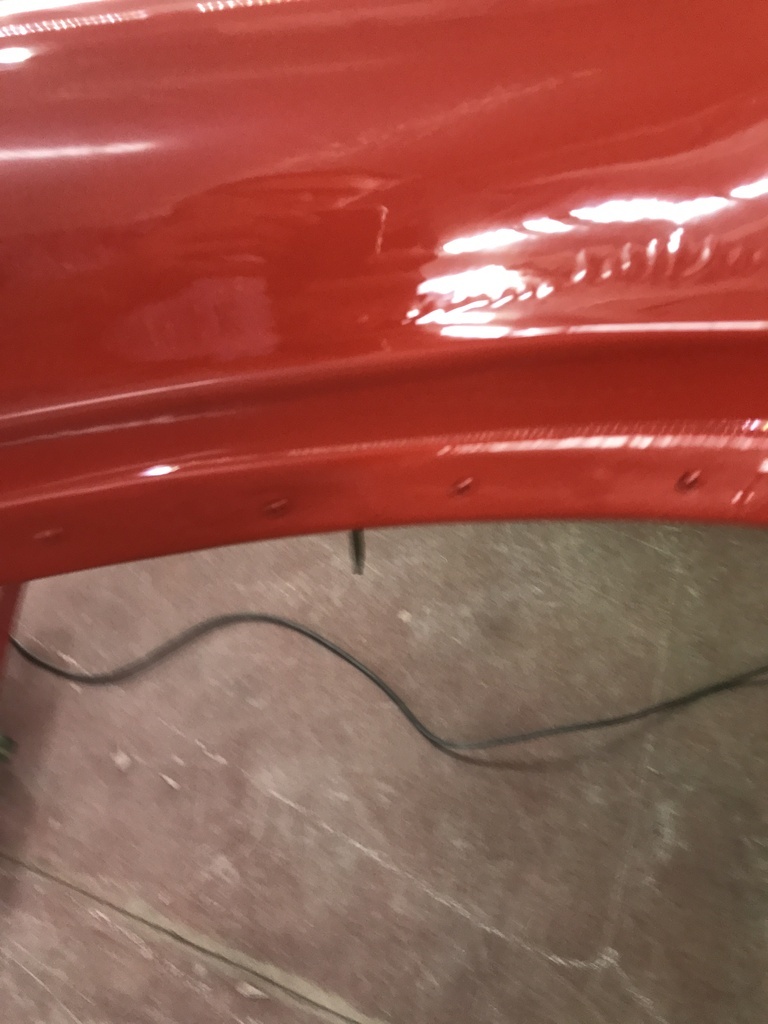 Bit of careful sanding should see that fixed. I’ll give it a week or more to harden then wet sand and polish. That’s all for the moment. Cheers. |
| |
|
|
nze12
Part of things
 
Posts: 193
|
|
Dec 31, 2021 21:14:02 GMT
|
|
Happy new year from across the ditch!
Re that paint run - someone posted a photo of a nifty looking scraper in another thread. Might have been in the Daimler V8 one?
|
| |
1986 BMW E30 refreshed to original spec
1973 BMW E12 520 converting to Motorsport 530
1982 XJS V12 converting to 5 speed manual
Many landscaping projects overriding above!
Cogito cogito ergo cogito sum!
|
|
pptom
Part of things
 
Posts: 475 
|
|
Dec 31, 2021 21:17:21 GMT
|
|
Excellent work. Probably too late now, but I always find 3m tape to be the best. In general 3m stuff is excellent, if a bit expensive.
You've probably seen this or know about it but I've used the technique for runs and it worked pretty well:
|
| |
|
|
|
|
|
Dec 31, 2021 21:28:26 GMT
|
|
|
| |
|
|
|
|
|
|
|
|
I've got one and they are great on convex surfaces, really need a curved one for concave surfaces but not found one yet.
|
| |
|
|
|
|


