Part 16 of the story so far...
The cobra pipe has a top locating point that bolts up to the lifting eye bracket on a T7 car. The standard T5 (B204) setup looks like this where one long bolt secures the power steering pump and threads into the power steering mount.

The standard B204 power steering bracket is also tight to the exhaust manifold. This might be of interest to people using aftermarket manifolds so worth mentioning.

I wanted to use that top mount point to support the king cobra and also make use of the T7 APC valve fittings. Mocked up the T7 power steering bracket and lifting eye...

Much more clearance on the T7 power steering mount if you wanted to have a custom manifold fabricated.

The T7 power steering mount however doesn't have a thread for the power steering pump bolt. The mounting points for the power steering pump are also in a slightly different place so I wondered if the pumps were the same. Bought a T7 pump for mockup not a registered trader and noted that has a thread in the top mounting hole on both sides. Both T5 & T7 cars share the same auxiliary belt and I checked the pump pulley is in the same position regardless of which you use. Quick summary someone might find useful...
B204 (T5) mount uses pump without thread part number: 5170675
B205 (T7) mount uses pump with thread for a bolt each side, part number: 5061841

I wanted to use my B204 pump on the T7 mount which would need a longer bolt and washer. Checked the parts diagrams and Saab actually supply one...

I then got a niggling doubt about the quality of my pump and the second hand one purchased. They both potentially worked fine, but at 20 years old how long would they last. You have to draw the line somewhere but I need this car to be very reliable and purchased a new one. Went for a T7 version which secures with the bolt each side which looks cleaner imo.
Went for this SKV one because it featured a pulley design like the original and came with a four year warranty. I thought if they are confident to offer that length warranty it must be good German quality. Promptly voided said warranty by ripping off the name badge with a plan to paint the pump body black...

I want to eventually learn the mapping side so an EGT sensor will be handy. Tapped out the manifold to accept a 1/8th npt EGT probe.

It still feels a little sketchy having something like that pre-turbo. I bought a quality one to lessen the risk a bit and give me peace of mind.

The Arashi 19T turbo has a bigger more oval manifold connection. I wanted to port match that a bit better and turned the round manifold hole into this...


Took a trip the powder coaters to get some brackets done and the engine cover hydro dipped. Wasn't going to get the manifold done in the end but their glacier black ceramic coating display was too tempting. Had to have some of that on project silver...


The two brackets that are similar are a slight difference between a 1999 & 2000 built car. Wasn't sure which I preferred but went with the simpler angle one which was original to the car. The engine cover looked a bit tatty and that hydro dipping has finished it off nicely.
The ceramic coating is so thin that it was recommended I could fit without flatting the mating surface. However there was some slight imperfections as pictured so the surface got a very light wet and dry to clean these up.

I noticed on one of the saab conversion groups on facebook an interesting discussion about the exhaust manifold gasket. Quite a few people had experienced issues with the Elring one at high power levels and switched to the Victor Reinz version which had lasted. The design is a bit different so I've followed that lead and changed it just in case.

Need to get all the odds and ends painted in a few batches before finally assembly, the jobs got a bit random at this stage. When taking apart my intermediate shaft I noticed some play and abnormal wear in the cup. I bought a second hand one which was in better condition but still required paint. Did look at how much these are new but they were very expensive and on back order at the time.

I'm replacing the roller bearings with GKN items anyway but looks like one had partly seized up in the old intermediate cup.

Sanded back getting some final deox c rust treatment...

I used my old intermediate bracket, cleaned it up and pressed in a new bearing prior to paint. Bearing from Orio is SKF and not badly priced either which was nice.

Cleaned up all the turbo lines and had some fun and games working out what was needed for a TD04 turbo on a b204. The oil line is the same but the water connections are M12 not M14 like the b204 hard lines. I'd read about this but didn't realise the b205 doesn't have that lower block connection and uses a different water pump bracket instead. Long story short I bought the wrong pipes before realising I just needed to copy everyone else and use adaptor washers. You also need two M12x1.5mm banjo bolts...

The King cobra pipe gets advertised as *Genuine* but it's not the same quality as made for Saab back in the day. The casting is poor in places and had extra material on the turbo connection. I took the opportunity to match it a bit better to my turbo...

It's a really tight fit and I had to swap out the hex bolt on the water pump for a dome item to gain clearance.

The actuator retaining ring is also very tight requiring a little surface grinding of the king cobra to gain some space.

My original plan for the breather connection was to use a T7 cobra pipe setup. However I didn't realise this king cobra connection is cast in a slightly different place. Maptun do a nice little adaptor for it which was tempting, as was using the plastic pipe from a 9-5 with connectors. The T7 banjo would also require a machined insert making so I looked at other options...
Thought this was perfect, it needed some waste material dremeling out and the thread extending. Don't quote me on this but I think the thread was already 1/2 NPT and I simply extended it.

That fitted great but the barb was too small for fuel pipe that would connect to the rigid breather tube and stick to the 10mm minimum hole diameter on those connection points.

I went the next size up only for it to foul on the cobra pipe itself. Even with a notch cut in the pipe it still wouldn't clear to tighten up sufficiently.

Thought about it more and decided I would like a catch can and might as well bite the bullet and go direct to an AN fitting. Settled on a 'AN -10 (10AN) Banjo Adapter To 1/2 NPT Stainless Steel Banjo Bolt Assembly' which you will see shortly. I also filled that notch in the King cobra with JB weld prior to painting.
Next little job was the relief spring. I had ordered one that should be correct for my car and noticed it was too short compared to the original item. The car was built in 2000 making it one of the last b204's but it has a few subtle differences like this. Ordered again getting both types to rule out any potential supply error. Sure enough mine came with the later and longer spring. Makes no sense as the end casing and relief piston should be the same as a 1999 car but there you go mystery solved. My original one is in the middle of this pic...

Alternator had seen better days with some wear on the slip rings.

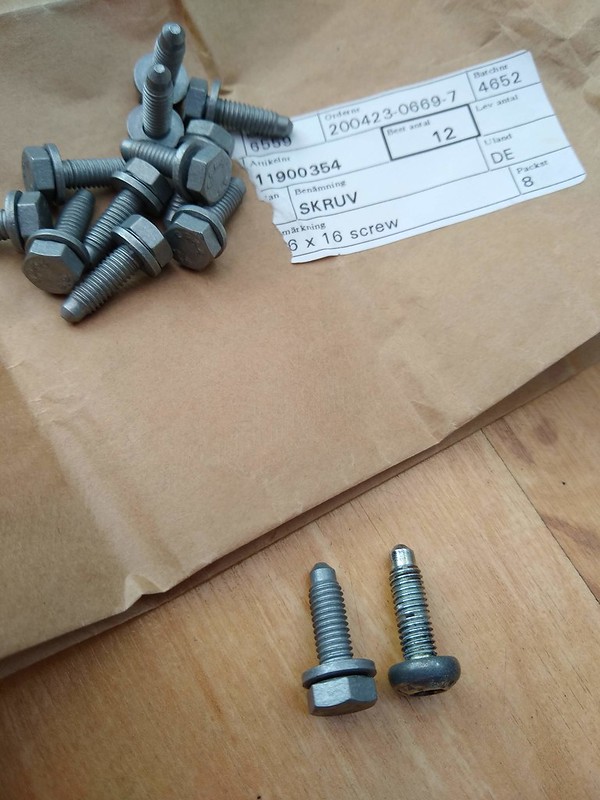
Was going to re-furbish myself but found an already done Ebay item at a good price. This was an original Bosch item that had been nicely blasted and with new slip rings. My only criticism is that the voltage regulator looked cheap and they had used the wrong screws. However at this price I couldn't grumble and both issues could be easily fixed.

The pulley unfortunately took a dent in transit which probably would've filed out but not worth me risking. I had a perfect pulley on my old alternator albeit with surface rust.

Cleaned up my old pulley ready for paint...

Surprising what Orio still supply for our cars. Some parts are crazy money then others are unexpectedly cheap. The lifting eye I had was bent and a new one was only something like £7. Gearbox splash guard around £3 which just shows worth checking prices, good buys...

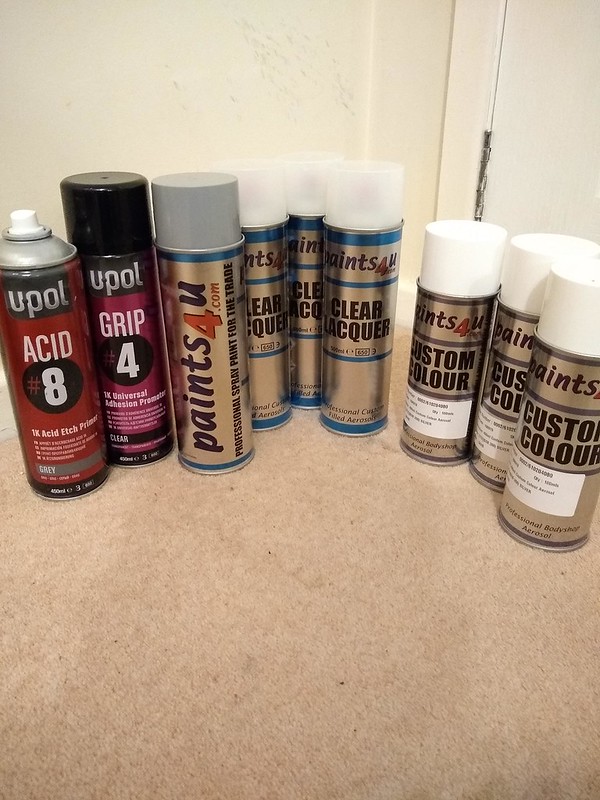
Was time for a big paint session and covering the entire room in plastic sheeting. The neighbours overlooking my conservatory probably wondered what was going again...
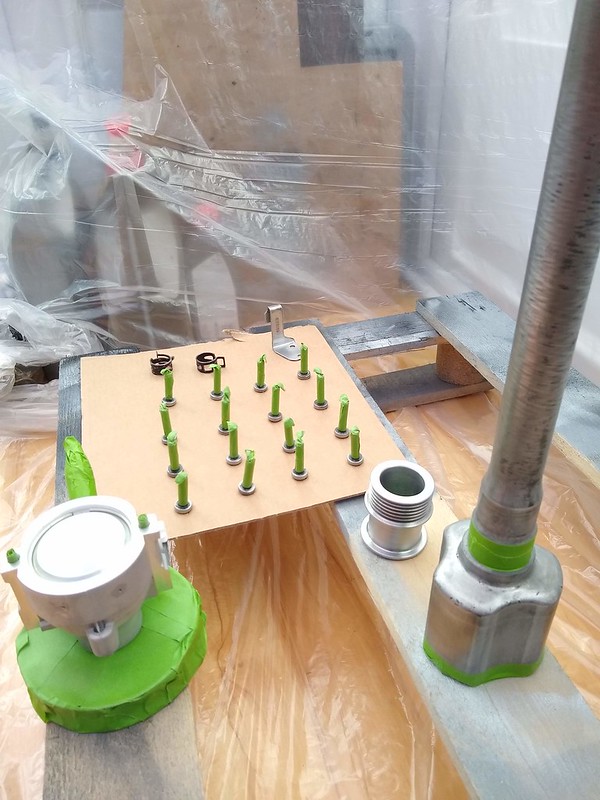


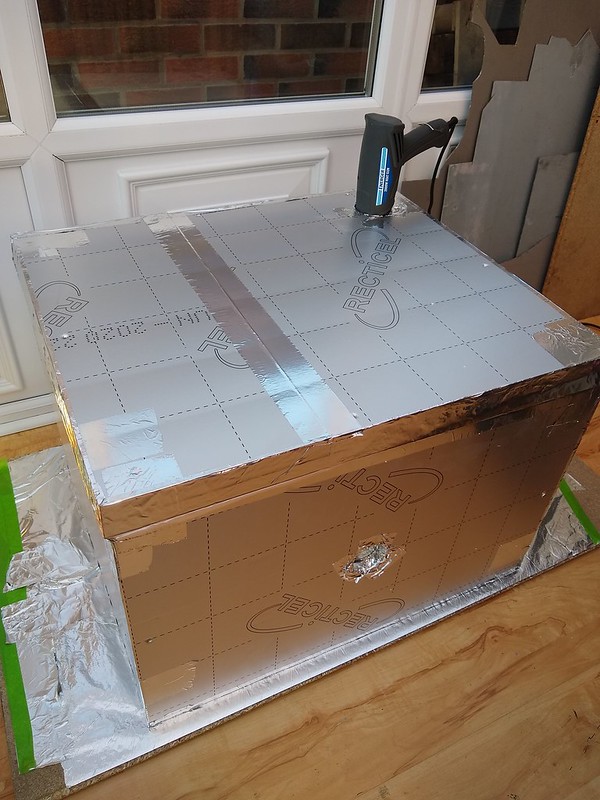
Then the DIY heat gun oven came out to play again...

Want nice cold AC with the leather interior so treated it to a new compressor...

Of course I couldn't resist painting it with another round of parts. I've missed out all the prep pictures but you know what I'm like by now...

Some of the turbo pipes had very slightly yellowed in the oven on the last batch of parts. I suspected they got too hot and my thermometer was a bit off. I did the following on a lower heat using a hand held infra red thermometer to take readings through the vent holes. Good job I did with these delicate items as the left side of the oven was a good 10 degrees warmer. Kept the heat to no more than 70 degrees on these to play it safe. Not the 93 the instructions want but better than nothing and the fumes still smelt so it was doing the job.

You might notice a power steering pump pulley here that's not been mentioned. More on that later...

Finally some assembly and the front was taking shape.

The oil return for the TD04 turbo is different so I bought a second hand one from not a registered trader and refreshed it with a new oil tube. I've put the block connection side by side showing the difference with thinner top one being T7. Didn't use those bolts in the end and went for standard hex fittings as access is tight with a spanner.

Now while doing all this painting and assembly I had noticed my freshly painted new power steering pump had a problem. The pulley was very slightly catching the power steering bracket which was super annoying. I couldn't send it back now so ordered a pulley installation and removal tool so I could position it correctly. The aftermarket pulley is also wider but you can see the problem I faced here.

The £15 ebay special pulley installation and removal tool turned up quite quickly. However the removal tool didn't fit the aftermarket pulley but fitted a standard Saab pulley fine. Thinking outside the box I used the press.

I was going to re-use a genuine Saab pulley off one of the old pumps but noticed a cheap NOS item on Ebay. Snapped that up!

It wanted a bit of paint to tidy it up but a great find and on with the fitting.
Attempt one didn't work and it started going on a bit wonky. I then had to use the removal tool and clean up the surfaces better for attempt too. The removal tool worked a treat on the genuine pulley.

The screw driver locked the pulley in position using the hole in that area. I had test fitted the old genuine pumps and made some measurement marks. Using a straight edge on the back of the water pump pulley was another gauge line.

With the genuine pulley now in place on the new pump it cleared the mount and nicely ended that little mini project.

The turbo actuator on these is quite interesting it's universal in that it could be made into a two port. I installed the grub screw and dropped the spring rate down aiming for max 1.4 bar of boost initially. This is an area I'm still learning so lots of reading and checked preload. Will need some base boost checking once running but I tested it works with a foot pump.

All the sensors on this engine will be new which is money well spent imo. I know from experience they rarely fail out right and can cause some head scratching. Might be a bit excessive but hopefully buying some trouble free running time.

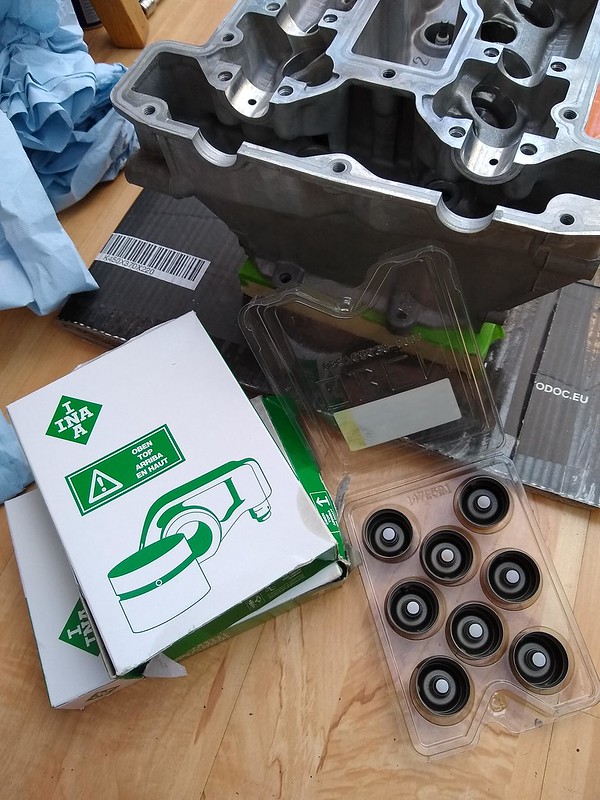
Which injectors to buy has been a massive deliberation and I could probably write paragraphs just on this alone. Lets skip all that and just say heart wanted to experiment with some EV14 Bosch items but I need to learn mapping first. Everyone said just use Deka 630cc but there are too many fakes and I want something easier to learn. Therefore I've gone for a tried and tested approach at the expense of ultimate power..... the green giants.

Bought from Autodoc which are genuine. Takes about 2 weeks to get items but they've got all my orders correct so far. Genuine parts, unopened and not damaged which is unheard of with some big parts suppliers in my experience :-).

New throttle position sensor again from Autodoc for the freshly painted throttle body.

Tim Hicks over at 'Trust Performance and SAS Auto Customs' makes a nice gasket for the throttle body. The original item is NLA and people just glue in an o'ring instead. Good to support innovation and this is better imo. Purchased and fitted...

I've gone for a mixture of Maptun and DO88 silicone hose on this car. The throttle body hoses you can't buy and as mine were past it I went for the DO88 compliment kit. I bought some 316 stainless steel jubilee clips to finish off the look. Here's the sizes I used for anyone doing similar.

The spring clips on the coolant hoses are all from Ebay as 'Stoney Racing Carbon Steel Self-Clamping Spring Hose Clip'. Once I know they all work I will work out exactly which I used which might help someone out doing similar. Their size guide is spot on for silicone hoses as the originals were too tight and I prefer a spring clip for coolant pipes.

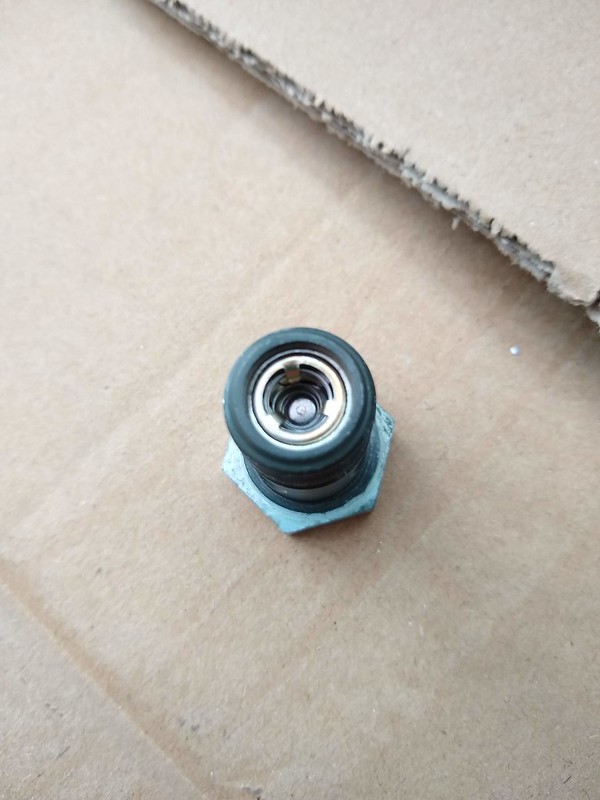
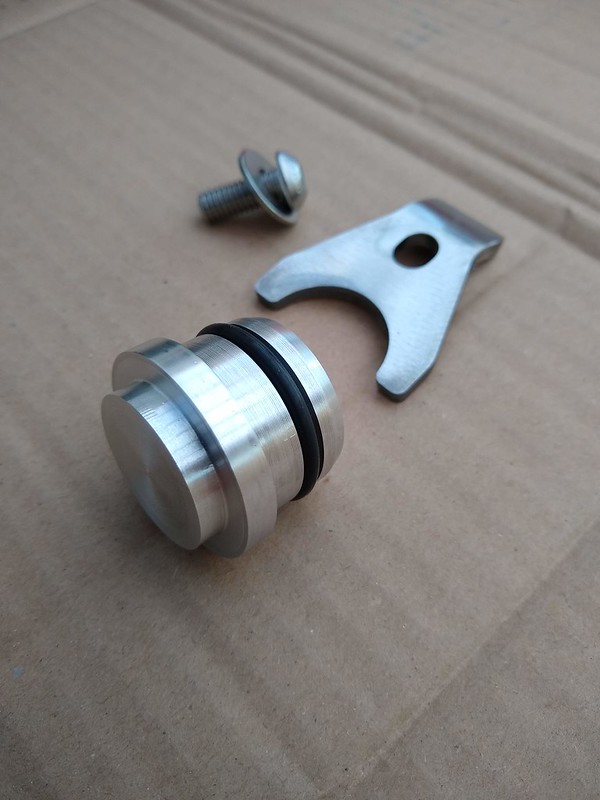
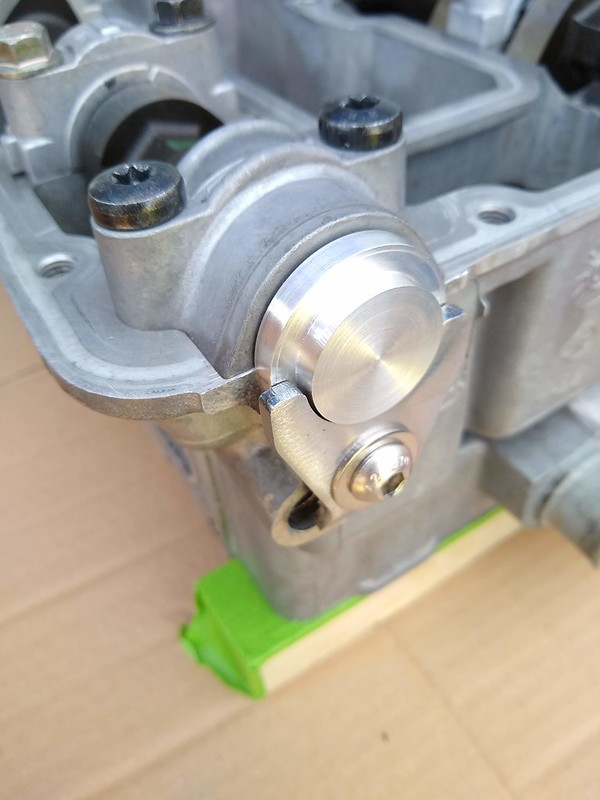
I've chosen a gauge solution but will reveal more about that once it's wired up. Needed to install the oil pressure sender and must've purchased every adaptor going to find a good fit. The winner was from Merlin Motorsport and the thread size is M14x1.5 in the block. This sender is 1/8NPT which the smaller hole is and relocated the original pressure switch behind the starter motor. The blanking plug from that hole I used in the end of the adaptor which nicely fits behind the oil pipe. I used a copper washer and had to sand it a little so that when fully tight the sender hole was in a good position.

Re-assembled the starter motor and removed paint from where case half's meet and mounting points. Only way to cover the coil windings was to insert paper strips when masking up. You can see I got a little bit of overspray in there but not a bad result.

Swapped out the cheap non branded voltage regulator for a Beru item. Bought this using the original saab part number but do your own research before copying. The later part number doesn't bring up this item so I'm not 100% sure with it yet. Will verify what it puts out with a multi-meter for peace of mind once running.

Lets just pretend I assembled this correctly first time and not as the photo above shows with the second half clocked in the wrong position. Impact gun used to put the pulley bolt on which is not very proffesional but needs must without a special holding tool.

Pressed the driveshaft back into the bracket and used new clips and gator. This was a tricky item to press and unfortunately didn't get a photo as it caused some frustration. I ended up drilling a clearance hole in some aluminium plate then using a small metal tube from an oil seal installation kit. That combination was just the right size to allow the shaft to pass though but support the inner race. I've mentioned before I don't have room for the press at my house so it turned into multiple trips and a late night. Fun and games but ready for installation.

Next job was to clean the engine loom which had overspray on it from a previous owner.


You've waited long enough, if you read all my ramblings massive thanks. Here's the good bit...


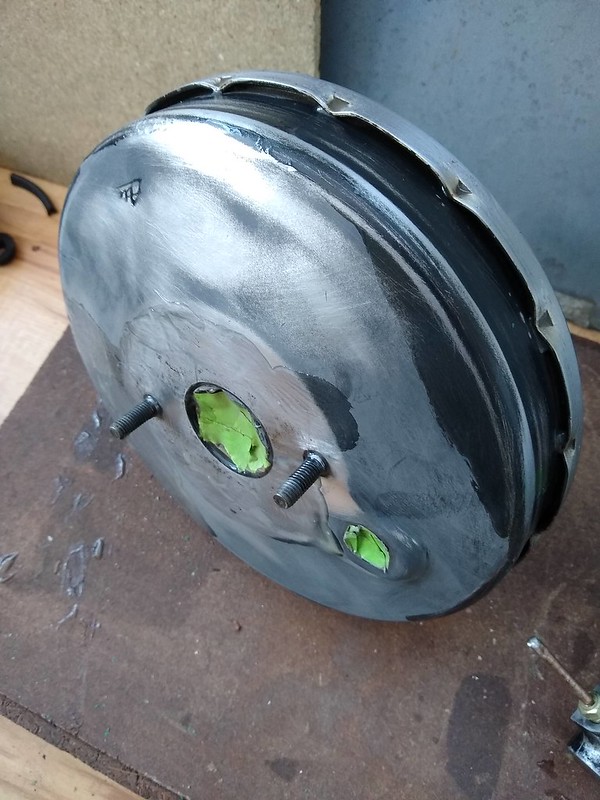
I had been gearing up for getting the engine back in the car and needed to get the flywheel surfaced. I'd not really payed attention to this and it was still stored in the donor car boot from dismantling. It had gone quite rusty but the starter ring gear was very chewed up. I had already gone down the new starter route anyway but it was worse than it looks in picture.

Lesson learnt don't store it in a damp boot and instead place the old friction plate over it.

Bought a used flywheel that had a perfect starter ring gear.

Concentrating on the ring gear I missed the heat cracks and was a little concerned these wouldn't machine out.

Needn't have worried I took it too a local engineering firm for flywheel grinding and was very pleased with the result.

The only snag was that two of the alignment pins snapped and they had to drill them out. We discussed removing these from the scrap flywheel by drilling and punching them out instead. Luckily I found some old stock on Ebay.

The pins cleaned up nicely and left them in the freezer overnight. Installed them with a brass punch and went in easily.

Needed to prepare the gearbox and prime the slave cylinder. This is where I was treading some more new ground despite loads of car work over the years this will be my first clutch. I read the Saab and Haynes procedure which states this...

Started following those instructions and all went well until point five involving the pressure.

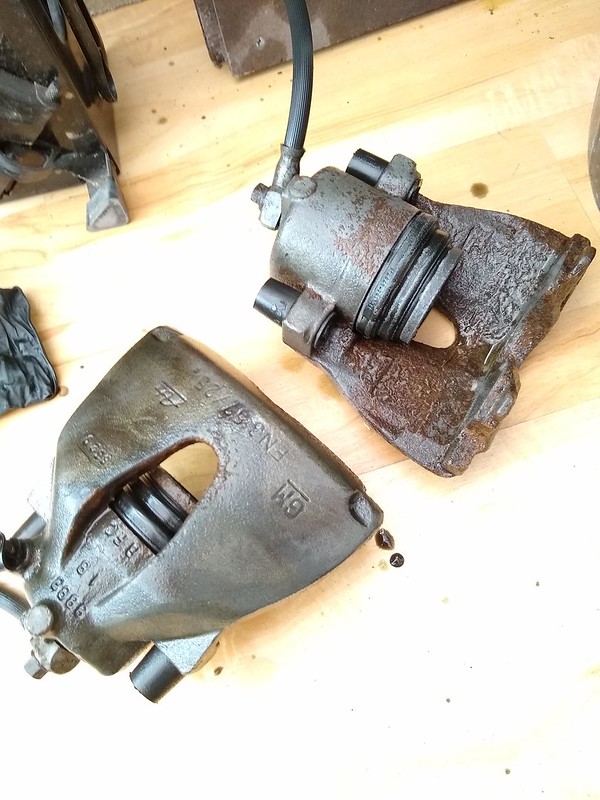
The throw out bearing depressed and returned fine but the instructions made it sound like I was expecting the inner seal to move under pressure. I got to 30 psi and the plastic tube blew off the gearbox coating that wooden board and conservatory side in brake fluid. I asked for advice on Facebook and the general consensus was that this was a bad idea and that I might blow a seal. I was instructed to move the throw out bearing to get rid of the bubbles but don't apply any pressure unless it stays down. No more bubbles present the gearbox was reading for fitting.
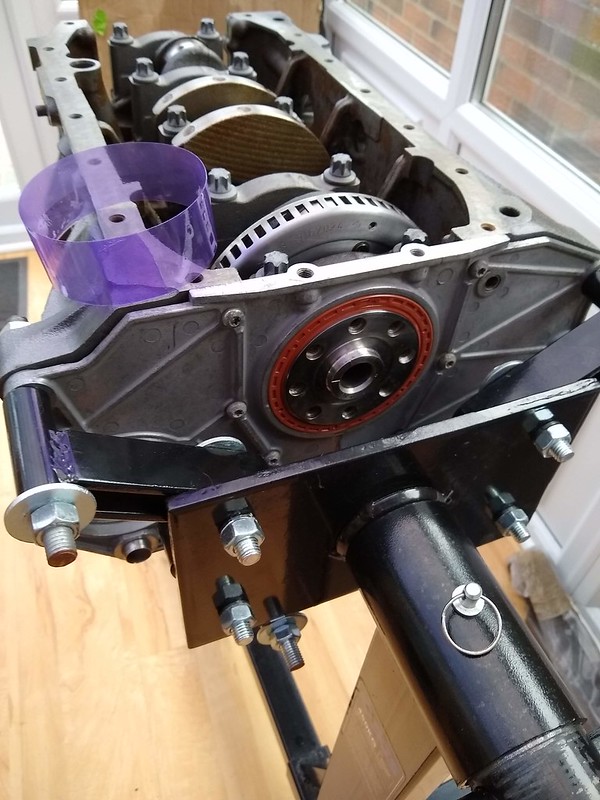
Now no laughing but in a perfect world we would all have garages or workshops for doing projects like this one. Life isn't perfect though and this presented a logistical challenge with the engine now fully assembled in my conservatory. Getting it in there involved a sketchy ramp to clear the protruding door frame but now the engine was considerably more valuable. Bring on the mega ramp, worthy of a boat launch and covering all disaster scenarios I could imagine.

This is my favourite photo of the engine fitting job. I was attempting all this on my own and had planned it all out meticulously. We are talking all torque values written down and a nice check list and assembly plan. Despite all the preparation I still managed to make a mistake and put the engine crane legs on wrong. Look at where those wheels are pointing!

The new flywheel bolts came with Loctite installed which was great. I was planning on just using blue but was concerned if that would be oil resistant enough as those crank holes do go all the way through.

The Sealey flywheel locking tool needed a bit more clearance for the bolt creating with the Dremel but worked great. I bought a draper clutch mate alignment tool but didn't like how it worked. You have to turn it over and centralise the clutch by eye on the pressure plate. I went for plan B which was to cut the input shaft from a broken gearbox that came with the donor Saab. This failed at the first hurdle when the last slave cylinder torx head stripped and time was cracking on. I resorted to the socket and extension method with a little bit of tape. I had read about this but was a bit sceptical it would be accurate enough.

Got the prepared gearbox ready for lifting and noticed brake fluid in the bell housing. Part of me was saying that might be spilt fluid from the disaster and was tempted to clean it up and fit. My head was saying this was a problem and closer inspection looked like it originated from the back of the slave cylinder. Very likely my inexperience with the pressure application had damaged it and luckily I had a spare slave cylinder on hand.
This new gearbox came with the green bellows GM slave cylinder.

When I was going to use the old gearbox I bought this slave GM cylinder from Neo's

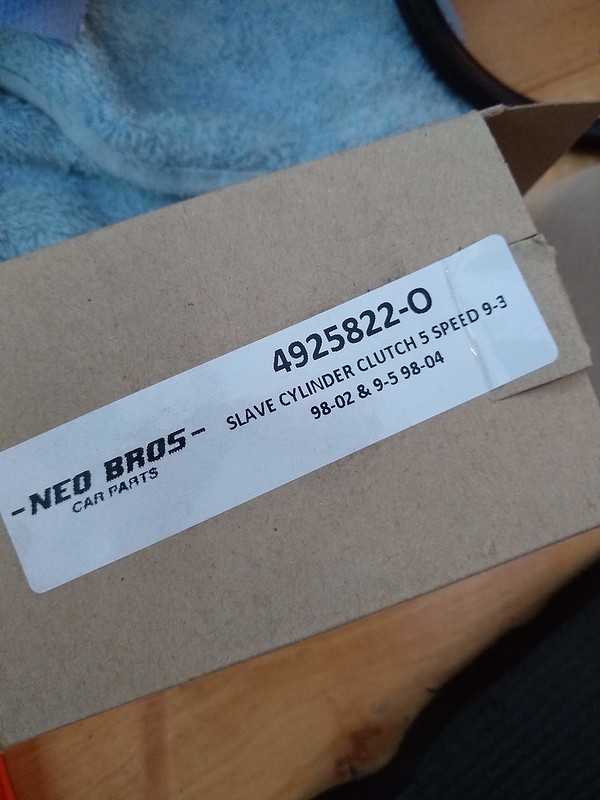
I initially thought the green bellows version was superior because that dust cover must help keep clutch dust out. However the Neo's item has a much better rear seal design that's one large rubber seal instead of a thin o'ring found on the green one. Pro's and con's to each potentially but thought it worth mentioning.
Got the new slave cylinder fitted and primed but the time was now 4pm. Put out a call for help and a good mate Craig popped round and gave me a hand. We even had my mrs holding the engine still so we could wrestle the gearbox back on.
We got the engine roughly into position despite my dodgy crane leg installation and added the engine mounts. I've gone for poly items from Taliaferro because the standard drivers mount is now only made by proparts and of questionable quality. Corteco still make the rear mount so I've used a new standard version. Some people recommended the diesel version but that might introduce more vibration which I want to avoid if possible. Postage to the Uk from Taliaferro was quite expensive and I naively thought that included some of the UPS charges. I was expecting the customs bill but they work it out on the value of the goods plus postage. This gets expensive fast so one to watch out for. Maybe worth dropping them an email and seeing what other postage methods are available. The quality of the parts does look great though can't state that enough, very pleased.

The mounts lined up well with the exception of the last one in the drivers side. The mount just needed prying slightly with a screwdriver to get the hole lined up. Unfortunately it was getting late and with the end in sight I messed up royally. Didn't pry enough and start the bolt by hand so it cross threaded!
Now it's tempting to continue when this happens but it always ends in tears and the bolt would snap before it ever tightened up properly. I called time on the car and we roughly got the subframe into position to pack up for the day.
New day and a step backwards removing the engine mount and finding a spare bolt from the donor car. The thread cleaning (rethreader) tool saved the day and with a little patience soon fixed the thread.


With a bit more thought the subframe also lined up very easily. The banana arms flex and make the rear bolts hard to get in. The trick is to move the arm and place them in ensuring the top washer is located on those protruding clips. The bolts will then be held in place and can be used as locating pegs when offering up the rear of the subframe. With everything torqued up to spec and the rear mount now secure the crane could be removed and job complete...

The cam cover is a spare that prevented the load leveller chains scratching my painted one. Next instalment the engine bay should be about ready!
That's the story so far hope you like the project so far and thanks for letting me join Retro Rides.


