|
|
|
|
|
Shame about photo bucket. I bought my own domain name 20 years ago. In the meantime my pictures have been hosted in all sorts of different places but because the domain name is a constant the pictures I've uploaded can last forever as long as I maintain the hosting somehow. I am just not technologically up to that level of buying domains etc. Also of course, typically they have changed from free accounts to limited and eventually watermarked with massive stamps. Also not really contactable until you send three emails. But looks like I am back on track for now, despite every entry to the site being preceded by a warning that I am reaching capacity of my account ( I do say b011ox ) |
| |
Last Edit: Oct 14, 2021 7:08:12 GMT by grizz
|
|
|
|
|
|
|
|
|
Looks like deleting the Photophukit app from my phone and reinstalling it, has allowed me to upload. I still do not understand how my 25000 photo option is near capacity. Anyway……. So where were we? 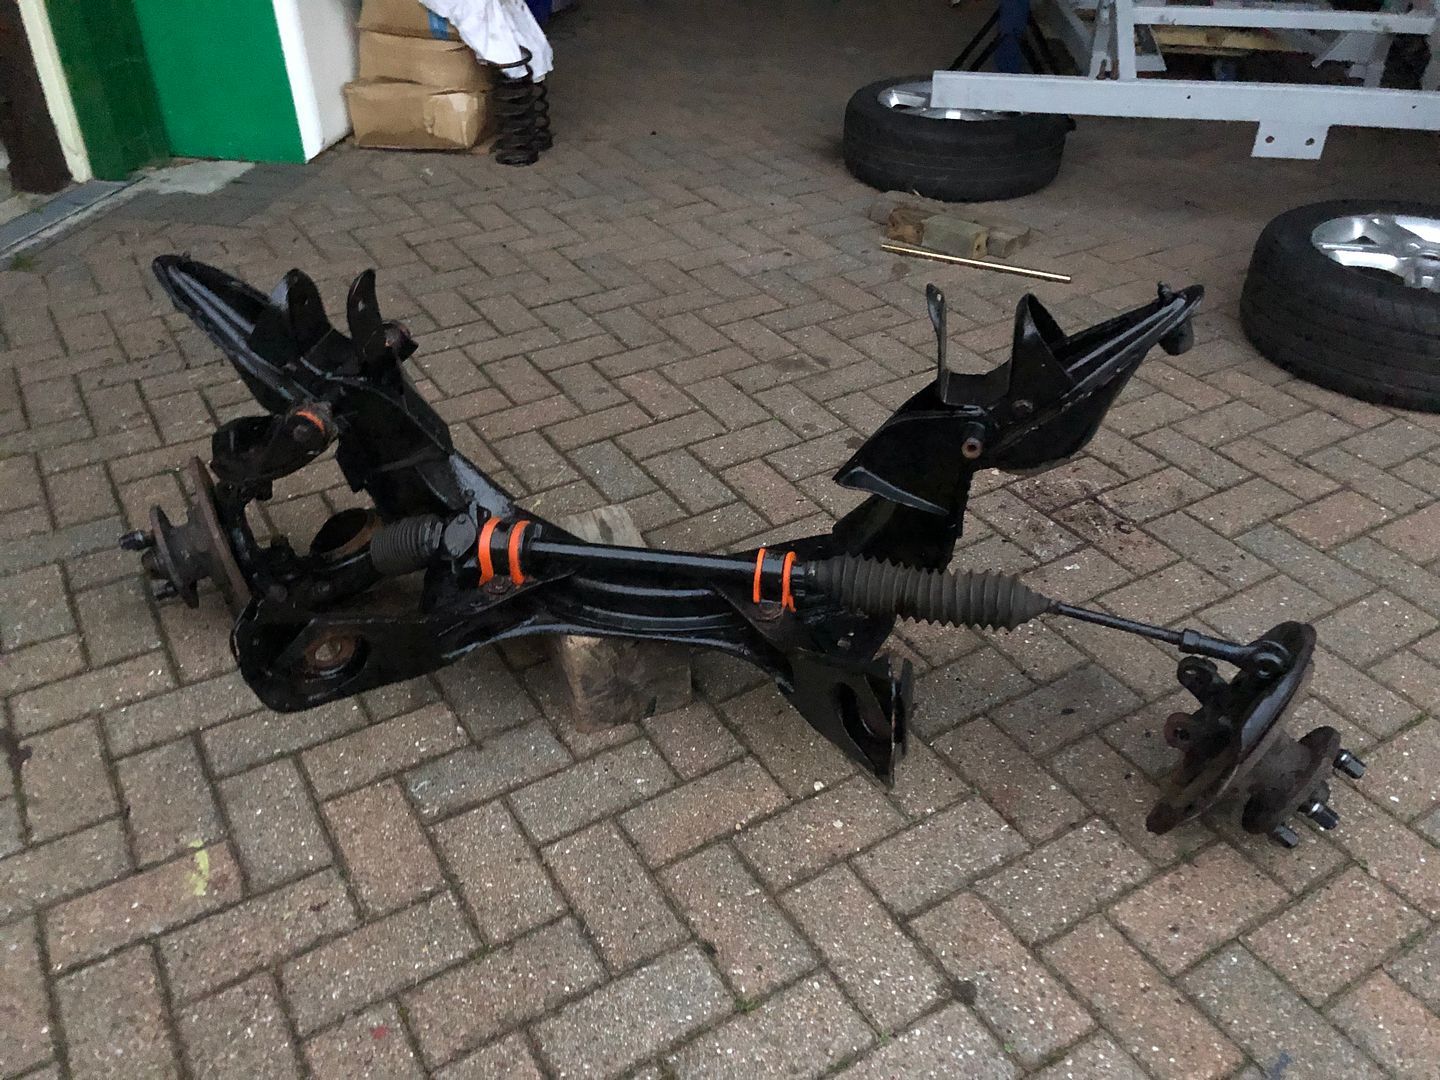 Back to the hydraulic press and removing the old rubber. Old vs new. Bottom end. 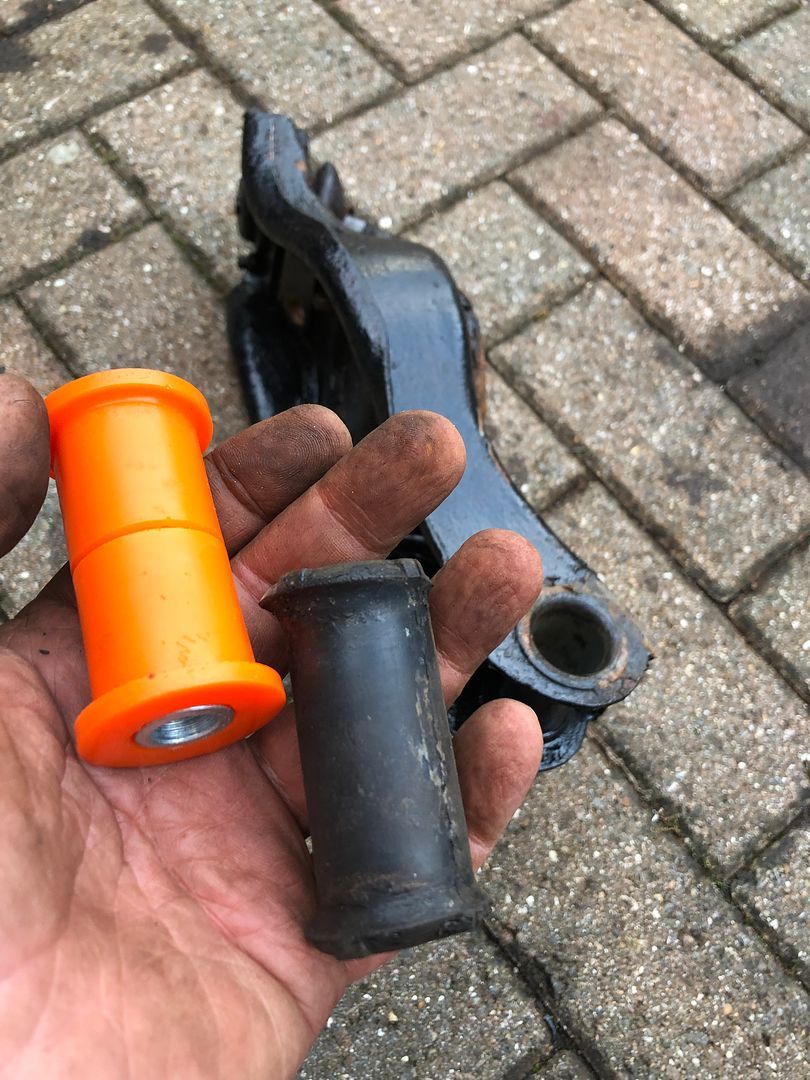 Kinda screwed up on the first top one I did. Not realising the outer sleeves had to be re-used I was pretty rough on them till I woke up. Rough as a rough thing, but I cleaned them all up and cleared the very rusted inside and outside bores plus the cuff. 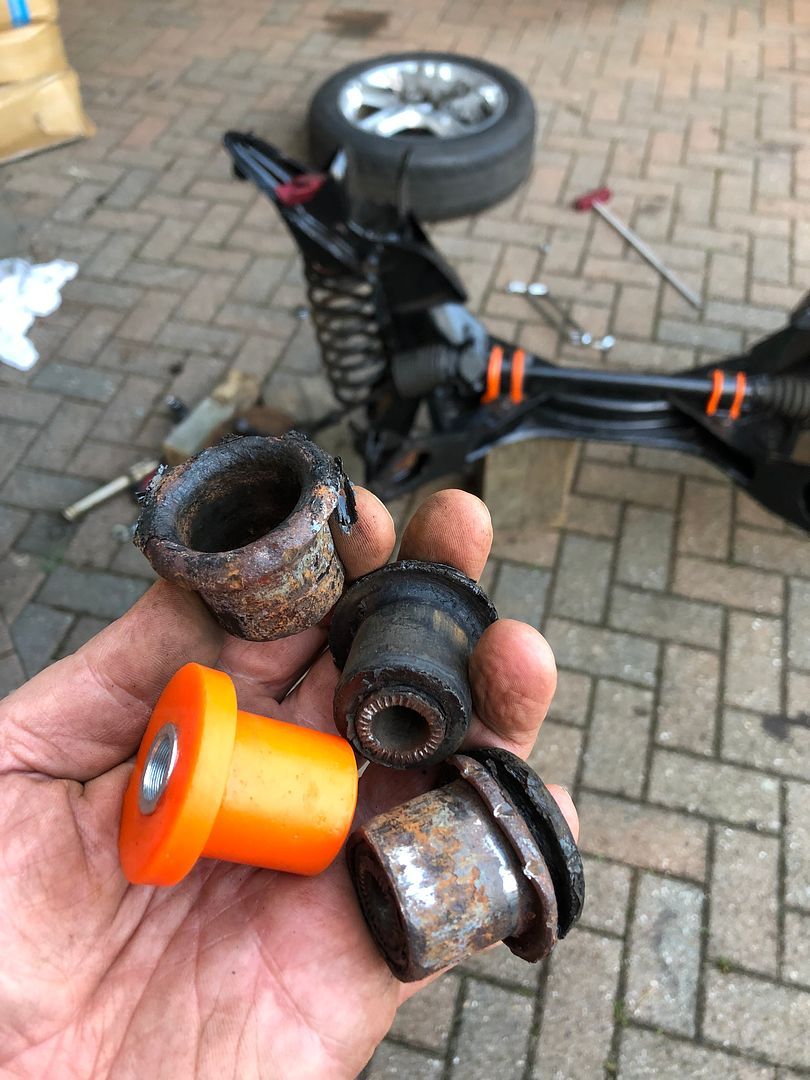 Once cleaned up, you need Fairy Liquid or any slippery dishwashing liquid to help slip them in, vice or press needed again. 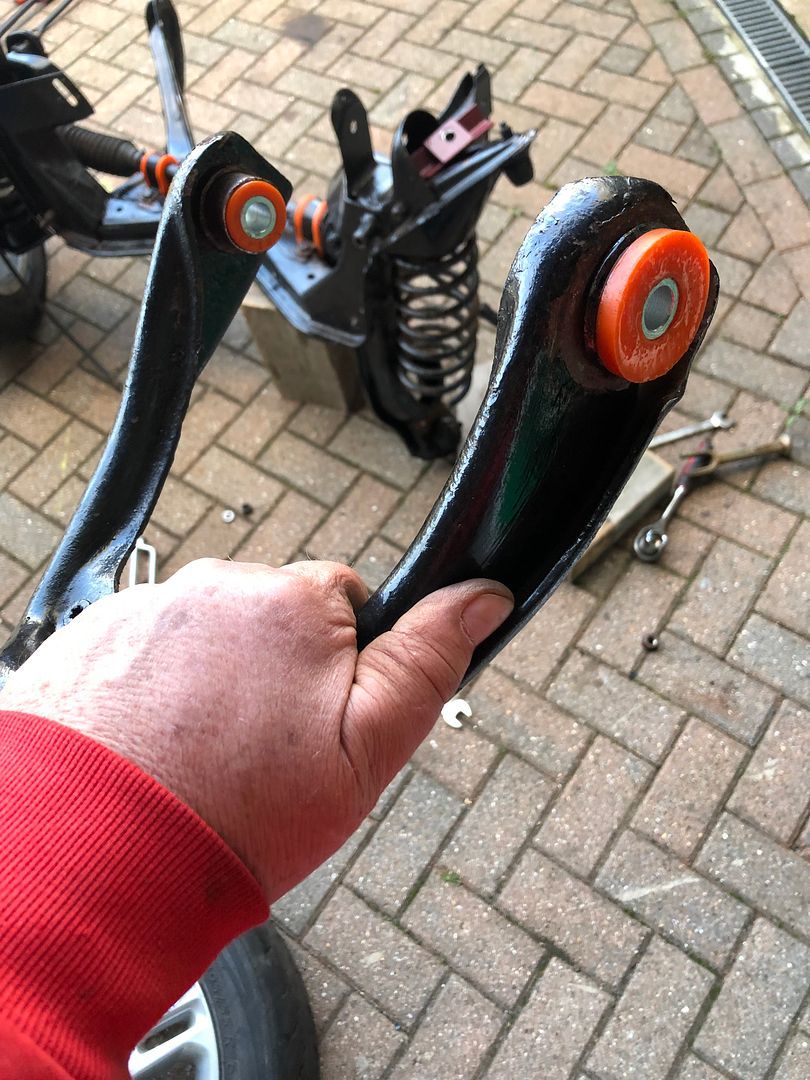 Lower arms needed a lot of remedial work too. Also top and bottom ball joints were well and truely beyond their best….. 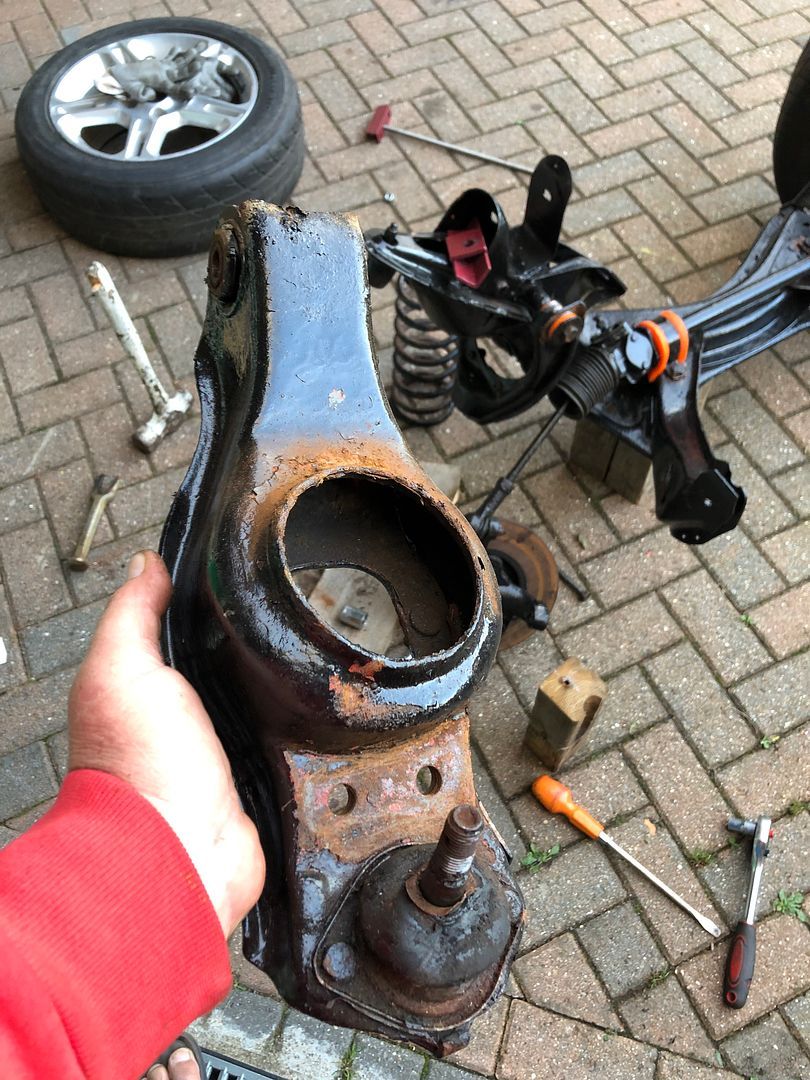 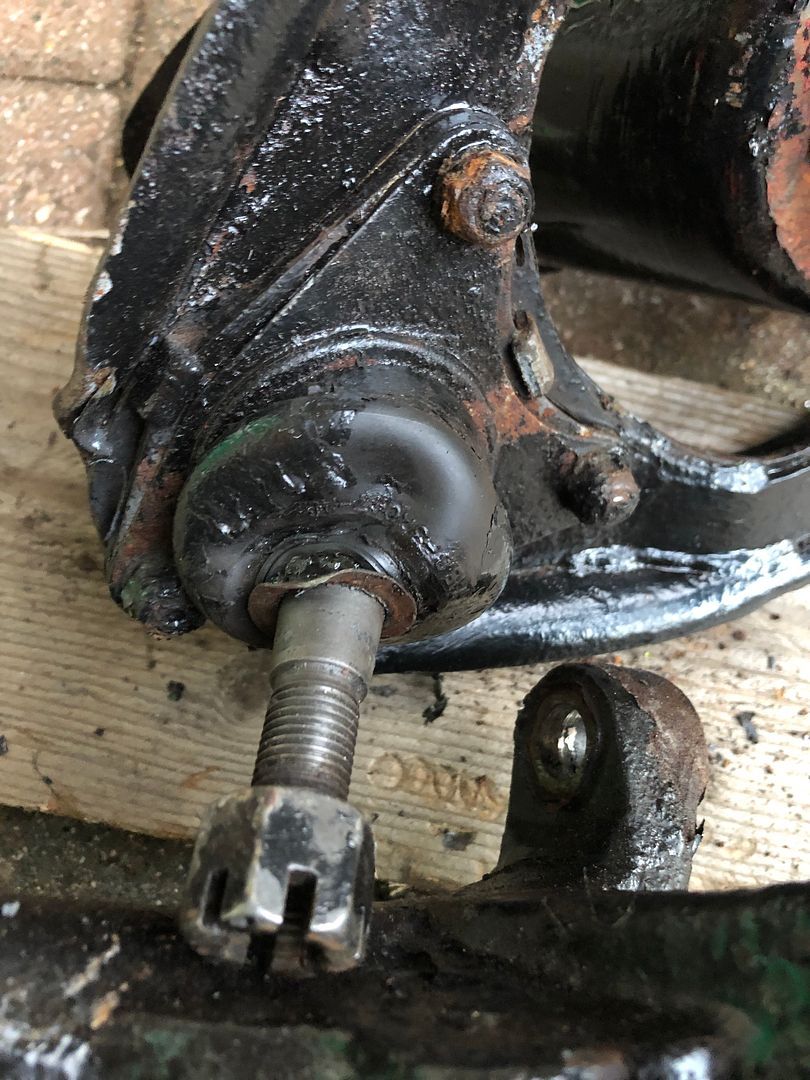 And I still need to understand why there are screws in the bottom of the ball joints. 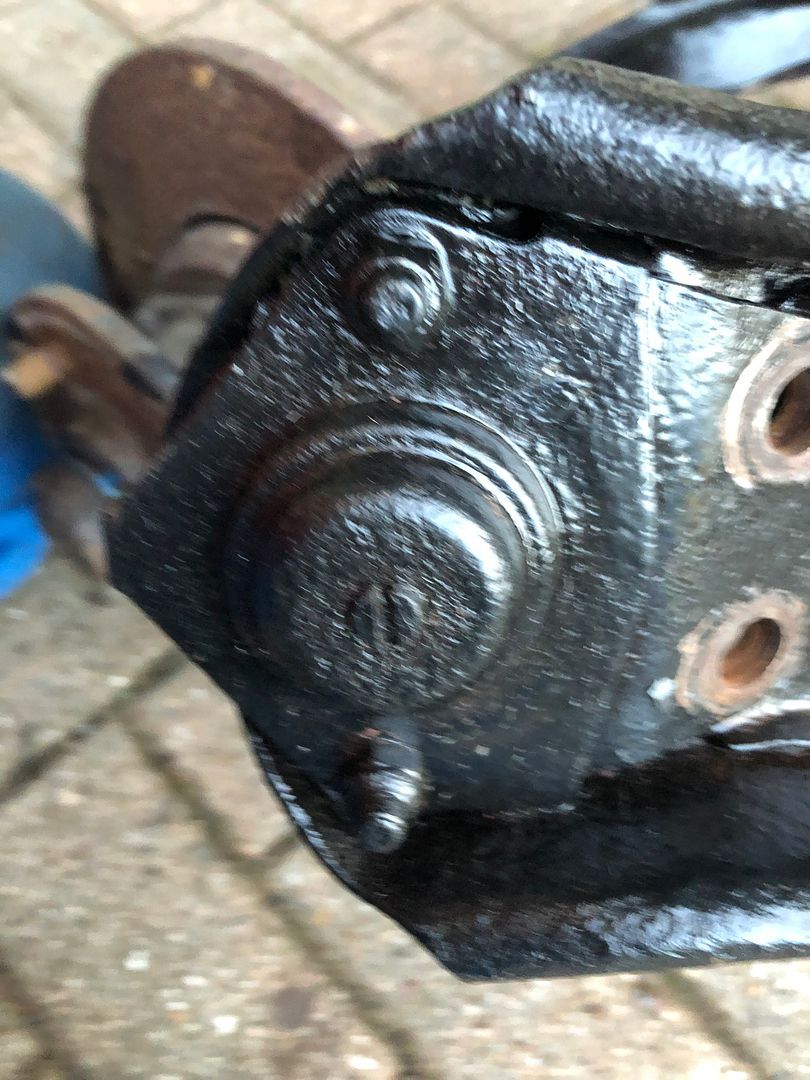 This rebuild has certainly turned into a restoration as westbay Tony pointed out to me this week. The plan was originally just a quick throw together but I am realising more and more that it may well end up being a decent car once completed. Here’s to Vroom Vroom eventually. |
| |
|
|
|
|
|
|
|
Out of sync now. Thanks to too many pics. Remember the home made spring compressor? One bit of advice is to have a long enough shaft to allow full decompression The Ford has a cup/ridge to finally get over when you get to that point. 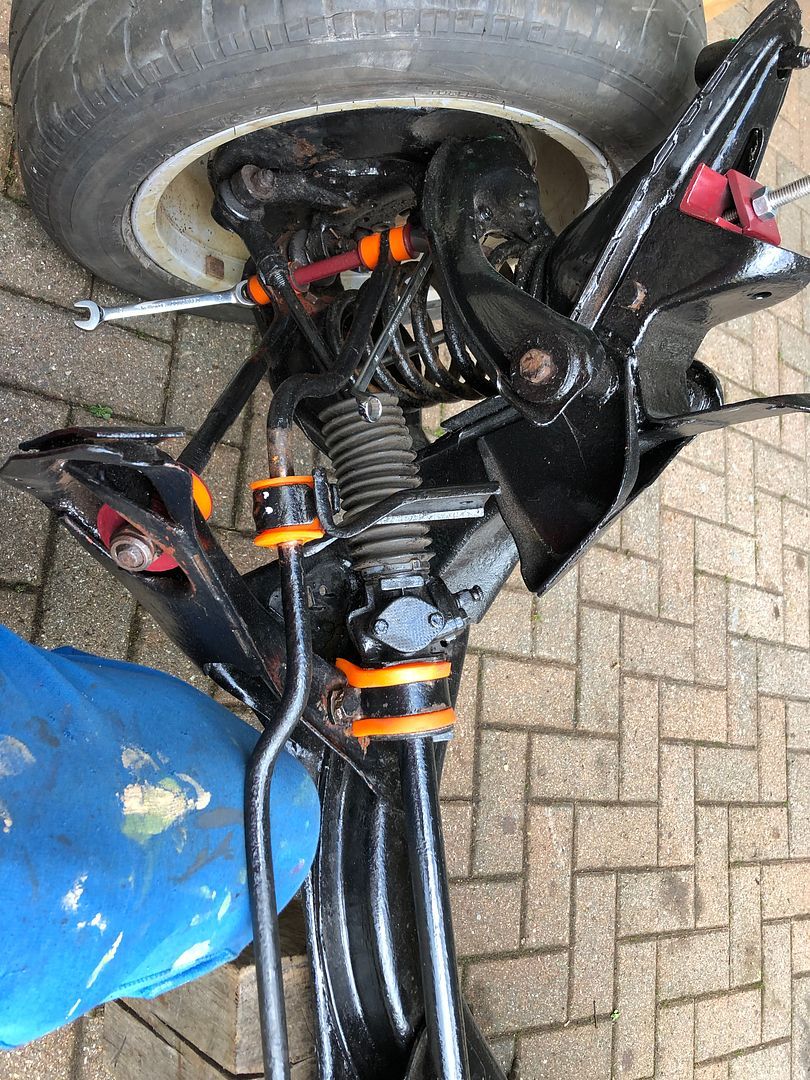 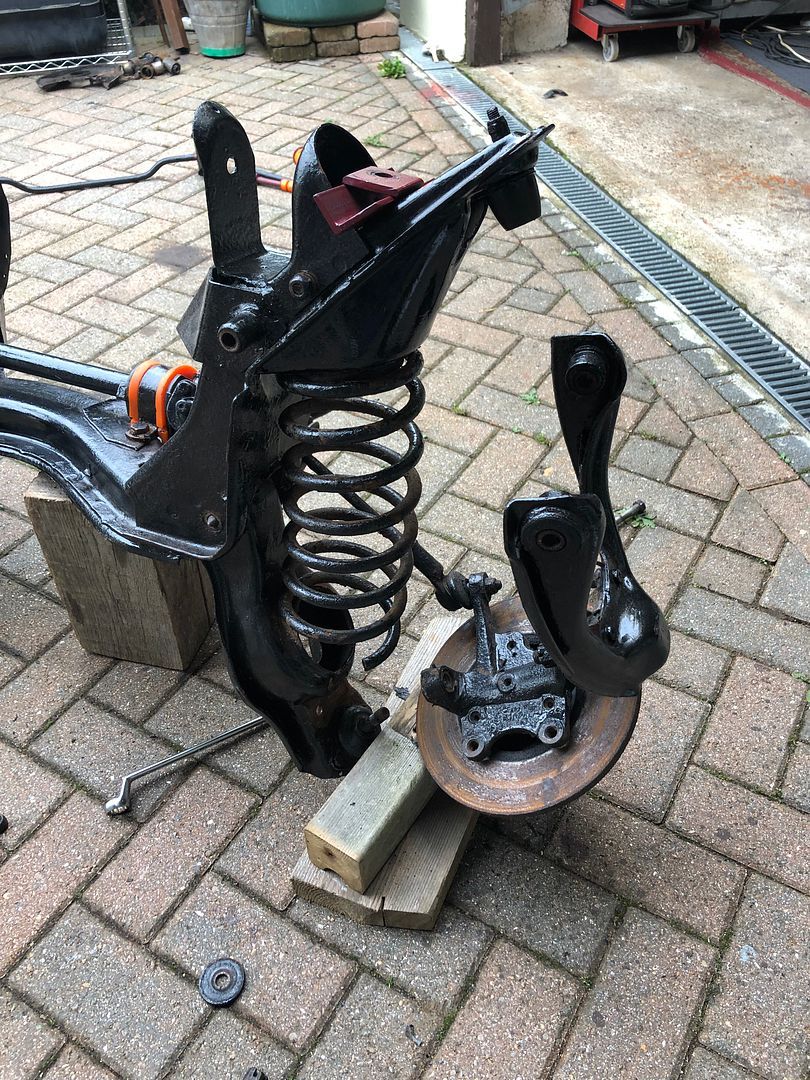 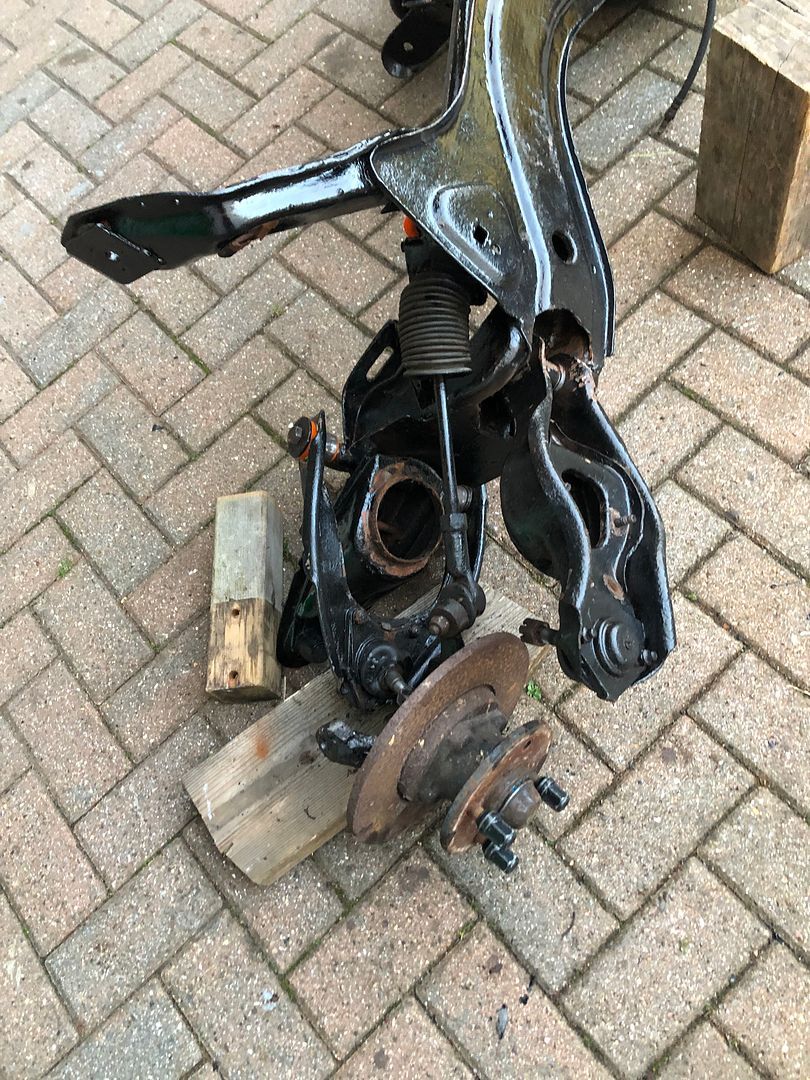 Second one was easier as I knew what to do. 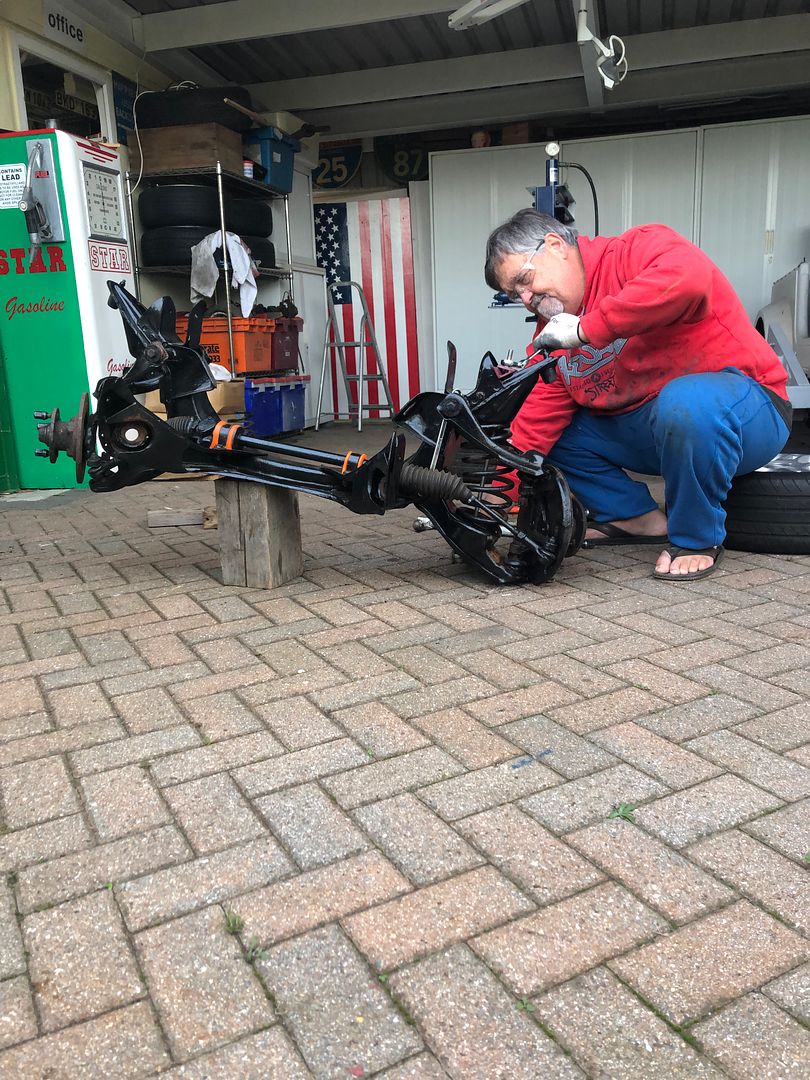 Sure these look at least a coil to high?/ 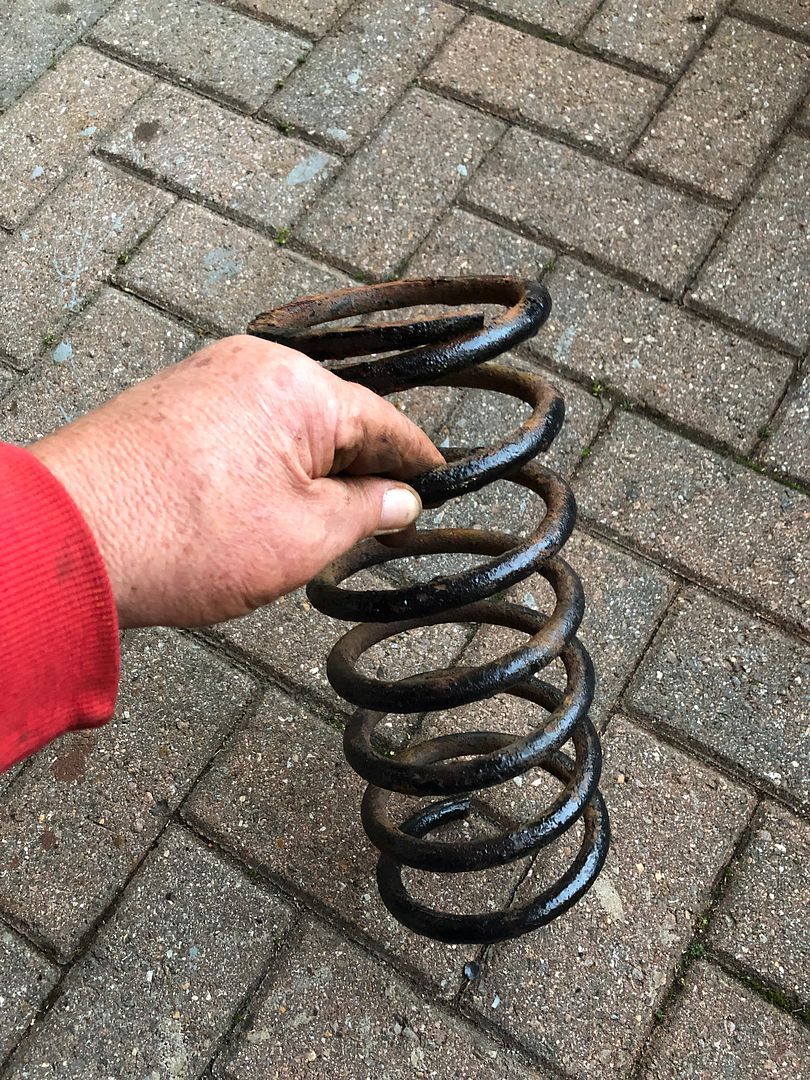 Another job I have been looking forward to for many months was to remove the mangled remains of the disc brake dust shield. So I removed the hub and got that off too. Discs are pretty rotten too. 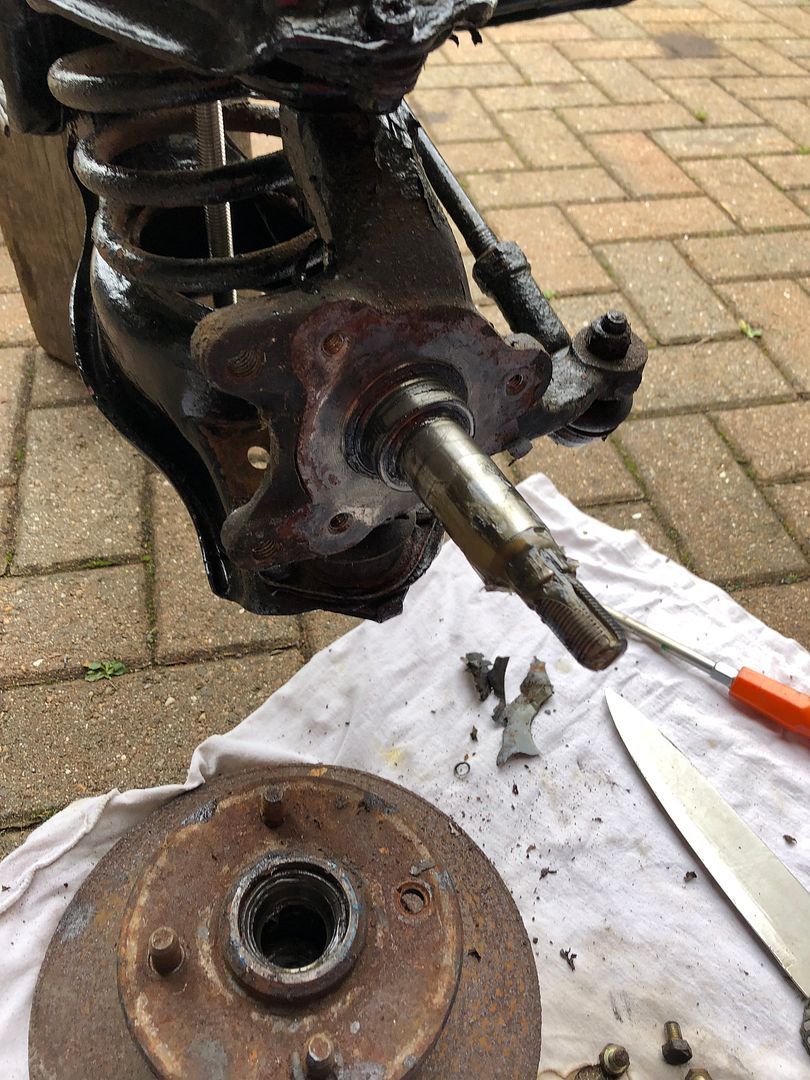 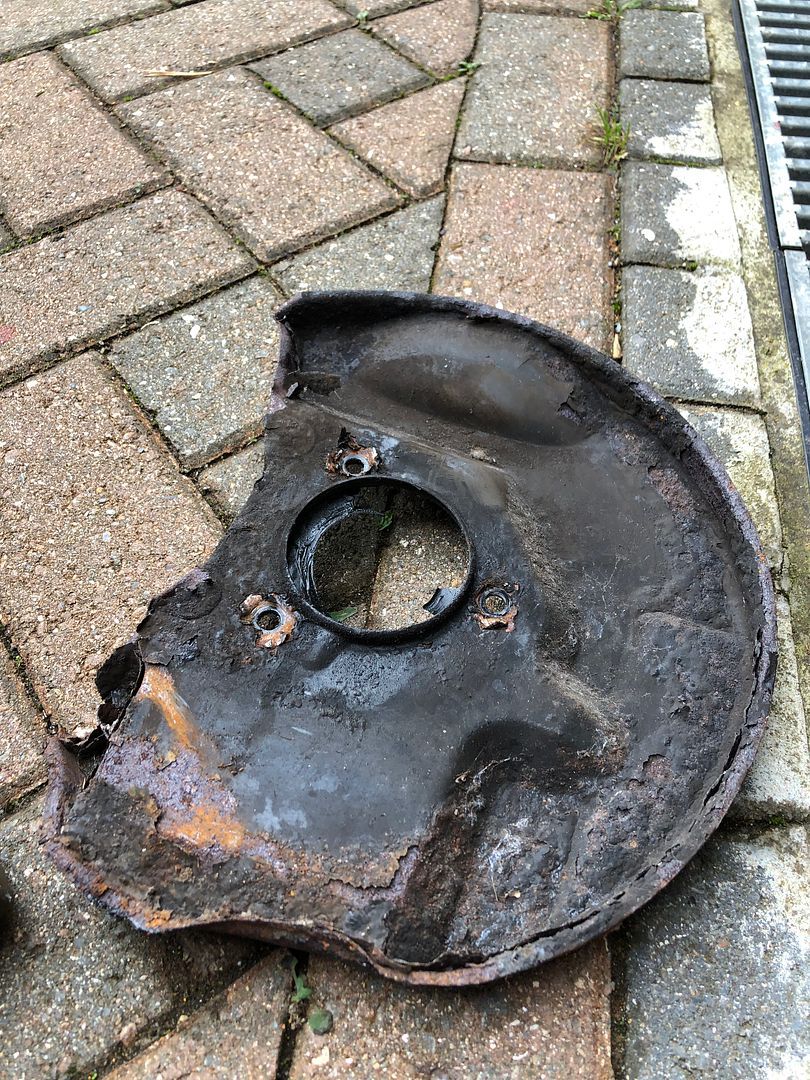 And to finish on a happy note, this tome of year, with winter creeping in at a fair pace, the sunrises are again pretty.  Day job is also keeping me really busy every day with somewhat extended hours at the moment. So progress is limited to quick early morning or late day spurts of activity. . |
| |
|
|
|
|
|
|
|
|
"And I still need to understand why there are screws in the bottom of the ball joints."
..should be grease nipples ... no sniggering at the back !
|
| |
|
|
|
|
|
|
|
"And I still need to understand why there are screws in the bottom of the ball joints." ..should be grease nipples ... no sniggering at the back ! I agree, possibly replaced with screws because they are vulnerable to getting damaged hanging out the bottom of the lower arm. Chopping a coil out of the spring will make it easier to get back together as well ! |
| |
|
|
|
|
|
|
|
"Another bodge on the car .." apologies to Pink Floyd  |
| |
Last Edit: Oct 14, 2021 9:28:41 GMT by westbay
|
|
mk2cossie
Club Retro Rides Member
Posts: 3,058  Club RR Member Number: 77
|
|
Oct 14, 2021 14:25:13 GMT
|
"And I still need to understand why there are screws in the bottom of the ball joints." ..should be grease nipples ... no sniggering at the back ! I agree, possibly replaced with screws because they are vulnerable to getting damaged hanging out the bottom of the lower arm. Chopping a coil out of the spring will make it easier to get back together as well ! I thought they looked like play adjusters to set preload  And if grizz decides to chop a coil, do it at the end without the flattened coil  |
| |
|
|
|
|
|
Oct 14, 2021 15:02:39 GMT
|
"And I still need to understand why there are screws in the bottom of the ball joints." ..should be grease nipples ... no sniggering at the back ! That was my suspicion. Though none have nipples, but some have some grease, and some were a bit lacking in the lubrication department (nipples) snigger |
| |
|
|
|
|
|
Oct 14, 2021 15:04:12 GMT
|
"And I still need to understand why there are screws in the bottom of the ball joints." ..should be grease nipples ... no sniggering at the back ! I agree, possibly replaced with screws because they are vulnerable to getting damaged hanging out the bottom of the lower arm. Chopping a coil out of the spring will make it easier to get back together as well ! Chopping a spring is also a cheap way to save myself £xxxx.00 on the lowering springs initially or indefinitely as Paul Y suggested (commanded, or was that demanded?) |
| |
|
|
|
|
|
Oct 14, 2021 15:15:30 GMT
|
|
You need a starting point, that may as well be the originals chopped as some new ones which end up in the bin, they will get stiffer as you chop them but that may work with a flexible chassis as per a Morgan.
Main thing is you can't really do anything about suspension tuning until it's more or less back together and you know how much it weighs.
|
| |
|
|
|
|
|
Oct 14, 2021 15:22:54 GMT
|
I agree, possibly replaced with screws because they are vulnerable to getting damaged hanging out the bottom of the lower arm. Chopping a coil out of the spring will make it easier to get back together as well ! I thought they looked like play adjusters to set preload  And if grizz decides to chop a coil, do it at the end without the flattened coil  Not sure I understand the preload comment And yes, the cutting will start from the bottom, if you cut from the top it does not get shorter, does it. |
| |
|
|
|
|
|
Oct 14, 2021 15:25:11 GMT
|
You need a starting point, that may as well be the originals chopped as some new ones which end up in the bin, they will get stiffer as you chop them but that may work with a flexible chassis as per a Morgan. Main thing is you can't really do anything about suspension tuning until it's more or less back together and you know how much it weighs. Agreed However, I will just chop a coil to make it shorter and lower for a start. After that the weight will have to set the positions once reassembled or at least the weight tossed in. |
| |
|
|
|
|
|
Oct 14, 2021 18:30:38 GMT
|
Thanks again to Tony westbay and Cliff down at the local garage……. Cliffs welcome at the garage reads thus:  Anyway, Tony had searched a variety of options for the brakes and posted them up. Cliff, being an oldskool mechanic suggested I at least try dismantle and then see if I could rebuild the front callipers that look pretty far gone.. 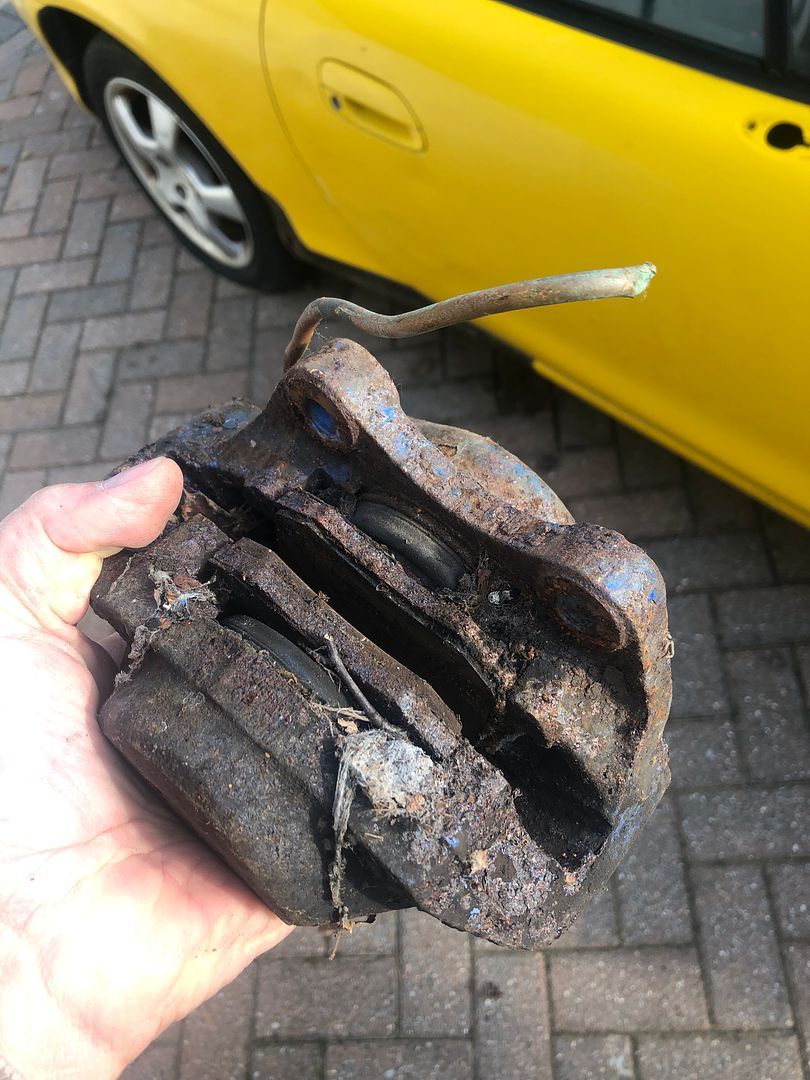 The rear drums, and probably shoes and hardware will need a load of attention too. 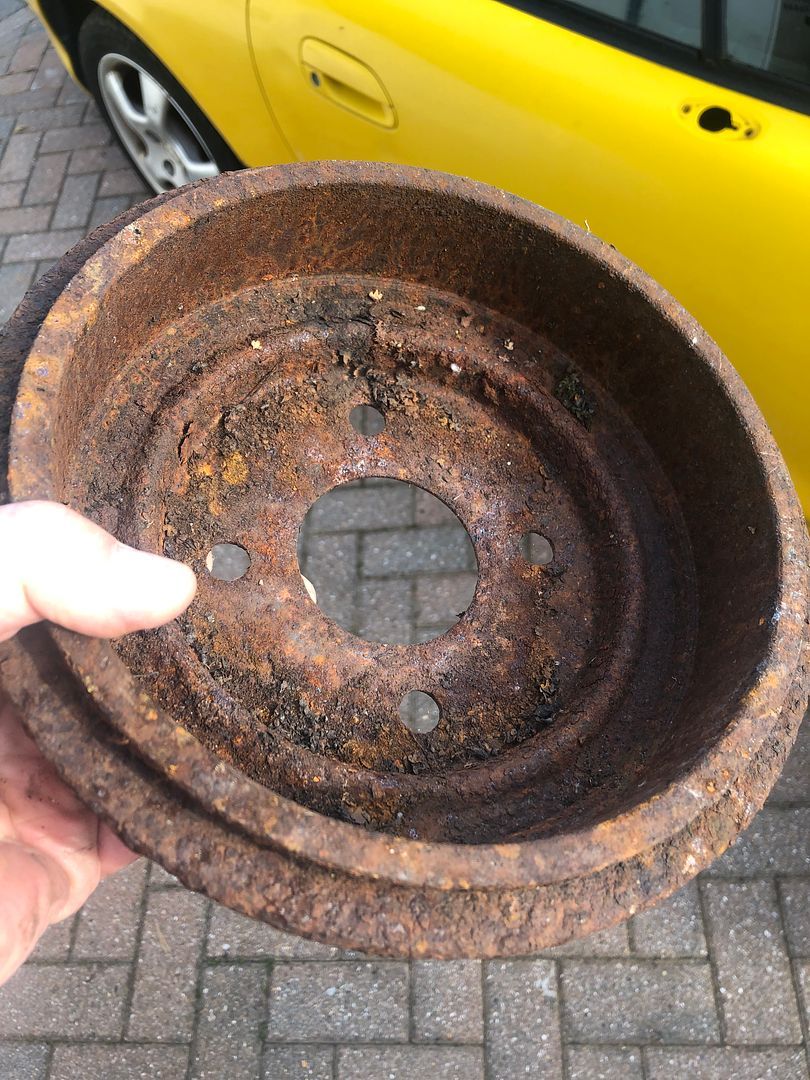 So I still need to try disassemble the brake callipers and see if I can get away with seals and nothing else for about £12.00 or if the next level around £40.00 including pistons will work. Random item search, I have almost a full set 12/16 of these wheel nuts, a few are damaged and scratched badly. I really want to use them on the steel wheelz I plan to use, hoping they are going to do the job correctly. These are them. 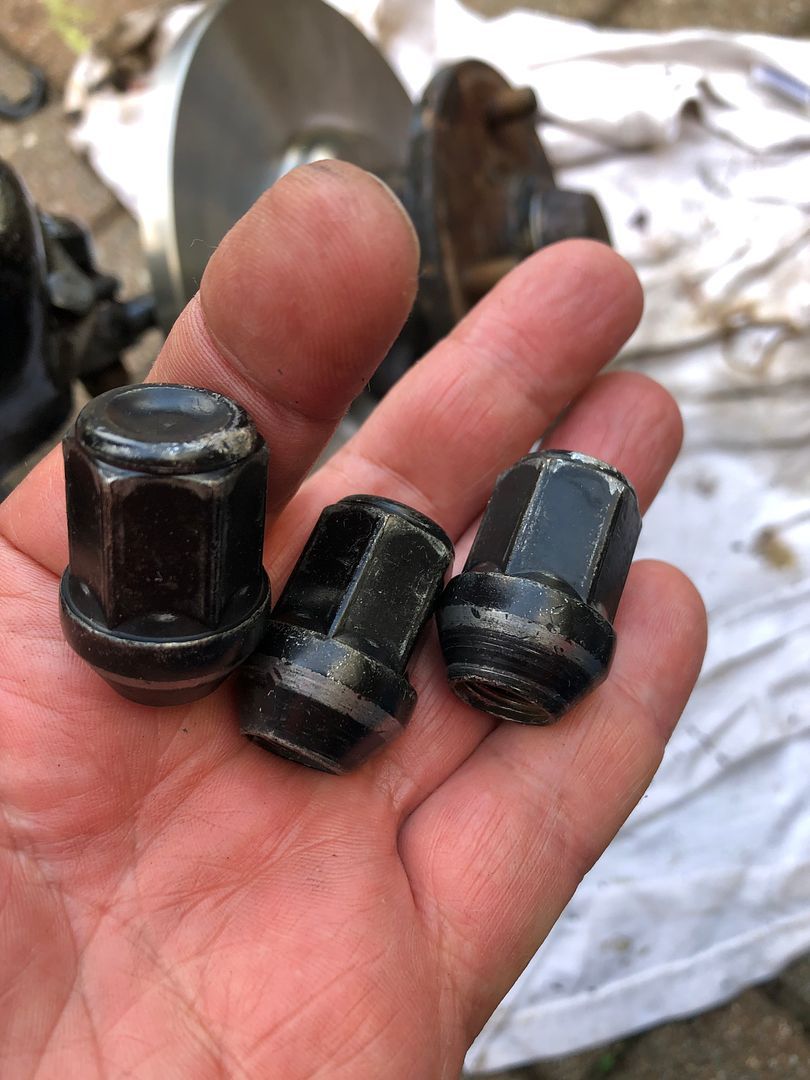 Question is………. What were they originally fitted to, in case someone knows, or does anyone have between 4-16 to sell that are in decent condition?? I am planning on knocking all the studs that are still left in the hubs, out and replacing them with longer items as the spacers and adapters will need a bit more stud to safely mount the wheels. PM please if you have or know anything. Thanks. |
| |
Last Edit: Oct 14, 2021 18:31:45 GMT by grizz
|
|
mk2cossie
Club Retro Rides Member
Posts: 3,058  Club RR Member Number: 77
|
|
Oct 14, 2021 19:21:44 GMT
|
Those nuts look like standard 60degree taper Ford wheel nuts. I think as they are one piece, they are for steel wheel fitment. Alloy wheel nuts have a rotation washer taper type affair on them  If you are after vented discs on the front, I have my old Mk2 Granada calipers in the shed I think  Probably no cleaner than the Rezin Rockit current ones, but the offer is there  |
| |
|
|
|
|
|
Oct 14, 2021 19:32:47 GMT
|
Those nuts look like standard 60degree taper Ford wheel nuts. I think as they are one piece, they are for steel wheel fitment. Alloy wheel nuts have a rotation washer taper type affair on them  If you are after vented discs on the front, I have my old Mk2 Granada calipers in the shed I think  Probably no cleaner than the Rezin Rockit current ones, but the offer is there  Thank you very much. I thought that was possibly the way it would turn out with the wheel nuts, they are solid. I am a few days behind with the reporting. Just fitted the solid Cortina discs this afternoon. I have no idea if these callipers from the Rezin Rockit will recover and become useful again. First stop is to dismantle them, and for that the pistons that have not moved in possibly 6-10 years need to be motivated to move and be pumped out along with the pads. I don’t know if the ones you have would be interchangeable onto the solid discs. |
| |
|
|
|
|
|
Oct 14, 2021 19:54:59 GMT
|
So having decided to replace the discs, ball joints and a load of other moving parts for peace of mind and safety, plus a large chunk of FUTURE PROOFING for the car, I ordered in some new parts. £25.00 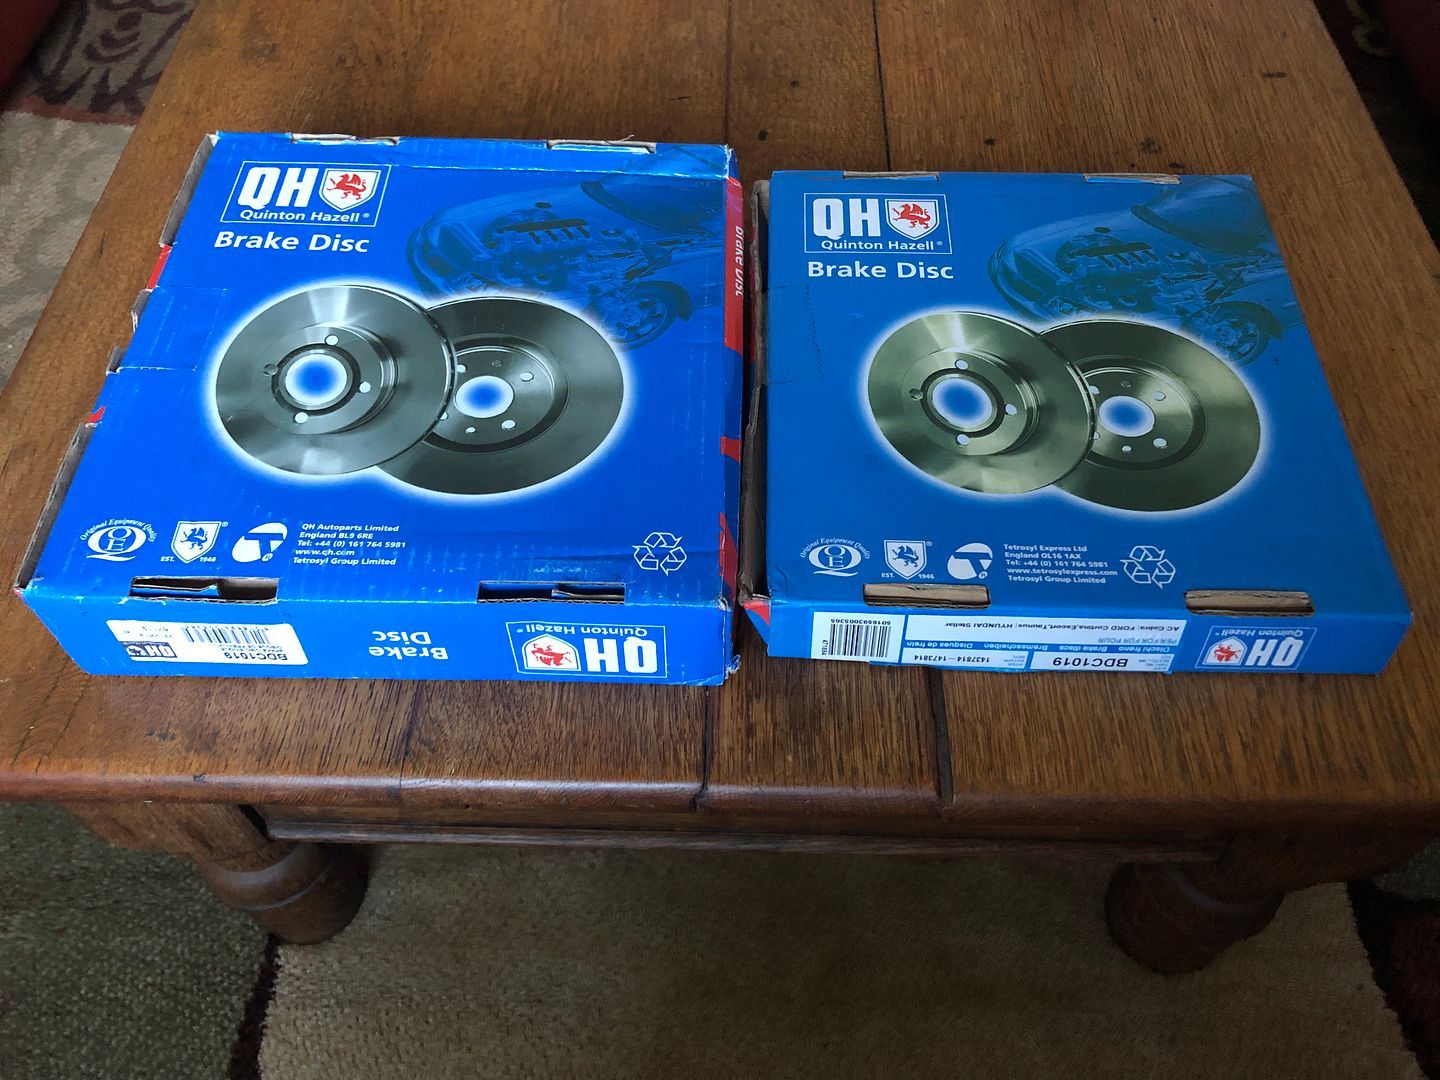 £52.00 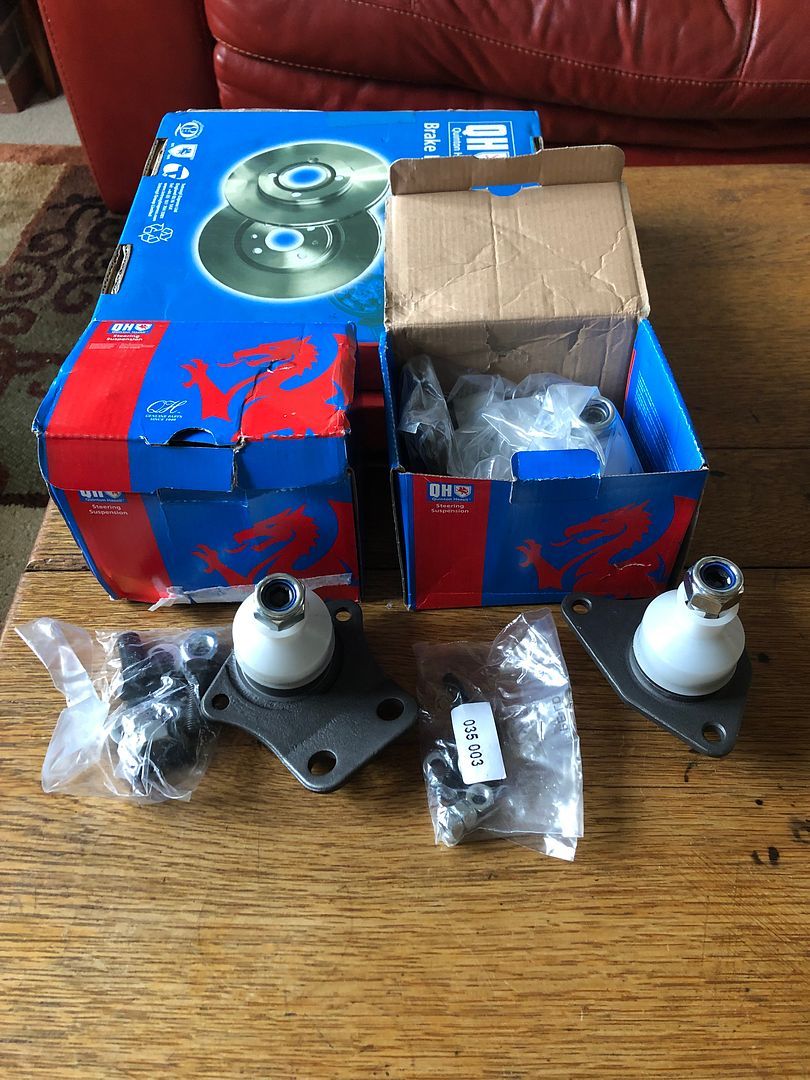 There will be more to follow. In the mean time I removed all the ball joints from the control arms, and then cleaned them up and painted parts that I ground back. 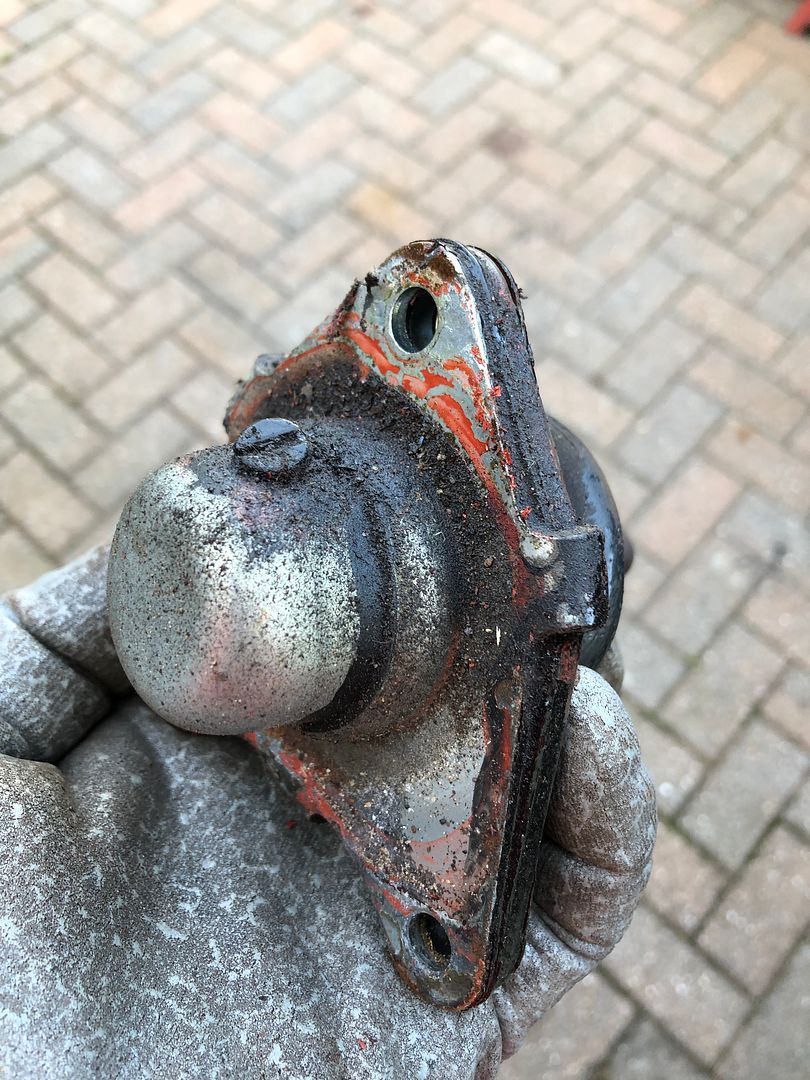 Seen better days. 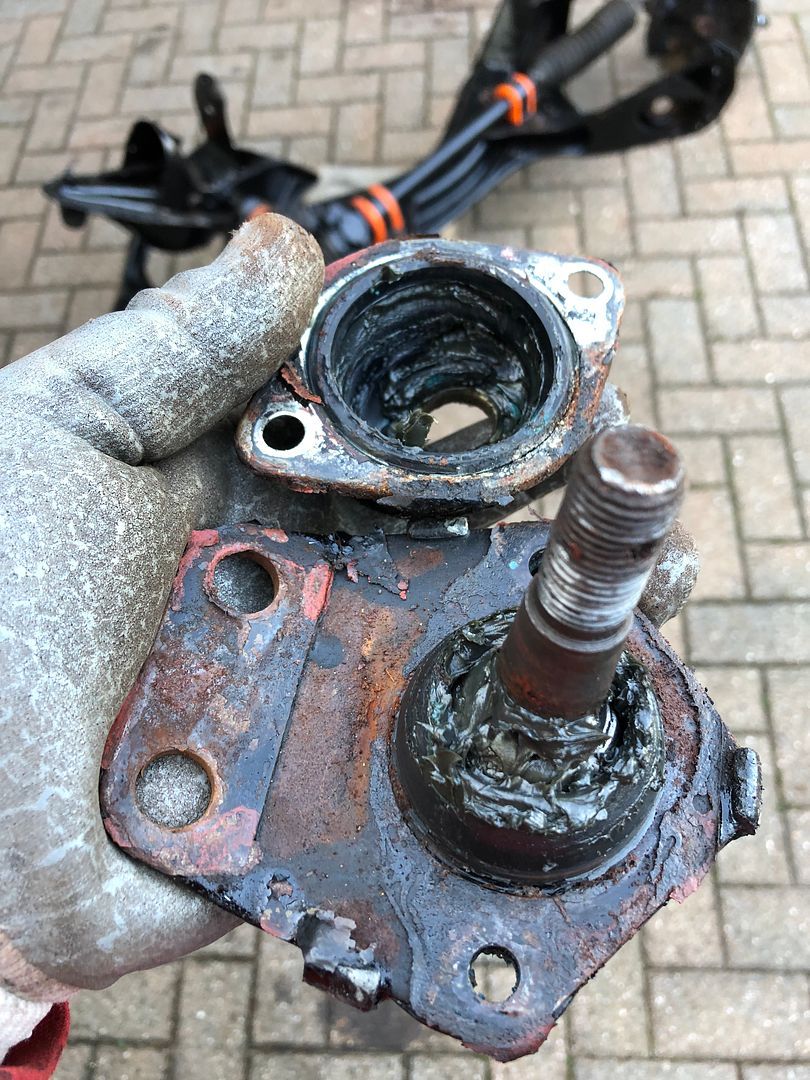 Minus control arms it looks pretty bare. 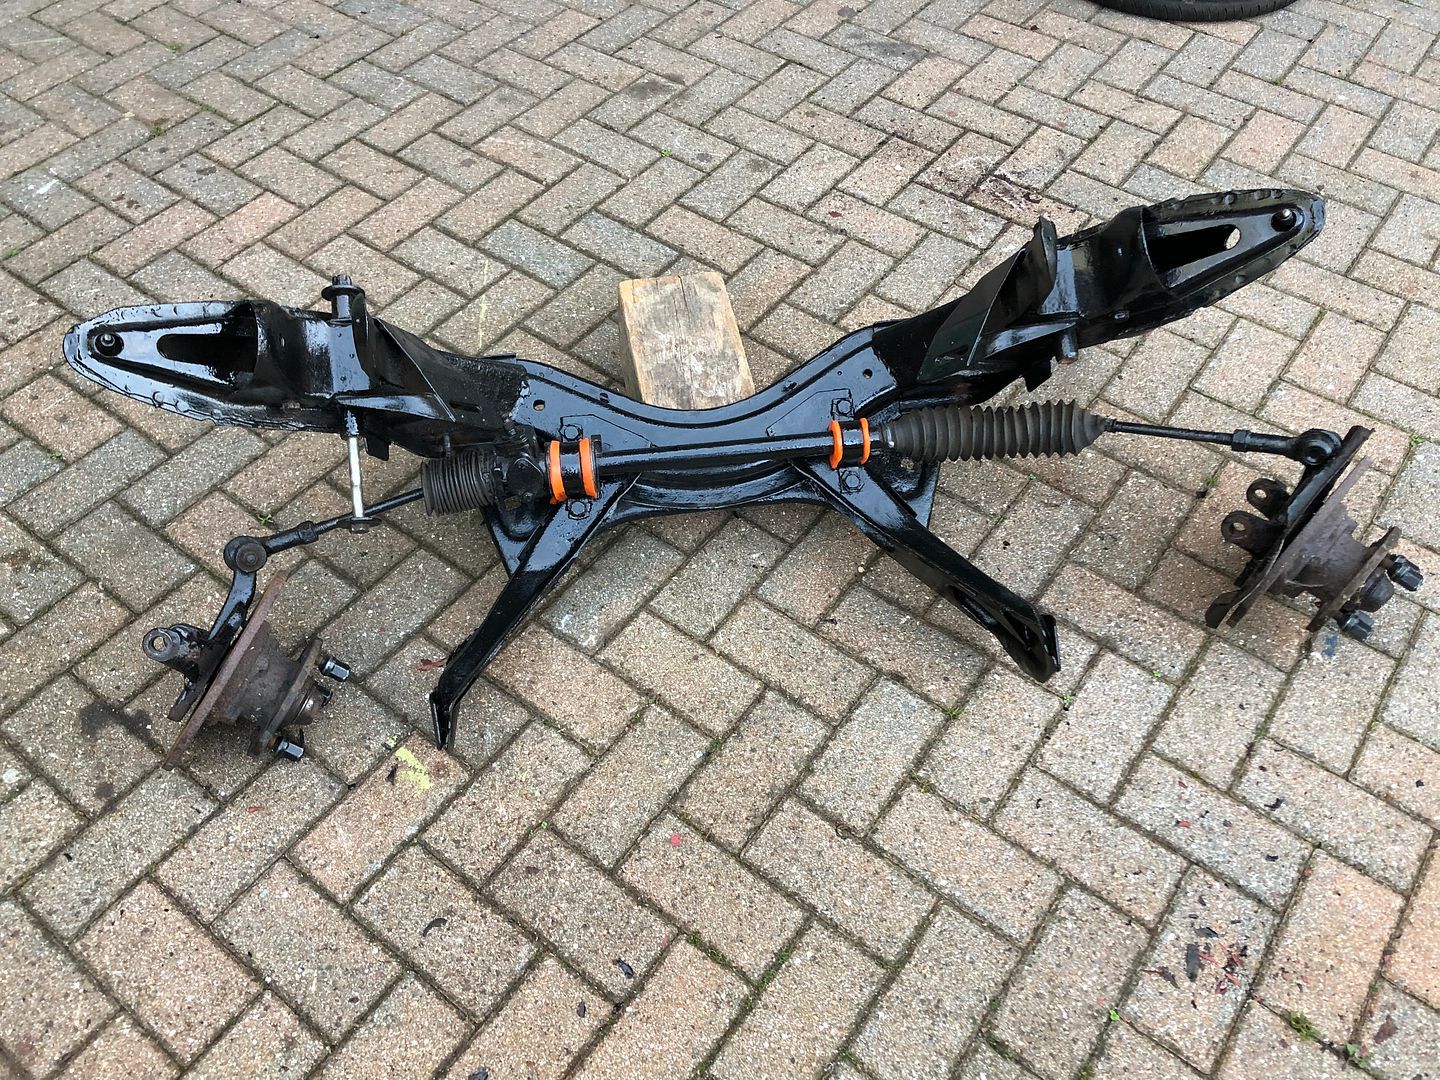 Looooong springs painted too. 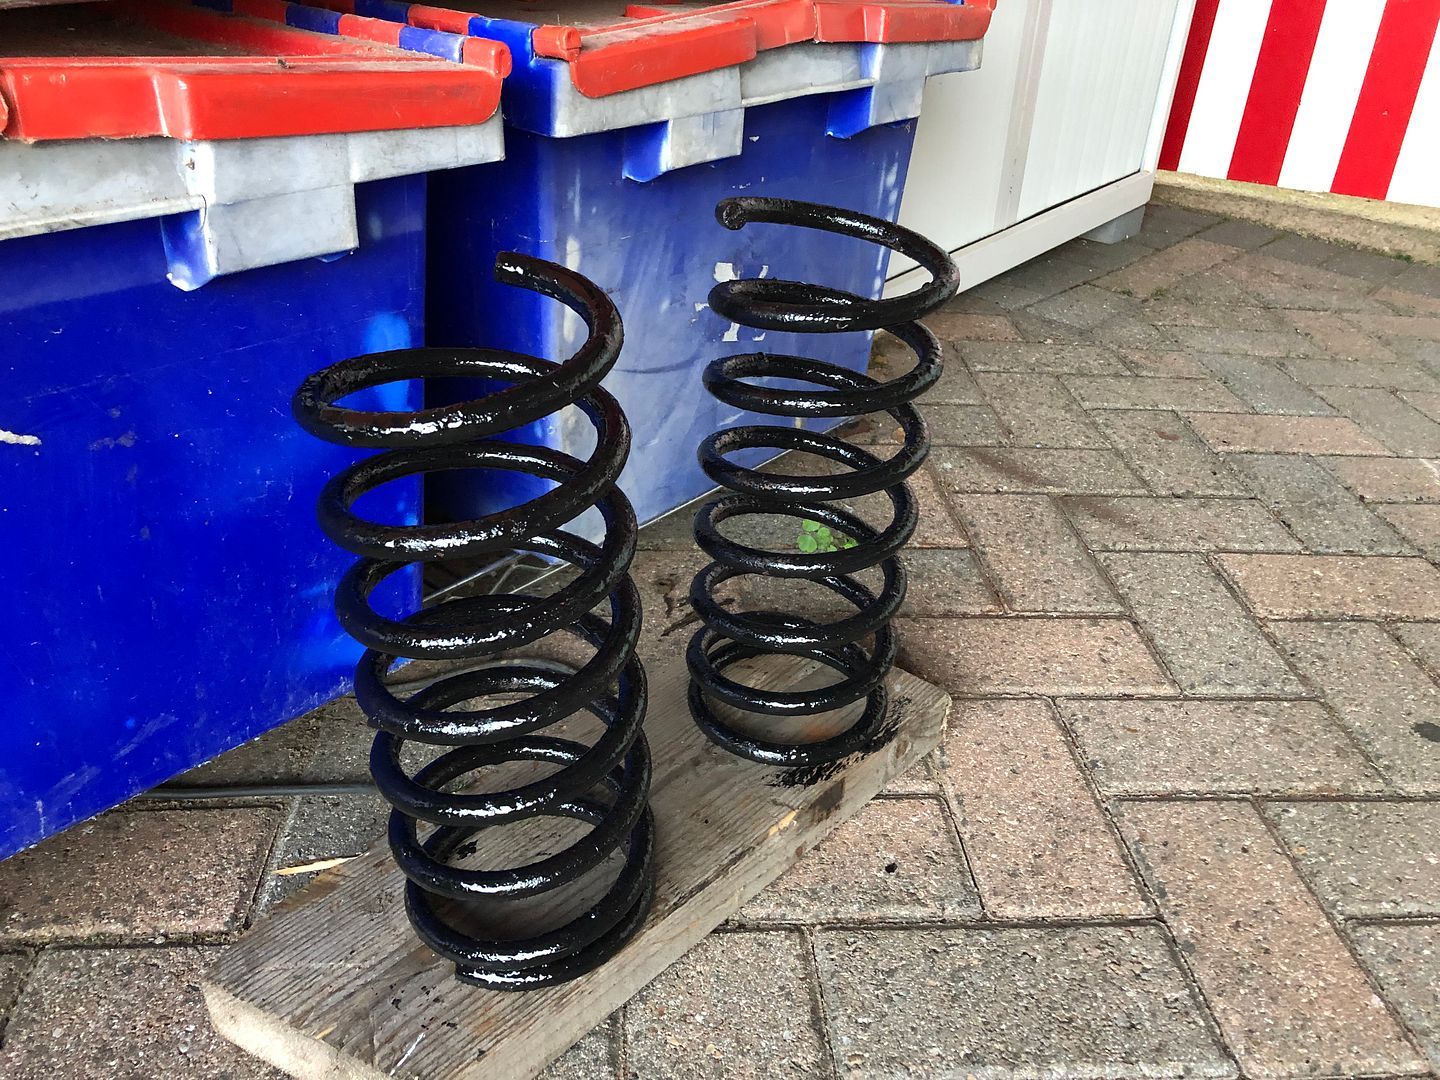 And the control arms ready for the ball joints next day. 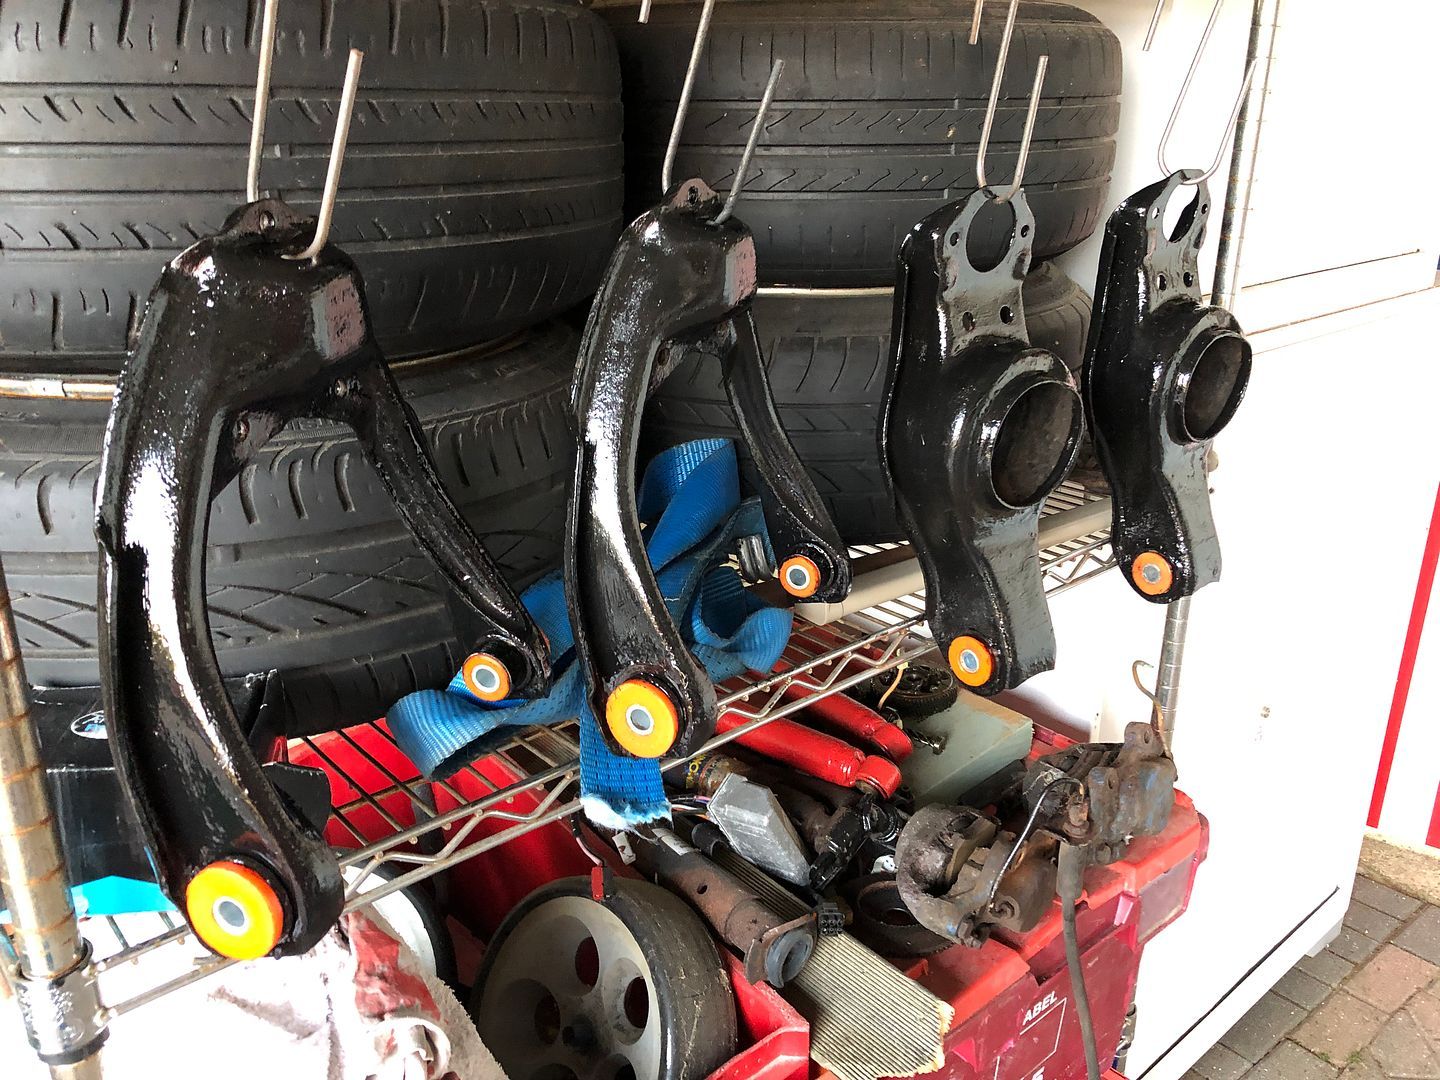 Happy so far. |
| |
|
|
|
|
|
Oct 14, 2021 20:20:08 GMT
|
So after 5.00pm today I went to get the next bit done. Sally was only popping in to say hi and drop some groceries for me. This allowed me to focus for 90 minutes. Keep in mind, I have to think every move through. So started with this, left from last night. 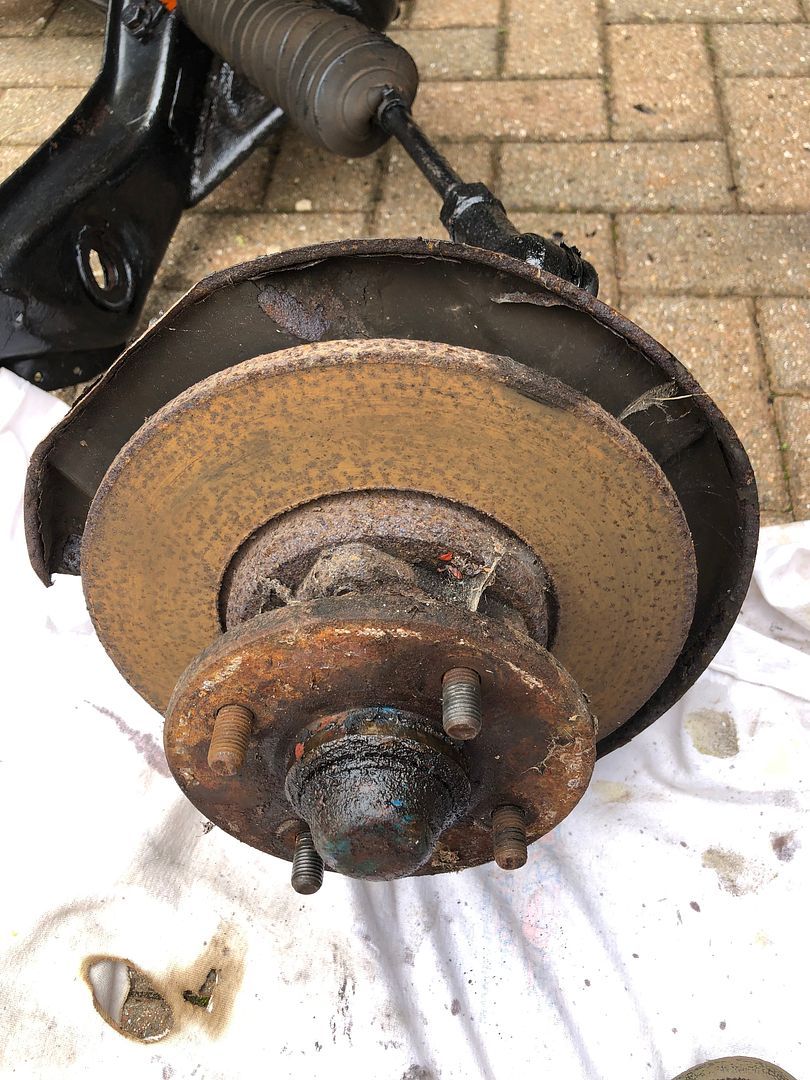 BFH to the rescue. 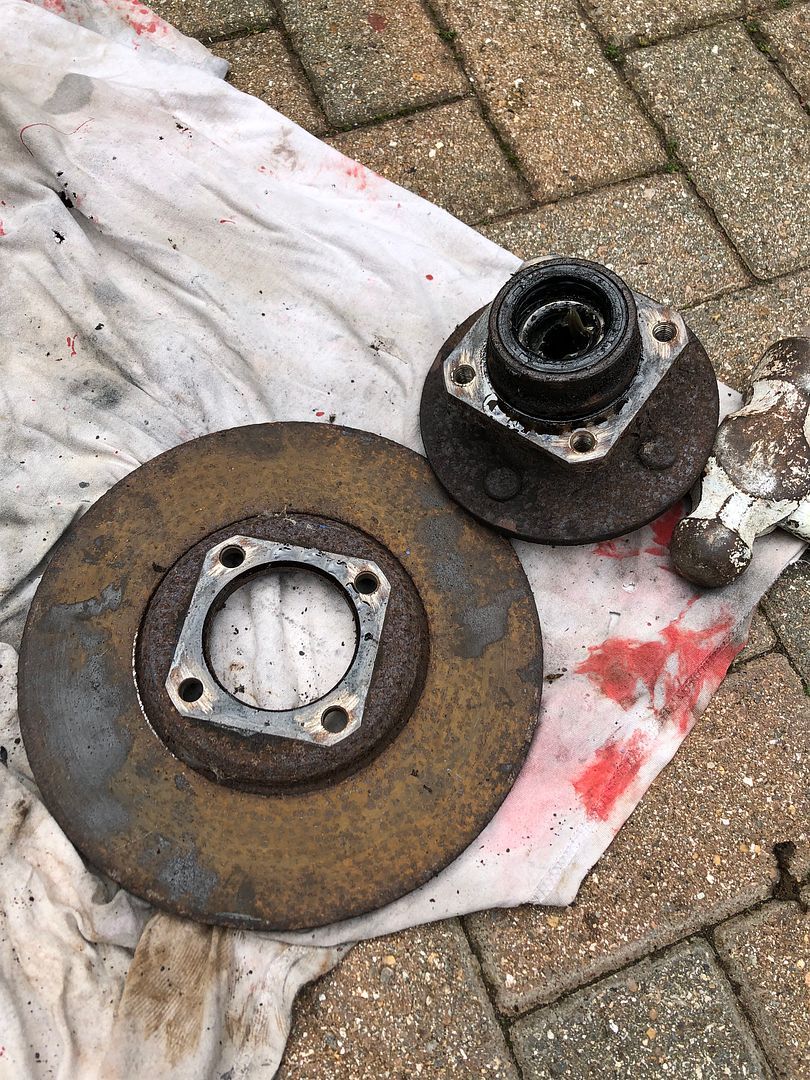 Fitted 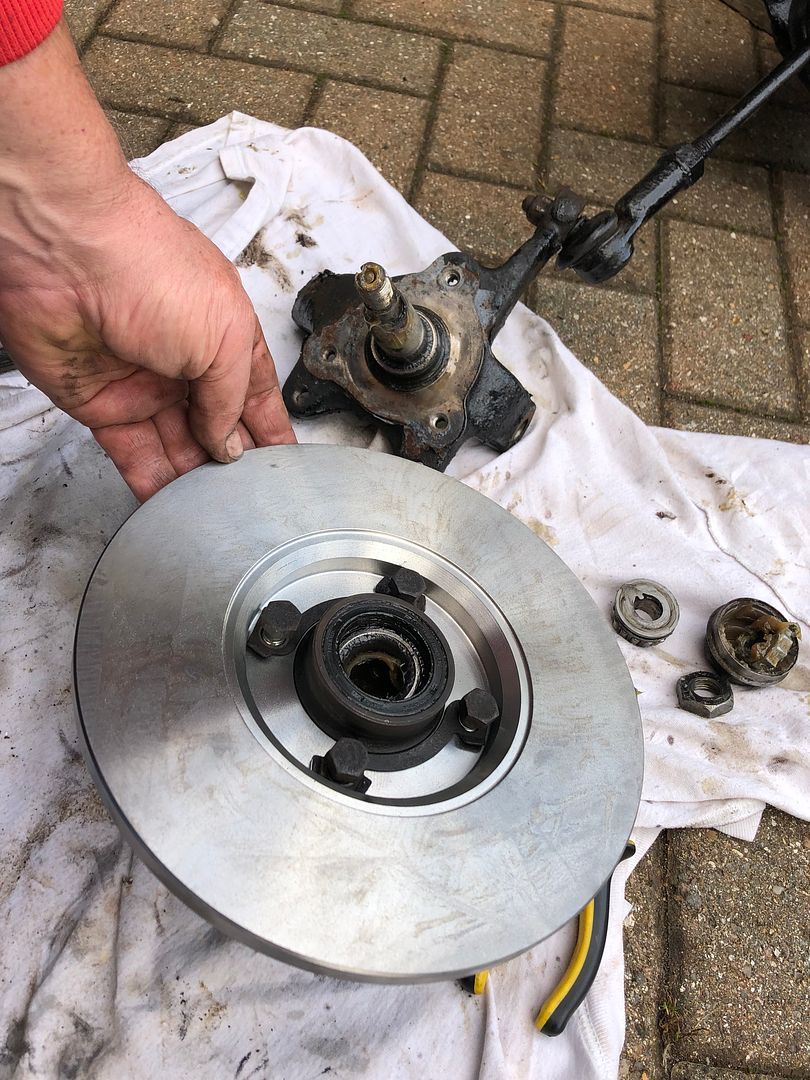 Secured 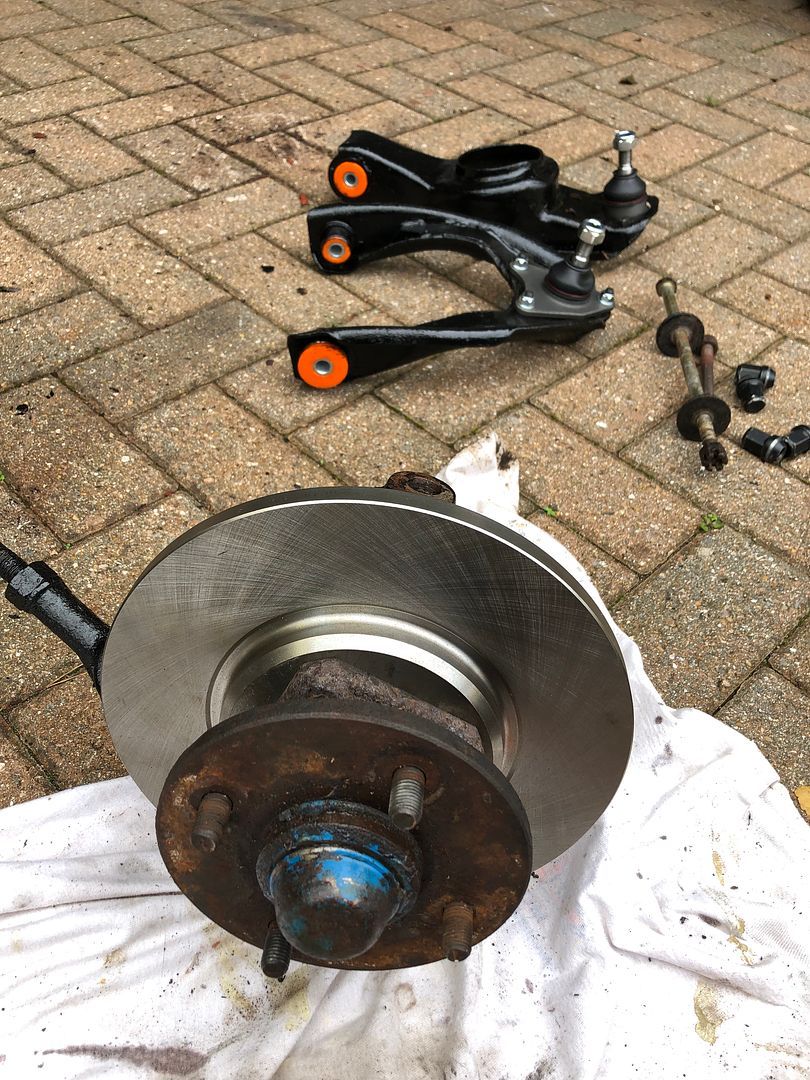 Happy. 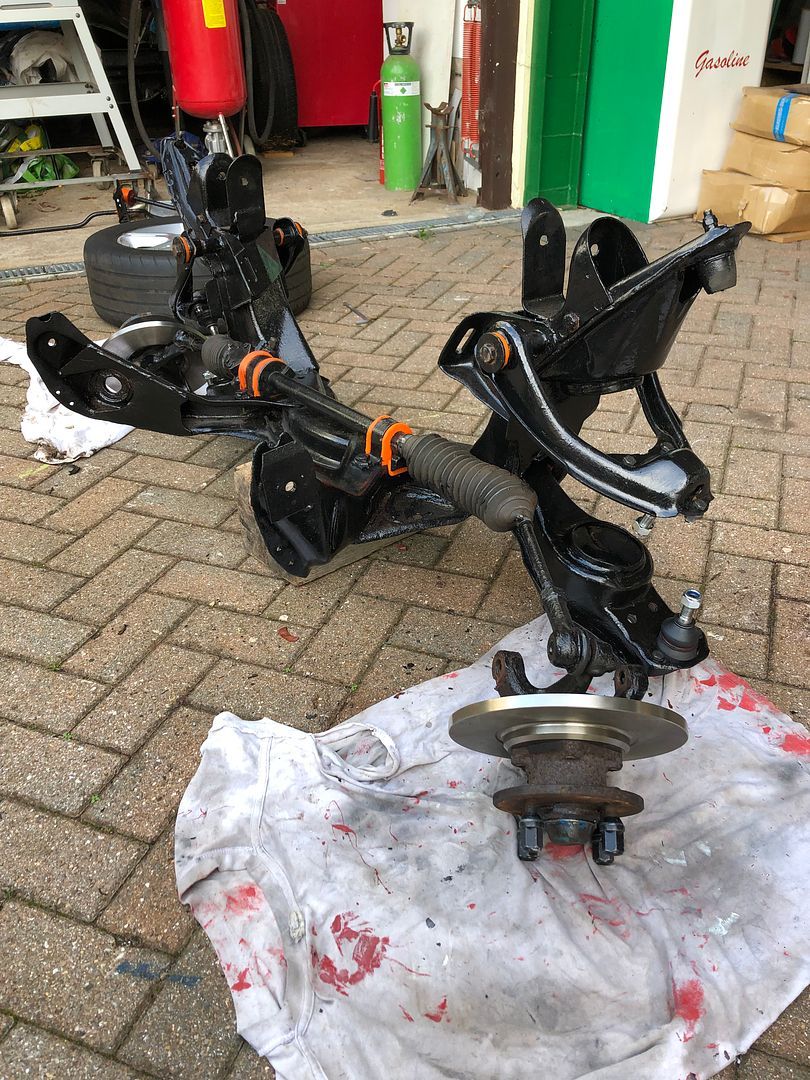 Ball joints and bushes renewed. .jpg) Then came the Paul Y moment. I was dreading it, while I could imagine him on a throne……. Laughing his head off. 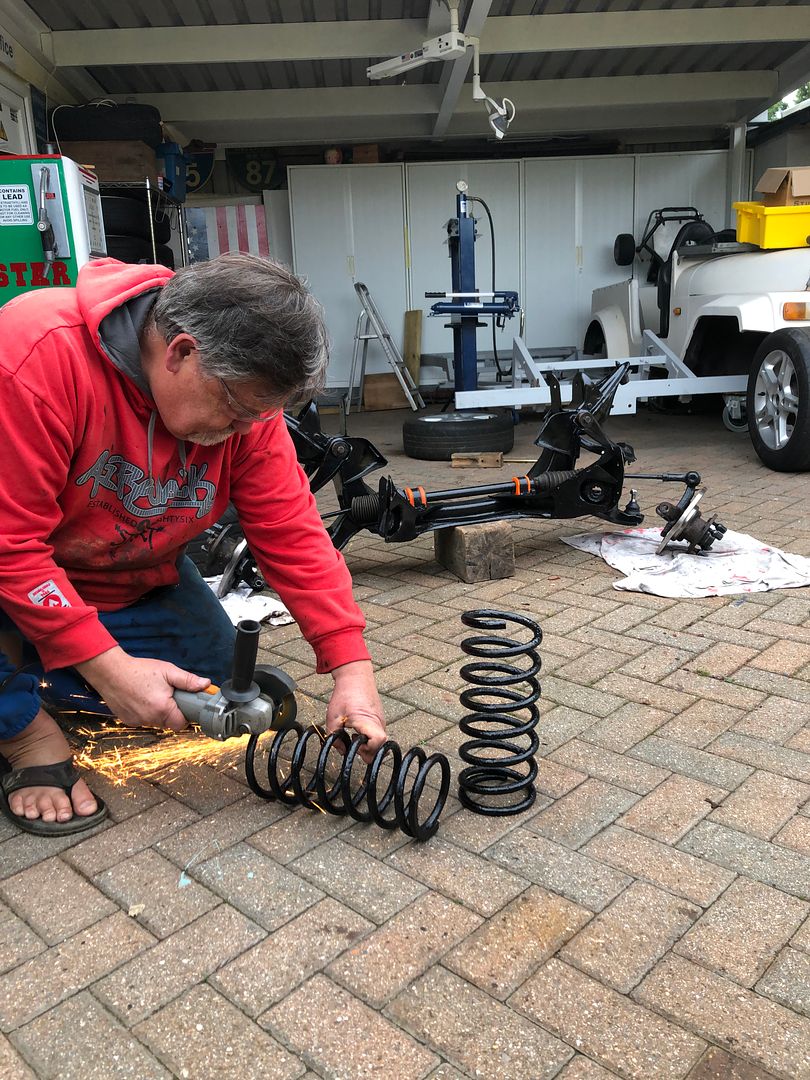 Result 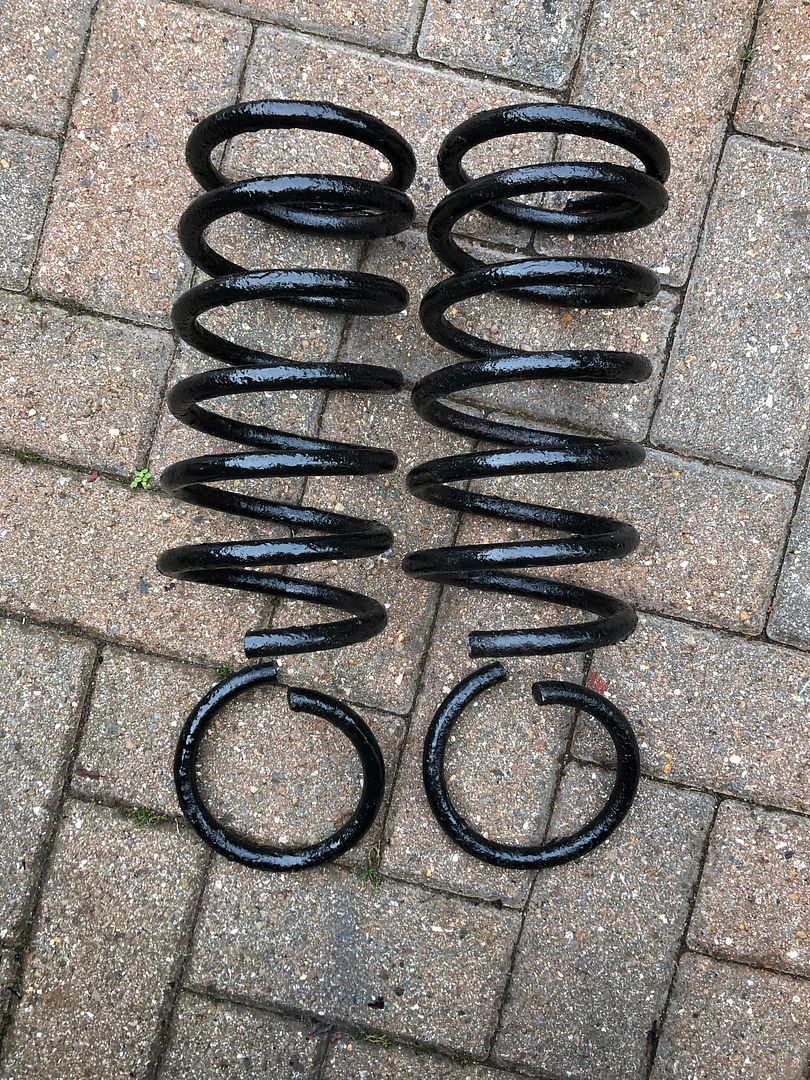 This seems to have given me a 2 1/4 inch reduction I have no idea if that is the right way to look at it. Sure it will make a difference. .jpg) I also realised that the pile of discarded, replaced parts from the running gear was steadily growing. 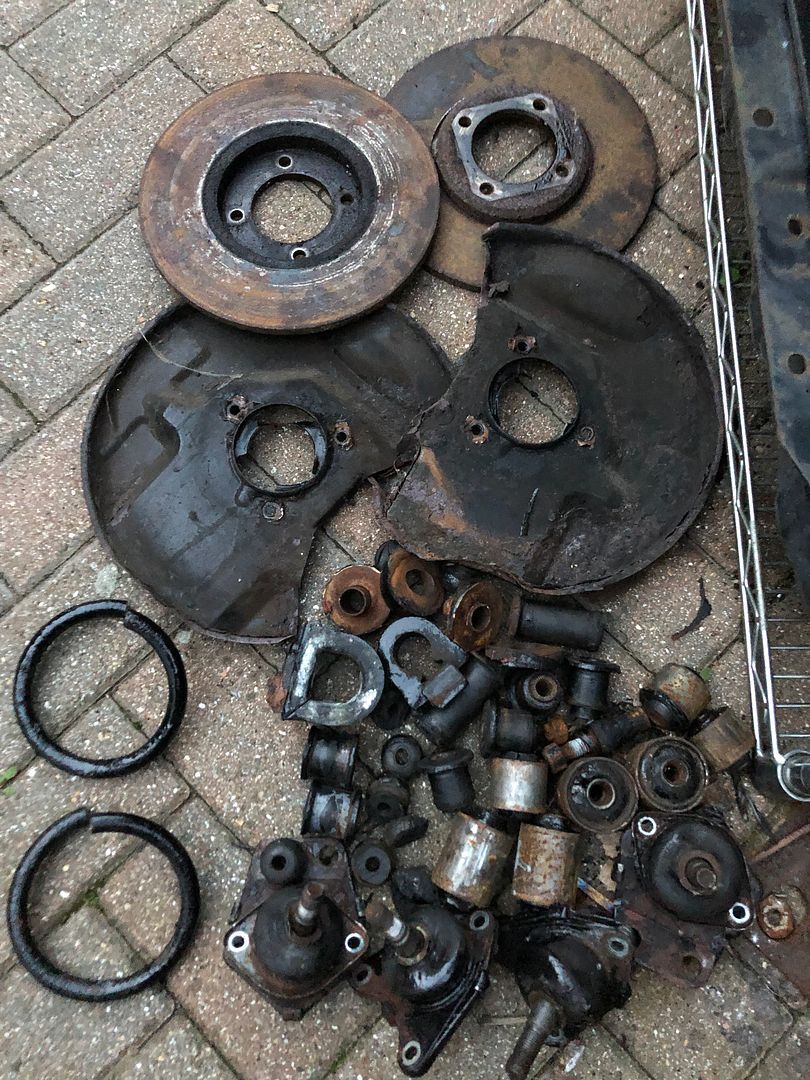 Once cut, the springs went in in reverse to the way the had come out. Once was all reassembled, it was nice to see it this far. 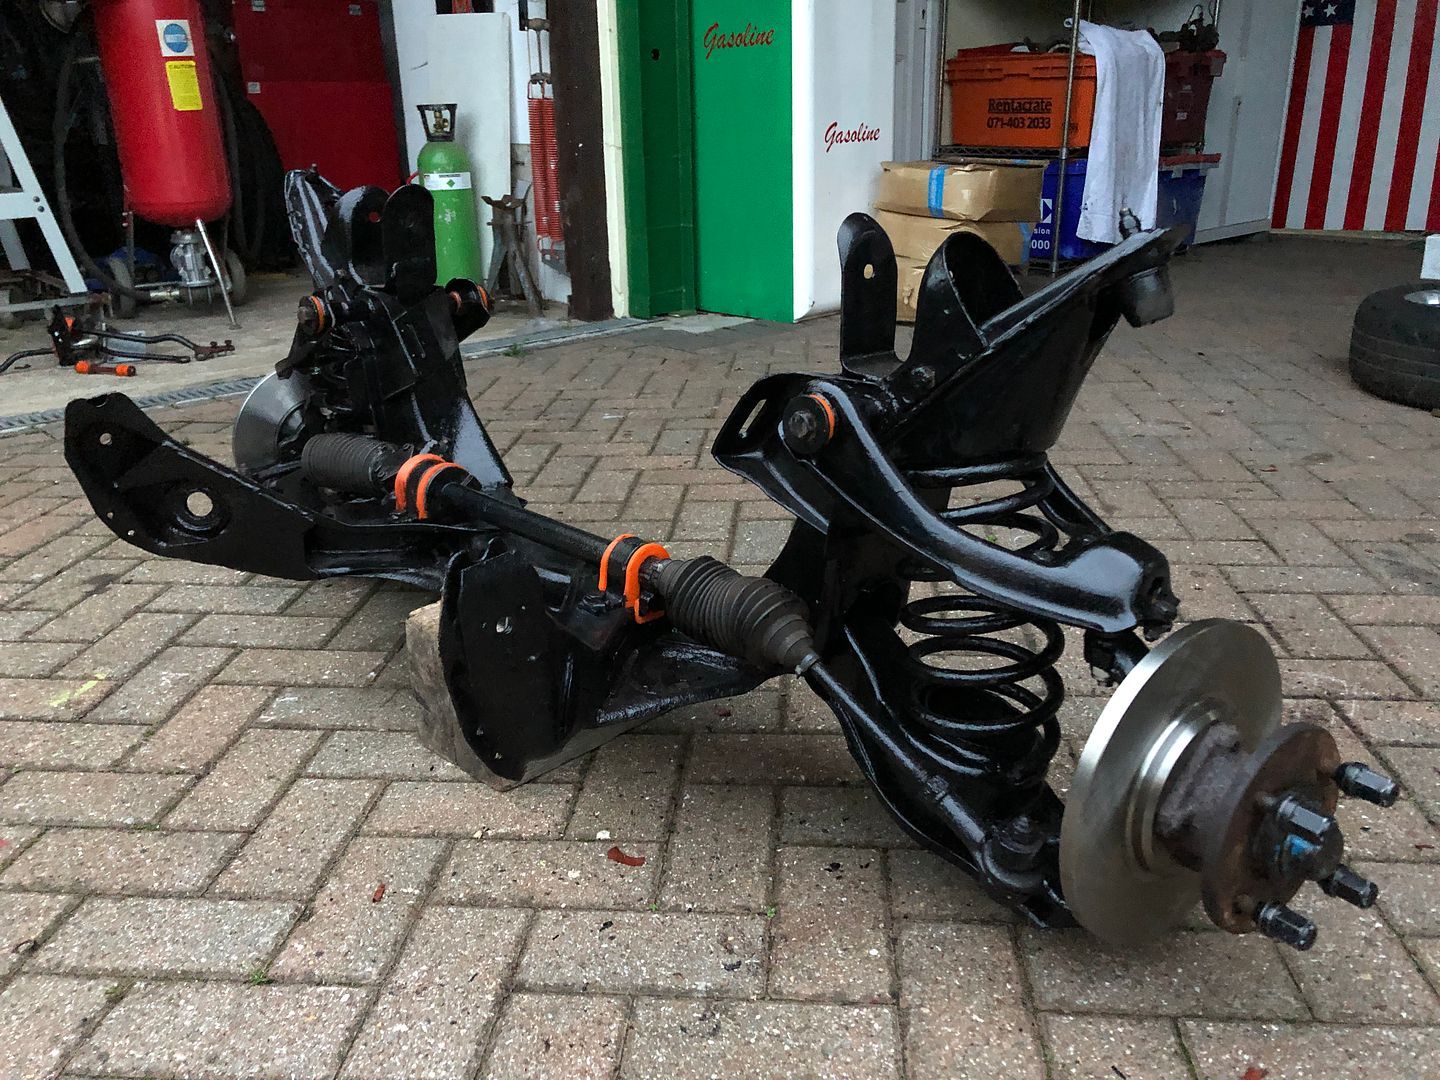 Tomorrow or Saturday I will refit the Anti Roll Bar and other bits that are waiting their second reassembly. Then the wheels back on and of course back under the chassis. Almost the weekend too. |
| |
|
|
|
|
|
|
|
|
Nice progress.
Re the picture of the caliper in your hand, I'd be inclined to strip that down , it does look saveable ...
|
| |
Last Edit: Oct 15, 2021 7:50:39 GMT by westbay
|
|
|
|
|
|
|
Nice progress. Re the picture of the caliper in your hand, I'd be inclined to strip that down , it does look saveable ... It does look like the dust boots are OK which usually protects the pistons, I had a similar looking pair of corsa one I used on the minor, the pistons were perfect though and once cleaned up and re-sealed they worked a treat. |
| |
|
|
|
|
|
|
|
|
I've a pair of brand new caliper-bolt lock tabs if they're any use to you.
The solid disc M16 calipers are promised to someone else though.
If the cut springs do suit your application, you ought to heat the cut end and bend it so that it's flat. But considering how much you want to lower the car, you're almost certainly going to need shorter springs.
|
| |
|
|


.jpg)


.jpg)

