|
|
|
Sept 17, 2021 10:07:53 GMT
|
Put one end of the shock in the vice, so it’s vertical. Hold the other end and try to pull it out and push it back in again quickly. If there’s a reasonable amount of resistance, then they’re worth refitting providing they compress enough to still work with the shorter spring. If they have no resistance, or they’re too long, then hang fire on ordering any new shocks until the car is reassembled and at its final running height and weight before you fork out for replacements. Well, I nearly kinda screwed up there, makes sense waiting to see final riding height….. Was going to order a standard set to go with the ONE COIL sacrificed. These seem to have had it, one is rusted in place pretty much, one collapses to become a dumpy. 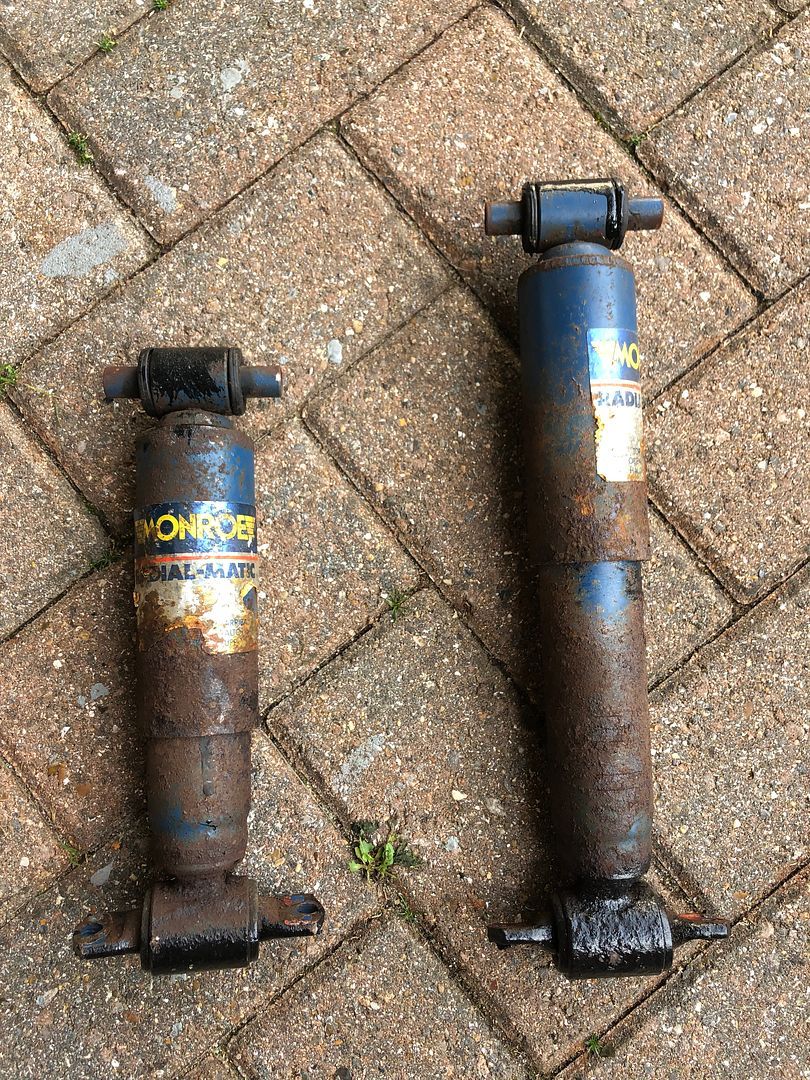 Almost weekend, counting down. Soon. |
| |
|
|
|
|
glenanderson
Club Retro Rides Member
Posts: 4,338
Club RR Member Number: 64
|
|
Sept 17, 2021 10:29:17 GMT
|
|
To be honest, both springs and shocks need to wait until the rest of the vehicle is nearly done.
Get your chassis work finished, and the vehicle reassembled with the engine, gearbox and everything else back on, and you can then work out the spring lengths to get your ride height. With that, and the corner weights, you can decide whether standard springs cut down will be ok, or if you will need special ones wound. Remember, the car is going to be significantly lighter than the donor Cortina, so will likely be very stiff indeed on cut down ‘Tina springs and shocks.
So, hold your horses for now, and concentrate on the other stuff for a bit. Get the subframes re-bushed and refitted, and a basic start point on height by cutting the springs, so you can reassemble the rolling chassis.
Then brake pipes.
Then engine, gearbox, plumbing etc.
Then tub back on, ancillaries and wiring.
Seats, and all the other stuff.
Then you can make decisions on springs and shocks.
|
| |
My worst worry about dying is my wife selling my stuff for what I told her it cost...
|
|
|
|
|
Sept 17, 2021 10:48:58 GMT
|
|
Hi Rian,
Have to totally agree with glenanderson, especially considering our conversation about the chassis,
Nigel
|
| |
BMW E39 525i Sport
BMW E46 320d Sport Touring (now sold on.)
BMW E30 325 Touring (now sold on.)
BMW E30 320 Cabriolet (Project car - currently for sale.)
|
|
|
|
|
Sept 17, 2021 12:08:18 GMT
|
|
I would get the engine box battery etc in before cutting the front springs so the weight is roughly right.
My guess is you might end up nearer 2 coils removed.
|
| |
|
|
|
|
|
Sept 17, 2021 12:35:37 GMT
|
To be honest, both springs and shocks need to wait until the rest of the vehicle is nearly done.
Get your chassis work finished, and the vehicle reassembled with the engine, gearbox and everything else back on, and you can then work out the spring lengths to get your ride height. With that, and the corner weights, you can decide whether standard springs cut down will be ok, or if you will need special ones wound. Remember, the car is going to be significantly lighter than the donor Cortina, so will likely be very stiff indeed on cut down ‘Tina springs and shocks.
So, hold your horses for now, and concentrate on the other stuff for a bit. Get the subframes re-bushed and refitted, and a basic start point on height by cutting the springs, so you can reassemble the rolling chassis.
Then brake pipes.
Then engine, gearbox, plumbing etc.
Then tub back on, ancillaries and wiring.
Seats, and all the other stuff.
Then you can make decisions on springs and shocks.
Thanks Glen, Nigel and Kevin. Great advice to prevent me going wagon before horses. So I am meeting up with Paul Y with the S10 in the morning for some horse trading, and to Pony Express stuff to craigrk So a load of horseplay expected for the weekend considering my trade needs a truck o bring it home Keep guessing. |
| |
Last Edit: Sept 17, 2021 12:36:14 GMT by grizz
|
|
|
|
|
Sept 17, 2021 12:38:09 GMT
|
Hi Rian, Have to totally agree with glenanderson, especially considering our conversation about the chassis, Nigel Cool. Lets see if I can make up a working welder this afternoon when I clock out of work. I would get the engine box battery etc in before cutting the front springs so the weight is roughly right. My guess is you might end up nearer 2 coils removed. Two coils implies lower, I wonder if we may end up turning at a different, shorter set of springs in the end. I still need to incorporate the springs you added as well. |
| |
|
|
|
|
|
Sept 17, 2021 12:43:57 GMT
|
|
Bear in mind when you cut springs their effective spring rate goes up, so it'll get firmer. Not something you necessarily need on a lighter car.
IIRC Rally Design are good for this, I think they did a seven-style kit car based on Cortina mechanicals?
|
| |
|
|
bricol
Part of things
 
Posts: 290 
|
|
Sept 17, 2021 12:52:11 GMT
|
|
Cut down springs increase the spring rate - so cut down Cortina springs on a plastic car are likely to pogo down the road . . .
As for shocks - find/save/steal adjustable ones - you can tune them to where you want. The wrong damping will turn a car from a pleasure to a neck aching, back knackered, dangerous pile of curse word. You can do that with adjustable ones too, which proves the adjustments work.
I think you need to be working rather backwards to what I'm doing at the moment - I'm building a trials special from a Dutton - so I want to maximise suspensions travel - few inches droop, and rather more in bump.
So I'd sit your chassis at a sensible height from the ground, plonk the body on and work out the height of wheel centres when the tyres are about to clobber bodywork. Work backwards from that to where full bump is on the front and rear axles, see if you still have a few inches of travel back to the usual ride height, and see where that plonks the sub-frame and rear axle with suspension arms at normal ride height position.
Adjust mounting points with hammer, grinder, welder as required.
Still think I would find a Cortina based Locust (not Locost) chassis and slide it under . . .
|
| |
|
|
|
|
|
Sept 17, 2021 13:01:16 GMT
|
Bear in mind when you cut springs their effective spring rate goes up, so it'll get firmer. Not something you necessarily need on a lighter car. IIRC Rally Design are good for this, I think they did a seven-style kit car based on Cortina mechanicals? Absolutely. I will have to do as you guys suggest and kinda work backwards to get the loaded positions and work from there to adjust. Does not mean I have a clue, but happy to go for it. |
| |
|
|
|
|
|
Sept 17, 2021 13:07:18 GMT
|
Cut down springs increase the spring rate - so cut down Cortina springs on a plastic car are likely to pogo down the road . . . As for shocks - find/save/steal adjustable ones - you can tune them to where you want. The wrong damping will turn a car from a pleasure to a neck aching, back knackered, dangerous pile of plop. You can do that with adjustable ones too, which proves the adjustments work. I think you need to be working rather backwards to what I'm doing at the moment - I'm building a trials special from a Dutton - so I want to maximise suspensions travel - few inches droop, and rather more in bump.So I'd sit your chassis at a sensible height from the ground, plonk the body on and work out the height of wheel centres when the tyres are about to clobber bodywork. Work backwards from that to where full bump is on the front and rear axles, see if you still have a few inches of travel back to the usual ride height, and see where that plonks the sub-frame and rear axle with suspension arms at normal ride height position. Adjust mounting points with hammer, grinder, welder as required. Still think I would find a Cortina based Locust (not Locost) chassis and slide it under . . . Thank you for that reply and info/guidance, much appreciated. I did think I would have to add about 60kg on the rear to mimic the fuel Jeep tank that is right at the rear and potentially going to affect the suspension position and travel. I will have to look for those shocks, the fronts are inside the springs, and probably not going to happen, the rears are a lot more open and could happen. I do not understand the technical terms highlighted in orange. And as for the whole chassis seating, and working out ride height, it will take a bit of time, but I am sure it will become clearer as I get into t. Adjustments of course…. As suggested. Cortina based chassis is another cost I cannot be bothered pursuing. Time to go see if I can make a working welder. |
| |
|
|
|
|
|
Sept 17, 2021 20:07:41 GMT
|
So the postie delivered nothing today. But the DPD courier made my day. 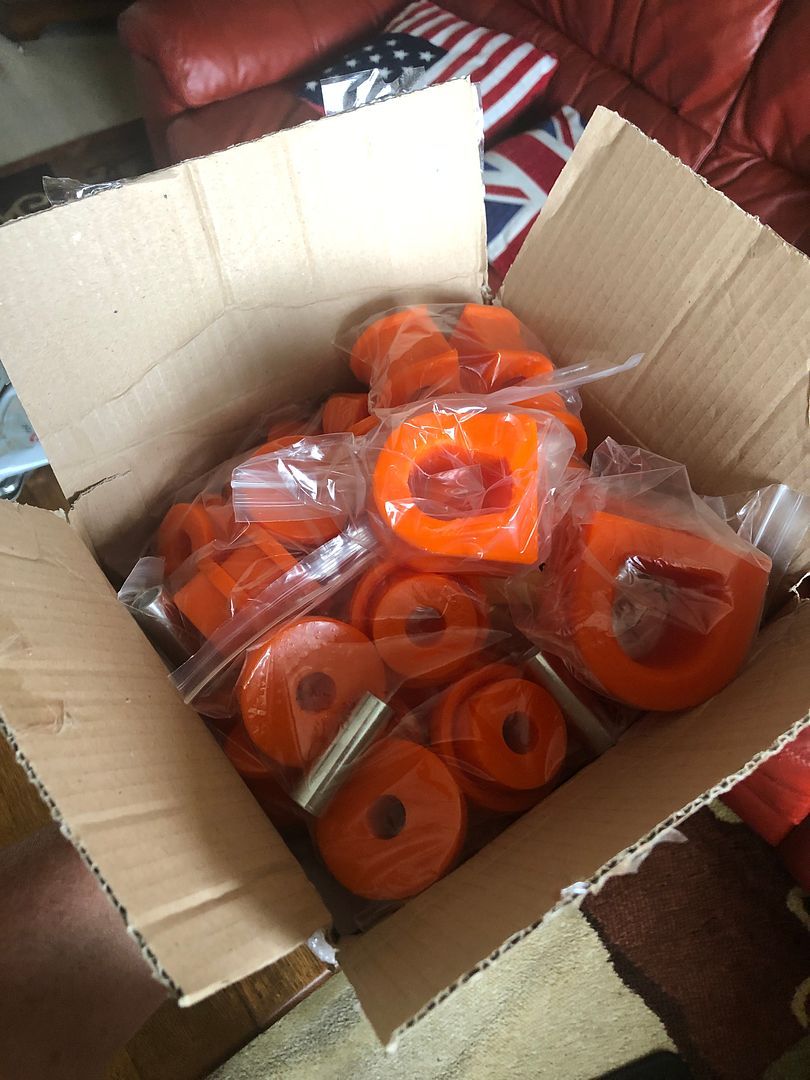 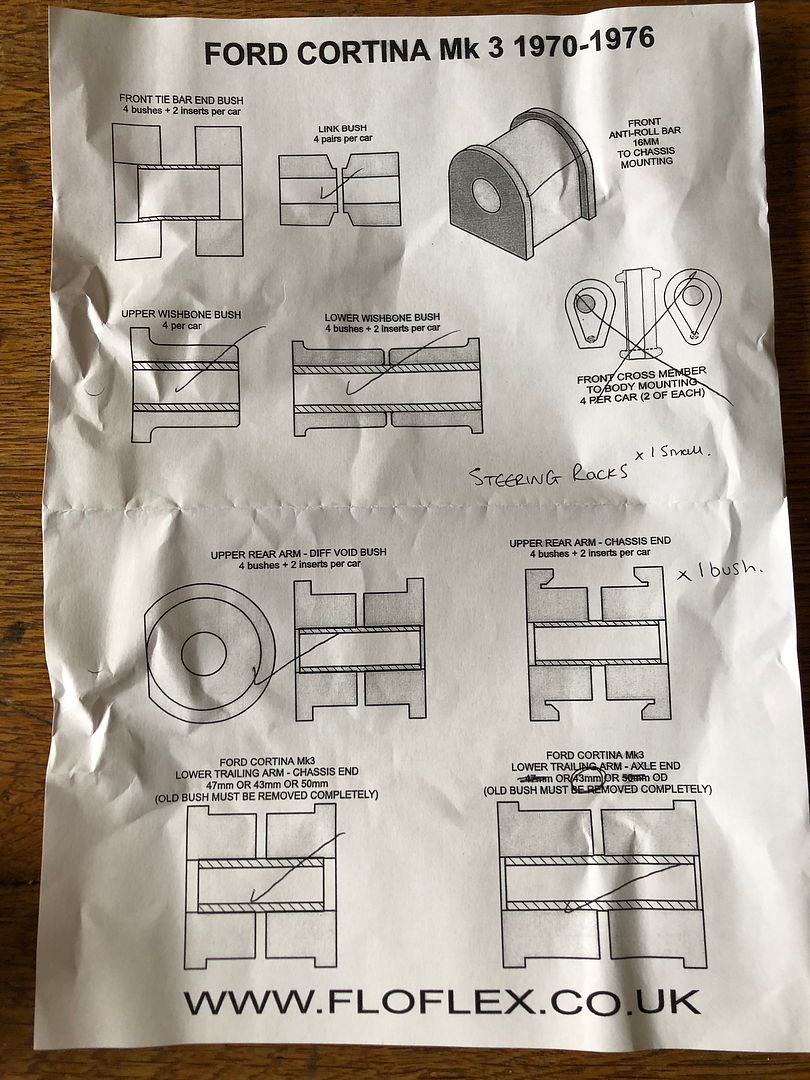 And laid out. I do hope that I will be able to figure out what goes where. 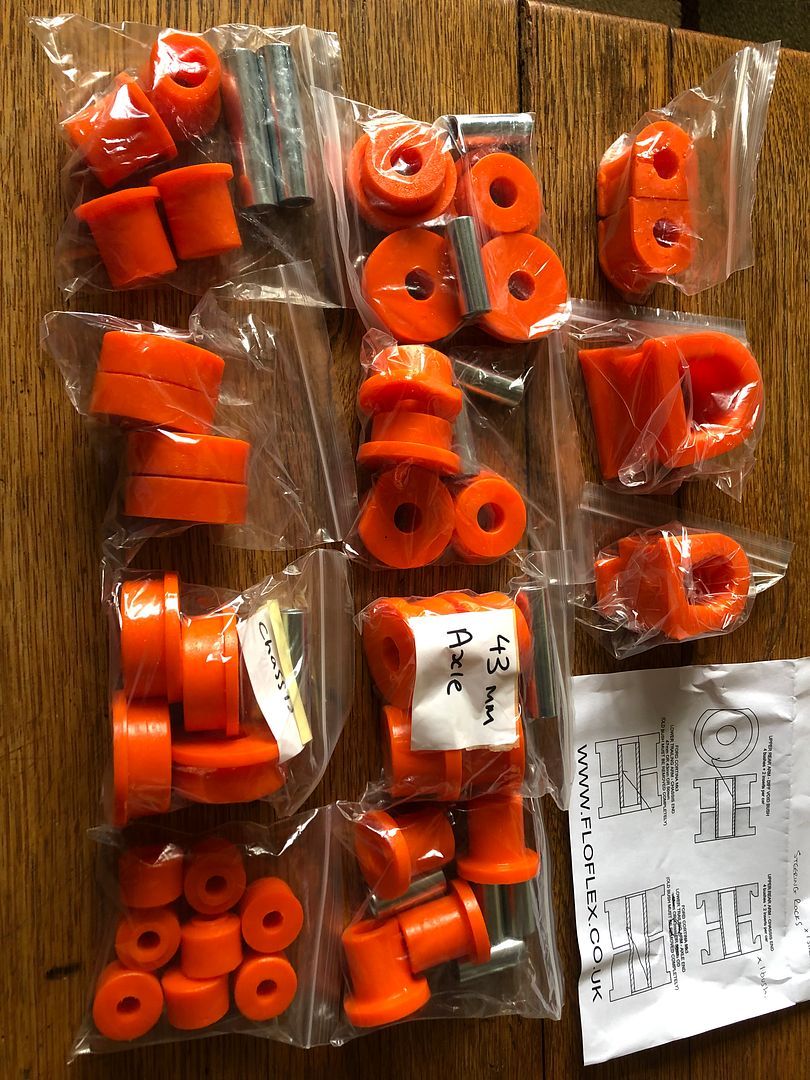 After work I went down to the garage, decided that the gusseting was probably the more important job to get started on. Pulled the chassis out after pushing the wheels and suspension bits out the way. 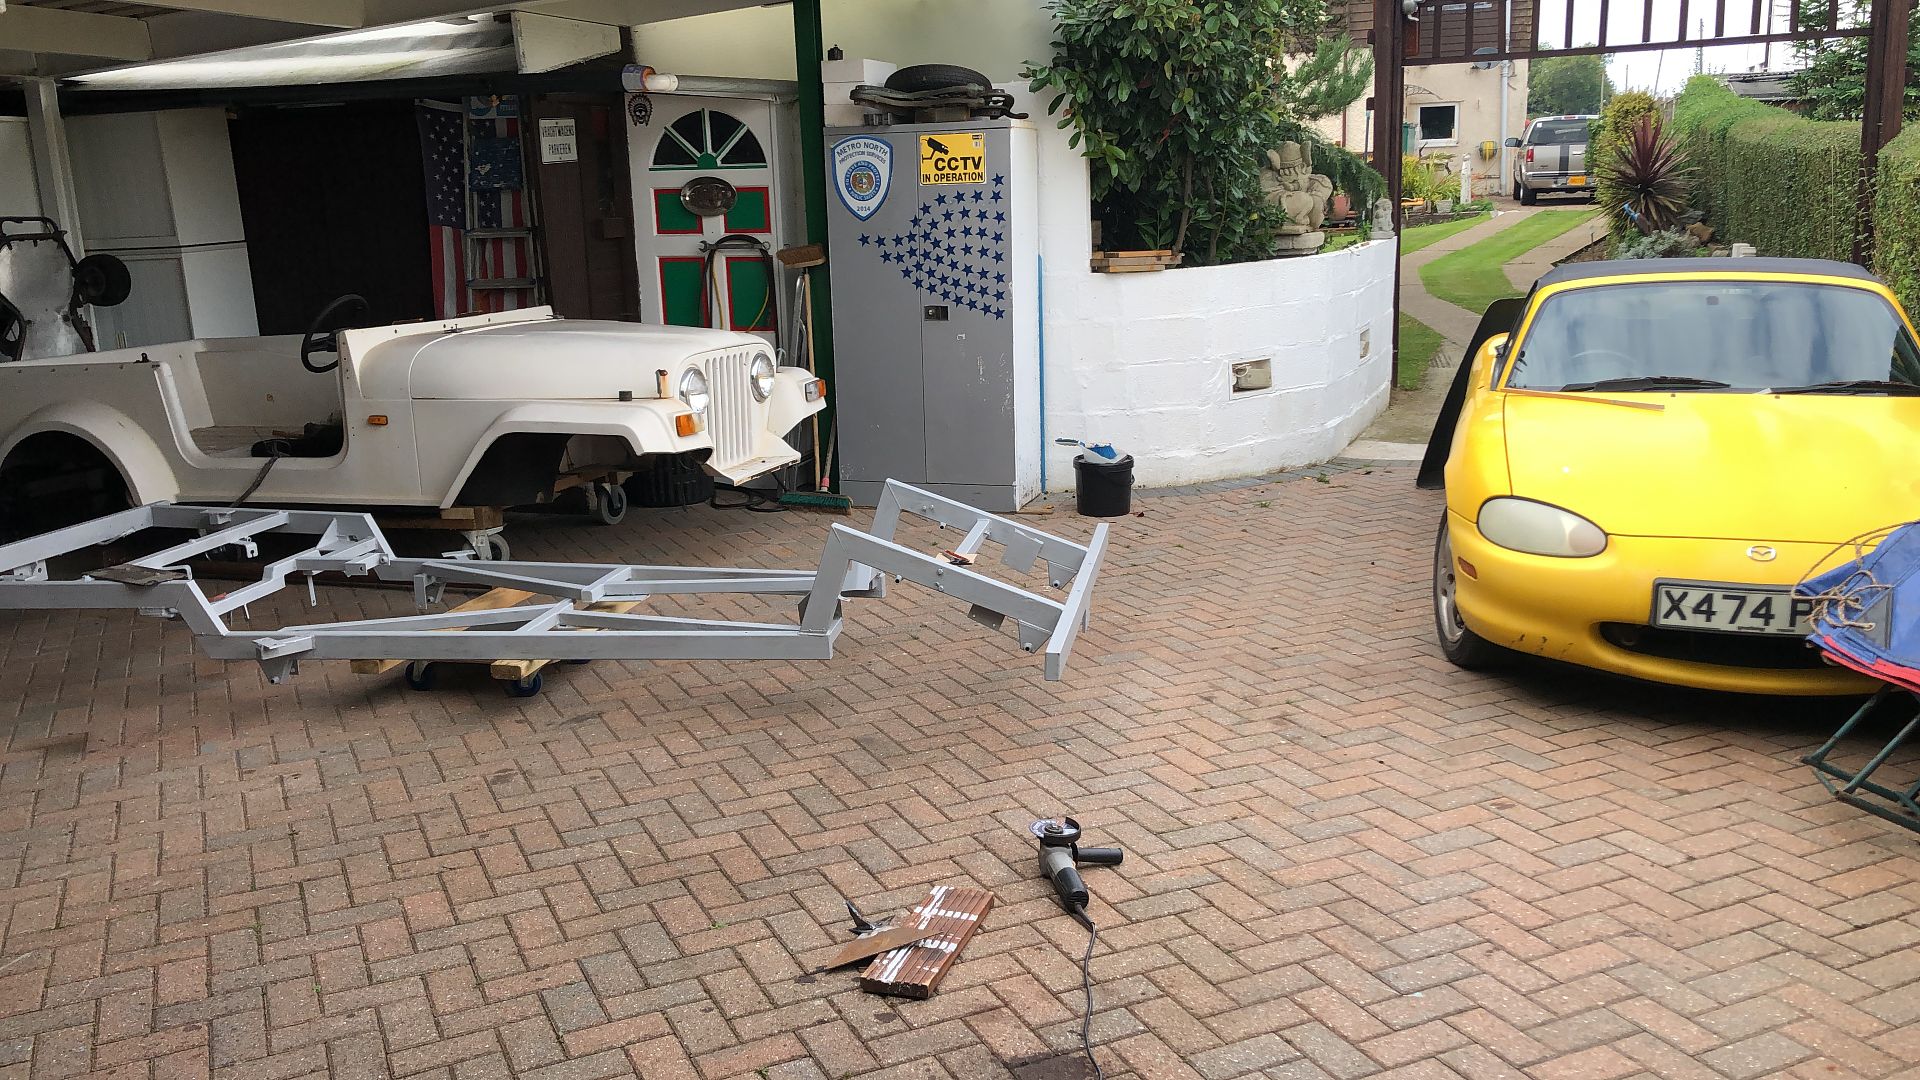 Using CAD the job was not that awkward at all. 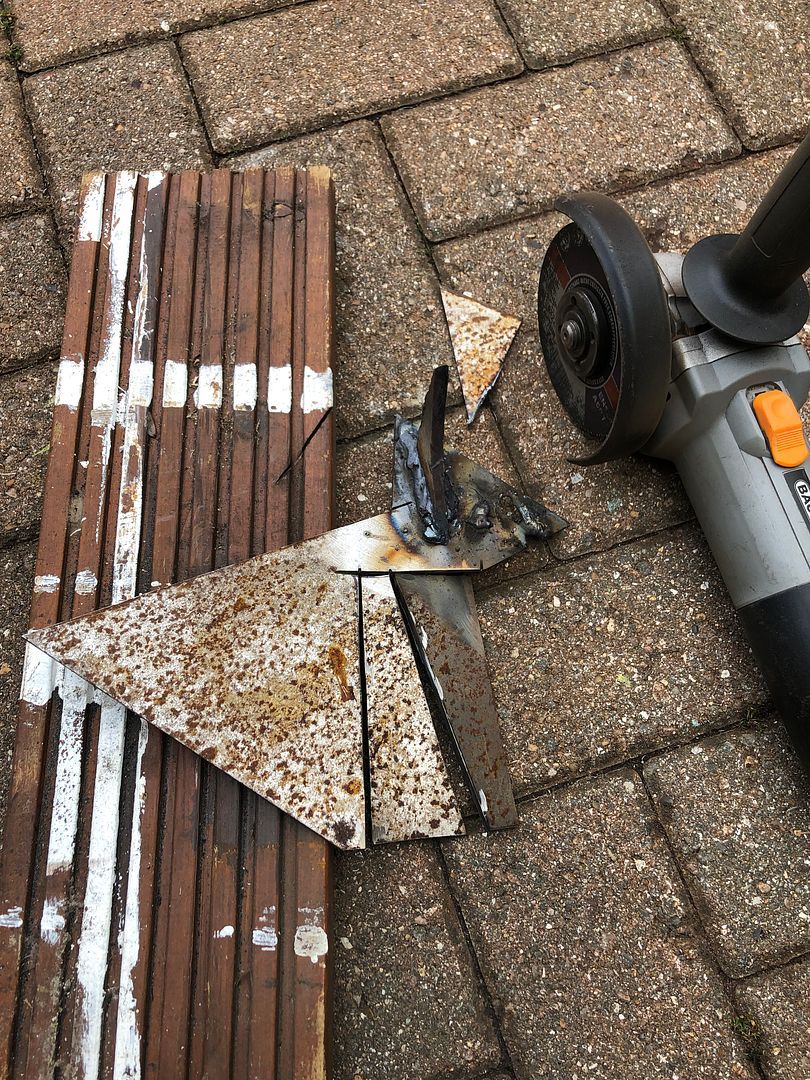 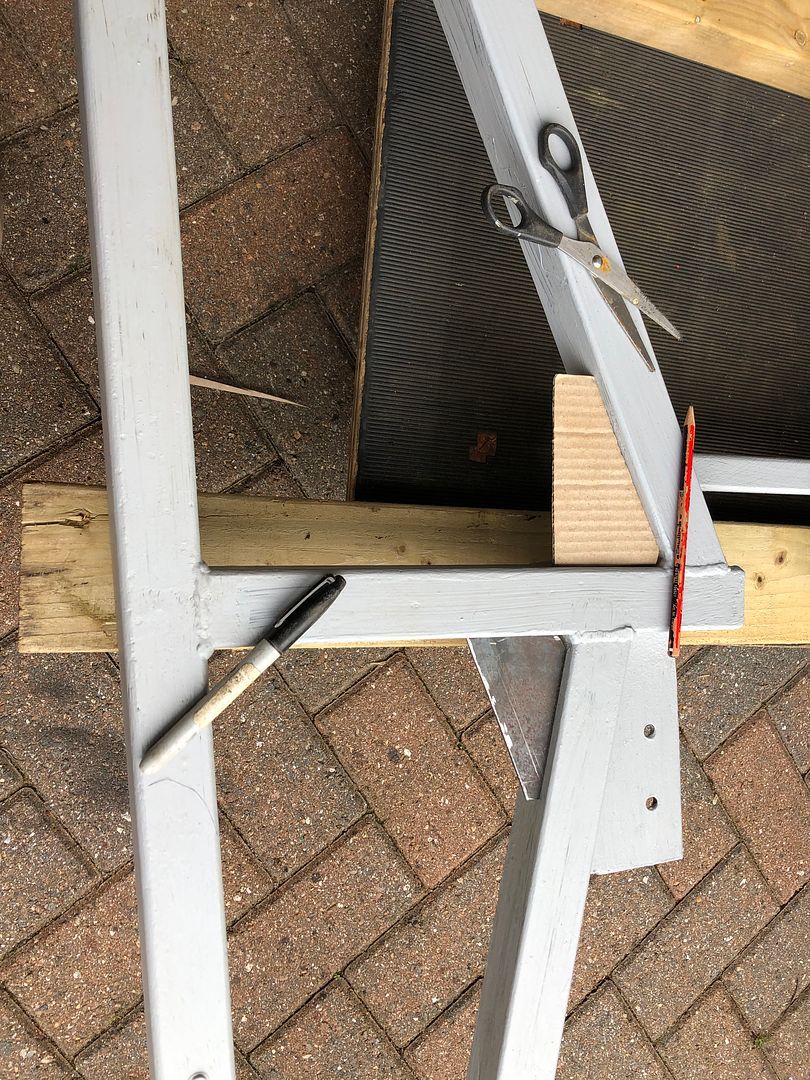 After some cutting, shaping, grinding, I was happy. I had also tested out my stick welder, which is part of the MIG welder that has stopped working. The 3mm plate I have used for the gussets are probably thicker than the tubing of the frame, so the stick welder should be perfect to create deep, heavy welds. In the morning I will use a flap wheel to grind back the primer and any residual rust etc in the spots `I need to weld. All my gussets are ready and waiting on the chassis for the welder. 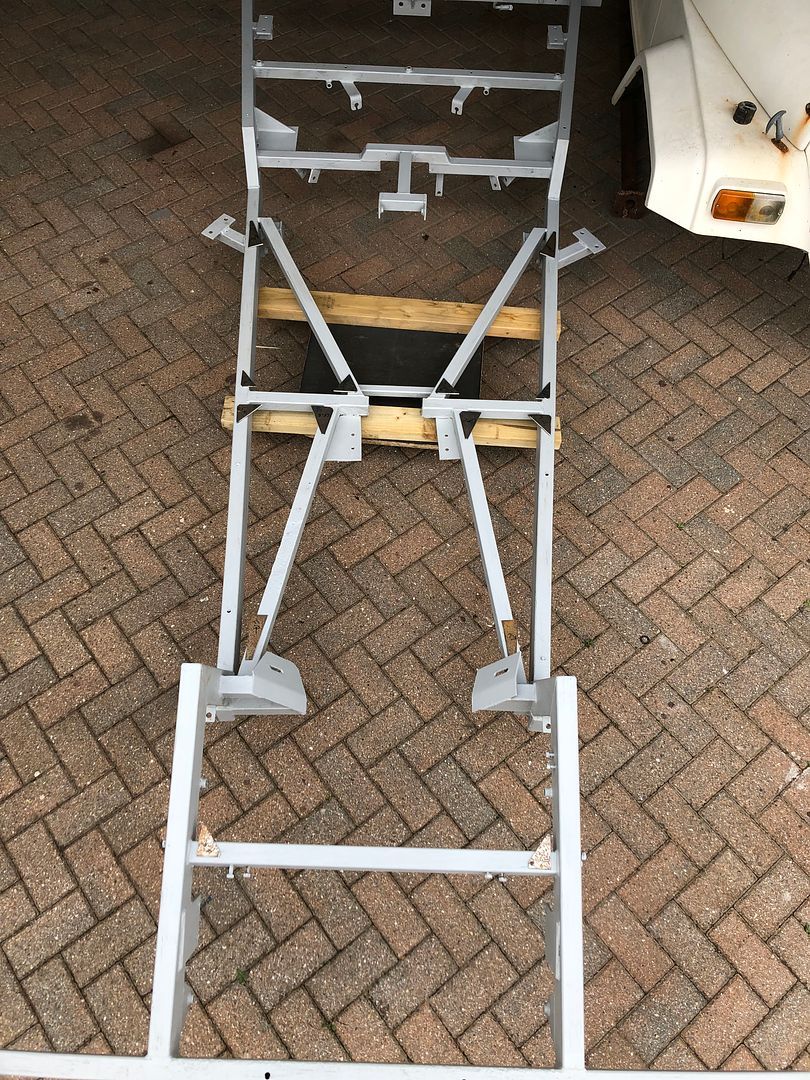 Hope it all welds and works easily. . |
| |
Last Edit: Sept 17, 2021 20:15:31 GMT by grizz
|
|
|
|
|
Sept 18, 2021 7:33:14 GMT
|
Horse trading….? Horse play? Horse power? 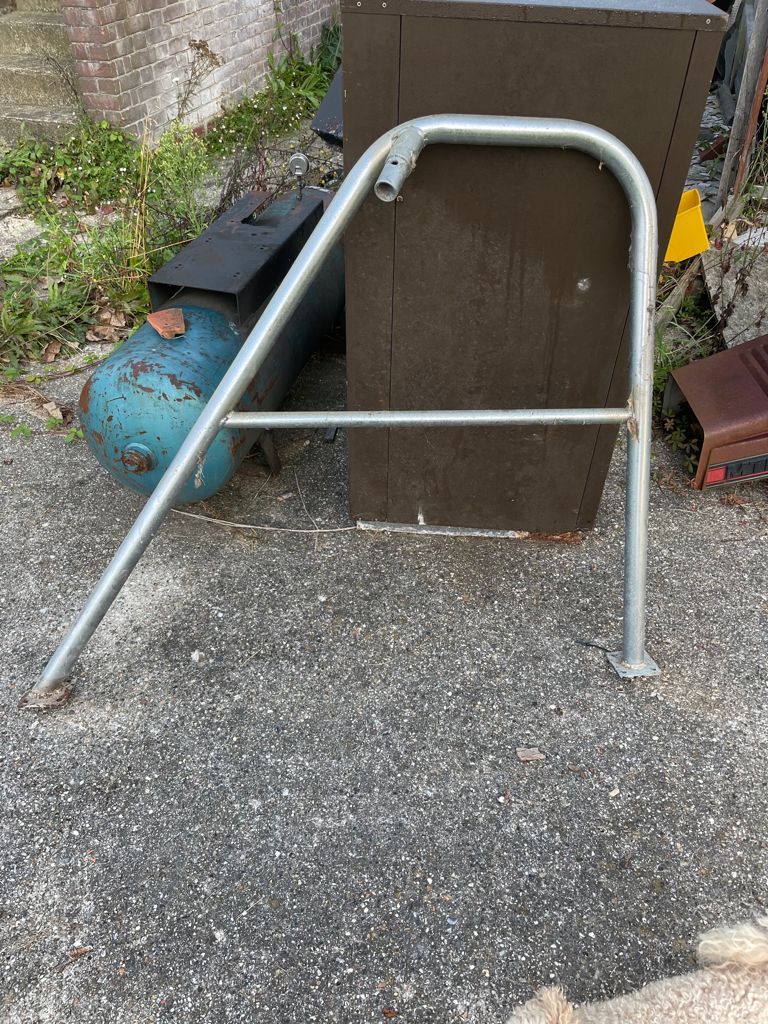 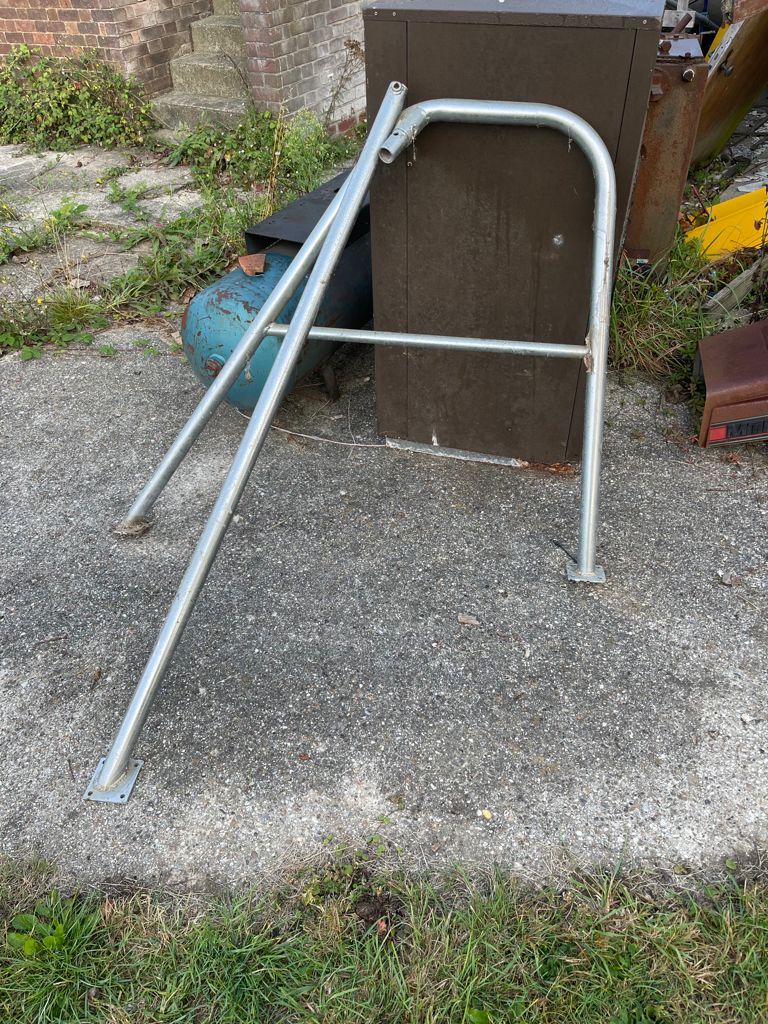 Let’s see what this looks like in the tub later. . |
| |
|
|
|
|
|
Sept 18, 2021 8:55:05 GMT
|
Trading done. Paul Y on his way to the next stop…… Leatherhead, then back to Essex by lunchtime. 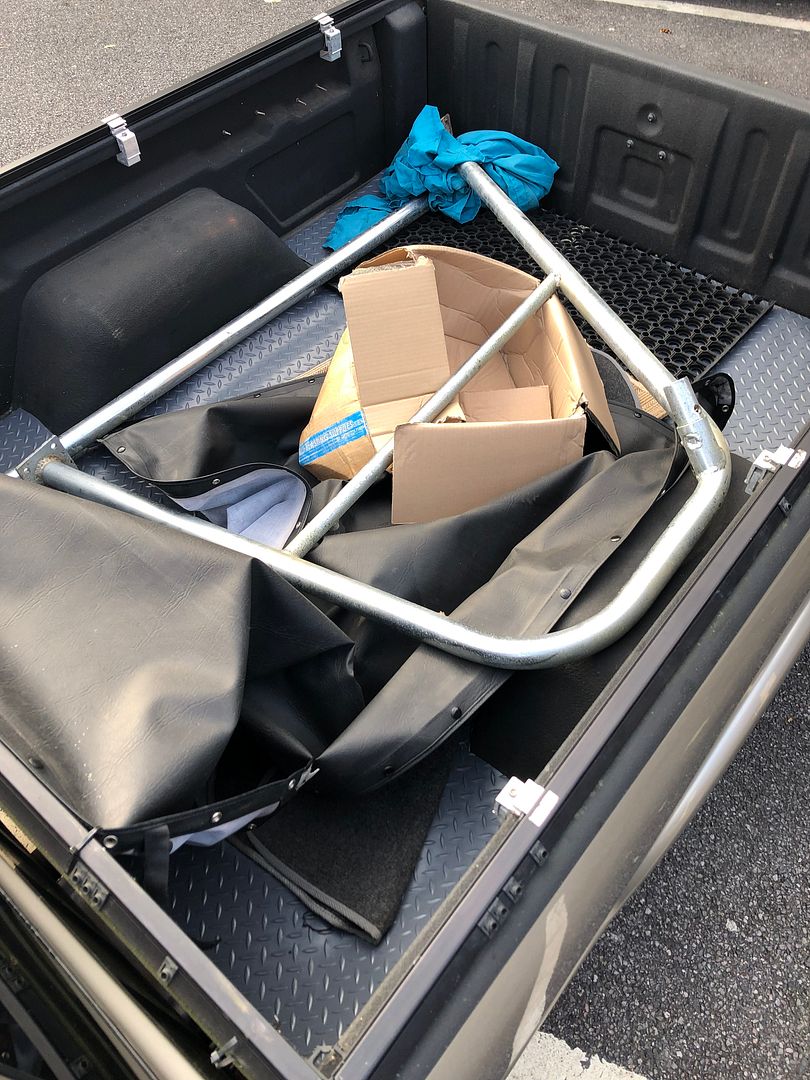 This truck continues to work and make me grin Small jobs, big jobs, all the same. 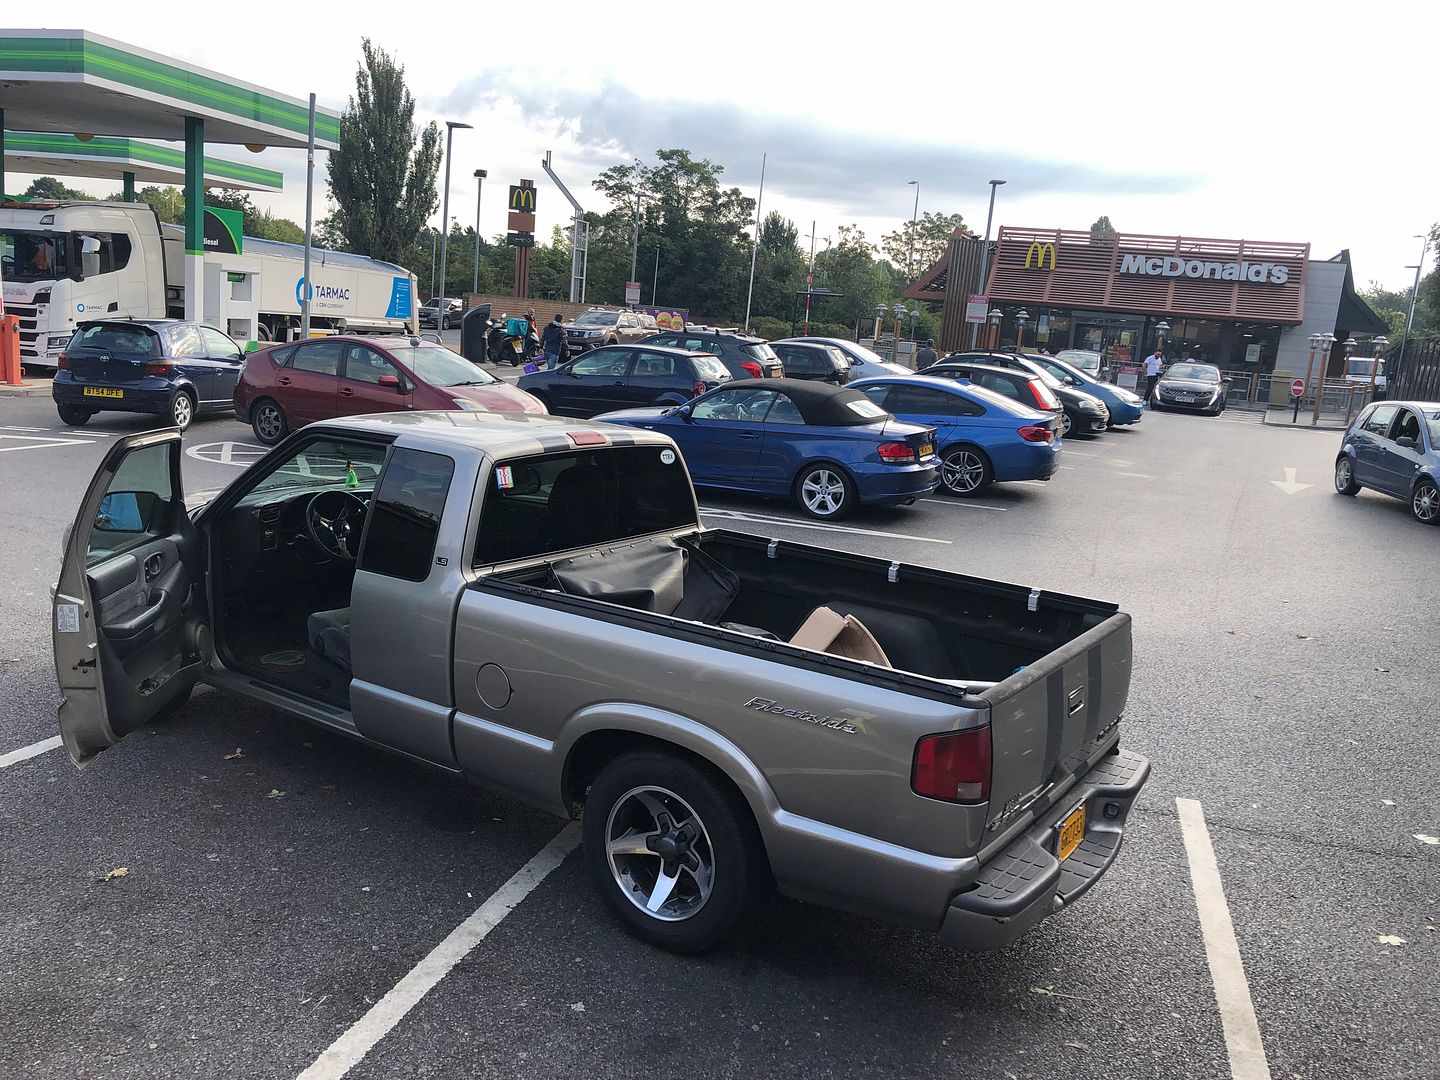 Clean up the roll cage later and see if it fits. After welding gussets. |
| |
|
|
|
|
|
Sept 18, 2021 11:37:58 GMT
|
Cool tools are always useful. Cleaned off the primer where the welds will go. 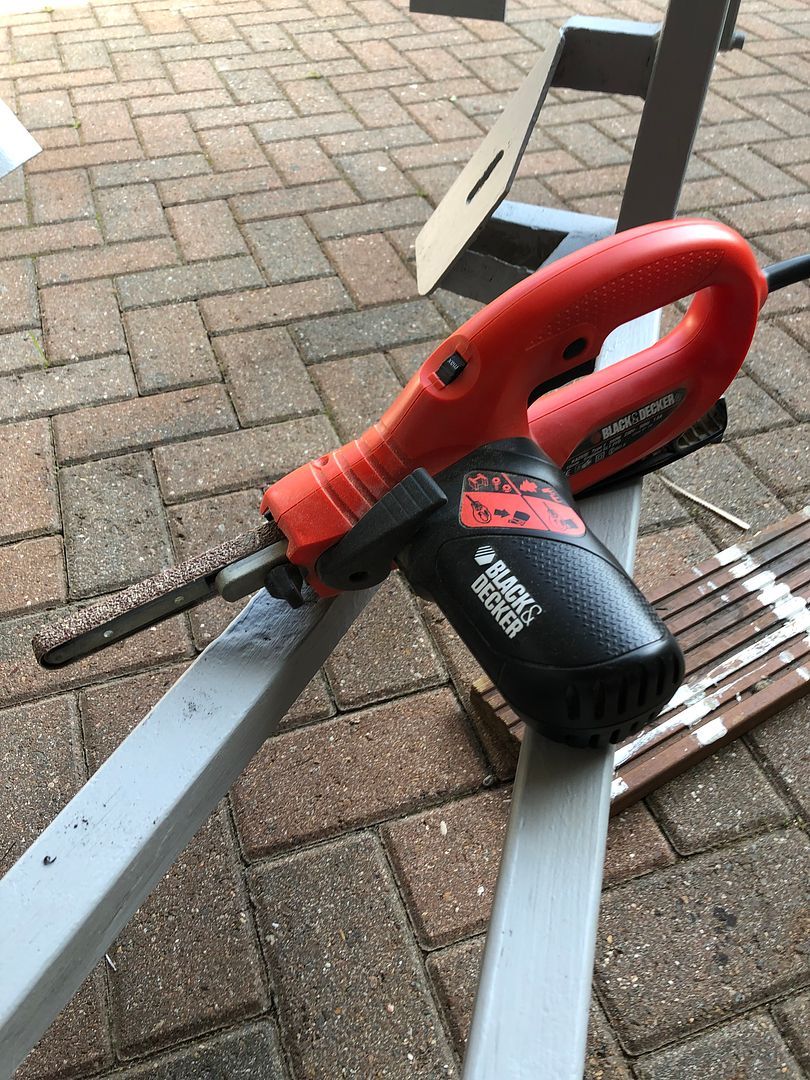 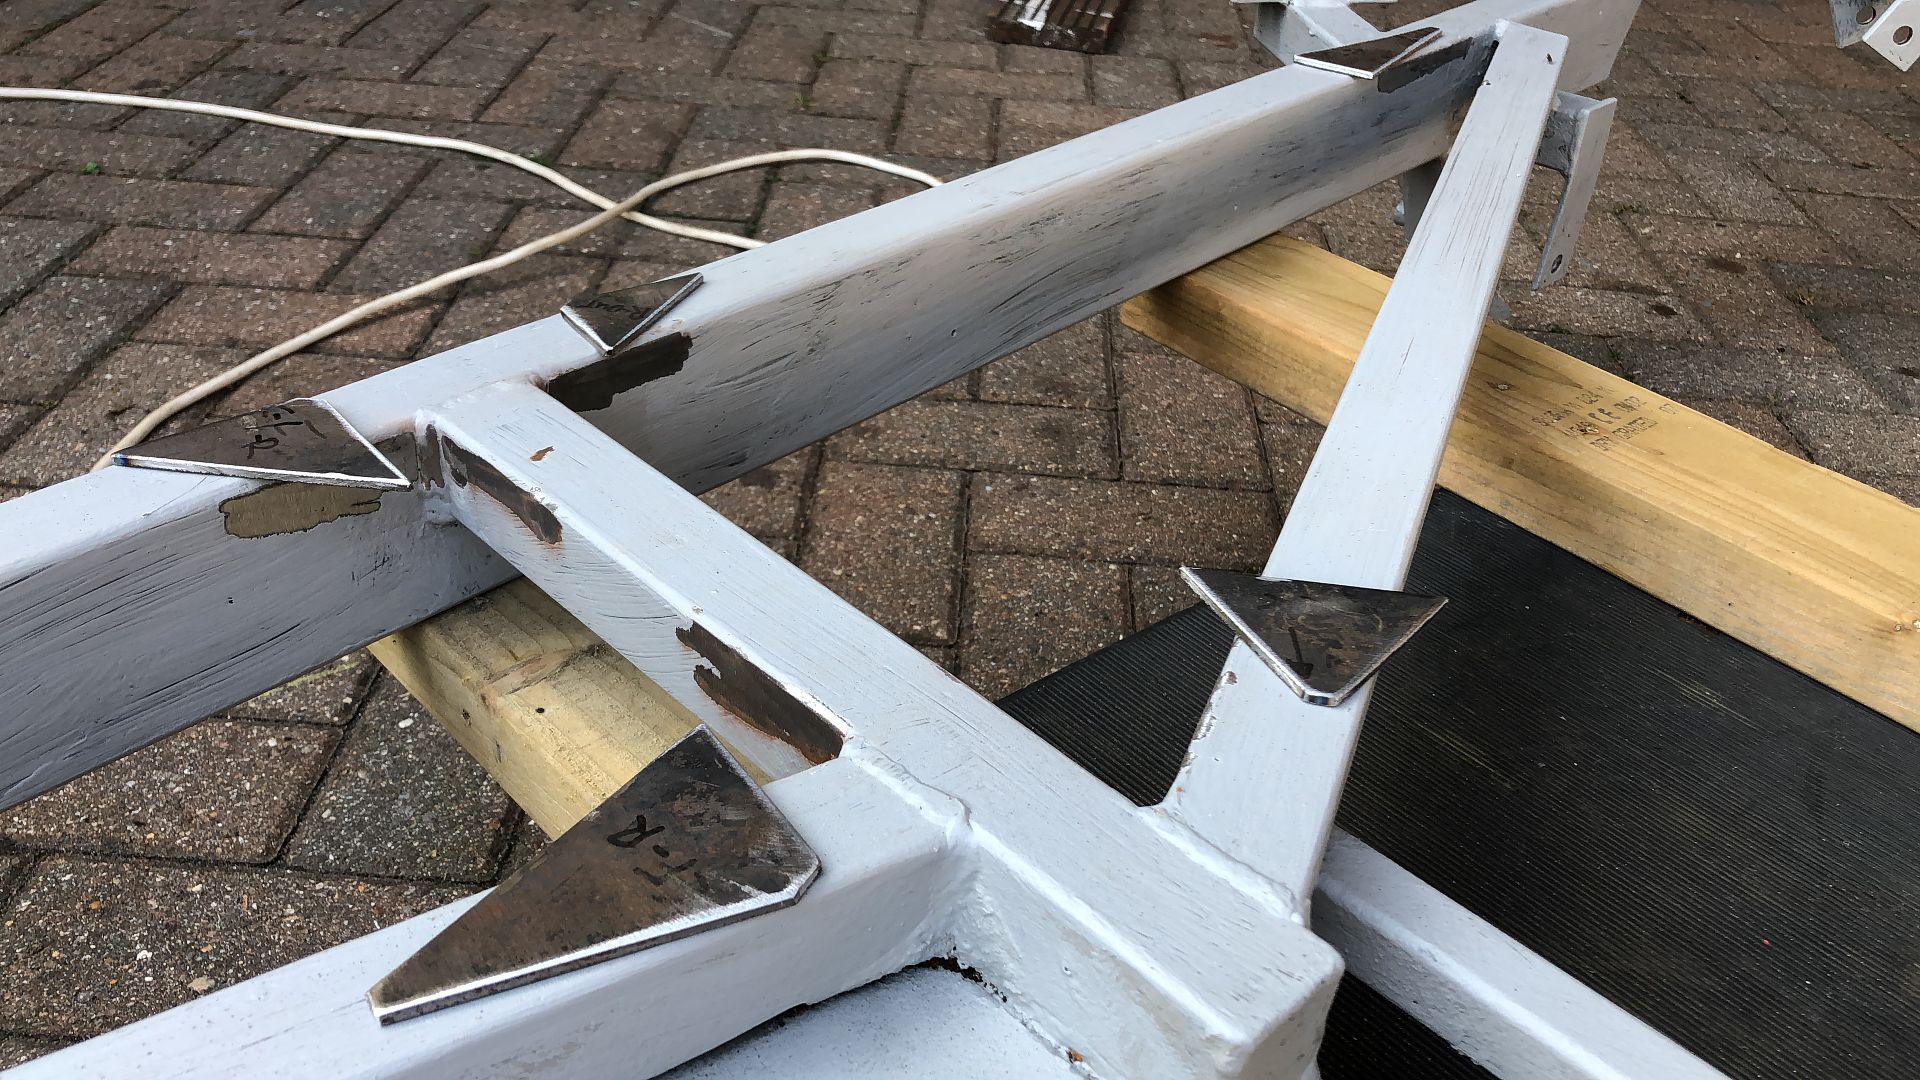 Ready. 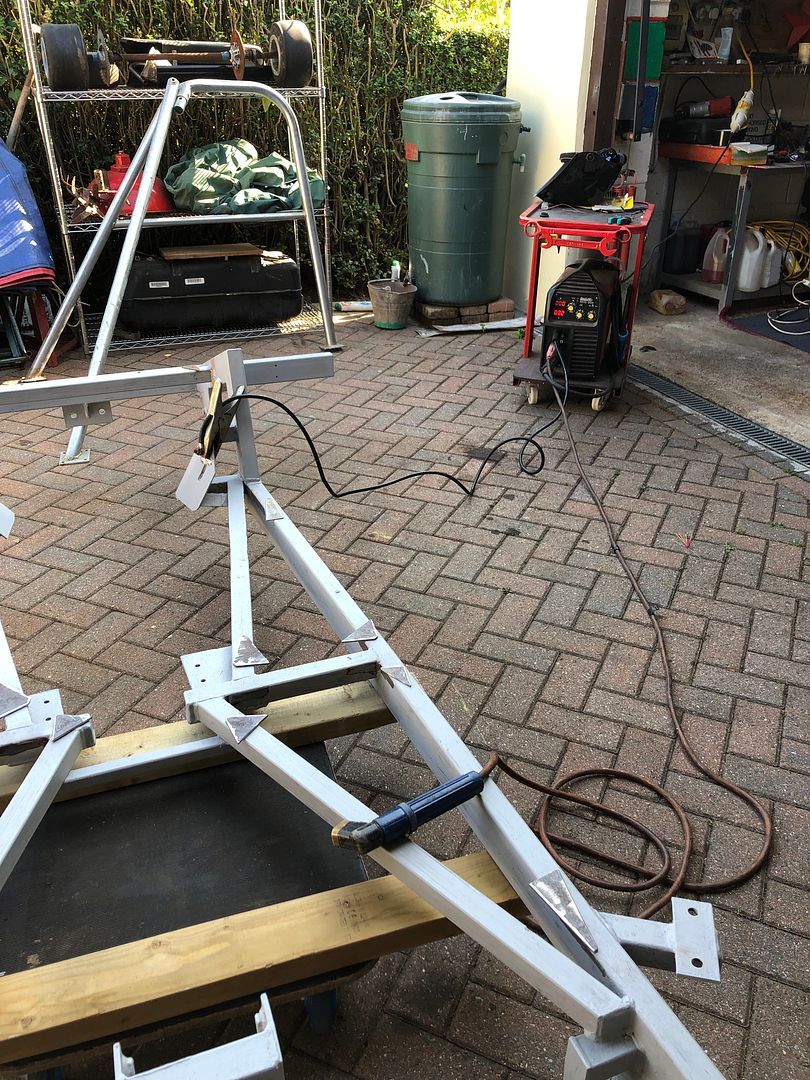 Go………. 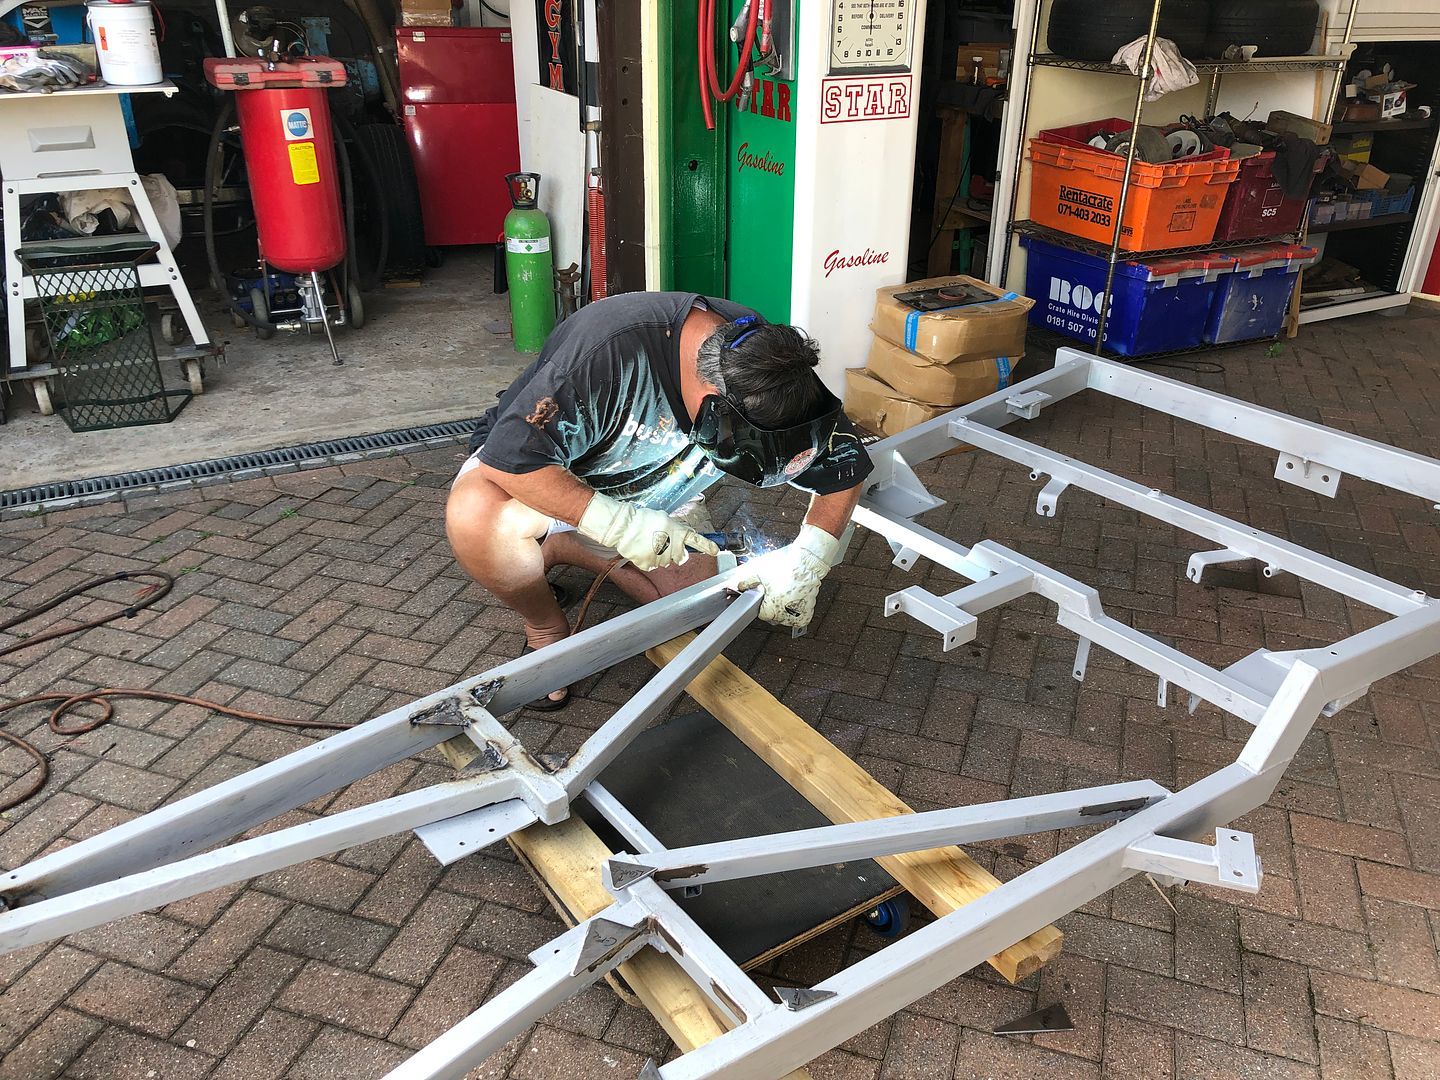 And David took a couple of pics and a short clip of the welding when I was not swearing. Surprisingly easy welding when all the settings are right. Next job, clean up welds, burned primer and paint work with primer. Hammerite later today hopefully. Colour…….? . |
| |
|
|
|
|
|
Sept 18, 2021 13:17:46 GMT
|
|
colour ?
what ever the cheapest is !!!!
|
| |
|
|
|
|
|
Sept 18, 2021 13:22:42 GMT
|
colour ? what ever the cheapest is !!!! And there’s your answer. |
| |
|
|
|
|
|
Sept 19, 2021 10:21:10 GMT
|
Bought a few random bolts and Nyloc nuts this morning, £3.00 the lot, so replace some of the bolts on the car, may be that they are too big or thick to be honest, but then they can be added to the Quality Street tin of random fasteners. .jpg) 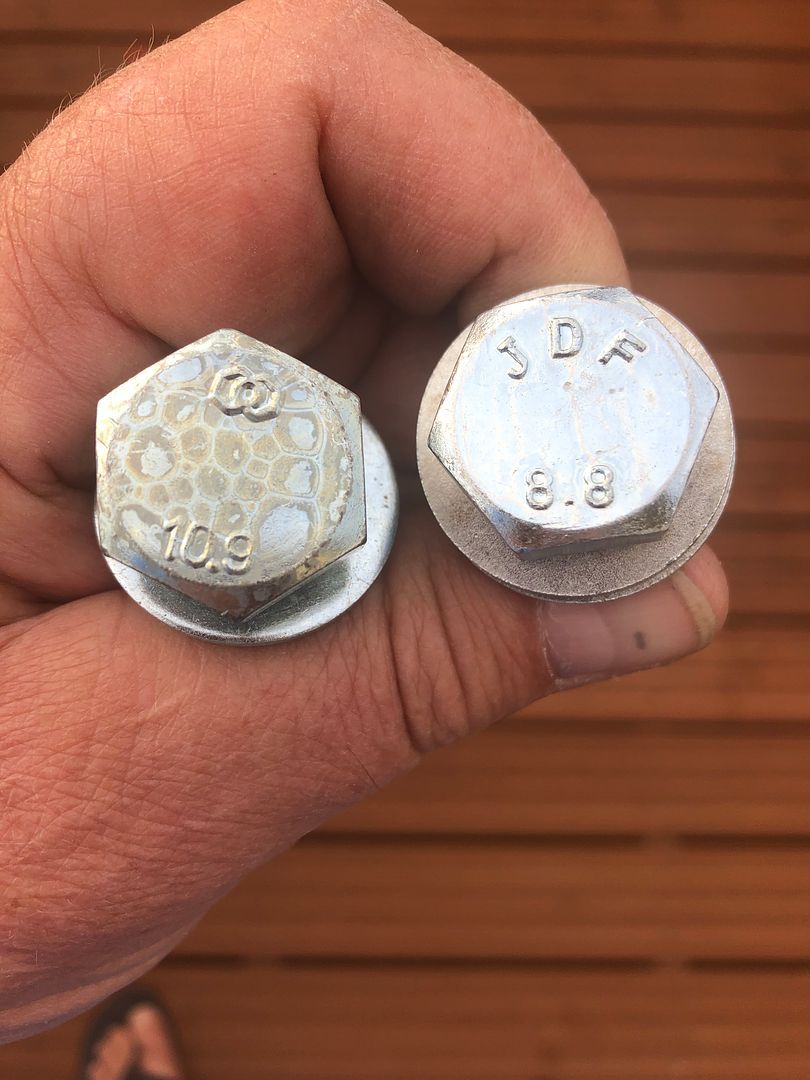 Responses already received on application. Not a straightforward answer to that I think. Mostly suspension uses 10.9 and 12.9 normally. This is stronger along the bolt but weaker in shear. This is the tricky bit for me, as when I think suspension I imagine all the extra weird forces when you go through a pothole and up a kerb that would potentially add a shear force to it. That’s why personally, because I don’t know better and am too lazy to work anything out, I’d match the original grade (but I think it would have been imperial? So the grades are different too, grade 5 and 7 normally I believe) my reasoning is that if it’s still on the road after 20 or 30 years it probably was about right. Other bolts will work but what happens when they actually fail No, bumpers, engine brackets (not engine mounts), seats but not seat belts, 'low' stress items ... 10.9 , steering, brakes, suspension, basically anything with a high stress rate ... Thanks guys. So I restarted the Knotwheel of death…. Got spiked a couple of times, hey-ho. It really cleaned up the welds nicely, removing flux etc too. Plus removing all the burned, heat damaged primer. .HEIC) Sacrilegious 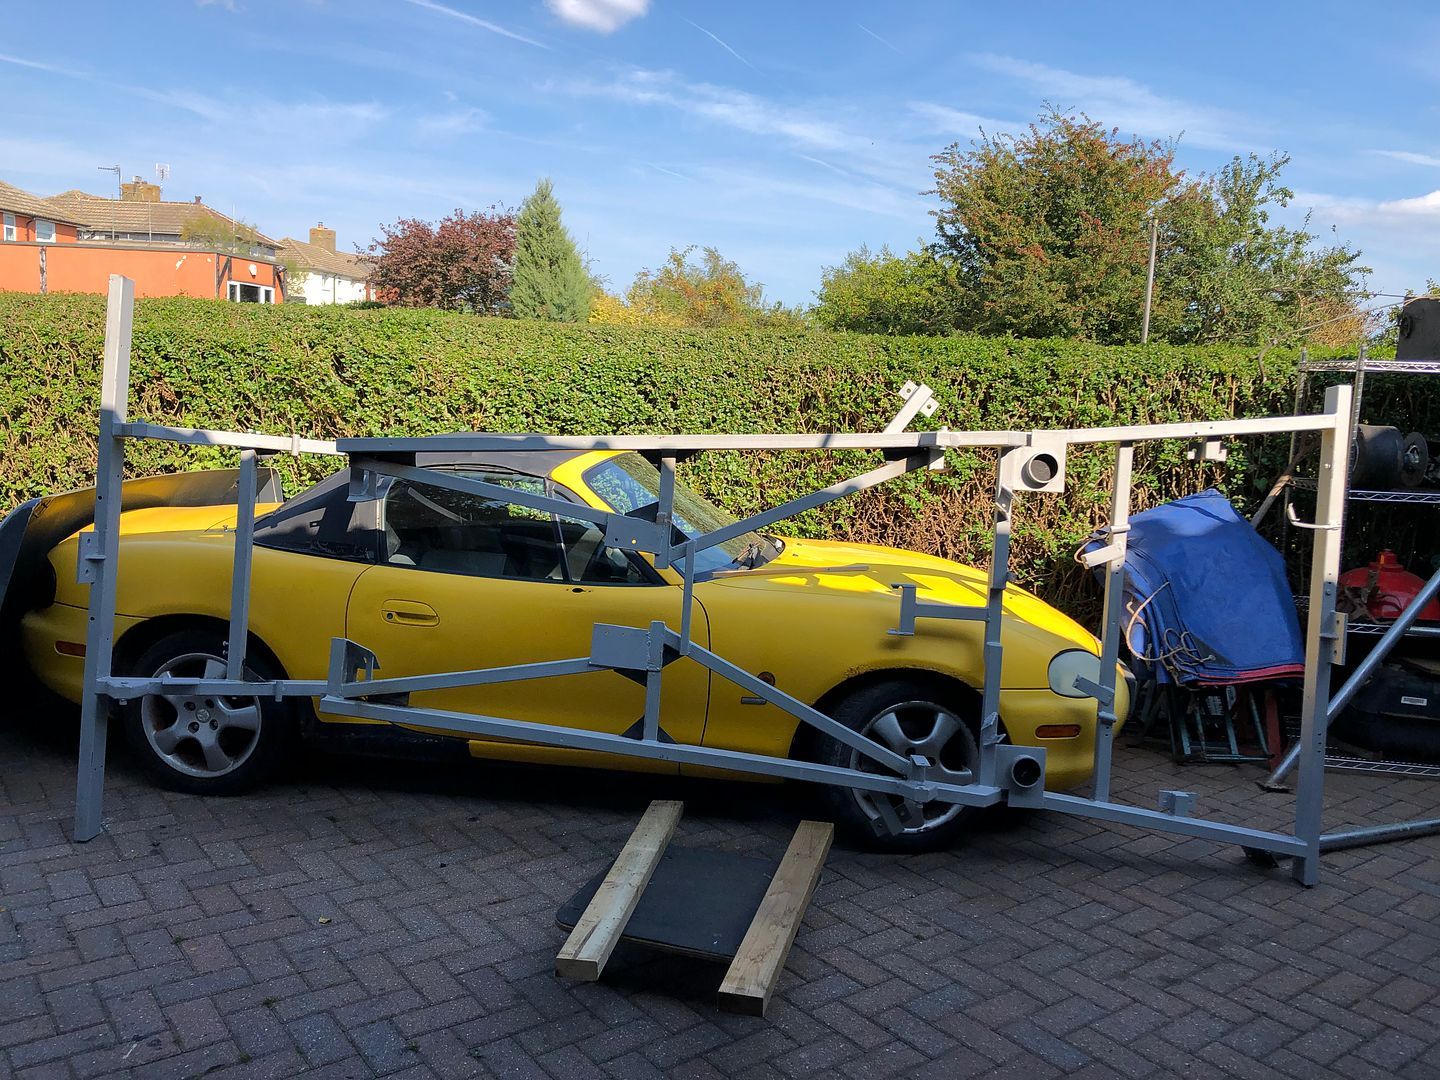 Done, and very pleased with the finish.  Next up was a bit of playing around with Paul Y ‘s roll bar from his Chevy. Seat in place for perspective, as well as the screen. It is clearly too wide as it is to be floor mounted, but will be once modified. It will go 220mm don below the sill and also backwards, in line with the “B-Pillar” with a slight tilt backwards so you can get in and out of the seat without being a contortionist. Make sense? The top of the roll bar should be about 100mm (plus its own thickness)above the seats headrest once all are bolted down, and at the same height as the top of the windscreen. Pics are just a basic mock up. 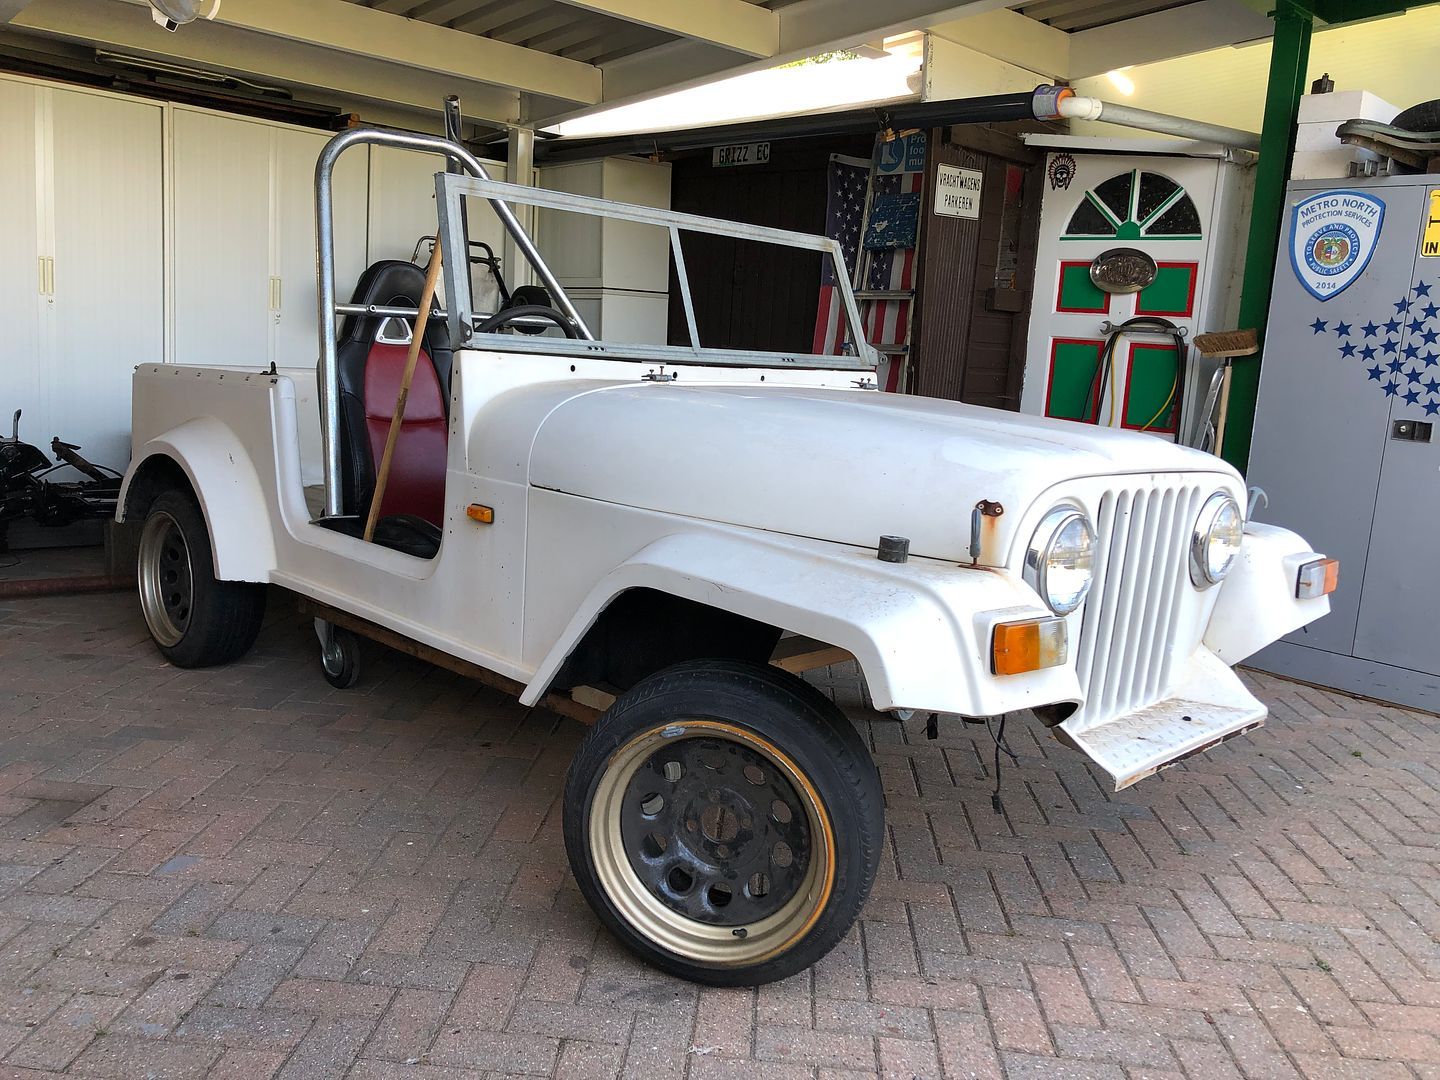 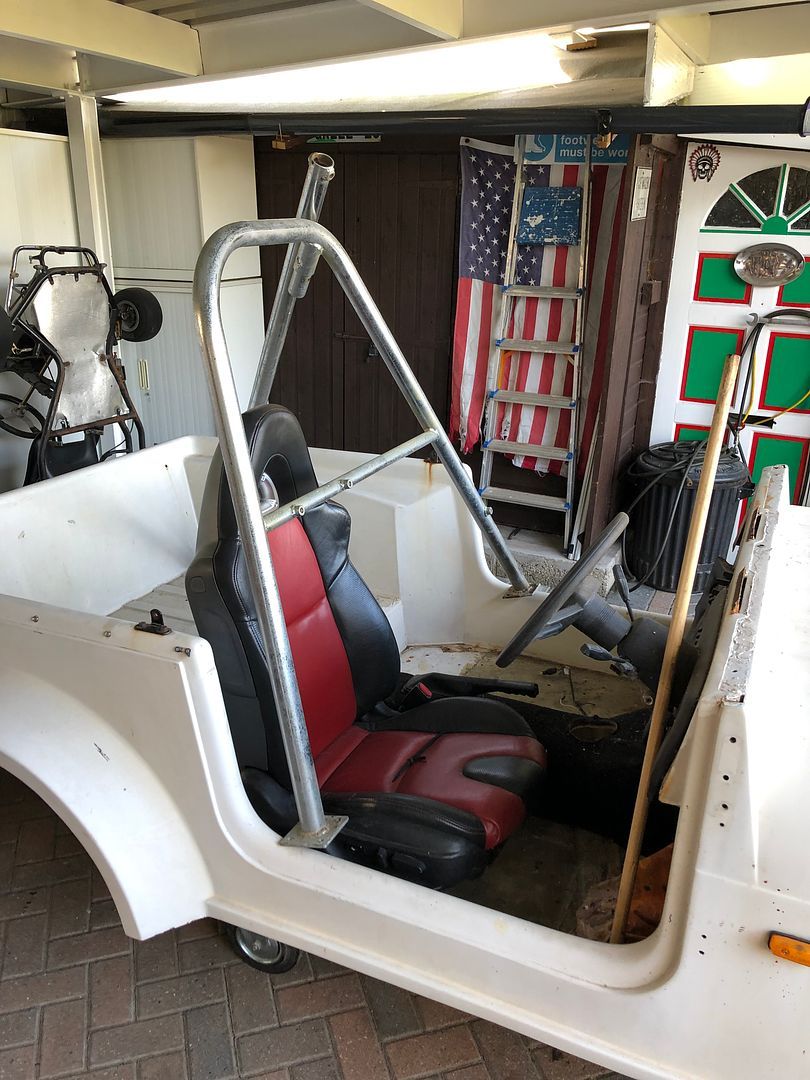 Last thing I checked yesterday was the width of the steel wheels planned for this car. At 9” side to side, what is the minimum width one would start looking at, though that is not the objective. And I certainly do not want a load of stretch like the tyres currently fitted to them. I quite like a bit of chunky width. 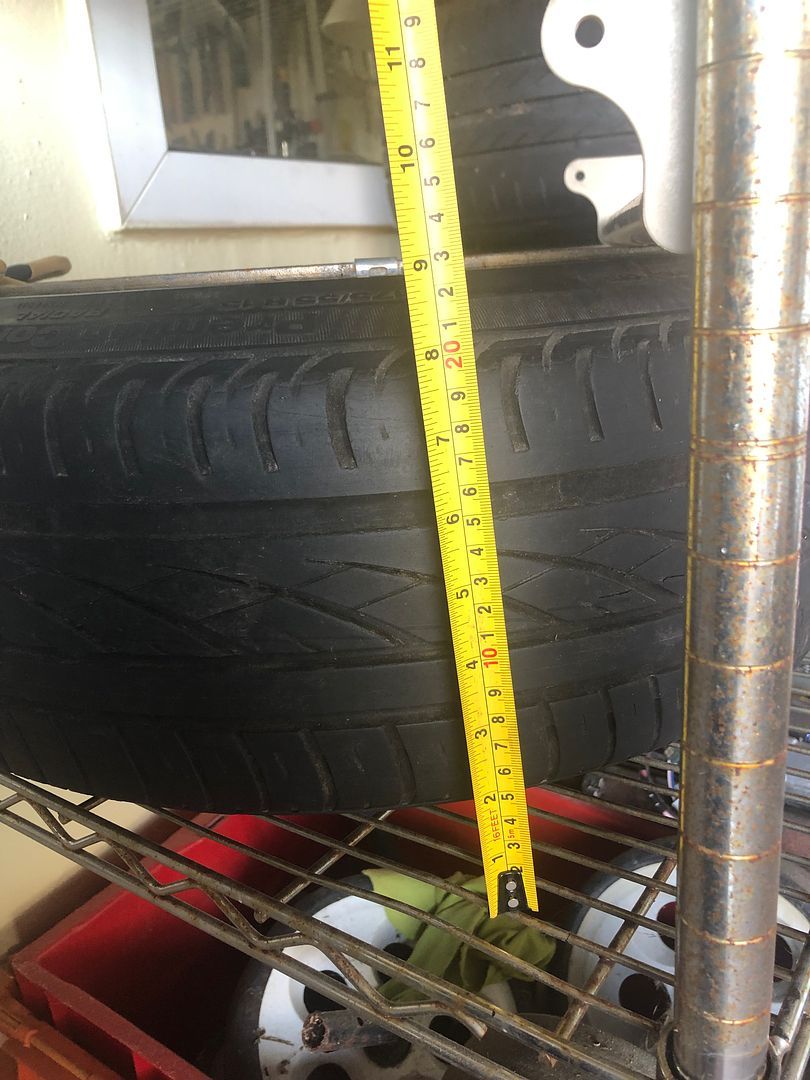 .jpg) Still got to decide what to do today, Sally is about to bead home, 2 miles down the road to work in her garden and cook Uncle Bobs dinners for the next couple of days. . |
| |
|
|
|
|
|
Sept 19, 2021 10:39:51 GMT
|
Tyres 205,215,225 ... Roll hoop thingy ... "It is clearly too wide as it is to be floor mounted, but will be once modified." ... you do mean chassis mounted not floor mounted ? ... don't you ...  |
| |
Last Edit: Sept 19, 2021 10:58:46 GMT by westbay
|
|
|
|
|
Sept 19, 2021 11:02:11 GMT
|
Tyres 205,215,225 ... Roll hoop thingy ... "It is clearly too wide as it is to be floor mounted, but will be once modified." ... you do mean chassis mounted not floor mounted ? ... don't you ...  Naaaahhhhh….. Sikaflex will hold it in position. 😉 Remember this……. Horrible monstrosity of a roll cage. 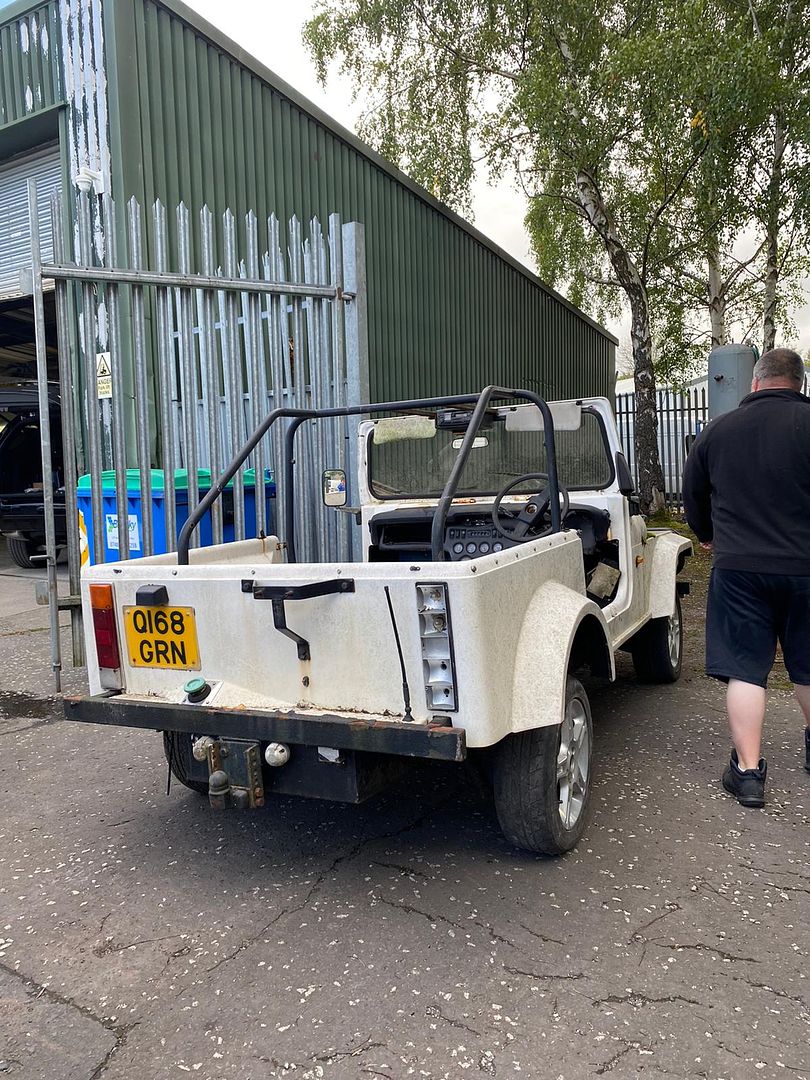 Mounting points will be used. .jpg) Should be good. |
| |
|
|
|
|
|
Sept 19, 2021 11:05:52 GMT
|
|
|
| |
|
|


.jpg)

.HEIC)


.jpg)


.jpg)

