|
|
|
Jan 15, 2022 19:42:59 GMT
|
Hi Grizz, In my car we fabricated some large plates which bolt through the parcel shelf and into the rear vertical return(below the rear window), see below.  The chap who fabricated them suggested they were inspired by a BMW seatbelt mount, but i've never been able to find evidence of that. Edit: Although on closer inspection this may not work for your car.....hope it provides inspiration anyway. Hi Pete, Got distracted when I wanted to reply. I love those plates, as mentioned before. Was going to make a pair of holed side plates for the seats today but got busy and distracted by non-build stuff. . |
| |
Last Edit: Jan 15, 2022 19:46:43 GMT by grizz
|
|
|
|
|
|
|
Jan 15, 2022 19:48:51 GMT
|
Question for the collective Do the rear harness anchors have to be above or below shoulder height to prevent them snapping your clavicles in case of hard frontal impact? I have no bloody idea. All I would say is don't boot them to the frame of floor, bolt them to the frame or floor! ...and definitely do not rely on predictive text!!! 😀 Predictive text indeed. |
| |
|
|
|
|
|
Jan 15, 2022 19:54:06 GMT
|
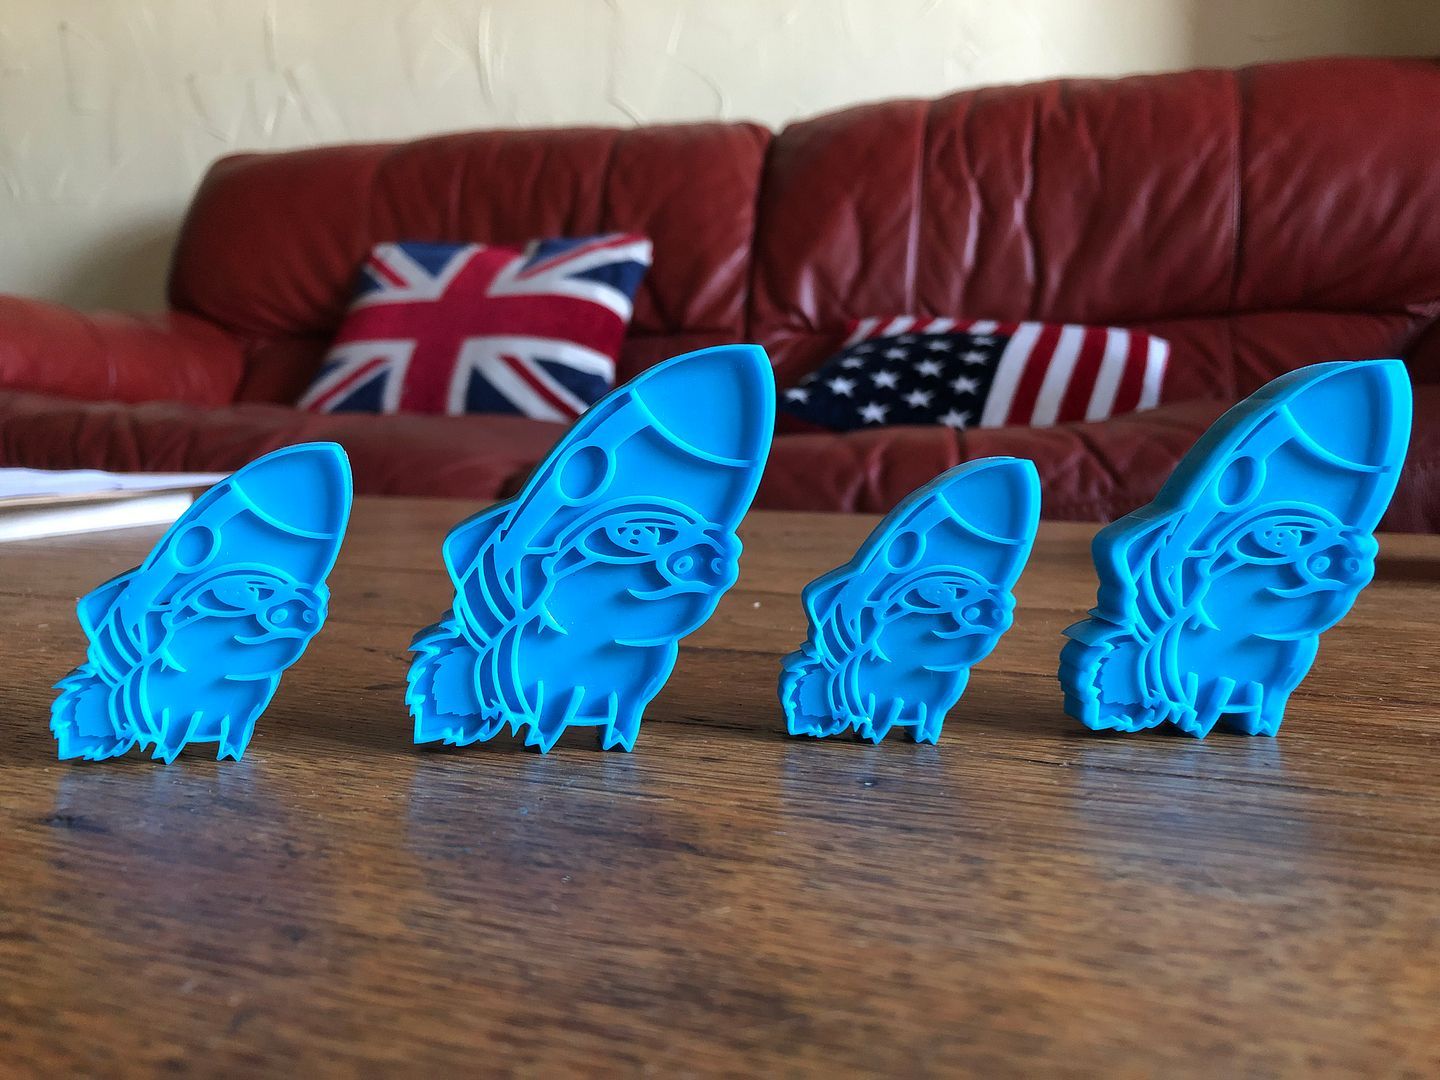
Those are exactly what I was thinking when I suggested a 3D printed version of enamel badges. Big thumbs up from me  Good to see you today, despite distractions. Yes, they are very nice and detailed, thanks to, peteh1969chrome and resin pigs ? i’d go for the full colour of the original rocket pig piccy Chrome, paint yes. The detail is actually very fine and ideally I would employ a model painter to paint it for me. nickwheeler and I were talking about the resin today. What is the experience and knowledge out there about prventing bubbles from forming or being captured in the detailed corners of the printed pieces? |
| |
Last Edit: Jan 15, 2022 20:18:32 GMT by grizz
|
|
melle
South West
It'll come out in the wash.
Posts: 2,010
|
|
Jan 15, 2022 20:08:03 GMT
|
What is the experience and knowledge out there about prventing bubbles from formong or being captured in the detailed corners of the printed pieces? A vacuum bell jar works very well. |
| |
www.saabv4.com'70 Saab 96 V4 "The Devil's Own V4" '77 Saab 95 V4 van conversion project '88 Saab 900i 8V
|
|
|
|
|
Jan 15, 2022 21:23:32 GMT
|
What is the experience and knowledge out there about prventing bubbles from formong or being captured in the detailed corners of the printed pieces? A vacuum bell jar works very well. You will need to explain…… |
| |
|
|
|
|
|
|
|
"A Change is as Good as a Rest" Thanks Tony. Absolutely agree, and change on my terms, means not Christmas or shopping or yard work. So woodwork in stead of metalwork is quite therapeutic too. Having Nick pop in was great too yesterday, even though he refused a coffee. 😀 I did spend some time clearing a load of epoxy or whatever from inside the Rezin Rockit body in preparation for taking on the A-pillars and steering or dash support today. This morning after a night indoors, the paint was fully dried on themrear panel of the wagon. Reinstalled it does look a bit weird, but I am leaving it like that, good enough to be a wagon for carting around treasures or work. Garden wagon for Sally maybe. 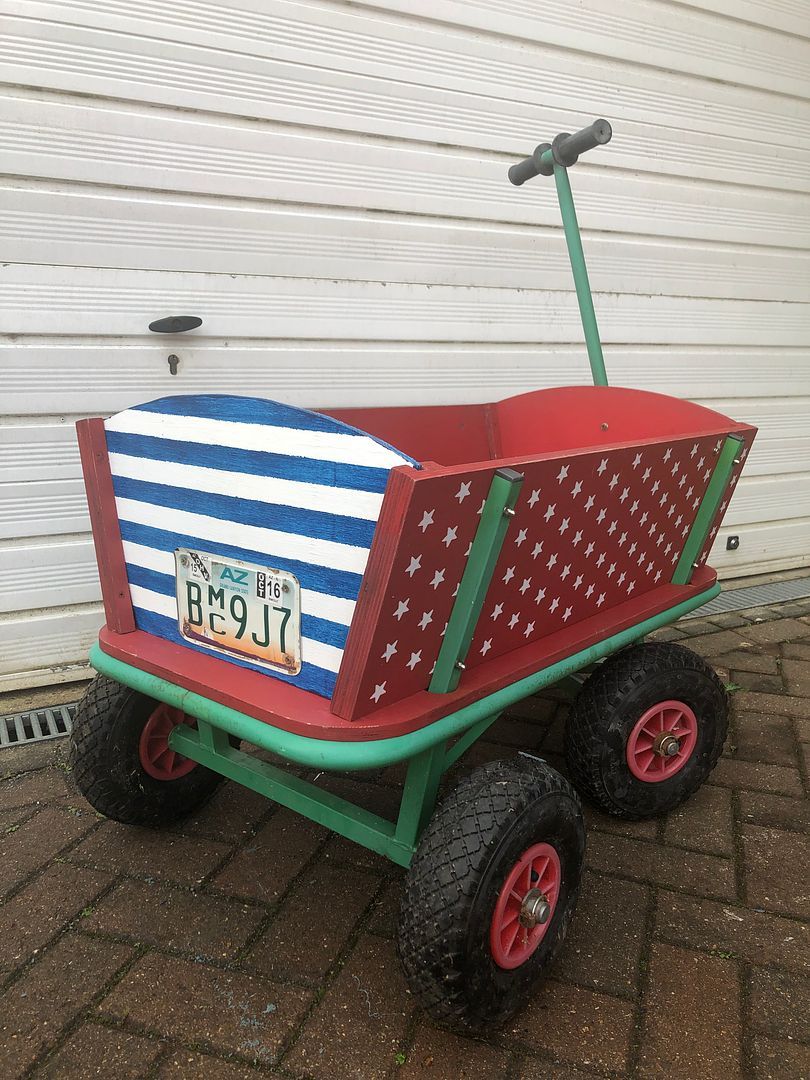 Now off to the garage to get going with measurements, cutting, and tacking the flat bar and angle iron to create a strong carrier for the dash supports. |
| |
Last Edit: Jan 16, 2022 9:52:34 GMT by grizz
|
|
|
|
|
Jan 16, 2022 10:29:47 GMT
|
|
Not sure if it's me, you or the popularity of this thread, but your pics aren't working.
|
| |
|
|
|
|
|
Jan 16, 2022 10:30:16 GMT
|
Not sure if it's me, you or the popularity of this thread, but your pics aren't working. ...they do after a refresh or two! |
| |
|
|
|
|
|
Jan 16, 2022 10:37:51 GMT
|
|
I have noticed a few times there is. Problem for me seeing as well.
I think Photobucket is playing Silly burgers.
It has been telling me for a while that my capacity is almost full.
And the next level of subscription is £150.00 per year for hosting.
Unfortunately I am backward over a barrel.
|
| |
|
|
melle
South West
It'll come out in the wash.
Posts: 2,010
|
|
Jan 16, 2022 12:45:39 GMT
|
You will need to explain…… If you have a vessel that you can create a vacuum in, you can use that to "suck" the air out of the resin. Look here, scroll down to "vacuum degassing". The usual procedure is to degas the resin after mixing, then pour it, and then put the mould (or final product in your case) in the vacuum chamber again. Some people claim to have had success with pressure cookers and vacuum cleaners and the like, but I have no experience with this so can't confirm what DIY set-ups would work. Hope this makes sense. |
| |
www.saabv4.com'70 Saab 96 V4 "The Devil's Own V4" '77 Saab 95 V4 van conversion project '88 Saab 900i 8V
|
|
|
|
|
Jan 16, 2022 16:28:29 GMT
|
The badges for grizz were 3D printed layer by layer taking 4hrs 30mins on my Elegoo Saturn Printer, using UV cured resin, not fast but when your creating in effect something solid from a liquid it's quite special, it still gets me every time I can design something on the CAD and then make it there and then.
Technology and progress has it's pluses and it's minuses.
|
| |
|
|
|
|
|
Jan 16, 2022 16:30:15 GMT
|
The badges for grizz were 3D printed layer by layer taking 4hrs 30mins on my Elegoo Saturn Printer, using UV cured resin, not fast but when your creating in effect something solid from a liquid it's quite special, it still gets me every time I can design something on the CAD and then make it there and then. Technology and progress has it's pluses and it's minuses.
was going to say they don’t look like the usual 3d printed items i have seen suck at these velocity stacks i have just bought 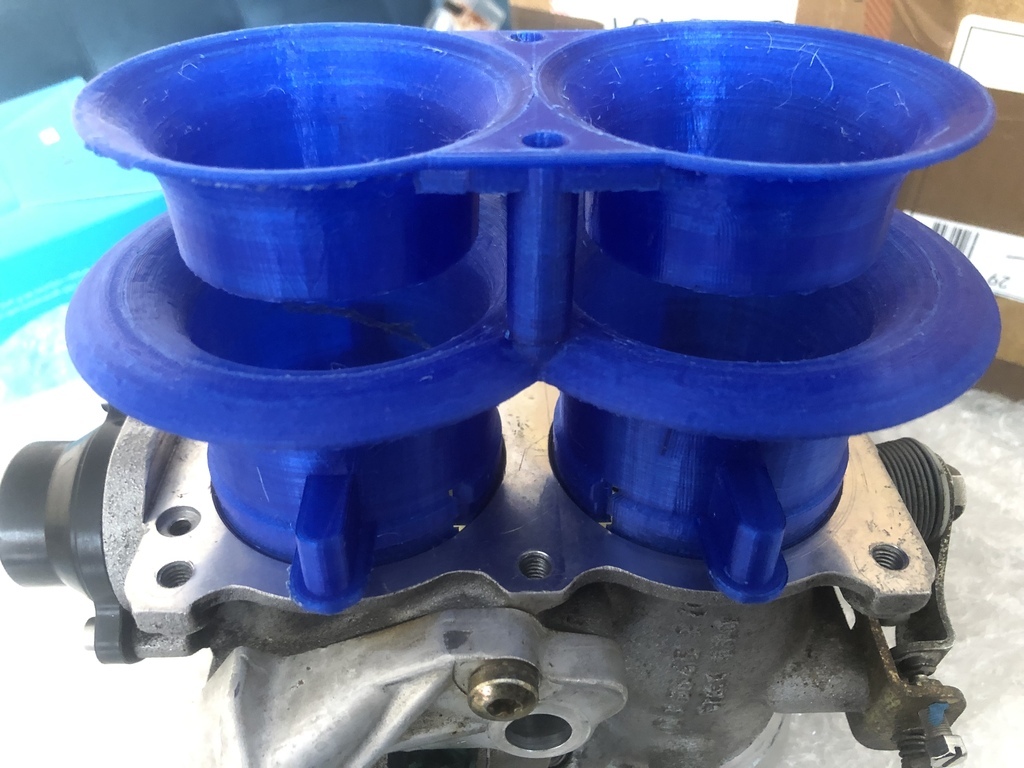 |
| |
Last Edit: Jan 16, 2022 16:31:32 GMT by redratbike
|
|
|
|
|
Jan 16, 2022 20:30:28 GMT
|
The badges for grizz were 3D printed layer by layer taking 4hrs 30mins on my Elegoo Saturn Printer, using UV cured resin, not fast but when your creating in effect something solid from a liquid it's quite special, it still gets me every time I can design something on the CAD and then make it there and then. Technology and progress has it's pluses and it's minuses.
was going to say they don’t look like the usual 3d printed items i have seen suck at these velocity stacks i have just bought  Those are made on an FDM (Fused Deposition Modeling) 3D printed my printer is an MSLA (Masked Stereo lithography) printer.
They look good.
|
| |
|
|
|
|
|
Jan 16, 2022 22:24:13 GMT
|
You will need to explain…… If you have a vessel that you can create a vacuum in, you can use that to "suck" the air out of the resin. Look here, scroll down to "vacuum degassing". The usual procedure is to degas the resin after mixing, then pour it, and then put the mould (or final product in your case) in the vacuum chamber again. Some people claim to have had success with pressure cookers and vacuum cleaners and the like, but I have no experience with this so can't confirm what DIY set-ups would work. Hope this makes sense. Ahhhh, right. Gotcha. Unlikely to go this route. |
| |
|
|
|
|
|
Jan 16, 2022 22:26:28 GMT
|
The badges for grizz were 3D printed layer by layer taking 4hrs 30mins on my Elegoo Saturn Printer, using UV cured resin, not fast but when your creating in effect something solid from a liquid it's quite special, it still gets me every time I can design something on the CAD and then make it there and then. Technology and progress has it's pluses and it's minuses.
This stuff is so far out of my frame of reference peteh1969 But I am thankful you made these for me. I am going to guess UV cured resin is more stable in the long term. The finish on them is brilliant. |
| |
|
|
|
|
|
Jan 16, 2022 22:28:41 GMT
|
The badges for grizz were 3D printed layer by layer taking 4hrs 30mins on my Elegoo Saturn Printer, using UV cured resin, not fast but when your creating in effect something solid from a liquid it's quite special, it still gets me every time I can design something on the CAD and then make it there and then. Technology and progress has it's pluses and it's minuses.
was going to say they don’t look like the usual 3d printed items i have seen suck at these velocity stacks i have just bought  was going to say they don’t look like the usual 3d printed items i have seen suck at these velocity stacks i have just bought  Those are made on an FDM (Fused Deposition Modeling) 3D printed my printer is an MSLA (Masked Stereo lithography) printer. They look good.
Ya see……… Way too clever for me. Glad you clever guys share the knowledge and help me learn new stuff. |
| |
|
|
|
|
|
Jan 16, 2022 22:33:29 GMT
|
The headlights on the RR will need replacing. I have seen a few designs I like, or that have grown on me. Now I give you: 24 volt, LED, ex-Humvee and from Afghanistan headlights. 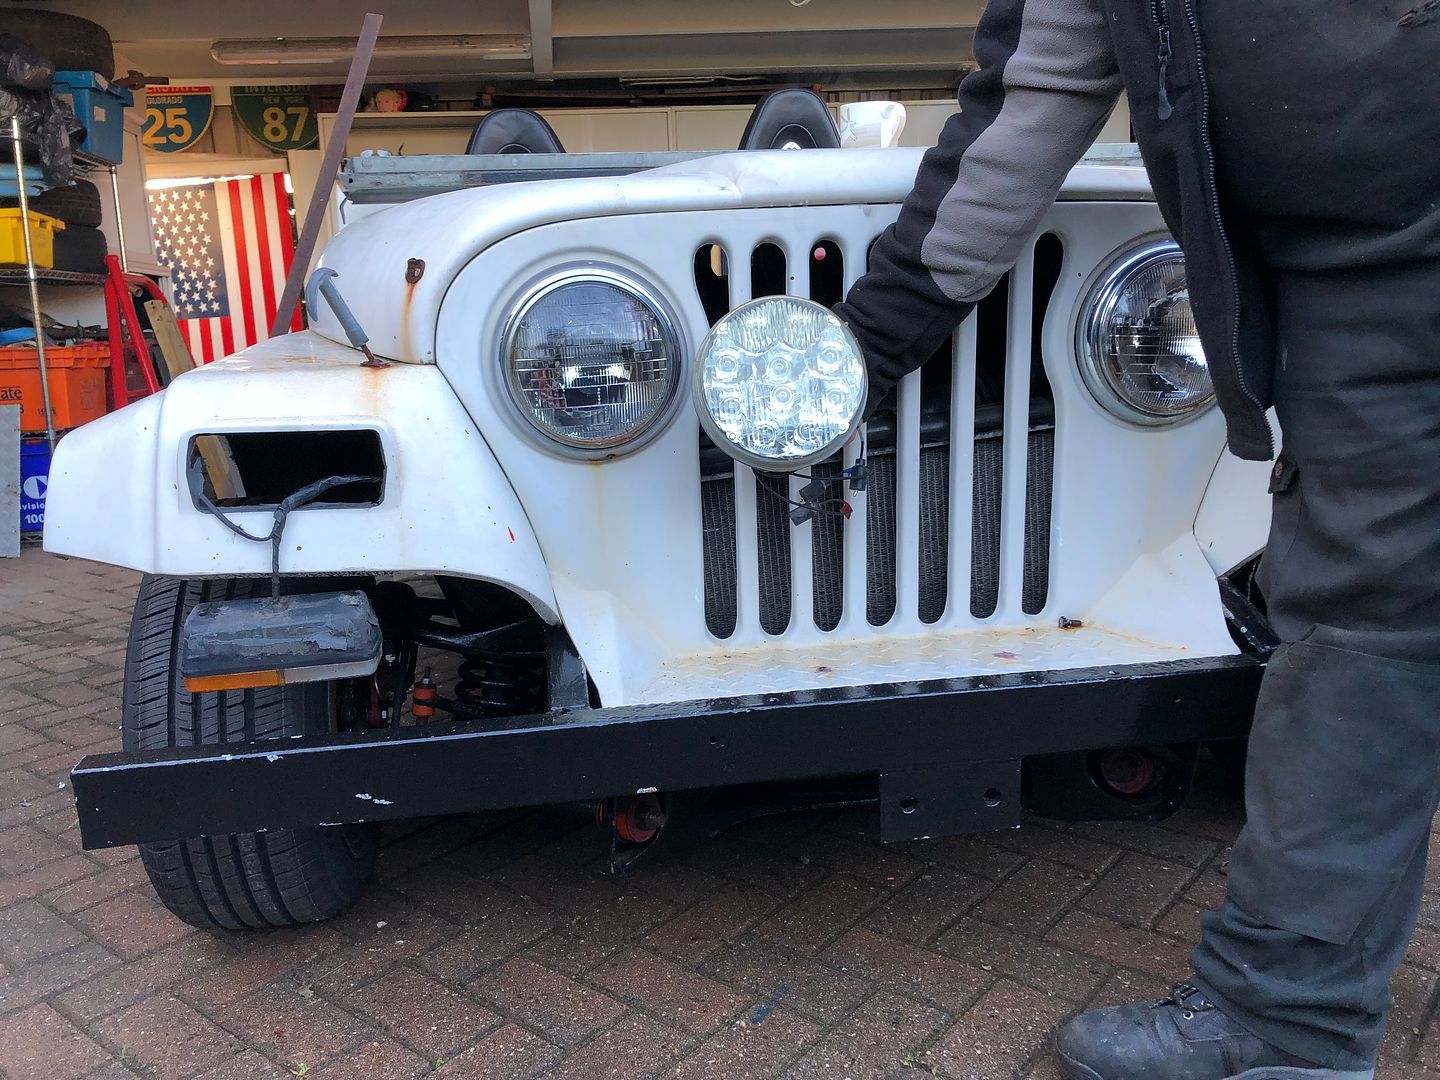 Closer up. 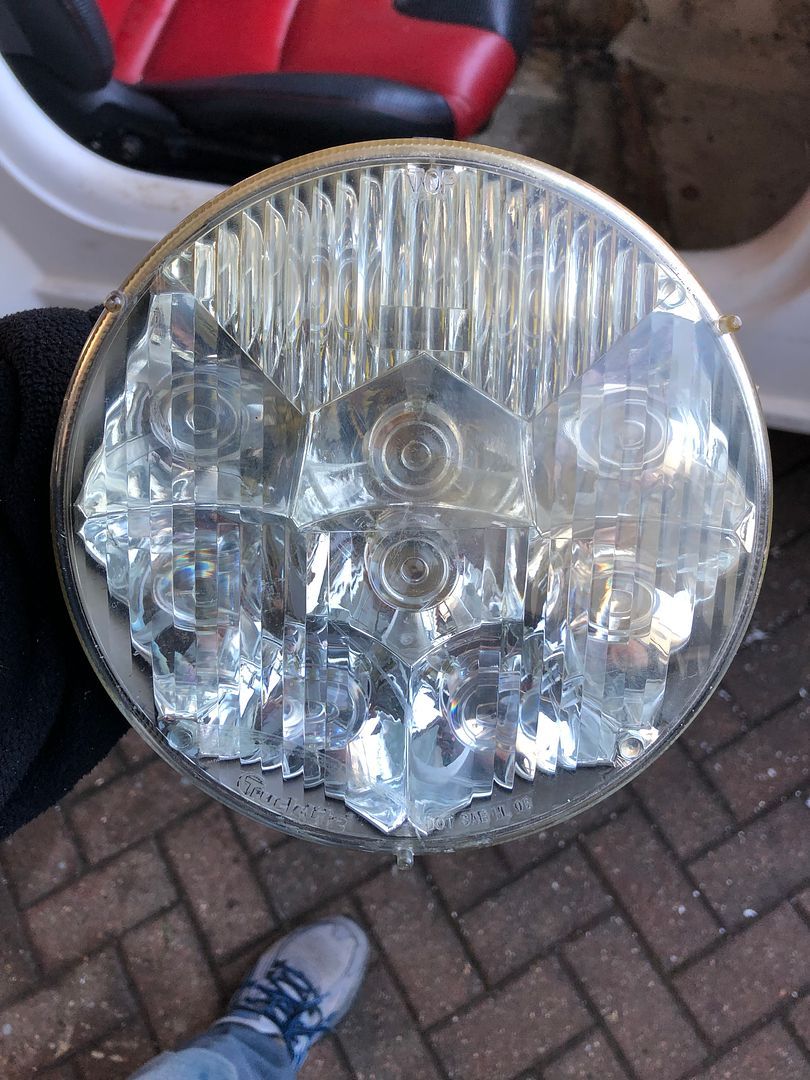 So tonight, or tomorrow mornings question of the clever electrical types…… These lamps are 24V Can one simplistically convert a regular 12V system to deliver 24 volts to these headlights? Thanks for the input. |
| |
|
|
|
|
|
Jan 16, 2022 22:37:55 GMT
|
|
The 3D printed Rockits are stunning. Just paint would finish them, adding some clear resin over the top is intended to make them look like a manufacturer's enamel badge.
|
| |
|
|
|
|
|
|
|
The 3D printed Rockits are stunning. Just paint would finish them, adding some clear resin over the top is intended to make them look like a manufacturer's enamel badge. Absolutely Nick. The finish is amazing. As peteh1969 said, evolution of the art. |
| |
|
|
Rich
Club Retro Rides Member
Posts: 6,329  Club RR Member Number: 160
|
|
|
|
These lamps are 24V Can one simplistically convert a regular 12V system to deliver 24 volts to these headlights? Thanks for the input. 2 things: 1) have you tried them on 12v? 2) do they have a compliant beam pattern? some US stuff DOT approved lamps are MOT passable but worth checking this. |
| |
|
|


