braaap
Posted a lot
  
Posts: 2,730
|
|
|
|
it has to be a visit back to page 1 , it has to be these colours  It’s quite small. To get the colours in there will take a forensic artist. Was thinking silver all over, and lay it on black for outlines. 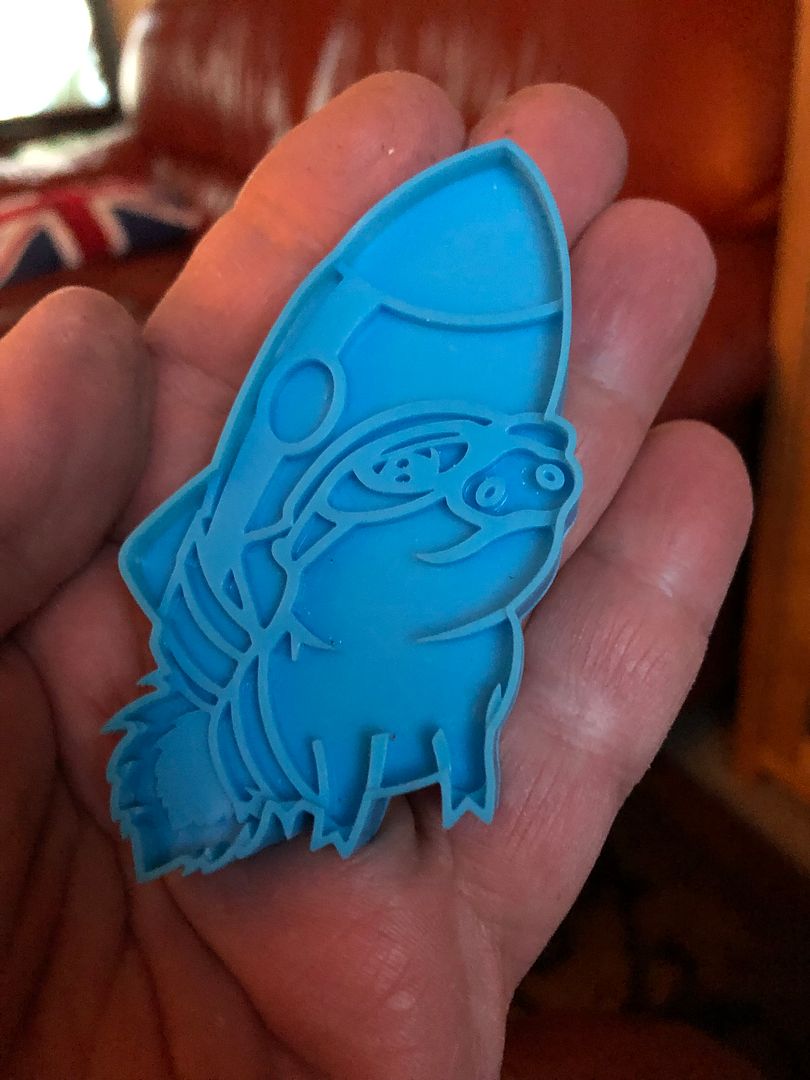 Objection! IMHO it only requires a person familiar with the use of a disposable syringe and some big needles. E.g. a nurse. Do You know one by chance?    The rockets blue is already there, just needs some black outlining, just like the rest of the emblem. Piggy pink, firey yellow and belty red can be applied with a syringe, only the even hotter orange needs a brush (I guess). |
| |
|
|
|
|
|
|
|
|
|
So back to what took 6 hours yesterday. nickwheeler was on electrical and bracket duties. Making, shaping, welding earths, fuse box brackets etc. Time flies when you make stuff to last., 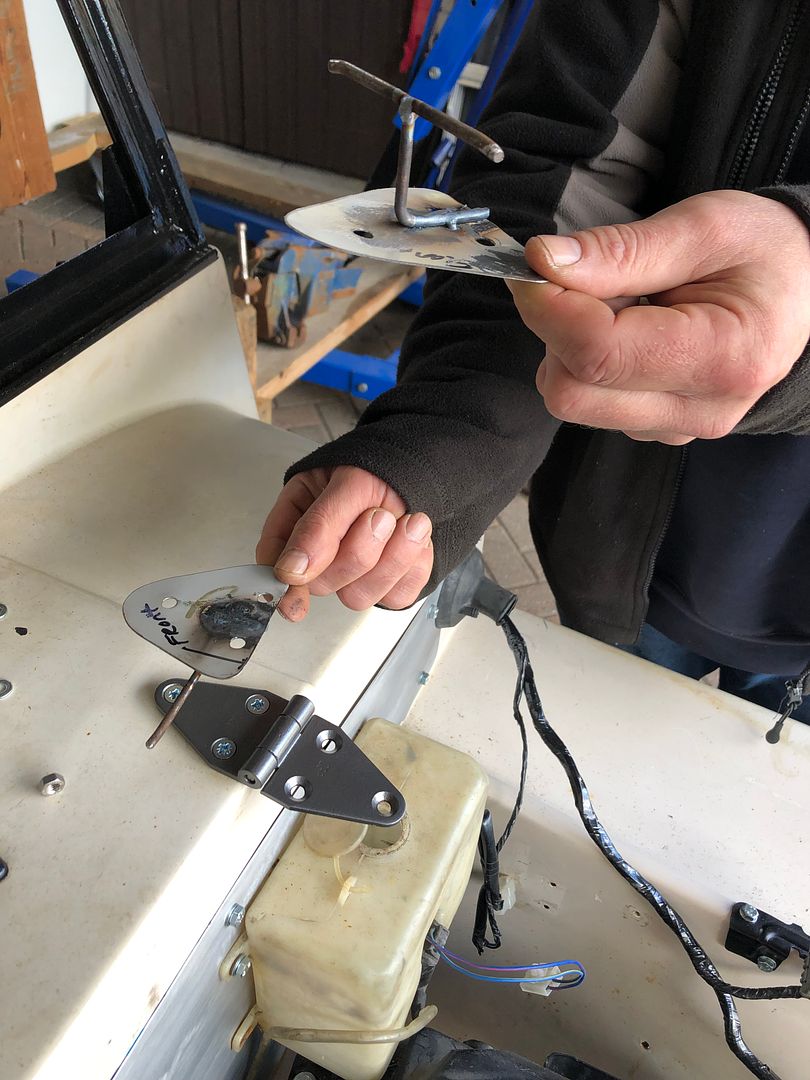 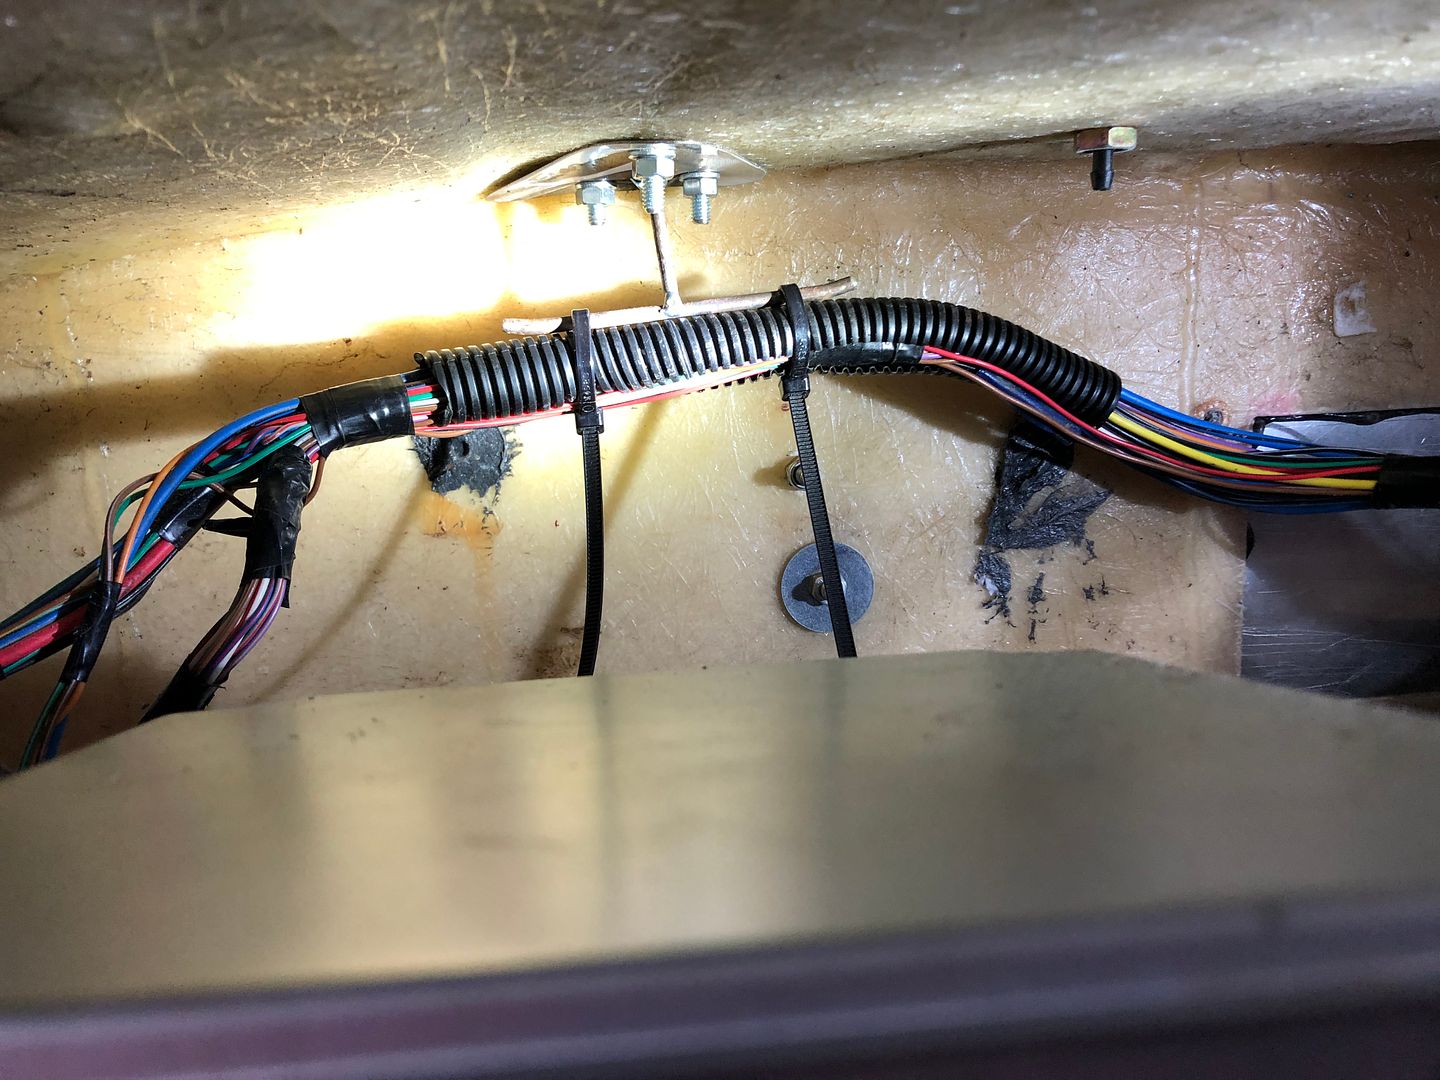 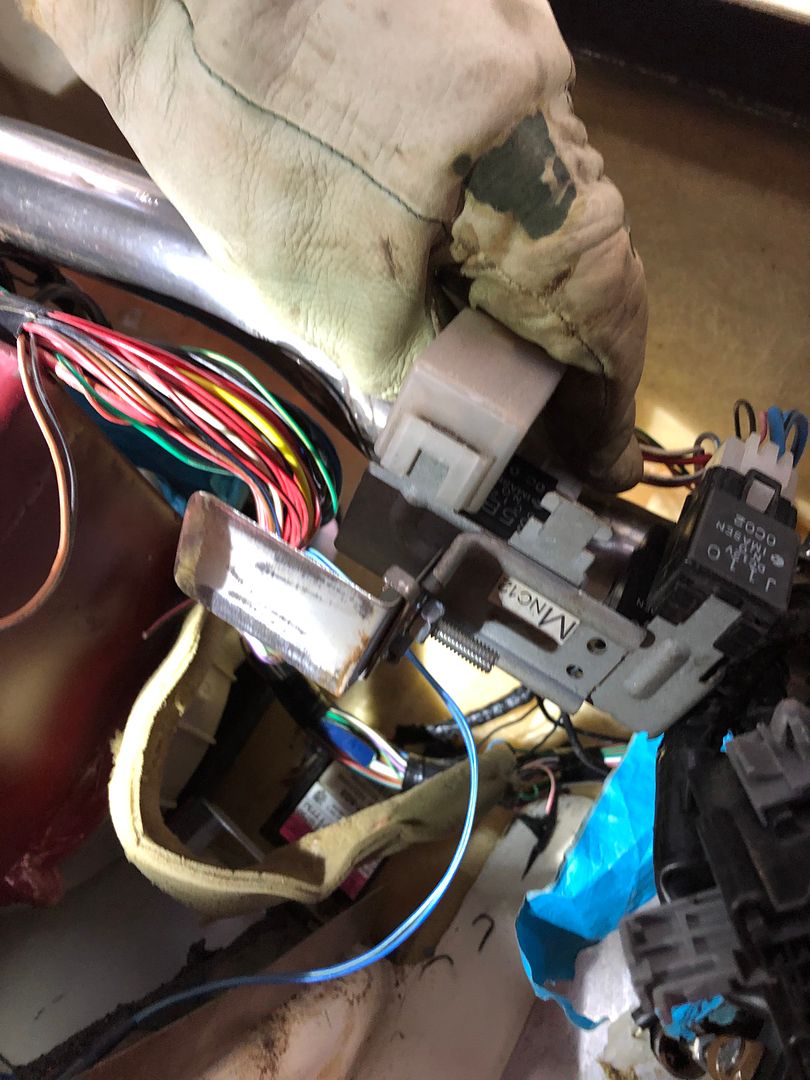 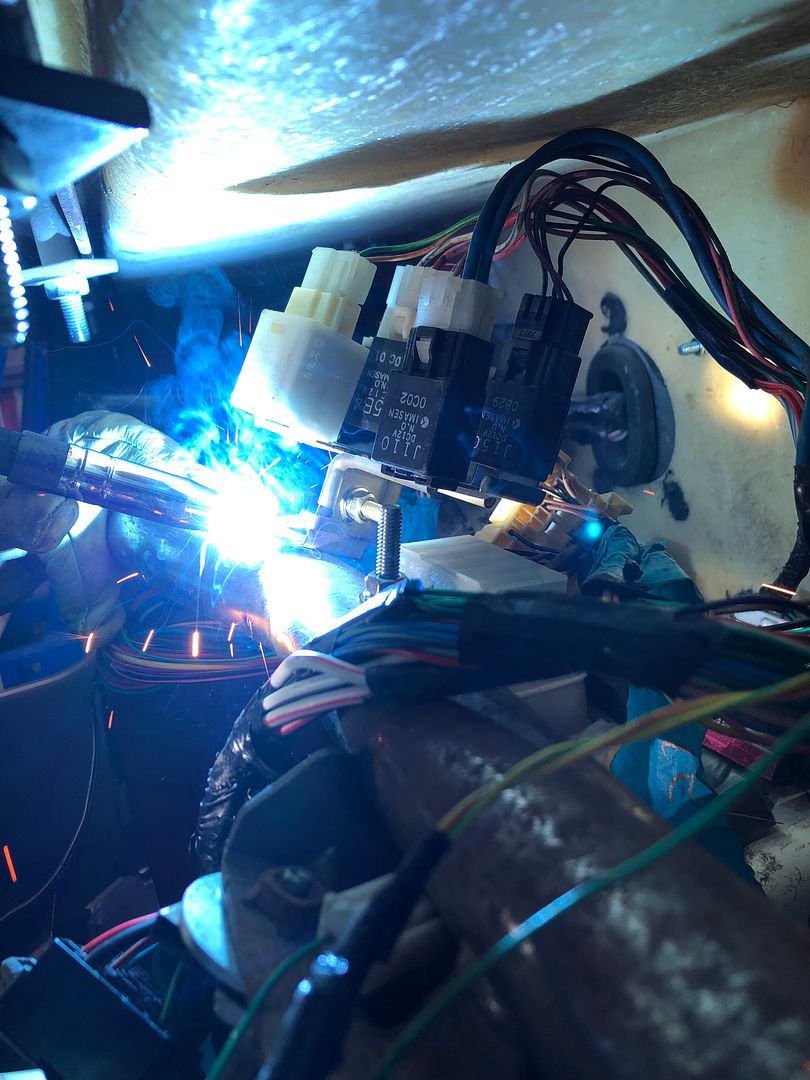 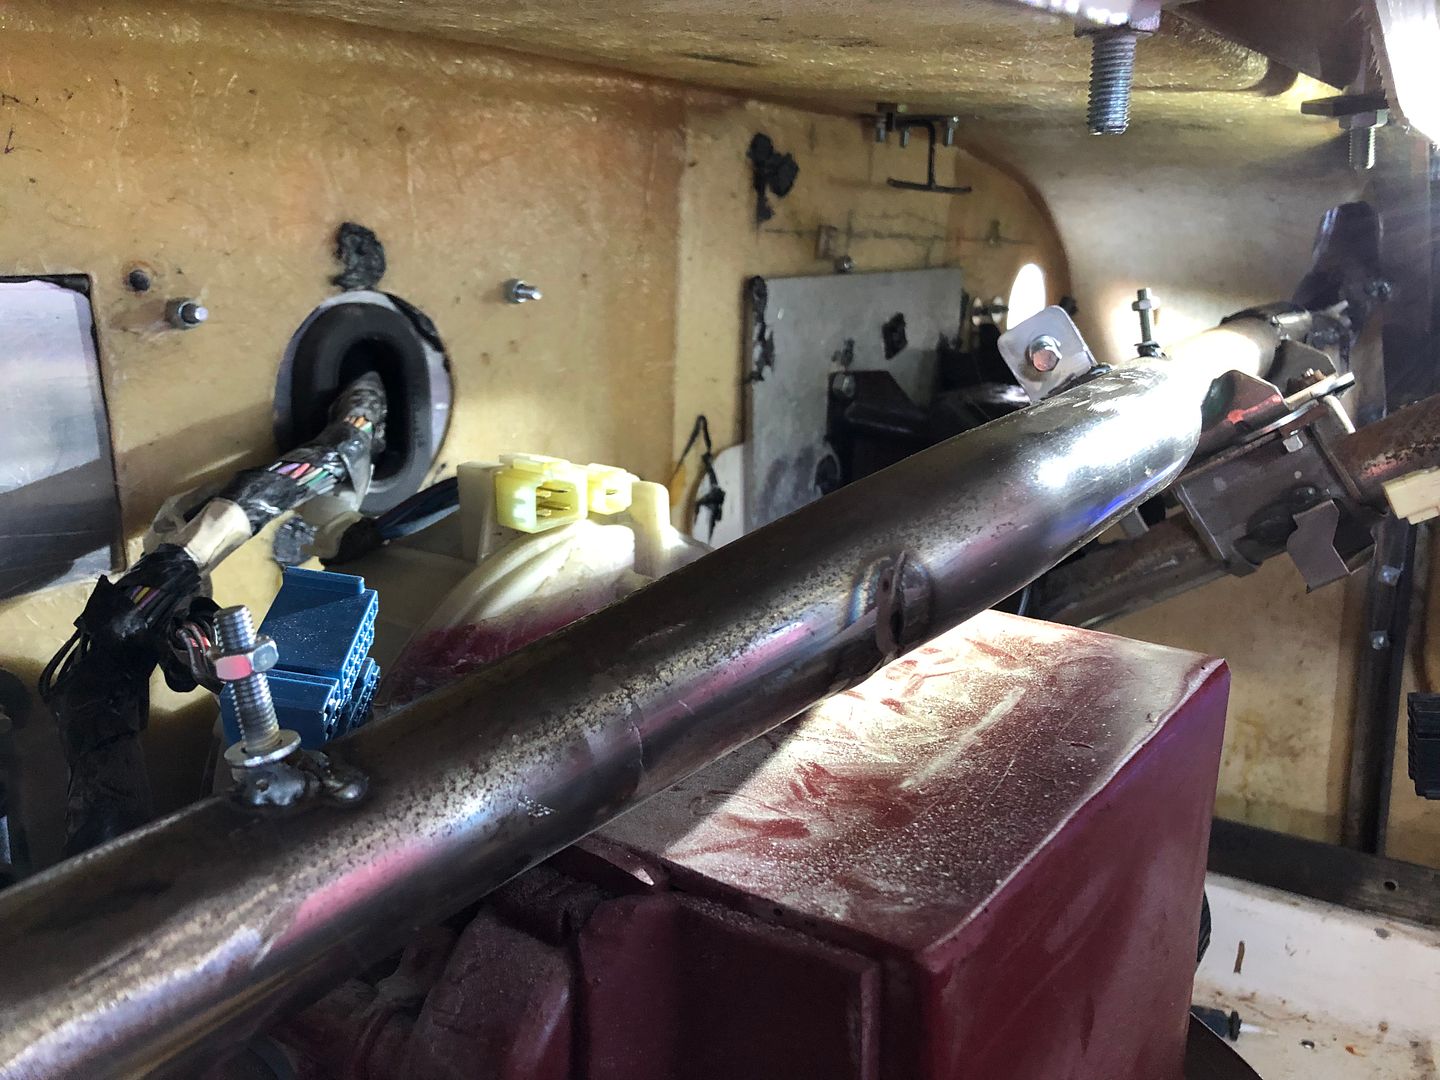 At 5.30pm the wiring loom was removed AGAIN AND HOPEFULLY for the last time for some repairs by Nick. Leaving the under dash support looking a bit lonely. More fun later today. So while Nick was making sparks, I carried on making dust and some occasional sparks. I knew I had to head toward this adhesive and getting the cluster sorted. But it’s another slow job, to get the right finish. 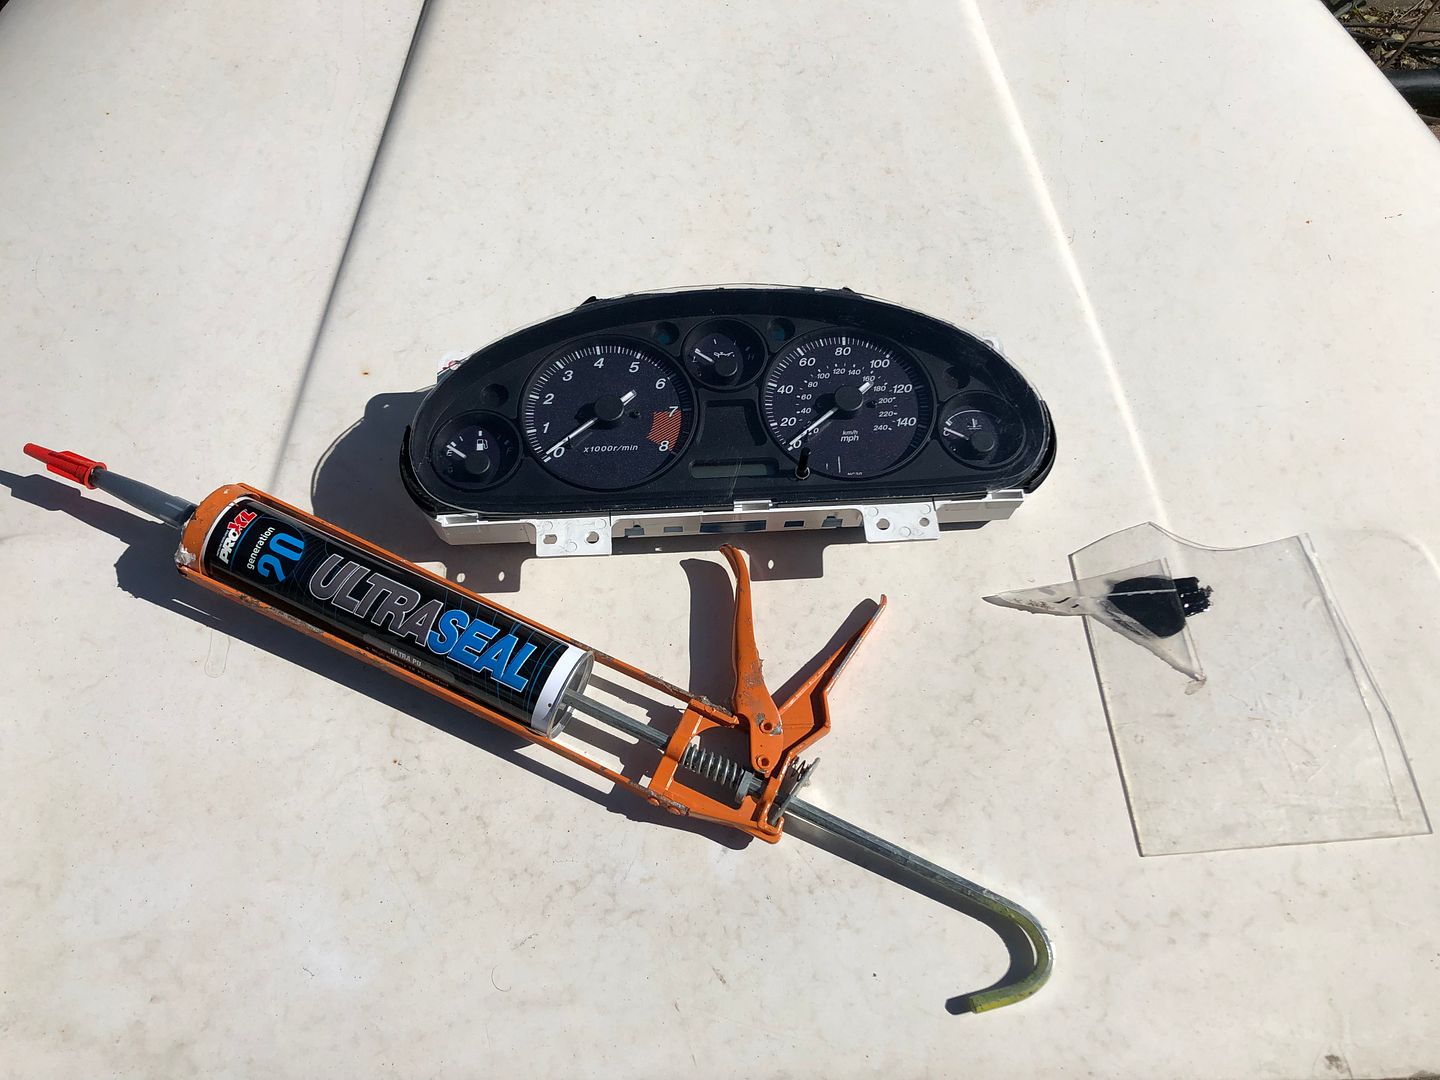 Cardboard template followed by Dexian shelving donor still giving. 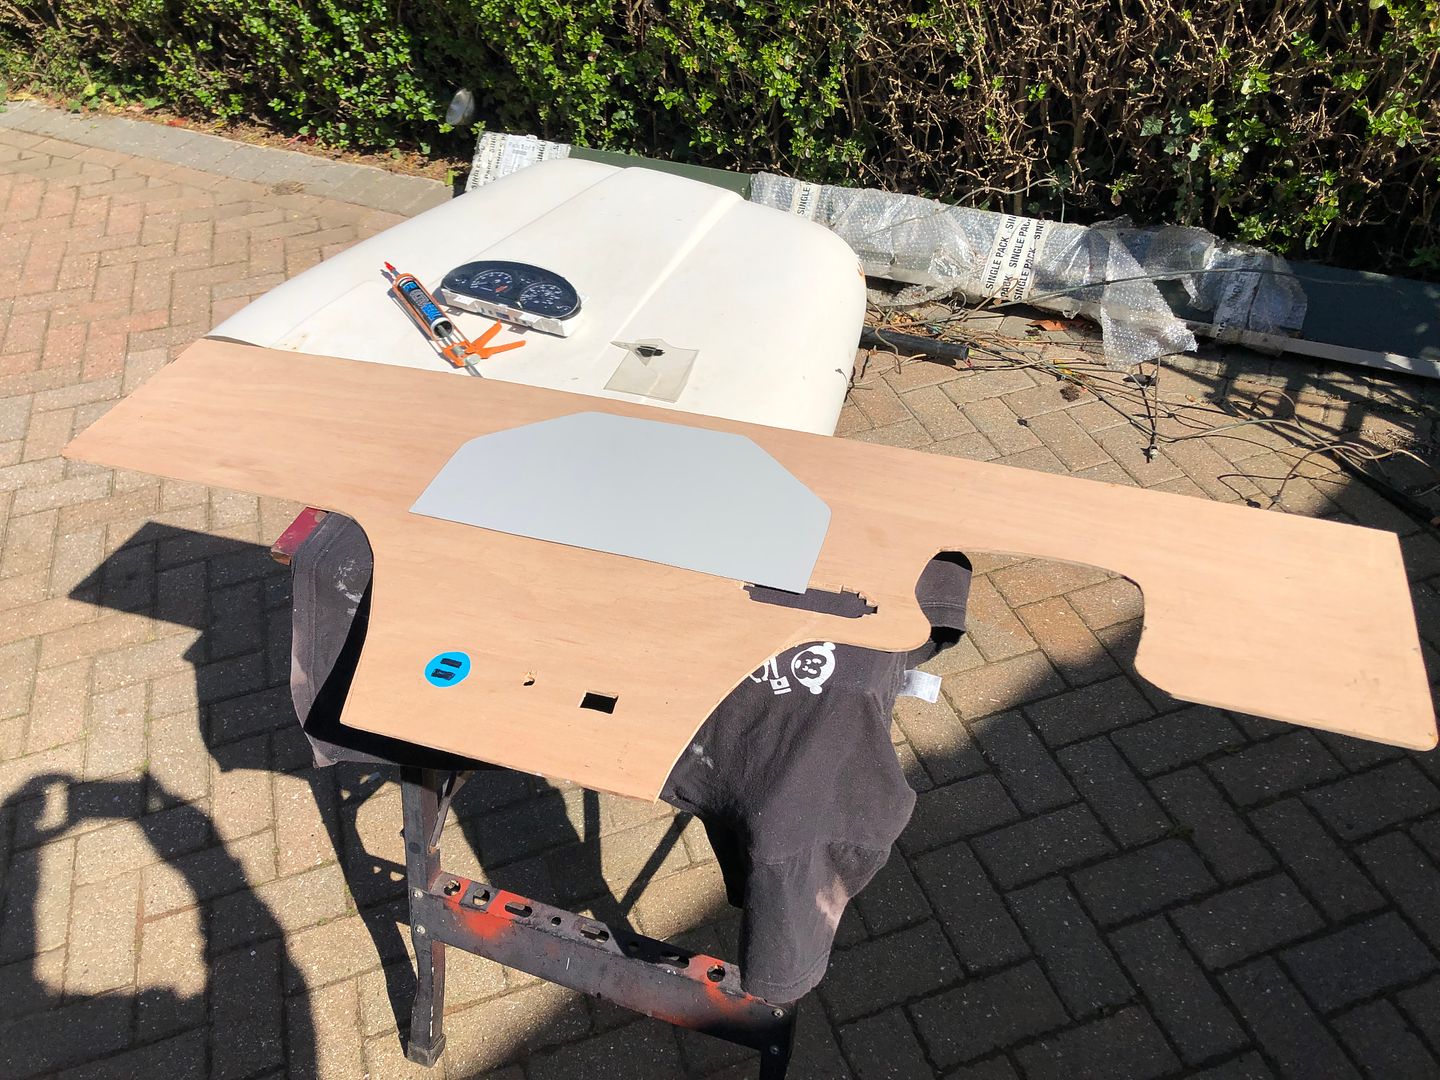 Cut out and rough shaped. 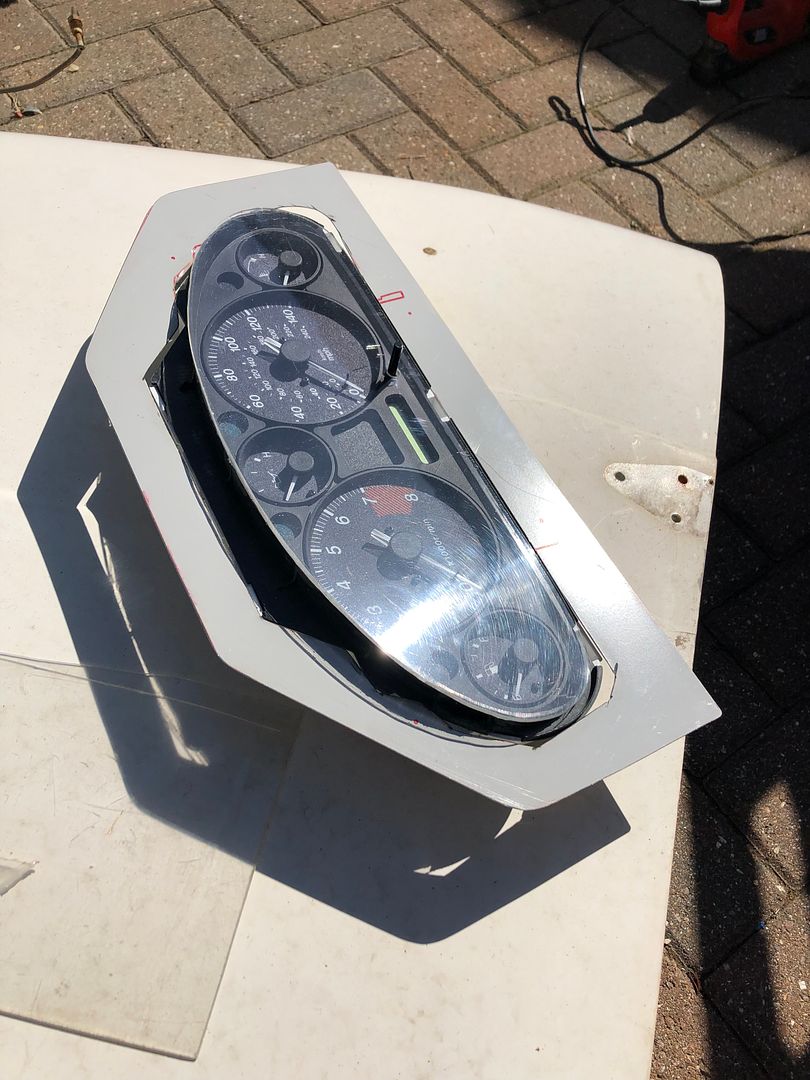 Followed by adding some studs to have hidden fasteners. 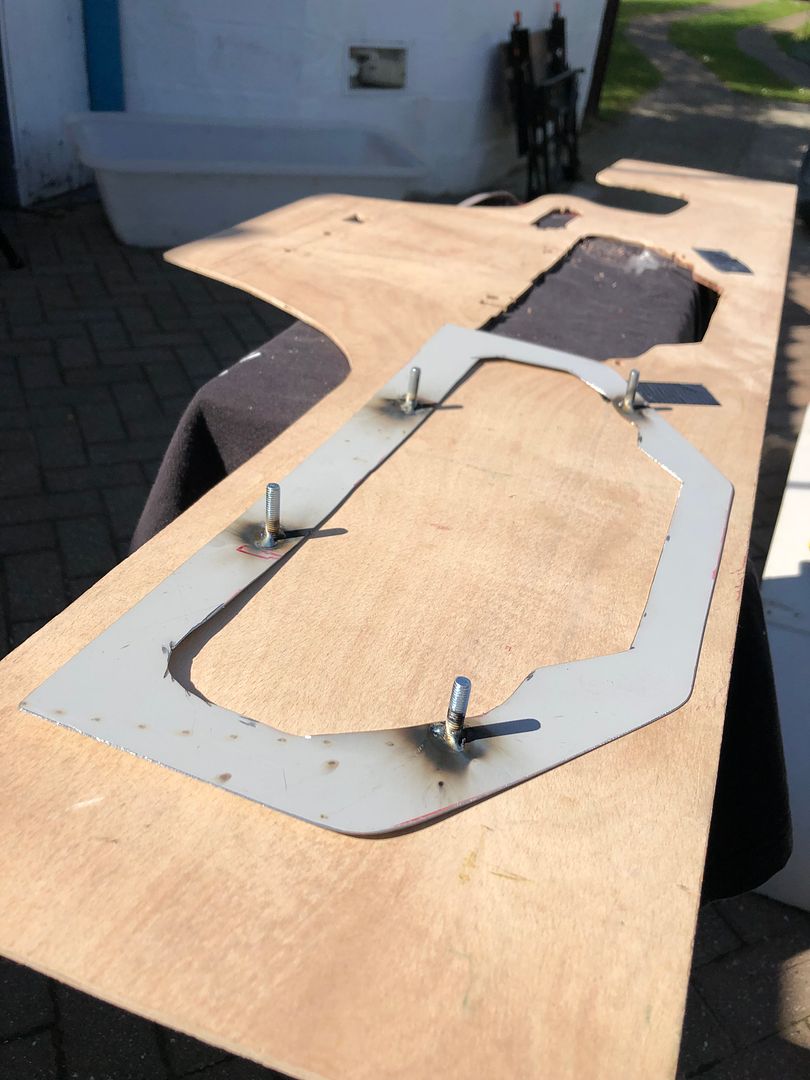 Test fit, again. 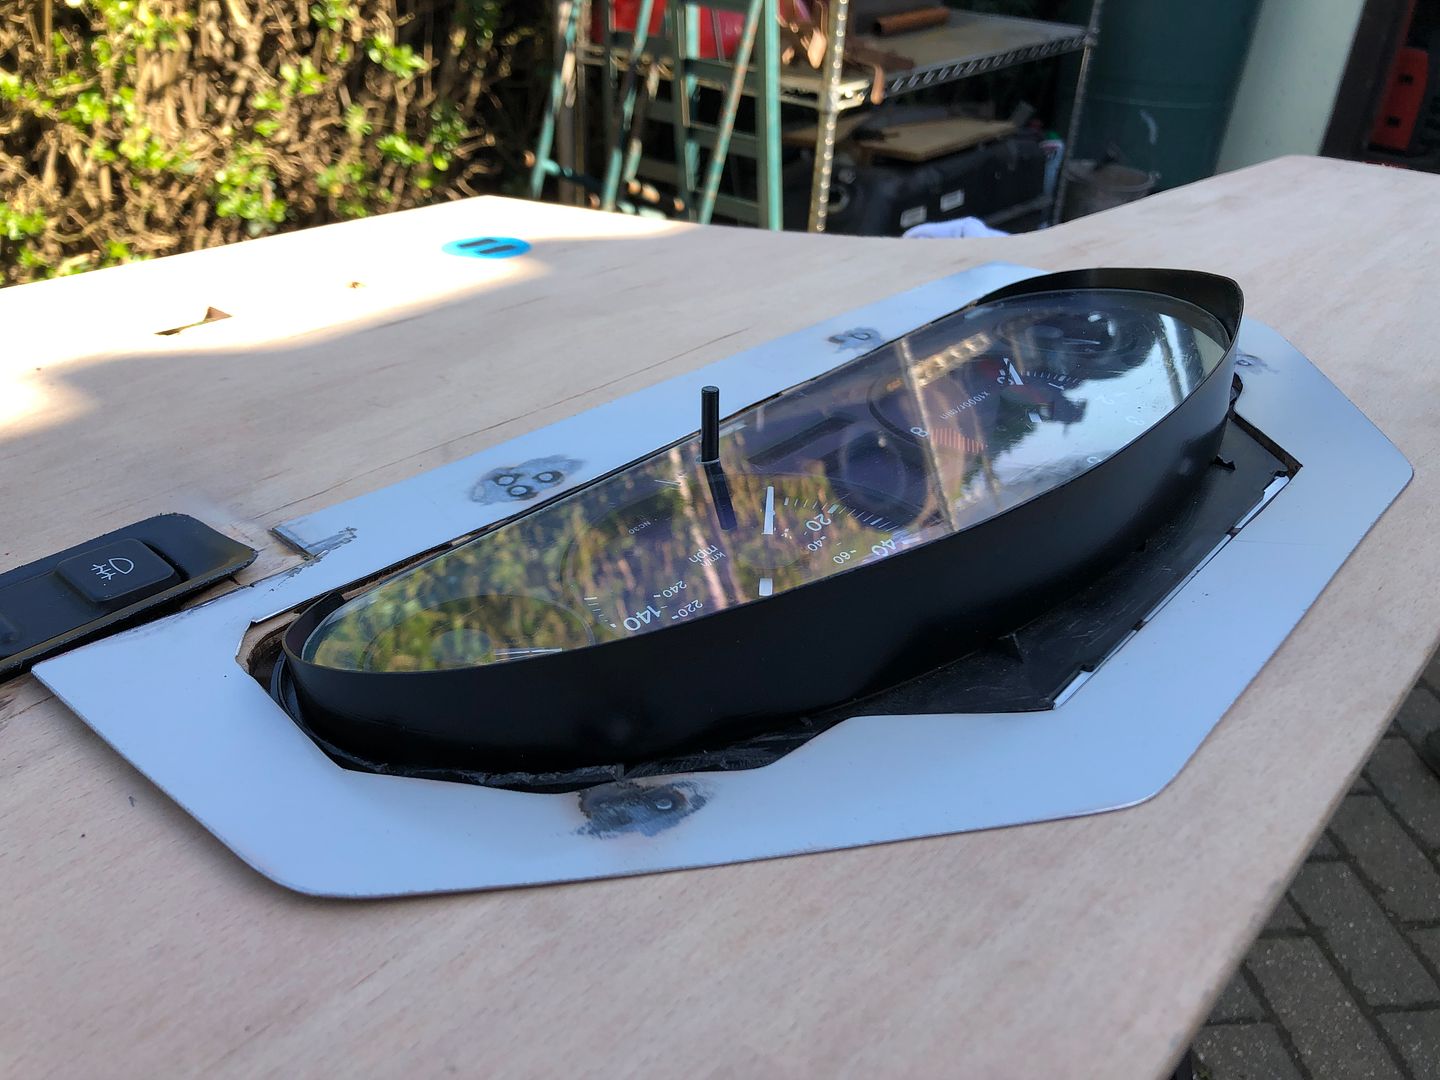 Followed by my favourite part of the job. Paint Mainly for preventing rust once closed up in padding and vinyl. 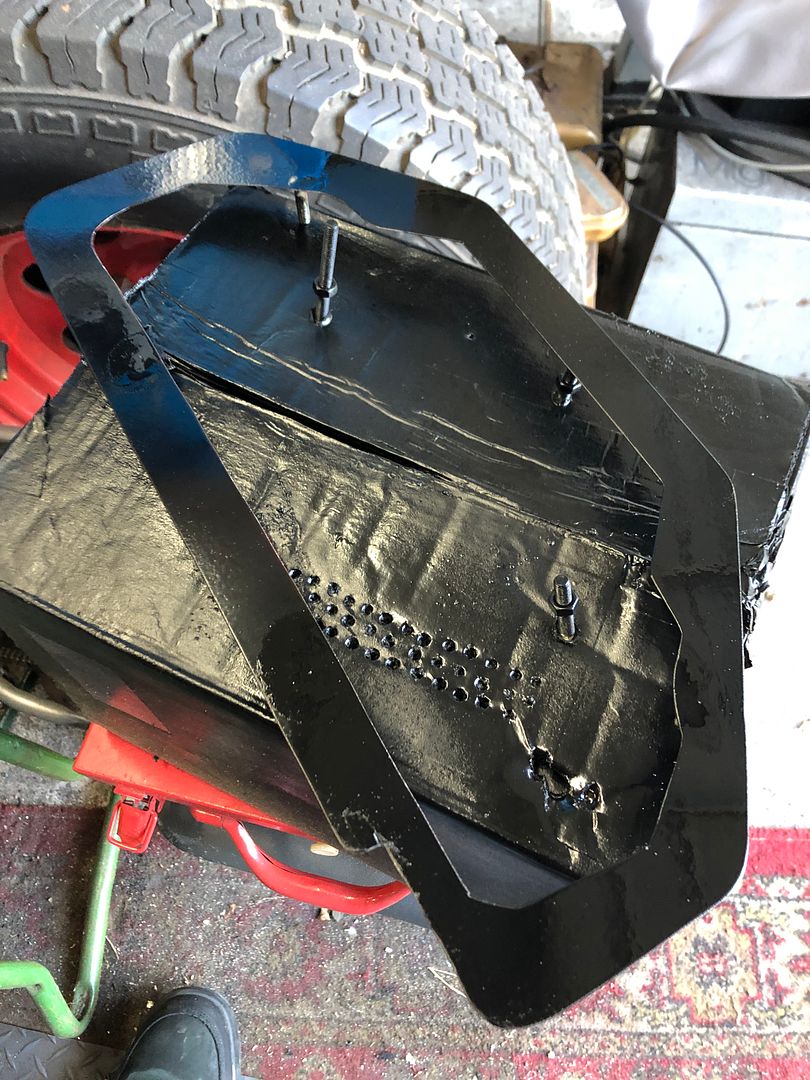 Once the paint dried, I messed it up again by gluing and clamping it all together overnight. 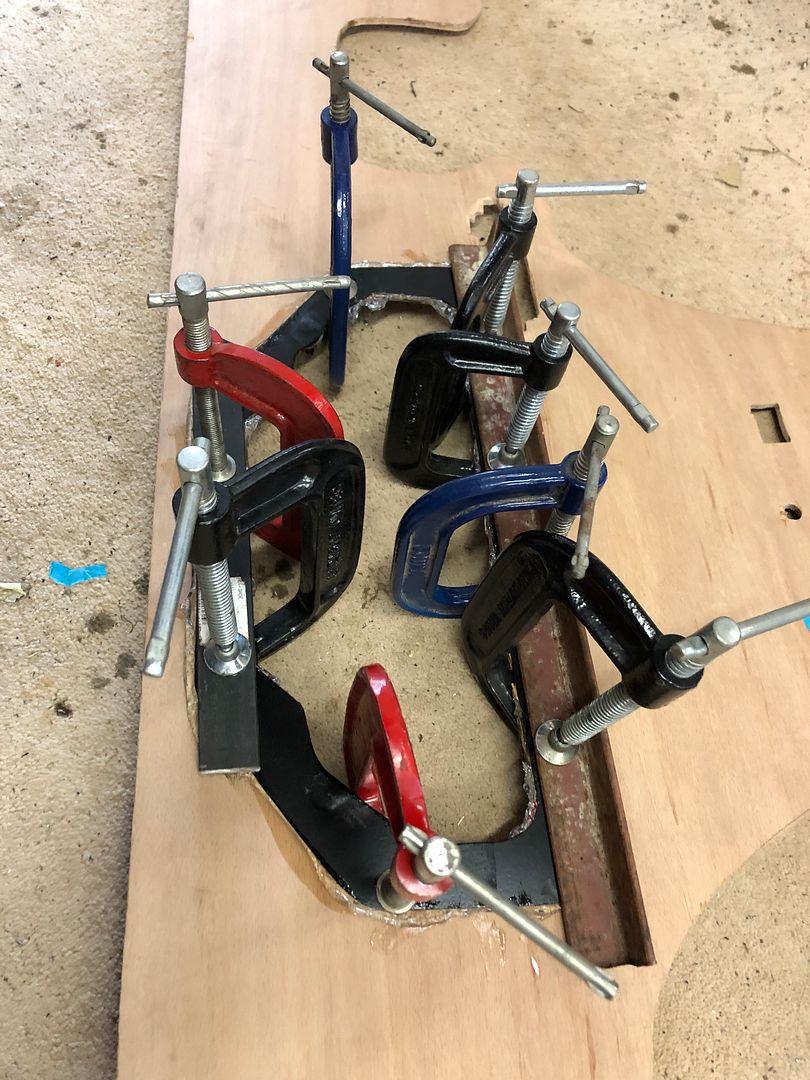 One more job before closing up the shop was to carefully line the edge of the cluster trim with black adhesive and then clamp the screen once carefully laid down, AFTER ENSURING NO FINGERPRINTS ON THE INSIDE OF THE SCREEN. 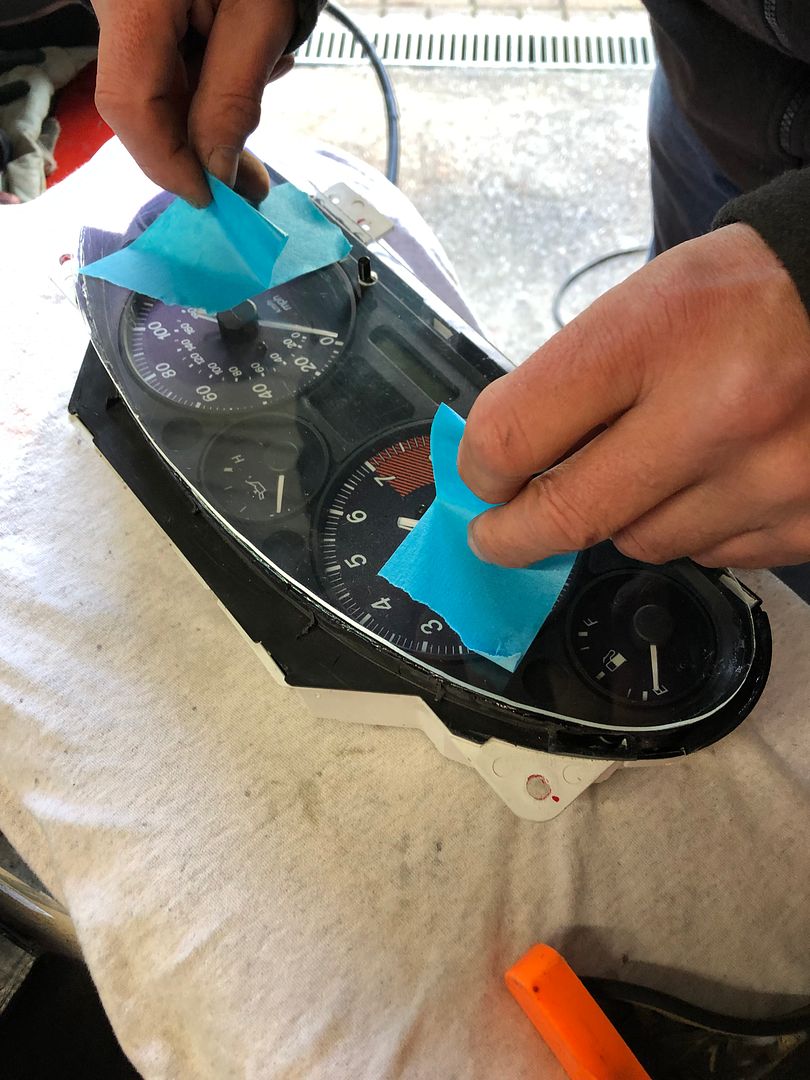 Typically, Nick and I stood talking for some time, then I dragged out the grinder and powerfile again and trimmed back the ECU bracket, that looks lovely now. Funny how we decide to stop work and then start again, just doing that one more little job. I fetched the dash and cluster in earlier this morning to warm up indoors, trimming the excess glue on the dash and masking the cluster for fixing the small cowl next, and leaving it alone. Chilly outside this morning. Onwards |
| |
Last Edit: Apr 3, 2022 7:45:34 GMT by grizz
|
|
eternaloptimist
Posted a lot
   Too many projects, not enough time or space...
Posts: 2,578
|
|
|
|
|
Not dipped in here for ages! Tons of progress, looking forward to fully catching up.
|
| |
XC70, VW split screen crew cab, Standard Ten
|
|
|
|
|
|
|
Not dipped in here for ages! Tons of progress, looking forward to fully catching up. Progress is an interesting thing. But yes,,moving along nicely for the most part. I personally could not be happier with our progress. nickwheeler has made this fly along with his knowledge and quiet determination. |
| |
|
|
|
|
|
|
|
Paul Y will attest to us all being young and happy once. Or more than once. 6 plus years ago, Facebook reminded me over the weekend, the Chevy C10 was having its V8 and Transmission rebuilt and serviced. Can it be so long already? Of course if you,look at the “Not a Project” Prozac etc, it is easy to see. 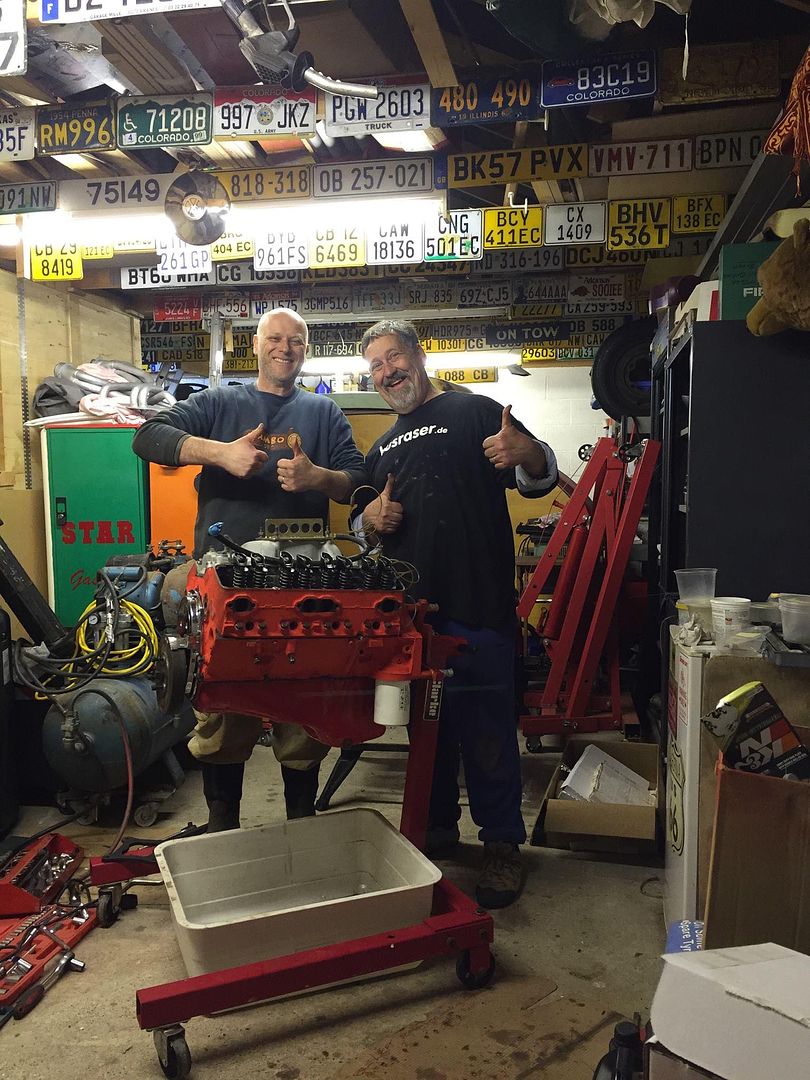 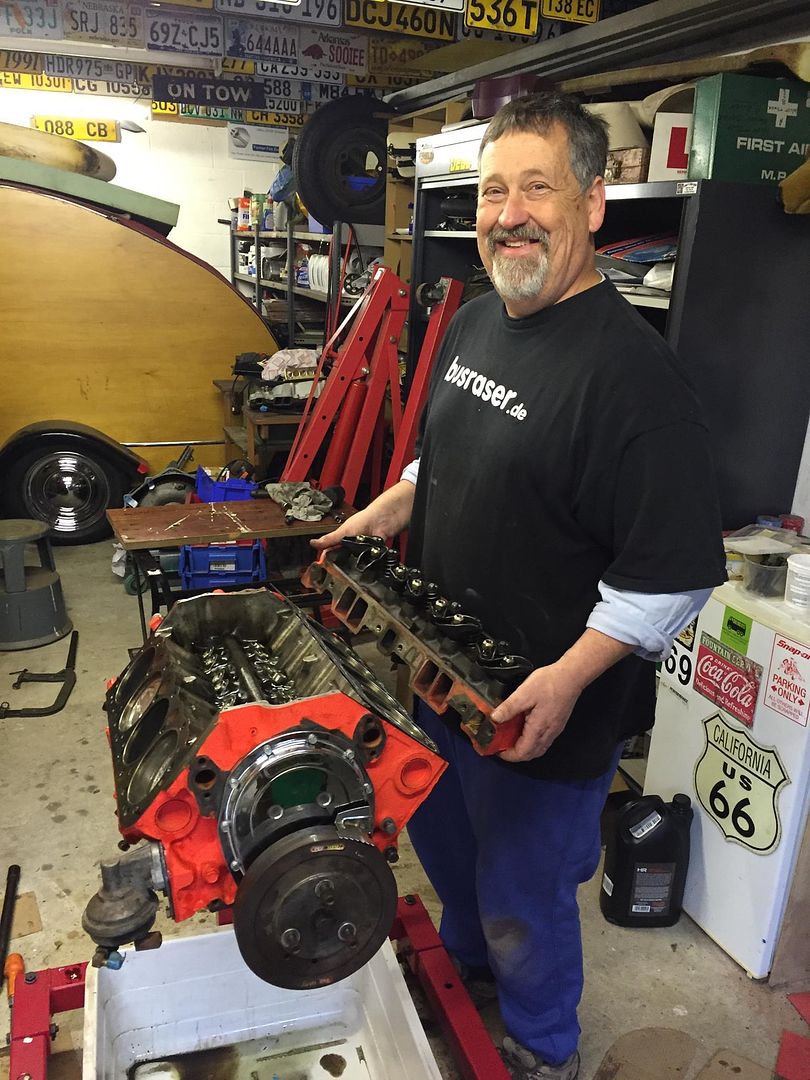 So,Sunday morning I popped down to the garage early to unclamp fetch the dash and cluster for the next part of their marrying up. It all takes time. 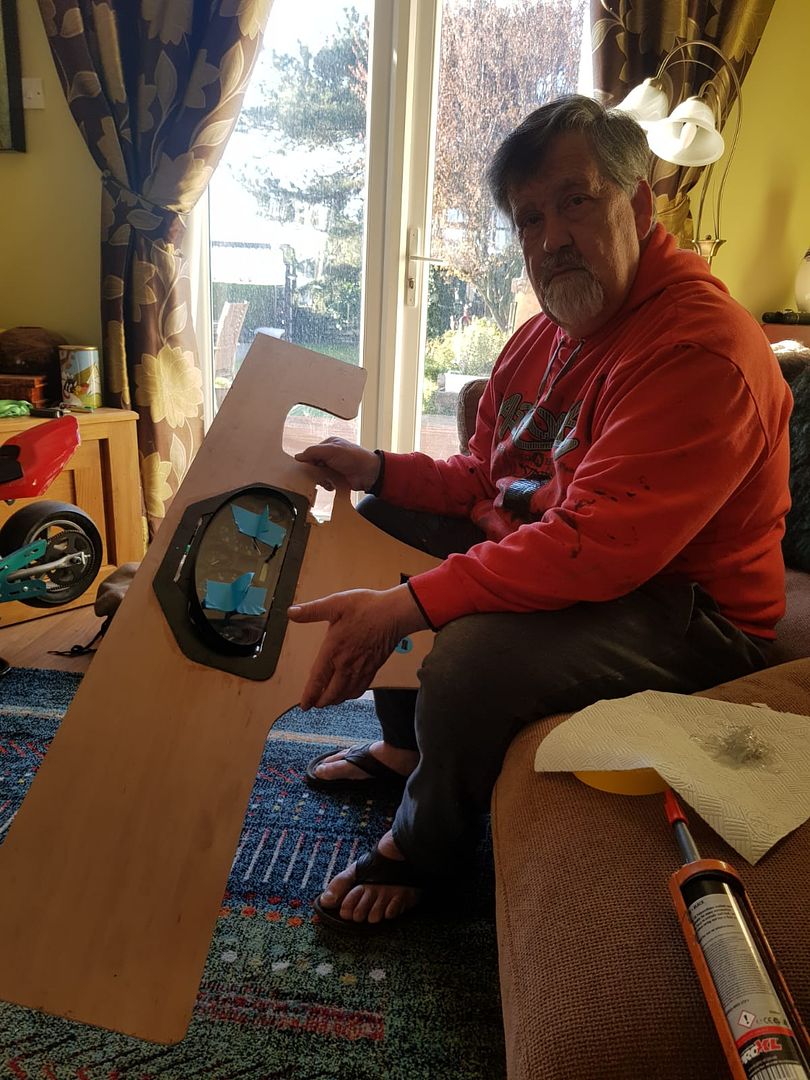 Masking up the cluster to fix the peak in position. 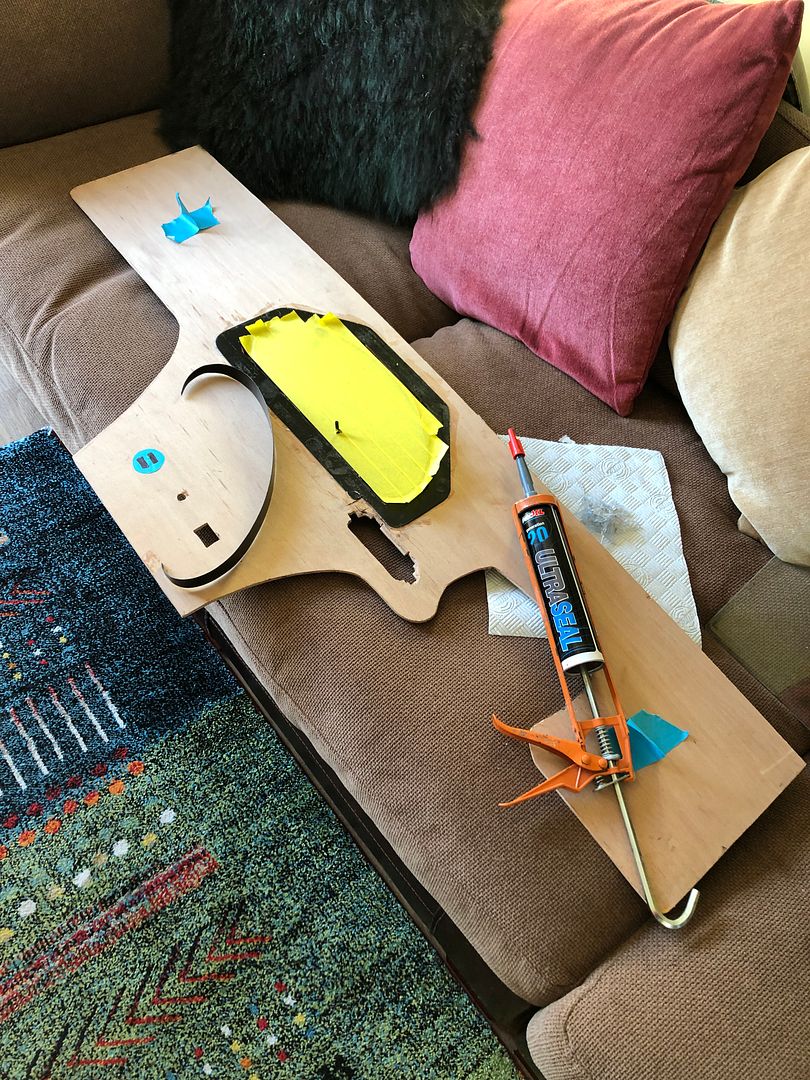 Once glued up, I wanted to mount my new large vice/vise on the welding table, which became a suddenly distracted clearing operation. Including cutting up the proposed sunny day roof and trying it out on the car. I think it is a clear NO. 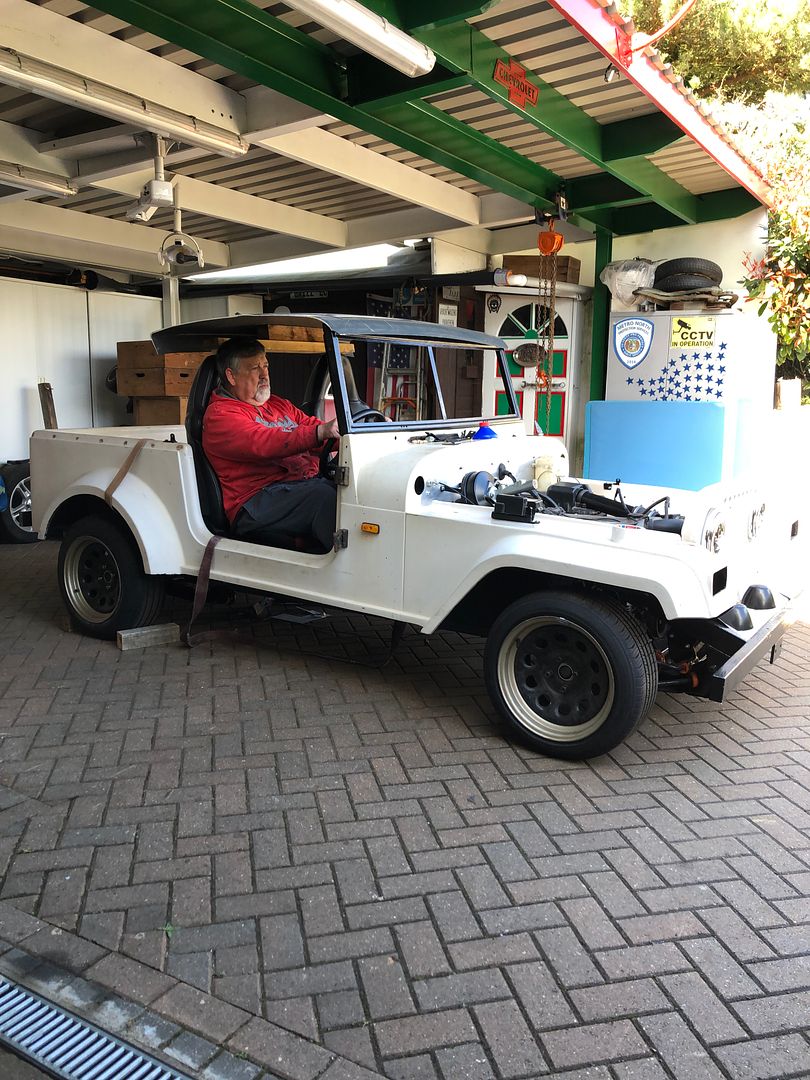 After that, I got refocussed and started to measure, cut, glue the support strips for the side panels under the dash, over the tunnel. I also created and prepped, then welded 11 studs to wide plates, to be used to pull the dash into the original fiberglass dash (what is left of it) once the vinyl and scrimmfoam,are applied, as well as switches etc. Everything does take time 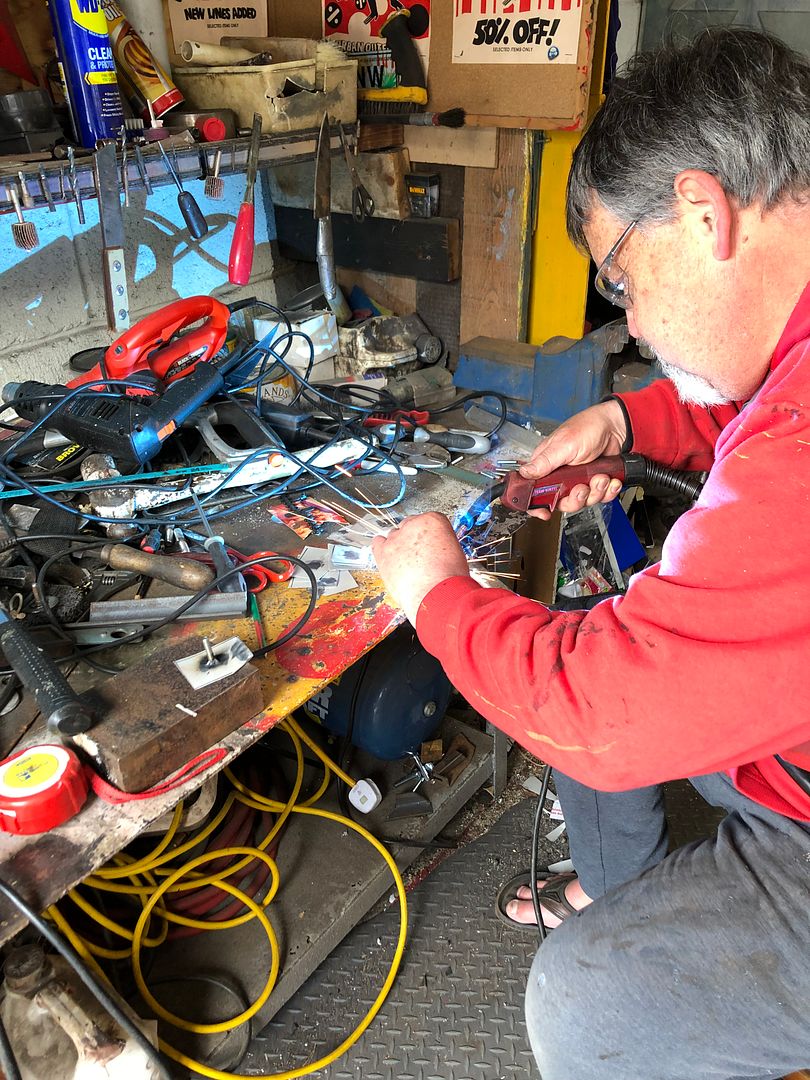 And the result. 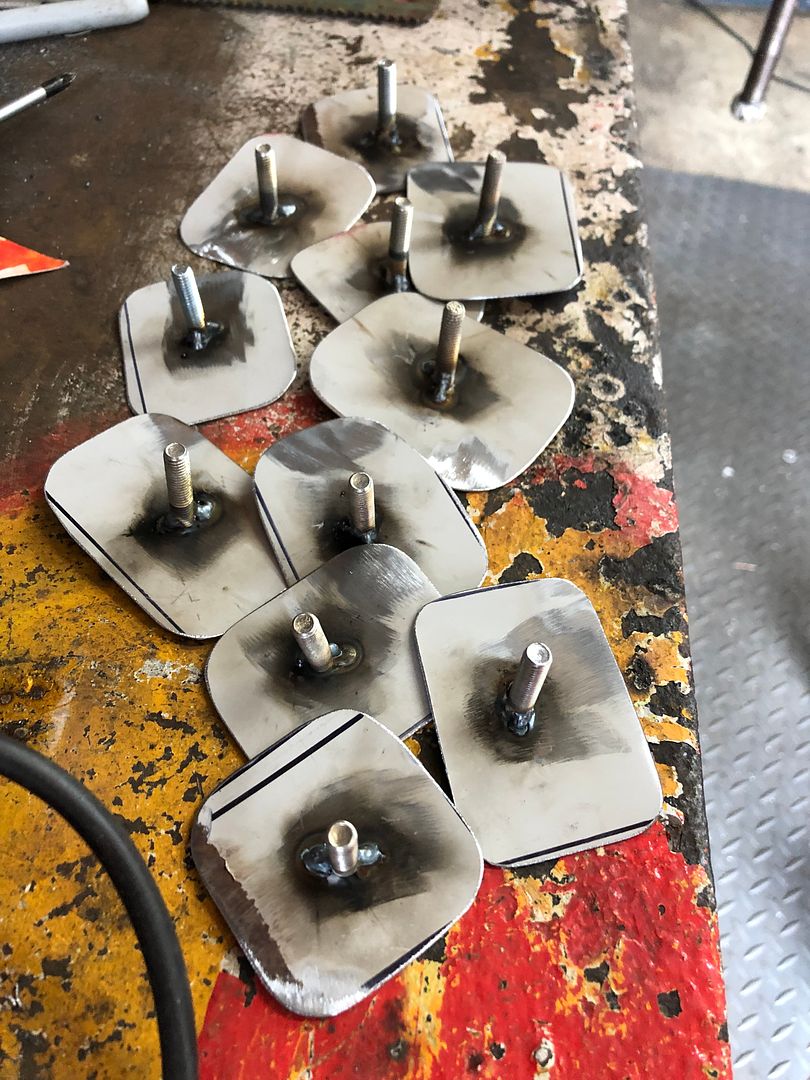 I did other odd jobs like removing and etch priming the Land Rover door hinges, they will be black. When nickwheeler came, it was coffee, chat and straight into electricals. His mission and ambition was to connect the battery and see and hear some sort of life. After some time he called me over……. We could see that the ECU was alive, and how many miles the engi e had covered. 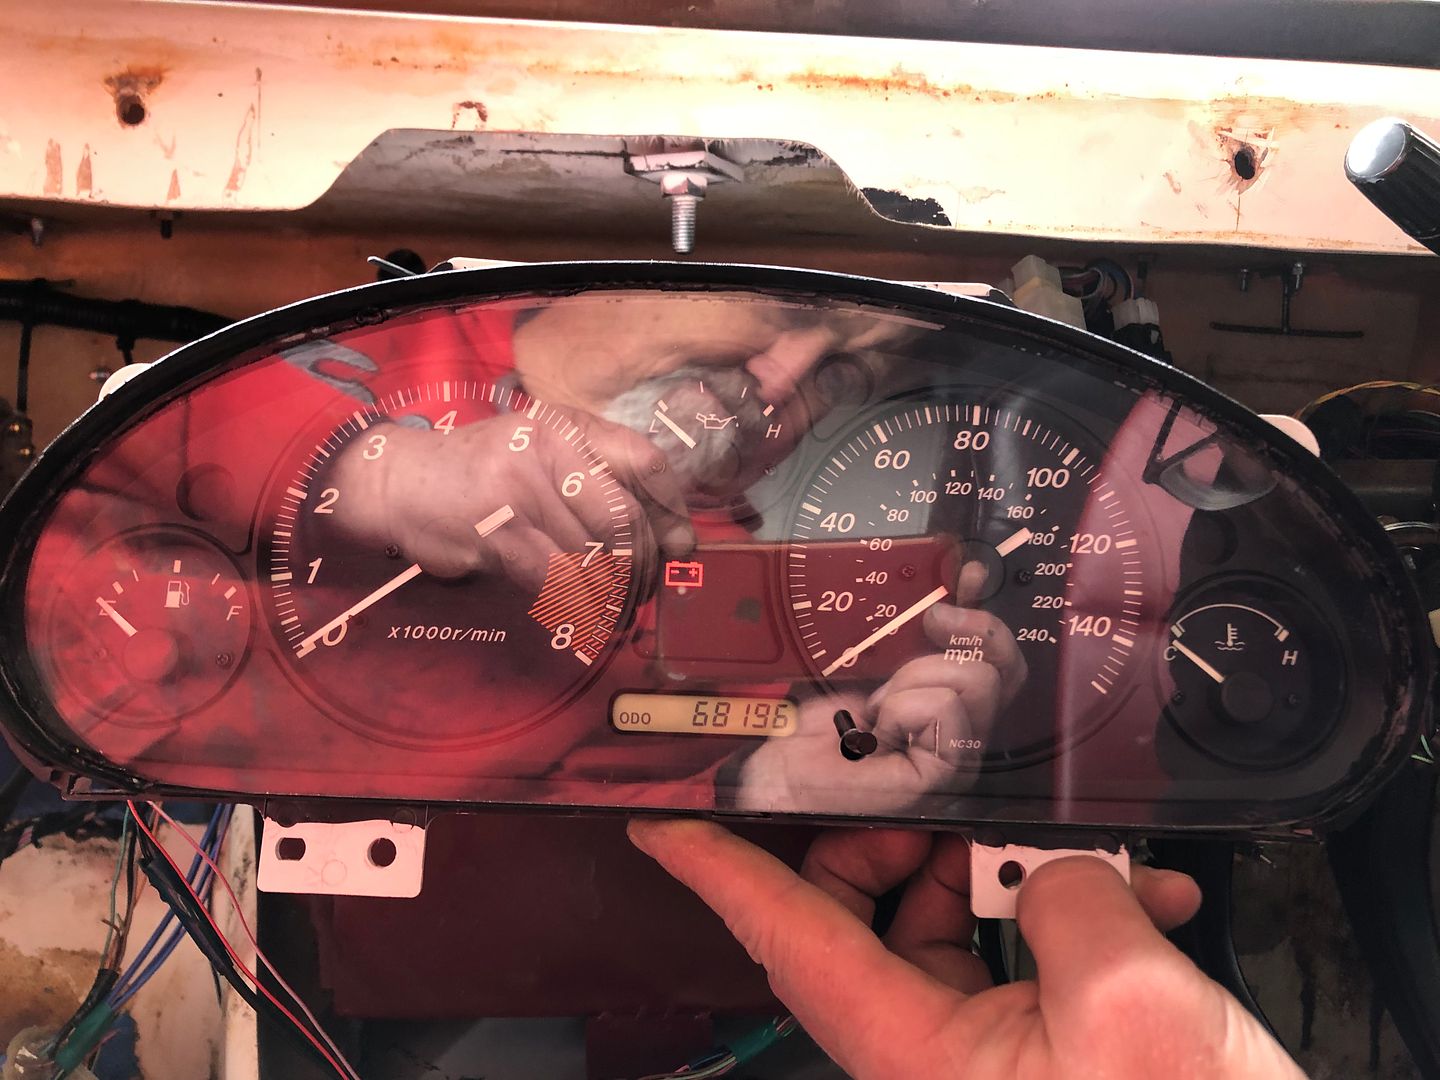 Time for coffee and sausage rolls then. Next up, testing the front circuits. Lights. 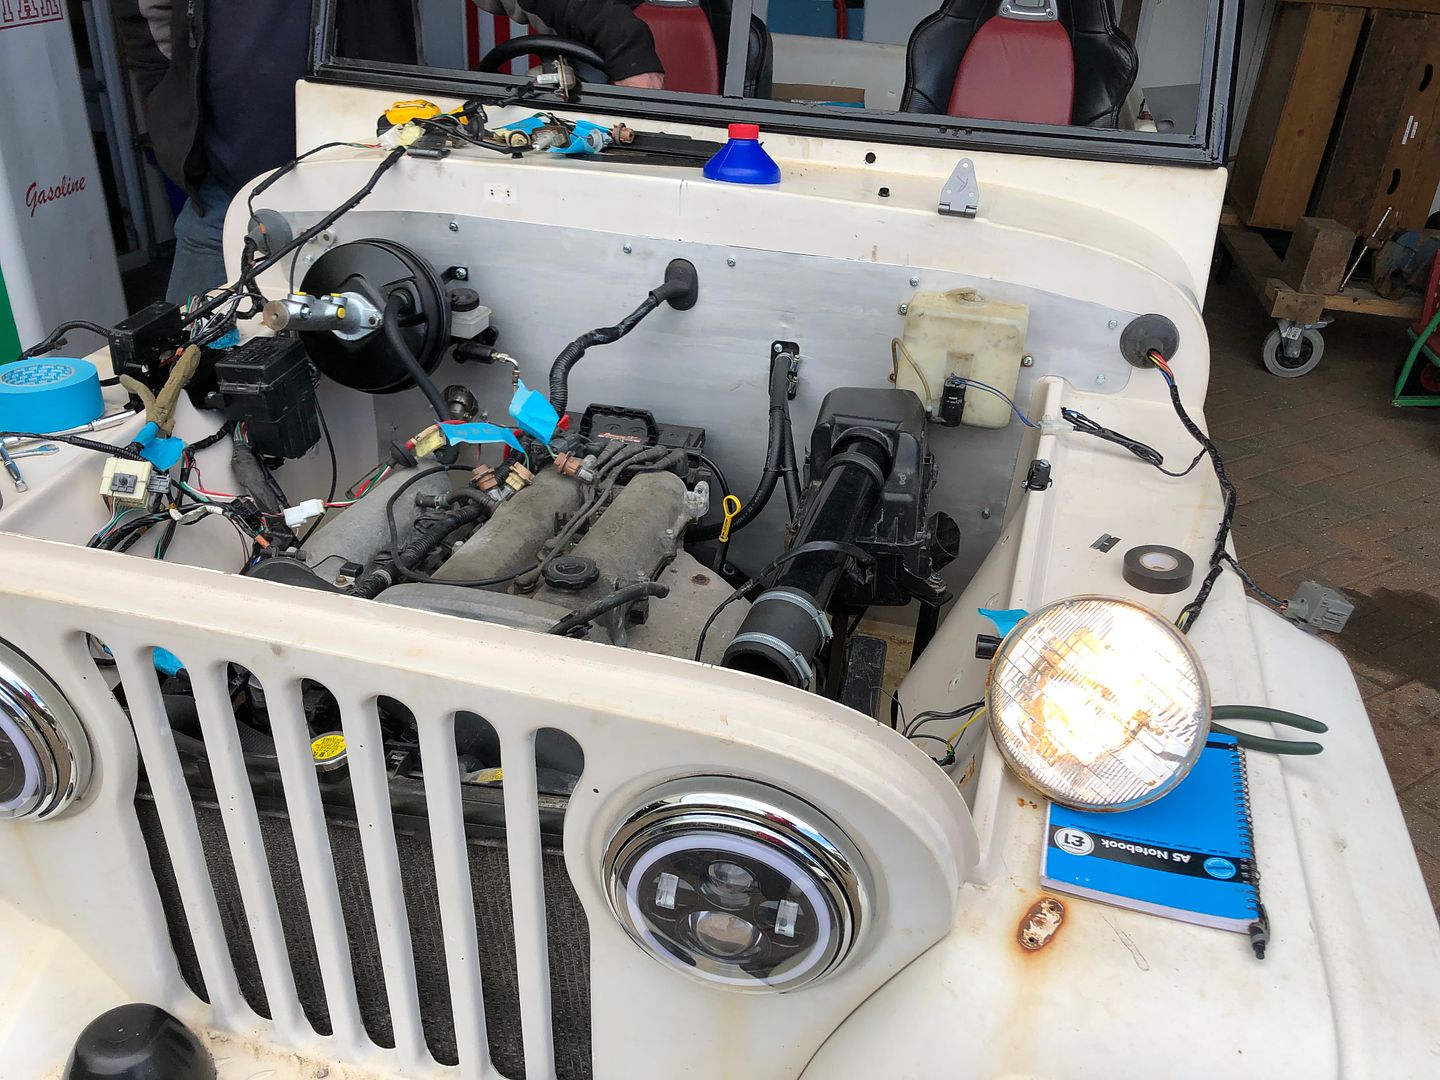 Then after testing he started to resplice the first LED headlight, removing the original plug, as we needed an extra 400mm length to make it all work. 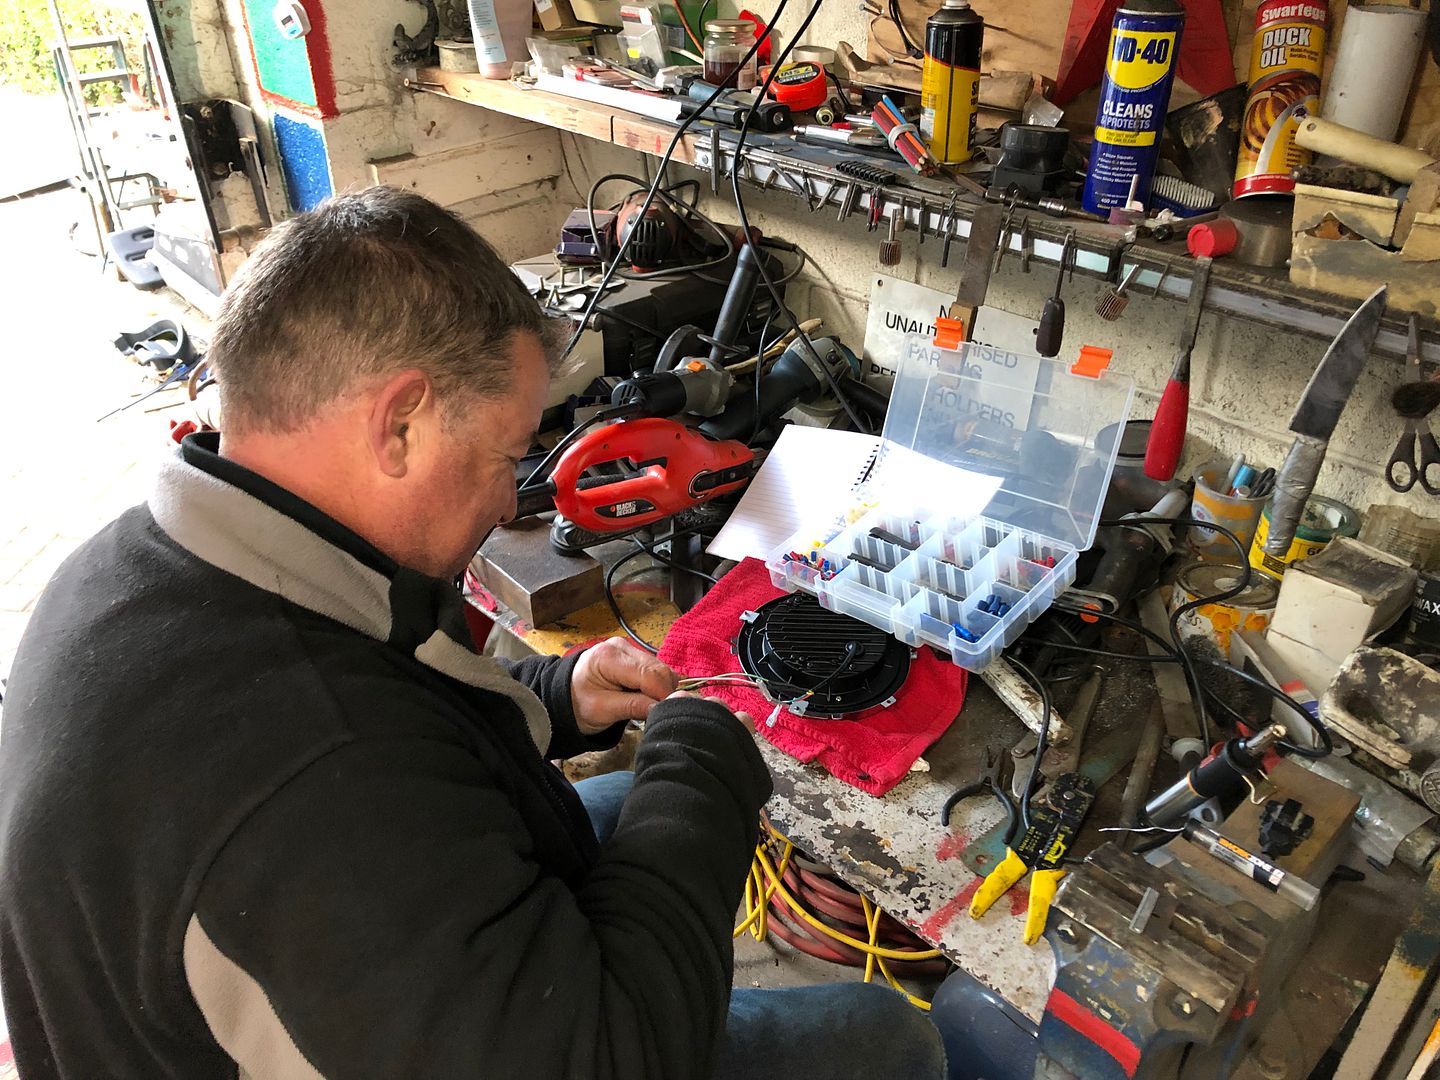 On finishing soldering in new plugs etc, time for a test. Ooooopppsss….. FAIL !!! Perplexed we both stood retracing steps, testing plugs etc. I had had a long day, and was stressing about Mondays two meetings, one may well affect me in a way that I do not care to be affected in. So I actually insisted in us closing shop by 18.30 and go inside, have a couple of cheese and ham rolls and a well deserved alcoholic beverage. Nick insisted on taking one more look though……. 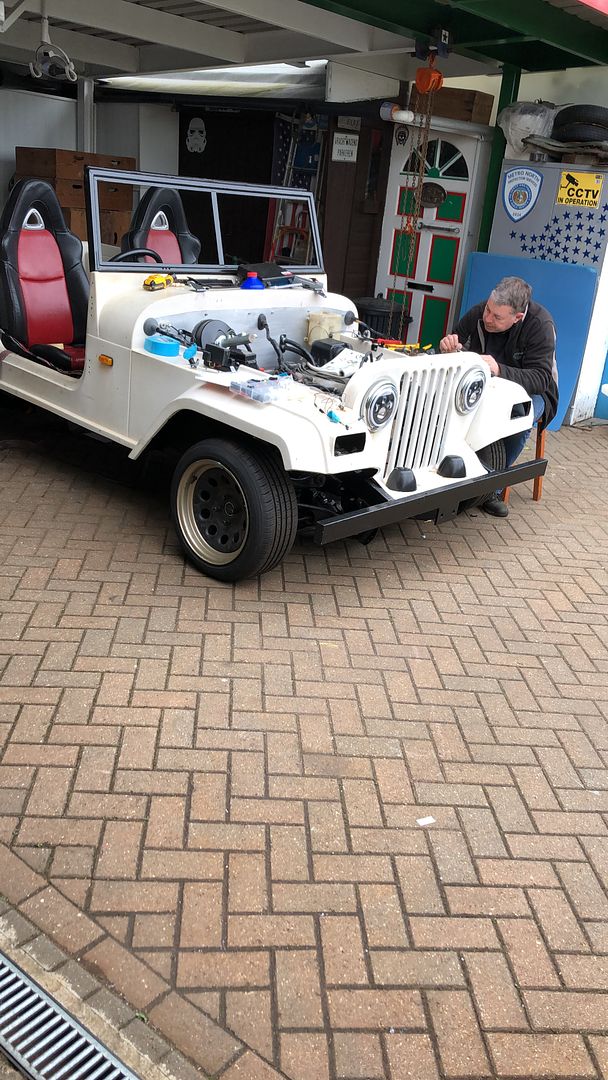 But we found nothing at that point, packed away, closed shop and walked away, having hit a small wall. Next weekend both of us have stuff on, so progress may be slower than we would like. Hey Ho !! For those that have managed to stay awake to this point, a quick rubbish 1 minute Video. CLICK LINK VIDEO DOES SHOW IT ALL WAS WORKING. SO WHAT COULD IT BE WITH REWIRING THE LED LIGHTS ? Have a good week.
|
| |
Last Edit: Apr 4, 2022 7:28:12 GMT by grizz
|
|
Rich
Club Retro Rides Member
Posts: 6,327  Club RR Member Number: 160
|
|
|
|
|
Does the MX5 use a negative trigger rather than a positive? Some Japanese cars had one 12V feed and 2 switched earths to operate the filaments in the bulb. That config won’t work with LED lamps, worth double checking that.
|
| |
|
|
|
|
|
|
|
|
Well done for more progress.
Hopefully you will soon see light at the end of the tunnel! (LED light? Geddit?)
|
| |
|
|
|
|
|
|
|
|
Just a thought for painting your badge, do you have a local Games Workshop type of place? Or a model shop? They might know someone who would do it?
Games Workshop used to run classes on figure painting, maybe do it yourself under supervision!
|
| |
|
|
|
|
|
|
|
Does the MX5 use a negative trigger rather than a positive? Some Japanese cars had one 12V feed and 2 switched earths to operate the filaments in the bulb. That config won’t work with LED lamps, worth double checking that. Rich has hit the nail on the head here. The MX-5 does indeed use a switched ground/earth to operate the headlights. However, at least one light (dipped or main) should come on if there is power going through. This video may be helpful. It's not perfect, because he's swapping H4 halogens for separate high and low beam bulbs rather than LEDs, but he explains the wiring situation pretty well: This is exactly the issue I had with the Deliboy, and I solved it by buying a plug and play link harness from eBay, which included an additional power feed from the battery, and standalone relays. Of course, it did take me two attempts, as the first one I bought wasn't for a switched ground circuit. Caveat Emptor, and all that. The Deliboy Story(Pages 7 and 8 of the thread contain all my headlight-related adventures). |
| |
Last Edit: Apr 4, 2022 8:53:21 GMT by Flingstam
1991 Toyota Deliboy (RWD JDM LCV) - Now SOLD
1998 Lexus LS400 (RWD EUR VIP) - Also GONE
1989 Volvo 740 GLE (RWD EUR GLE)
|
|
|
|
|
|
|
|
That would explain why the original sealed beam works, but the new LED doesn't. Bastards.
|
| |
|
|
|
|
|
|
|
|
If you can't re-wire the led light units a couple of relays would do the trick easily enough, you should have all the connections you need at the headlight.
|
| |
Last Edit: Apr 4, 2022 12:21:09 GMT by kevins
|
|
|
|
|
|
|
|
Have you got wiring diagrams for it? I can copy the ones out the back of the Haynes manual if needed.
|
| |
|
|
|
|
|
|
|
Does the MX5 use a negative trigger rather than a positive? Some Japanese cars had one 12V feed and 2 switched earths to operate the filaments in the bulb. That config won’t work with LED lamps, worth double checking that. Thank you Rich, Always good to have people who know stuff, in on the conversation. That’s why I just take pictures and polish stuff 😉 Well done for more progress. Hopefully you will soon see light at the end of the tunnel! (LED light? Geddit?) Gottit. A lot of stuff progressing and mostly only at the pace it can progress at. Still happy with forward progress. Does the MX5 use a negative trigger rather than a positive? Some Japanese cars had one 12V feed and 2 switched earths to operate the filaments in the bulb. That config won’t work with LED lamps, worth double checking that. Rich has hit the nail on the head here. The MX-5 does indeed use a switched ground/earth to operate the headlights. However, at least one light (dipped or main) should come on if there is power going through. This video may be helpful. It's not perfect, because he's swapping H4 halogens for separate high and low beam bulbs rather than LEDs, but he explains the wiring situation pretty well: This is exactly the issue I had with the Deliboy, and I solved it by buying a plug and play link harness from eBay, which included an additional power feed from the battery, and standalone relays. Of course, it did take me two attempts, as the first one I bought wasn't for a switched ground circuit. Caveat Emptor, and all that. The Deliboy Story(Pages 7 and 8 of the thread contain all my headlight-related adventures). Great seeing you here mate. Thank you for the detailed reply and information. I was completely in the dark here, nickwheeler seems to have a catalogue of cleverness stashed in that head of his. So this will make sense to him. |
| |
|
|
|
|
|
|
|
Just a thought for painting your badge, do you have a local Games Workshop type of place? Or a model shop? They might know someone who would do it? Games Workshop used to run classes on figure painting, maybe do it yourself under supervision! That’s a great idea. I was wondering where or how to corner an artist to do it for me. Though Hobbycraft could be an idea. I just need to know what filament peteh1969 used to print them, so I know if it is oil or plant based filament, then one knows the type of paint to consider, |
| |
|
|
|
|
|
|
|
That would explain why the original sealed beam works, but the new LED doesn't. Bastards. Schoolboy error mate. And I was certainly knackered and had had enough, so I was no help to you in thinking it through. If you can't re-wire the led light units a couple of relays would do the trick easily enough, you should have all the connections you need at the headlight. Definitely nickwheeler ‘s department. Have you got wiring diagrams for it? I can copy the ones out the back of the Haynes manual if needed. Nick, you need to answer this one. I know you write everything down on paper as you build, and could have downloaded a file already. I am just thankful that the collective had the answers. |
| |
|
|
|
|
|
|
|
Popped in at Aghabridge on the way home to get some fuel hose and proper clamps. Also grabbed three cans of satin black for any small jobs that need a few squirts of black. Will be useful to get the fuel lines, tank and engine sides all connected safe;y. 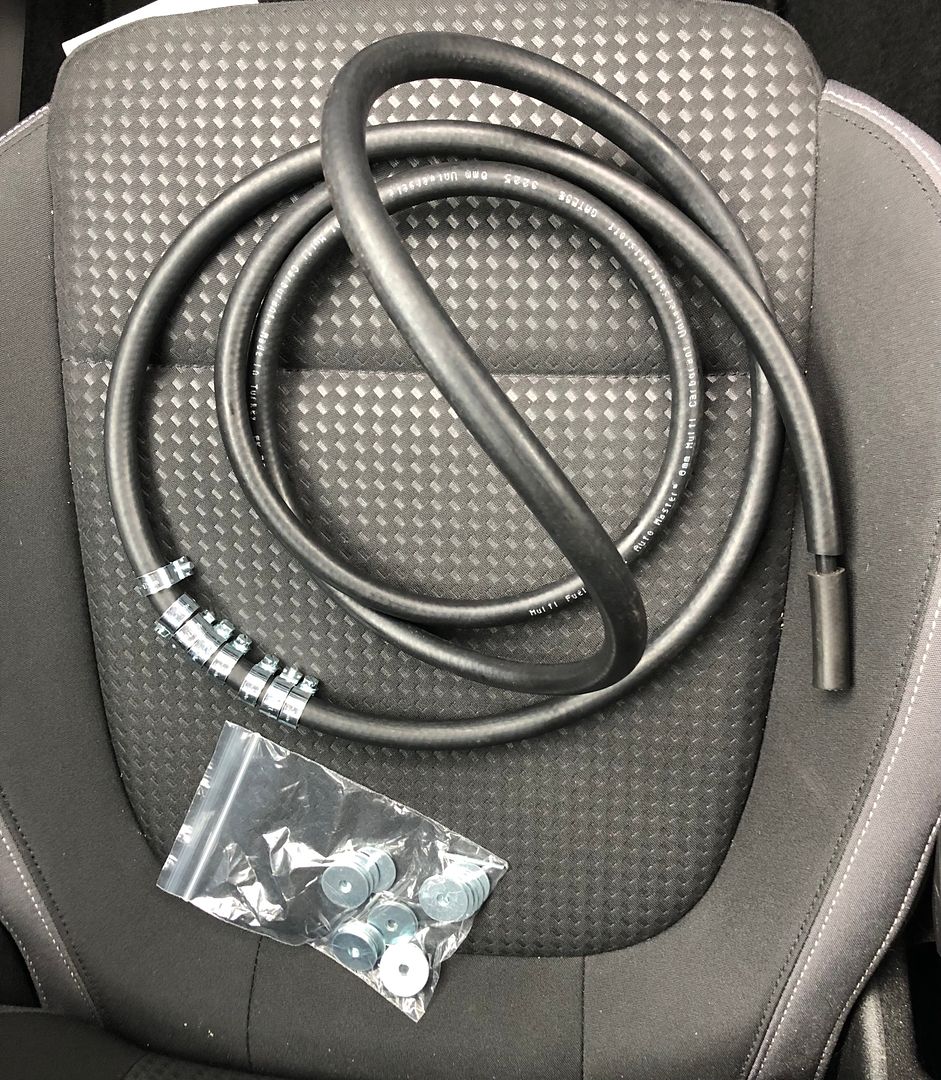 After dinner I was bored, so went down to get the hinges coated in black, they have always bothered me since day one. Back side. 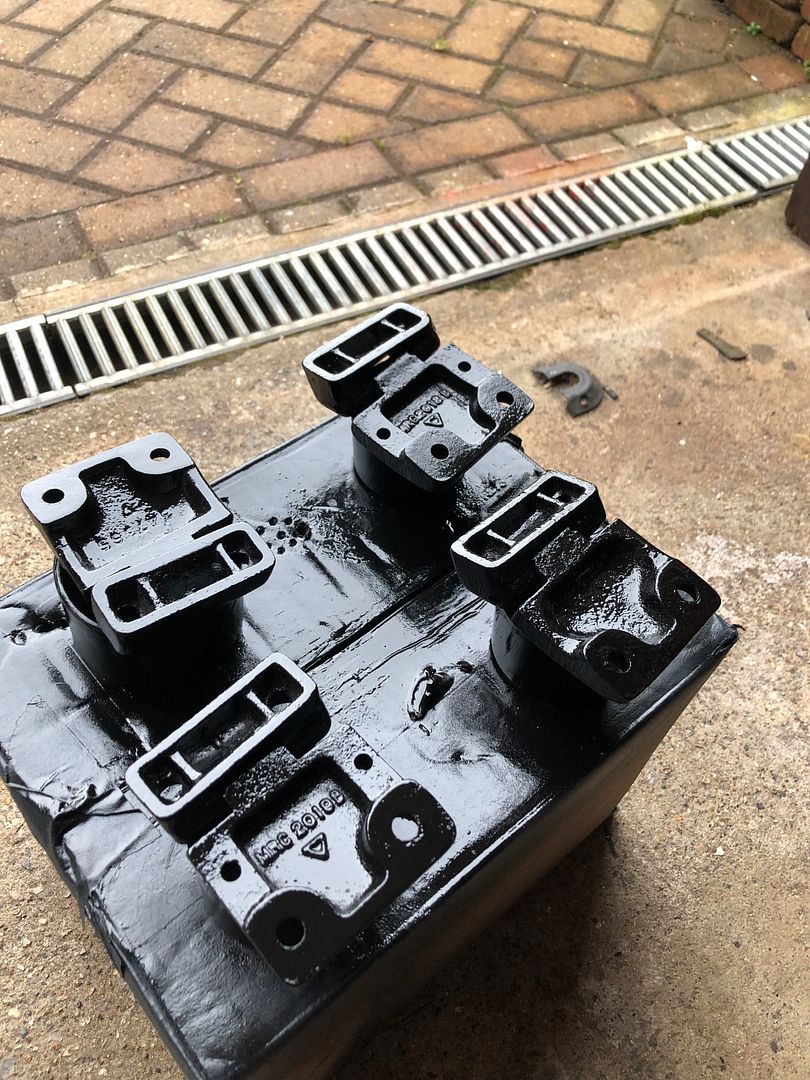 Front side, multiple coats and heat gun used to warm it all up. 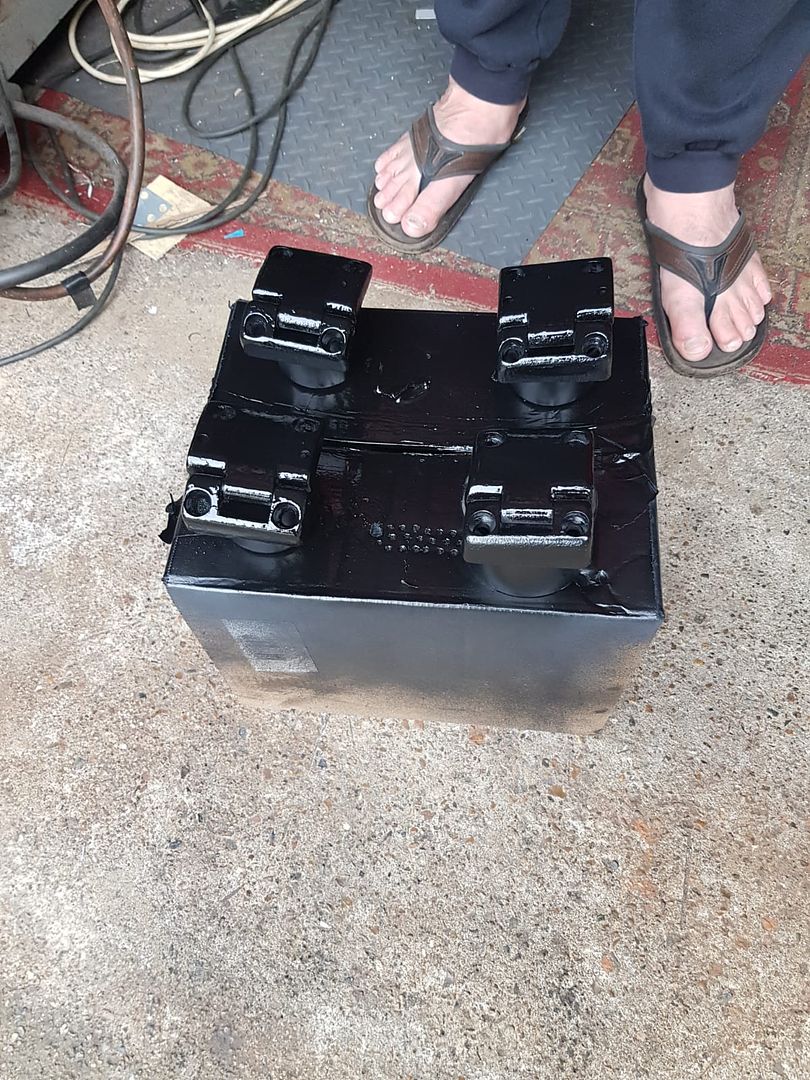 Another 30 minute job out the way. Time thieves. |
| |
|
|
jamesd1972
Club Retro Rides Member
Posts: 2,920  Club RR Member Number: 40
|
|
|
|
|
Liking the fuel clamps, proper job.
Lots of little steps forward great to watch, haven't even tidied up the workshop yet round here, mojo not at its best but do need to make some progress now the sun is out a bit more.
James
|
| |
|
|
|
|
|
|
|
a few more little jobs ticked off the list, keep up the good work and the updates and great pics  |
| |
|
|
|
|
|
|
|
Just a thought for painting your badge, do you have a local Games Workshop type of place? Or a model shop? They might know someone who would do it? Games Workshop used to run classes on figure painting, maybe do it yourself under supervision! That’s a great idea. I was wondering where or how to corner an artist to do it for me. Though Hobbycraft could be an idea. I just need to know what filament peteh1969 used to print them, so I know if it is oil or plant based filament, then one knows the type of paint to consider, Hi Rian I might be able to help with the painting. I work in the RC Model industry and have a lot of acyclic paint that might work and i'm not that far from you. If you are on the Island at any time in the future I'm happy to have a look or sort some pots out for you. One of the chaps that works for me does 3d printing and he thinks acrylic will be fine but it might need sealing with something after to make it waterproof. |
| |
|
|
|
|
|
|
|
Liking the fuel clamps, proper job. Lots of little steps forward great to watch, haven't even tidied up the workshop yet round here, mojo not at its best but do need to make some progress now the sun is out a bit more. James I am sure you will be back on it as soon as you are ready James. I never compete, just get on at my own pace. |
| |
|
|


