Big job over this bank holiday as I had almost an entire front end to rebuild!
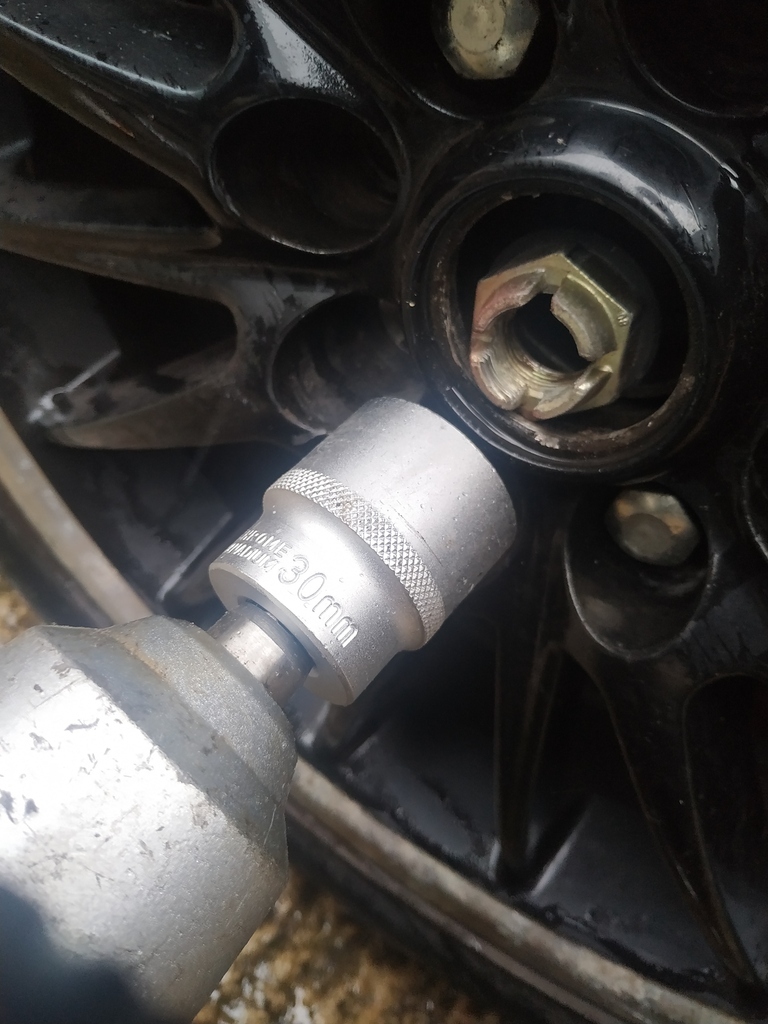
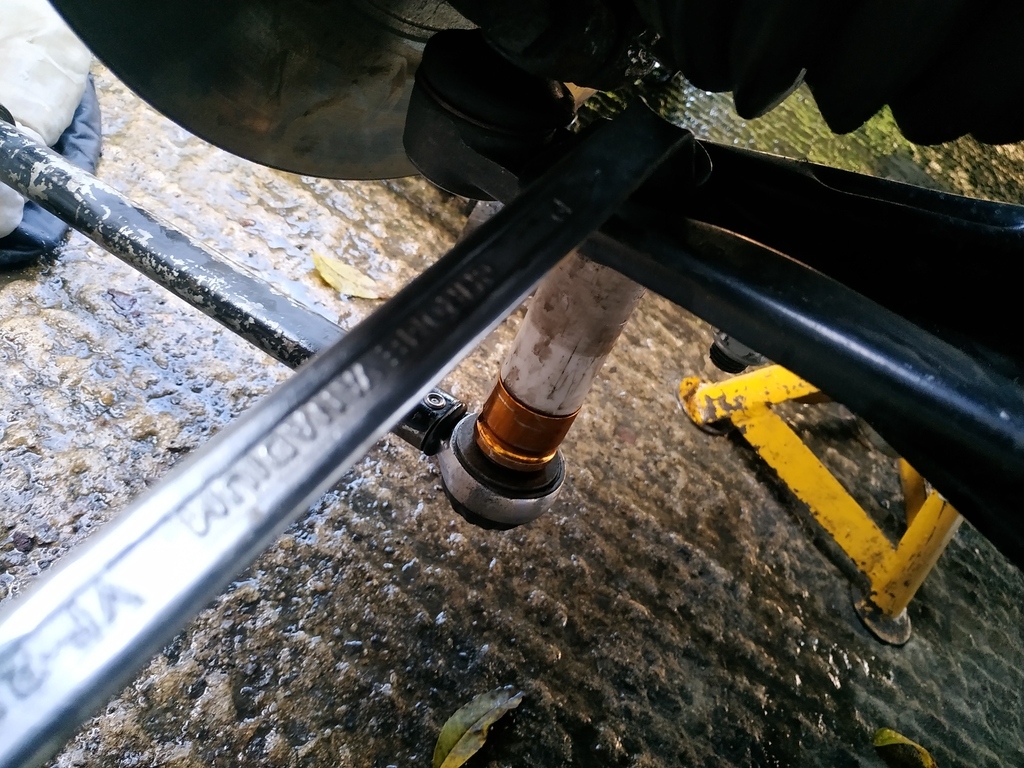
First job was to undo (and make sure I could undo) the shock to pivot bolts. These 21mm nuts and bolts were decrepit looking and so I busted out the big boy for the task. I wanted to use the Impact Gun, but wasn't up for the retired prats in their gardens having a moan.
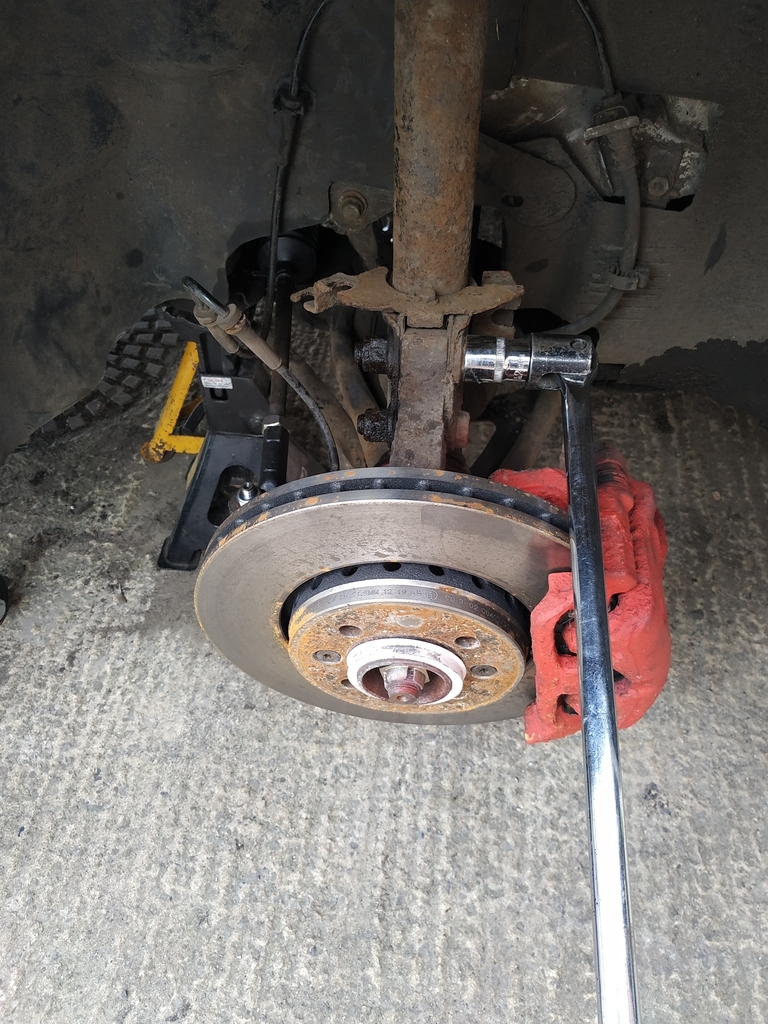
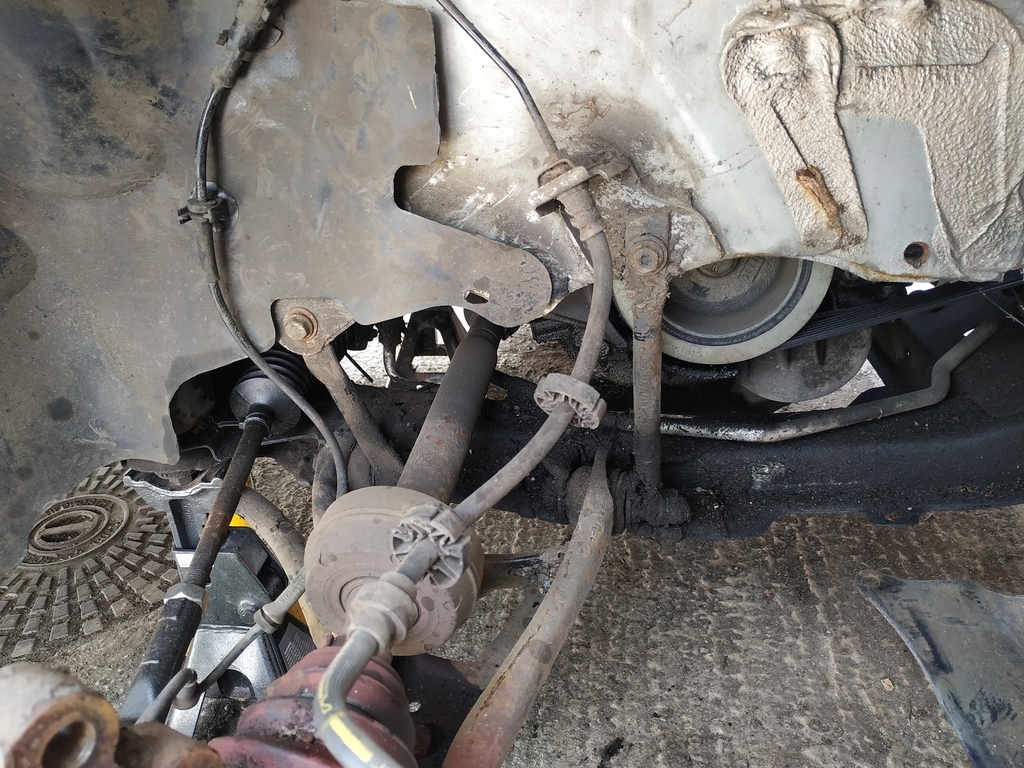
With the OS shock removed it was clear that there has been either a historic or long-term oil leak on the engine. I'm not surprised that the bushes may have sailed through any MOT inspection because they were hidden below layers of congealed oil.
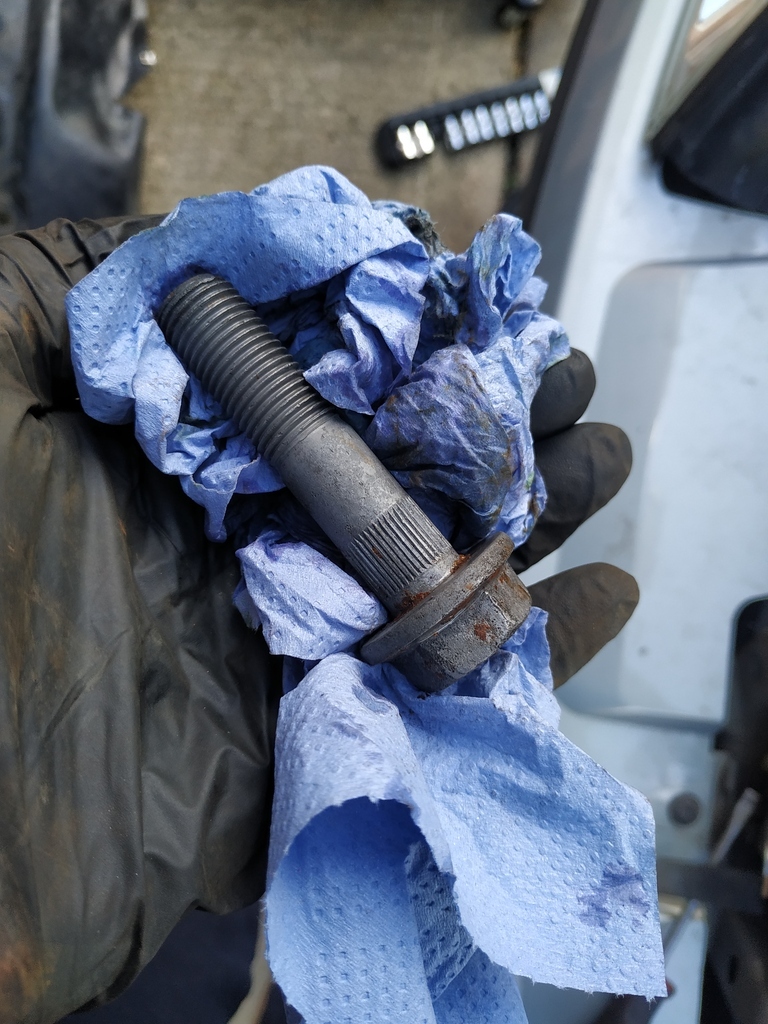
I made up a bucket of acid to strip/clean the bolts. The rusty shock absorber bolts were dropped in...
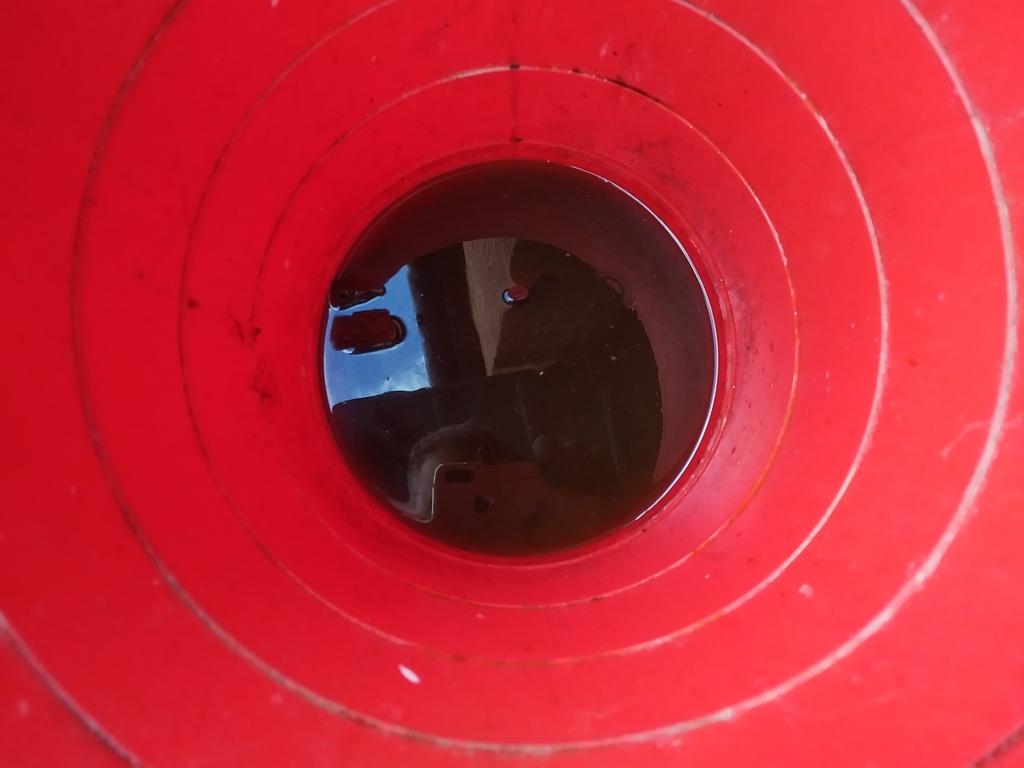
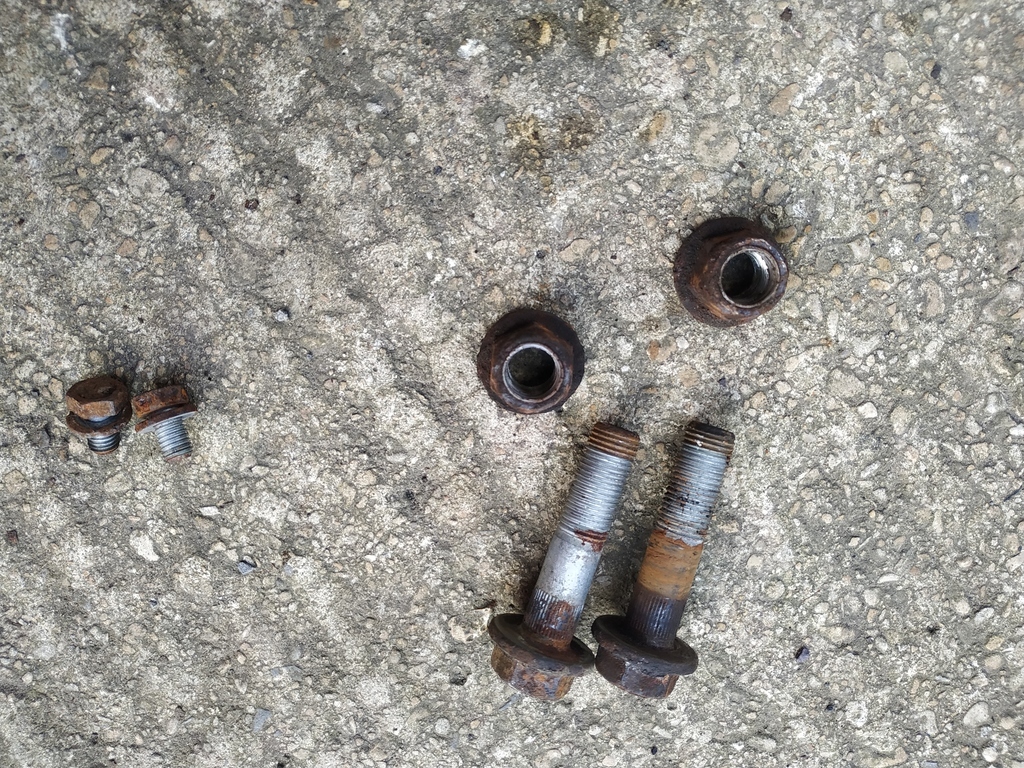
...and then came out a few hours later.
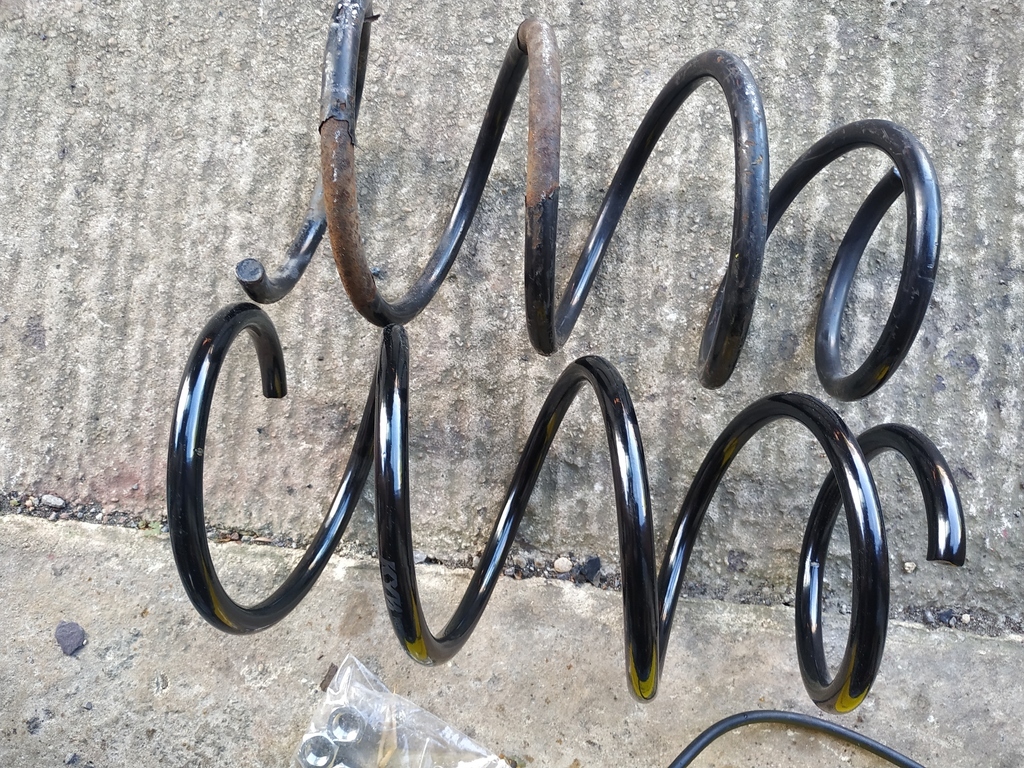
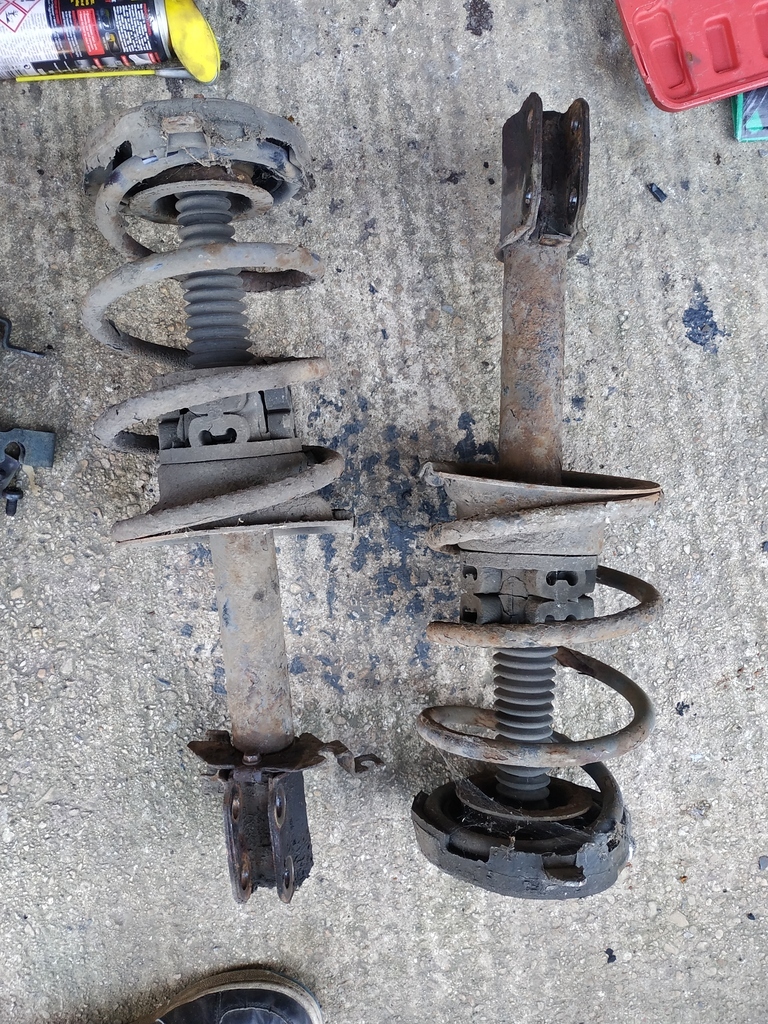
Comparison of the springs - the old ones seemed to curl the opposite way, but strangely enough the new ones seemed to fit better on the bottom and top plates.
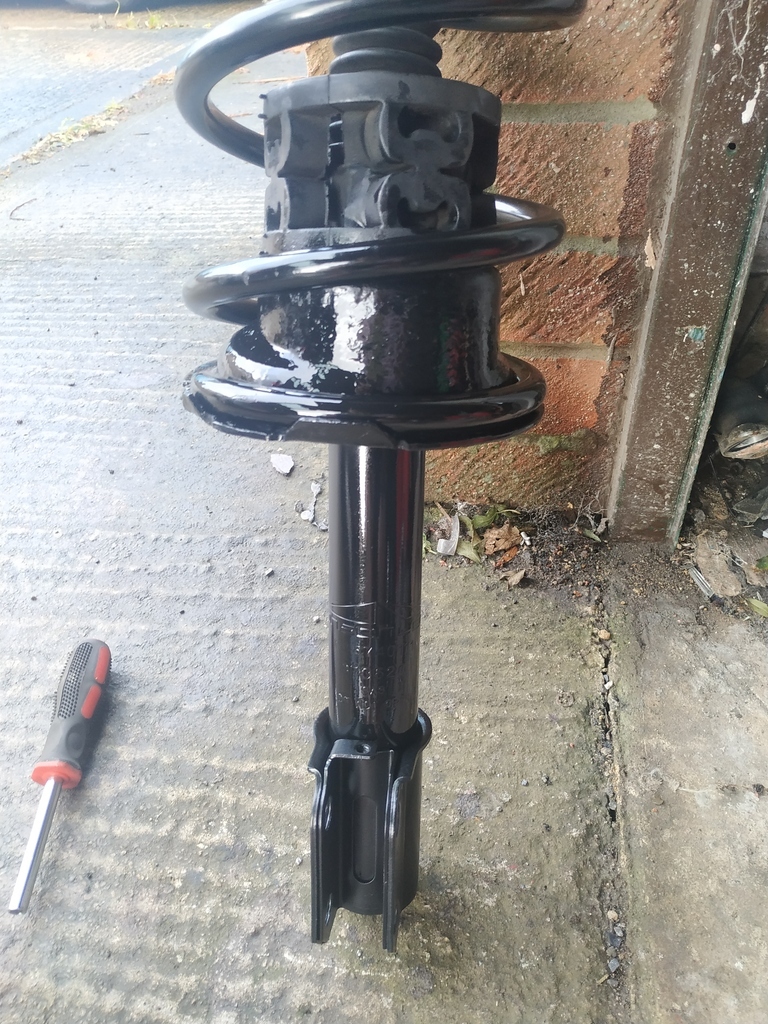
With the bottom cup dried I reassembled the new strut
I thought the NS was going to be an easier task because:
- The top plate wasn't as corroded
- The receipts showed some recent work in that area, so I thought things may have been disassembled more recently
- I had decided, upon inspection, not to change the lower arm yet (I think it was changed not too long ago, and it looked in good condition).
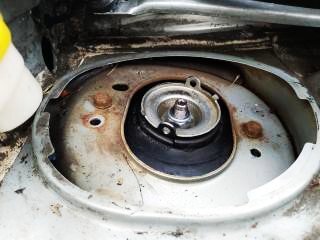
The top was unbolted (bolted correctly on this side!)
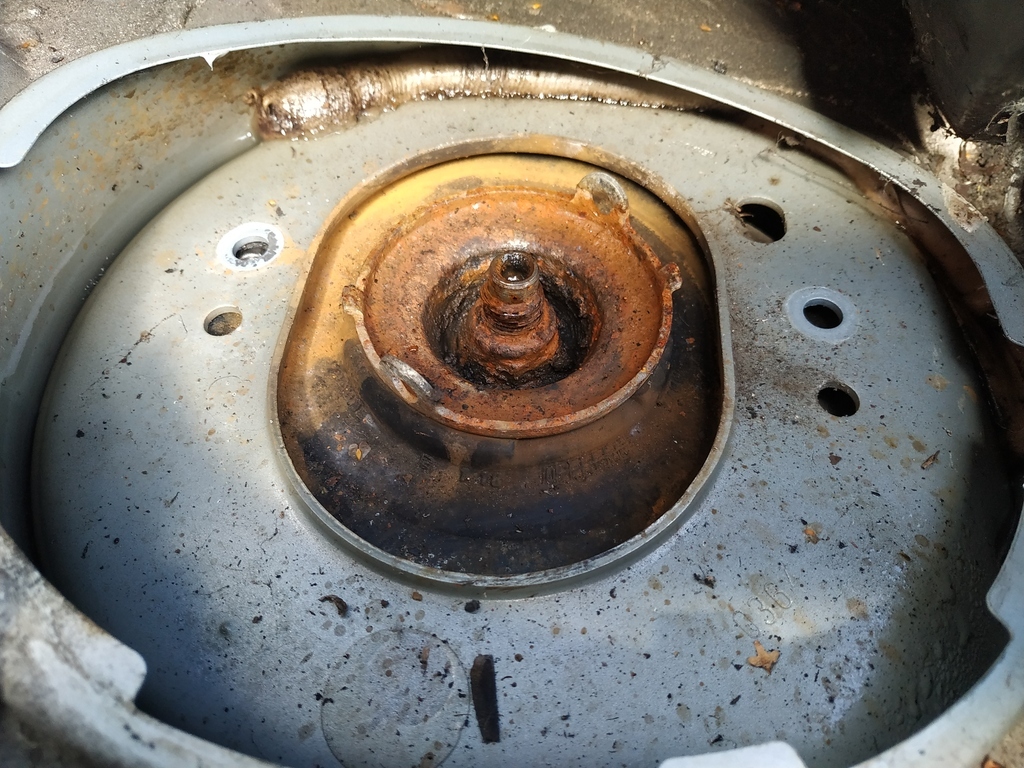
Then I sprayed some penetrating fluid on the nuts ready to undo everything.
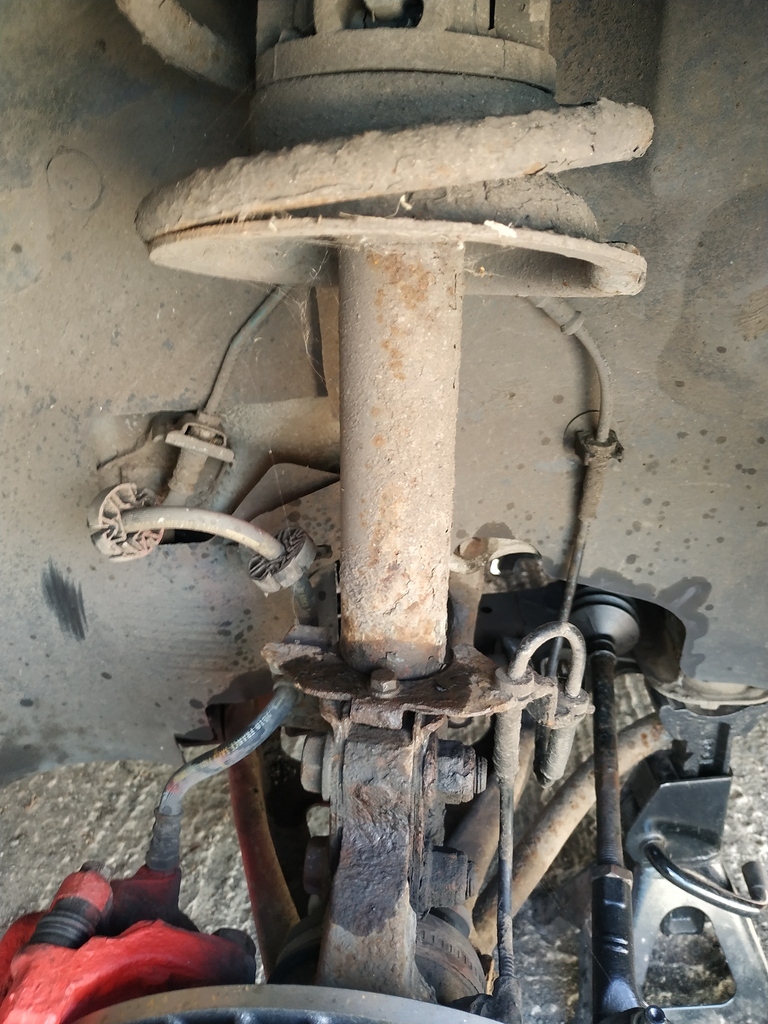
The top was a bit corroded, but I thought it'd clean up well enough to re-use.
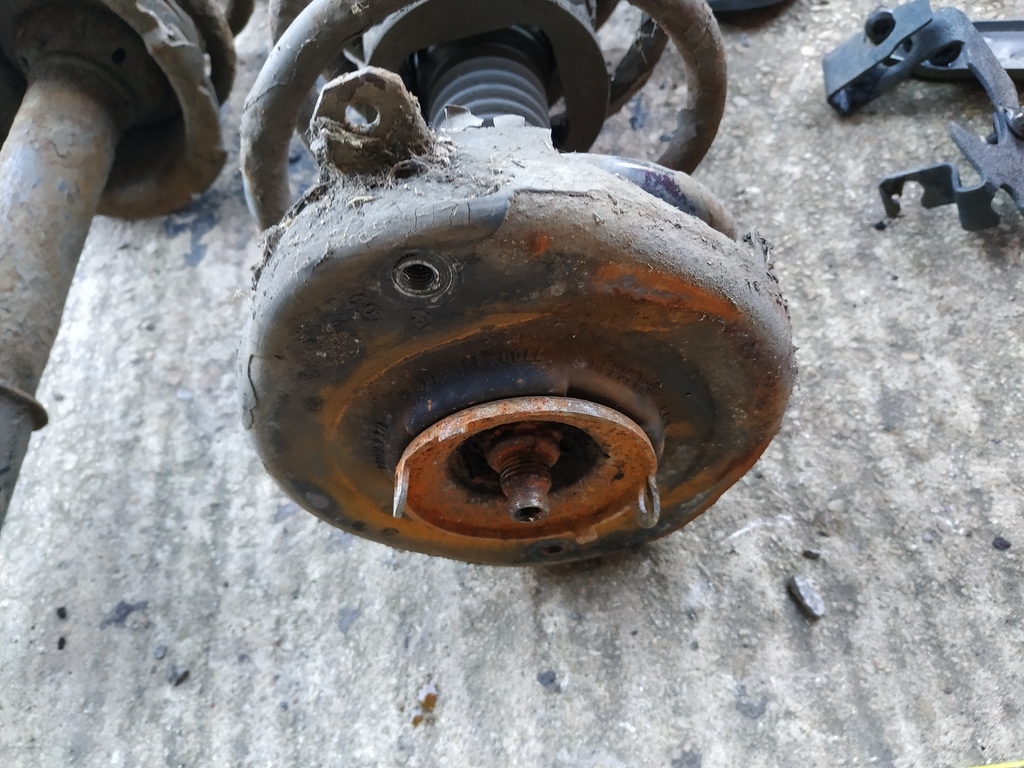
Both shock absorbers were now removed and the next task was to strip down the NS one...
This turned out to be a nightmare as the top nut came out so far before getting stuck (using an impact gun). I attempted to try and cut the nut off (with the clamps on of course) but it just made a lot of noise without much progress. In the end I managed to wind it back on and carefully clean the thread to get it off successfully.
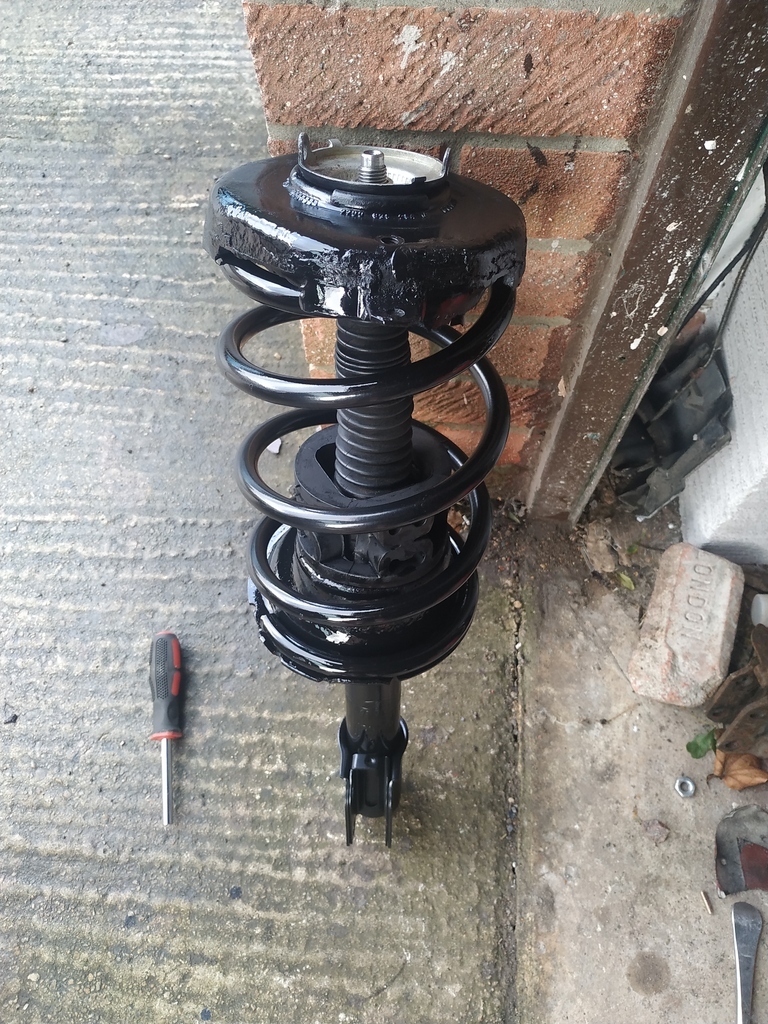
On this one I'll be keeping the upper and lower cups/plates and the boot (as per the OS) as they are perfectly reusable. The bottom cup got a bit of a clean up.
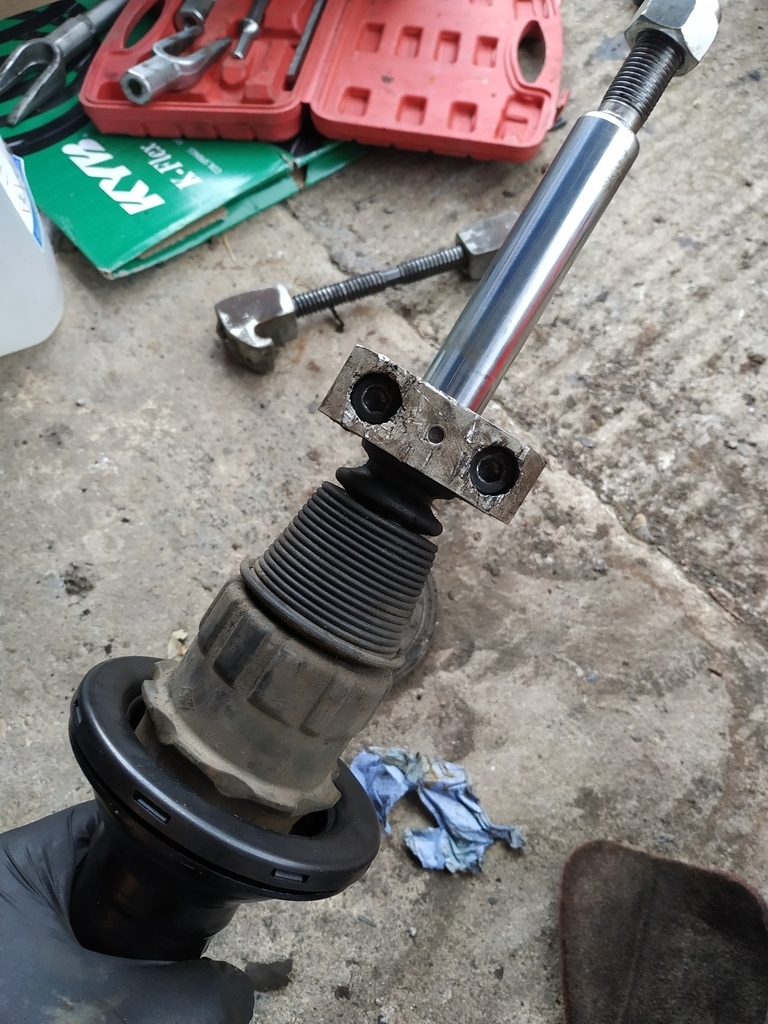
I then fitted the new bearing and boot, using the (very useful) strut clamp to stop the new shock piston from retracting.
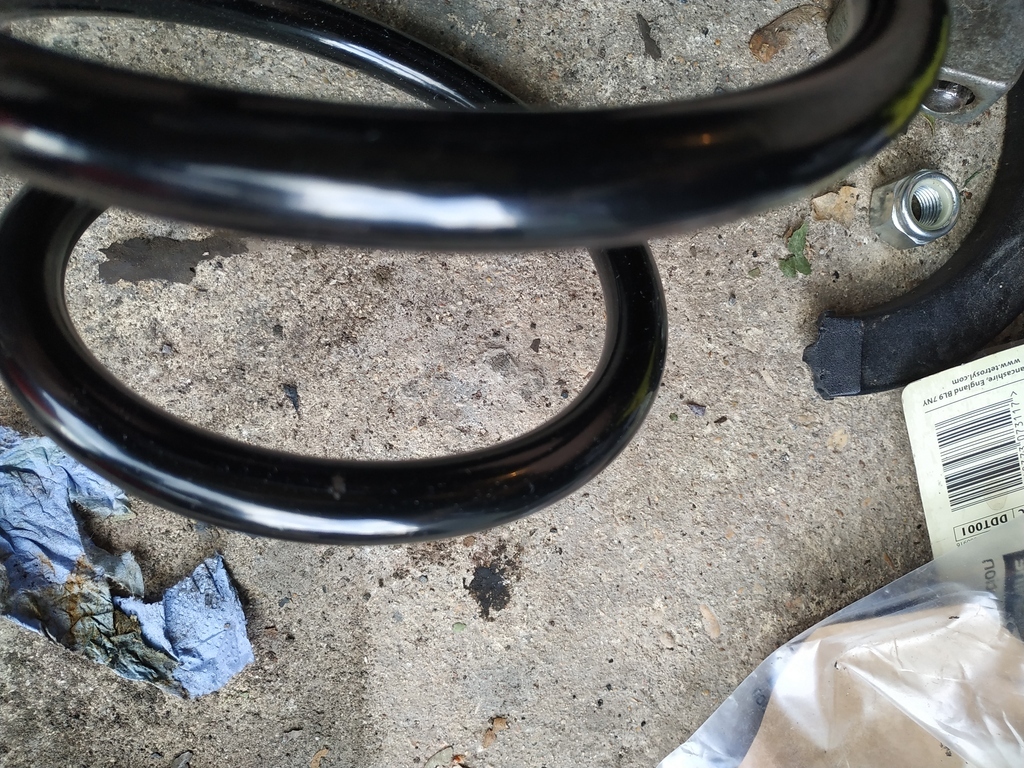
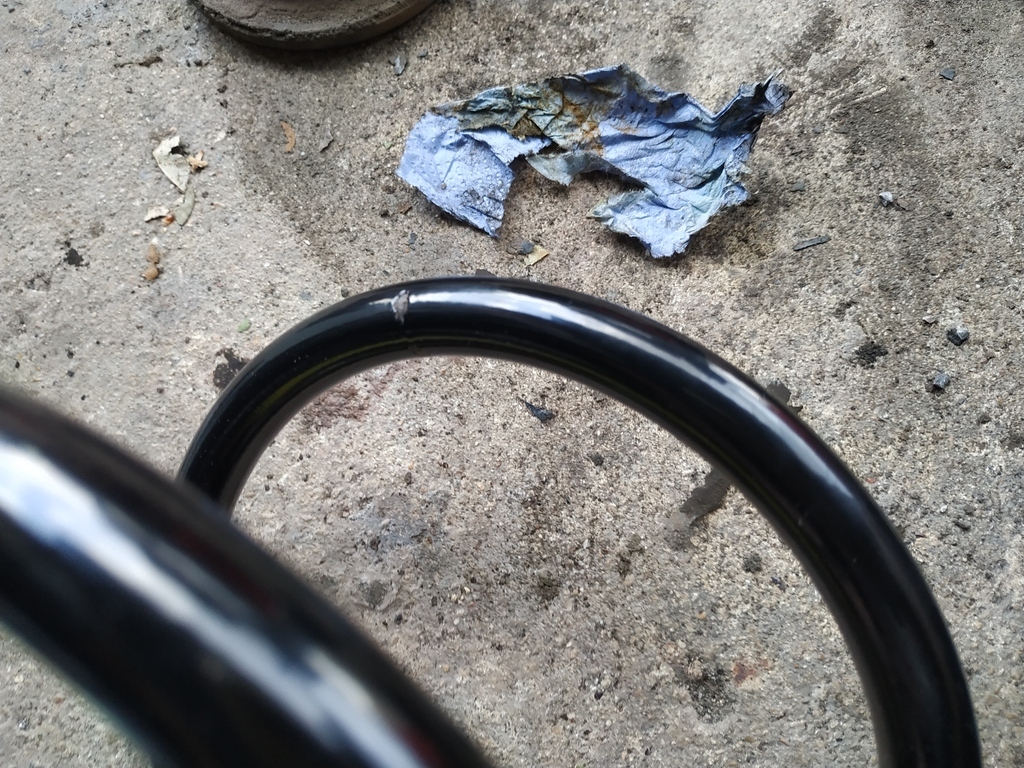
I've always noticed with new springs that you get small 'nicks' in them - these are probably from how they are hung when they are being coated, but I expect they are a key source of corrosion. I made sure to spray over these to give them a little protection.
Back on the car, I also removed the OS lower arm, having bought a new Delphi one to replace it. Not much to show on this, but the ARB design made it a right pig to do, and the usual seized BJ bolt and magically stuck ball joint stub was also not a lot of fun. I got there in the end, though.
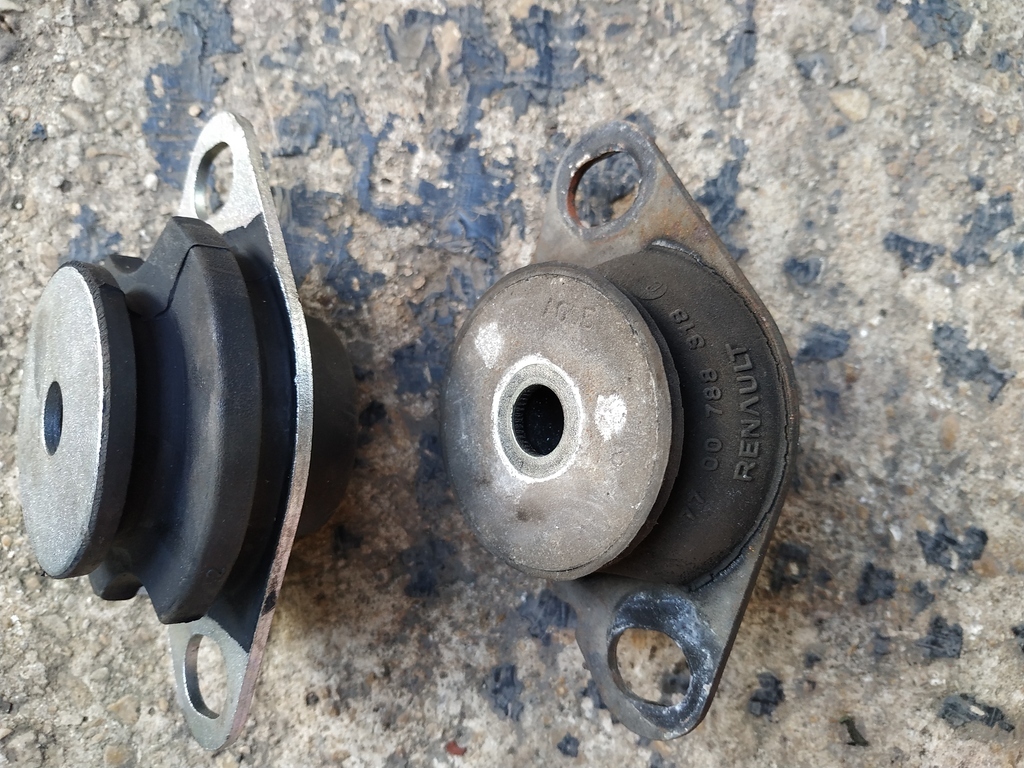
Old vs new shot with ARB Bushes (to come later)
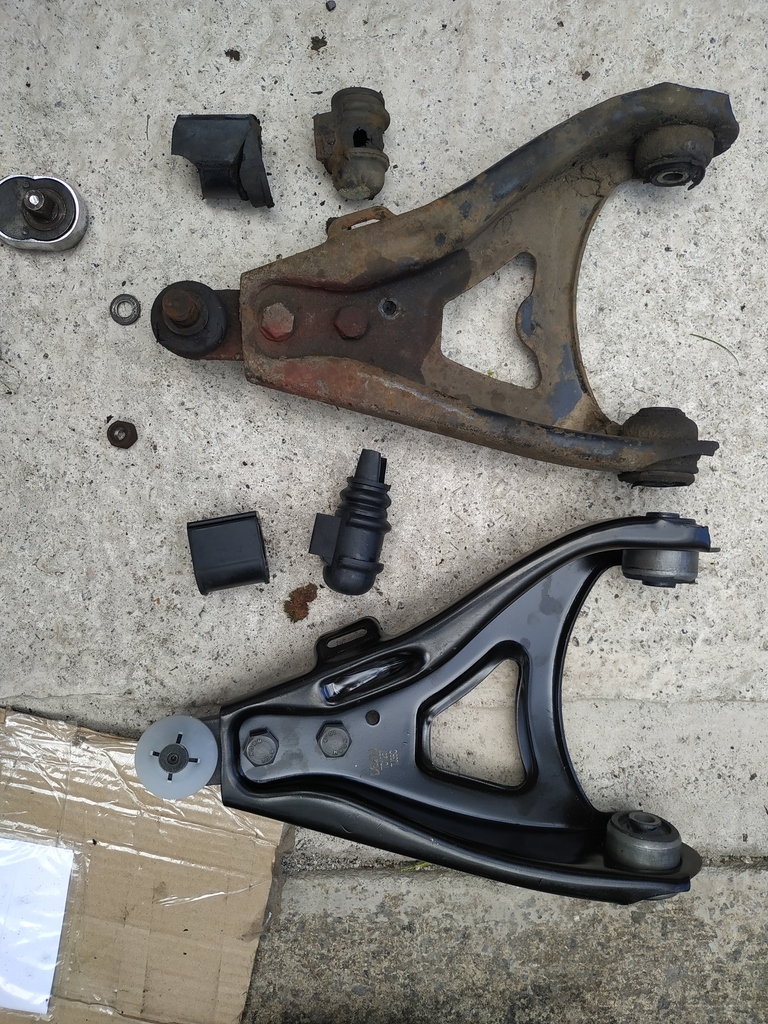
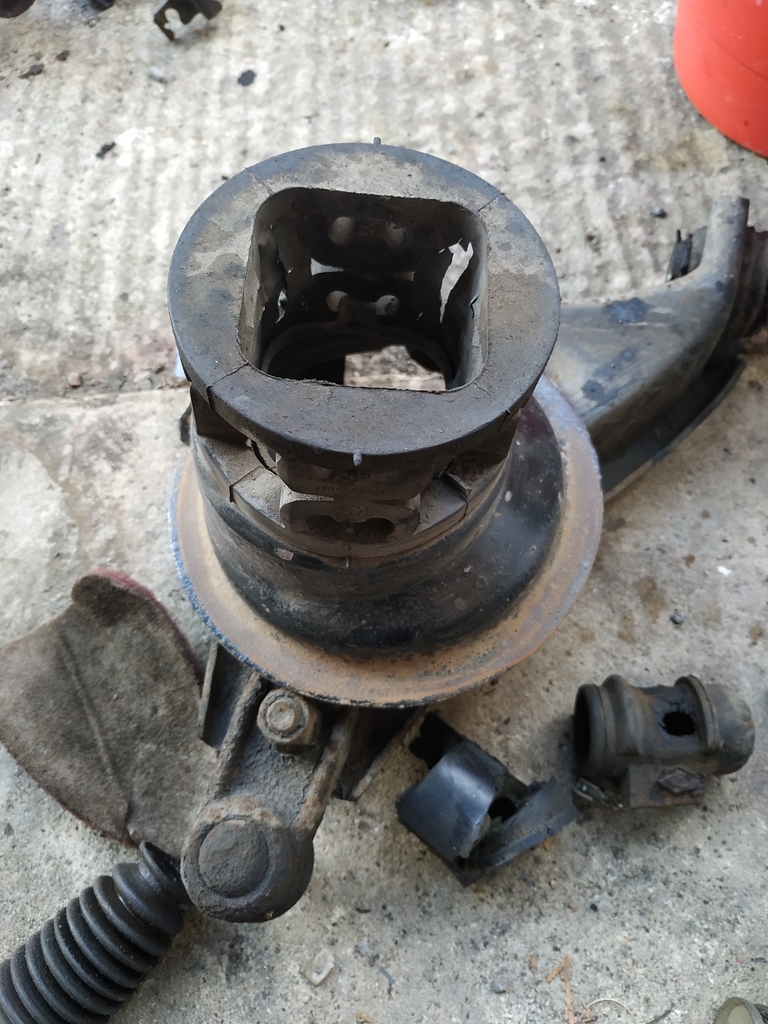
The wishbone bushes were quite shot on this side, having started to separate quite a bit - this was hidden under all the gunk
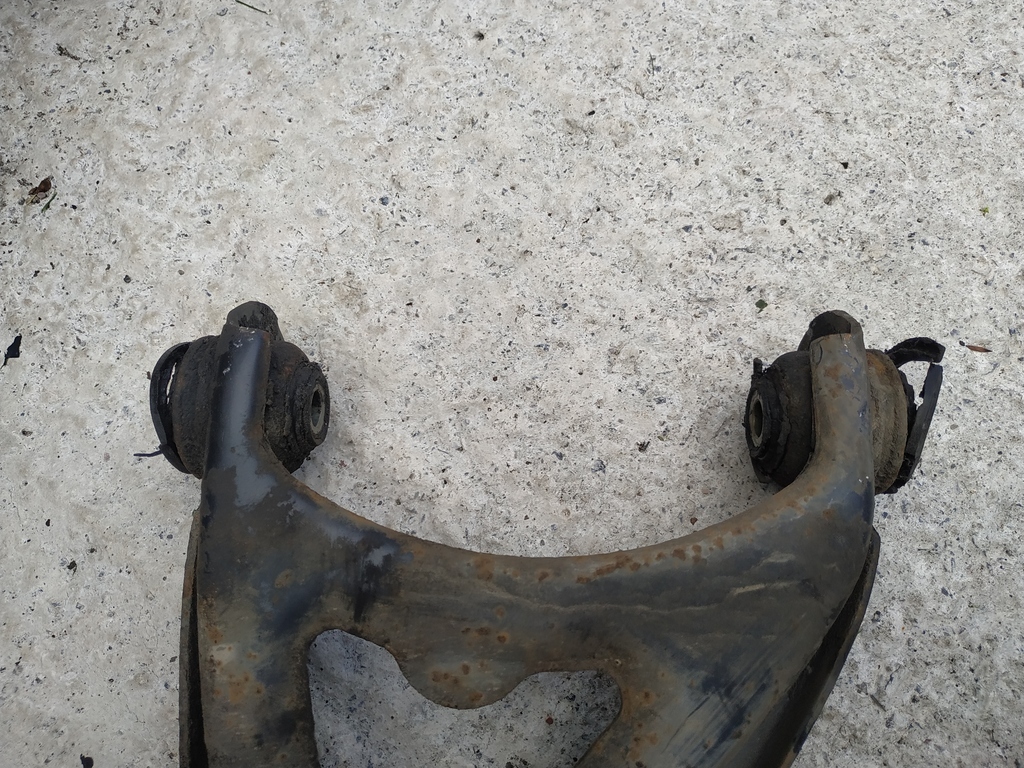
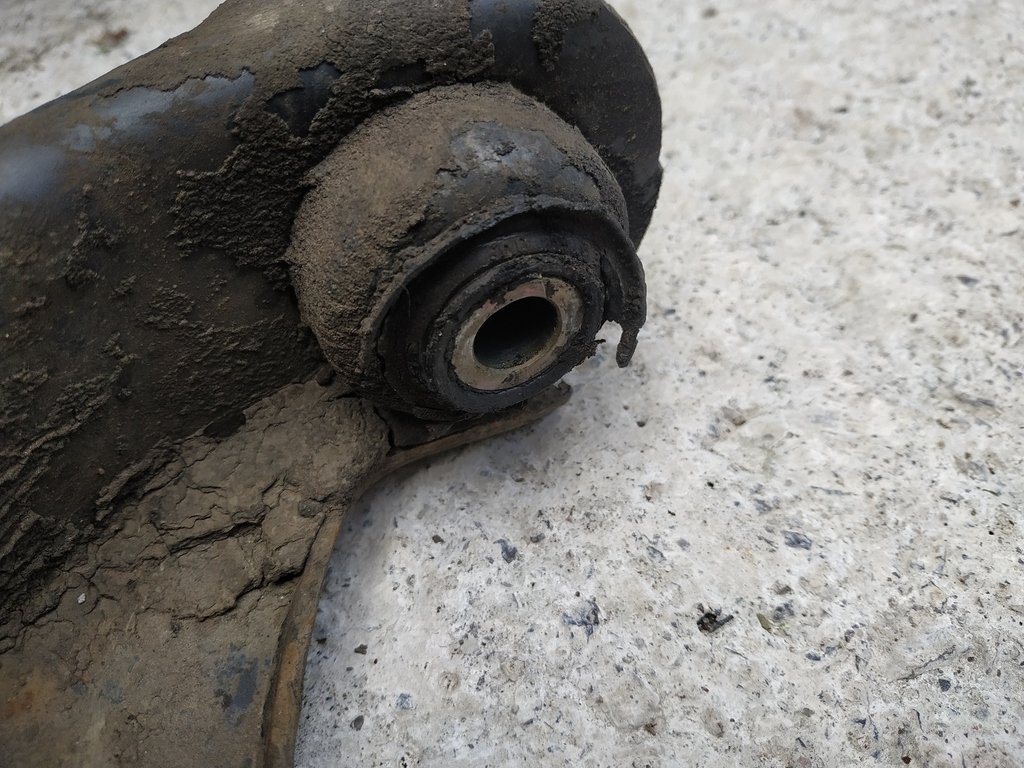
The ARB bushes were in a similar condition on this side, with the inner bush being particular knackered. Again, bear in mind that these weren't even a note on any of the recent MOTs !
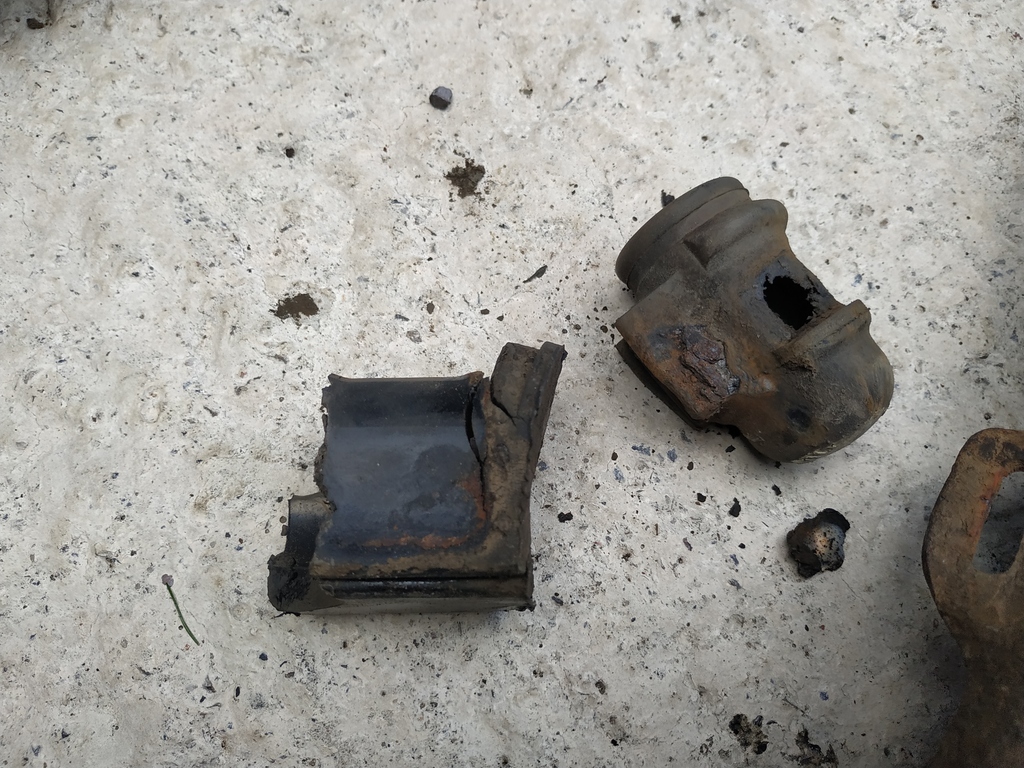
The NS inner bush looked to be in a bit of a bad way, as it was quite swollen and cracking.
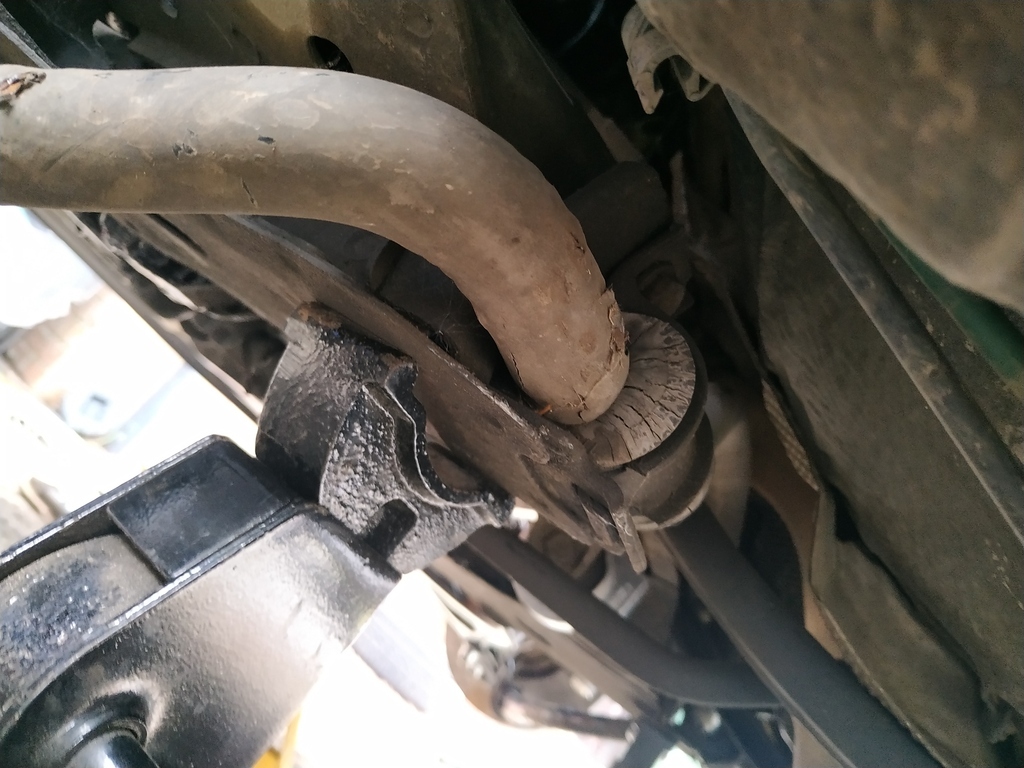
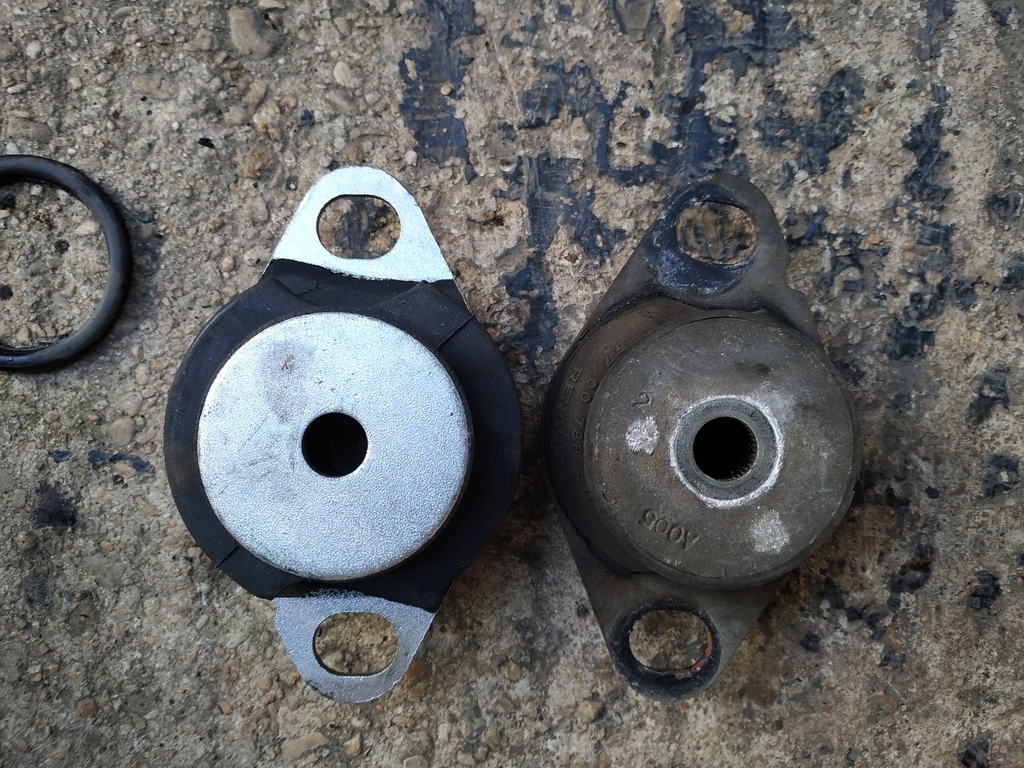
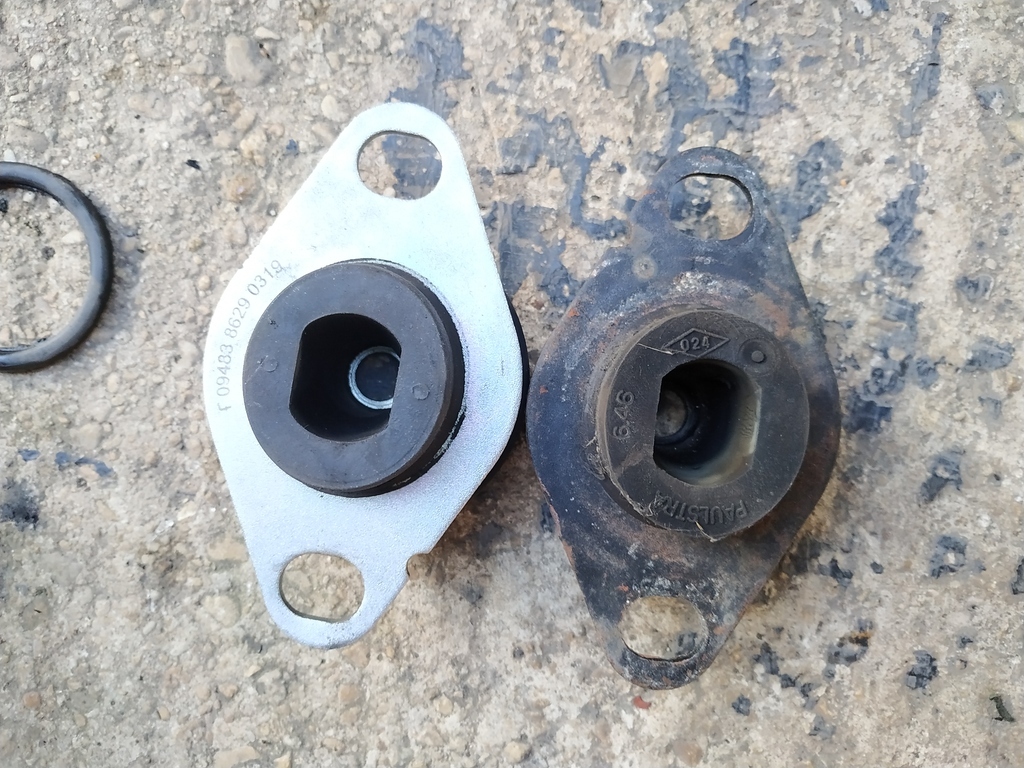
Strangely enough it wasn't as bad one it was removed. As seen, they are Renault items so are plausibly as old as the car (20 years or so)
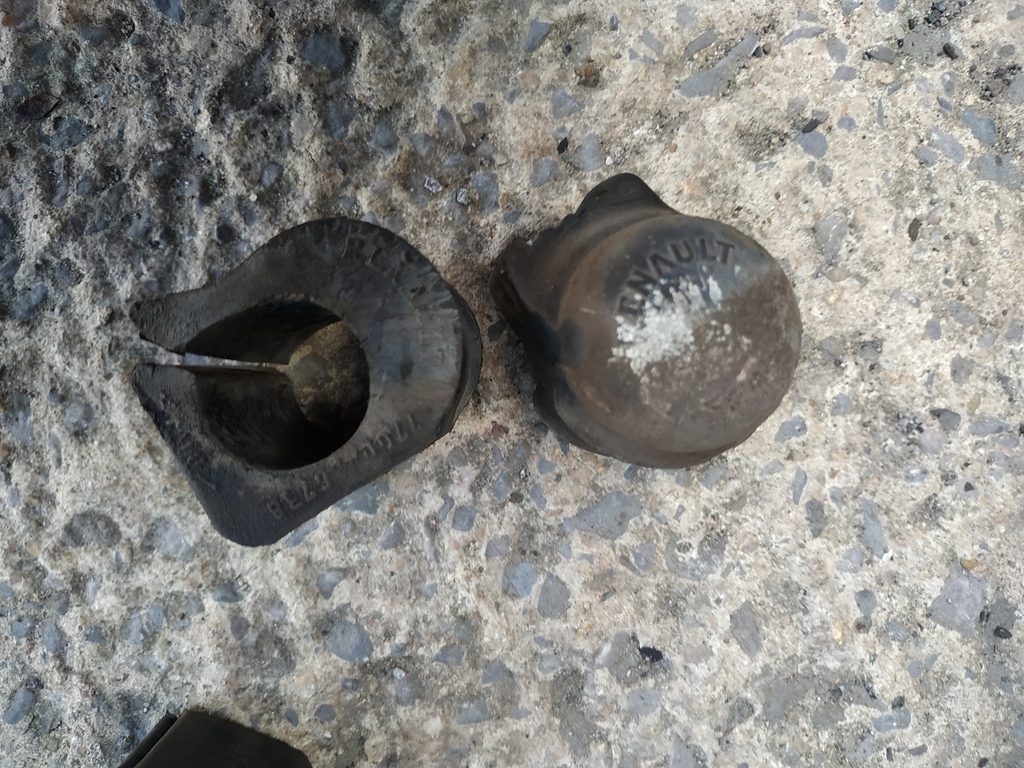
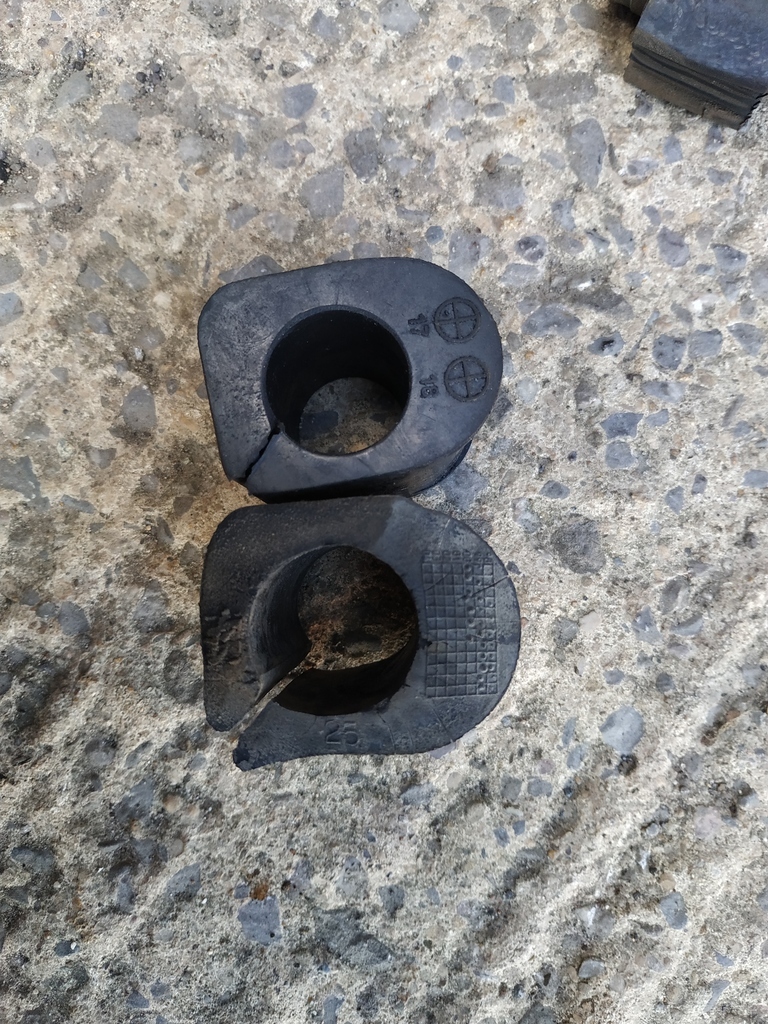
The old versus new comparison was about to hint at my next problem - see the observable deformation in the shape around the upper right curve and the lower middle. This is from the compression of the clamp. The inner was rather ovalled, but I don't think it shows as much in the photo.
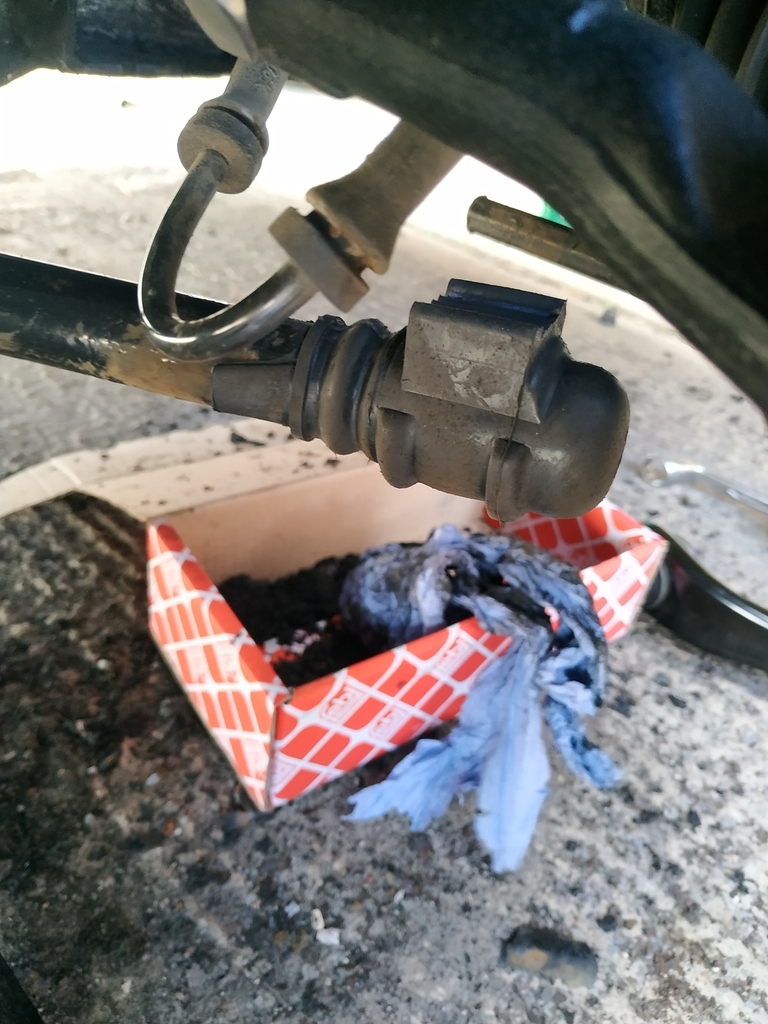
The new ends are a slip-on affair, and went on with reasonable ease using some grease. Fitting these back on the lower arms was a bit tactical and not something to be enjoyed. I appreciate drop links infinitely more now!
Lying on my back on concrete was a bit of a pain, so I had a bit of a break by looking at other bits. The rusty wheel sensor/Flexi clamps from the struts were cleaned up in the bucket and then prepped for paint
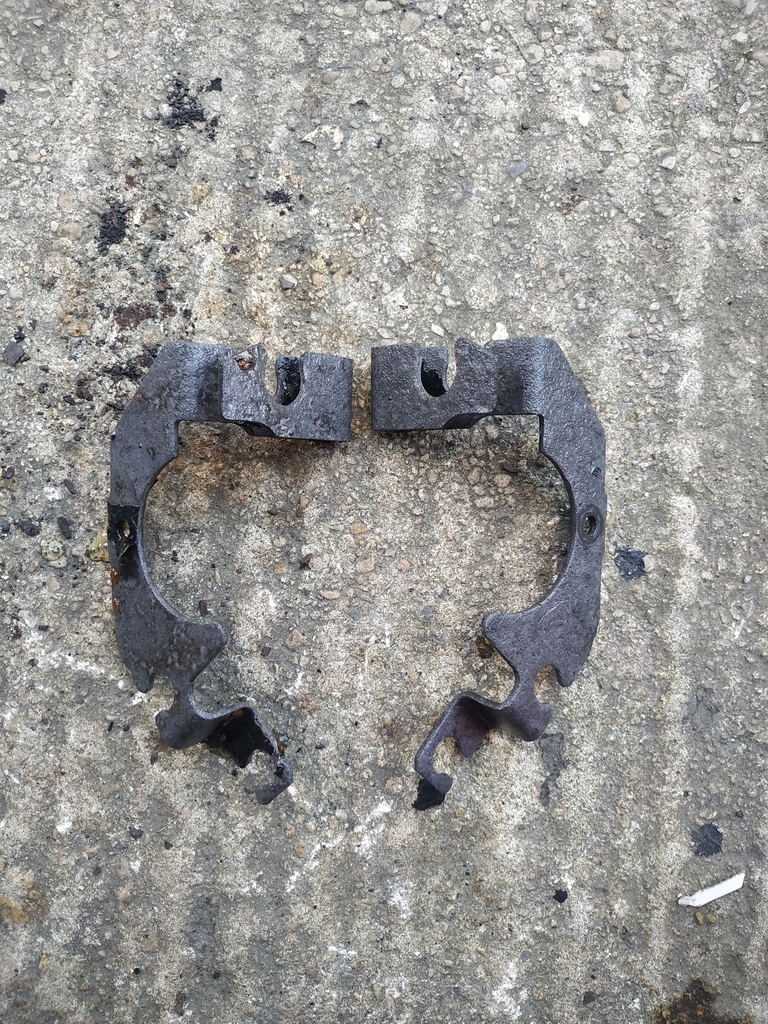
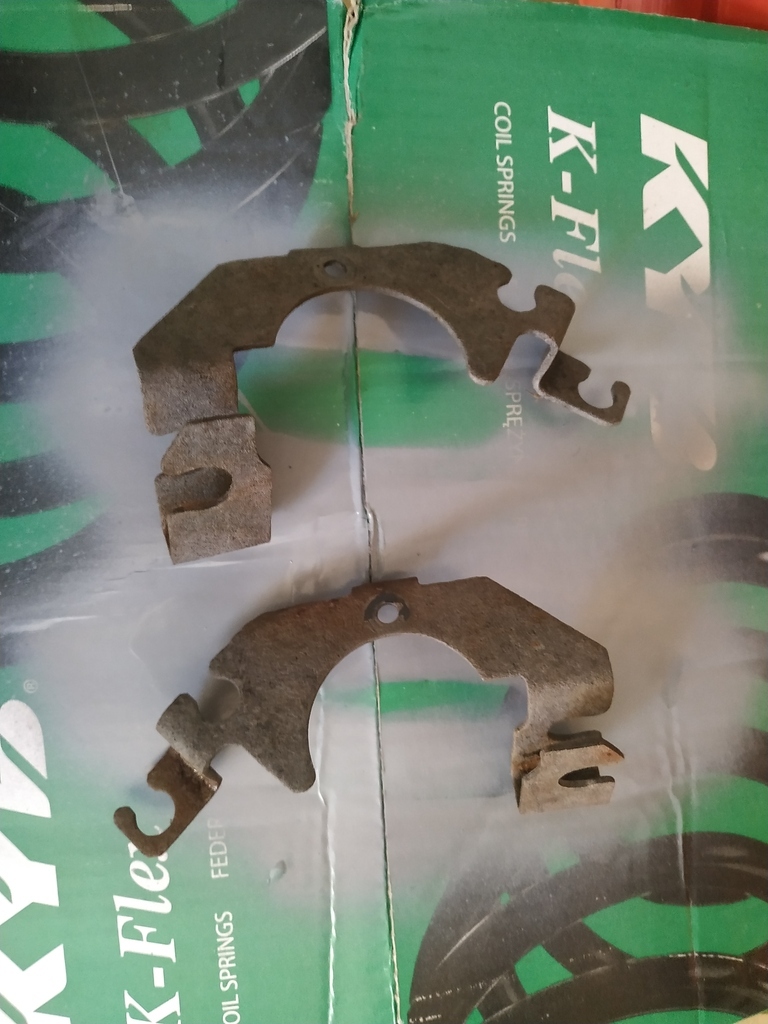
Refitting the new bushes turned out to be a complete nightmare. I should have known really from when I went to remove them, as that seemed to be a tight and awkward task.
With new bushes you just can't get the clamps to compress over enough to line up the bolt holes. I did a quick google of this and it turns out to be some sort of ridiculously arduous thing on Renaults (or particularly this era) with many Clio owners simply giving up on the task.
There wasn't a lot of room, so it smacks of one of those jobs that was designed with the subframe off the car.
This is basically as far as you could get them to line up by hand...
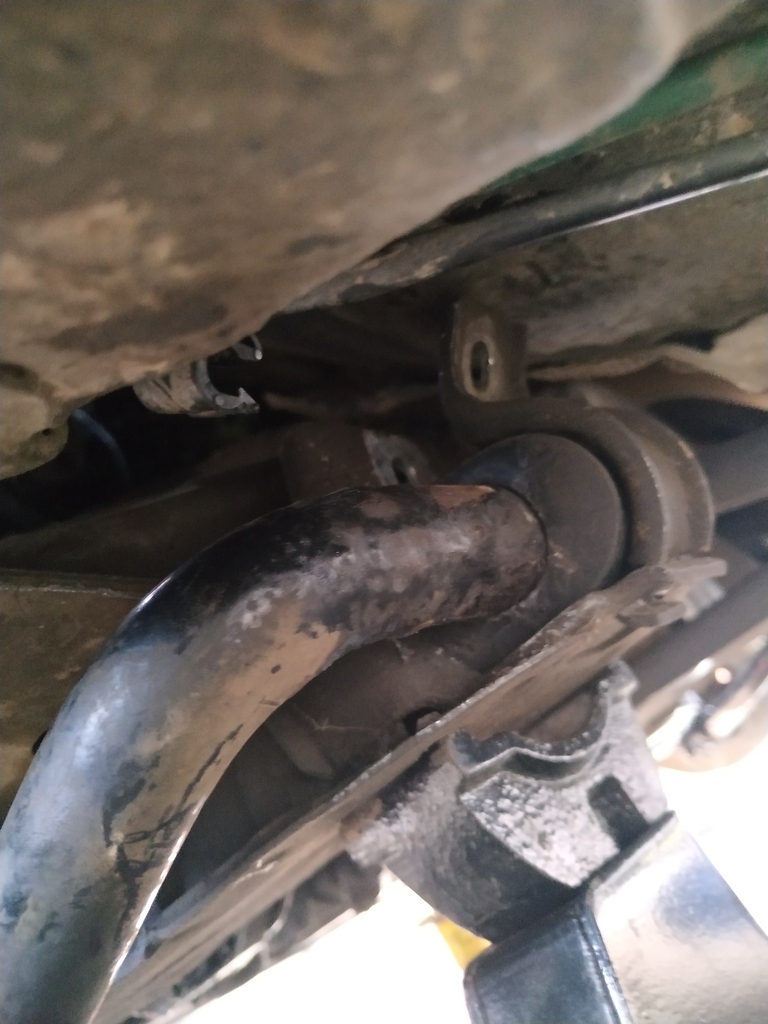
Attempts to pull the clamp bolting plate up and into place using mole grips were a miserable failure. The bolt hole was just miles off.
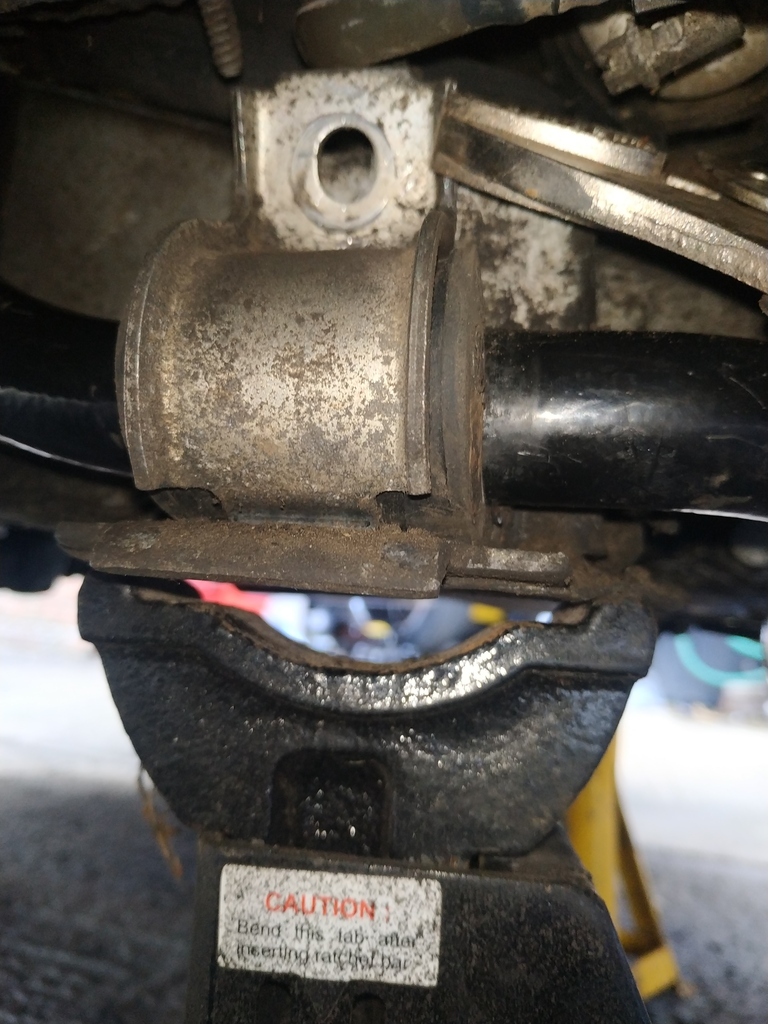
I had to eventually (the next day and several technique attempts later) use a G-Clamp to pull the bolting plate up, using a screwdriver in the pivot to 'pull' the clamp down more.
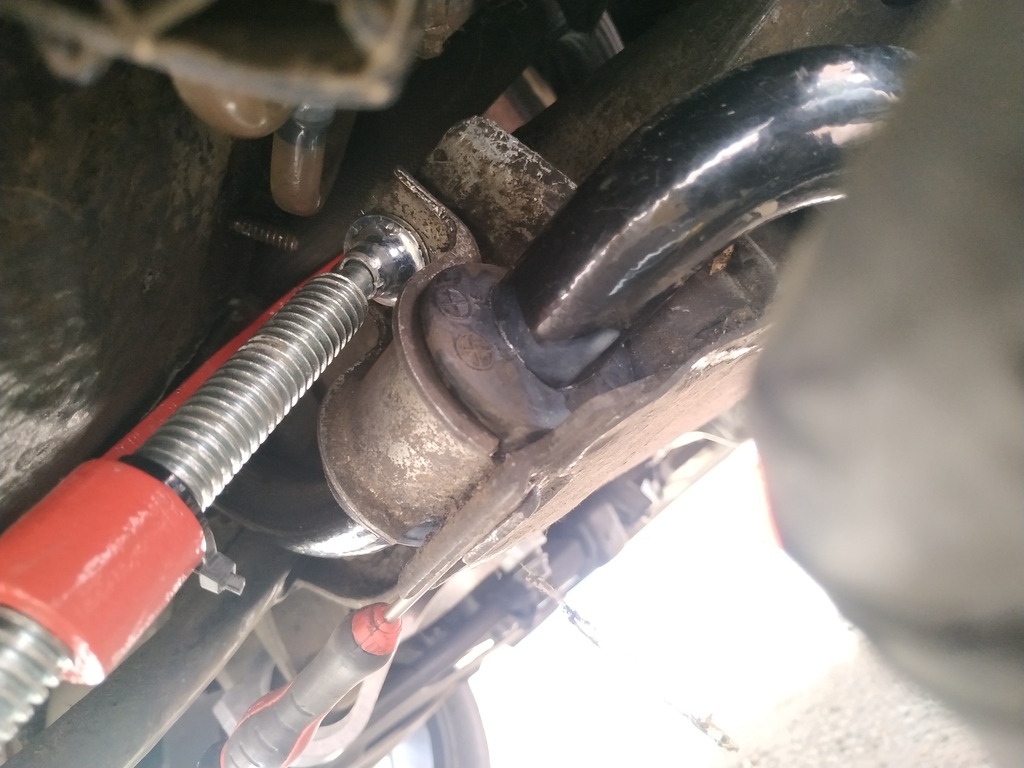
...then use some mole-grips to hold it in place, before removing the G-Clamp for bolt hole access. Not perfect, but it was enough (and apparently the best you can realistically hope for)
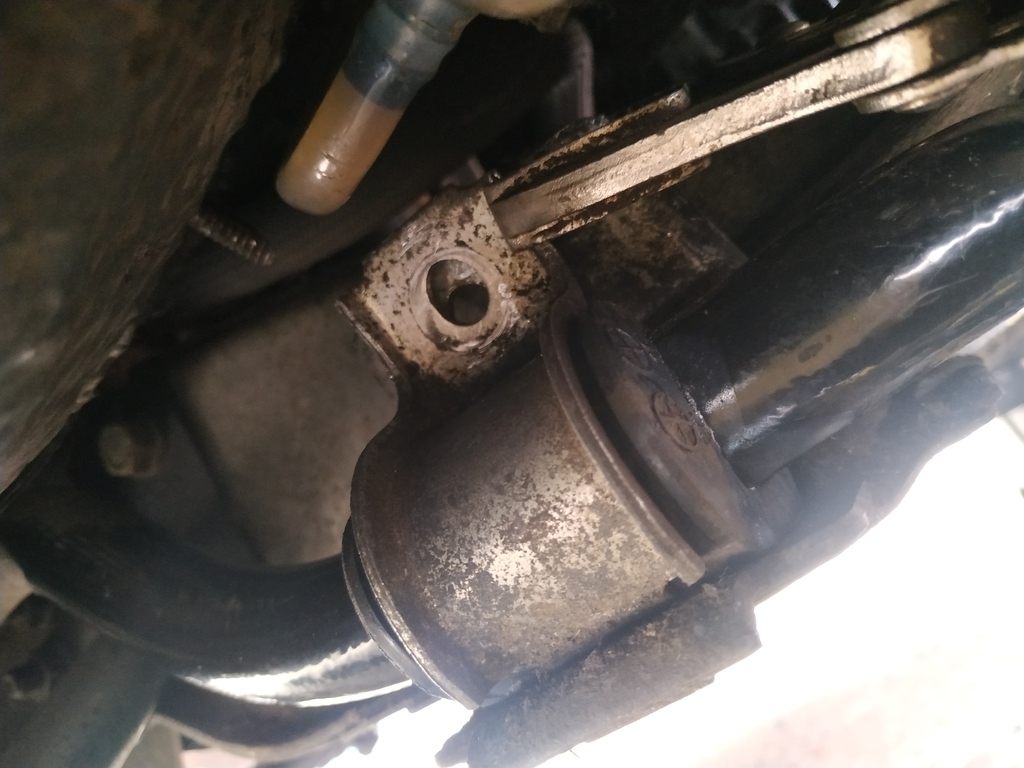
This technique was easier on the NS, but there's still barely room to get your fingers round the back to put the nut on. My hands are going to ache tomorrow!
The new bush wasn't completely central, but this just isn't a task for perfection.
Although the technique now makes it more efficient, I wouldn't willingly do these again - it was one of the hardest jobs I've had to do on a car (and those are numerous and varying).
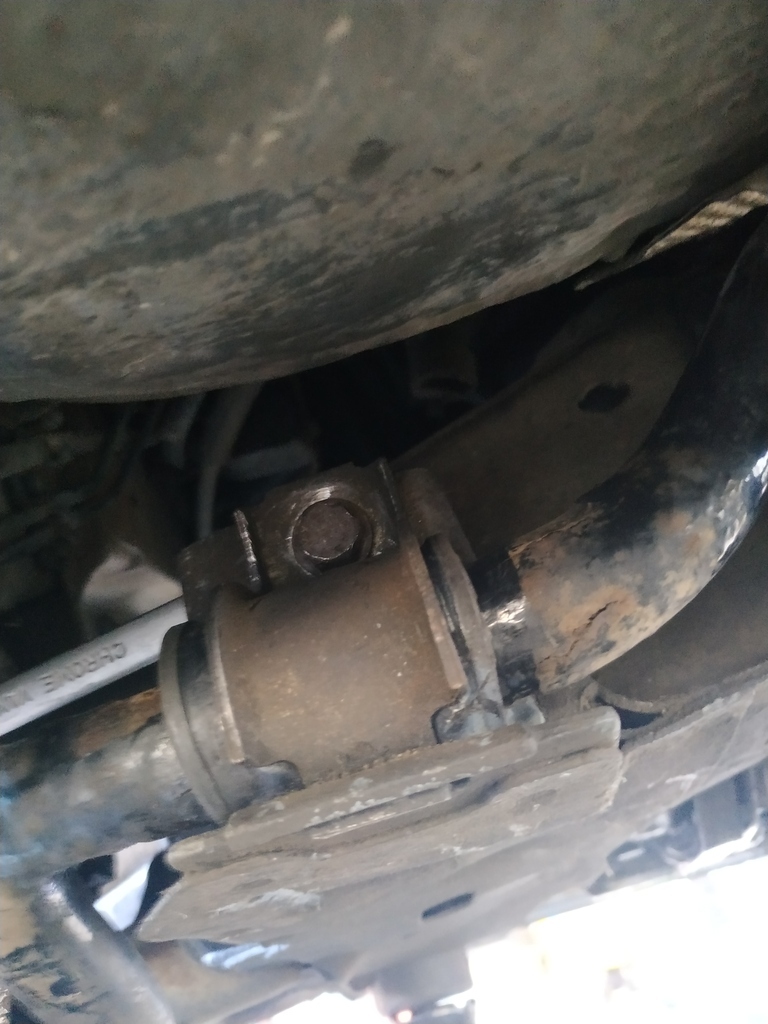
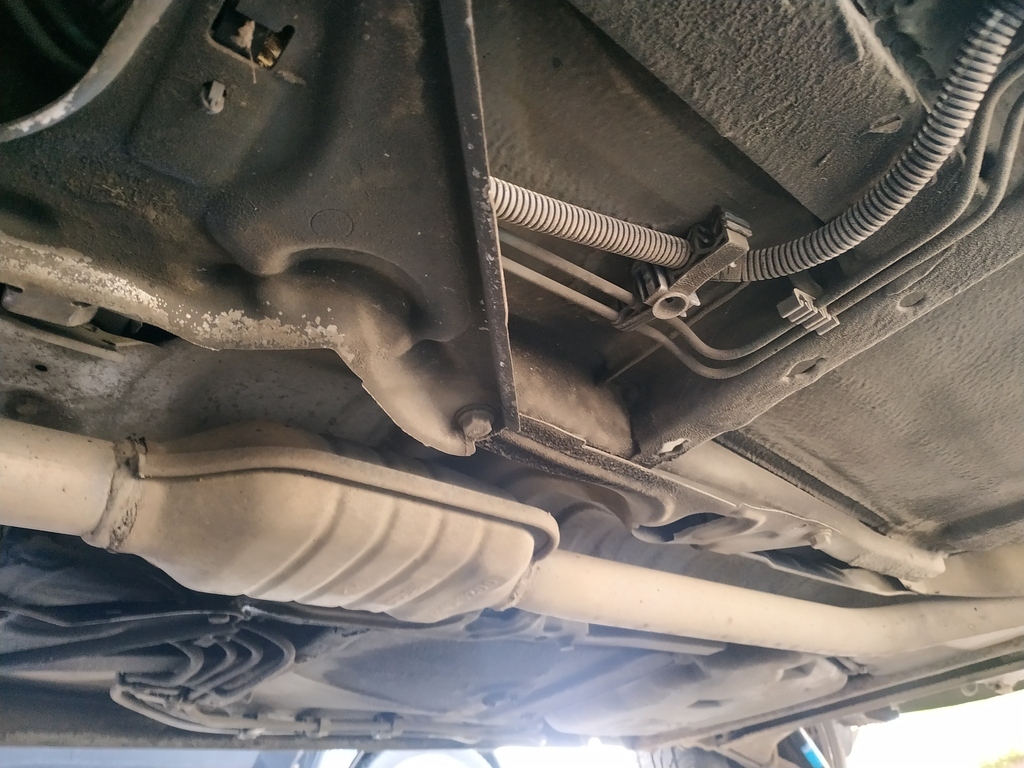
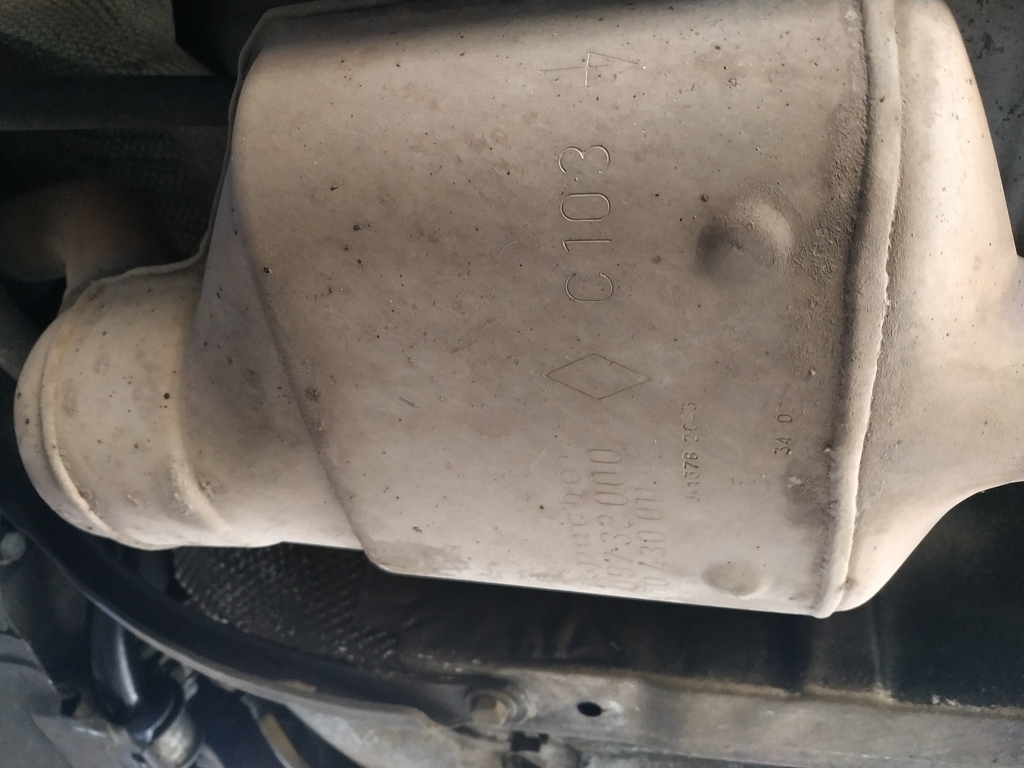
As I spent an inordinate amount of time staring up in frustration, I noticed the underside and exhaust appears to be in particularly good condition, and looks to be OE. Interesting to know if/when it was changed.
So back to the main task - I got the torque wrench ready for the shock-to-pivot bolts - a heady 180Nm.
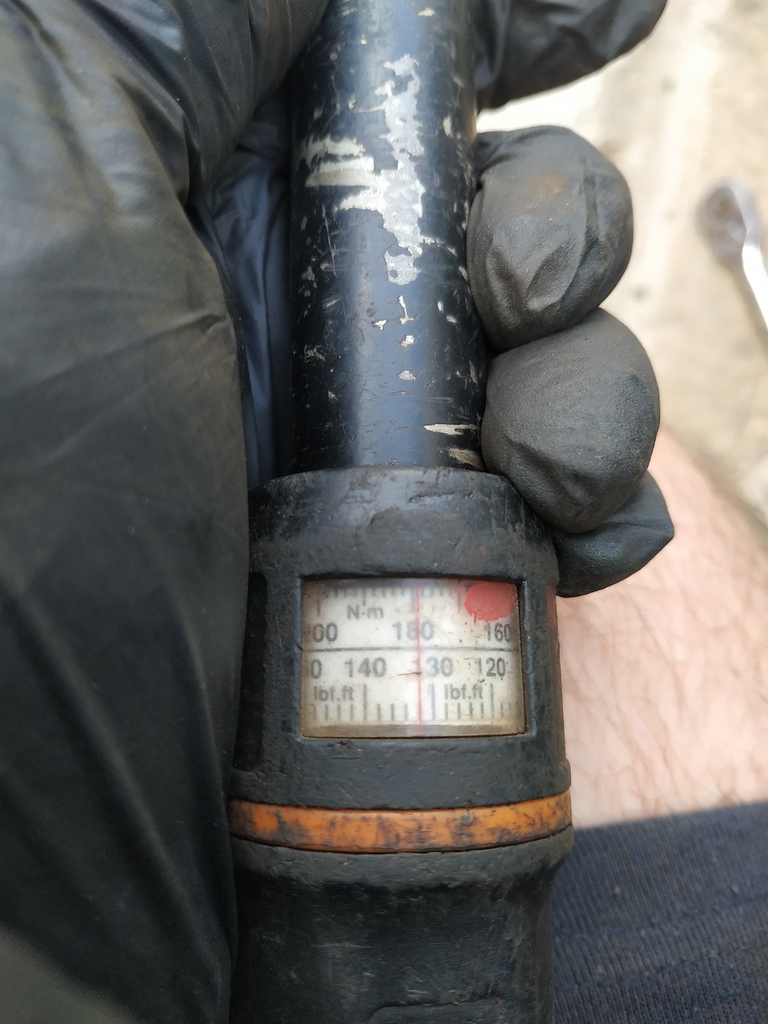
Everything was then bolted up and checked for the correct torque
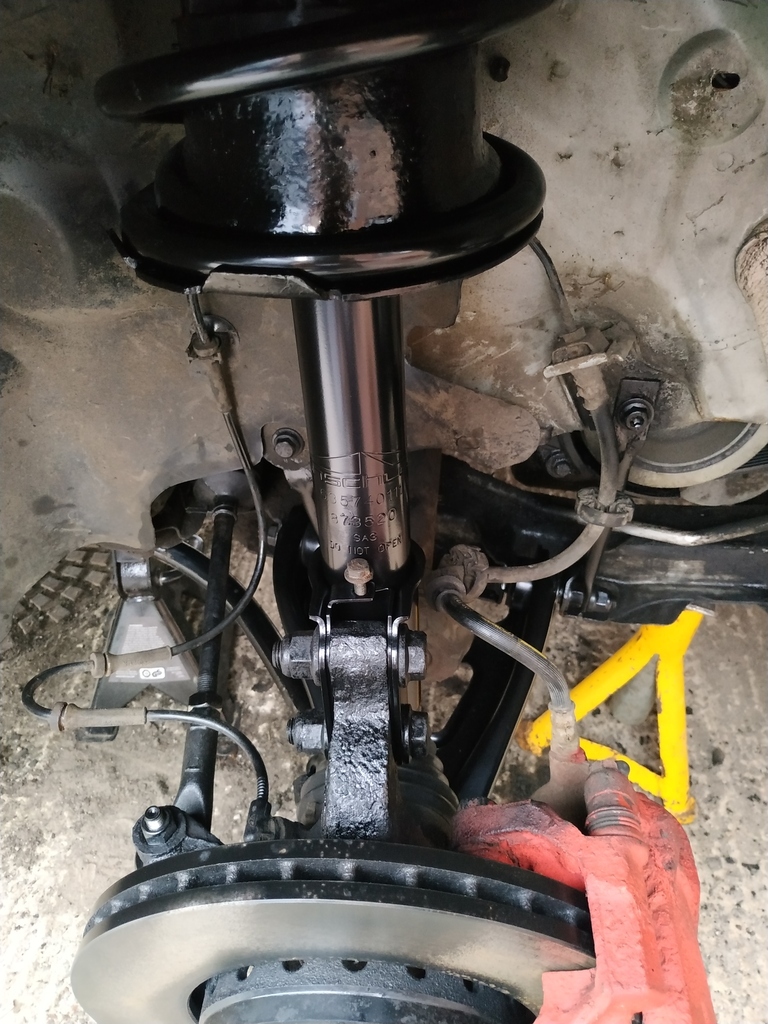
I had painted the cleaned hose/wire brackets and they'd had time to dry, so these were fitted back in place.
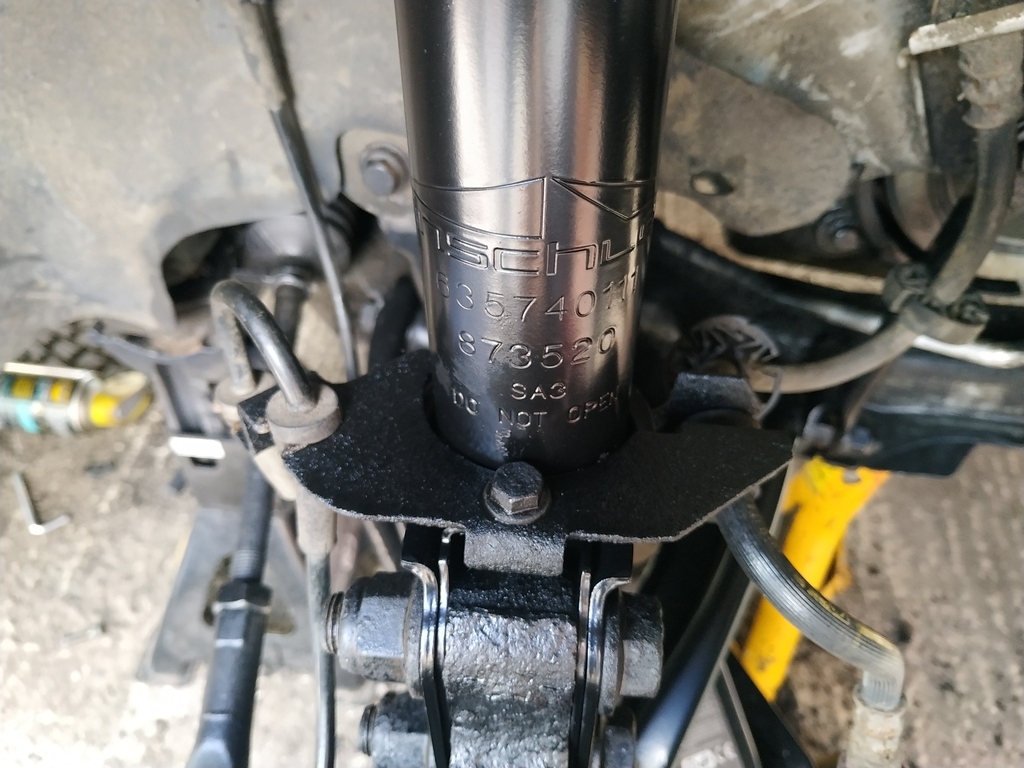
I then cleaned up the arch liner and put everything back together.
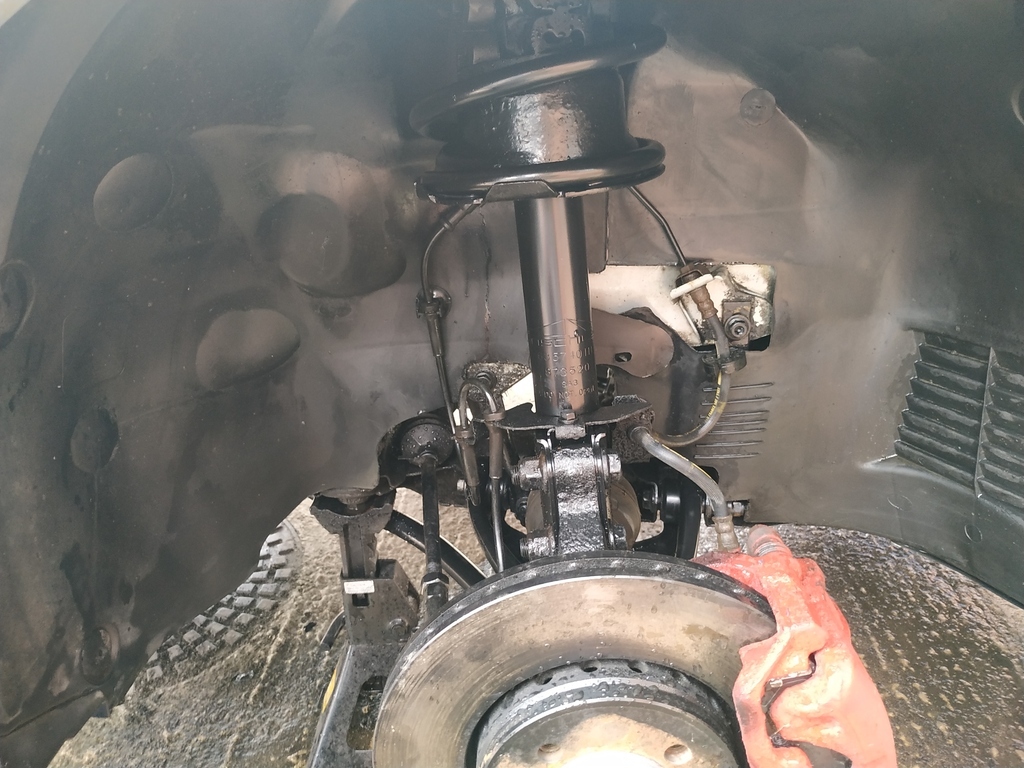
The nearside shock was then bolted into place
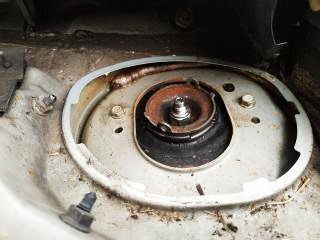
I initially bolted the offside shock back in the same position it was in before, using this reference photo, however it didn't look right - you can even see in this one that the curve of the top cup is visible in the upper left hole:
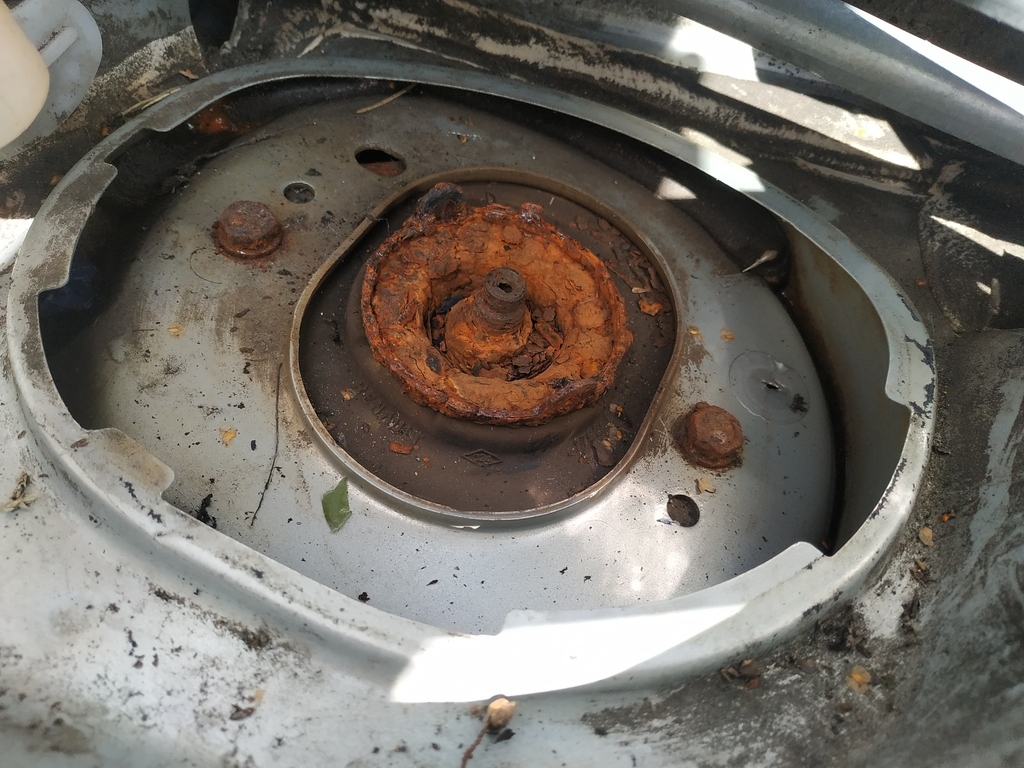
Checking the Haynes showed this to be completely wrong - they should both be in the upper holes, rather than one of each?
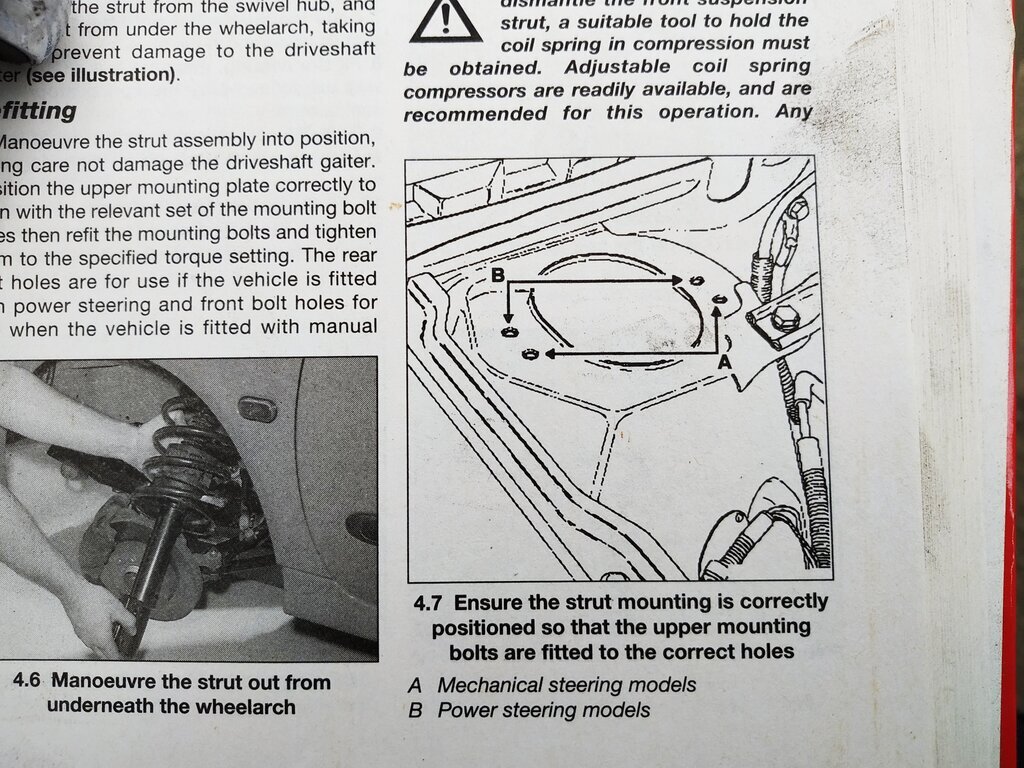
So I changed this to how it is supposed to be bolted. No idea what difference this will have made, but I suspect it might have affected the camber
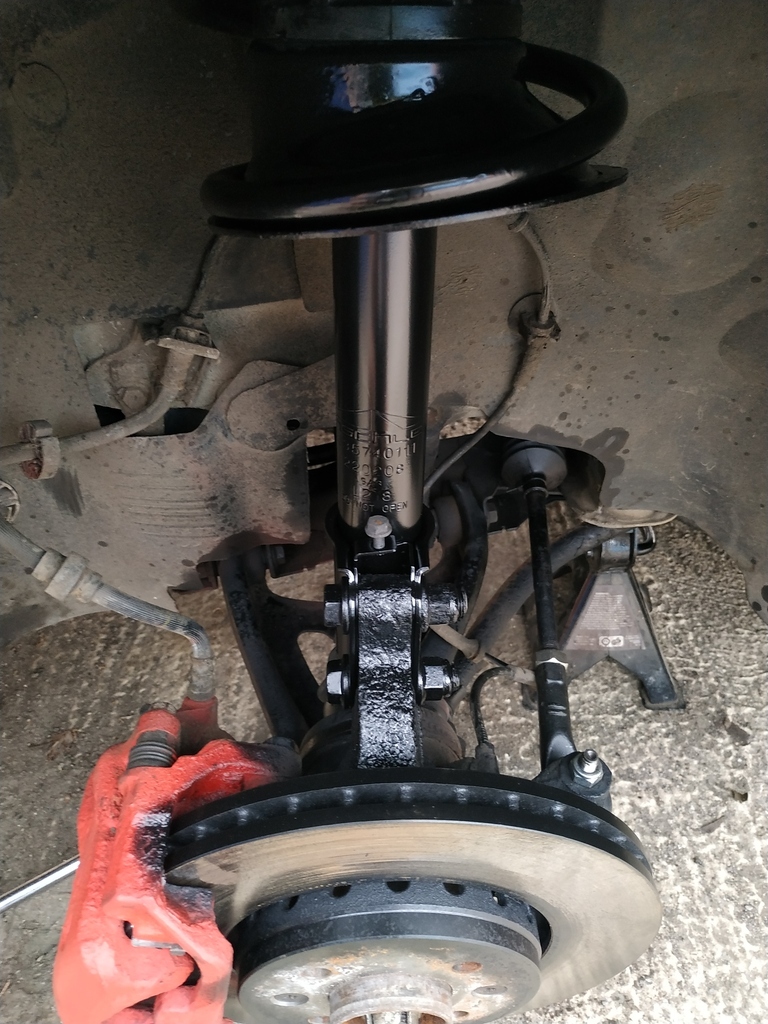
The nearside was re-fitted with the new TRE lock nut also in place.
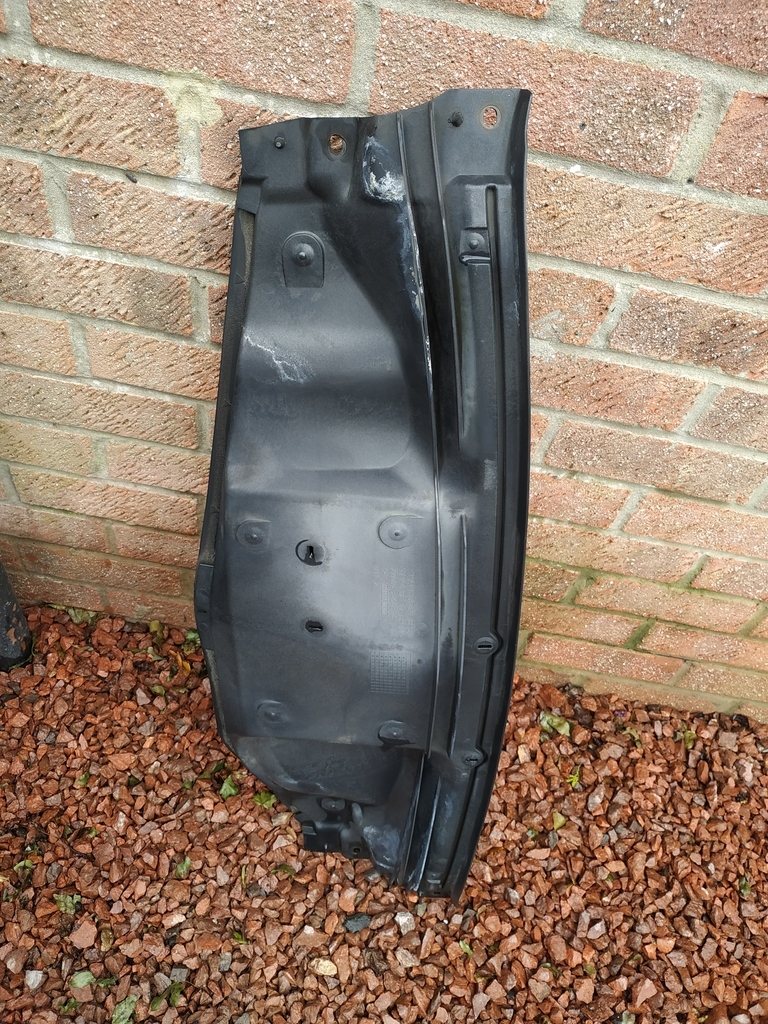
Staying under the bonnet, and prior to refitting the scuttle cover and wiper arms, I took a bit of time to remove the middle scuttle panel as it was green and mouldy. Cleaned that up and left it to dry.
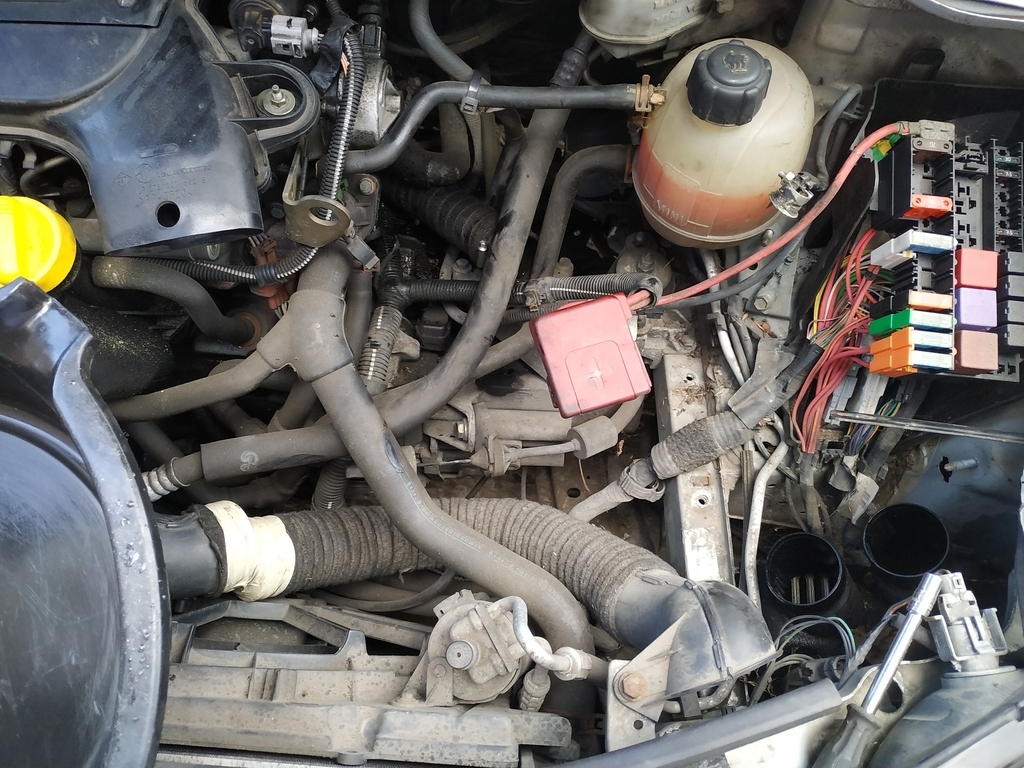
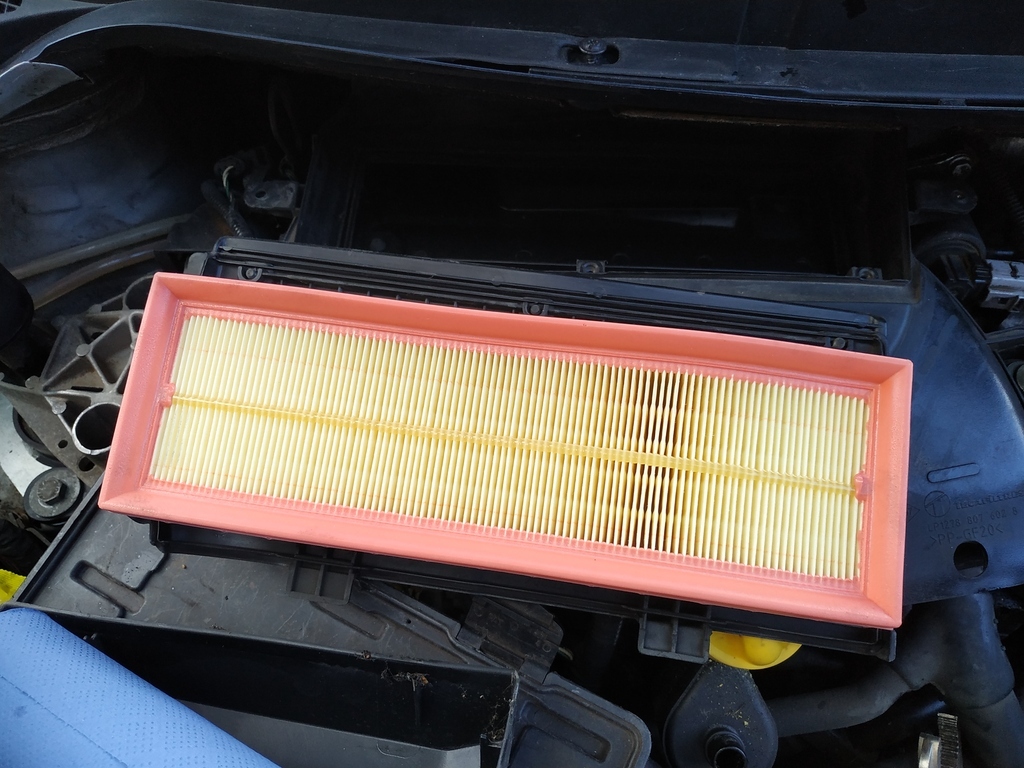
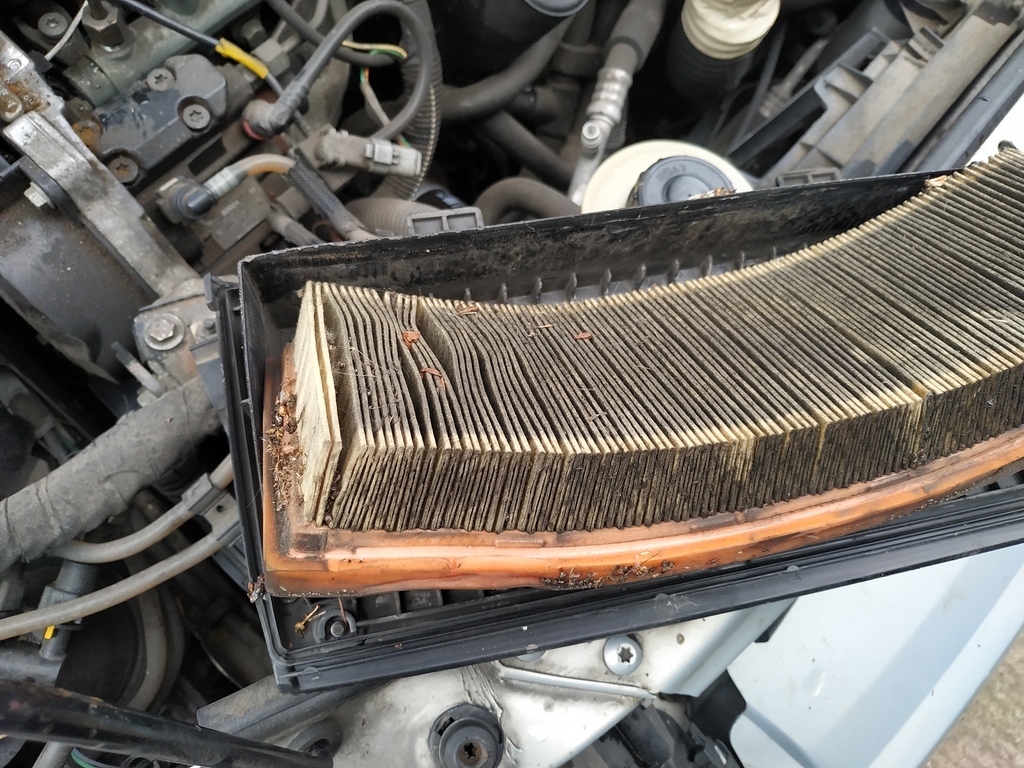
While the access was there I checked out the air filter and a few other bits.
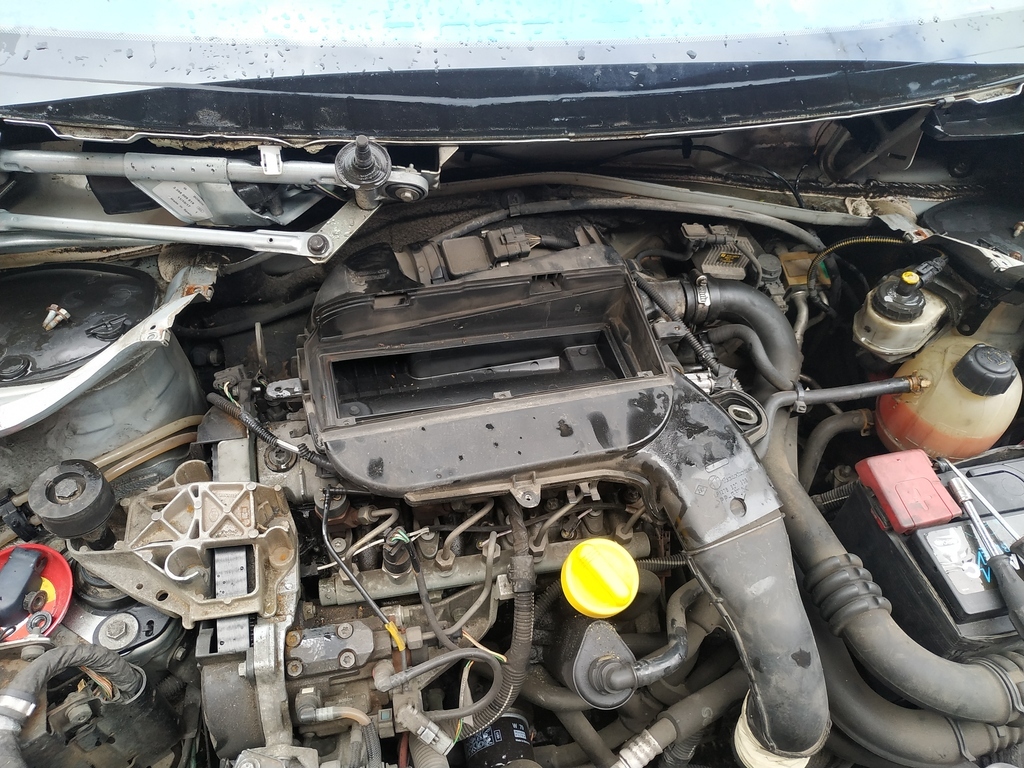
Looks like an air filter is required!
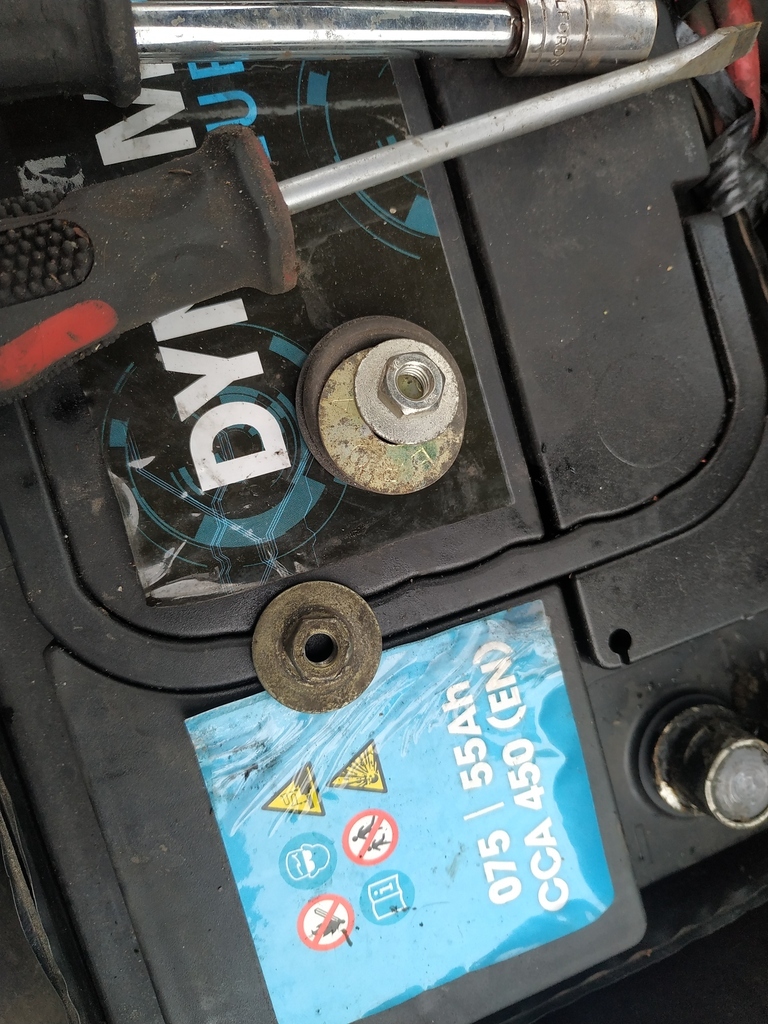
I had noticed that the engine sounded extra 'dieselly' because one of the air box mounting bolts/rubbers was missing (another paid job bodged I'm sure). This mean the bracket was rattling against the engine.
I made a bolt that is of the same sort of construction (rubber buffer using some wall box grommets) to resolve this (at least temporarily).
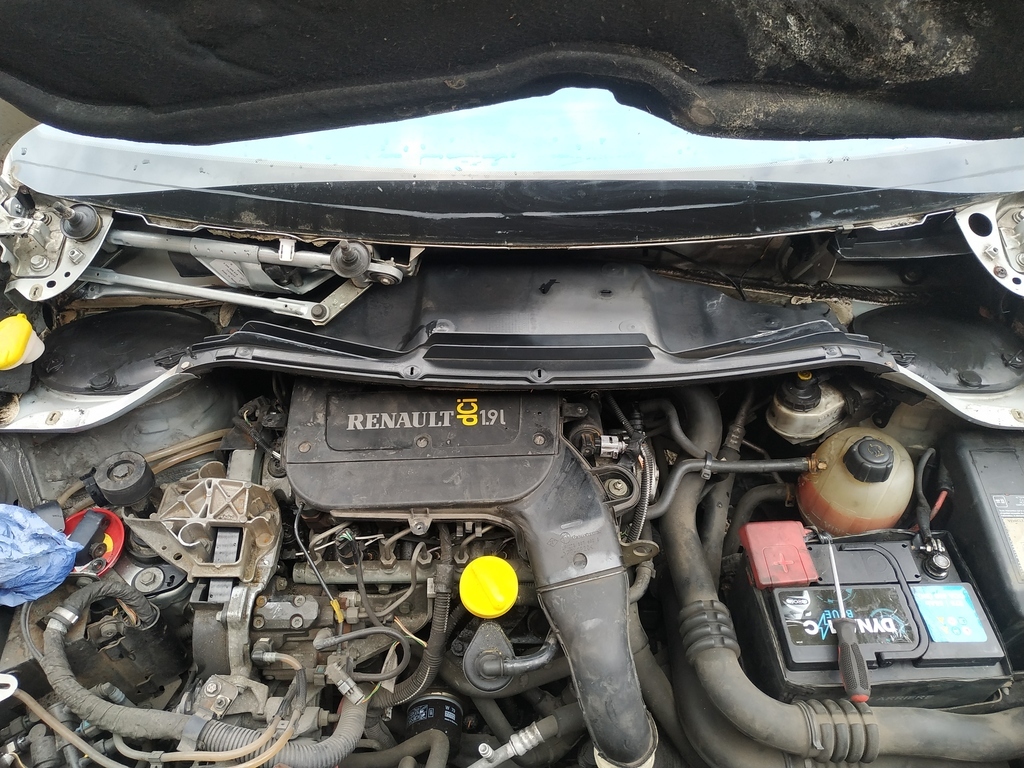
The final act was just to reassemble everything
So stuff I didn't get round to doing:
- Test driving! I'll try and do that in the week. The front wheels felt a bit 'draggy' in neutral, so I may need to either look at the gearbox or calipers.
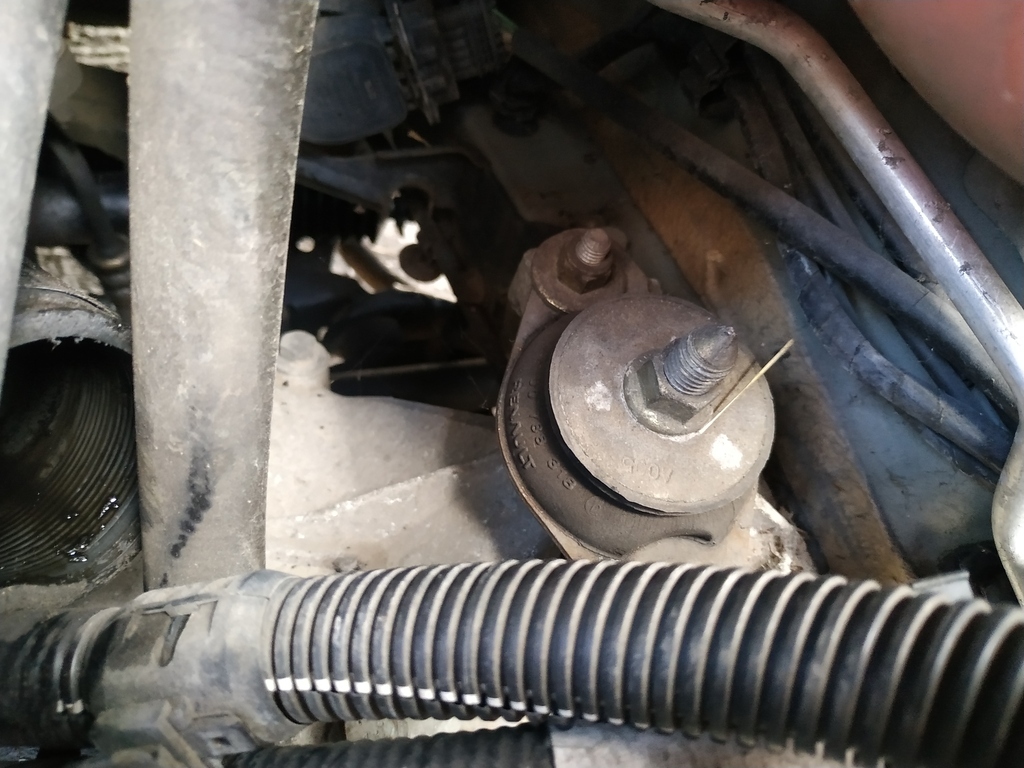
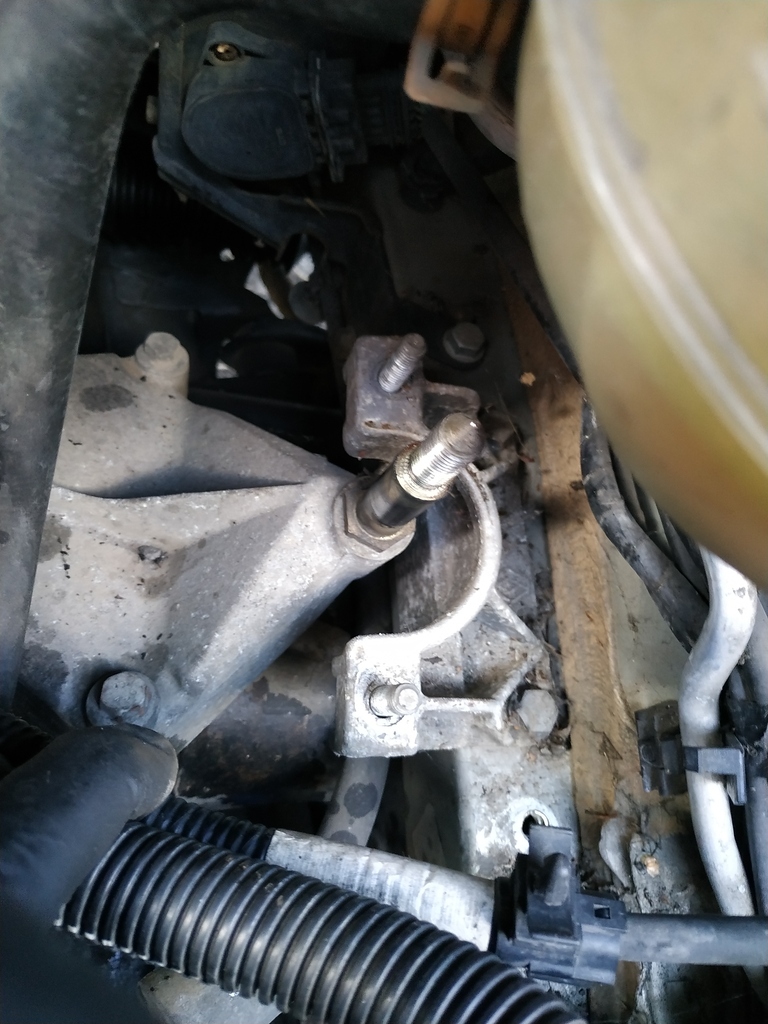
- Gearbox mount. One for another day!
- Oil change. See above, but also below...
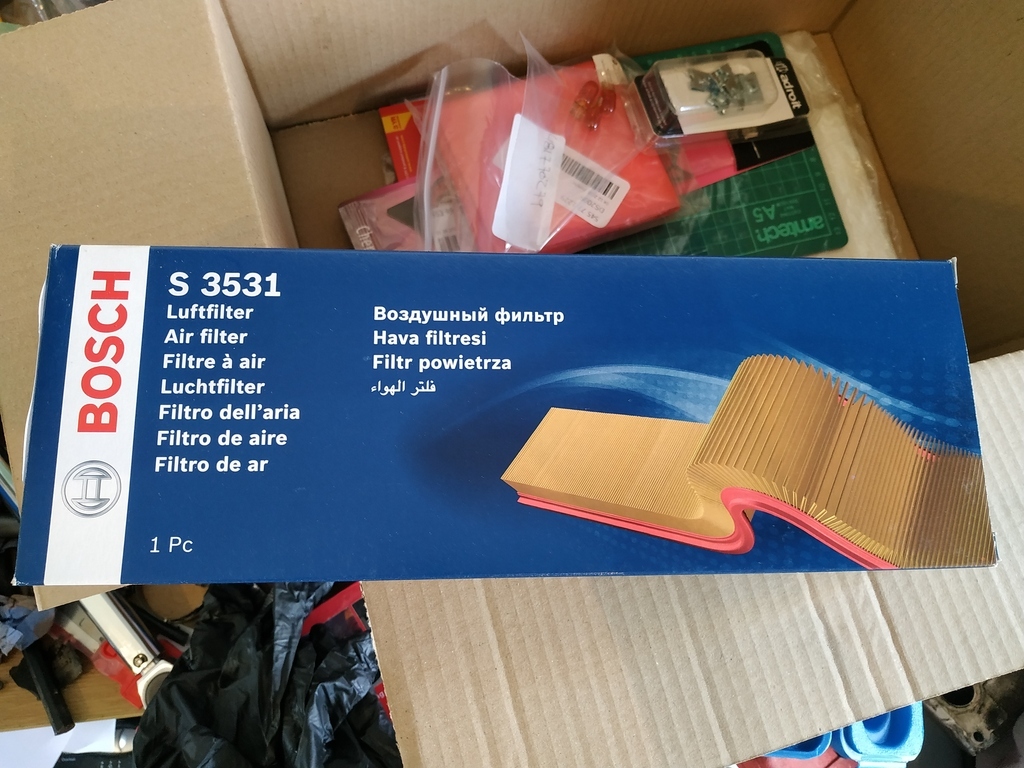
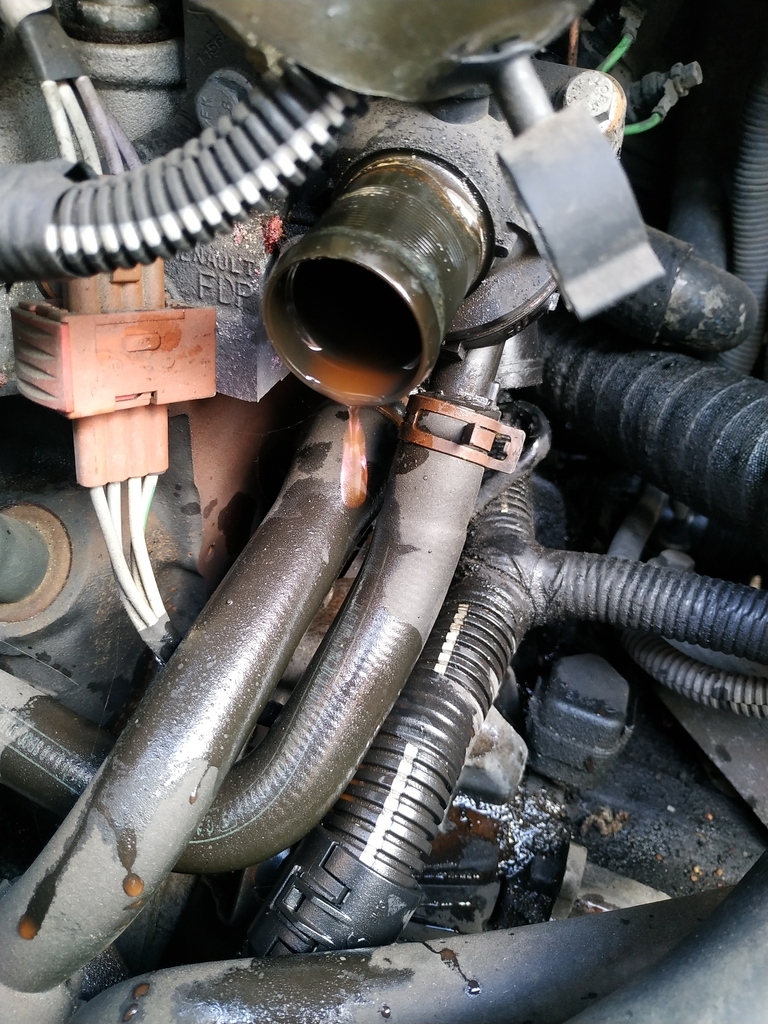
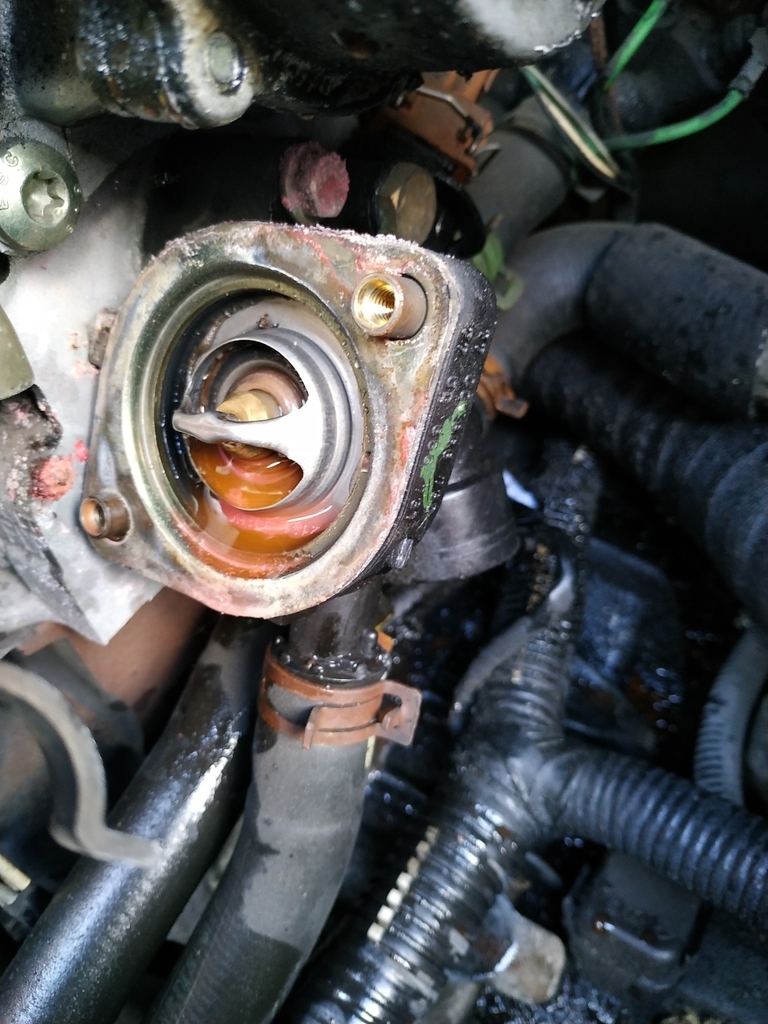
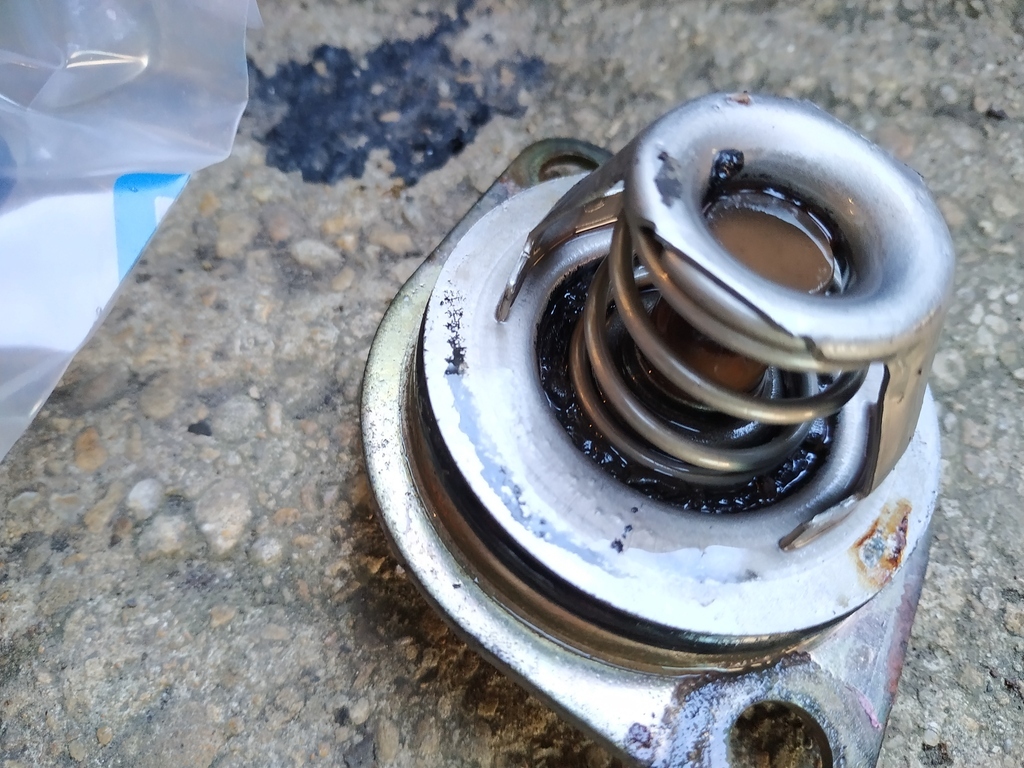
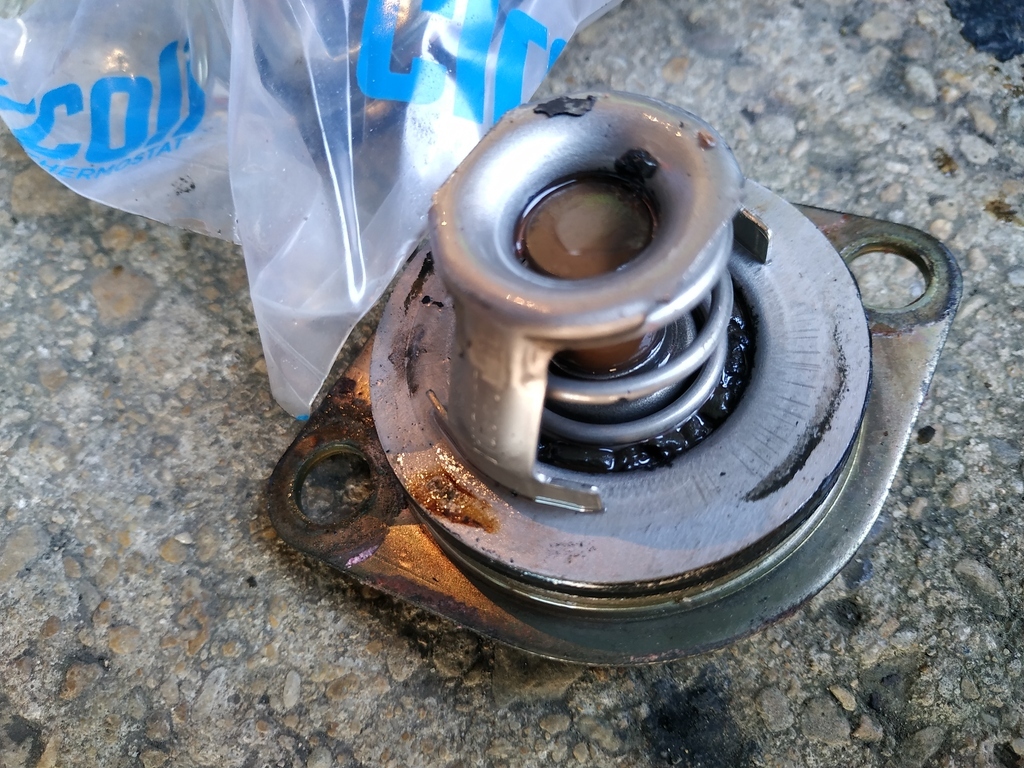
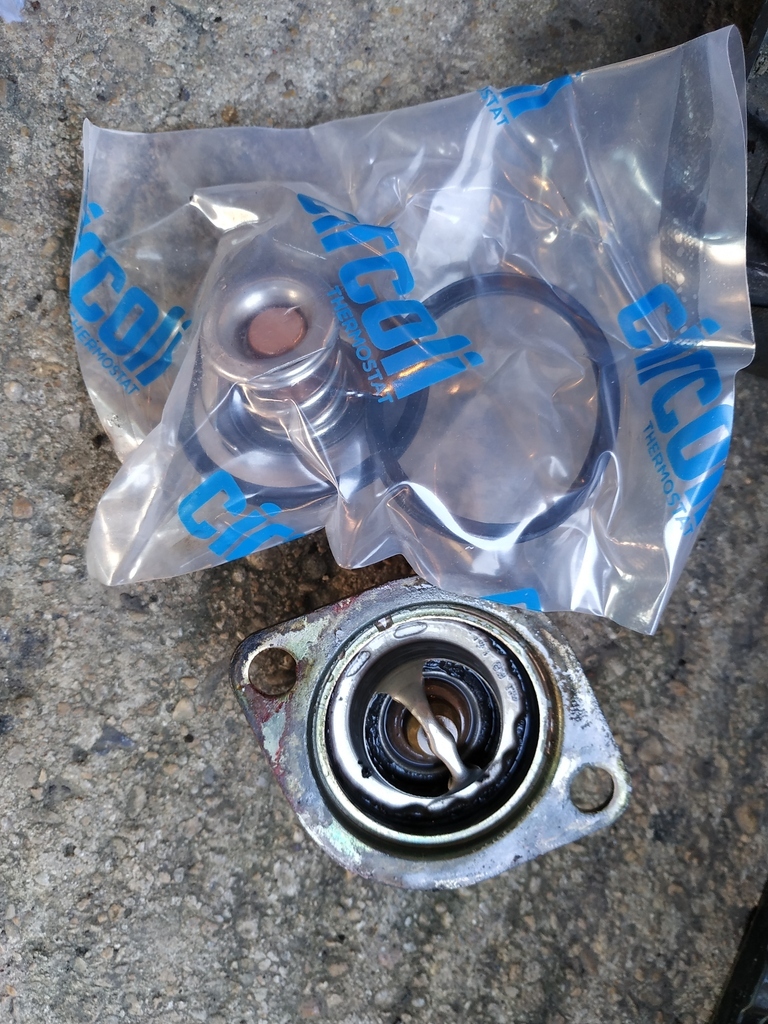
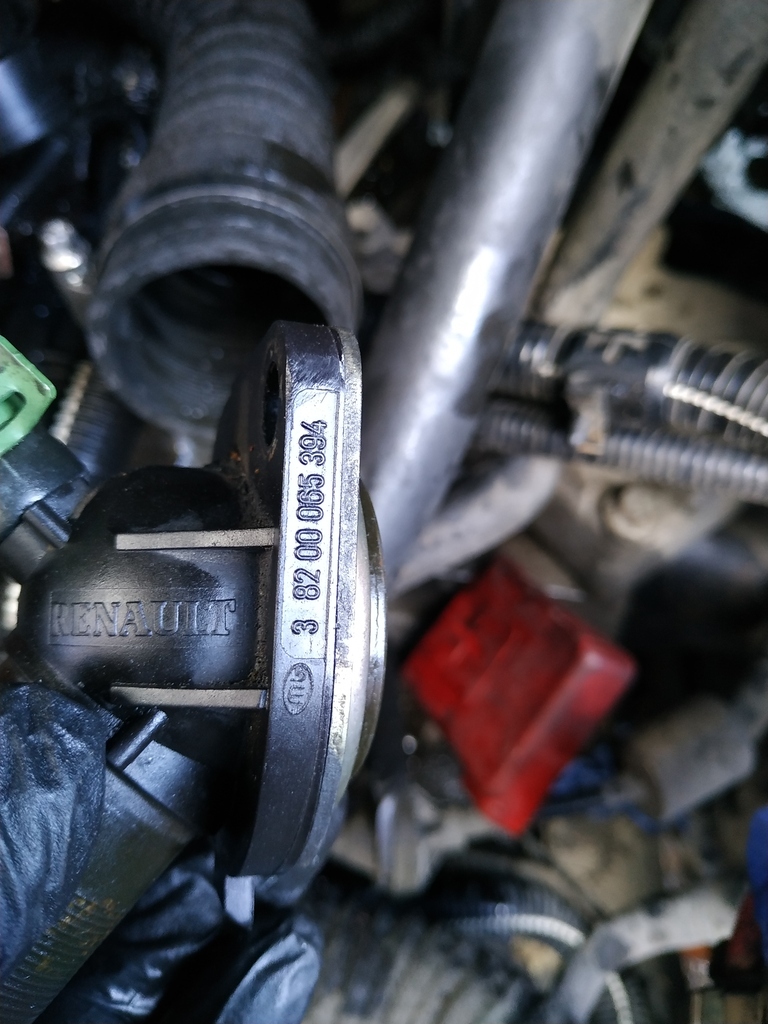
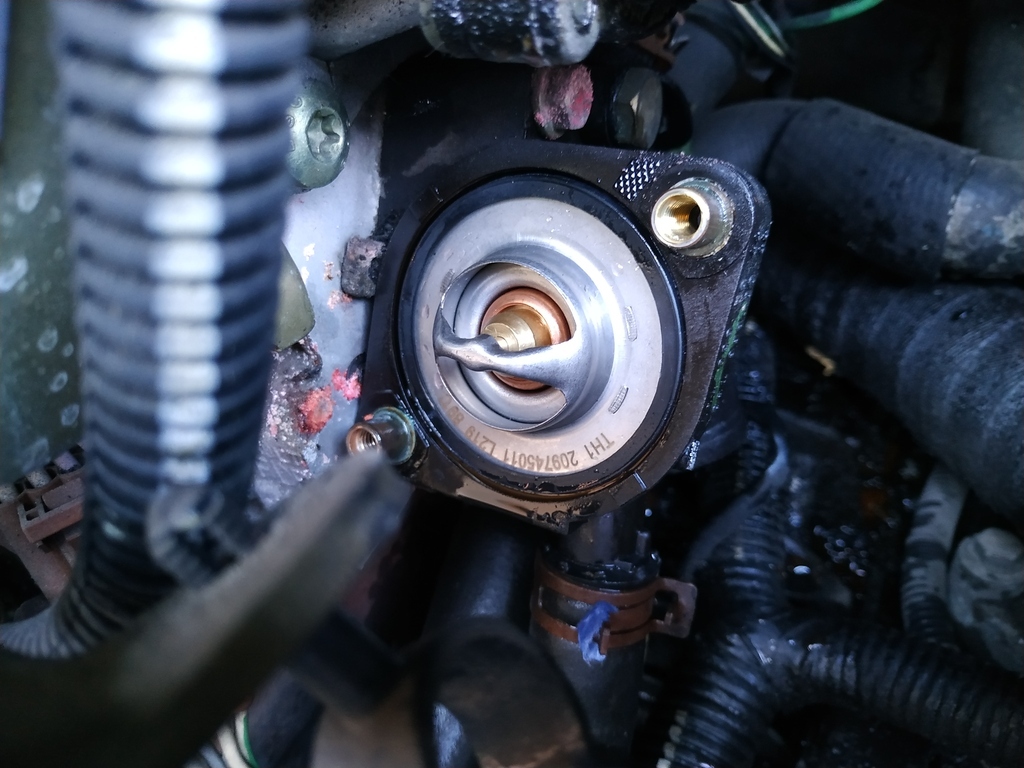
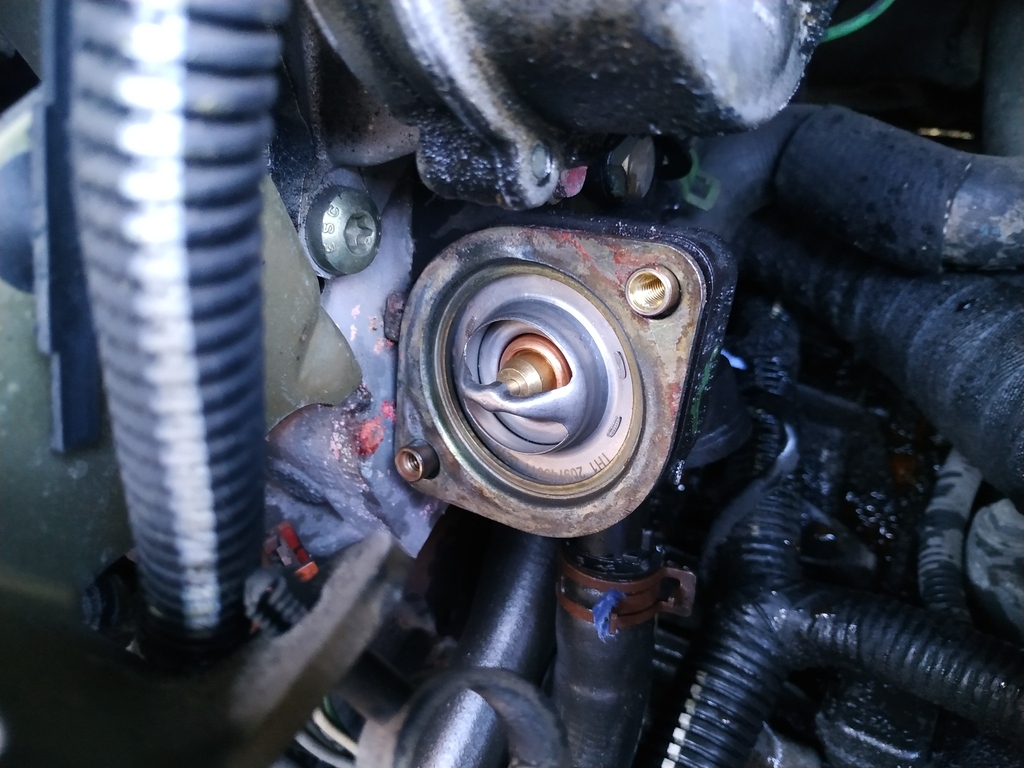
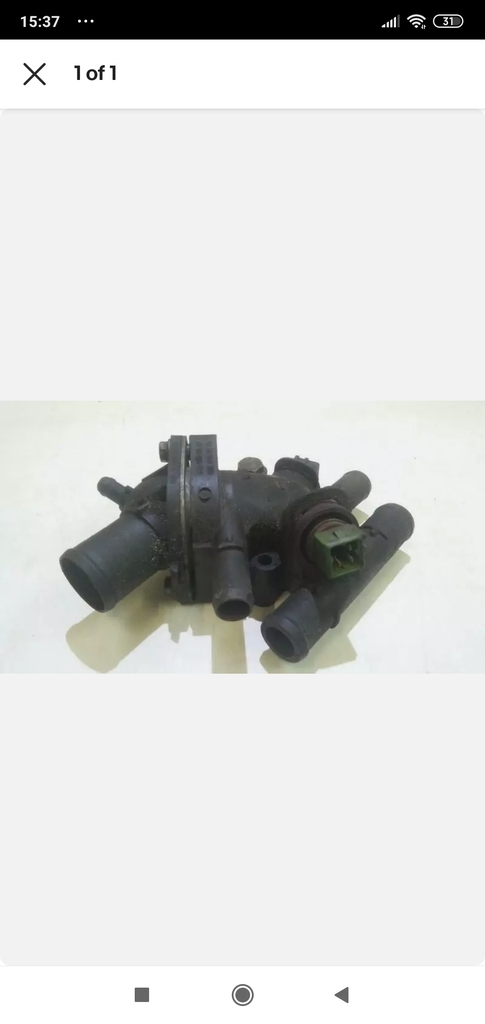
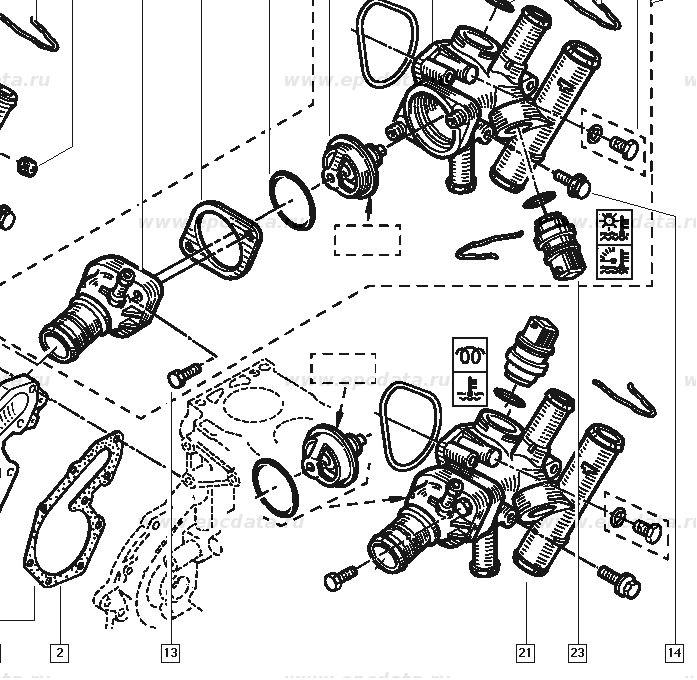
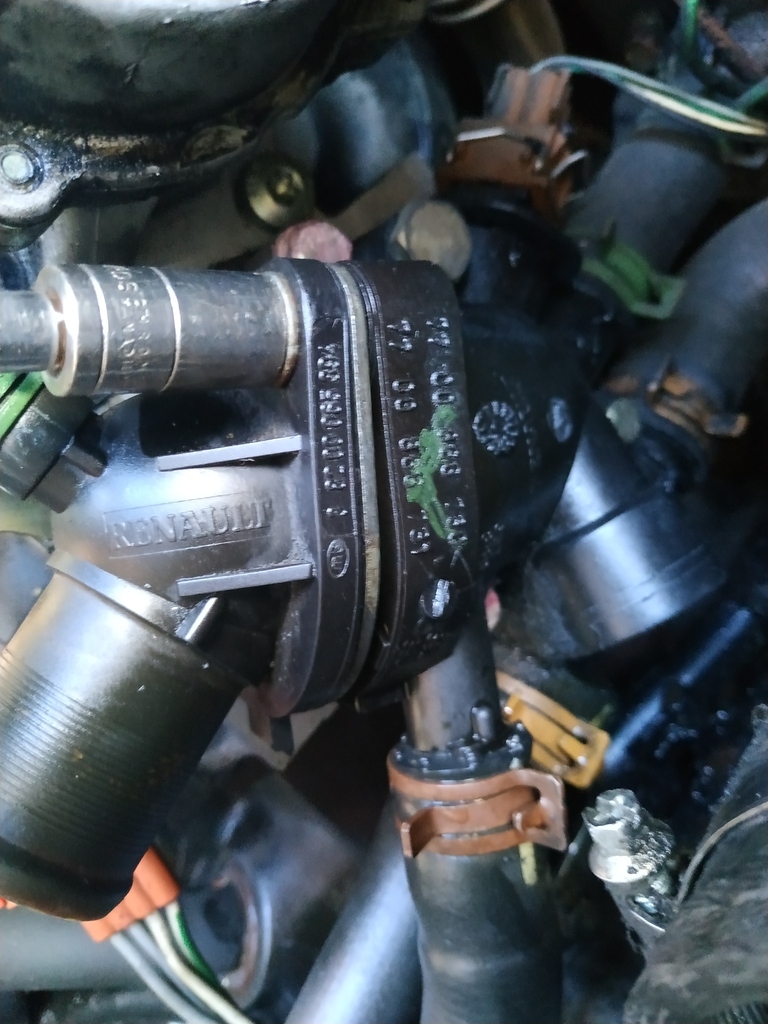
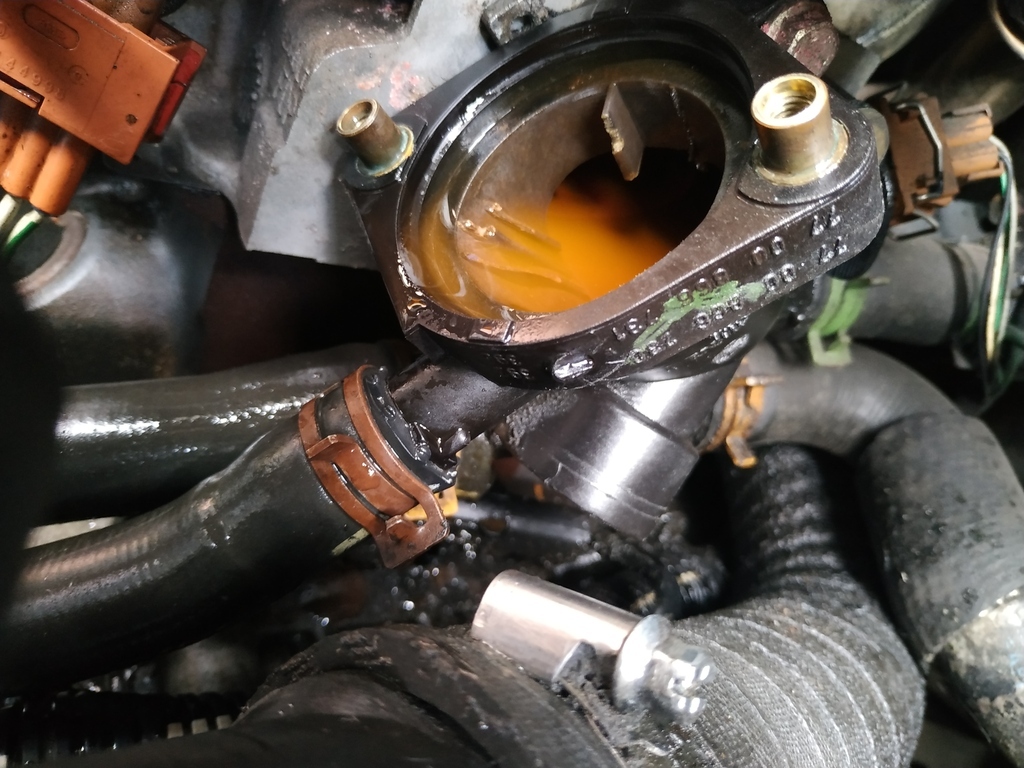
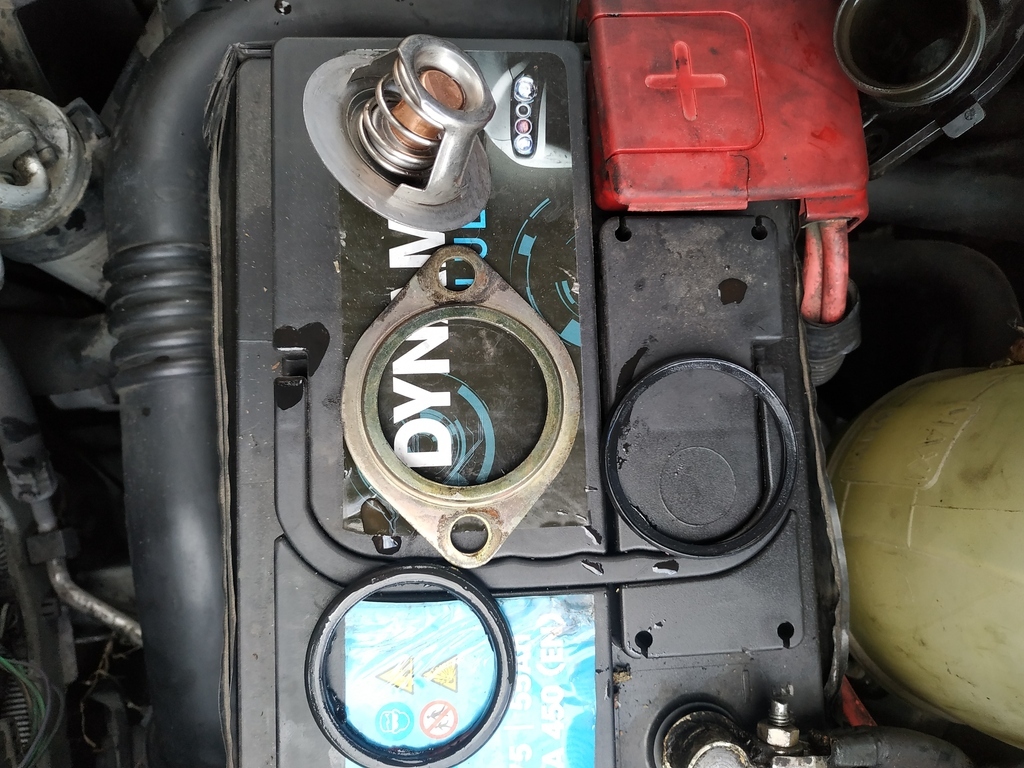
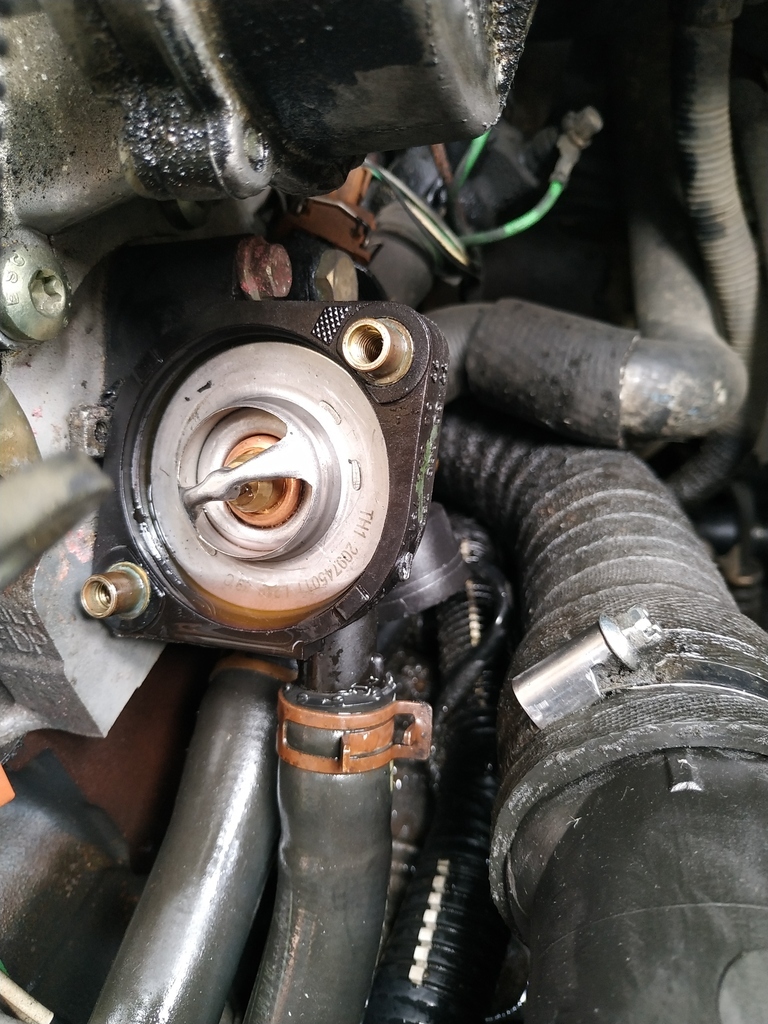
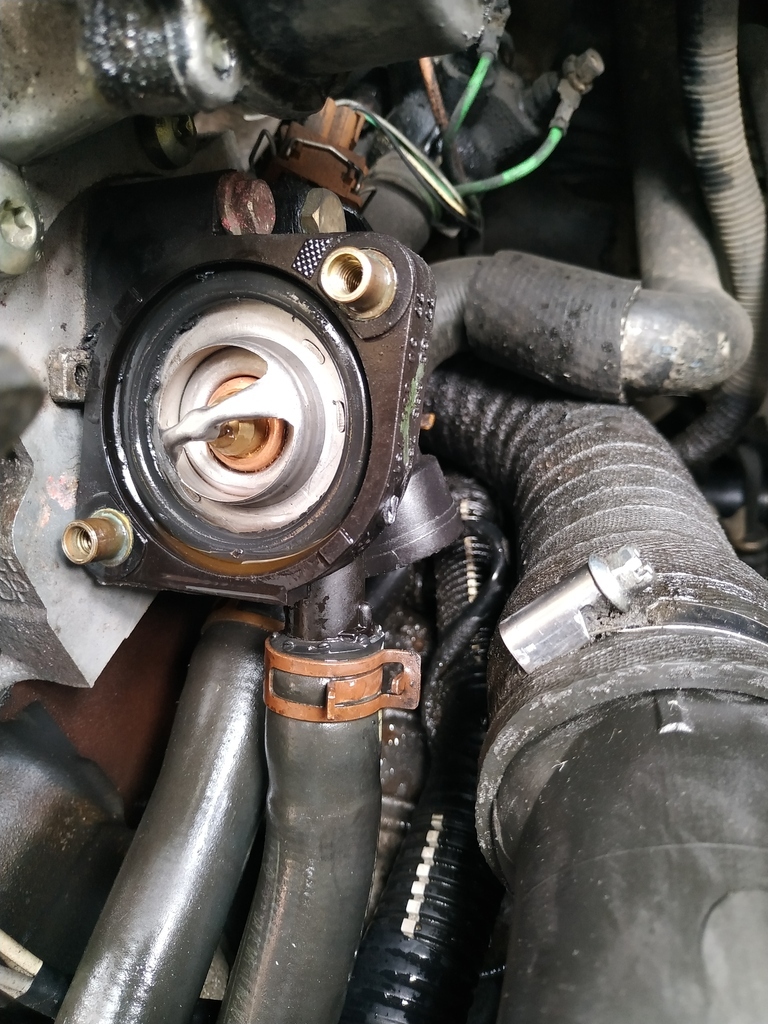
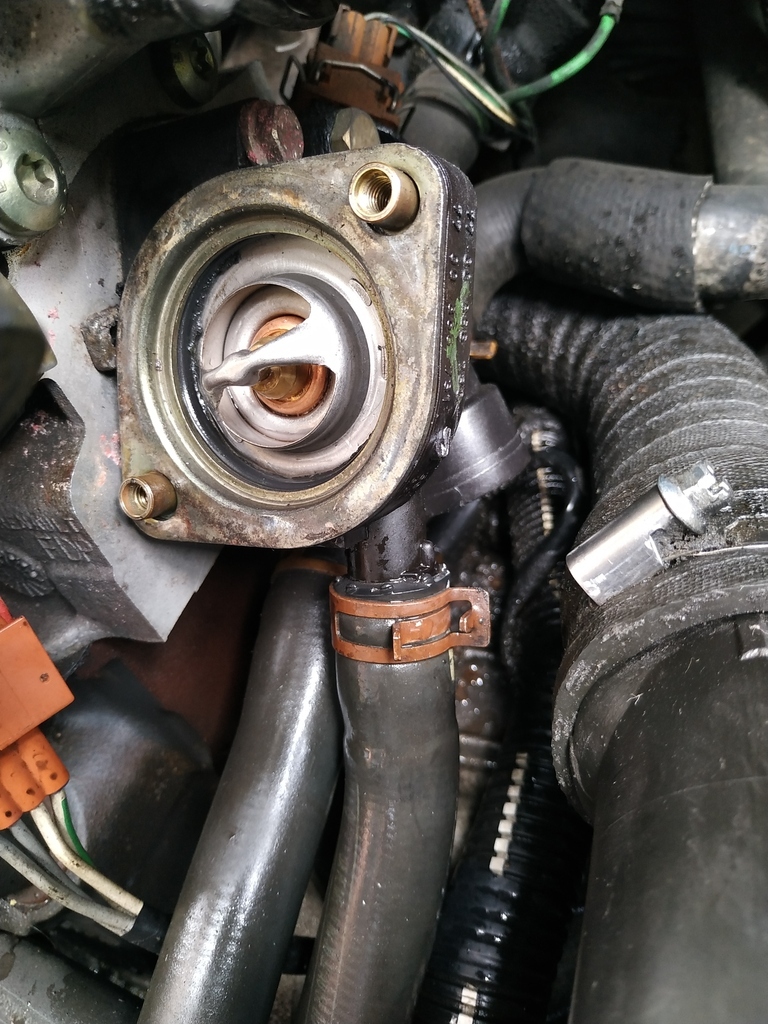
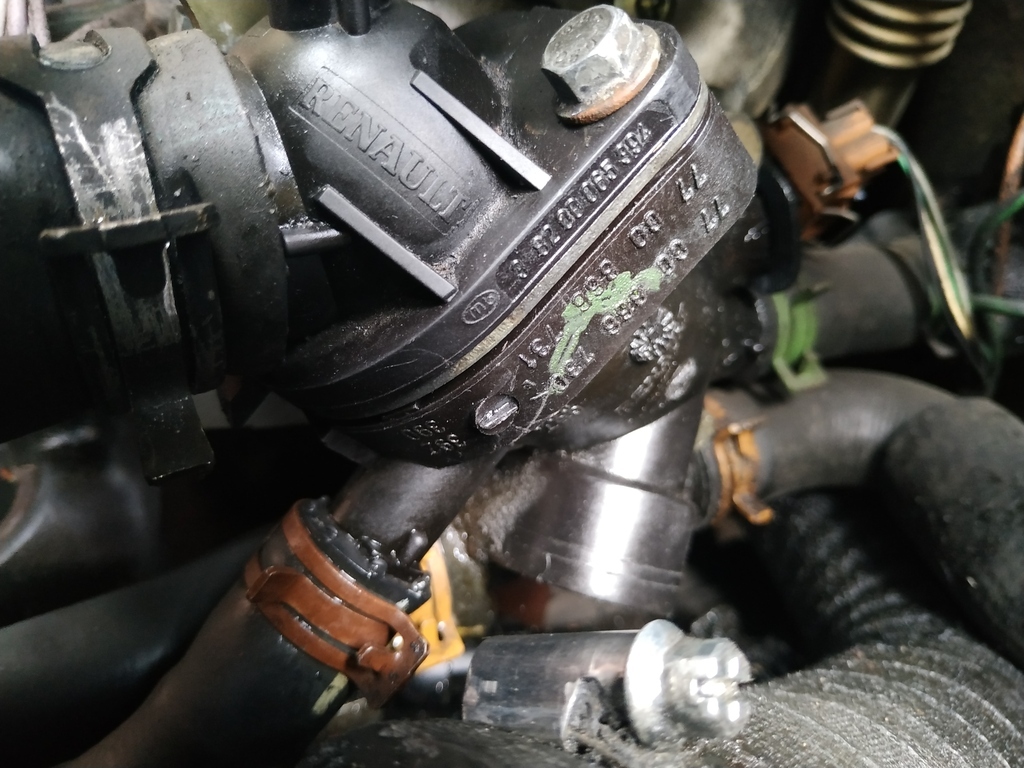
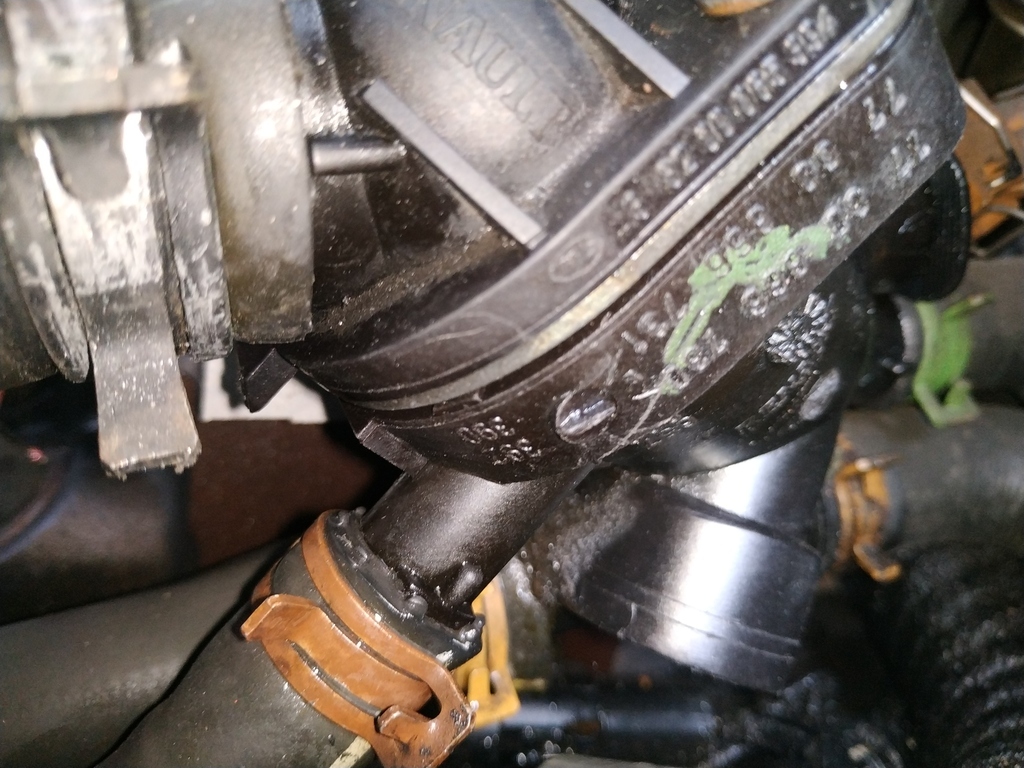
I need to order an air filter, but the car is quite slow to warm up - I can do a good 20 mins before it's even off the bottom on the reading, but it does get warm eventually. I plan on ordering a new thermostat as it looks a bit old/decrepit. I figured I'll wait until this is done before doing the oil as it'll make it quicker (hopefully), and I may as well look at the mount around the same time.
There are signs of all sorts of aged leaks, definitely around the gearbox, so I should probably figure out a way of inspecting or changing the gearbox oil before I nonchalantly risk running it dry or something!
So a big old task or two down, but it's certainly getting to a good state as far as the chassis tends to go.
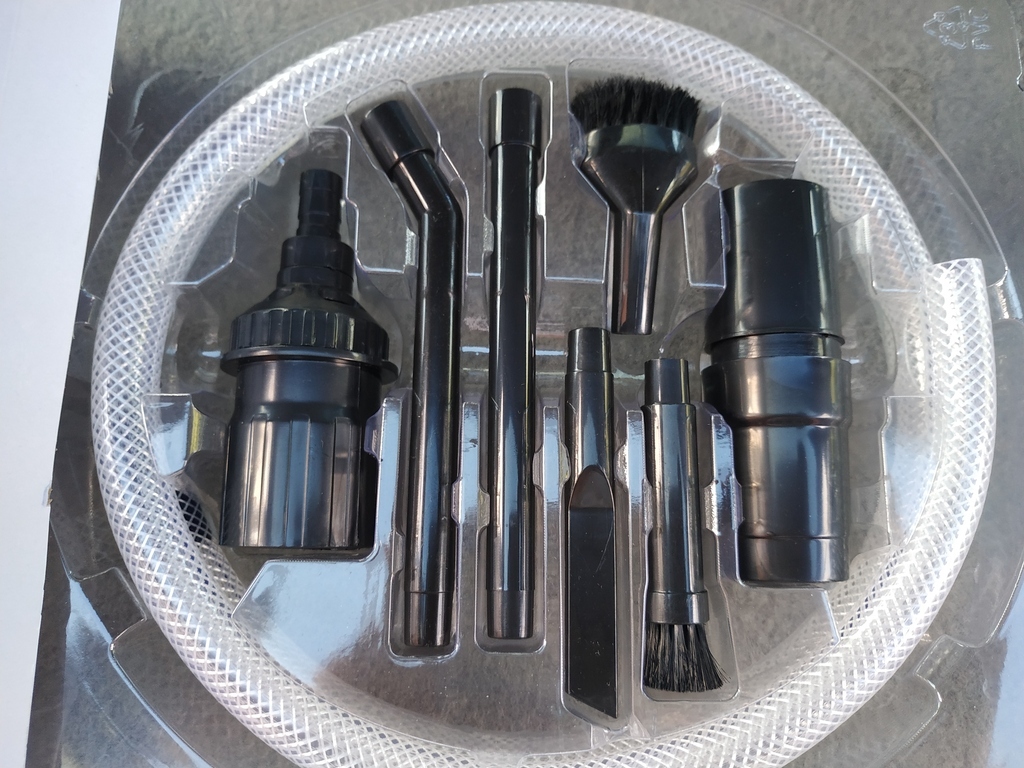
I've also picked up a handy little 'kit' for vacuuming the smaller/harder to reach areas, so we'll see how that goes when I next have time for the interior!
