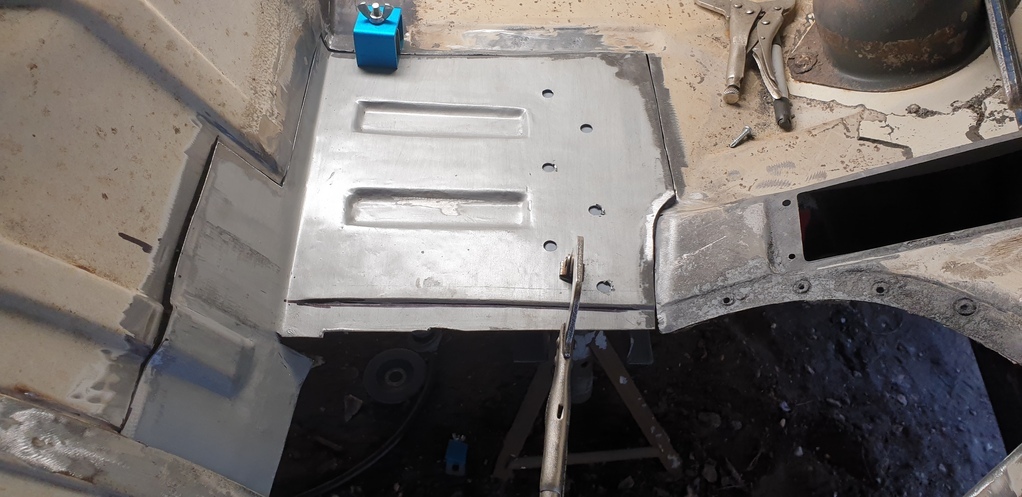
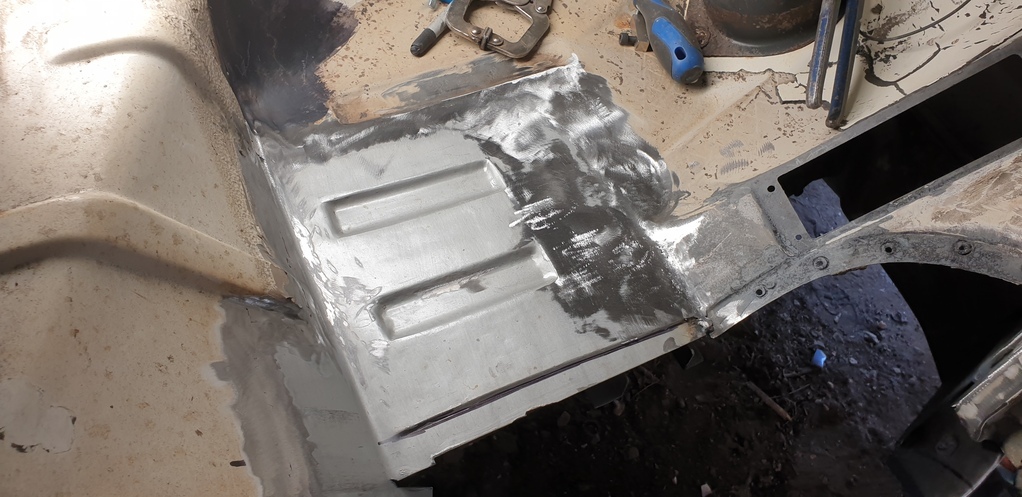
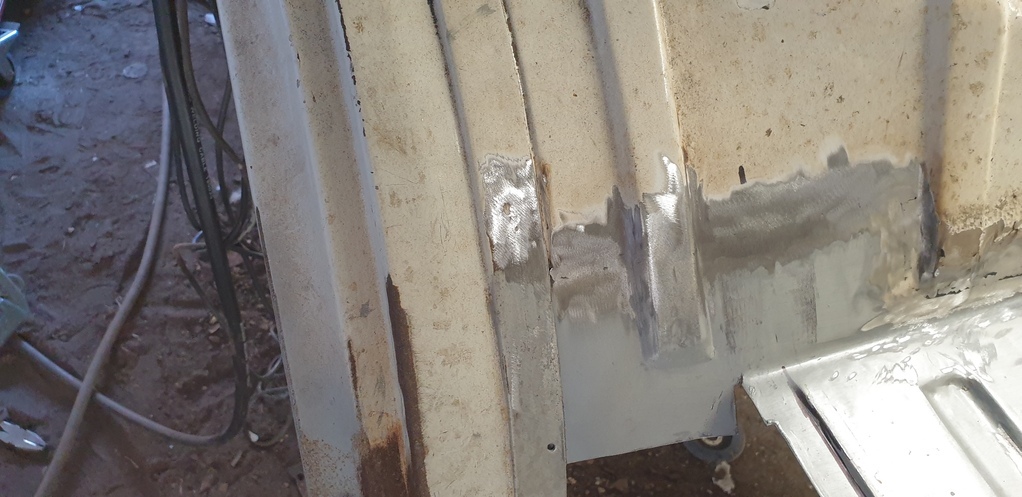
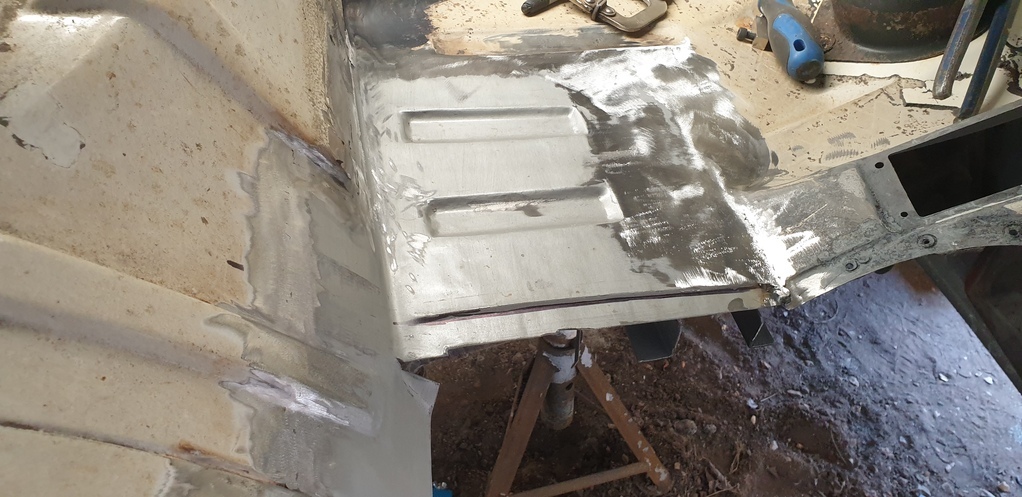
You are such a super hero.
I expect that you do all of this with your underpants on the outside of your tights.

😂😂😂........not sure about the super hero bit, but definitely tights under the under crackers! They act as P.P.E. They're an impenetrable barrier against red hot welds.....I'd be stupid to go out there in just my under crackers!
You are such a super hero.
I expect that you do all of this with your underpants on the outside of your tights.

That’s his work uniform. He dresses more casual for this.
Have you been peeking through that hole in my fence again!!! 😅😅
You keep on nibbling away at that elephant, thanks for keeping us entertained. Its certainly very satisfying to watch.
Thanks 👍......it's been very difficult to find the motivation sometimes. I always say, don't worry if you can only send 10 minutes on something....at least that puts you 10 minutes ahead. But, in this next update ( hopefully below ) I will be blowing my own trumpet and showing what can be done when you really knuckle down and focus on the job in hand.
Brilliant as always,
Thanks for the idea with the syringe, I've been trying to figure out for a while how to do something similar on mine,
Nigel
Thanks Nigel....yes, in the past, I've pushed a spray can nozzle into the end of the rubber tube so that it sprays into those hard to reach areas.
_______________________________________________________________________________________________________________________________
Okay..........update time!!!
Bad news.......I caught flipping Covid....again! Thankfully, nowhere near as bad as the first time I caught it. This time was more like flu.... turned all the way up to 11!
Good news.....I won the works Bake Off competition that some of you may remember me talking about a while ago. I was well chuffed!!
Now......back to business!!!!
I've waiting to bring you this update for a while, as in my opinion, it was quite a milestone in the restoration.
It was time to turn my attention back to the front end.
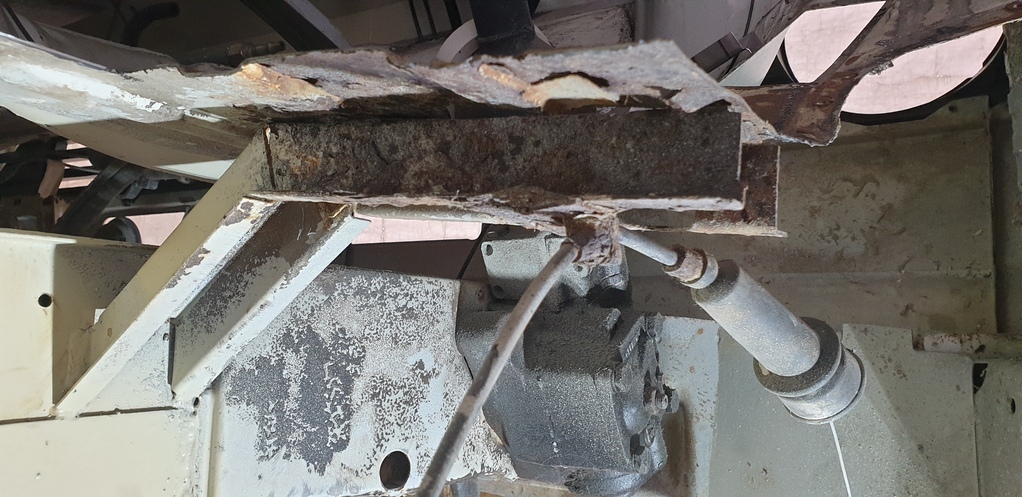
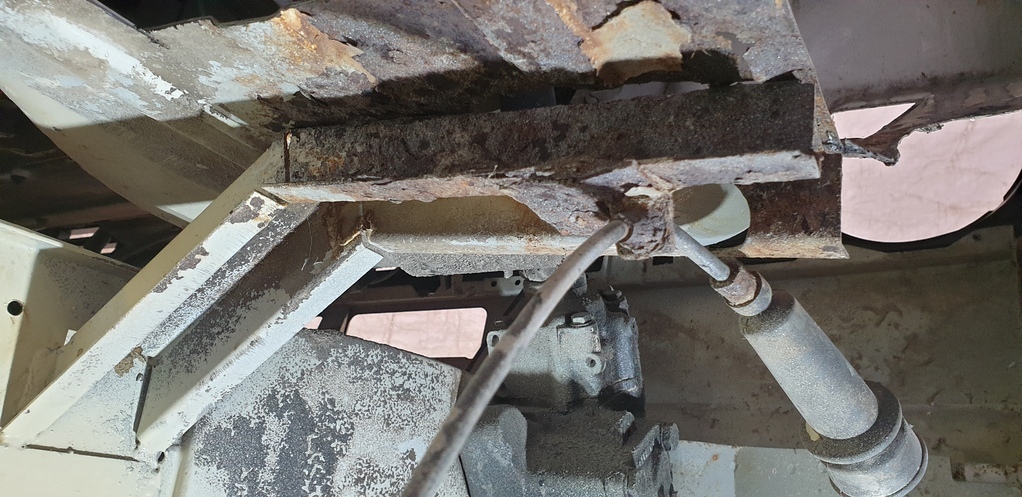
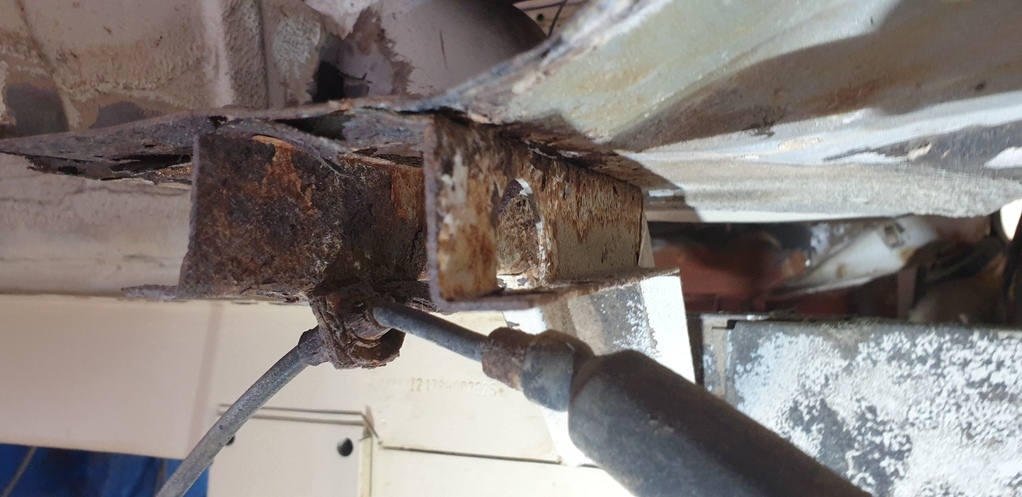
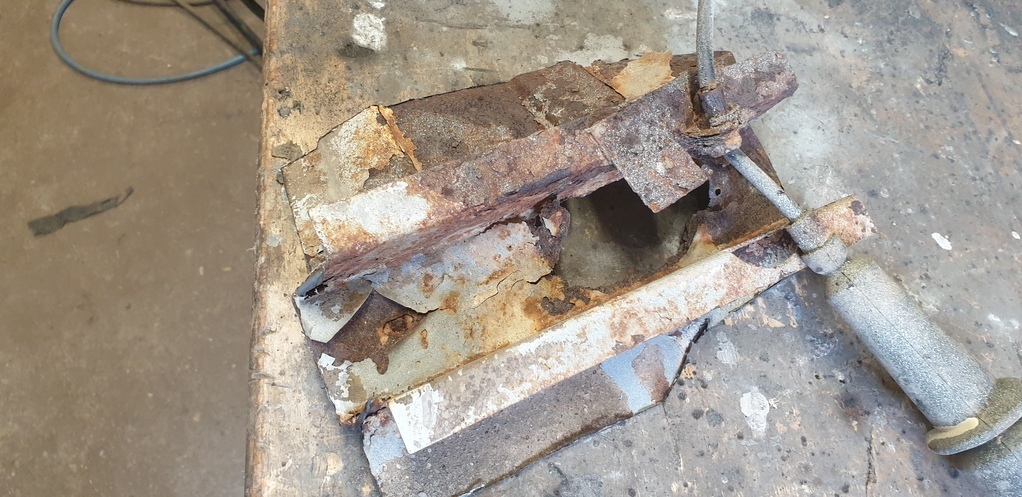
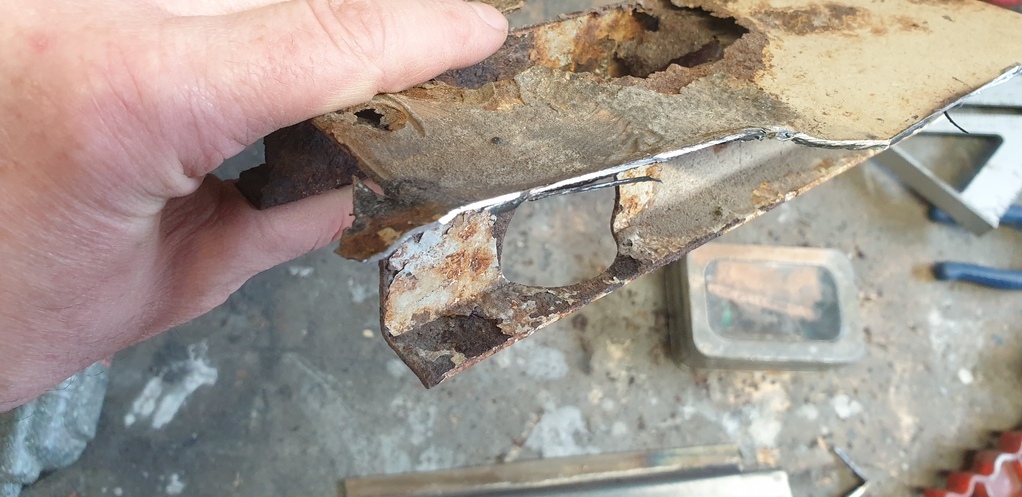
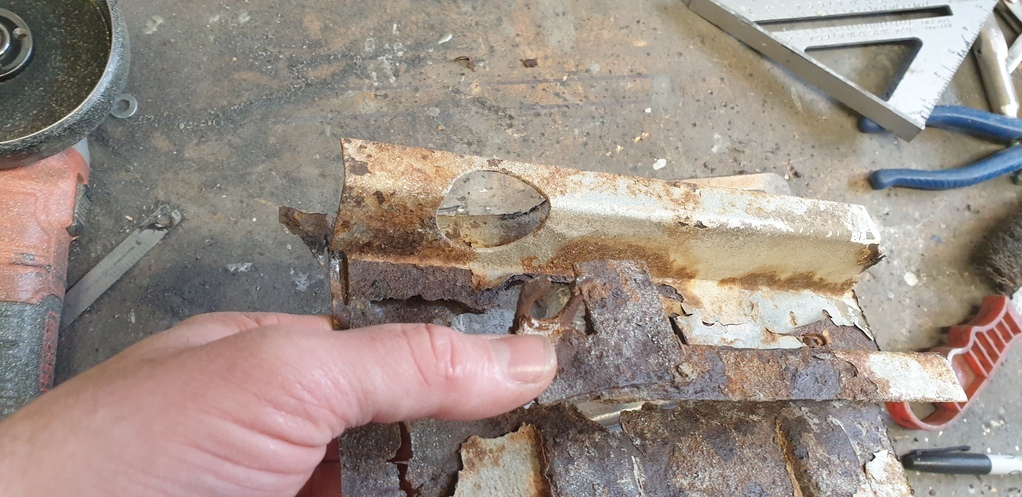
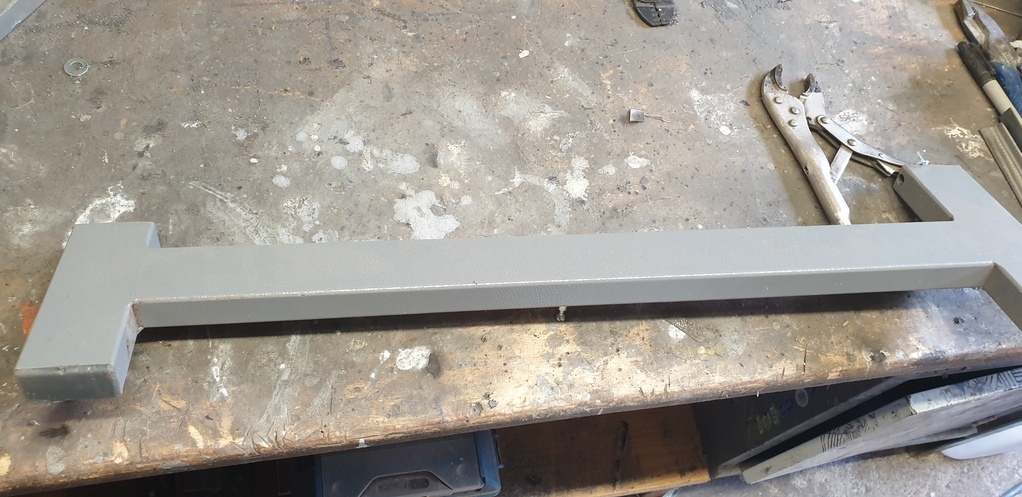
Remember this rusty structure that runs across the front?

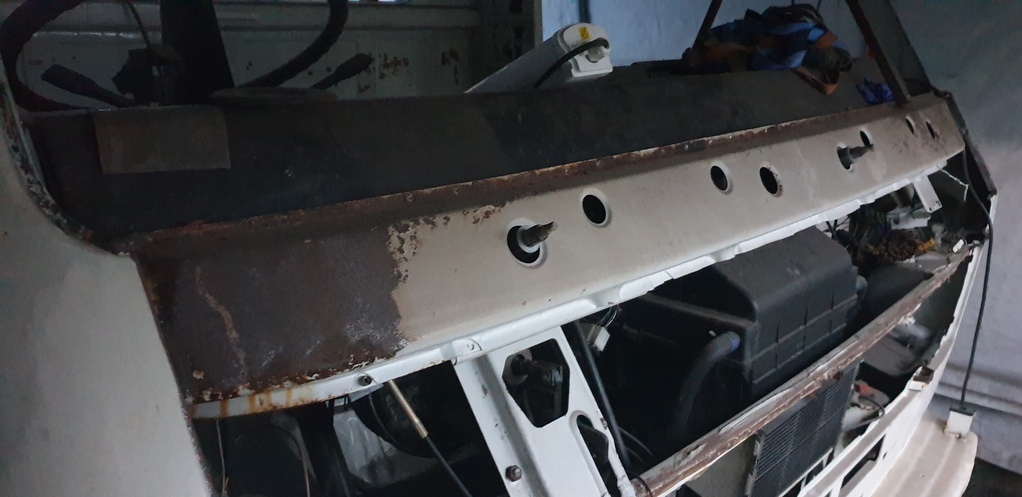
Well.....I spent an age cleaning it up. First....I mechanically removed as mush of the lose rust etc as possible. Then soaked it in phosphoric acid...waited 12 hours.....mechanically remove it....soak it again.....remove it again......etc etc. This was done about 5 times, but the results were good.
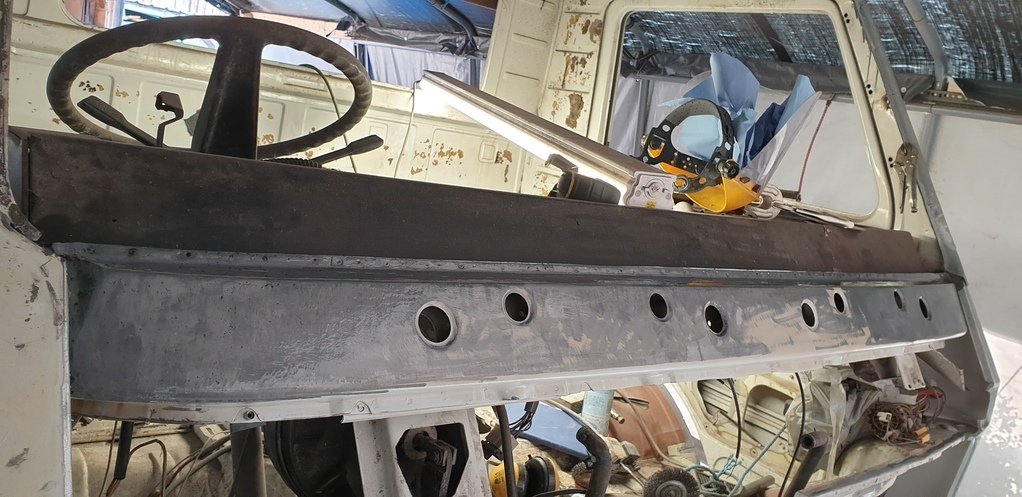
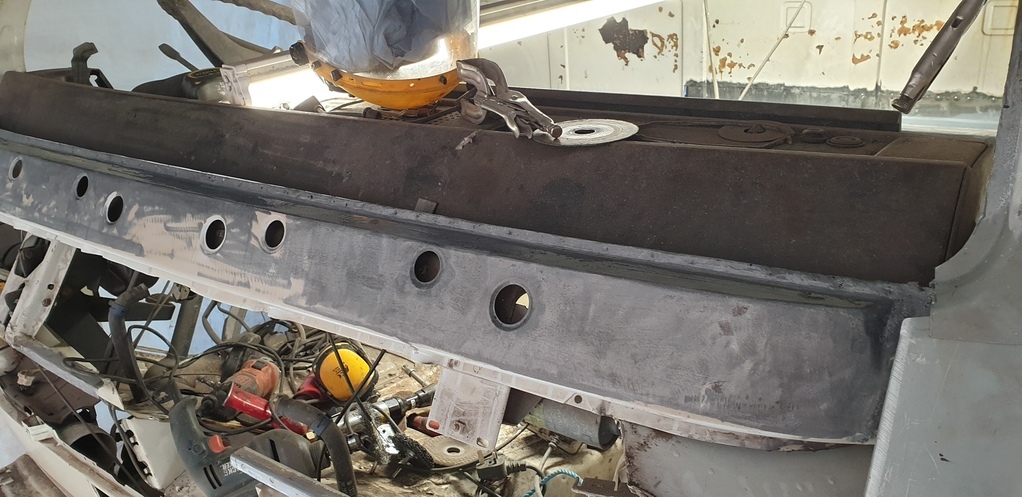
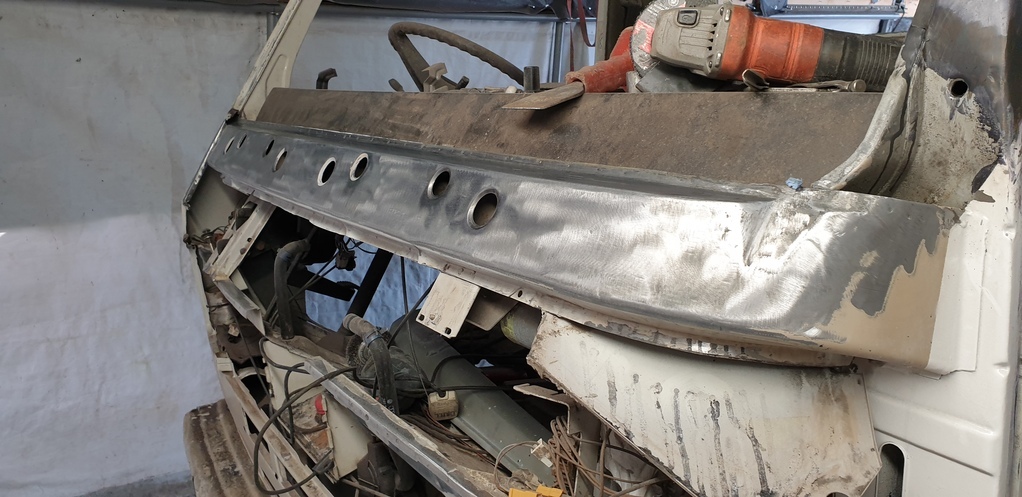
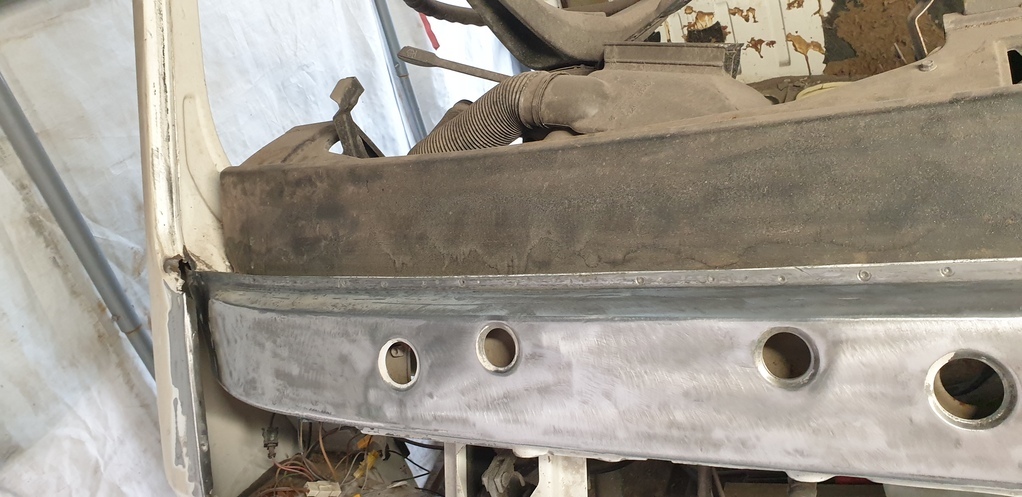
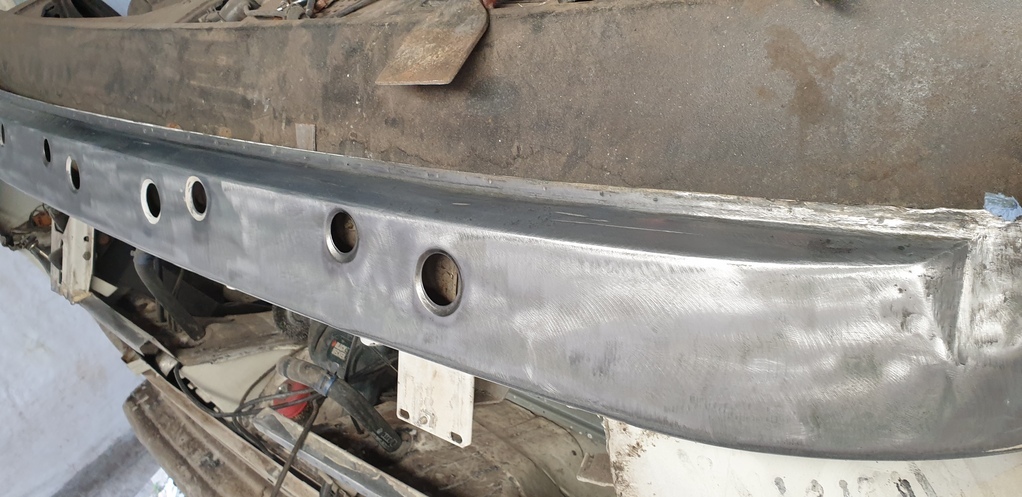
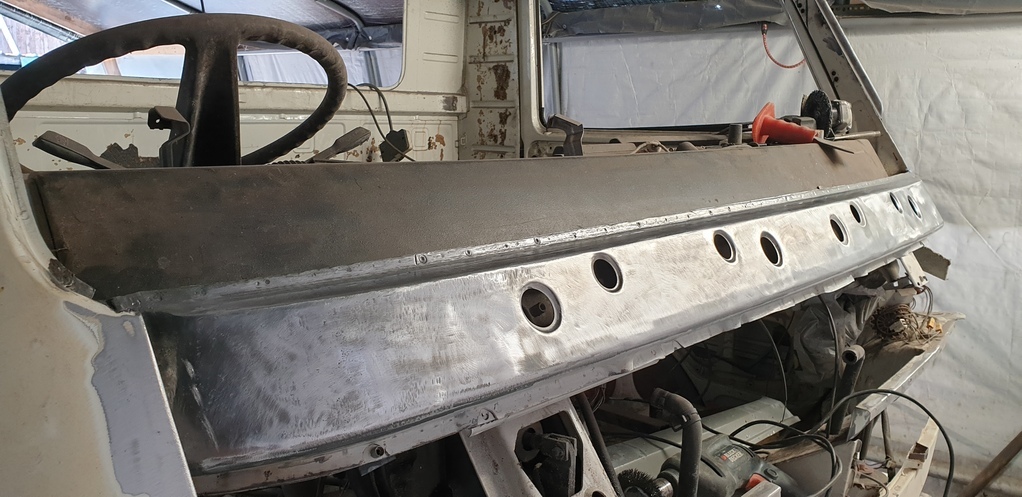
Then on with copious amounts of Hydrate 80....
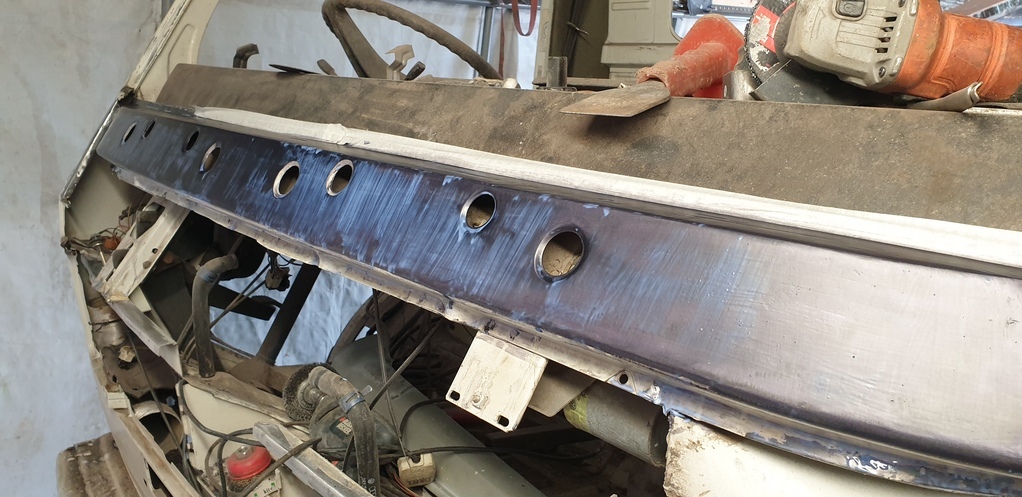
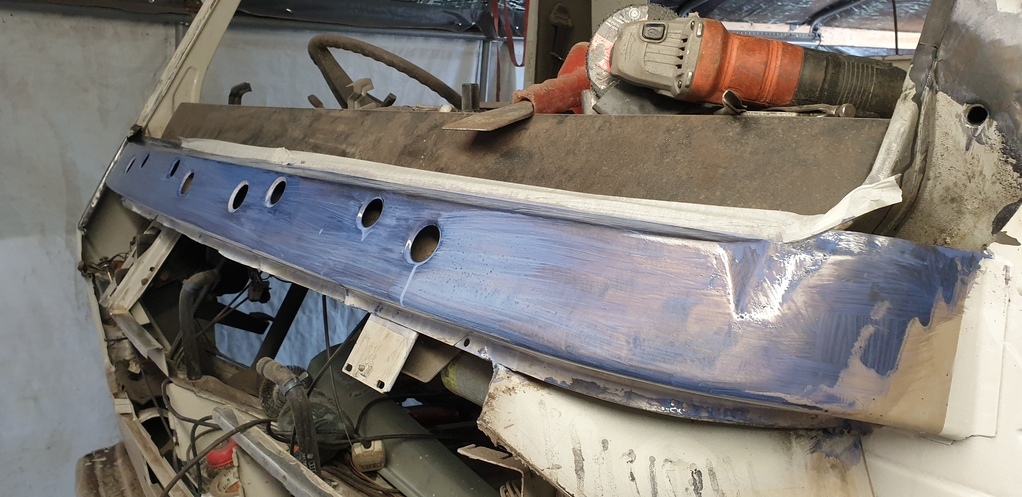
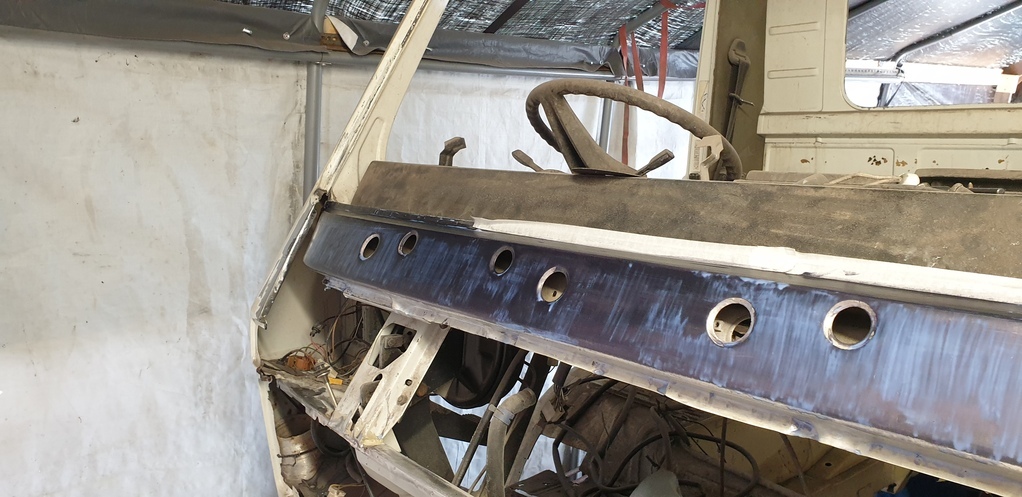
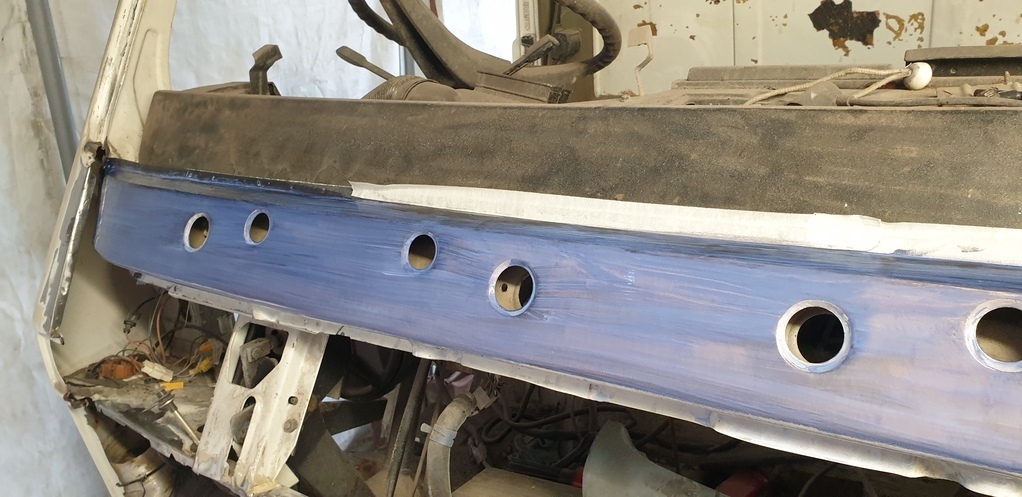
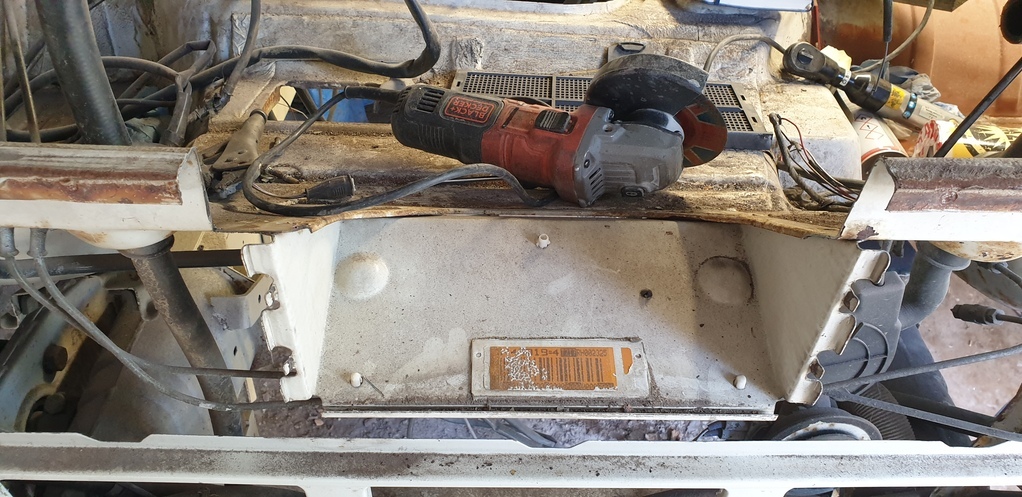
Somewhere in amongst all that, I remover the heater box to access a rusty area on the inner panel...to which the front panel attaches to.
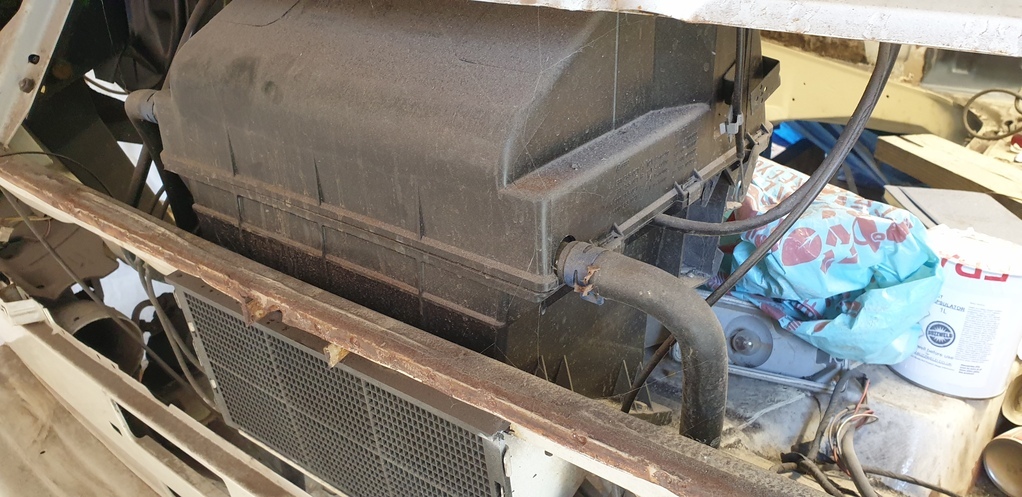
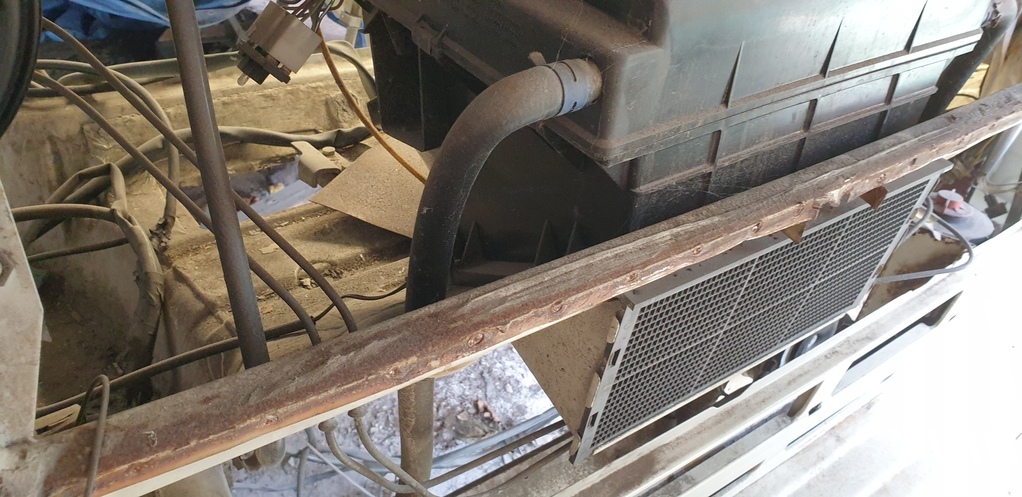
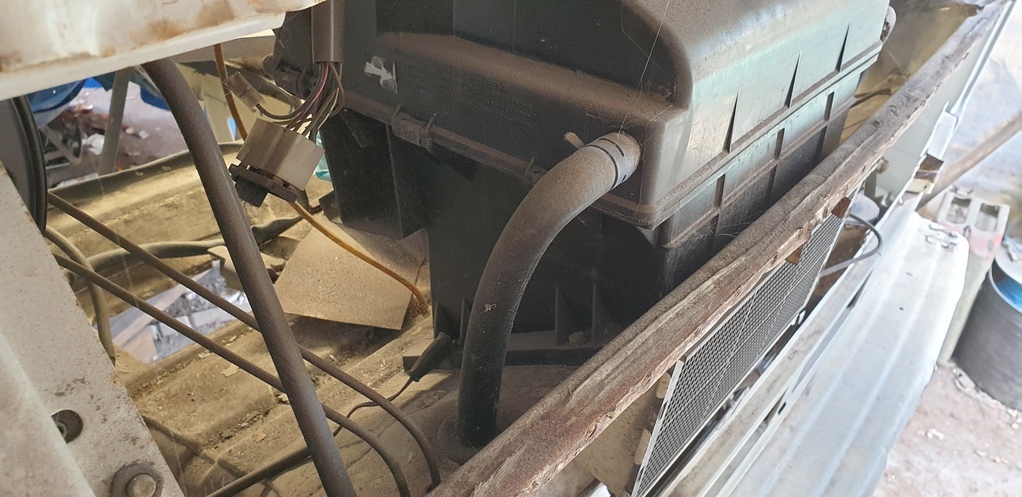
It was at this point that Lloyd began to pay me back.....nearly £14 whole English pounds had fallen down the back of the dash and into this little space on top of the heater box!! Pimms O Clock!!!
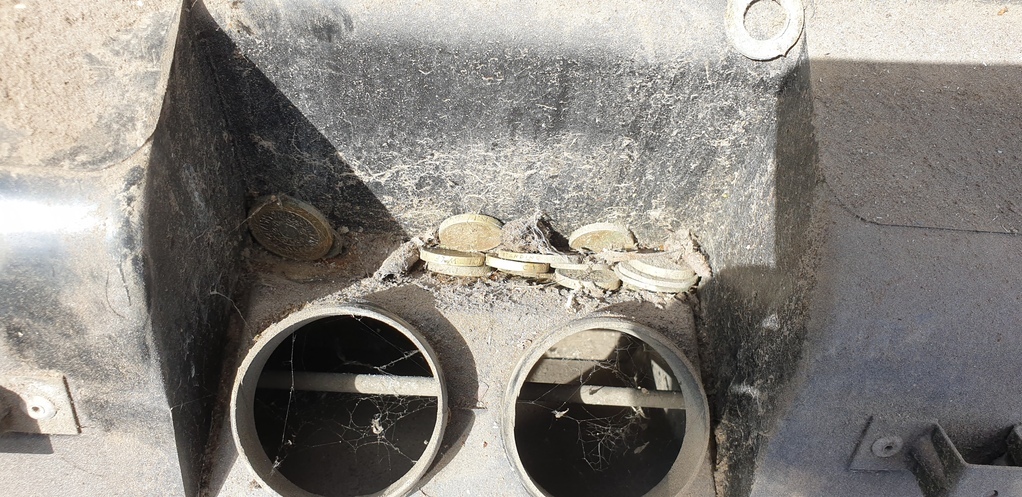
The rusty area above that plastic mesh thing is my target area......
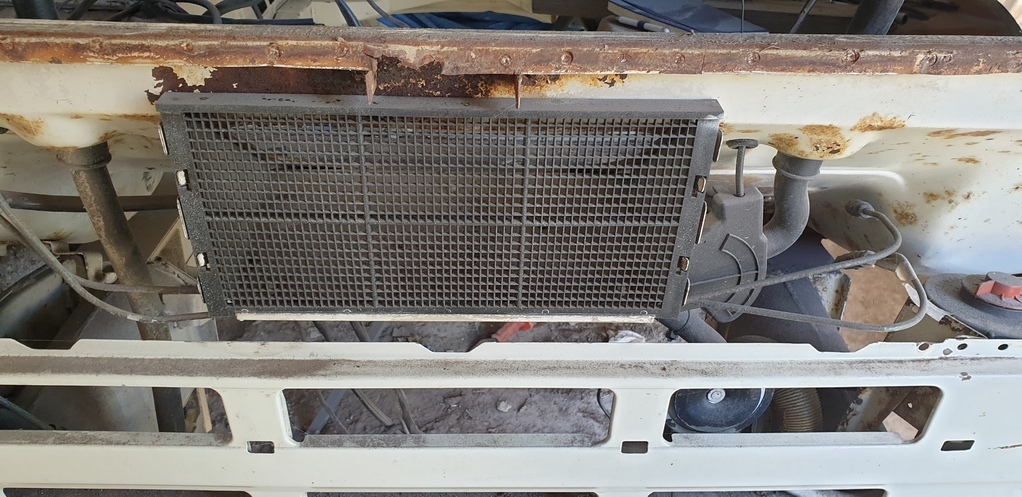
Cut it out....and clean it up in the blaster......
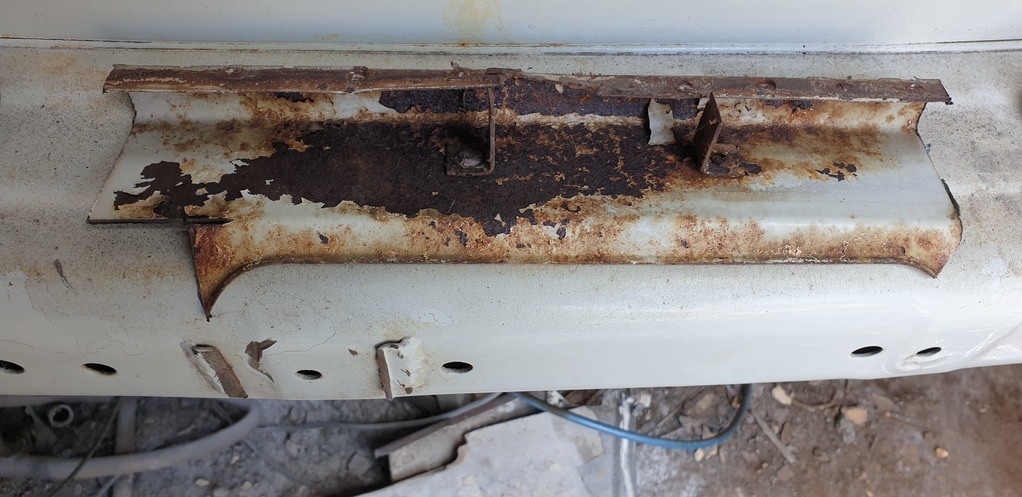
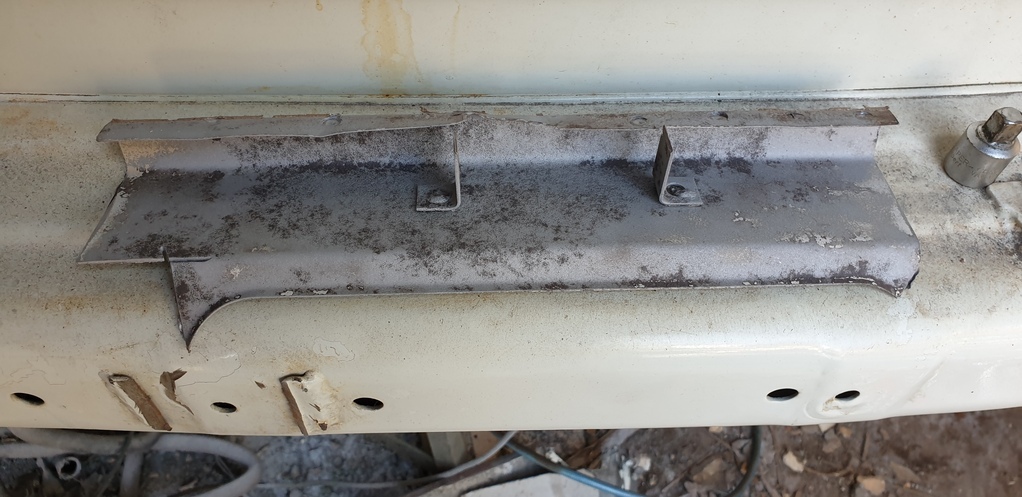
The blaster didn't get everything off, so it was put into my de-rusting solution for a few days before being reattached.
Also on the list was to attach the inner panel on the left side window pillar. This was a job still hanging around from when I repaired the roof!
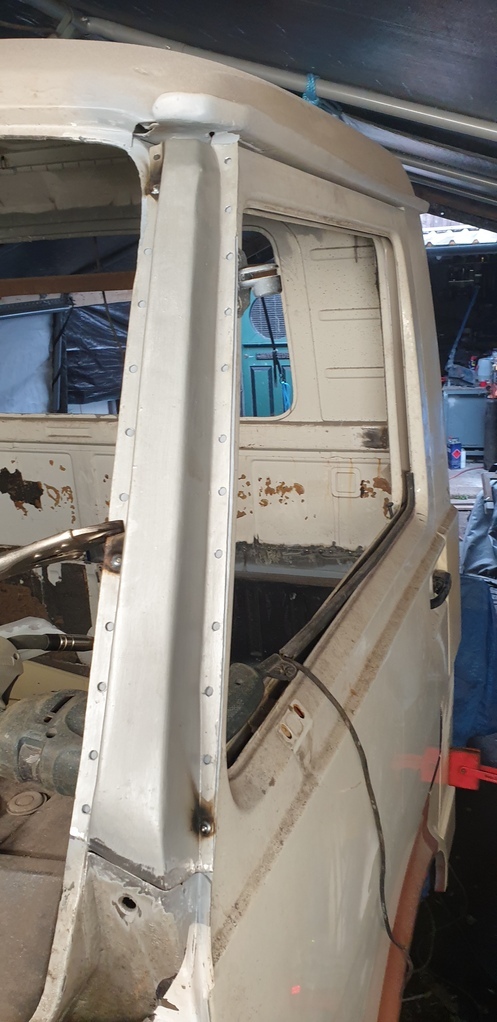
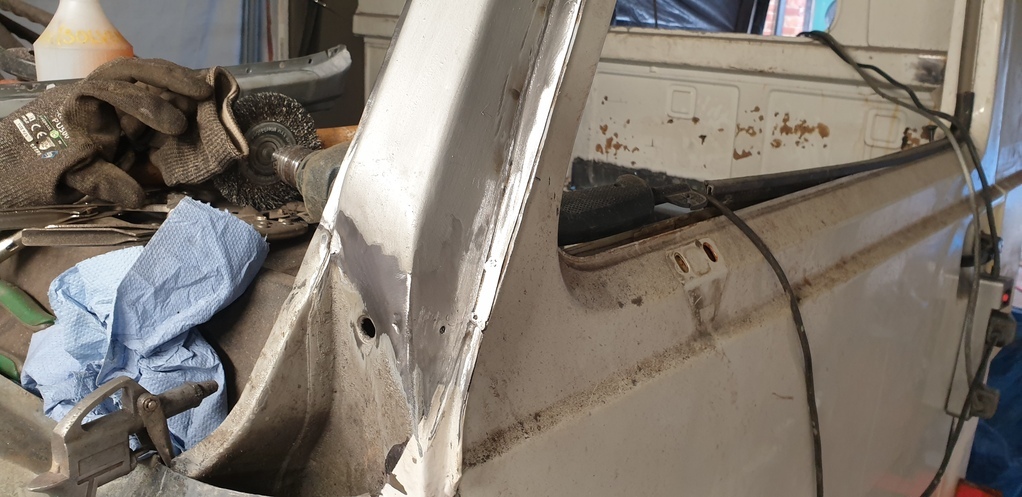
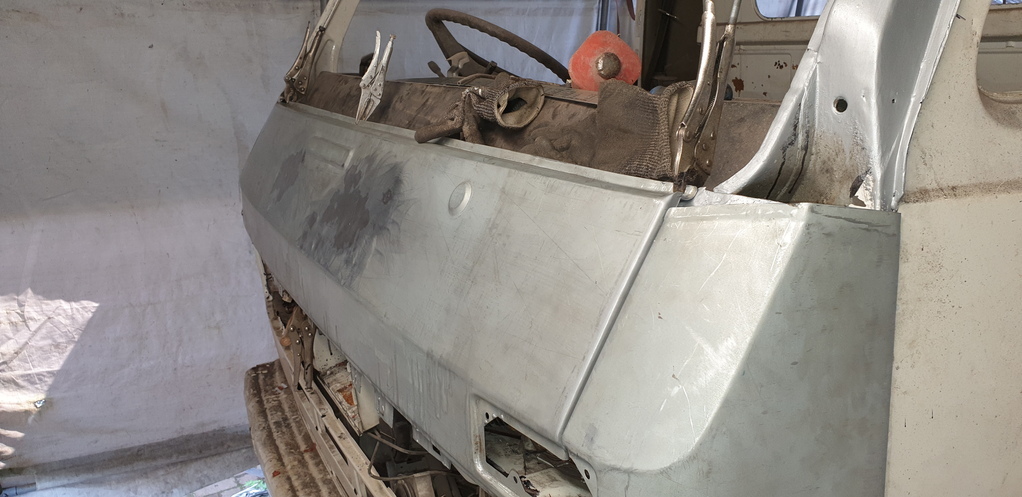
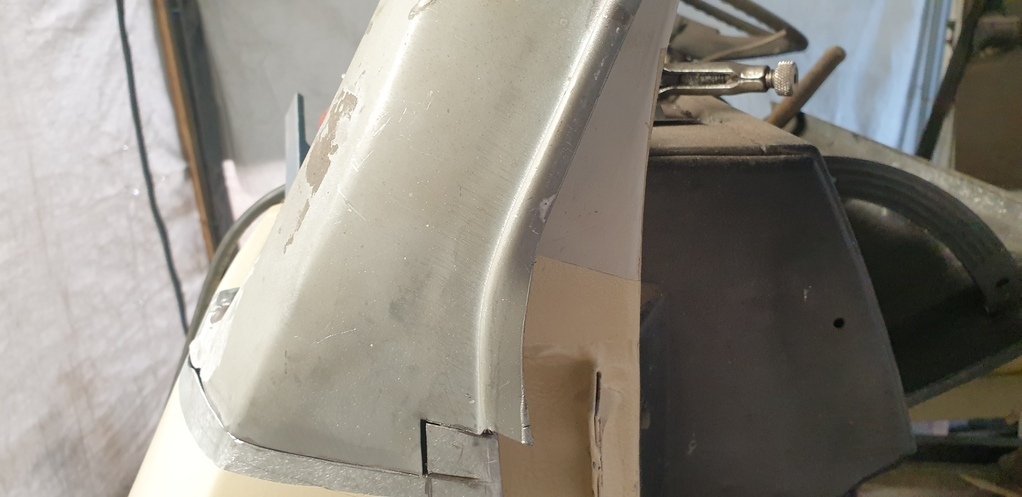
Then it was onto the front panel itself. It was an absolute nightmare to fit!! The panel wasn't formed properly on all of the corners and it didn't have the correct curvature across the entirety of the panel. this meant, every time I clamped it down one side....the other side would spring up way too much. Then, when both side were clamped down together, it would form a massive distorted inward dent across the front face of the entire panel. It was at this point I truly regretted not saving the original panel. But I didn't, so I had to work with what I had.
The picture don't really highlight just how bad it was.
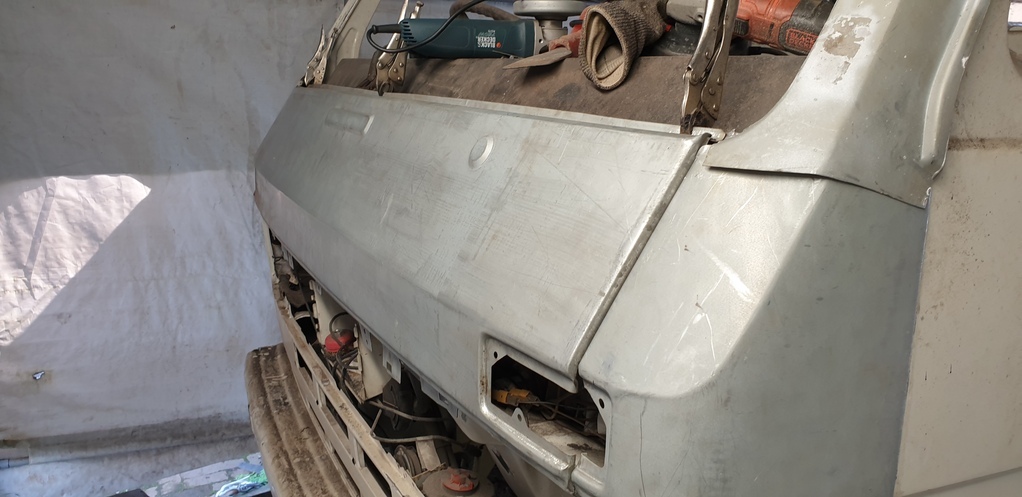
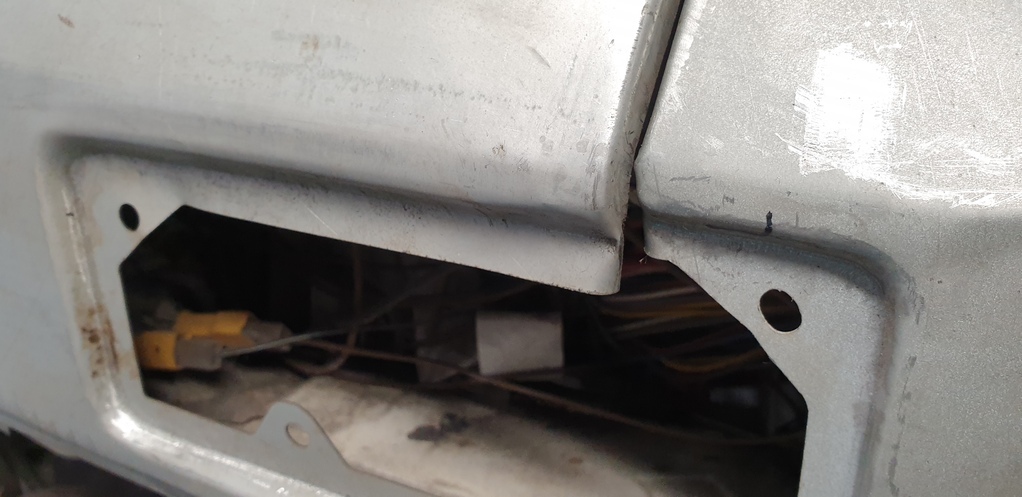
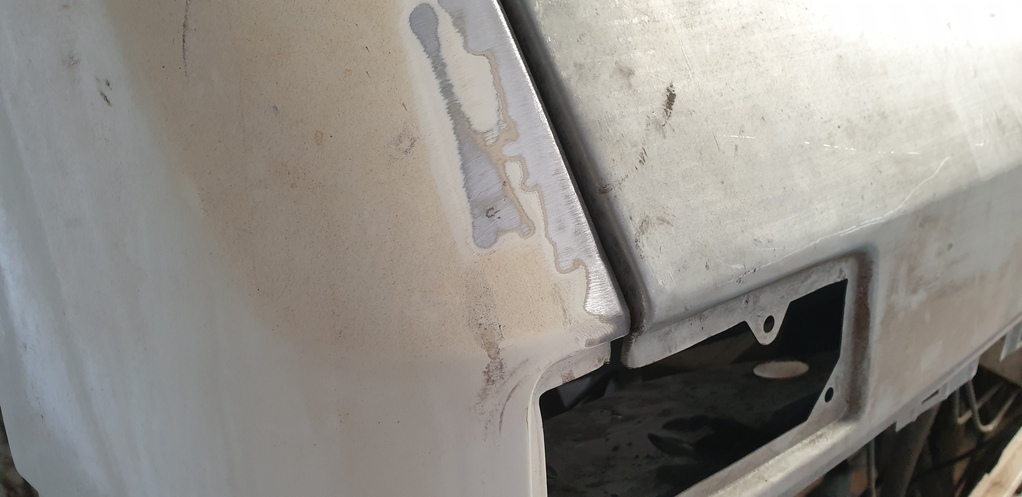
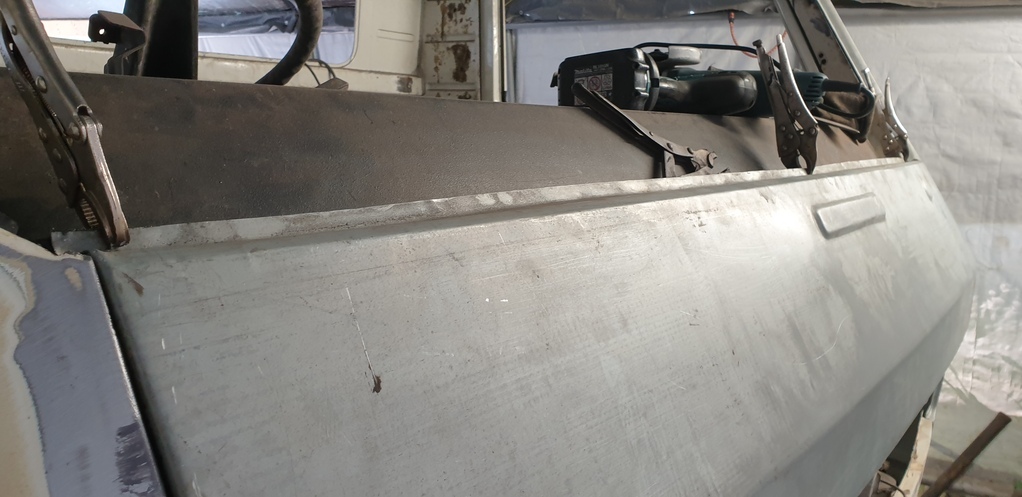
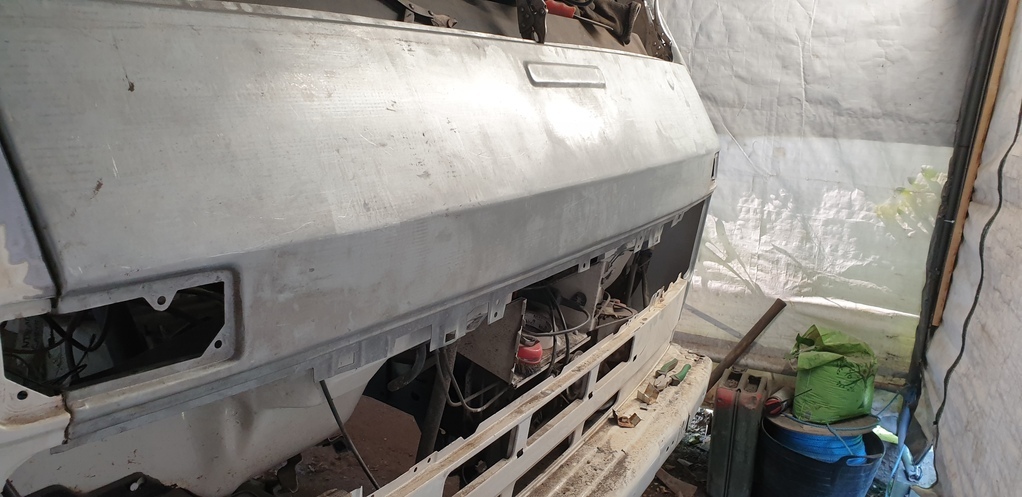
But.....after a lot of shrinking with heat, I managed to get it to sit in the correct position dent free!!!
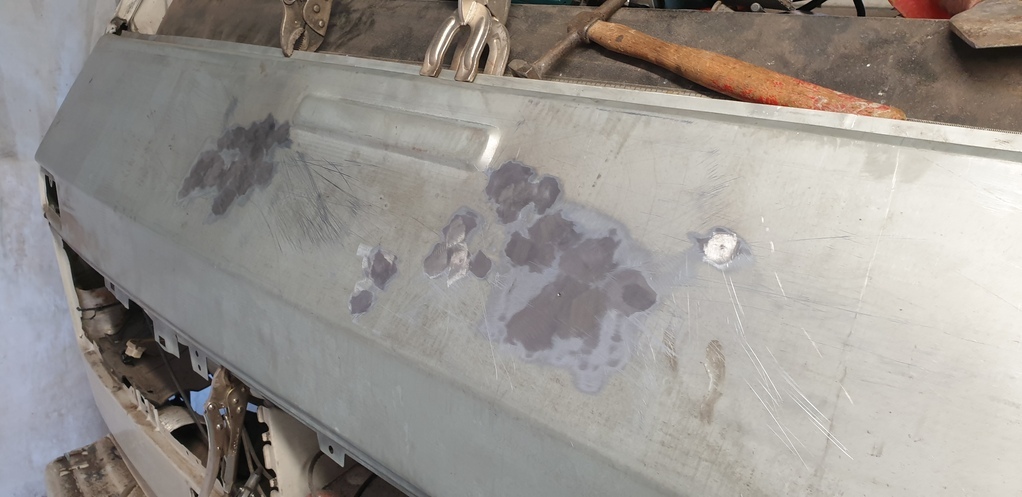
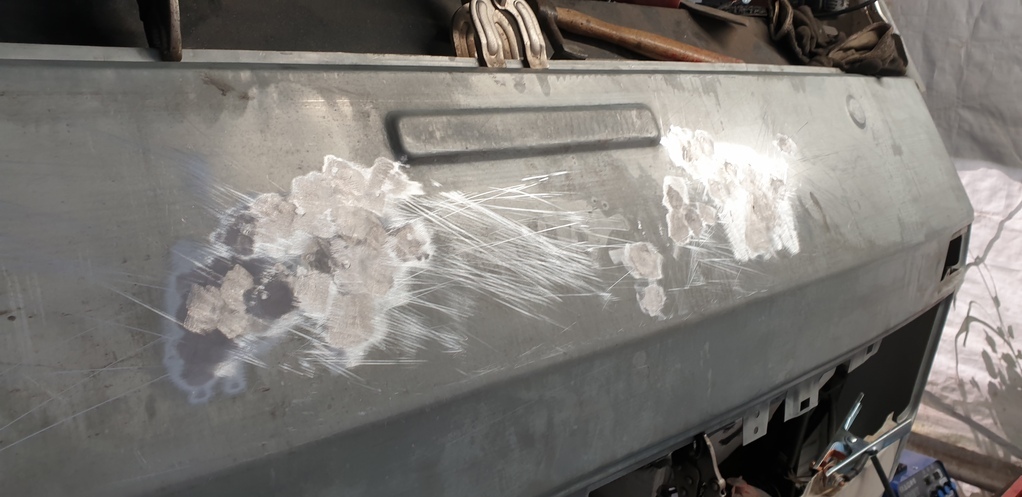
Then it was back in with that rusty piece on the front......
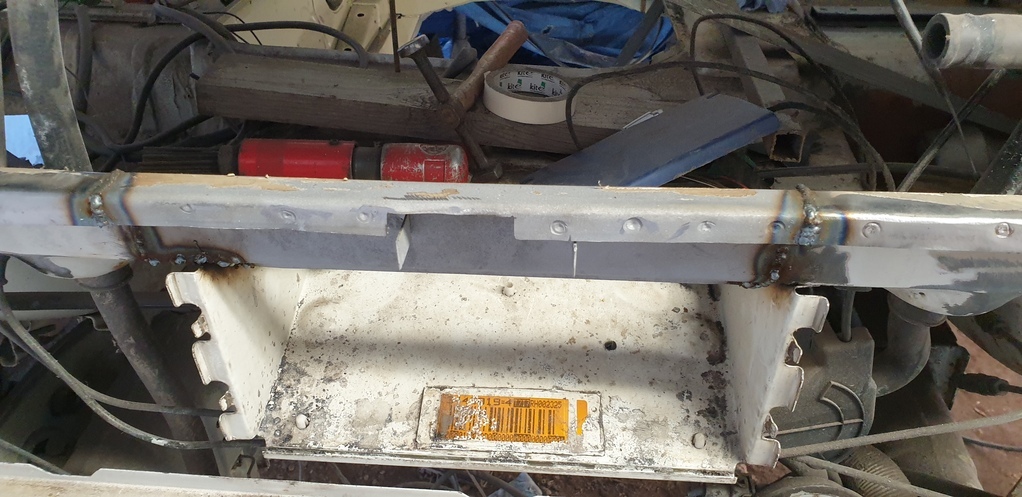
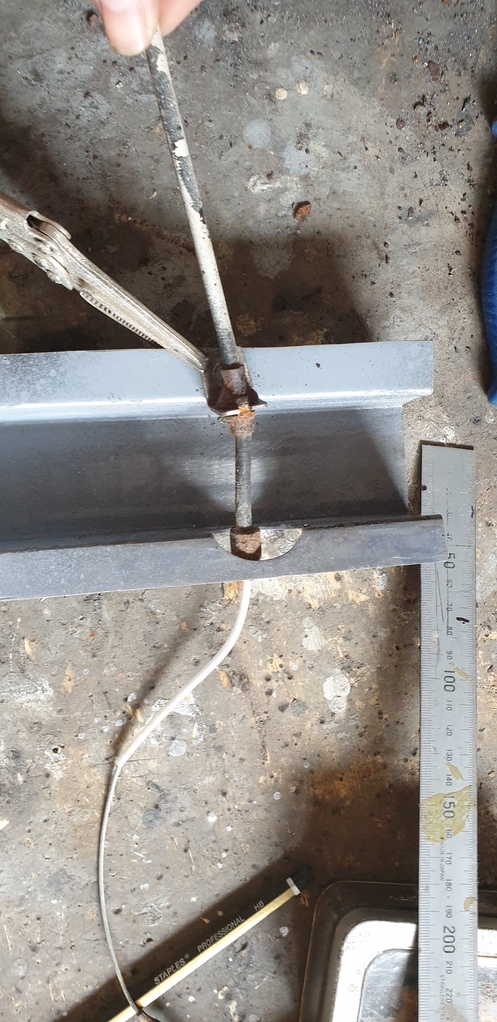
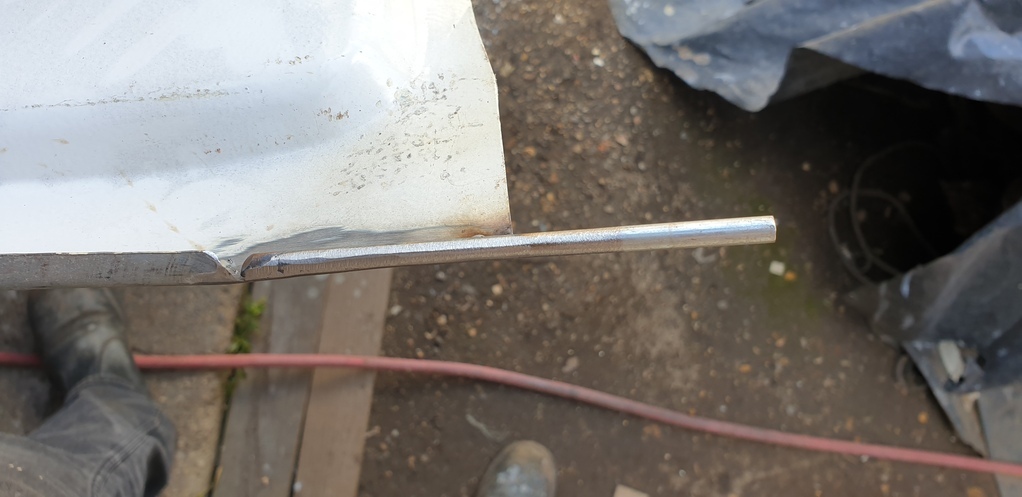
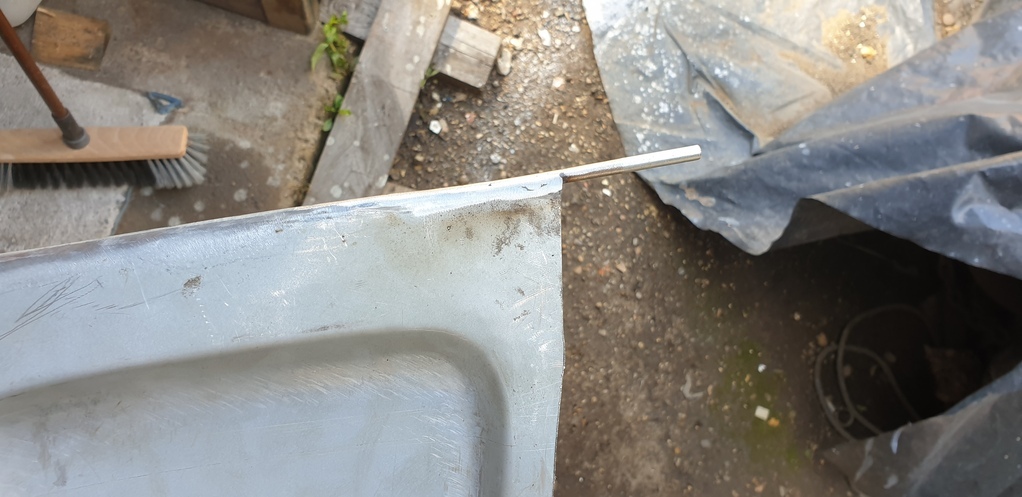
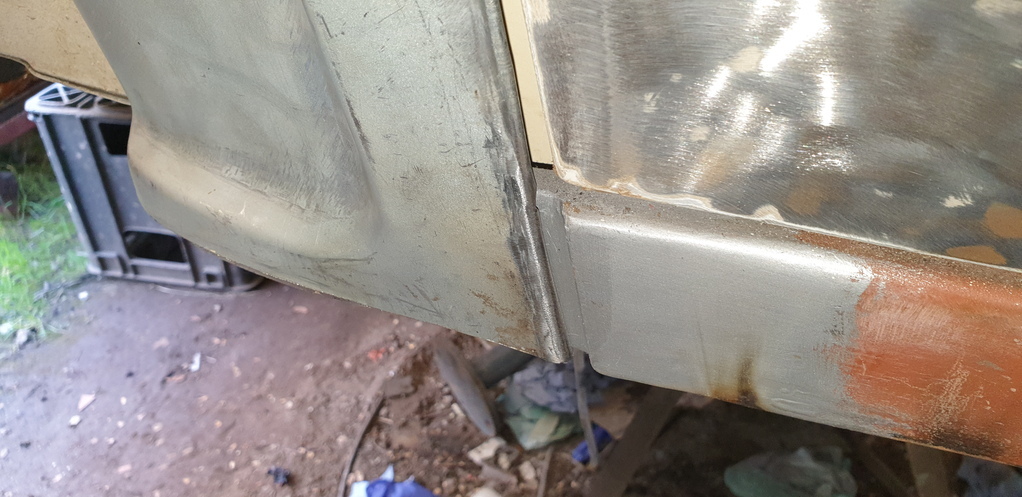
Because of the way the truck was originally assembled, the front wing had to be attached to the front panel and get fitted at the same time. Now, the quality of the wing wasn't much better than the front panel. It had no finished edge at bottom where it meets the step. So I added a small piece of steel rod to it....
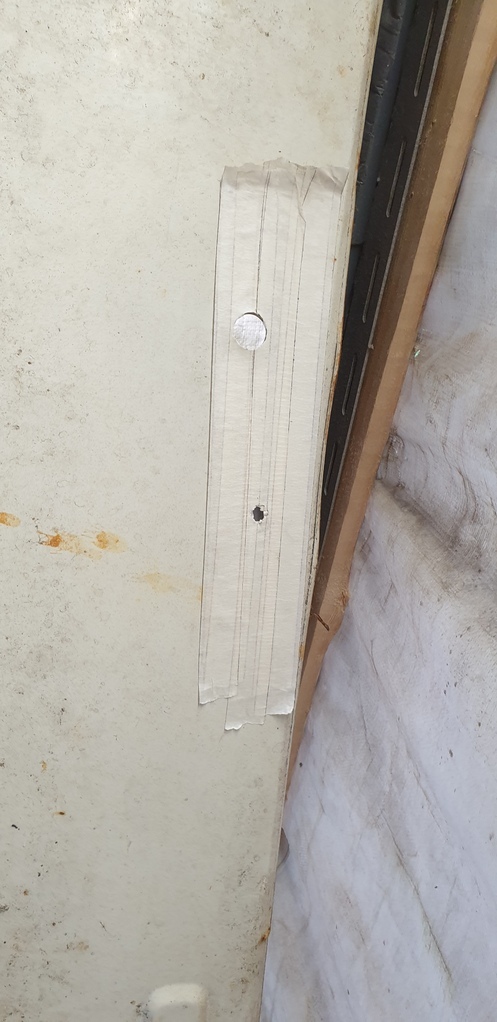
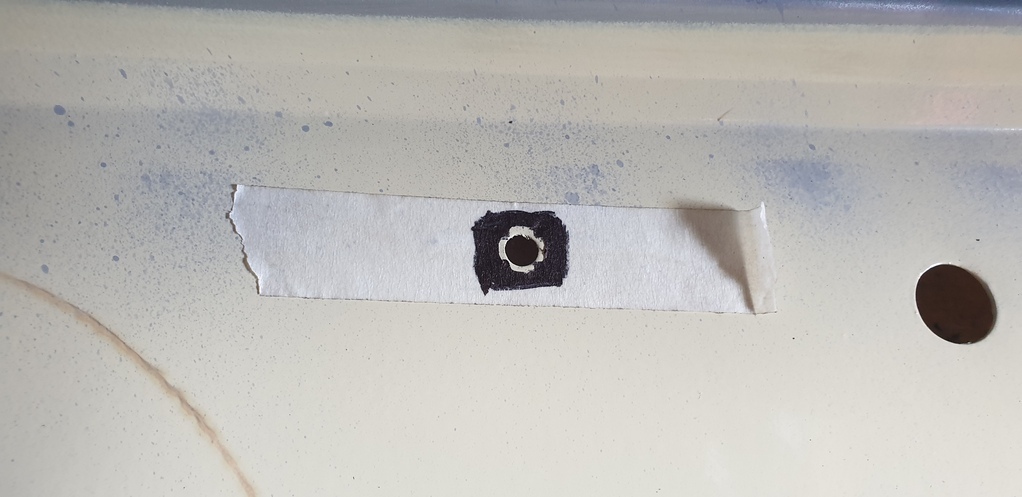
Then on to finding the position of and cutting the holes for the wipers. I stencilled off the original panel to achieve this.....
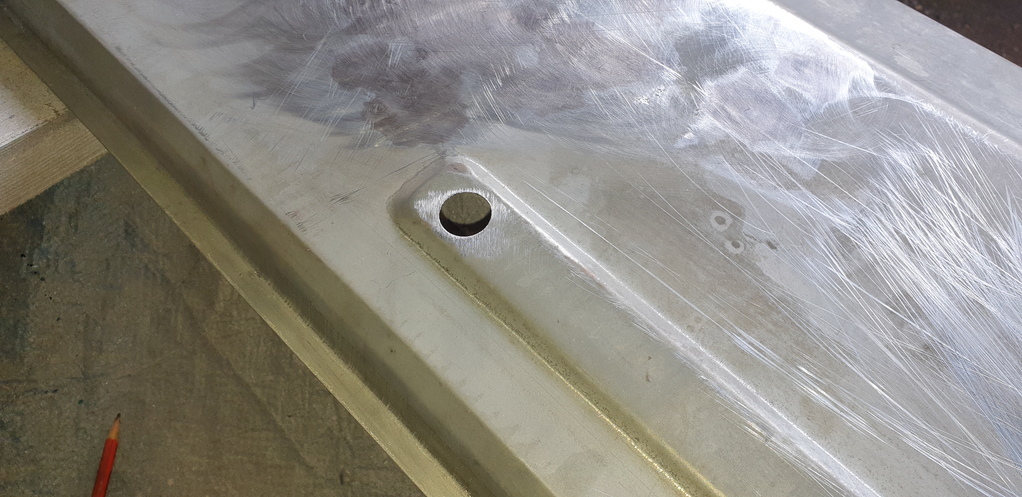
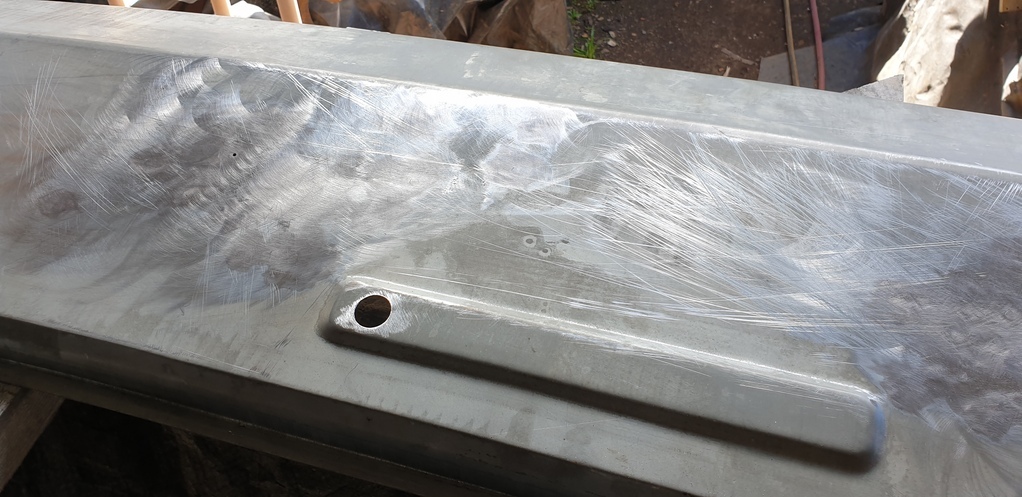
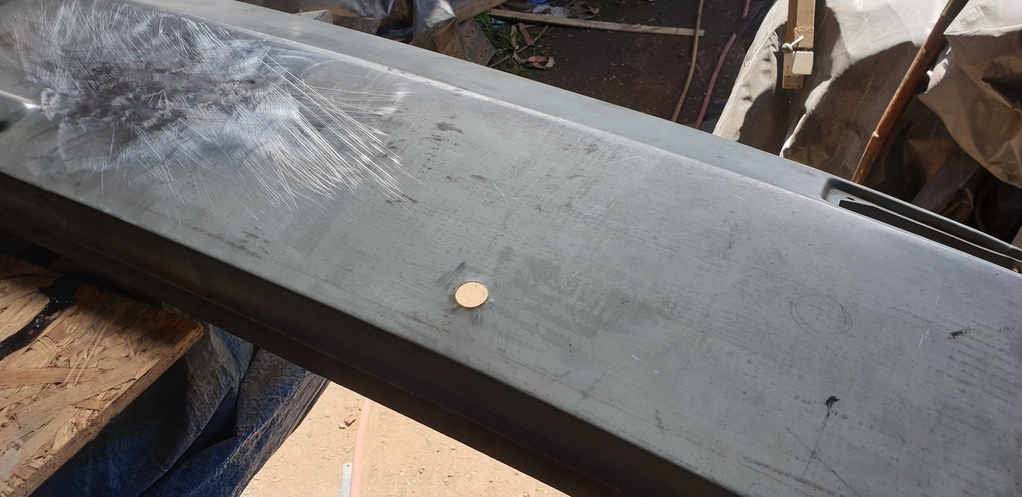
Then using those holes, I was able to stencil off the original panel the position of the washer jets.
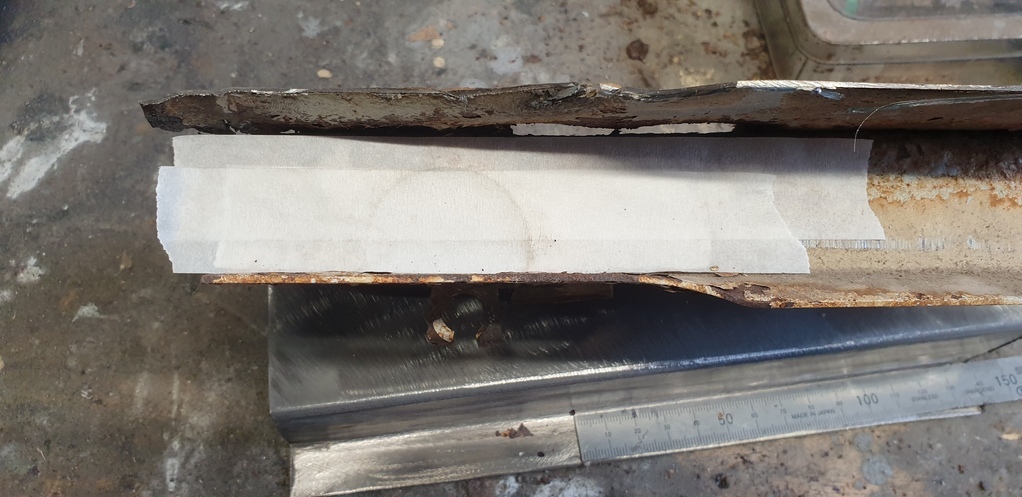
First find their position with masking tape and measurements....
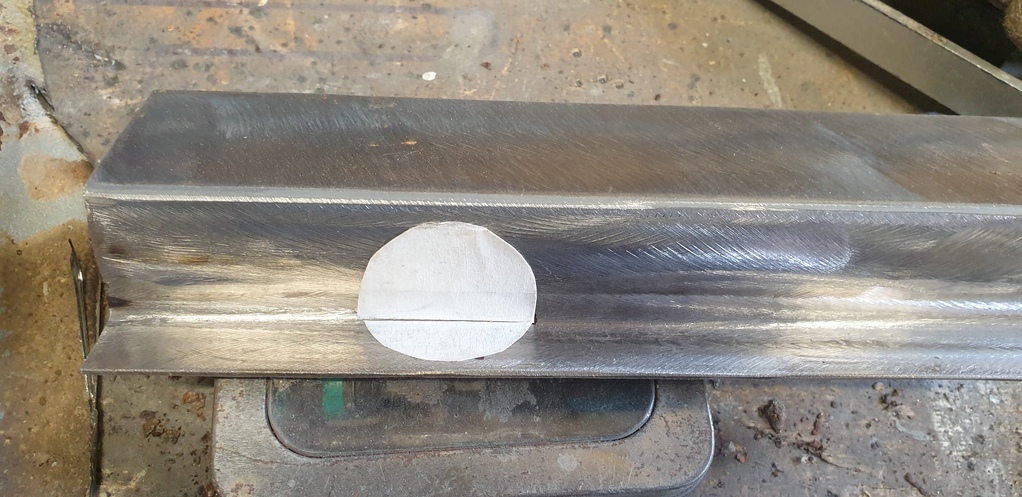
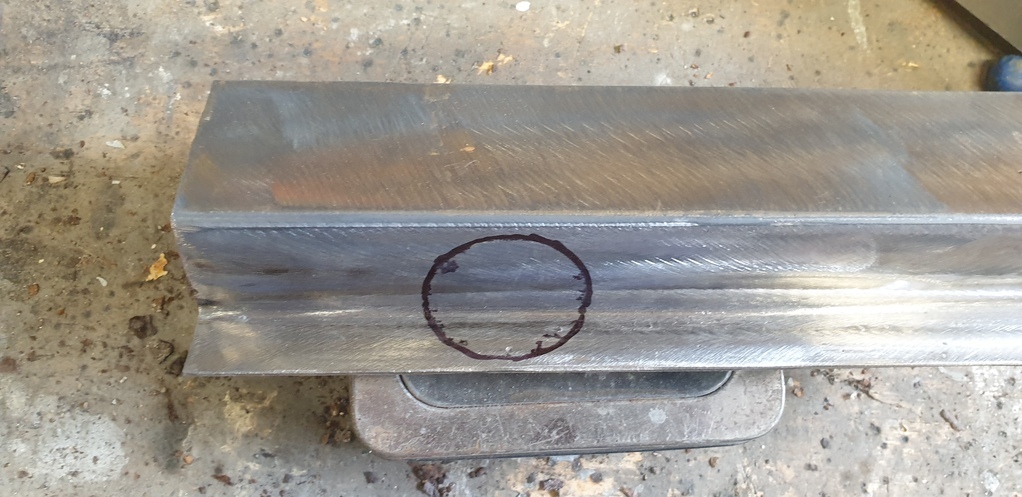
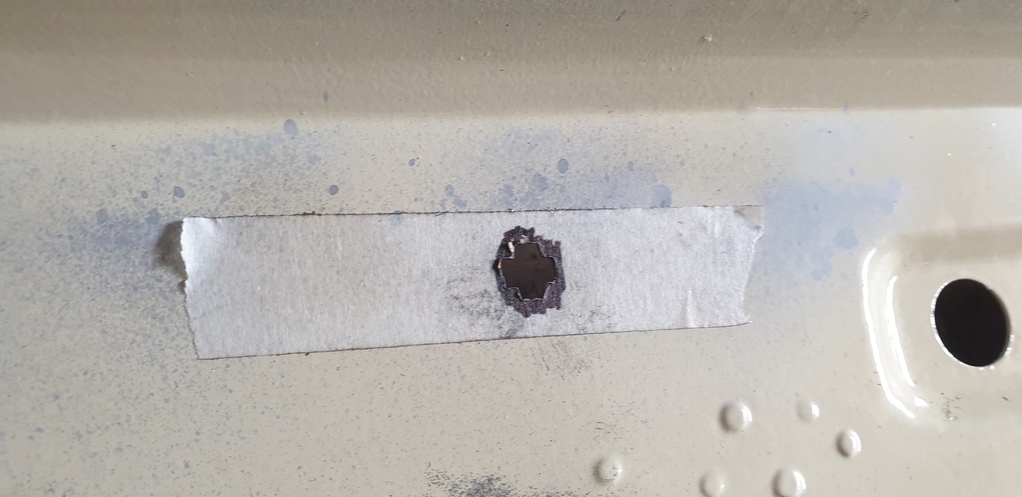
transfer across to the new panel.....
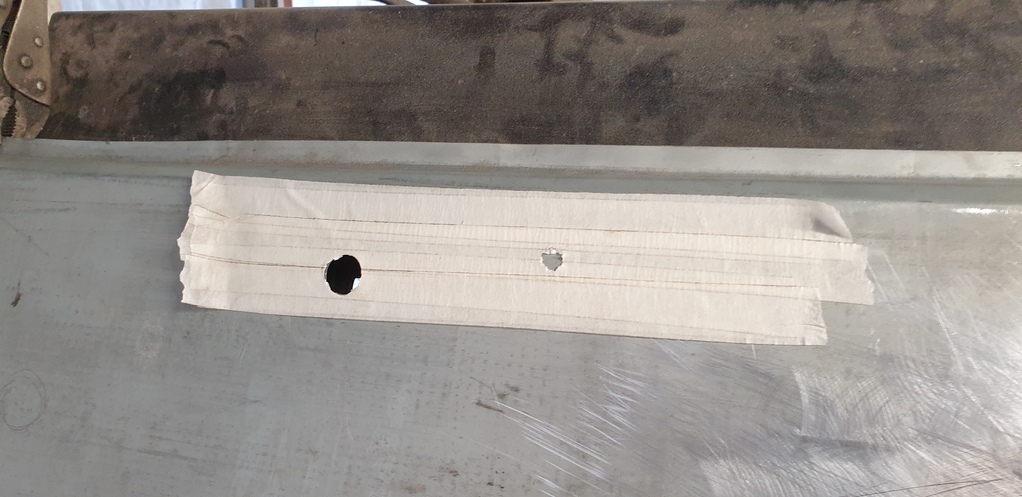
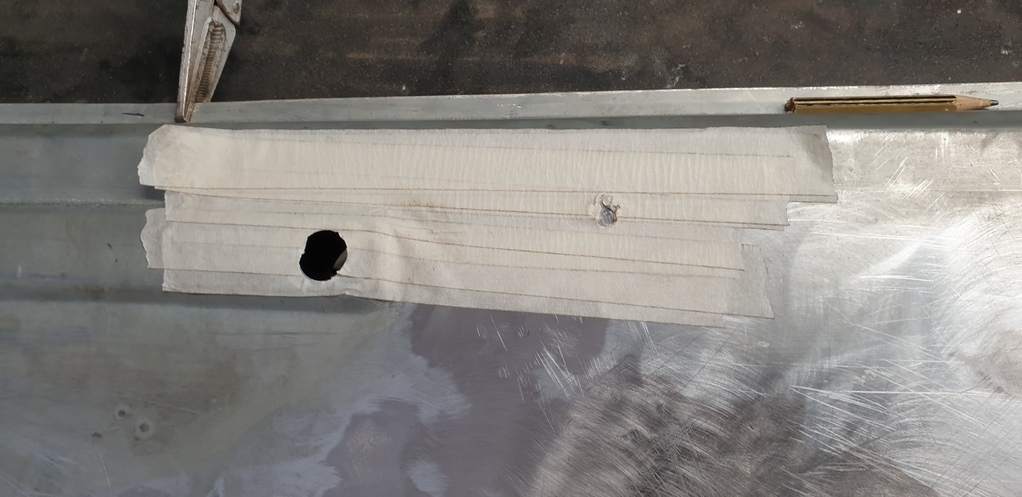
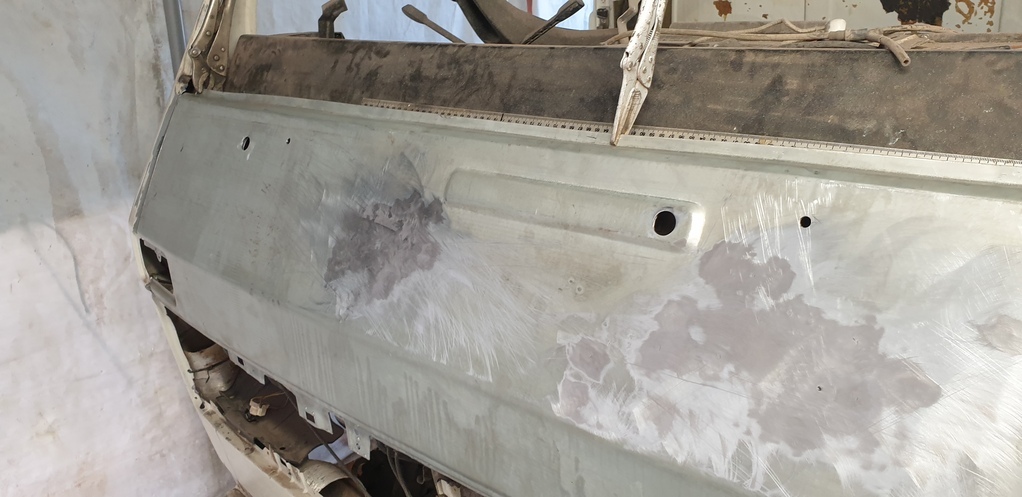
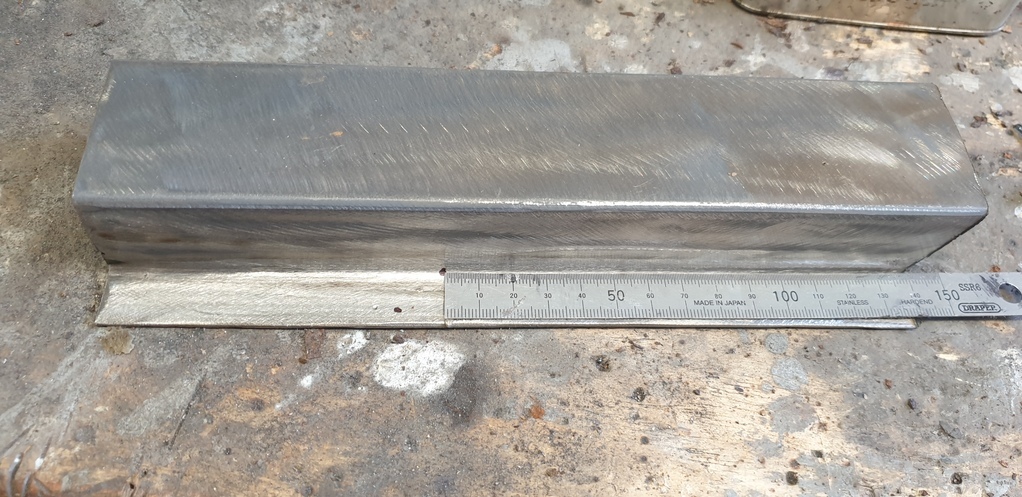
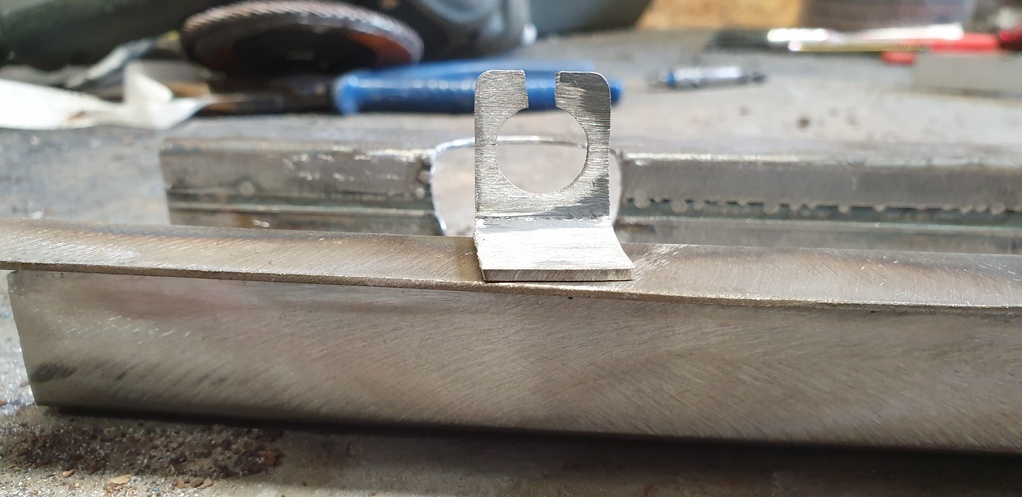
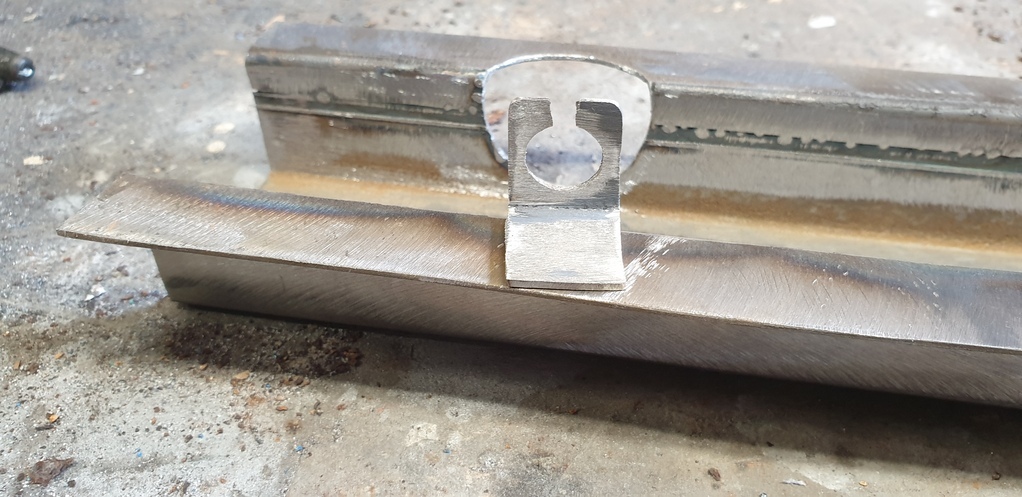
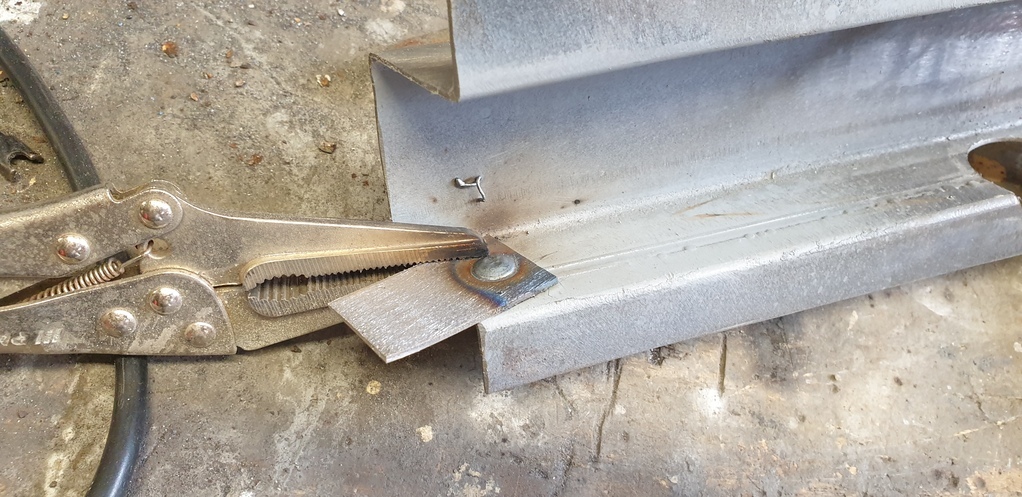
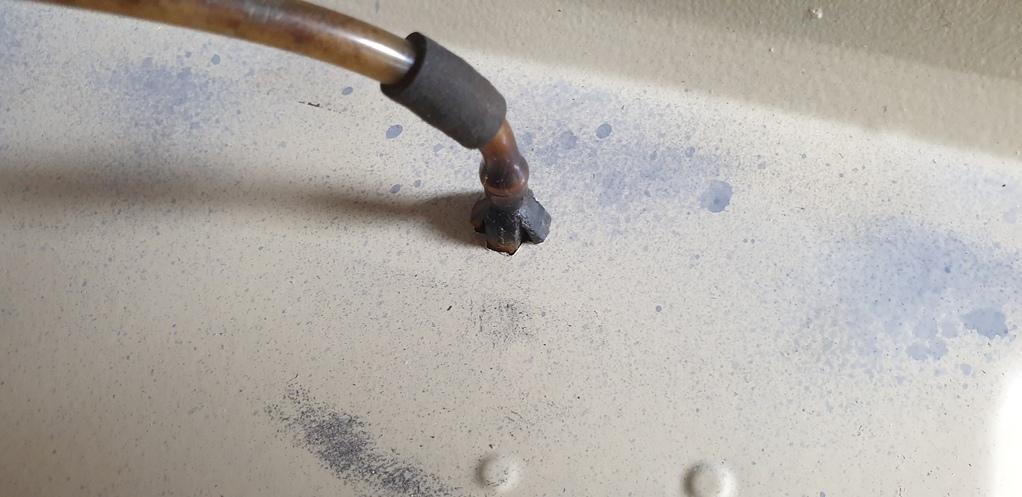
Now...the washer jets clip into a cross shaped hole to stop them rotating once fitted. So I had to file that cross into the the new panel......
.....like this......
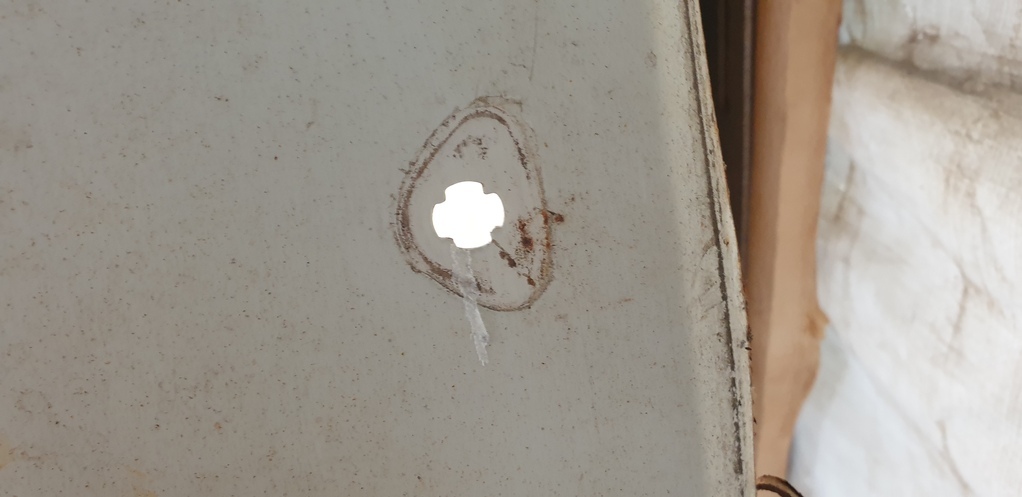
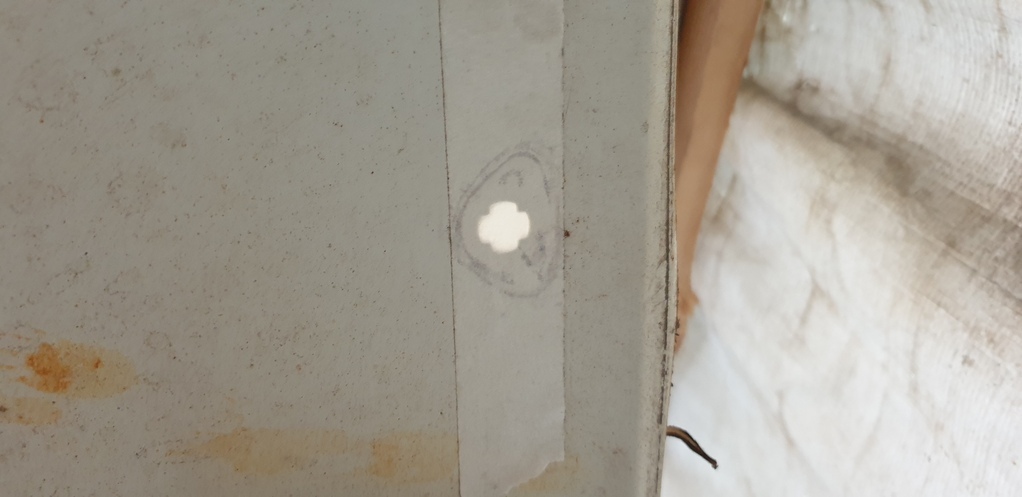
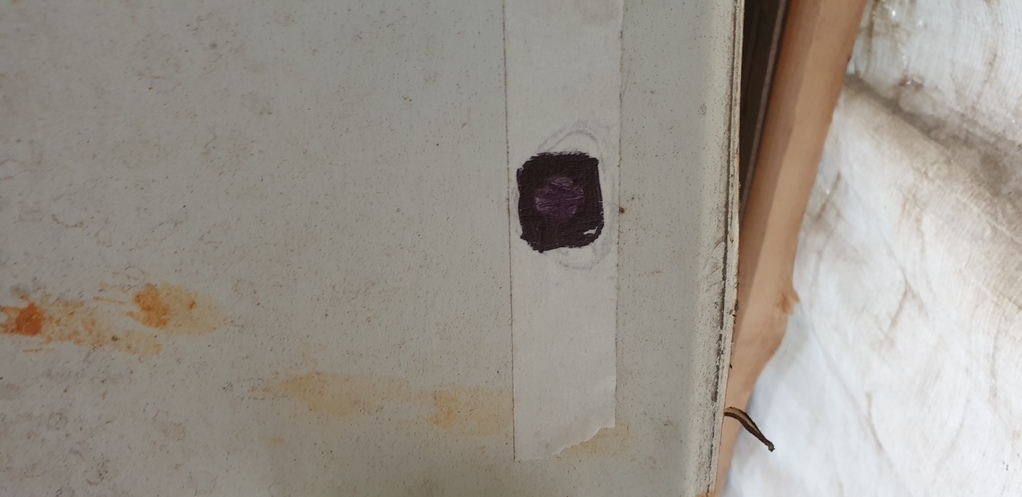
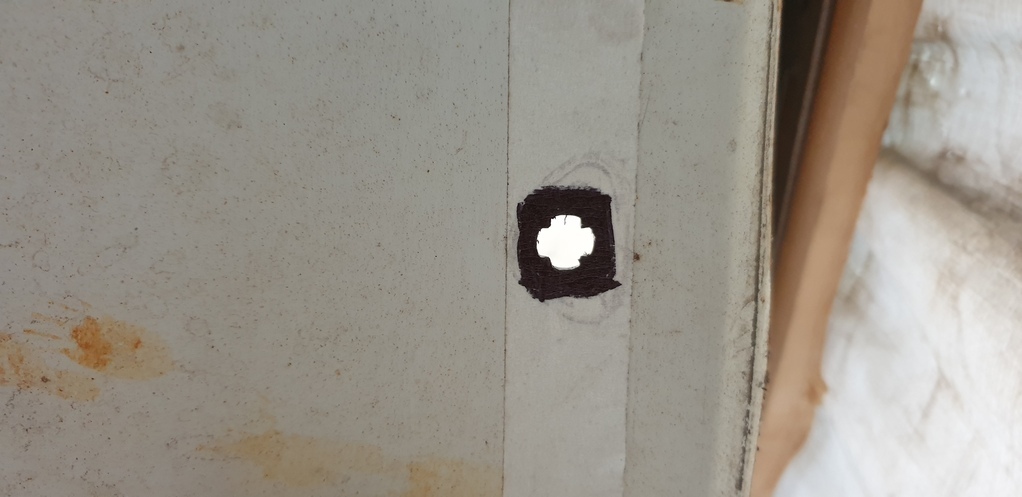
Once all that was done, I could then weld the new wing to the front panel and make it all one piece....
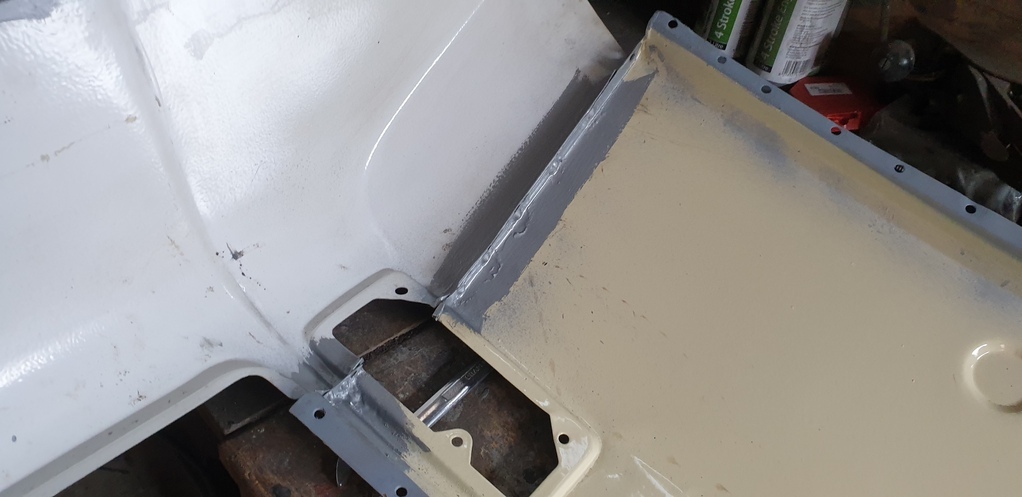
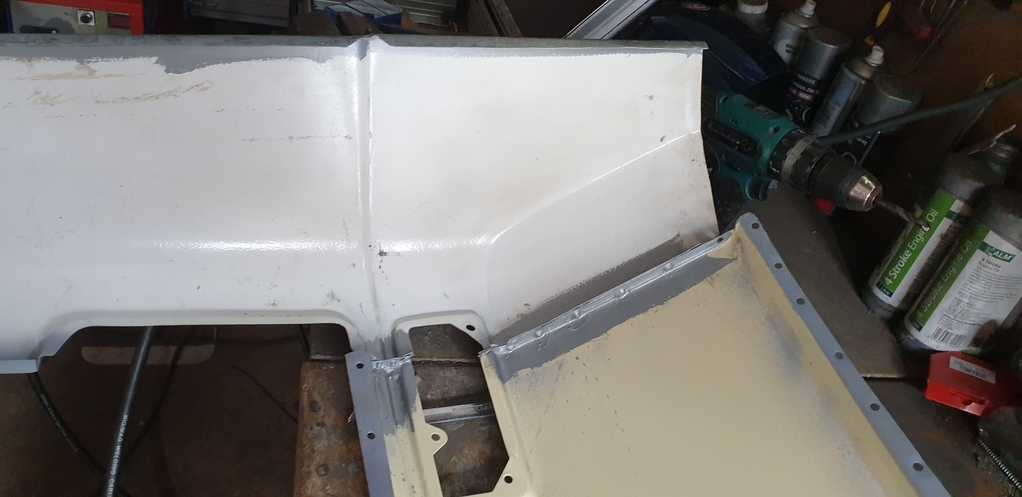
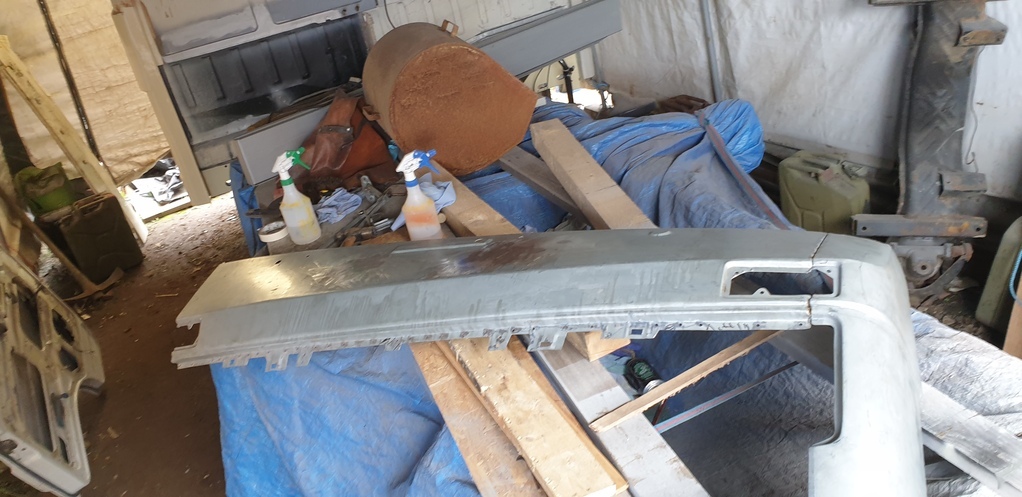
Then the big moment.....fit it all in place...... permanently!
First....apply some seam seal the front wing and crimp the edges over....
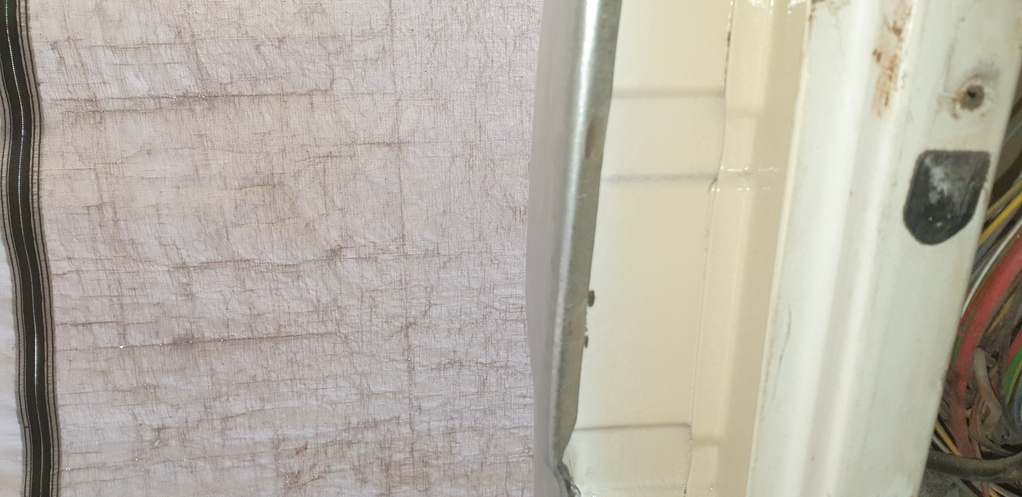
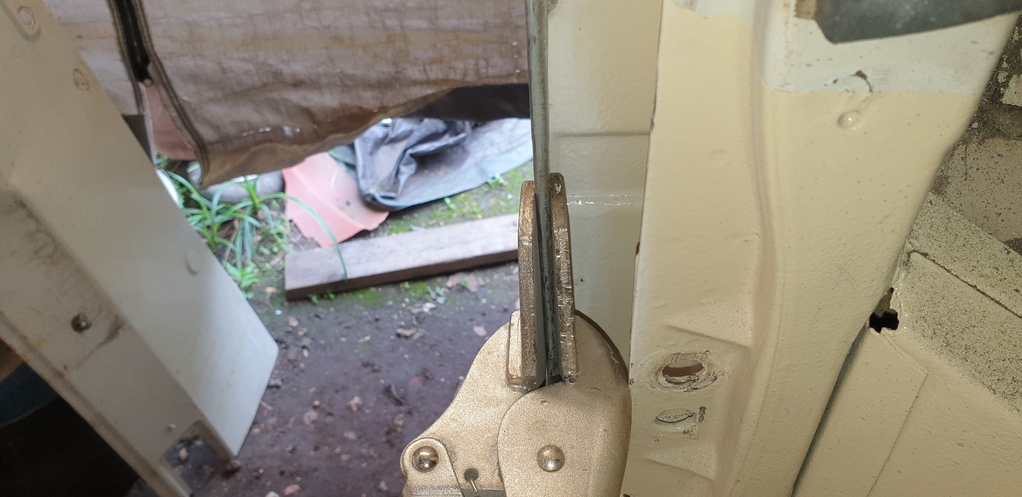
Then weld the front panel on.........
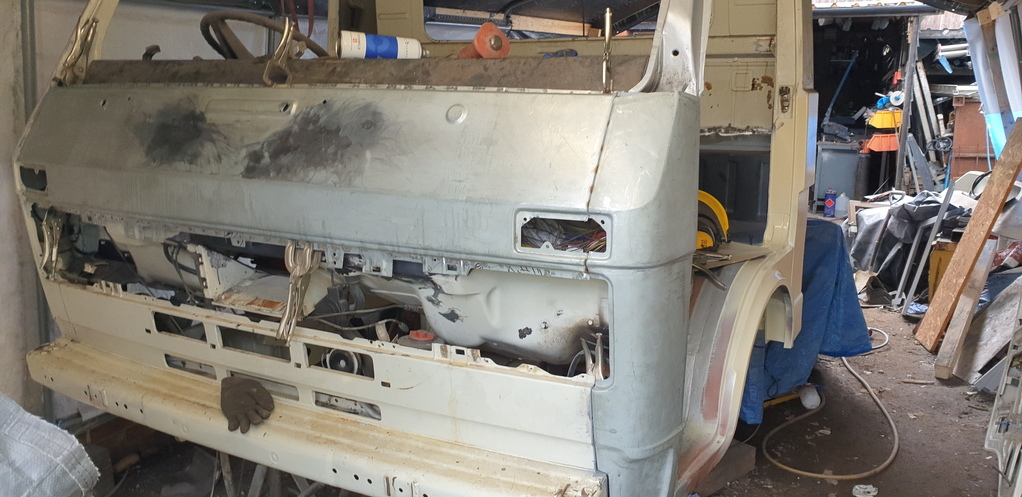
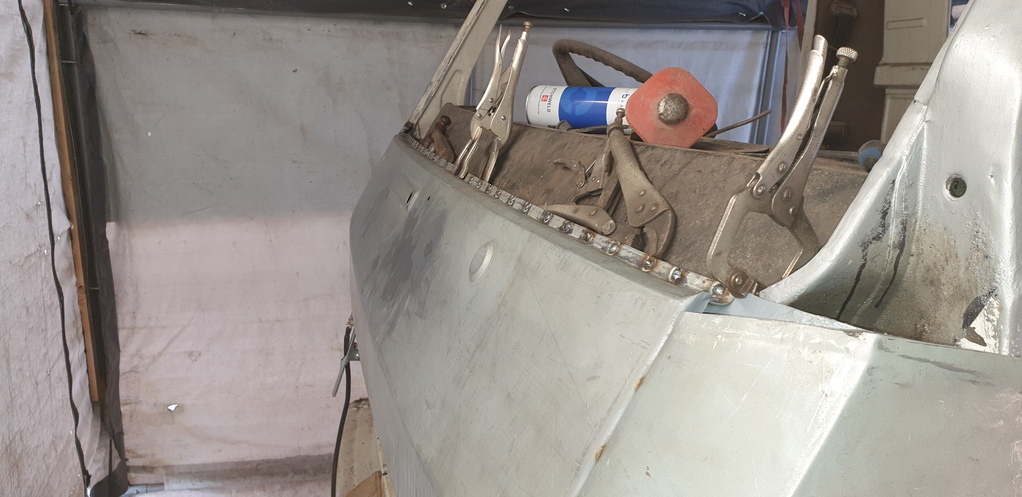
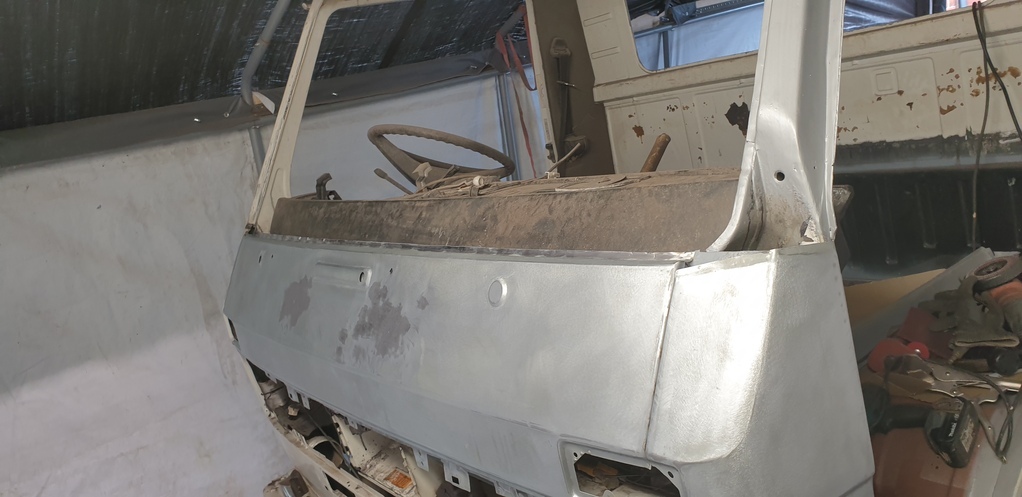
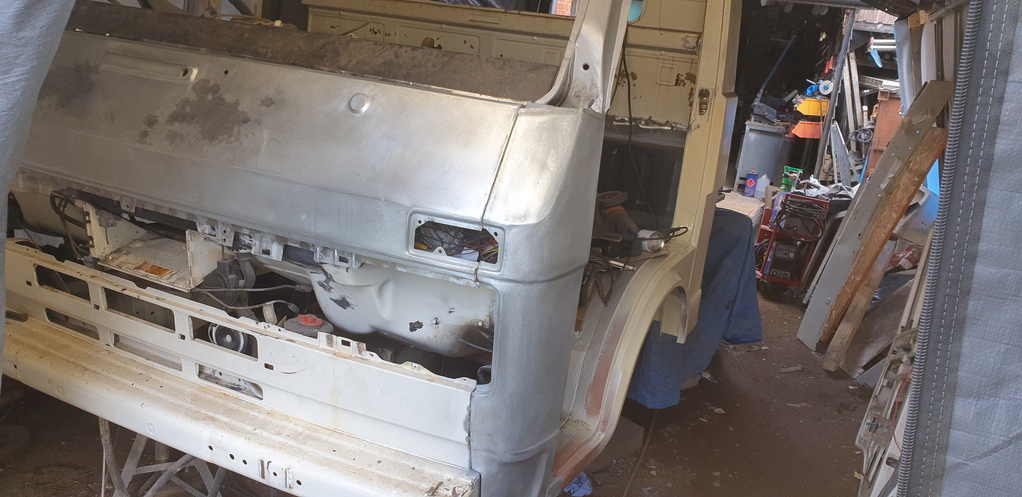
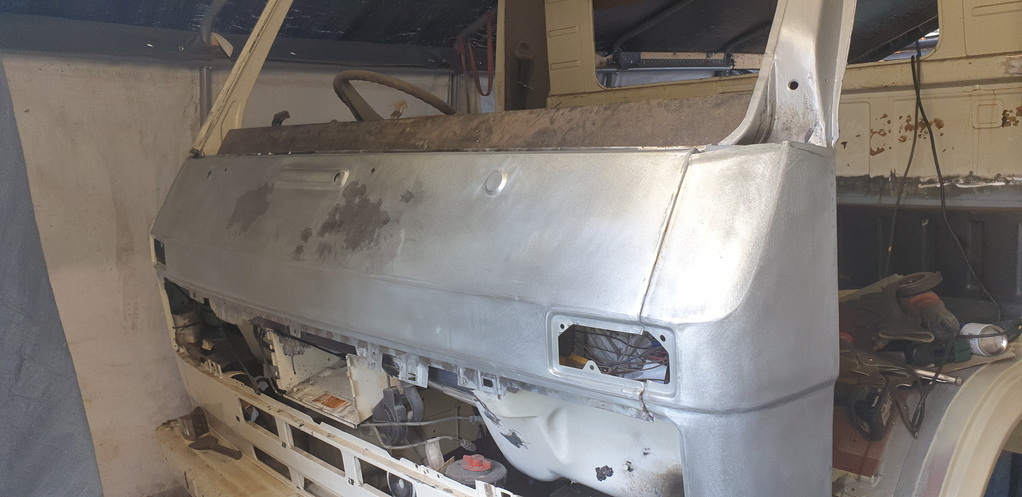
....On with some epoxy mastic primer.....
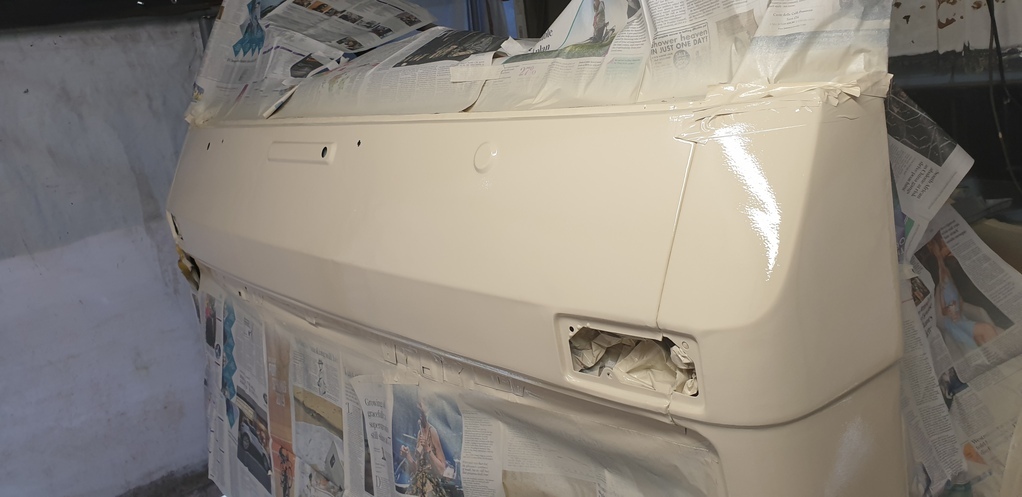
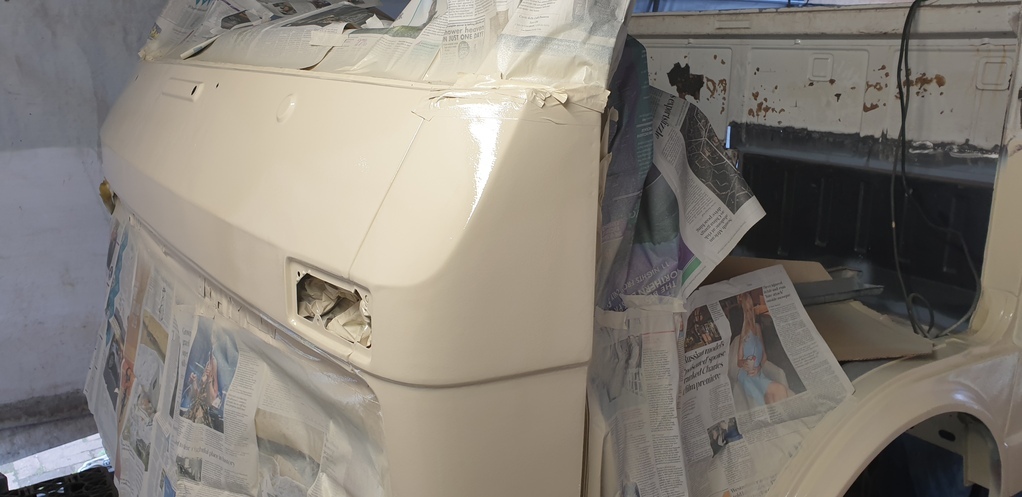
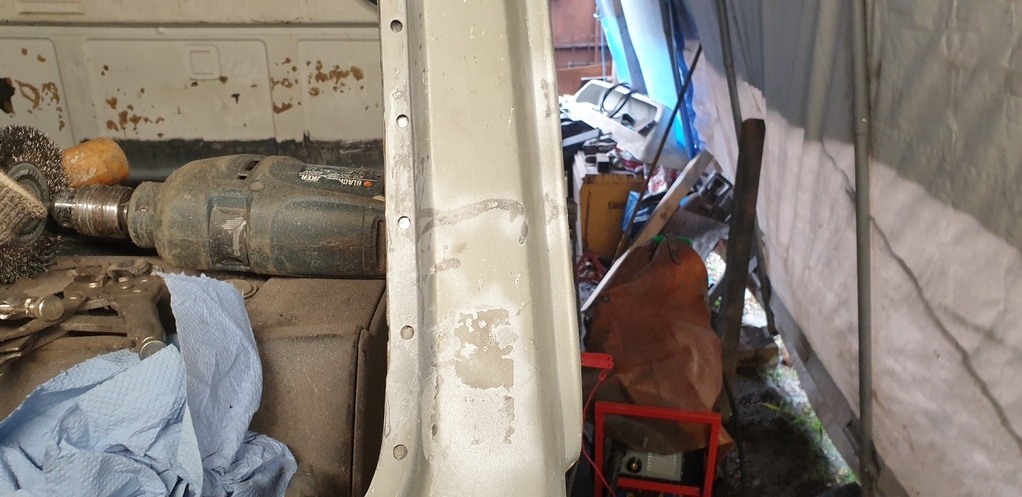
Then it was time to put the outer panel on the left side window pillar......
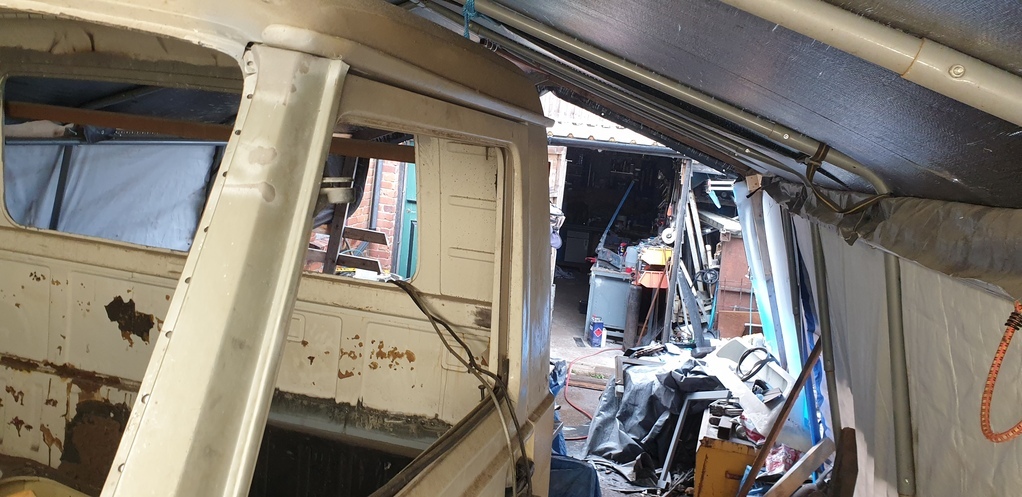
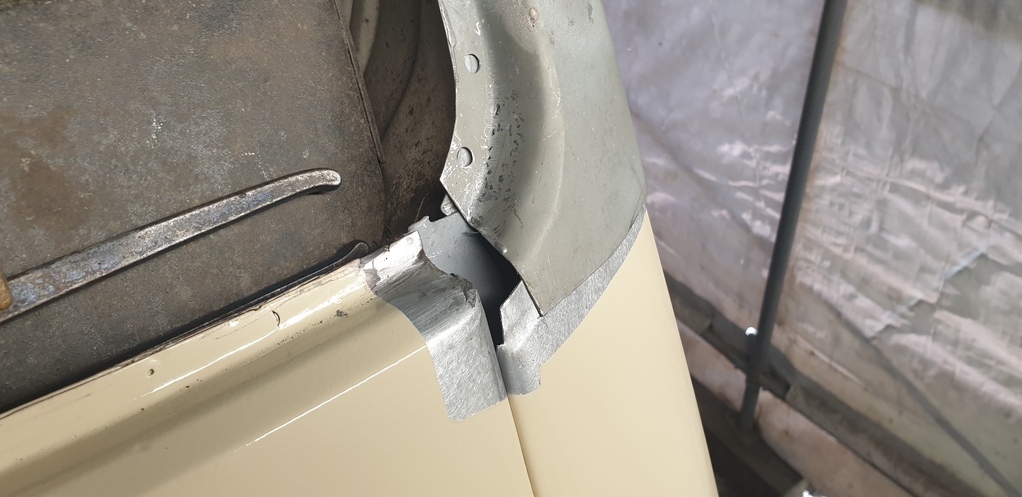
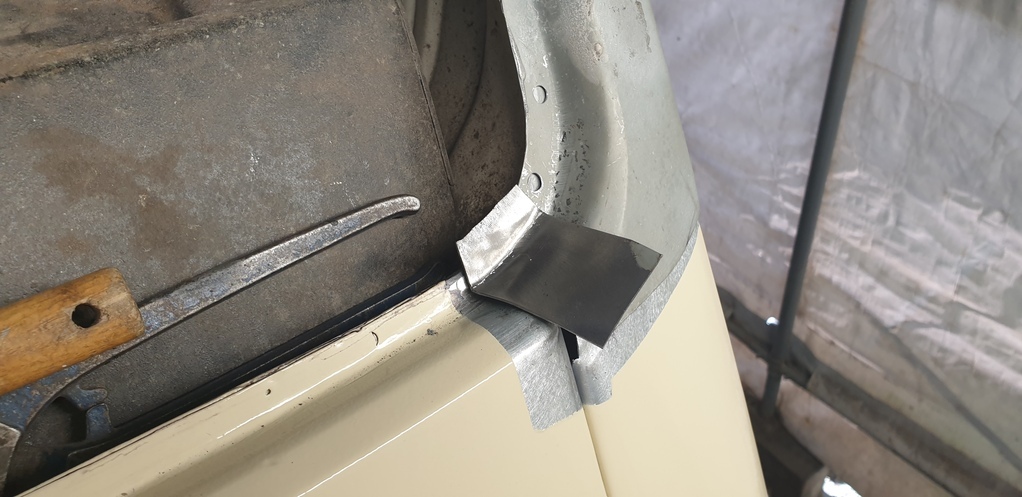
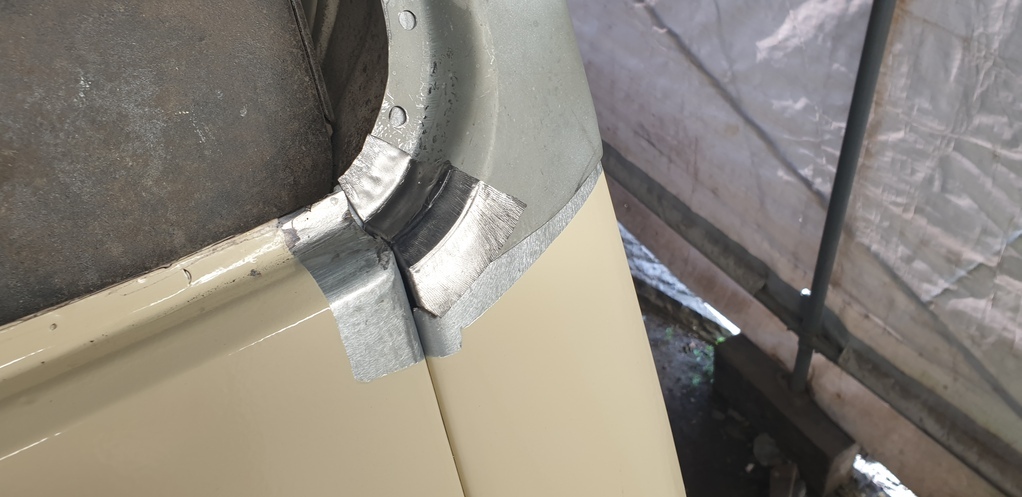
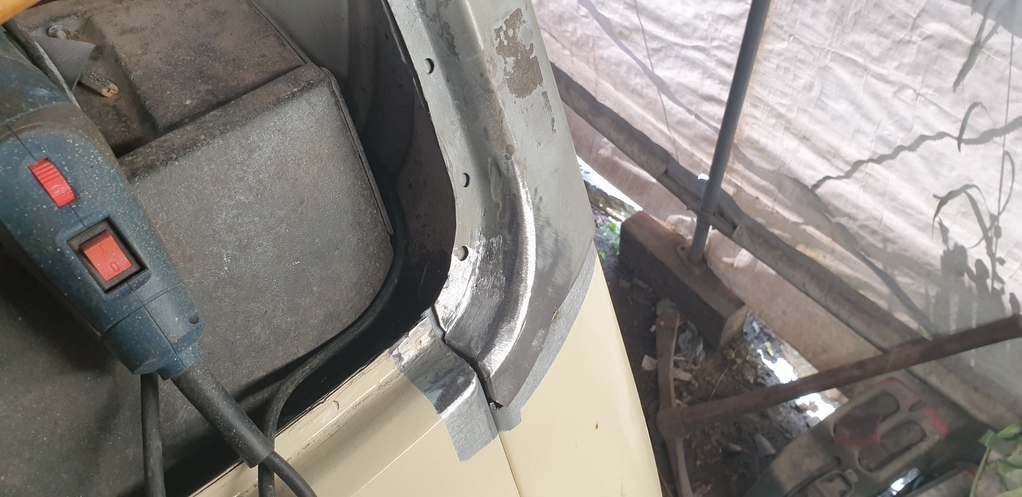
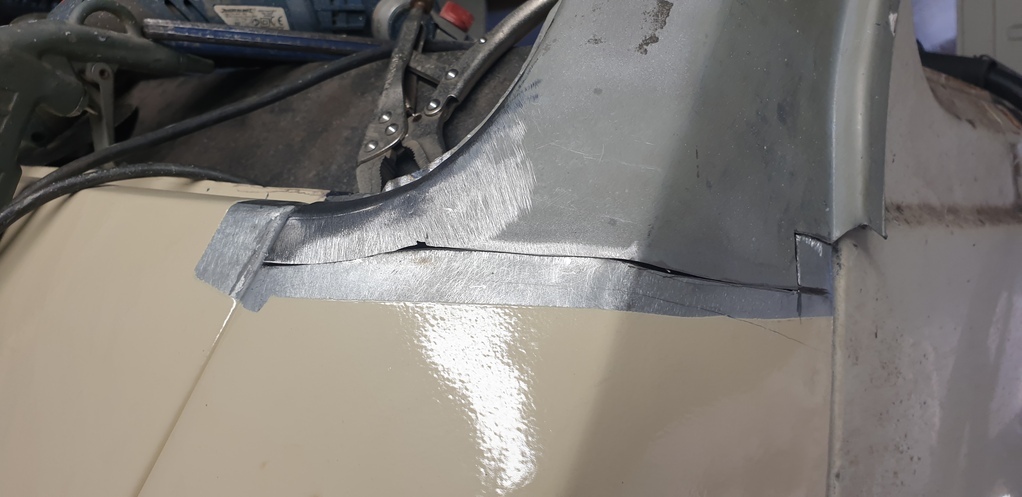
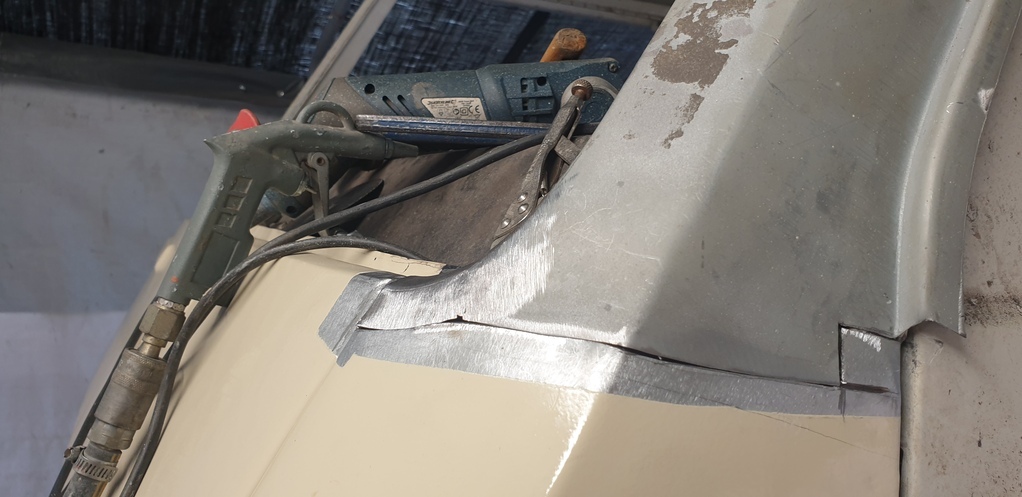
Again.....seam sealer applied to the crimped edges.....and then crimped down......
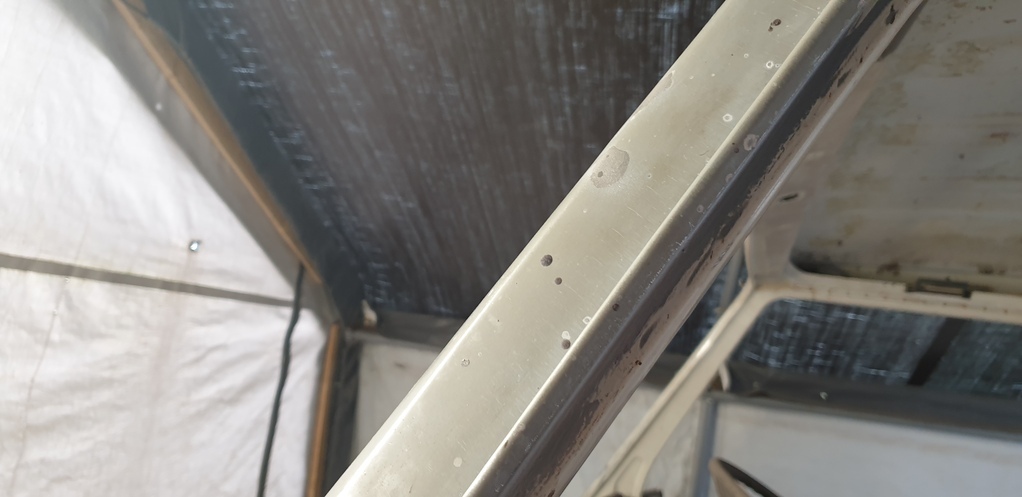
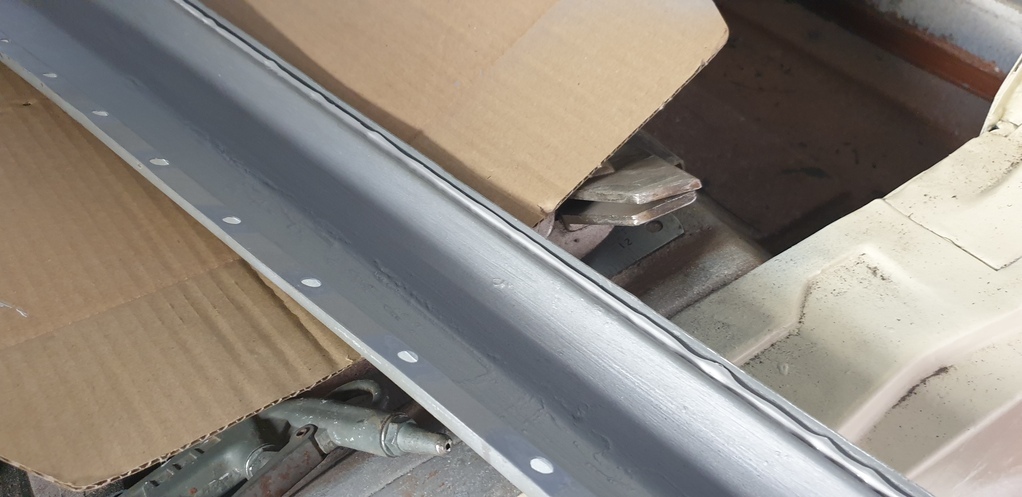
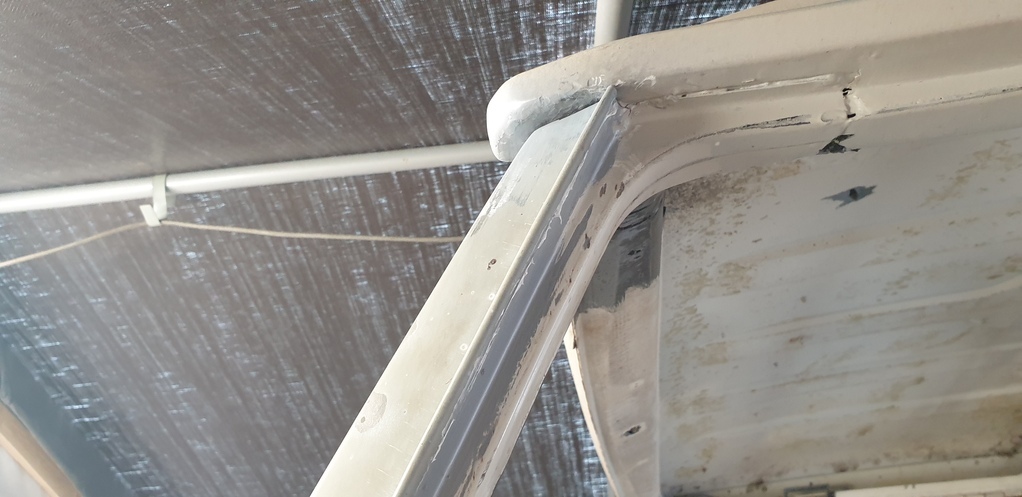
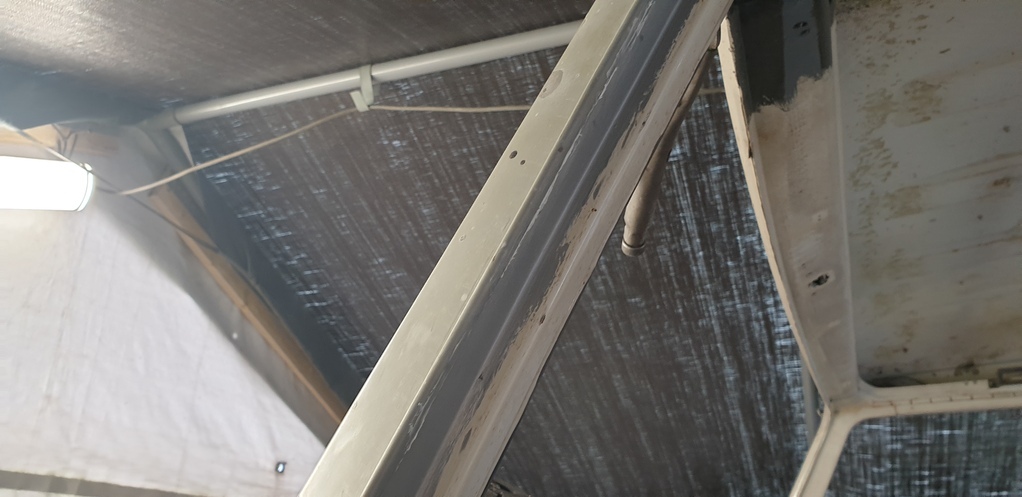
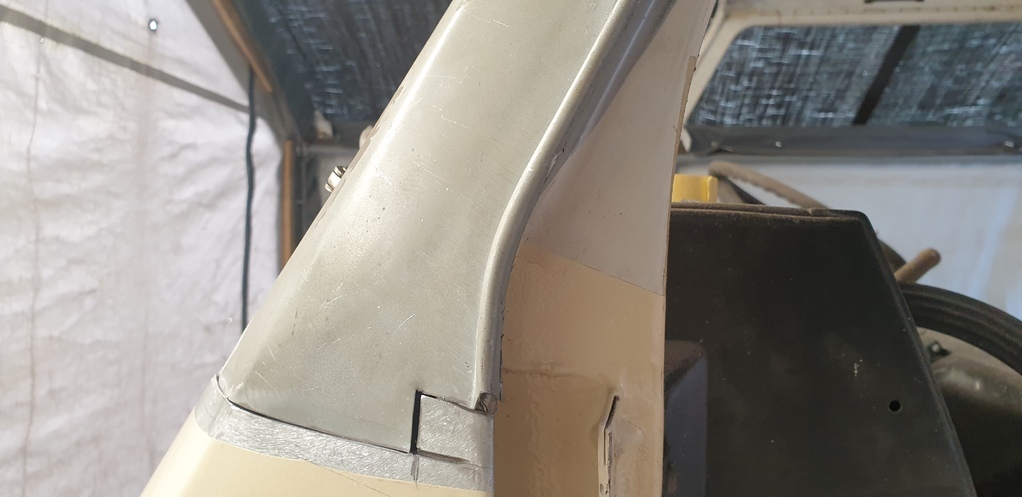
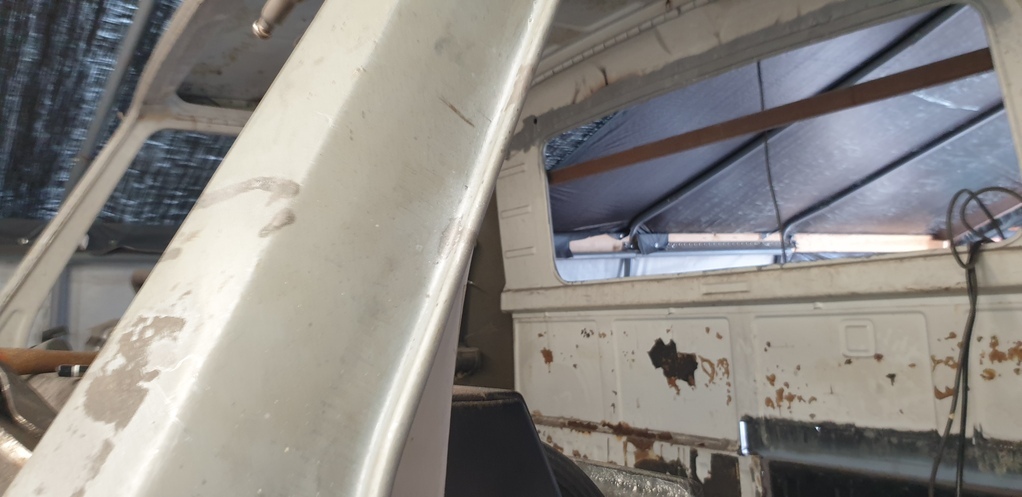
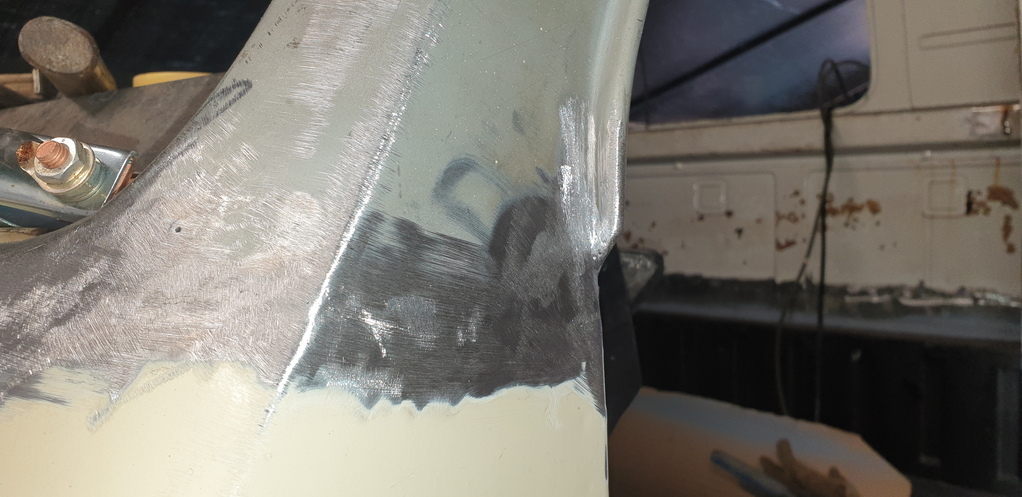
......fill up the holes where the original ugly grill was mounted......
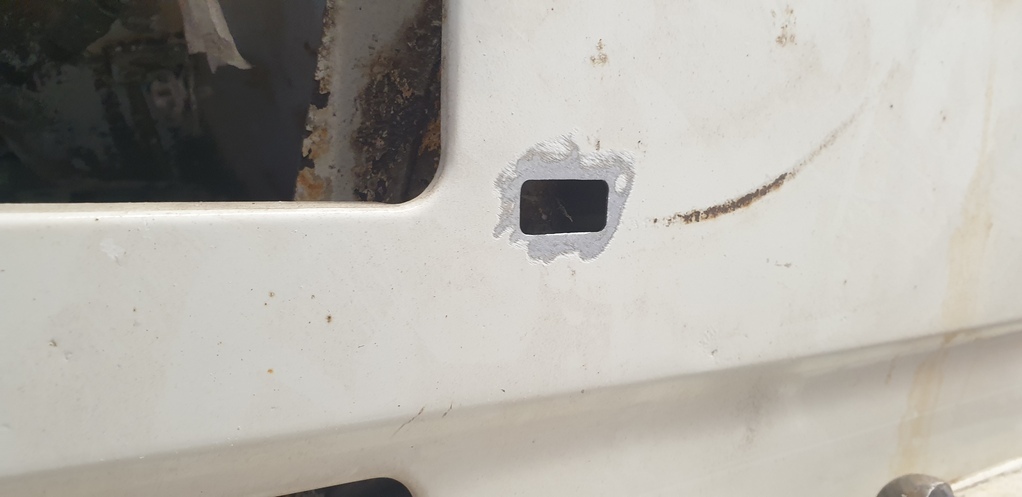
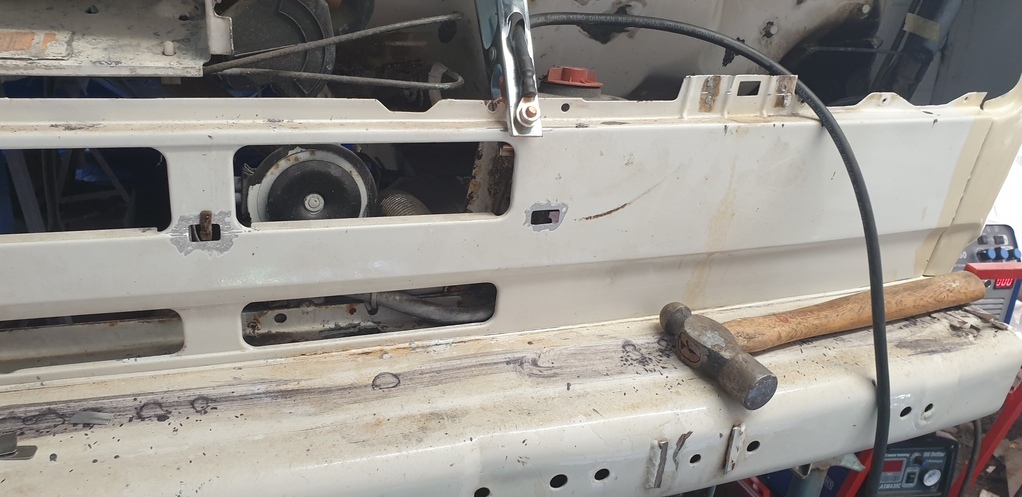
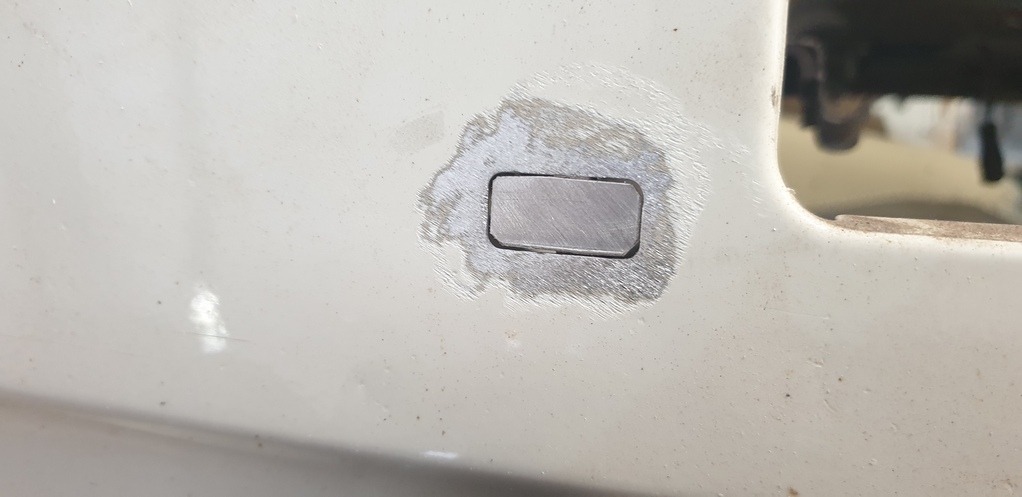
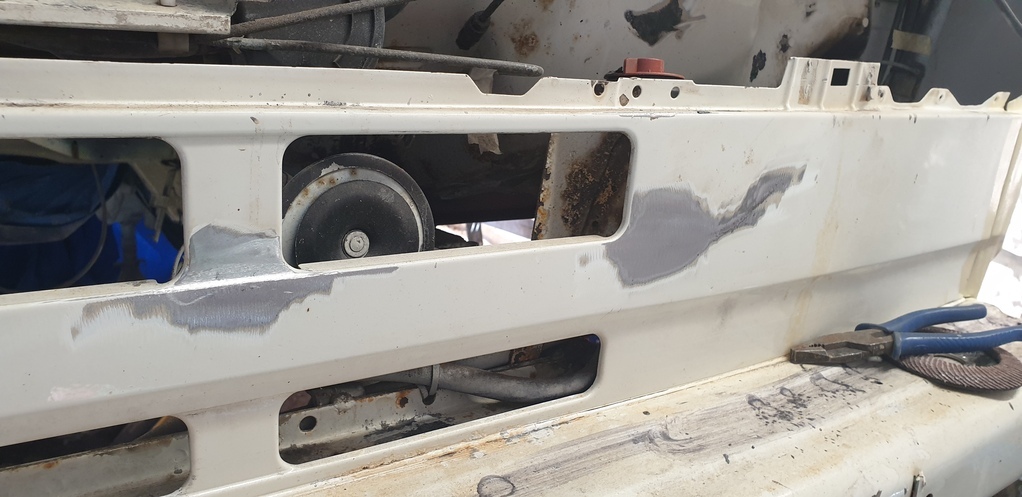
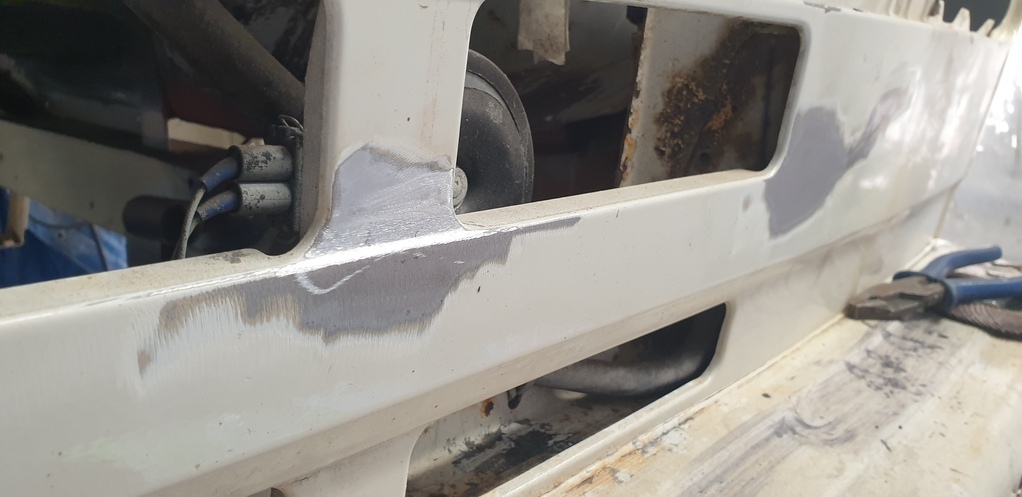
After all that.....a coat of epoxy primer.
But!!!!........just before you see what I did next.....which was fit the grill back in.... just to see what it looked like.....( so exciting!!!!! ).......
I would like to take this opportunity to blow my own trumpet.......really LOUDLY!!!!!
I only work on the truck at weekends and some evenings in the summer.
But in a space of exactly TWO MONTHS!!.....( and with a lot of constant beavering away )......
Lloyd went from this..........
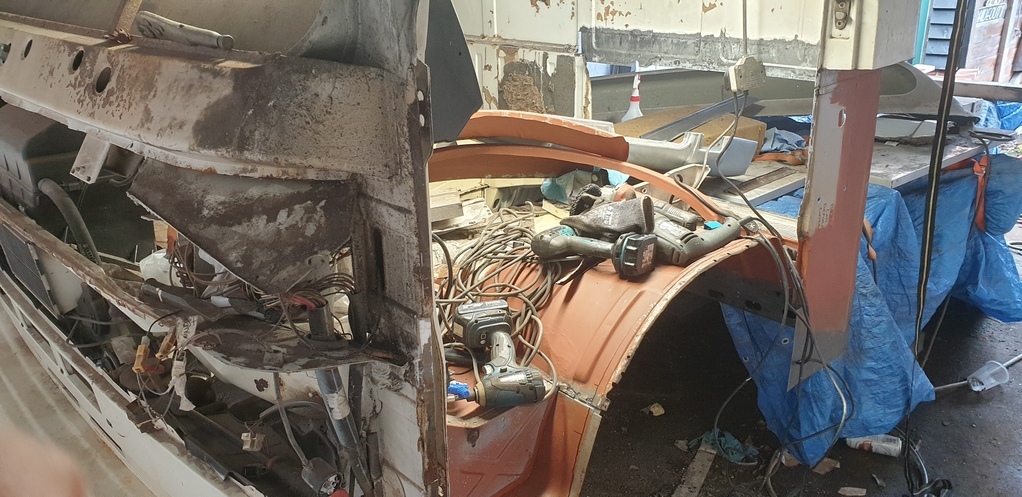
Wait for it...........
...........to this!!!!!
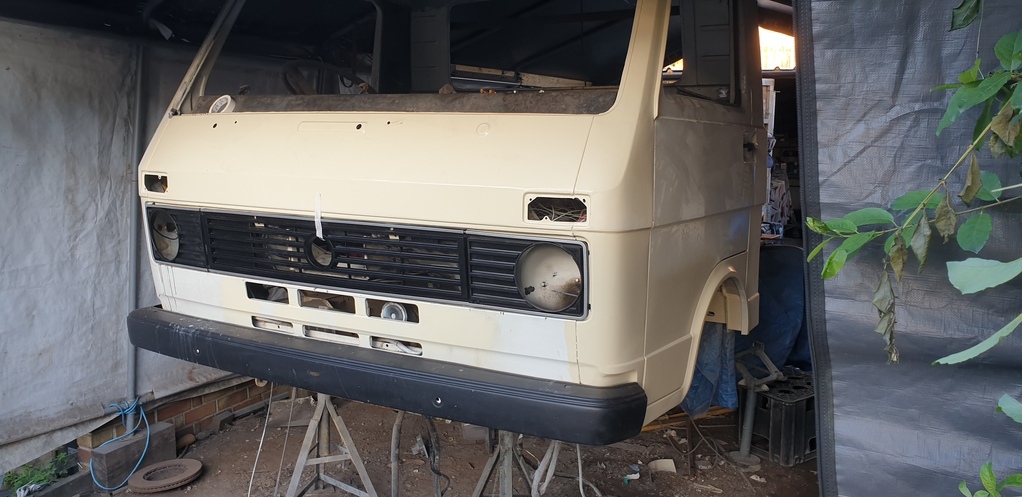
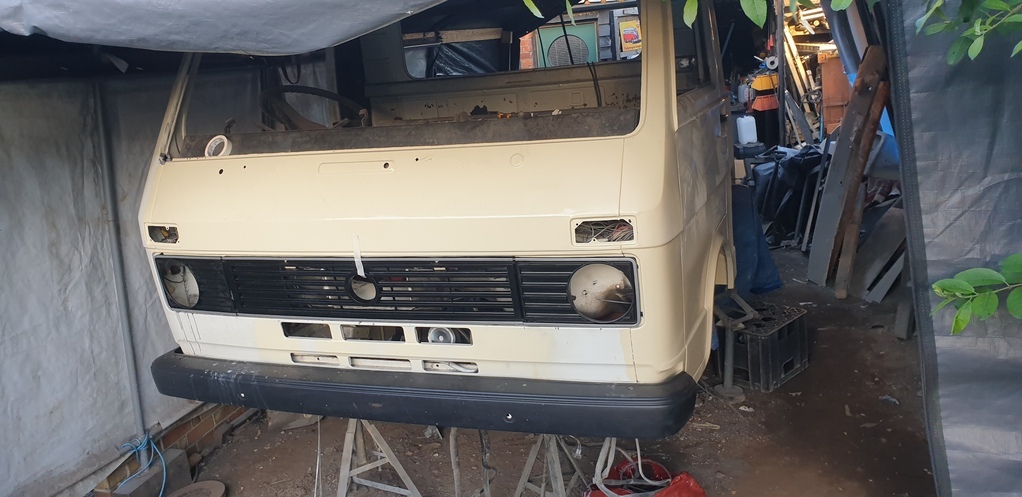
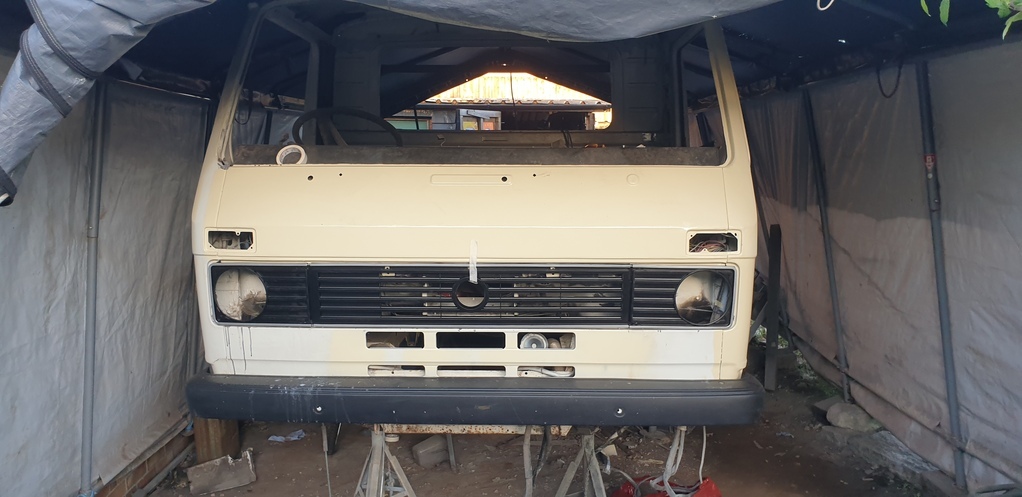
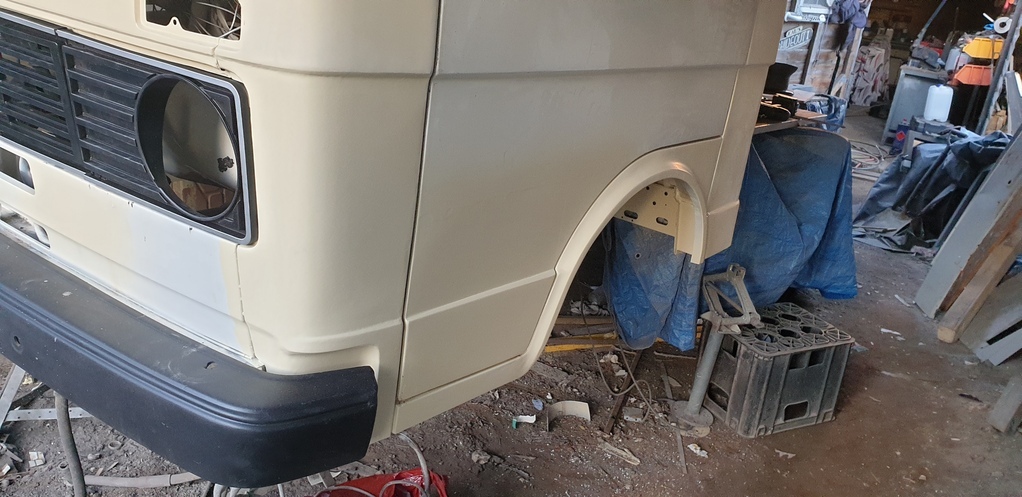
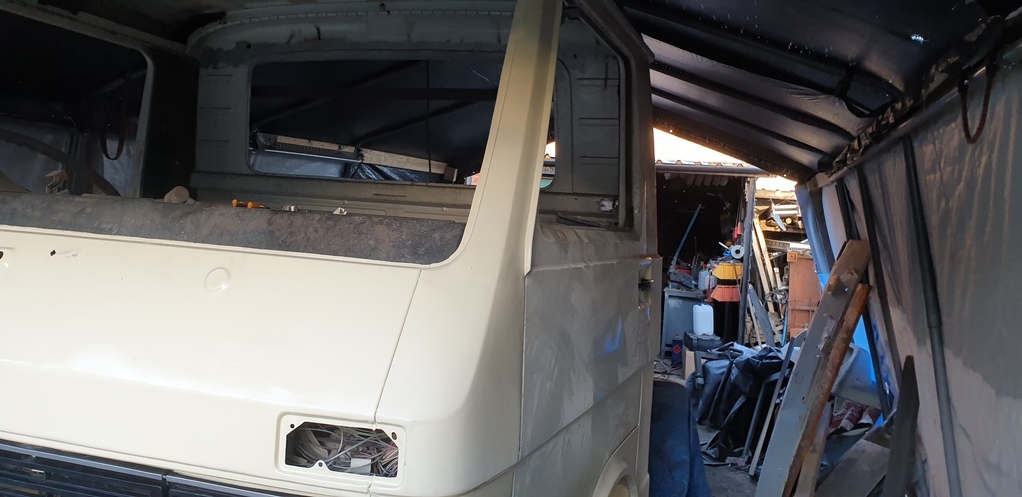
At the time, I remembered being so pleased with myself......but then remembering that there was still the drivers side to do!!!!
Well.....that's all for now folks. Thanks for looking in.....more soon
Dan.


