|
|
|
|
|
Just a small update to get things moving again. So…..my plan to regularly update this thread has well and truly flown out the window! I've been mega busy with all sorts of stuff, like getting my daily drive M.O.T ready, fixing all sorts of things around the house for my mum and of course…..repairing the storm damaged pop-up garage. Which I'm pleased to report is all back up and running. I even managed to add in a few improvements in the way of structural strength… 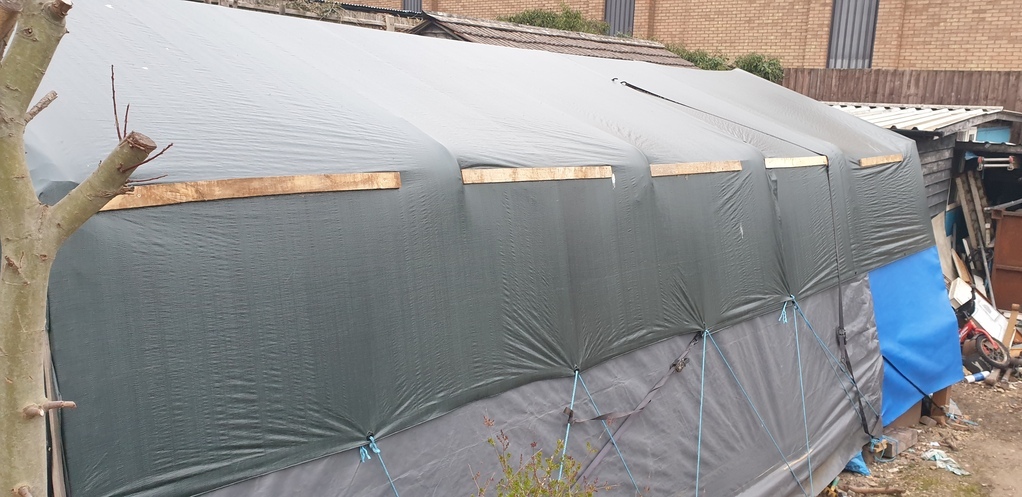 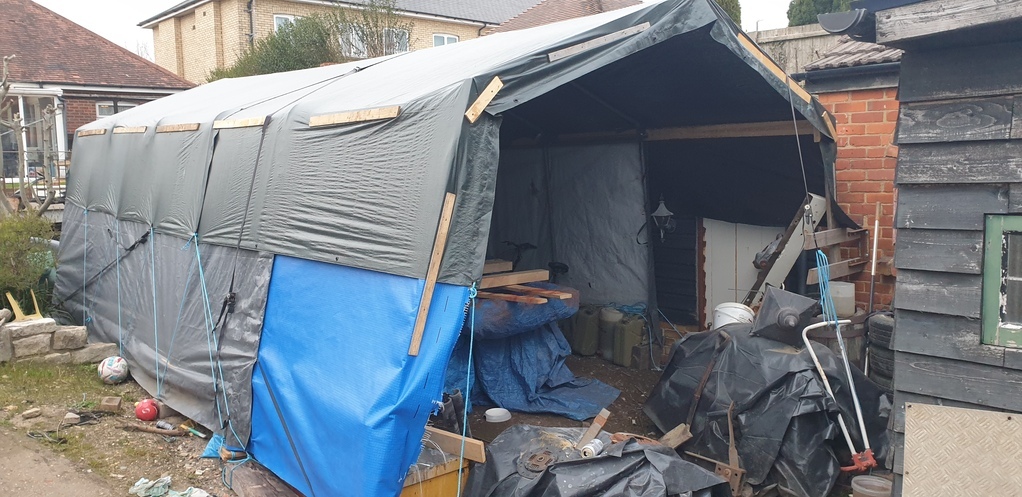 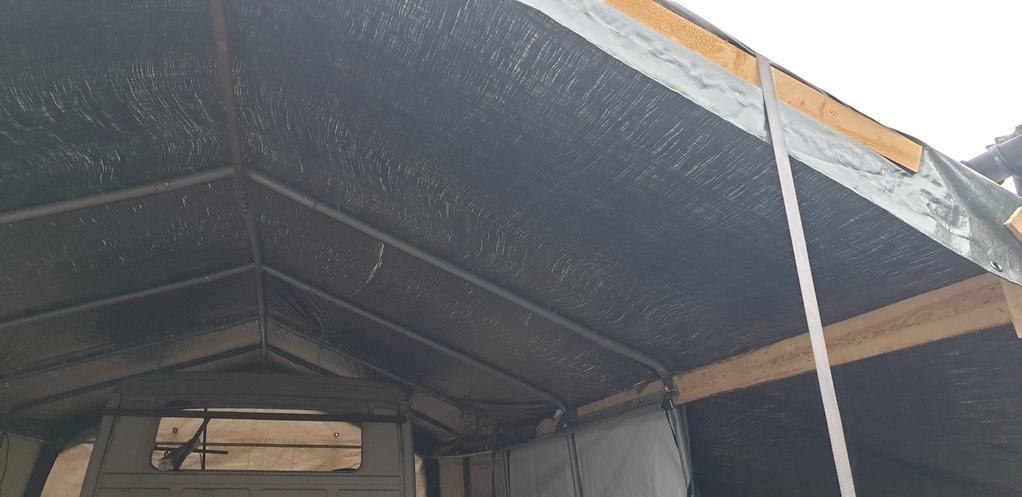 Anyway….back to the nitty gritty of continuing the months and months of updates I need to wade through. So….there are 4 jacking point outriggers on these trucks. Two on the front under each side of the cab and two each side roughly half way down the chassis. I’ve already shown how I repaired the front left outrigger in an earlier update. It was now time to concentrate on the left centre chassis outrigger. To my surprise, after sitting it in the de-rusting solution for a week, it was found to be in really good condition and required very little work….which is just as well as I have very few photos of the repairs. All that was required was to level it up with the chassis and repair the lips that’ll join it back to the chassis. These are the few photos I have of that happening…. 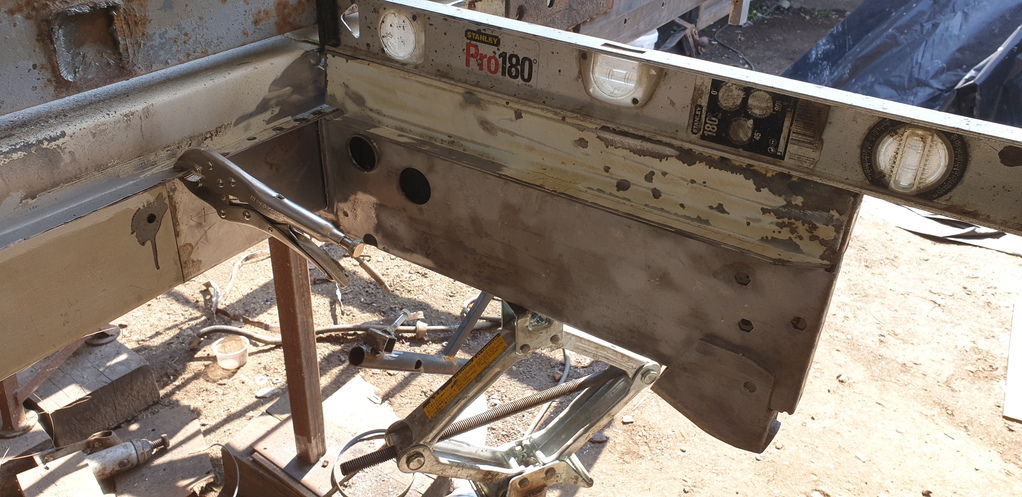 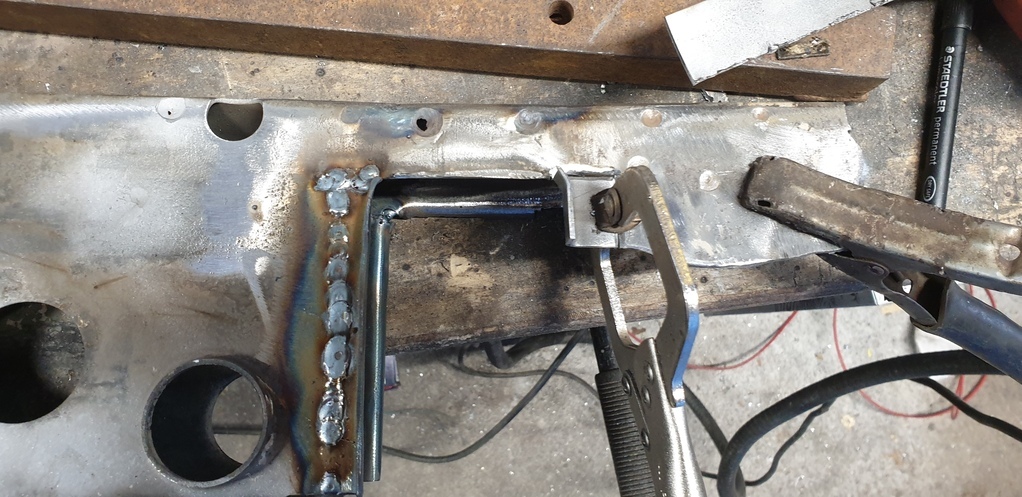 That was then put to one side for later while I moved onto the gearbox mount. The gearbox mount is one of two centre chassis cross members that sit between the rear of the cab and the two centre chassis jacking point outriggers. They both had to be removed so that the new chassis rails could be fitted. The gearbox mount had suffered very badly on the drivers side where it meets the chassis. In fact, I think there's a photo back along in the thread showing how it was barely attached due to the excessive corrosion. Here's a picture of that corrosion….. 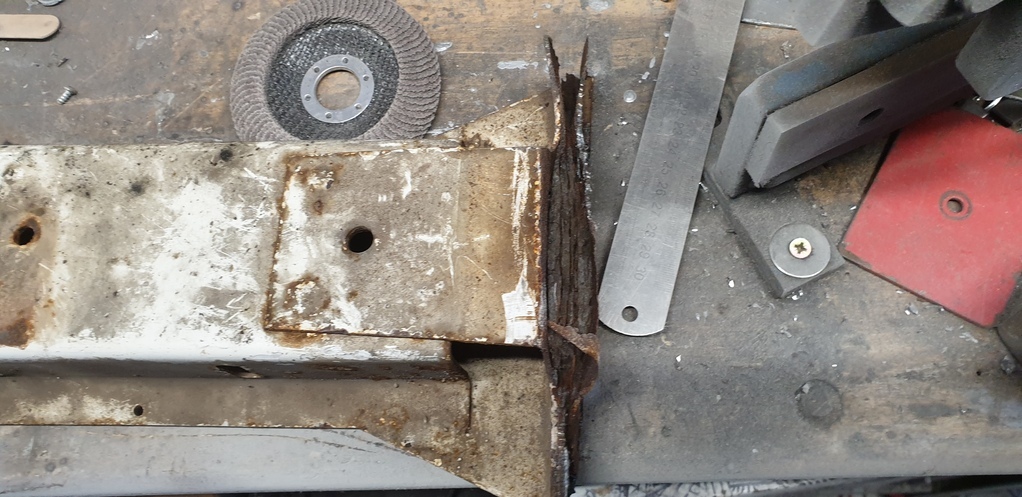 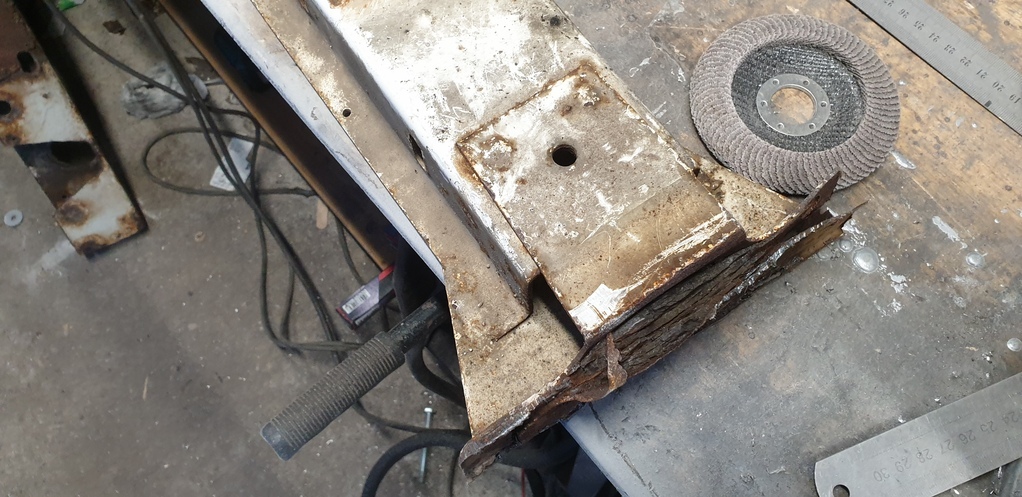 Cut it off..... 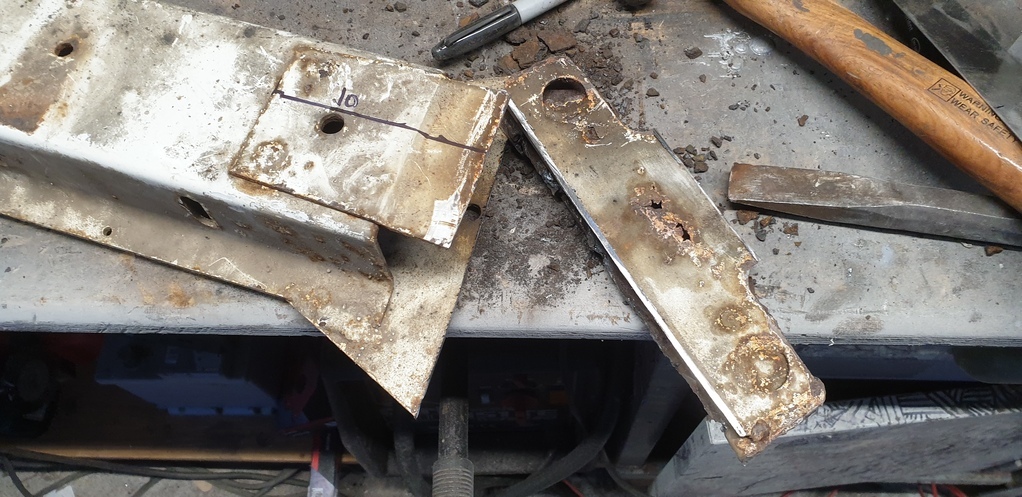 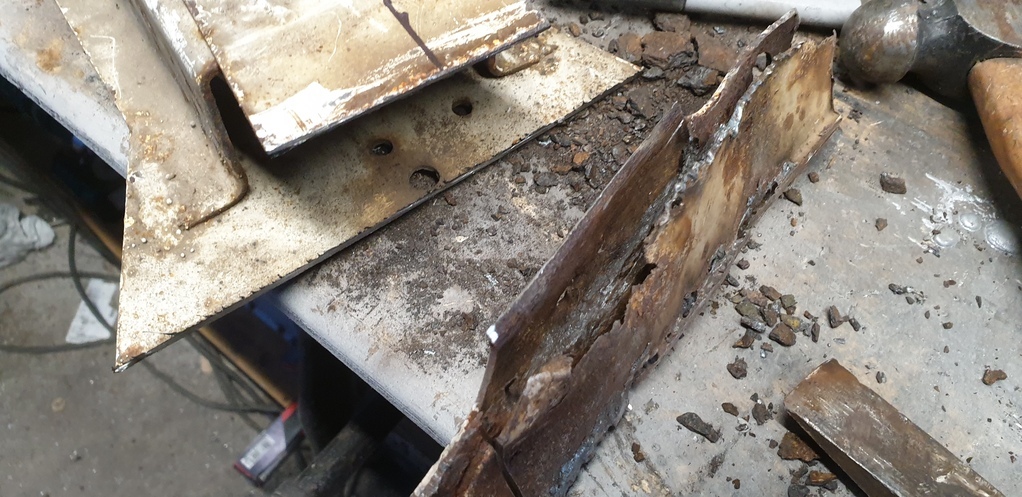 Knock up a new piece.... 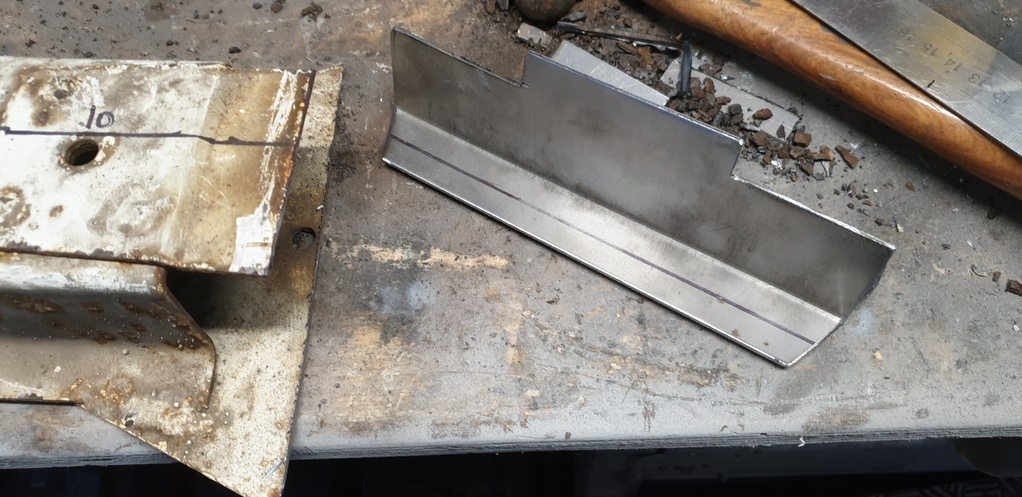 .......and weld it in..... 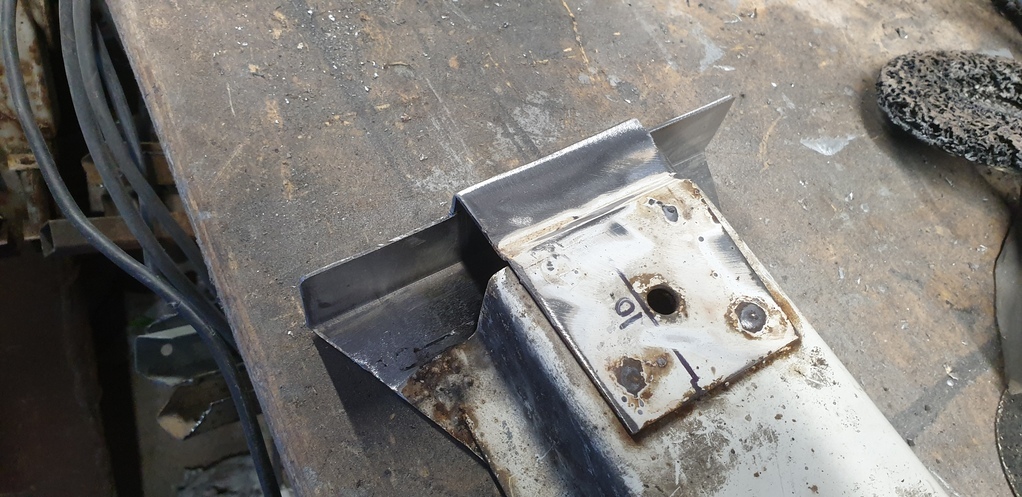 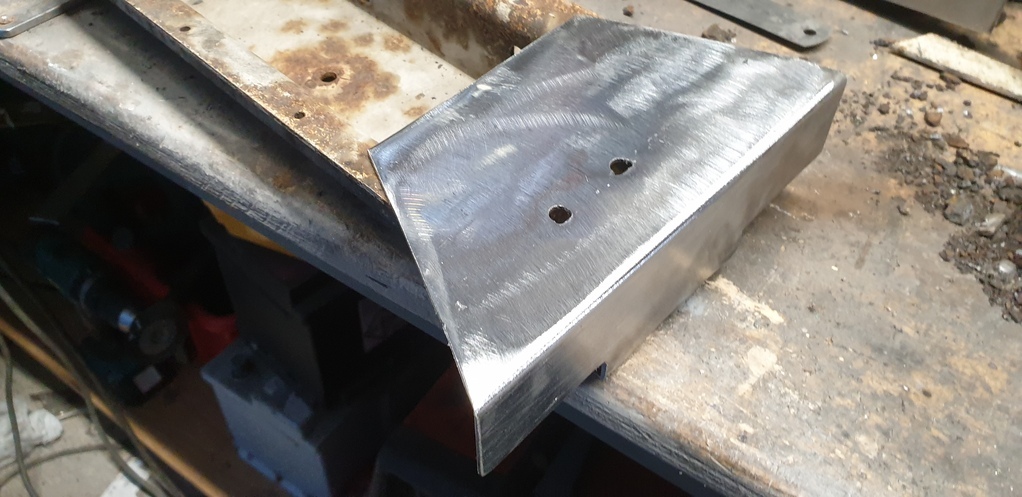 Then, it was off into the de rusting barrel for a week, along with the other cross member, the spare wheel carrier and a few other bits… 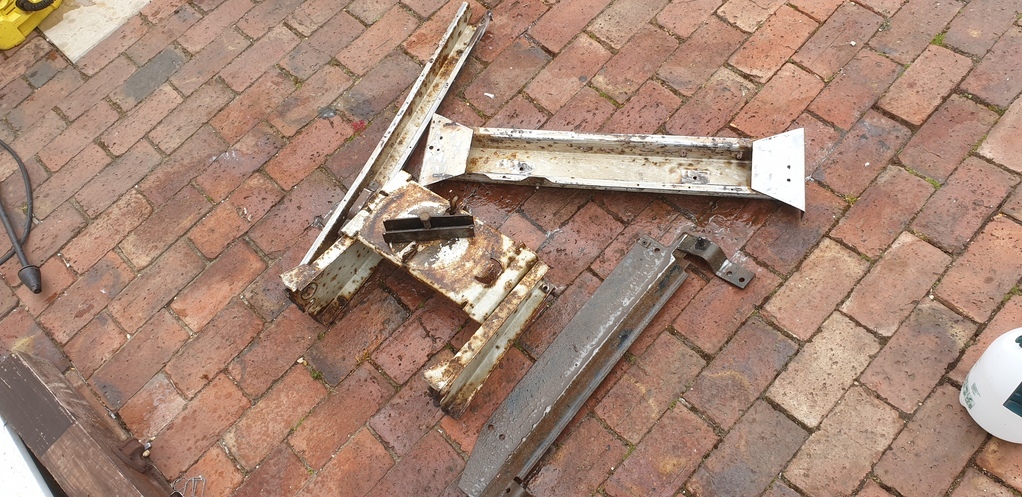 Well….that's all I have time for at the moment …..I’ll try and update again soon….fingers crossed. Thanks, Dan Small updates still beat no updates. Every day a little bit. Keep at it. ONWARDS as Paul Y would say. |
| |
Last Edit: Mar 29, 2022 7:42:28 GMT by grizz
|
|
|
|
Norman
Part of things
 
Posts: 449 
|
|
Mar 29, 2022 13:41:43 GMT
|
|
Hi Dan, Quality fabrication work as usual. I don't think folk appreciate the time taken to achieve these standards unless you have tried it yourself. Looking forward to the next update, Norman
|
| |
|
|
|
|
|
Apr 27, 2022 20:09:41 GMT
|
Right…..time for another catch-up-update I reckon! Firstly, thanks to grizz and norman for your kind words after the last update…..appreciated as always chaps. Just a quick recap on where everything was at this point of the madness. Focus was on the rebuild of the left rear chassis section and LLoyd was looking rather naked….. 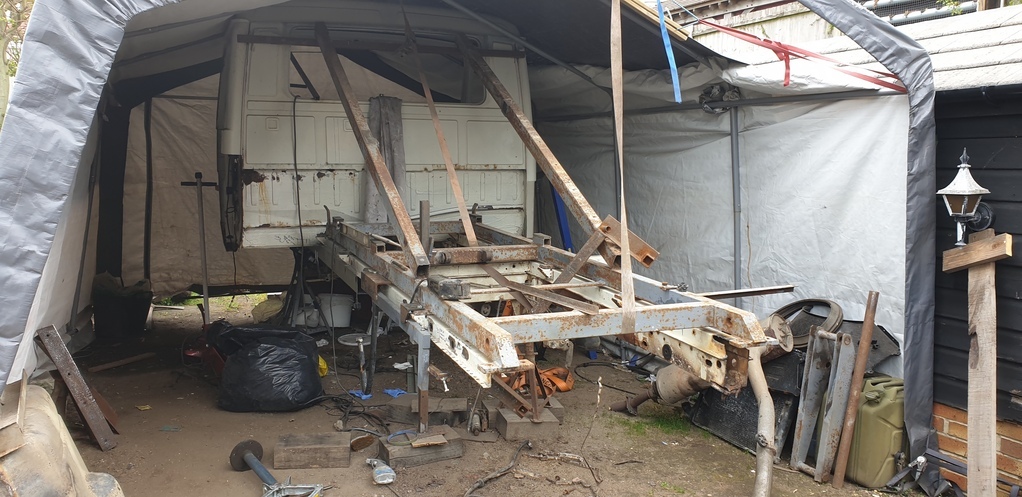 …..and the new chassis was coming along well…… 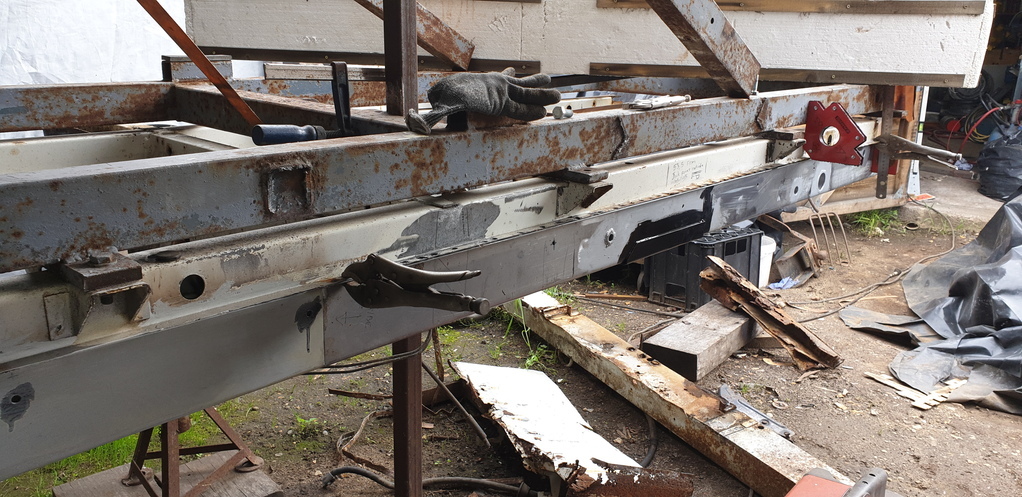 So….moving on from the last update, once the gearbox mount, spare wheel carrier, and cross brace were out of the de-rusting solution, I welded them back into position using the measurements taken before removing them. I wish now, that I had thought about it a bit harder at the time and welded them on before welding the front left chassis section to the truck….and even before welding in the inner chassis structure! The reason for this is that the welding process would have burnt the protective paint off of the inside of the chassis section while welding on the outside. At this point of proceedings, it was a bit late for that. What I did do though, was spray a huge amount of good quality ( Bilt Hamber ) ‘creeping’ cavity wax into and onto those areas to hopefully compensate for my error. Fingers crossed it’s done the trick. Lesson was learnt and I changed my approach when tackling the rear section. Anyway, once again…..I forgot to take pictures of the action between removing the part's from the de-rusting solution and welding them back onto the truck. Once they were on, I gave all of the newly fitted metal work, up to that point, a good rub down, degrease and a coat of epoxy primer!!!. The excitement was unbearable!! Here's the result….. 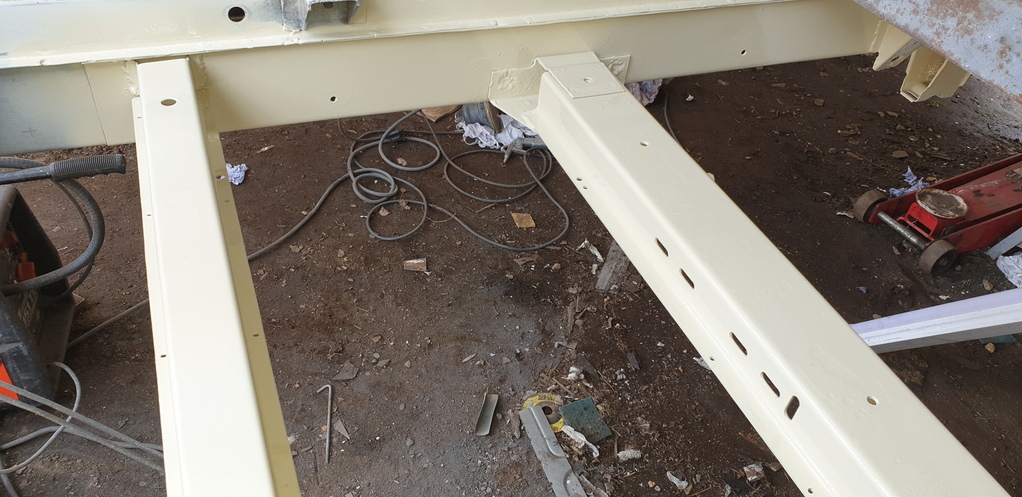 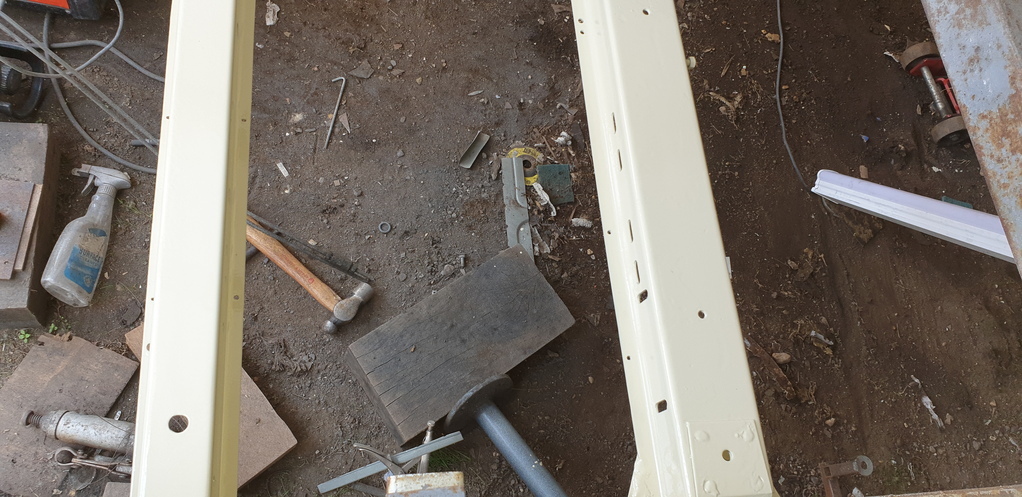 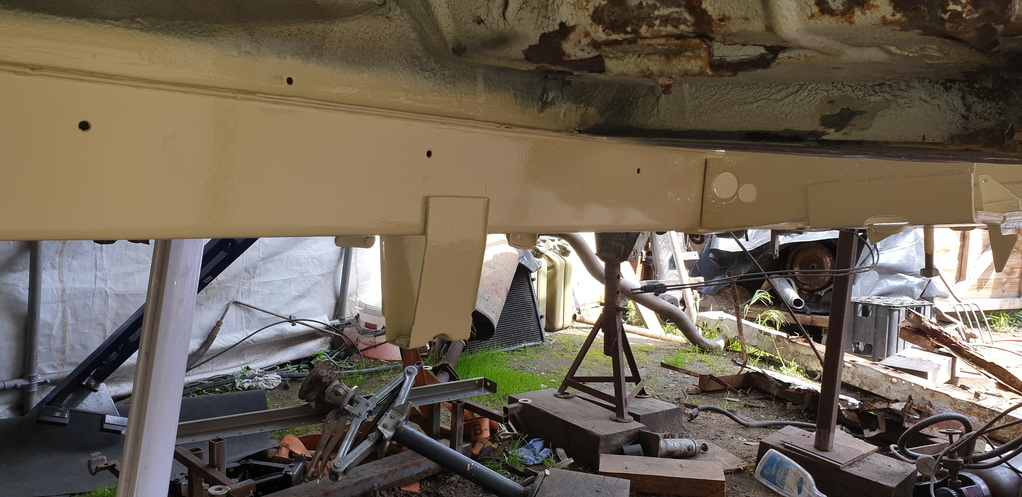 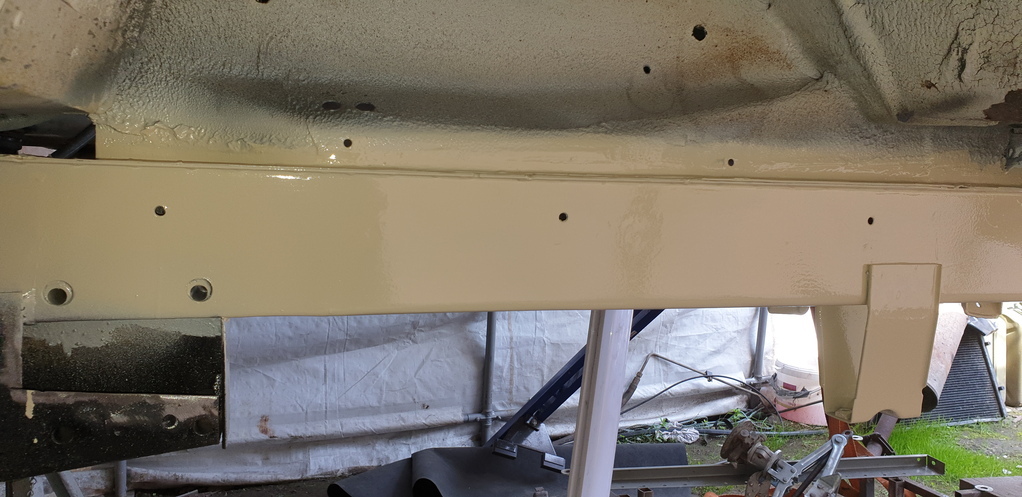 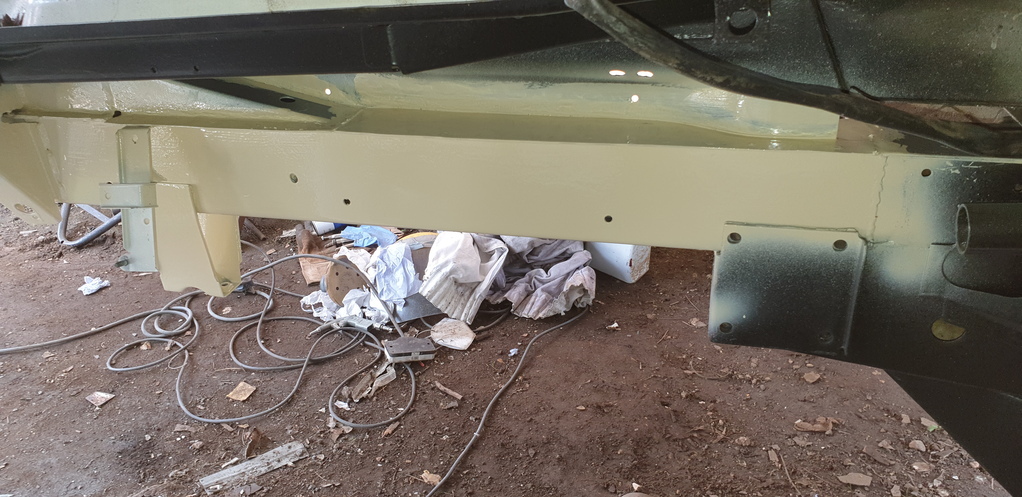 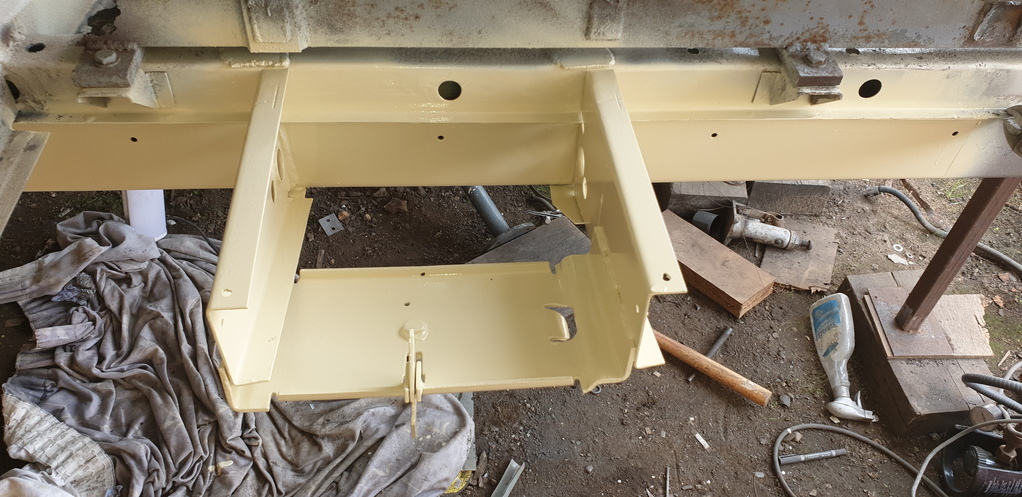 It’s the little wins like that, that spur you on with the rest of the task ahead. More soon, Dan. |
| |
Opel Commodore A Coupe
Opel Rekord C Coupe
Opel Rekord C Saloon
Vauxhall Magnum Coupe V8 (Magnumania)
Mk1 Scirocco GLS
Mk1 Scirocco GLS (early chrome bumper)
Corrado G60
Mk1 Cortina 2 door Pre Airflow
Mk2 Escort 1300 2 Door
VW LT35 Tipper Truck
BMW 320D E91 Tourer
|
|
|
|
|
Apr 27, 2022 20:15:48 GMT
|
|
It’s the little wins like that, that spur you on with the rest of the task ahead.
More soon,
Dan.
That……….
Is great news.
|
| |
|
|
75swb
Beta Tester
Posts: 1,052
Club RR Member Number: 181
|
|
|
|
|
Quality workmanship as always. Looking forward to more!
|
| |
|
|
jamesd1972
Club Retro Rides Member
Posts: 2,921  Club RR Member Number: 40
|
|
|
|
|
Better than new !
Nice.
James
|
| |
|
|
|
|
|
|
|
Lovely! Looks great (even better) with a coat of paint on it. I must have missed the bit where you fit air bag mounts and a side tipping function? Just a thought...  |
| |
1968 Mini MkII, 1968 VW T1, 1967 VW T1, 1974 VW T1, 1974 VW T1 1303, 1975 Mini 1000 auto, 1979 Chevette, 1981 Cortina, 1978 Mini 1000 1981 Mini City, 1981 Mini van, 1974 Mini Clubman, 1982 Metro City, 1987 Escort, 1989 Lancia Y10, 1989 Cavalier, 1990 Sierra, 1990 Renault 19, 1993 Nova, 1990 Citroen BX, 1994 Ford Scorpio, 1990 Renault Clio, 2004 Citroen C3, 2006 Citroen C2, 2004 Citroen C4, 2013 Citroen DS5. 2017 DS3 130 Plenty of other scrappers!
|
|
|
|
|
|
|
|
Coming together nicely, that must be most of the LHS completed now?
I find one thing that really gets into narrow gaps is clean engine oil sprayed inside, do need to leave it for a few days to properly drain though.
|
| |
|
|
|
|
|
Apr 28, 2022 10:37:22 GMT
|
|
Amazing work, inspirational too. Keep chippin' away and you will get there.
|
| |
|
|
tofufi
South West
Posts: 1,463
|
|
Apr 28, 2022 11:18:02 GMT
|
Superb work as always. I hope you keep finding the motivation to keep going with it. It'll be worth it in the long run  |
| |
|
|
|
|
thomfr
Part of things
  Trying to assemble the Duett again..
Posts: 695
|
|
Apr 28, 2022 11:25:01 GMT
|
|
Great job!
Stand back and be proud of yourself please!
Thom
|
| |
73' Alfa Giulia Super
64' Volvo Duett
65' Volvo Duett
67' Volvo Amazon 123GT
09' Ford Focus 1.8
20' VW ID4
71' Benelli Motorella
65' Cyrus Speciaal
The difference between men and boys is the price of their toys
|
|
|
|
|
Apr 28, 2022 13:32:21 GMT
|
Lovely! Looks great (even better) with a coat of paint on it. I must have missed the bit where you fit air bag mounts and a side tipping function? Just a thought...  Thanks 👍. I must admit, I watched this video clip and thought.....maybe I'm going in the wrong direction..... www.facebook.com/pasionratrodoficial/videos/1114241996029607/ |
| |
Opel Commodore A Coupe
Opel Rekord C Coupe
Opel Rekord C Saloon
Vauxhall Magnum Coupe V8 (Magnumania)
Mk1 Scirocco GLS
Mk1 Scirocco GLS (early chrome bumper)
Corrado G60
Mk1 Cortina 2 door Pre Airflow
Mk2 Escort 1300 2 Door
VW LT35 Tipper Truck
BMW 320D E91 Tourer
|
|
|
|
|
Apr 28, 2022 15:30:16 GMT
|
Coming together nicely, that must be most of the LHS completed now? I find one thing that really gets into narrow gaps is clean engine oil sprayed inside, do need to leave it for a few days to properly drain though. Well....the truth of the matter is, I'm so far behind with my updates that I've actually finished both the left and right sides of the chassis....but don't tell anyone else....I don't want to spoil the elution 🤫😄 Funnily enough, I was chatting to a friends dad 2 weeks ago who has a 98 Isuzu Trooper without a speck of rust anywhere underneath it. He said that he's owed it from 2 years old. Every year when he does an oil change, he filters the oil through a paint strainer, gives it a gentle heat and pops it into one of those garden sprayers. It then gets liberally sprayed into the chassis rails and cills. The results speak for themselves. |
| |
Opel Commodore A Coupe
Opel Rekord C Coupe
Opel Rekord C Saloon
Vauxhall Magnum Coupe V8 (Magnumania)
Mk1 Scirocco GLS
Mk1 Scirocco GLS (early chrome bumper)
Corrado G60
Mk1 Cortina 2 door Pre Airflow
Mk2 Escort 1300 2 Door
VW LT35 Tipper Truck
BMW 320D E91 Tourer
|
|
|
|
|
Apr 28, 2022 18:14:29 GMT
|
Superb work as always. I hope you keep finding the motivation to keep going with it. It'll be worth it in the long run  Cheers 👍🏻. Part of my motivation is knowing that the 'cherry on top' is when that D24tic goes in! 🤗🤗 |
| |
Opel Commodore A Coupe
Opel Rekord C Coupe
Opel Rekord C Saloon
Vauxhall Magnum Coupe V8 (Magnumania)
Mk1 Scirocco GLS
Mk1 Scirocco GLS (early chrome bumper)
Corrado G60
Mk1 Cortina 2 door Pre Airflow
Mk2 Escort 1300 2 Door
VW LT35 Tipper Truck
BMW 320D E91 Tourer
|
|
Norman
Part of things
 
Posts: 449 
|
|
Apr 28, 2022 19:36:06 GMT
|
|
Hi Dan, Great work as always. I am quite sure you could have built the whole thing from scratch. I will get back to my car before you ask, I have lost interest but have promised myself to get it on the road before I am 70 which isn’t too far off. All the best and looking forward to the next update, Norman
|
| |
|
|
|
|
|
|
|
Yes....I've still got months of updates to catch up on where the truck is concerned, but for now, something a little different. So, roughly a year ago, my best mate Rod treated himself to one of these.... A Chevy Astro Van.... 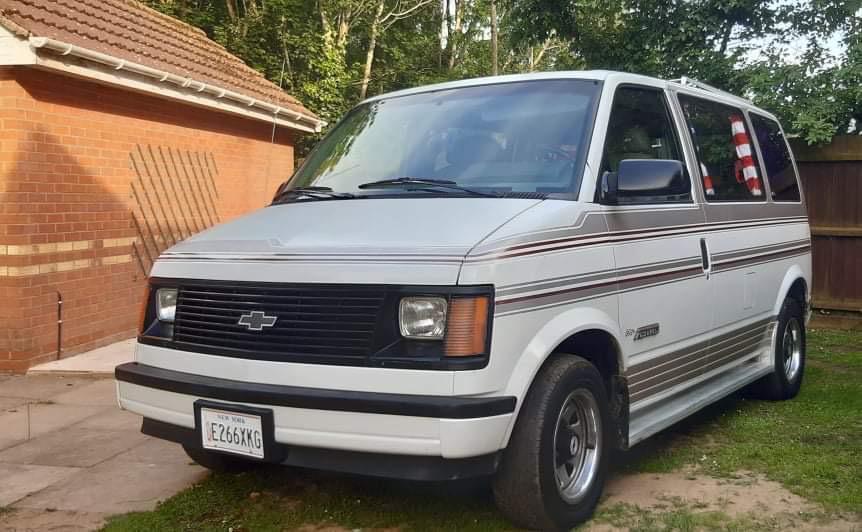 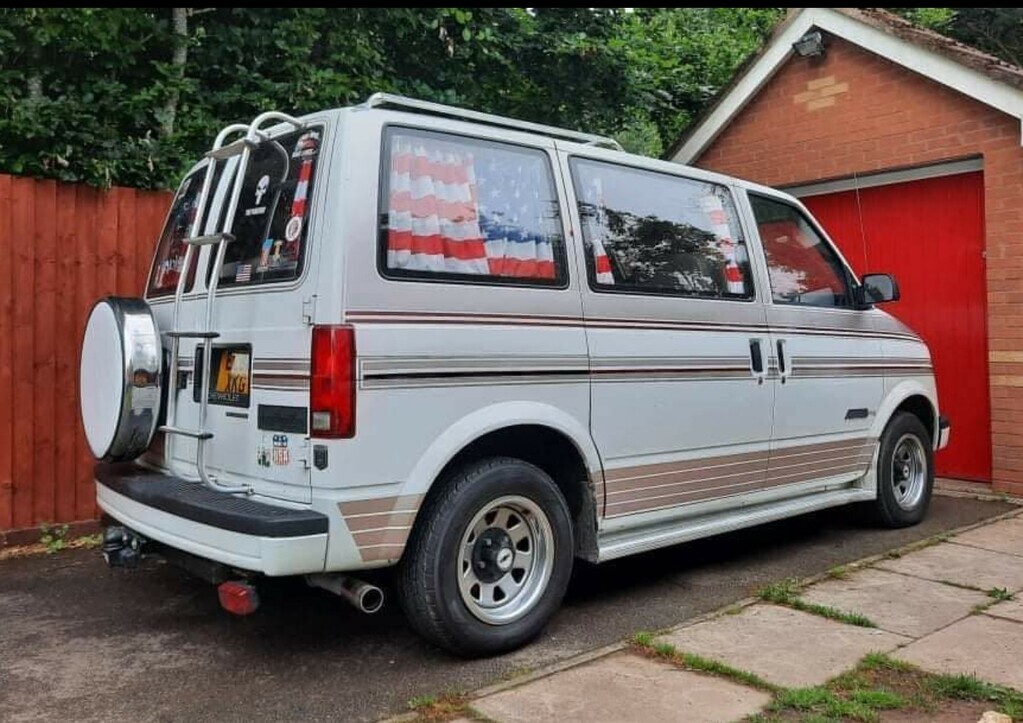 It's his daily drive and his pride n joy. He makes regular trips from Poole to Folkestone in it and it never misses a beat. Then about a month or so ago, a momentary lapse of concentration resulted in this..... 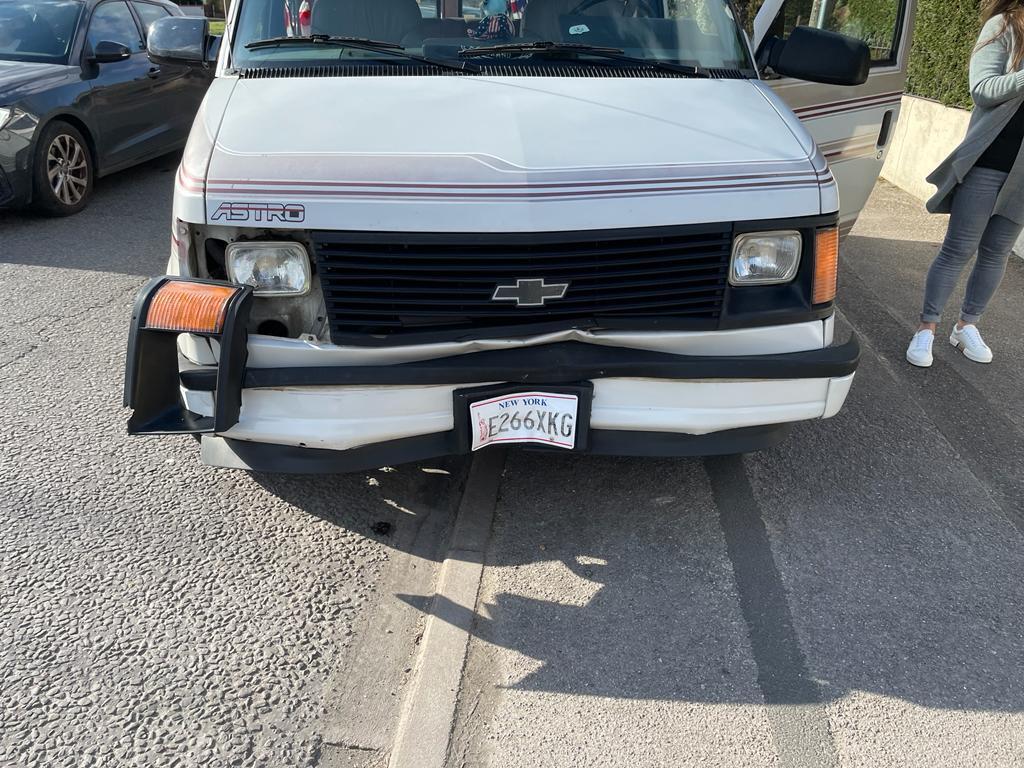 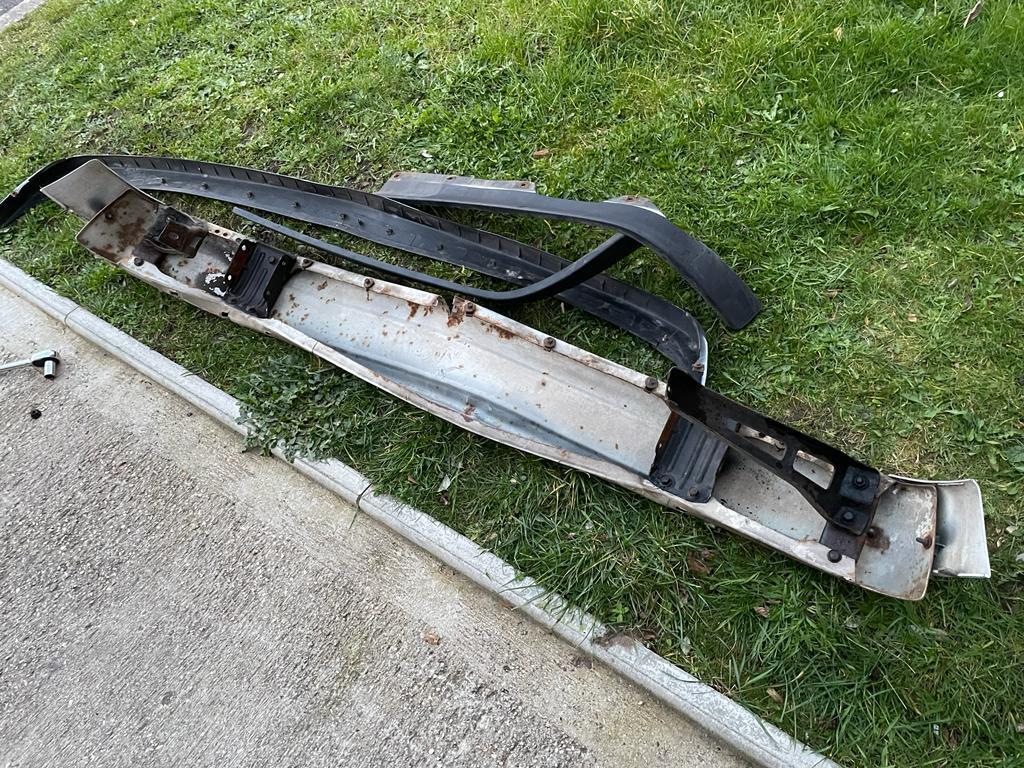 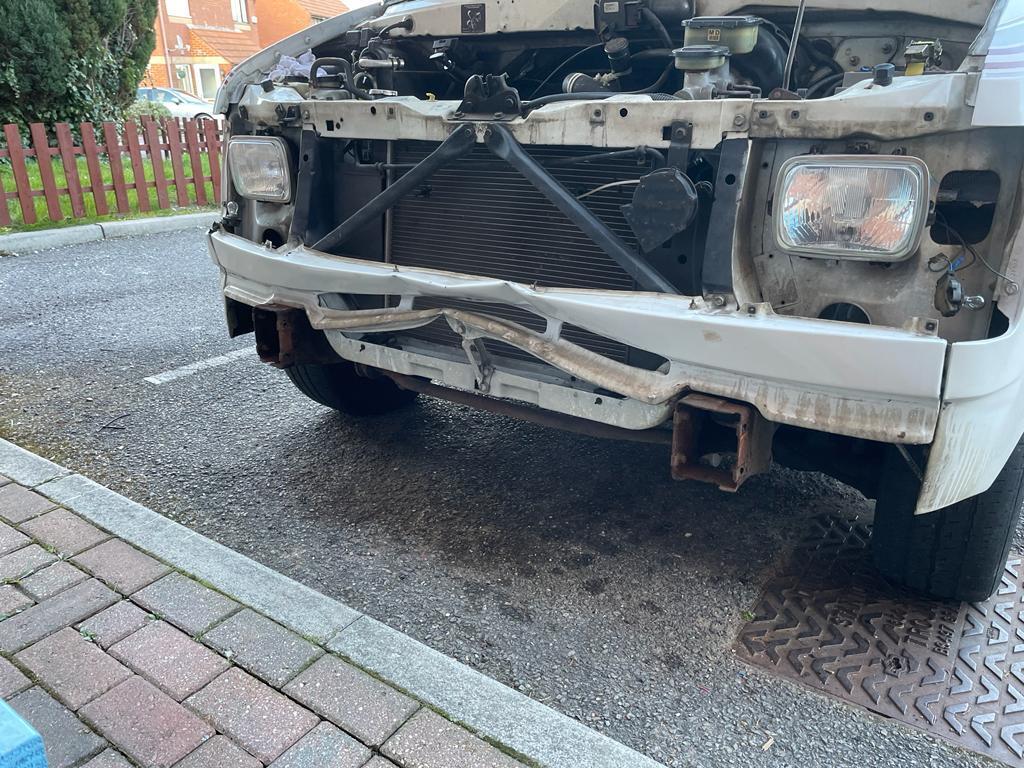 To say he was gutted was an understatement! Rod and I have been great friends since we were 16. Rod's one of these people that always puts the needs of others first. So when he asked me to help him fix it back up, I said " NO!.....sod off and find someone else to do your dirty work! " ......of course I didn't....it was a given...of course I'll help sort it. Rod managed to source a second hand bumper, front panel, grille and light bezel from helpful groups/people on Facebook. 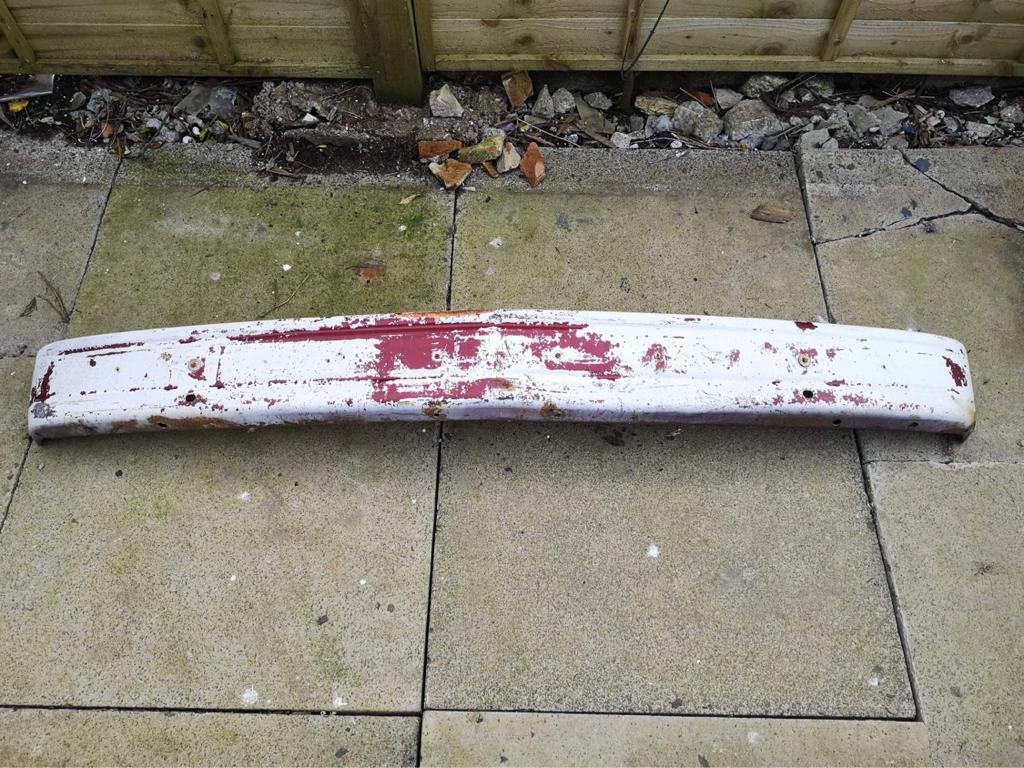 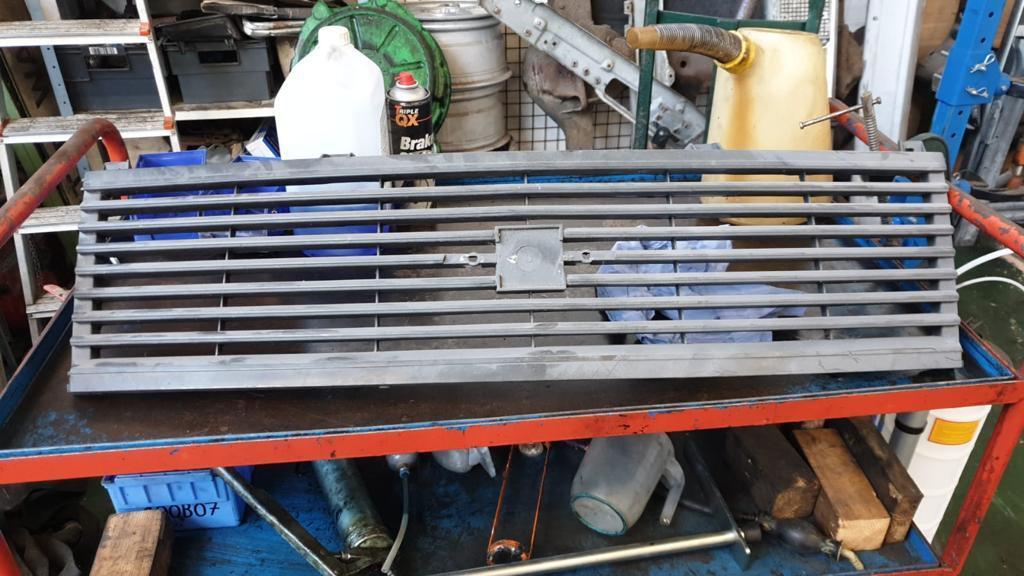 Now, Rods van is a gen one Astro. The gen 2 Astro looks almost identical, but it does have subtle differences. Like, the front panel just above the bumper is plane/flat/solid on the gen one, but has holes/vents on the gen 2, as seen in this reference picture... 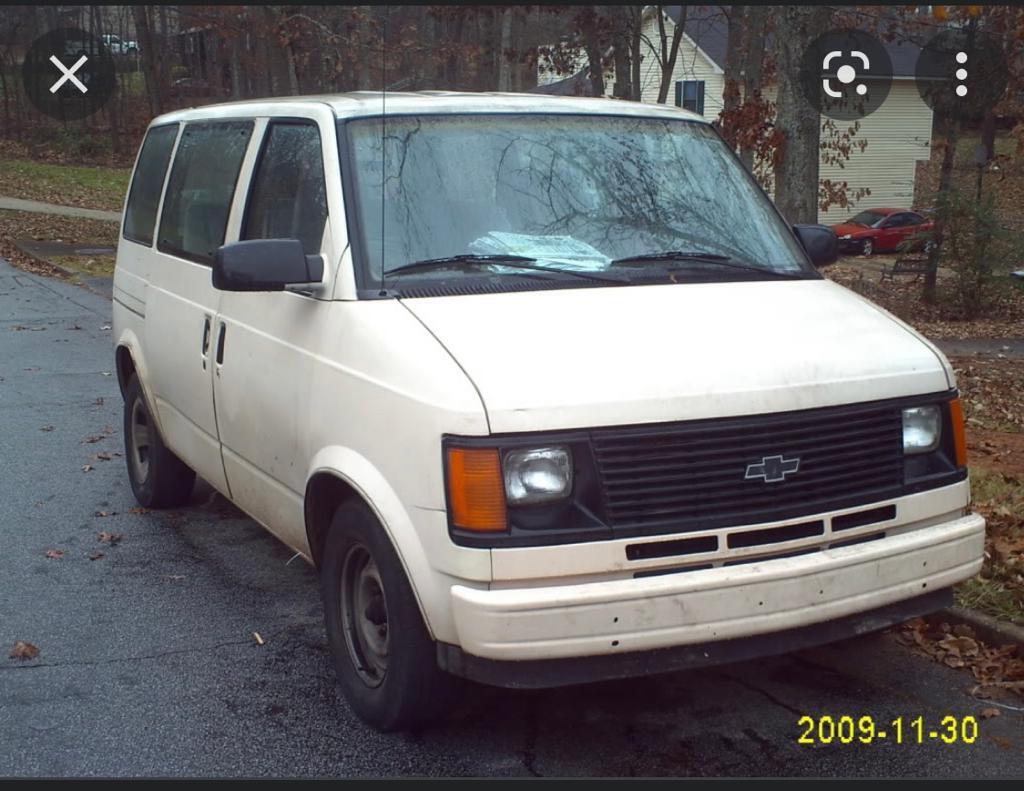 Rod wanted to maintain the original look of the van but struggled to find a gen one front panel. But....he managed to get hold of two gen 2 items. Here's one of them... 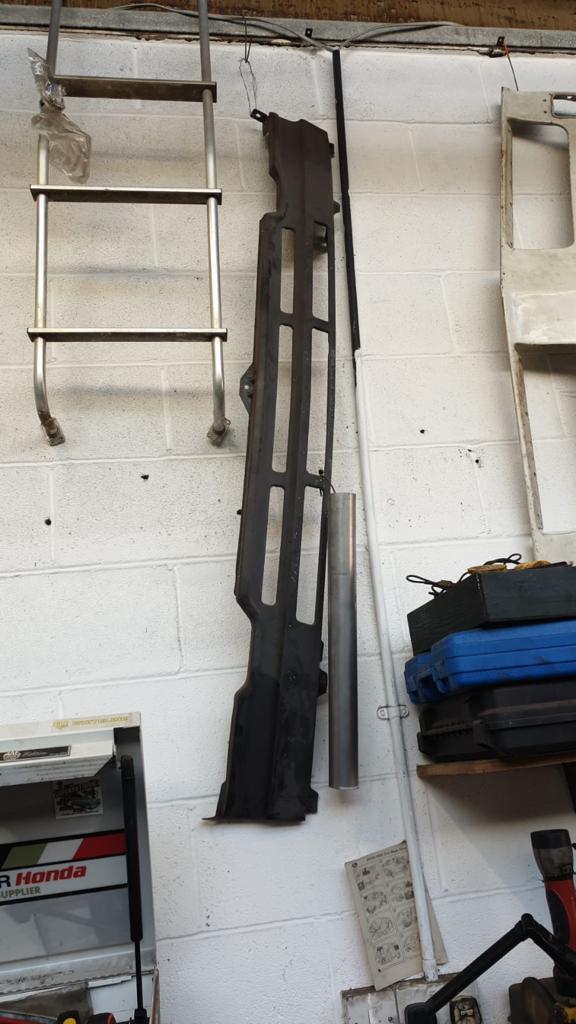 So there was no choice but to patch the vents up and smooth it off. One of the first job's was to straighten all of the bent bumper brackets. Rod was on paint stripping duty on the bumper.... 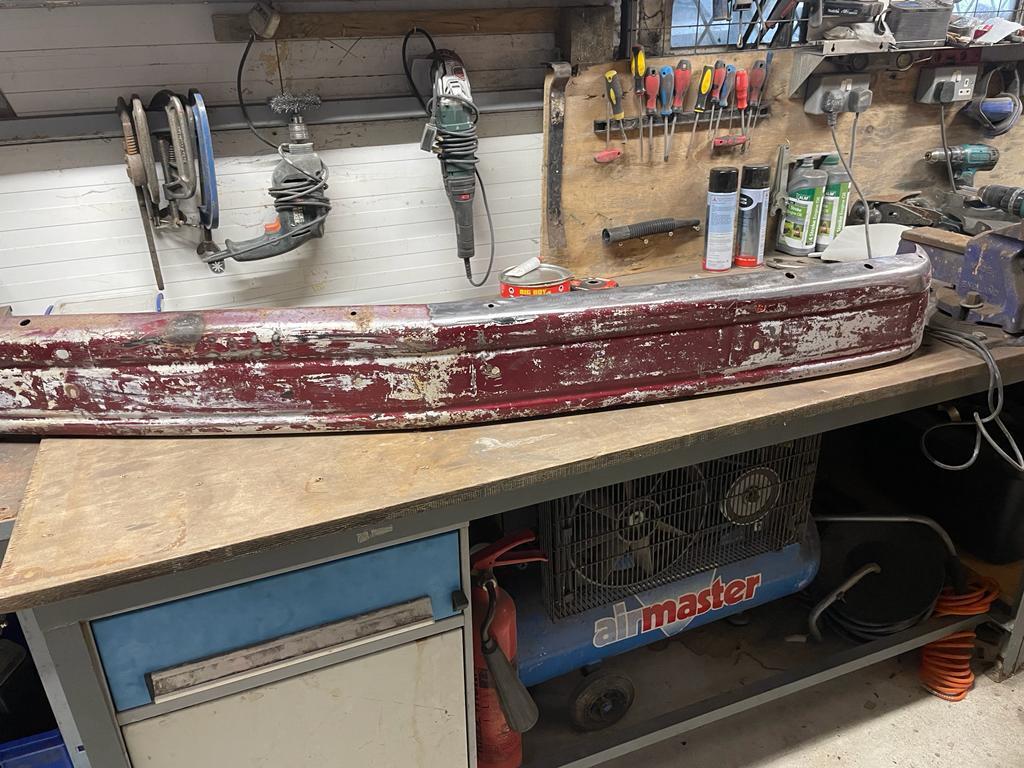 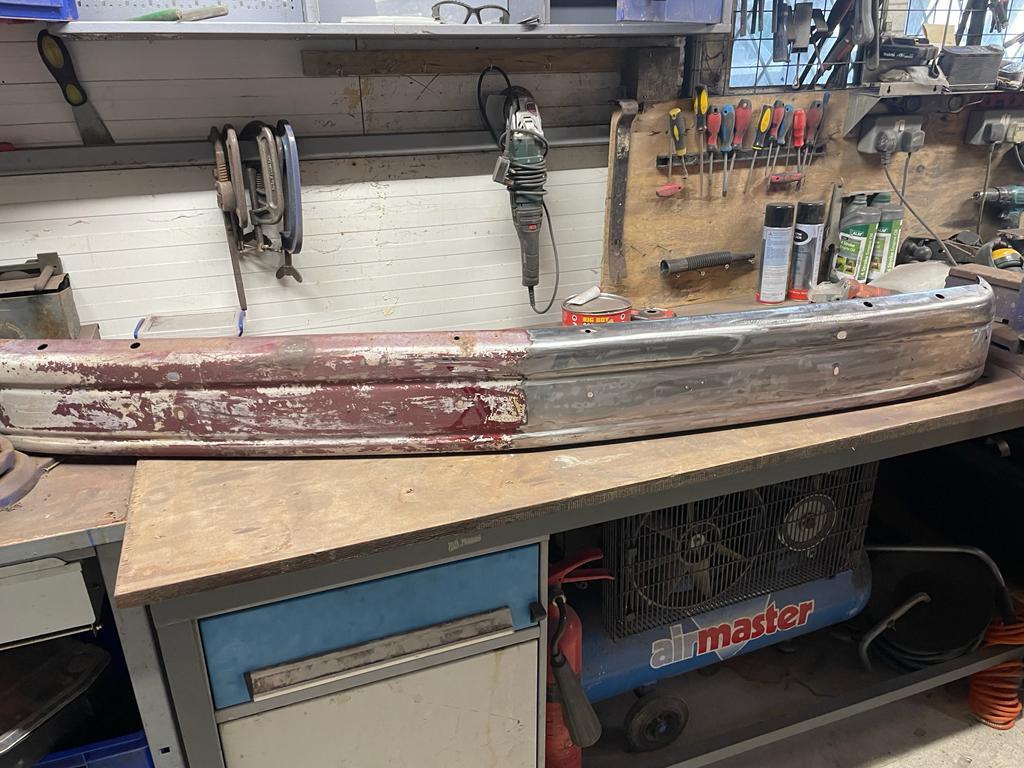 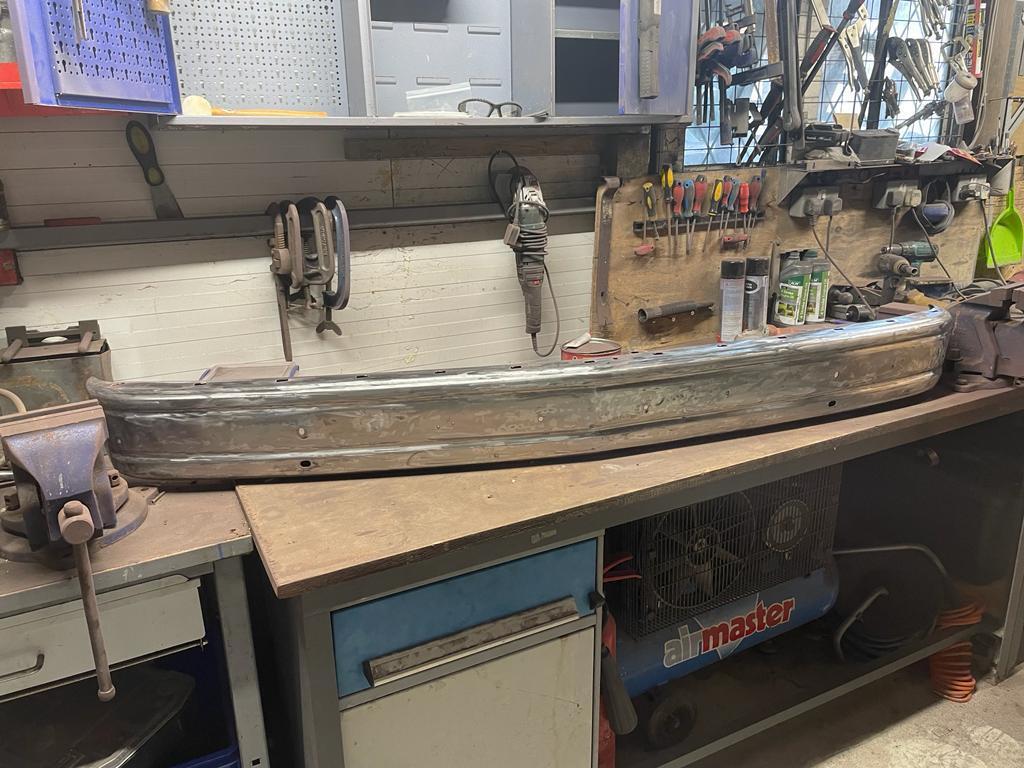 While I patched the vents in the front panel and gave it a skim of filler... 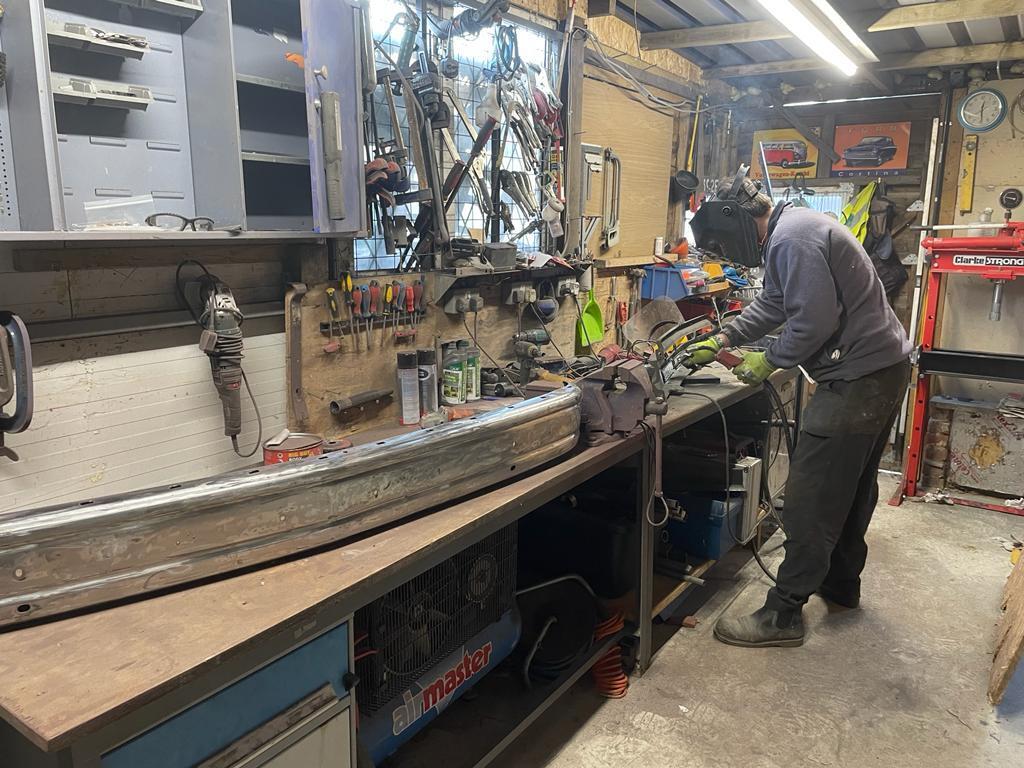 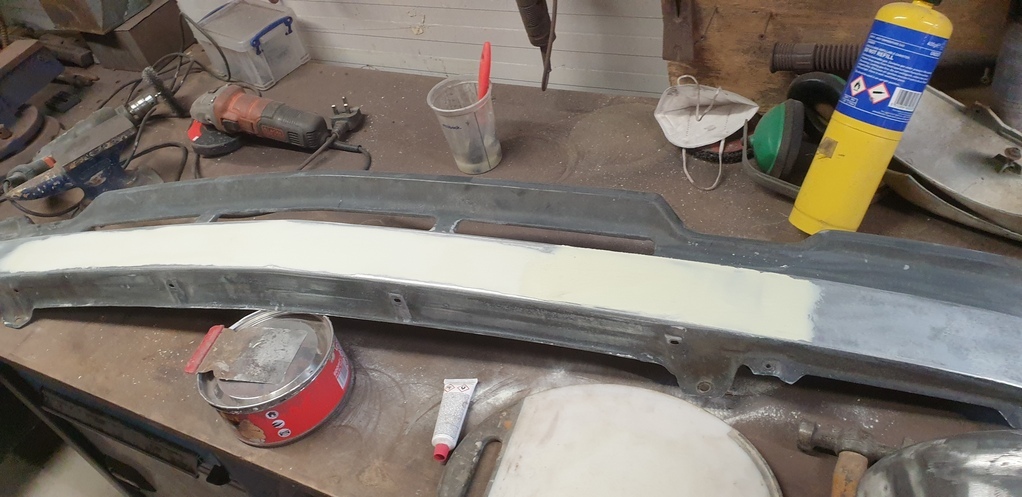 This particular bumper had the holes for over-riders. As they weren't needed, I welded up the holes. There were a few dents that also needed sorting and then once again, a skim of filler. 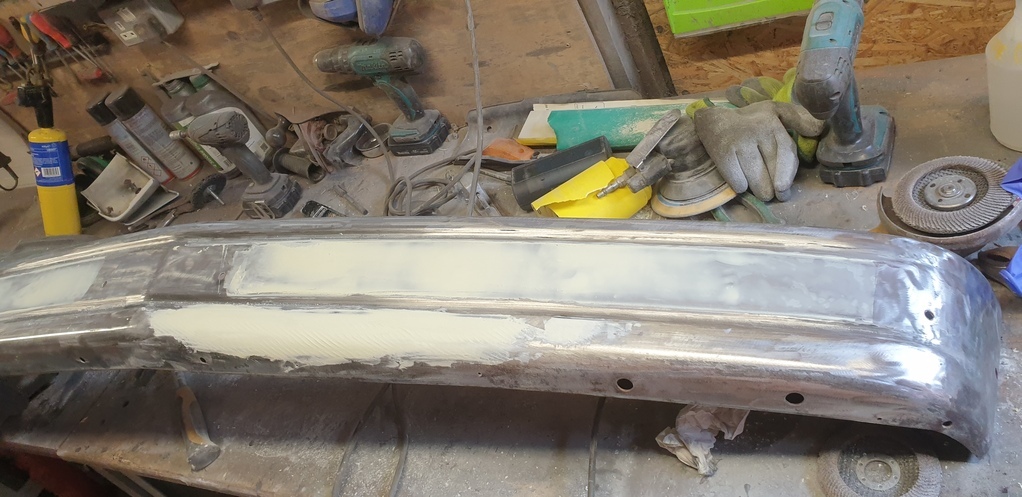 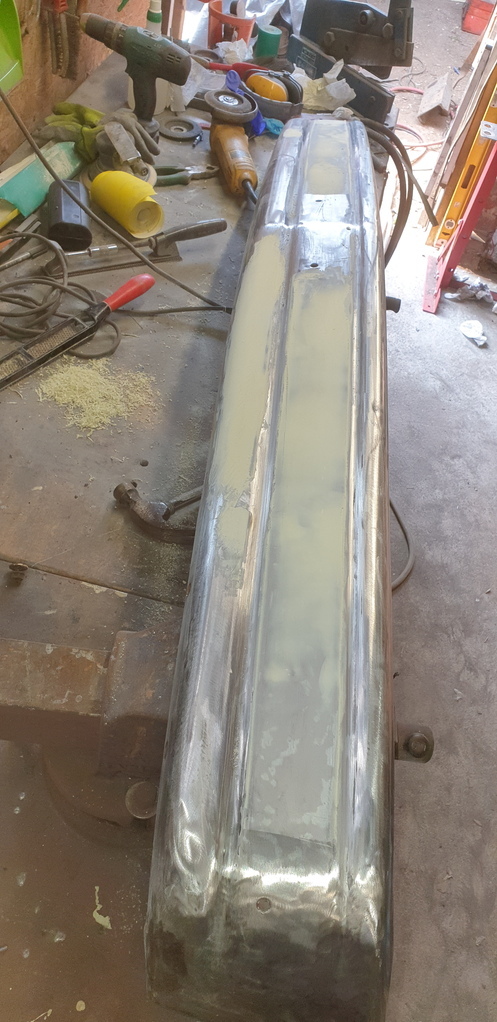 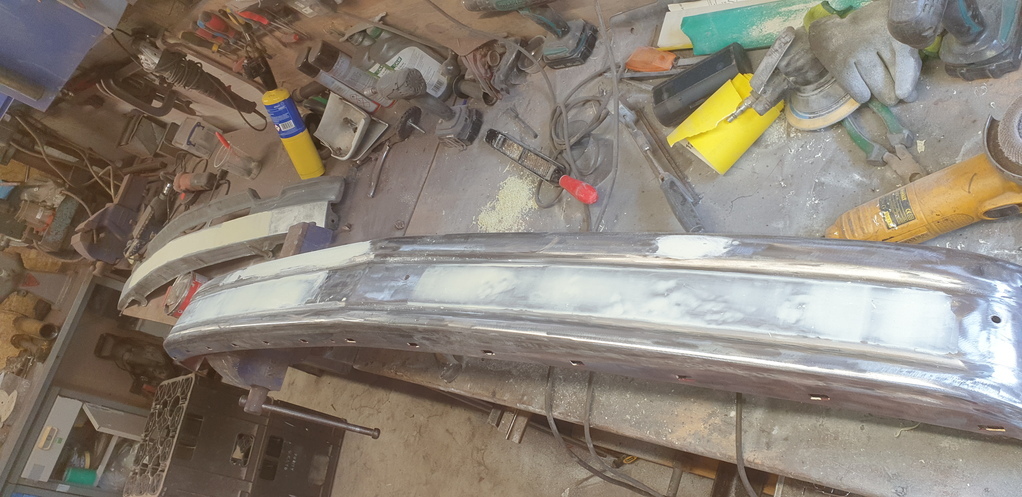 On with the epoxy primer ... 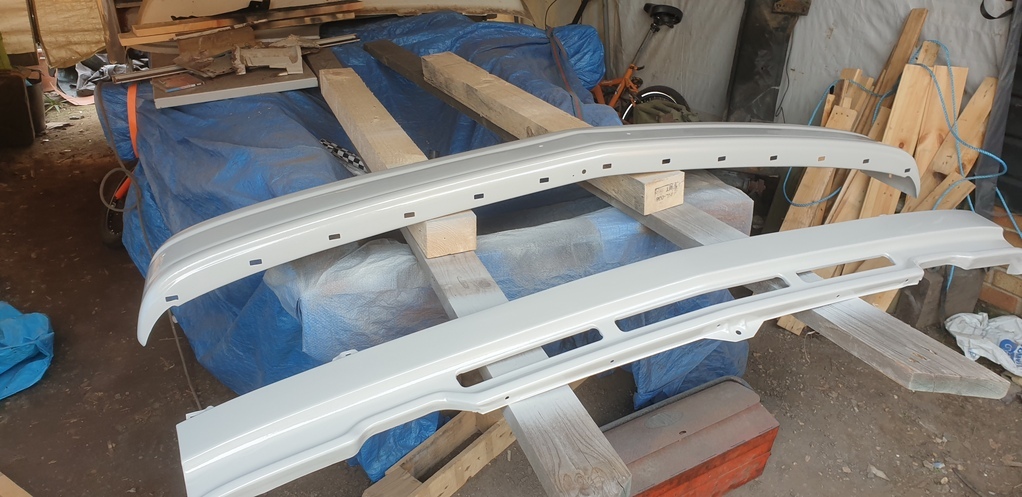 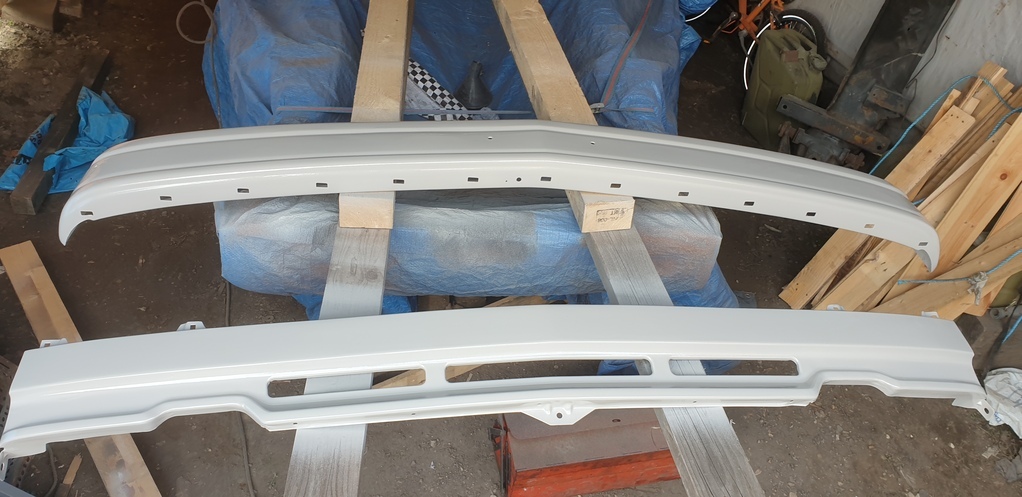 Flatten down and on with the top coat. 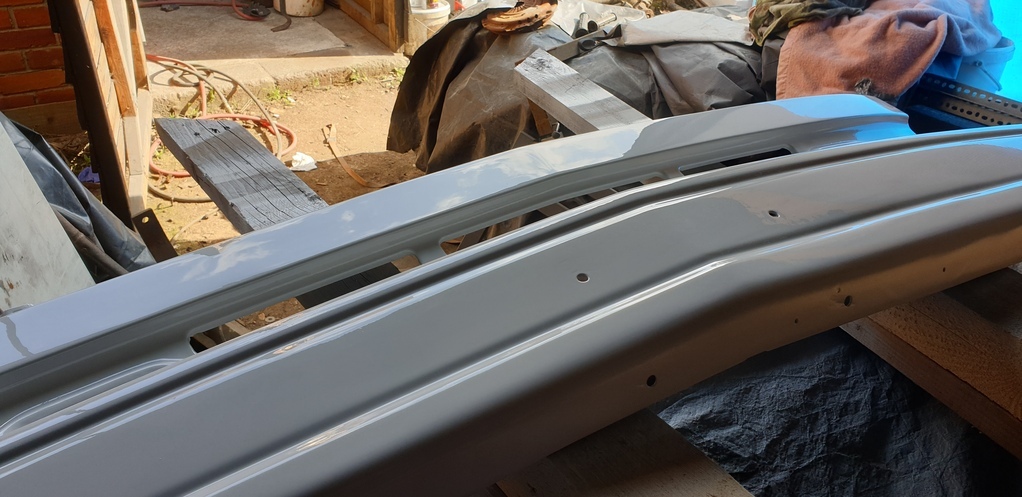 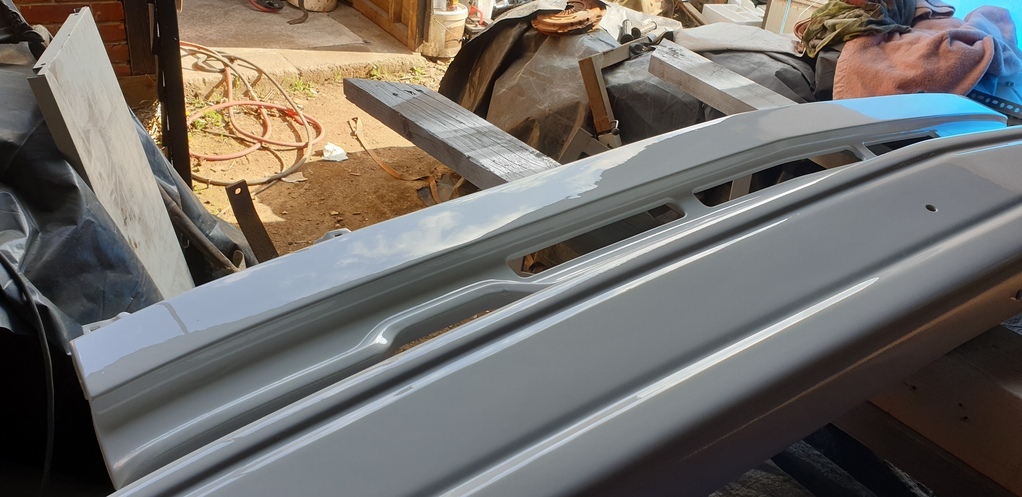 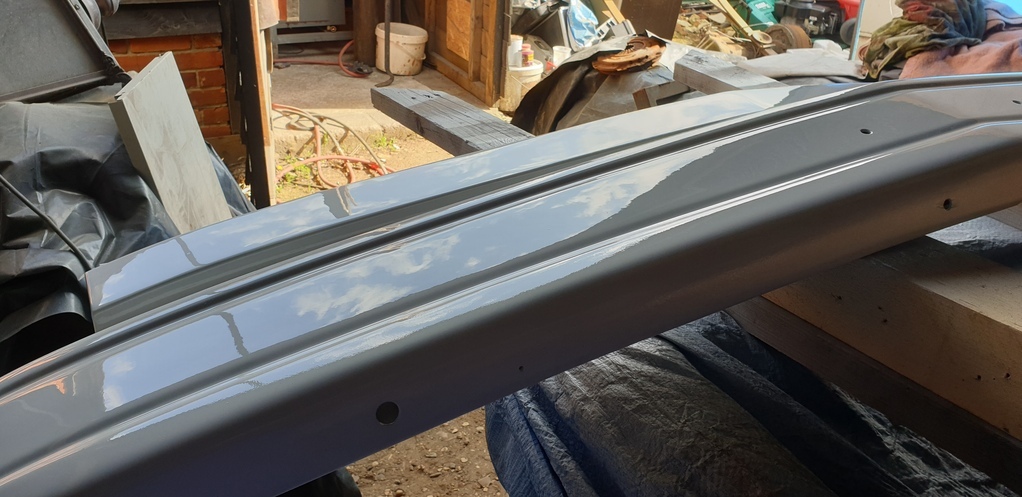 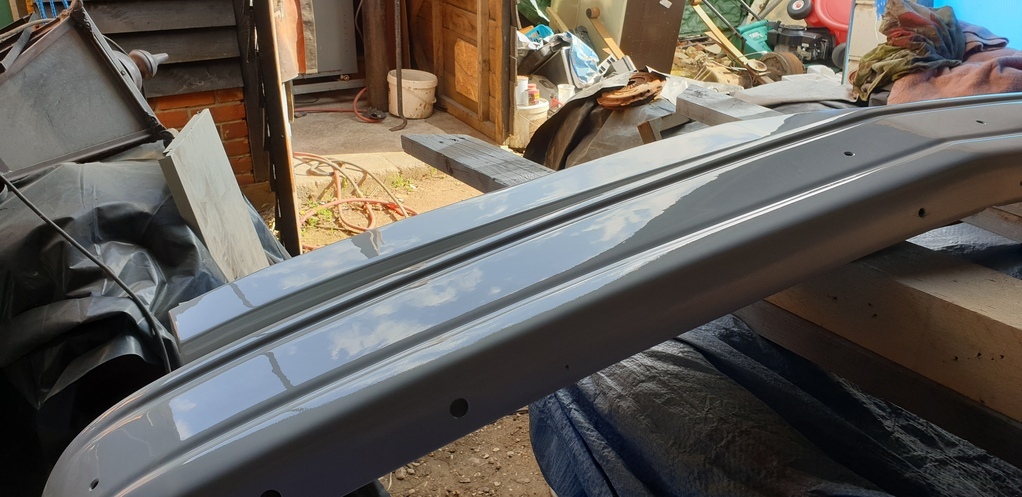 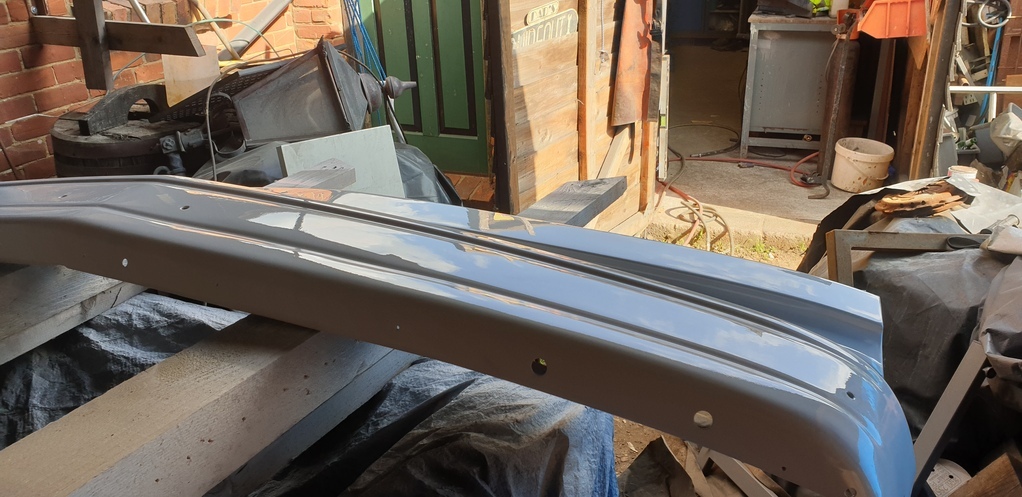 A coat of satin black to the grill... 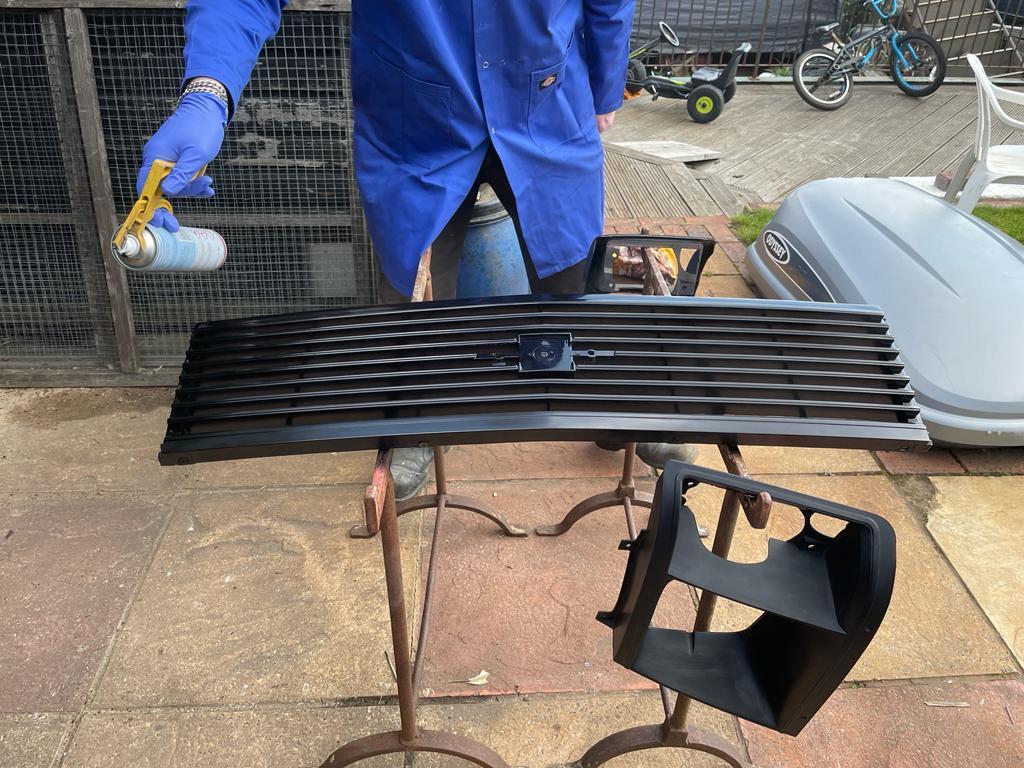 Then, on Saturday just gone, it was just a case of fitting everything up.... 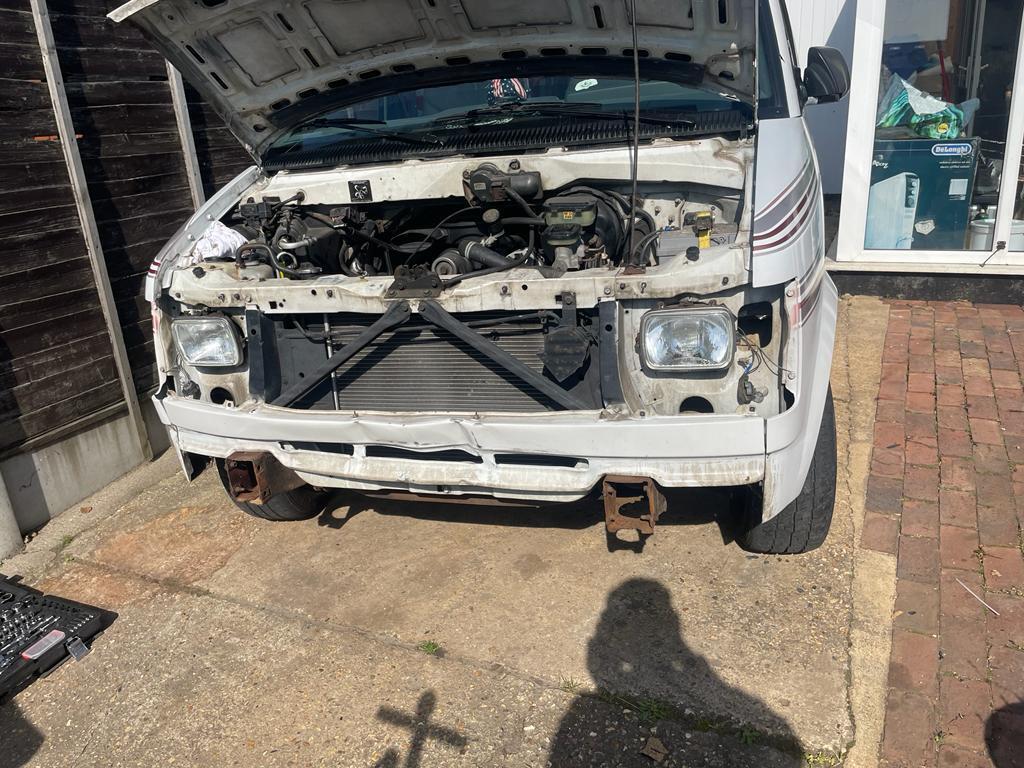 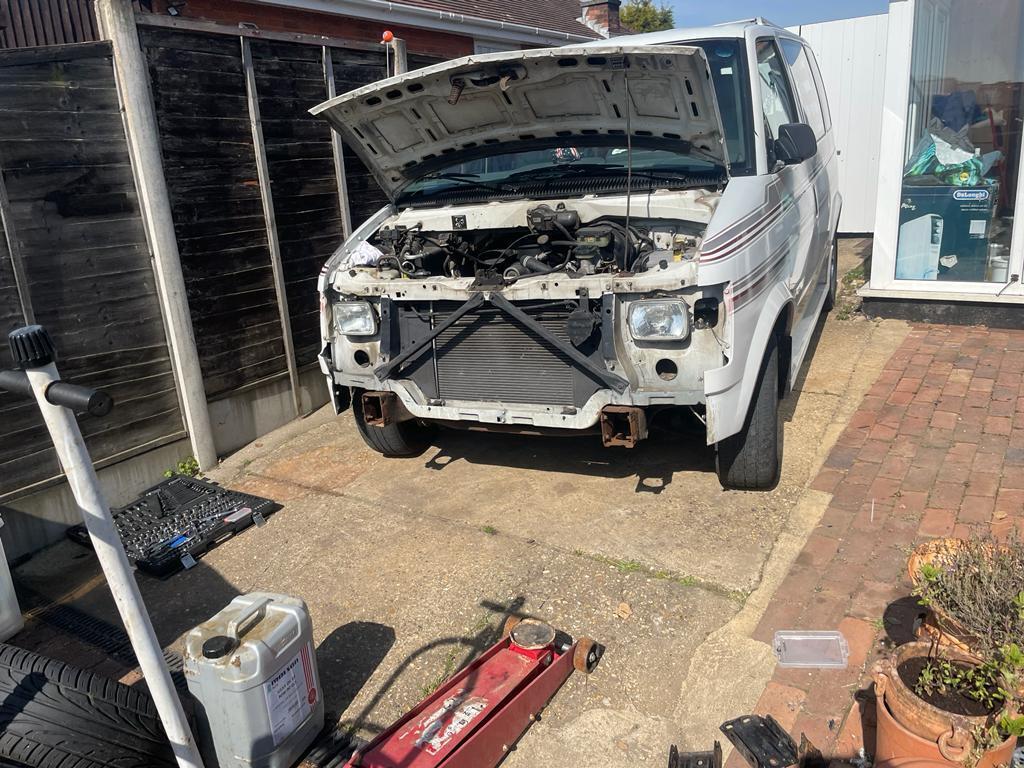 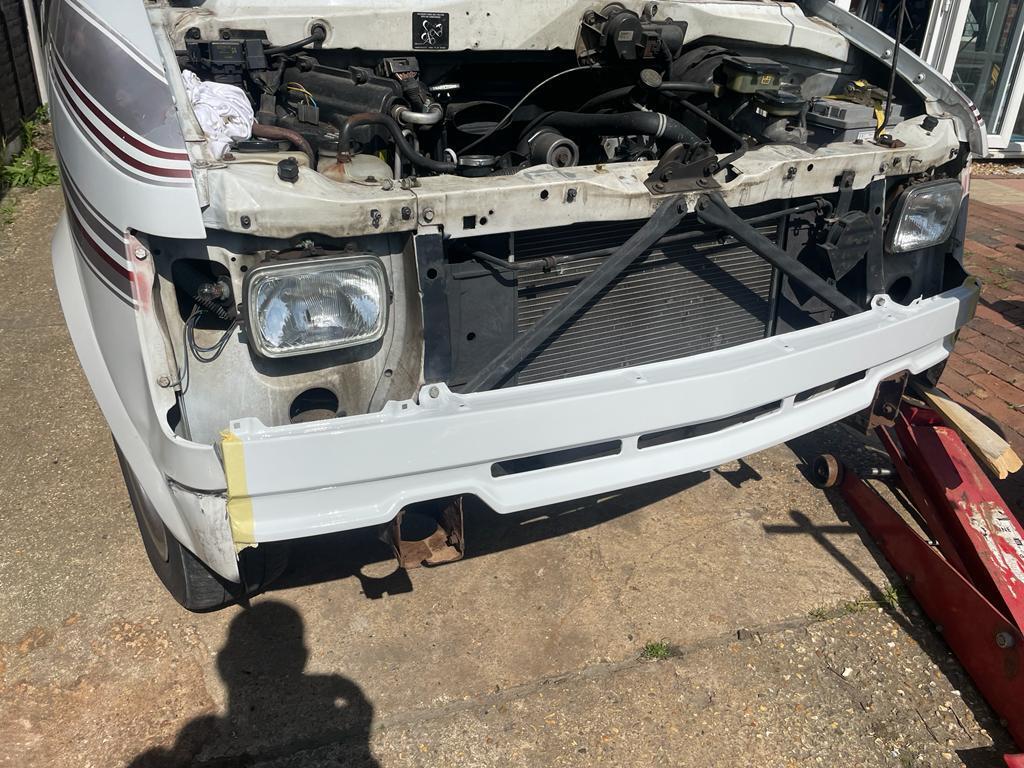 Things were going so well that I forgot to take regular photos.....so here it is all buttoned up.. 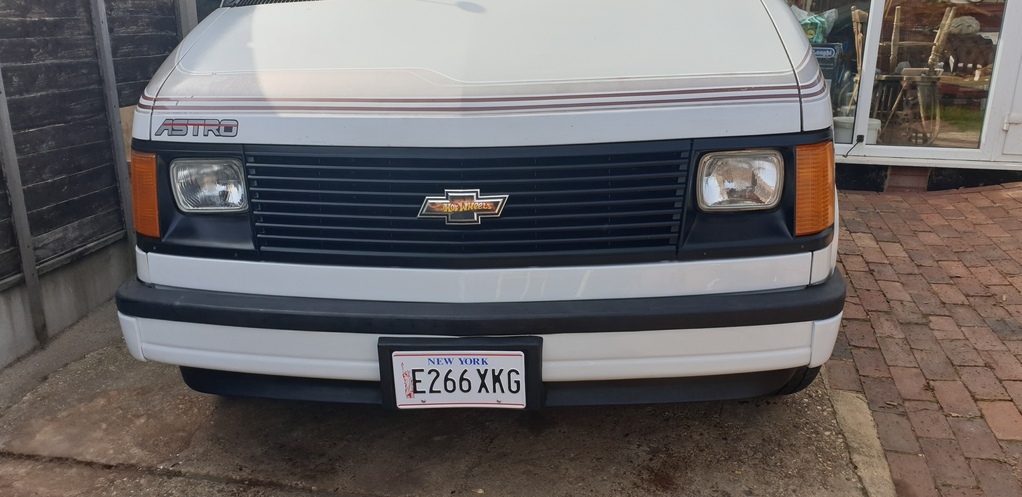 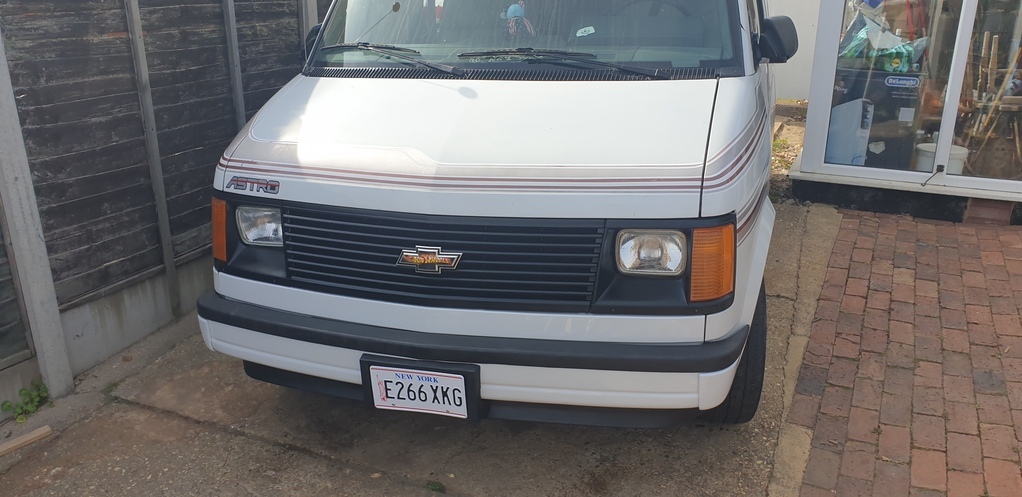 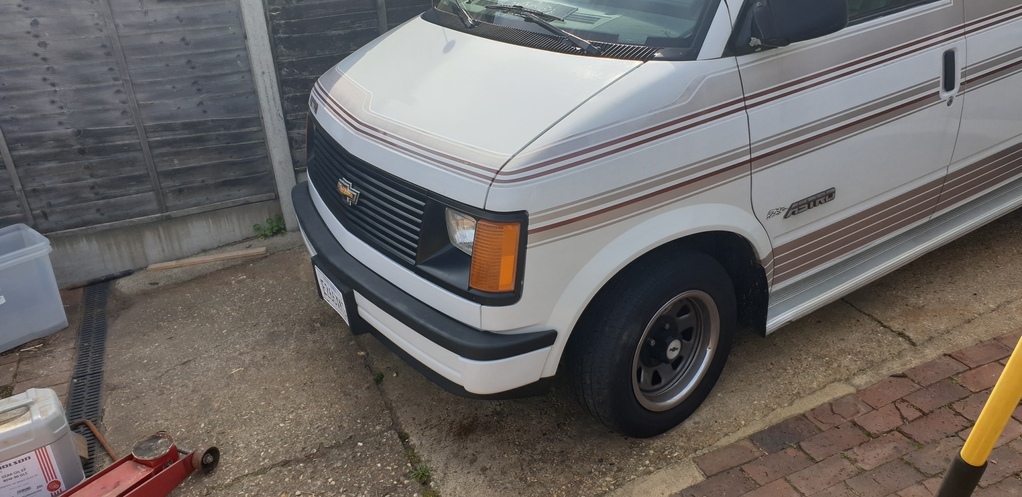 Then today, as a way of thanks, Rod took me along to a van/truck meet at a local company. The Astro looked right at home amongst the other Chevys and Fords etc. There was a good turn out.... 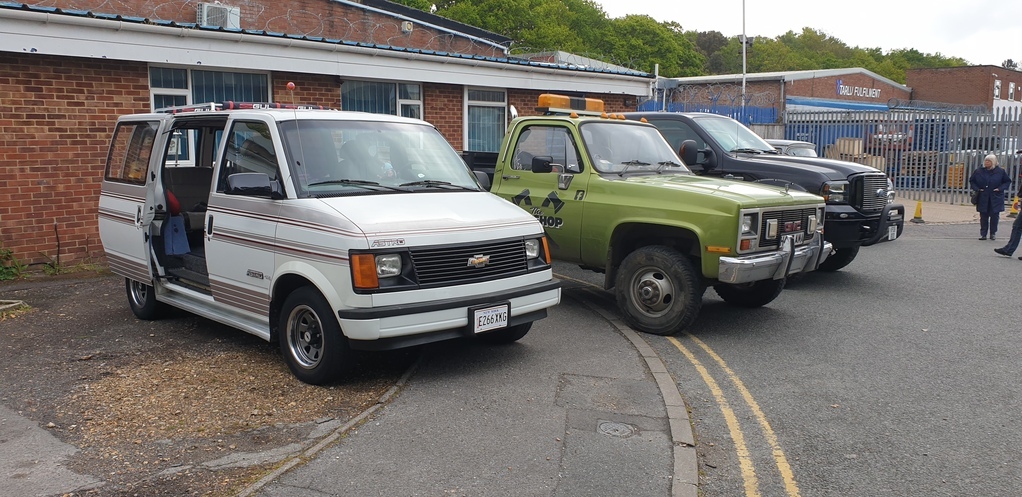 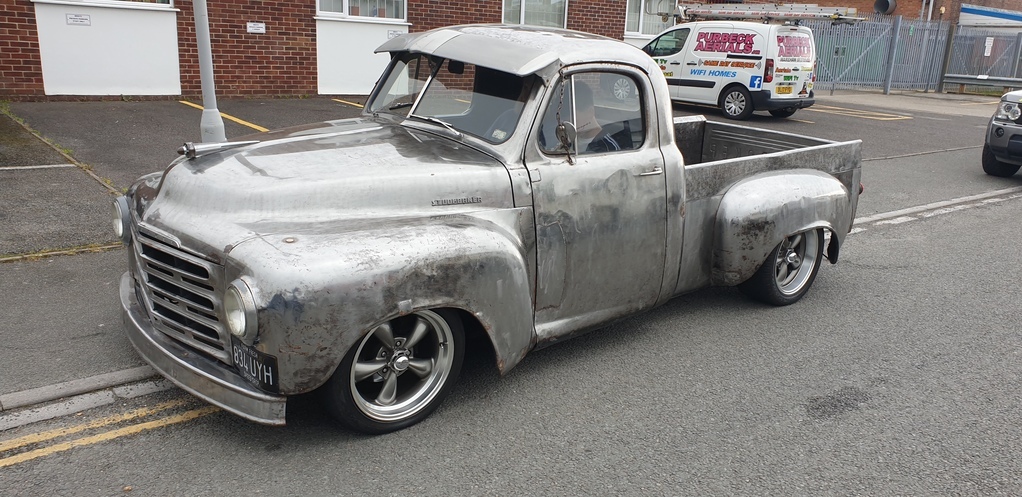 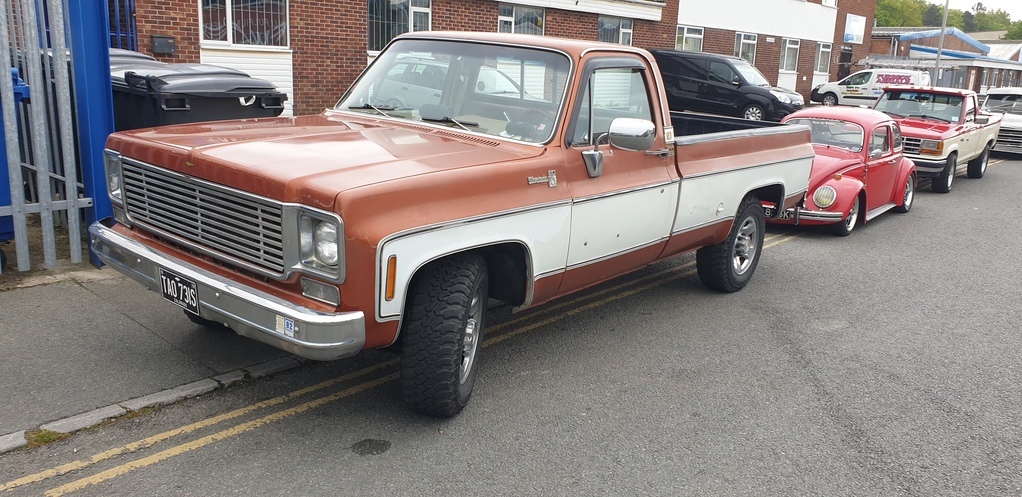 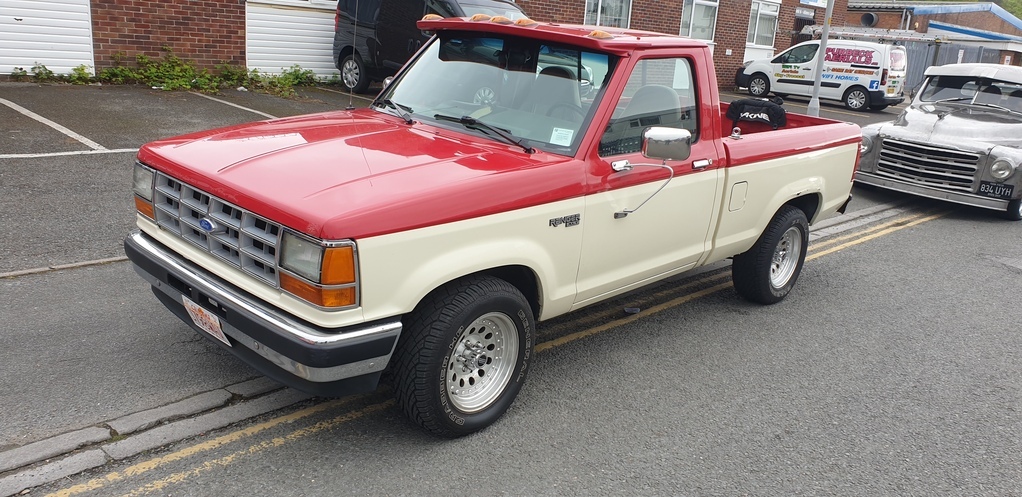 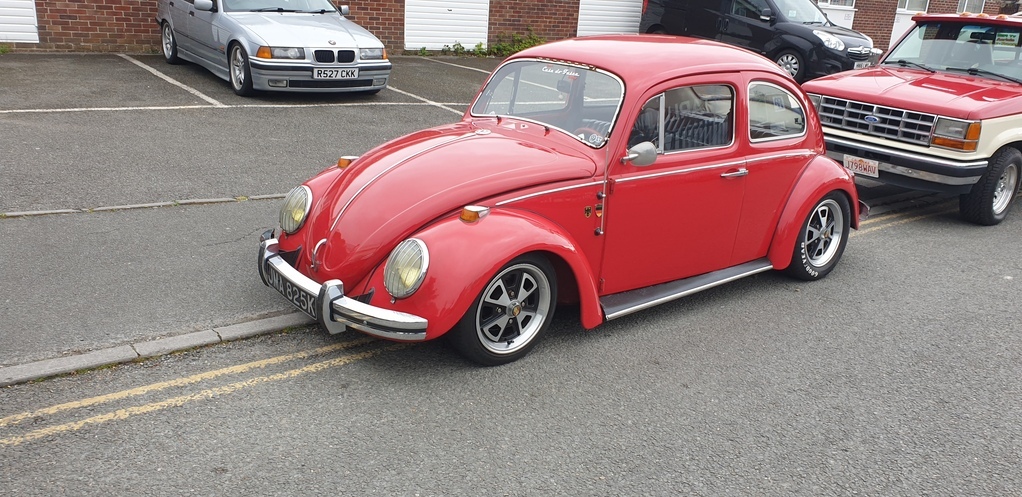 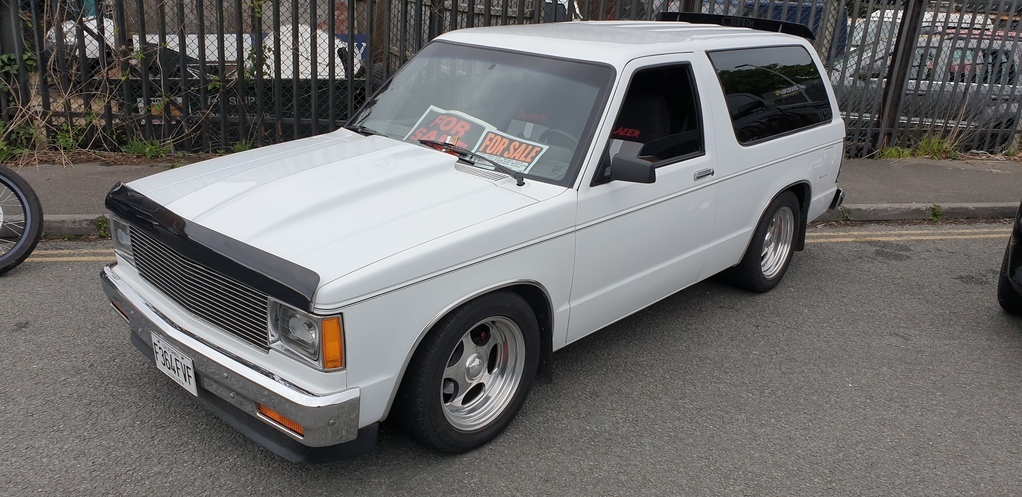 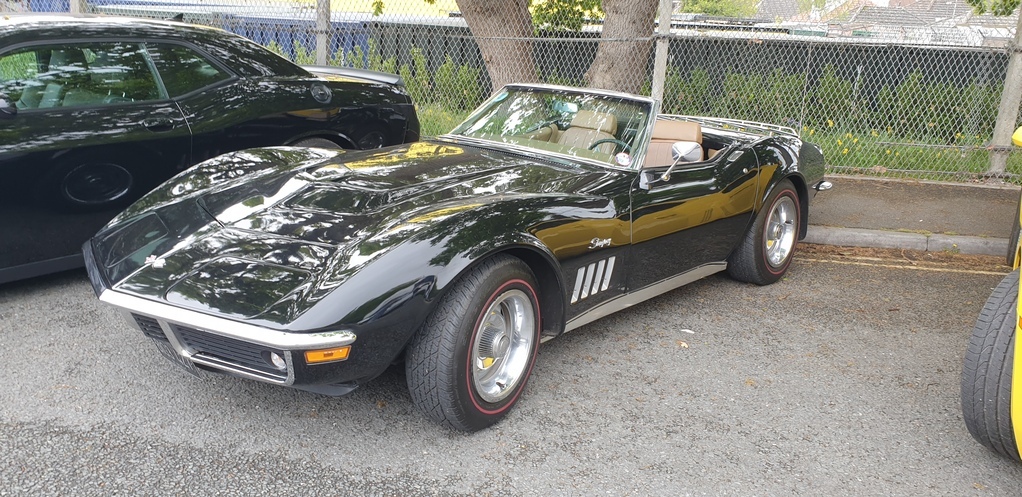 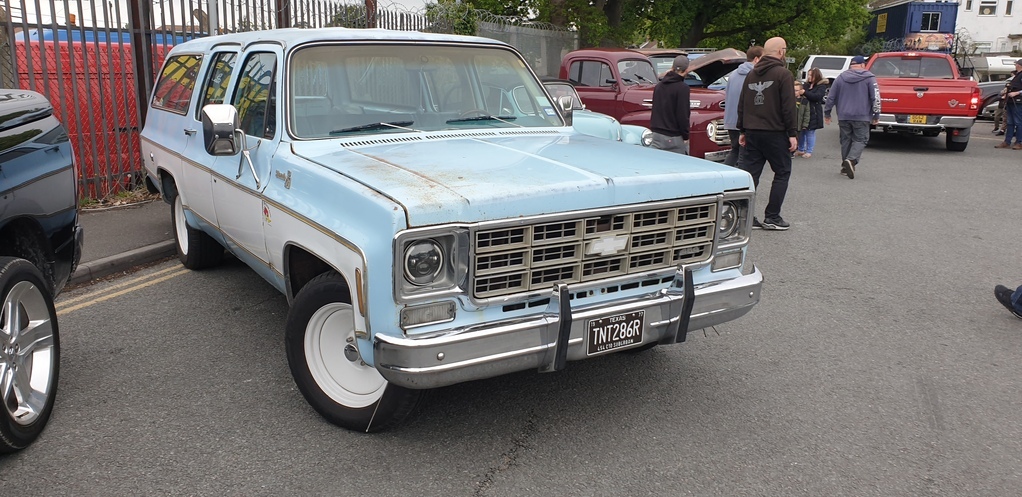 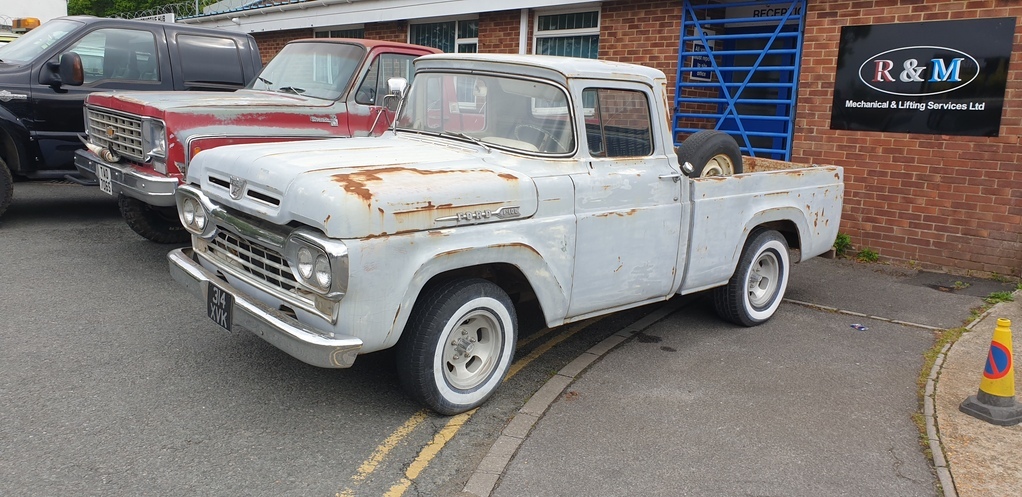 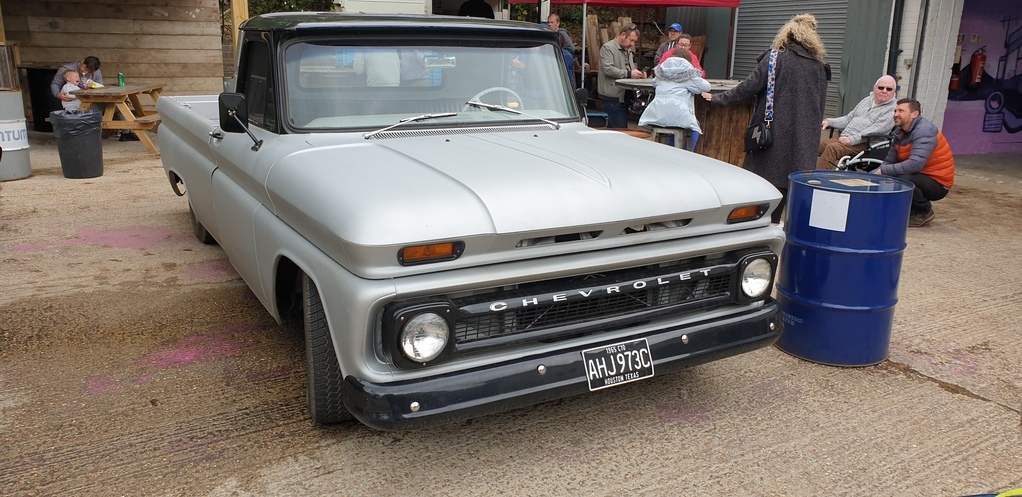 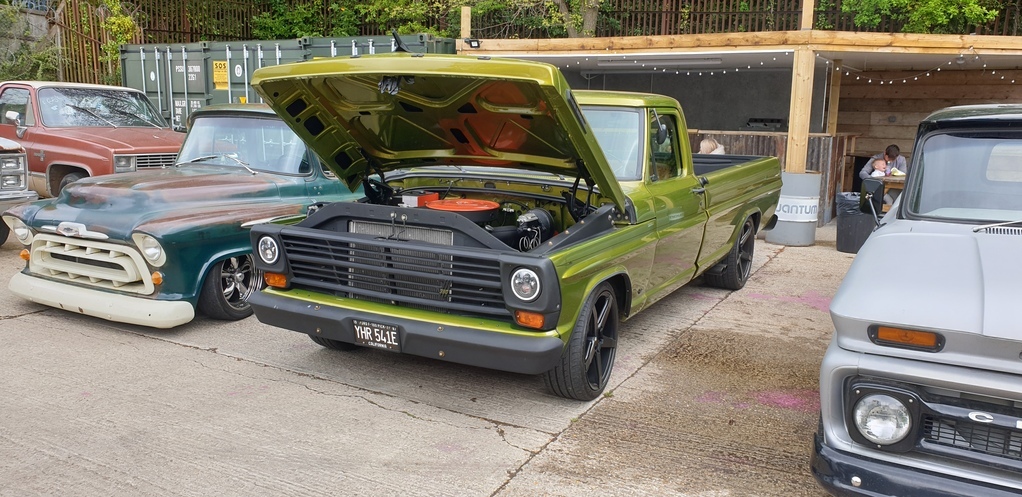 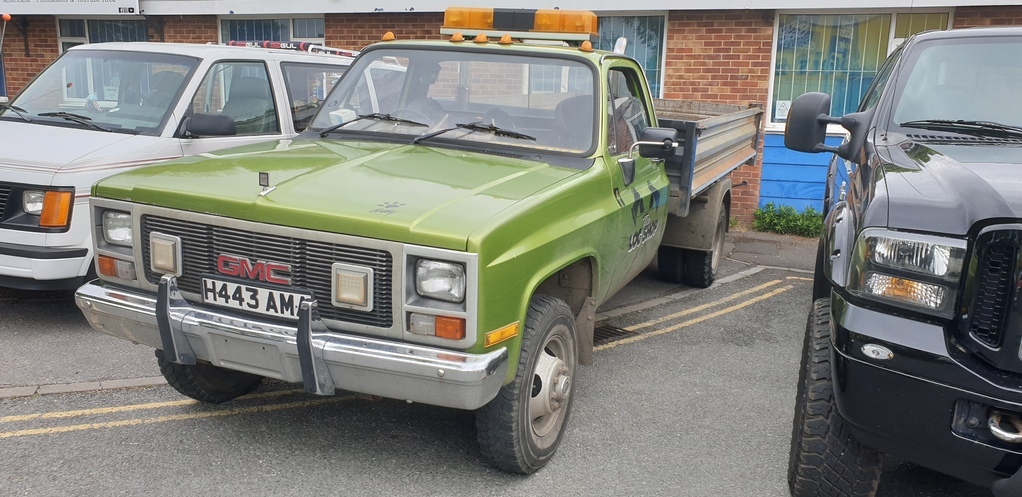 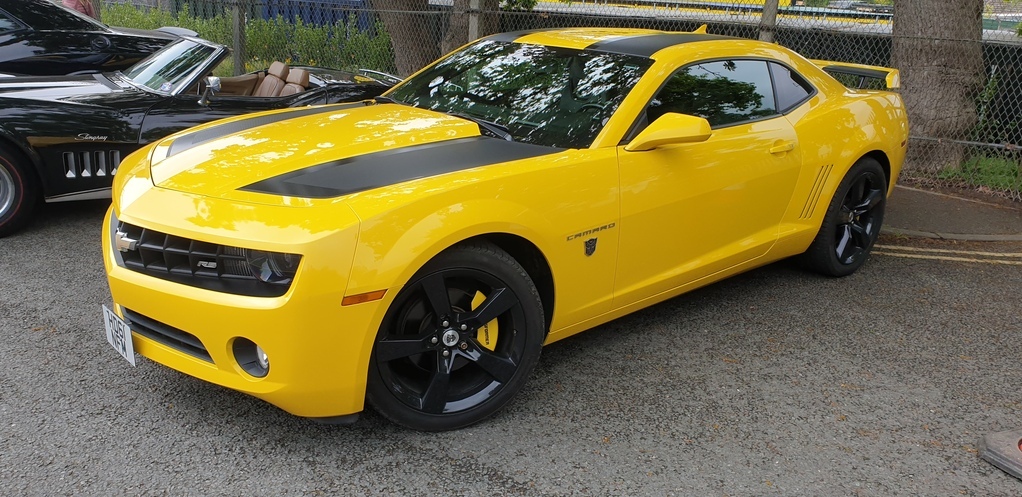 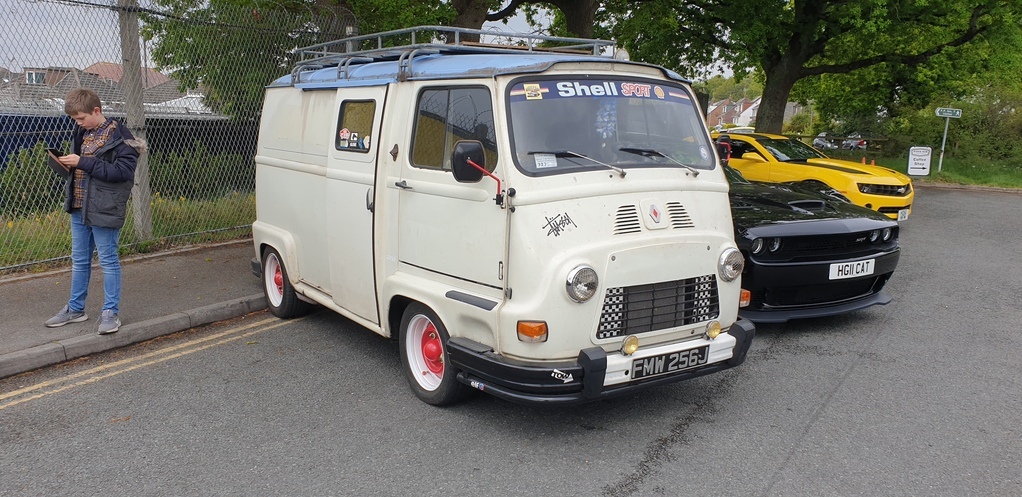 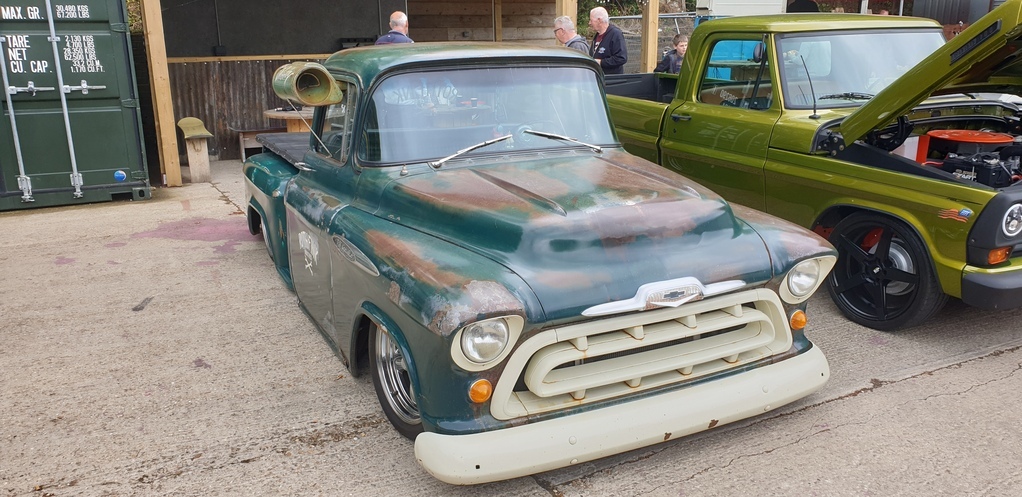 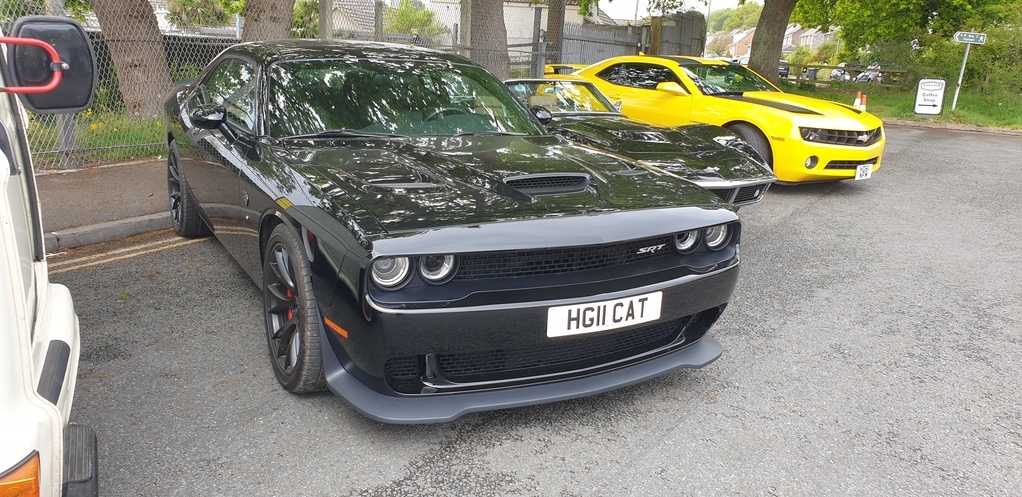 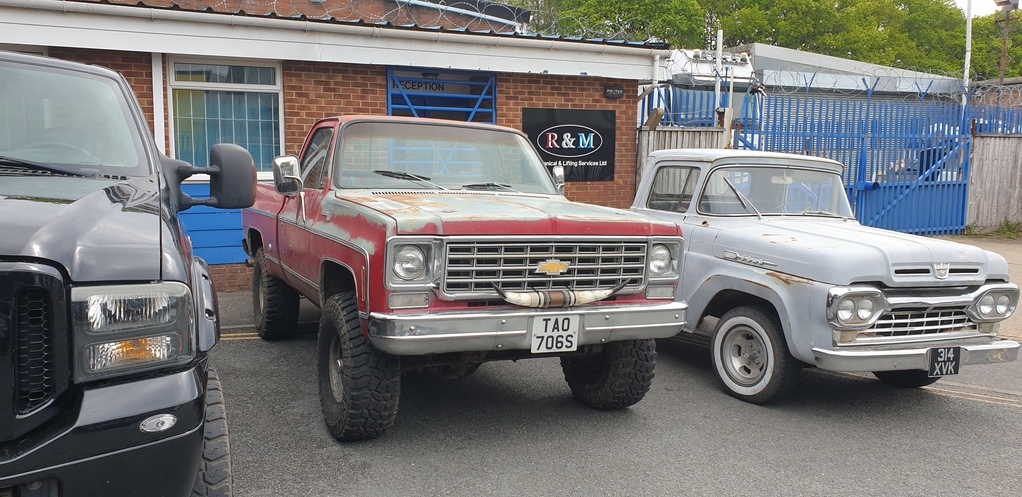 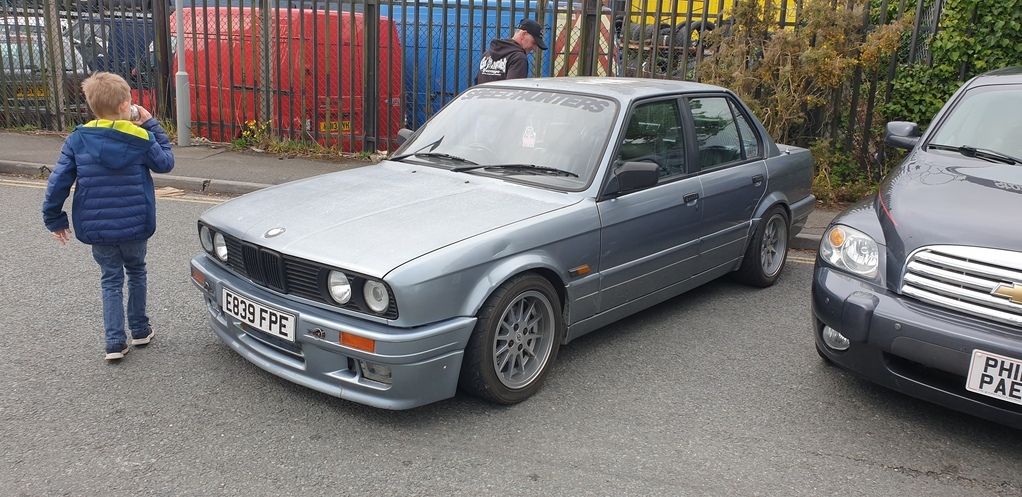 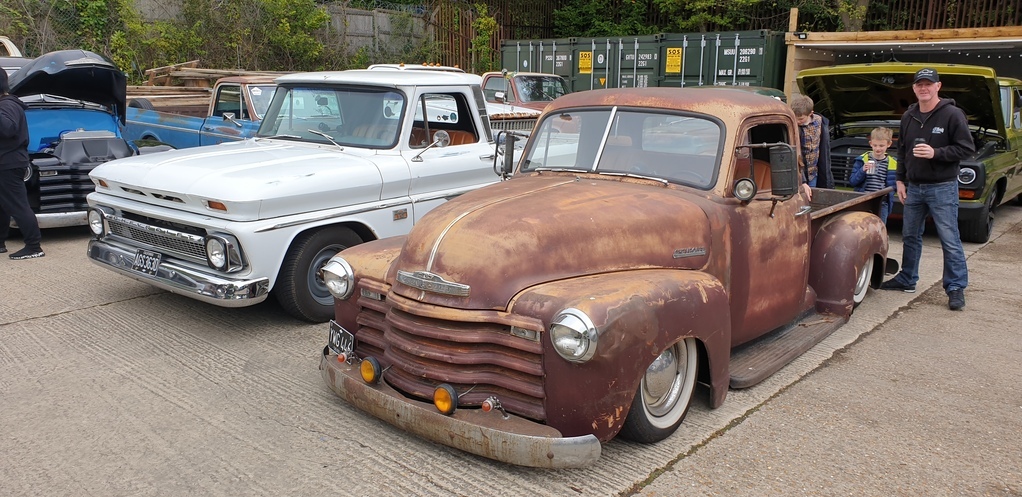 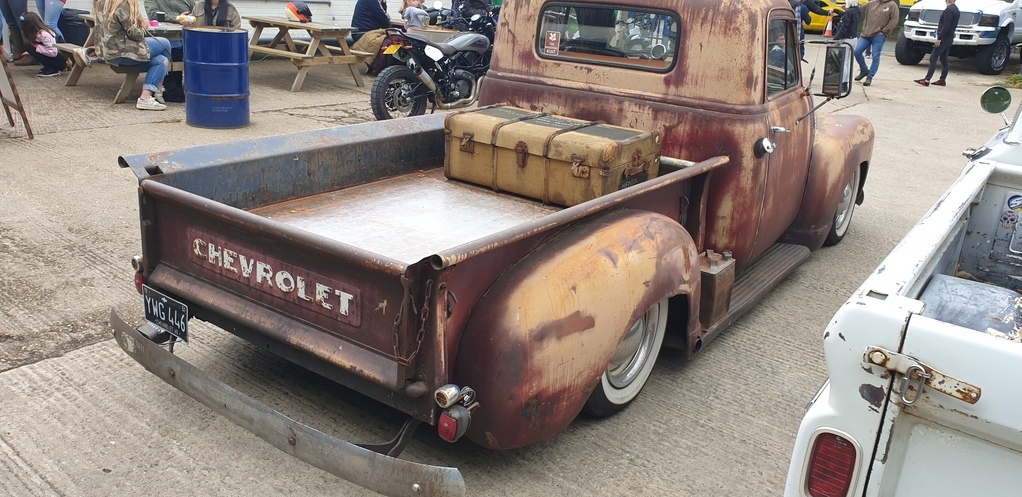 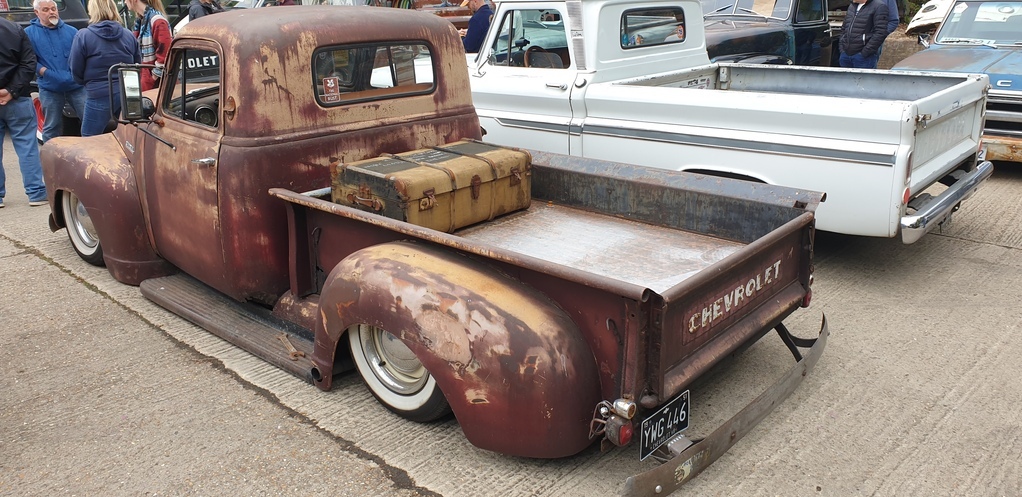 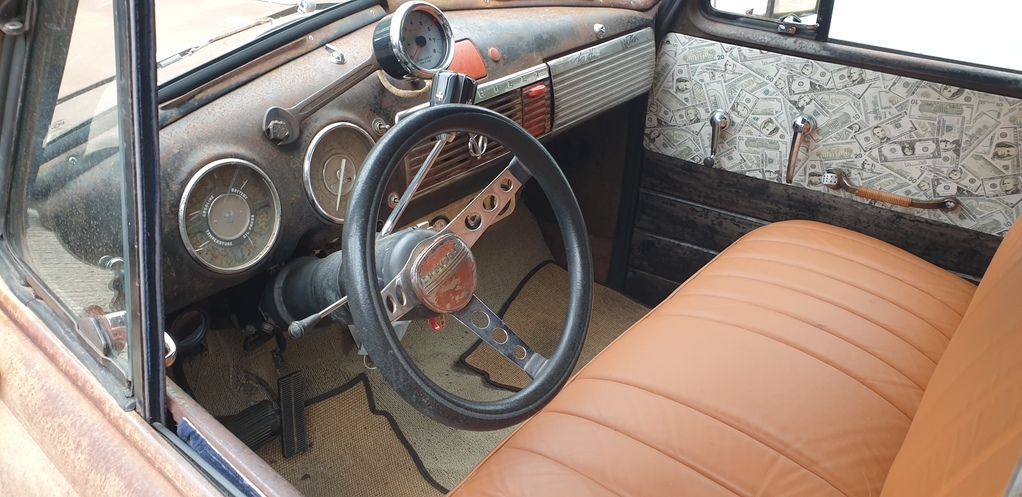 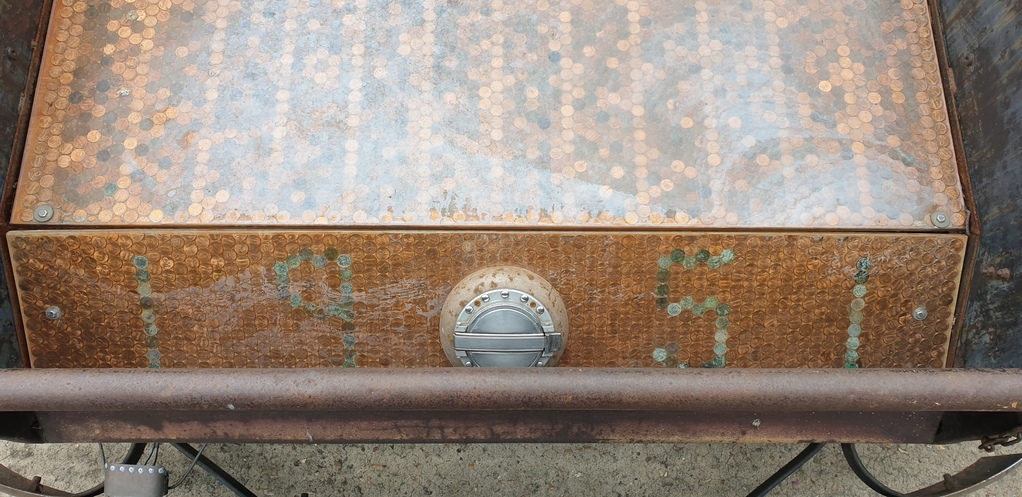 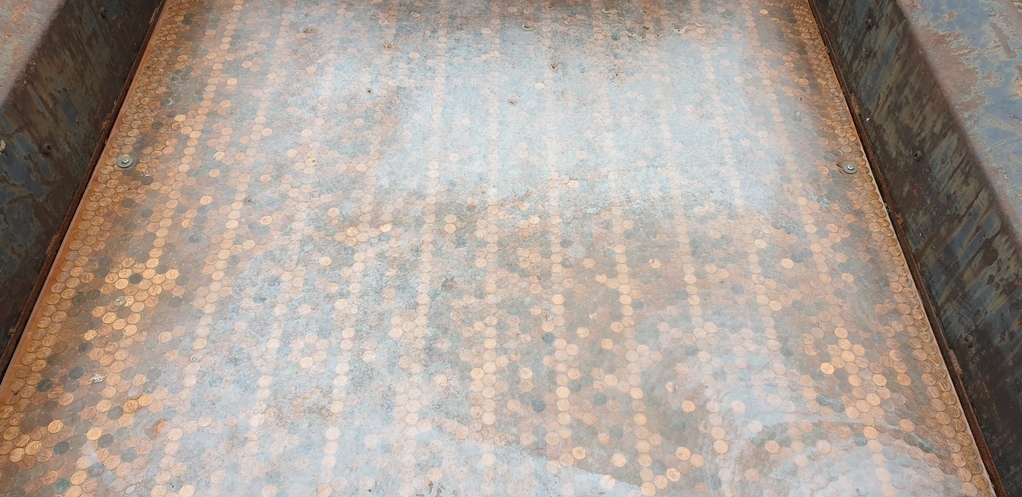 They were all nice.....but for some reason, this was my favourite... 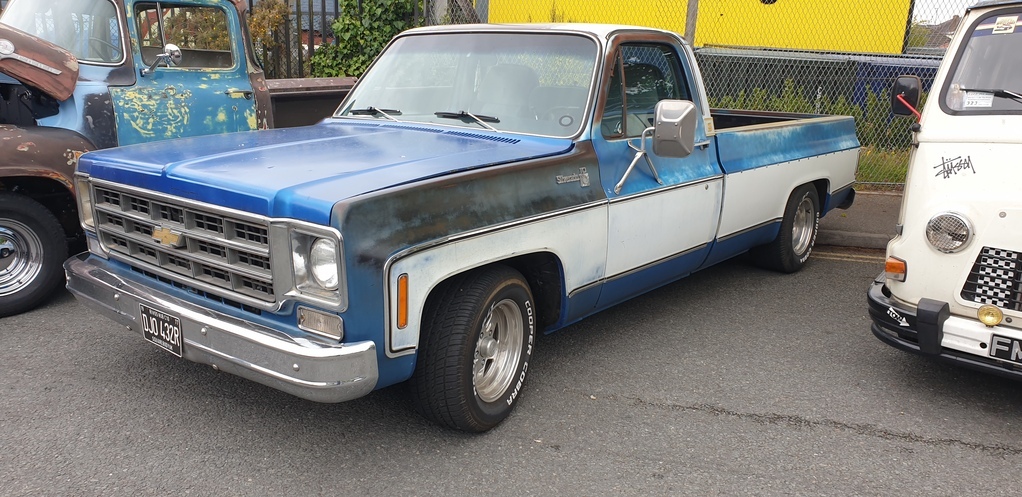 More updates on the truck happening very soon.... Dan. |
| |
Opel Commodore A Coupe
Opel Rekord C Coupe
Opel Rekord C Saloon
Vauxhall Magnum Coupe V8 (Magnumania)
Mk1 Scirocco GLS
Mk1 Scirocco GLS (early chrome bumper)
Corrado G60
Mk1 Cortina 2 door Pre Airflow
Mk2 Escort 1300 2 Door
VW LT35 Tipper Truck
BMW 320D E91 Tourer
|
|
|
|
|
|
|
Yes....I've still got months of updates to catch up on where the truck is concerned, but for now, something a little different. So, roughly a year ago, my best mate Rod treated himself to one of these.... A Chevy Astro Van.... Loads of pics laterThen, on Saturday just gone, it was just a case of fitting everything up....  More updates on the truck happening very soon.... Dan. Absolutely brilliant update and story. Thank you. A lot of commercial vehicles at the show/gathering. Some neat stuff, like that panelvan. I love this pic I quoted above. Perfect Sunday photo, with the crucifix and wise man in the foreground it looks like a Christmas story., |
| |
|
|
|
|
|
|
|
thanks for sharing the pics, this is my favourite  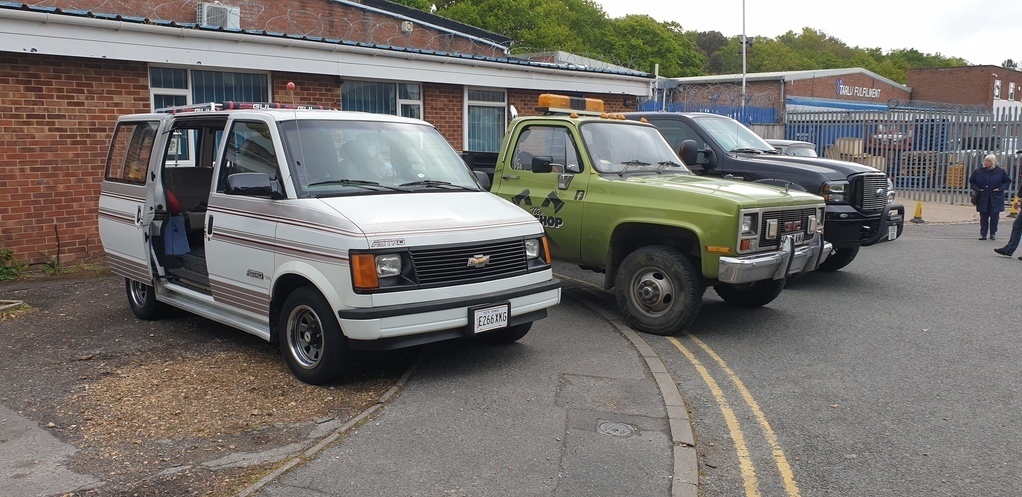 the Astrovan. nice work on the repair |
| |
|
|
|
|
|
|
|
thanks for sharing the pics, this is my favourite   the Astrovan. nice work on the repair Astro vans have bugged me for a while. Ford did an equivalent, but the transmission was made of cheese. I was after one 6 months ago, as another side project, but the seller was dodgy imho and it had been for sale cheaply a hear ago, so I stepped away nd possibly dodged a bullet. The work done by Dan and co is brilliant. |
| |
|
|
|
|
|
|
|
|
I do like the look of that van, just the right sort of size to use here.
|
| |
|
|
|
|


