So.....another long overdue update.
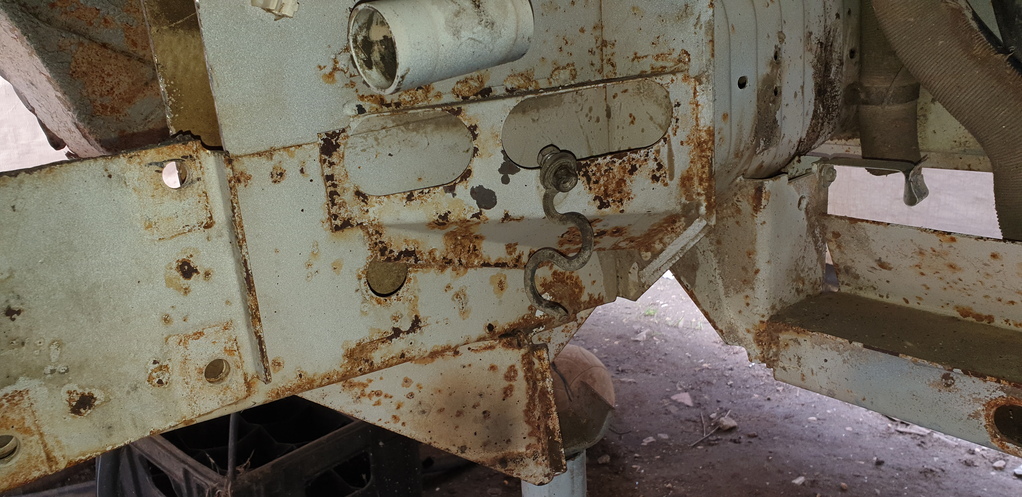
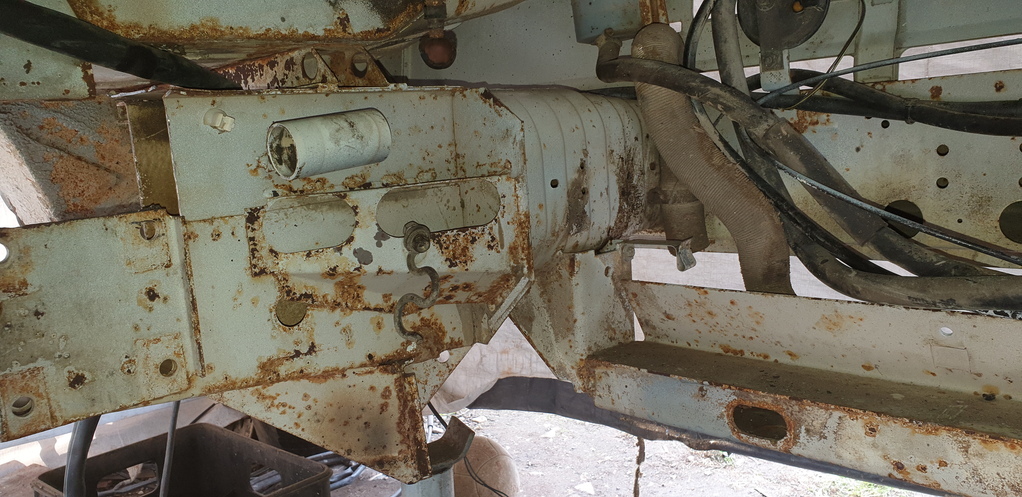
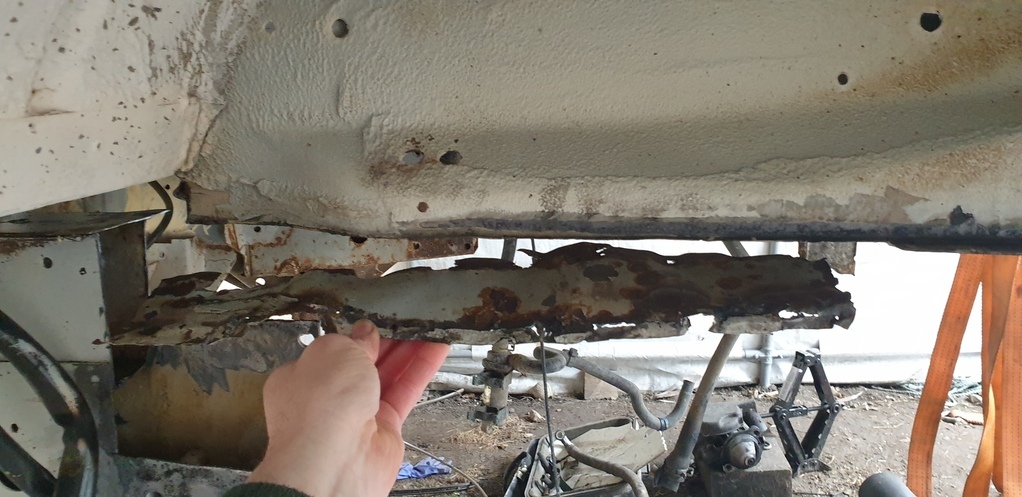
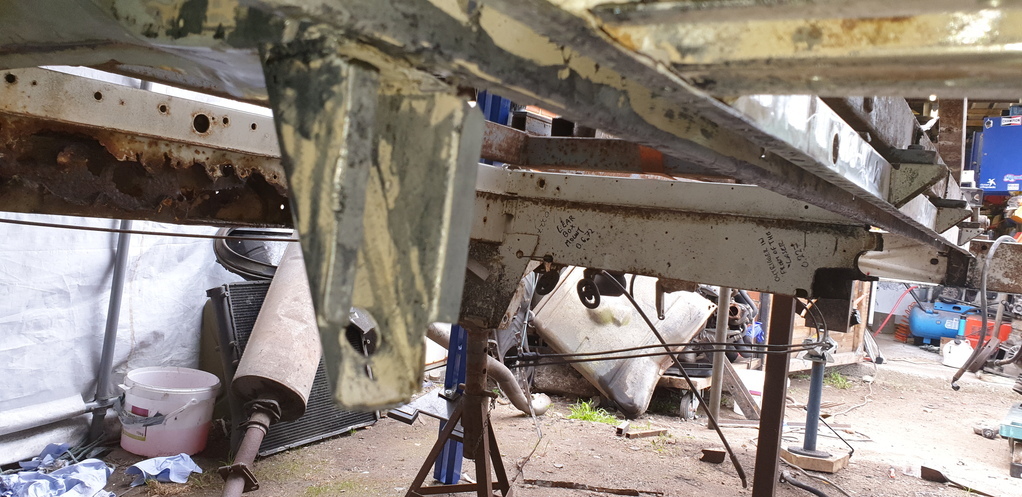
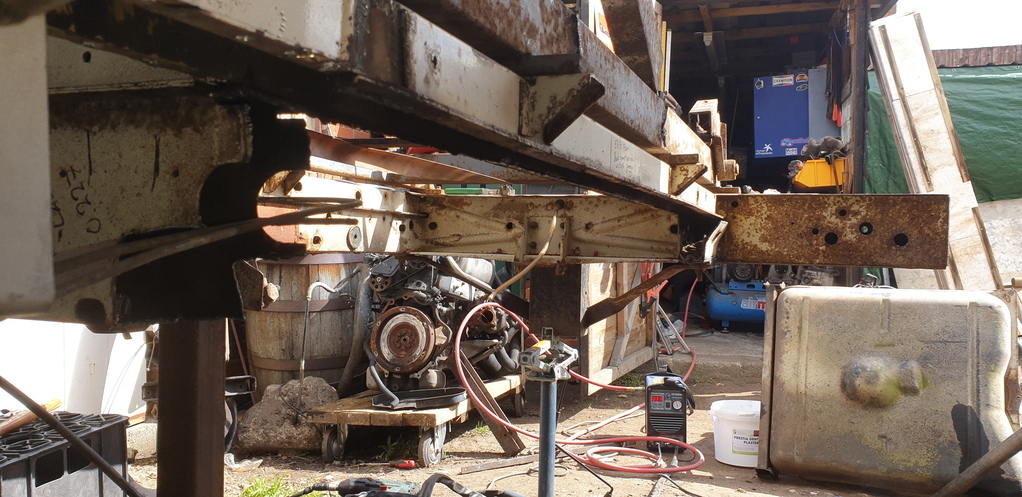
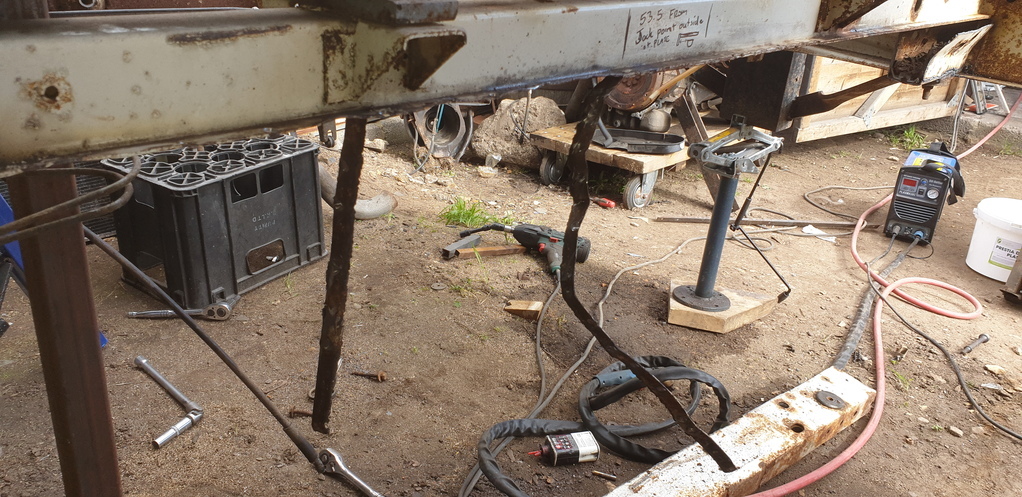
The last update showed temporary fitment of the front left chassis and the removal of the rotten lower half of the left rear.
I have literally ate, slept and breathed this bloody truck for the last six months. I've been coming home after a 10 hour shift at work and spending two....three.....four hours of an evening doing something to the truck. I've been trying to work to the mentality of doing anything....no matter how small.....is progress. All I can say is....it's definitely paying off.
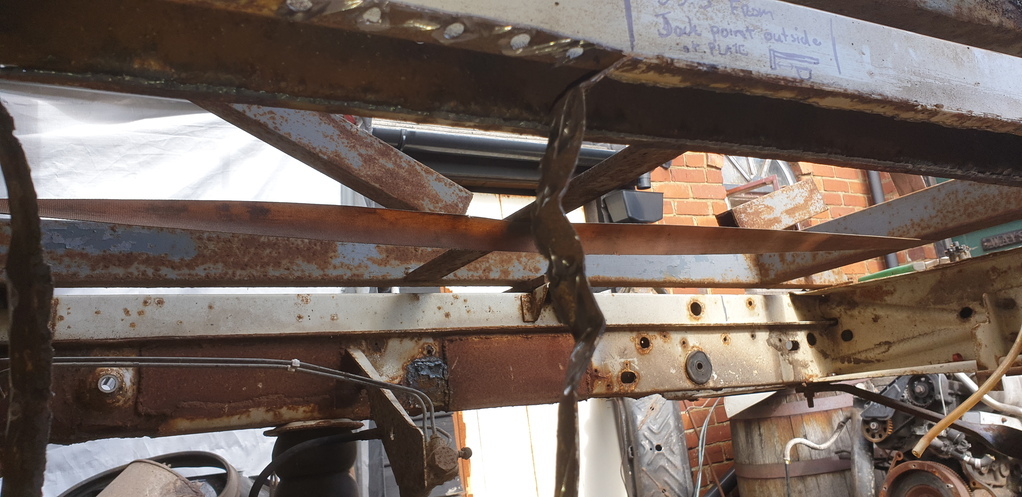
Now.....as I write this update I can reveal that I've actually finished the whole left side chassis repair/rebuild and reattached the out riggers as well as spare wheel mount. Plus I've done a few more bits to the cab and have completed the front right chassis repair/rebuild, removed the rotten right rear lower chassis and am half way through the repair/rebuild of that!!! As I'm sure you can appreciate, that's a whole lotta work that's happened and updates have been a bit thin on the ground as a result. Hence why everytime I update, it's to catch up from months ago.
Another reason as to why I've given away how far I've got, is because I know that I did the front left chassis a certain way.....then improved upon the procedure for reassembly on the left rear.....then by the time I got to the front right I had totally nailed the best way/order to reassemble everything with the least amount of risk of rust setting back in. Of course, I now wish I applied the same thought process to the whole left hand side! Still......I suppose that's the whole 'learn as you go along' thing that often happens. It's just really bugging me as I write this update to see the pictures of what I did and know that there was a better way! Never mind......what's done is done.
So......on with the show!
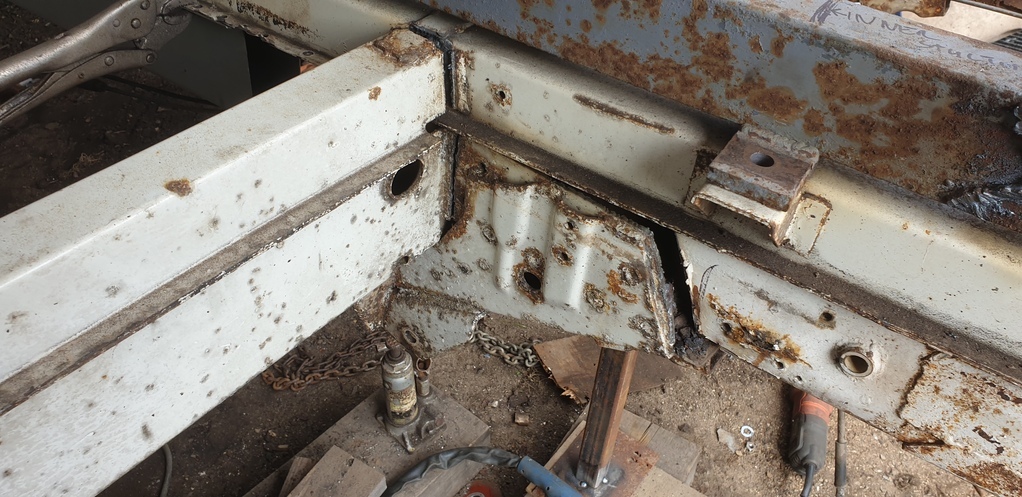
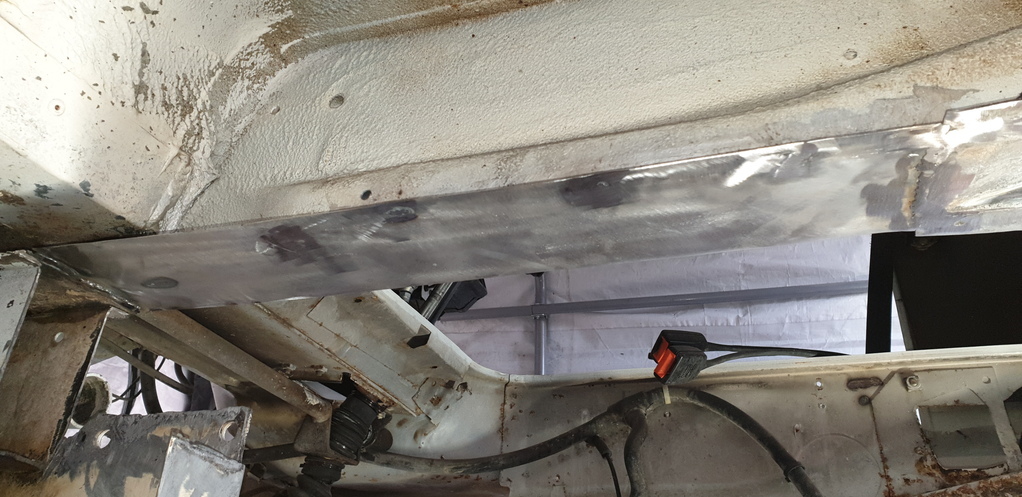
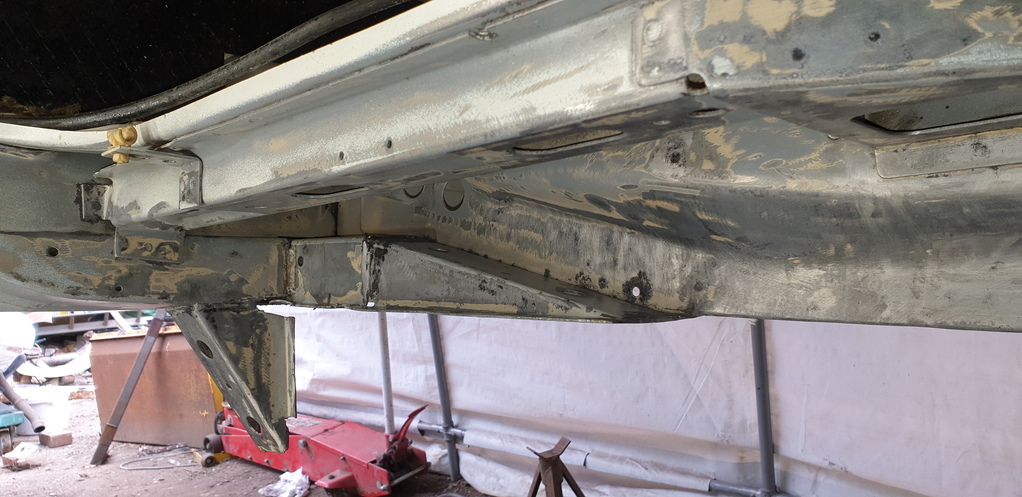
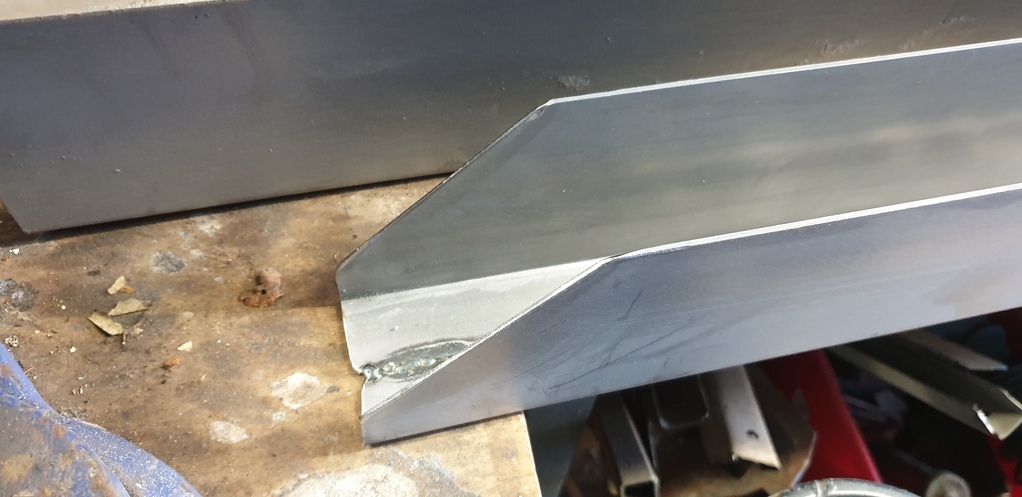
This first picture shows the reinforcement tubes fitted into the inner chassis reinforcements and the 45 degree finish on the ends as per the original.
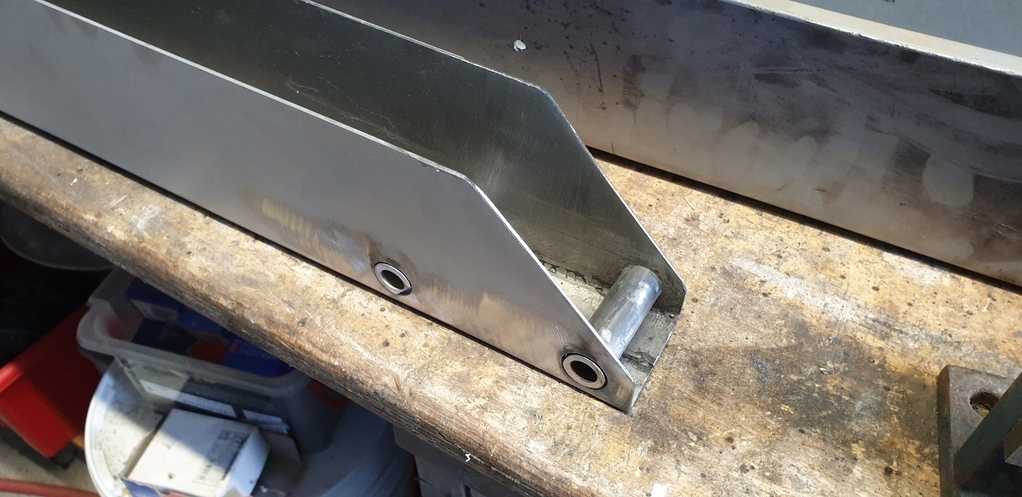
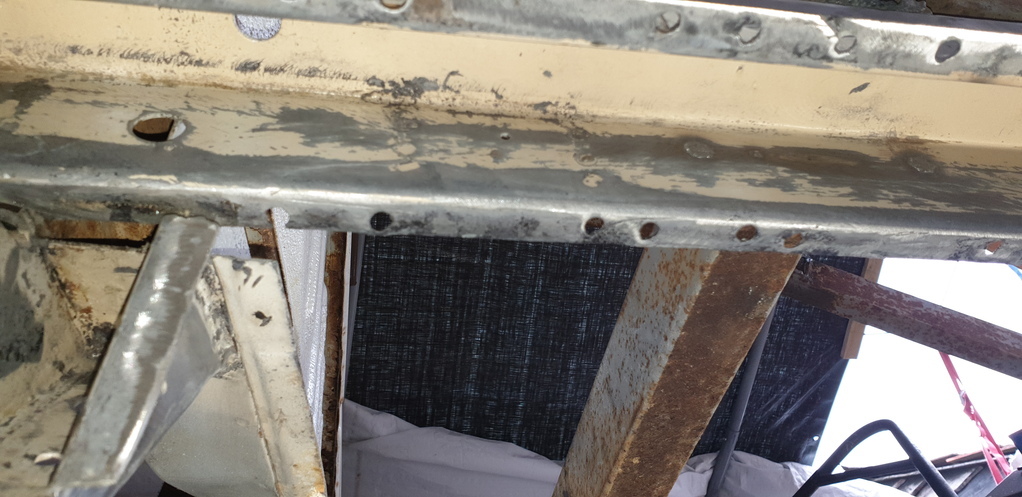
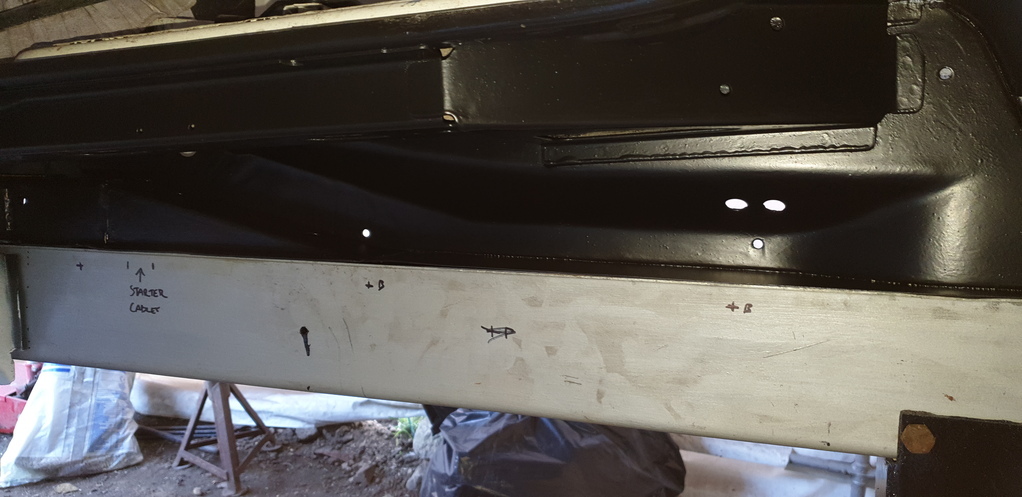
Then it was the laborious task of working out where all of the wiring loom, fuel line and brake line clips go. Once their placement was marked, I drilled a 7mm hole in the outer chassis and then a 10mm hole in the same spot on the inner to allow the springy bit on the fixing clips to expand when they're pushed in.
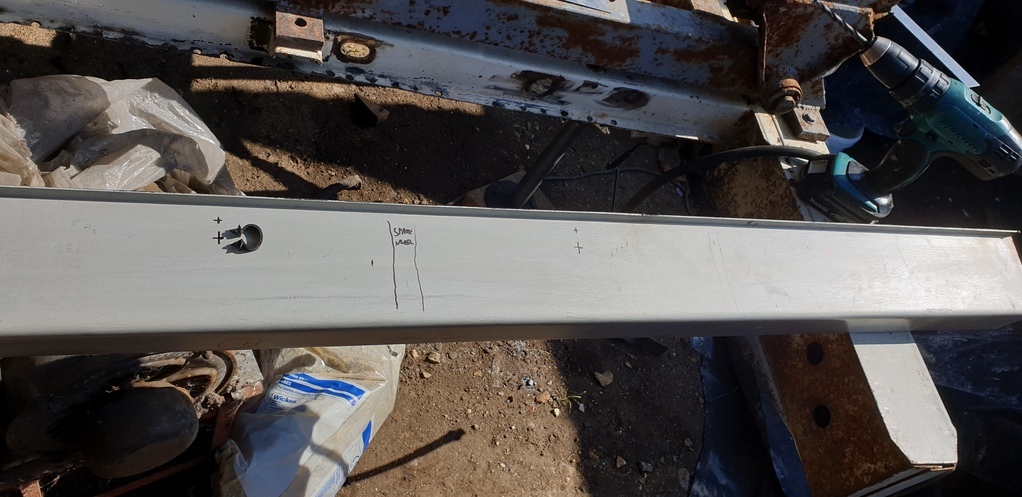
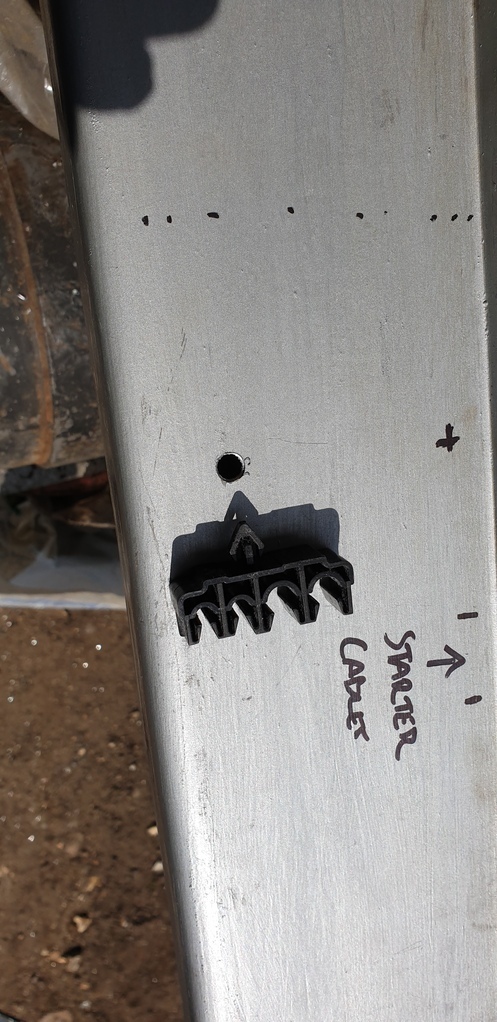
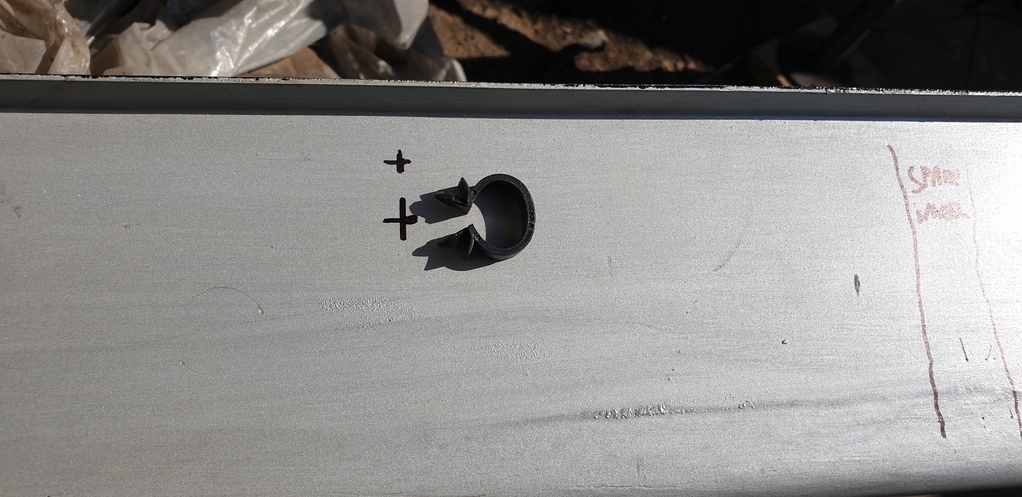
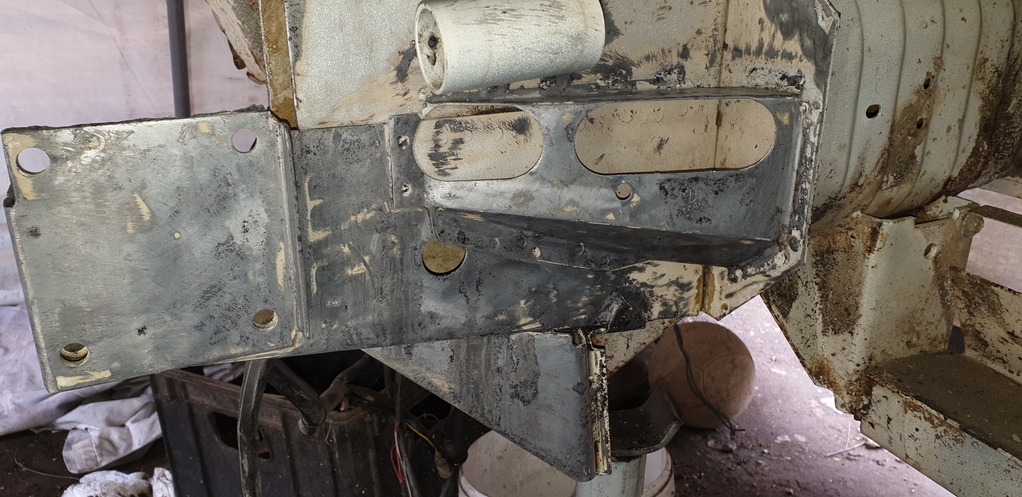
Once again folks....I've not remembered to take any photos of what I'd say is quite an important part......which is....the alignment of the engine cross member bolt holes to the new chassis section. Basically, I fixed the new chassis section into place and then blotted up the alignment tool I made earlier on in the build. Once I was 100 percent happy with the alignment, I then drew around the washers on the alignment tool. You can just about make them out in the next picture.....
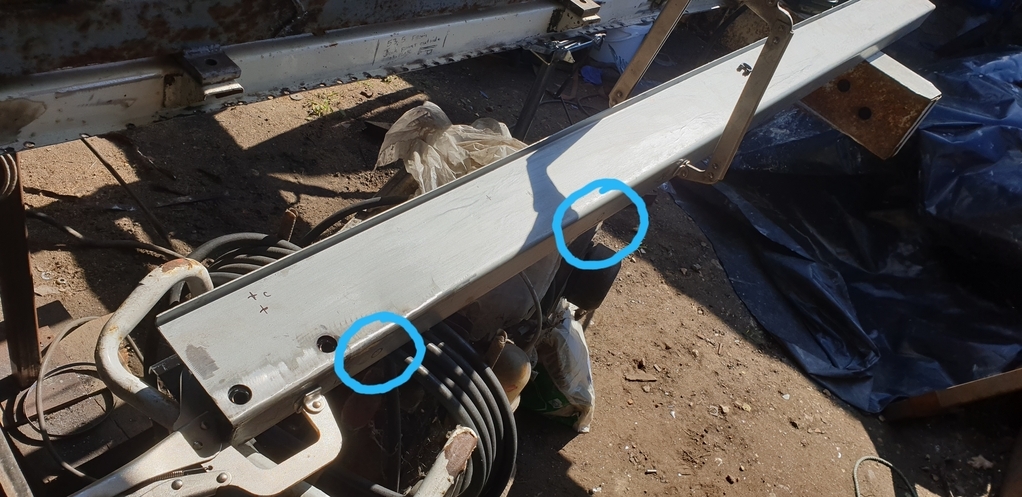
I then was able to place an identical washer in the circular template to locate the centre and drill a half inch hole in the outer chassis.
The inner chassis reinforcement was a really snug fit inside the outer, so I put the two pieces together, fixed them in place on the truck using the alignment tool and then reassembled the steering idler arrangement to insure that the inner structure was in the correct place....
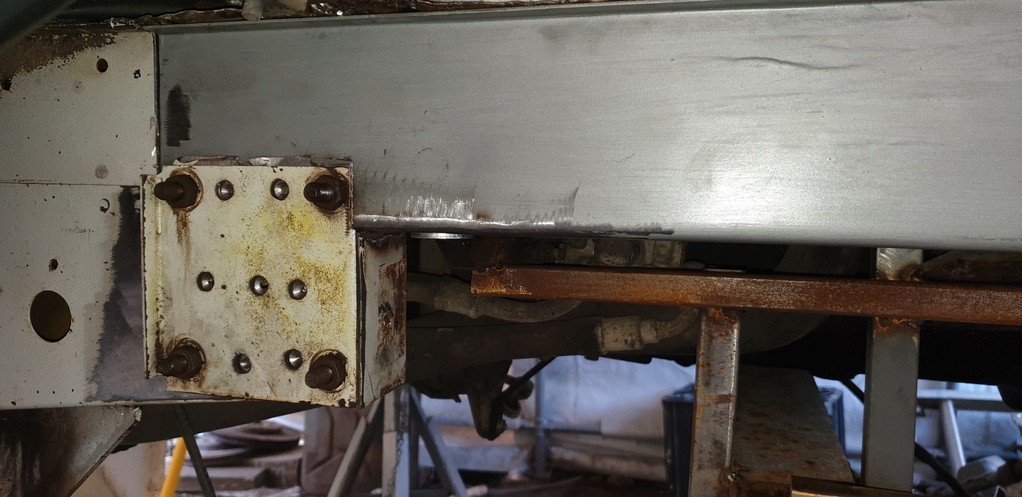
It was then back off the truck, on with some clamps to stop anything from moving and back out with the washers to find the centre......
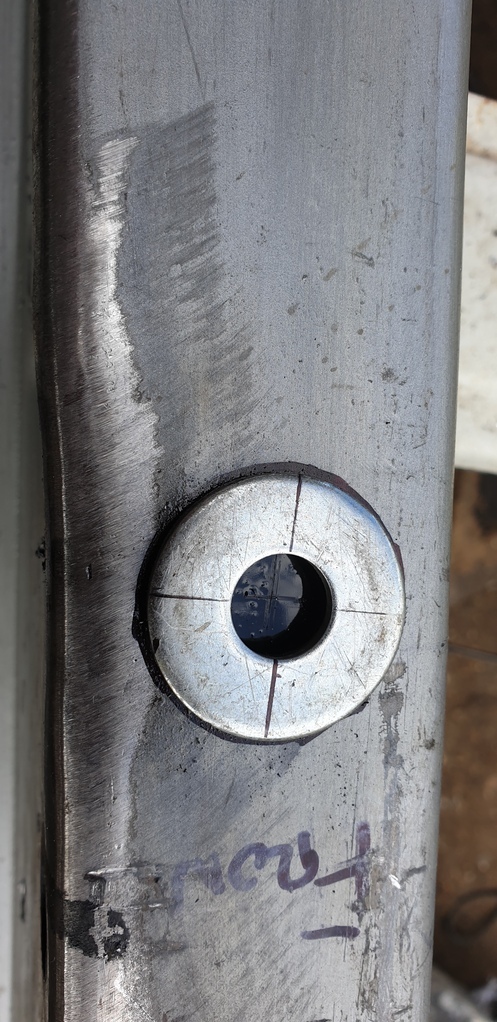
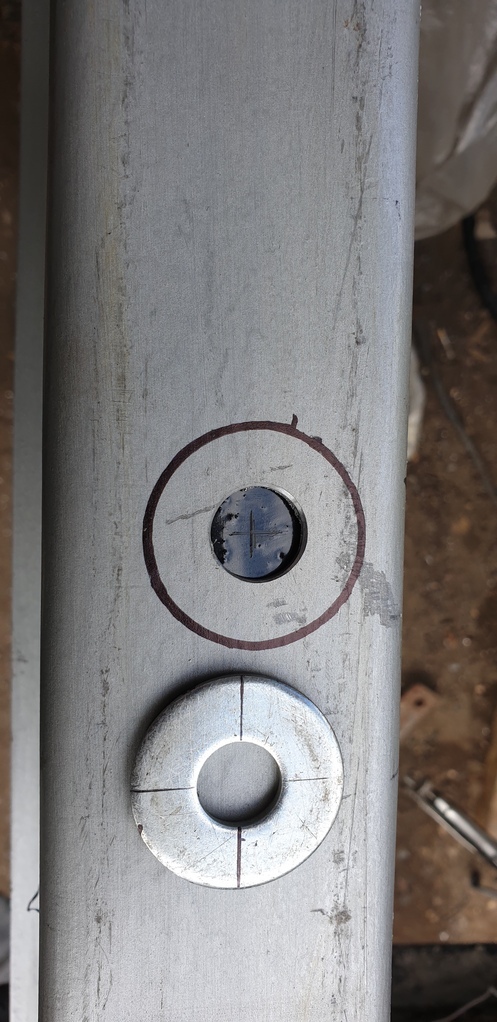
Then insert a bolt through the washer.....making sure that the washer remains bang in the middle of the black marker template....and attach a new bolt from the inside. Once everything was in place, it was time to weld the nut in place......
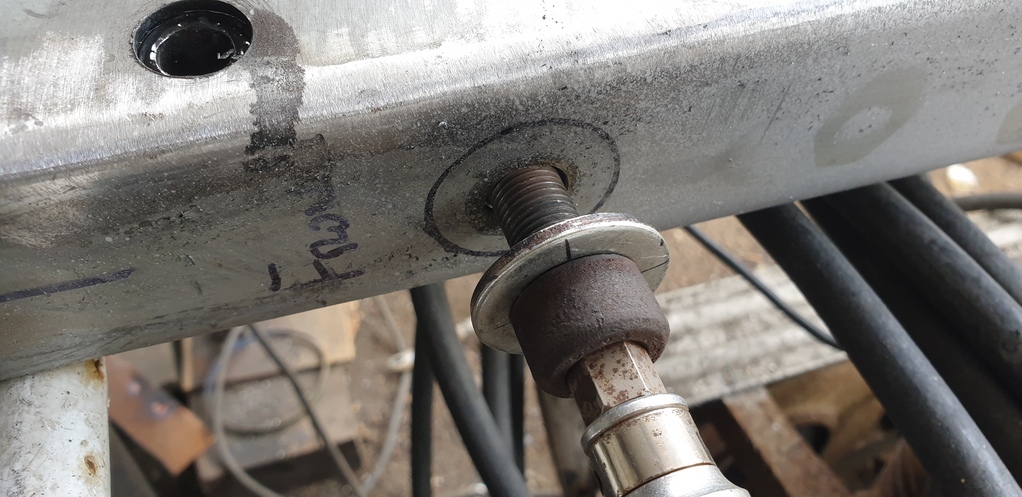
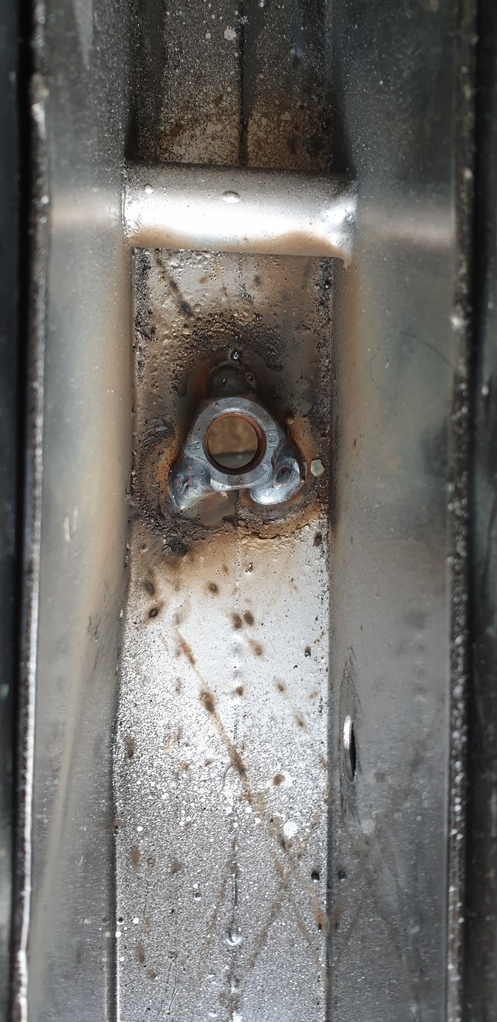
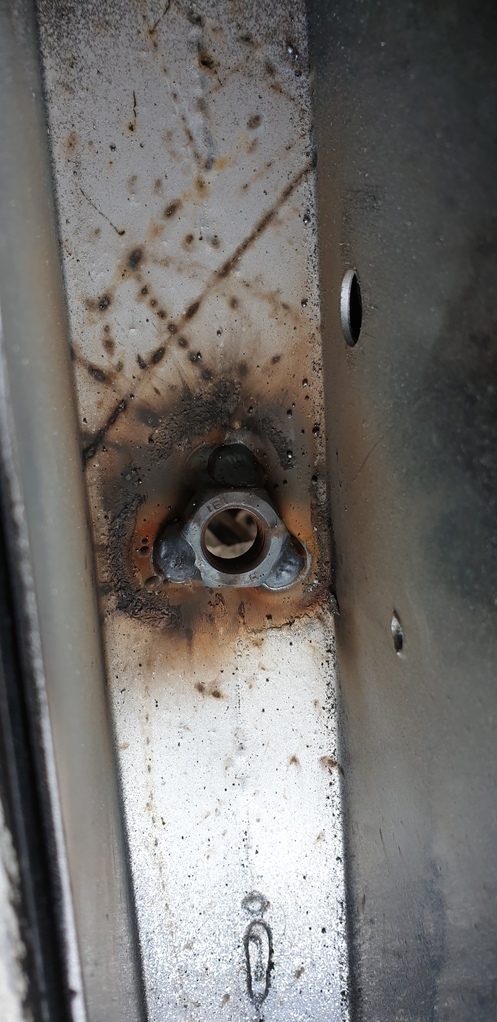
Reattach to the truck to check absolute alignment.....
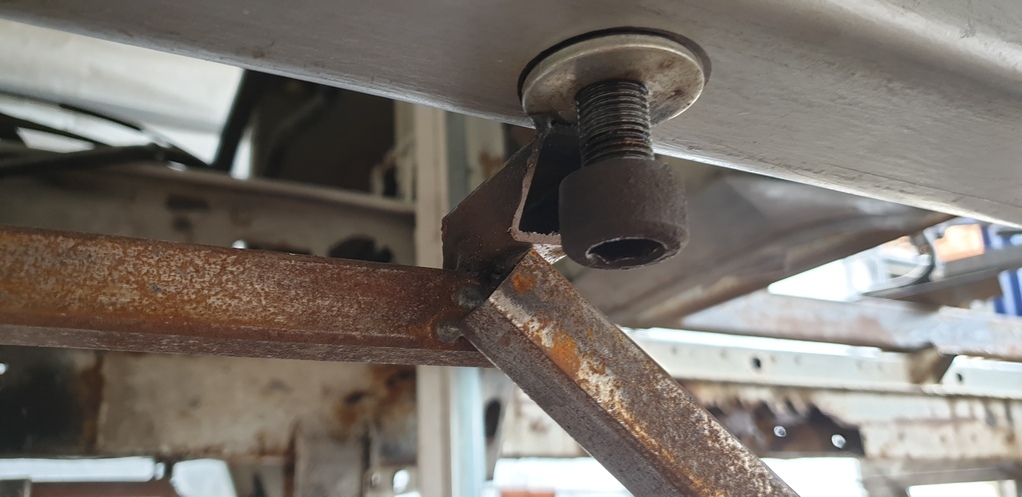
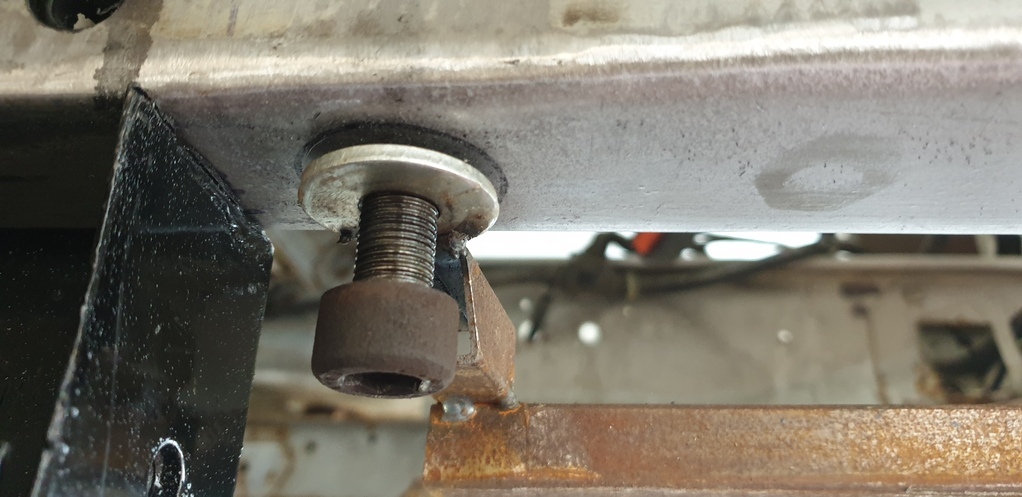
While I was there, I lined up the anti roll bar mount. Everything lined up perfectly.....
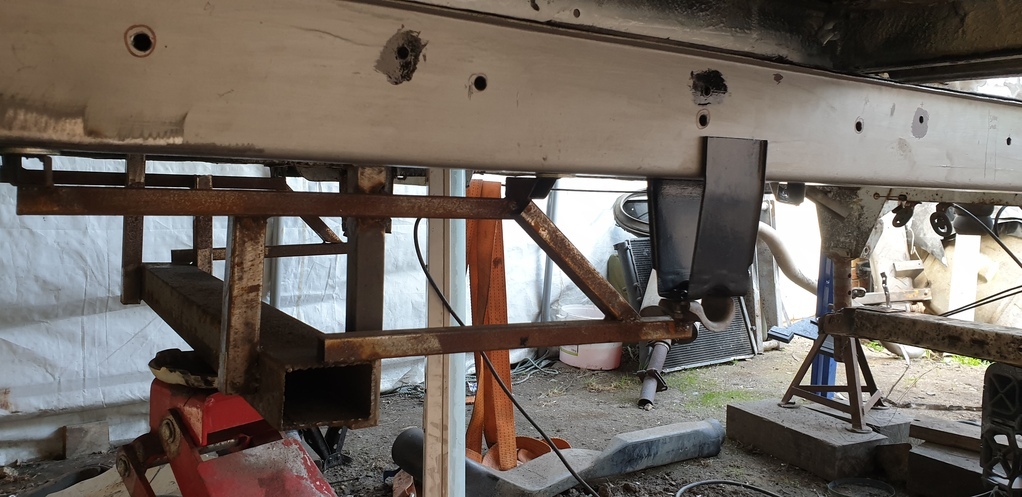
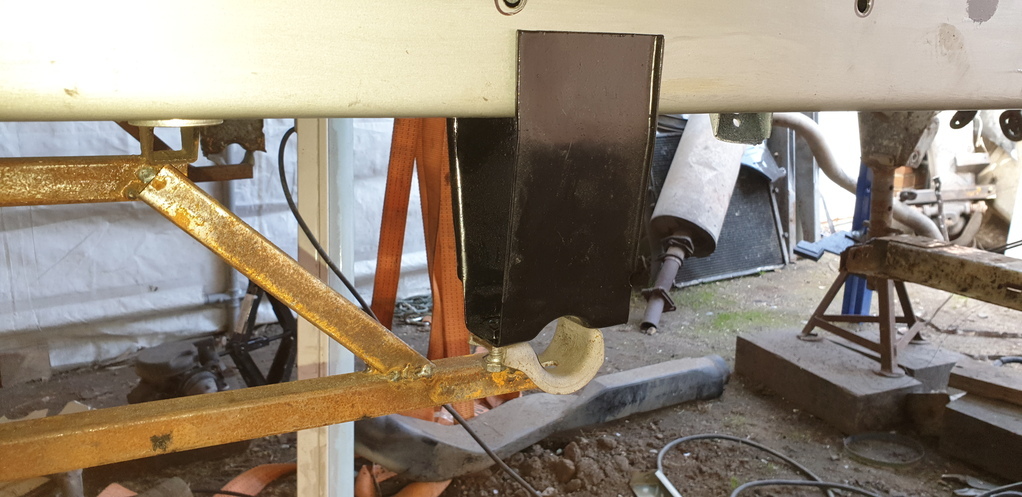
Then weld the anti roll bar mount on. This was done before welding the inner in so that I could repaint the damaged paint on the inside caused by the welding.....
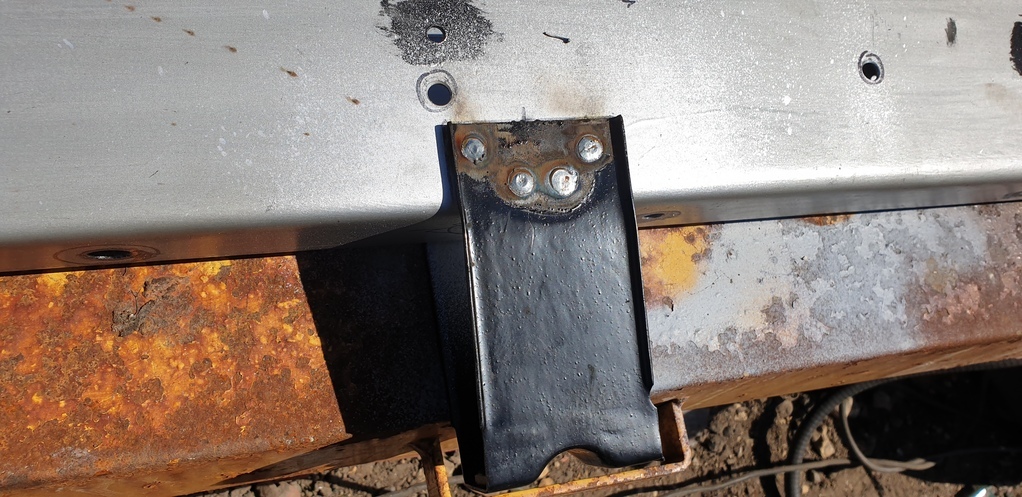
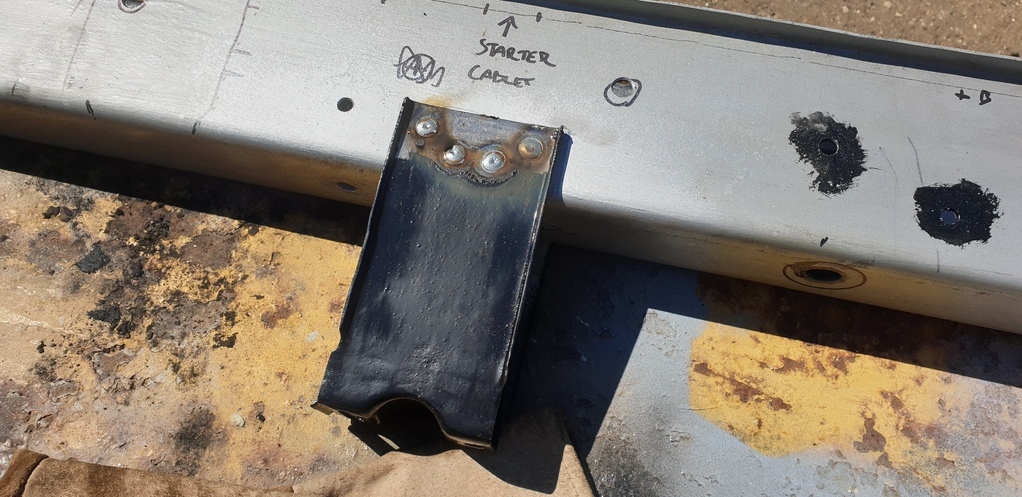
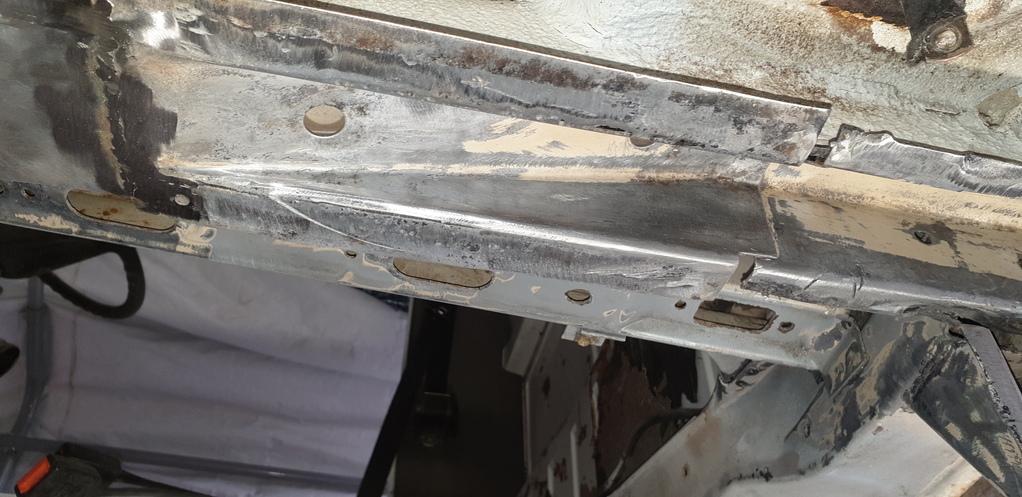
Then weld the inner to the outer......
( picture is of the holes drilled and ready for welding.....unfortunately no other photos until the next step )
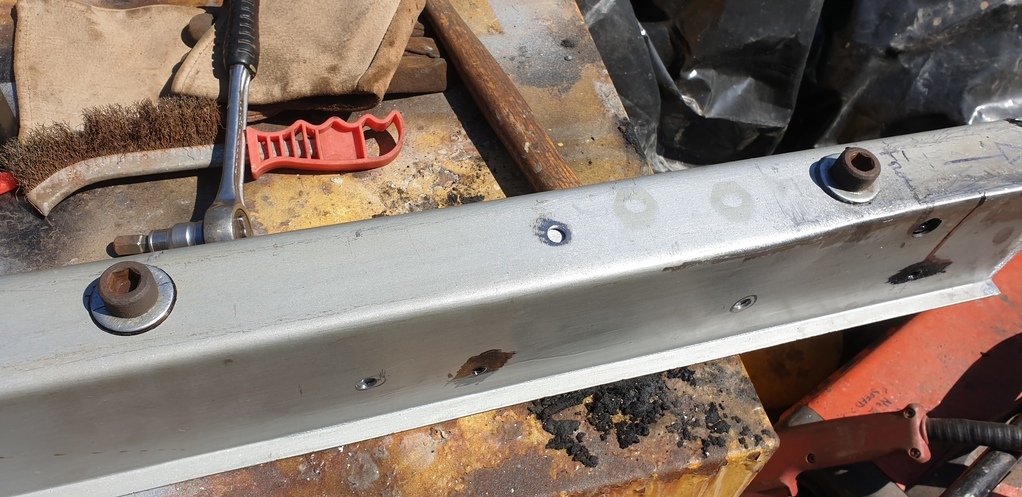
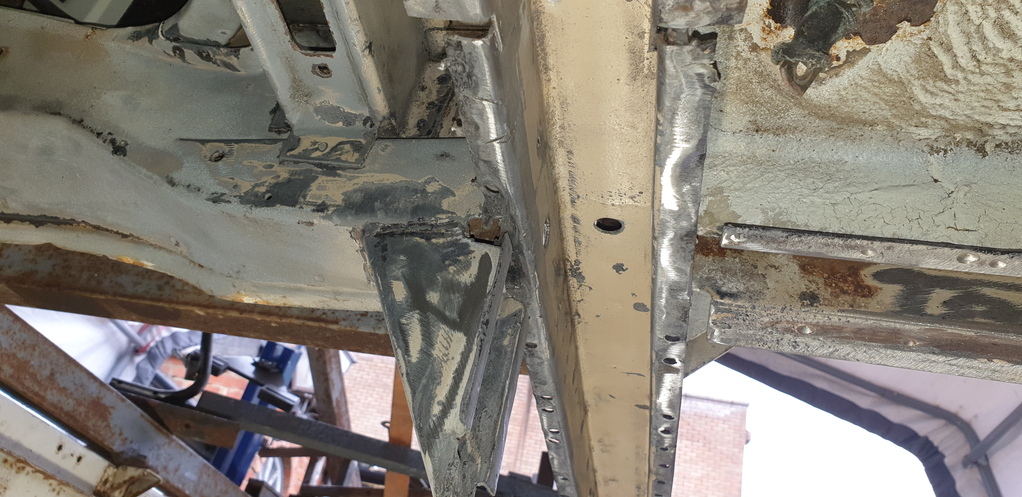
With all that done, it was time to permanently weld the new chassis section into place...
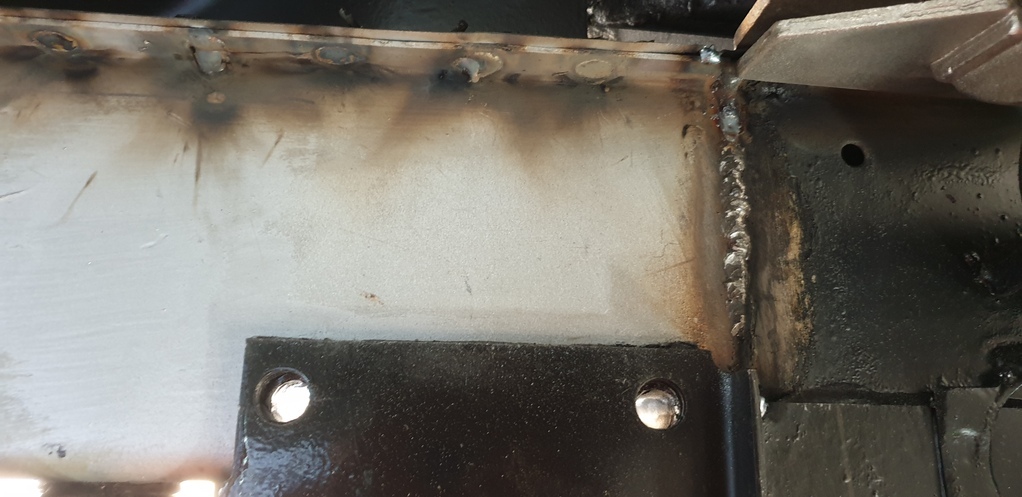
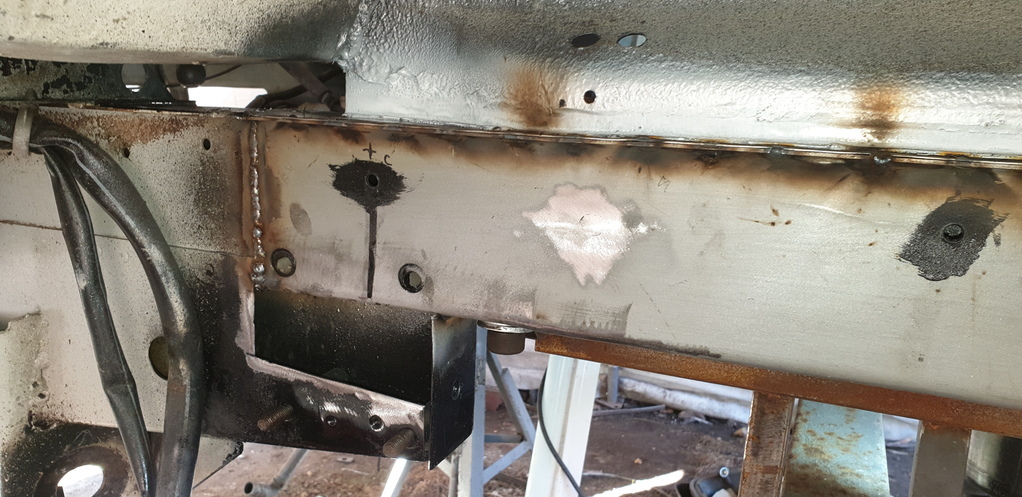
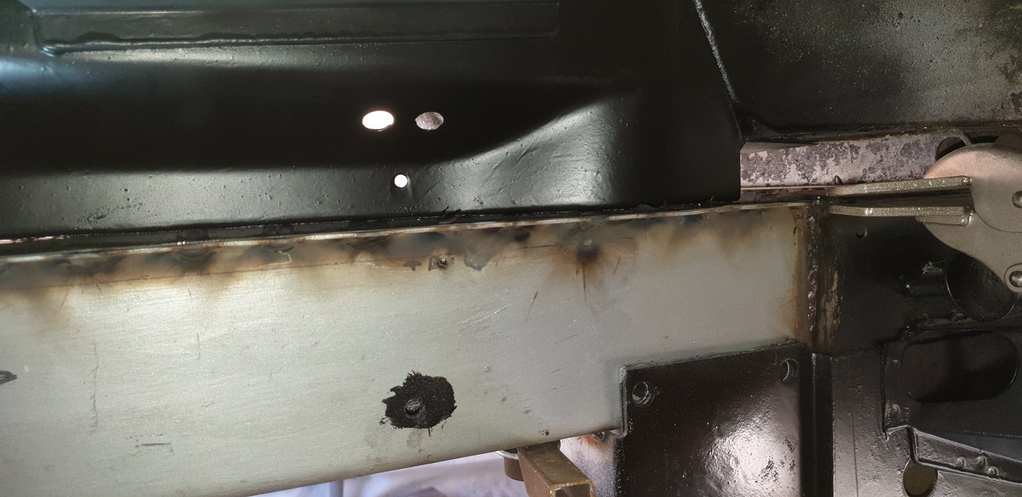
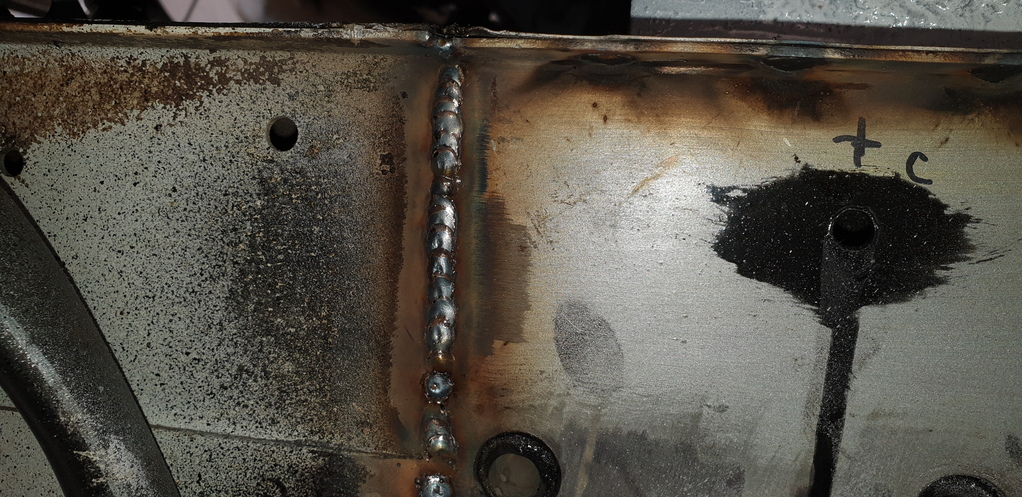
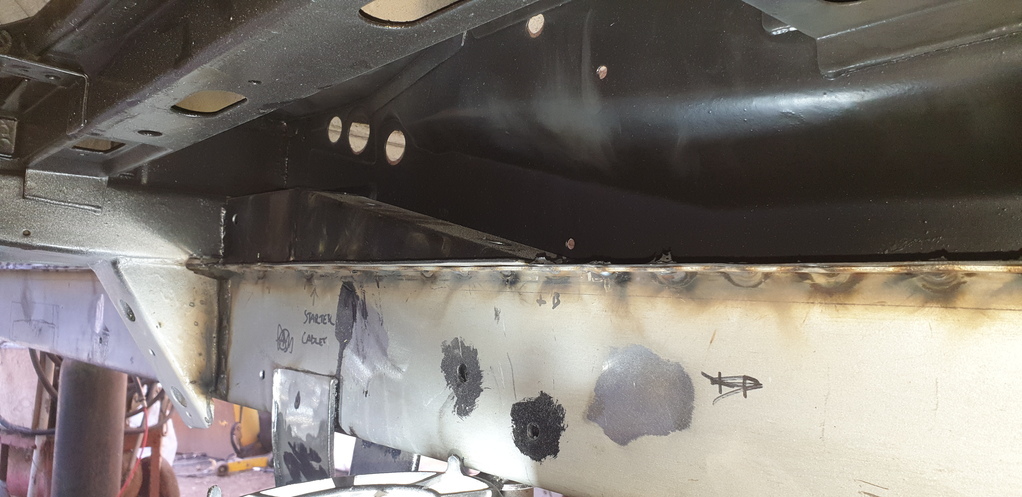
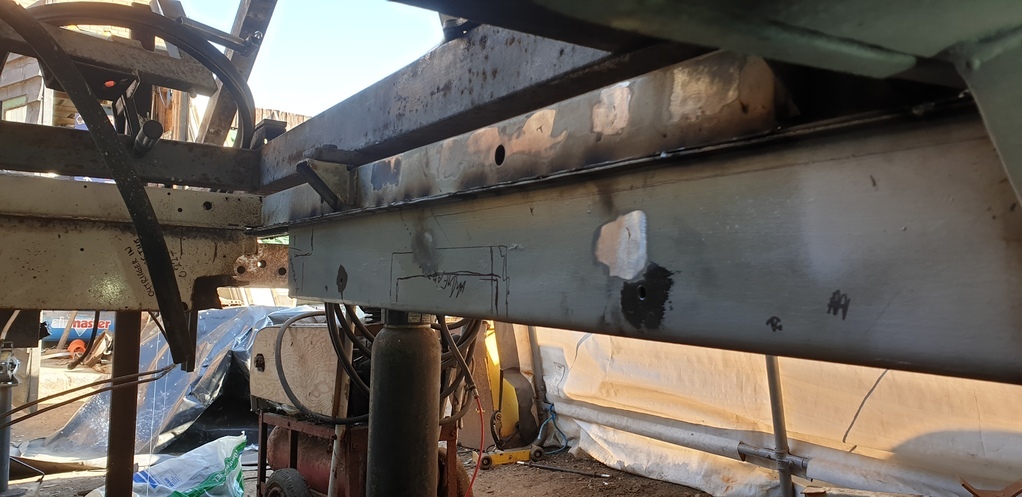
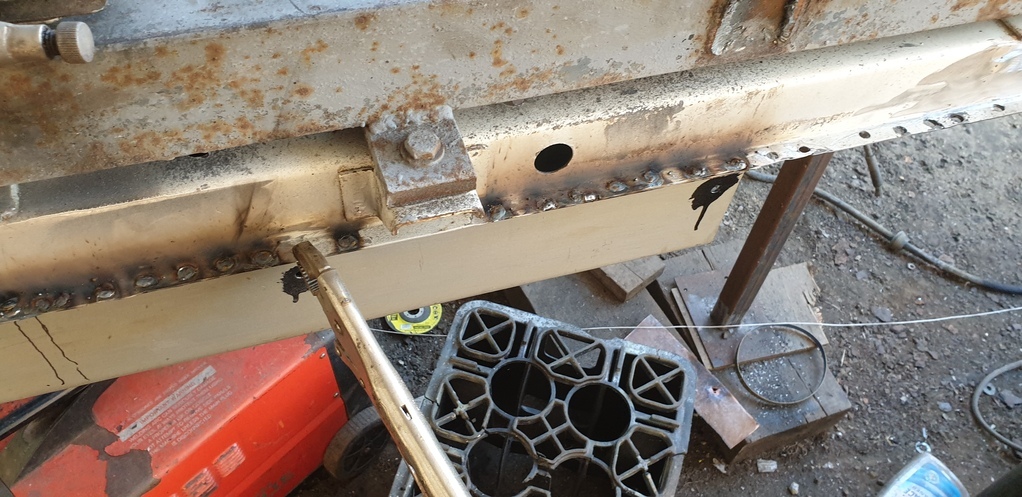
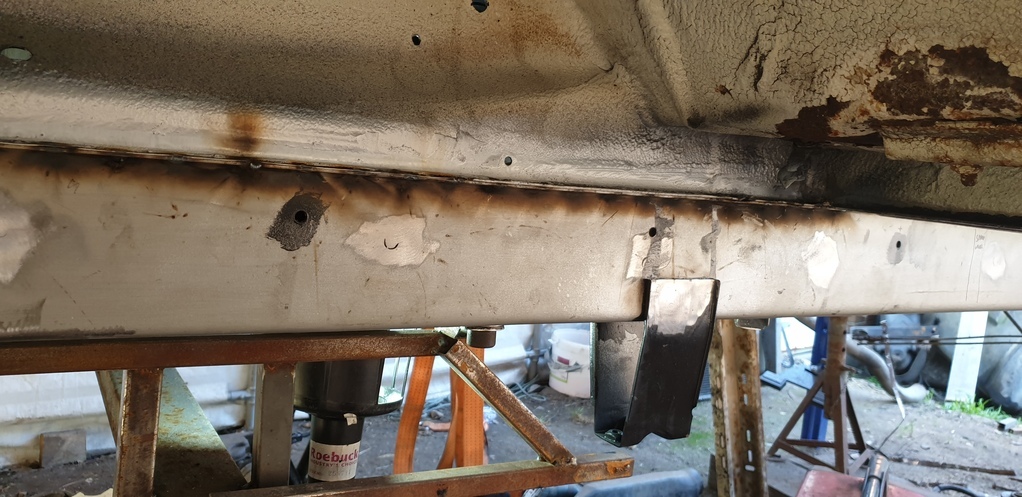
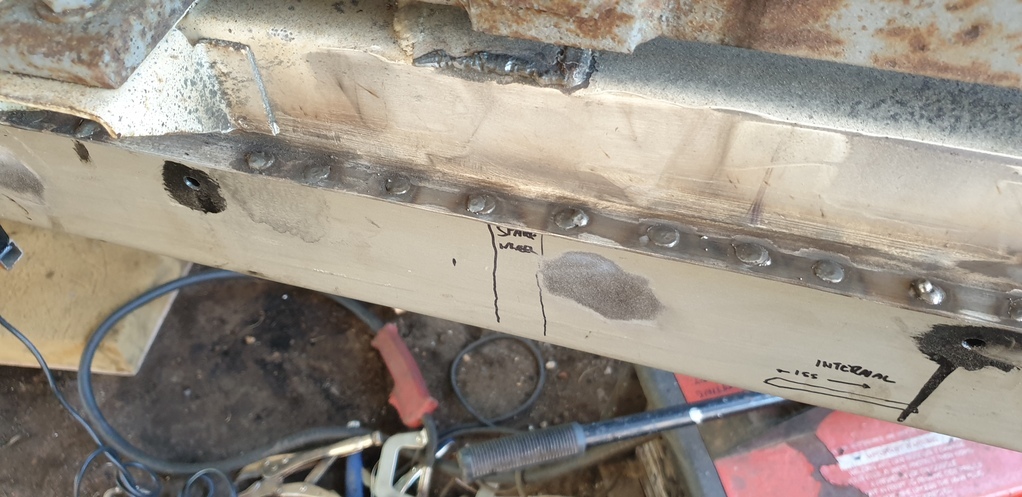
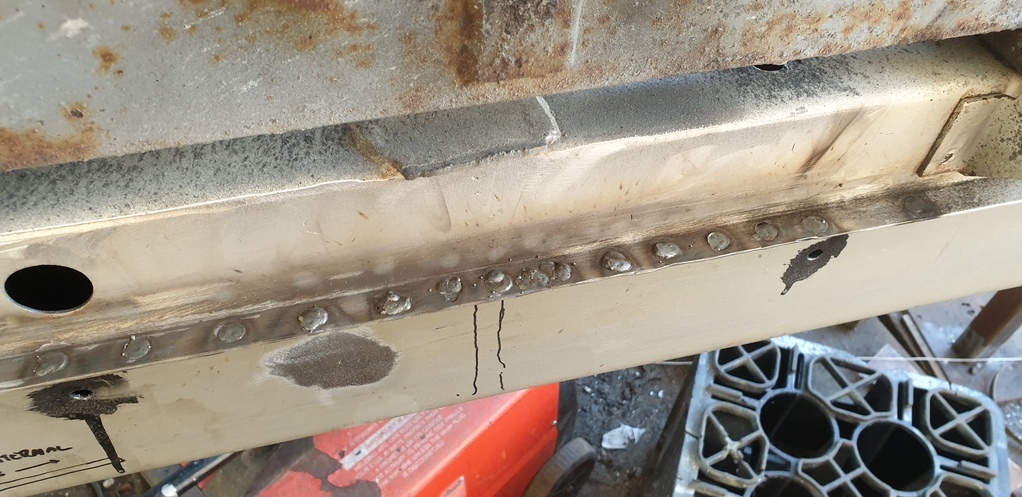
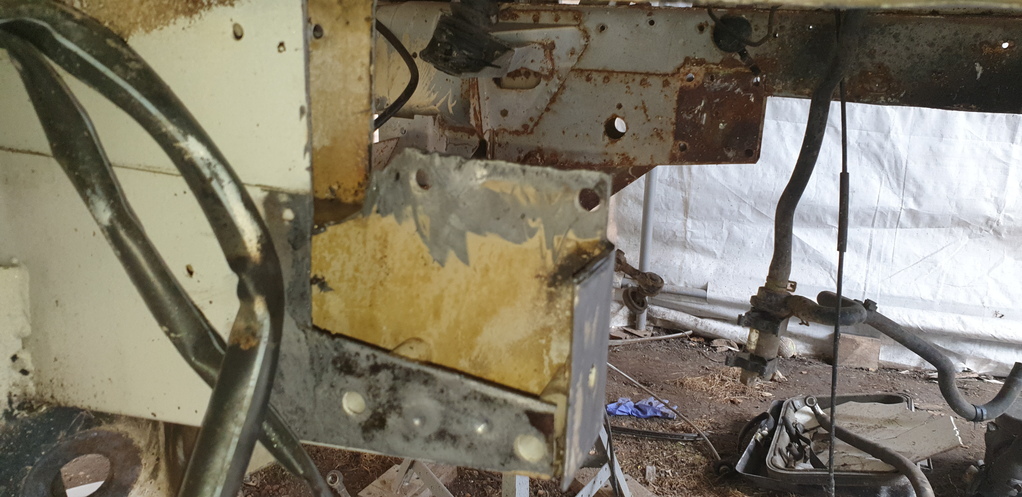
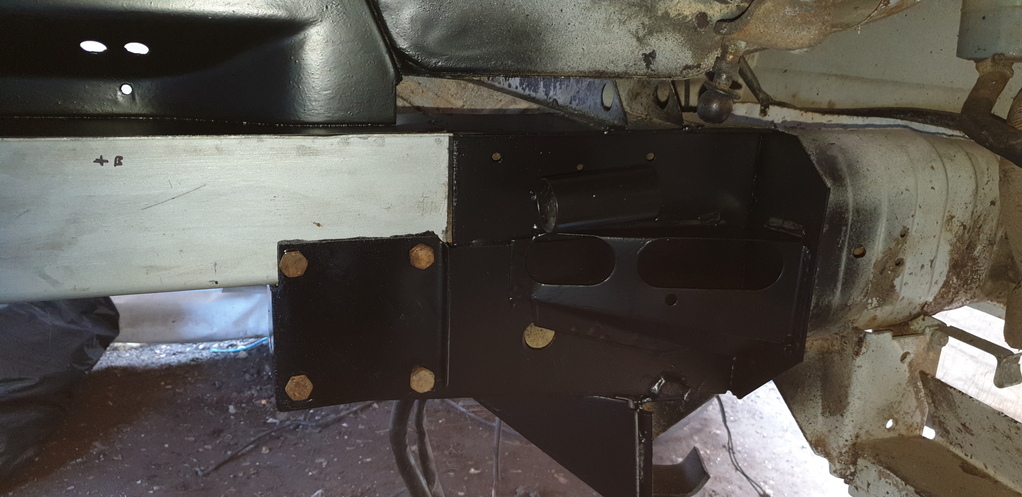
Then weld reattach the mini out rigger....
( this is where I cringe.....as I took a much better approach to this on the other side )
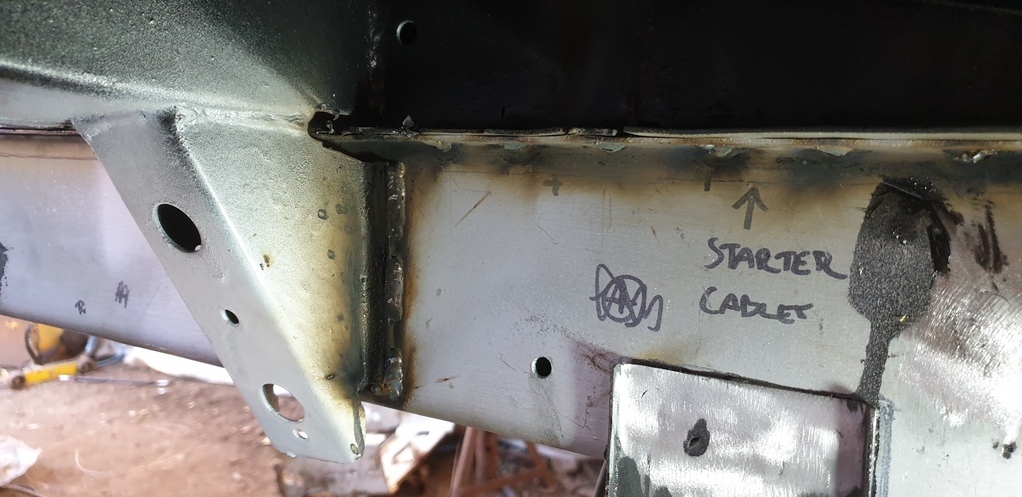
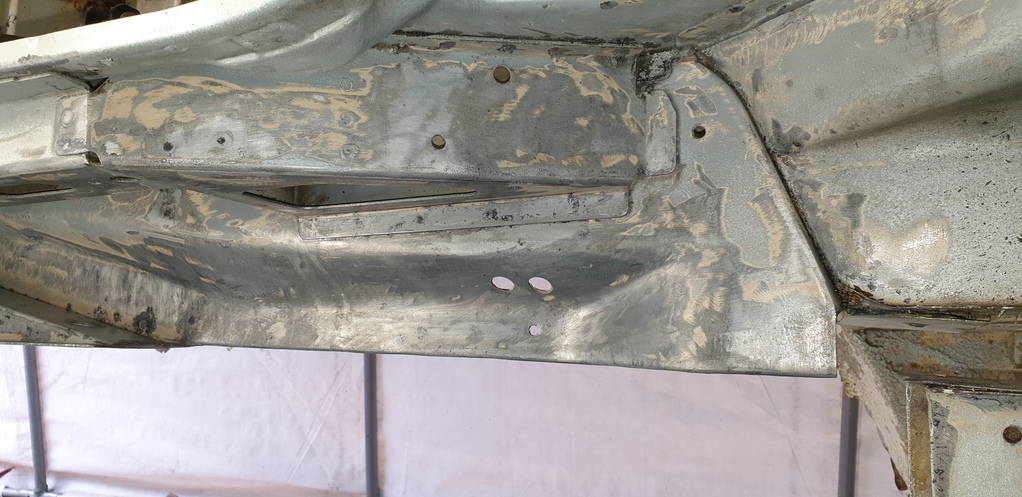
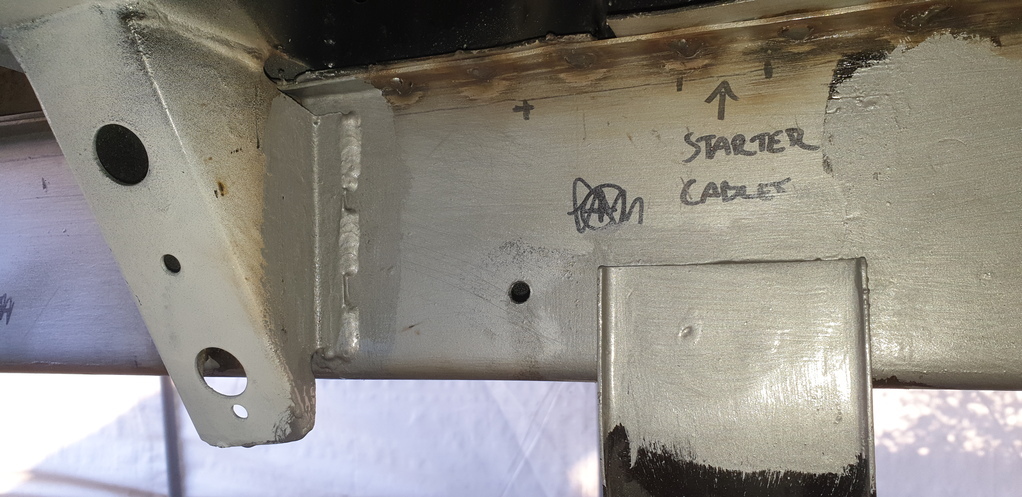
Tidy up the welds and slap a bit a paint on......
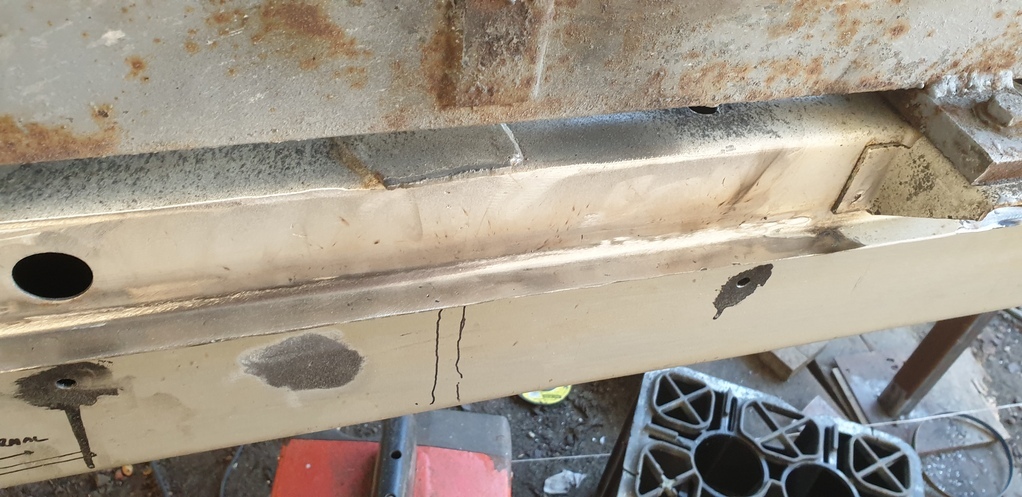
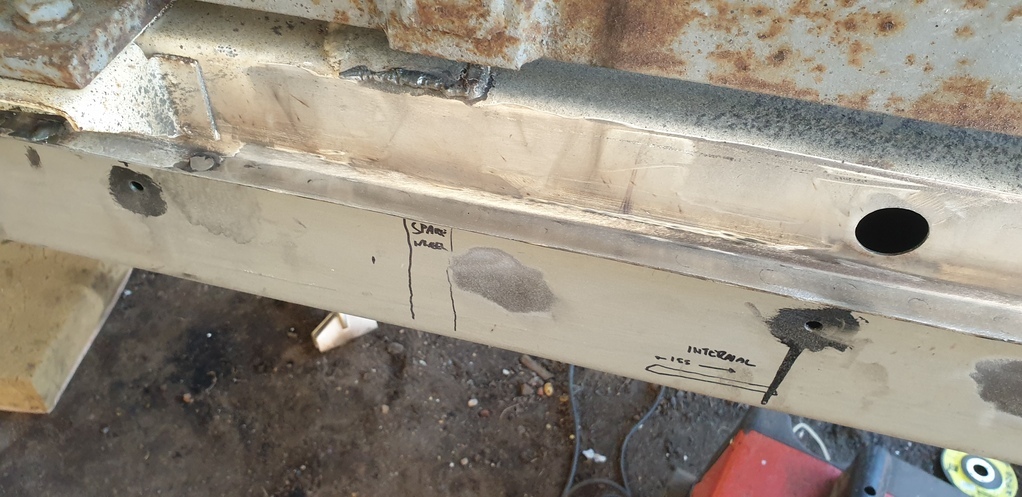
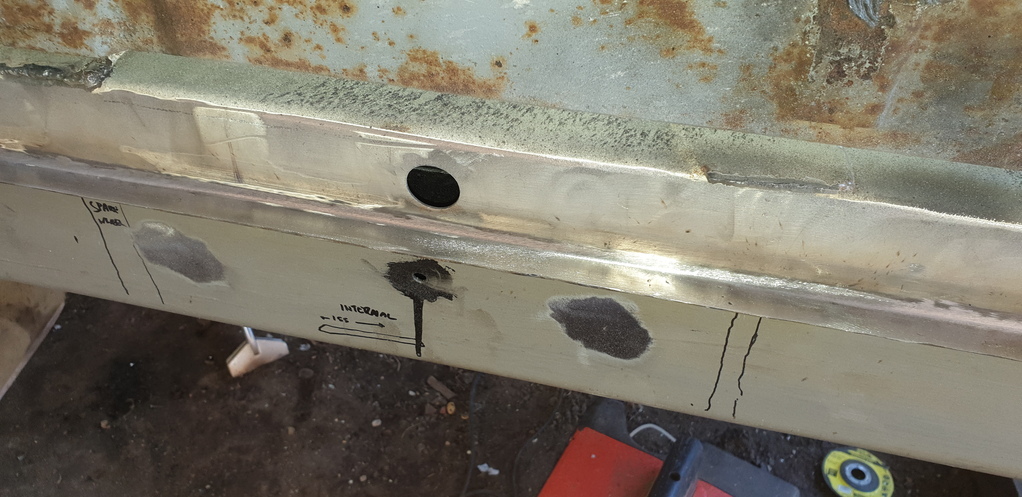
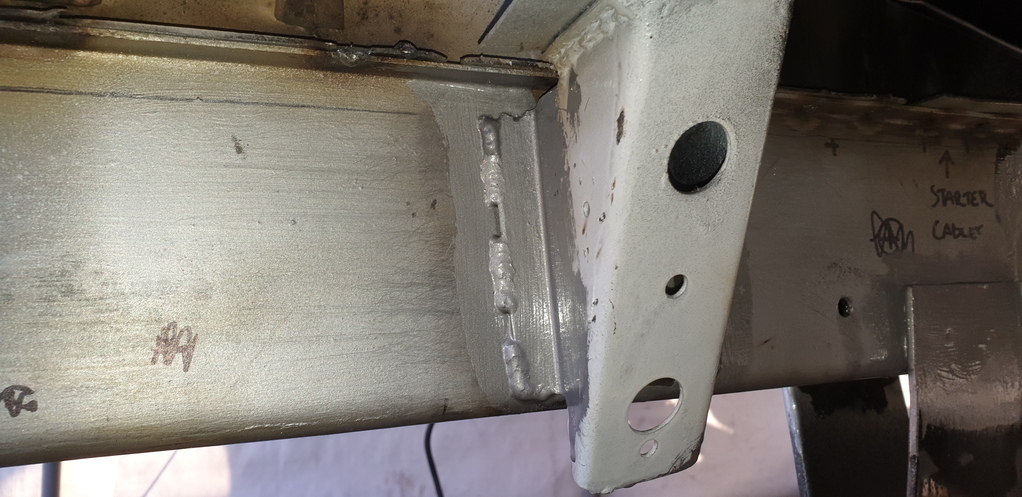
Next on the ' to do ' list, was to decide what to do with the tail bar.....whether that be a simple clean up and repaint or remove it, de-rust it inside and out.....then put it back on.
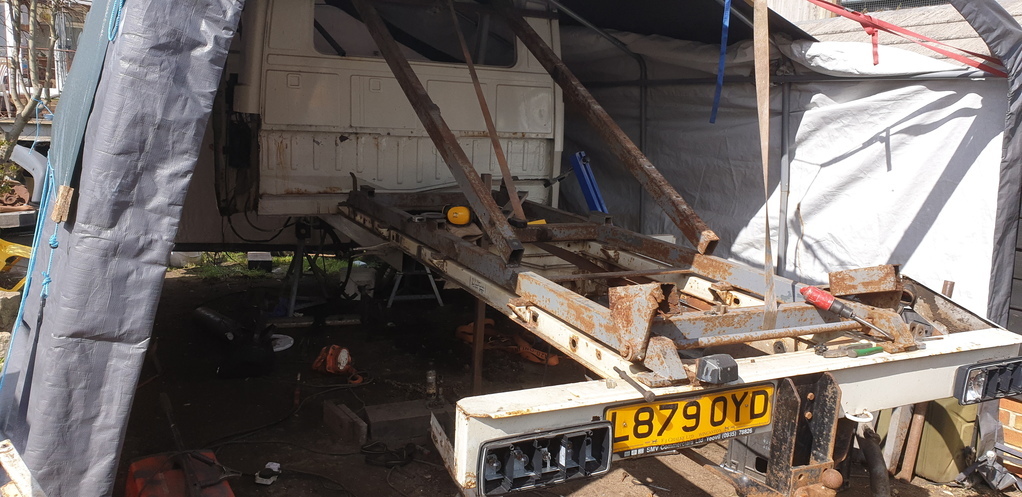
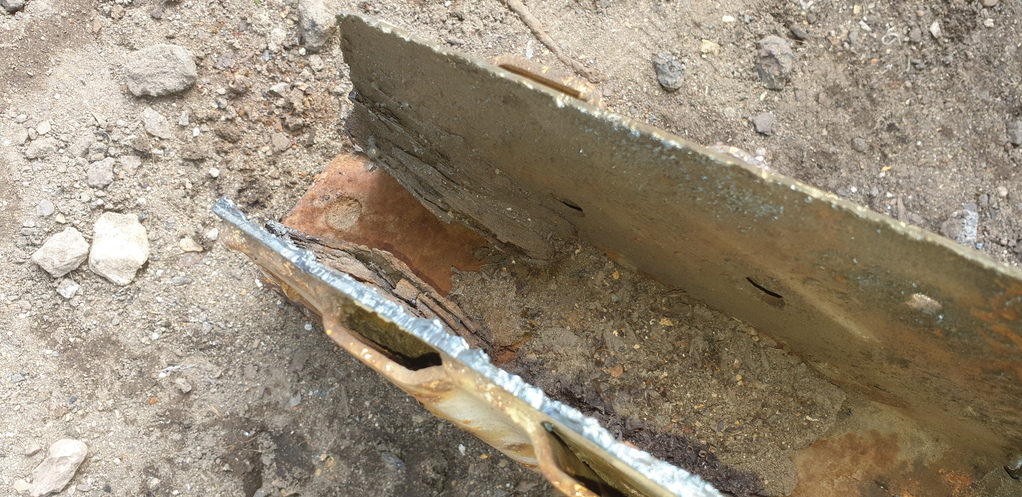
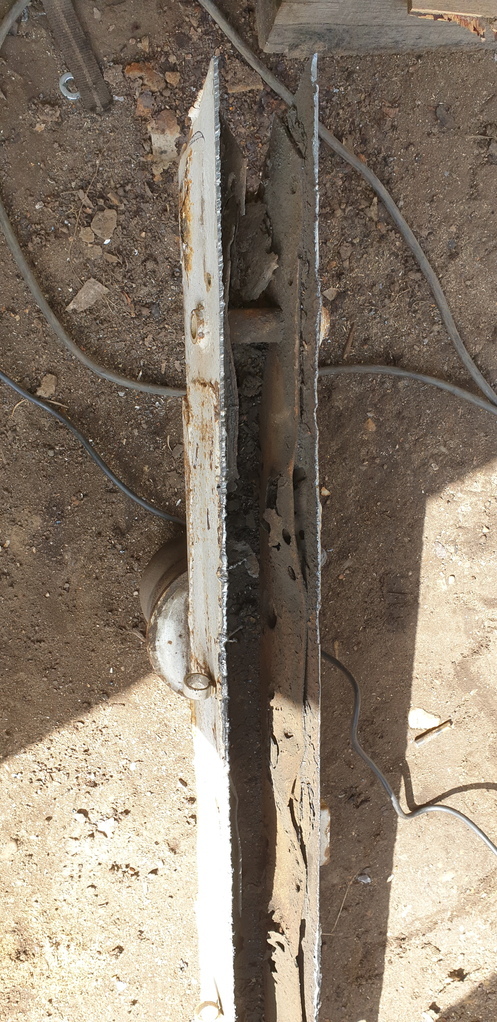
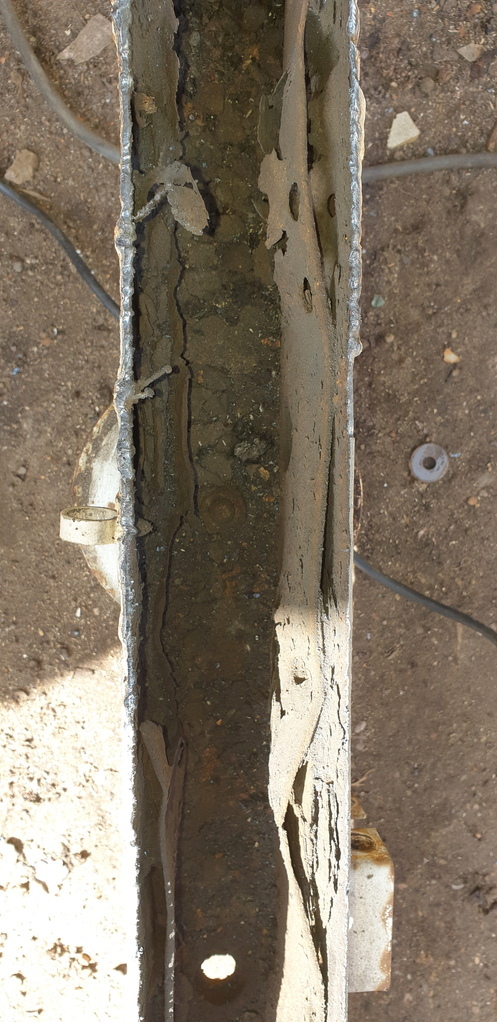
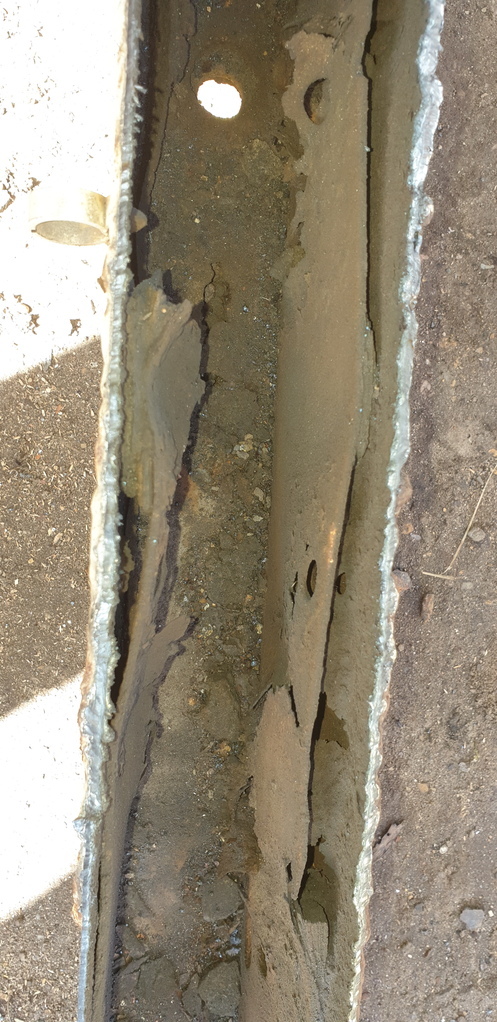
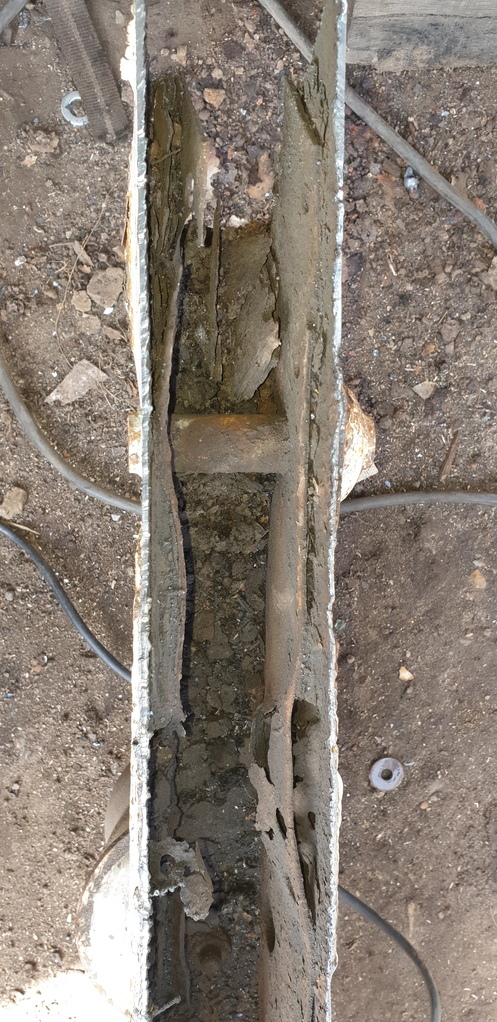
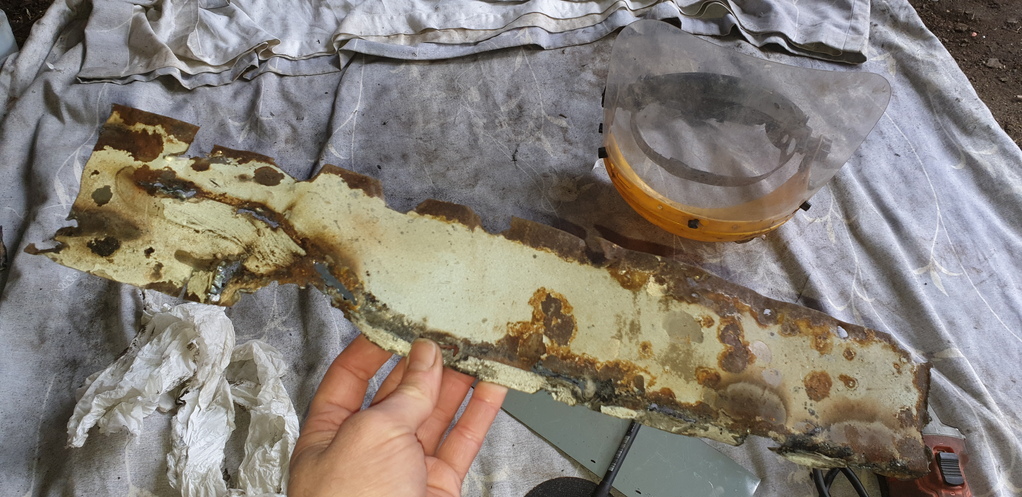
Well.....as with everything on this truck, theres always more to it than meets the eye! On closer inspection, I could tell that something wasn't right with right hand side of it. It looked a lot cleaner than the rest of it. So, after a bit of a poke around it was evident that it was full of filler. Basically, at some point in the past been bent inwards quite badly. Who ever was tasked with repairing it, simply bent it back the other way and fillered in the massive crease that was left behind. Not only that....but there was quite a lot of rot that I hadn't noticed before. So, once again.....only one thing for it......
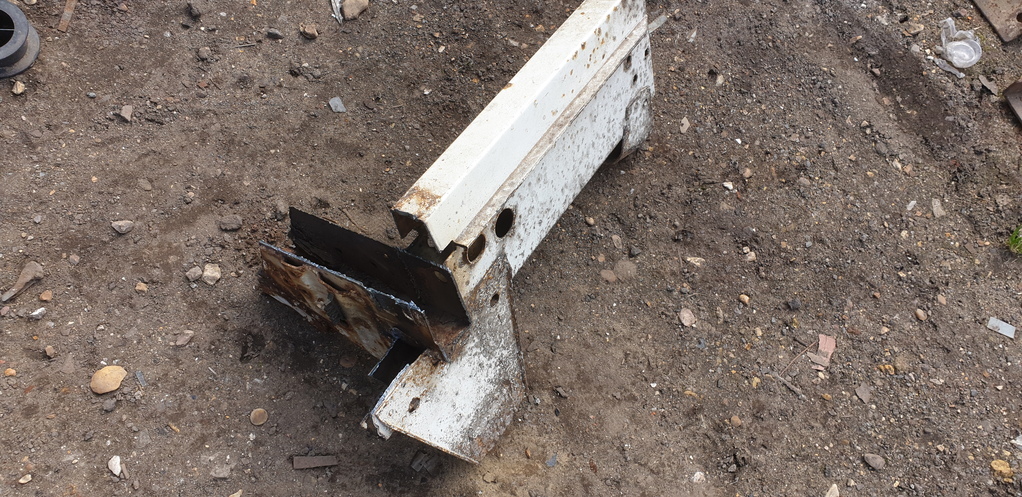
Chop it off!!!
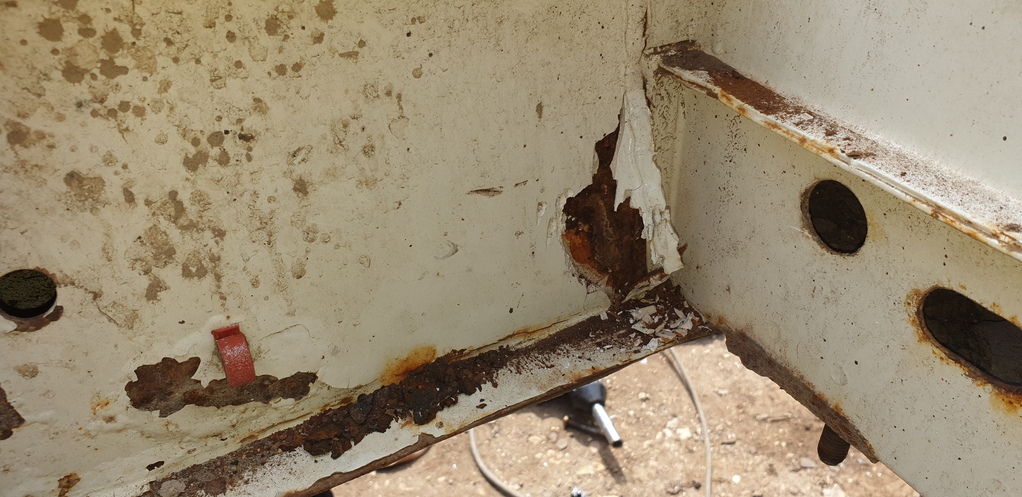
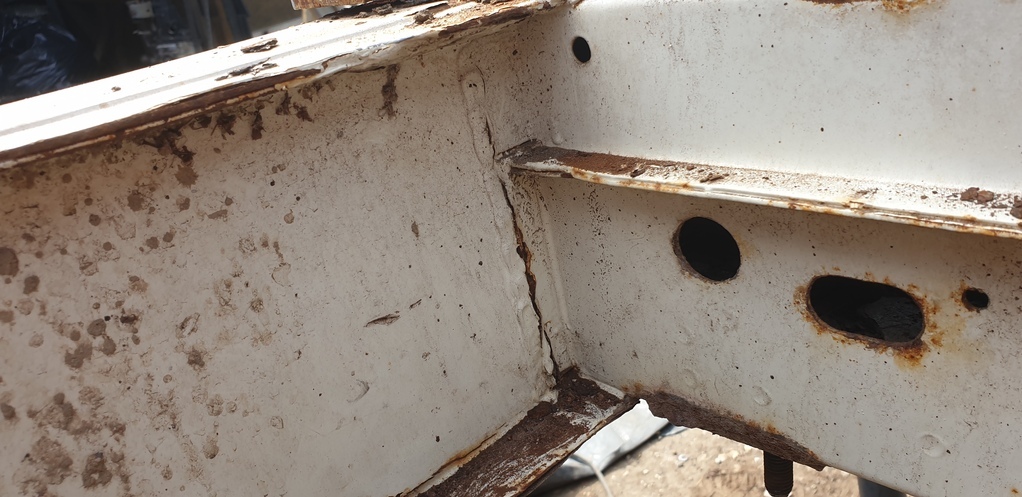
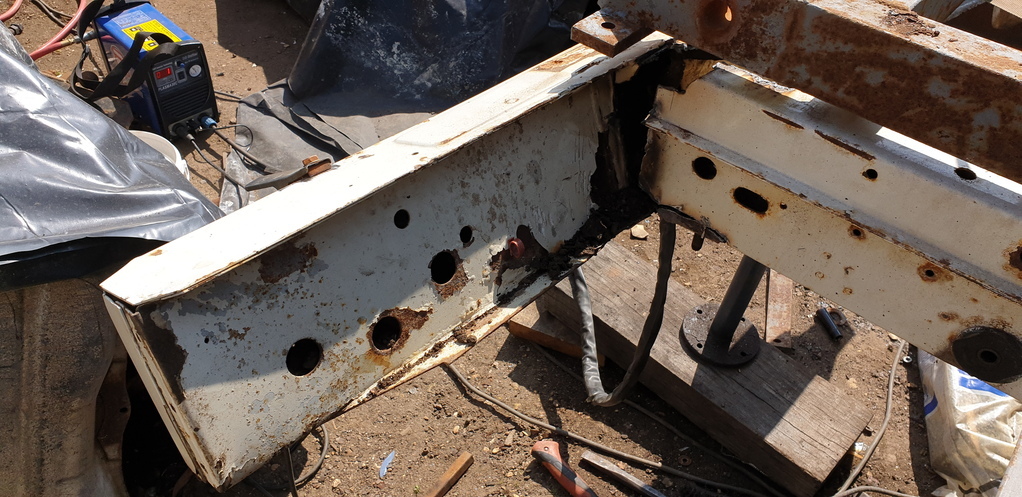
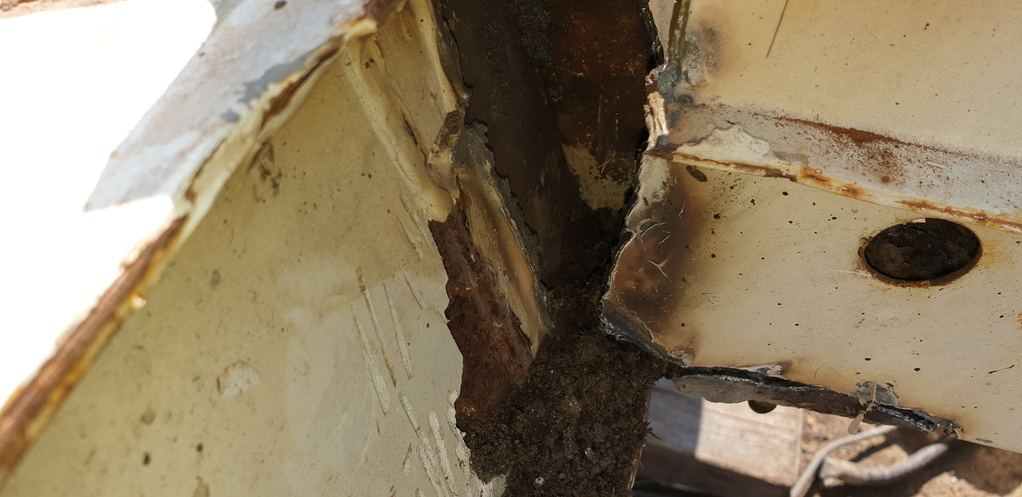
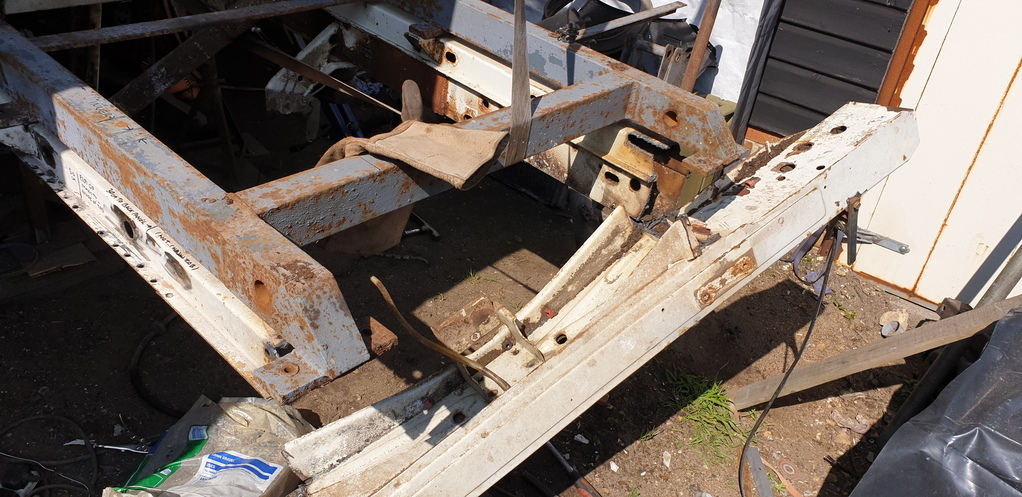
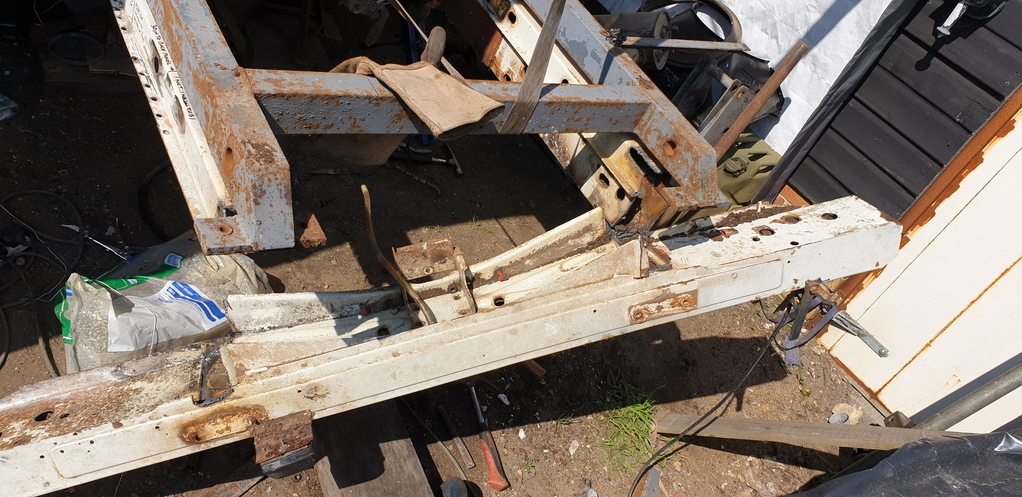
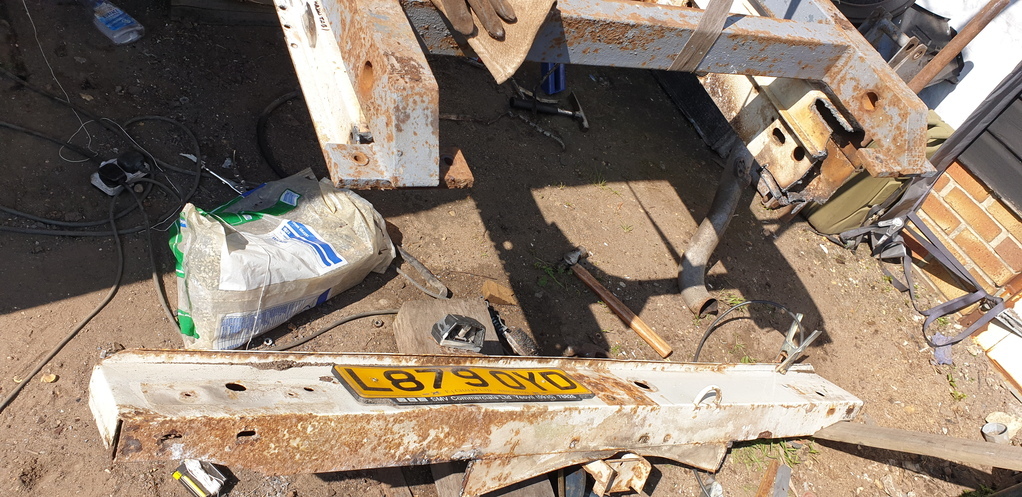
Then dissect it for good measure......
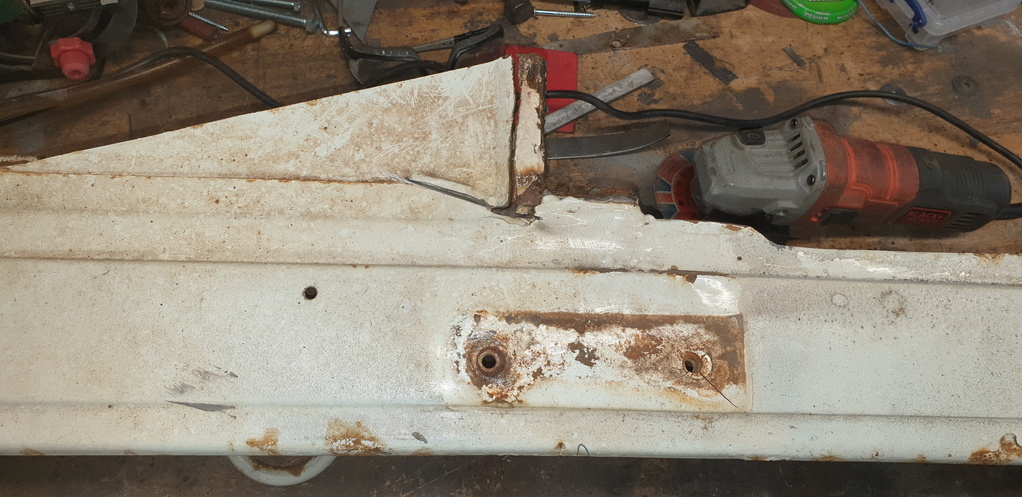
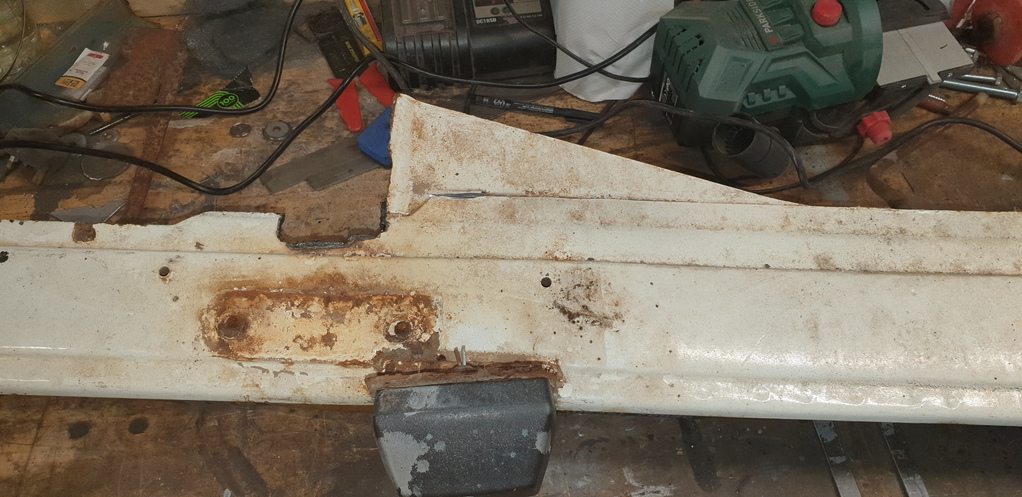
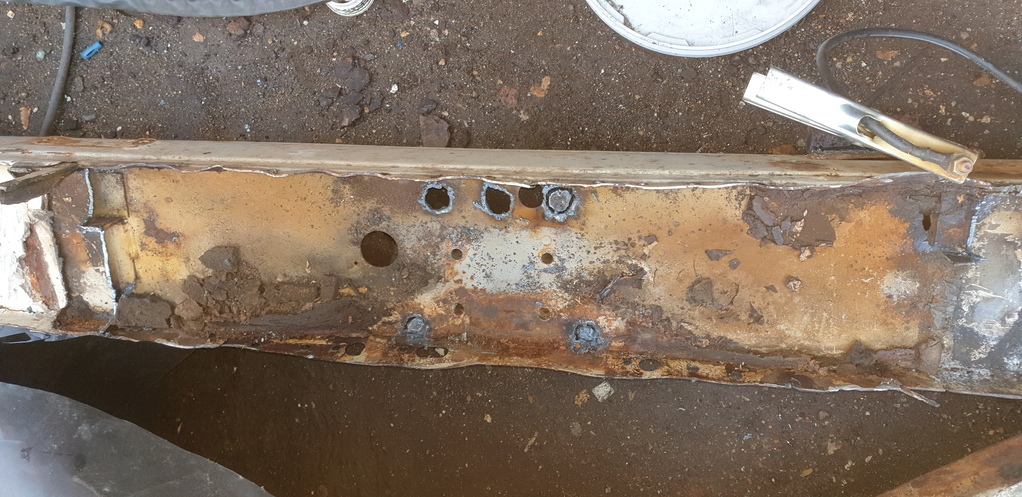
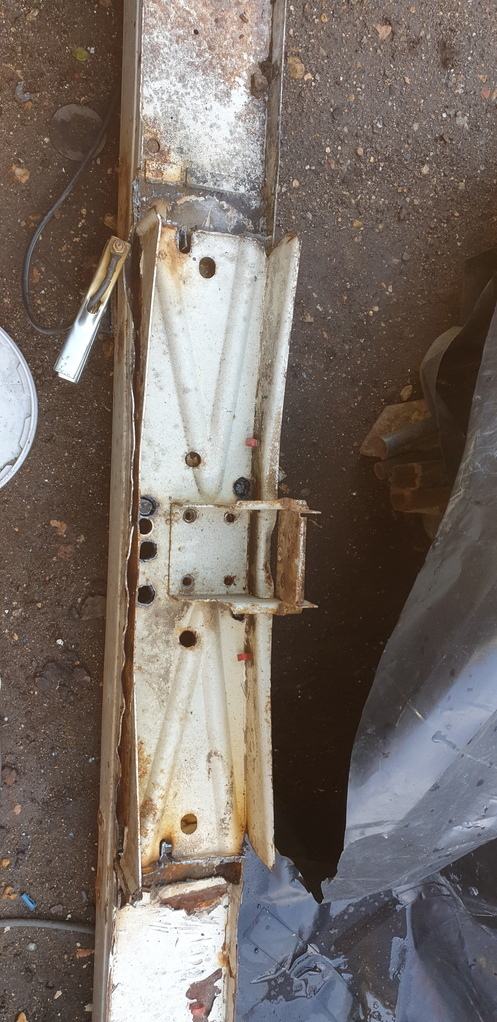
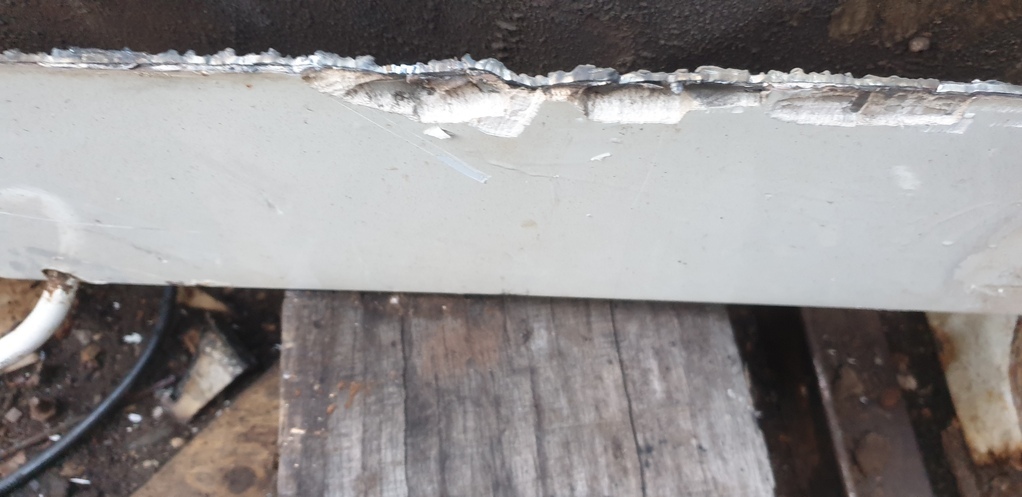
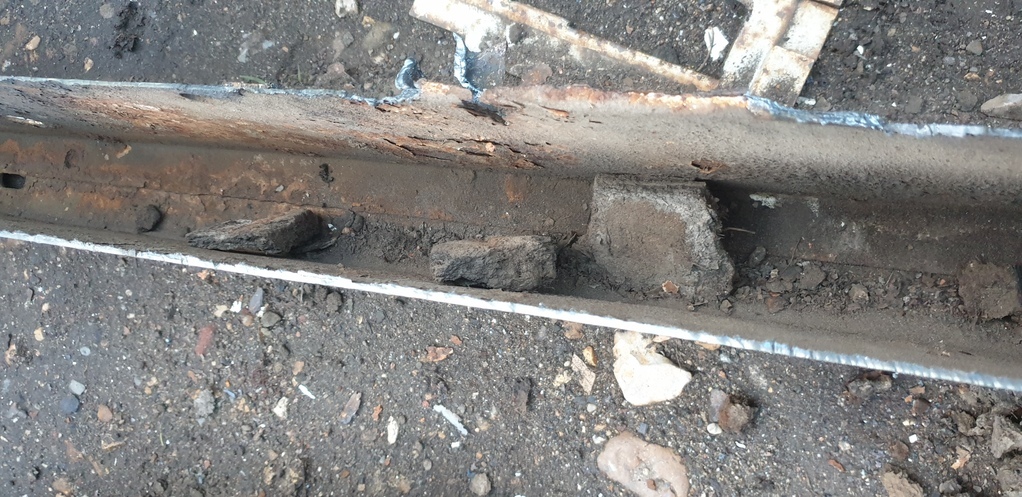
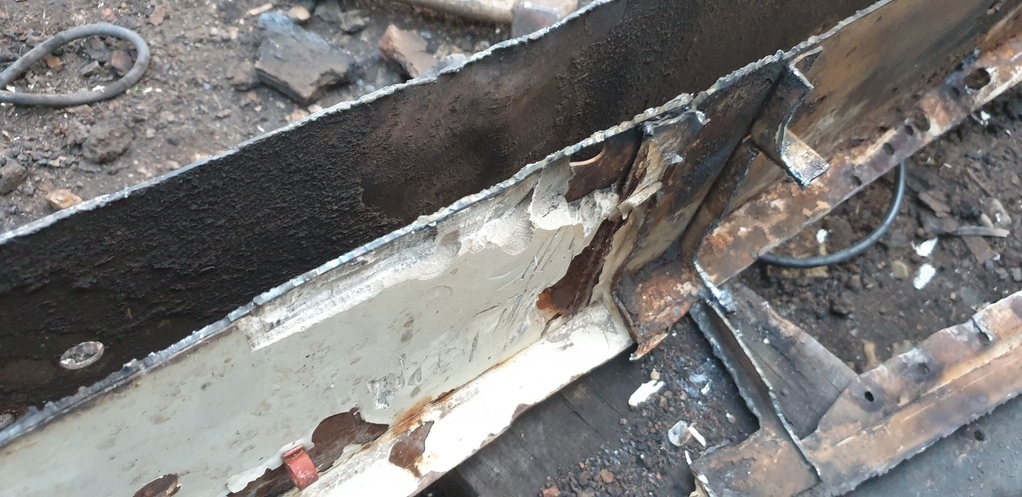
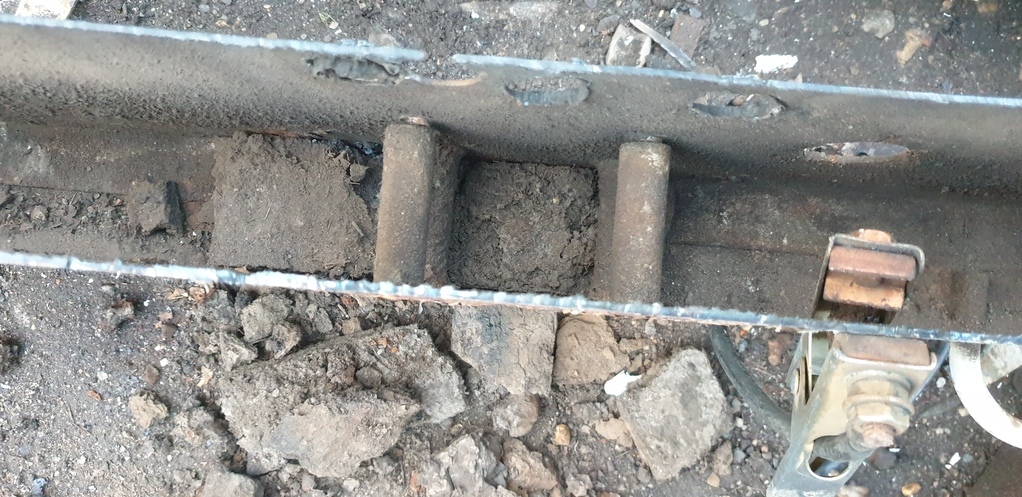
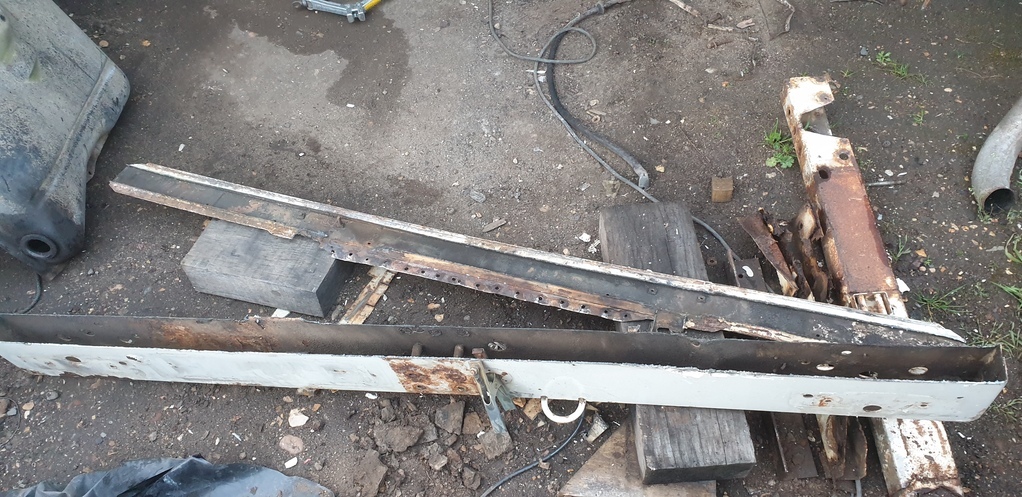
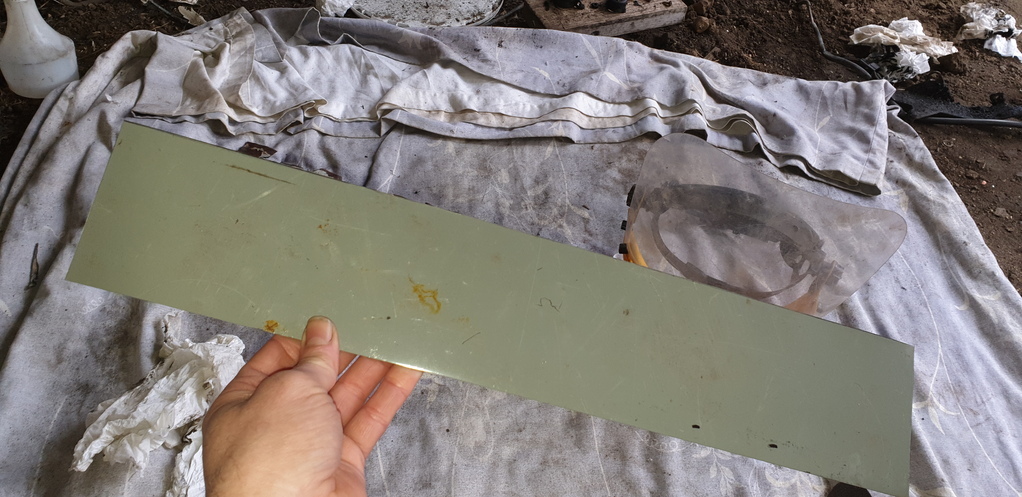
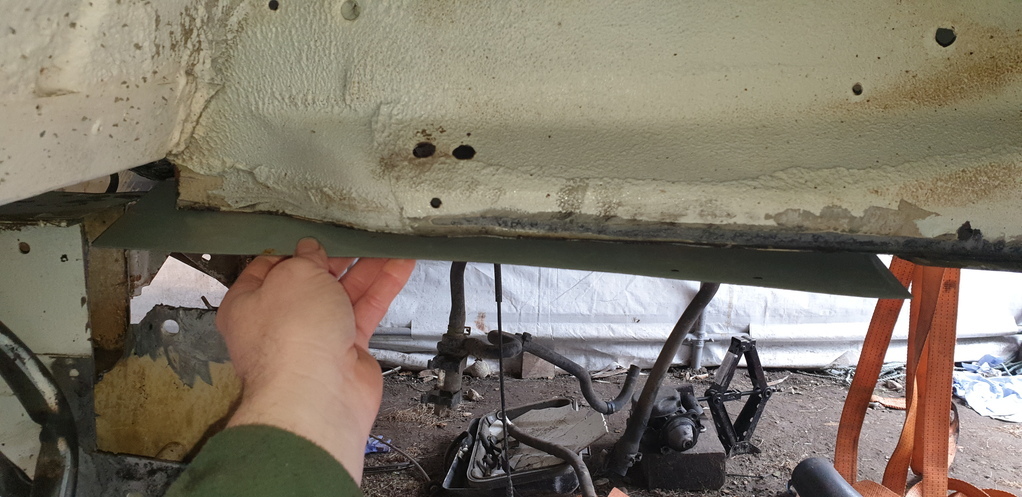
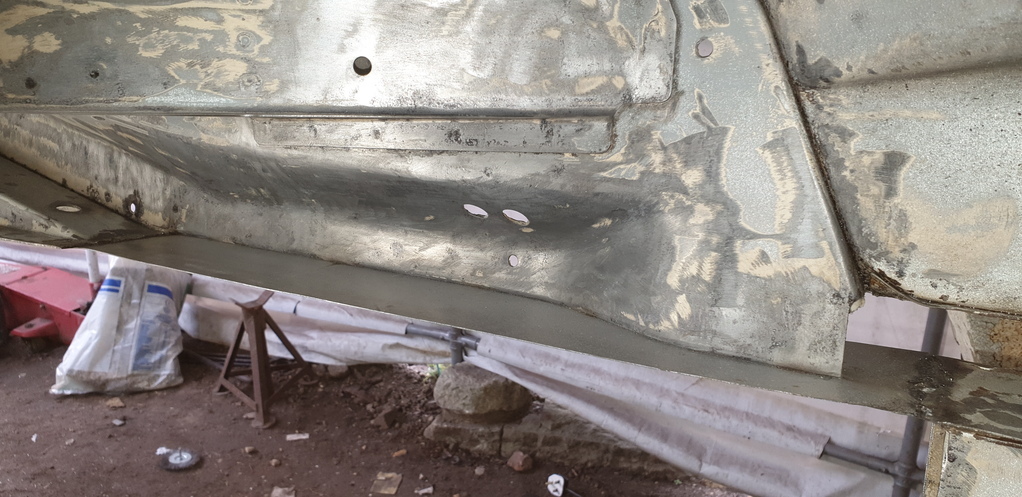
Yes.......I shall be making up a completely new one of these! Thats once again more time and expense!
That's all for now.....please feel free to comment 👍


