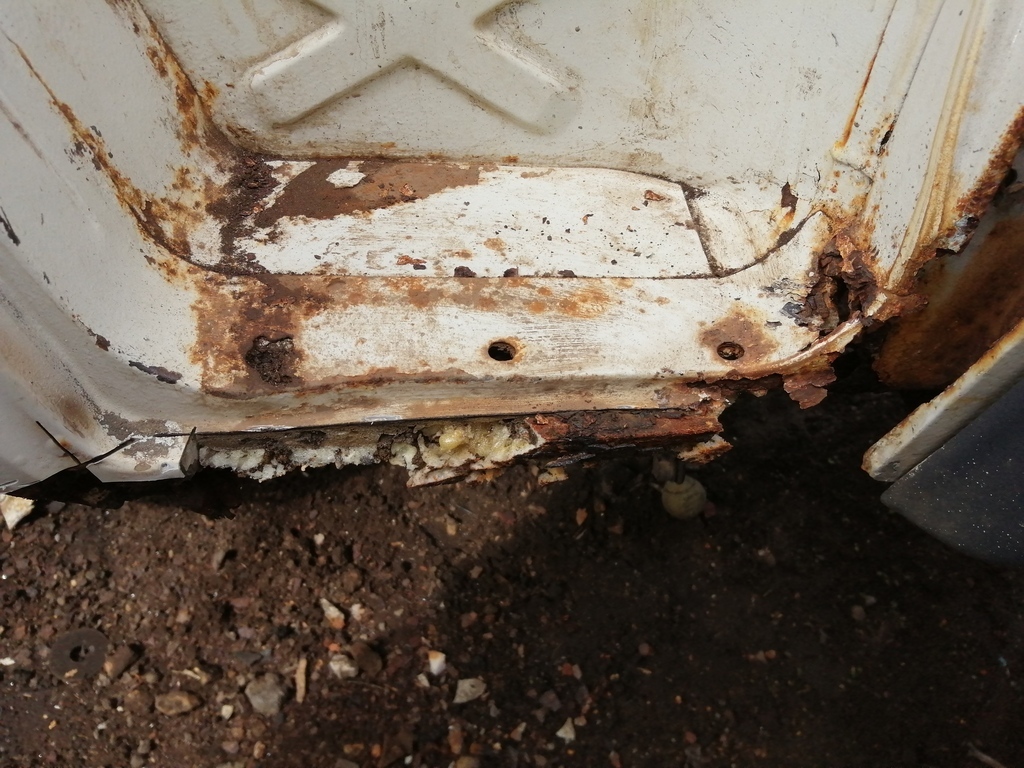
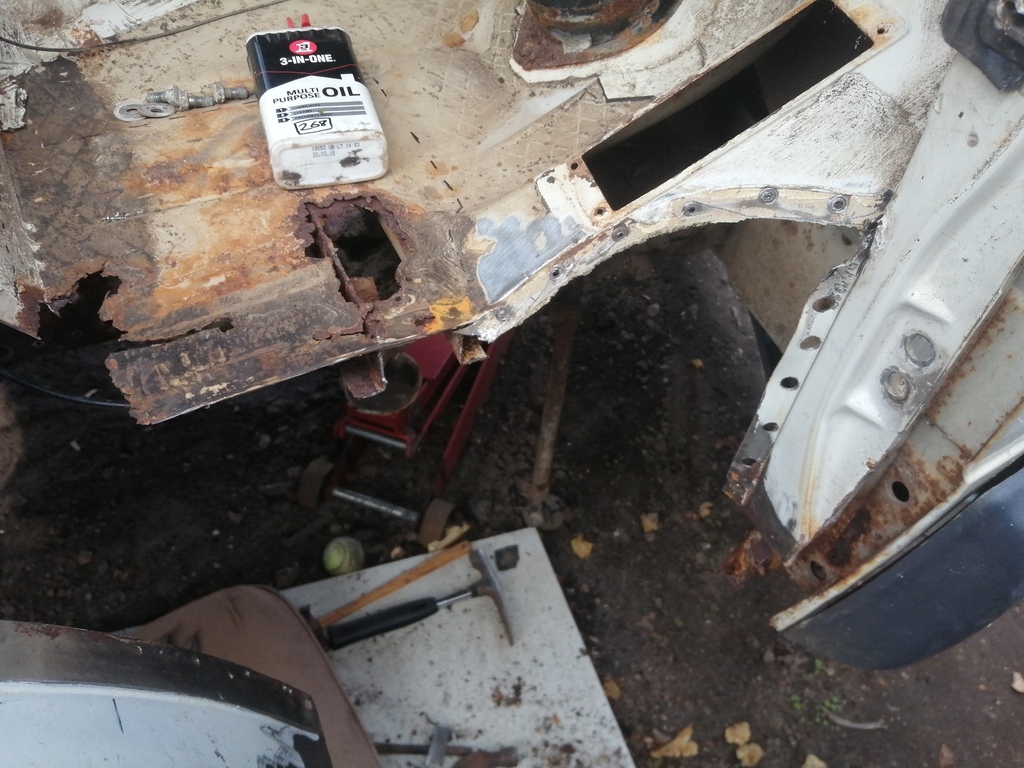
It's official.....Lloyd's a rot box.....or at least a whole lot more rotten than I'd anticipated. Things is, I should of it known really. I've worked on rusty vehicles for years. One thing you learn fairly quickly is that what ever rust you can see from the outside......is more than likely going to be 10 times worse underneath the skin. Thing is, this knowledge goes out the window when you feel like a kid in a sweet shop....as in, you've got cash in your back pocket....rose tinted spectacles on!.....and a vehicle you really want starring back at you. Anyway.....too late for regrets now.
You will find me repeating myself through this thread ( if you haven't already ). In fact I'm not even sure if I'm repeating myself or just constantly trying to convince myself.....it's one of the two.....I'll let you decide.
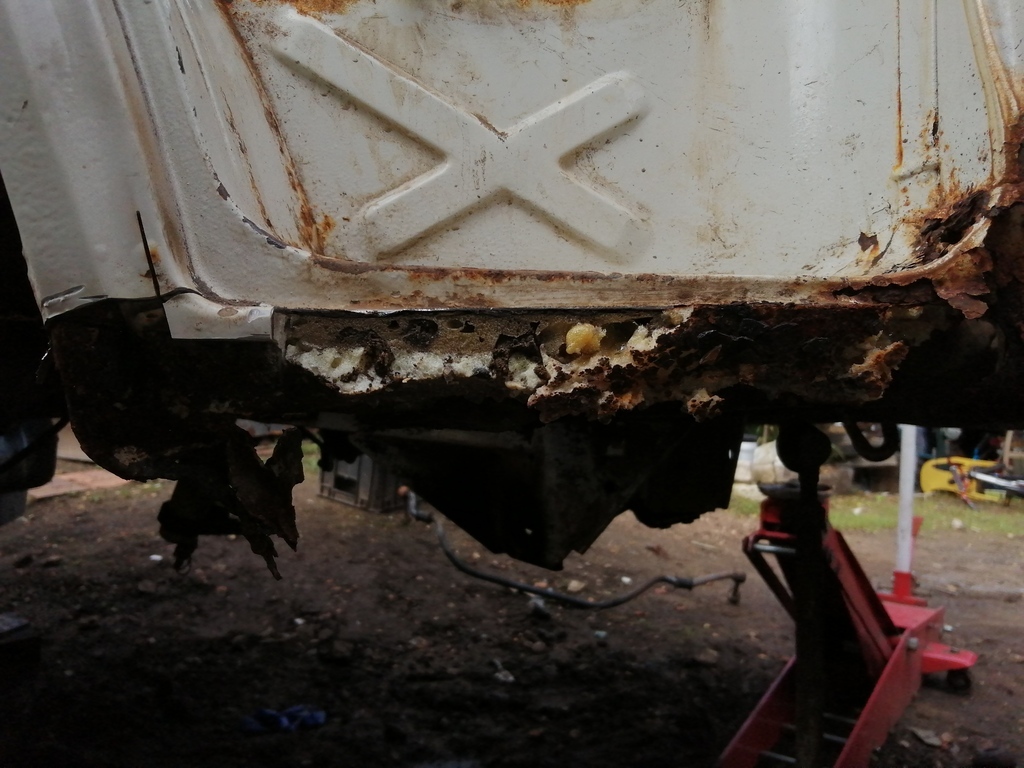
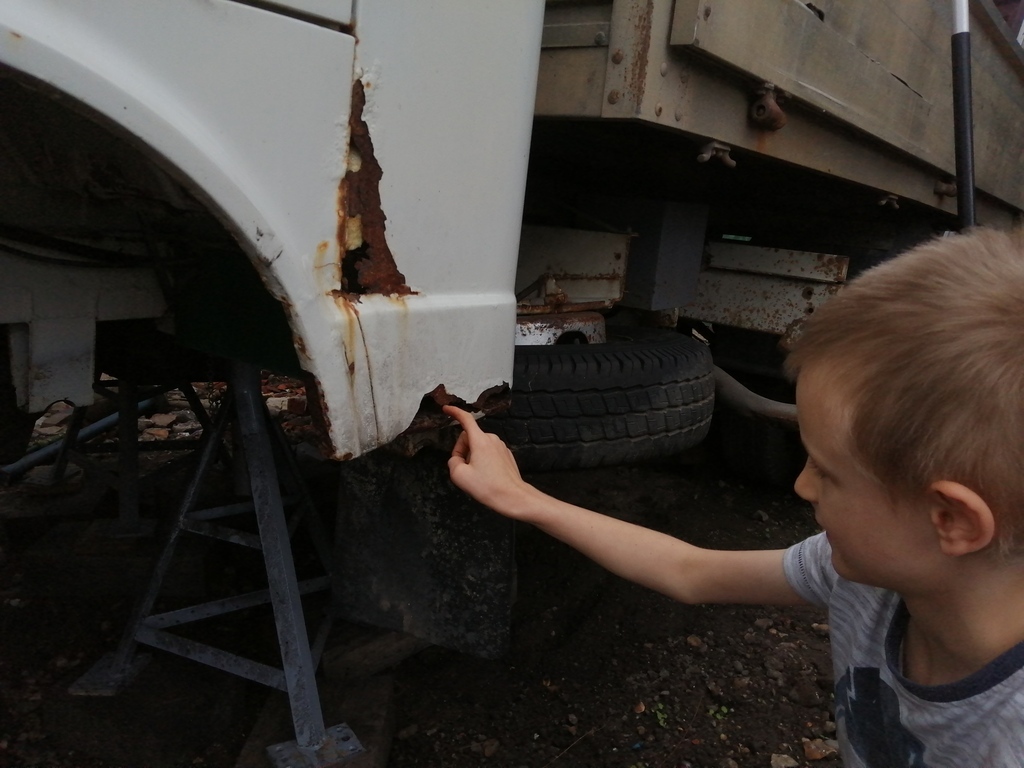
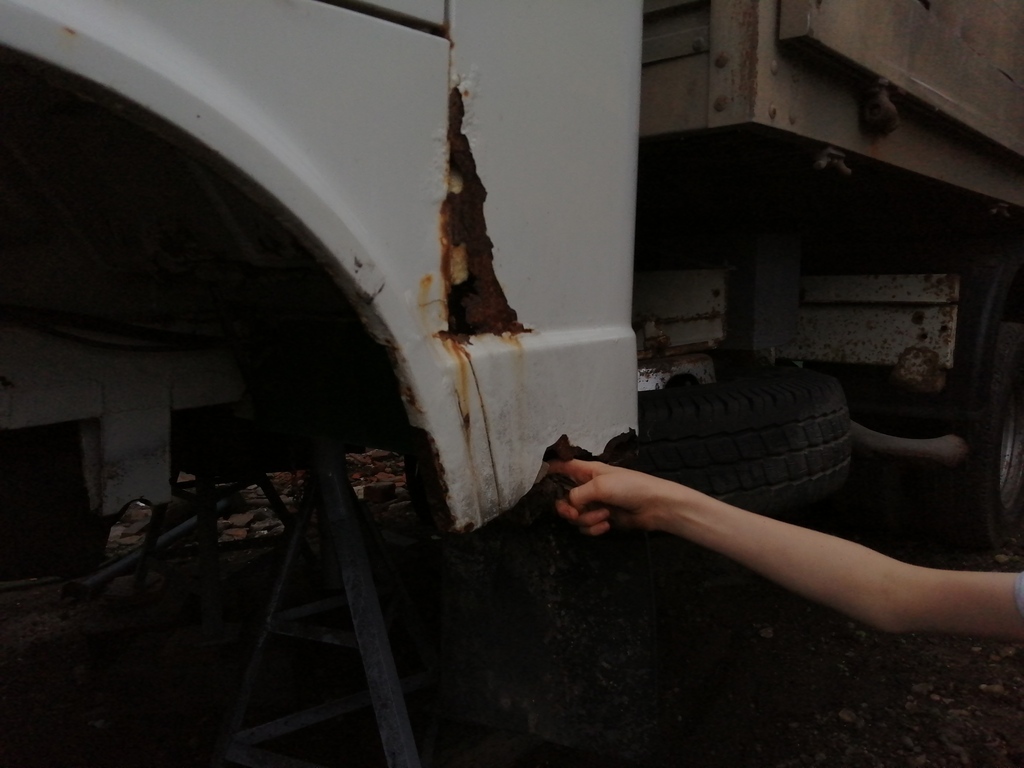
The last time I updated the thread, I wrote about how I found that the chassis was a lot worse than I first thought. Once I realised how bad that front off side chassis was, I decided to closely inspect the whole chassis.....back to front....left to right. Well.....the news just got worse and worse. I knew the chassis had several plates welded on down at the rear, but the closer I looked the more I realised that I'd not seen half of what I was now seeing when I was stood in front of the seller.
With tail between legs.....it was time to make a decision on what to do.
Do I......
Option 1. Scrap it.
Option 2. Plate ( bodge ) the whole thing up to get it MOTed then get another years use out of it.
Option 3. Find another chassis cab that's better and use lloyd as a doner.
Option 4. Make a proper job of it and replace the whole lower chassis section....front to rear.
Decision.....
Option 1. Despite the rot....I still really like the truck. So this isn't an option.
Option 2. Sometimes, as tempting as it is to lash something up, I'd rather invest that time into doing it at least half right/properly. Going back over something that wasn't done properly in the first place always takes 3 times longer than it if was done right in the beginning. Thats that sorted then....this isn't an option either.
Option 3. Well this option was a viable one, but the more I thought about it the more I started to decide against it. You see, the chassis has lots of different mountings holes all the way along it. Knowing that these chassis are doubled up on the inside and are basically an excellent water trap, my guess is that most LTs would be suffering the same problem.....even if if wasn't viable from the outside. Plus, finding another one in good condition for a sensible price was going to take a lot of time and effort. So....after a lot of consideration, I decided not to go down this route.
Decision made then......it looked like I'd have to pull my finger out and get on with option 4! At the end of the day, yes it's rusty....very rusty, but the boys love it....and so do I. Also, like I've said before, I feel I owe this truck something.....not quite sure what, but hopefully I can do it some justice.
Back September I had a week off work. The idea was to crack on and get things underway with lloyd. First thing I did was try to sort the replacement chassis sections. Now....the the chassis is made up of two 'top hat' section welded face to face with ' C section ' running inside the lower half. Something like this.....
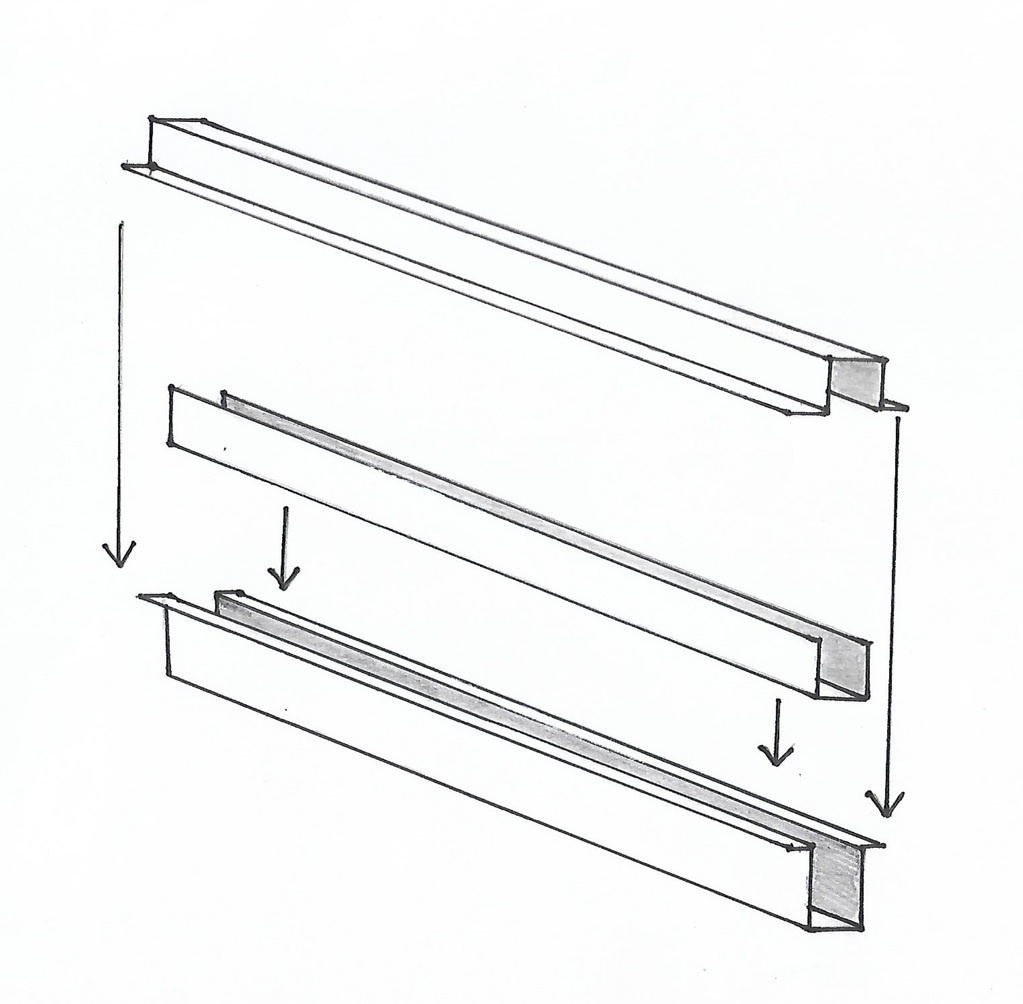
I searched the net as best I could, but just couldn't find anything the correct size anywhere. So....it was then a case of trying to find a local company that might be able to fold the sections to the right size. I approached 4 different companies and they all said the same thing...." we don't have the tooling to fold sections that deep and that narrow ". But one of them pointed me in the direction of a company that did.....so off I went.....to the unit nextdoor. Wessex Ducting LTD in near by Ferndown was the place. Got to say....they were very helpful, so I put an order in of 2 x 2 mtr of top hat section and 2 x 2 mtr of C section.
They told me that it would be ready by the end of the week. Well that particular day happened to be a Monday. So question was....what am I going to do between now and then? It didn't take long to find the answer....after all there's lots of rust repairs to choose from.
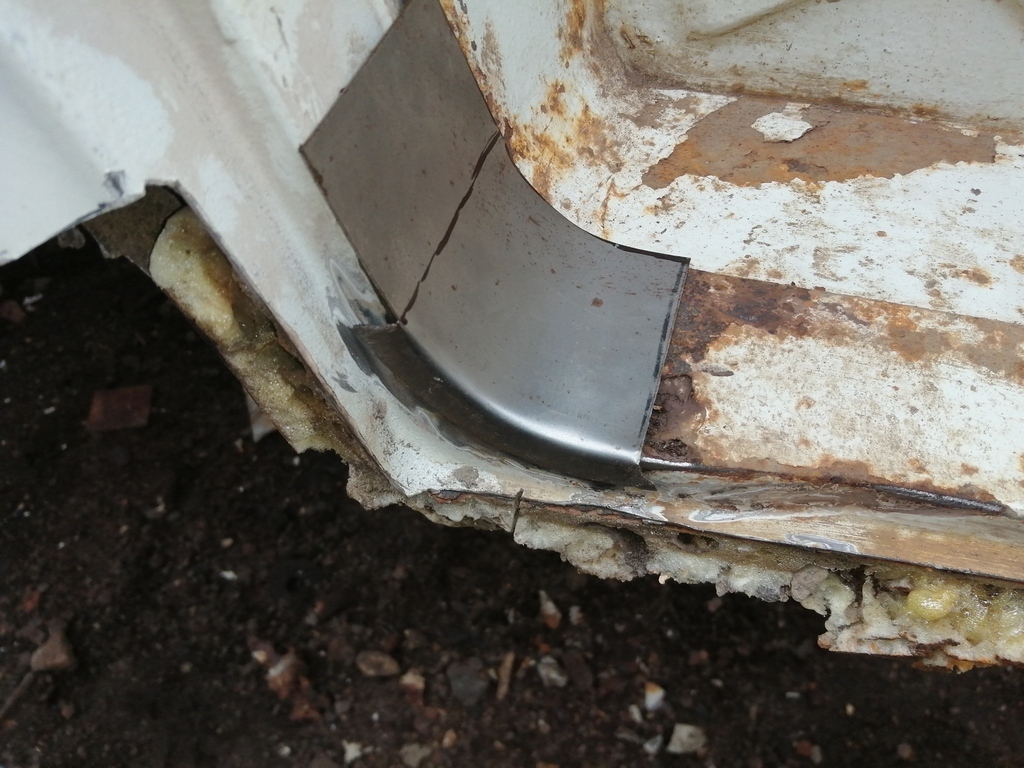
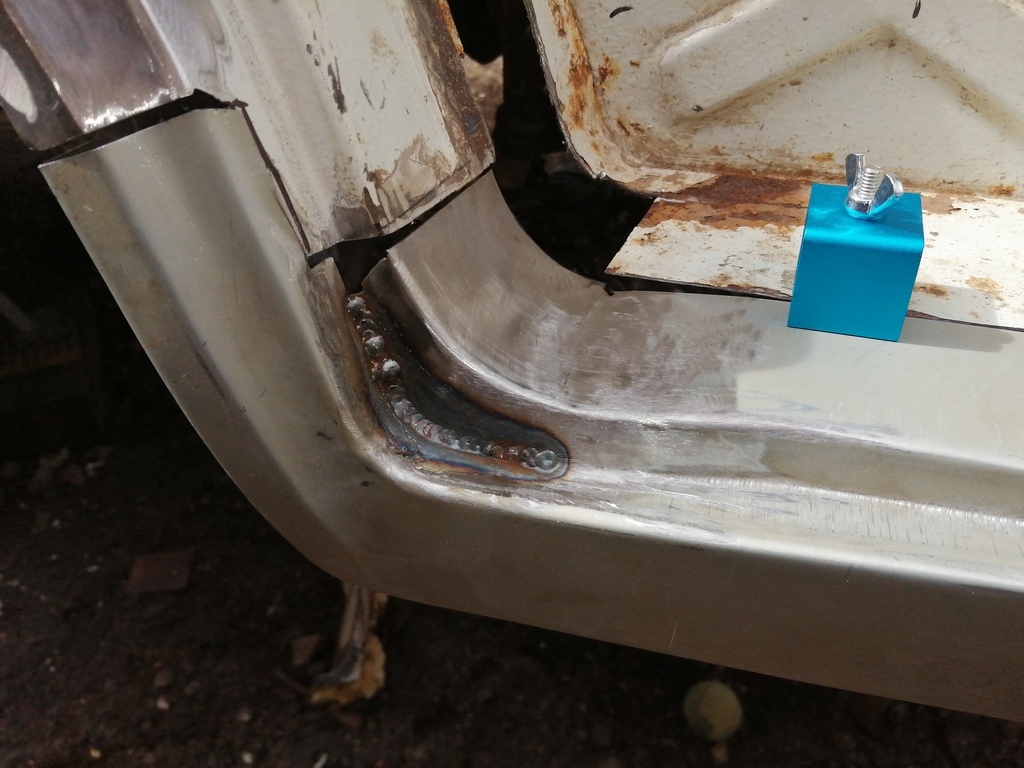
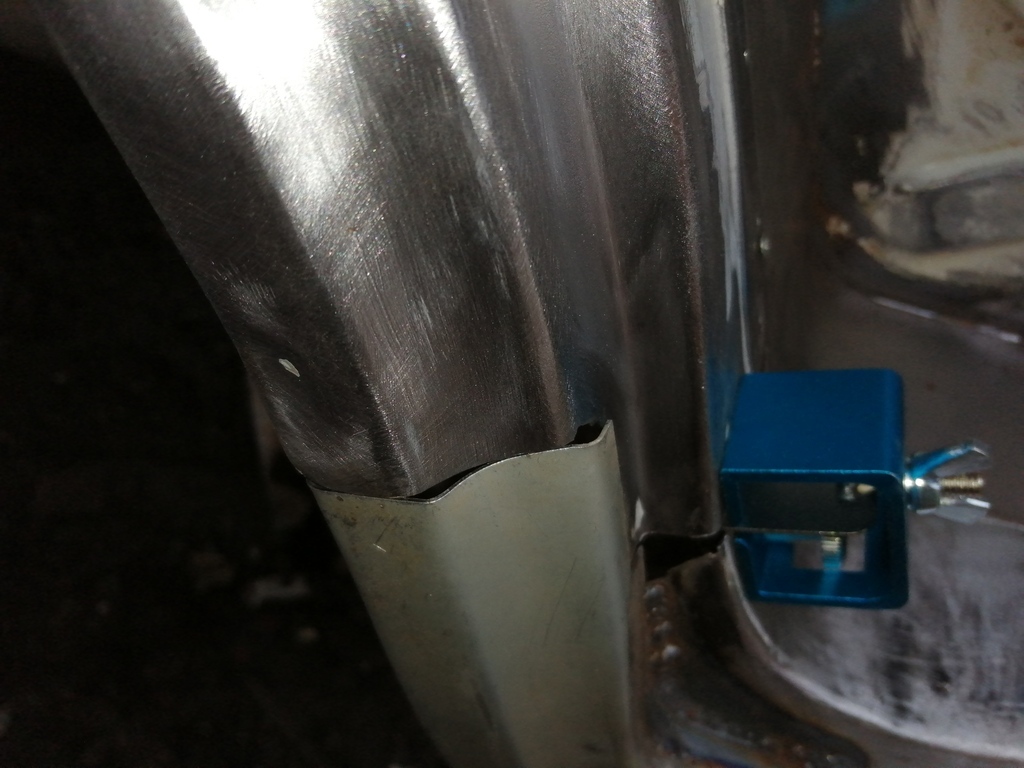
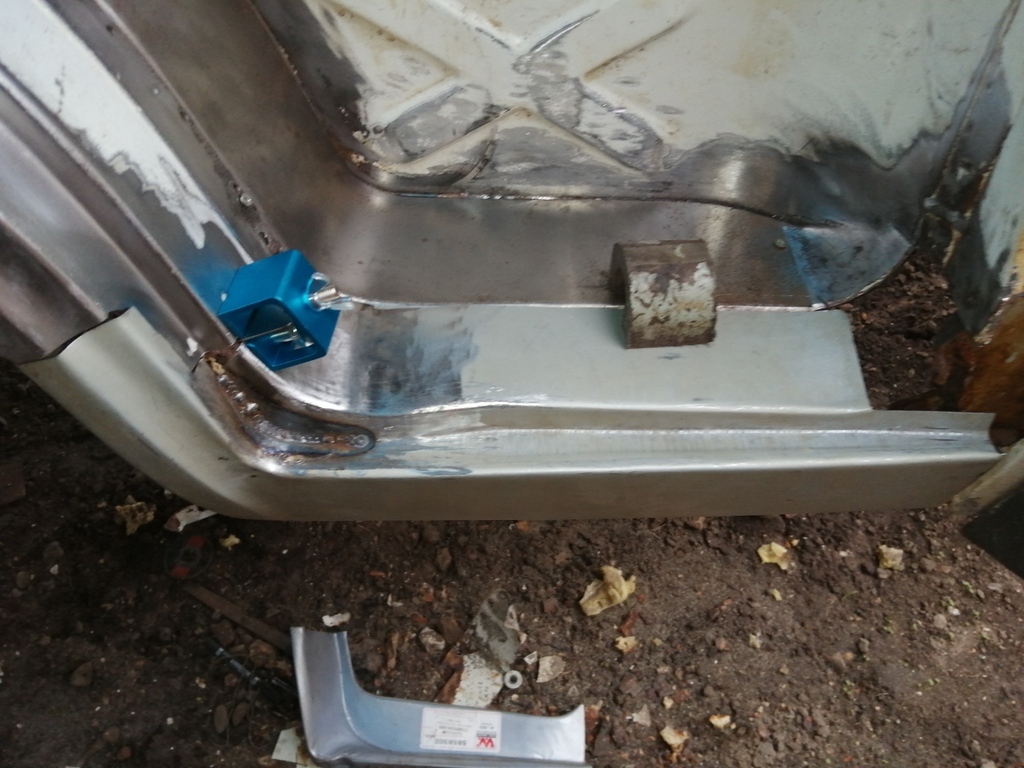
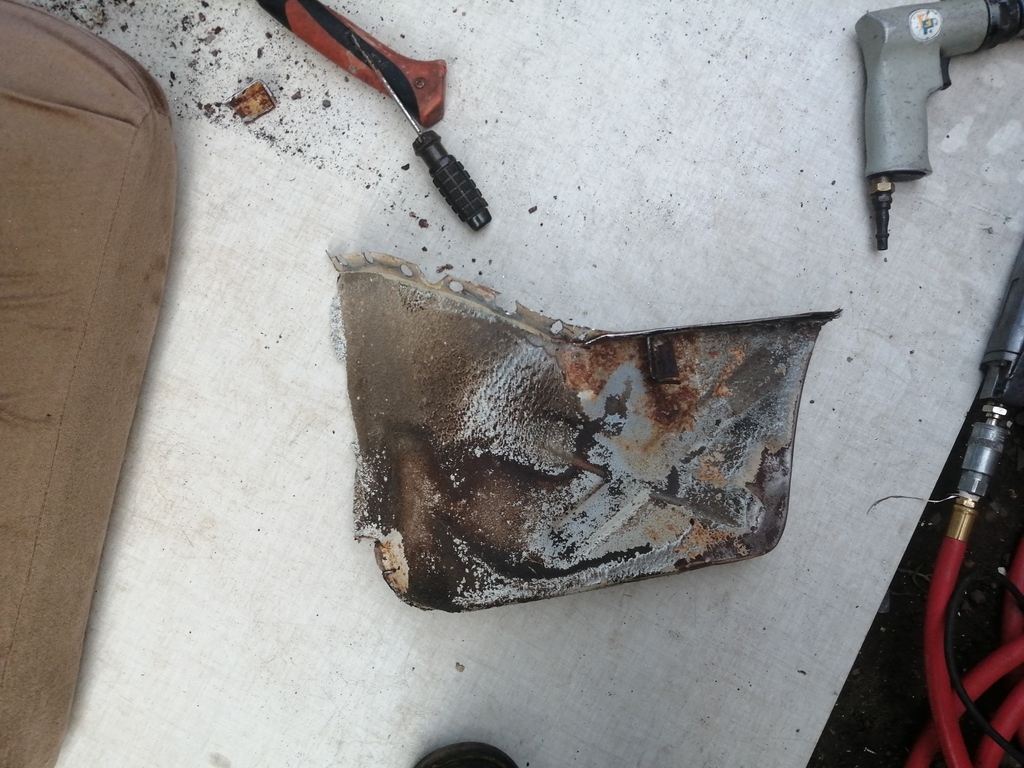
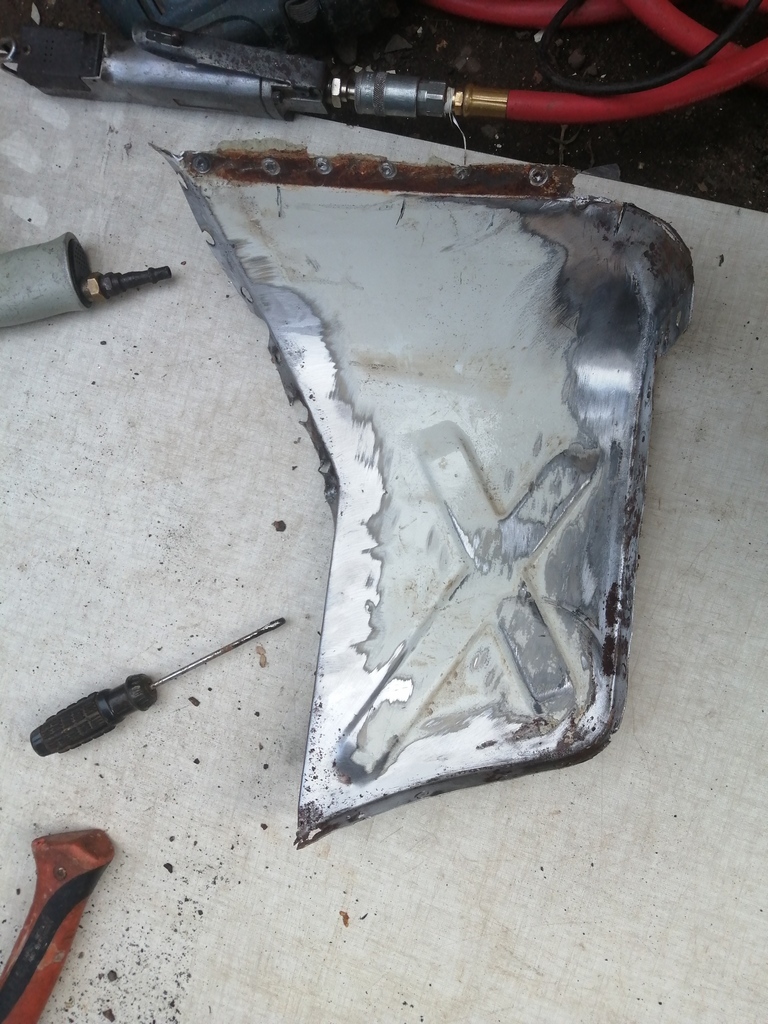
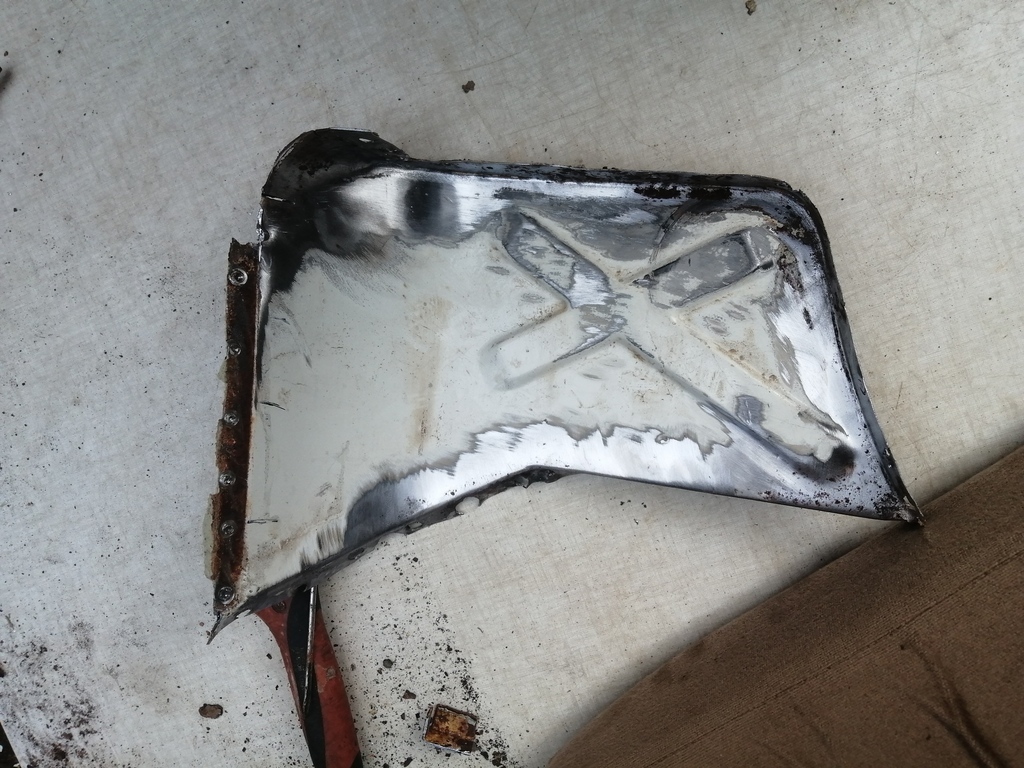
I decided that I would tackle the off side front step. I had previously purchased a left and right hand, inner and outer step panels from Brickwerks. So in my mind, it was going to be straight forward. Yeah.......right!
Firstly......take in what I'm up against......

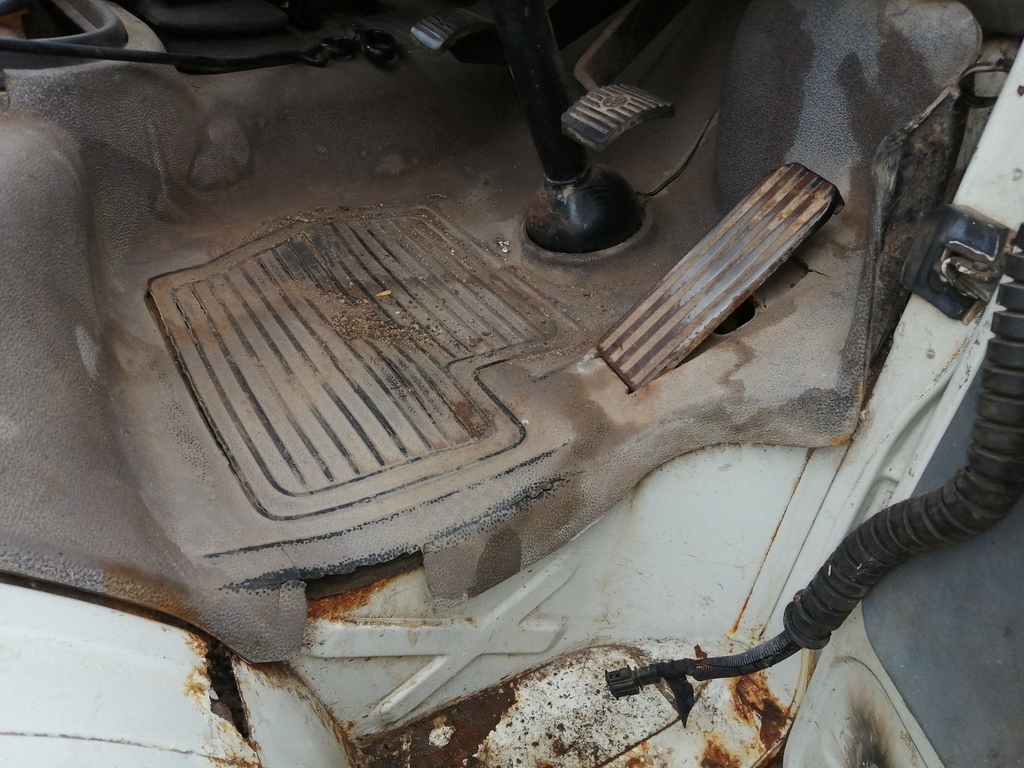
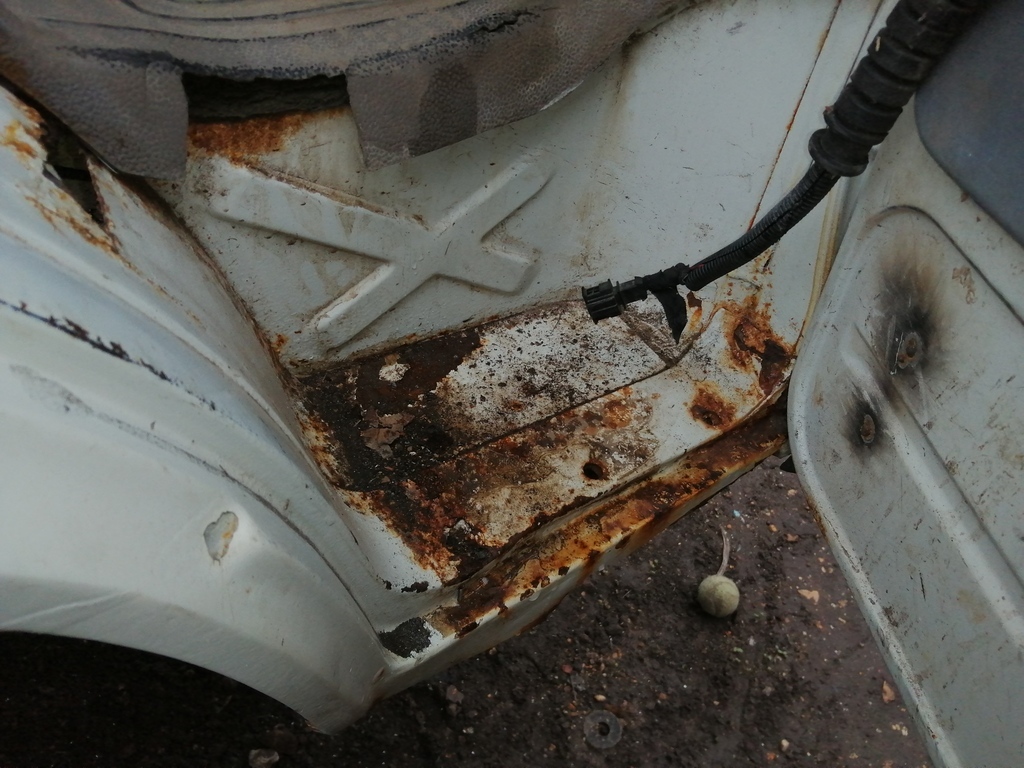
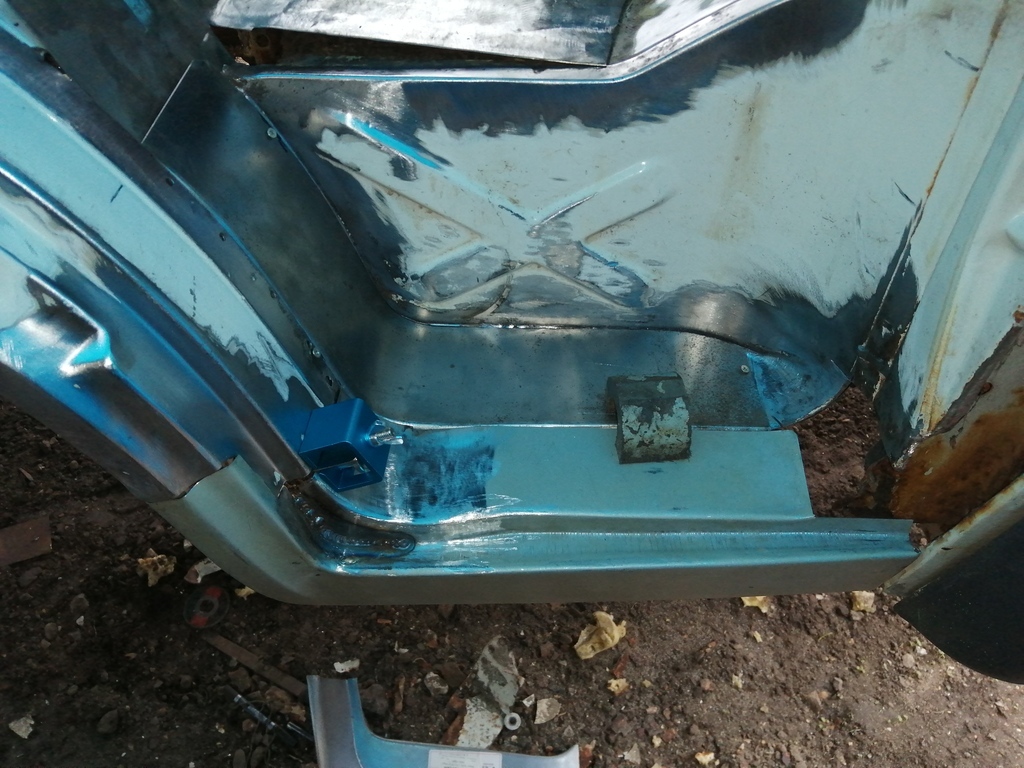
Then I lifted the floor Matt......drum roll.......
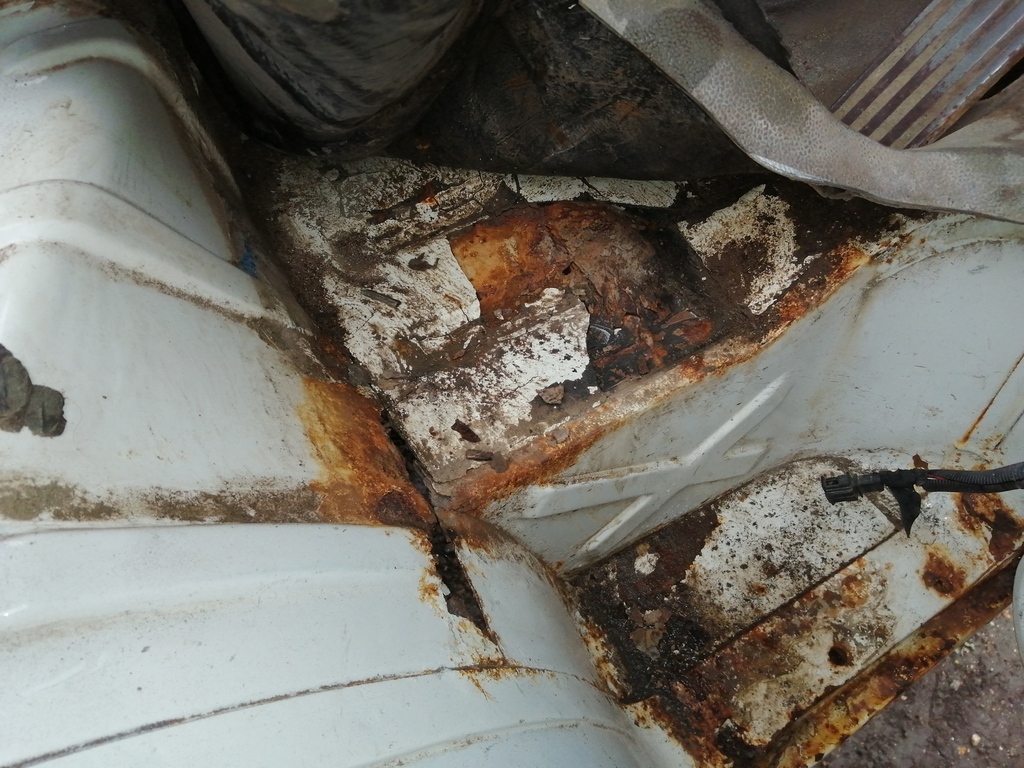
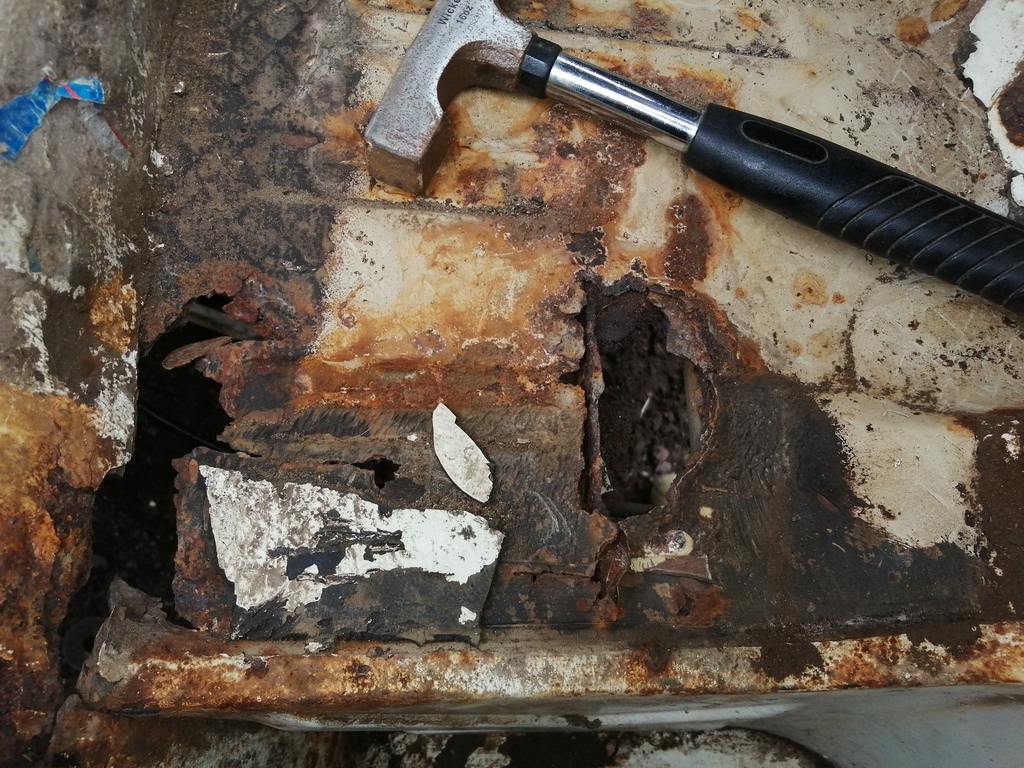
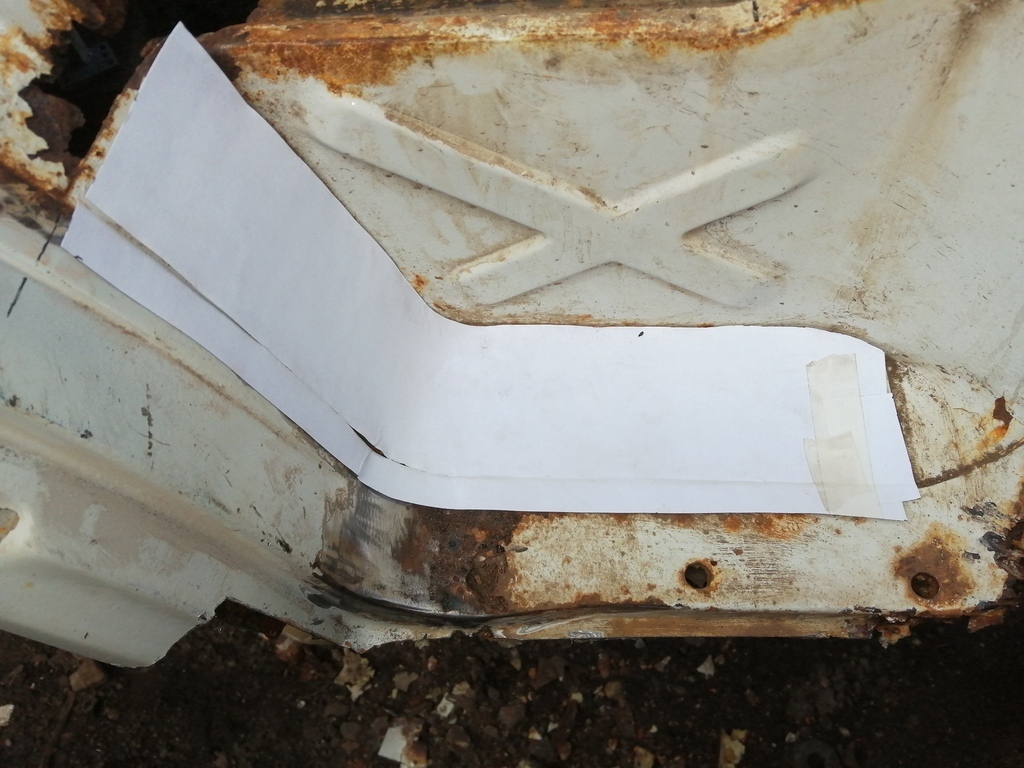
Well what a surprise......its rusty under here as well.
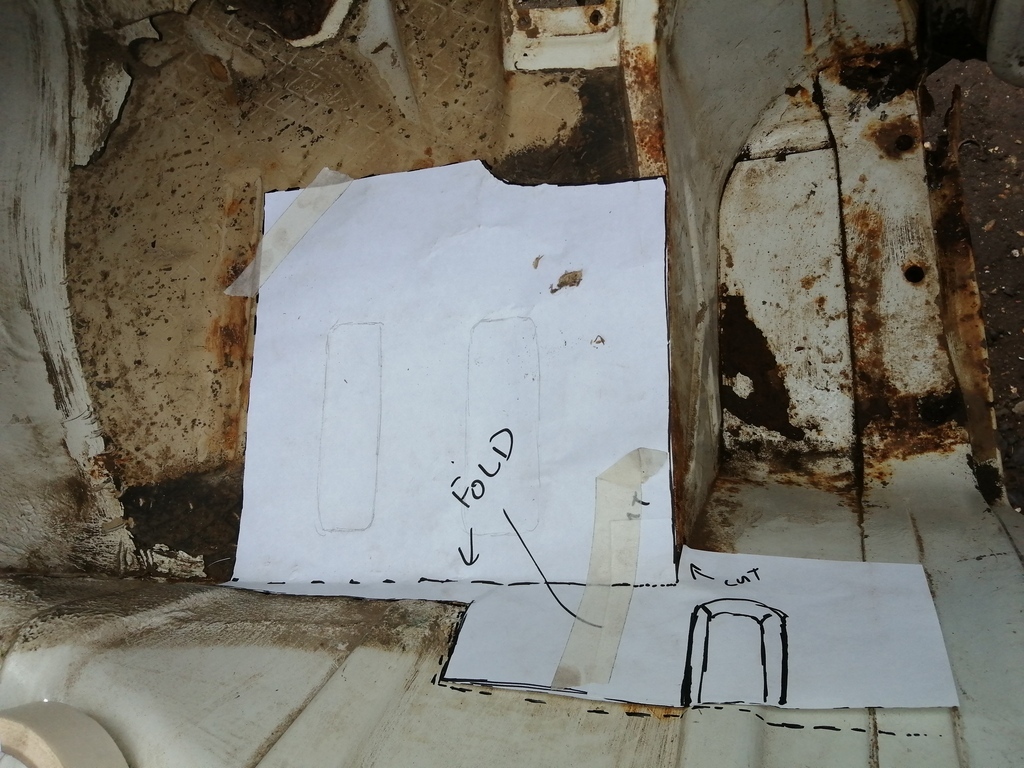
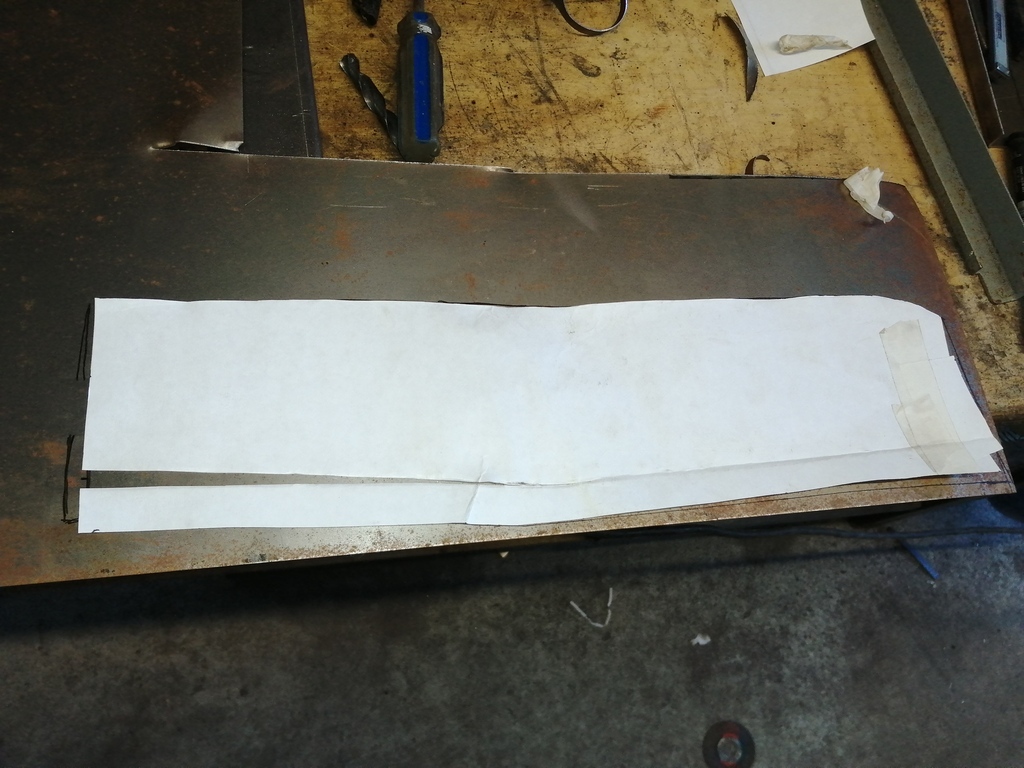
I guess I'll start here then. Out came the paper and pen to draw up a template.
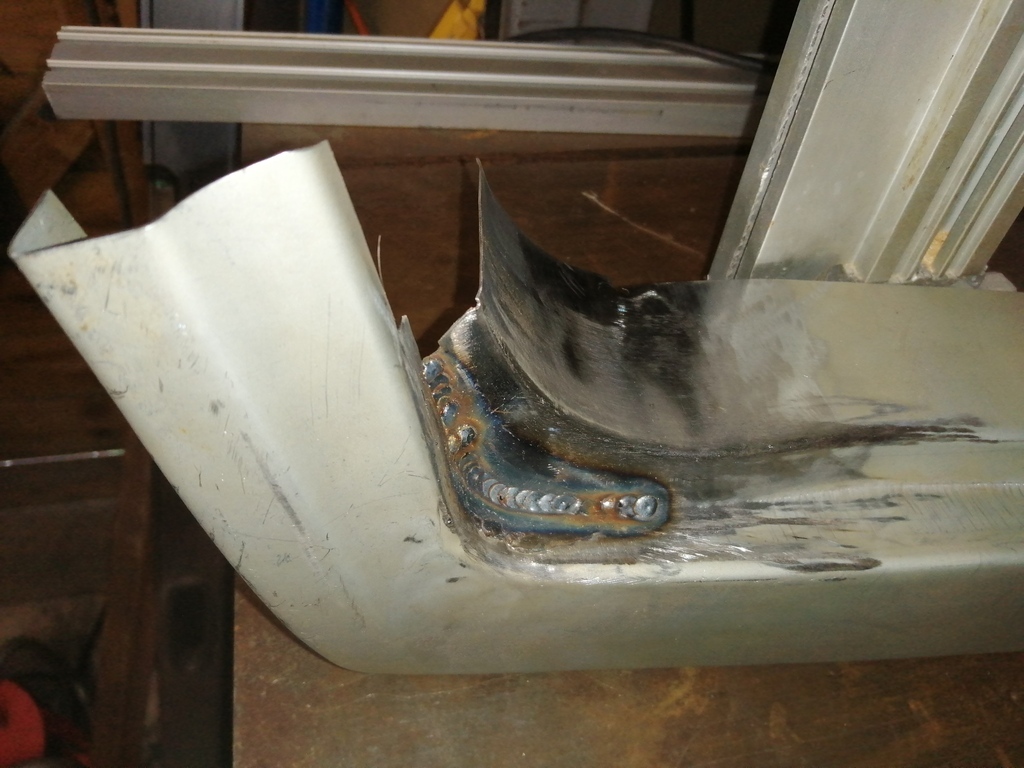
I decided to try out something that I'd had in my mind for a while. It was a tool that would press the structural ridges into panels. This is what I came up with.....
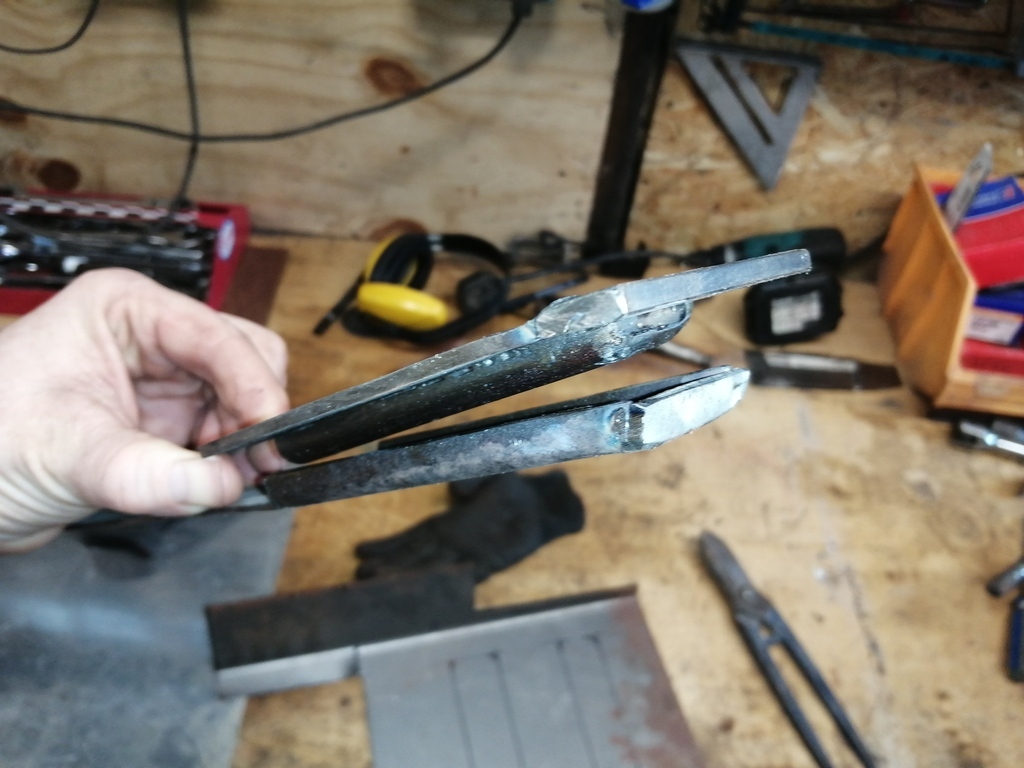

Basically, put it where the ridges are required....
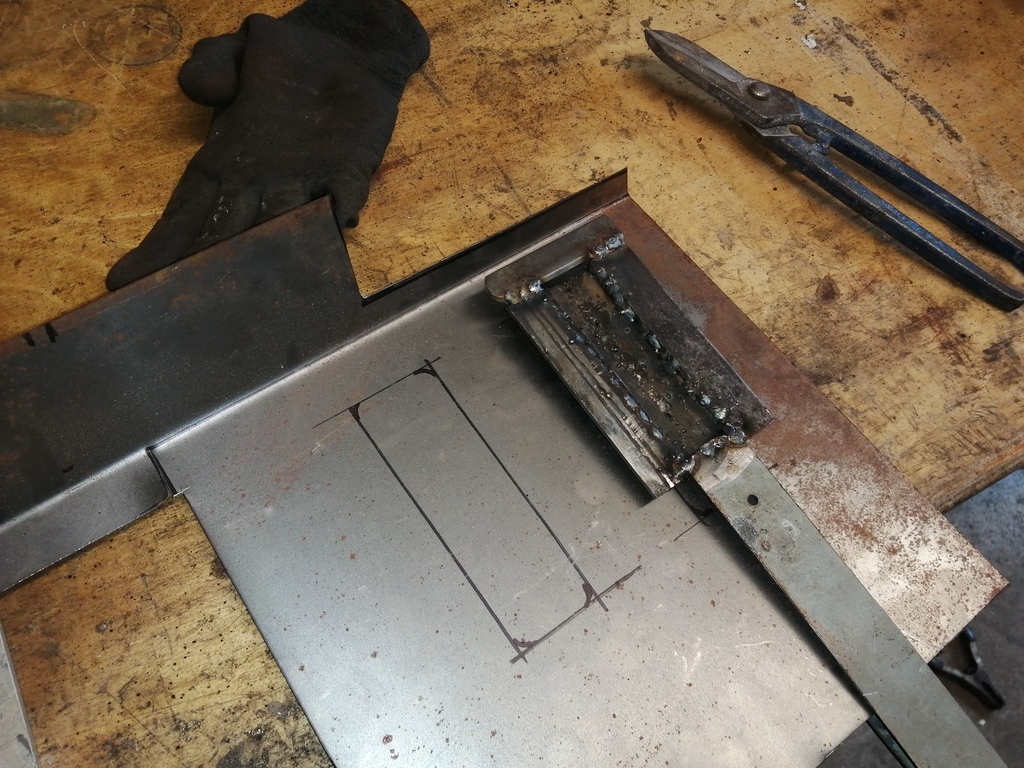
Then put the work piece along with the homemade dye tool into the hydraulic bearing press. Sounds simple doesn't it....this is the result.....

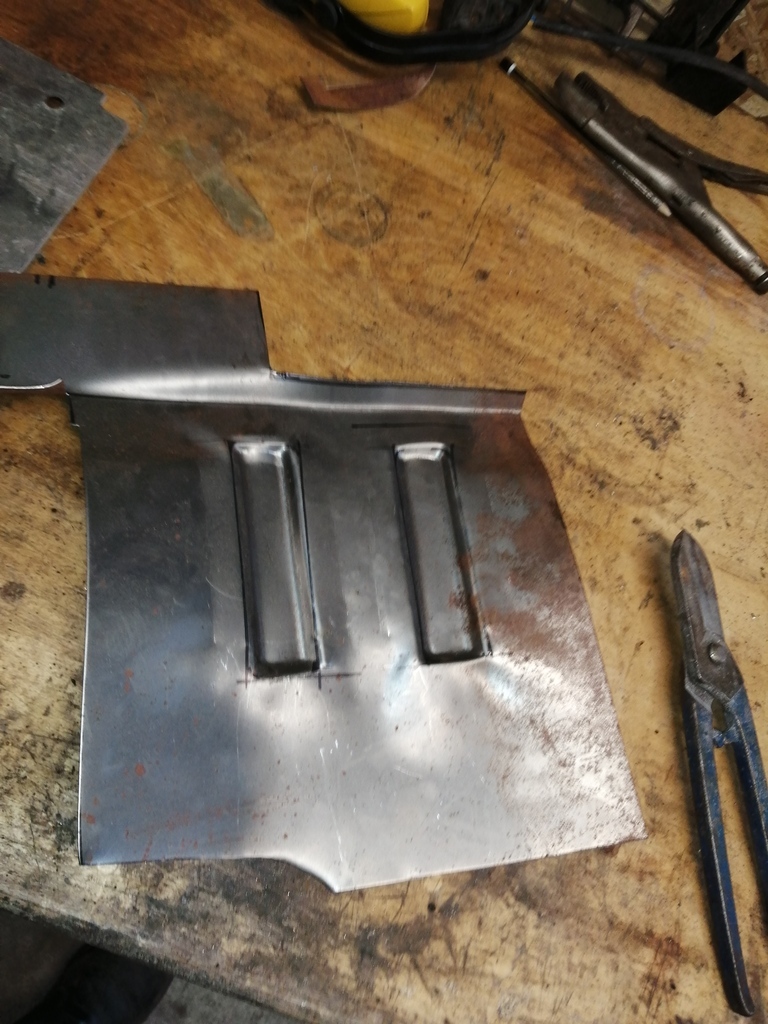
Not too bad..... but not as good as I thought. The steel buckled all over the place.....which of course it would....so I had to spend a fair bit of time on the shrinker/stretcher to get everything back where it should be.
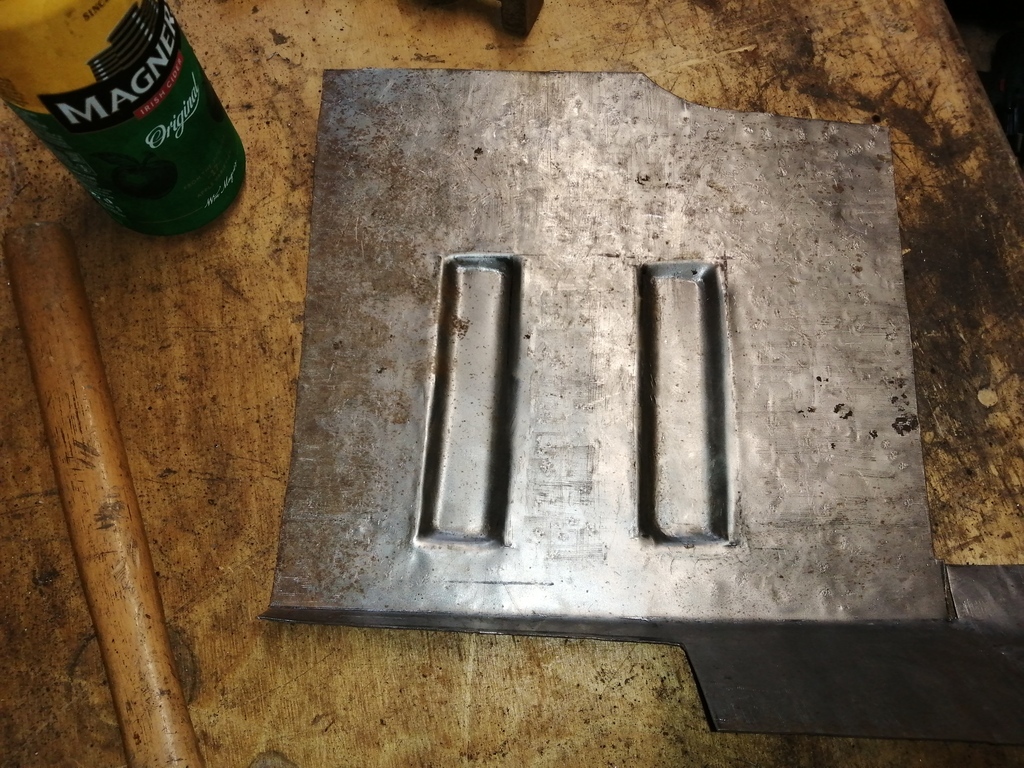
After a lot of shrinking.......
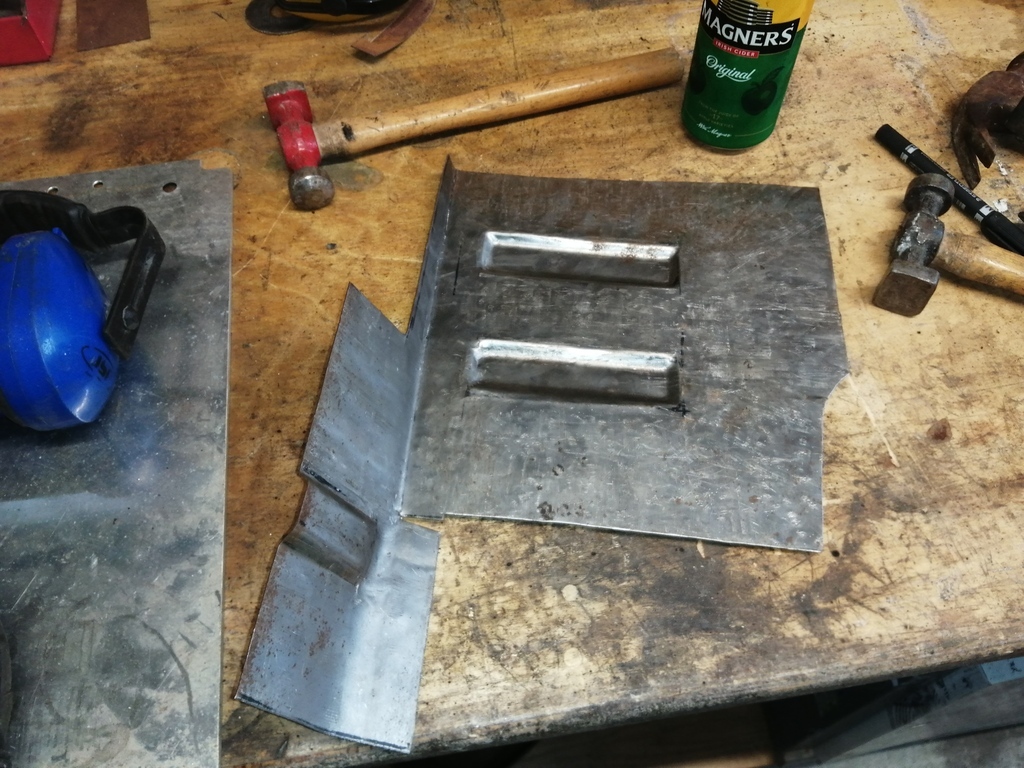
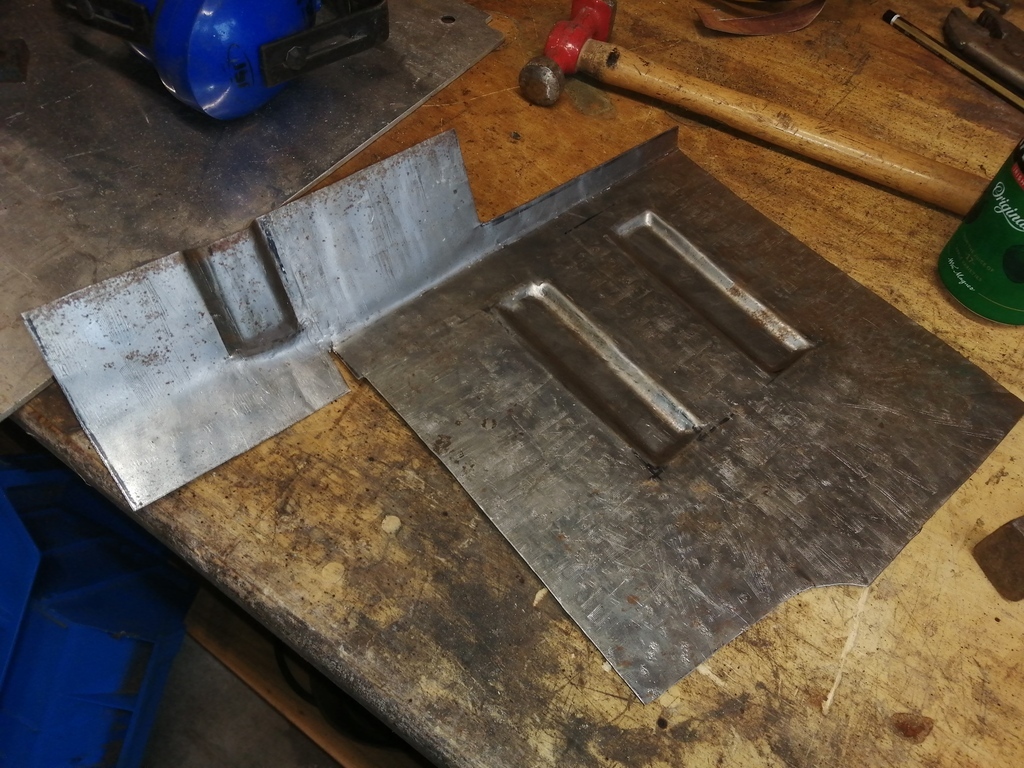
In future, I'll stick with my original idea of two bits of steel bar screwed to the bench then employ the air hammer. That idea seemed more effective.
Rather than weld a bit here and a bit there, I like to weld all repair panels in at the same time ideally ( if you know what mean ). So I moved on to the step. When I cut the first bit off, it revealed a previous bodge. Yep....even bodge work moves with the times.....20 years ago this would of been a copy of the Sun newspaper stuffed in there! I'm fairly certain this isn't factory foam......😂
The new step panels are only basic items, so this meant that I had to make up the upturned ends etc.
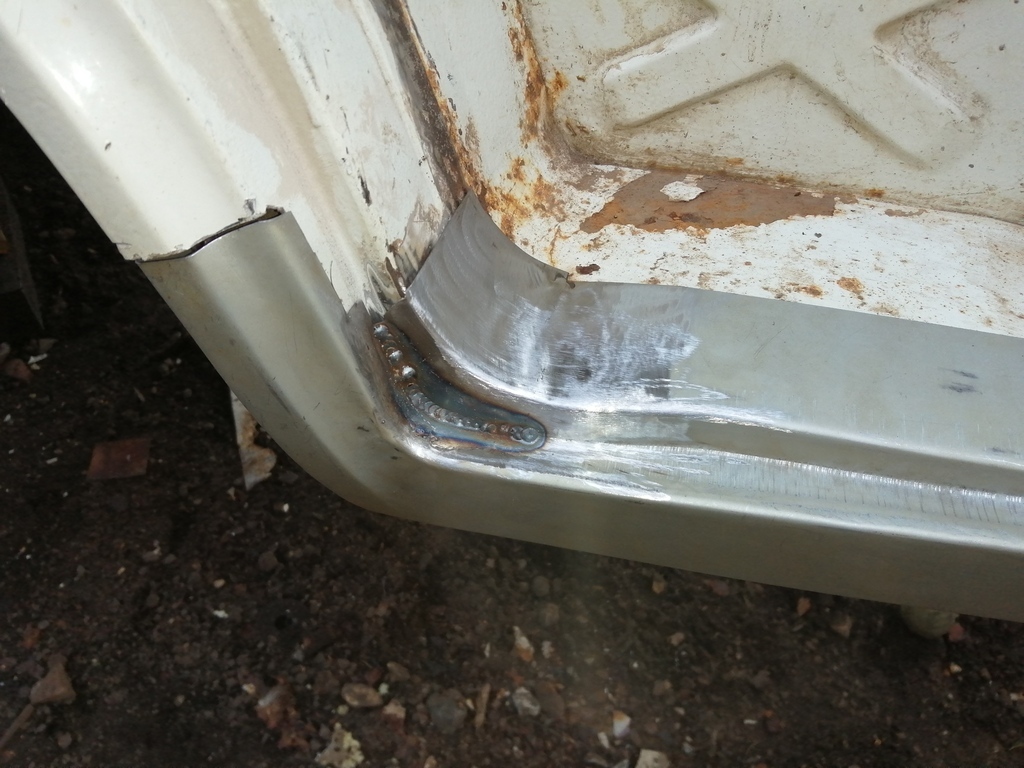
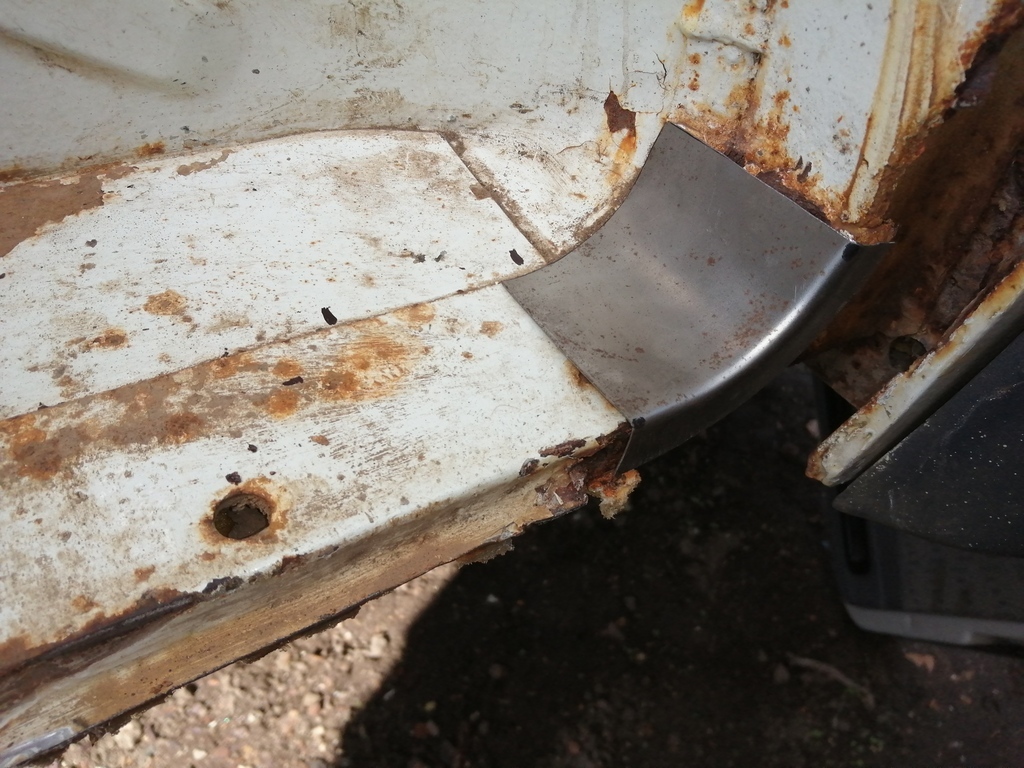
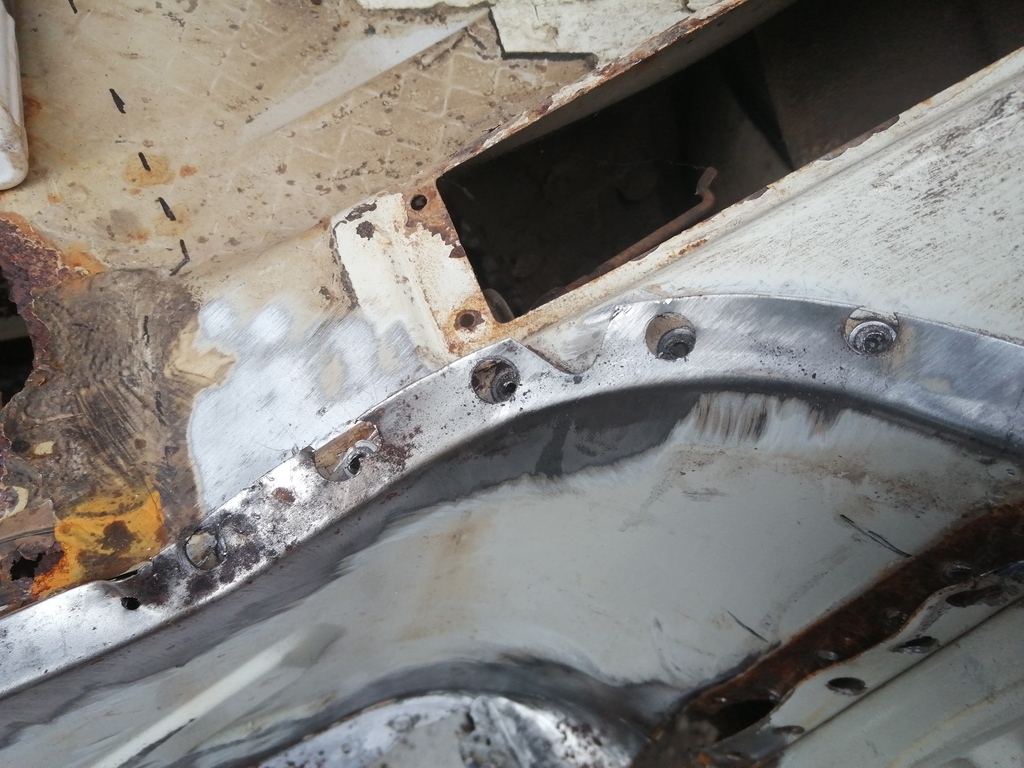
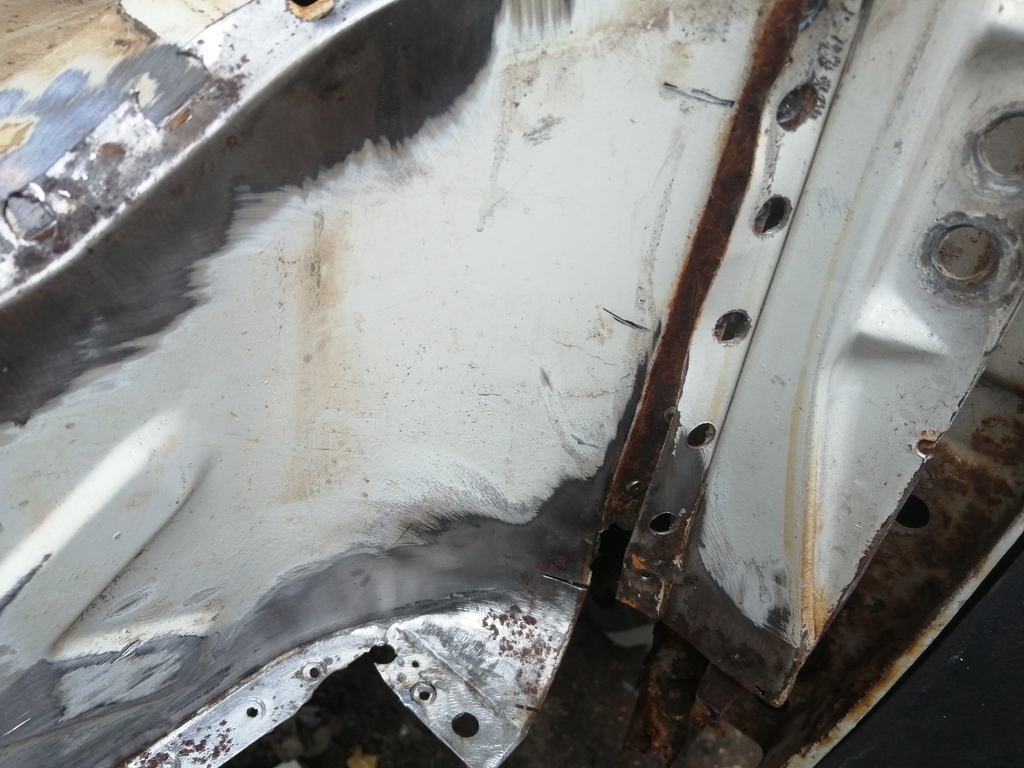
Then of course......more rust....so more repair panels.....
I ended up cutting/drilling out the step bowl in the end as I needed to access the rusty metal just forward of it. Plus it meant that I could pop this panel into the acid bath for de-rust while it was off.

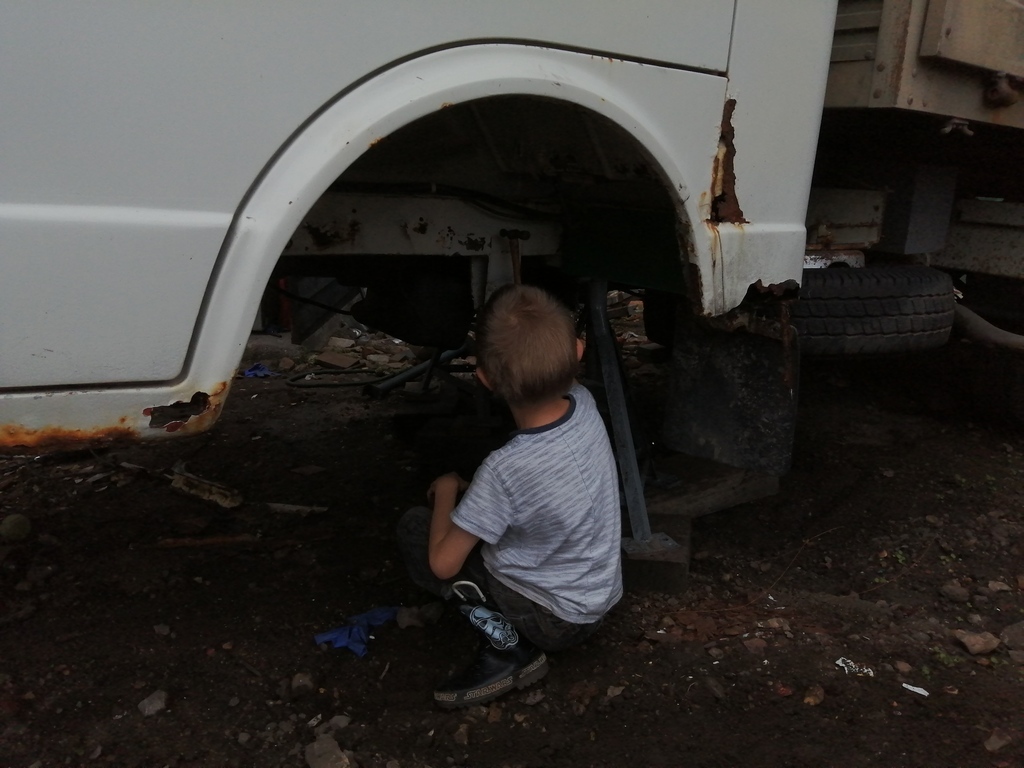
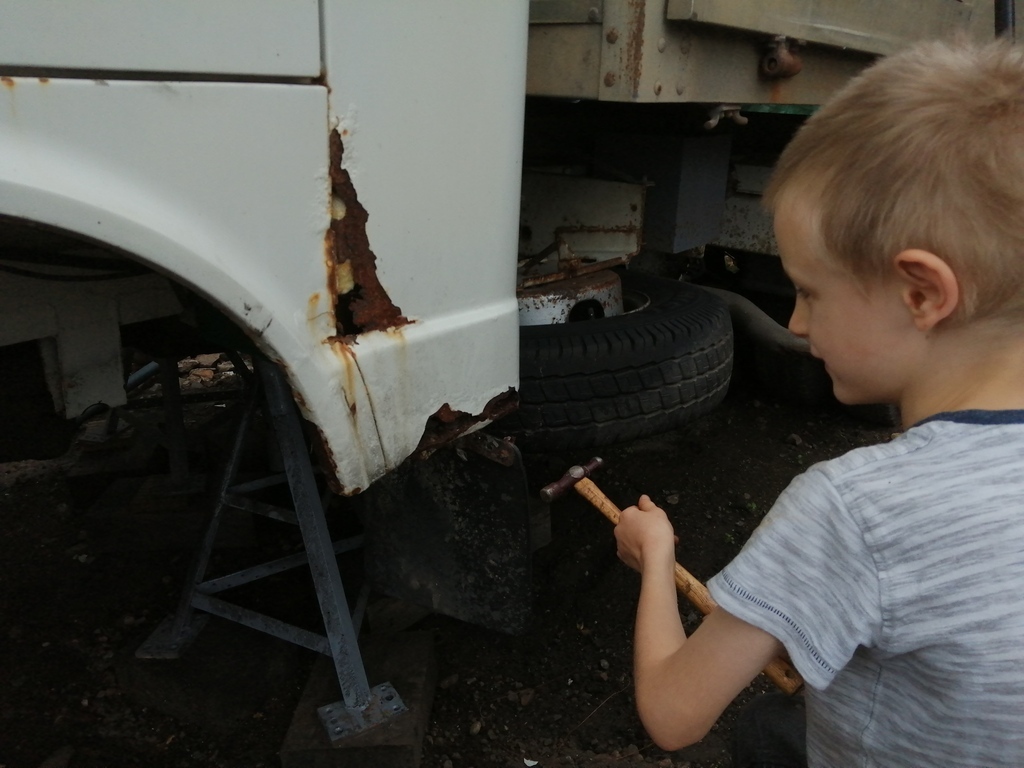
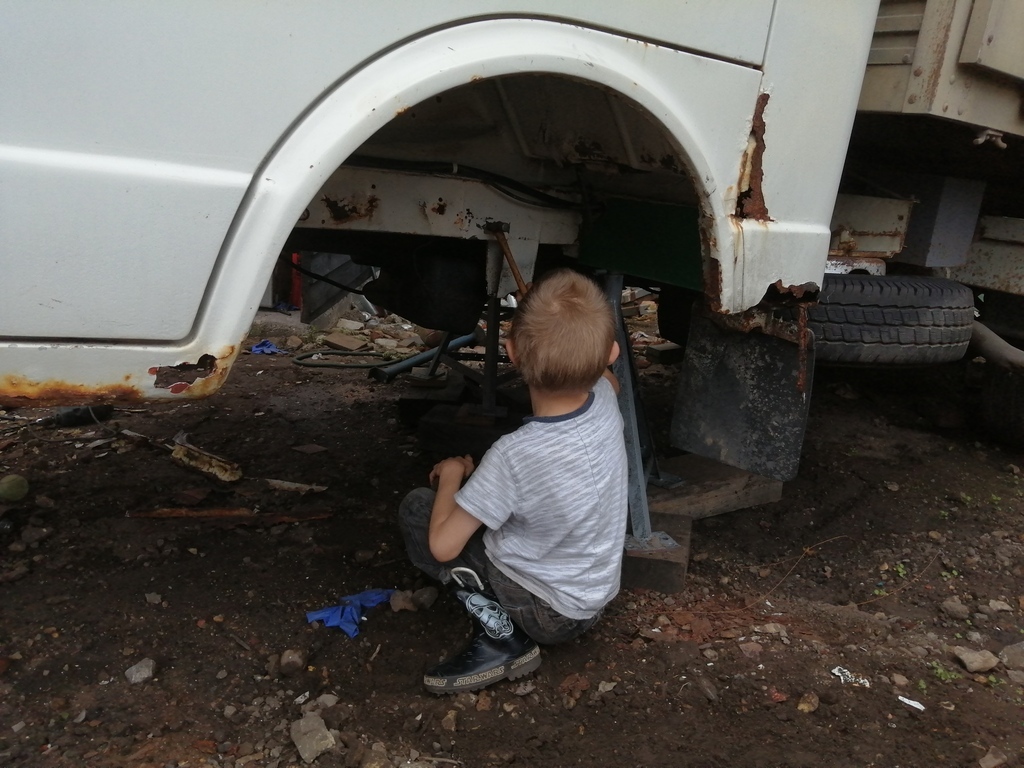
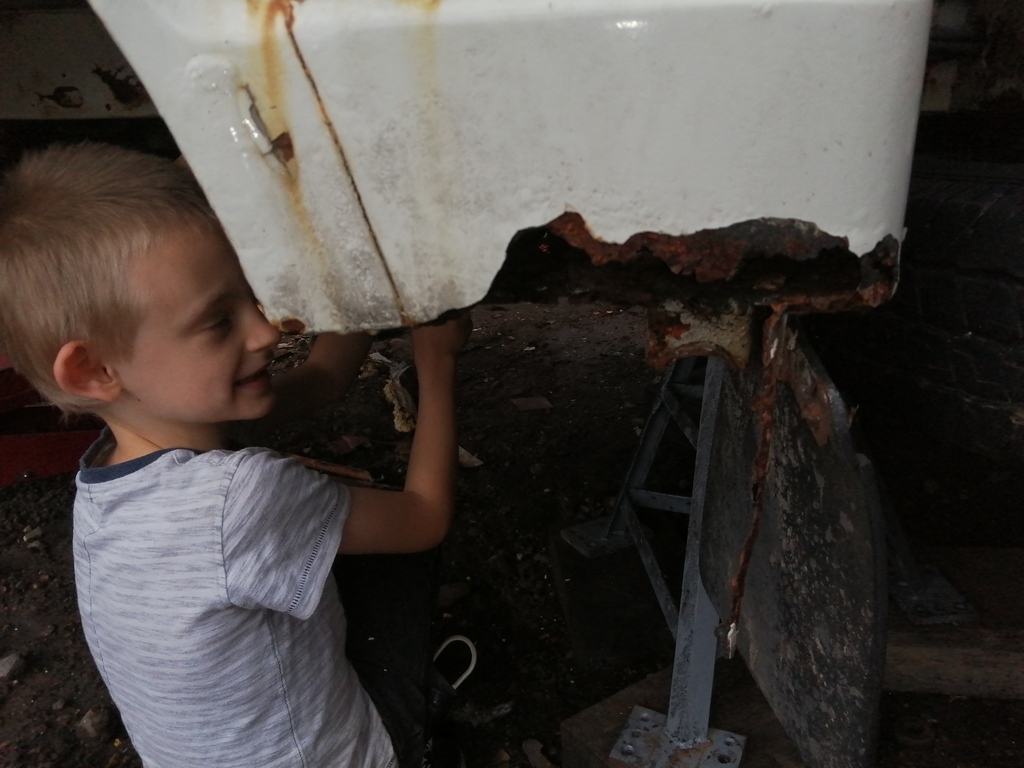
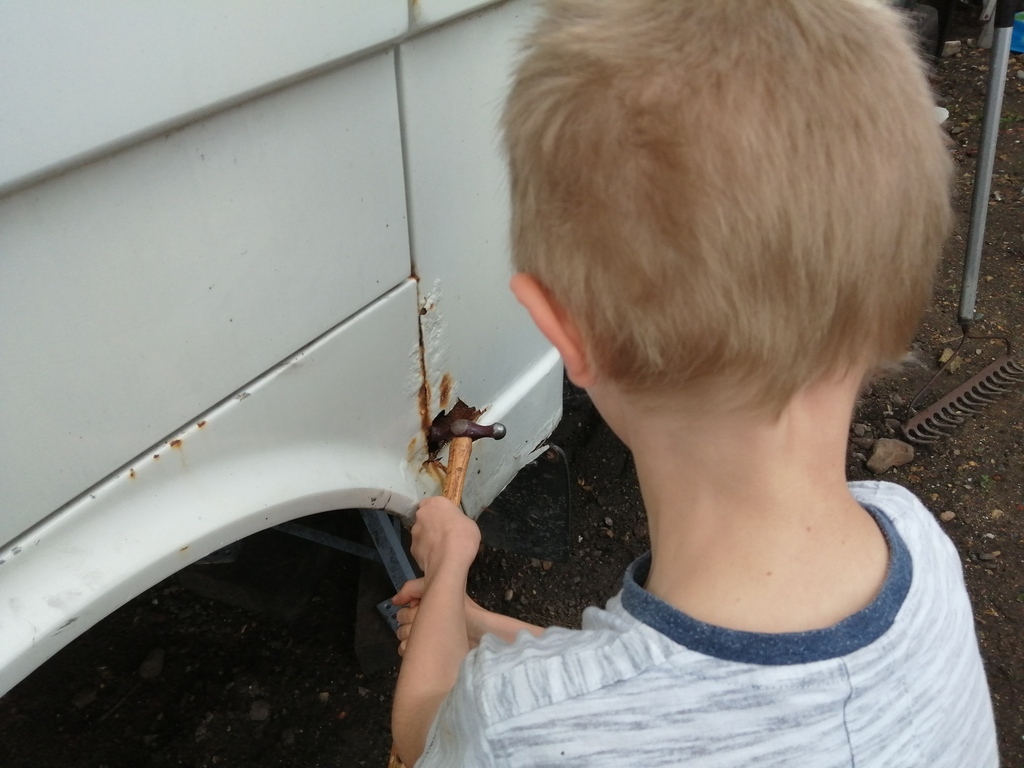
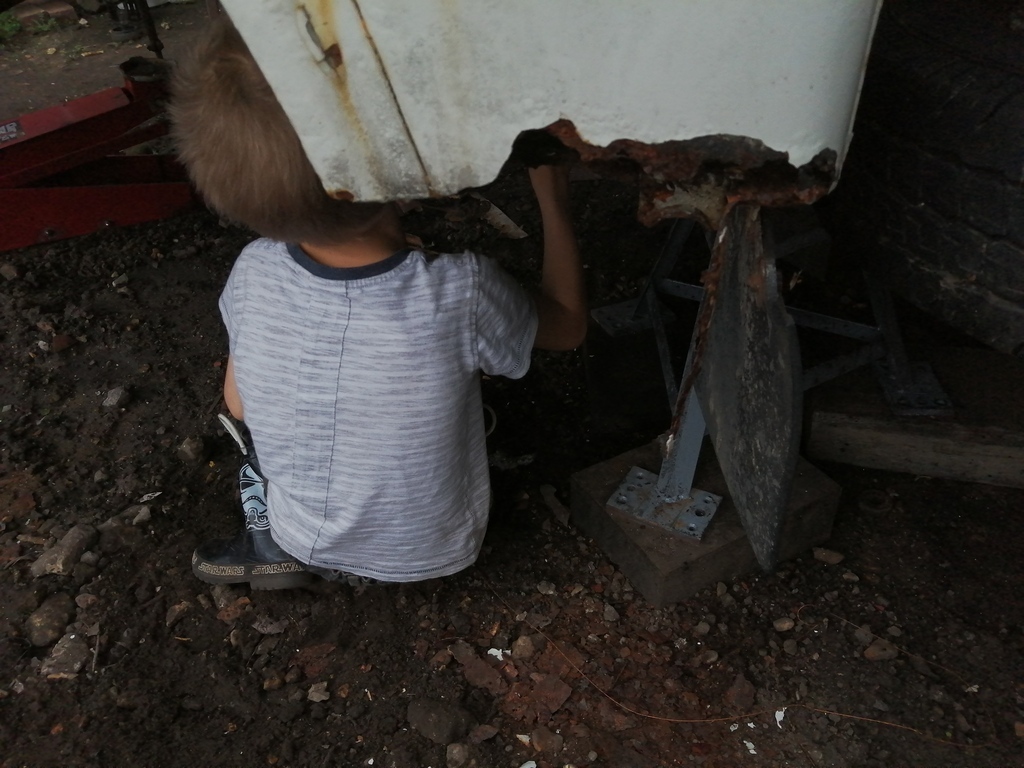
In the meantime, my youngest lad Preston decided to make a start on the other side. Armed with a small hammer, he basically beat the curse word out of anywhere the looked rusty. At first I wondered what the hell was going on....but once I saw that he was enjoying himself, I let him carry on. I might have to book him in for a tetanus shot after. 😁
More updates soon.........


