dom10a
Part of things
 
Posts: 184
|
|
Apr 28, 2020 19:46:38 GMT
|
|
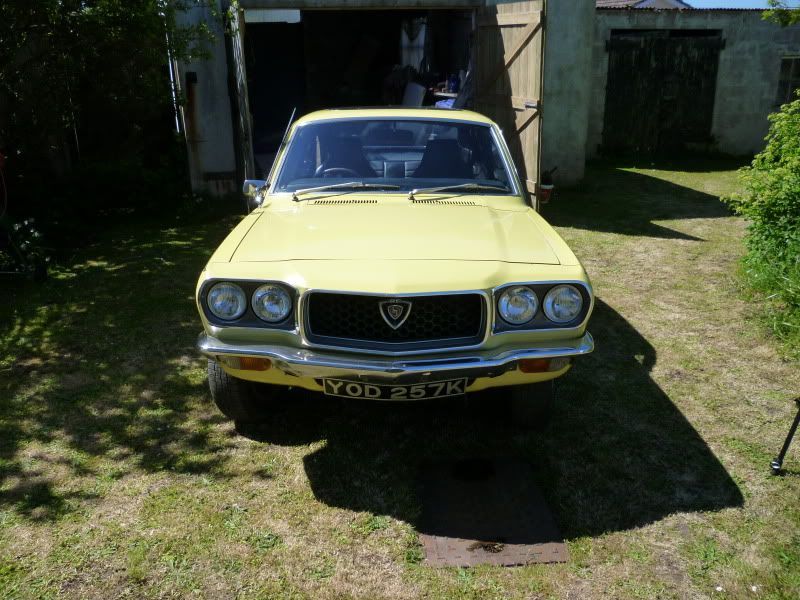
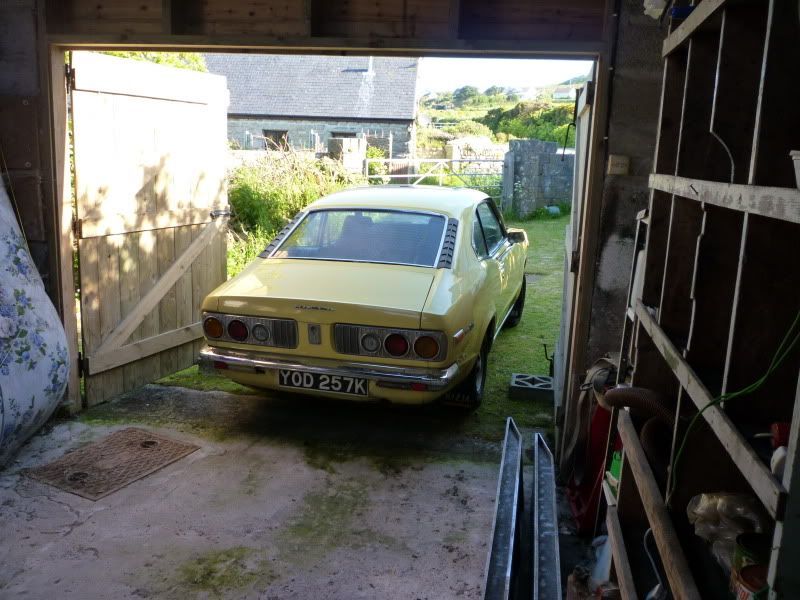
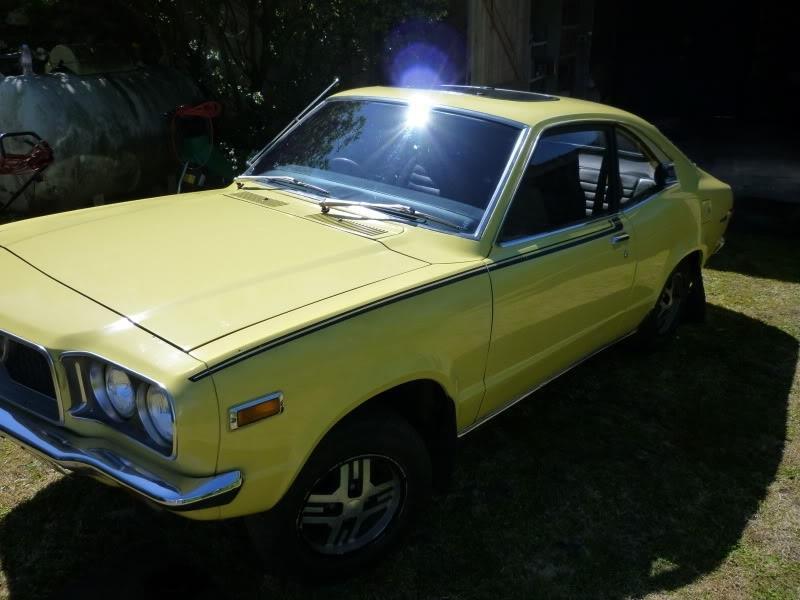
I'm a little behind on starting this thread (about 10 years behind). I bought the car, a '72 Flair Yellow Mazda Rx3 in 2010 from a good friend who had to sell the car on emigrating to the United States, and have been working on it since whenever I find the time.
I had it moving under its own power a couple of years ago but then decided to do a "quick" respray! More details on that later.
I'm hoping this will be the year it finally gets on the road.
It's been a huge job. Being the first car I've restored I had no idea what I was getting myself in for. I'd tinkered with a two stoke engine before and had owned an FB Rx7 so had some mechanical knowledge but this has been one hell of a learning curve.
I wanted to put this thread together to document the process and hopefully it will be a useful resource for others in the future.
The car has been restored to maintain as much originality as possible. Any mods are strictly bolt on and I've retained all the original parts so I can go back to a fully standard car one day but probably never will. The original engine is on the shelf and I've used my spare block for this build as the engine is far from stock.
|
| |
Last Edit: Sept 23, 2020 21:08:27 GMT by dom10a
|
|
|
|
dom10a
Part of things
 
Posts: 184
|
|
Apr 28, 2020 19:55:55 GMT
|
The car featured in the December 6th 1995 edition of Classic Car Weekly when owned by a Rolls Royce Aero Technician called Wallace Wright, albeit with a private number plate PRL11M. Although first registered in 74, Mazda UK later confirmed it to be manufactured in 1972 based on the chassis number. 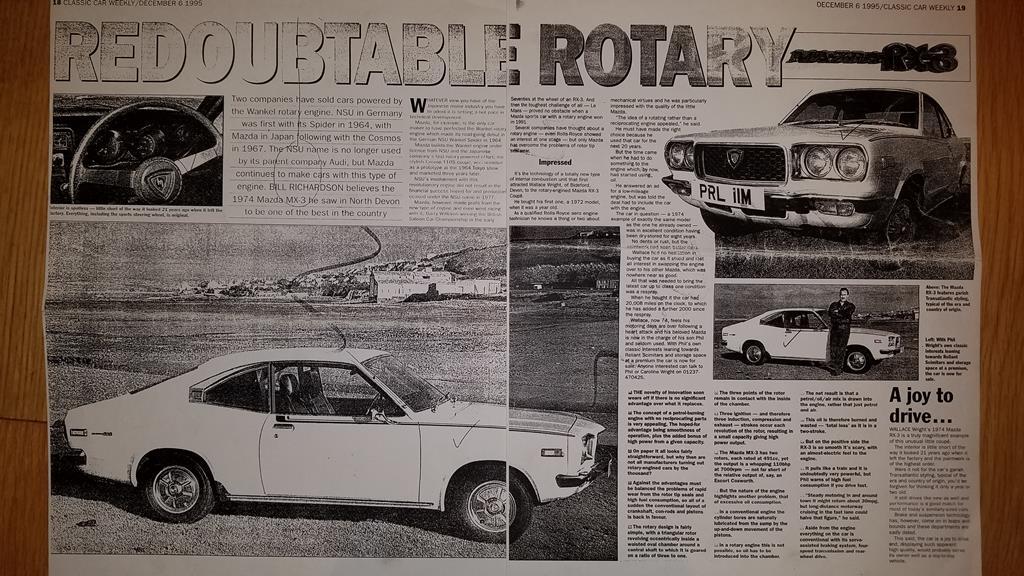 |
| |
|
|
goldnrust
West Midlands
Minimalist
Posts: 1,887
|
|
Apr 28, 2020 19:56:05 GMT
|
|
Hey Dom. Been a while since I’ve been on any of the rotary forums, looking forward to seeing how this one has been progressing. It’s a super cool car. Sounds awesome too!
|
| |
|
|
dom10a
Part of things
 
Posts: 184
|
|
Apr 28, 2020 19:59:28 GMT
|
|
|
| |
|
|
dom10a
Part of things
 
Posts: 184
|
|
Apr 28, 2020 20:01:52 GMT
|
So work started on stripping down the 2 motors I had and doing some CSI work. 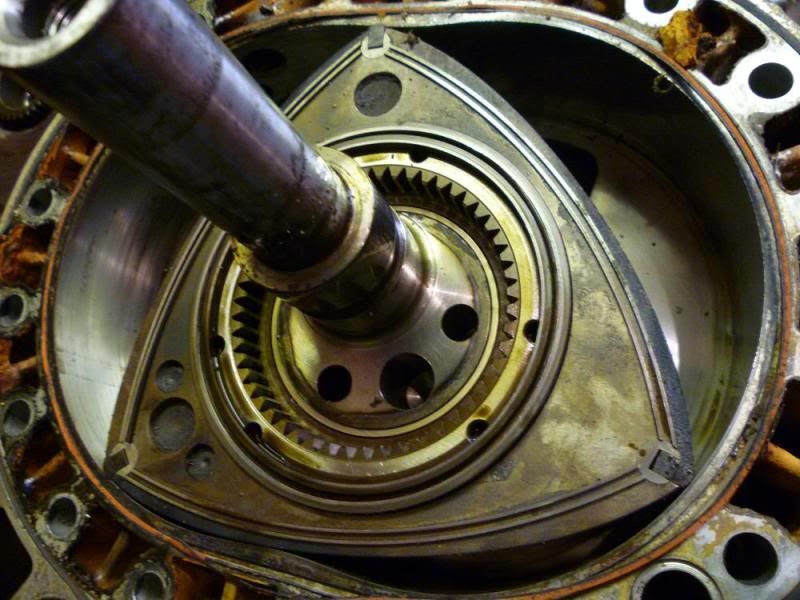  |
| |
|
|
dom10a
Part of things
 
Posts: 184
|
|
Apr 28, 2020 20:03:31 GMT
|
Its not always apex seals that cause the demise of rotary engines. In this case it was the thrust bearing. 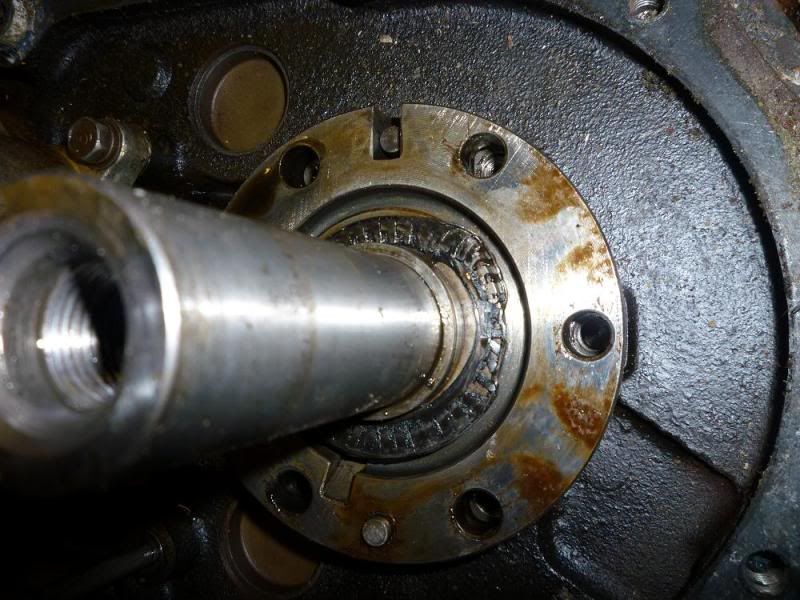 |
| |
|
|
dom10a
Part of things
 
Posts: 184
|
|
Apr 28, 2020 20:12:23 GMT
|
Hey Dom. Been a while since I’ve been on any of the rotary forums, looking forward to seeing how this one has been progressing. It’s a super cool car. Sounds awesome too! Hey is that Steve? Thanks mate. Haven't been on here for ages so no idea who's who. |
| |
|
|
dom10a
Part of things
 
Posts: 184
|
|
Apr 28, 2020 20:18:59 GMT
|
|
|
| |
Last Edit: Apr 28, 2020 20:21:41 GMT by dom10a
|
|
dom10a
Part of things
 
Posts: 184
|
|
Apr 28, 2020 20:27:09 GMT
|
|
|
| |
Last Edit: Apr 28, 2020 20:28:20 GMT by dom10a
|
|
goldnrust
West Midlands
Minimalist
Posts: 1,887
|
|
Apr 28, 2020 20:47:00 GMT
|
Hey is that Steve? Thanks mate. Haven't been on here for ages so no idea who's who. Yup  Hope all is well. Can't believe it was 3 years ago me and Jesse came down to grab those parts. His Fb is mental now with Tim's old 13b turbo in it. I'm sure some Cosmo updates would also be appreciated here. Such a cool car. |
| |
|
|
|
|
dom10a
Part of things
 
Posts: 184
|
|
|
|
Hey is that Steve? Thanks mate. Haven't been on here for ages so no idea who's who. Yup  Hope all is well. Can't believe it was 3 years ago me and Jesse came down to grab those parts. His Fb is mental now with Tim's old 13b turbo in it. I'm sure some Cosmo updates would also be appreciated here. Such a cool car. Time flies mate. Yeah I've seen some pics and vids of Jesse's FB, looks rapid. He's going to have some good times with that. I have some big plans for the Cosmo. Came close to having to sell it a while ago but thankfully still have it and its heading for a respray soon. I'll do some updates on here when I get going on it again. I see you've been busy with projects, and you had a Lancia Fulvia! Ace cars. I love anything Italian. |
| |
|
|
dom10a
Part of things
 
Posts: 184
|
|
|
|
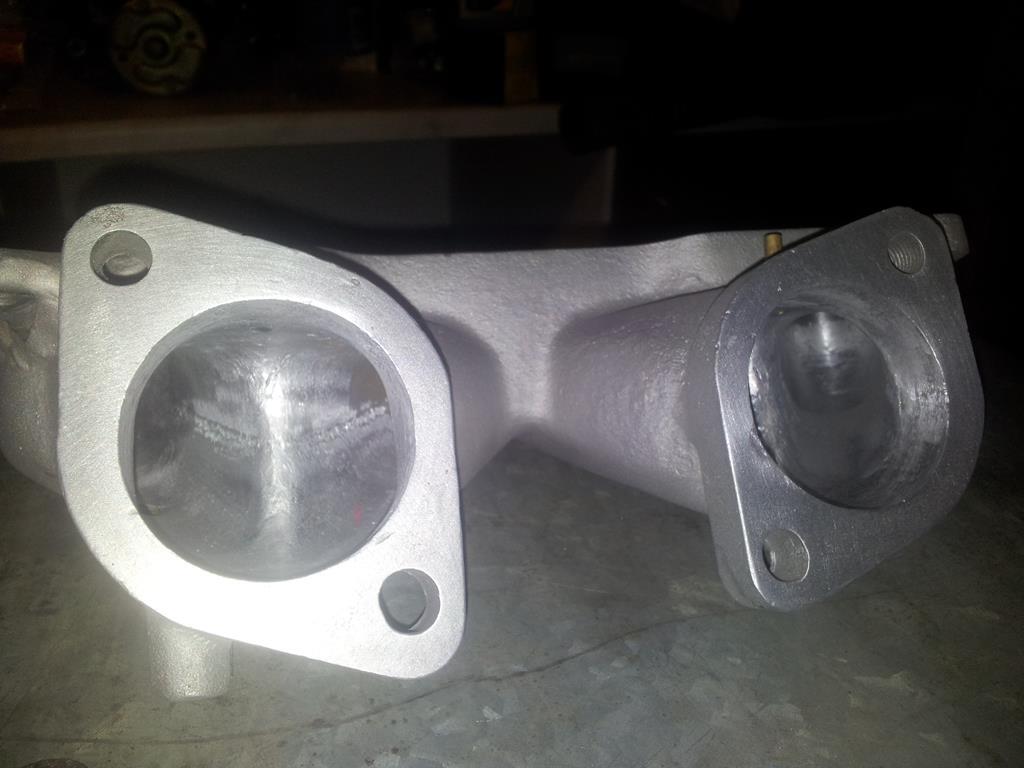
Next job was porting the intake runners. These were quite straightforward and involved removing the excess casting material within the runners. All the porting work was based on the Mazda Sports Corner guidelines for production car racing to keep everything period correct. Pic below shows the ported runner on the left and stock runner on the right. 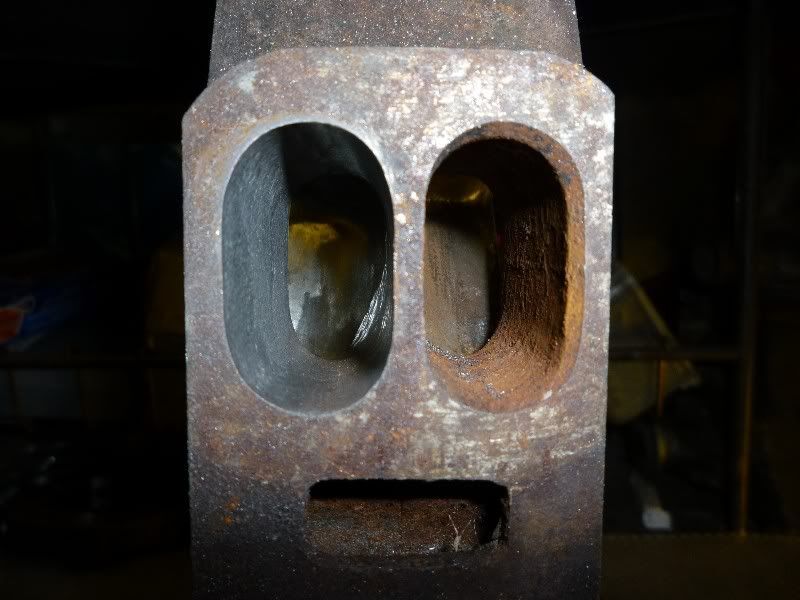 |
| |
|
|
dom10a
Part of things
 
Posts: 184
|
|
|
|
|
|
| |
|
|
dom10a
Part of things
 
Posts: 184
|
|
|
|
With the porting done, the next job was to lap the end plates (irons) as these get worn away by the rotor corner seals, side seals, and oil control rings. I tried with limited success to do this at home with a marble slab and some emery paper and lapping paste, but my patience eventually ran out so the plates went off to a good friend and rotor guru (Era at Oldone Racing) to get lapped properly by the company he uses for all his engines. Along with the wear from the rotors, the plates were also corroded around the water seals. Not addressing this would mean subsequent leaks and a premature engine rebuild. Well worth the effort doing jobs like this properly if you want your rotary to last. The idea is to remove the least amount of material as possible so the rotors seal properly and the engine doesn't leak. The plates can only be lapped a finite number of times. Several companies are now producing modern billet aluminium plates with removable steel liners which is a great idea as you don't need to scrap the whole plate when they eventually can't be lapped any more. 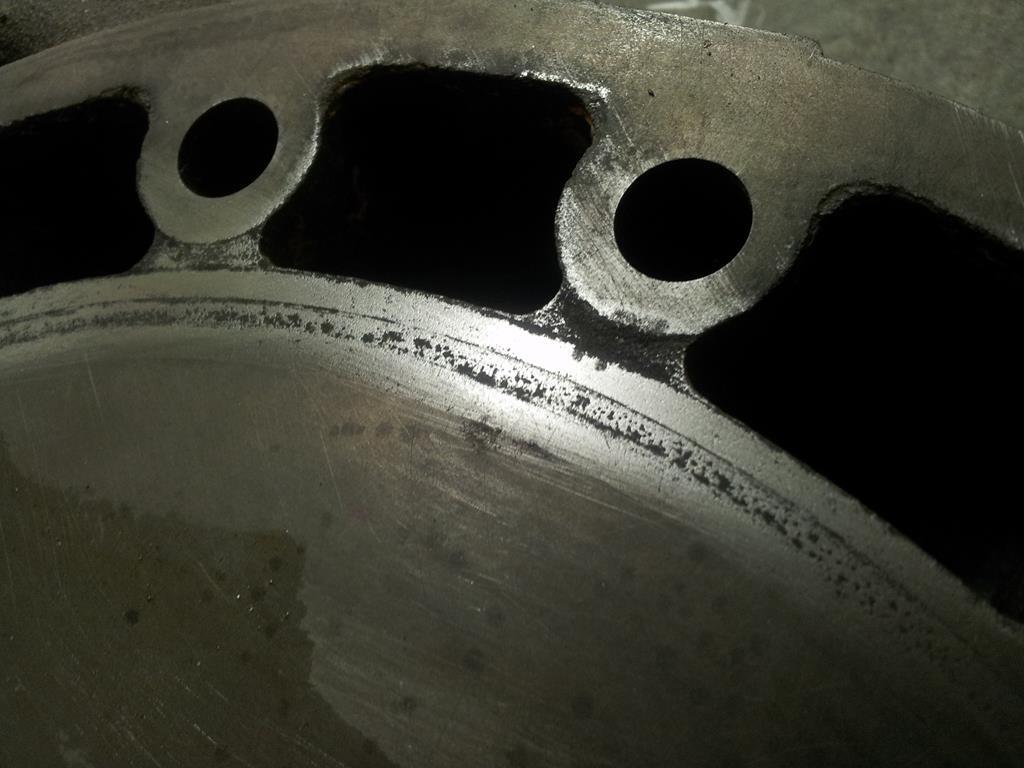 Back from lapping. 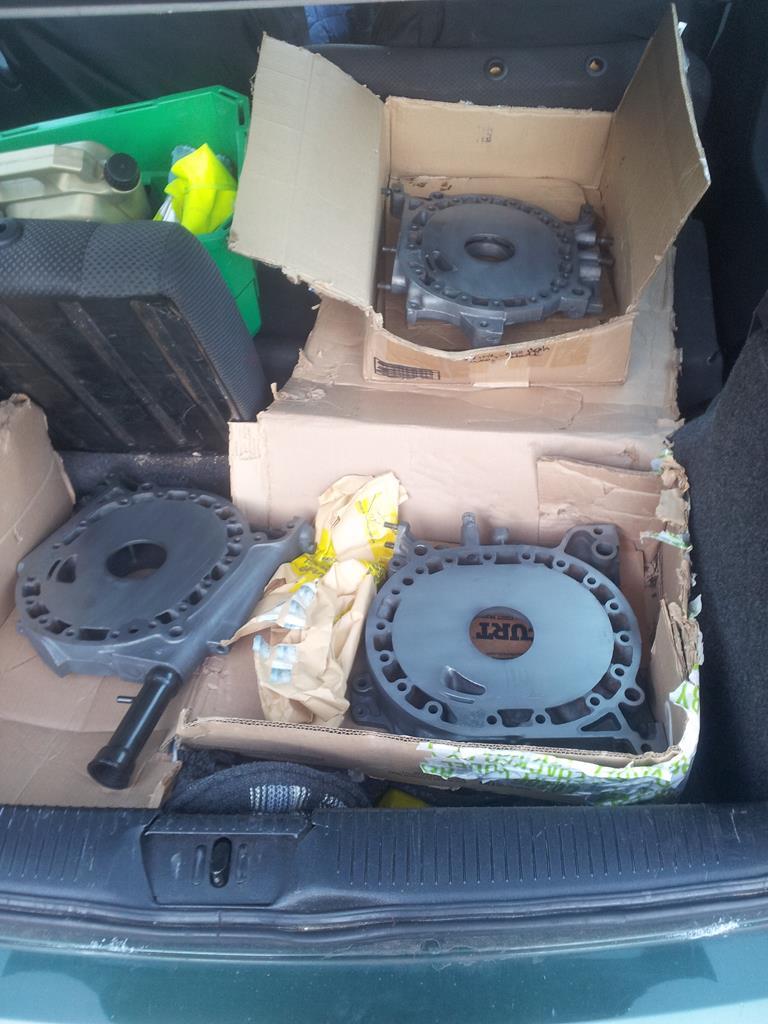 Lapped surfaces. 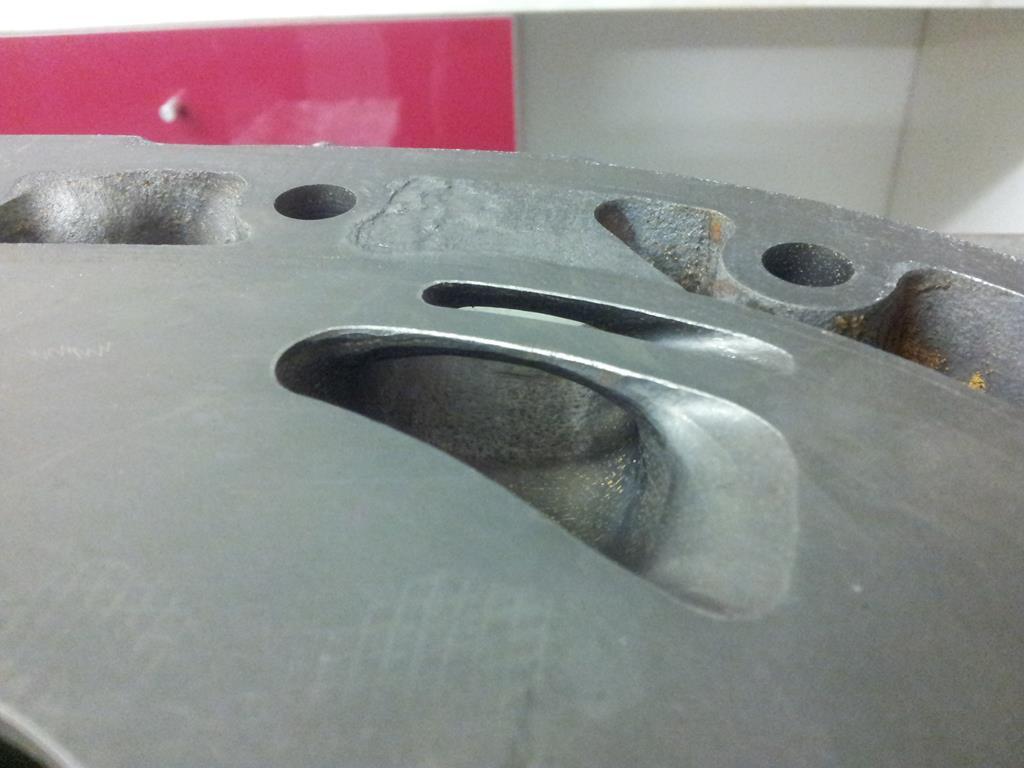 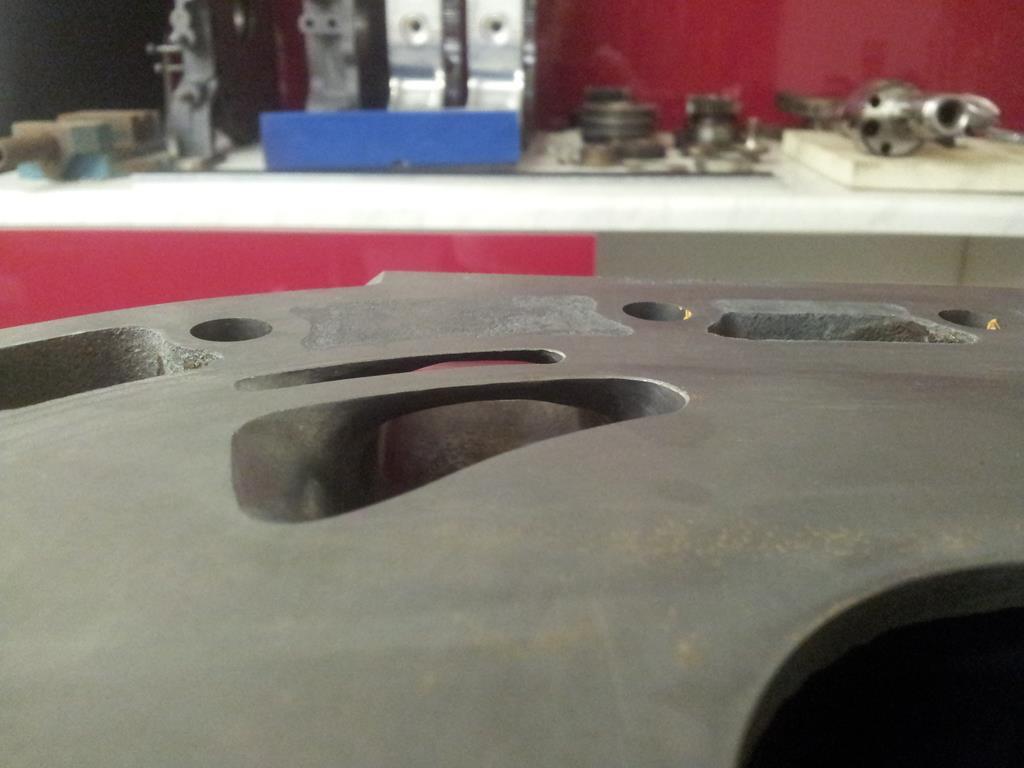 |
| |
Last Edit: Apr 29, 2020 9:18:58 GMT by dom10a
|
|
|
|
|
|
|
|
Yay. More Rotary goodness. About time Mr B 🤣
|
| |
|
|
dom10a
Part of things
 
Posts: 184
|
|
|
|
Yay. More Rotary goodness. About time Mr B 🤣 About time I joined the fold! It's going to take a while to get this thread up to date  |
| |
|
|
dom10a
Part of things
 
Posts: 184
|
|
|
|
|
|
| |
Last Edit: Apr 29, 2020 9:26:08 GMT by dom10a
|
|
dom10a
Part of things
 
Posts: 184
|
|
|
|
At this stage I couldn't resist mocking up the engine with the intake and carby in place. The carburettor is a 48 IDA by EMPI. The choice to go with EMPI over Weber was for a number of reasons, but cost wasn't one of them, the EMPI lightening my wallet far more than a second hand genuine Weber. The quality of the castings on the EMPI is also extremely good given the improvements that have been made in this area since the original Webers were made.  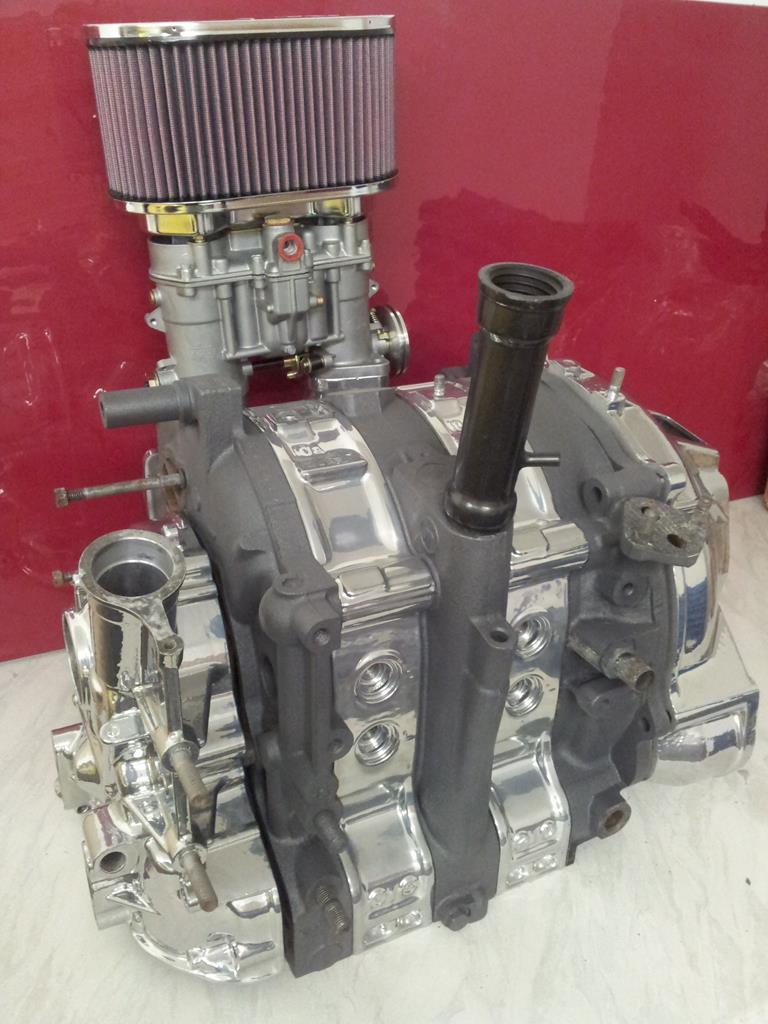 |
| |
Last Edit: Apr 29, 2020 9:33:01 GMT by dom10a
|
|
dom10a
Part of things
 
Posts: 184
|
|
|
|
The serious work of checking all the measurements, clearances, and tolerances of the engine then started. This took several days but is arguably the most important part of rebuilding a rotary. Something as simple as a side seal clearance being too tight could mean engine rebuild No.2. The nice thing about these old 10A engines is that they ran carbon apex seals which provide a nice soft seal against the chrome rotor housing surface. As a result, there was practically no wear or damage to the rotor housings. Most parts of the engine were in spec. The bits that weren't were the rotor bearings and the eccentric shaft bearings, which were replaced. I took the opportunity to upgrade the e-shaft rear bearing to a race spec version with 3 oil holes rather than the usual 1. The vertical marks in the rotor bearing are from measuring the ID of this with an internal bore gauge. This only marks the soft babbit material in the bearing and does not damage the bearing itself. The holes in the rotor bearing are to allow oil to flow from the eccentric shaft, through the bearing to lubricate the bearing but also to cool the rotors. I enlarged these holes fractionally to allow a little more cooling to the rotors and better lubrication of the rotor bearings. NOS carbon apex seals were sourced from a Mazda dealership in New Zealand. They were the last set they had. Supply of these parts is getting very low now and will rely on aftermarket before long. The main checks on the engine components include: Eccentric shaft bearing journal OD Eccentric shaft bearing ID Difference between the above being within specifications Rotor journal OD Rotor bearing ID Difference between the above being within specifications Eccentric shaft run out Rotor width Rotor housing width Difference between the above being within specifications Apex seal thickness Apex seal groove width Difference between the above being within specifications Side seal thickness Side seal groove width Difference between the above being within specifications Corner seal hole ID Corner seal OD Difference between the above being within specifications Flatness of rotor housing (measured using straight edge and feeler gauges, see photo below) General inspection of rotor housing chrome surface for damage. General inspection of rotors for damage. General inspection of eccentric shaft for damage. 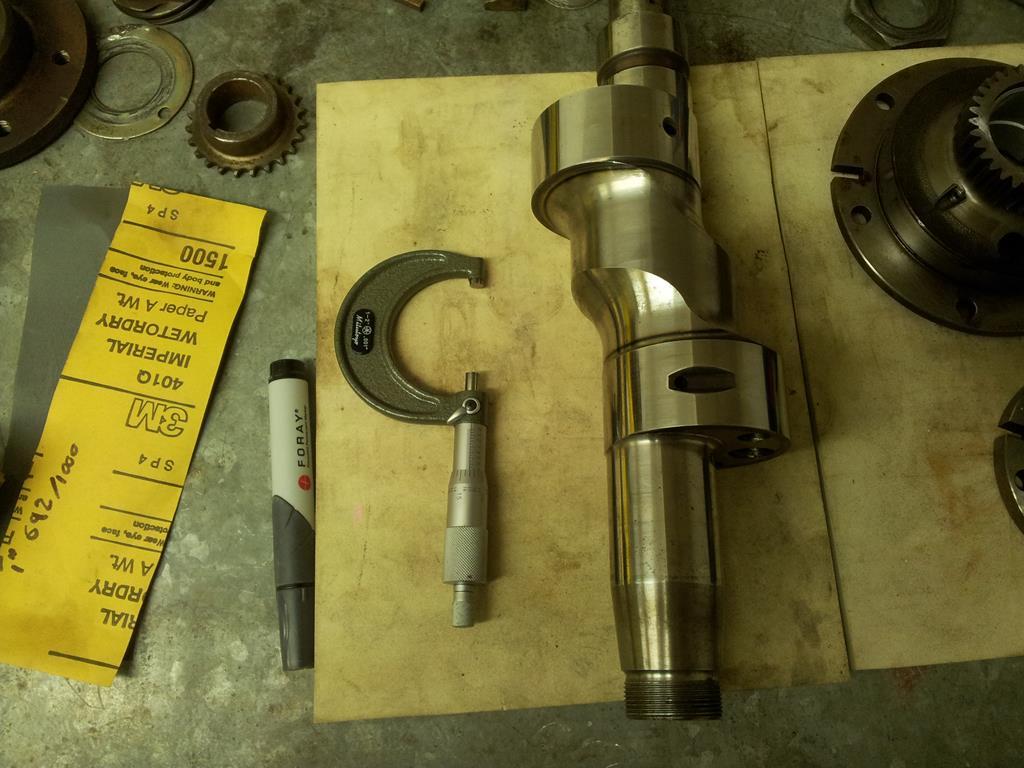 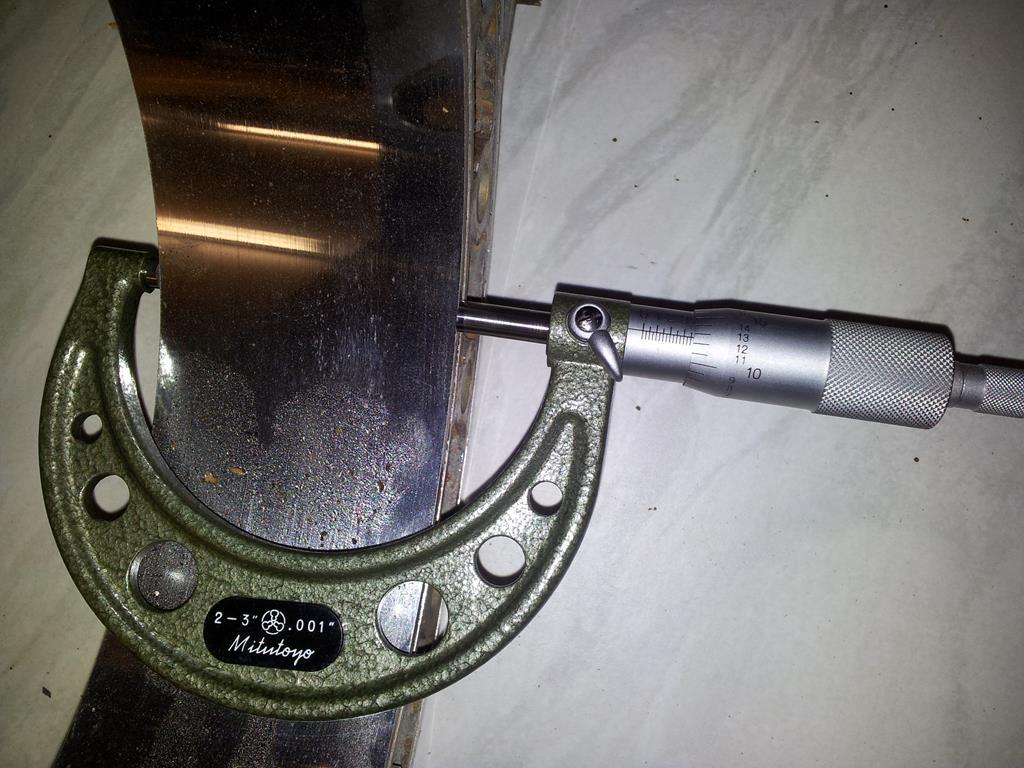 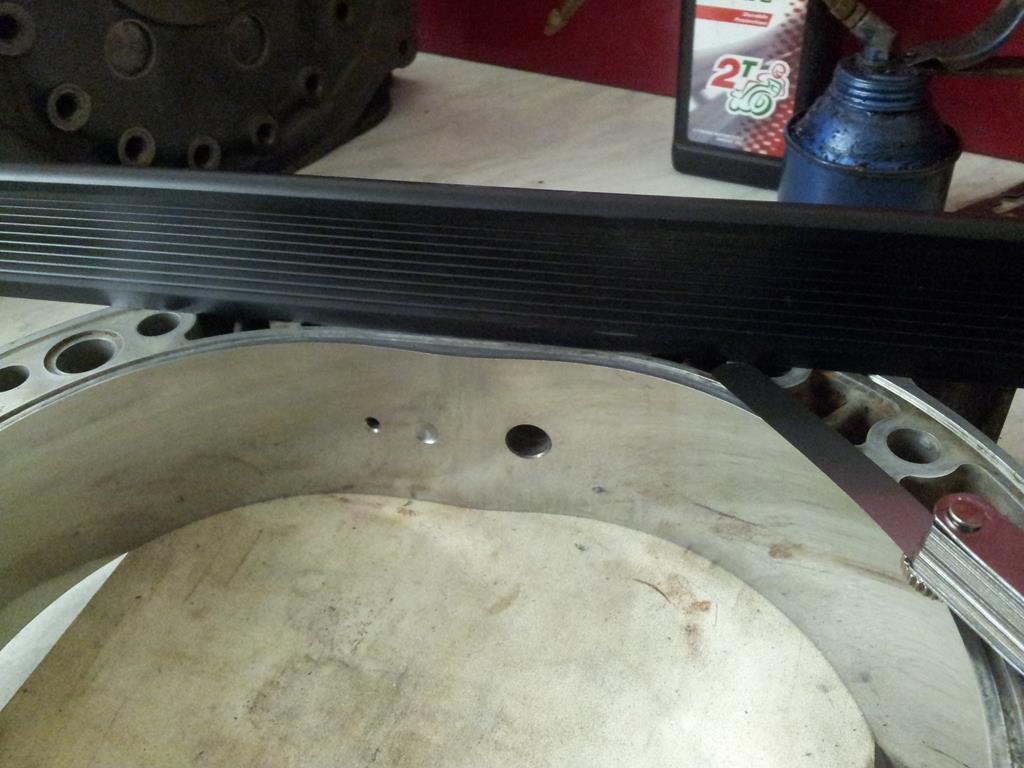 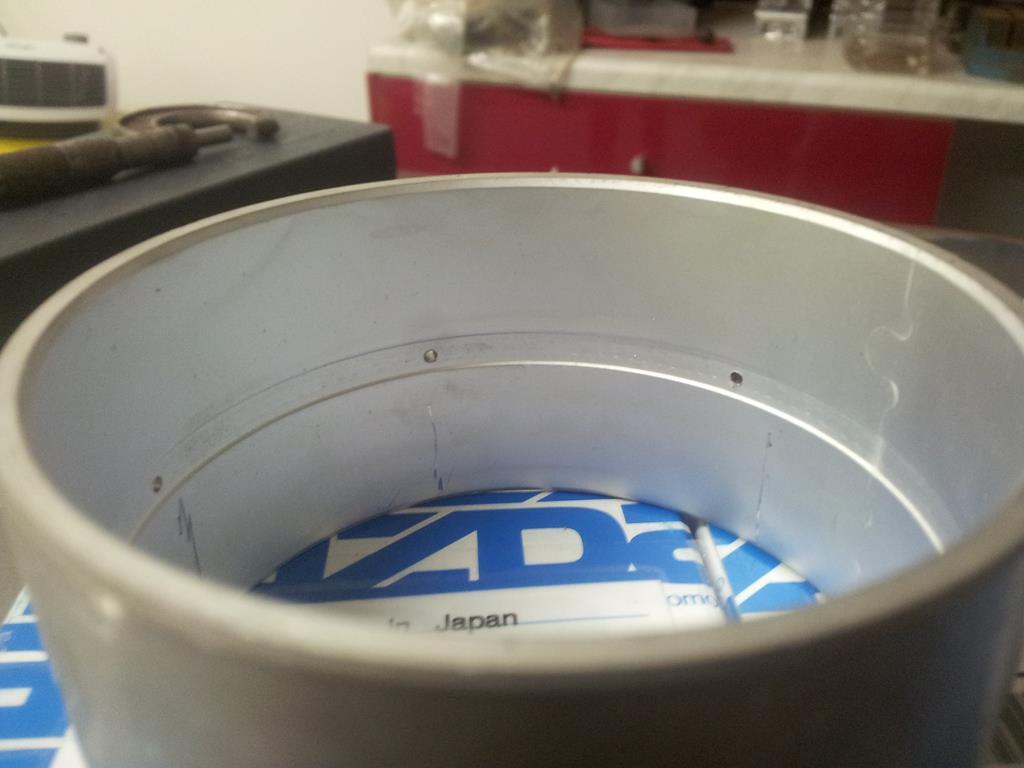   |
| |
Last Edit: Apr 29, 2020 9:55:54 GMT by dom10a
|
|
dom10a
Part of things
 
Posts: 184
|
|
Apr 29, 2020 10:09:24 GMT
|
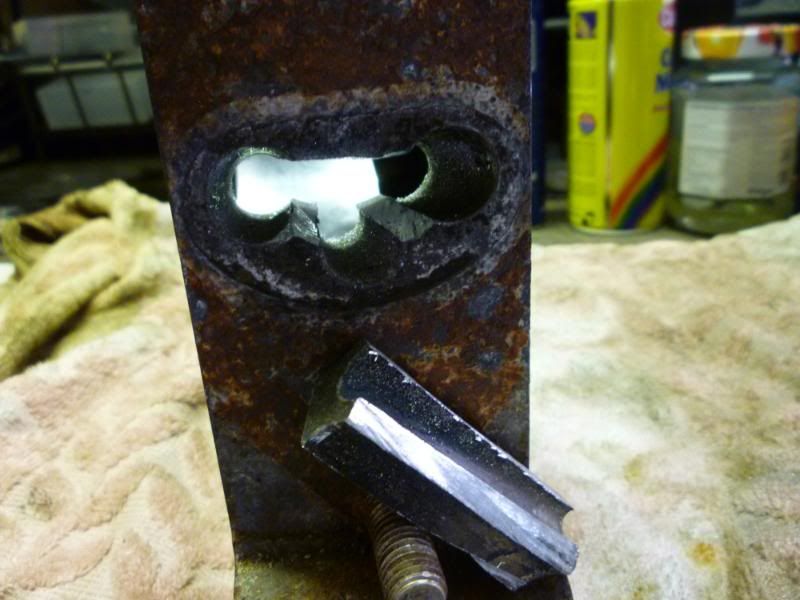
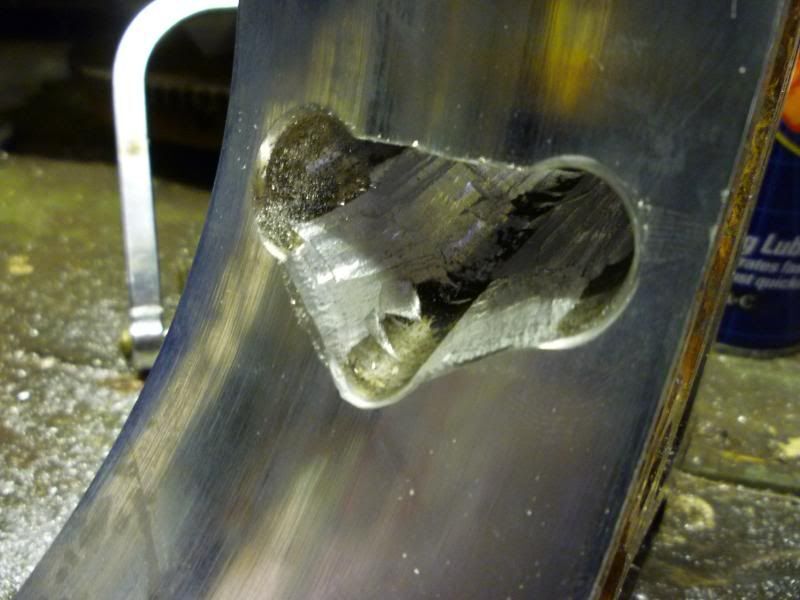
Before the rebuild could start, some more modifications were made to the engine. The stationary gears, which bolt to the end plates and in combination with the eccentric shaft force the rotors to make their epitrochoidal journey around the housing, thus creating the four stroke cycle of intake, compression, ignition, and exhaust, undergo a huge amount of stress. On high revving rotors, these can fail. The advantage of the 10A over the larger later engines (12A, 13B) is that the rotors are very narrow, and hence lightweight. This means 10As can rev like crazy, and lure you into revving the nuts off them. The stationary gears are however the weakest link here, so I swapped these out for stationary gears from a 13B NA FC Rx7. These are far tougher than the 10A stationary gears, but because they support the wider 13B rotor, the gears are also too long and needed to be ground down to length. This leaves a very sharp edge to each tooth so I went about chamfering the edges of the teeth so these wouldn't damage the rotor gears that they engage with. The stronger stationary gears, combined with balancing the entire rotating assembly (later post) should mean the rev limit on this engine can be significantly increased. Only time and testing will tell what the safe limit is. 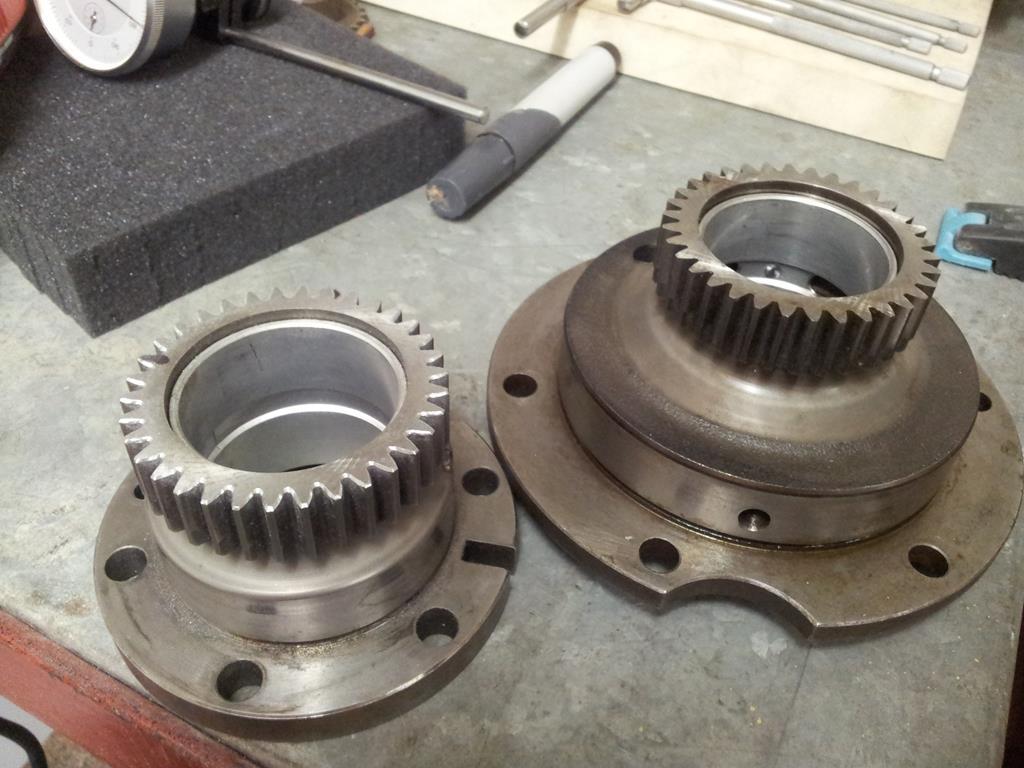  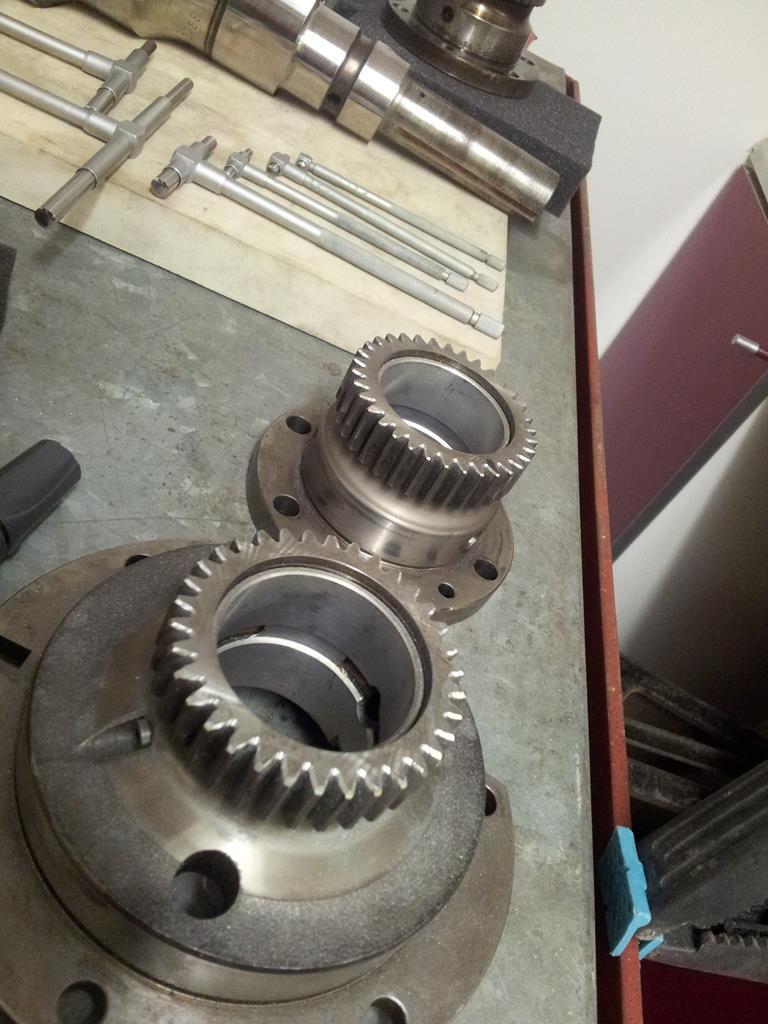 |
| |
Last Edit: Apr 29, 2020 10:09:57 GMT by dom10a
|
|
|
|






 Hope all is well. Can't believe it was 3 years ago me and Jesse came down to grab those parts. His Fb is mental now with Tim's old 13b turbo in it.

