|
|
|
Apr 25, 2020 11:29:16 GMT
|
Hi all, as I mentioned in my Project Wheel-Vo thread I'm moving on to pastures er.. smaller, which means a new workshop in my garden. Nows the point to mention that my woodworking skills are not that great, so please don't be offended if some (ok, lot's) of bit's look a bit wonky! Anyway.. This build starts back in November last year, not ideal weather wise for this sort of thing! This is really a tale of 2 sheds and a demo-cabin as you will see.. As this is a budget build I needed to find/use as much recycled wood as possible, which is where shed No 1 comes in. A big thank you to my Wife's daughter Lisa for letting me have a shed that wasn't going to be used.. No photo's of it before it was taken down, but here's one showing how it arrived at my place  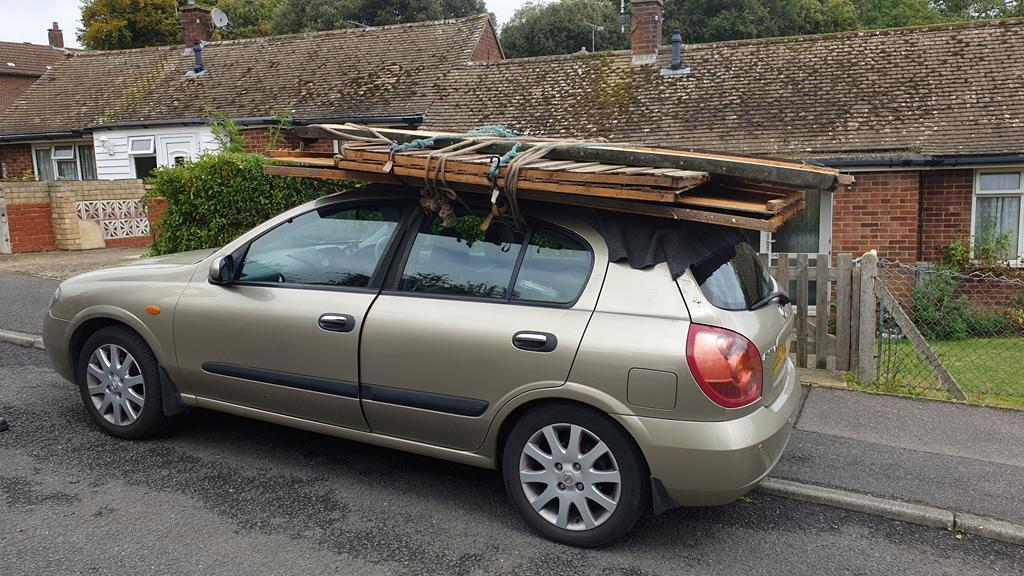 This is where the demo-cabin comes into things. There used to be a company trading at the end of the nursery (where my old workshop was) that sold posh wooden cabins.. To show their wares they had a demo cabin built that had different cladding on each side ond inside! Companys come and go, and this one went leaving the demo cabin behind for at least 5 years, maybe longer.... HHmm... Look at all that usable wood thinks me...  One chat later and I had bought it for the amazing price of £50 ! Of course no photo's of the cabin before Rob and I started taking it apart, but here's a couple of the naked frame. 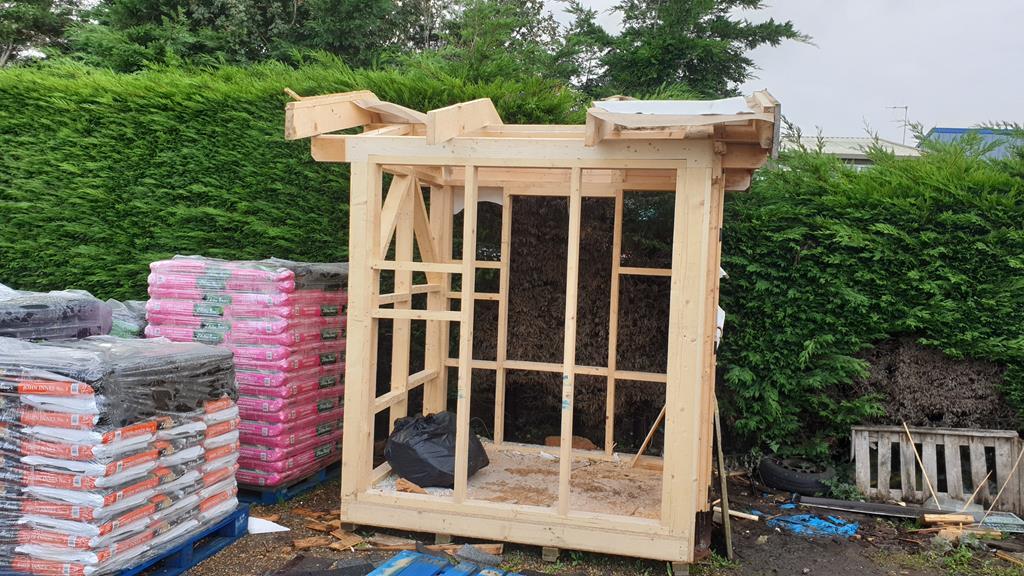 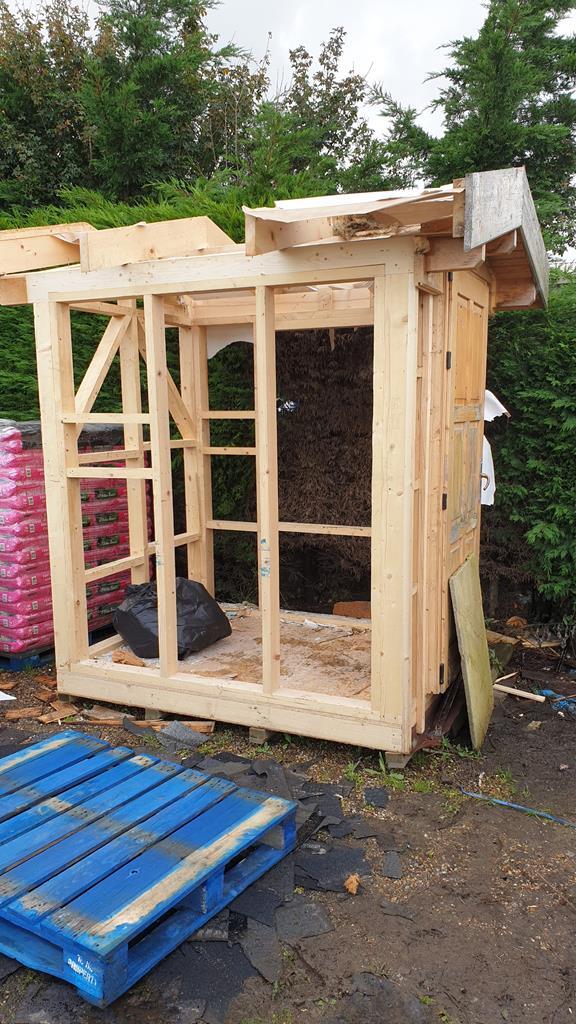 The only problem using used materials is they tend to have lot's of nails/screws/big staples holding them together which means a lot of the timber came off looking like this! 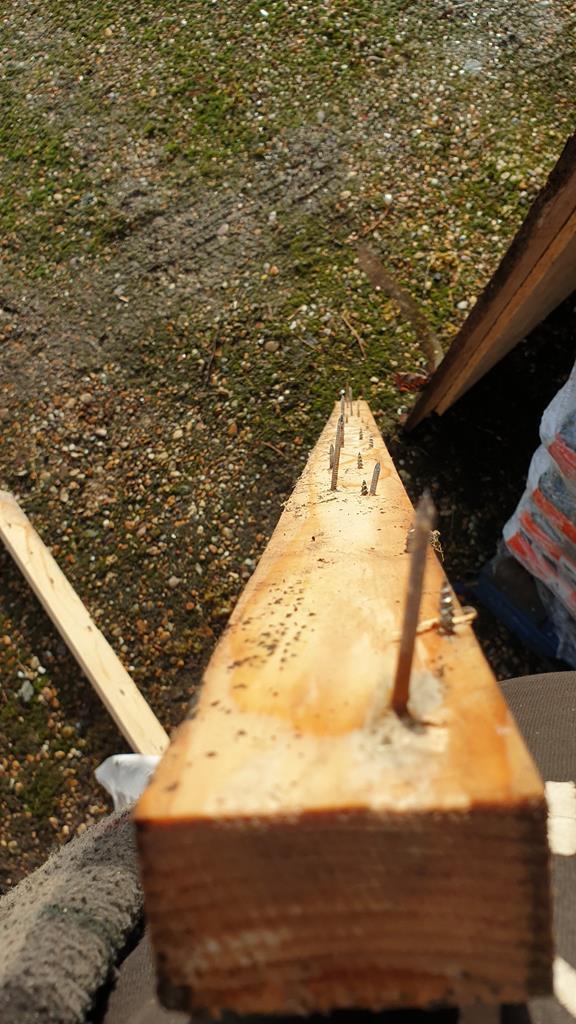 All the wood and tools were transported about the site on this trolley thingy. 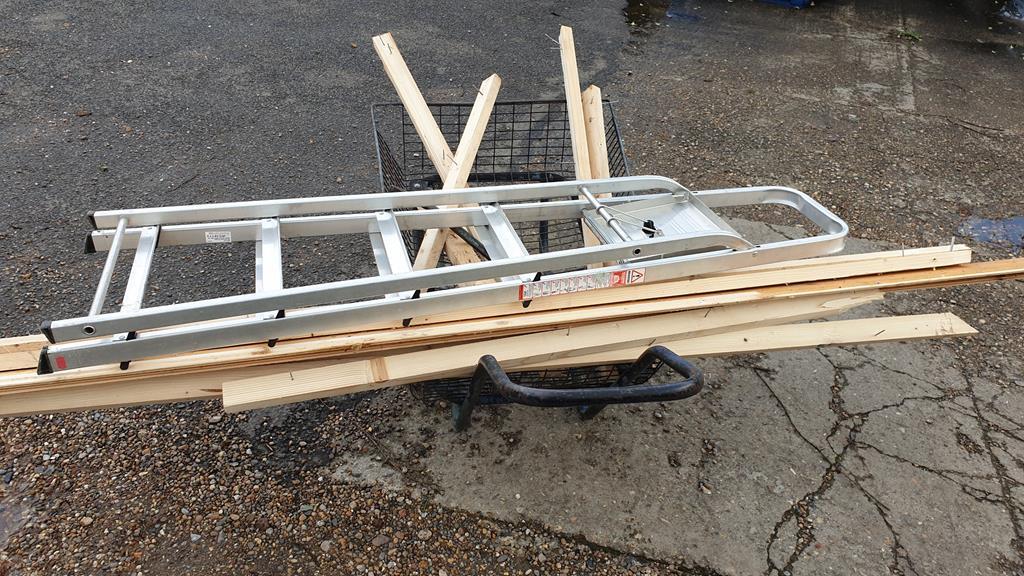 Having taken the timber off it needed to be stored somewhere.. yep the workshop! This will give you a clue as to the vast amount of wood came off the cabin and this is only the ouside, inside and roof cladding! 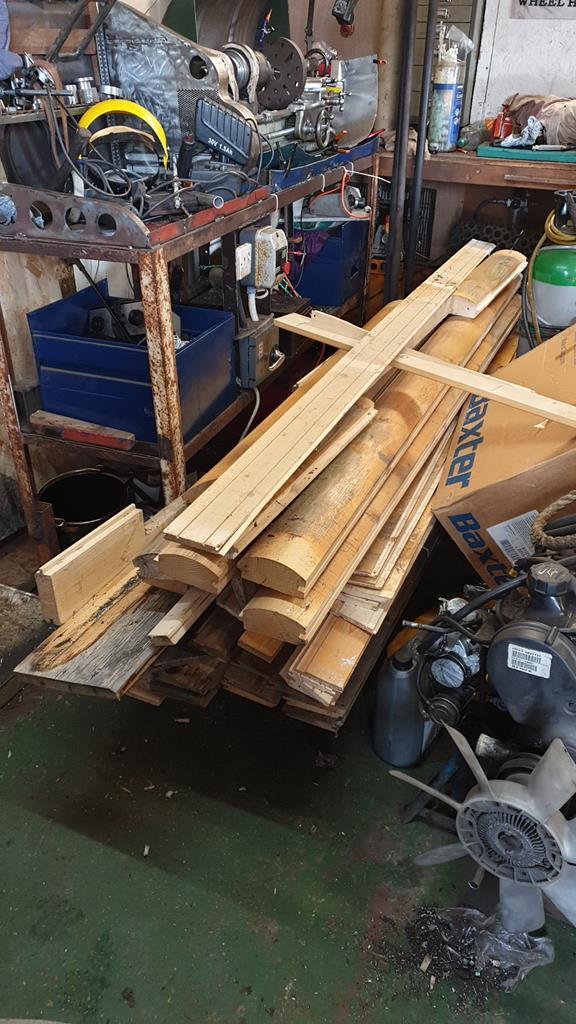 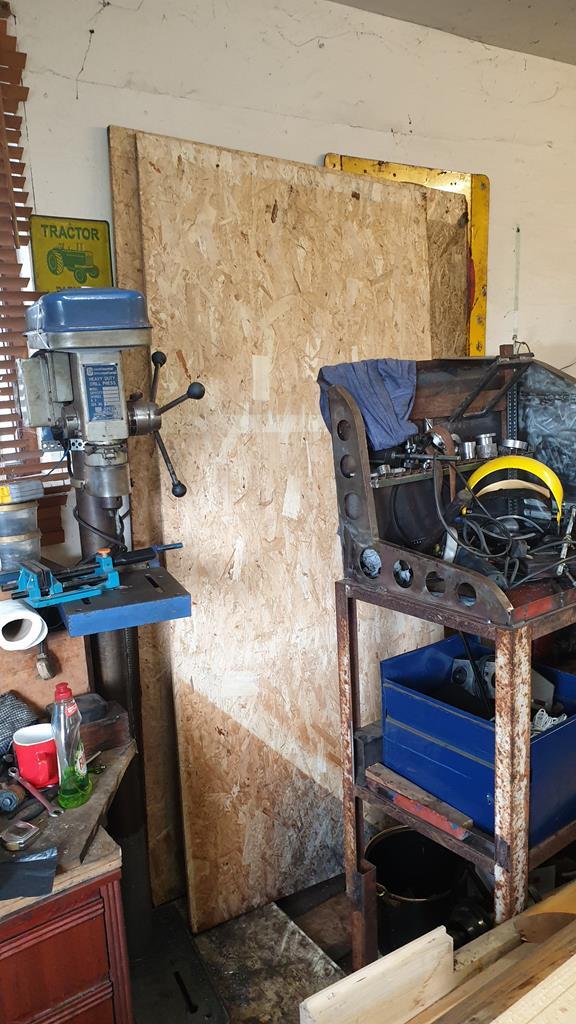 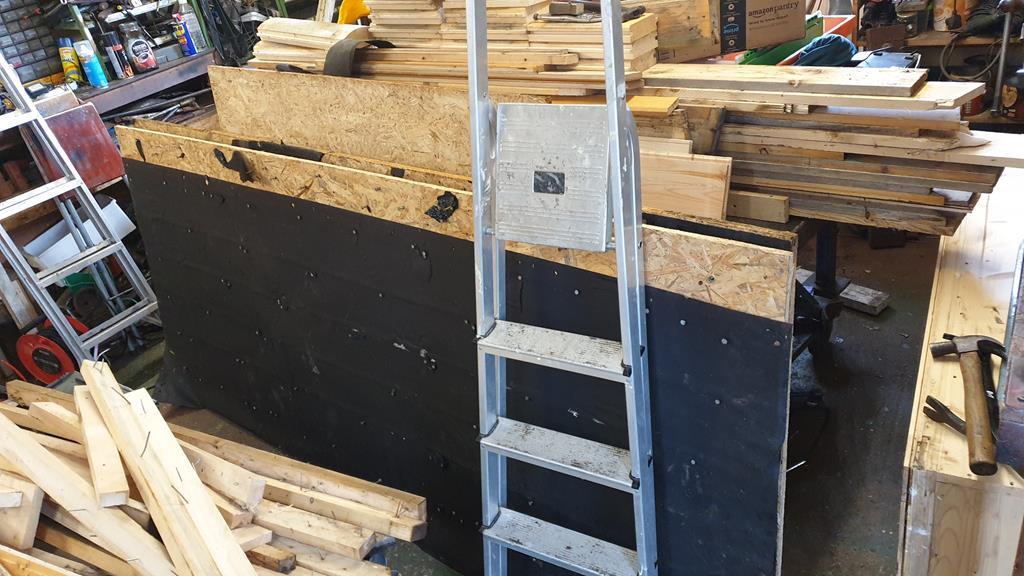 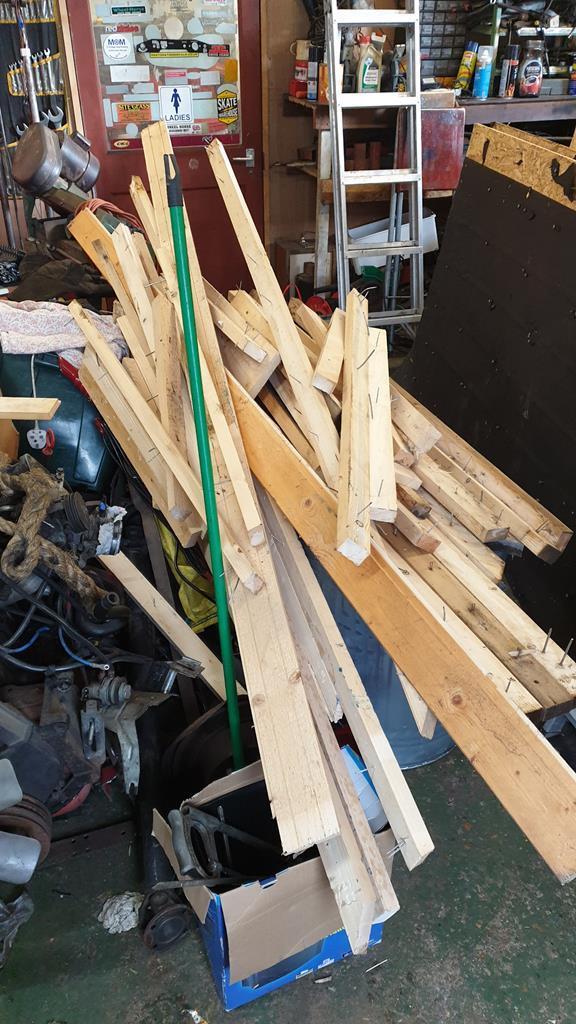 The cabin also came with this funky double glazed window that opens both ways! 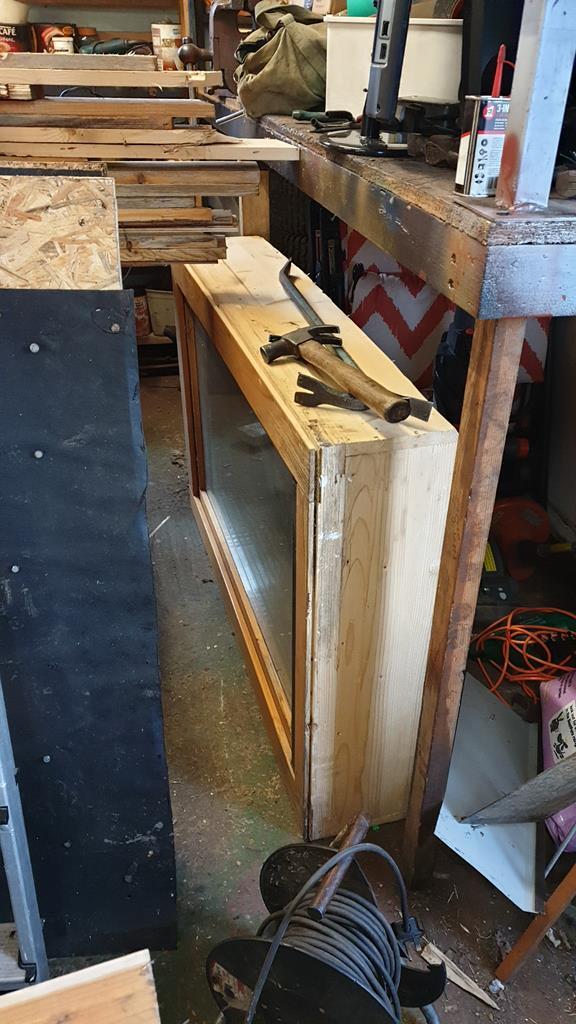 Shed No 3 I actually had already in the garden, but it was showing it's age with a rotten back panel, and load of rot else where.. Still, a lot of usasble panels on it  As it tradition, no photo's of it complete, but here's most of it leaning against the bungalow. 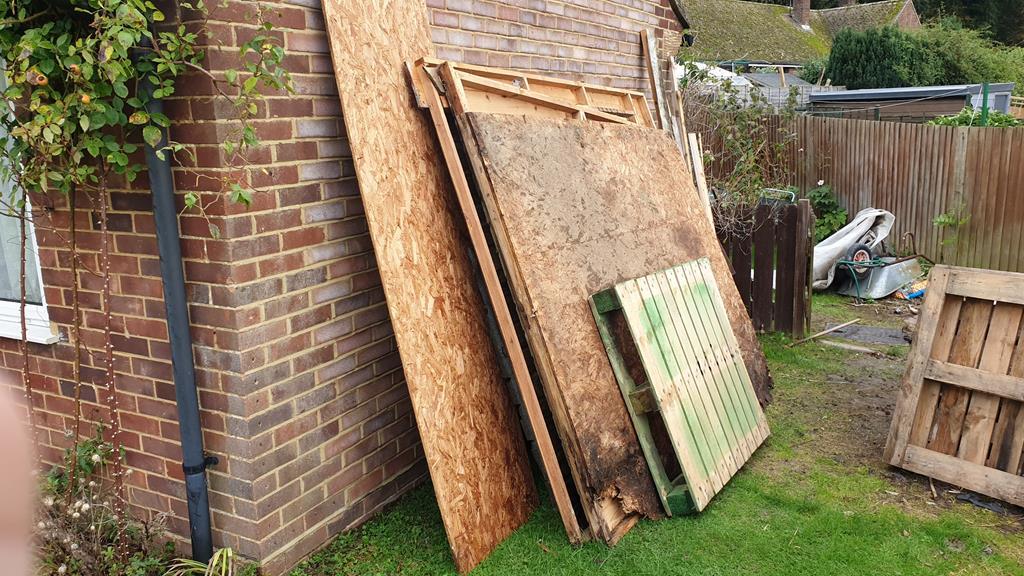 Under the shed was this mess, the concrete post did come in handy for resting pallets on though  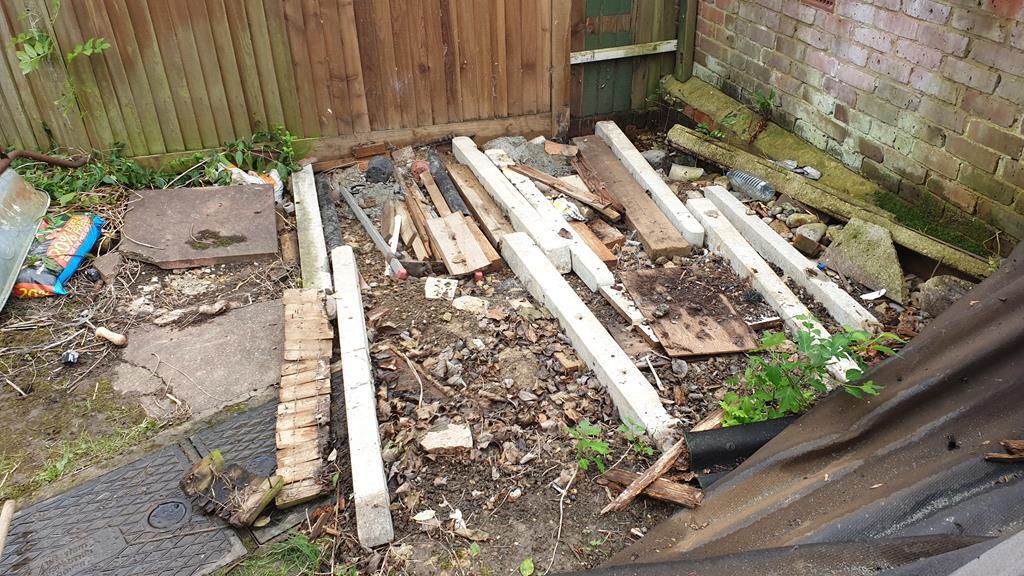 Pallets?  Yep the base of the new workshop will be pallets with a layer of OSB Board. Well, I did mention that this was to be a very cheap build.. Anyway, my body is far too old and worn out for concreting! 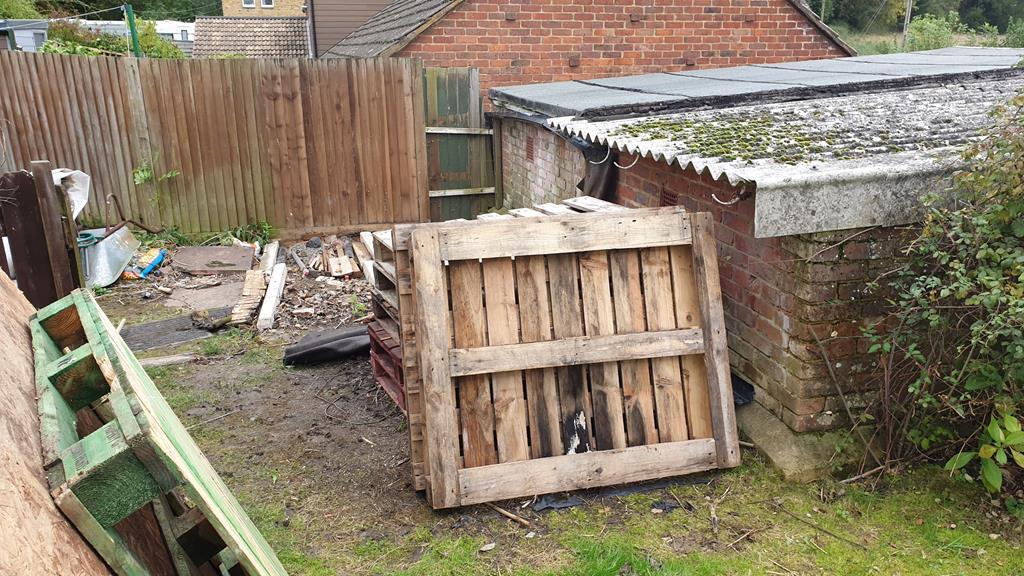 Lyla in pallet watch  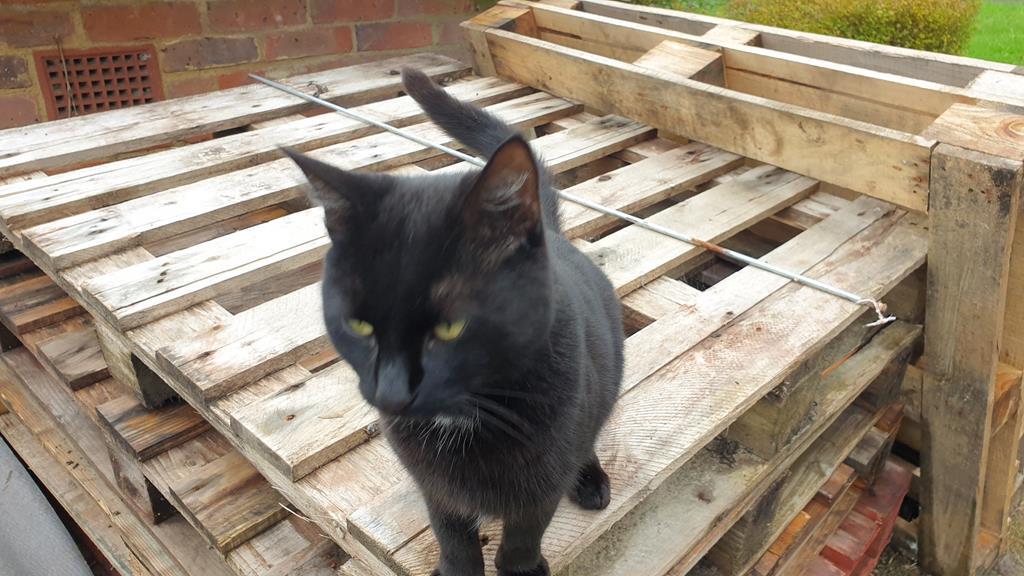 The weather has been against us with this build, lot's of rain most of the time it felt! Eventually the cabin frame came down, here it is along with the posh door that needs some rot sorting out. 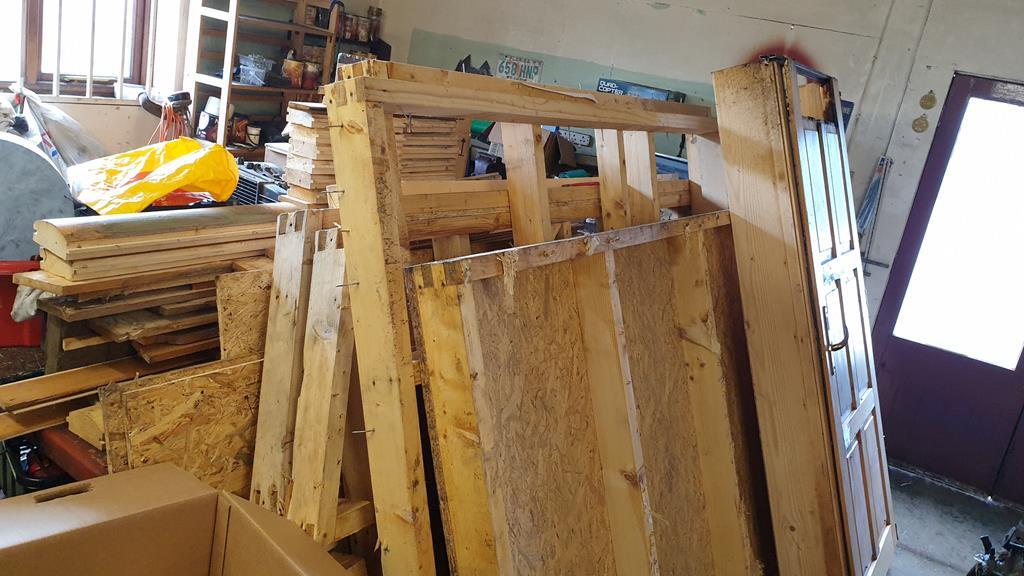 Best get it all home then.. And before you ask... No I didn't transport this lot on the roof of a car  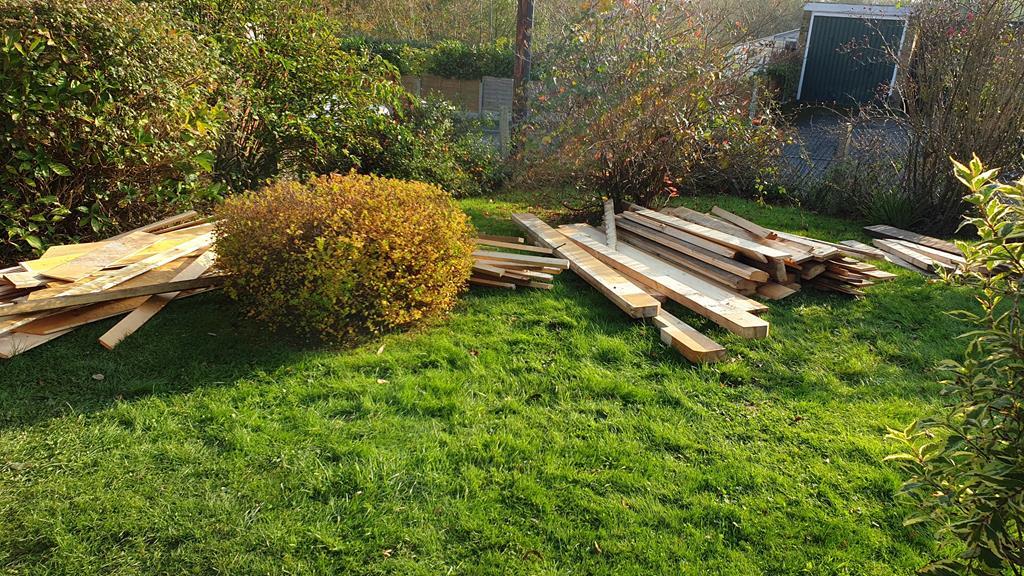 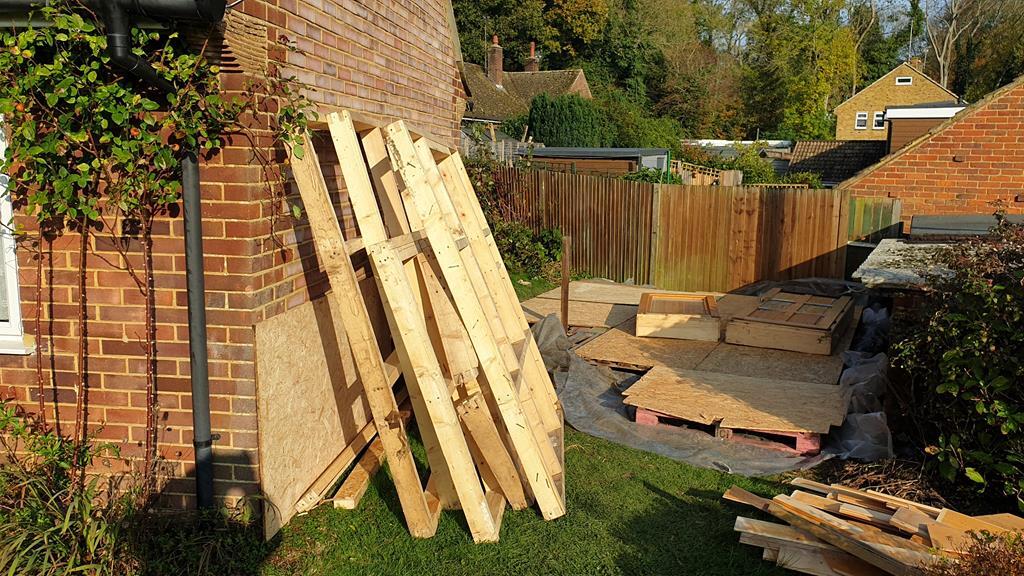 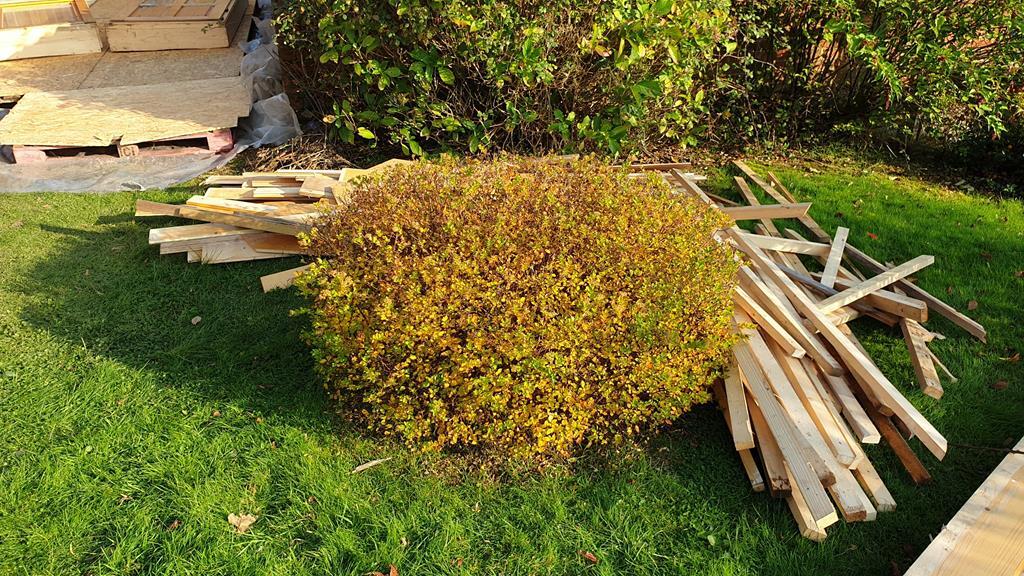 |
| |
My YouTube Channel www.youtube.com/user/UkWheelHorseBlokeQuote - D'you know, it's people like you, doing totally brilliant and pointless stuff like this that gives me a little hope for humanity |
|
|
|
|
|
|
Apr 25, 2020 11:42:06 GMT
|
When the weather was nasty I've been spending time at the workshop getting things dismantled and packed into boxes. It's nice to have some space to do this now all the wood has been moved. A few mostly empty shelves and things like the bench grinder and storage unit unbolted from the bench/wall. 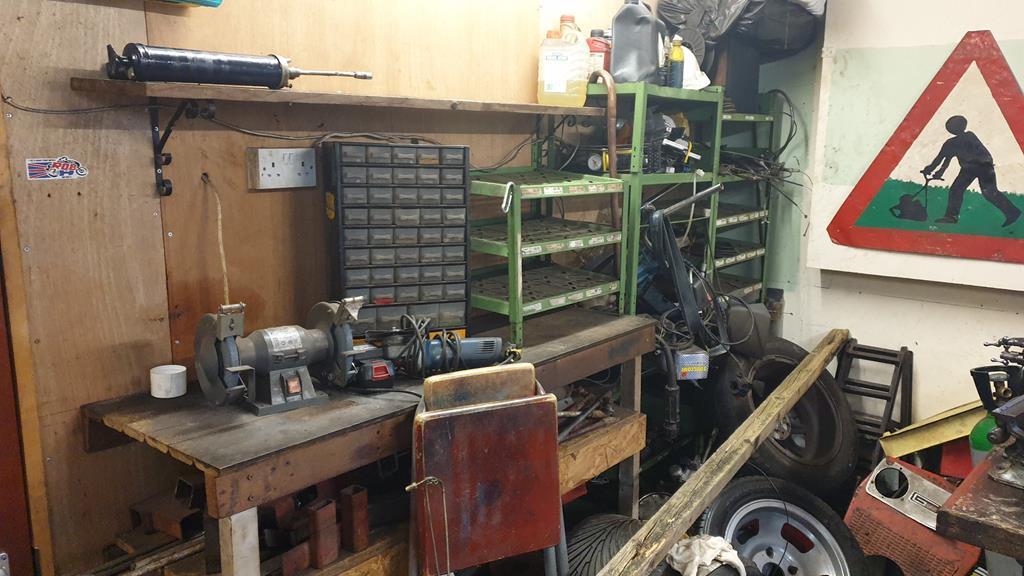 The lathe bench is very empty, taking the lathe off makes it a tad lighter to move. 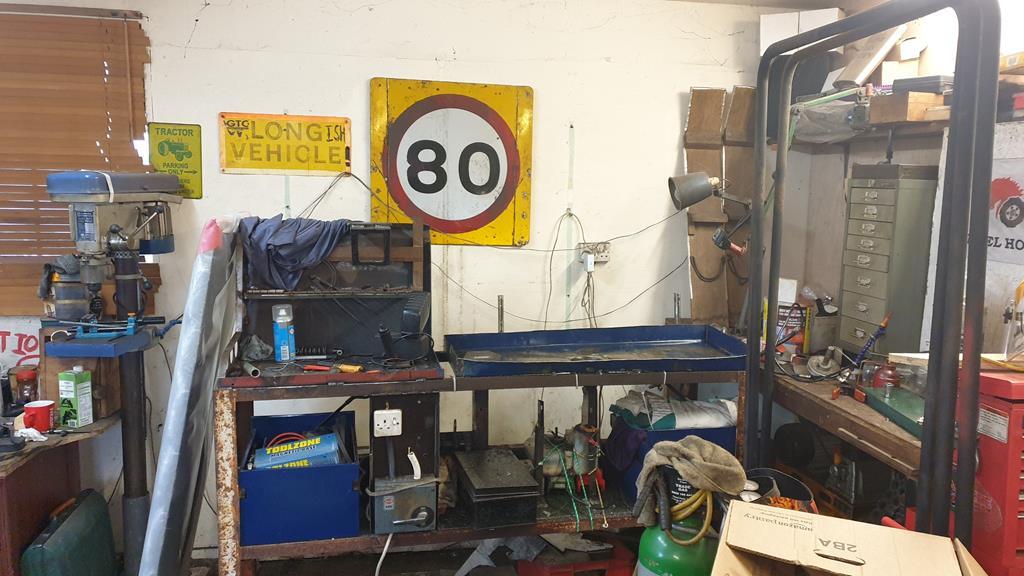 The lathe is on the big bench along with a few packed boxes. 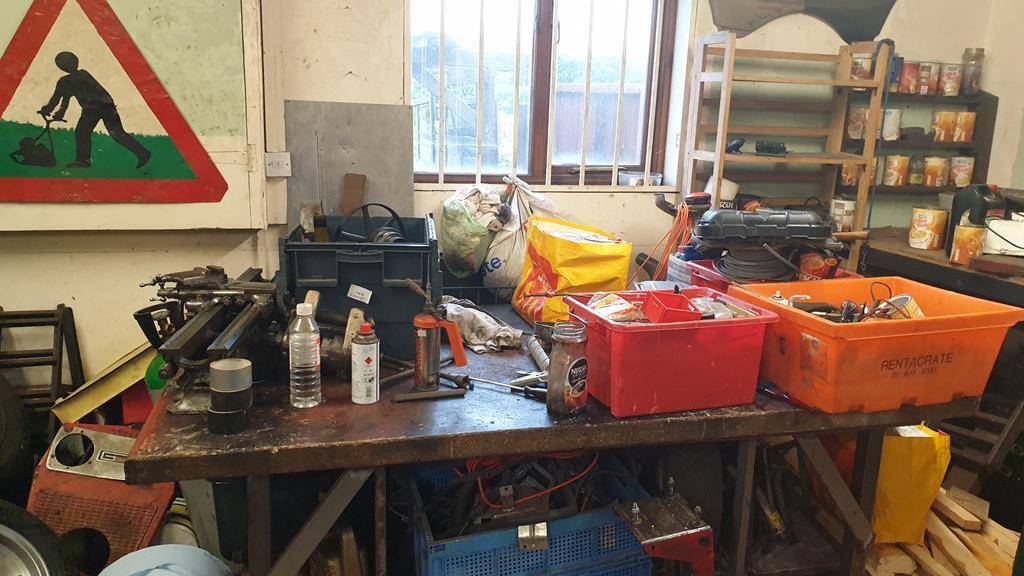 Sooo.. Back to the garden and the workshop and panels are slowly going up. This is one end wall made from 1 shed side panel, the frame from the back wall of the demo-cabin and a lot of tongue and groove. 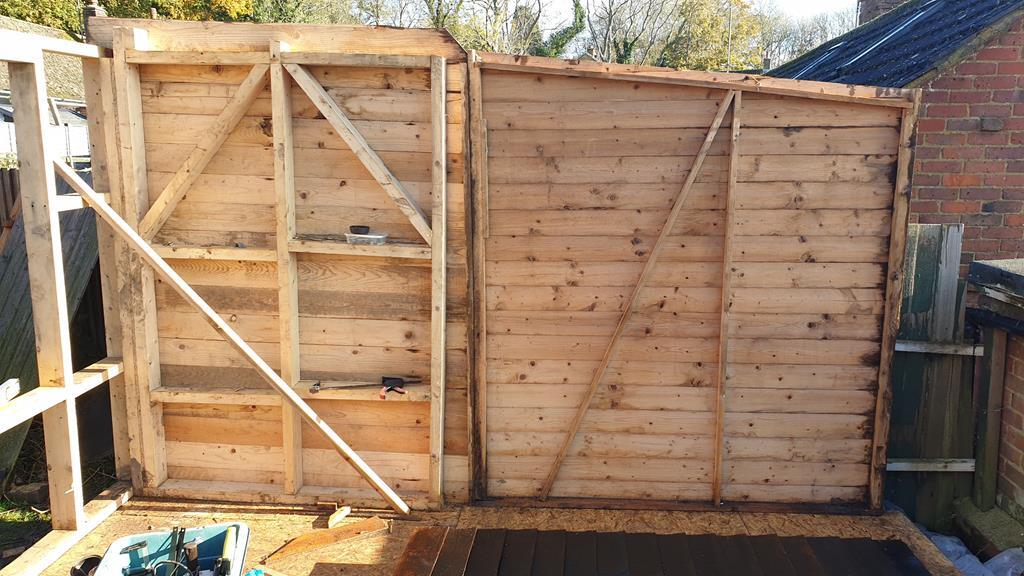 Leaning against the wall are one end panel for the small end of the workshop/shed and one of the back wall panels which is made from cabin floor frame and a shed rear panel. 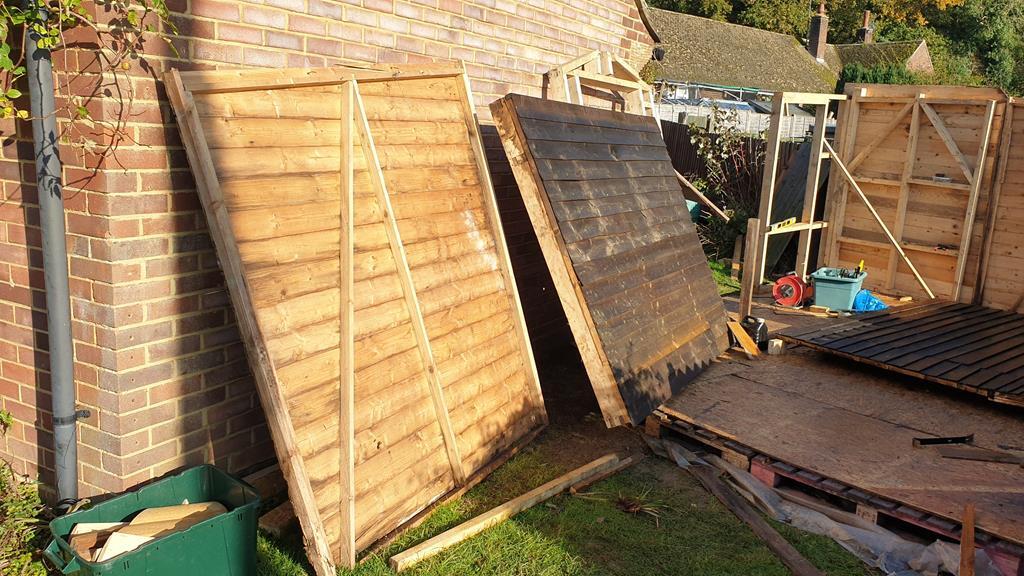 And ready to go up is the other rear wall panel. This was made using the cabin side wall frame and a side panel from a shed.. You can see where it's been extended in height by 3 boards and lengthened a bit as well. 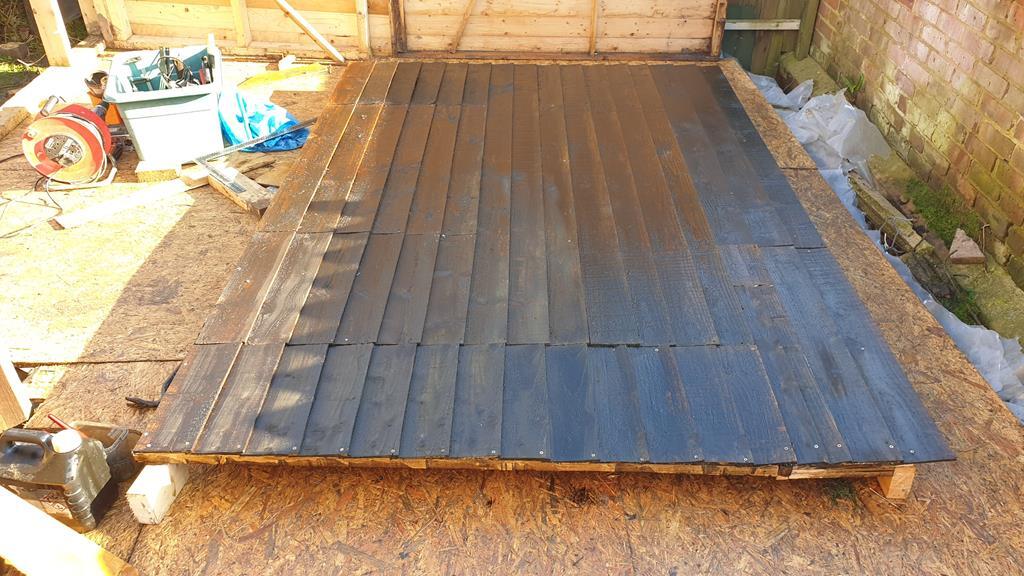 What is a bit hard to see in the above piccy is the boarded up window opening. This will get a window put in it at some point, some extra light in the workshop is always a handy thing   Back wall and most of the small end wall up.. Rob is enjoying a much deserved mug of coffee.. 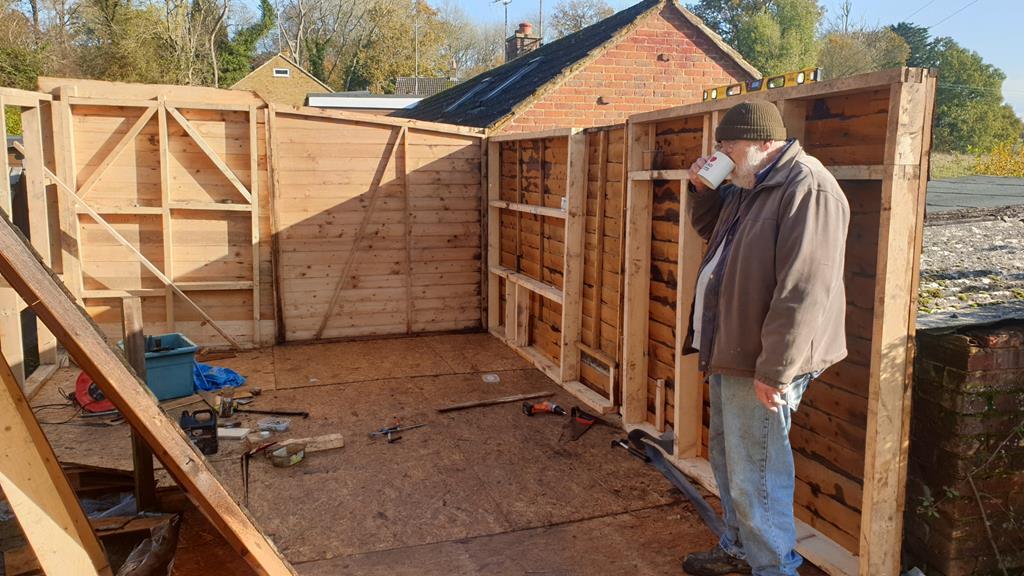 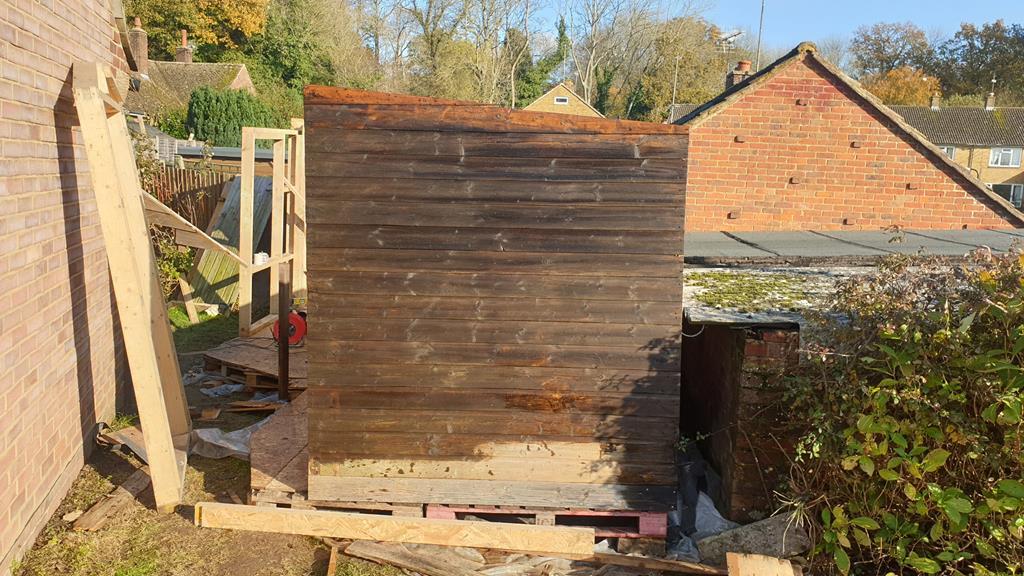 As you will of noticed on the inside the workshop looks a mish-mash of panels.. 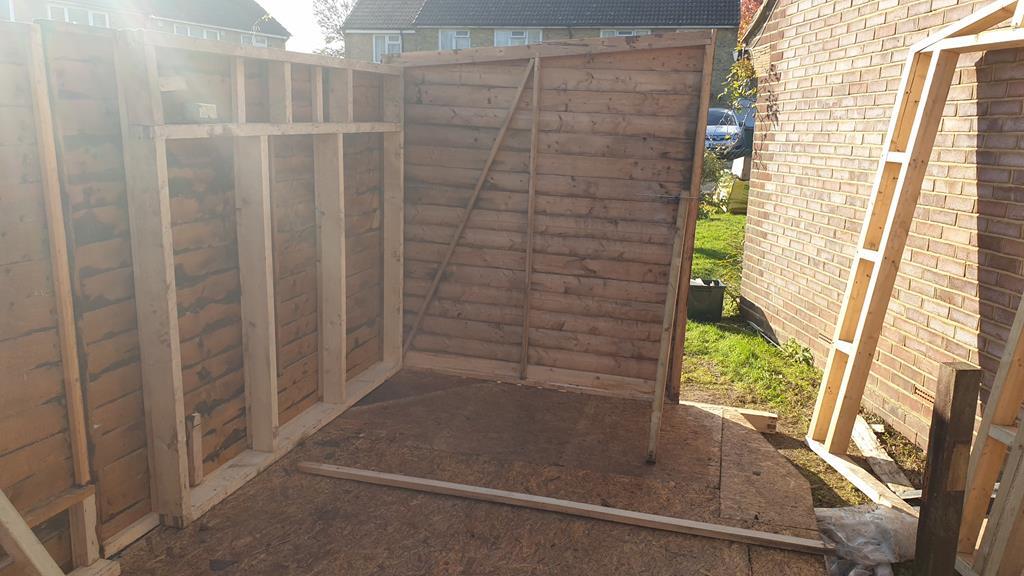 But on the outside it looks a lot more presentable  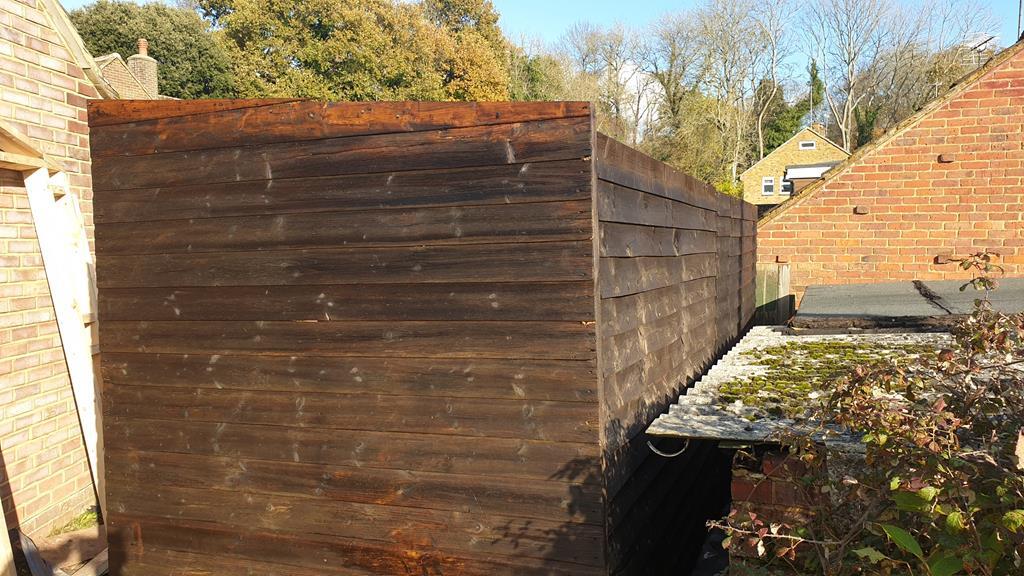 Loads more to come, need foooood  |
| |
My YouTube Channel www.youtube.com/user/UkWheelHorseBlokeQuote - D'you know, it's people like you, doing totally brilliant and pointless stuff like this that gives me a little hope for humanity |
|
|
|
|
Apr 25, 2020 19:11:27 GMT
|
The next bit of frame has gone up, the opening with the two planks fixed accross is where the shed (not workshop) door will go.. well, it will once I've cut a couple of inches off the base and fixed the rotten door bottom. The last remaining open bit of the small end wall has been clad filling in that gap, but I've not taken a pic of that. Those of you who spotted the word shed abobe may well be wondering quite what's going on. Part of the deal with my Wife was a small part of the shanty shack must be used as a shed and kept seperate from the workshop... Something about creating lot's of dust I think  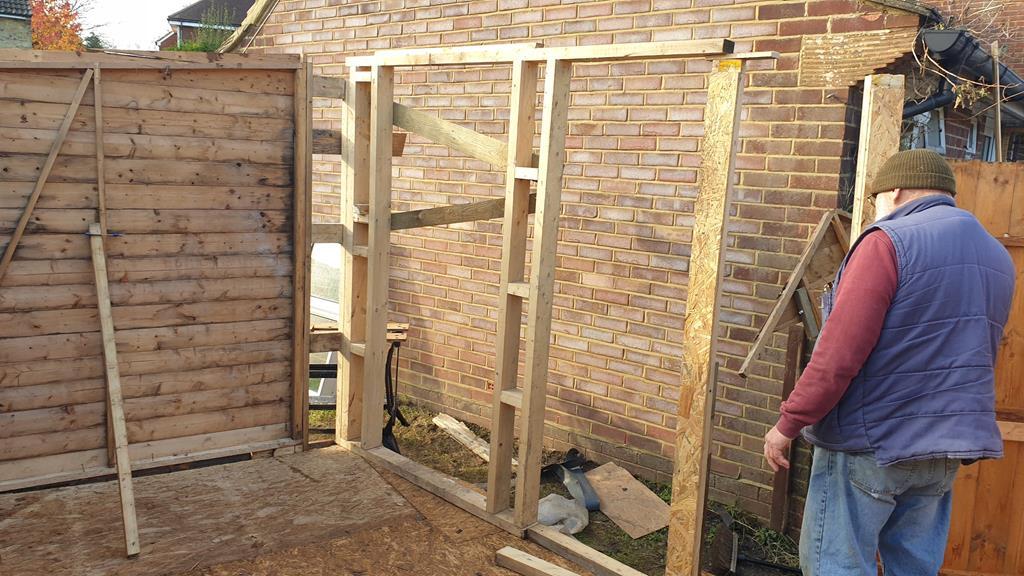 Rob roughly putting the next door post in place to have a look. 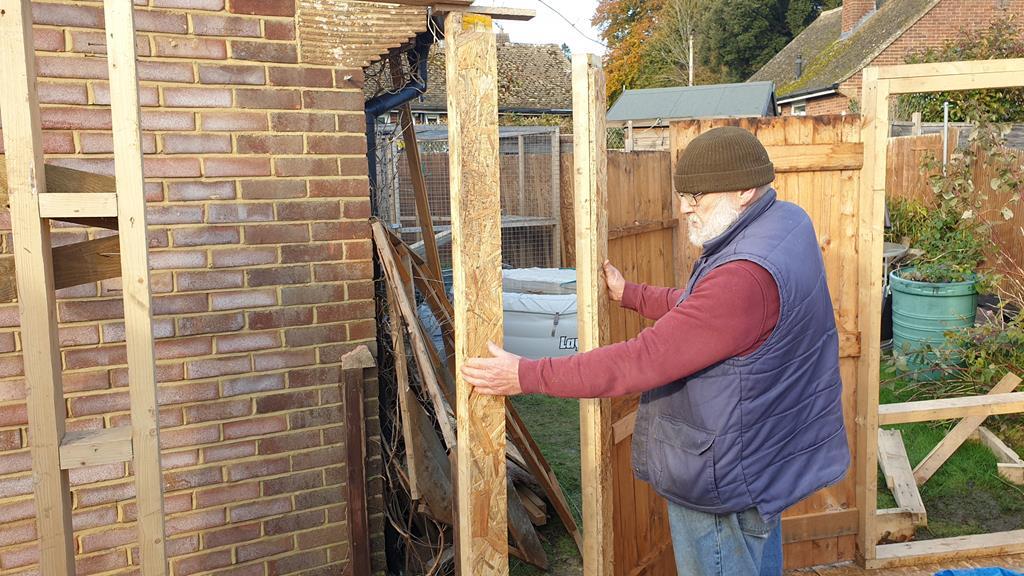 Speaking of doors... Here are the two workshop doors roughly in place.. One door isn't quite wide enough, and as there isn't a long enough bit of wall to get the doors side by side without loosing a window, round the corner they have to go  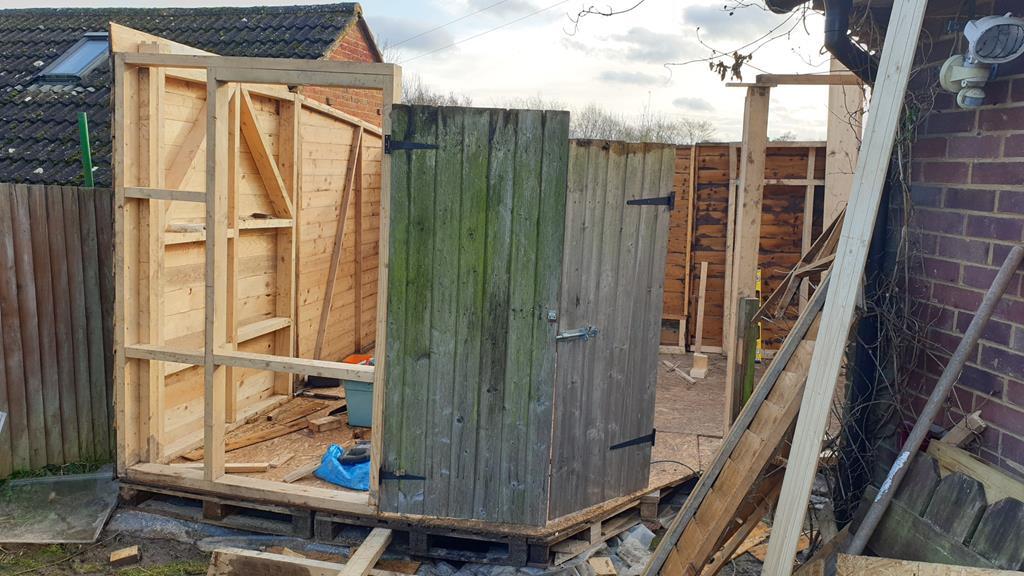 It's amazing what you can get find after a quick chat with the local builder who happened to be walking past..  On the off chance your reading this Sam, thanks for the window.. This window will go in the back wall at the top to let the sun and heat in.. Free light and warmth.. Worth the agro of taking the wall panel out to fit the window.. 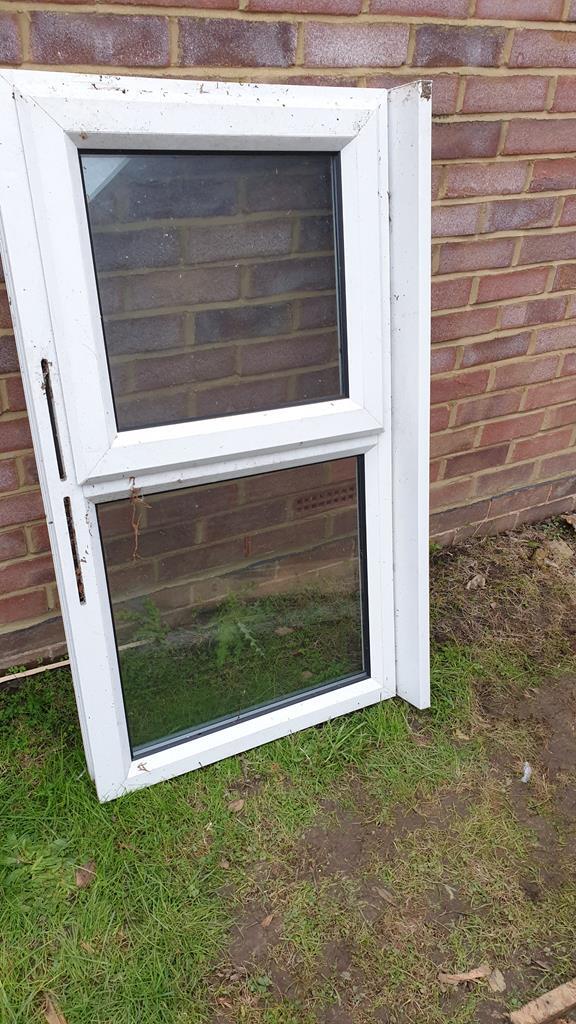 Working out the roofing panels, here you can see two shed panels and a shed floor roughly in place.. This is all just to work out if I had enough sheets of osb to do the entire roof... As it happened I did't so I had to order a couple of 8 x 4 sheets.. 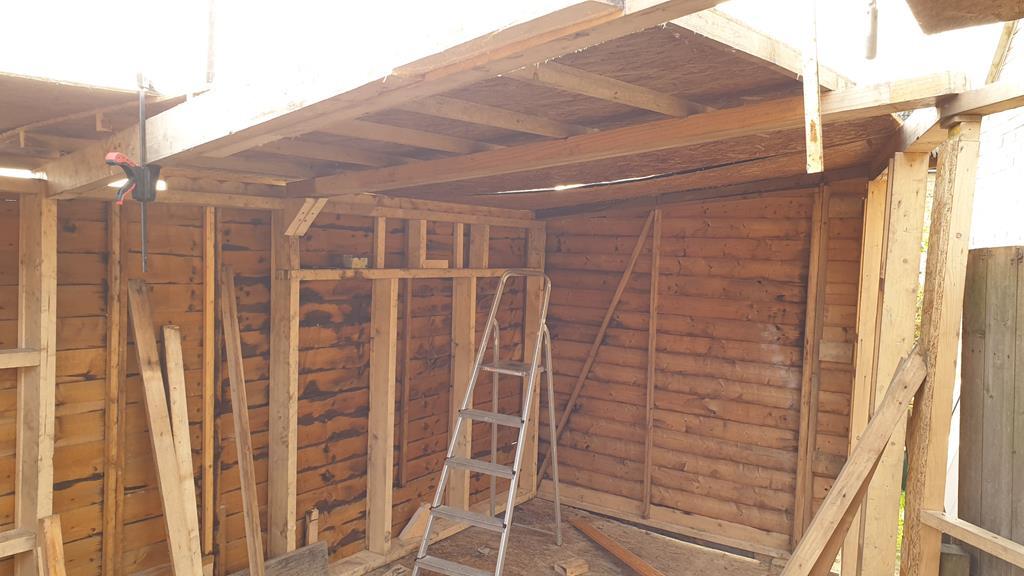 We has window  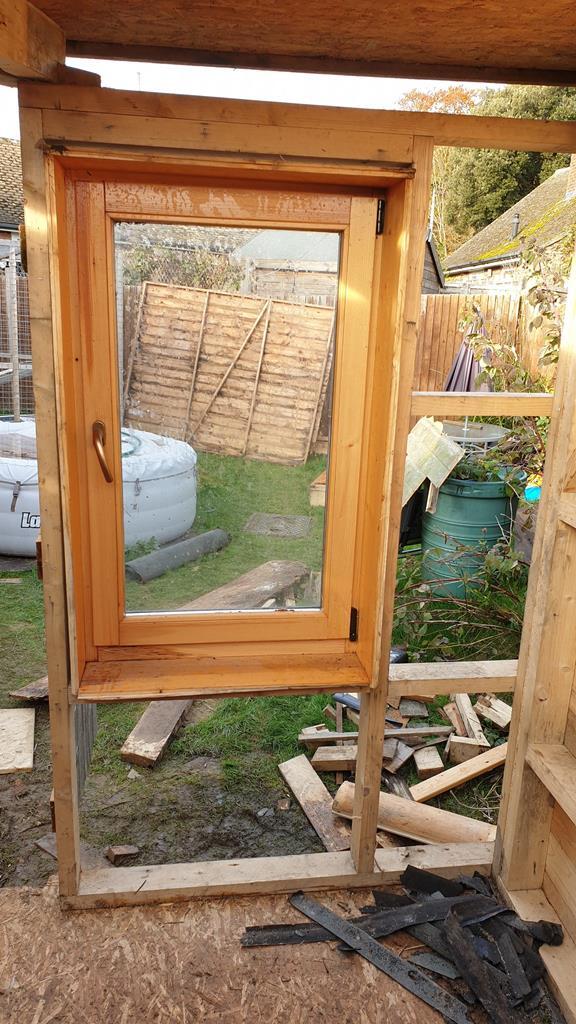 A couple of snaps from slightly different angles. 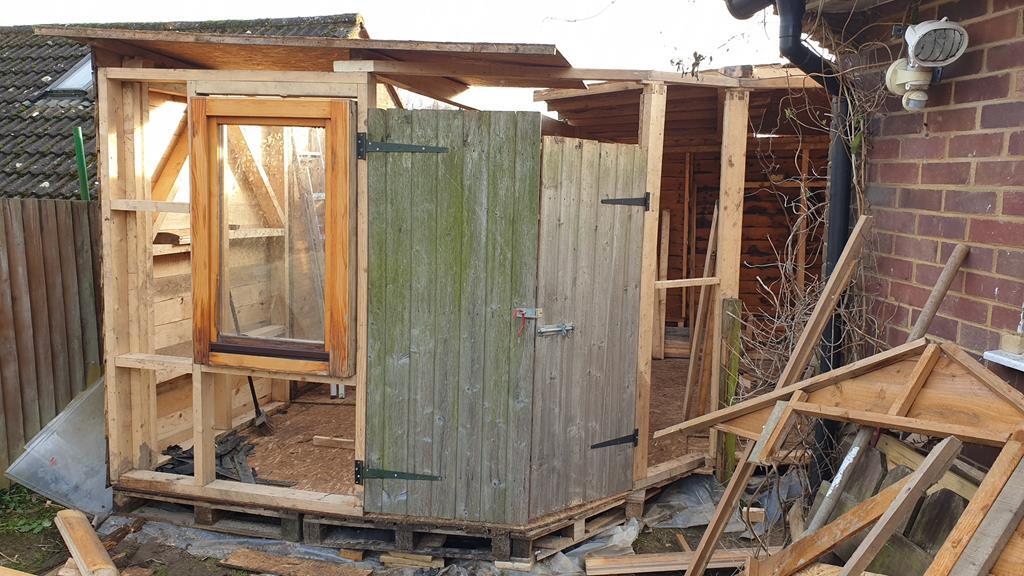 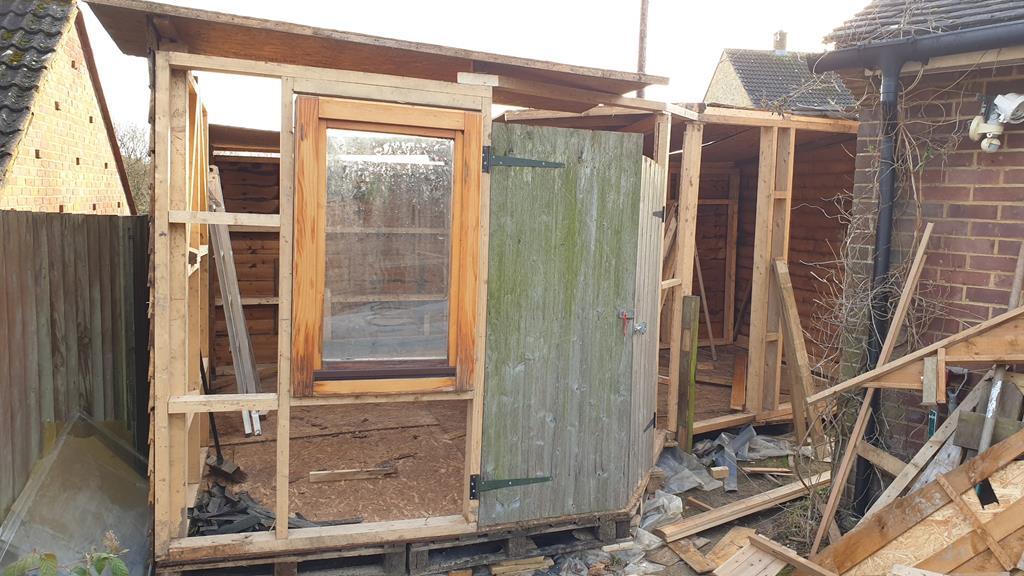 Another inside shot, but this time with added cladding. 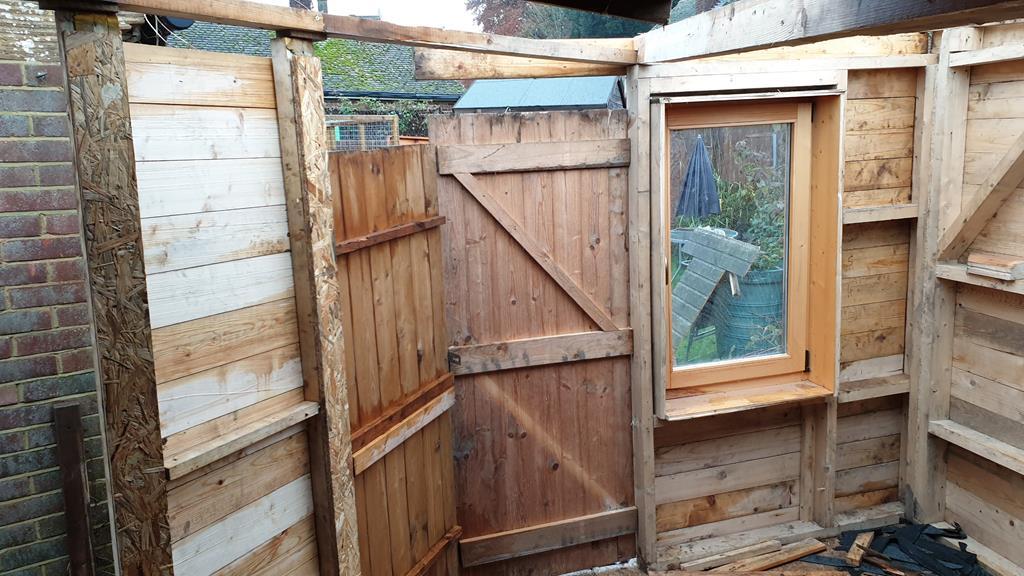 The log cabin effect  Yes the board on the left side does need to be trimmed down a tad. 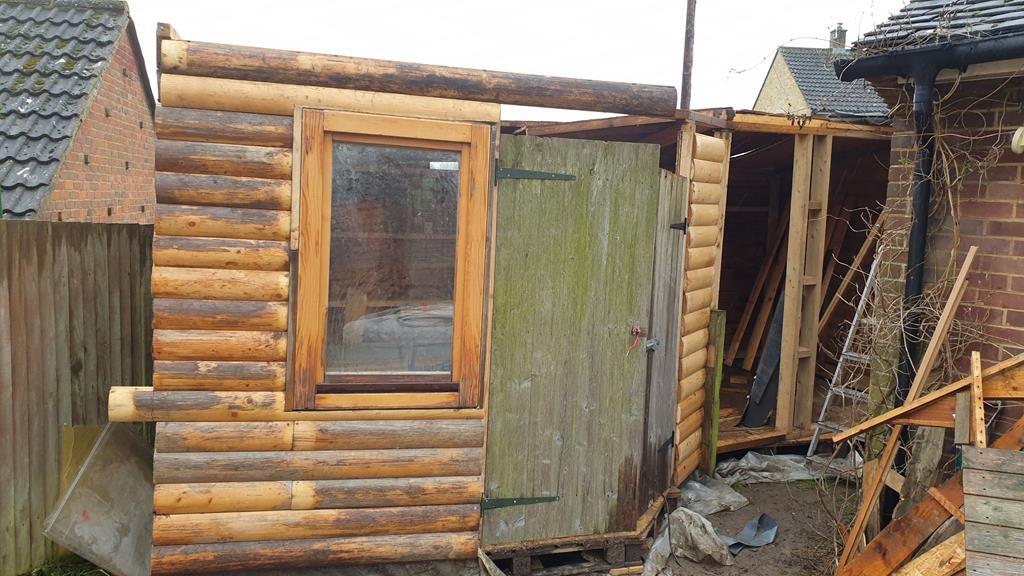 |
| |
My YouTube Channel www.youtube.com/user/UkWheelHorseBlokeQuote - D'you know, it's people like you, doing totally brilliant and pointless stuff like this that gives me a little hope for humanity |
|
|
|
|
Apr 25, 2020 19:21:29 GMT
|
By this point in the build it was mid December.. The smallest wall now reaches the ground apart from a small gap at the base so it doesn't rot with damp grass, a corner trim has been added and of course something to keep the roofing felt in place at the edges. More on the roof later..  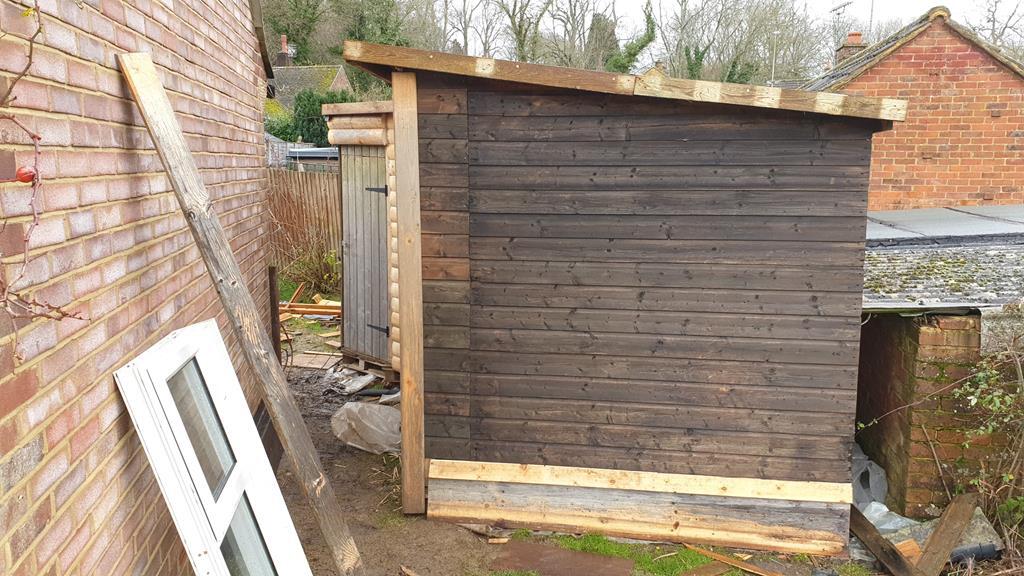 It's really hard to get a good photo down the side as it's so narrow, you can see most of the "shed bit" door, and the two types of cladding used. 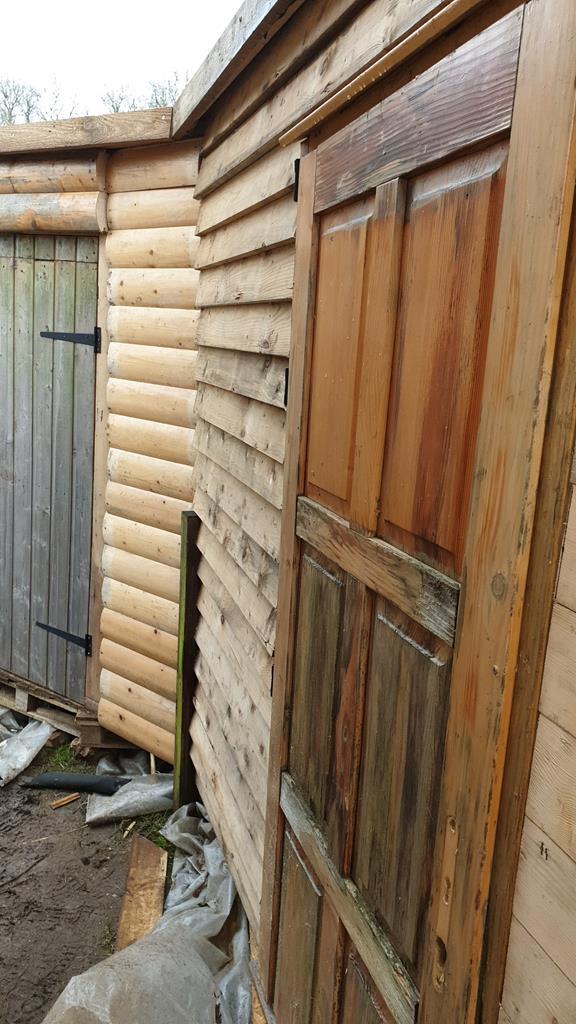 A better view of things from the back garden.. The final bit of cladding at the base of the wall will be done when the deep mud drys out and goes away. 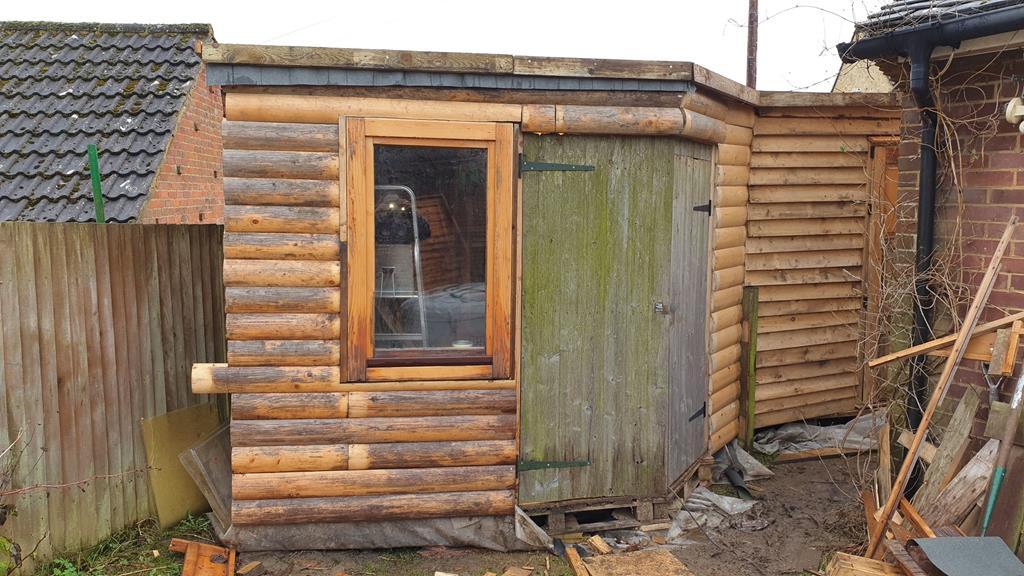 A view through the door. 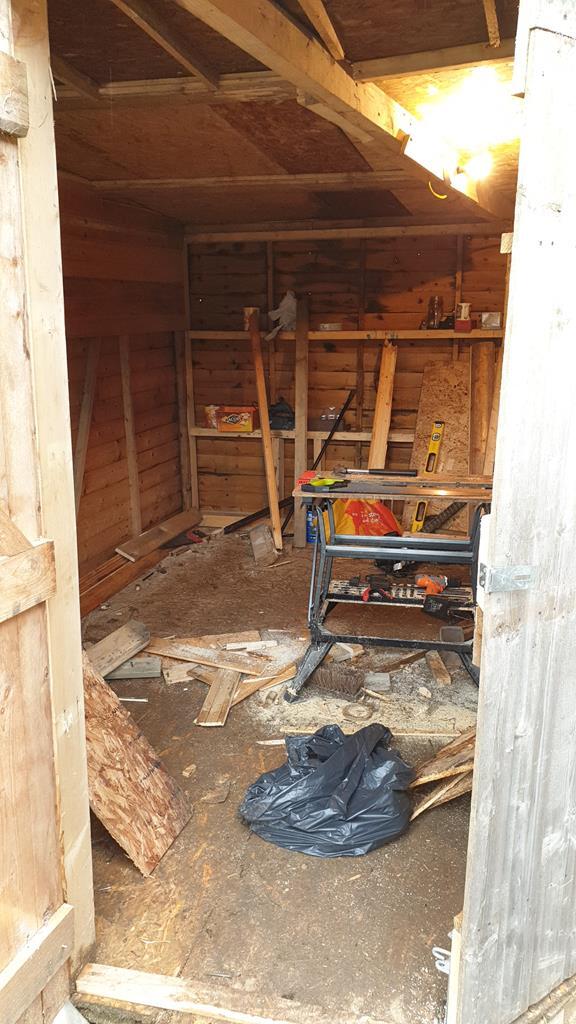 The inside cladding was started around the window, apart from the bit below the window it looks rather fetching with some more log effect wood. Below the window won't be seen once a desk and bit's are put in place. 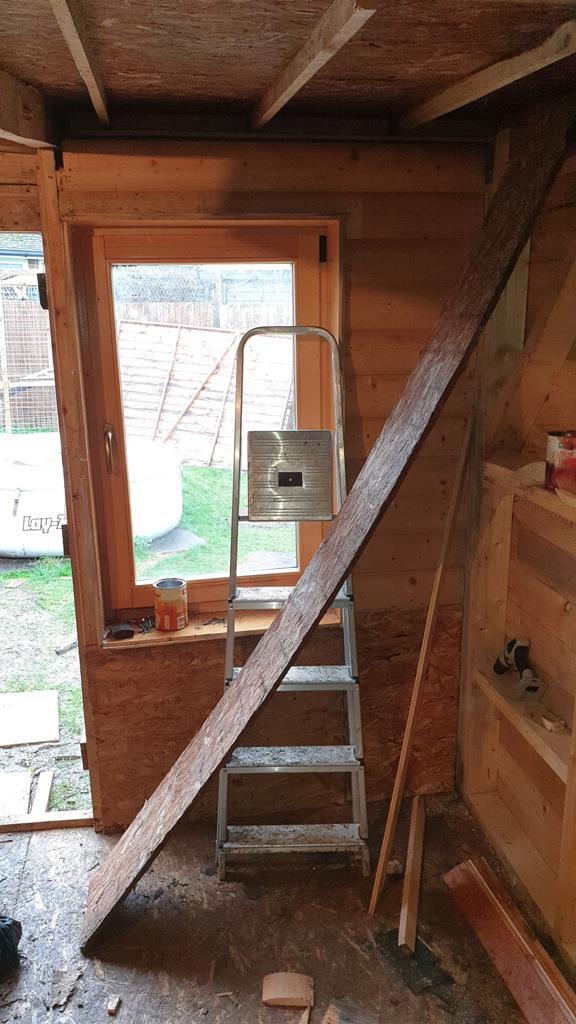 Some more cladding going up. 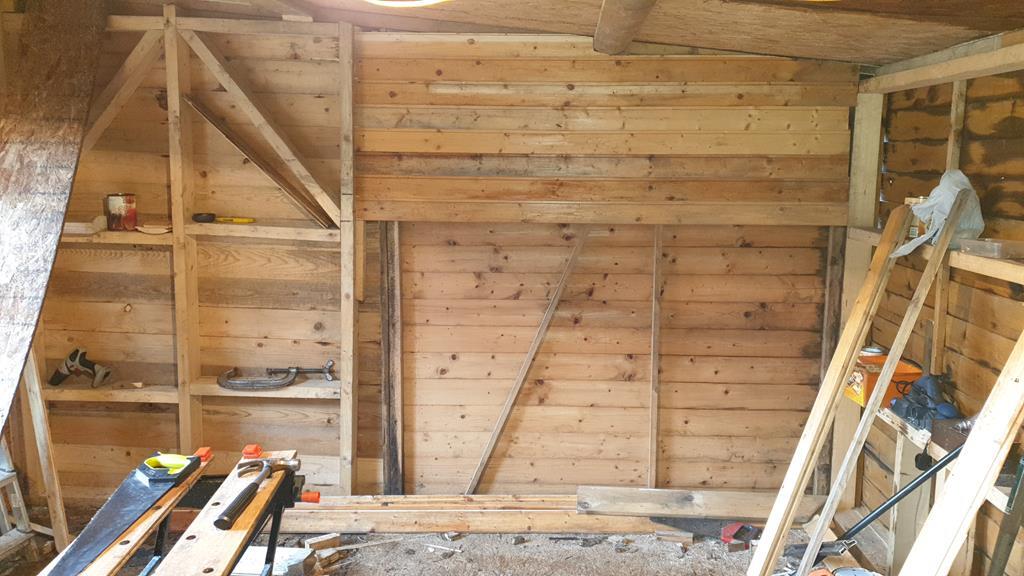 And of course the all important coat hook  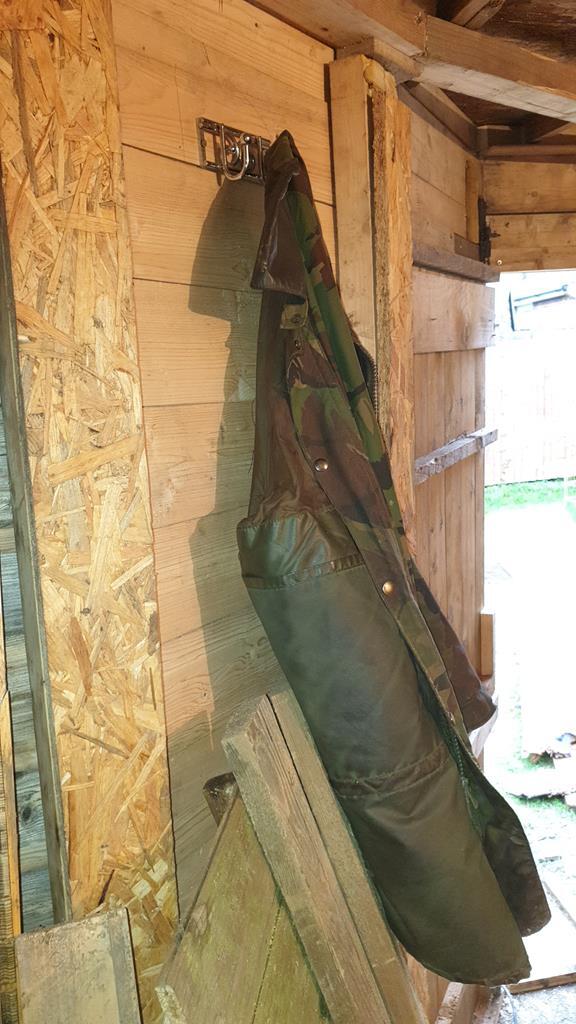 That's all for now.. Tune back to see me empty my old workshop, stuff it all in the Shanty Shack, the try and finnish the inside cladding with almost no spare room  |
| |
My YouTube Channel www.youtube.com/user/UkWheelHorseBlokeQuote - D'you know, it's people like you, doing totally brilliant and pointless stuff like this that gives me a little hope for humanity |
|
|
|
|
Apr 26, 2020 18:03:31 GMT
|
Evening all, time for some more shanty goodness.. With the new workshop finally 95% water tight the time had come to start moving stuff. A big thank you to Nigel for helping me move all the big stuff  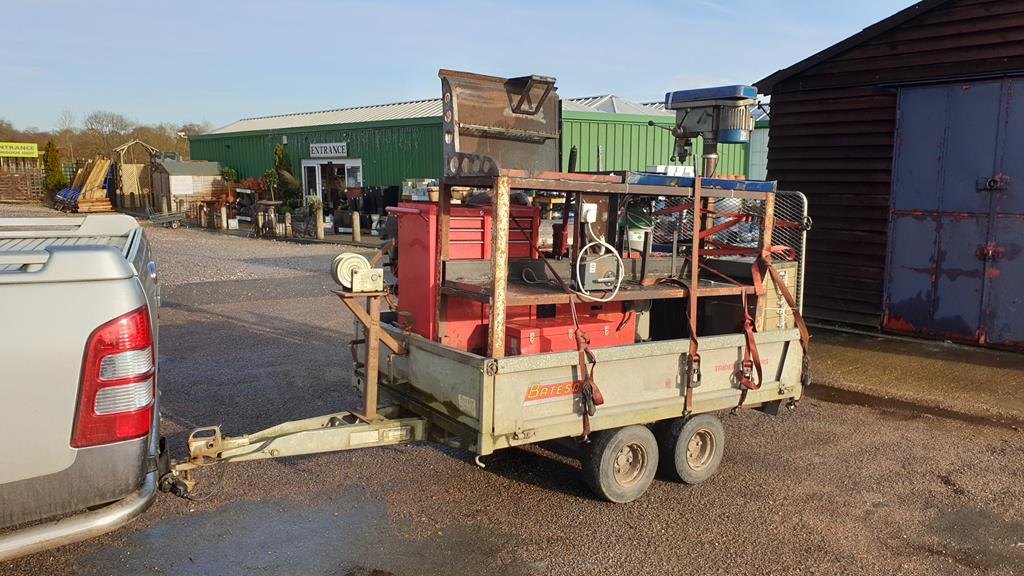 The new pad starting to fill up. 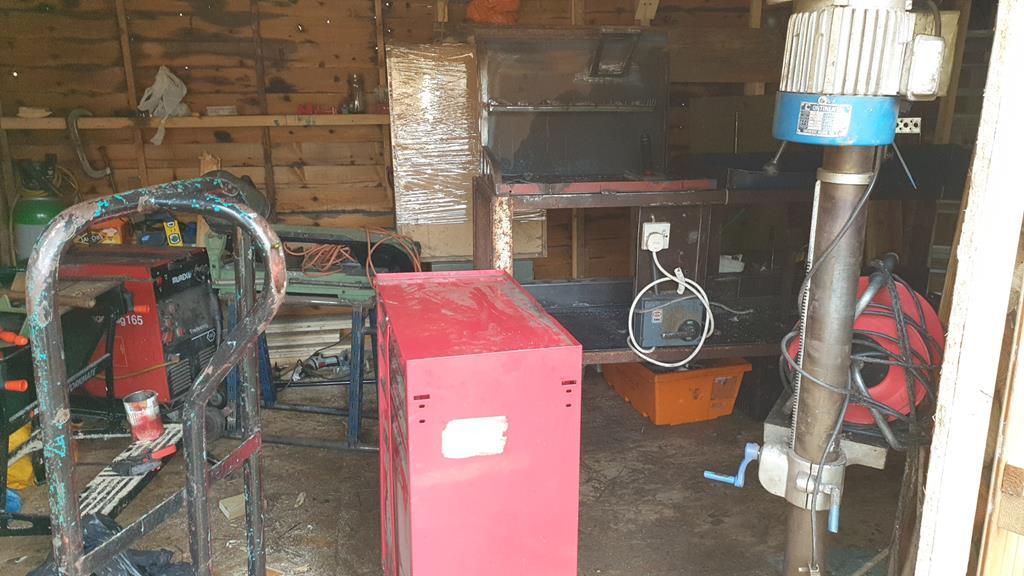 As the old place get's more empty.. When one of the most important tools get's packed away, you just know you are done at the place.. 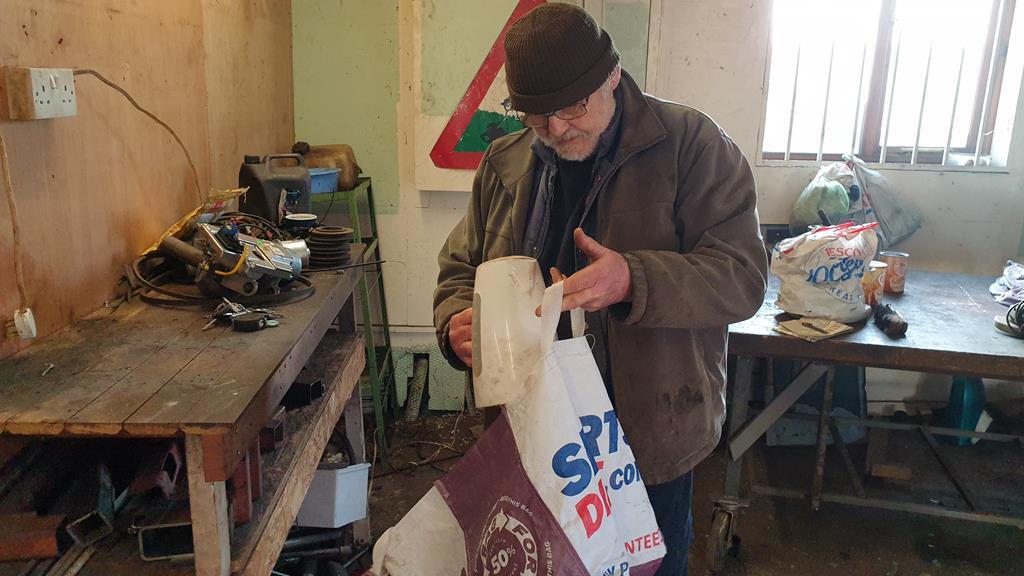 Padlock going on... 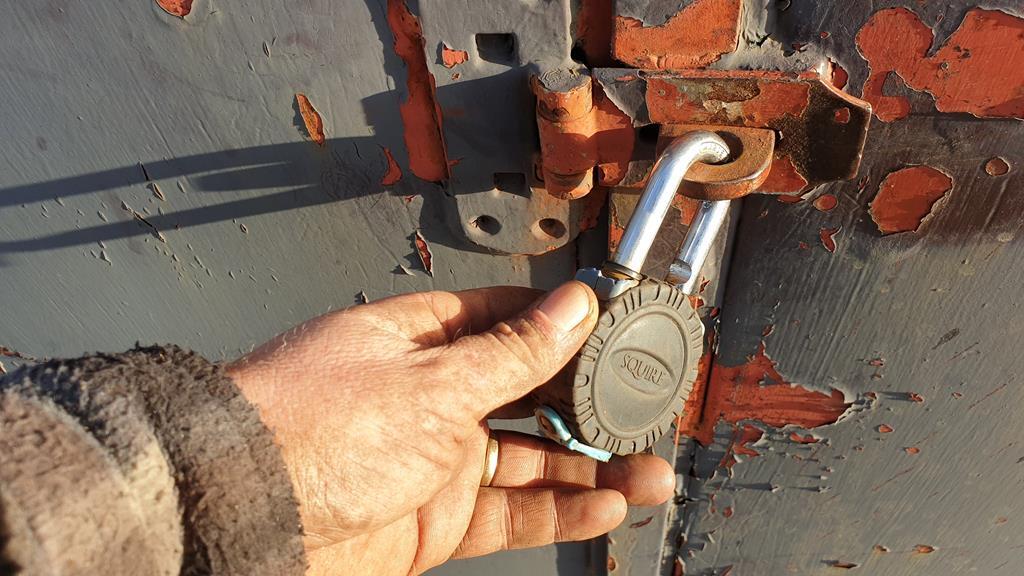 And clamped up for the final time..... It's been a fun 5 odd years with lot's of good builds and fun times  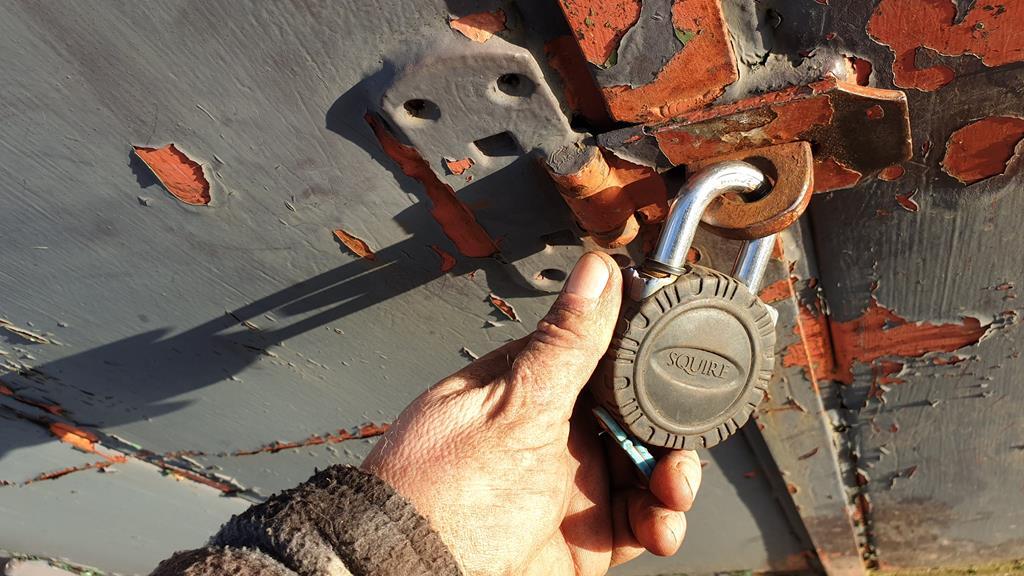 All of which means my new workshop looks like this!!! 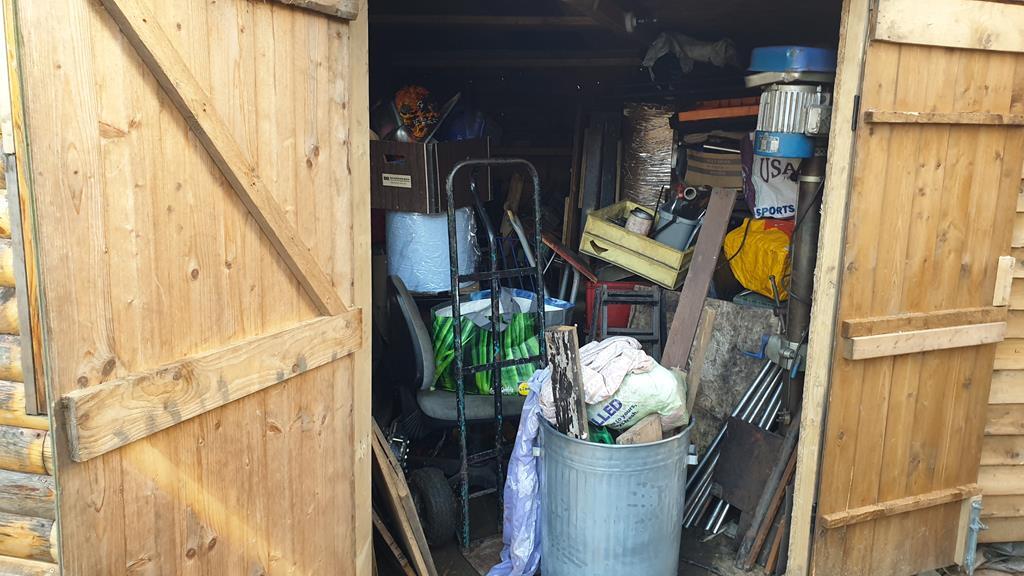 A quick bench has been built, not quite at the "working kettle" stage yet, but getting there.. 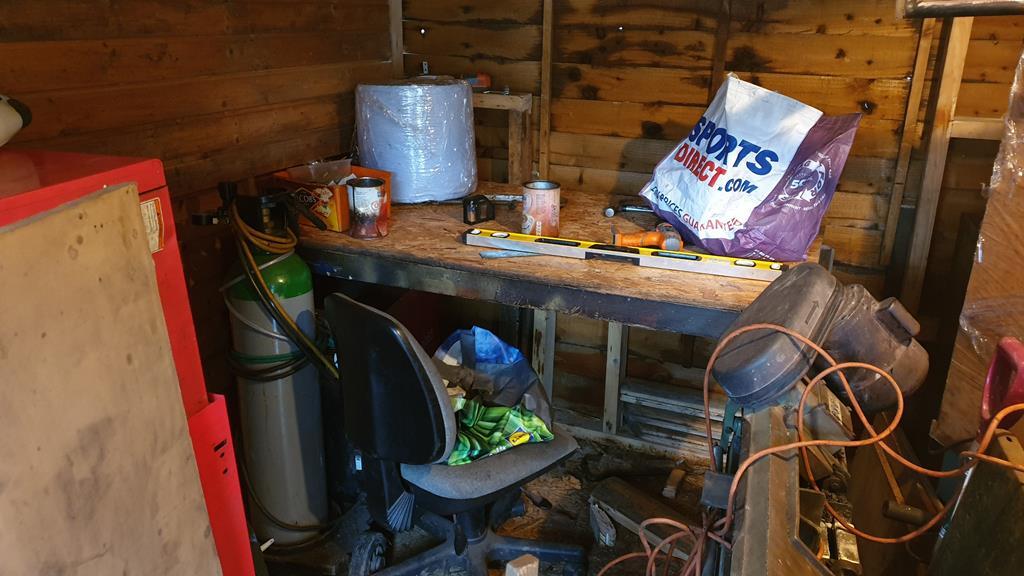 Some space had been made inside, but I couldn't really sort out where things are going until the rest of the inside was clad. After moving lot's of boxes and bit's about the place some space was found! 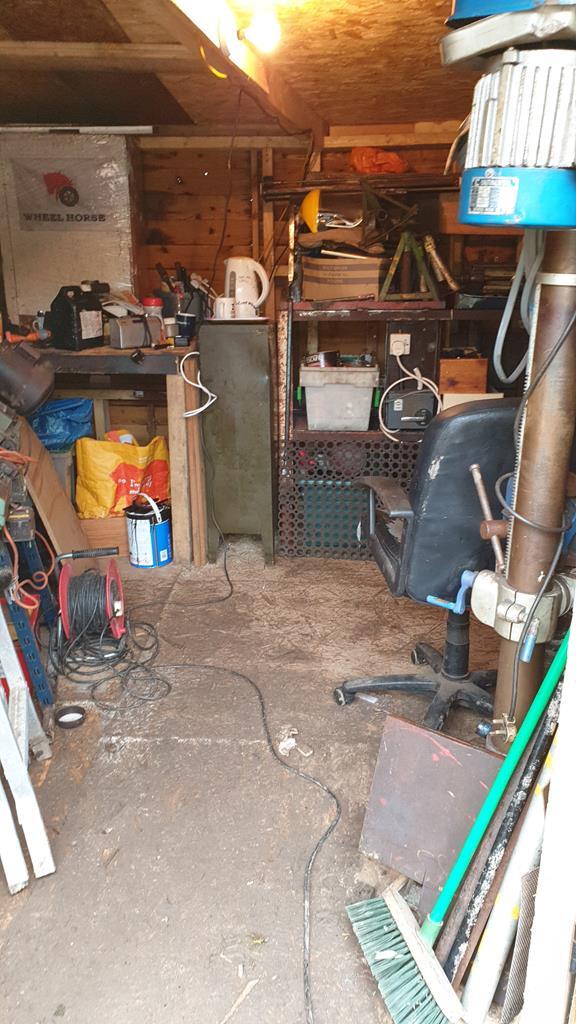 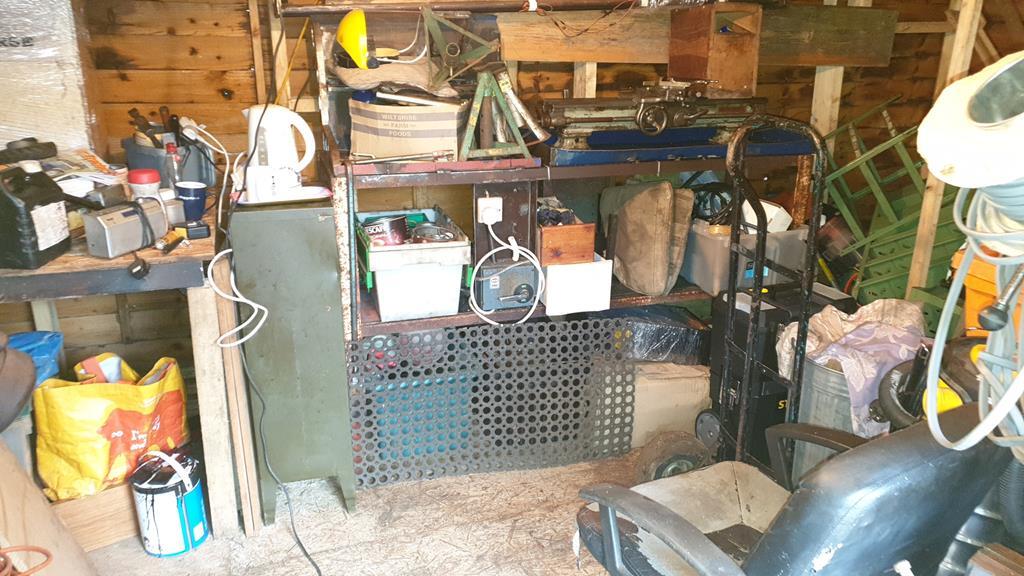 Even my tatty but comfortable chair was unearthed!  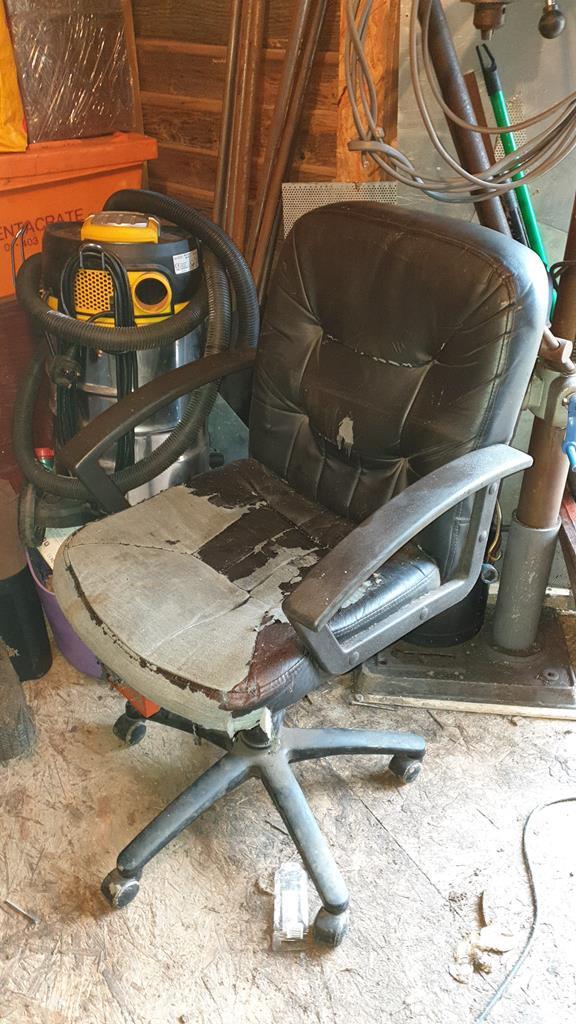 But most importantly this could happen... A moving moment as the 1st coffee's in the new shack were made. 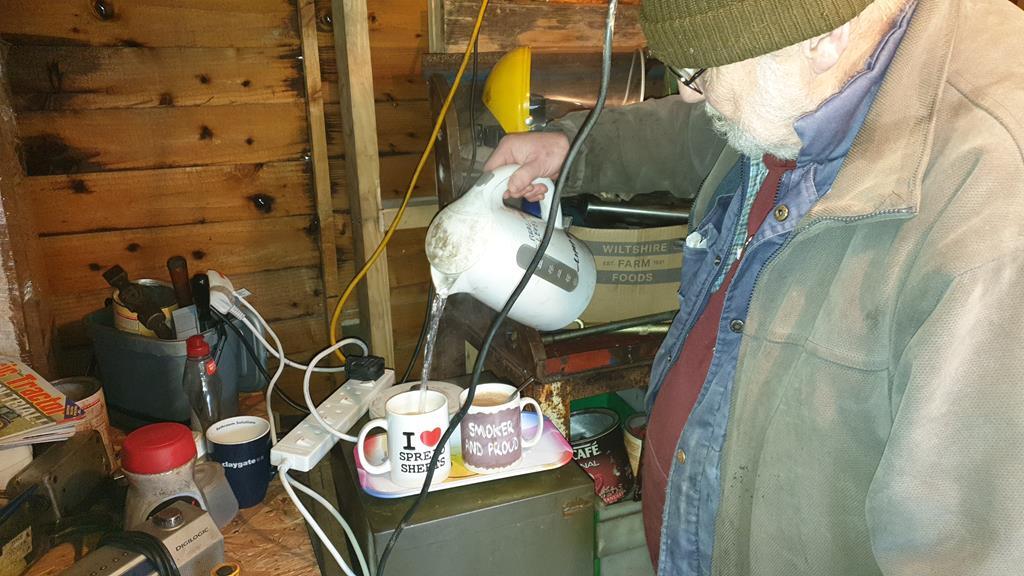 The insides of the double doors have been made more wind tight and strenthened with lot's of bit's of batten. They will get double skinned at some point. 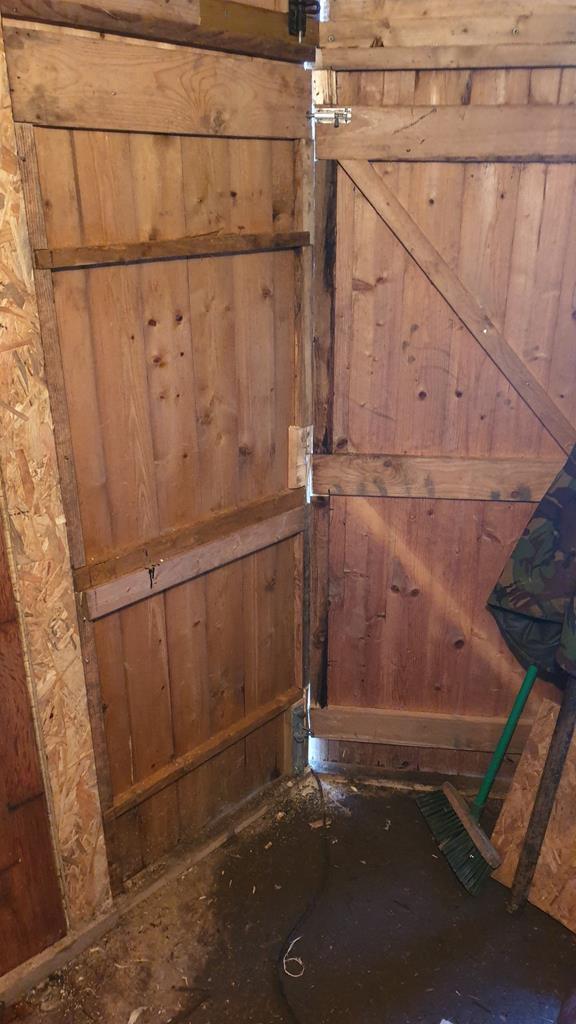 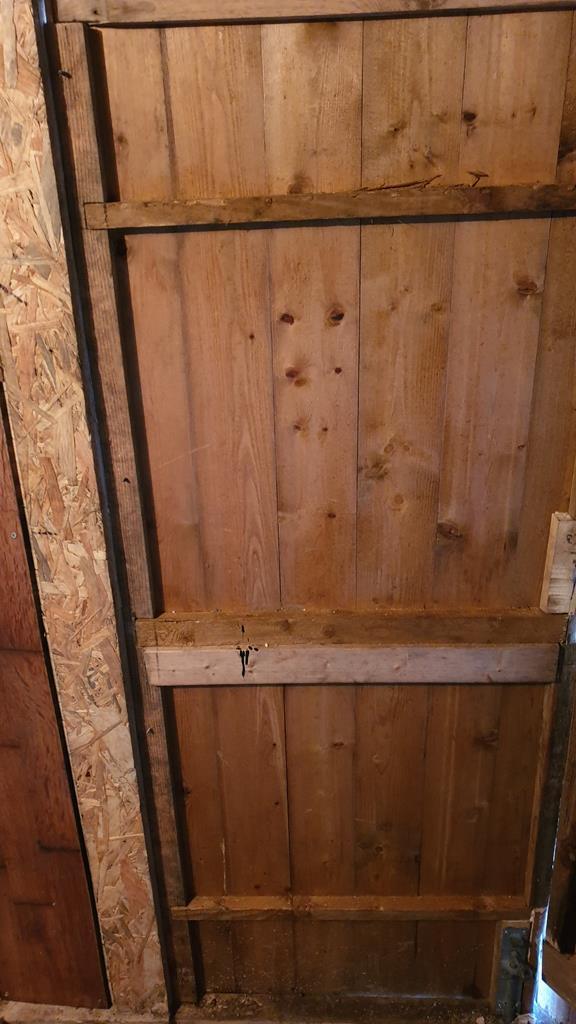 Although I need to order some boards to clad the inside, I'm using what wood I have got at the moment.. So this small panel was clad with fake wooden floor stuff  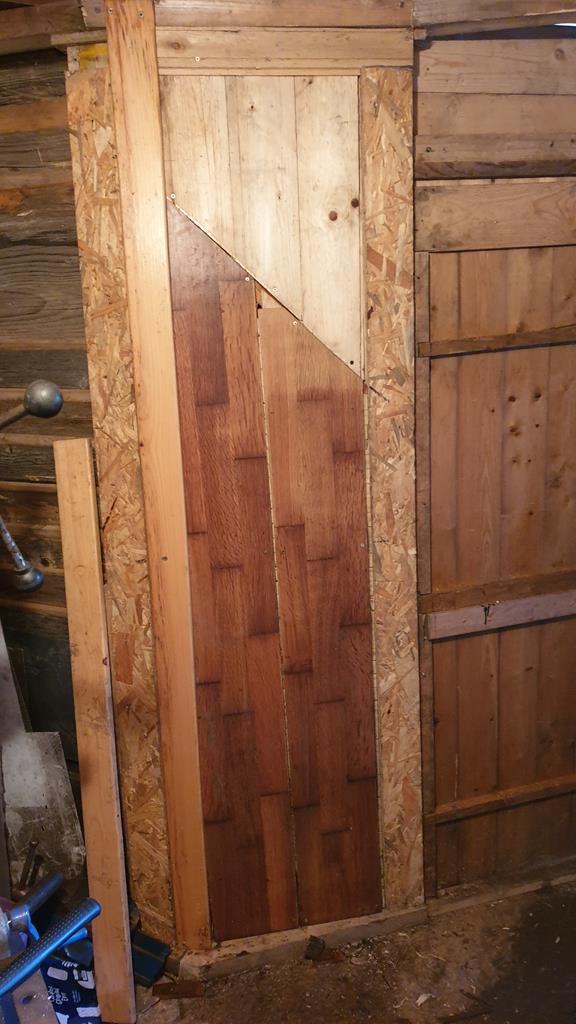 While the weather was dry I gave some more of the outside woodwork a slap over with some wood preservative.. Unfortunatly the log cabin effect bits have had a coat or two of varnish so I will have to wait for another nice dry day and sand it all off before slapping the brown stuff on! 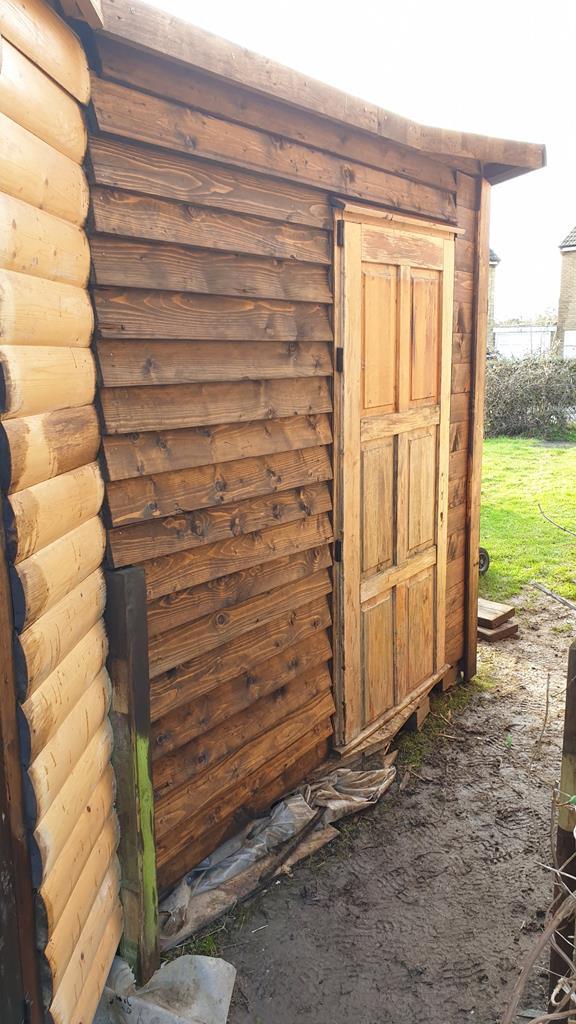 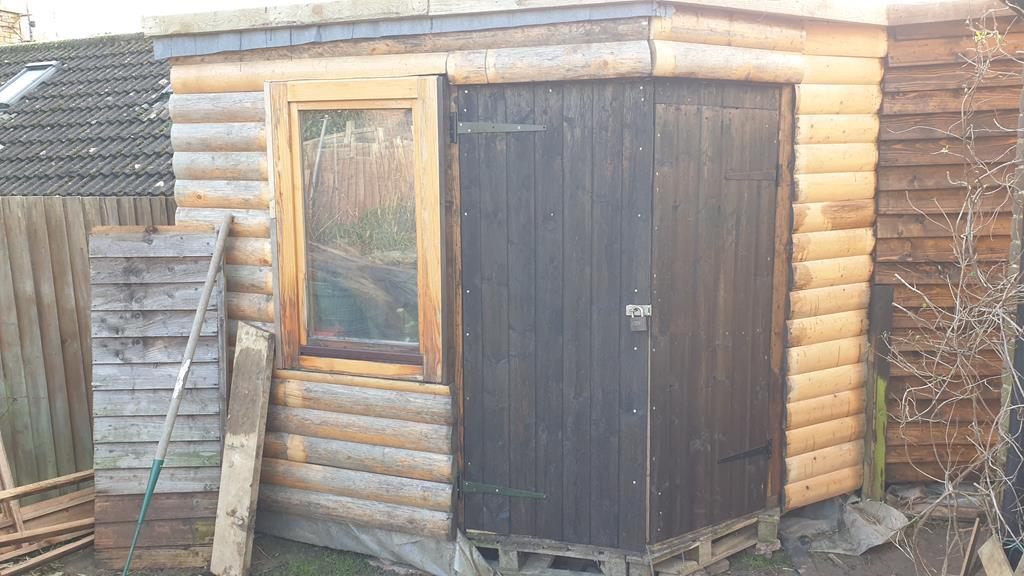 A bit more cladding was done inside using what ever boards we could find.. I quite like the mish mash of different planks  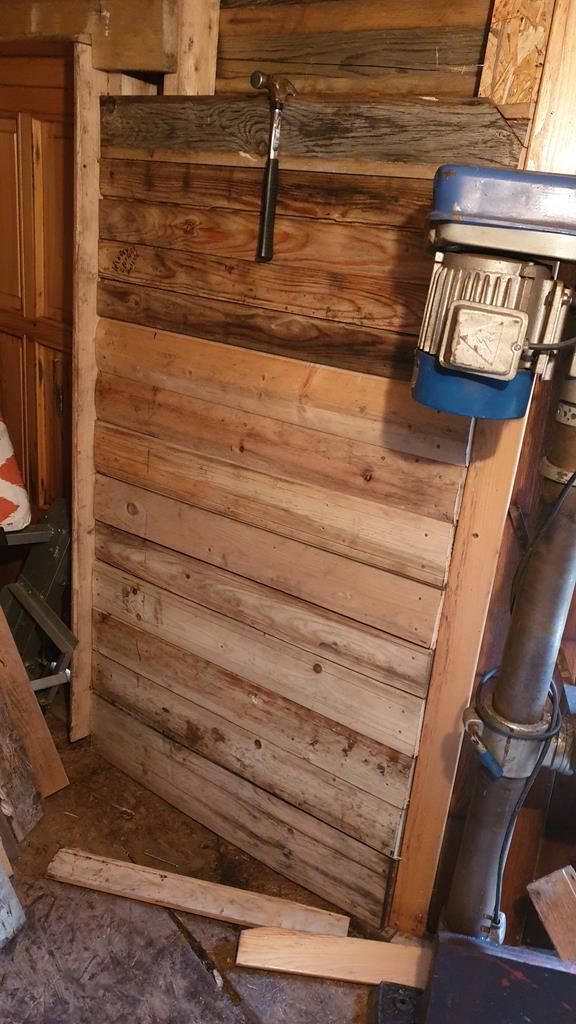 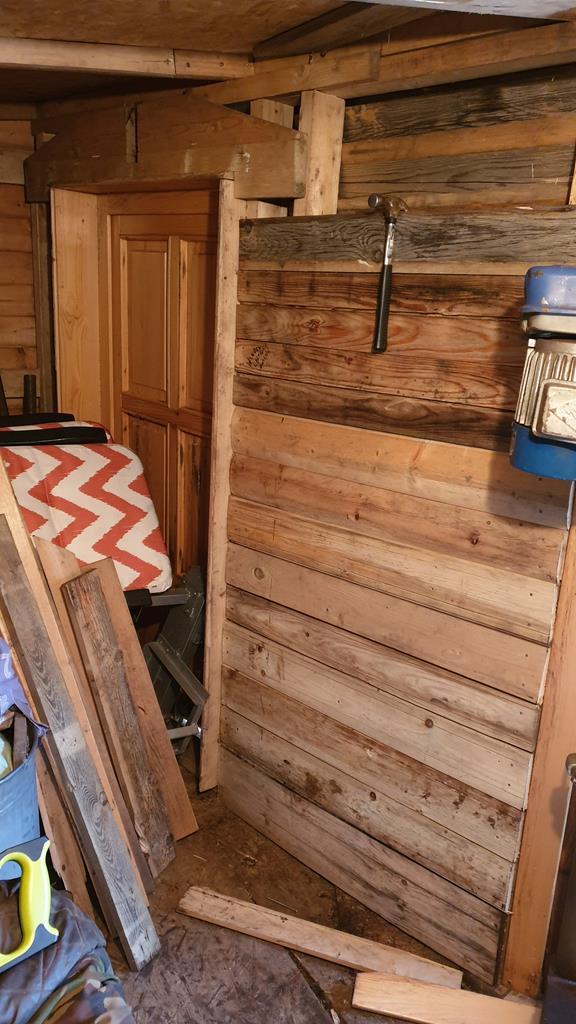 |
| |
My YouTube Channel www.youtube.com/user/UkWheelHorseBlokeQuote - D'you know, it's people like you, doing totally brilliant and pointless stuff like this that gives me a little hope for humanity |
|
|
|
|
Apr 26, 2020 19:11:26 GMT
|
|
Looks like it's really coming together, and way more interesting than a pre-bought structure. The pillar drill looks like an absolute beast.
|
| |
|
|
|
|
|
Apr 26, 2020 20:01:24 GMT
|
|
Marvellous. I love it when you can build something with stuff that was effectively going to be thrown away.
My Dad has a wood burner, and lots of people would happily leave scrap wood for him on the driveway. He'd cut it up, but then had nowhere to store it, so he built 5 or 6 wood stores made from old pallets and bits of scrap, coated them in green fence paint and they're great!
|
| |
|
|
|
|
|
Apr 26, 2020 21:31:09 GMT
|
|
Great stuff. Looks a bit like something I'd build. The floor in my wife's exercise shed (a walled in lean-to carport) is made in similar fashion from pallets and a carpet. Like your project the walls are cobbled together from found materials.
|
| |
|
|
|
|
|
Apr 28, 2020 17:48:34 GMT
|
Looks like it's really coming together, and way more interesting than a pre-bought structure. The pillar drill looks like an absolute beast. Thanks dude, yeah it's getting there slowly. Not finished yet, hopefully within a month... or so  The pillar drill is a great bit of kit, a bithday present from my wife 12 or 12 years ago. 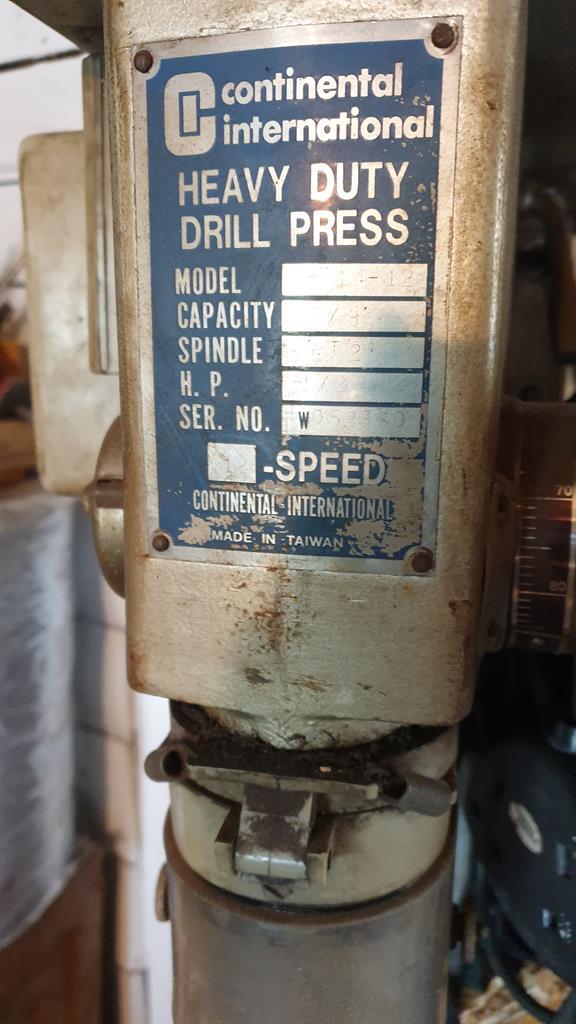 I need to get it level and bolted down at some point, it's handy for hanging thing from though..  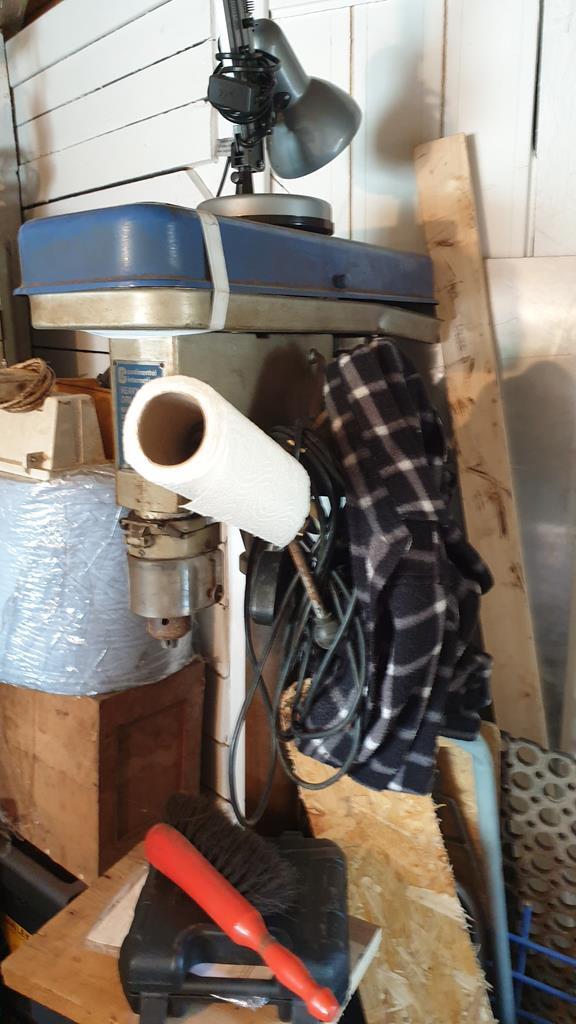 Marvellous. I love it when you can build something with stuff that was effectively going to be thrown away. My Dad has a wood burner, and lots of people would happily leave scrap wood for him on the driveway. He'd cut it up, but then had nowhere to store it, so he built 5 or 6 wood stores made from old pallets and bits of scrap, coated them in green fence paint and they're great! Hi Mr B, I do like a bit of recycling too.. You may of noticed  It would of been nice to have a few more ££'s spare to build it, but I had to make do with the materials I had or could get cheaply/free. A wood burner would be nice to have, but I just don't have enough space.. Maybe one of those diesel heaters I've seen on some of the great garage threads here. Great stuff. Looks a bit like something I'd build. The floor in my wife's exercise shed (a walled in lean-to carport) is made in similar fashion from pallets and a carpet. Like your project the walls are cobbled together from found materials. Hi Igor, a walled in car port sounds a great idea... The carpet might be a bit posh for me though  I made sure we put down plenty of layers of plastic down before the pallets.. It should keep them from rotting for a few years. The wall in the last photo in my last update has been finished.... The curve in the wall adds character.  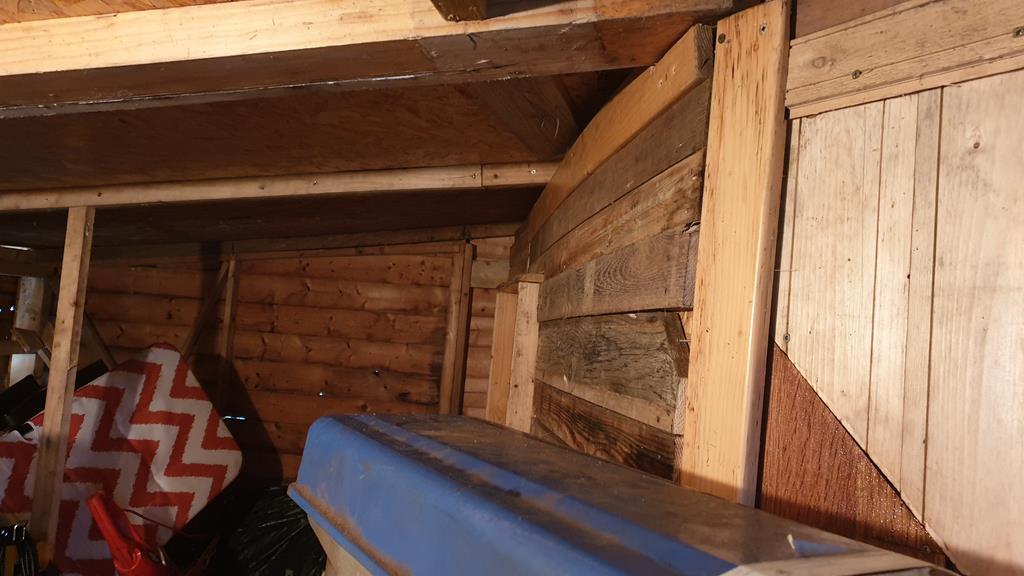 The next wall on the "To be clad" hit list was the small end wall in the shed section... I think the random not matching planks look great.. The dark planks were my old garden gate! Yep, I like to recycle.. 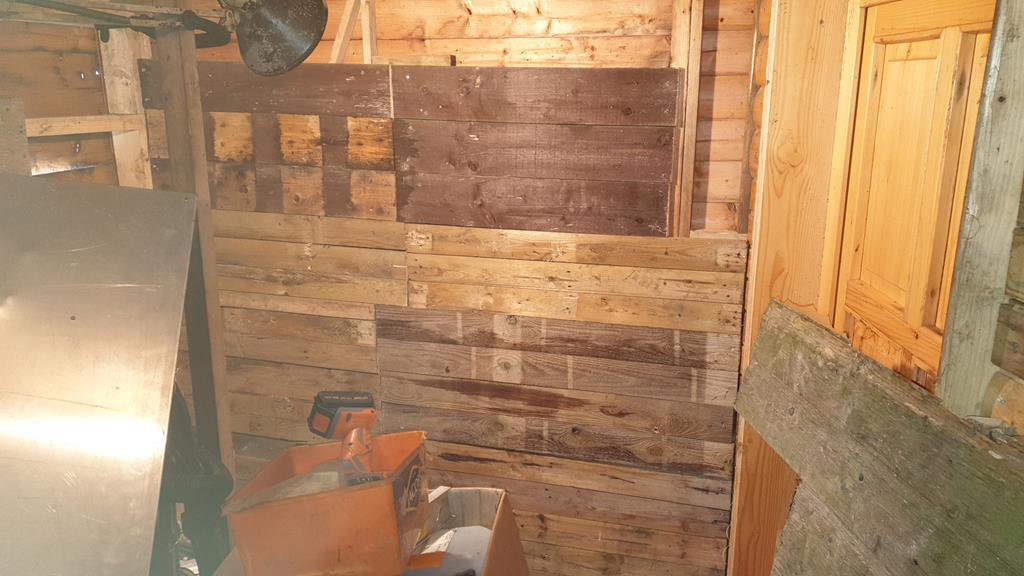 Another one of thos milestone has been reached... You know your getting somewhere when the white paint goes on  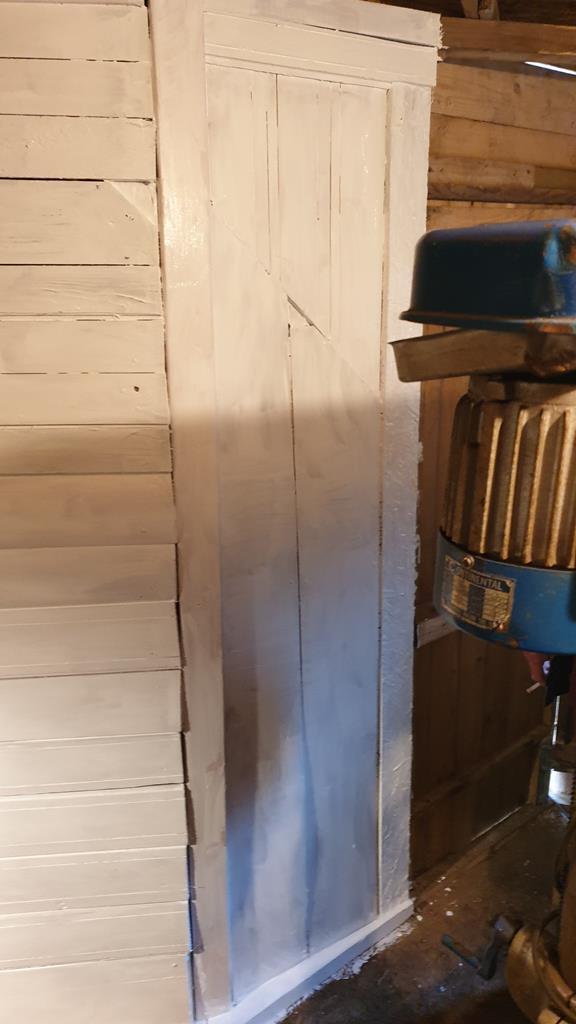 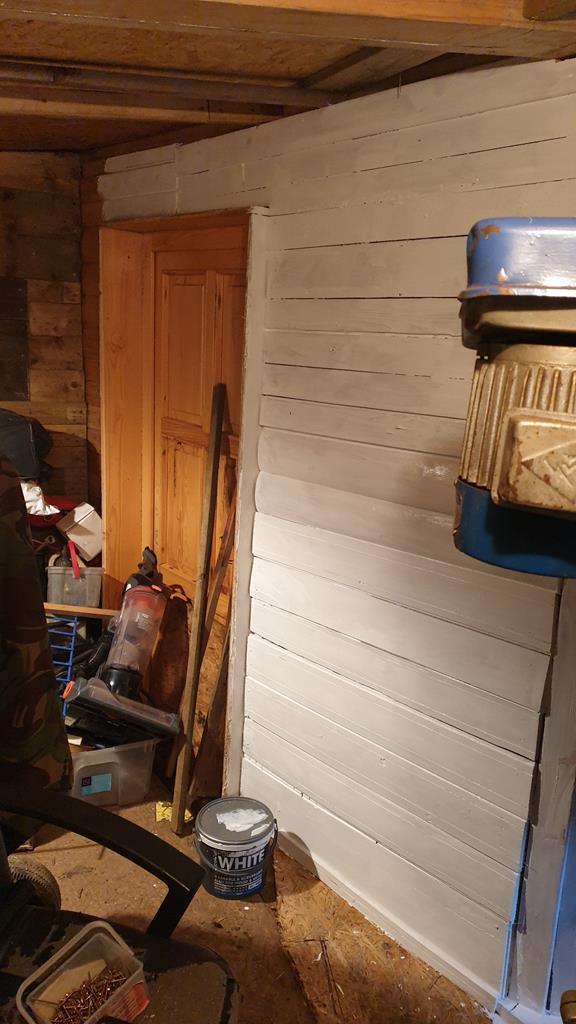 I also painted as much of the "shed end" as I could with all the bit's piled up against the wall. The next day even more stuff got piled up on the pile as I had to clear a lot of space for.... 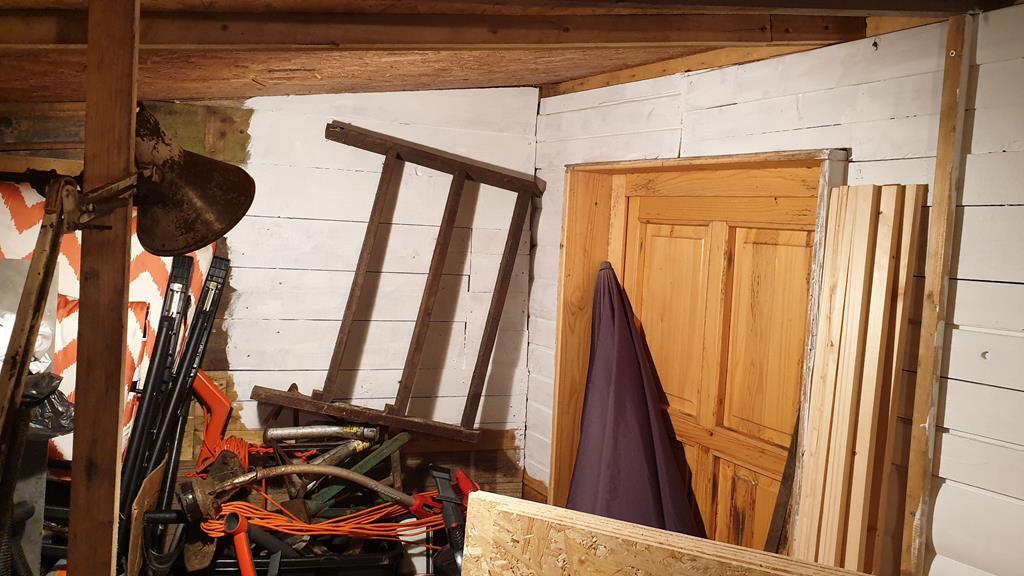 More cladding... Having finally run out of wood to recyle as cladding I got 5 8x4 sheets of OSB to finish the cladding and put the wall up between the shed and workshop.... 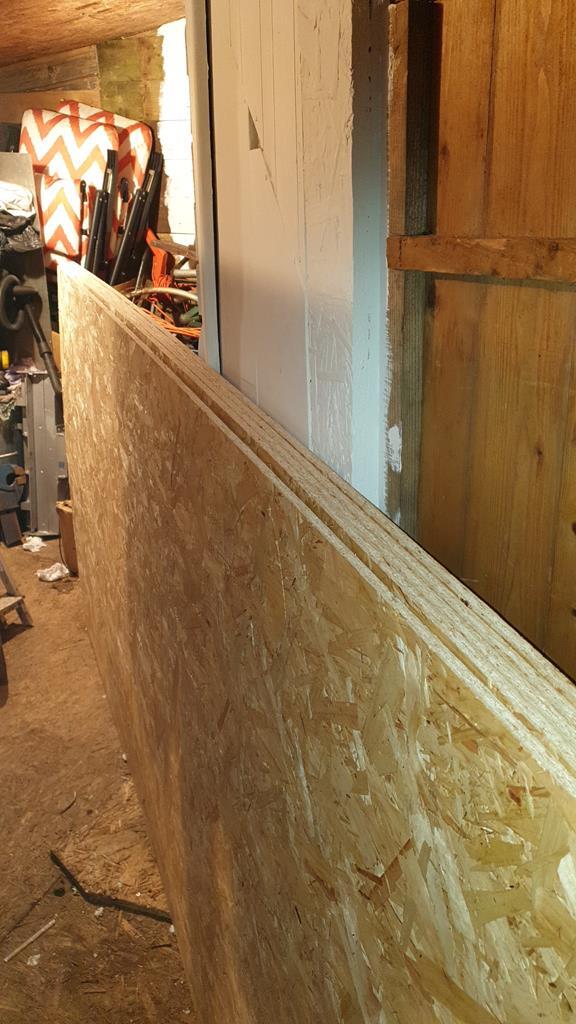 Well, that was the plan..... Until the strong winds removed a large part of my felt roof!! So two (and a bit) of the sheets were used as tempoary rather large roof tiles until I could get some heavy duty felt..... And a dry and wind free day to strip it and refit it! 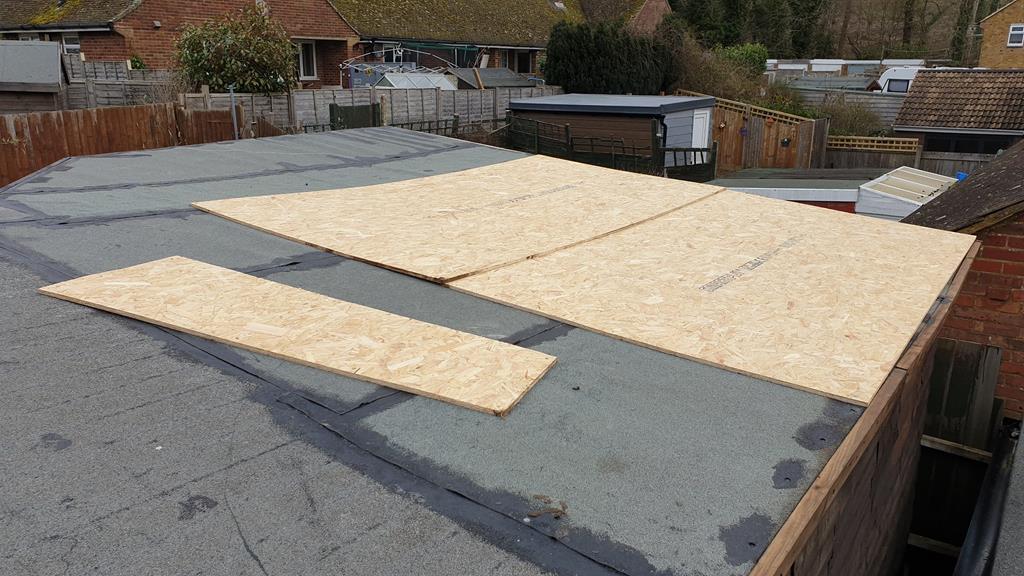 |
| |
My YouTube Channel www.youtube.com/user/UkWheelHorseBlokeQuote - D'you know, it's people like you, doing totally brilliant and pointless stuff like this that gives me a little hope for humanity |
|
|
|
|
Apr 29, 2020 13:42:15 GMT
|
Owdo all, the shanty shack saga continues.. At this point were somewhere in the middle of Febuary.. With no money to get a new roof, work inside continued with lots of "Drip catch tubs" scattered all over the place.. The tempoary bench was been taken down, the corner cleared of bit's and a frame was been built to fit the window in the back wall... Here it is wedged in the frame to check for fit.. Ok, the view isn't great, but it will be a lot better when the wood has been removed so you can actually see out  Ok, even when the wood is removed the view is only of a couple of garage roofs.... But the light and heat that it will create in the shack will make it more than worth it  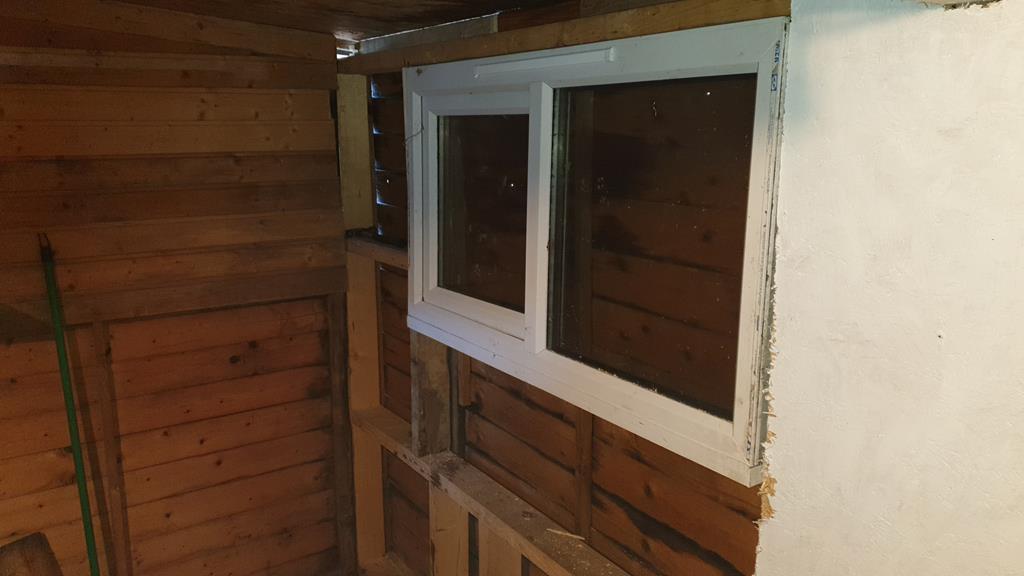 This is a good point to drop in the 1st of my Shack build videos.. Enjoy. If your still awake after that vid your be pleased to know I cut a big hole in the back of the workshack wall..  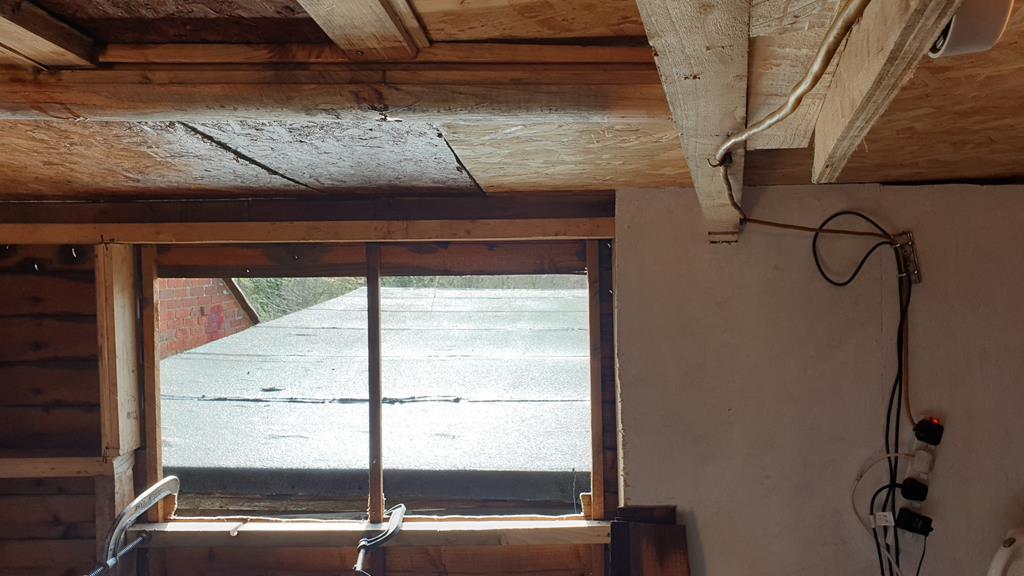 As is the way, the hole got filled up with a window.. Loads of light and free heat now... well when the rain stops. 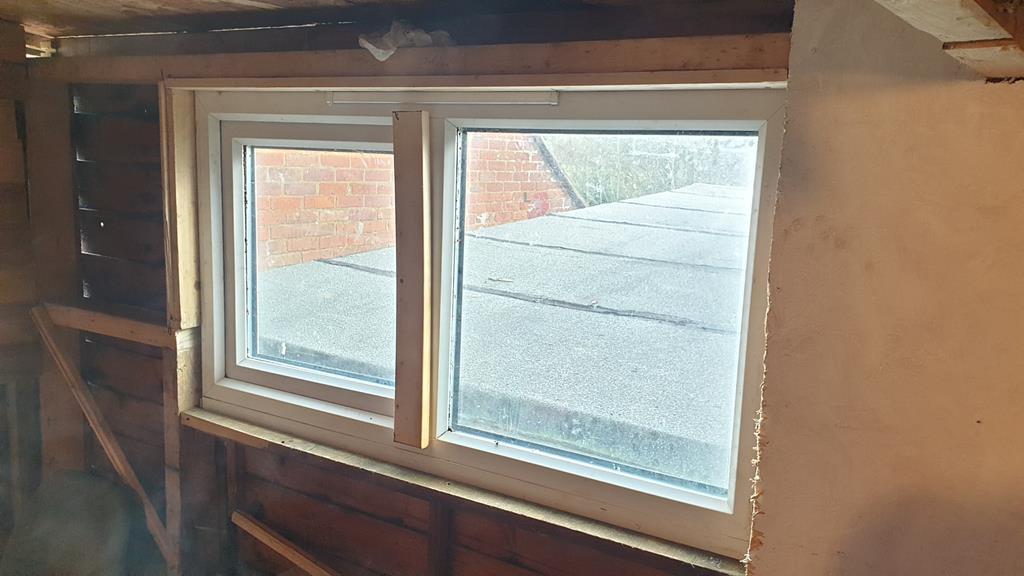 Lyla seems to like the workshack and came in to check the fitment. 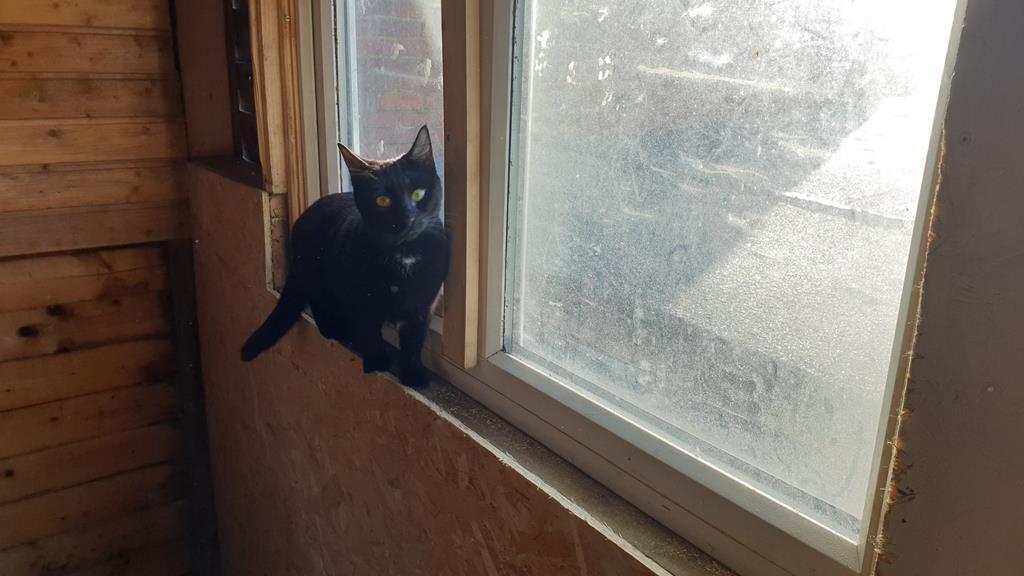 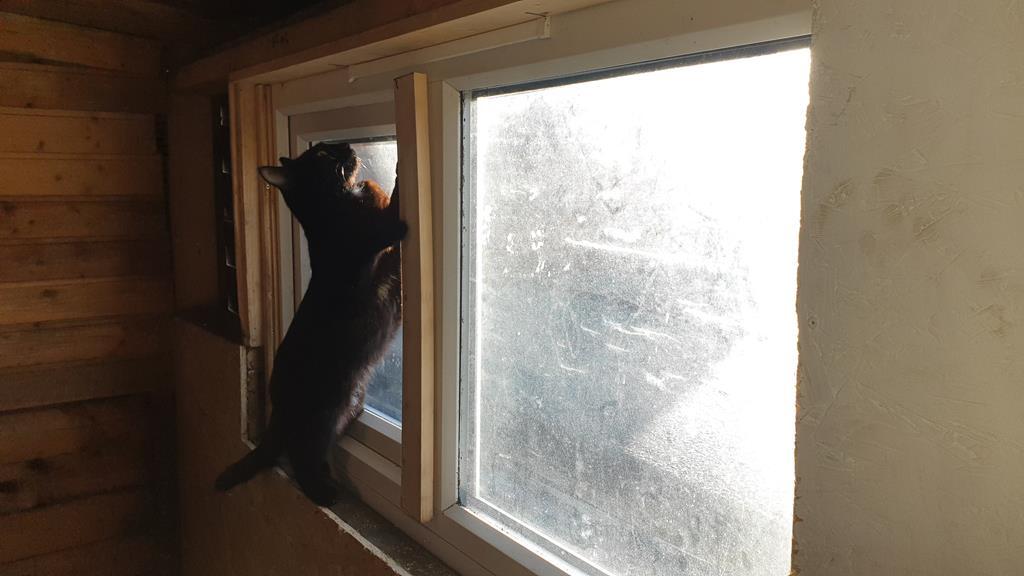 Some more panelling and painting done around the window. 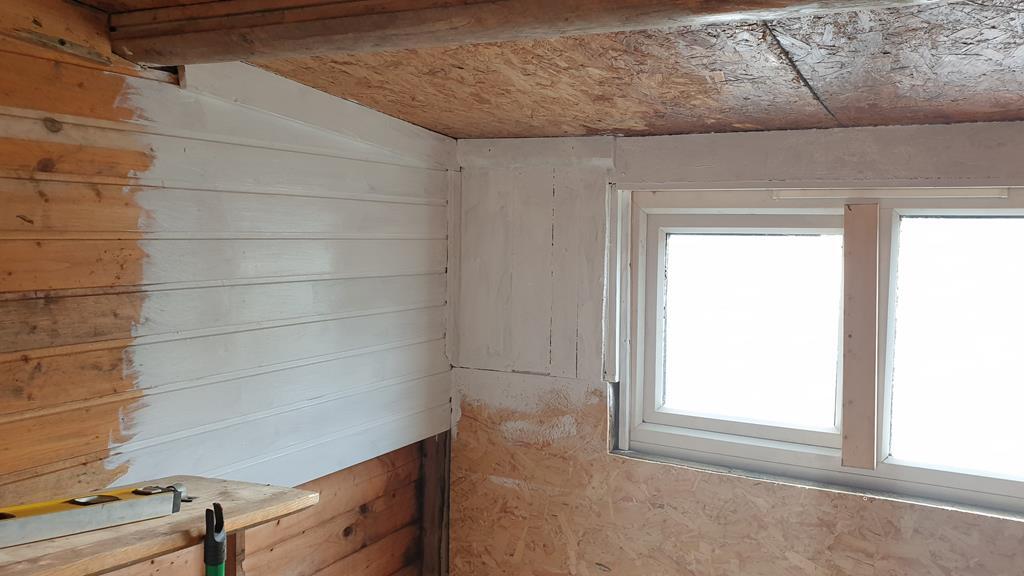 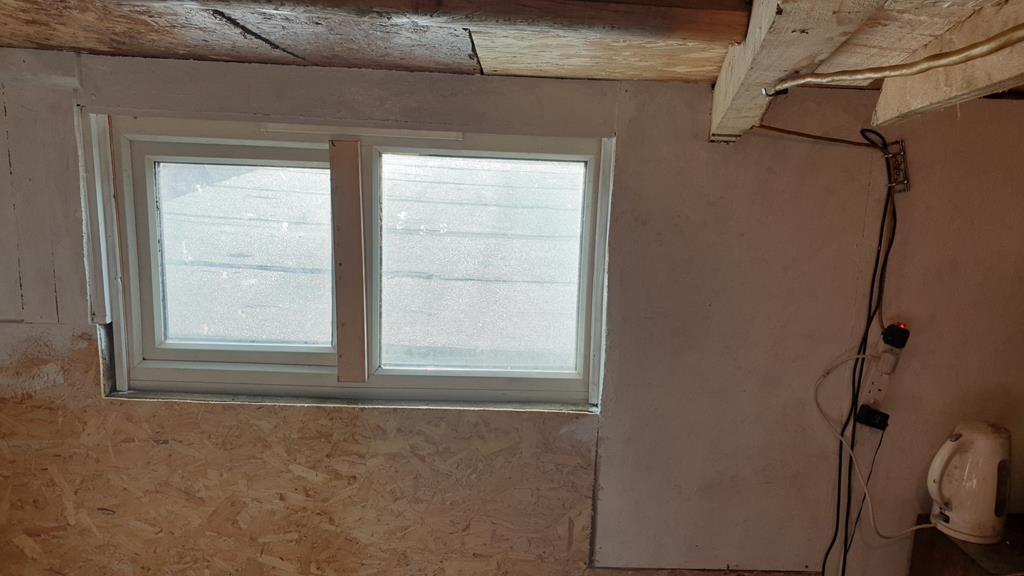 With half the bench up (forgot to take any pics of that) the frame for the other half of the becnh was propped in place to have a look... Need to be a bit narrower me thinks. 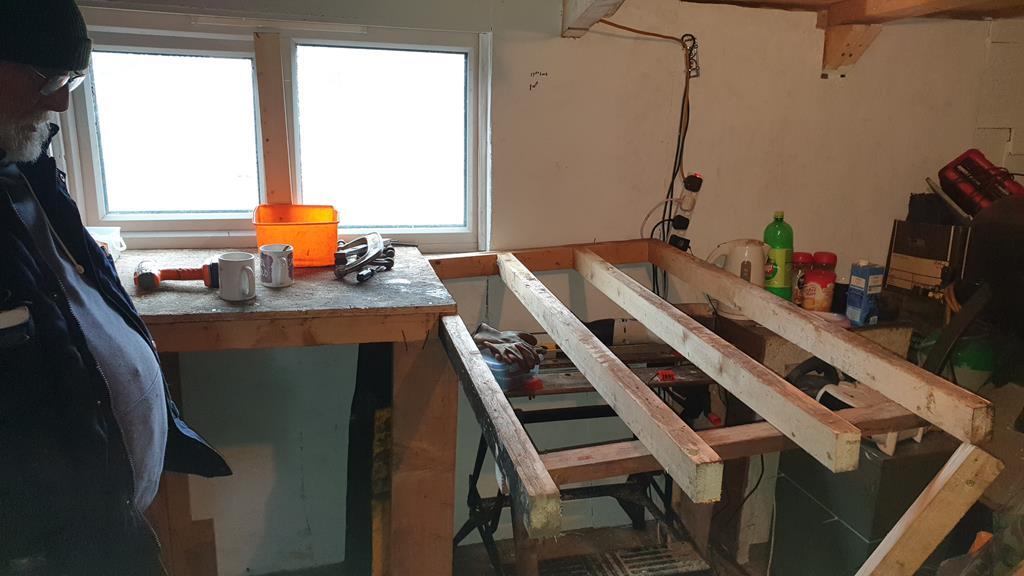 A new desk top was cut, trial fitted the promptly walked over by a wet footed Lyla! 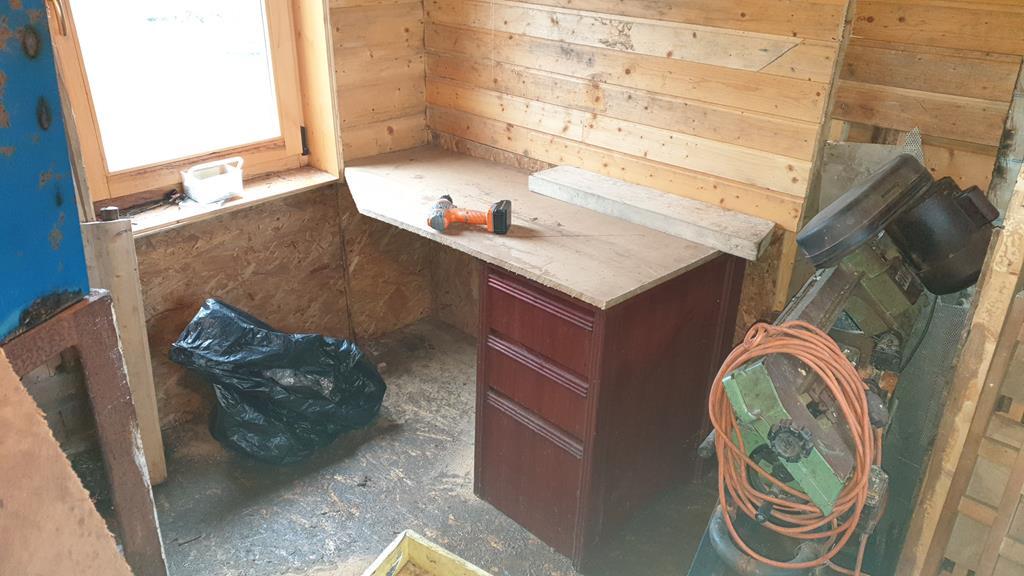 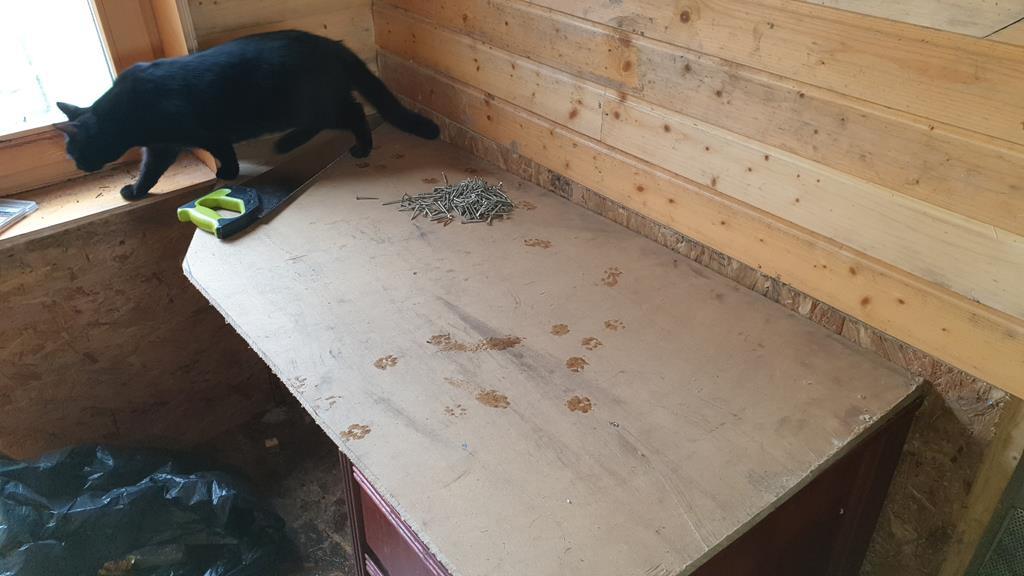 That's better, firmly fixed in place and raised by a few inches so I could get my chair under.. 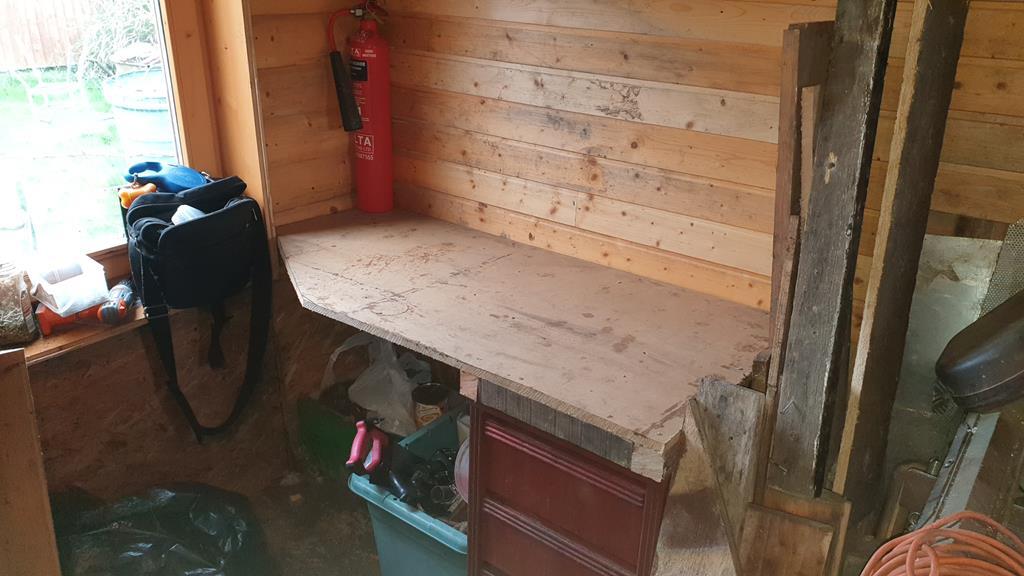 And then quickly buried under the lathe and other non desky sort of stuff to make space elsewhere! 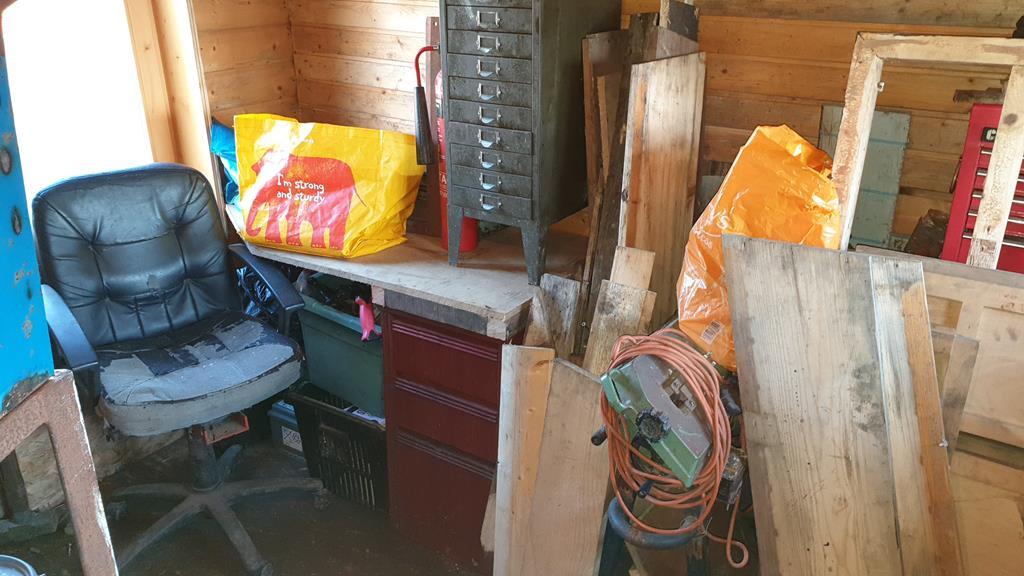 Oh... And the workshack now has a new heavy duty felted roof thats firmly tacked and glued down with no chance of any nasty wind getting under it and ripping the felt back off.. So why did the old roof get ripped off? Apart from the strong winds "That" weekend, it mixture of two things.. 1. The roof was done in a rush as at the time it was the only dry day for a few weeks! 2. Me being a cheapskate!! Part of the felt was reused from one of the sheds, the rest of the felt was from donated rolls which had both sat around for quite a few years and were both quite thin... Anyway, leason learnt and new roof on. 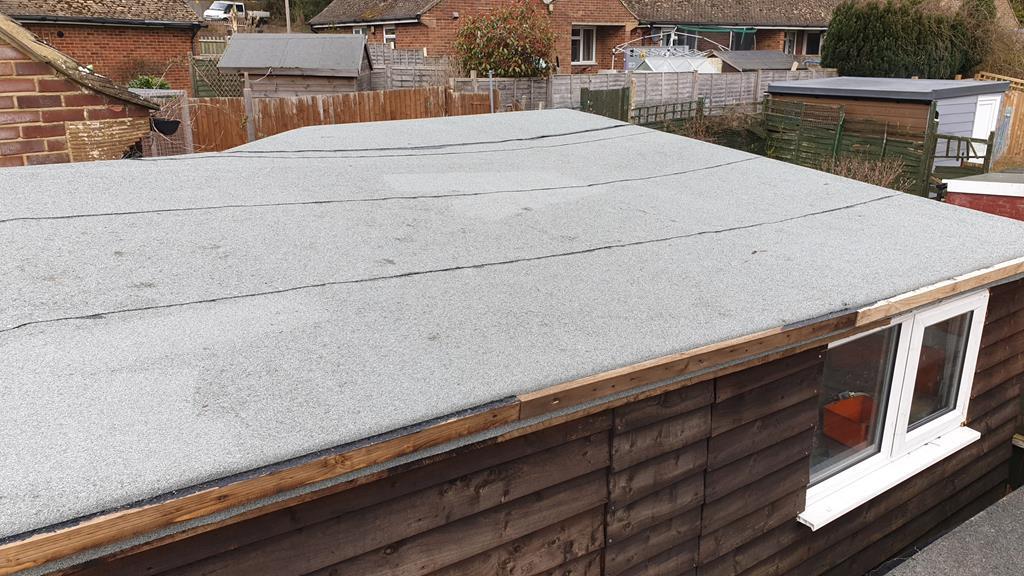 |
| |
My YouTube Channel www.youtube.com/user/UkWheelHorseBlokeQuote - D'you know, it's people like you, doing totally brilliant and pointless stuff like this that gives me a little hope for humanity |
|
|
|
|
|
|
Apr 29, 2020 13:54:39 GMT
|
With the Workshack finally water tight and no more "catch containers" to catch all the drips gone I could finally get around to sorting the inside.. Starting with filling the gap between shack and shed. 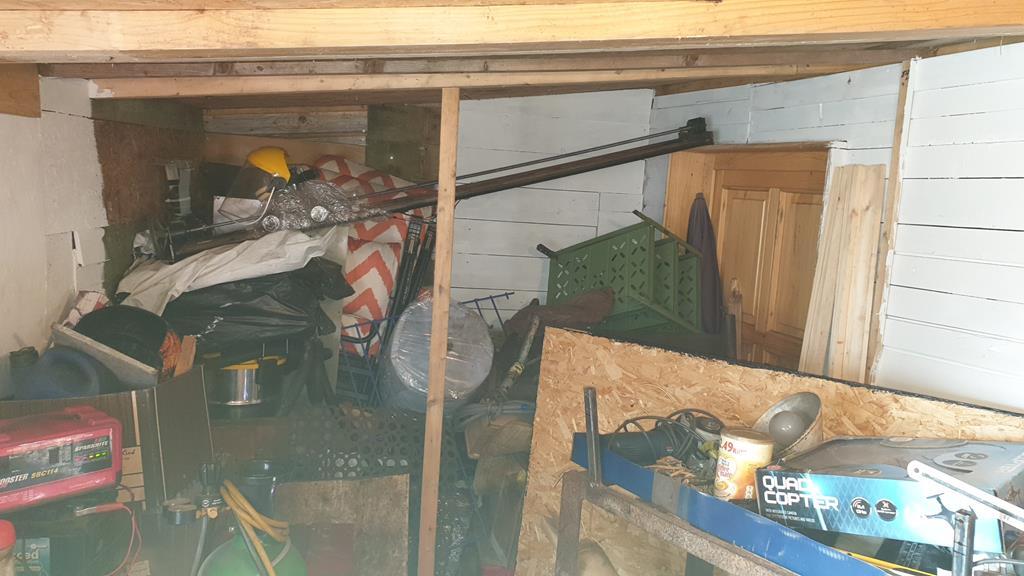 Panelled in using the boards that were tempoaryly fixed to the roof to try (he says laughing) stop the water coming in. 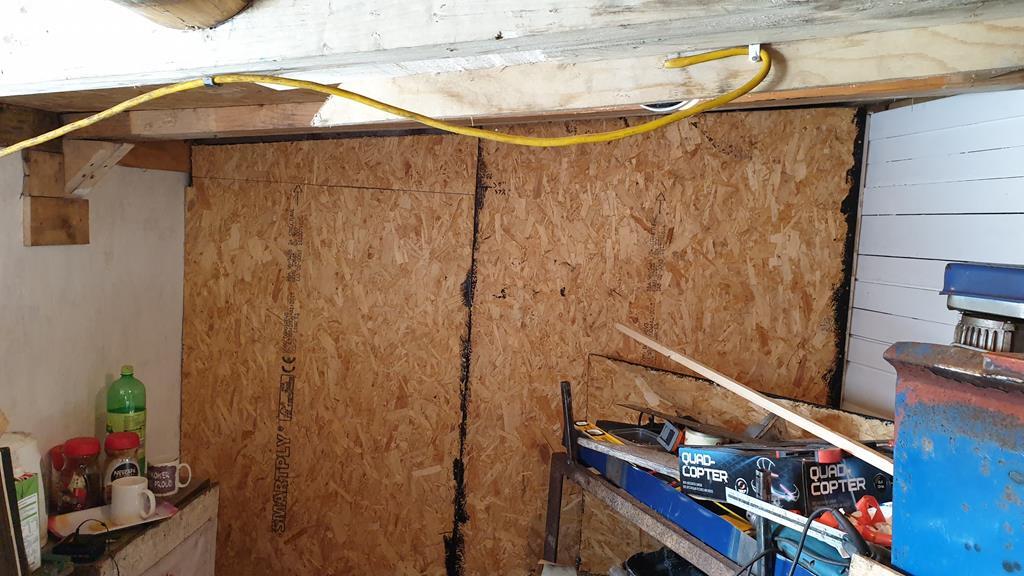 Opps!! This board was cut using the measurement that you can just see on the darker battening... Unfortunatly that measurement was from the floor to the bottom of the battening! Oh well, easily covered with a "trim strip".  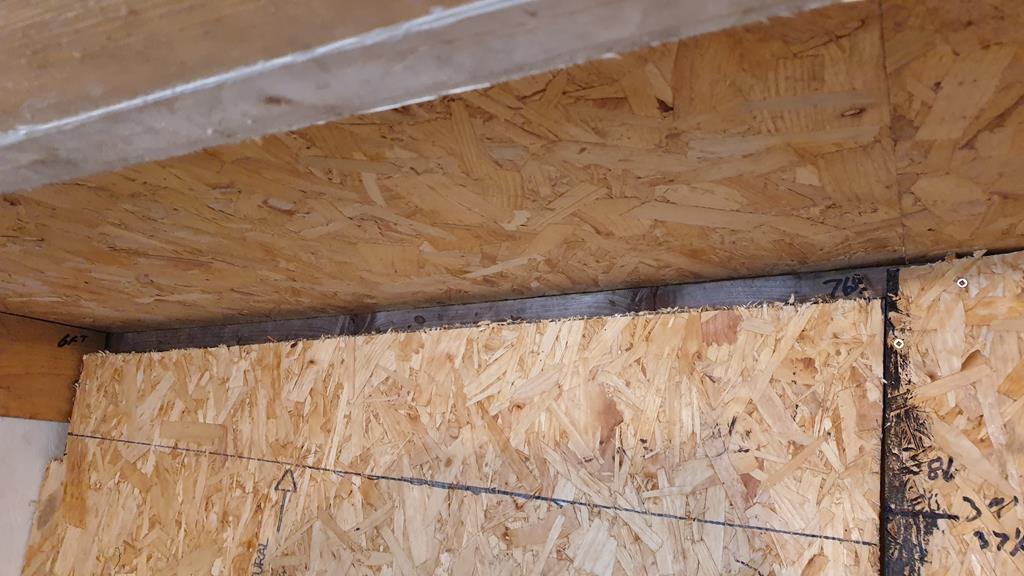 Once the white paint had been splashed about the lathe bench could go in it's final home, which suddenly gave lots of space in the shack. 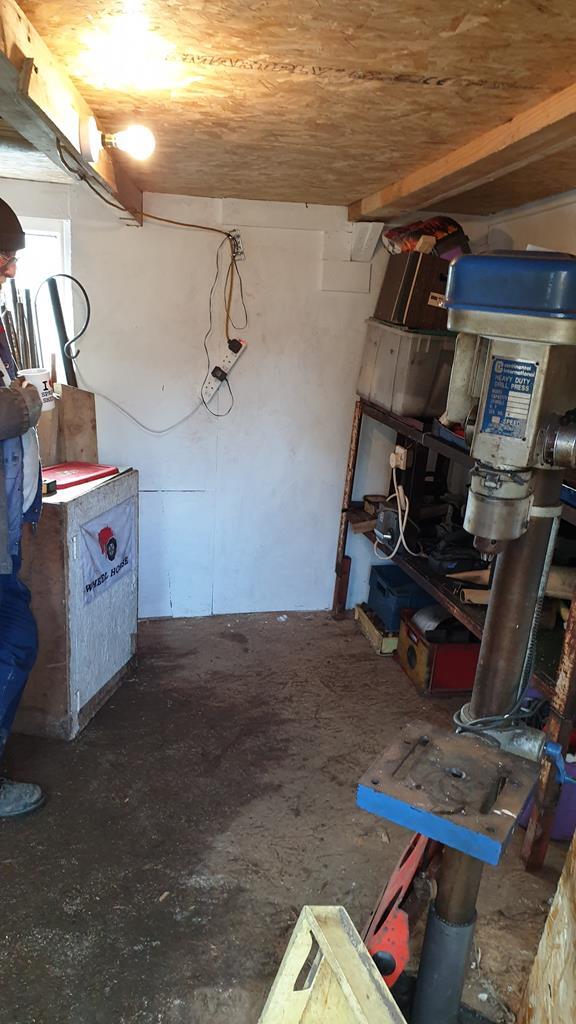 Best fill the extra space up then, the 2nd half of the bench went up after narrowing.. 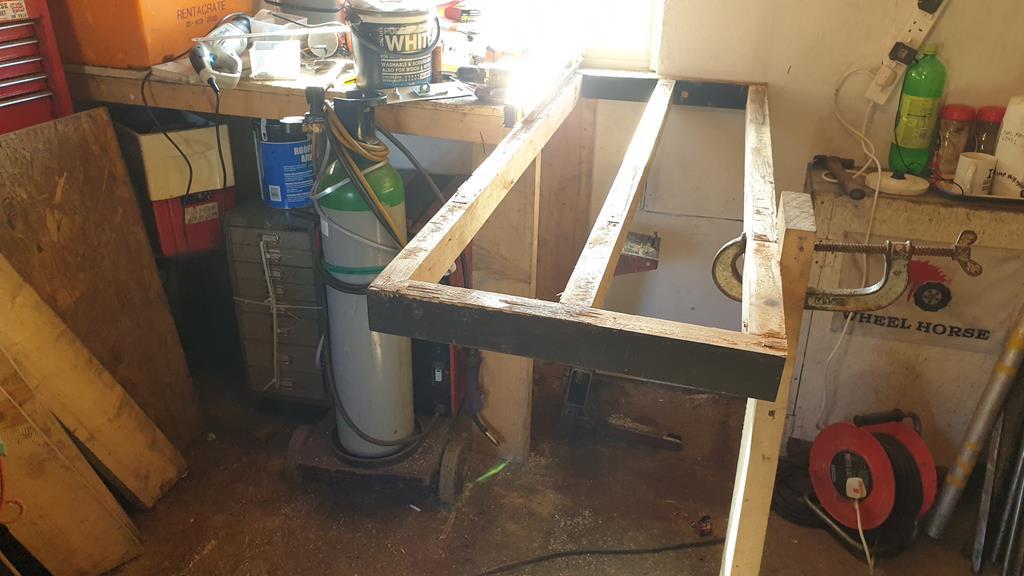 Top on. 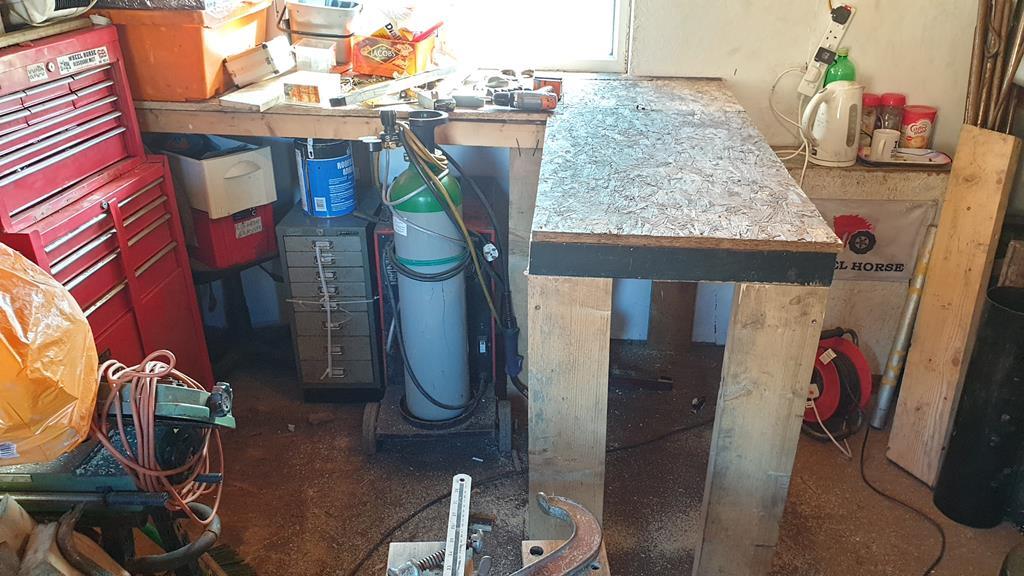 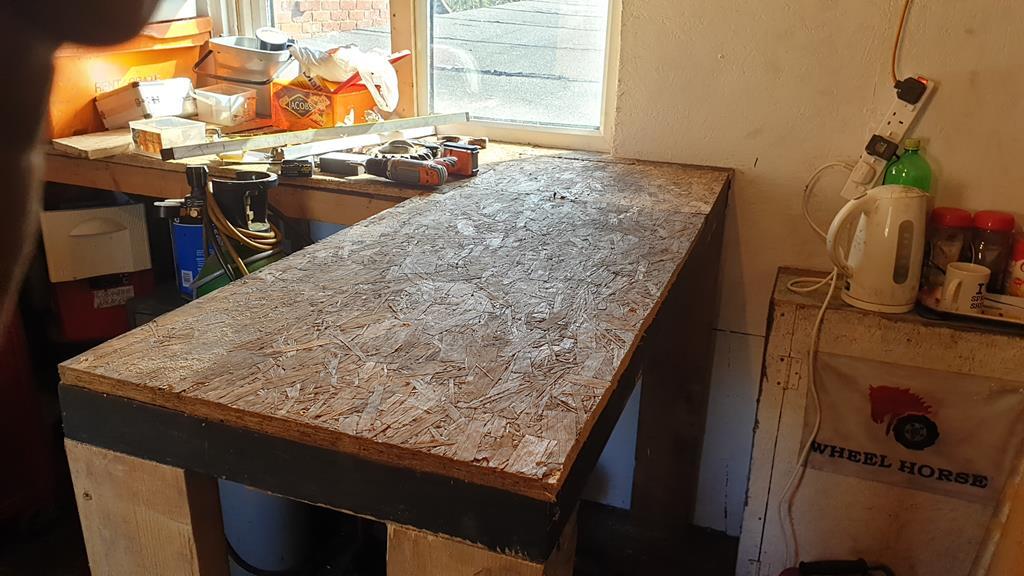 And some corner blocks added to strengthen the legs. 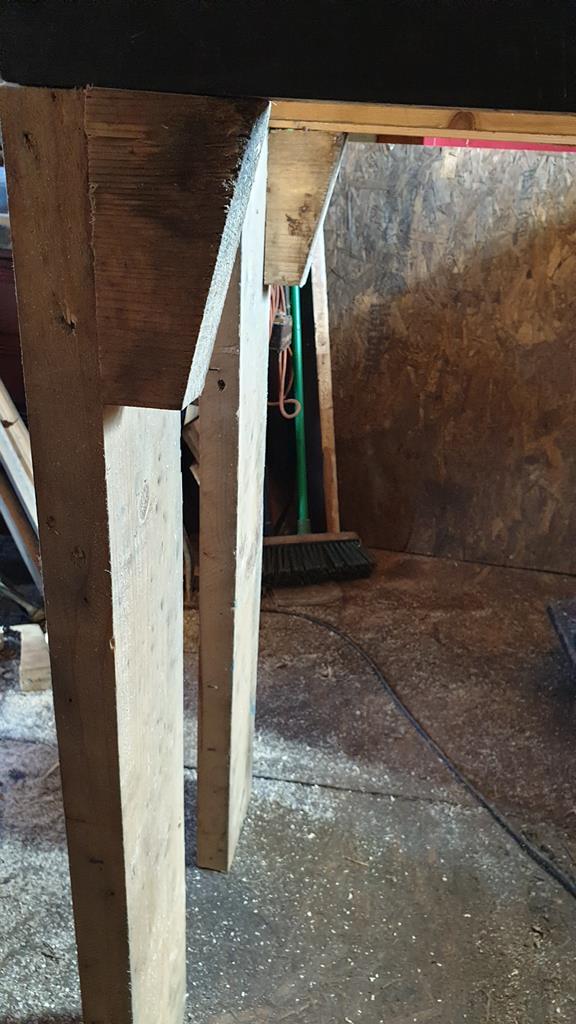 Shelving time... This fold up shelf fits nicely between the bench and lathe bench. 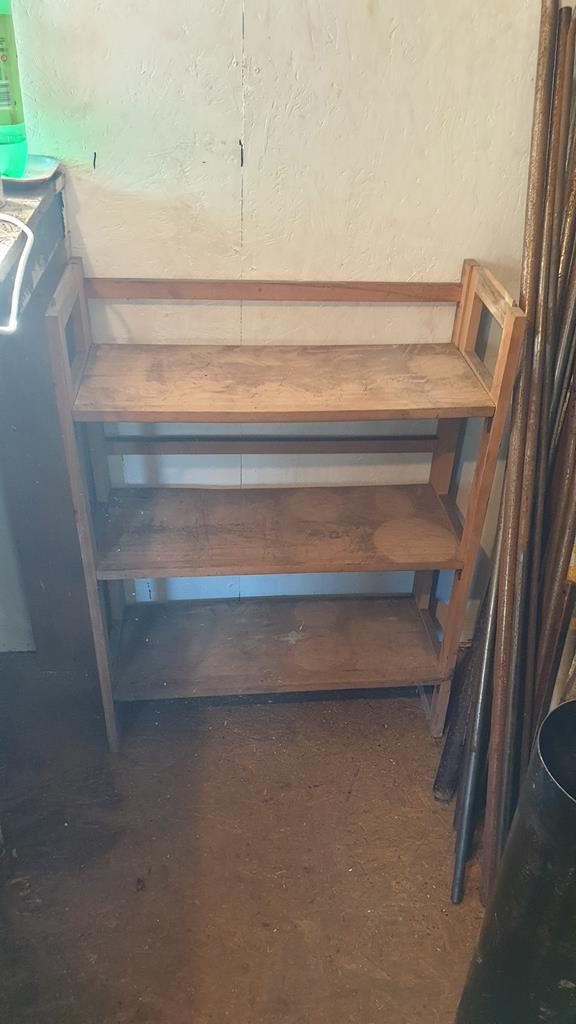 Not quite enough space to get a second one on top! 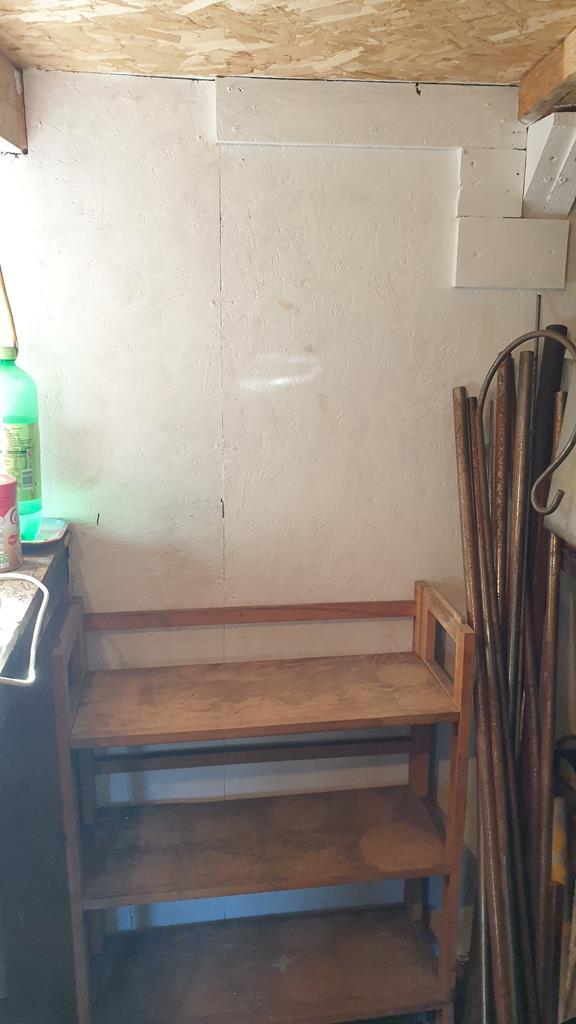 A bit of marking out and cutting later.. 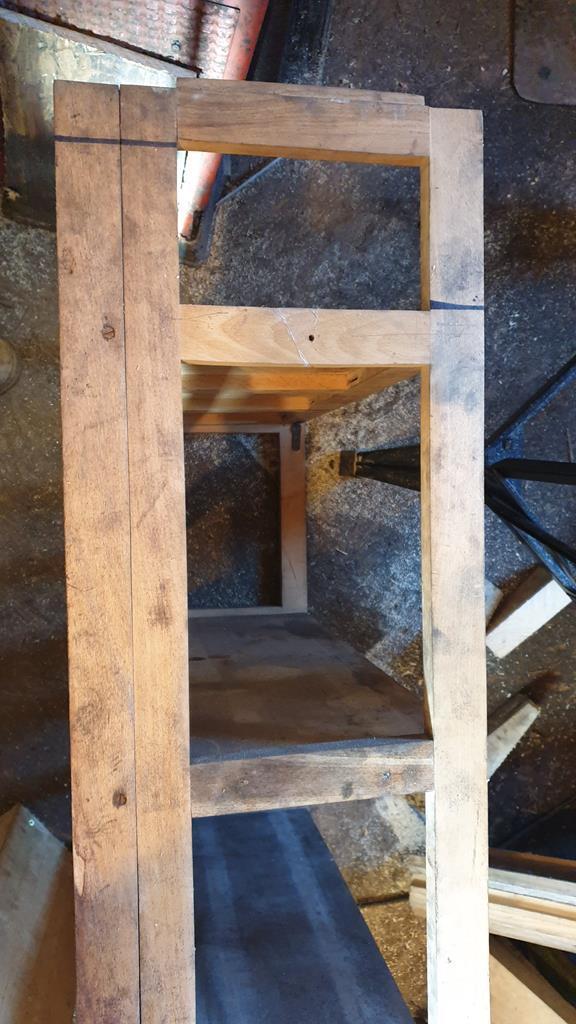 They both now fit and soon got filled up a bit..... I still need to work out quite where evrything is going! 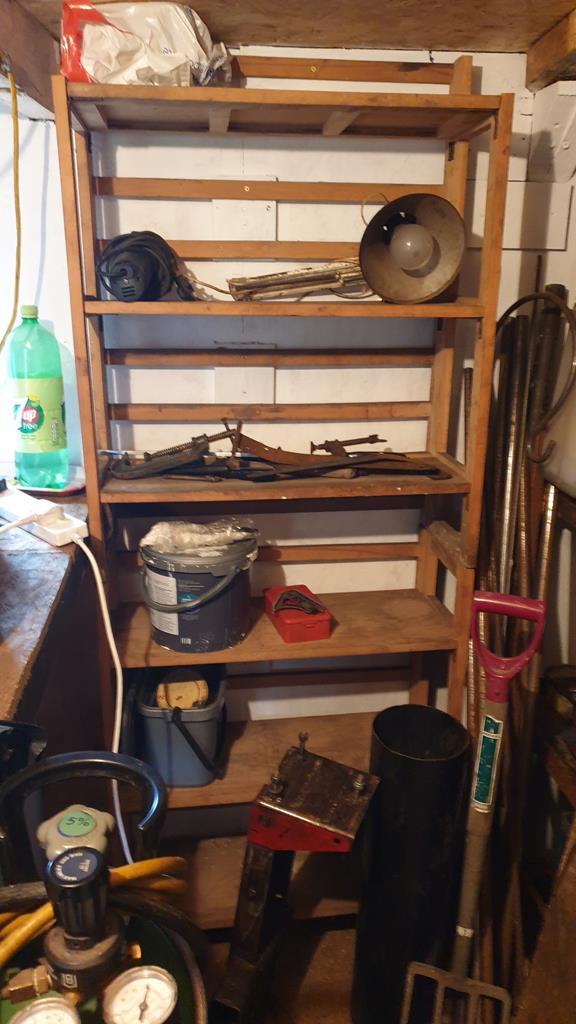 Another milestone in the build.. The last bit of inside cladding fixed in place..  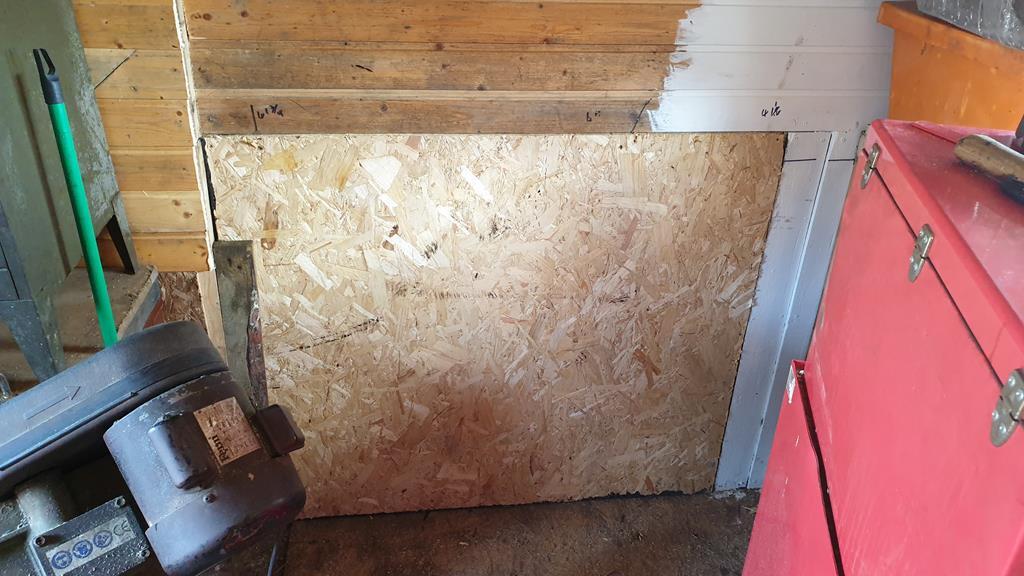 |
| |
My YouTube Channel www.youtube.com/user/UkWheelHorseBlokeQuote - D'you know, it's people like you, doing totally brilliant and pointless stuff like this that gives me a little hope for humanity |
|
|
|
|
Apr 29, 2020 14:22:02 GMT
|
Finally the lathe went back on it's bench. 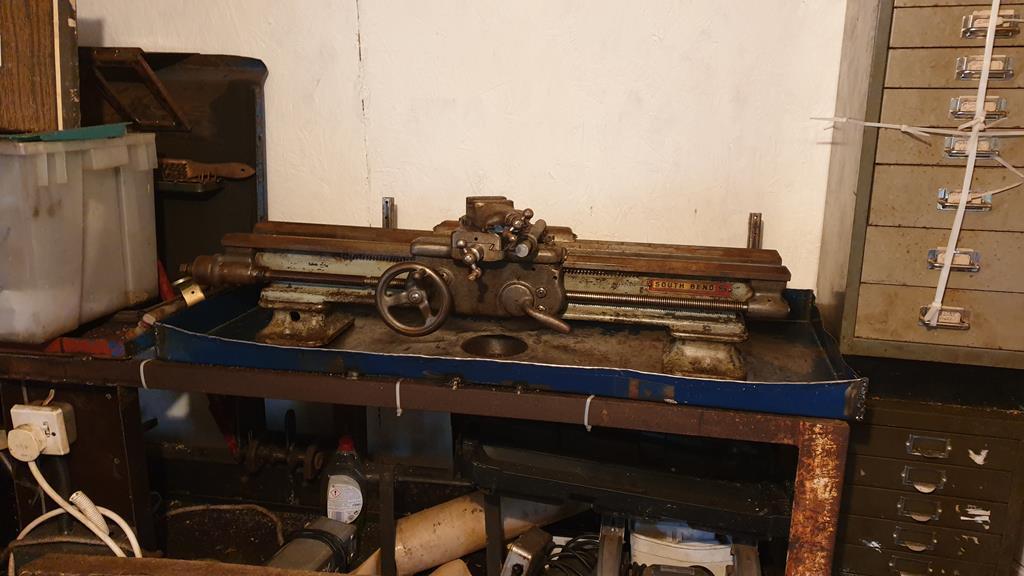 It might not be quite level yet however  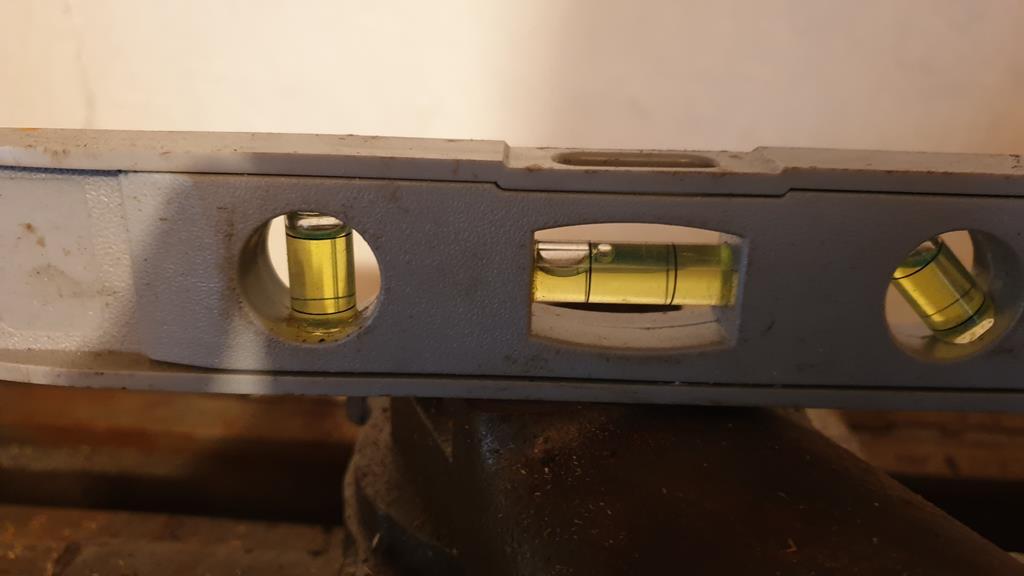 My lathe tool draws naturally went next to the lathe. 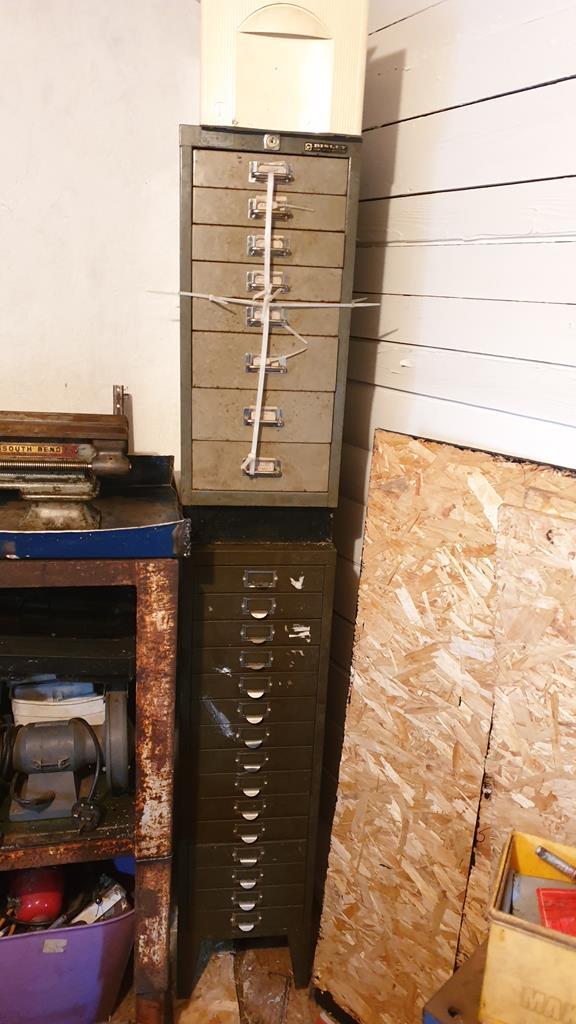 And the paint cupboard went up on the wall... No more making coffee on it  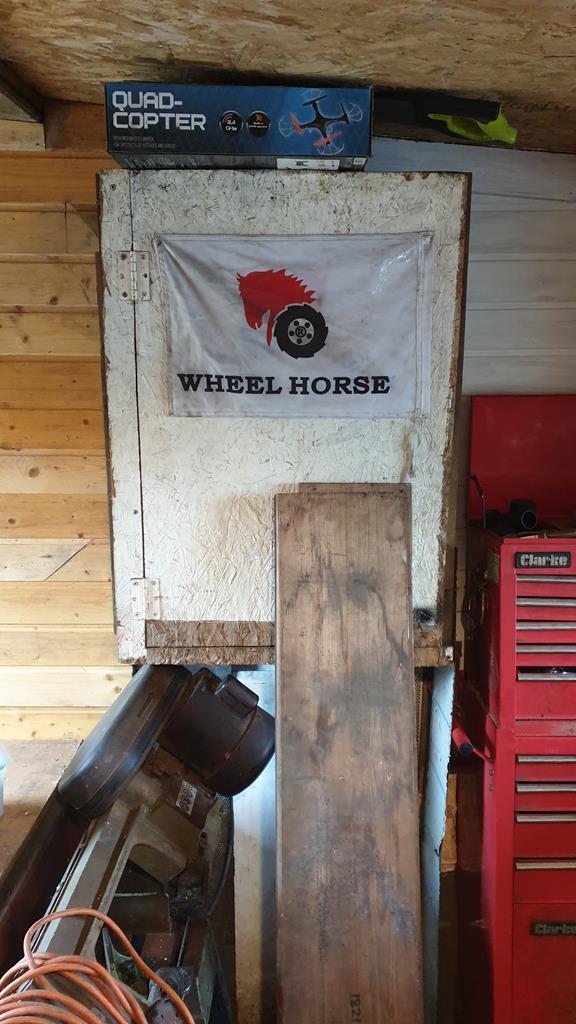 More shelves ready to be fixed to the wall once it was painted... 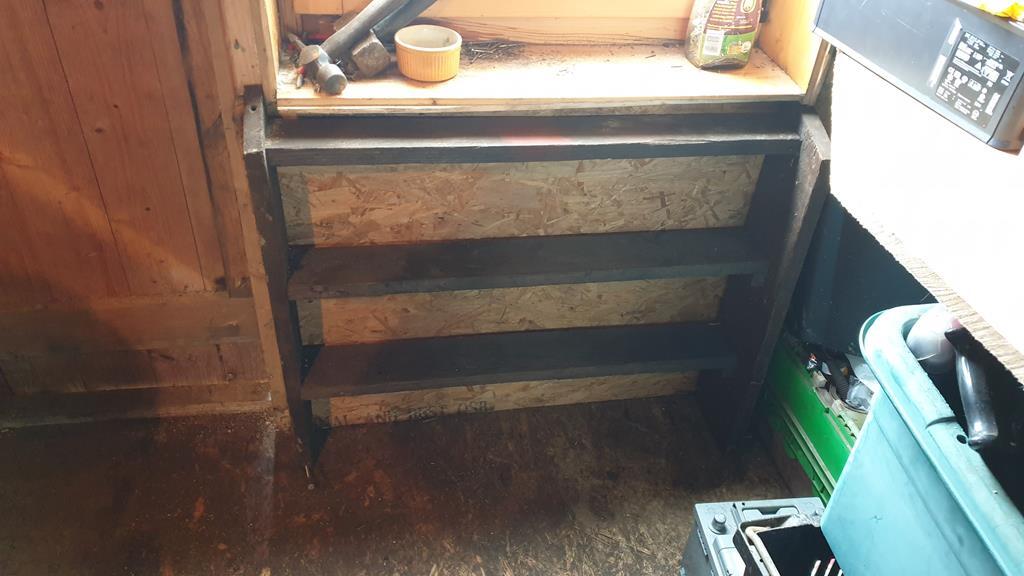 Before it got buried behind lots of boxes I took a snap of this comically shaped bench leg   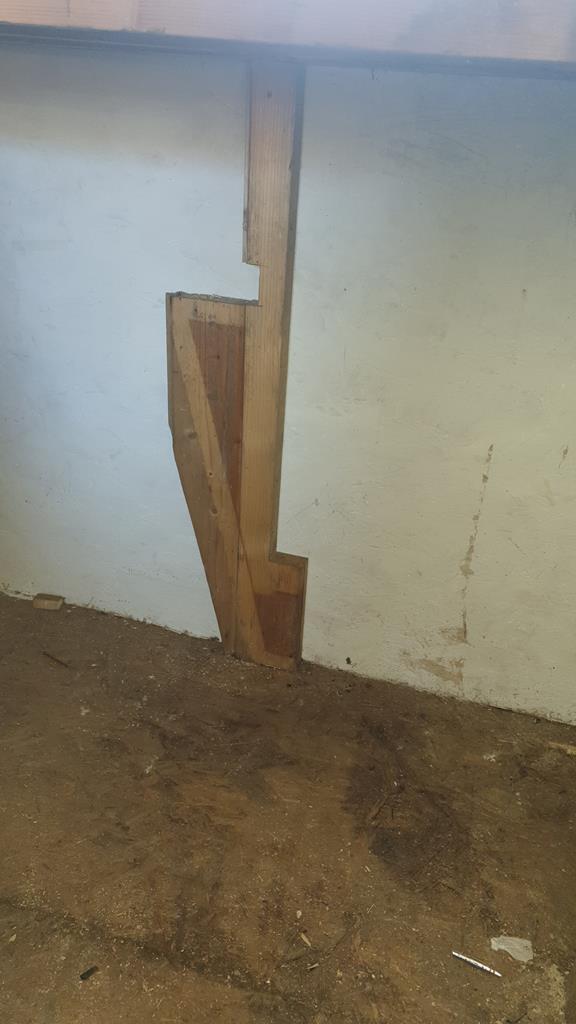 Here's Part 2 of the build videos. |
| |
My YouTube Channel www.youtube.com/user/UkWheelHorseBlokeQuote - D'you know, it's people like you, doing totally brilliant and pointless stuff like this that gives me a little hope for humanity |
|
|
|
|
Apr 29, 2020 14:51:34 GMT
|
Yes I know it's yet another video, but it needs to be slotted in here to keep the timeline somewhere close to the right time!! Fast forward to a couple of weeks ago we now have a fully operational computer and coffee corner  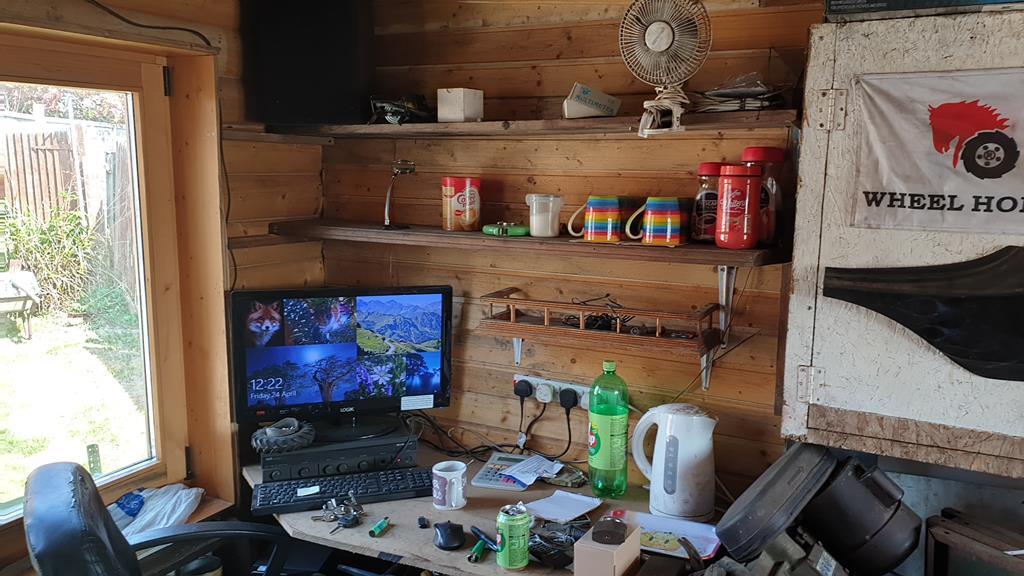 A bit of decoration going up.. A play with an airbrush years ago.. I need to give the black n flamed side cover a coat of clear to bring the shine back. 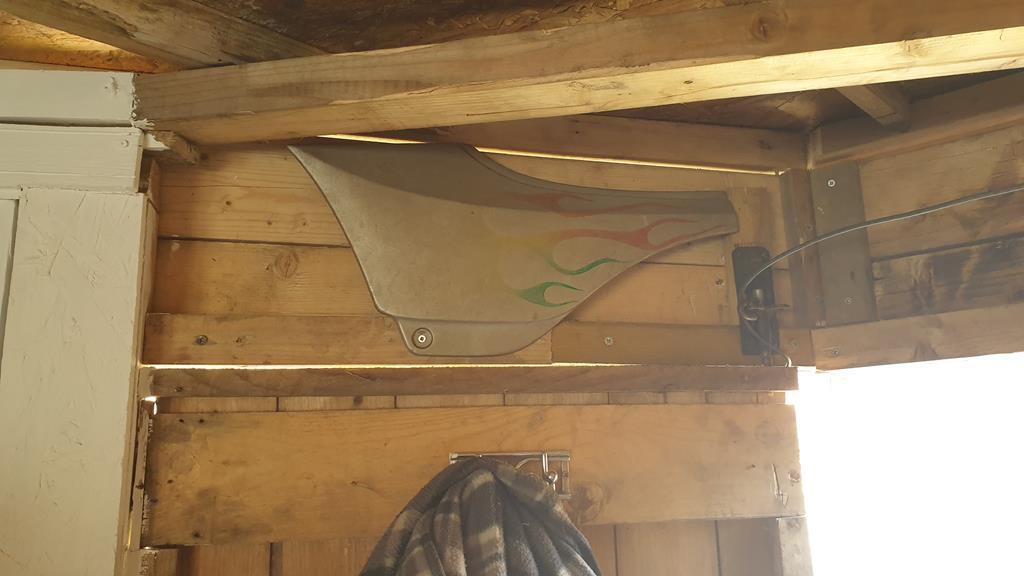 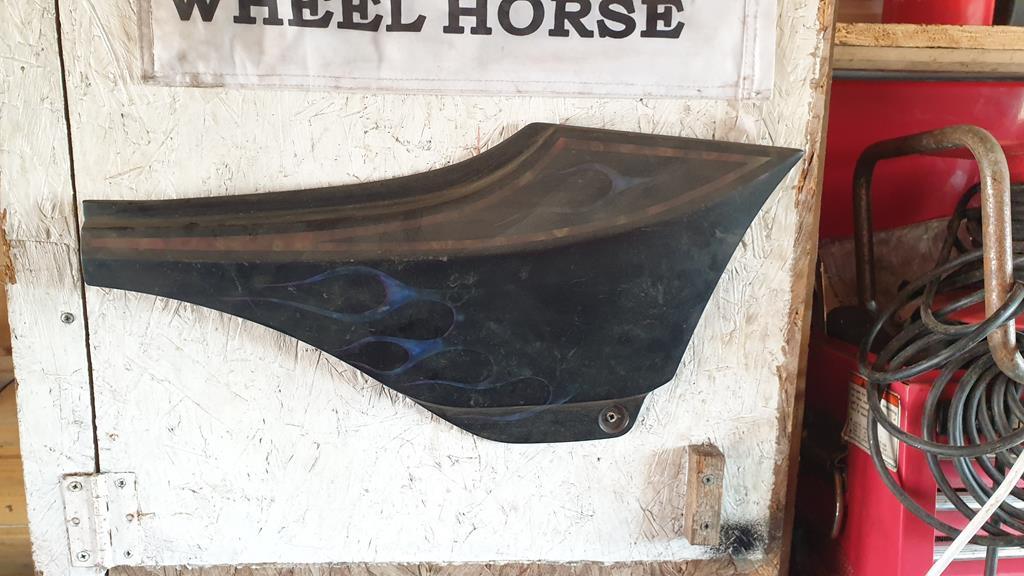 More shelving going up, gotta have some music.. 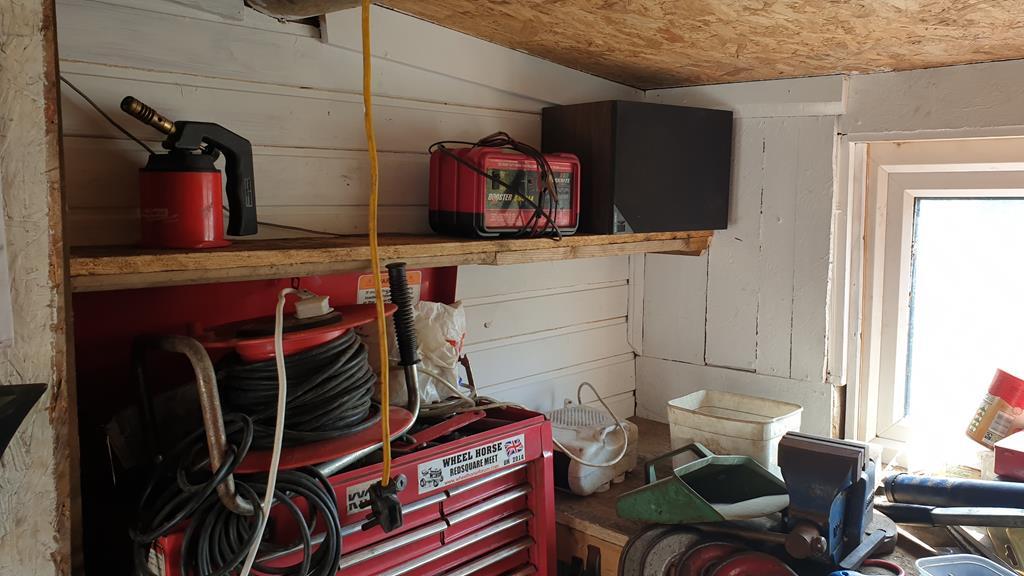 Speaking of shelves, I had lots of green metal units to try and fit in.. This one doesn't look like it's in a great postion, but it's easy to reach in from both sides. 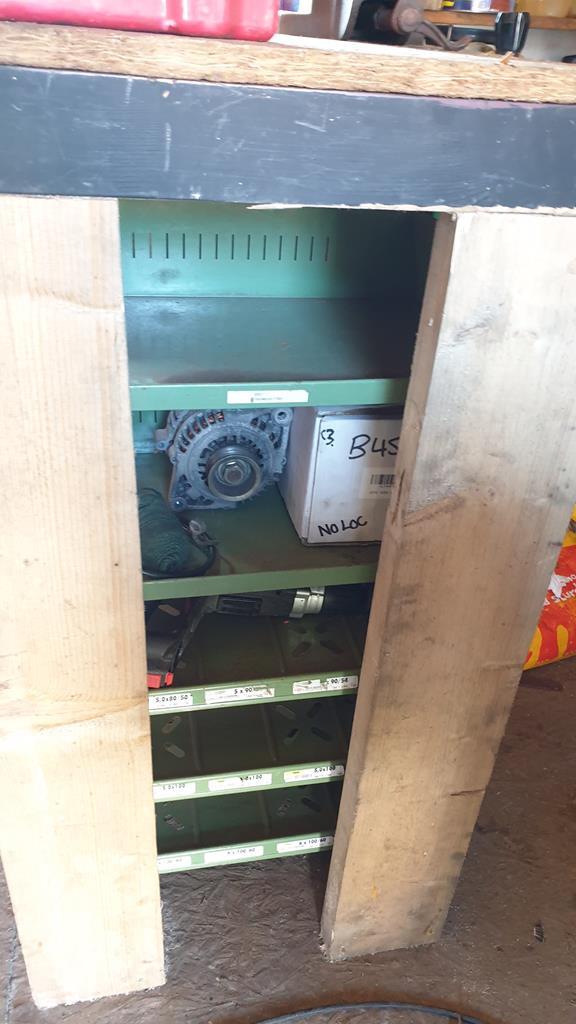 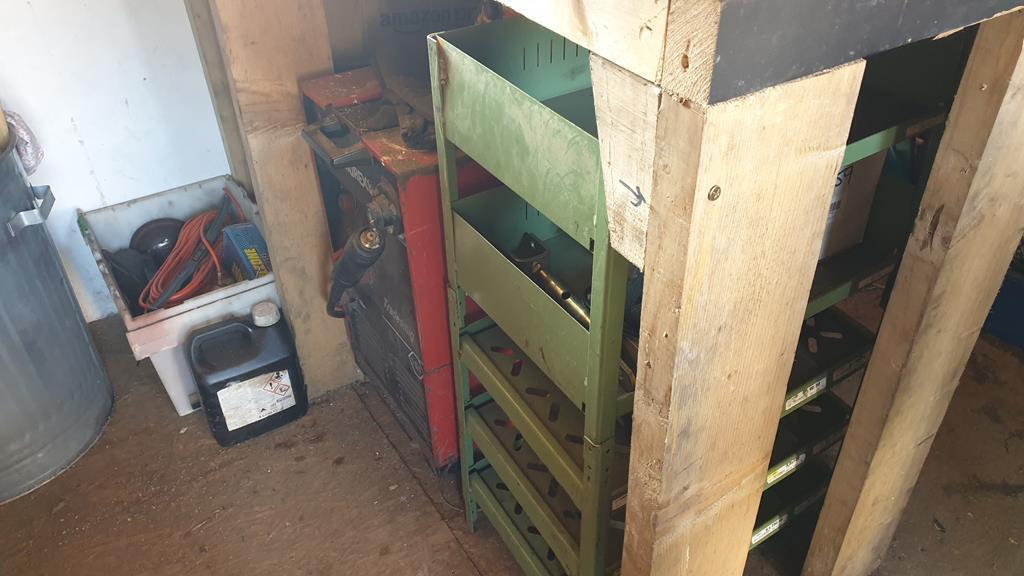 Some more shelves on the corner of the bench, a spot that would otherwise be hard to use due to the toolbox.. 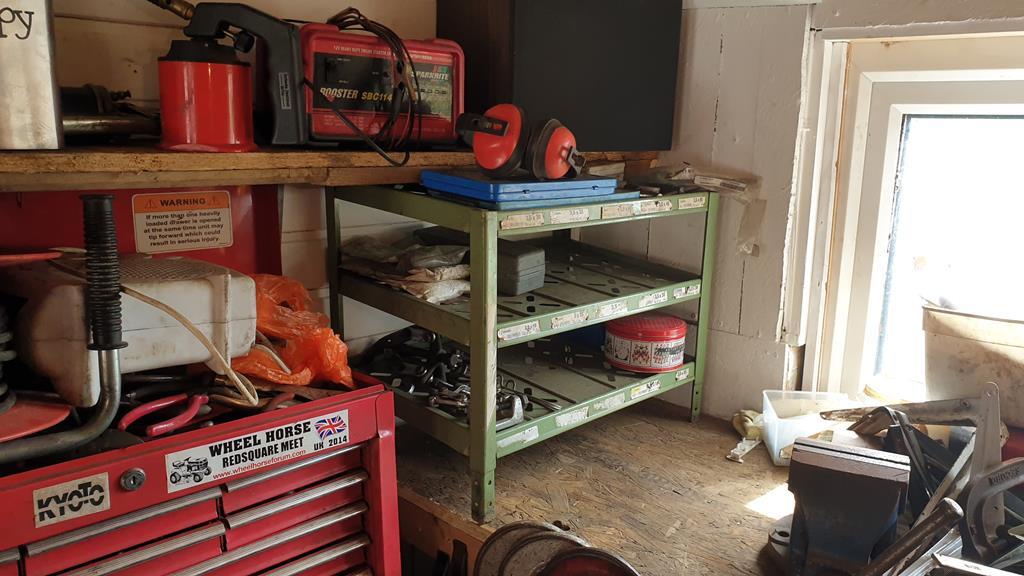 Yet another box of bits to sort through and find homes for! 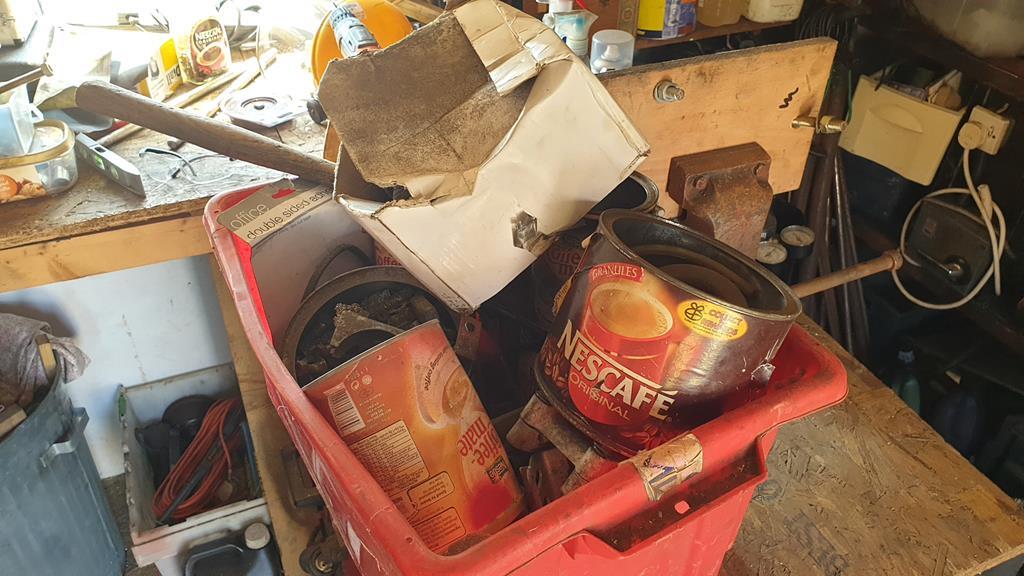 Under the bit of bench that's under the window looked like this! 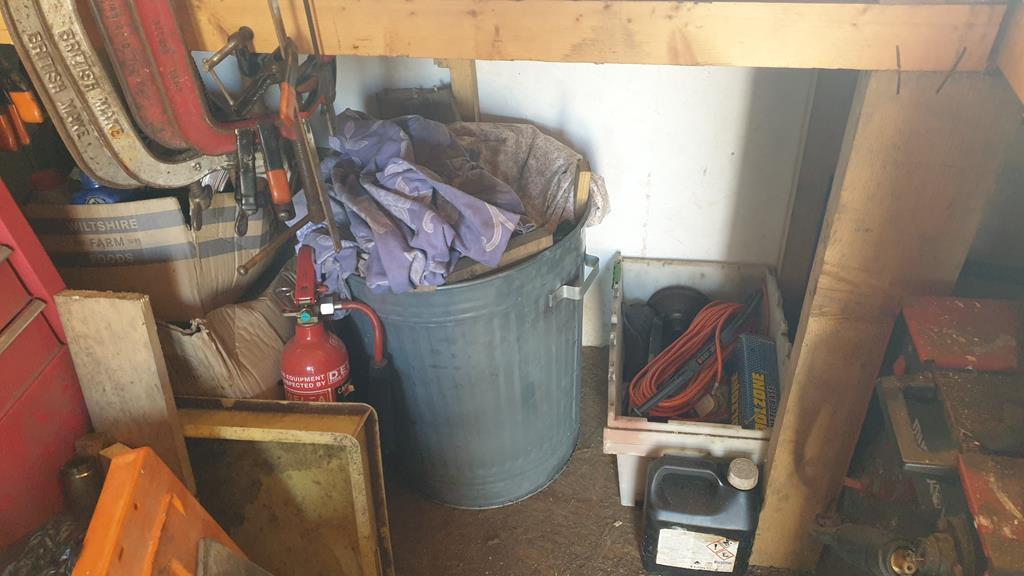 A while later it looked like this.. 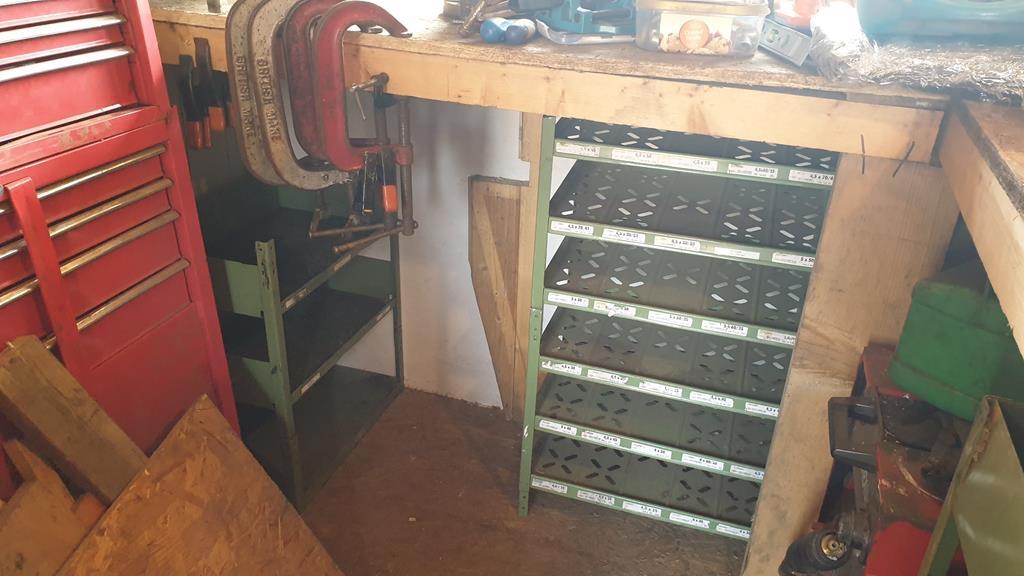 And after todays fun it is now my "useful bit's of metal" rack..  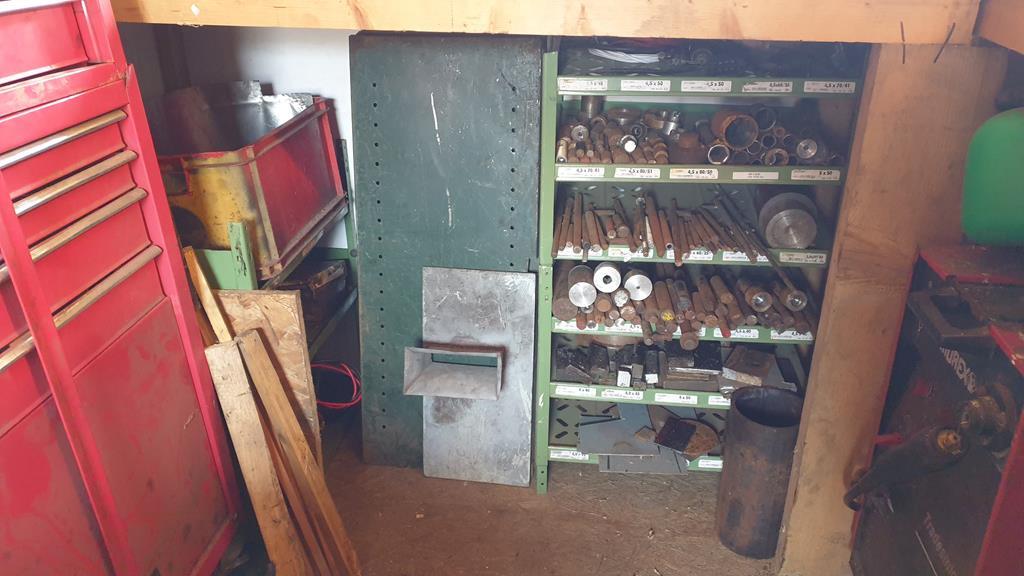 At long last this thread is up to date.. So to finish off this update in a random fashion, have a pic of my Firestone tractor tyre ashtray, fitted with a Kohler piston instead of a small glass jar..  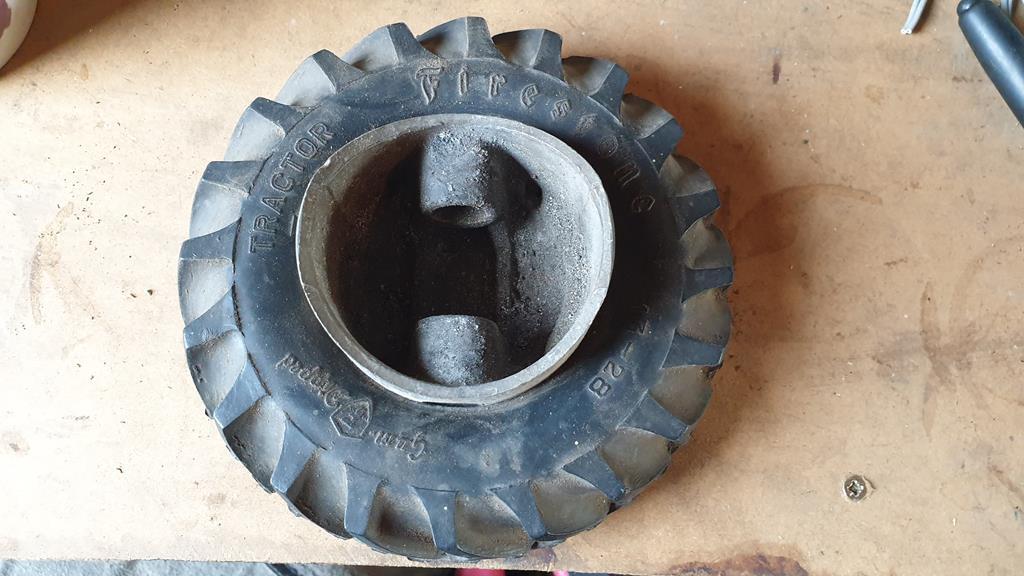 |
| |
Last Edit: May 5, 2020 15:00:07 GMT by Stigian
My YouTube Channel www.youtube.com/user/UkWheelHorseBlokeQuote - D'you know, it's people like you, doing totally brilliant and pointless stuff like this that gives me a little hope for humanity |
|
|
|
|
|
|
|
That looks like a great workspace, I hope to have something similar soon.
|
| |
|
|
|
|
|
|
|
Ian, great to see you back and cracking on! Only you could knock something up in weeks, that manages to look like it's evolved piecemeal over decades! Brilliant.  |
| |
|
|
|
|
|
|
|
That looks like a great workspace, I hope to have something similar soon. Thanks Andy, it will be great when it's finally all sorted.. I'm hoping to have it up and running in 2-3 weeks time.. Will your shop be a similer sort of size? Ian, great to see you back and cracking on! Only you could knock something up in weeks, that manages to look like it's evolved piecemeal over decades! Brilliant.  Hi George, I wish it could of been built in weeks, but the build started at the end of September and is still on going.. All my workshops/shacks have had the feel that they have been there for years, even if they have just been built... Instant age..... Proberly one of the very few situations where instant ageing is cool  So I don't duplicate thing on this fine forum, I have deleted the treadmill motor bit's that were above.. But you can find it Click Here , I've just updated it with a video or two as well  |
| |
My YouTube Channel www.youtube.com/user/UkWheelHorseBlokeQuote - D'you know, it's people like you, doing totally brilliant and pointless stuff like this that gives me a little hope for humanity |
|
|
|
|
Dec 23, 2022 17:56:43 GMT
|
|
that looks great, the videos arent working tho. hopefully will be building my first proper workshopshed next year and hopefully wood will be cheaper! good tip with acosting a window company though ill have to look at that for the window - s and maybe door!
cheers fella keep up the great work
|
| |
 2006 Audi A3 2003 Fusion 2 looking for a project.... |
|
|
|
|
Dec 24, 2022 15:18:41 GMT
|
|
The question that I pose is, 'how much satisfaction did you get out of creating this facility'? You can not put a price/value on that, which is worth so much.
|
| |
|
|


