|
|
|
|
|
Carter review! 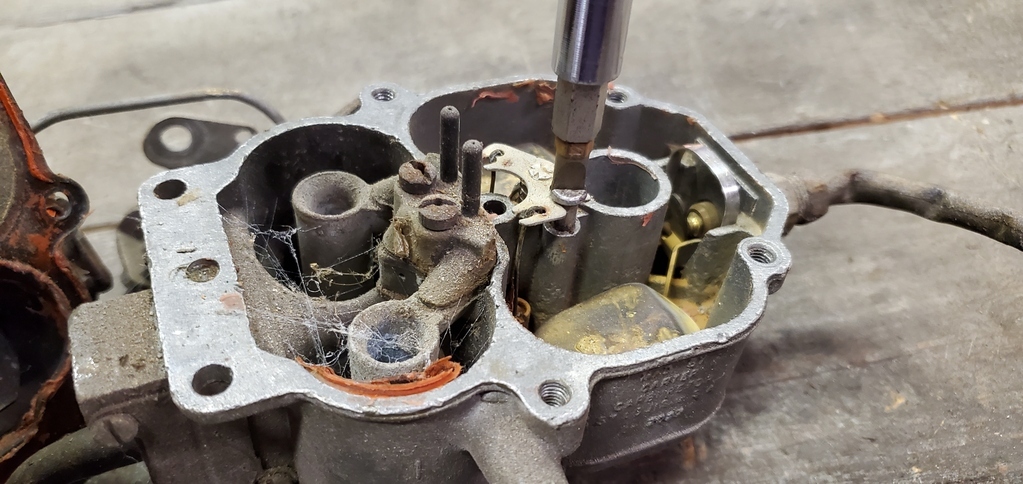 First, undo Fred. Fred holds Stewart in place. The non-threaded portion of Fred needs to be smooth and free from burrs. Use a very fine file to remove any then 1000 grit wet-n-dry smooth.  Stewart should pop out. There's a big spring pushing him up. Attached to Stewart are Jim and Bob. Use metal polish with a very gentle downward stroking action to clean them. Do not use wet-n-dry, you'll screw up your fueling. Jim and Bob must also be perfectly straight. You can adjust them carefully but make sure they're straight in all directions against a ruler. The hole Stewart sits in should be cleaned thoroughly and be flushed through with carb cleaner then oiled with engine oil. 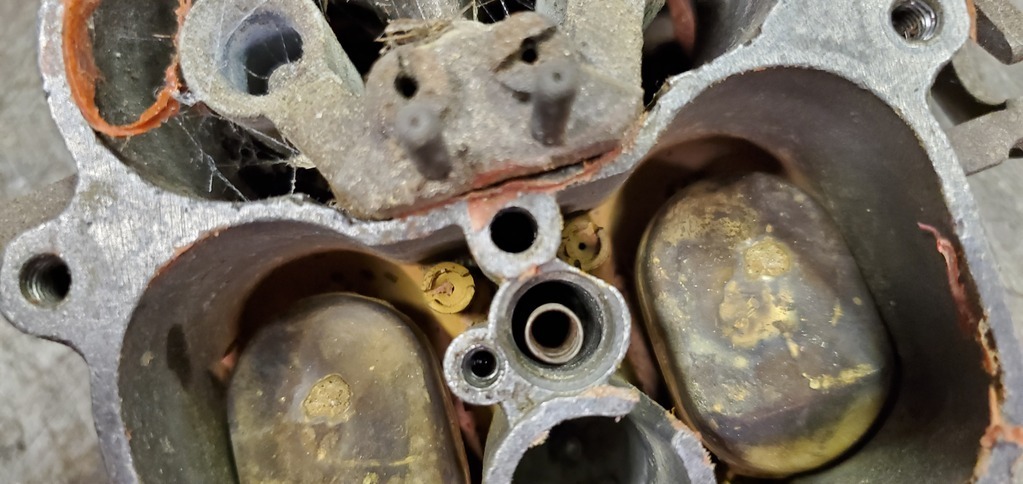 Jim and Bob slide into Sue and Betty down here. 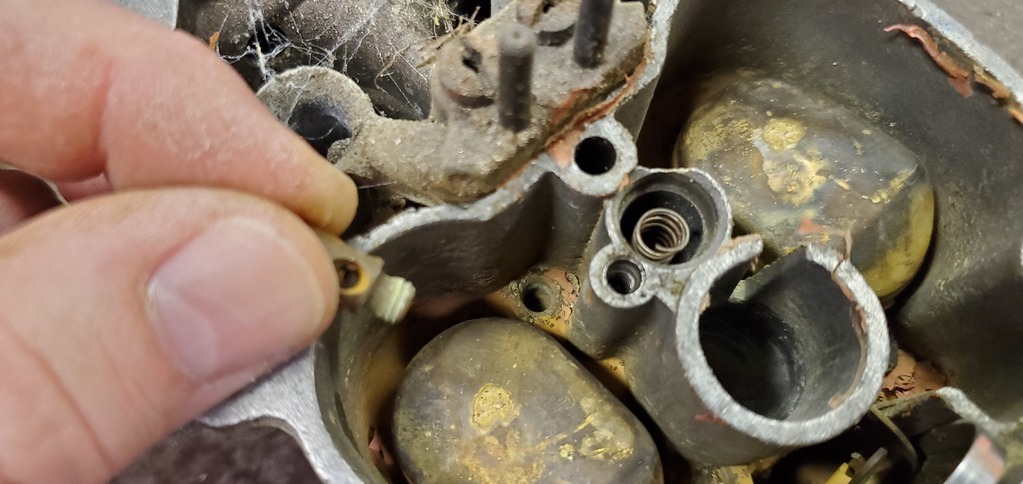 Sue and Betty undo CAREFULLY WITH A BIG ENOUGH SCREWDRIVER because they're brass and you do NOT want to twist them. Carb cleaner and compressed air down the holes to flush them through. Reassemble. That should see a lot of your running problems vanish. These are simple, reliable carbs really. Phil |
| |
Last Edit: Jun 7, 2021 0:05:00 GMT by PhilA
|
|
|
|
LAndy
Posted a lot
  
Posts: 1,061
|
|
|
|
PhilA you're amazing and hilarious! Thank you so much for your help! A few notes: I did clean Fred up but I will revisit him shortly. Jim and Bob definitely aren't straight, and I will attend to their needs soon! Stewart's hole will also be lubed! Wait, I thought Jim and Bob were a "thing", didn't know Betty and Sue even existed! I will treat Betty and Sue better than Jim and Bob ever did! I shall bring them all back together and see how they all get along! Thanks again!
|
| |
Last Edit: Nov 21, 2023 18:03:33 GMT by LAndy
Previous retros: 92 AX GTi 92 Scirocco Scala 94 80 sport 87 Golf Cab GTi Current retro: 1965 Clark Cortez YouTube Website Instagram |
|
|
|
|
|
|
PhilA you're amazing and hilarous! Thank you so much for your help! A few notes: I did clead Fred up but I will revisit him shortly. Jim and Bob definetly aren't straight, I will attend to their needs soon! Stewarts hole will also be lubed! Wait, I thought Jim and Bob were a "thing", didn't know Betty and Sue even existed! I will treat Betty and Sue better than Jim and Bob ever did! I shall bring them all back together and see how they all get along! Thanks again! The entire assembly is drawn up and down with engine load (vacuum drawn). It needs to move freely, you should be able to push centrally on the stamping where the piston is staked to the top plate and it move with hardly any resistance- just that of the spring. Do not stuck anything down the jets, only carb cleaner. There's a top side (does nothing other than guide the needle) and the bottom side by the screw thread which are the actual metering holes. Also of note are the emulsion tube tops (the 2 nubs that stick up by the accelerator pump jets). Spray carb cleaner down there because they get sediment in and there's no easy way other than that to clean them without taking the entire thing apart (and then it's difficult). 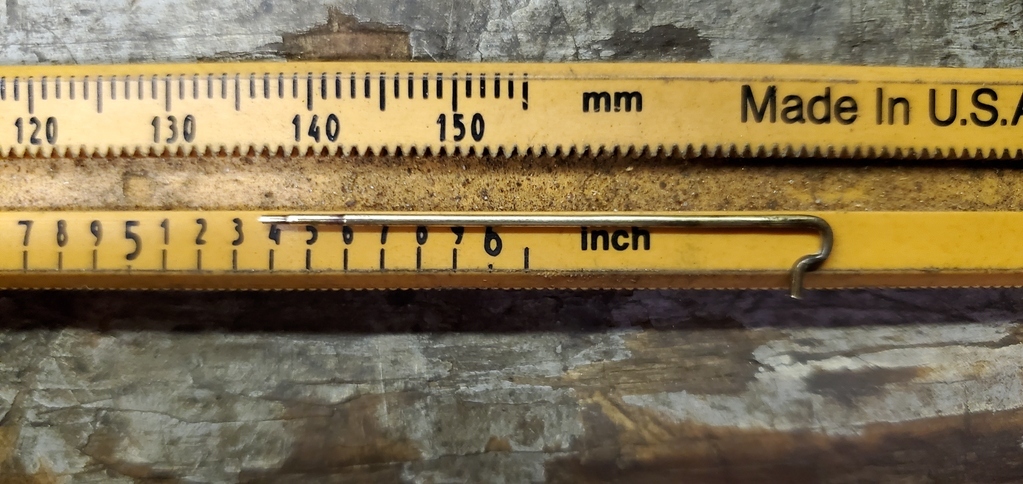 So, the needles unhook off the top plate. Make sure they are at least this straight. Note the metering tips, 3 diameters. Mine were all caked with varnish, that makes the mixture lean. Also, the shepherds crook at the top should be nearly but not quite 90 degrees to the needle, should be slightly down like that in the picture. You will want to retain that secondary kink at the top by the crook on yours, that's factory and will help keep the needle in line, mine don't have that but the crook looks larger. The rest needs to be arrow-straight though. I adjusted that with my fingers, no tools. 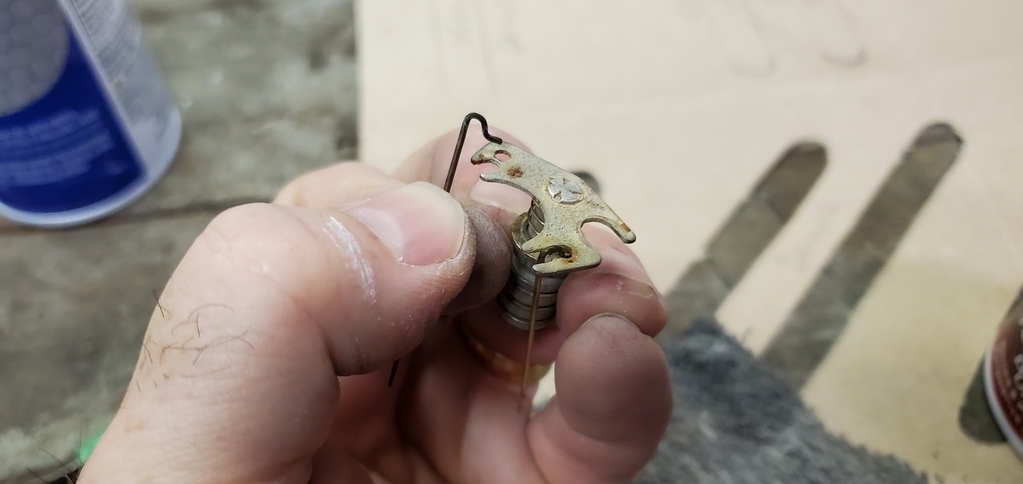 Now that you've forgotten which way it was on when you took it off, the top of the crook goes through the hole and the needle dangles through the slot. Make sure the top plate is flat too. 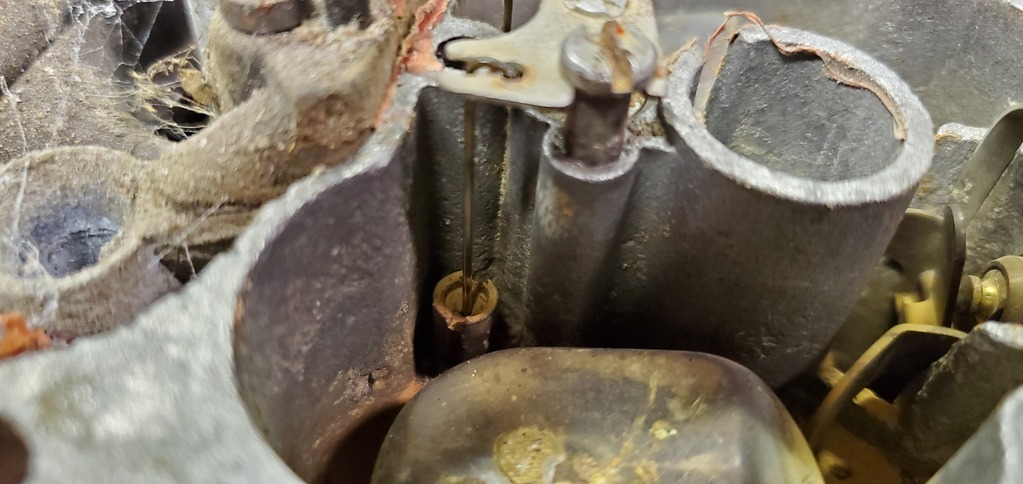 Pushing down on the top plate should see the needles enter the jet uniformly with no resistance. You shouldn't see them change direction from the vertical- that is determined by the top hole in the jet, which holds the needle true. Phil |
| |
Last Edit: Jun 7, 2021 1:29:15 GMT by PhilA
|
|
|
|
LAndy
Posted a lot
  
Posts: 1,061
|
|
|
|
PhilA you're amazing! Thank you so much!
|
| |
Previous retros: 92 AX GTi 92 Scirocco Scala 94 80 sport 87 Golf Cab GTi Current retro: 1965 Clark Cortez YouTube Website Instagram |
|
LAndy
Posted a lot
  
Posts: 1,061
|
|
|
|
|
|
| |
Previous retros: 92 AX GTi 92 Scirocco Scala 94 80 sport 87 Golf Cab GTi Current retro: 1965 Clark Cortez YouTube Website Instagram |
|
|
|
|
|
|
|
Ain't nothing wrong with 130 psi dry on an old 360. You're right in the middle of "expected".
|
| |
Last Edit: Jun 7, 2021 16:29:46 GMT by PhilA
|
|
|
|
|
|
|
|
All within 10% (just) of each other so its a healthy engine. As Phil says 130 psi dry is pretty good for its age.
|
| |
|
|
LAndy
Posted a lot
  
Posts: 1,061
|
|
|
|
Ain't nothing wrong with 130 psi dry on an old 360. You're right in the middle of "expected". All within 10% (just) of each other so its a healthy engine. As Phil says 130 psi dry is pretty good for its age. Yea, we were really happy with those results. Though with the wet test results been good too it does look like the valve stem seals are the likely cause of our smokey issue when cold. |
| |
Previous retros: 92 AX GTi 92 Scirocco Scala 94 80 sport 87 Golf Cab GTi Current retro: 1965 Clark Cortez YouTube Website Instagram |
|
|
|
|
|
|
|
You can change those out in situ. Rope down the spark plug hole and a 12"-16" bar that hooks under the stud nut with a hole for the valve stem and you can compress springs by hand, swap the stems and reassemble.
|
| |
|
|
|
|
|
|
|
|
|
|
Drive it a bit first. It might just need to have a few rings settle in after being sat up.
|
| |
|
|
LAndy
Posted a lot
  
Posts: 1,061
|
|
|
|
You can change those out in situ. Rope down the spark plug hole and a 12"-16" bar that hooks under the stud nut with a hole for the valve stem and you can compress springs by hand, swap the stems and reassemble. Thanks blackpopracing, great advise as always! I really appreciate it! I'd read about the rope in the cylinder technique. I've also read about using compressed air to hold it up too. I've got access to air and a line so I'm not really sure which method I'll use. Drive it a bit first. It might just need to have a few rings settle in after being sat up. I'd not thought about that, It does stop smoking after a few minutes of running too. |
| |
Previous retros: 92 AX GTi 92 Scirocco Scala 94 80 sport 87 Golf Cab GTi Current retro: 1965 Clark Cortez YouTube Website Instagram |
|
LAndy
Posted a lot
  
Posts: 1,061
|
|
|
|
Not really a progress update but ages ago a company called SuperClean contacted us and sent us a few of their products to try out for free in exchange for a bit of publicity - Not that we're actually massive. I'm still really surprized they asked us but we finally got round to giving the Cortez a clean - It's got to be at least 13 years since it's last wash - We've owned it nearly 3 years and before then it was stored for 10. Although it was never going to come up shiny it looks a world better! Roof before. 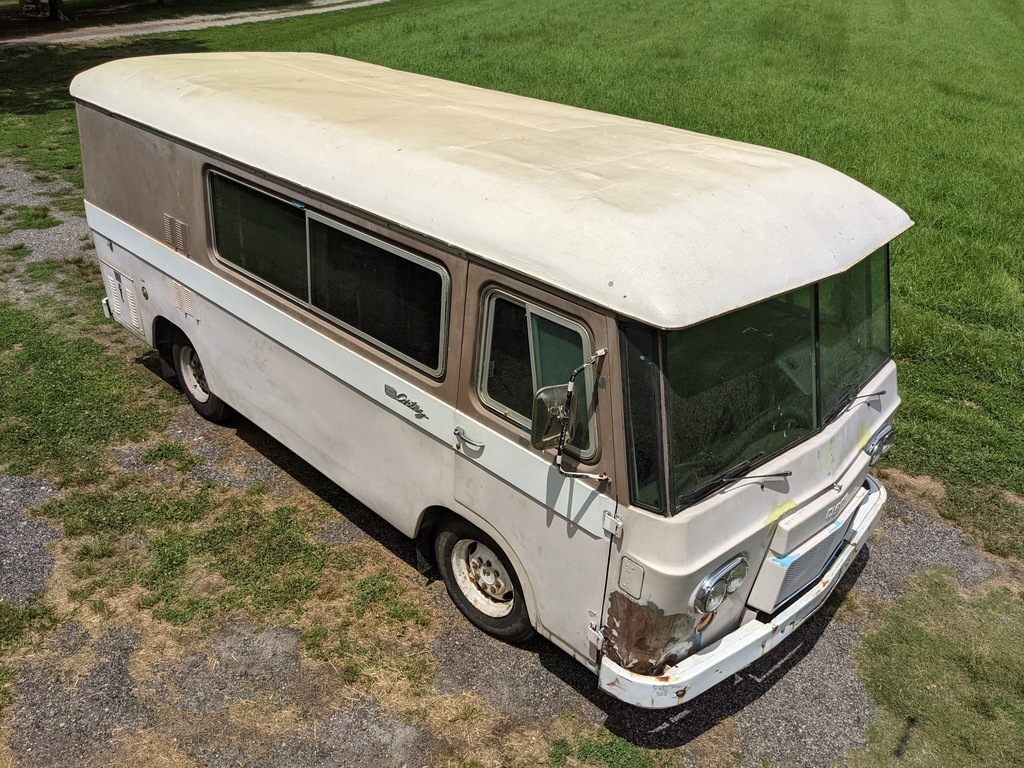 Roof after. 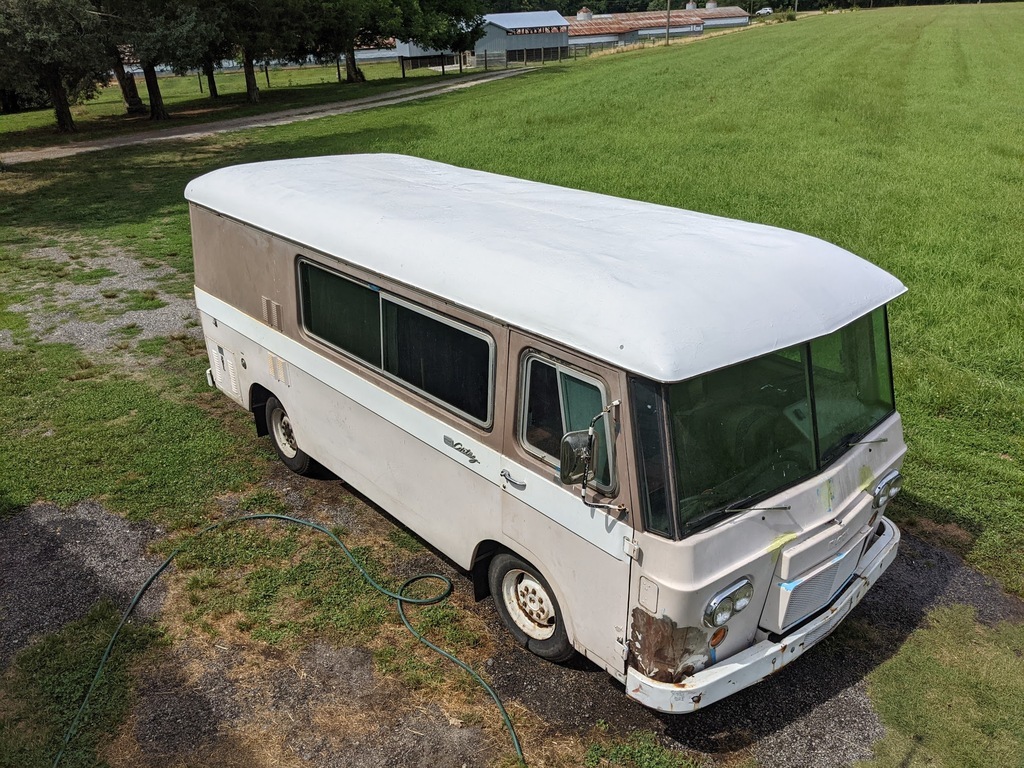 All of the window seals were rank! 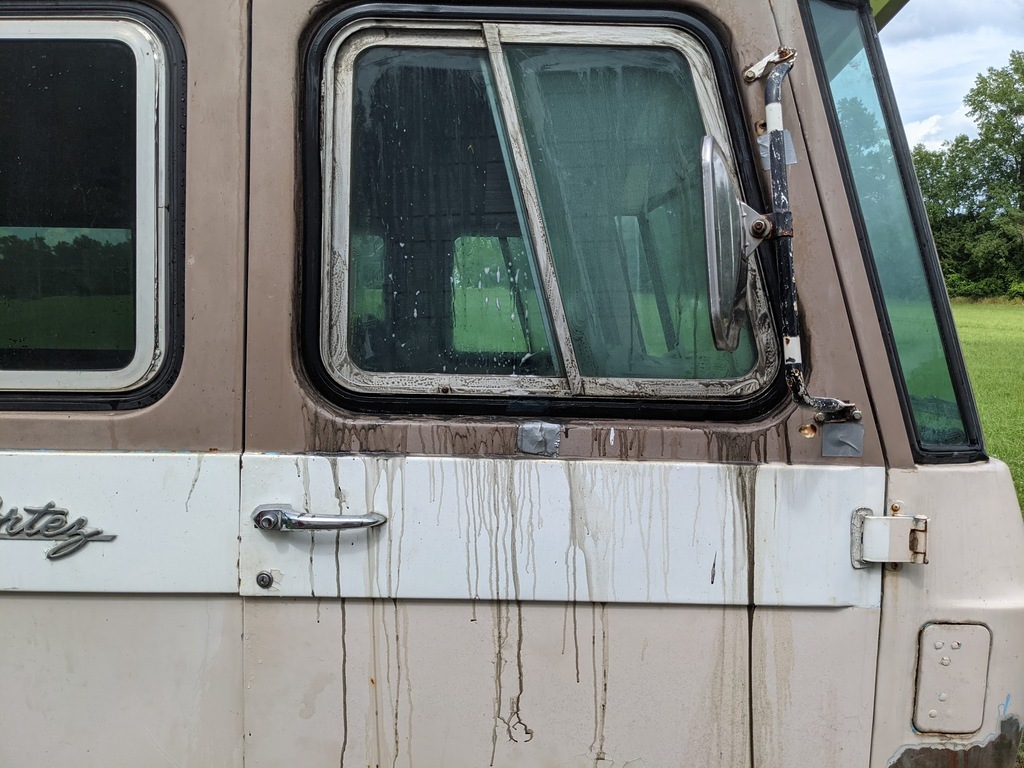 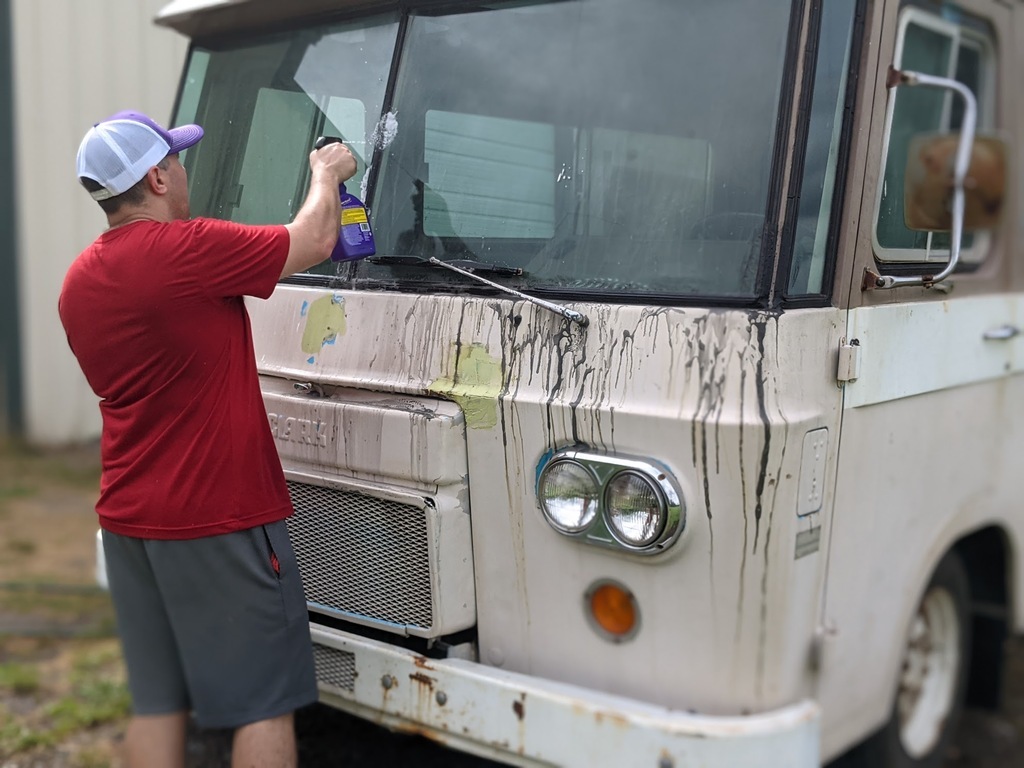 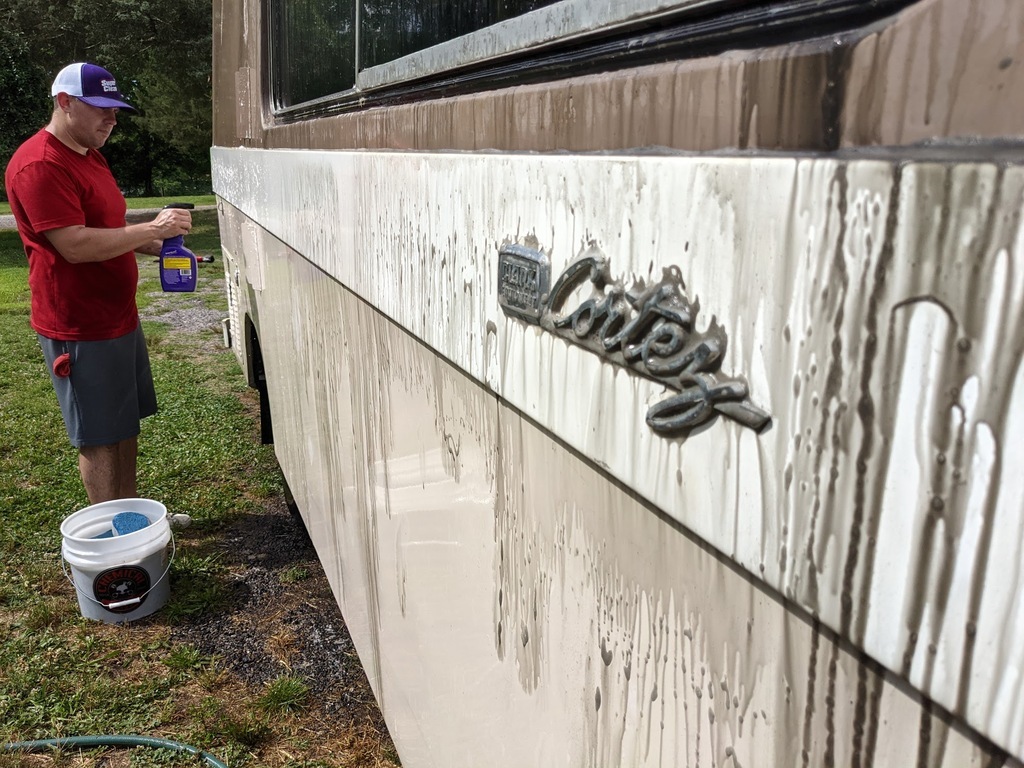 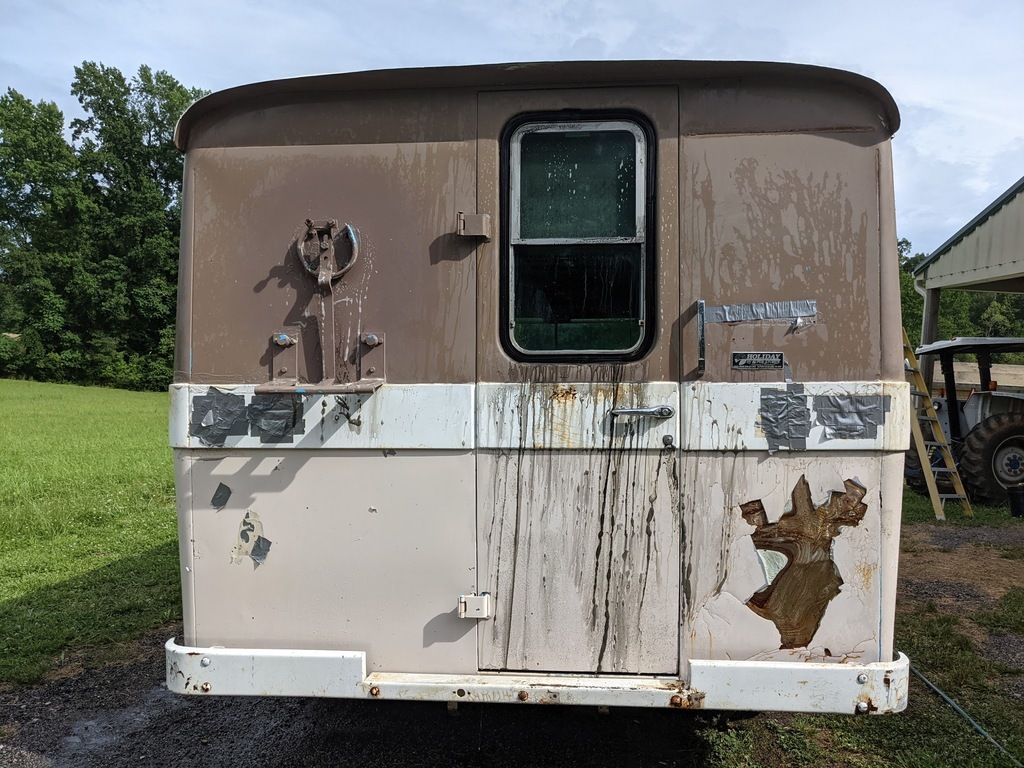 And a few finished shots. Still looks rough but at least it's clean! 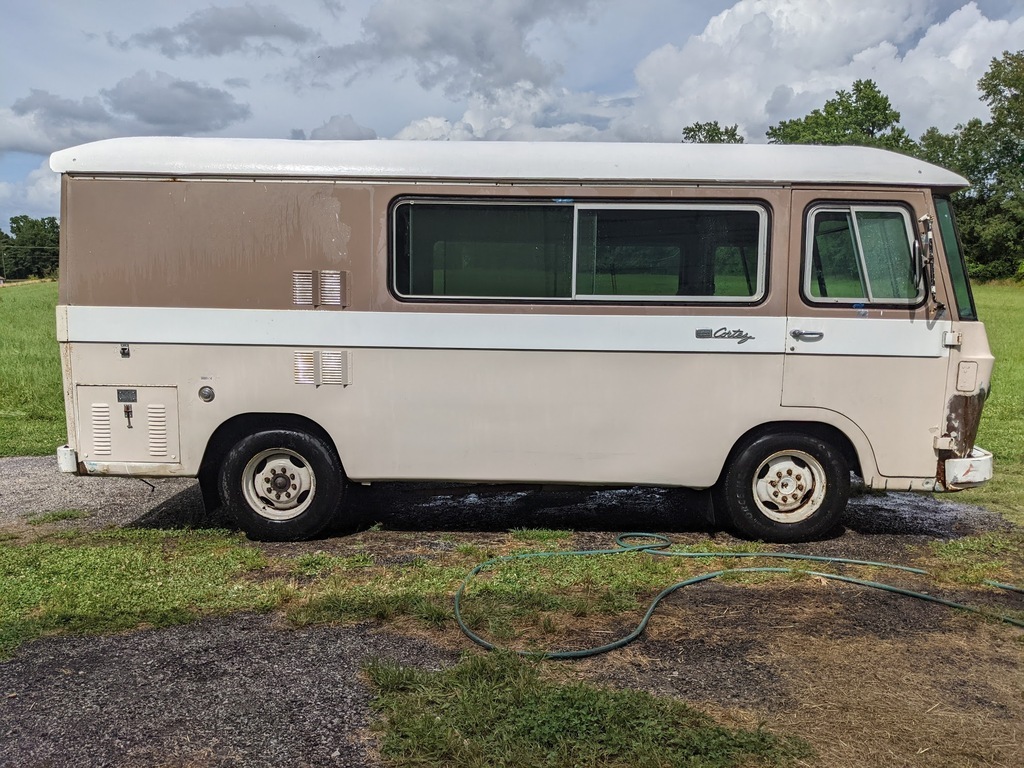  Andy and L |
| |
Last Edit: Jul 13, 2021 22:07:36 GMT by LAndy
Previous retros: 92 AX GTi 92 Scirocco Scala 94 80 sport 87 Golf Cab GTi Current retro: 1965 Clark Cortez YouTube Website Instagram |
|
|
|
|
|
|
|
That's some potent TFR! Looks really good (like I say, it's a great 50/50 vehicle, looks good from 50 feet away or at 50MPH
).
At a glance I saw the back of it and where the paint is missing looks like the silhouette of a Japanese mage wearing a large coat.
Phil
|
| |
|
|
LAndy
Posted a lot
  
Posts: 1,061
|
|
|
|
Recently we noticed this. 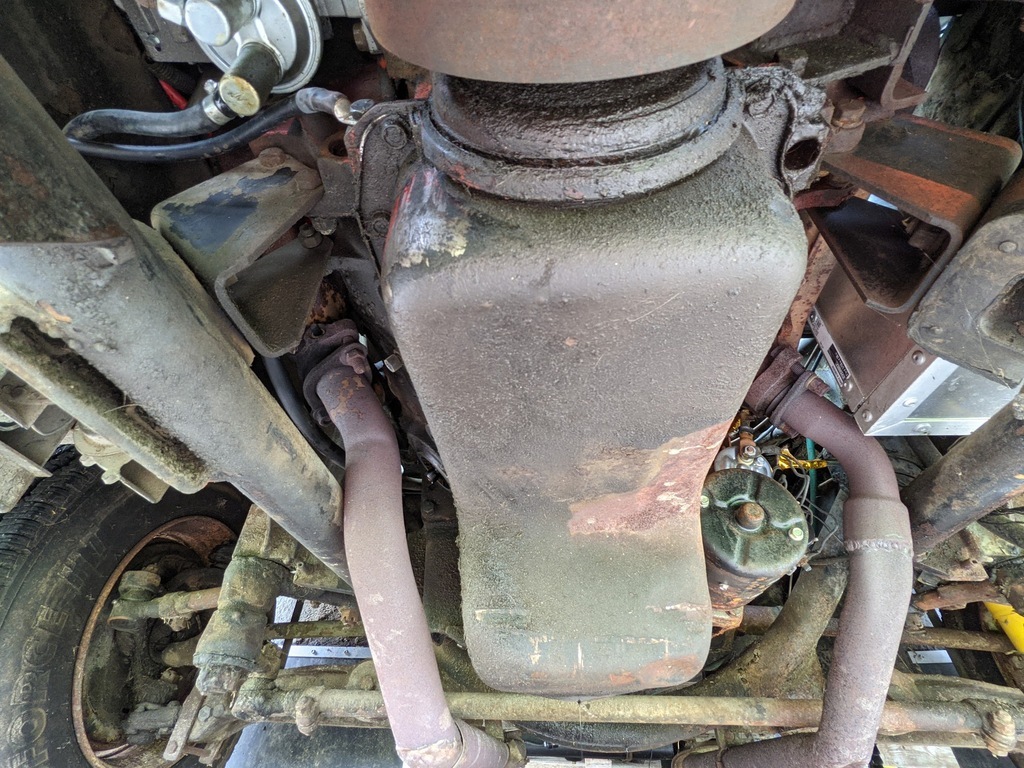 No, not the terribly made exhaust system but the leaking sump gasket on our 5.9 V8. I'd known for a while that I wanted to at least get a new oil pick-up pipe fitted and check that the oil pump wasn't worn - We get good oil pressure according to our gauge but honestly, with the wiring in the Cortez I barely trust it. Finding the leak while installing the new drive belts meant that it was a job ready to be tackled. So the engine was ran for 10 minutes to get the oil hot, then it was dropped.  It actually looked pretty good, it wasn't completely black and there wasn't much, if any debris in it. L, as always was ready to help so she was given the job of un-doing the bolts to drop the sump. I had to assist as the starter motor needed removing because it was in the way of 2 bolts, that thing weighs a ton! 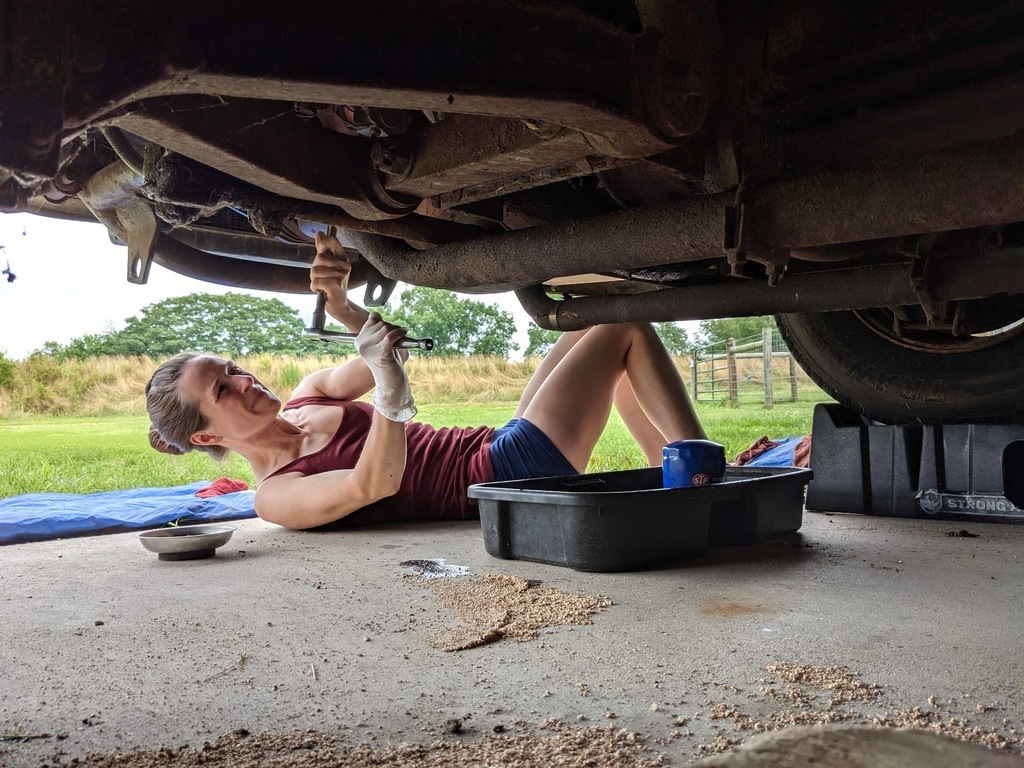 With all the bolts removed the sump came off pretty easy, however we were met with this! 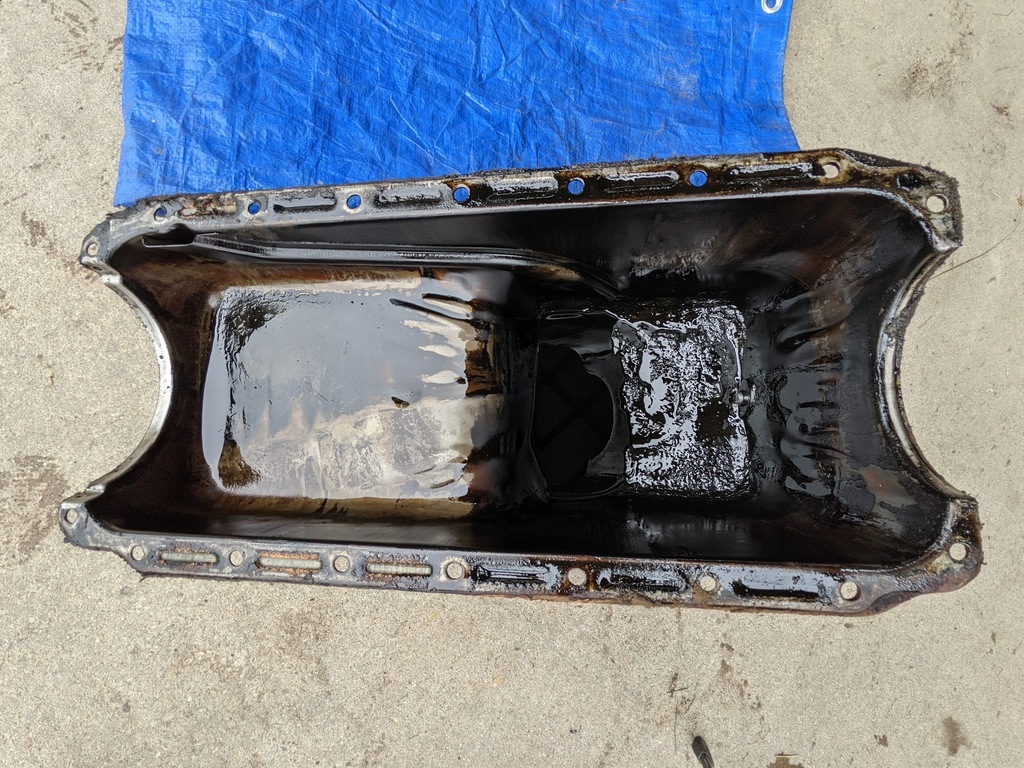 Which turned out to be about an inch thick of goopy crud! 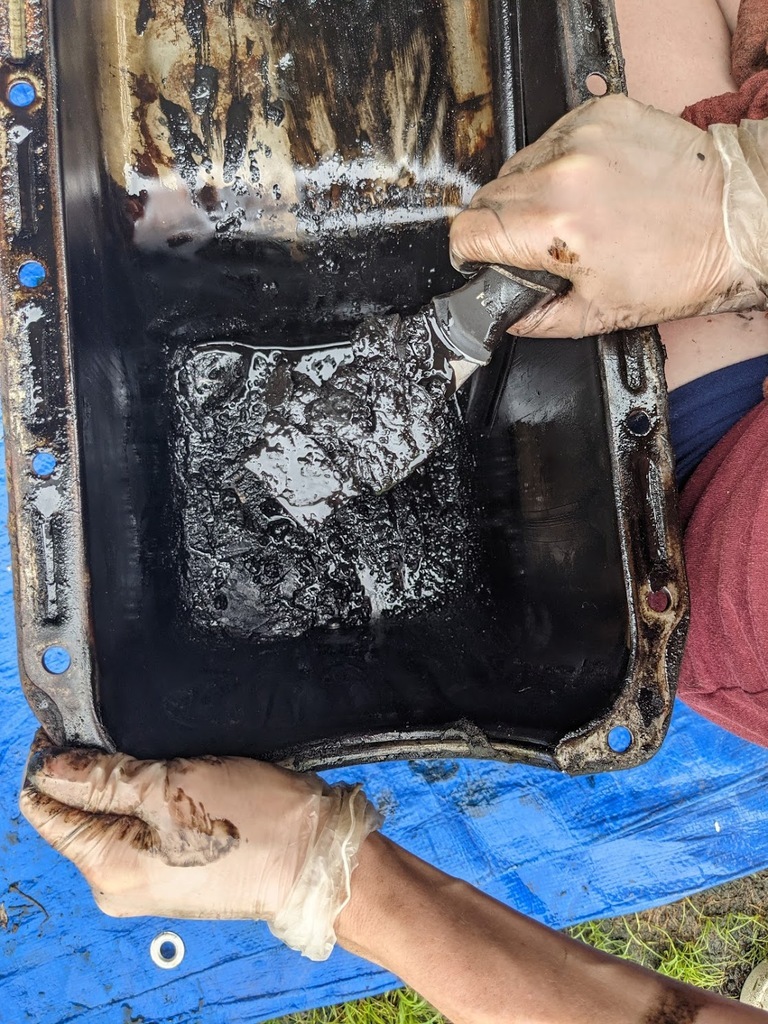 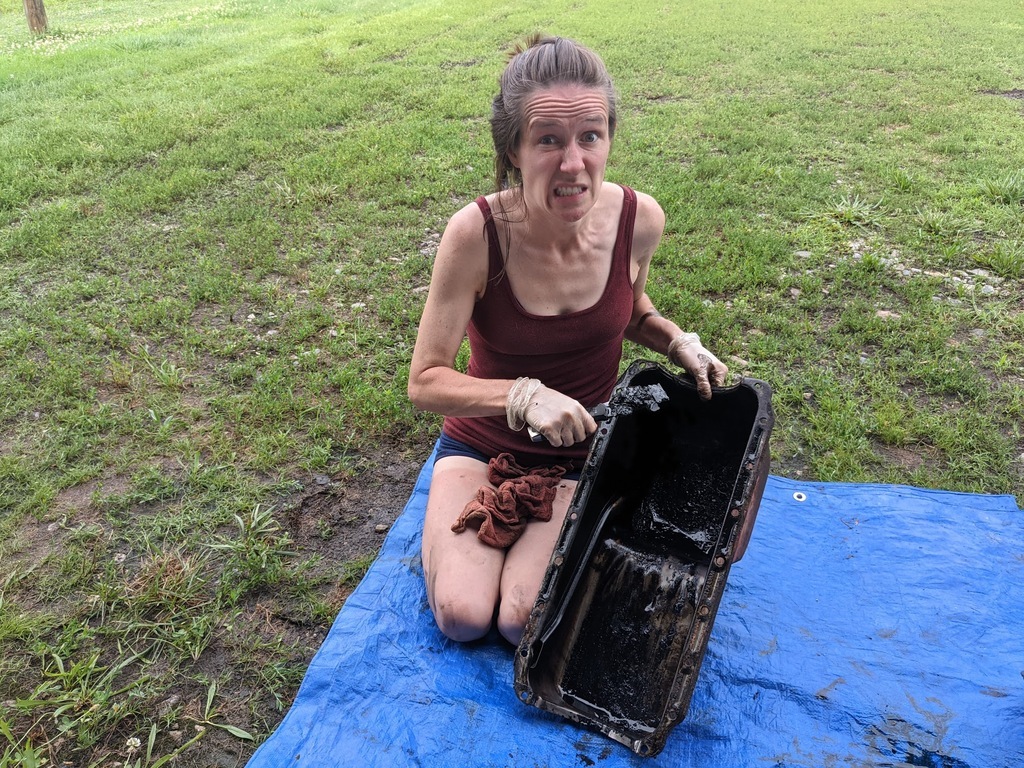 The pickup pipe didn't look much better! 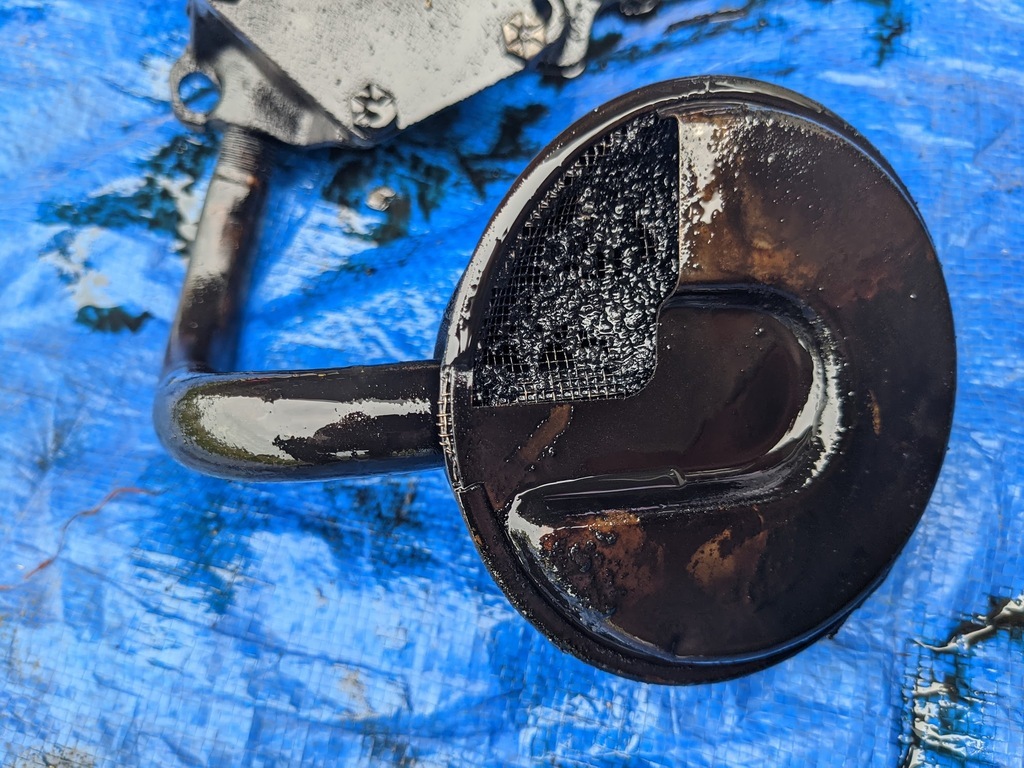 As usual this is where things went pear shaped! I forgot the manual that included the tolerances on the oil pump. The pickup pipe I'd bought was wrong - Basically I bought one that fitted car applications and not truck applications. The sump gasket I'd bought was wrong too. - Still can't quite figure this one out! So a new plan was formulated. Clean and paint the sump.   Remove the oil pickup pipe and pump.  Clean off all of the old gasket material from the sump and block. Cover up the bottom of the engine. Go home. Since then we've ordered a new (and correct) pickup pipe, sump gasket (hopefully correct) and an oil pump (It was only $40). Pickup pipe we'll get today, other two items should be delivered tomorrow. We'll get them installed and throw in some new oil (with extra Zinc, apparently it's better for these engines) and a new filter. At some point in the future I'd like to fit an additional oil cooler to the Cortez so the oil will have to be dropped again but this will only help clear out more debris. Thanks for stopping by! Andy & L |
| |
Last Edit: Jul 5, 2021 17:20:00 GMT by LAndy
Previous retros: 92 AX GTi 92 Scirocco Scala 94 80 sport 87 Golf Cab GTi Current retro: 1965 Clark Cortez YouTube Website Instagram |
|
LAndy
Posted a lot
  
Posts: 1,061
|
|
|
|
|
We've also got a new video out where we encountered our snake.
|
| |
Previous retros: 92 AX GTi 92 Scirocco Scala 94 80 sport 87 Golf Cab GTi Current retro: 1965 Clark Cortez YouTube Website Instagram |
|
|
|
|
|
|
|
WOW !!
That sump was grim.
|
| |
|
|
|
|
|
|
|
|
Not pleasant but I've seen worse Rover v8's, most older engines were designed for ZDP, you might find one of the donut type coolers that goes under the filter works better and avoids most of the plumbing and thermostats. It's what Transits and Sprinters use.
|
| |
|
|
|
|
|
|
|
|
A little late to the party here, but one way to check the condition of the valve stem seals & guides is to get the engine up to temp, run it up to speed, let off the throttle ( coast/ engine brake until you are at a much lower RPM ), and then punch it again.
What that does is, the high(ish) RPM and closed throttle creates a vacuum for a number of seconds and draws oil past the seals/guides if they are worn.
When you then open up the throttle that oil gets burned off, and you can see that as blue smoke out of the exhaust pipe.
|
| |
|
|
|
|
|
|
|
|
In my view, a sump is only really grim when it's got bits of metal amongst the slime. No metal, you caught it in time. Shrapnel present.... too late. Hole in sump/block.... waaay too late!
As regards the seal/stem check above, sorry to be contrary, but I don't really see why this discriminates between valve stems and rings? The vacuum pulls oil past the rings just as readily? For me, a better, though still far from perfect test is to let the engine idle for a few minutes, then blip the throttle. A puff of smoke that quickly clears is valve stem related.
Snakes..... I really don't like them, especially in confined spaces.....
Nick
|
| |
1967 Triumph Vitesse convertible (old friend)
1996 Audi A6 2.5 TDI Avant (still durability testing)
1972 GT6 Mk3 (Restored after loong rest & getting the hang of being a car again)
|
|
|
|


