|
|
|
Mar 14, 2020 20:39:41 GMT
|
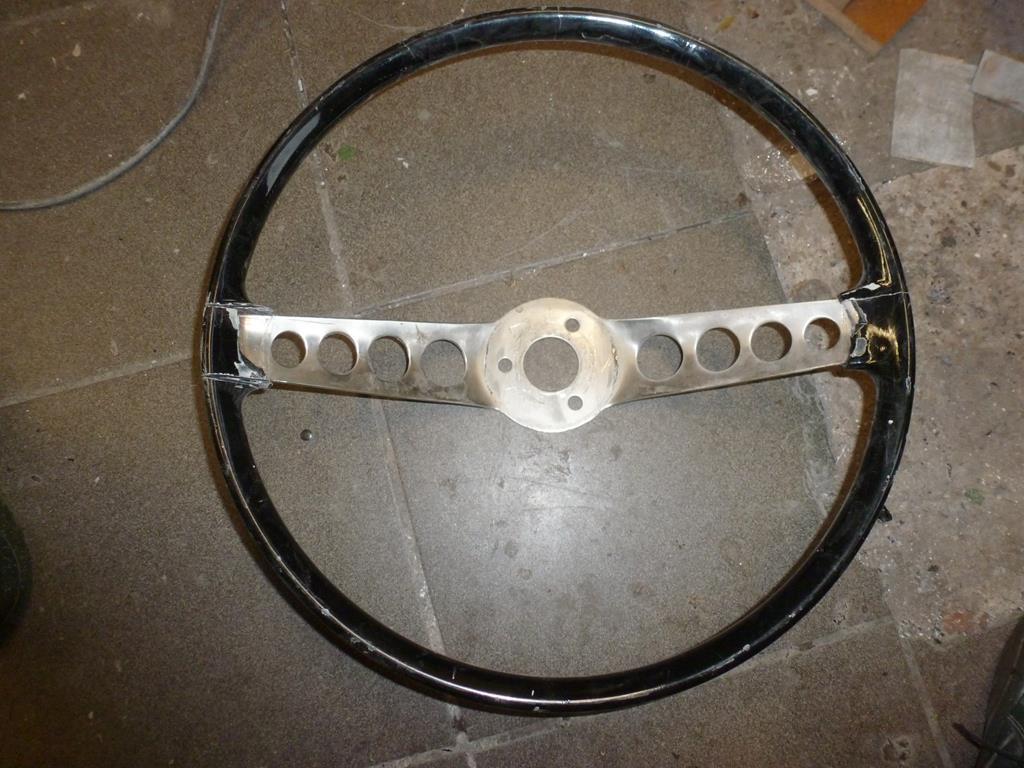
A new job was to modify a Volvo P1800 steering wheel. These are prone to crack and this steering wheel was previously restored with a kind of filler but where the filler was applyed, it cracked again and the owner wanted a mahogony rim. A before pic
 And after removing the bakelite 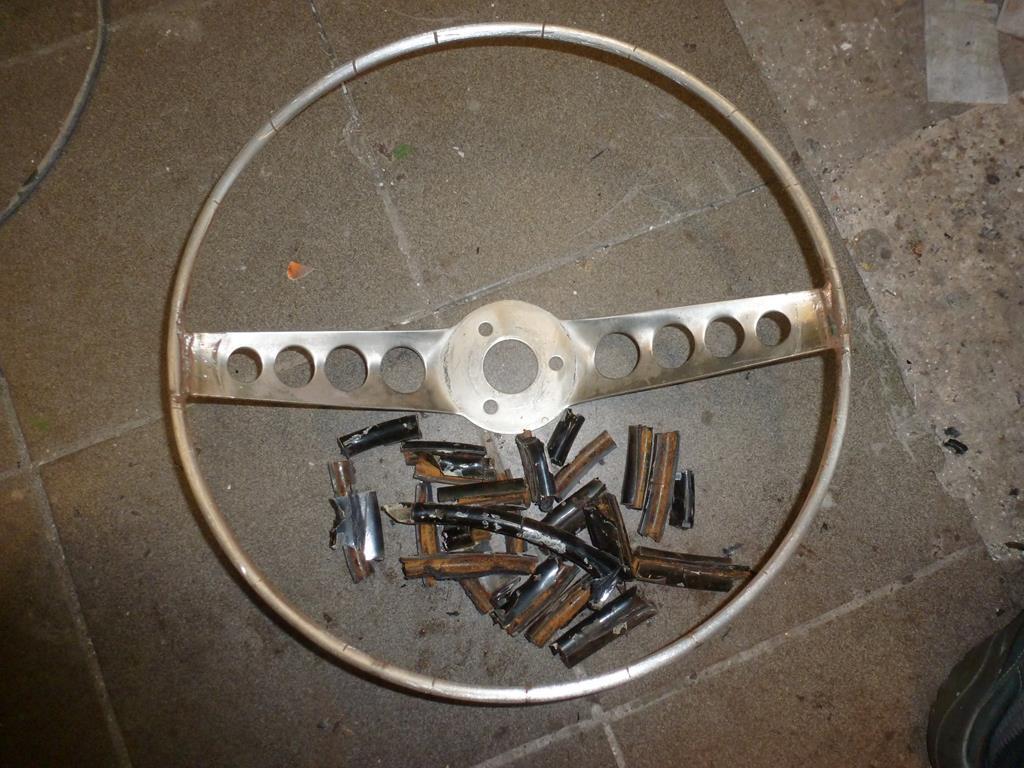 Before making the woodrim, the stainless spokes and the alu boss were polished 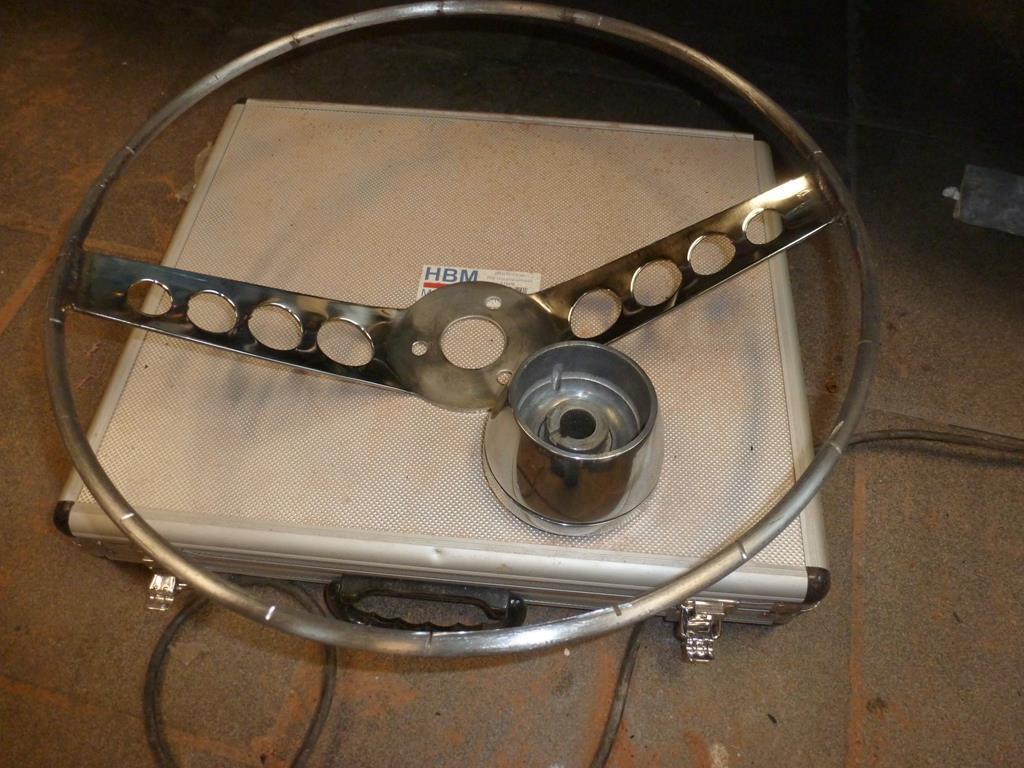 The mahogony plywood method of making a rim was choosen as the owner is in the classic car trade and did not want to spend to much money The 2 half were cut with the router and also material was removed for the steel rim 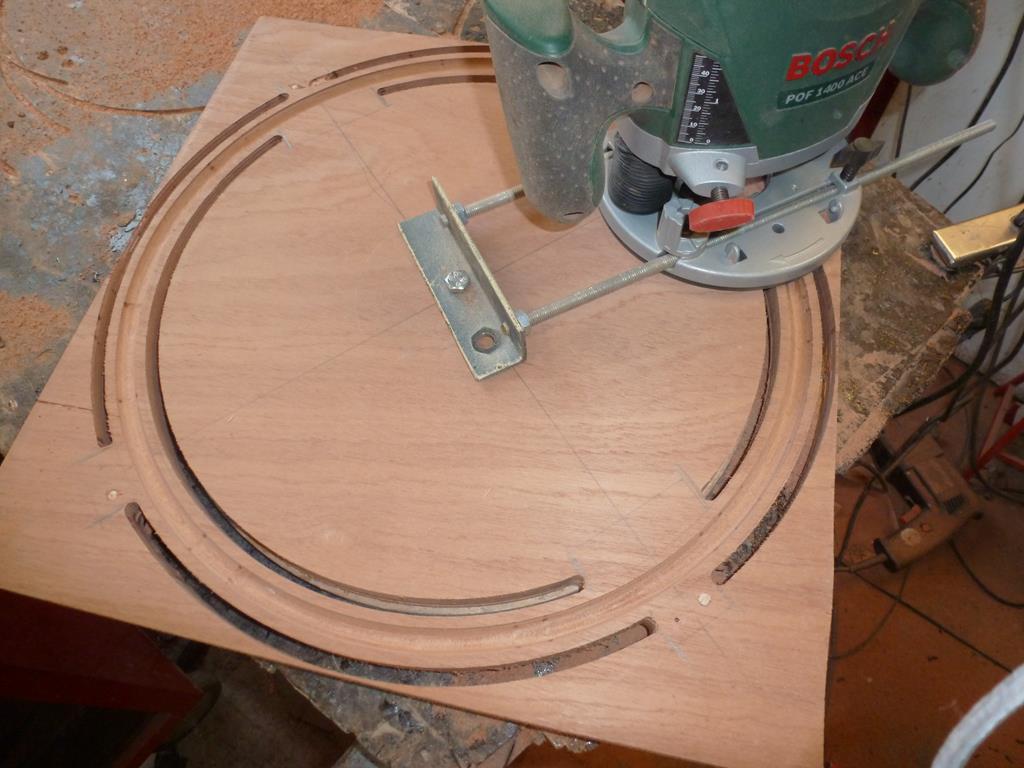 The 4 "ears" on the outside are used for aligning the 2 halves during the gluing proces and are removed in a later stage 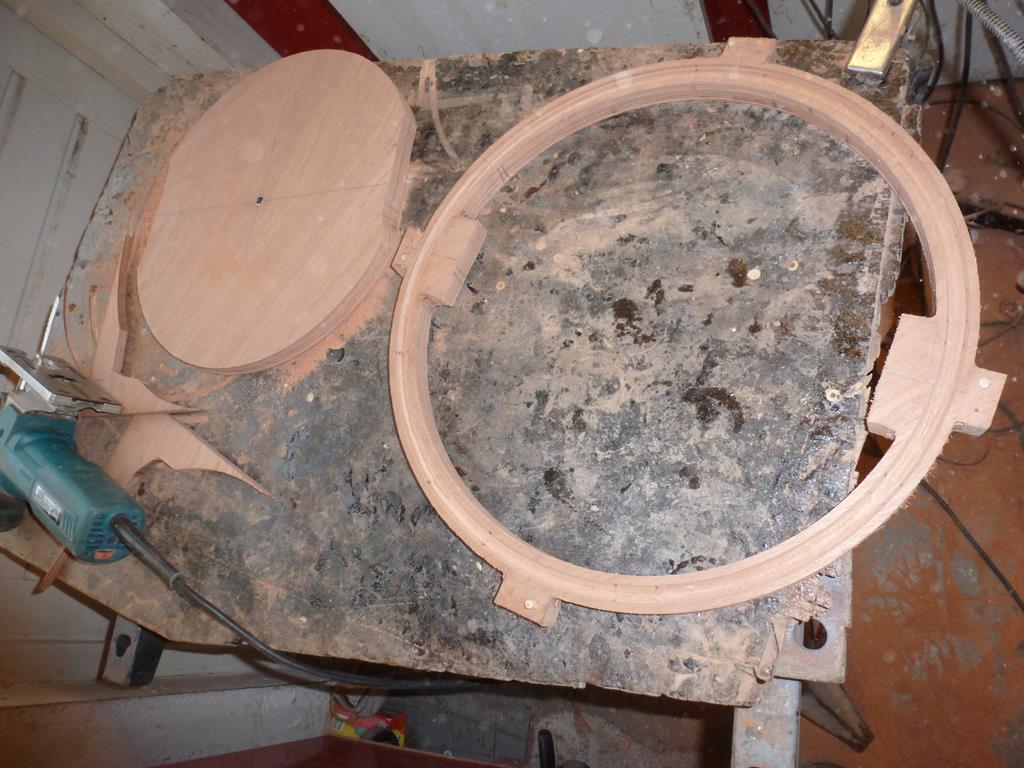 The inner "ears" are used for a smooth path to the spokes and the 2 halfs were glued together onto the steel rim. The yellow clay is used to avoid that the glue drips out of the area where the steel rim is positioned 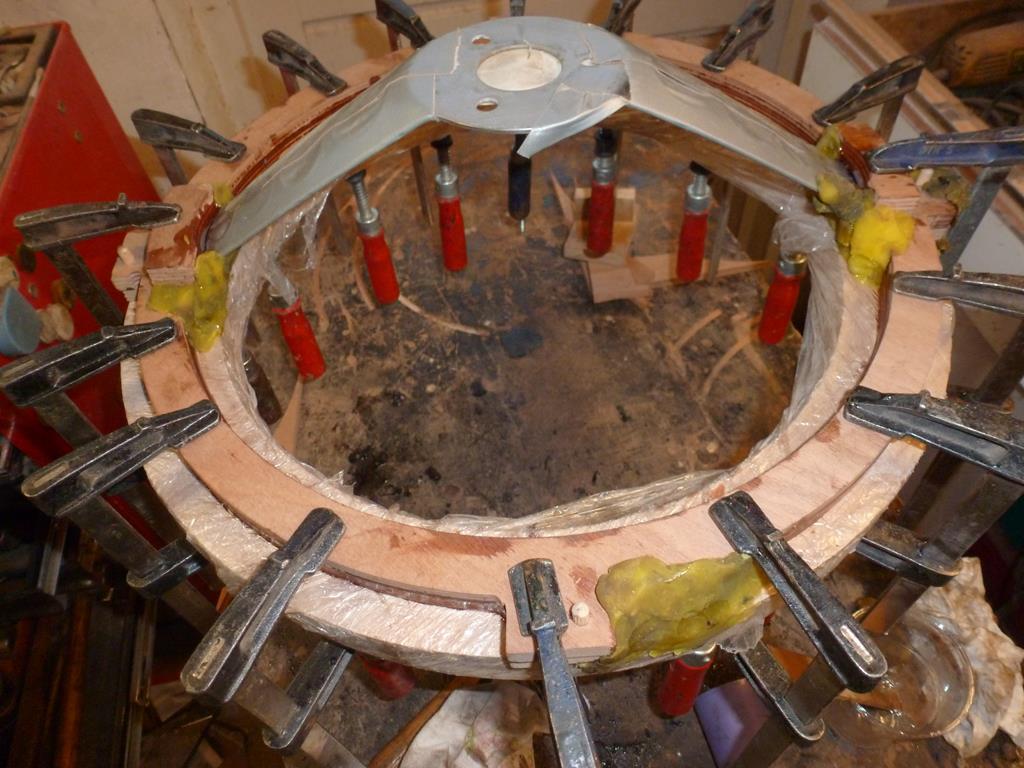 After this gluing proces, some pieces of wood were attached where the spokes are as this steering wheel is dished. Underneath a pictures of the finished steering wheel 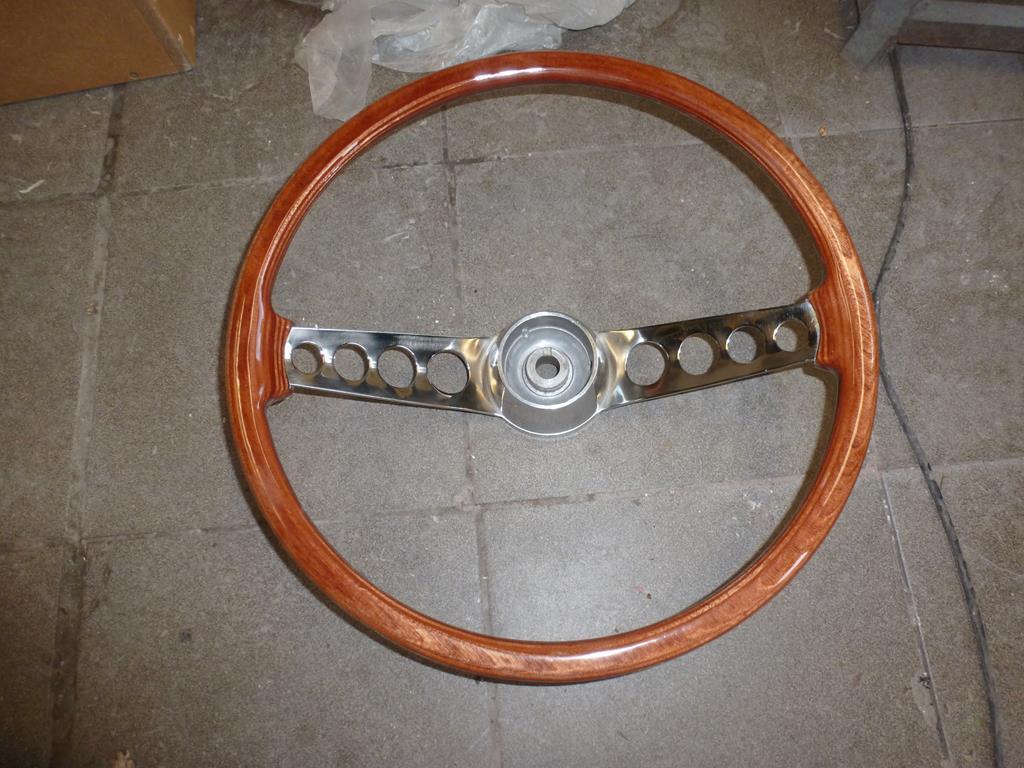 |
| |
|
|
|
|
|
|
|
Mar 14, 2020 20:52:10 GMT
|
|
You really are an artisan of the highest order!
|
| |
|
|
|
|
|
Mar 14, 2020 21:35:11 GMT
|
Also continued working on the Jaguar MK9 interior which needed a lot of repair as on a lot of spots, veneer had come loose or chips or pieces of veneer were missing The picnic table housings showed a huge gap between the frame and the rear panel and were completely dismantled
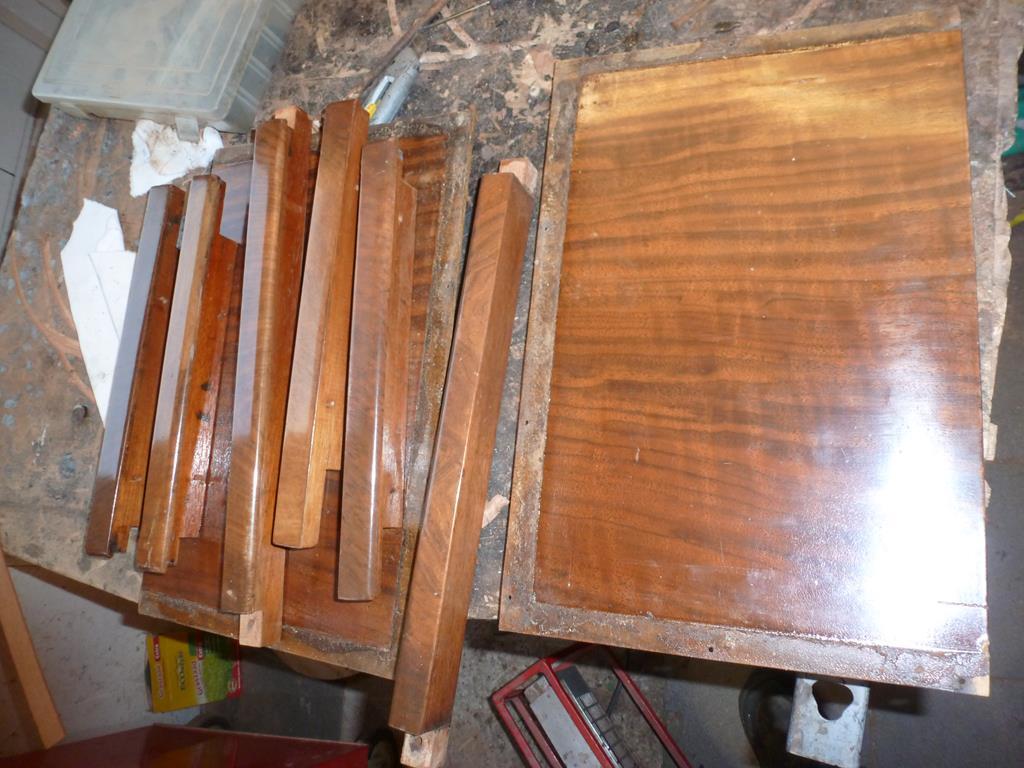 and then glued again with some additional screws 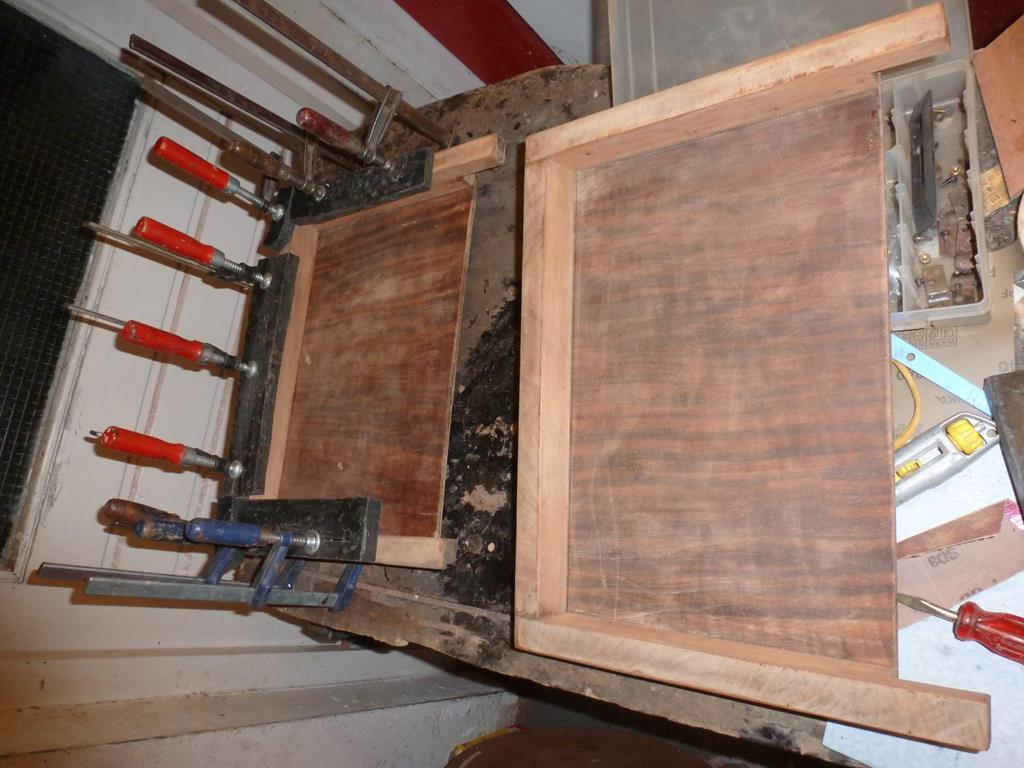 And a mounting brackets of one of the door gappings had come loose. The position of the this bracket is critical for a proper mounting on the door. Copied the contours of the door gapping 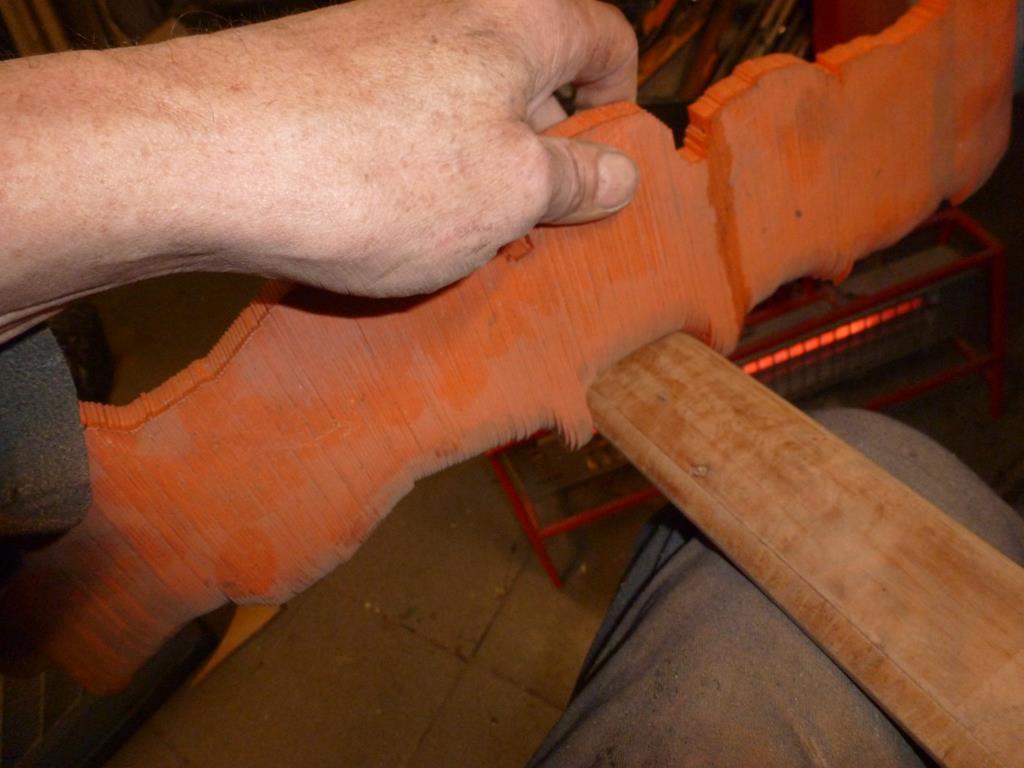 Onto 4 support brackets 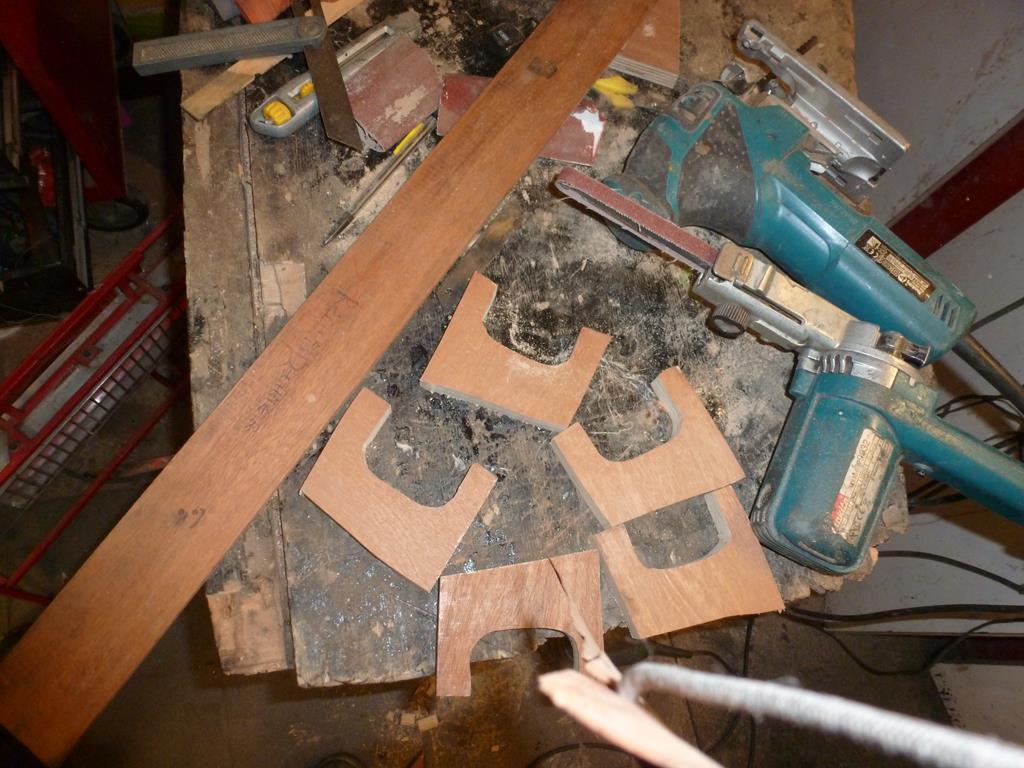 And with help of some spacers the correct positon was secured during the gluing proces 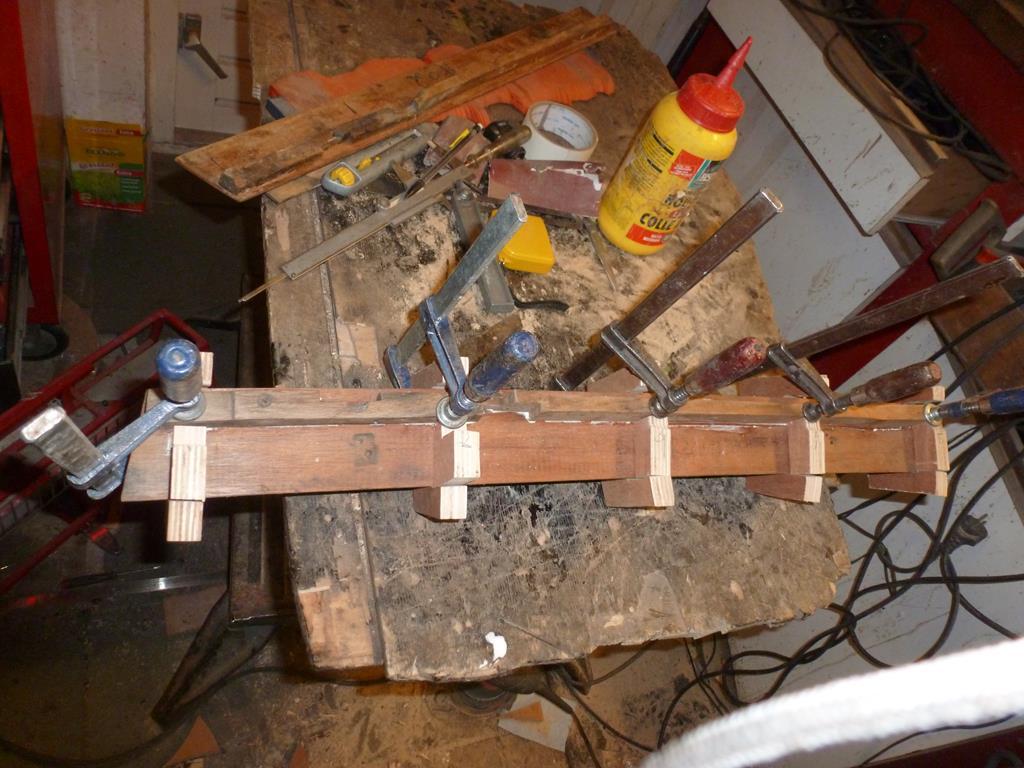 Also a piece of veneer had come loose and was carefully opened and glue was added 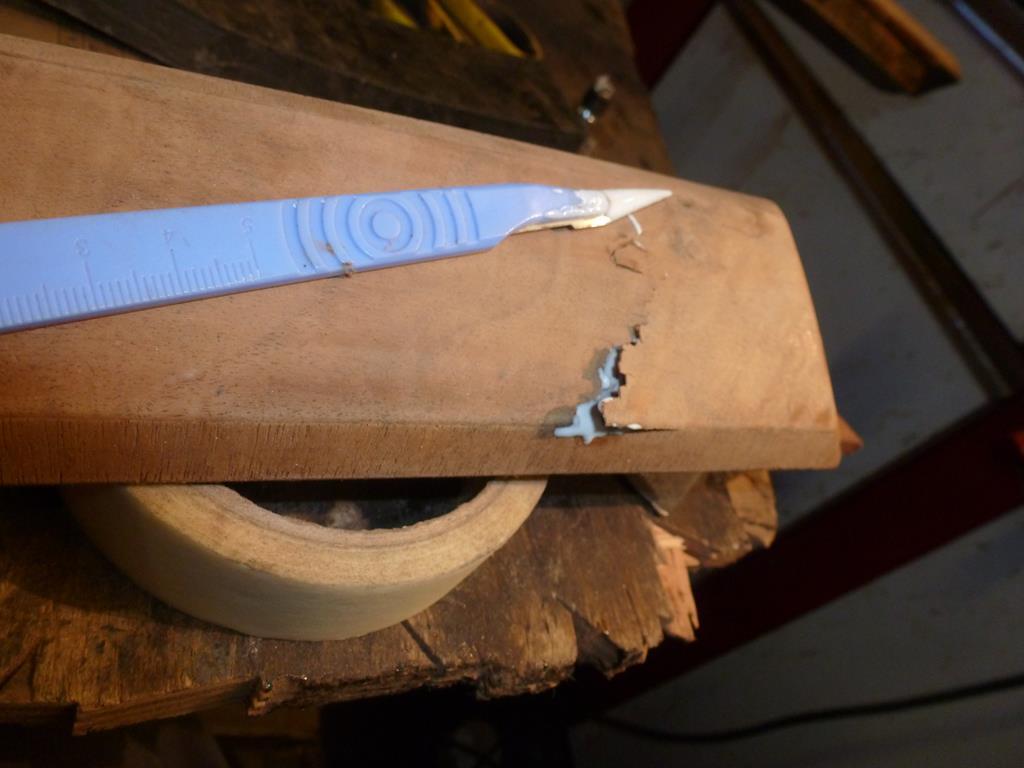 The owner also wanted a radio panel-ash tray added from a Jaguar 420. This had a heater control opening which was not needed on the MK9 so a piece of plywood was fitted to close this opening. The veneer was very poor so this was completely removed 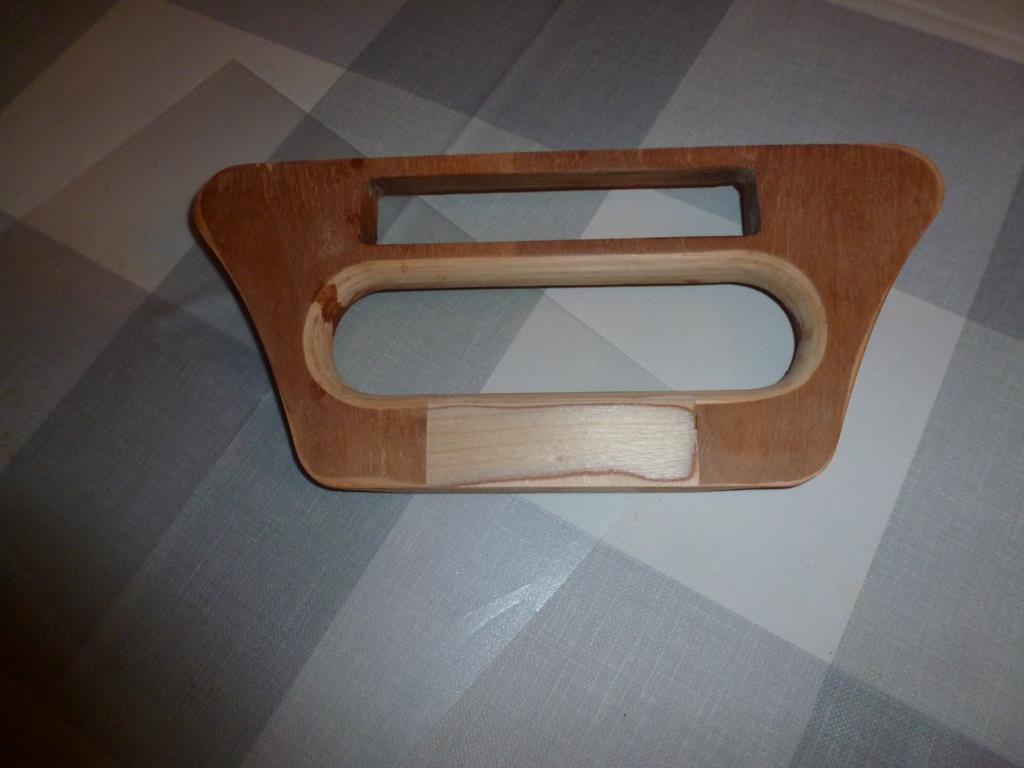 After applying new veneer and doing some coloring to get a good match, clear coat was applied and it now looks like this 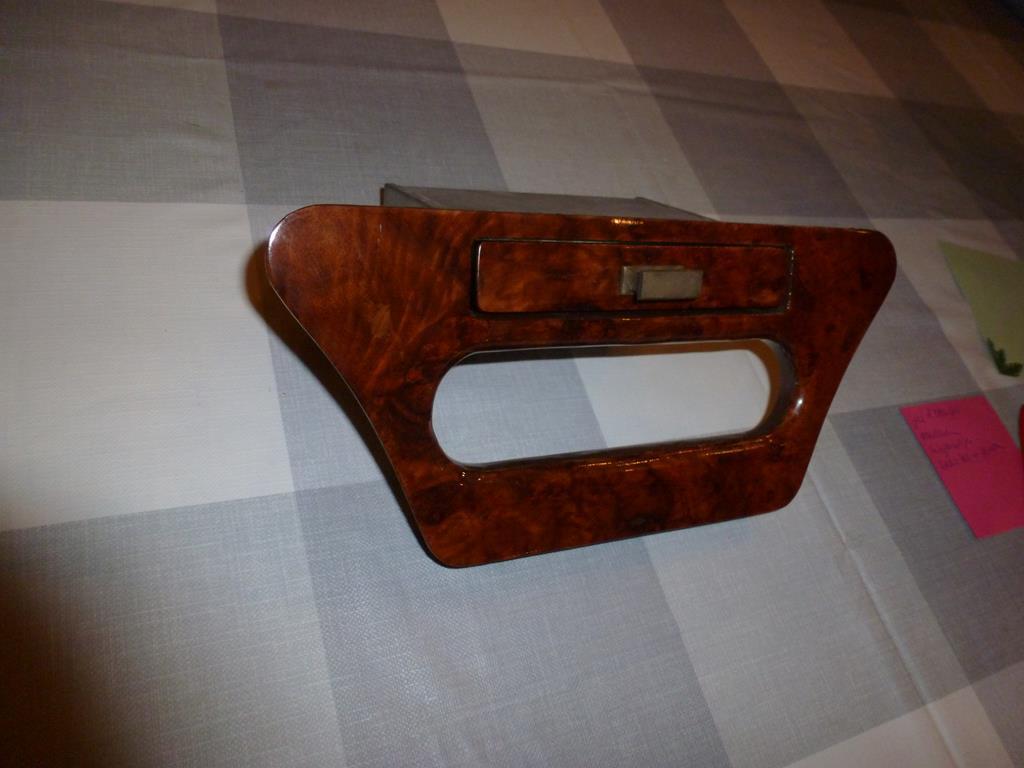 |
| |
|
|
|
|
|
Mar 14, 2020 21:50:14 GMT
|
Some of the dashboard panels were bleeched by the sun and were made a bit darker before the clear coat was put on. After a lot of sanding and layers of clear coat it now looks like this (with some greasy finger marks which the camera detects very well) 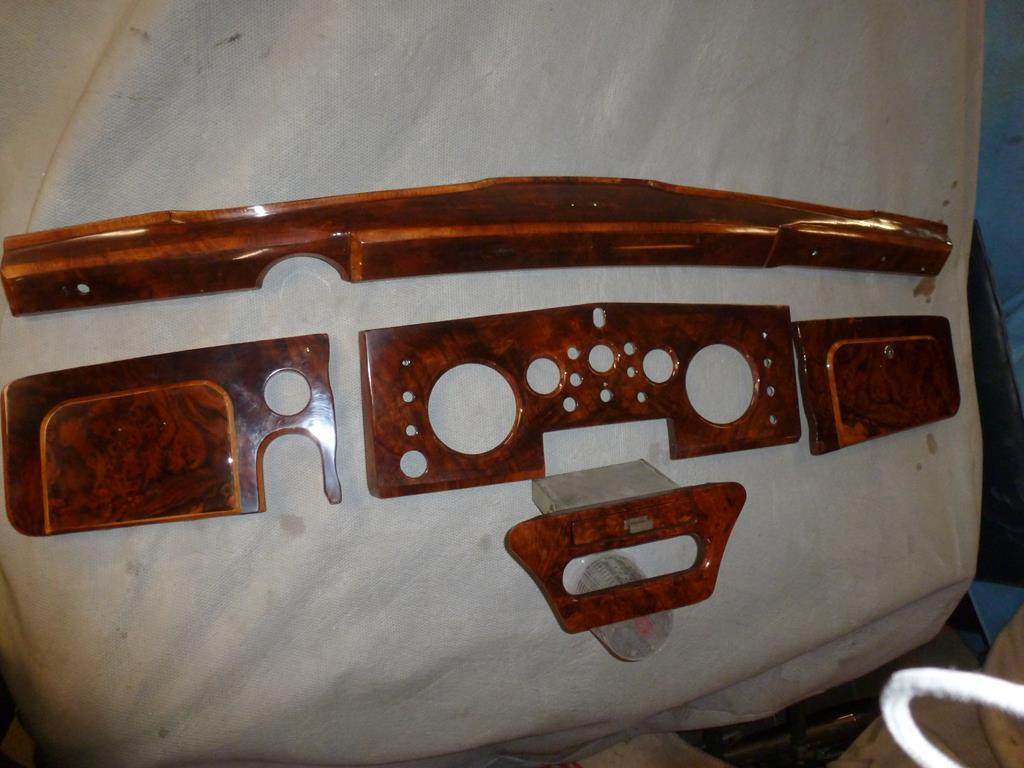 The difference with the before pics are huge lloking at the picture with the 2 poorest panels 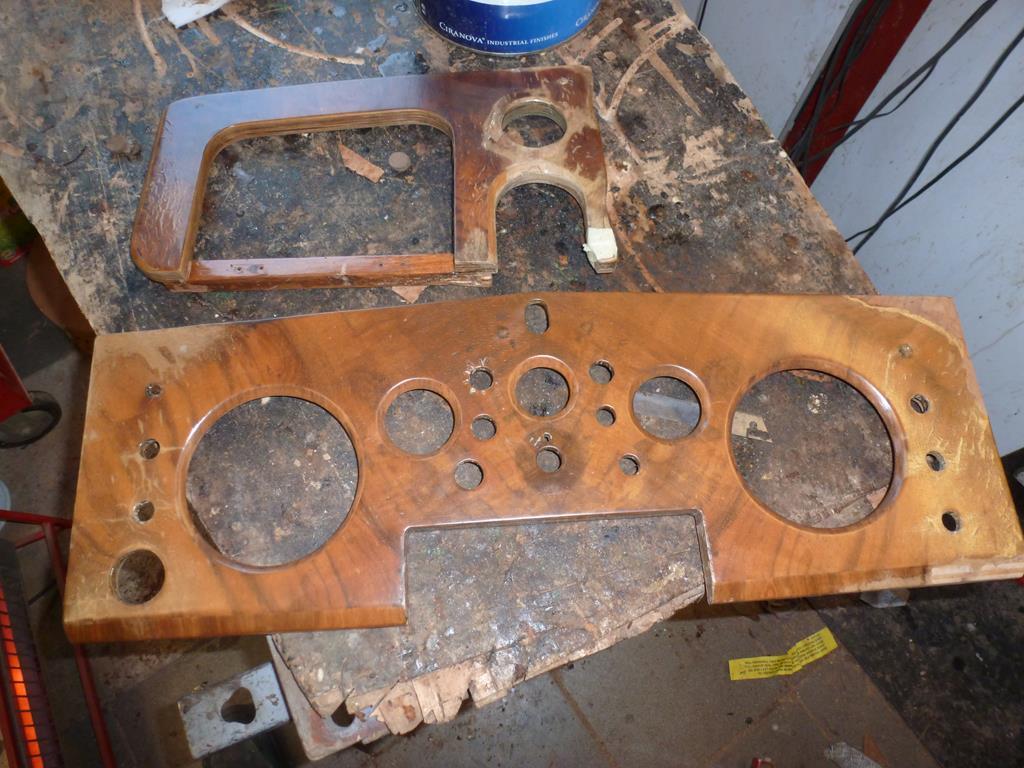 and a few of the other trim 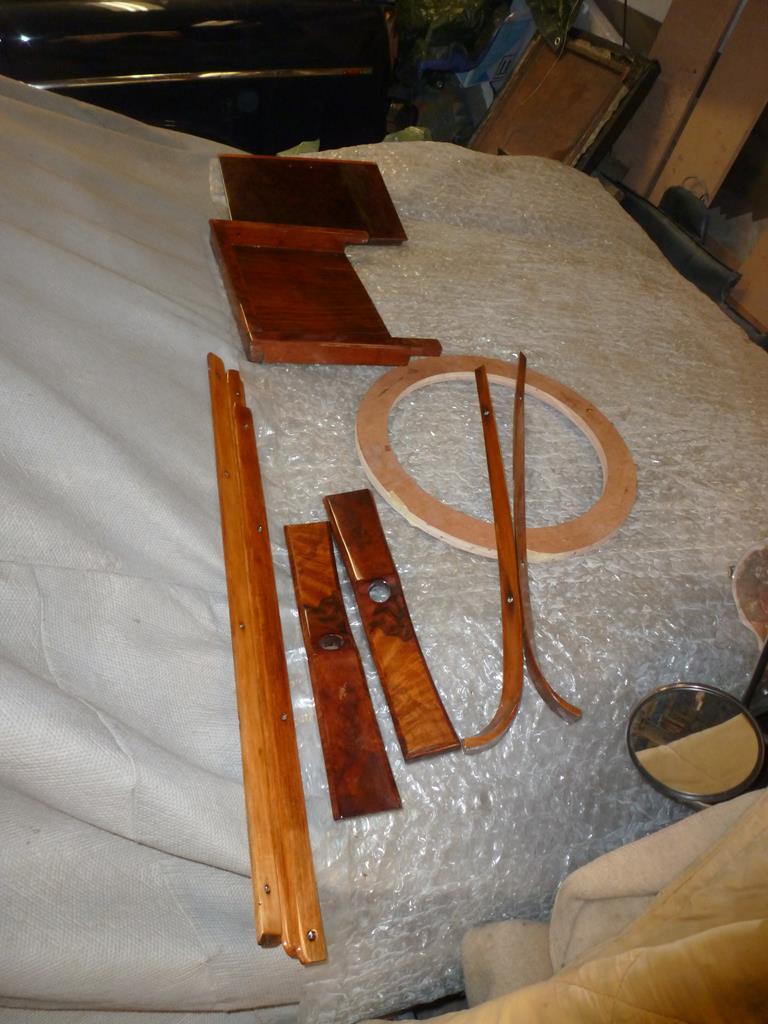 and the 4 door panels 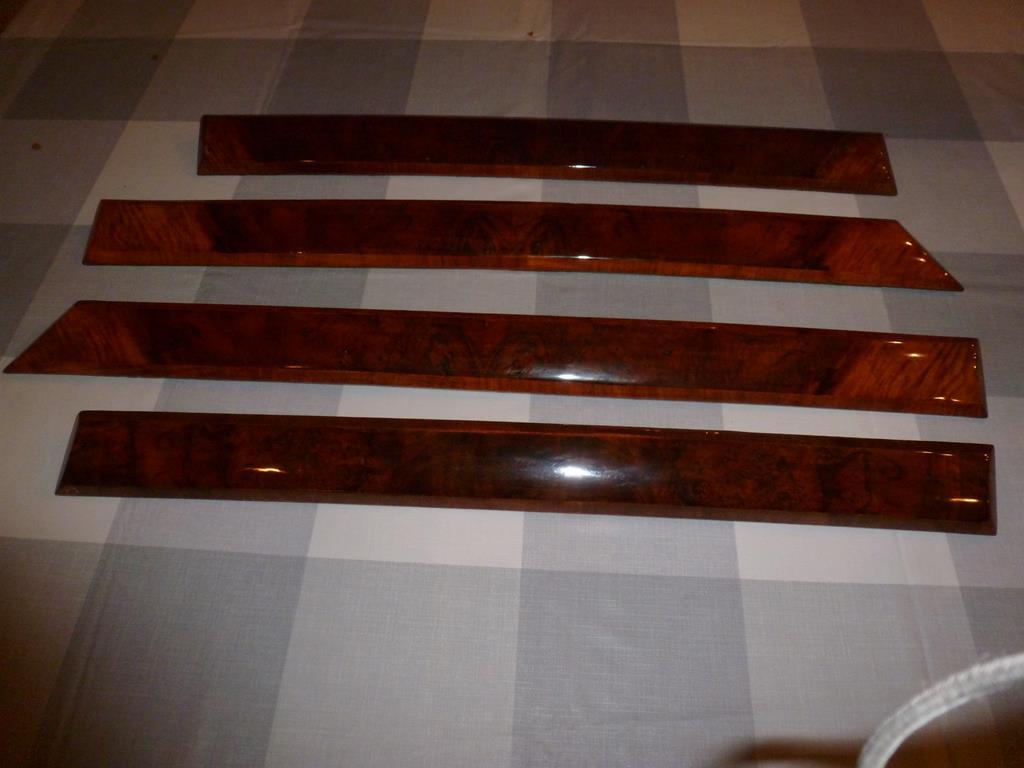 Still need to finalise some of the picnic tray panels Thats it for now Peter |
| |
Last Edit: Mar 14, 2020 21:51:25 GMT by petervdv
|
|
Darkspeed
Club Retro Rides Member
Posts: 4,880
Club RR Member Number: 39
|
|
Mar 14, 2020 22:15:00 GMT
|
|
Lovely work - a pleasure to see
|
| |
|
|
|
|
|
Mar 15, 2020 21:20:47 GMT
|
Dang-it-all-Peter...., I somehow missed this new thread you started until clicking on your name in Pete's Corsair thread today, so i've been ignorant of your superb efforts since December 24th! This one is bookmarked now, but please don't fly under the radar again on any other threads you may start.  Stunning, Lance |
| |
|
|
|
|
|
Apr 25, 2020 15:24:08 GMT
|
Lovely work - a pleasure to see Thanks! Dang-it-all-Peter...., I somehow missed this new thread you started until clicking on your name in Pete's Corsair thread today, so i've been ignorant of your superb efforts since December 24th! This one is bookmarked now, but please don't fly under the radar again on any other threads you may start.  Stunning, Lance Cheers Lance! Received a dashboard for a Jaguar XJ6C The car is being restored by the owner 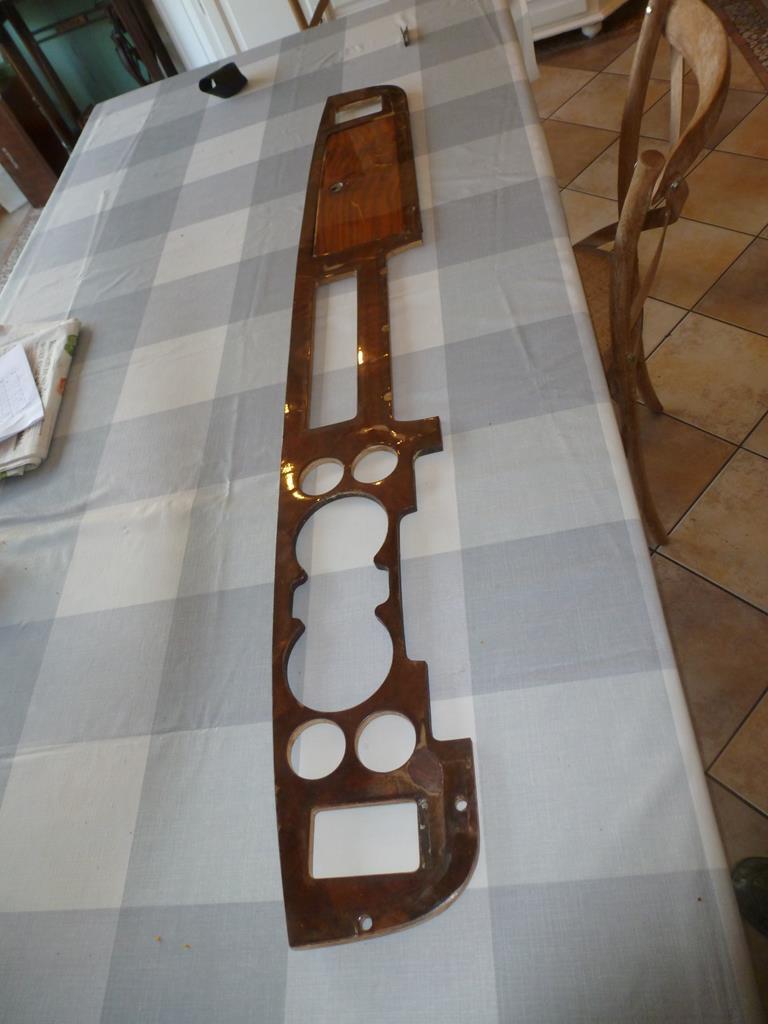 It basically is in good nick but the coating has cracked an came loose in some places 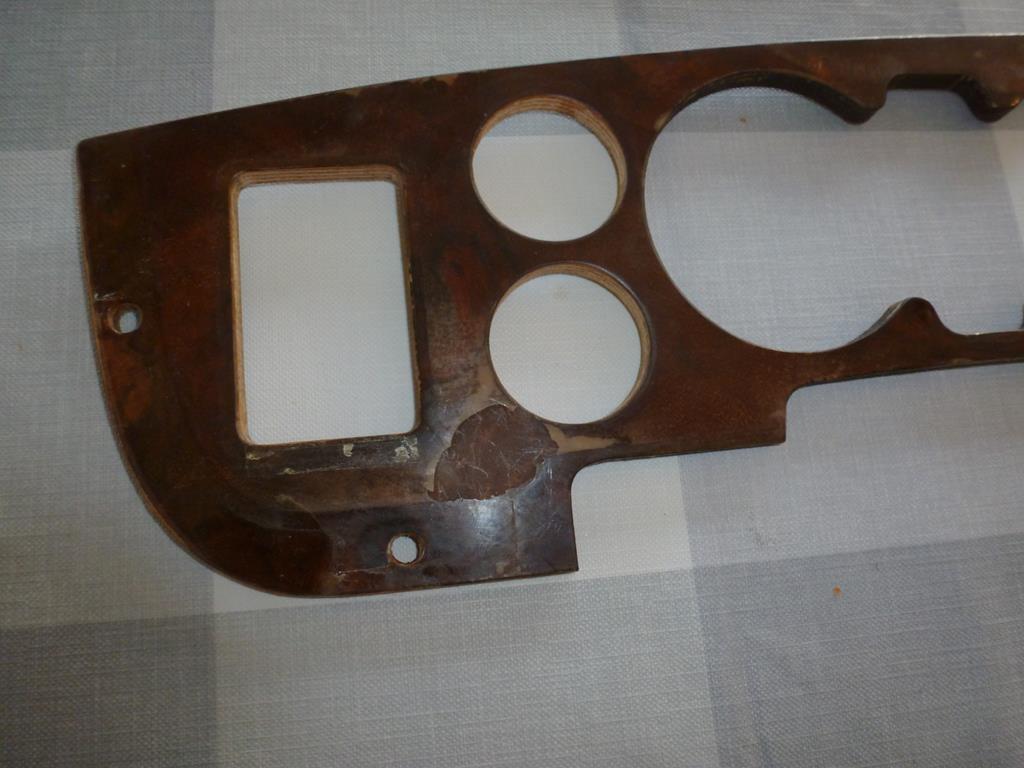 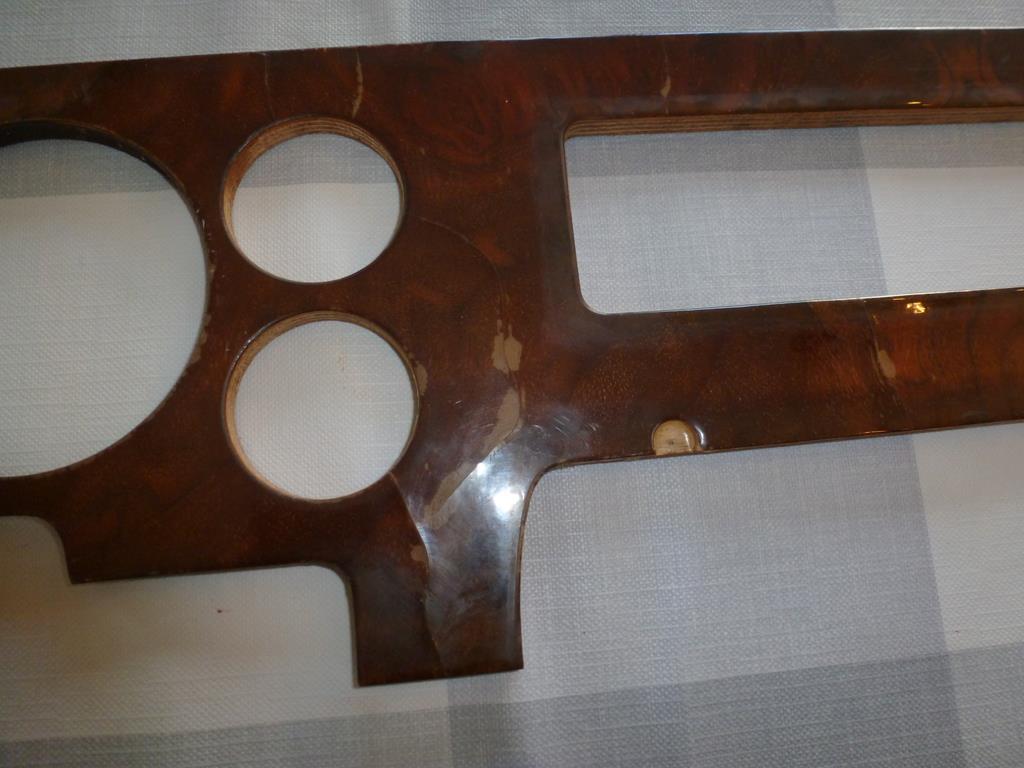 I advised the owner to let me fit new burl walnut veneer especially as the glove compartiment has a different wood pattern and color and i prefer the burl walnut. 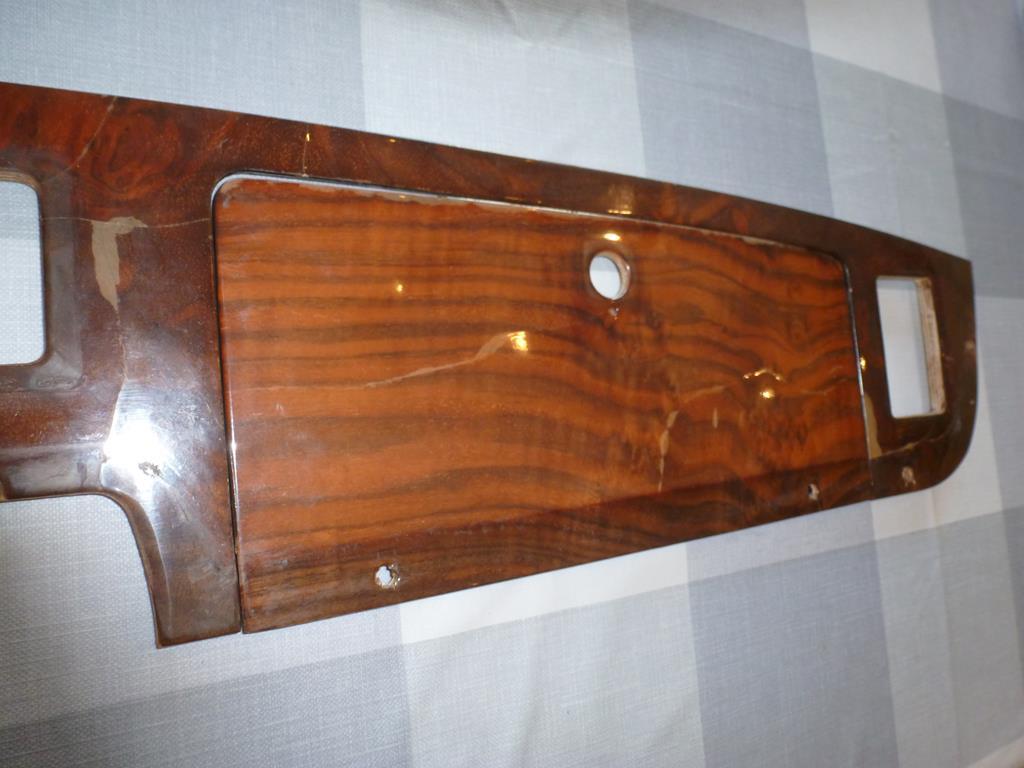 It seems all XJ6C have a diiferent veneer on the glove compartment and the owner wishes to keep it original so no new veneer. Looking at the severe cracking, the coating is not clear coat but polyester. Paint stripper does not remove this so it was removed by sanding 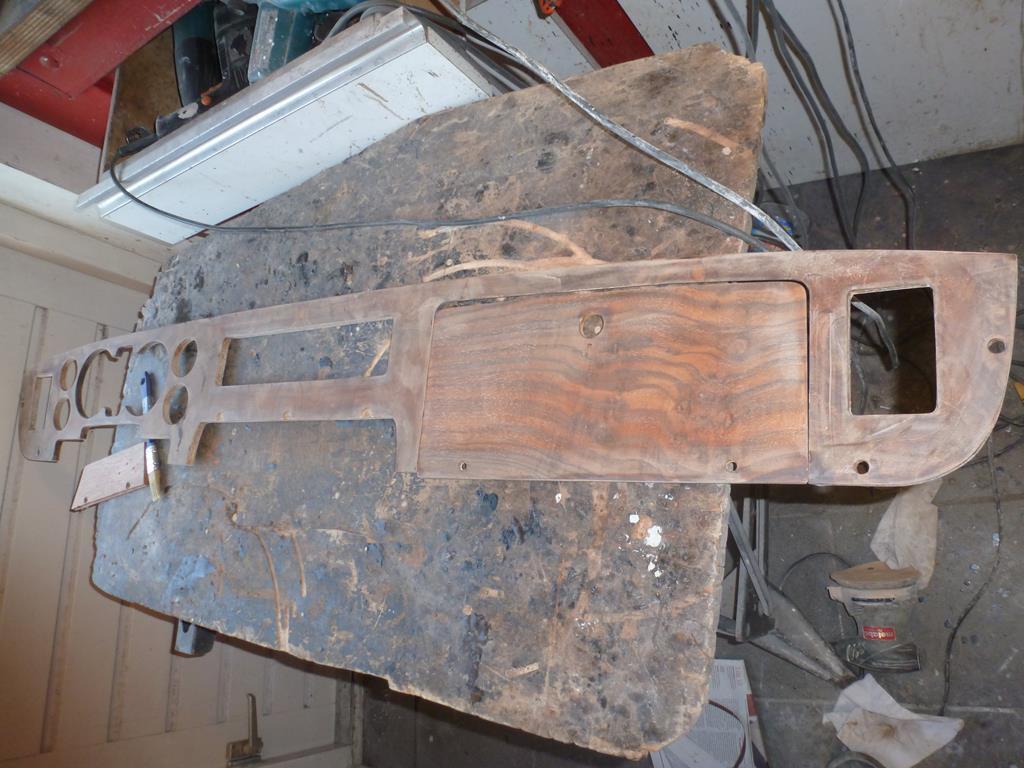 Also received a few gearknobs from more modern Jags. The coating on these is getting a lot lighter by the sun and do not match the rest of the interior anymore. 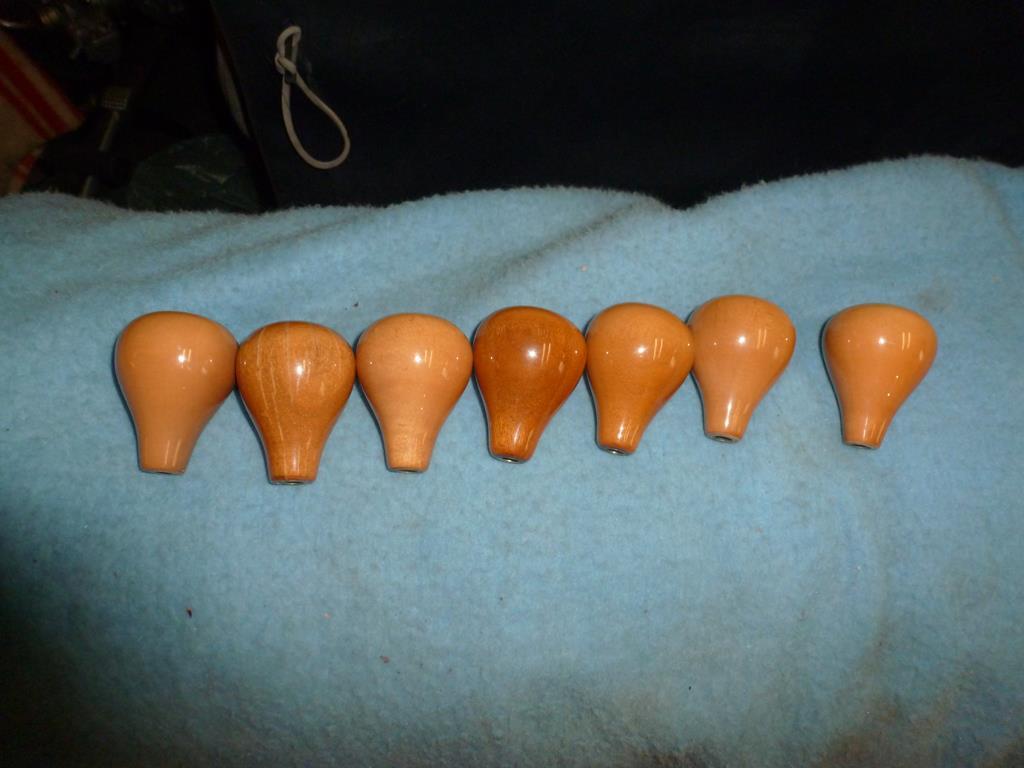 On some the coating has cracked 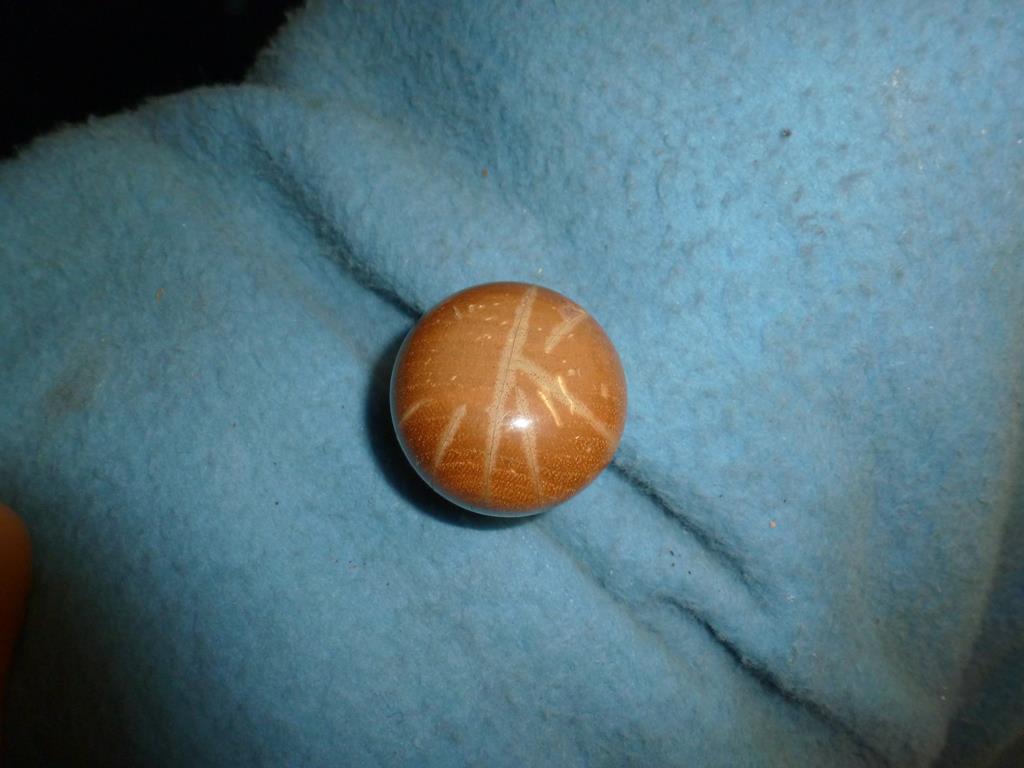 I did one as a test 2 weeks ago and after removing the coating it looked like this. It is solid wood but no walnut. 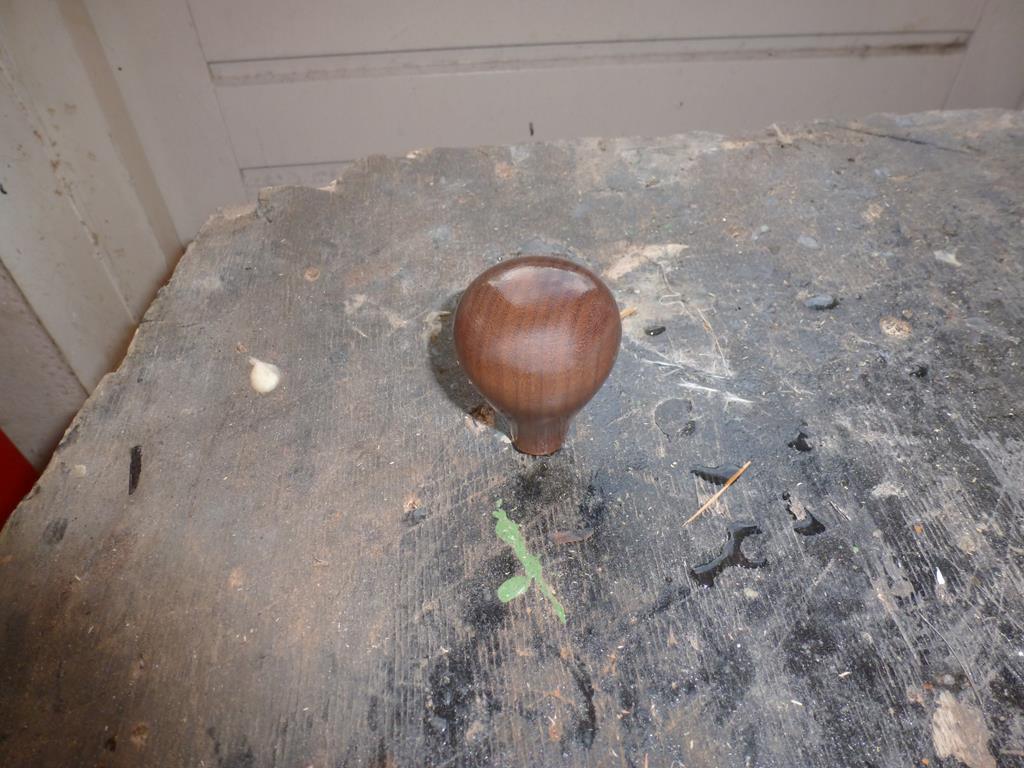 The customer wanted it to become a bit darker so i gave it a coat of stain 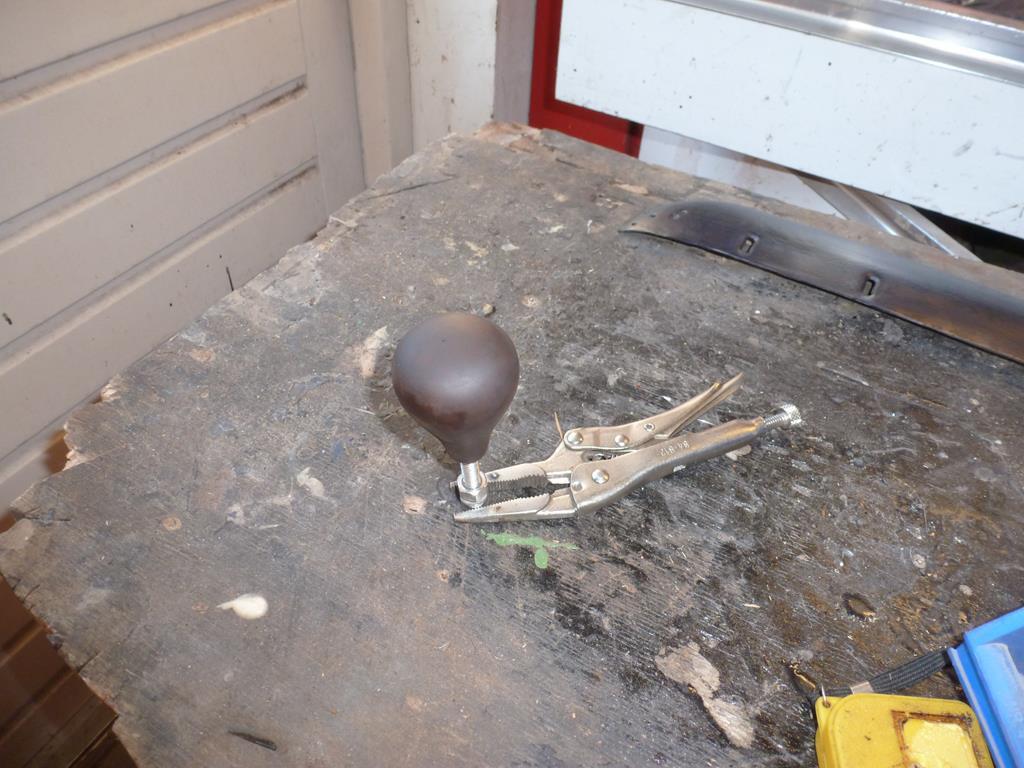 And after a few coats of clear it looked fresh again 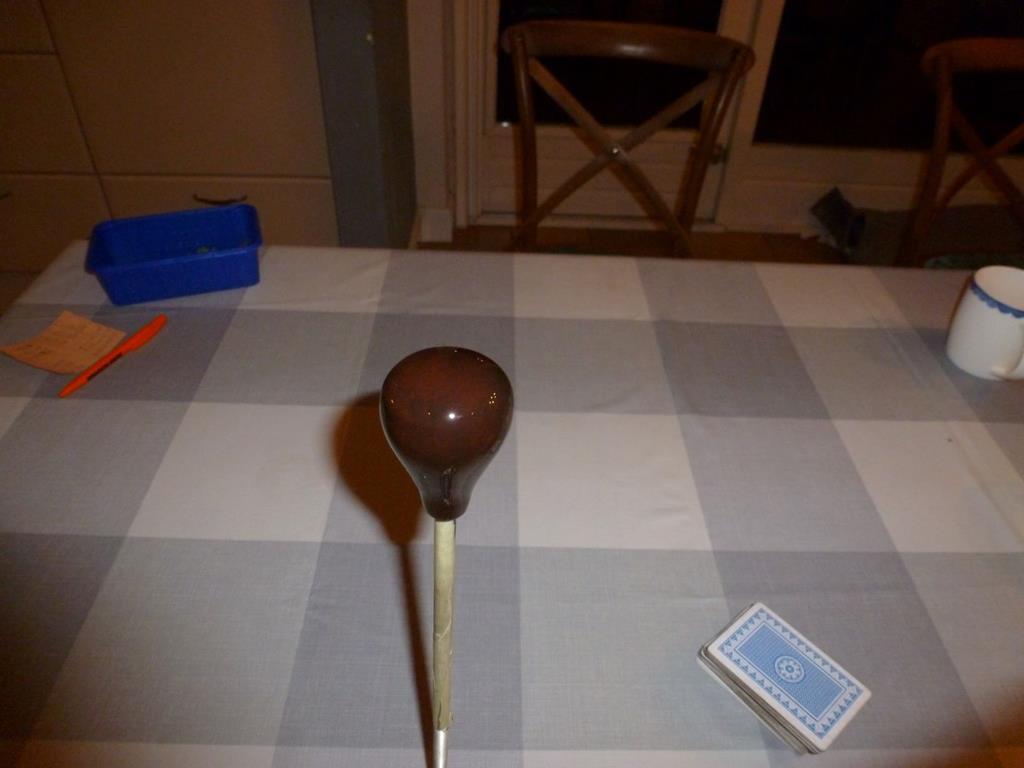 Peter |
| |
|
|
jpsmit
Posted a lot
  
Posts: 1,274
|
|
|
|
|
love this thread thanks for sharing your expertise!
|
| |
|
|
|
|
|
May 22, 2020 16:33:33 GMT
|
love this thread thanks for sharing your expertise! Cheers
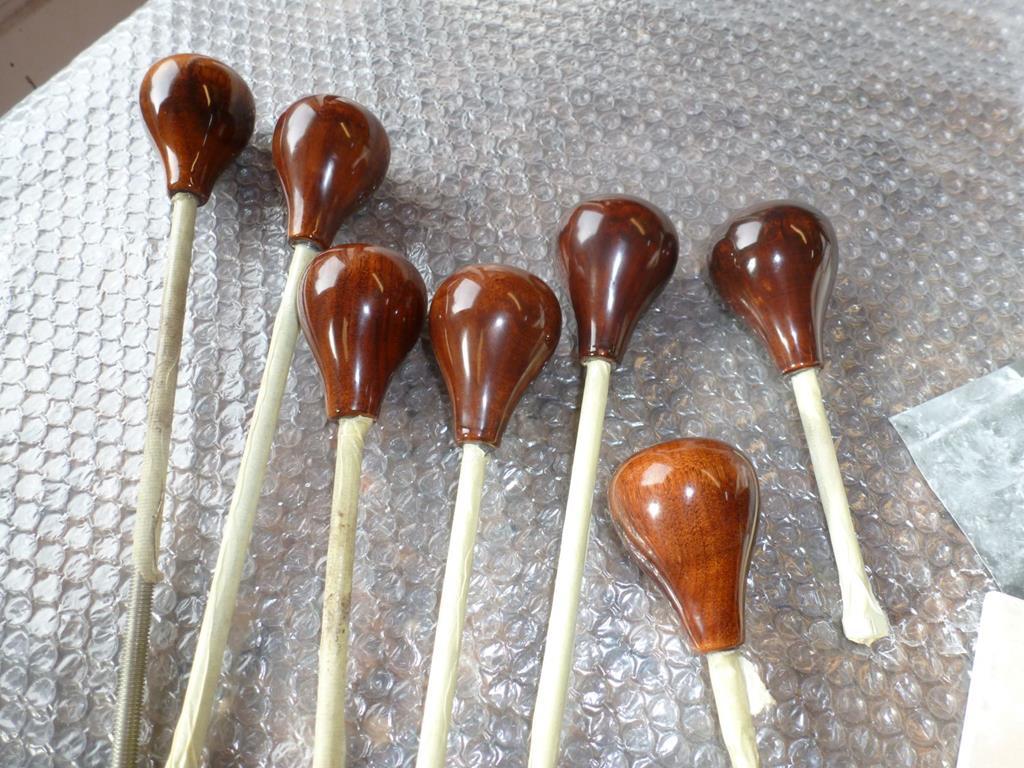
Finalised the gear knobs. 4 knobs were pretty light and i gave these some coloring. After the first layers of clear coat, i gave the knobs 2 weeks to cure and then another serie of clear coat, the knobs look nice again
It is amazing how light the color gets due to the sun as you can see in the picture beneath
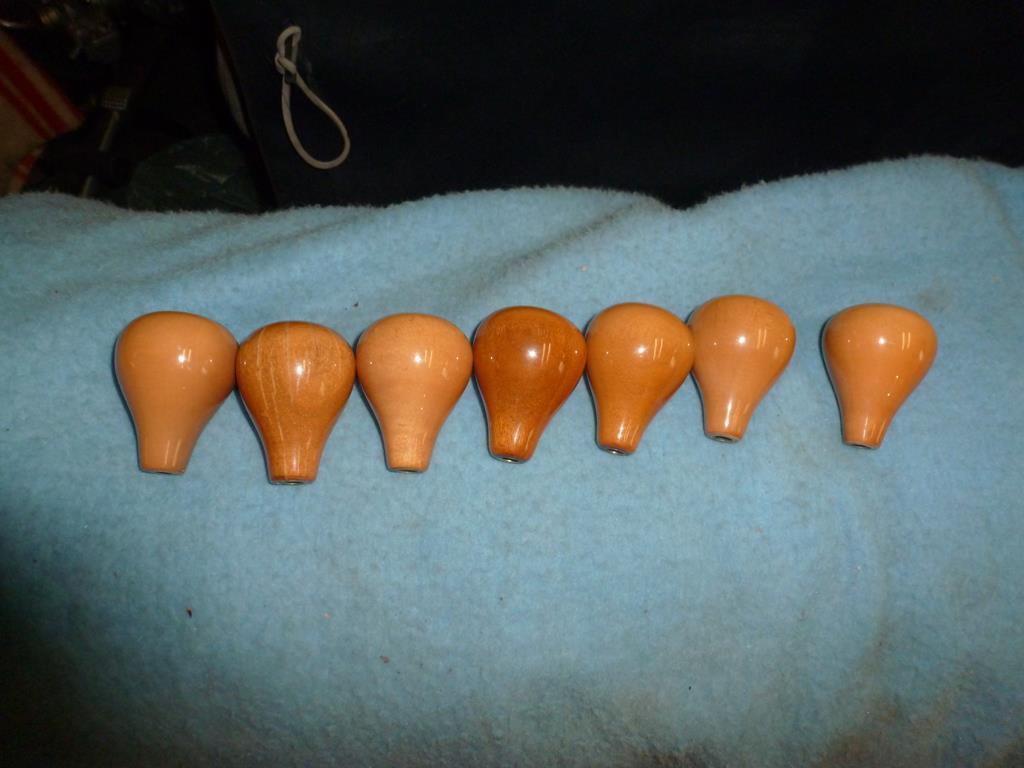
Thats it for now
Peter
|
| |
Last Edit: Jan 1, 2021 21:47:37 GMT by petervdv
|
|
|
|
|
Feb 13, 2021 14:30:58 GMT
|
A rather long time since my last post. Restored some steering wheels in the meantime This steering wheel was a Nardi steering wheel from a 1960 Alfa. It is a 420mm thin rimmed steering wheel which was also fitted to Ferrari s and other Italian Exotics of that era. You can still buy these new from Nardi for a staggering price of over Euro 2500,- and used ones are offered for over Euro 1500,- The aluminum part was in resonable condition and the wood rim was in many pieces. These steering wheel have a black 4mm line in their woodrim and aluminum pins which are visible from the rear. First i made a new rim piece 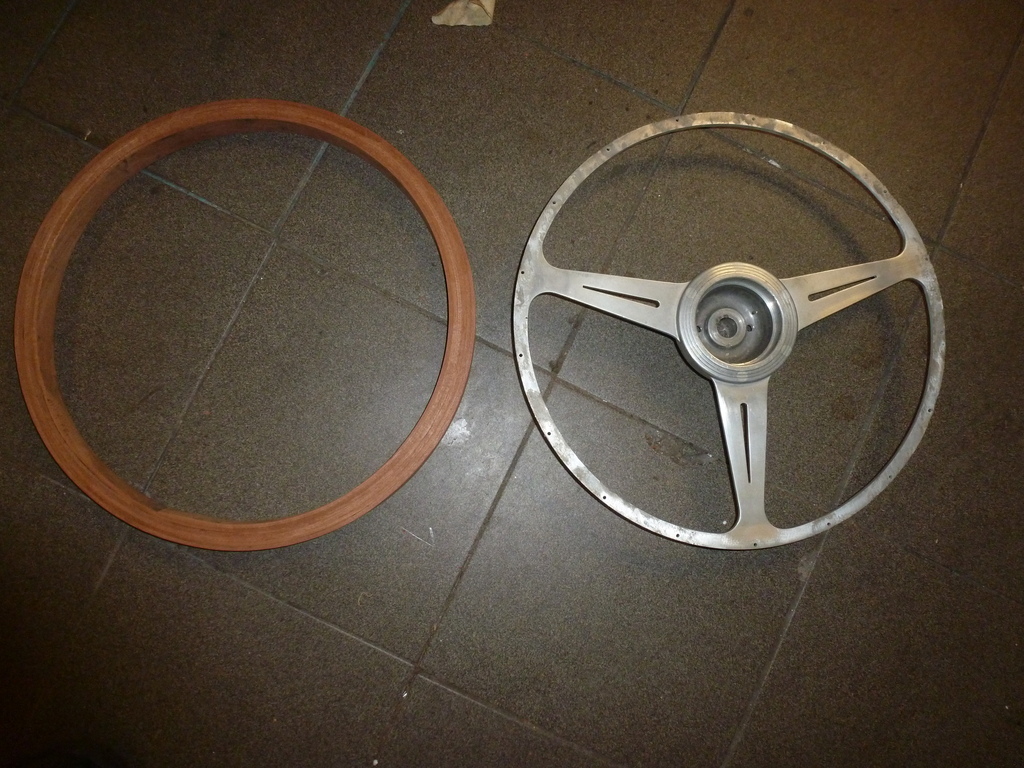 As these are originally made from 4mm thick mahogony, i had to steam bend these before gluing these together The decission was made to make a copy for myself a demo steering wheel After making the rim piece, it was glued to the aluminum part and with the router a chanel was made for the black stripe. The black stripe is originallt a piece of plastic but i decided to cast it into the steering wheel with black epoxy 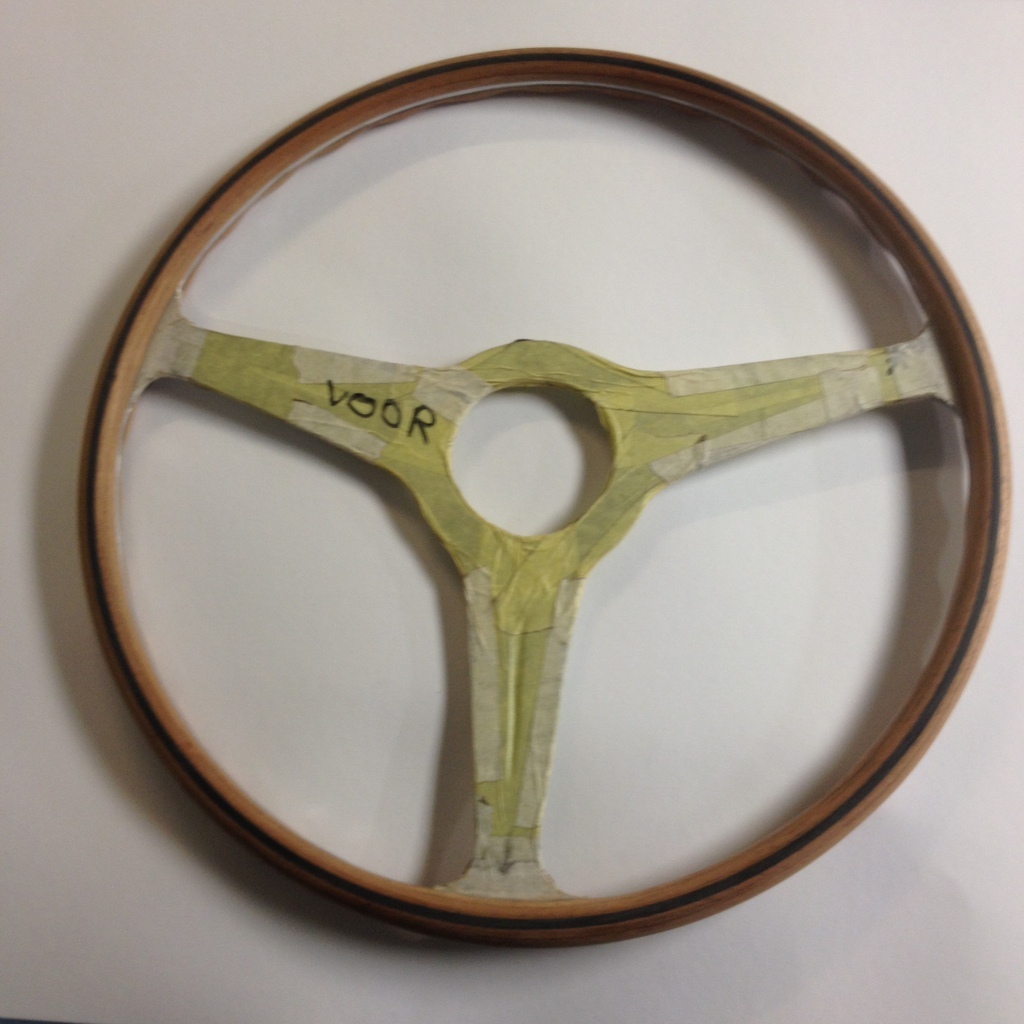 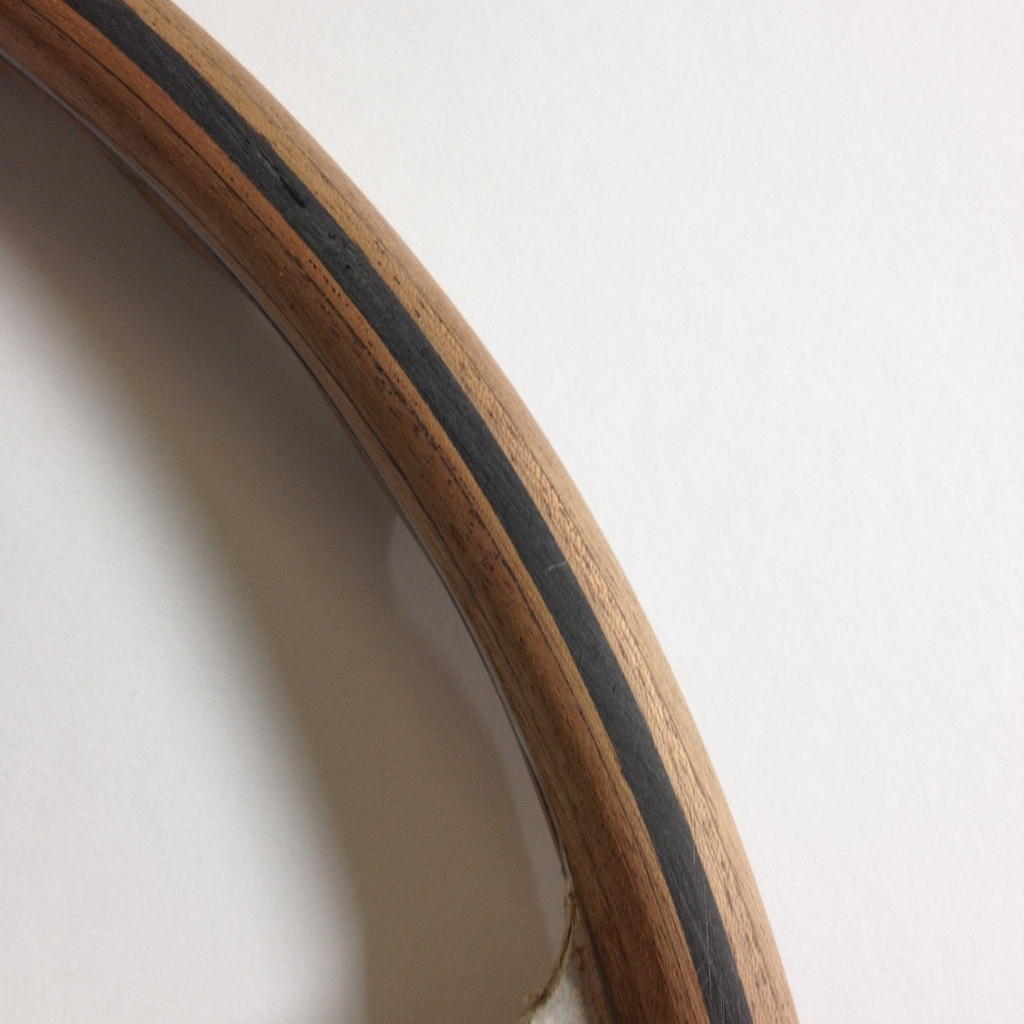 This worked well 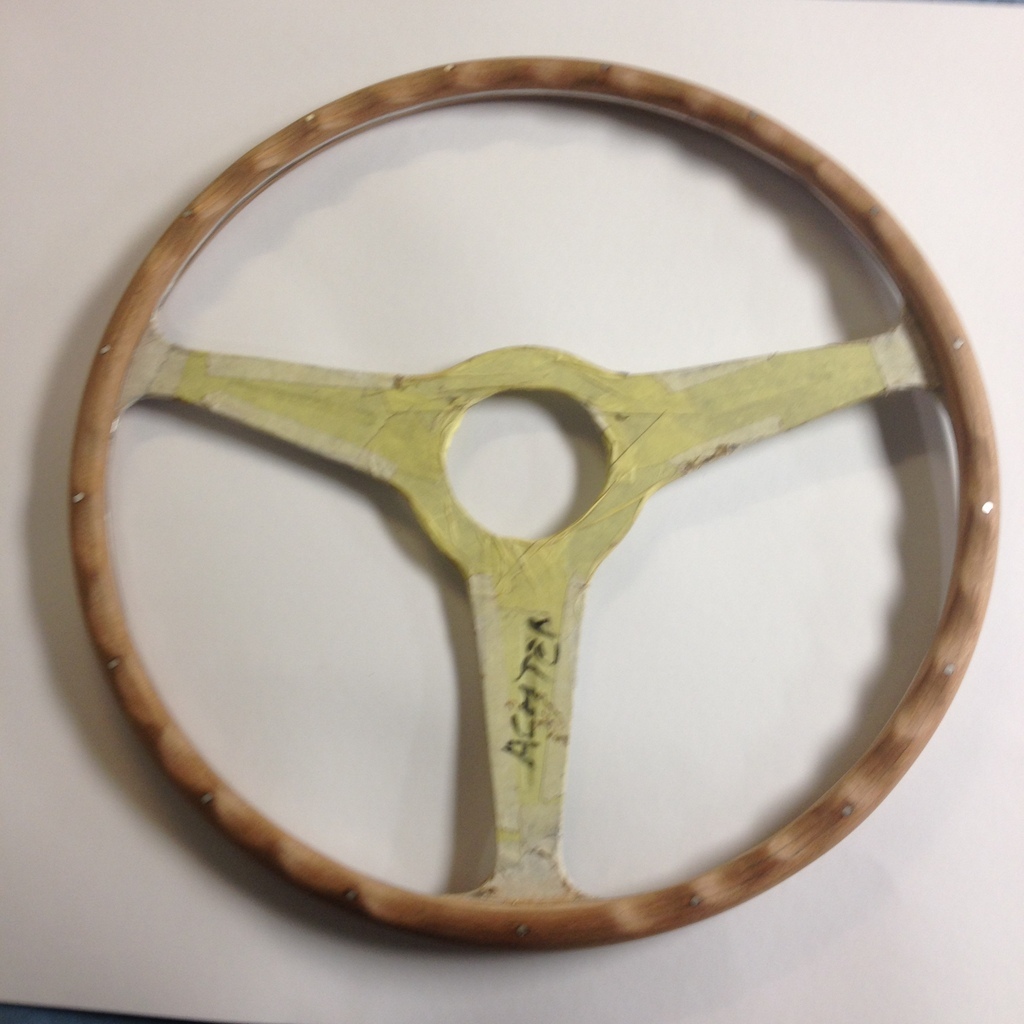 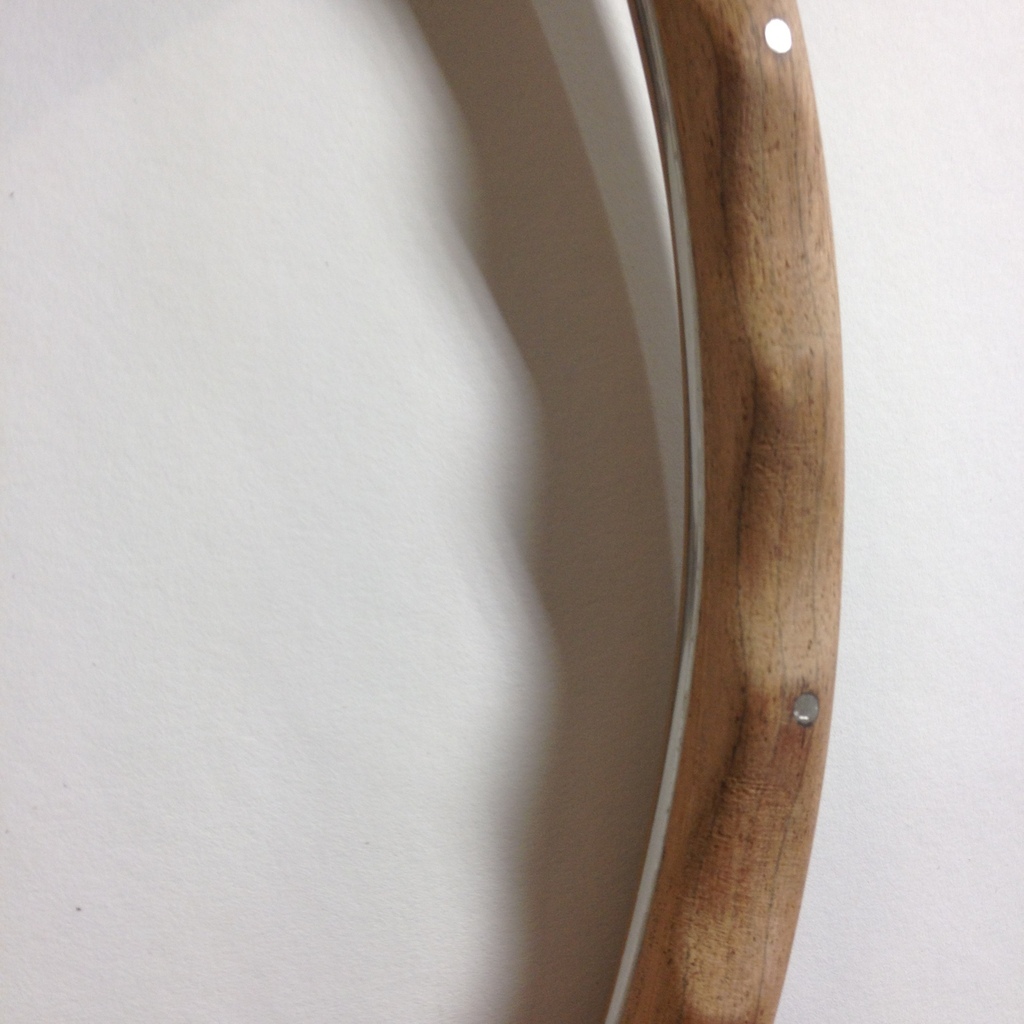 Also the alu pins were fitted and the fingergrips were made Here a pictures of the finished steering wheels with the aluminum polished and the remain of the old wood 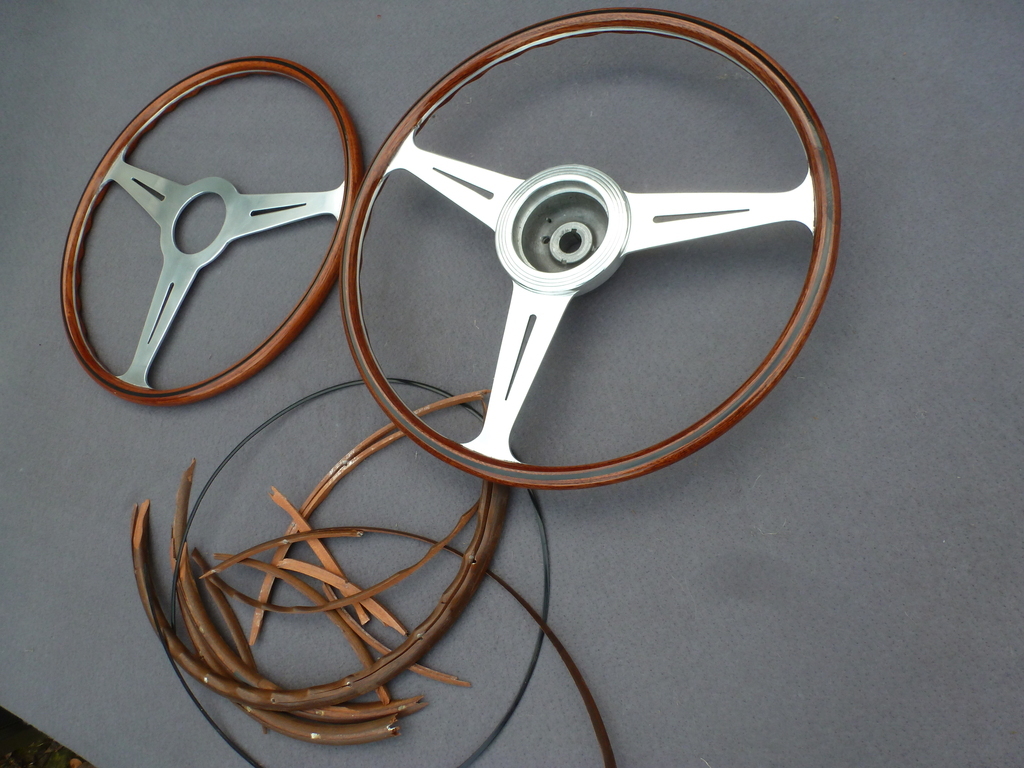 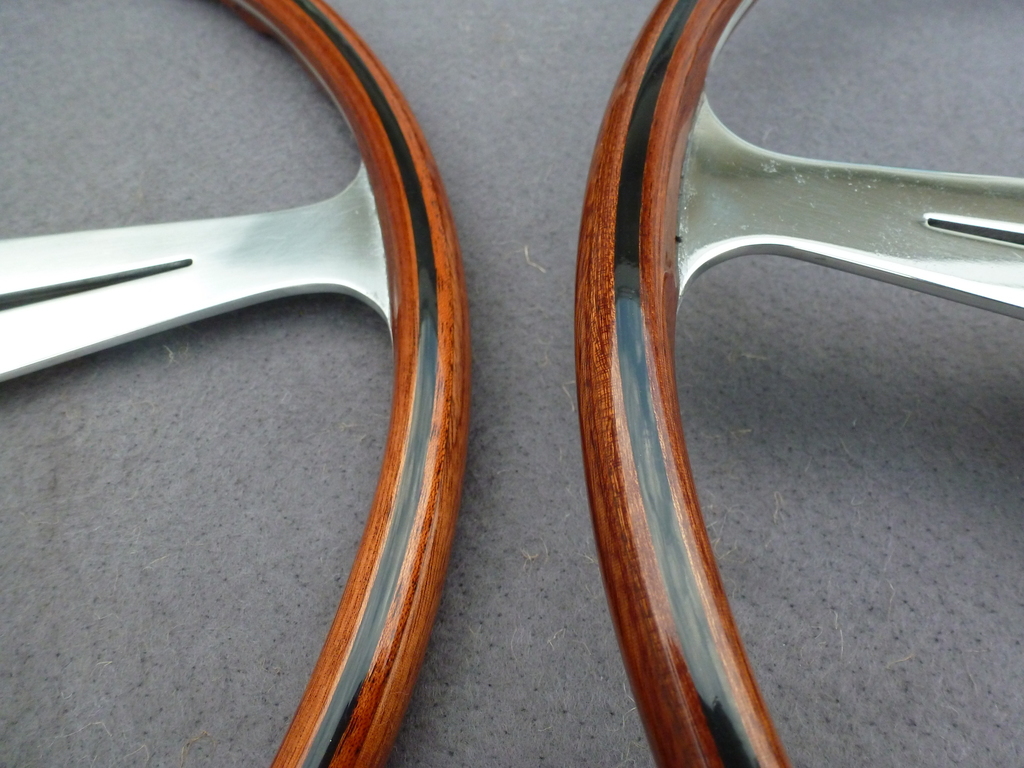 These are really good looking steering wheels with the thin rim and they also feel good Peter |
| |
|
|
|
|
|
|
|
Feb 13, 2021 14:47:17 GMT
|
Also received a Jaguar Etype steering wheel which had been restored but the wood cracked a few after the resto These are good looking steering wheels due to the thin rim and have a good feel. The aluminum was in excellent condition and covered with masking tape to avoid scratches 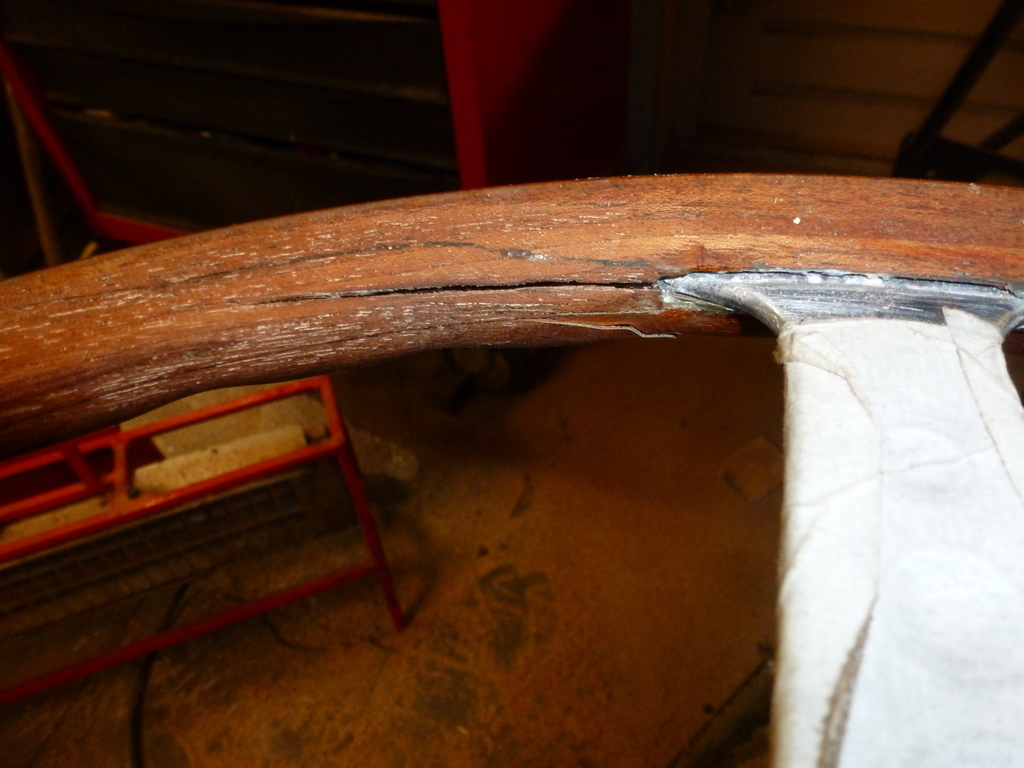 A new rim was made out of 2mm thick mahogony 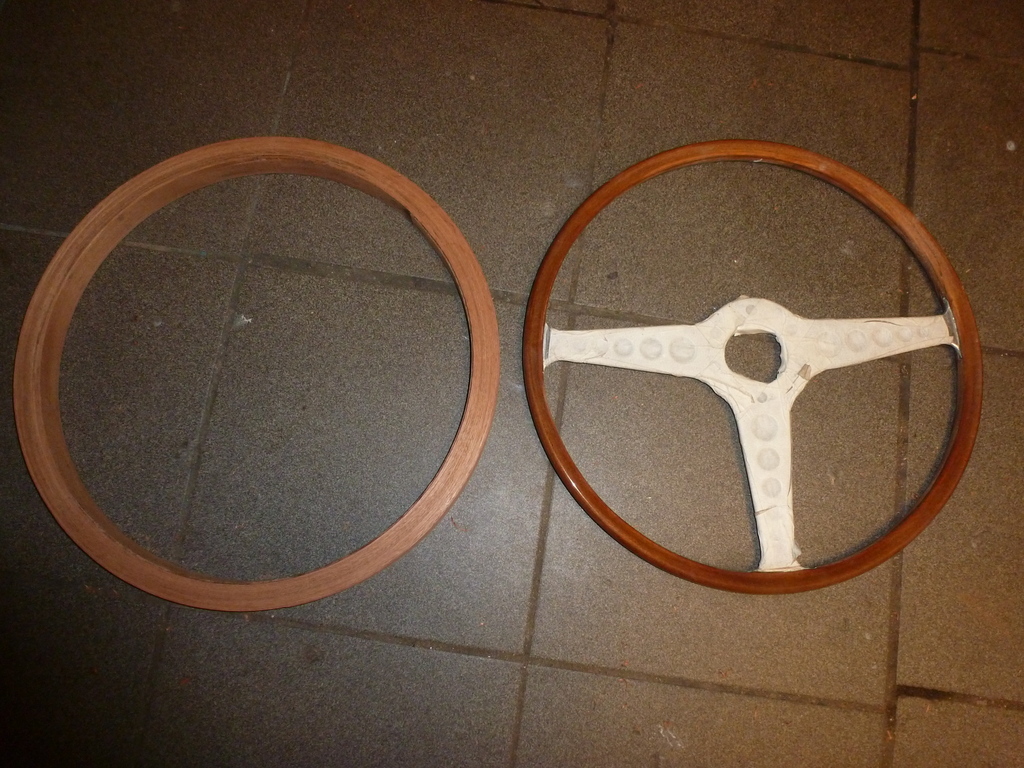 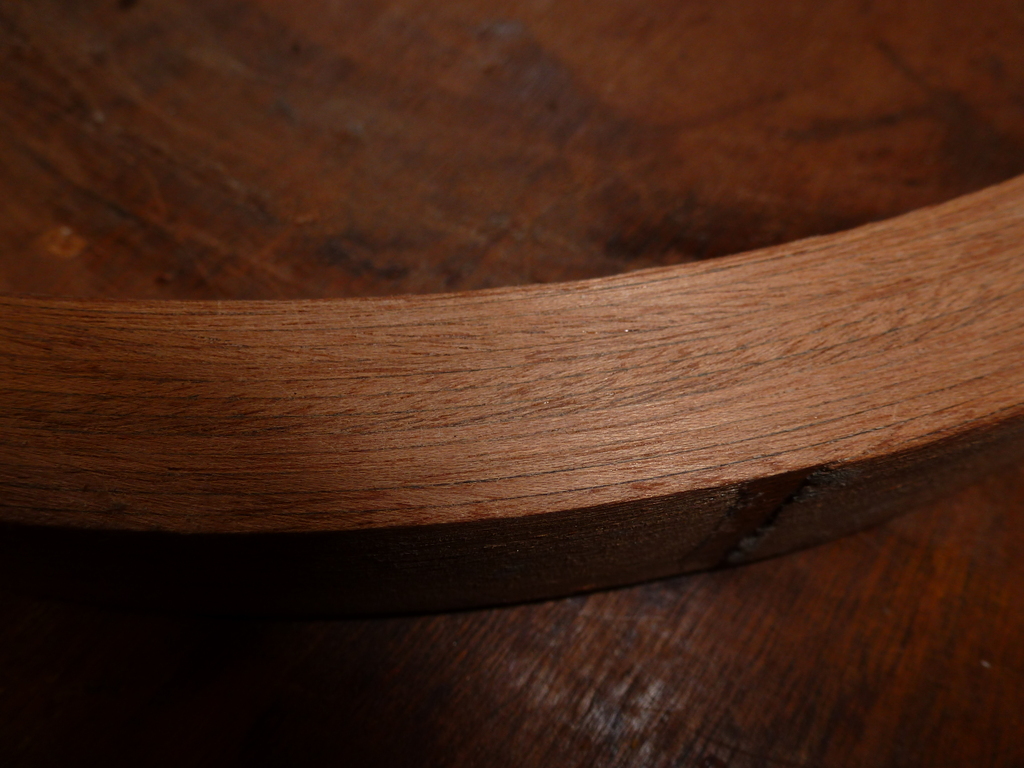 The old wood rim was removed 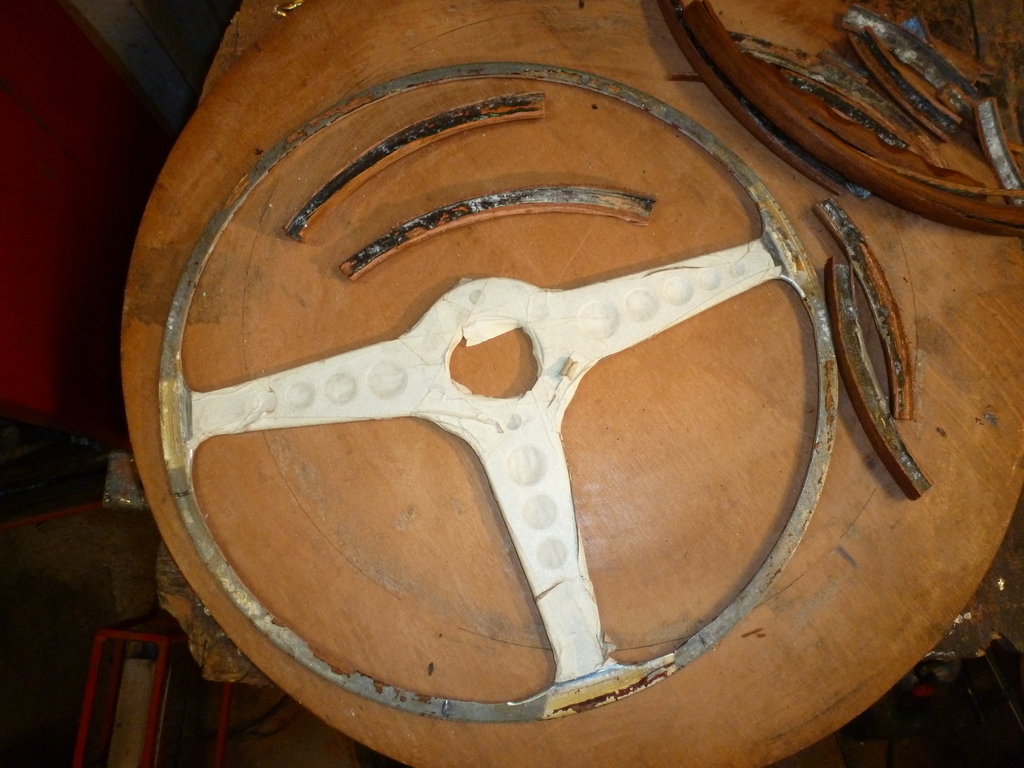 The new rim was glued on the aluminum and shaped with the router 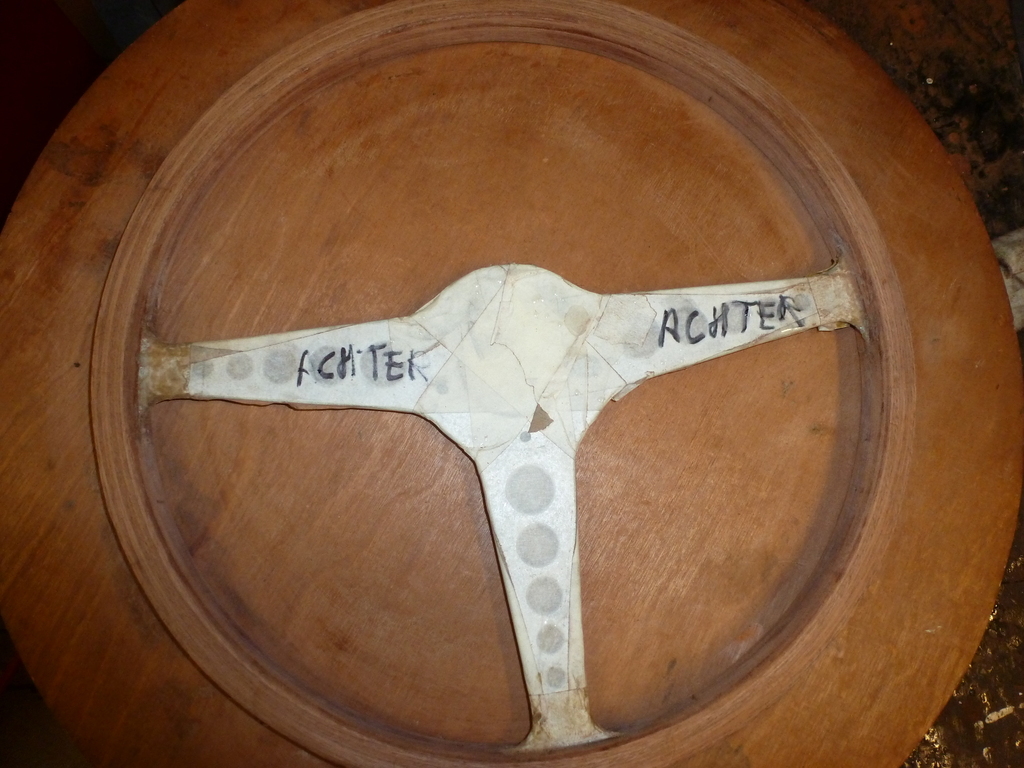 and clear coated 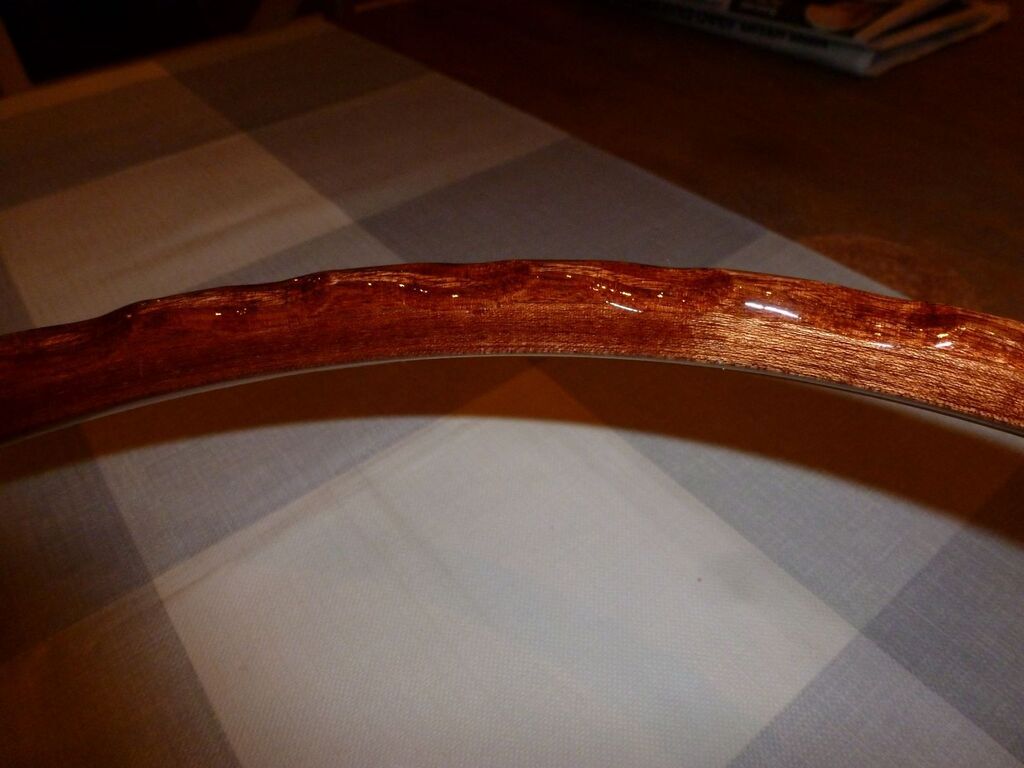 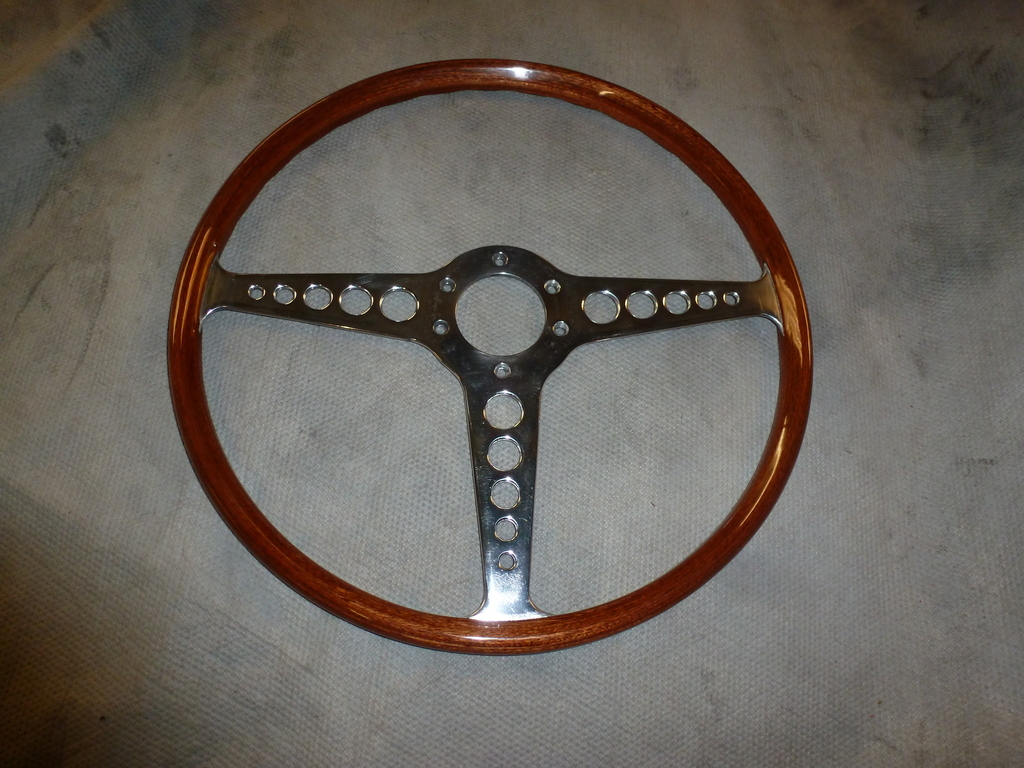 Peter |
| |
|
|
|
|
|
Feb 13, 2021 15:56:46 GMT
|
|
Beautiful work Peter, just lovely
|
| |
|
|
eurogranada
Europe
To tinker or not to tinker, that is the question...
Posts: 2,556
|
|
|
|
|
Very well done!
|
| |
|
|
|
|
|
Feb 15, 2021 17:54:26 GMT
|
|
Wow, some incredible transformations.
|
| |
|
|
75swb
Beta Tester
Posts: 1,052
Club RR Member Number: 181
|
|
|
|
|
That nardi is a work of art!
|
| |
|
|
|
|
|
|
|
|
Great to see and read.
Thanks for sharing.
|
| |
|
|
|
|
|
|
|
|
There's nothing that's not already been said.
Perfection.
|
| |
|
|
|
|
|
Feb 25, 2022 11:47:22 GMT
|
|
I just found this thread as i'm planning to reveneer the woodwork in my MK2 Jag (Econojag thread on here).
The original veneer is beyond saving and has peeled off in sheets due to the poor way the car has been stored.
Looking at the side pieces on the top of the doors it looks like Jaguar originally veneered the whole piece in a lighter wood and then veneered the centre in a darker wood.
Looking on-line it seems that the general concensus of opinion is you can't put straight line bends into veneer, any idea how they did this and can it be replicated?
|
| |
|
|


