|
|
|
Nov 26, 2019 21:35:00 GMT
|
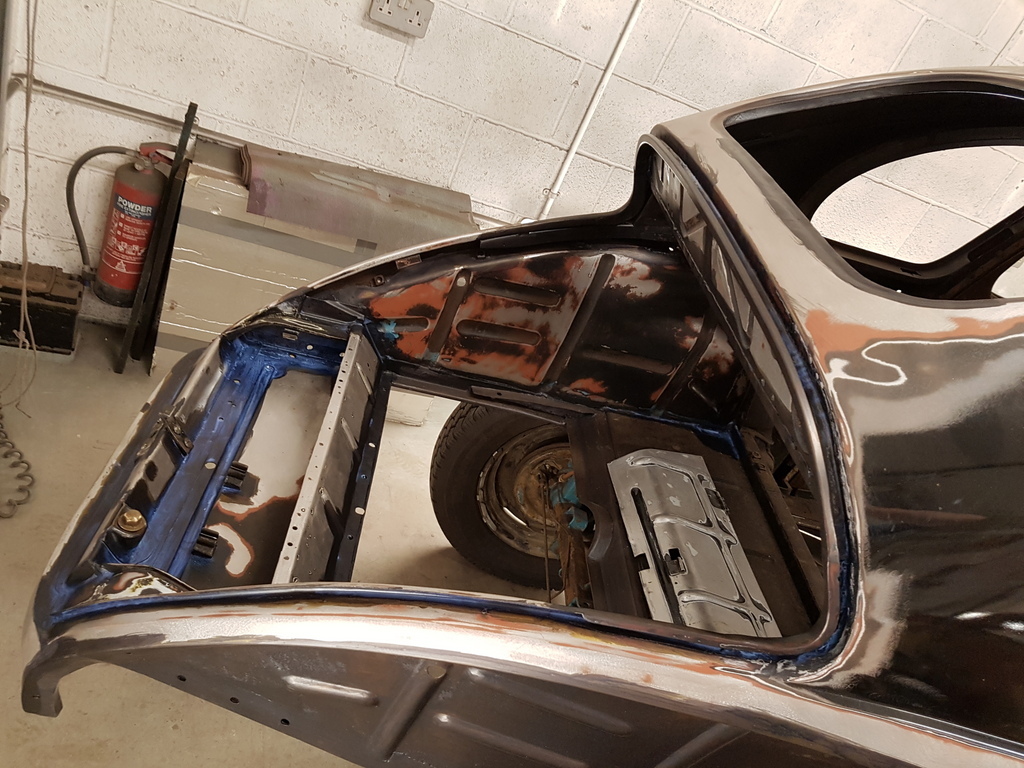 First job this morning was to apply the second coat of Hydrate 80 to the rear end of the car Whilst that was drying I checked the clutch clearance prior to fitting the engine & box to the car 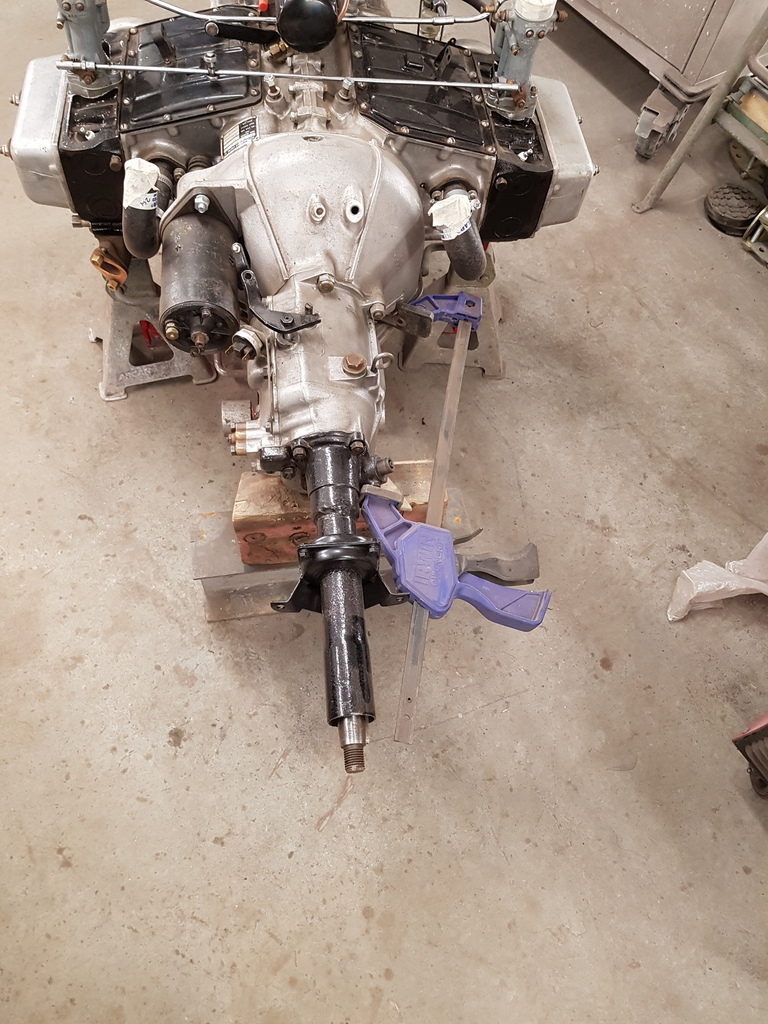 To which there is a easy way of doing so 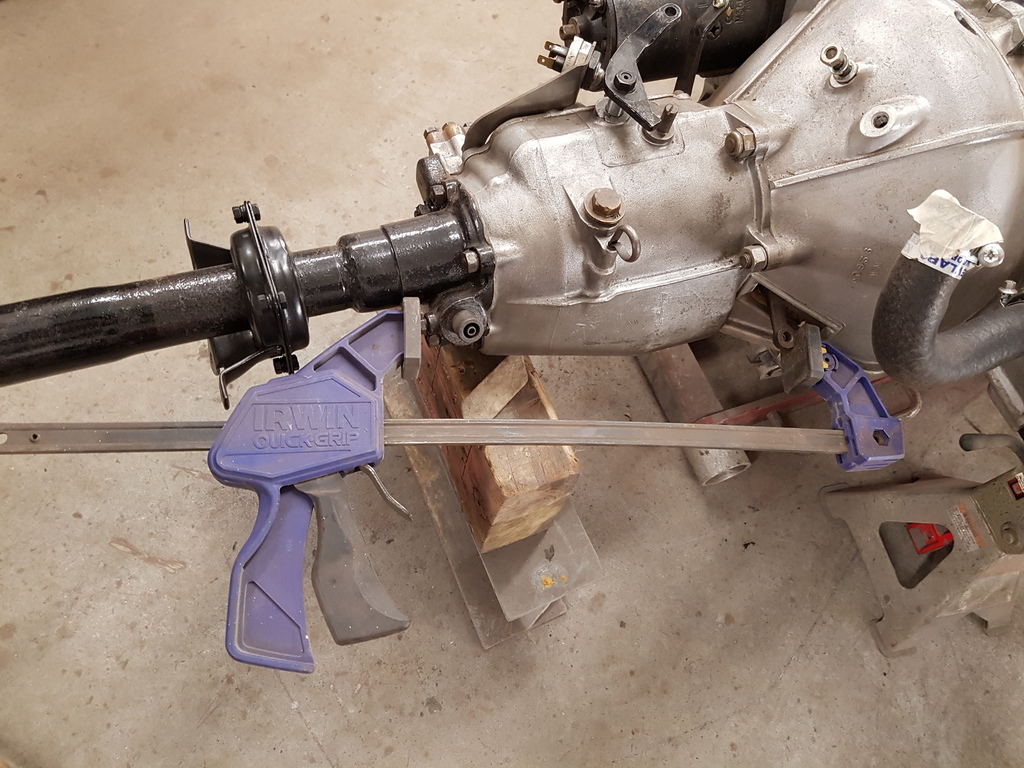 Engine & gearbox fitting on a Javelin is a simple one man operation 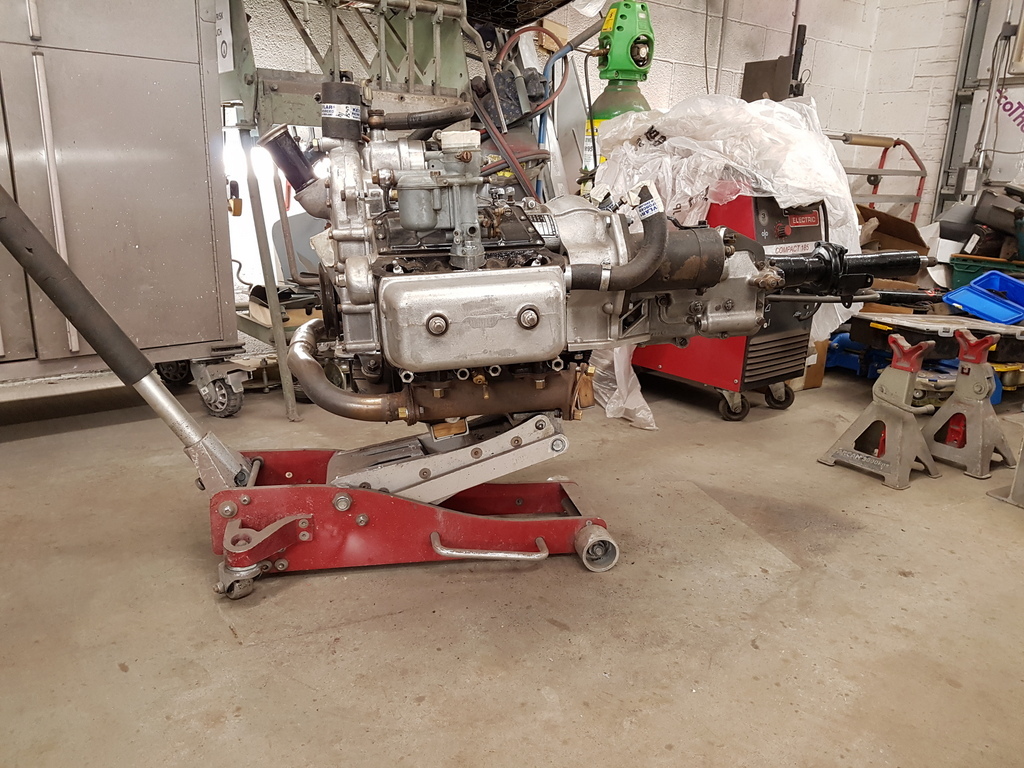 All you need is a good trolley jack 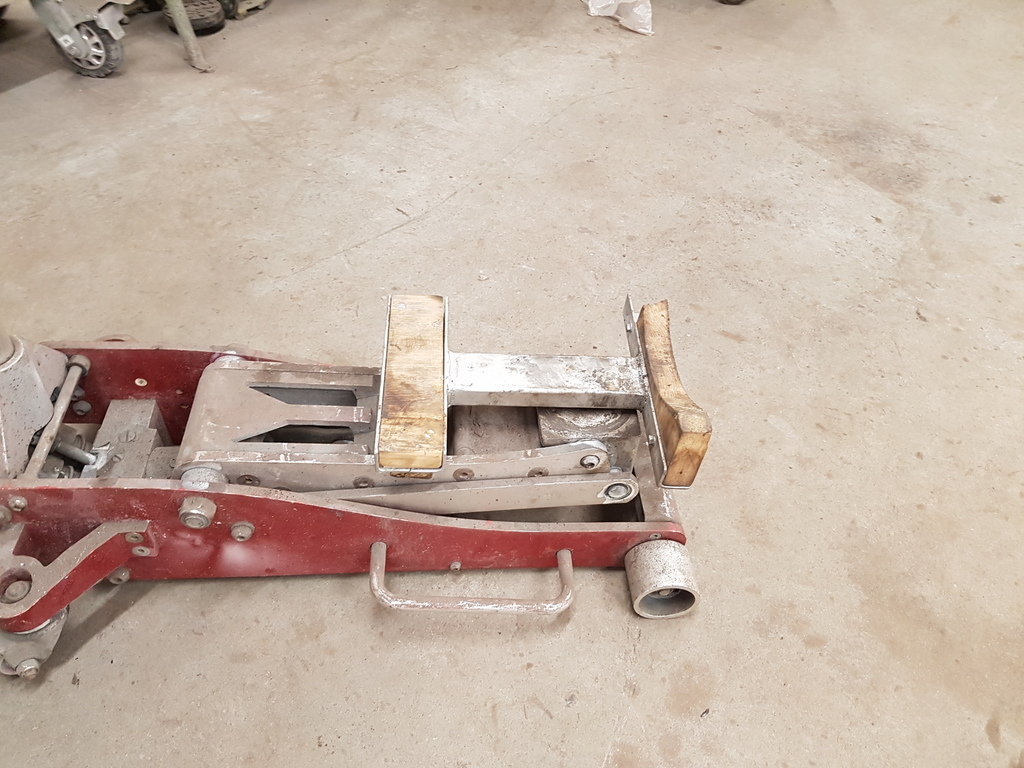 And a self made cradle 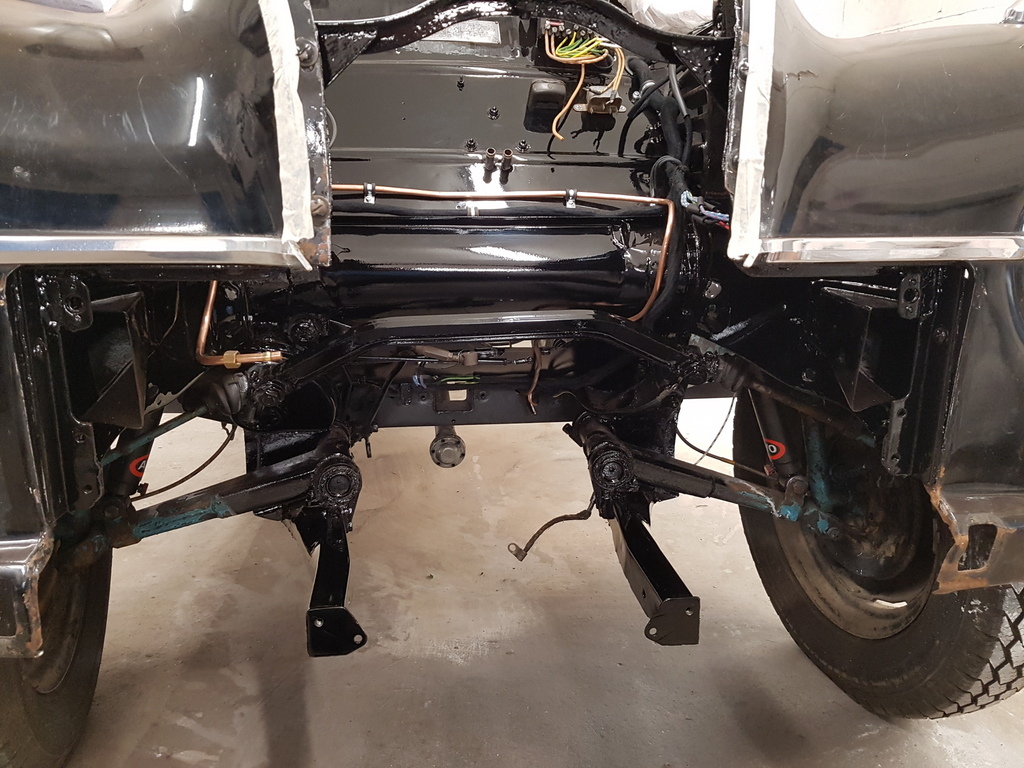 Empty bay 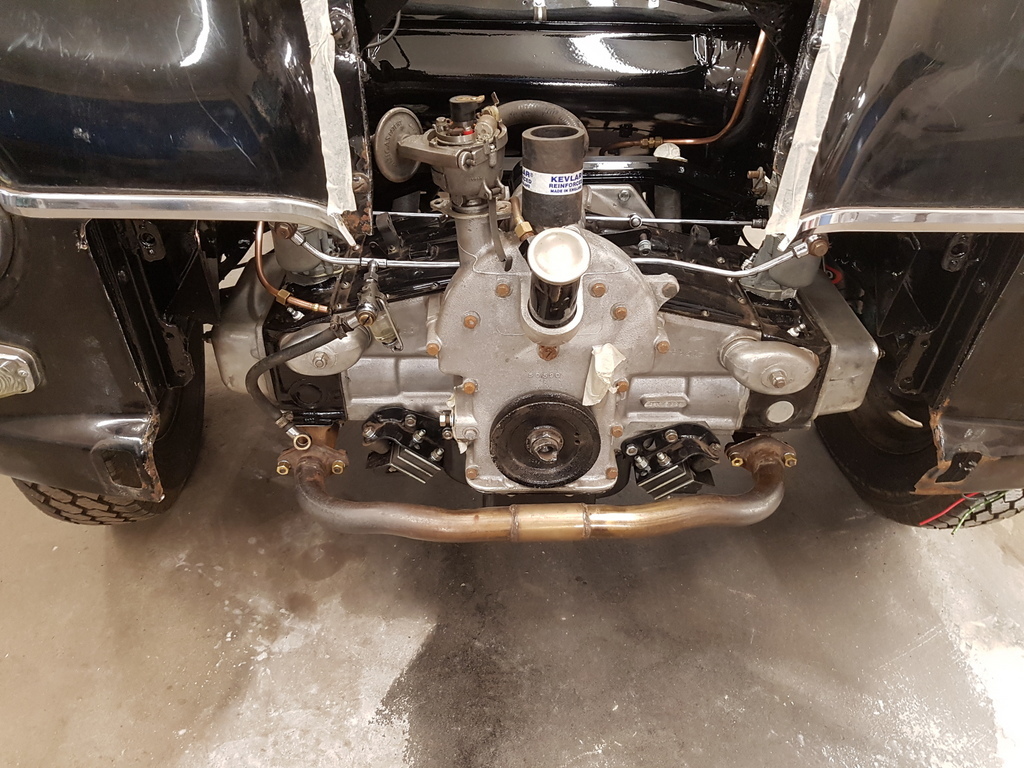 Full bay - 'simples' 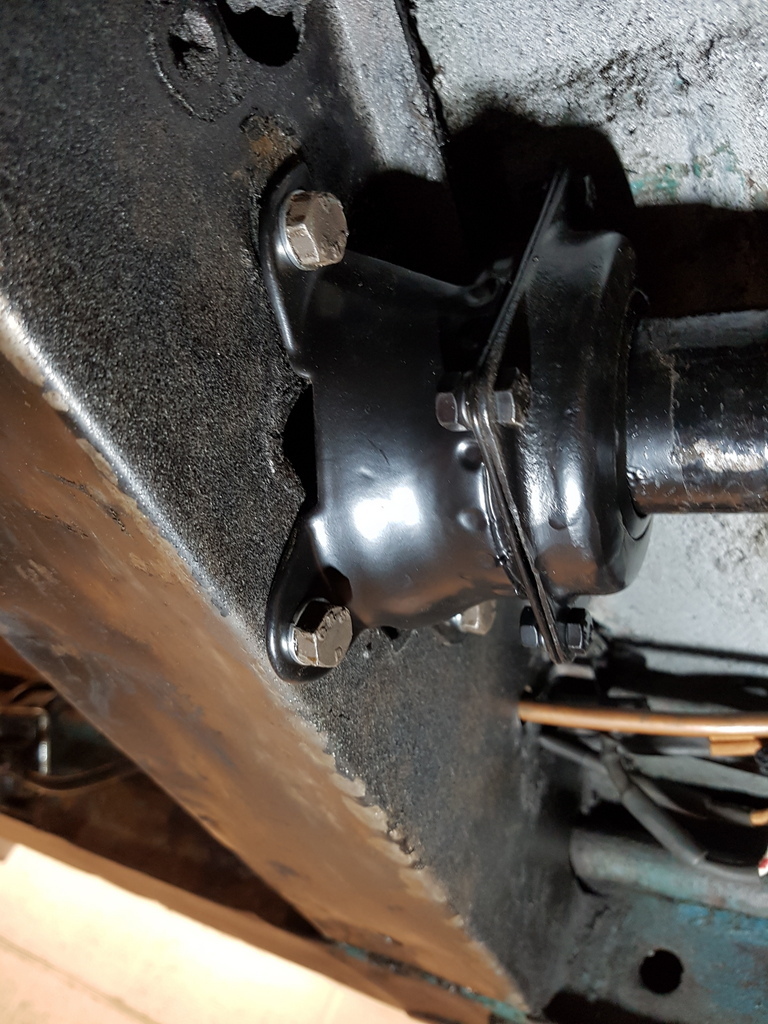 3 very easy mounting points - this collar on the rear of the gearbox tailshaft that bolts up to the chassis crossmember 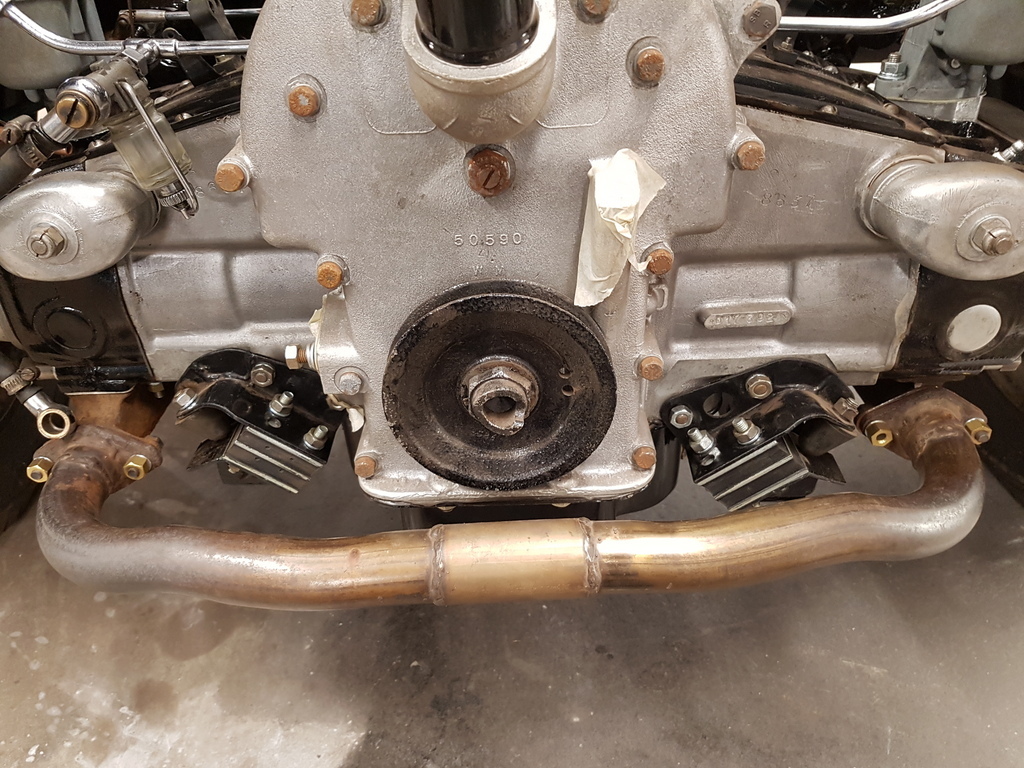 And the 2 front engine mountings that bolt onto the end of the chassis legs 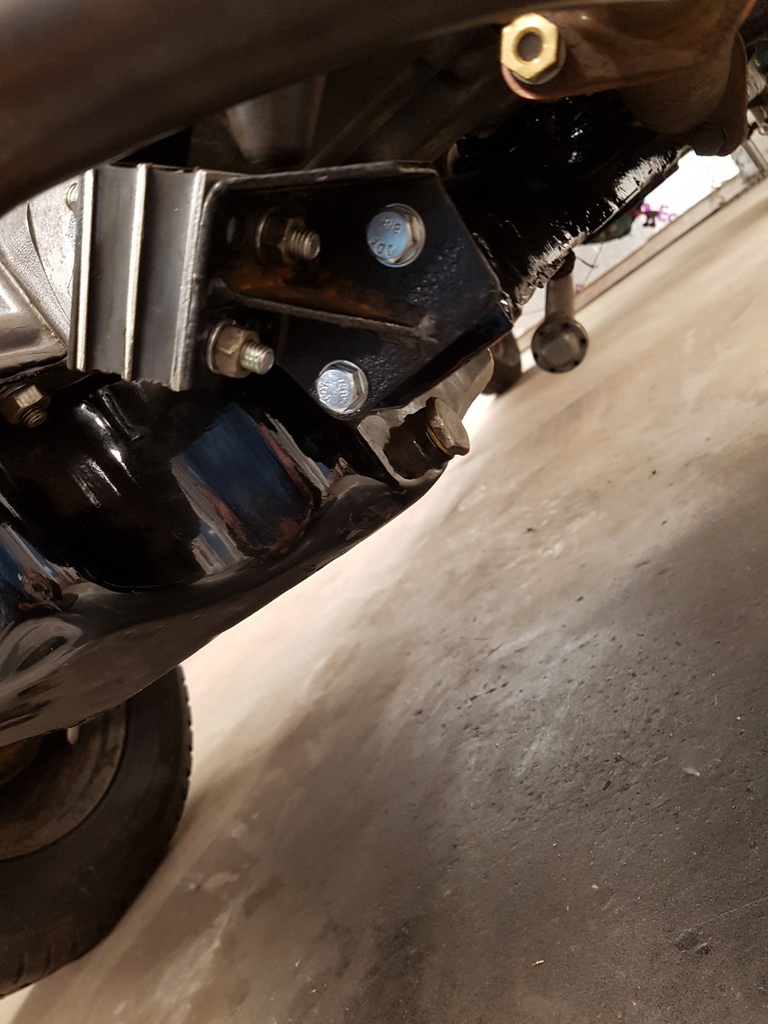 I need to swap the tappet chest covers over - these are handed to take the throttle cable & the throttle link return spring - whoever built the engine put them on the wrong sides 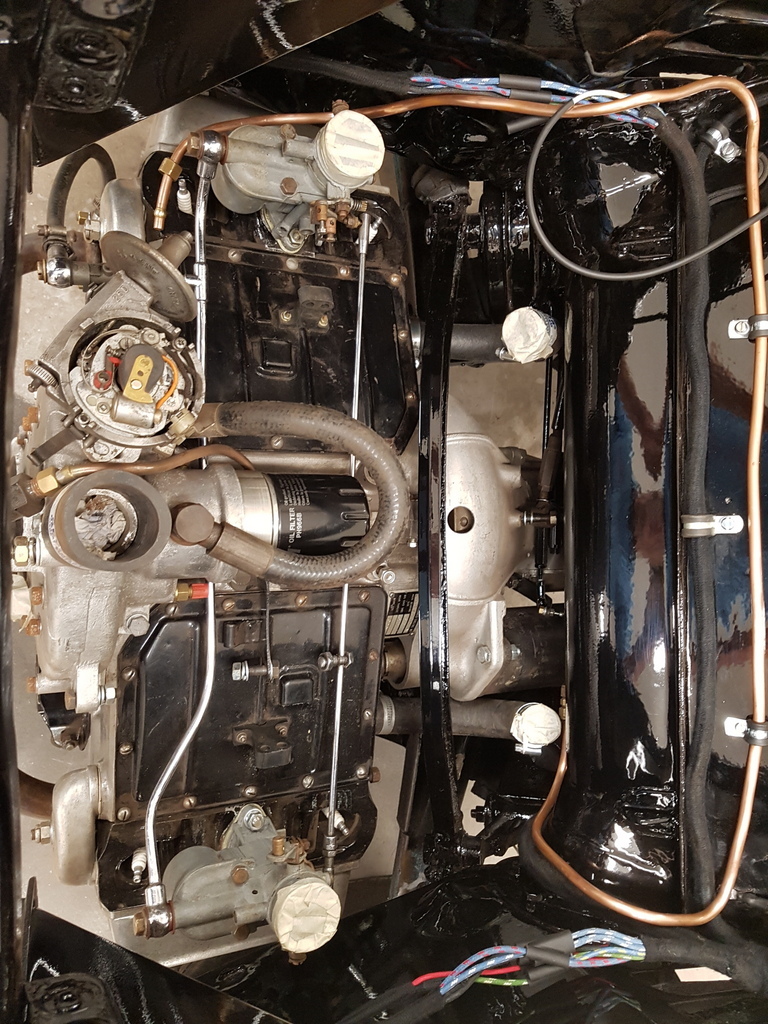 I can now start adding the ancillaries but some of these need a lick of paint first 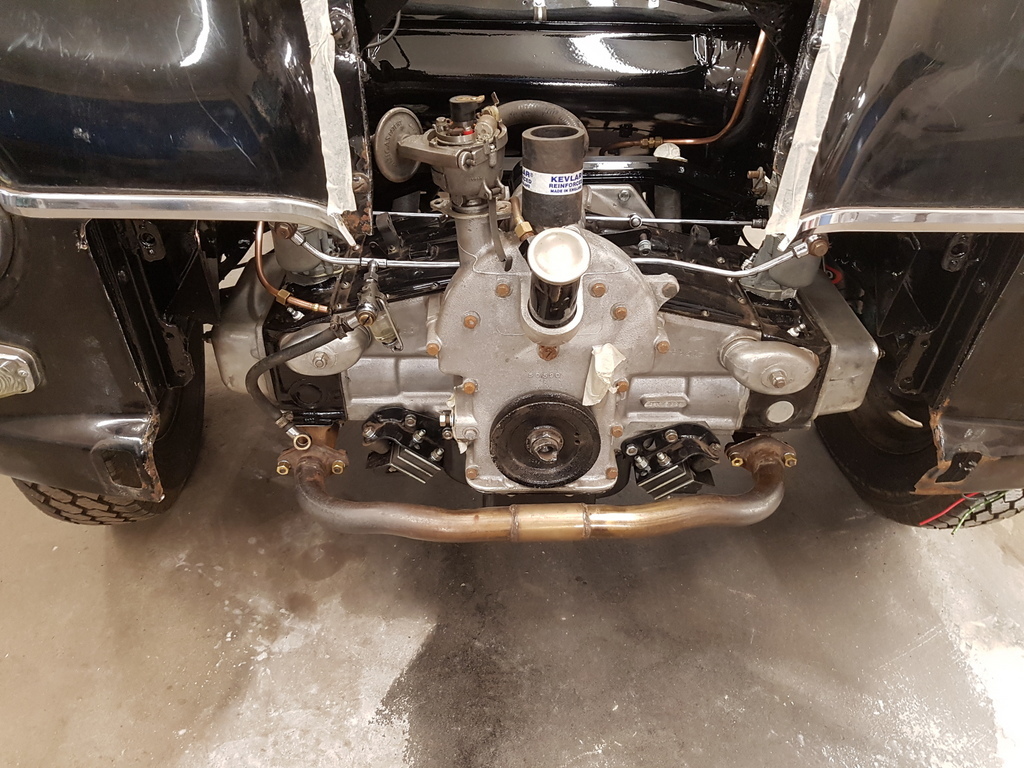 Back to the bodywork - nearside rear wing 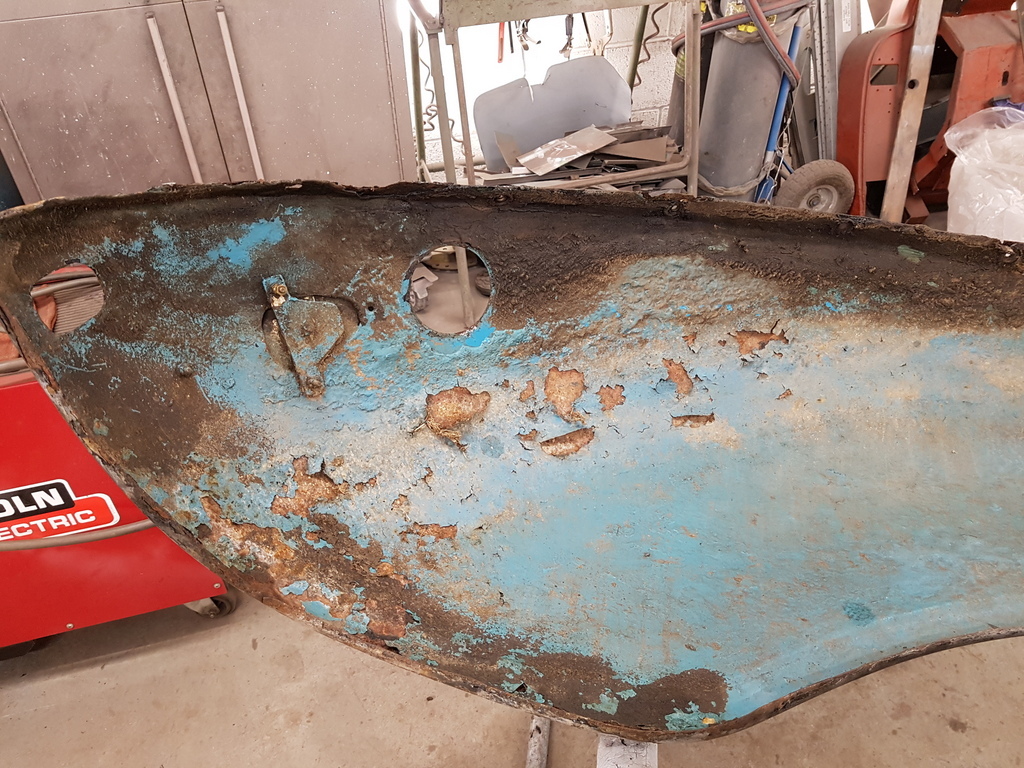 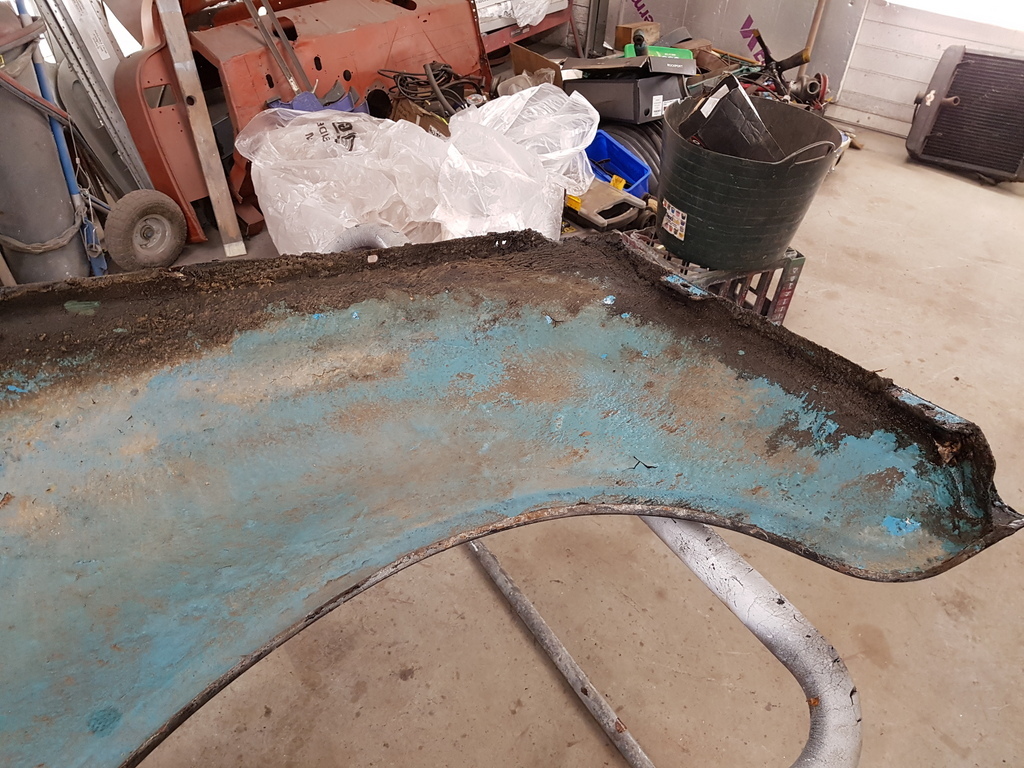 And is retaining rust perforations to the mounting edge 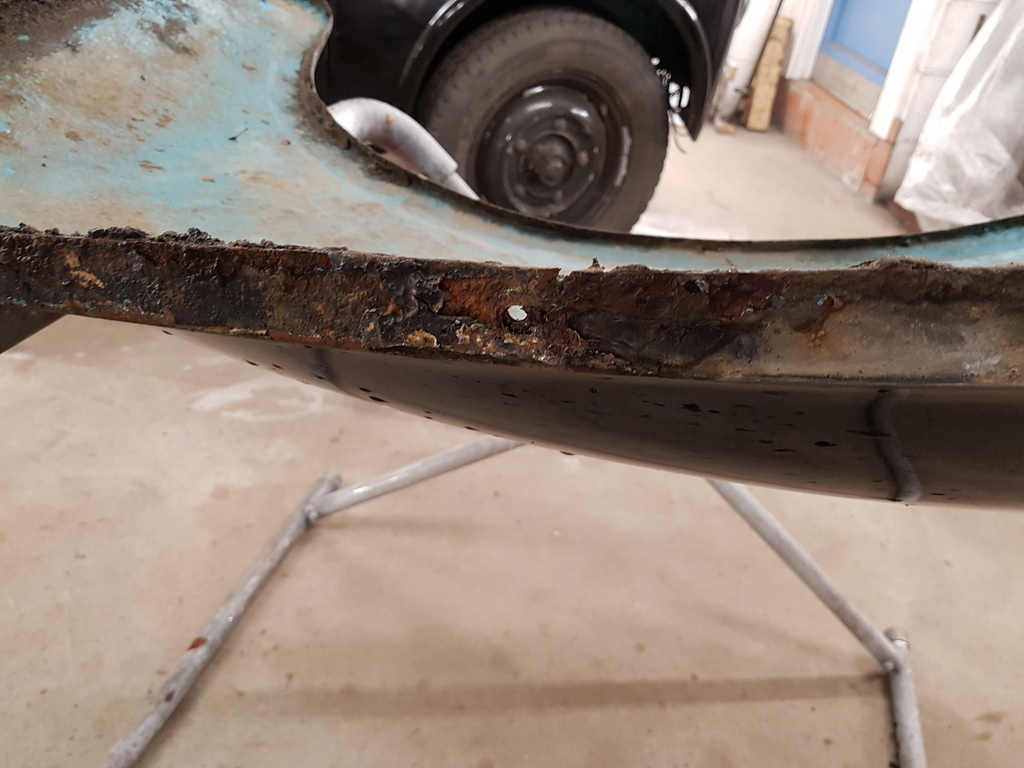 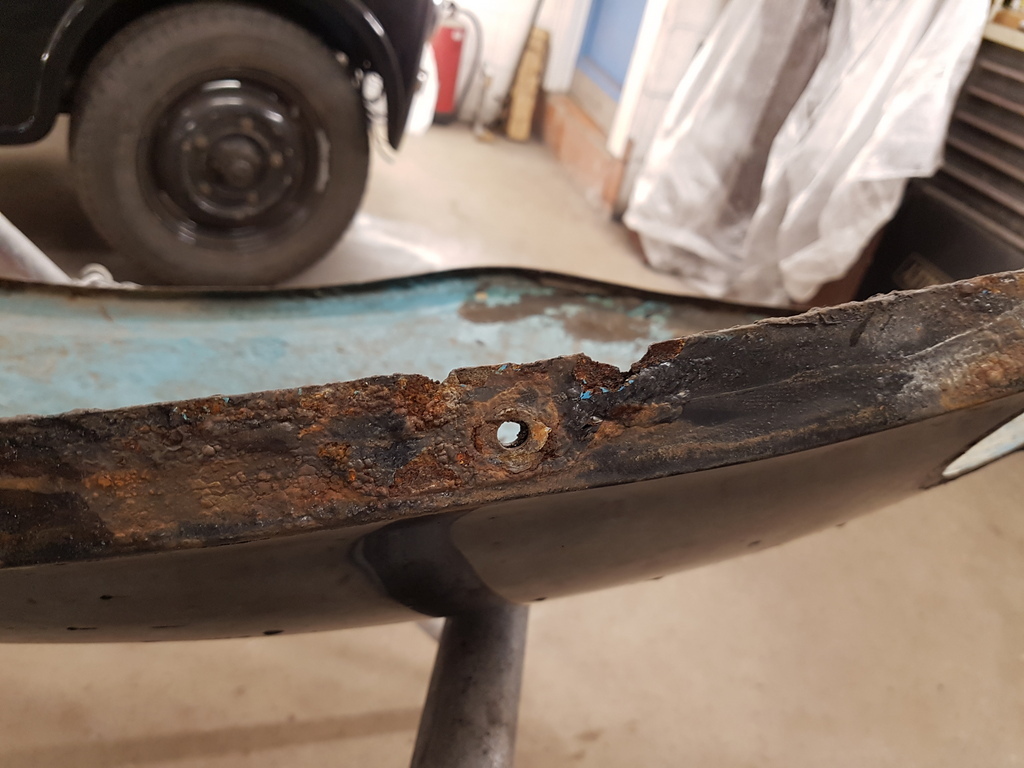 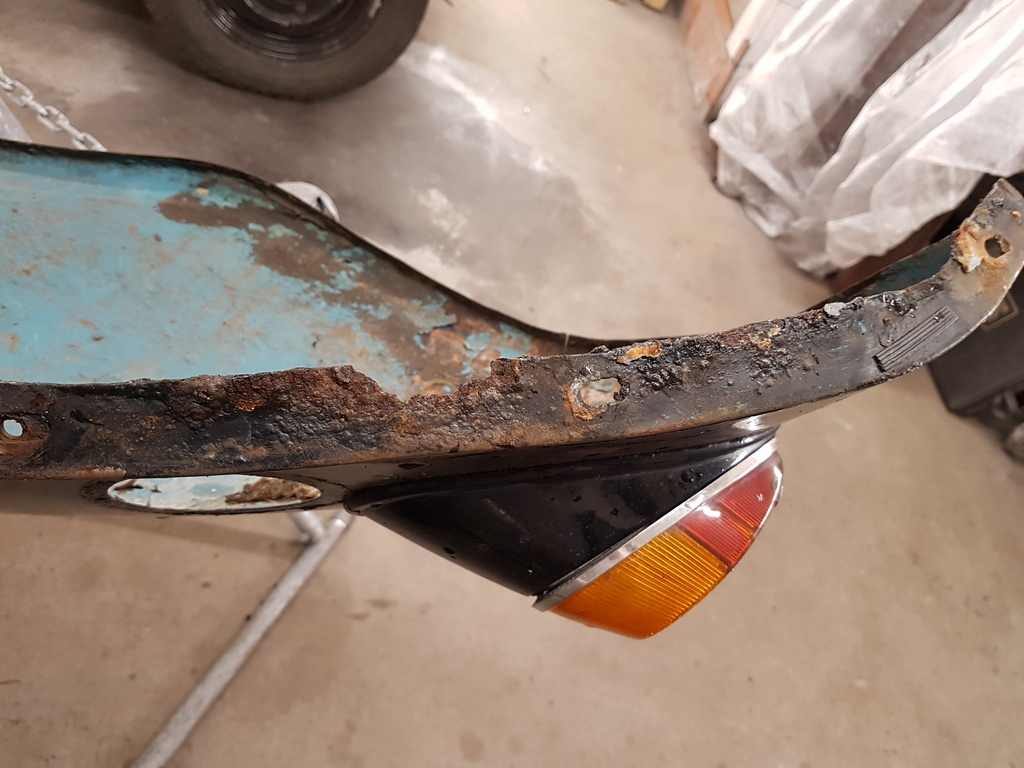 Rear lamp is a VW Beetle type - a later modification in order to add rear indicators to the car 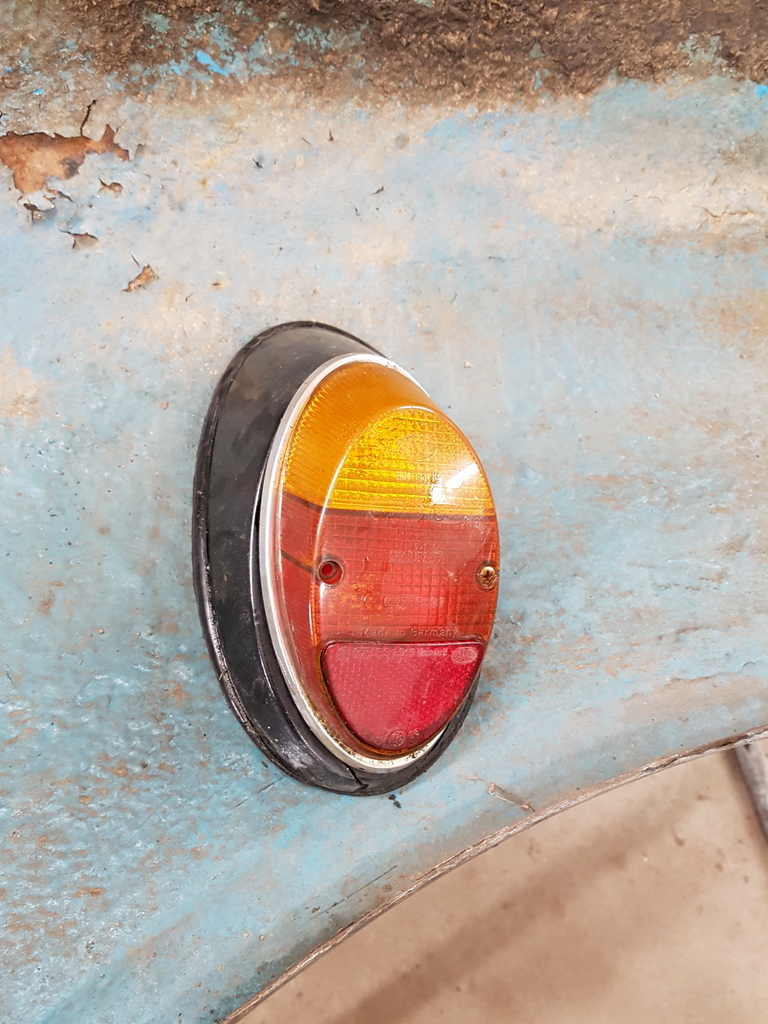 They fit the Javelin wing curvature perfectly and in such a way that they bolt up without modifying the wing or blanking the factory original rear lamp aperture off 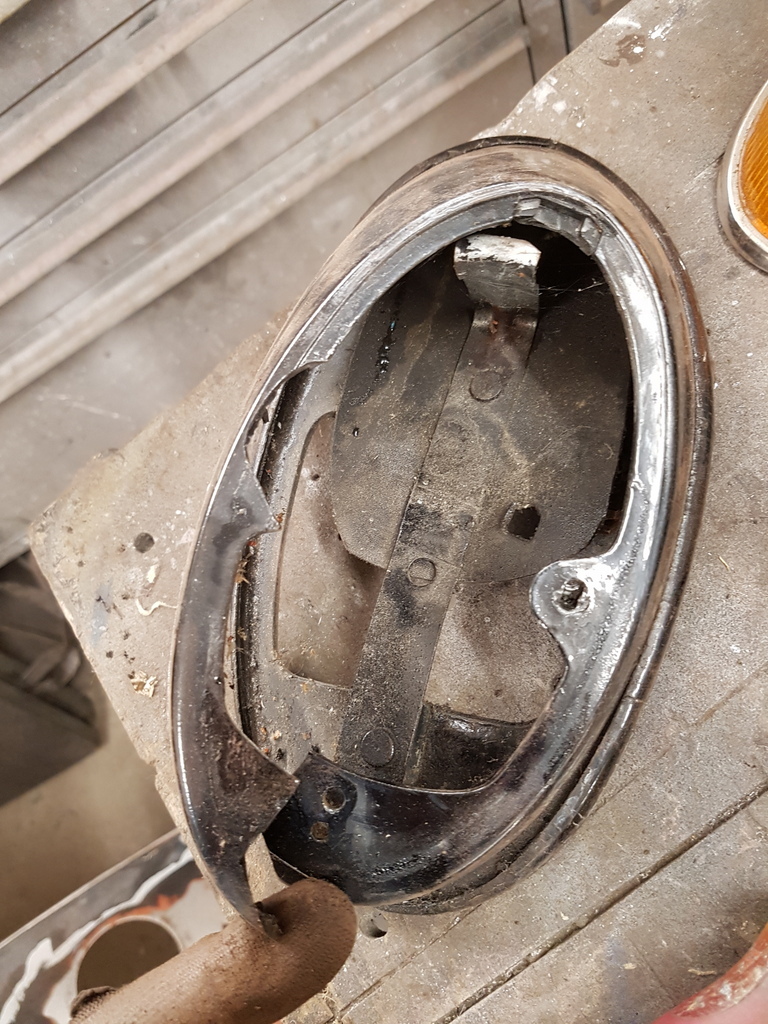 However the casings are both broken and lenses are not at their best - anyone got a spare pair gathering dust ?? 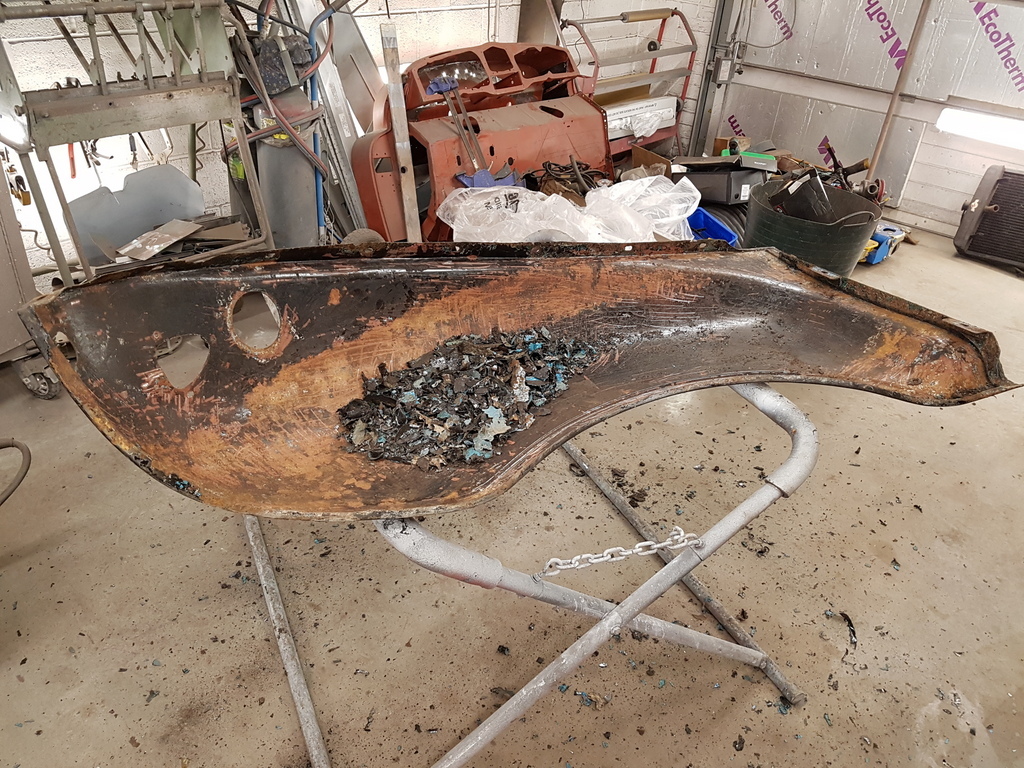 A serious scraping session to the underside of the wing removed all the rubbish that was part suck to it 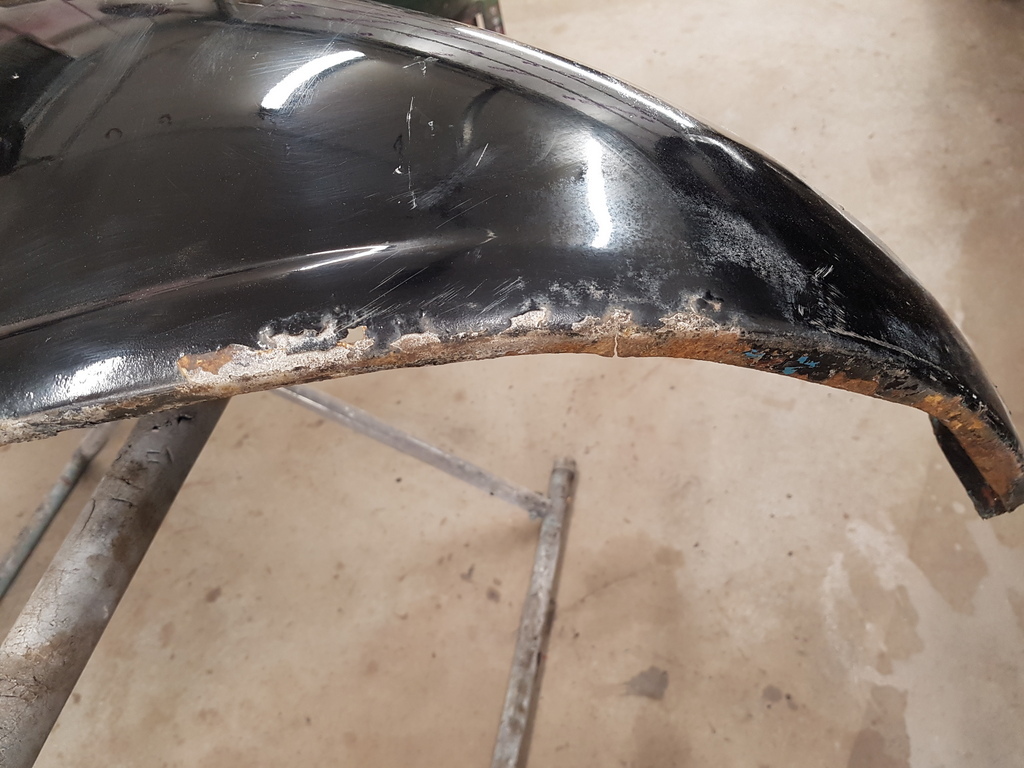 Rust ingress to the rearmost trailing edge and its also split at one point - but they all split at this point on both sides - I have a trick to prevent this once I have repaired them up 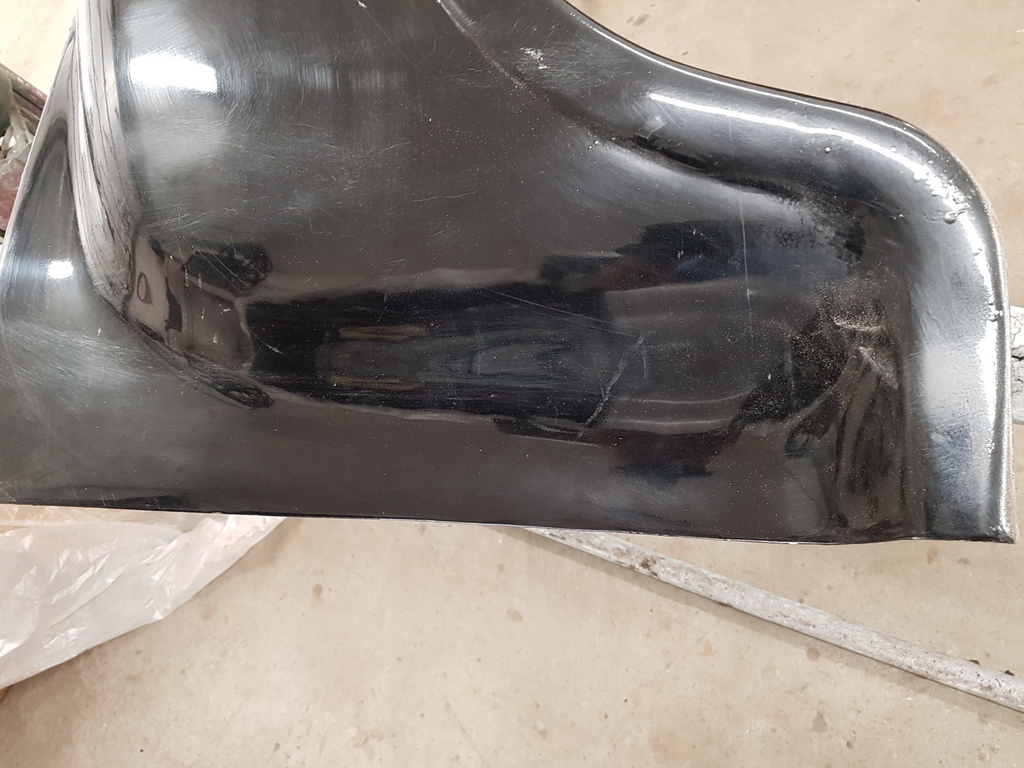 Looks solid on the front leading edge but is slightly raised and will require dressing down 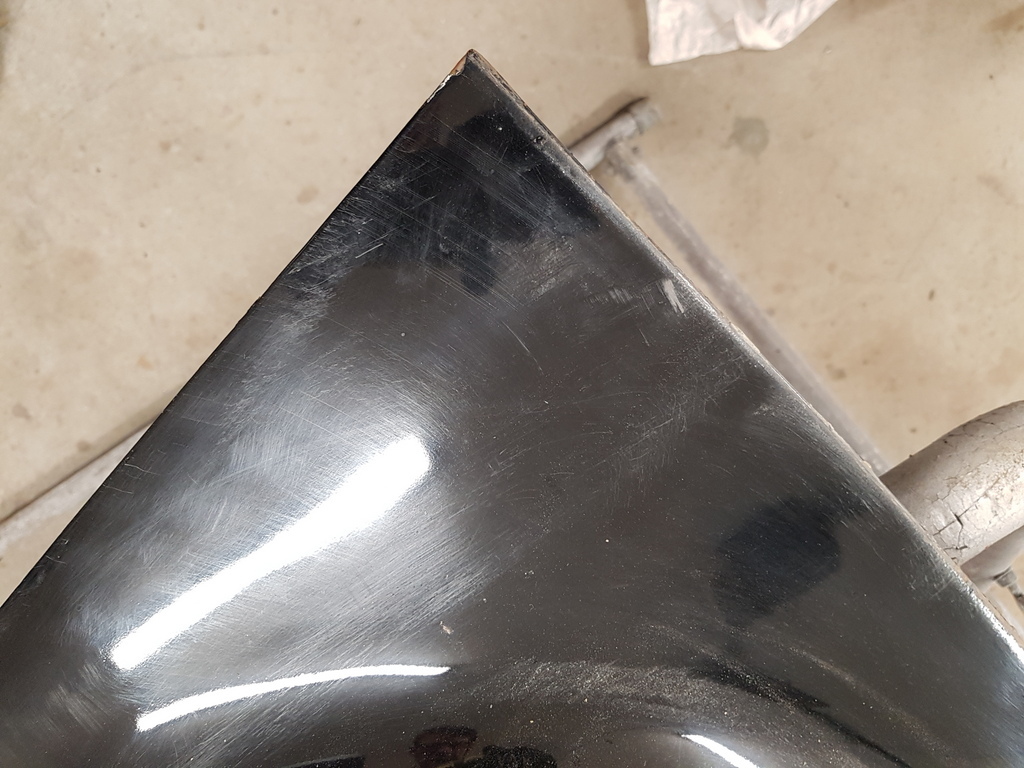 These top corners tend to rust out - but this is just fine 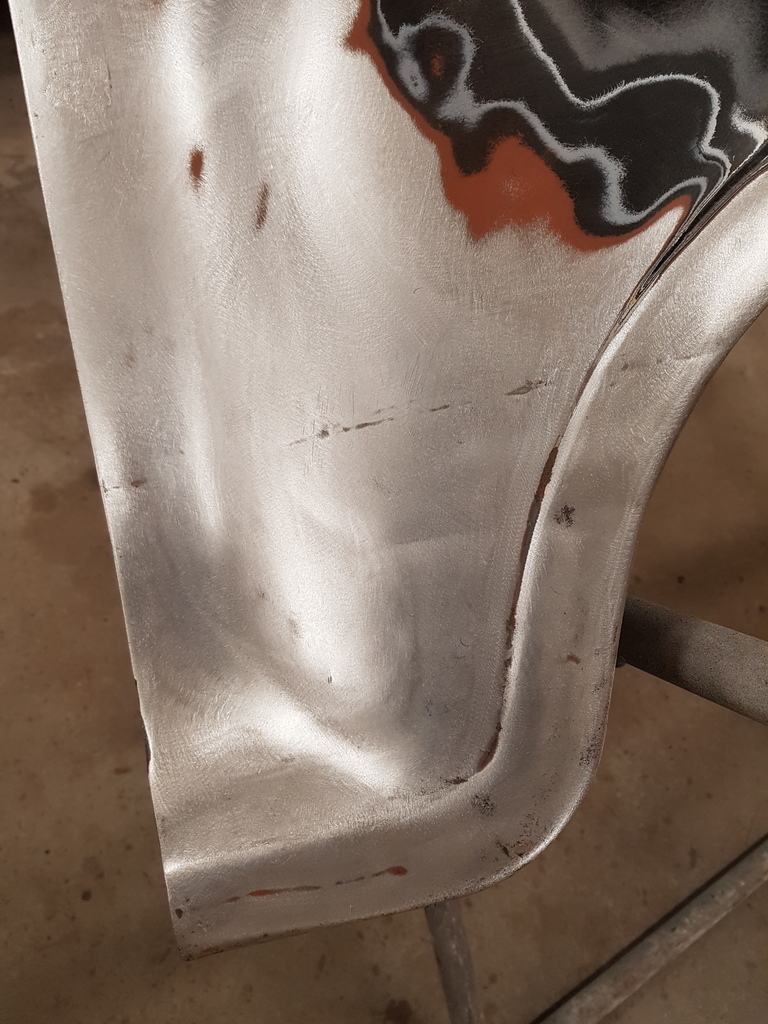 Same cannot be said for whatever it's been painted in - its pretty dire stuff to remove - tends to burn rather than sand and this is with top quality Mirka discs on a slow speed - I may well end up just applying stripper to the wing - it will be easier & more economical than burning discs whilst attempting to feather edge the paint 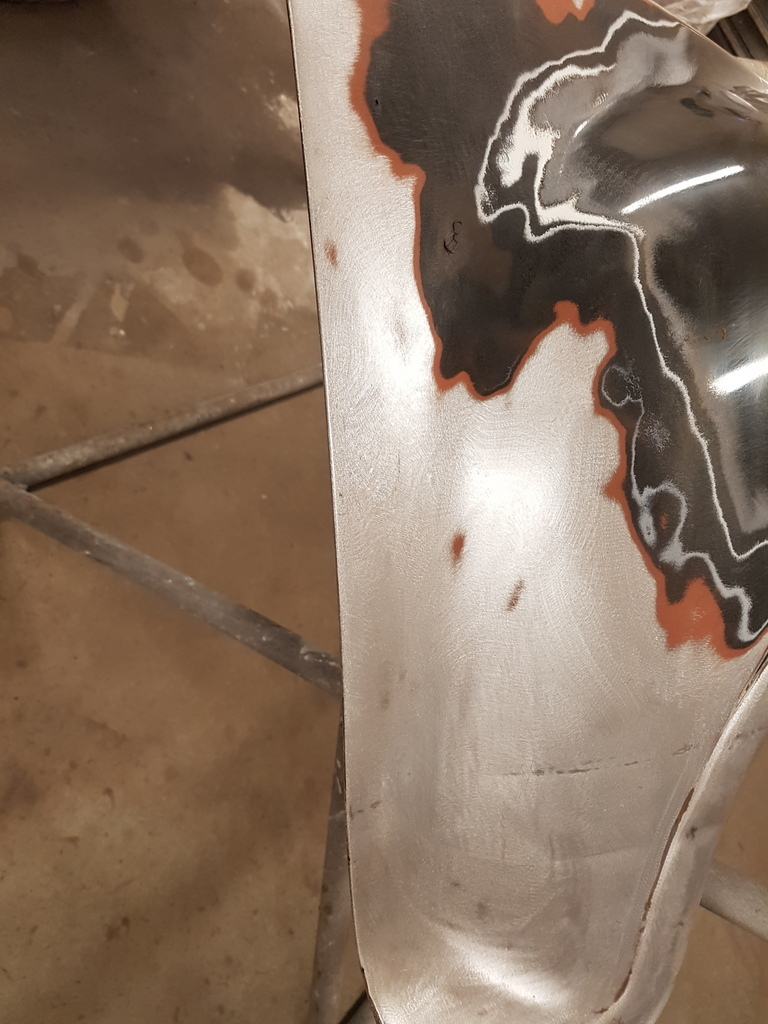 Why ho why do people just bung filler into dents without making the attempt to reshape the panel in the first place - then again they have filler over the top of rust in the panel too - fools 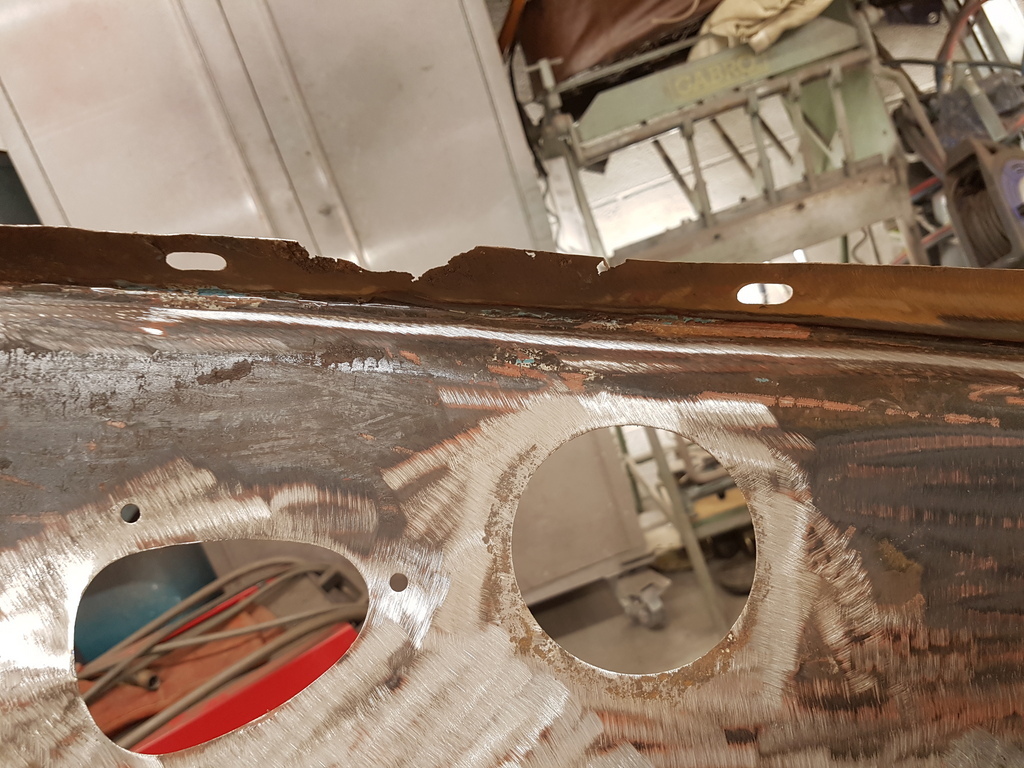 Ran the flapwheel over the rust effected areas to clean them up 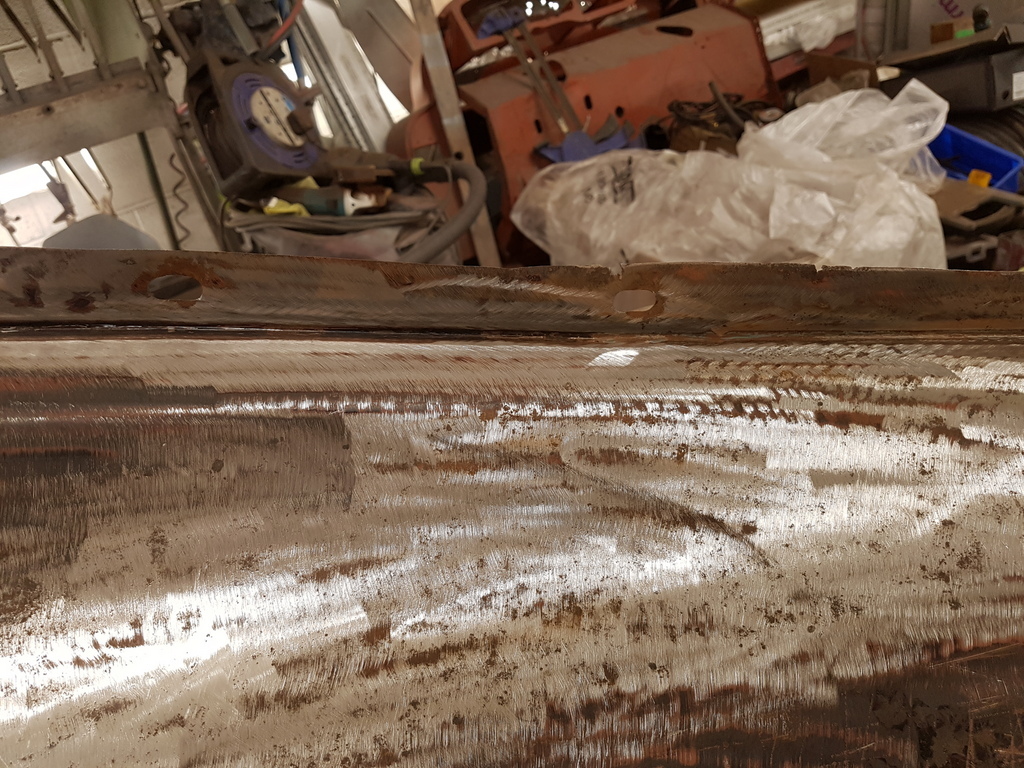 Hydrate 80 will be applied I have completed the welded repairs 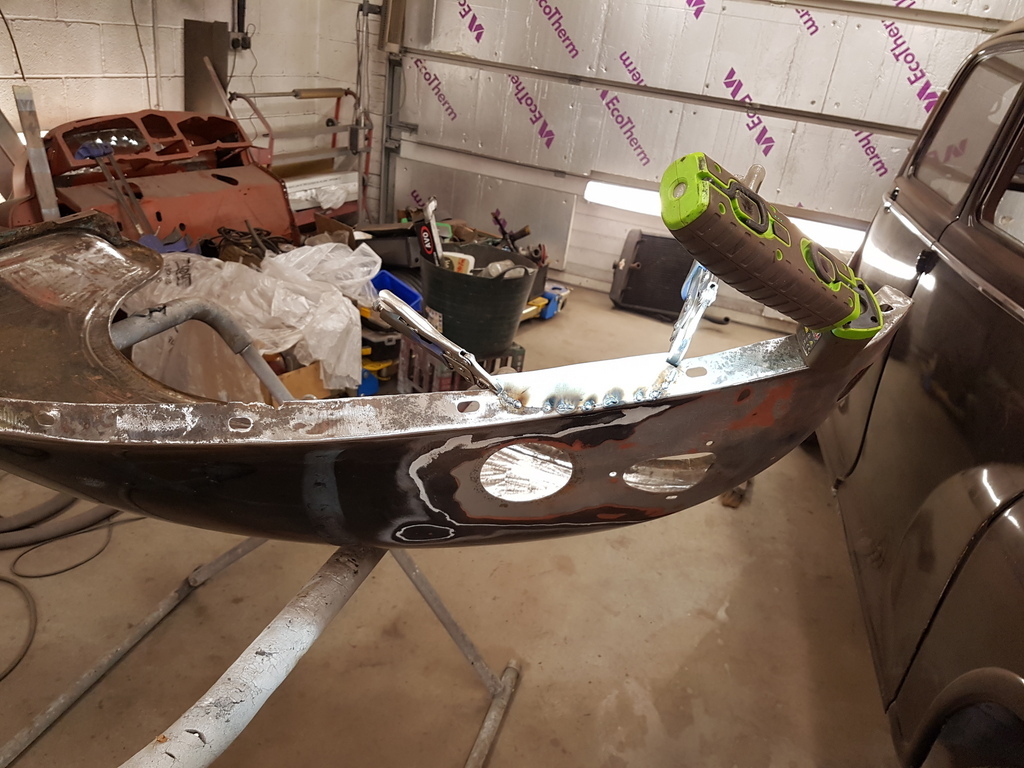 First edge repair going in 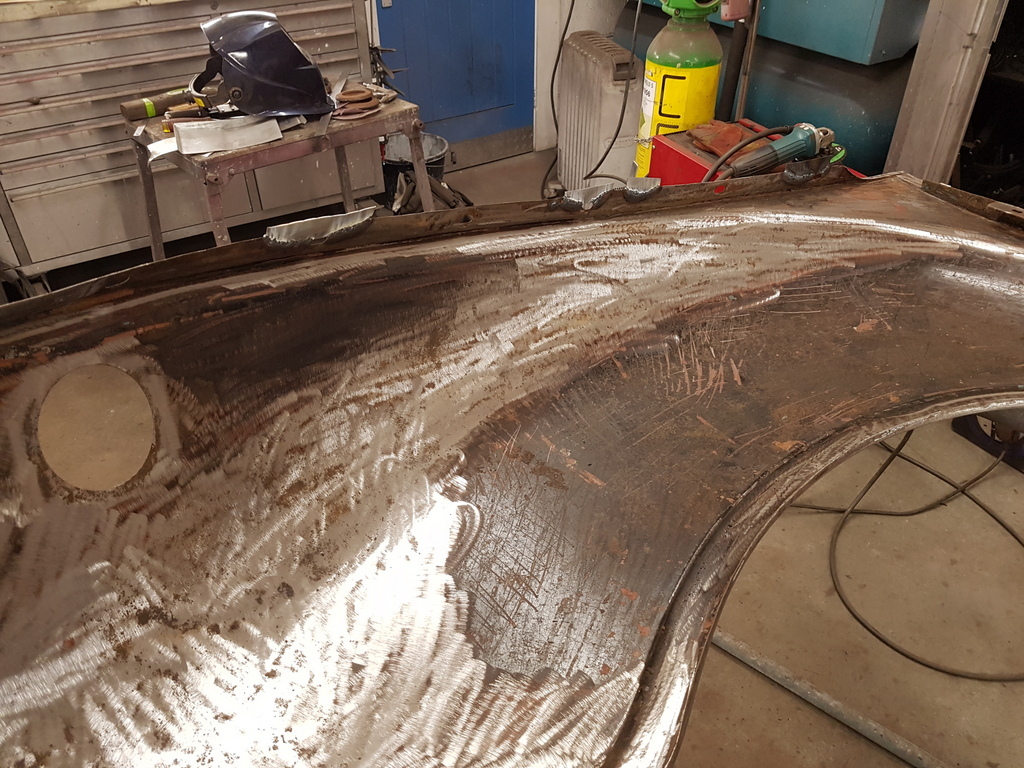 Others done but require dressing & trimming back in the morning 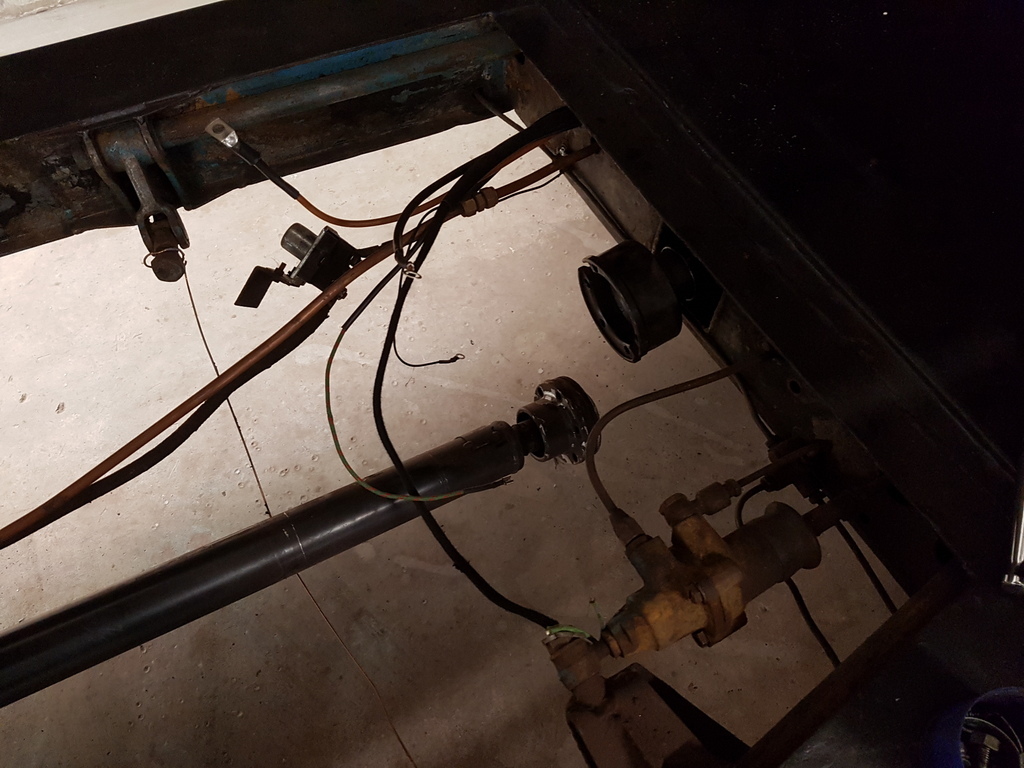 A bit of spannering to round the day off so I have made a start on connecting the propshaft flange to the gearbox output shaft but again will finish it in the morning |
| |
Last Edit: Nov 26, 2019 21:43:18 GMT by Deleted
|
|
|
|
|
|
|
Nov 26, 2019 22:38:52 GMT
|
|
Chris something that has puzzled me with several of the Javelin builds how is the exhaust routed?
|
| |
|
|
|
|
|
|
|
Chris something that has puzzled me with several of the Javelin builds how is the exhaust routed? Pete - The offside exhaust is taken across the front of the engine to the nearside and travels through the nearside manifold 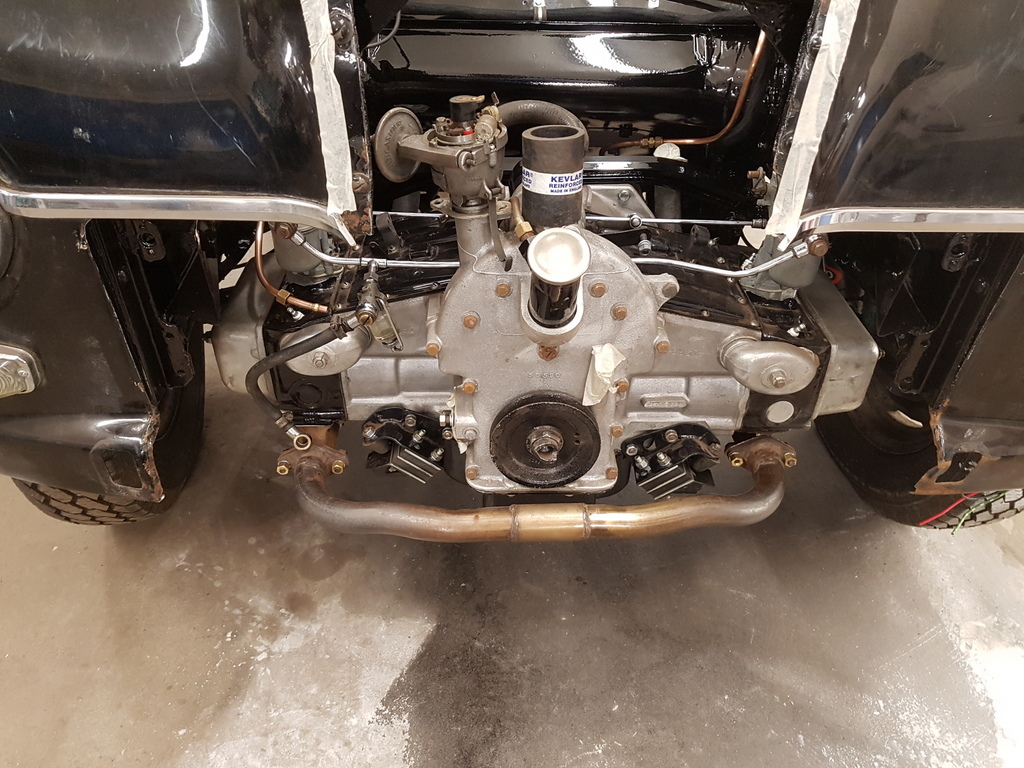 Then down the side of the nearside chassis rail / under the sill - note that it travels through the jacking point 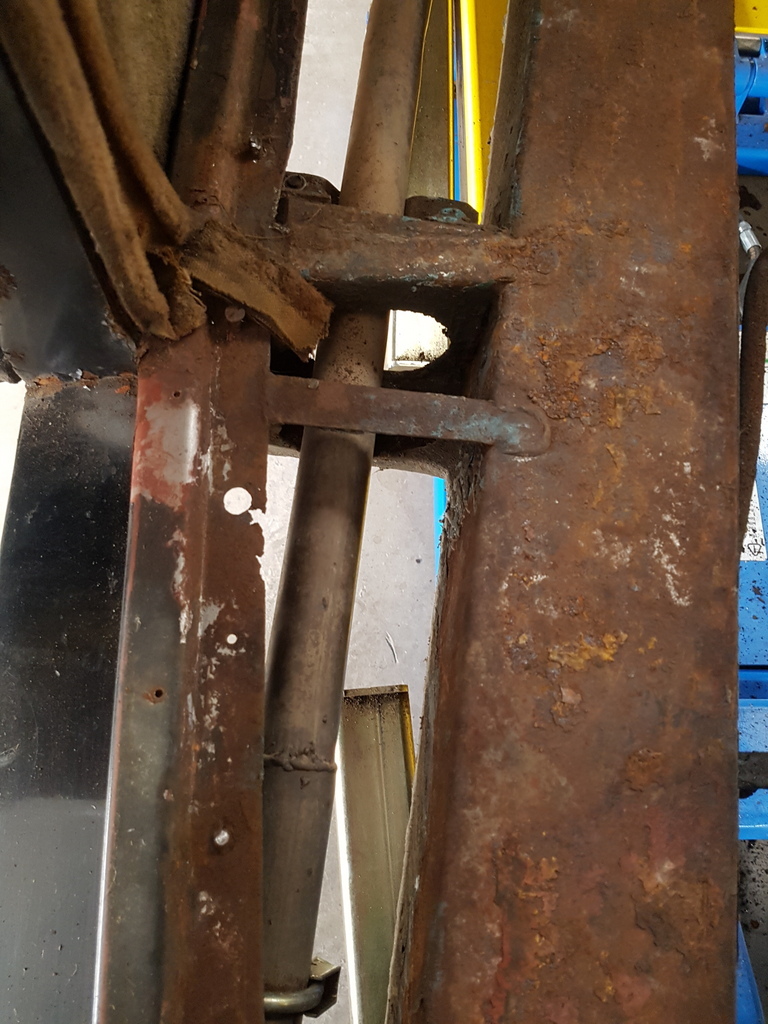 Just before the rear wheel it takes left turn and travels through a aperture in the chassis rail 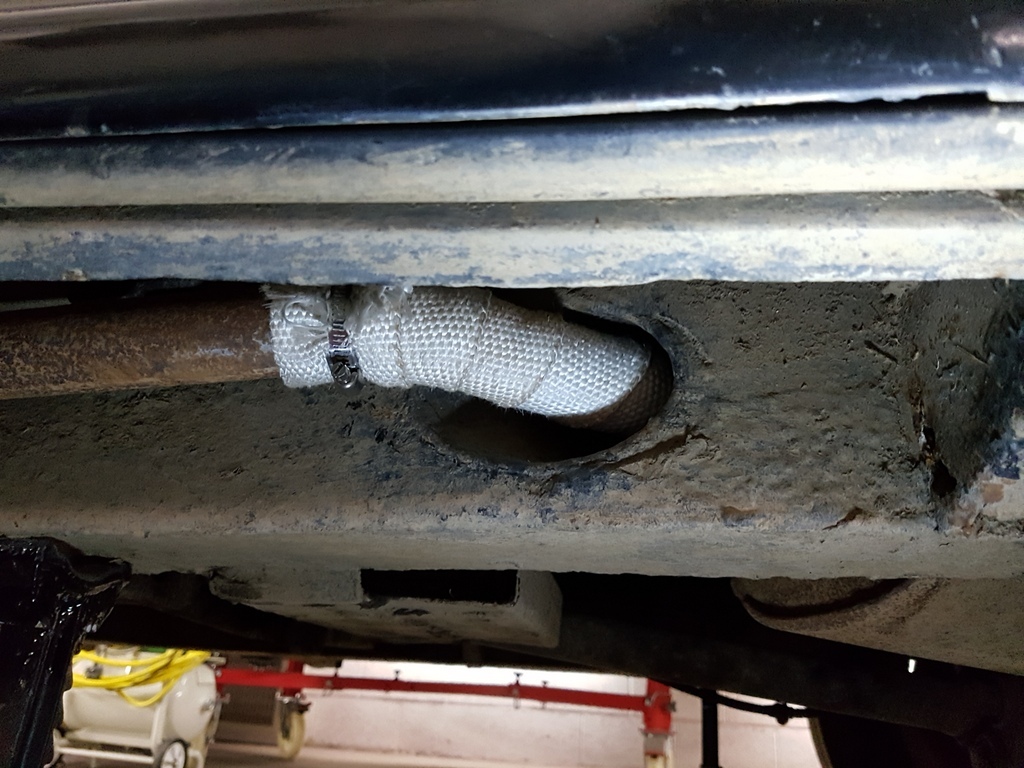 Then takes an immediate right on the other side of the chassis rail in to the silencer box and exits via a tailpipe that travels over the top of the rear axle |
| |
Last Edit: Nov 27, 2019 7:12:07 GMT by Deleted
|
|
|
|
|
|
|
|
Thank you Chris that answers that for me.
|
| |
|
|
|
|
|
Nov 27, 2019 11:24:03 GMT
|
|
i'll have a rummage , i might possibly have a pair of lenses chris. doubt any backs though.
if the car were mine and already this far in , i think it would be a no brainer not to treat the old girl to only her second new coat in nearly 70 years! be a shame if there was any disparity in the paint at all.
|
| |
'80 s1 924 turbo..hibernating
'80 golf gli cabriolet...doing impression of a skip
'97 pug 106 commuter...continuing cheapness making me smile!
firm believer in the k.i.s.s and f.i.s.h principles.
|
|
|
|
|
Nov 27, 2019 12:59:37 GMT
|
|
looking good Chris!
I had a similar problem with the cortinas paint burning and just went ahead and put stripper on it, looking at the state of the metal underneath that paint is pretty good given its age though.
|
| |
1966 Ford Cortina GT
2018 Ford Fiesta ST
Full time engineer, part time waffler on Youtube - see Jim_Builds
|
|
|
|
|
Nov 27, 2019 15:45:29 GMT
|
|
"So a short term job..."
Dismantles car.
Inspirational!
|
| |
Proton Jumbuck-deceased :-(
2005 Kia Sorento the parts hauling heap
V8 Humber Hawk
1948 Standard12 pickup SOLD
1953 Pop build (wifey's BIVA build).
|
|
nze12
Part of things
 
Posts: 193
|
|
Nov 27, 2019 17:29:58 GMT
|
My wish came true! 
More than a novel's worth of wisdom and practical advice that's for sure! |
| |
1986 BMW E30 refreshed to original spec
1973 BMW E12 520 converting to Motorsport 530
1982 XJS V12 converting to 5 speed manual
Many landscaping projects overriding above!
Cogito cogito ergo cogito sum!
|
|
|
|
|
Nov 27, 2019 21:08:08 GMT
|
"So a short term job..." Dismantles car. Inspirational! So a short term job in my book is something that is with me for a few days / few weeks / few months - some of the other longer term projects are here for 12 - 18 months  |
| |
Last Edit: Nov 27, 2019 21:15:31 GMT by Deleted
|
|
|
|
|
Nov 27, 2019 21:50:25 GMT
|
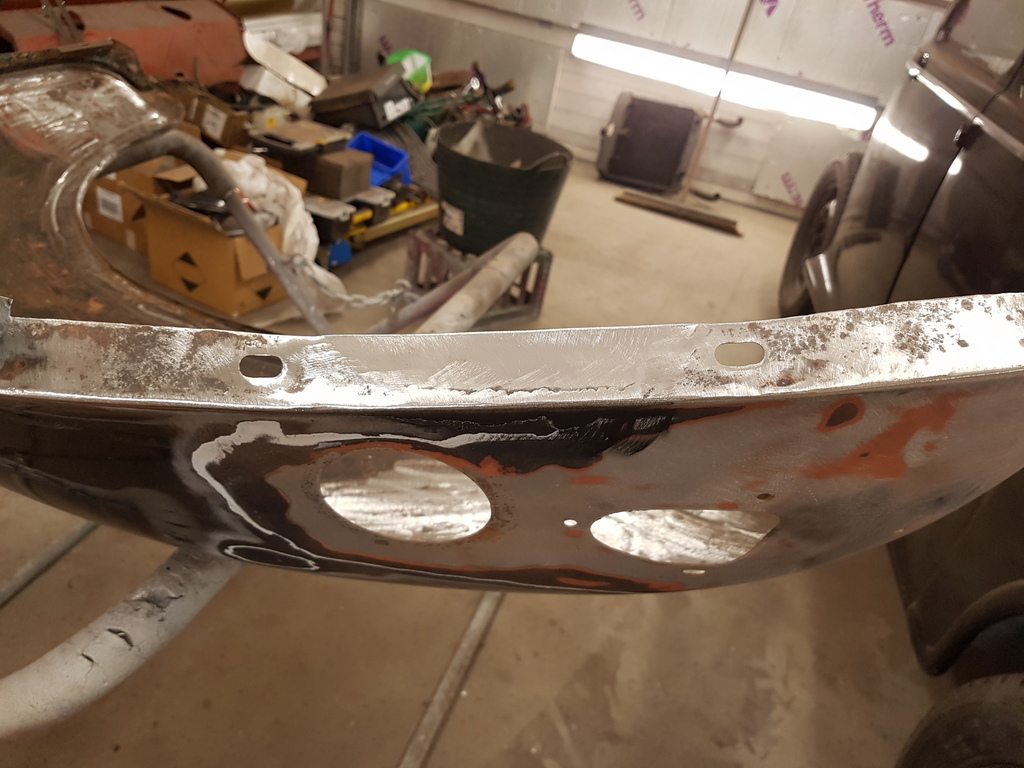 Continued with the nearside wing repairs 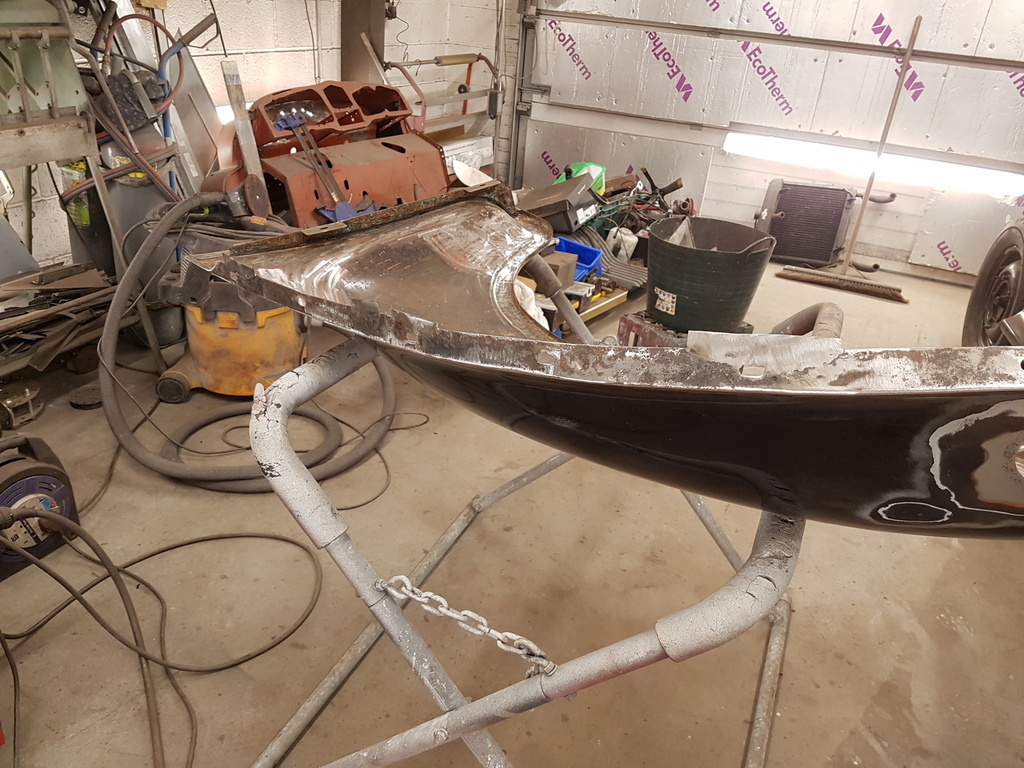 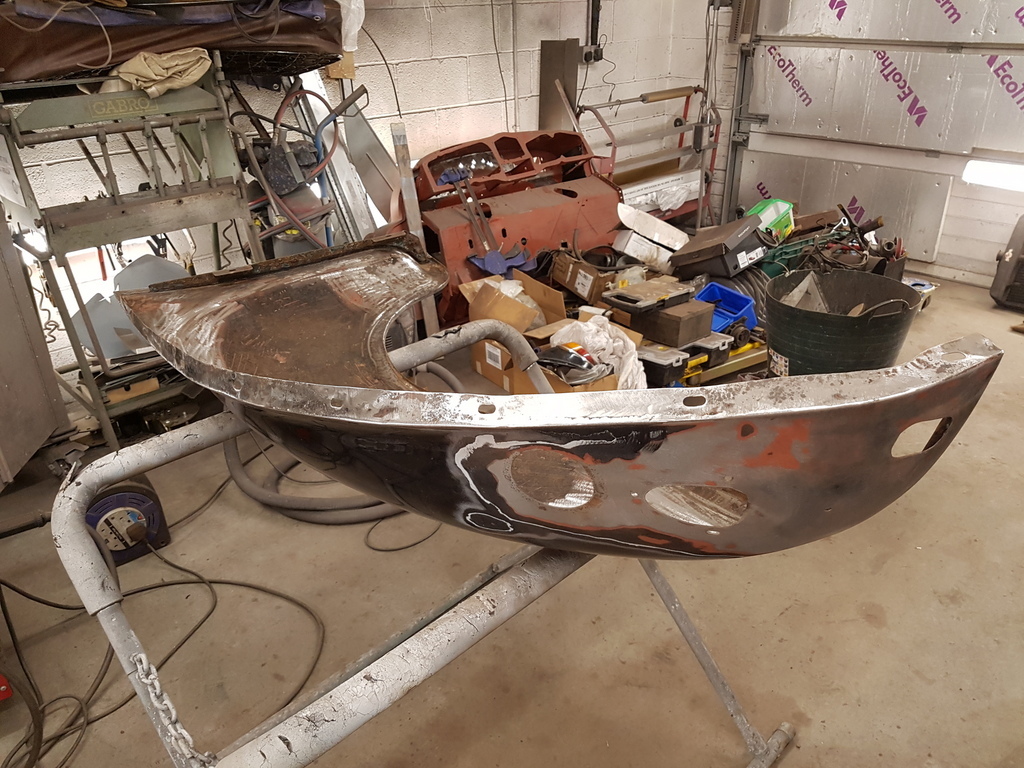 That's the mounting edge flange sorted 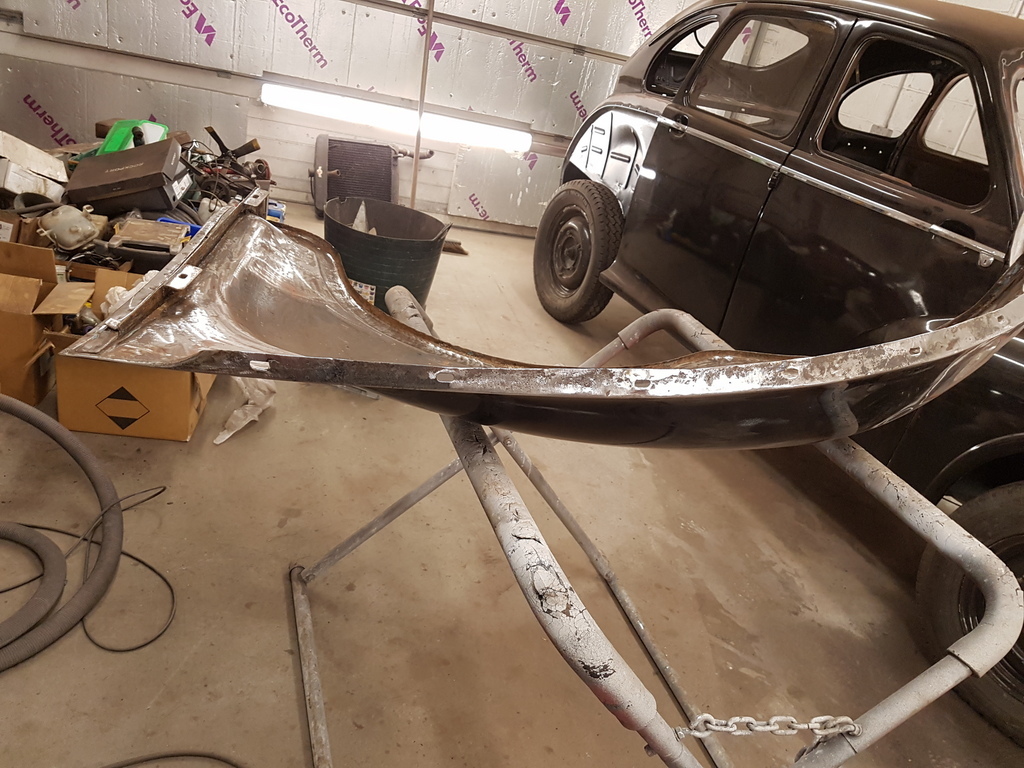 Next was the perforations & thinning on the rear trailing edge 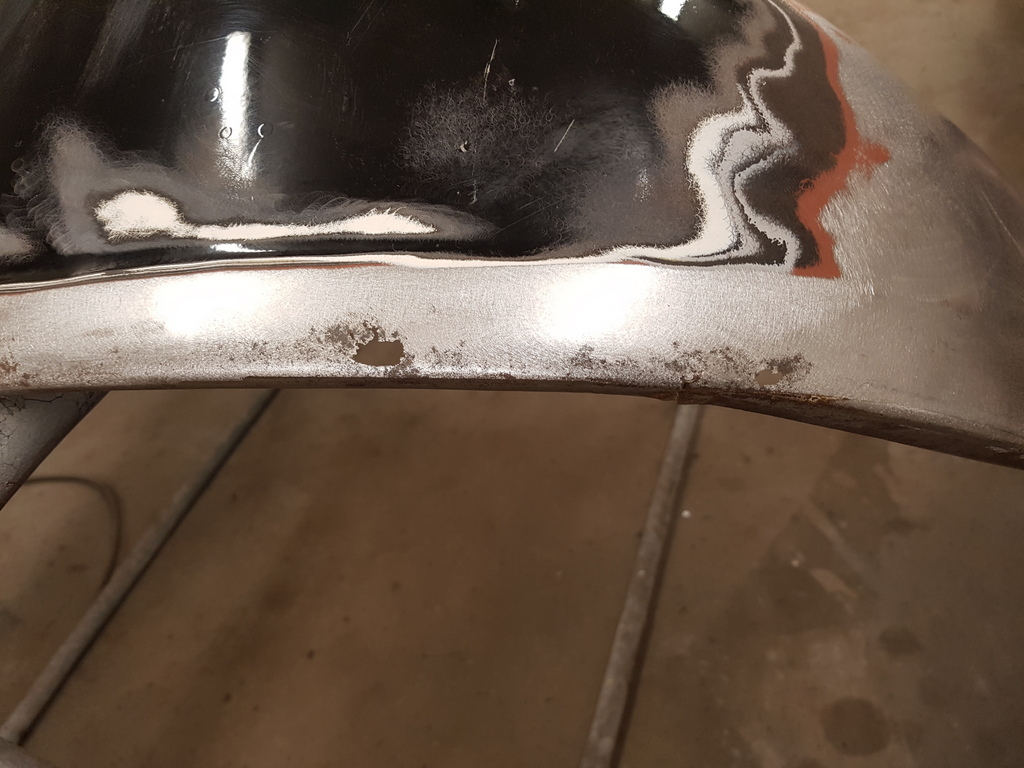 Soon sorted - I will further dress these areas once the wing is back on the car & held steady 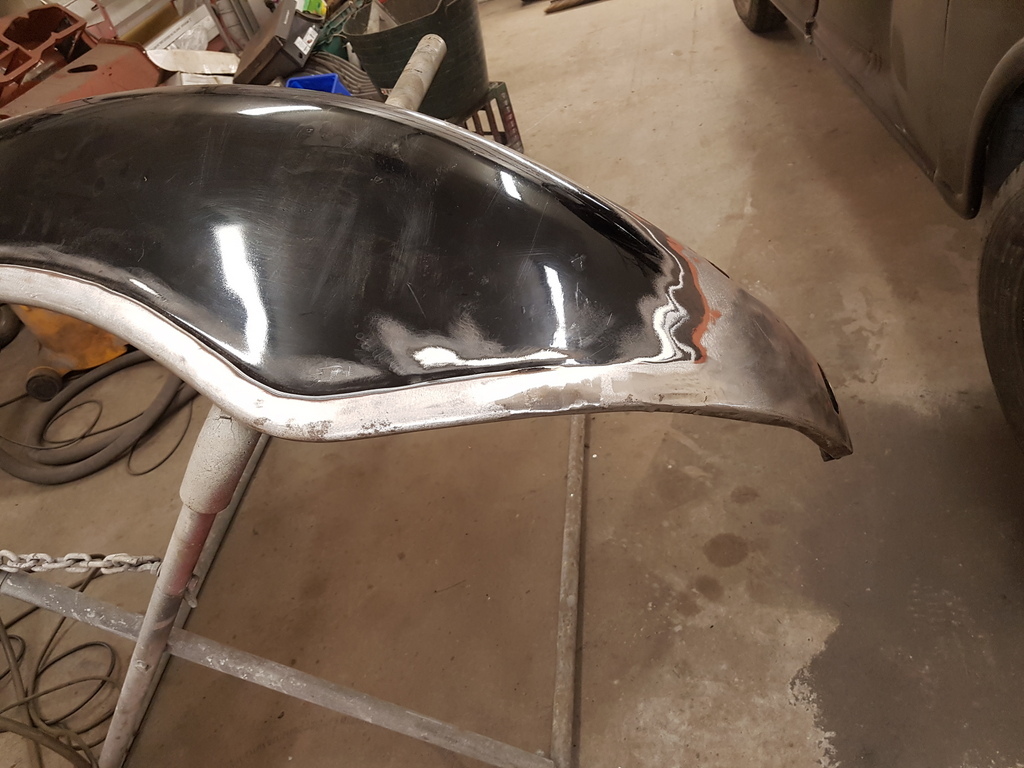 Rear wings always split on this edge so I reinforce them with a strip of steel shrunk to shape 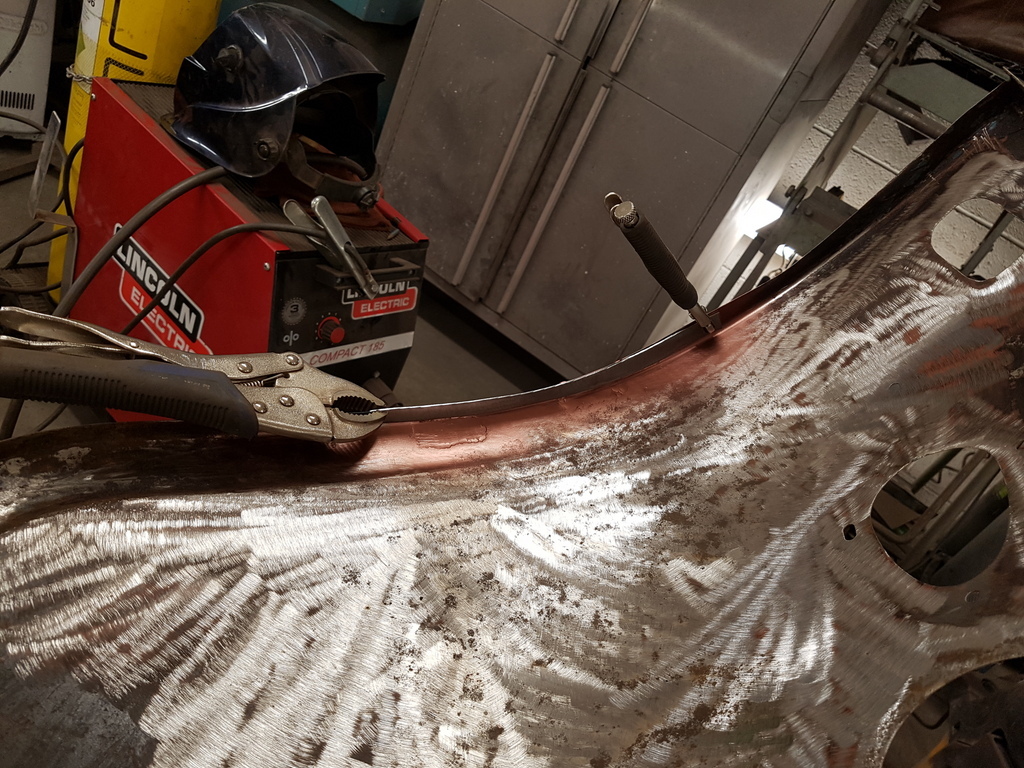 Then spot welded in 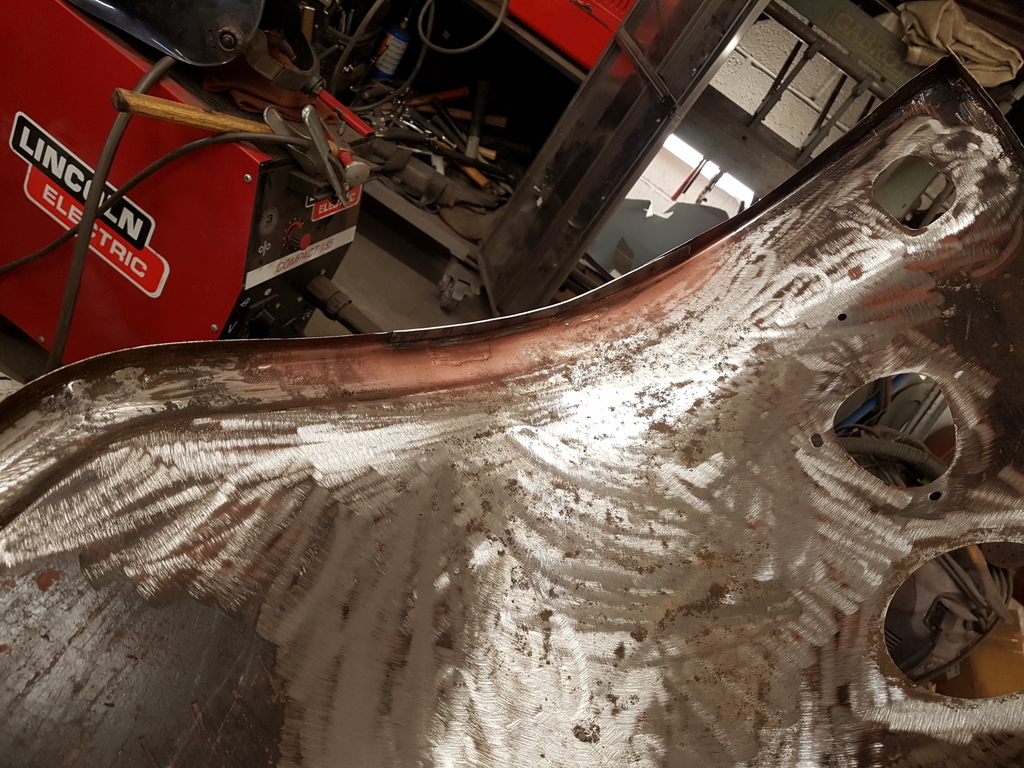 Small perforation to sort on the forward trailing edge 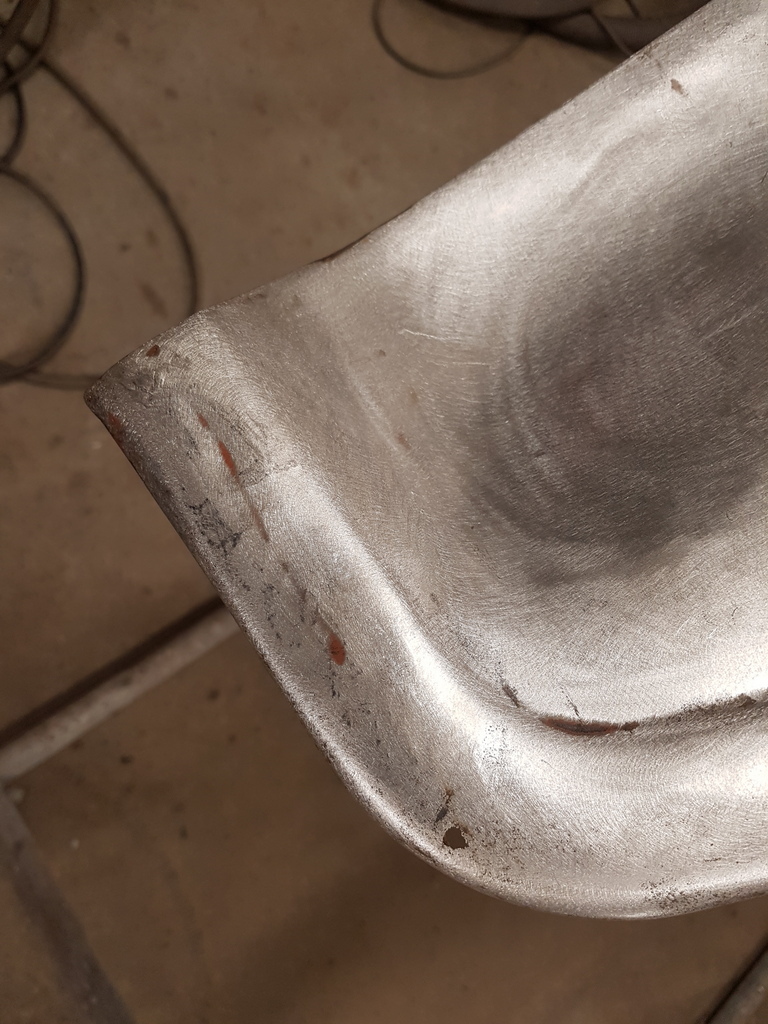 Then had to chase a few areas of thinning on the forward vertical edge 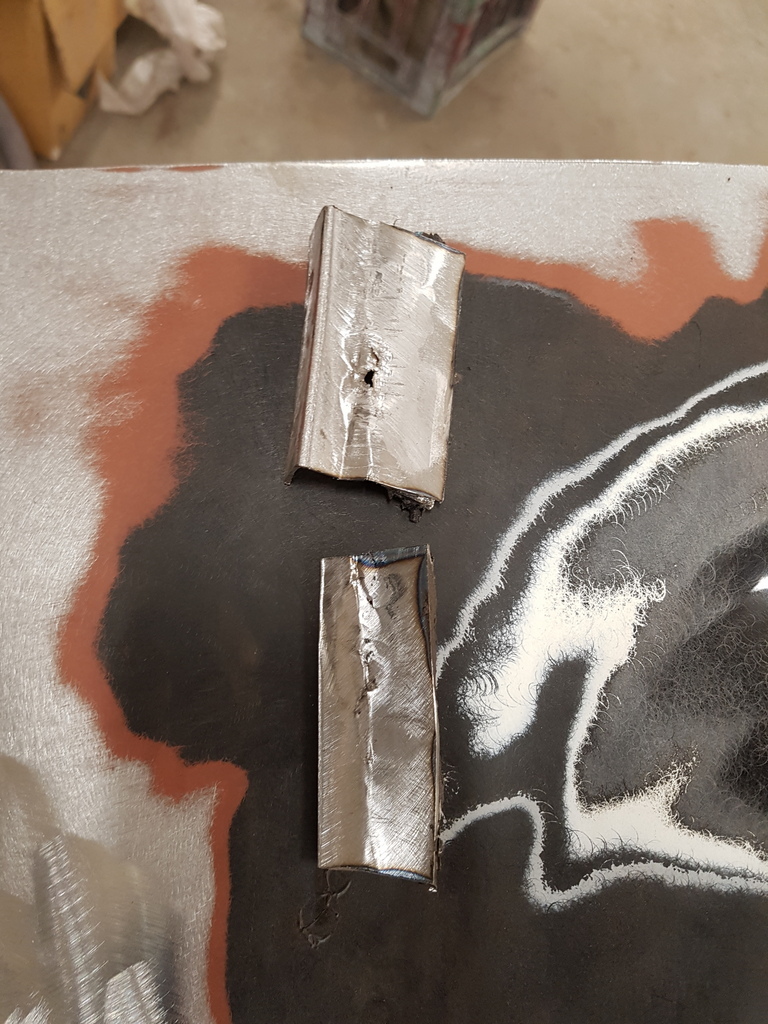 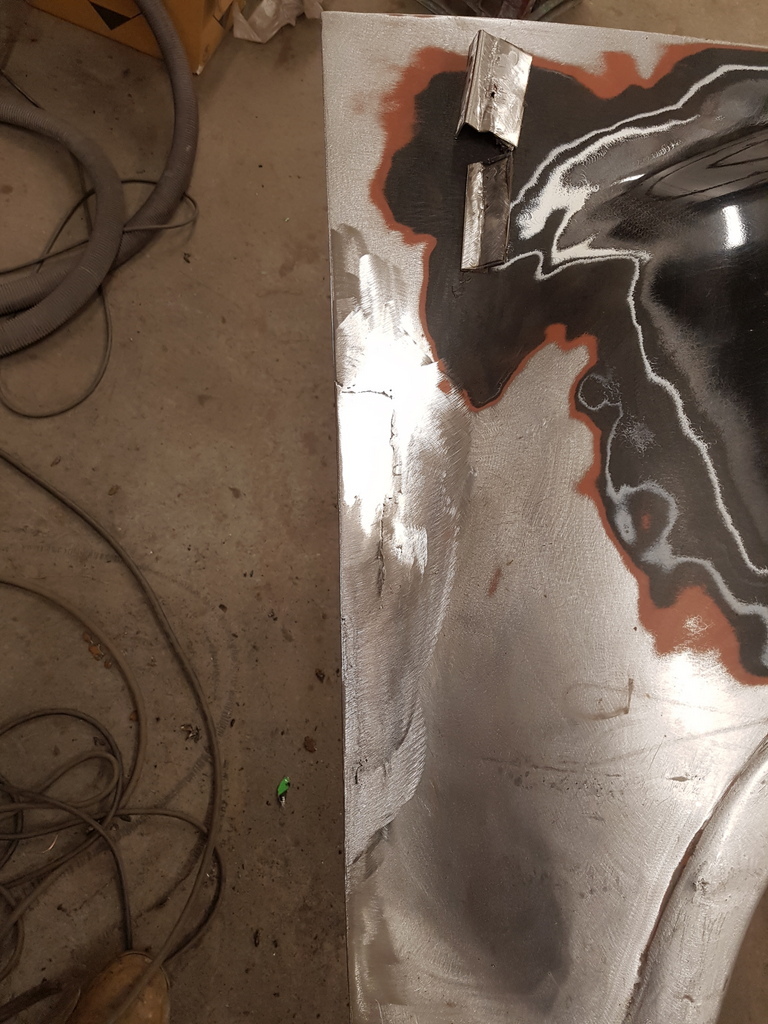 One wing now structurally sound 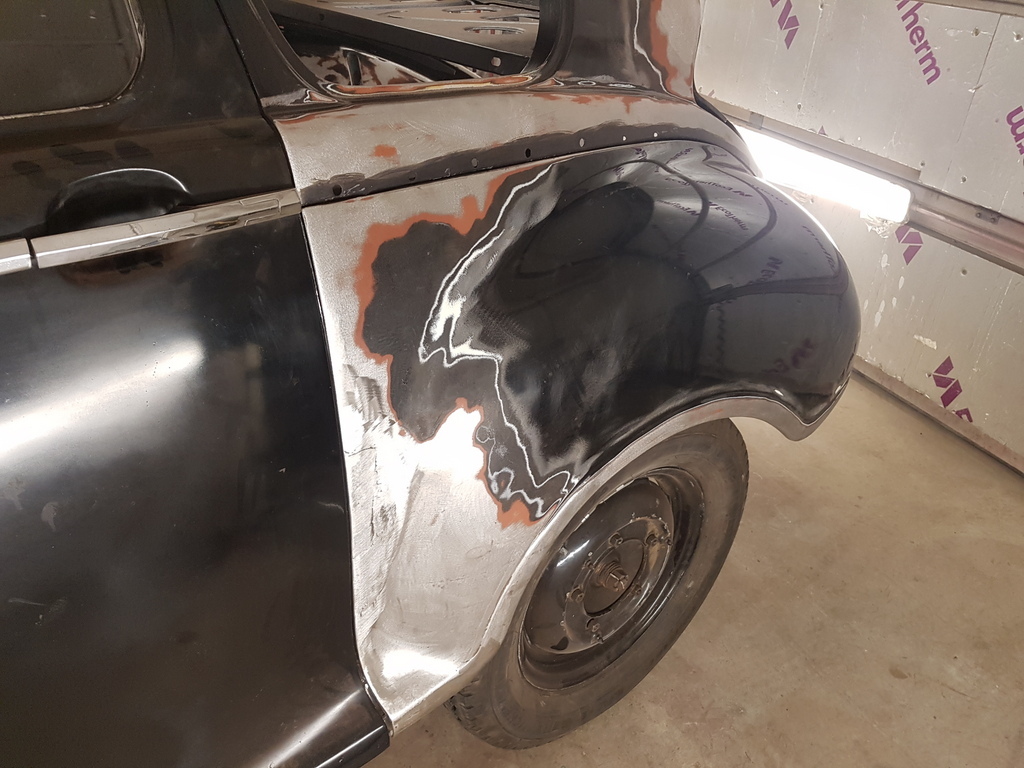 Trial fit on the car 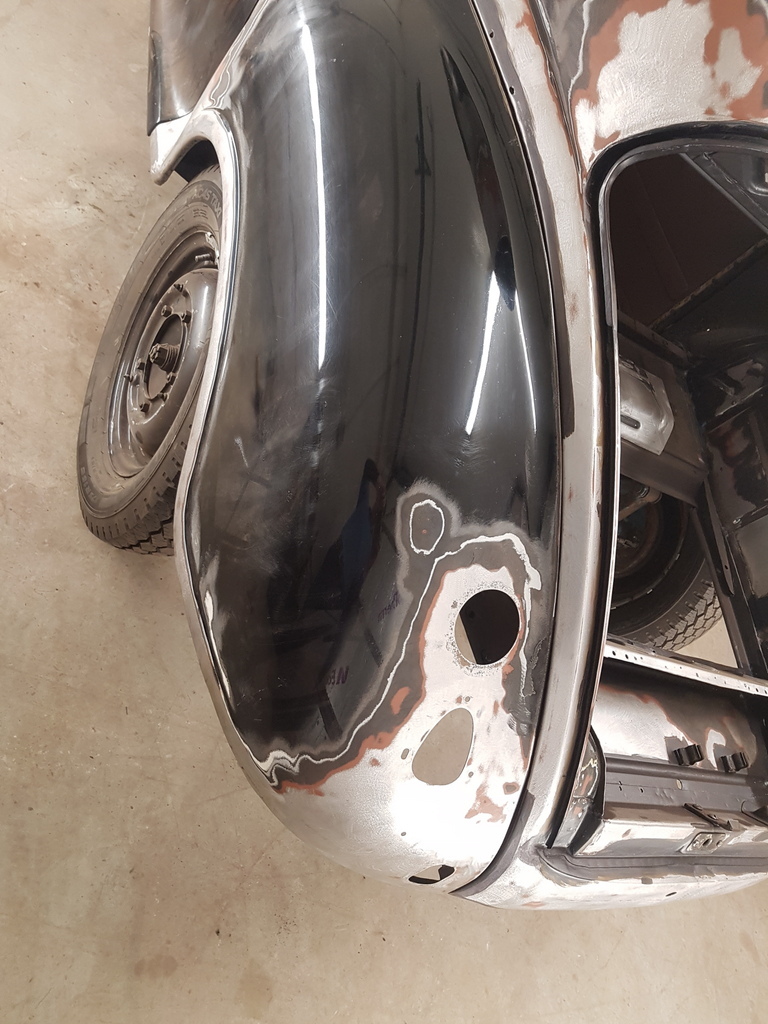 There is a piping bead that goes between the wing and the rear shroud edge 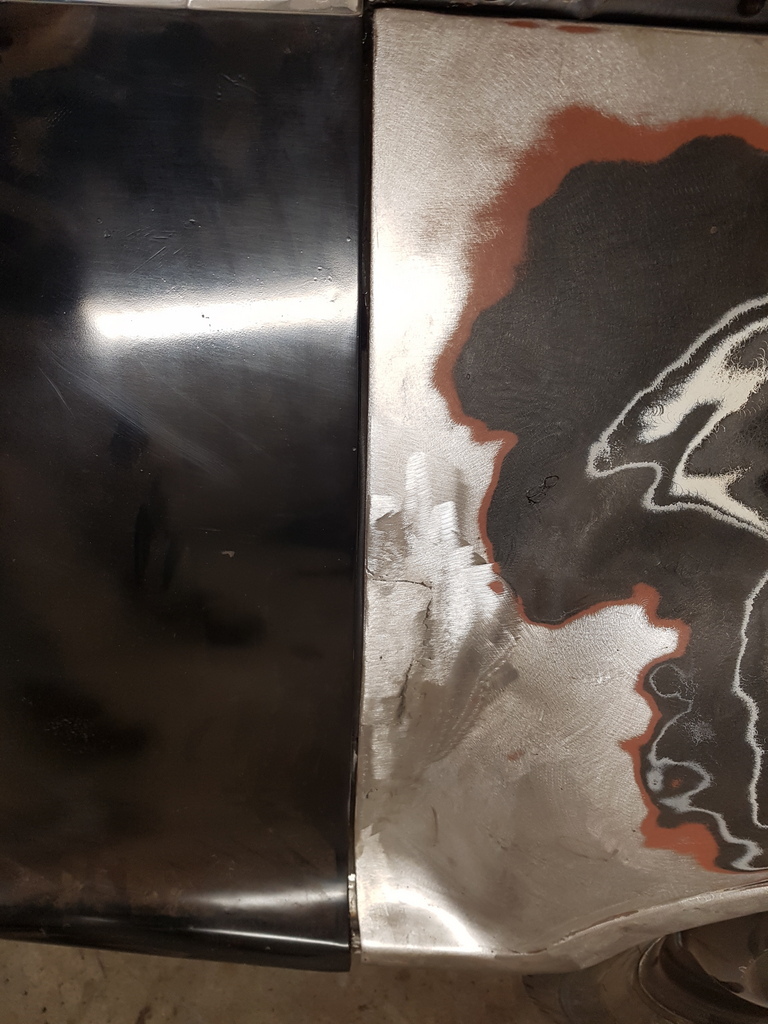 Aperture gap with the door not too bad either but some tweaks will still be required 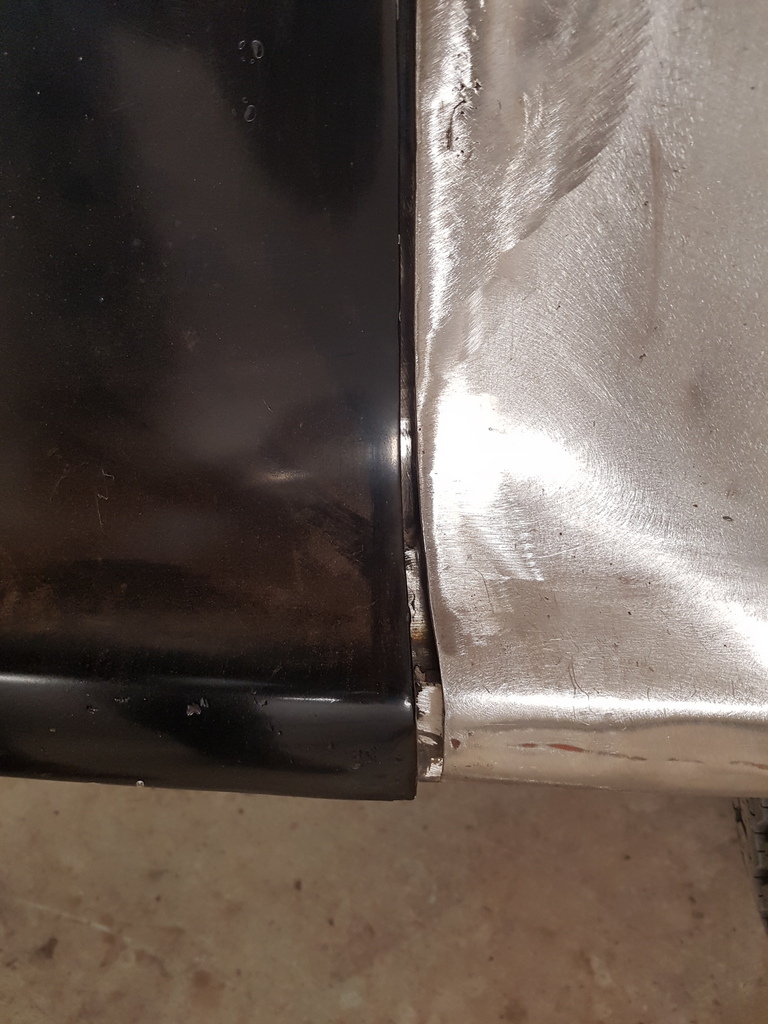 The bottom of the door is well out of alignment but this door is coming off - its a spare that Bill had fitted 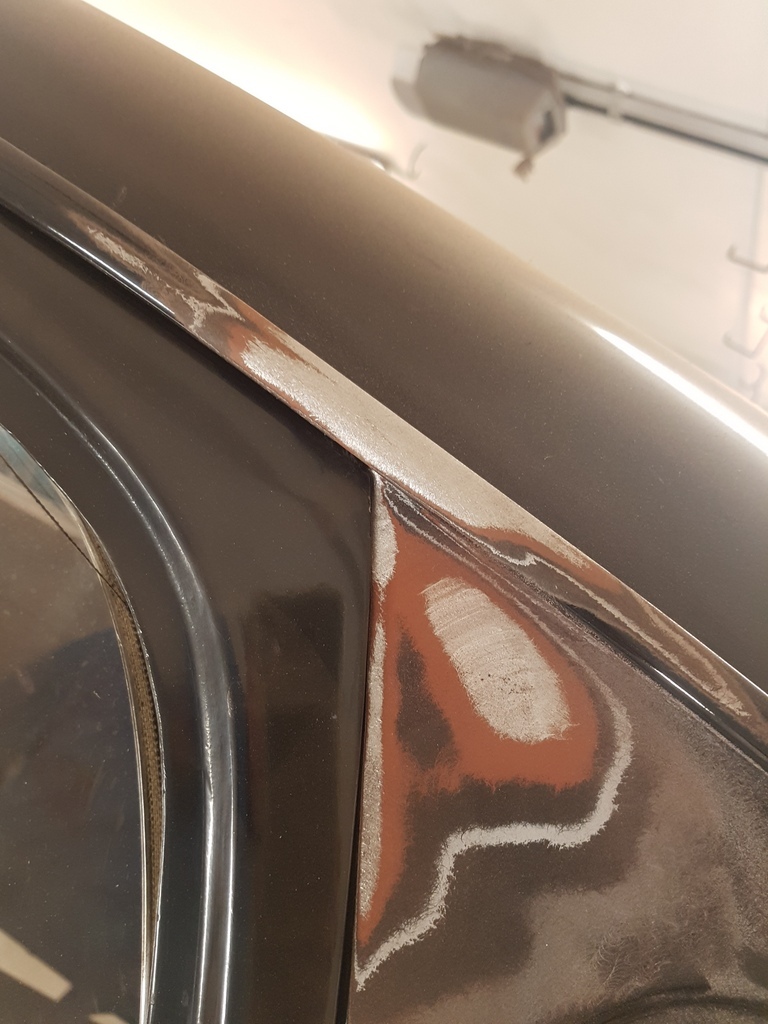 But it does not fit that well 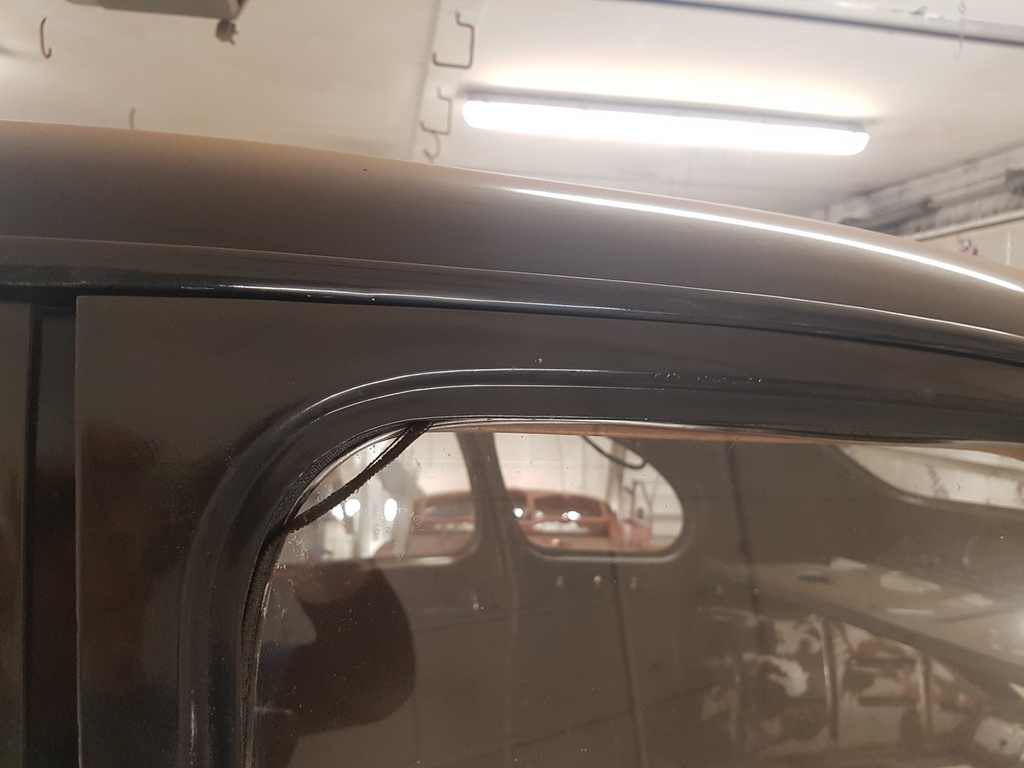 Gapping with the roof gutter is tight 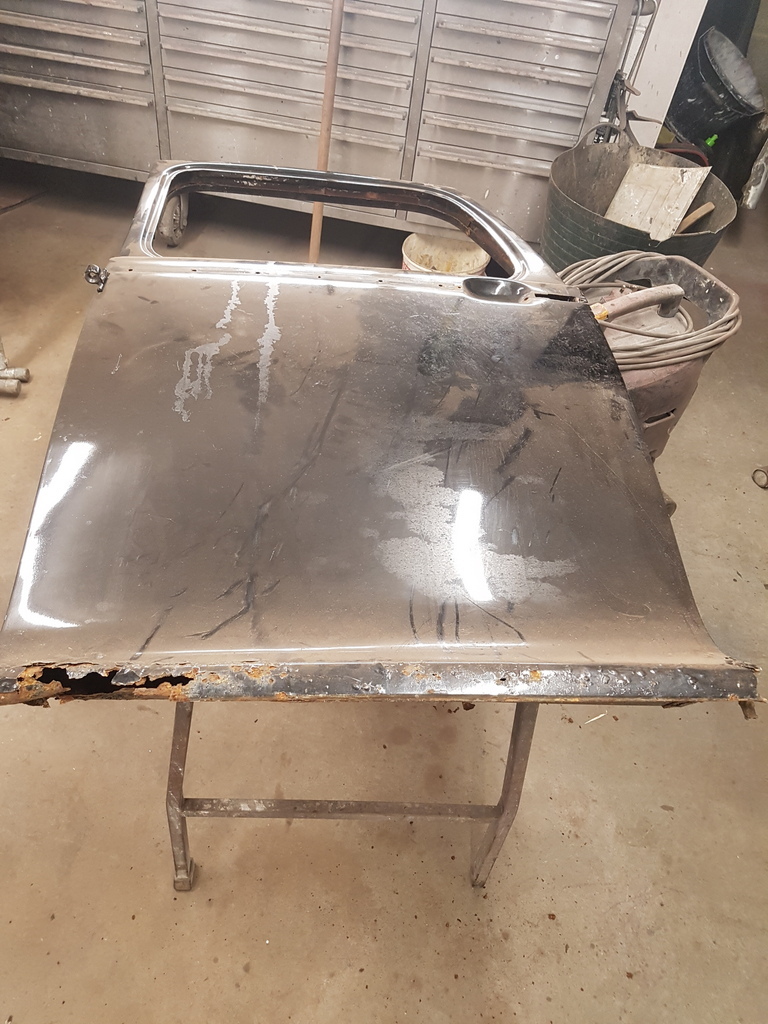 Bill has sent the original door that he took off the car that is a better fit 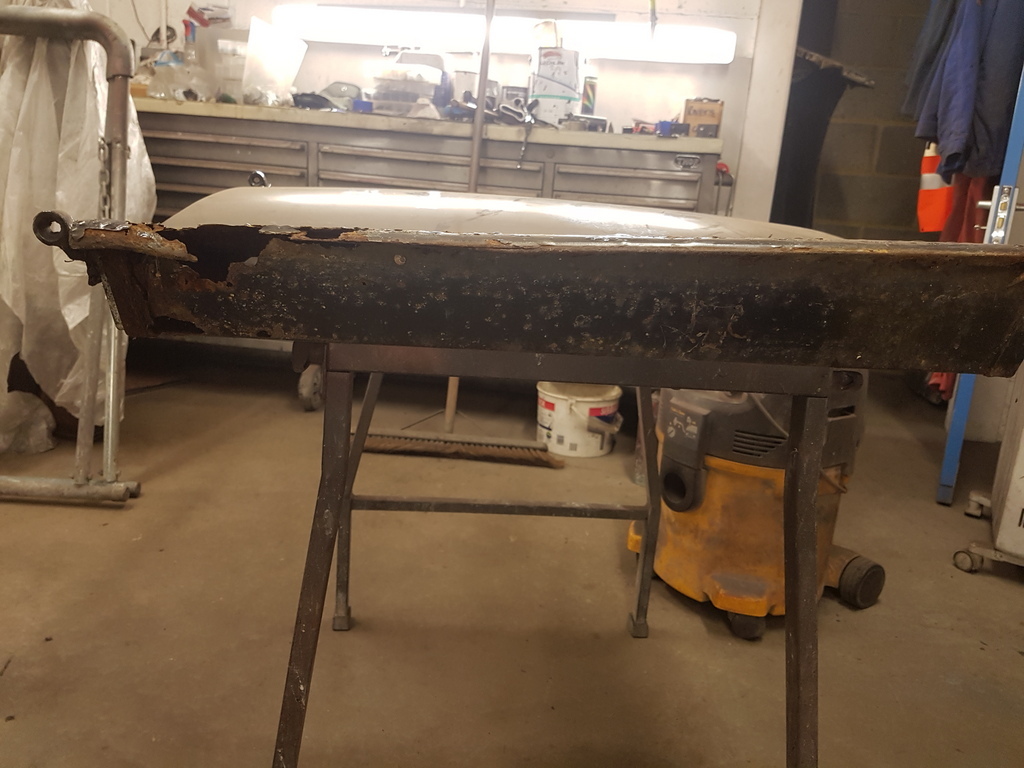 But the lower edges are dead 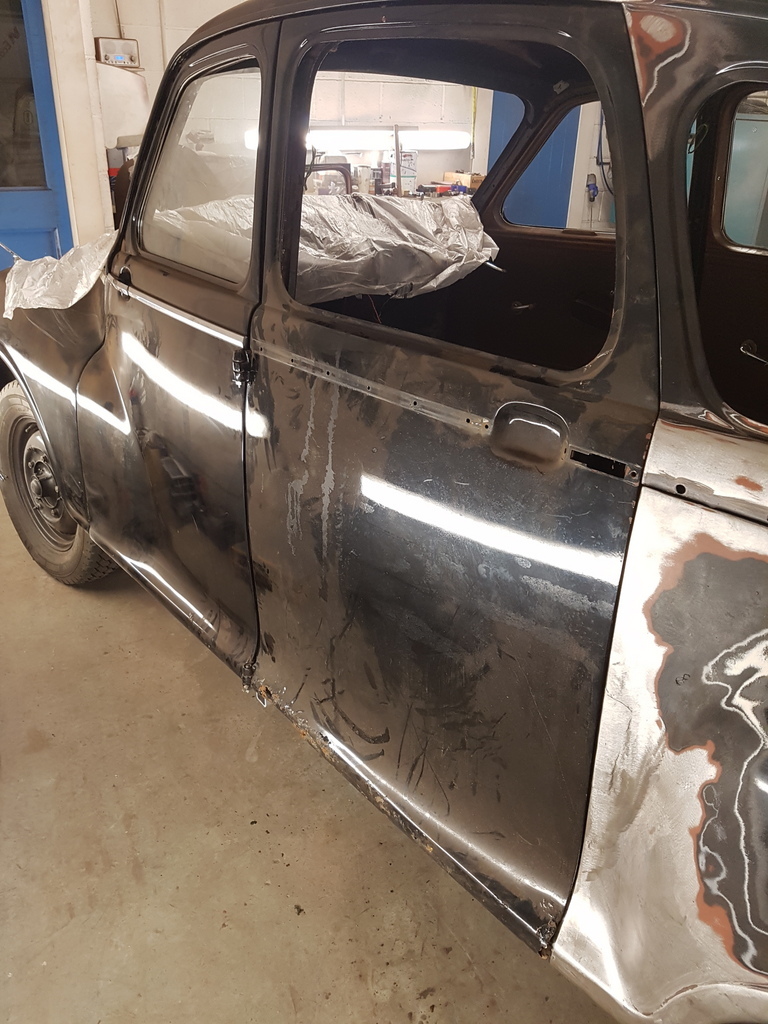 Took the door off and fitted the rusty original 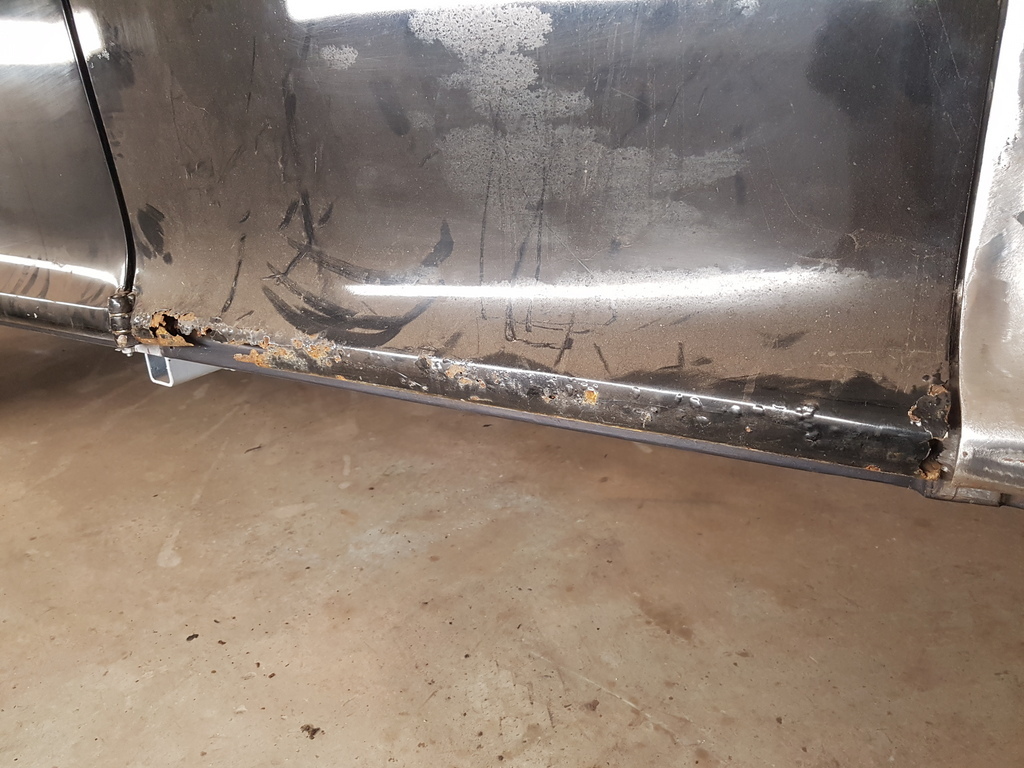 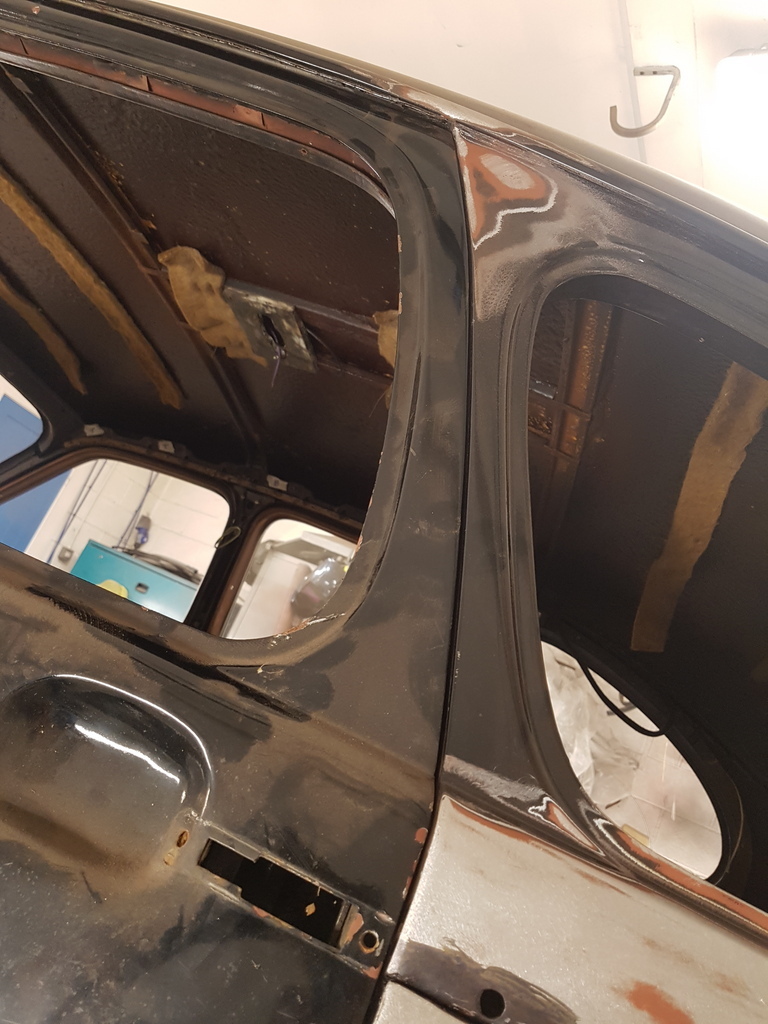 Better fit both at the bottom & top 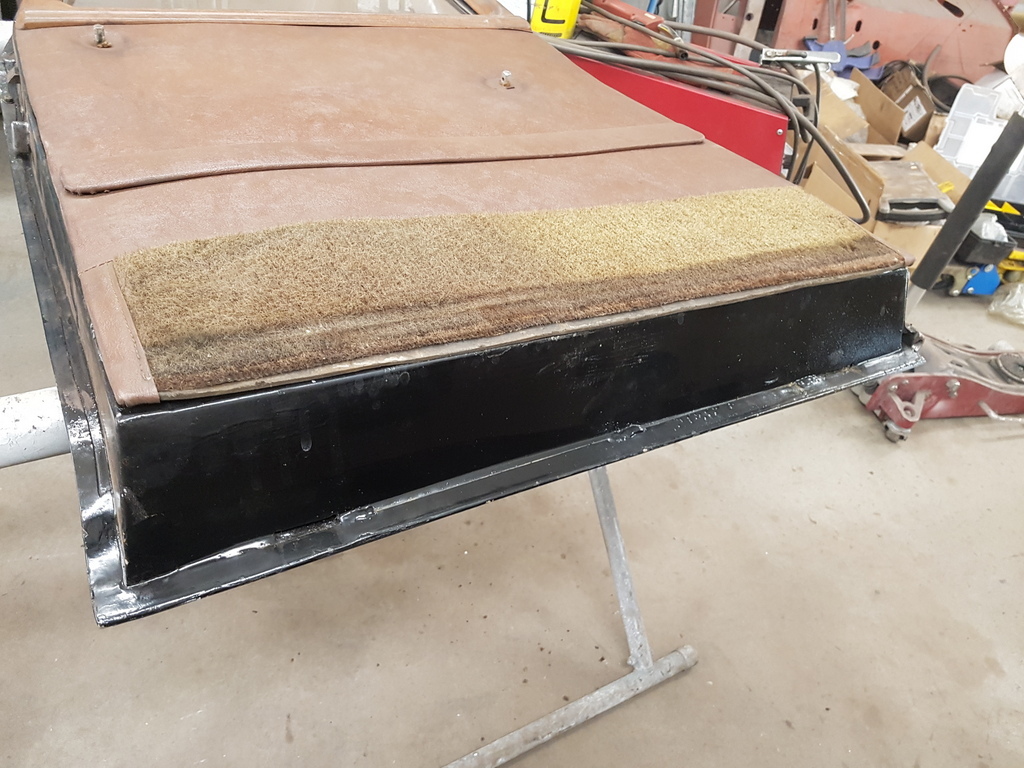 The one I took off has been messed with - I would rather work with the rusty original one 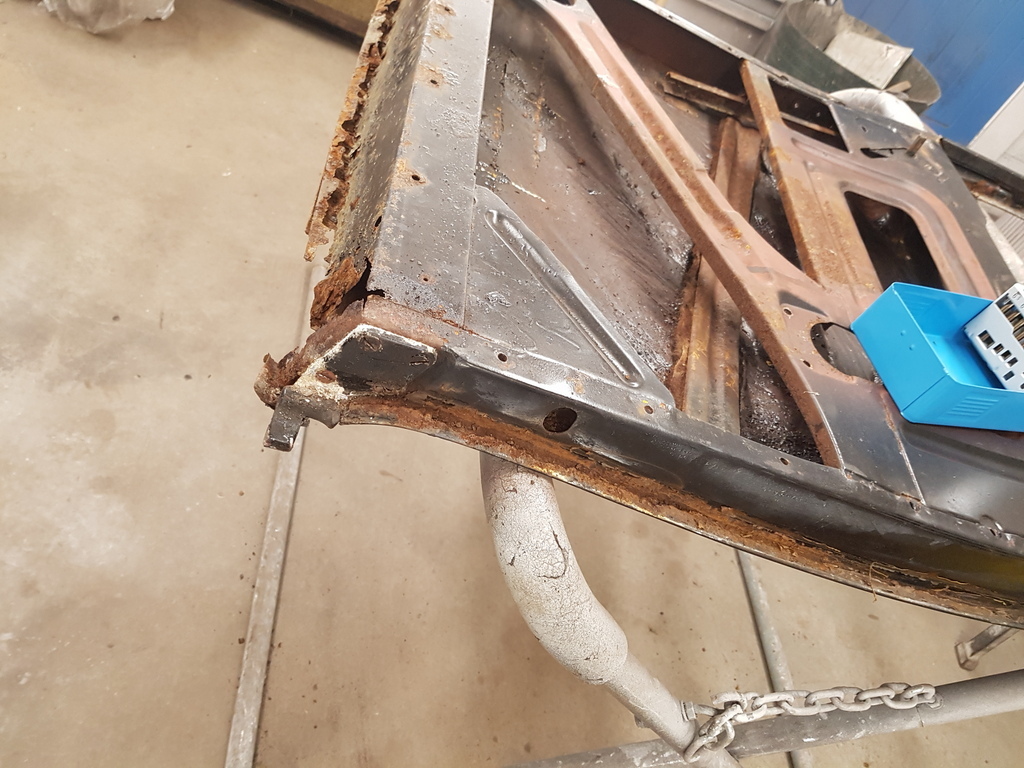 Backing plate for the hinge is rusted beyond use hence I had to drill the machine screws out of the hinge plate 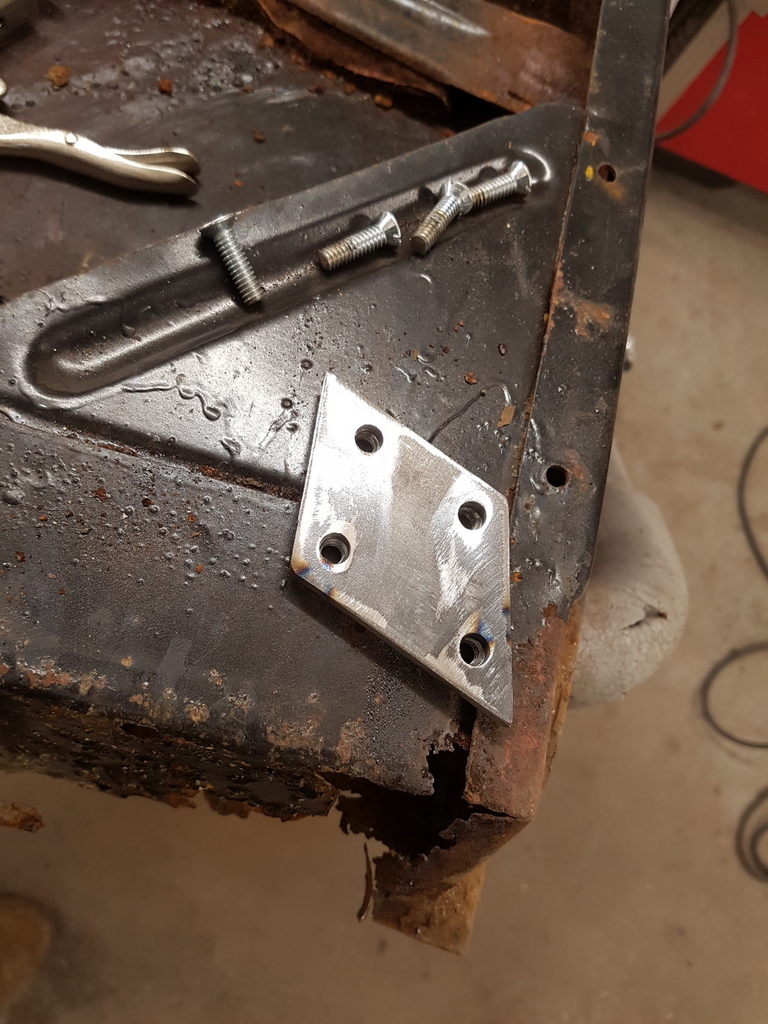 Made a new hinge backing plate up 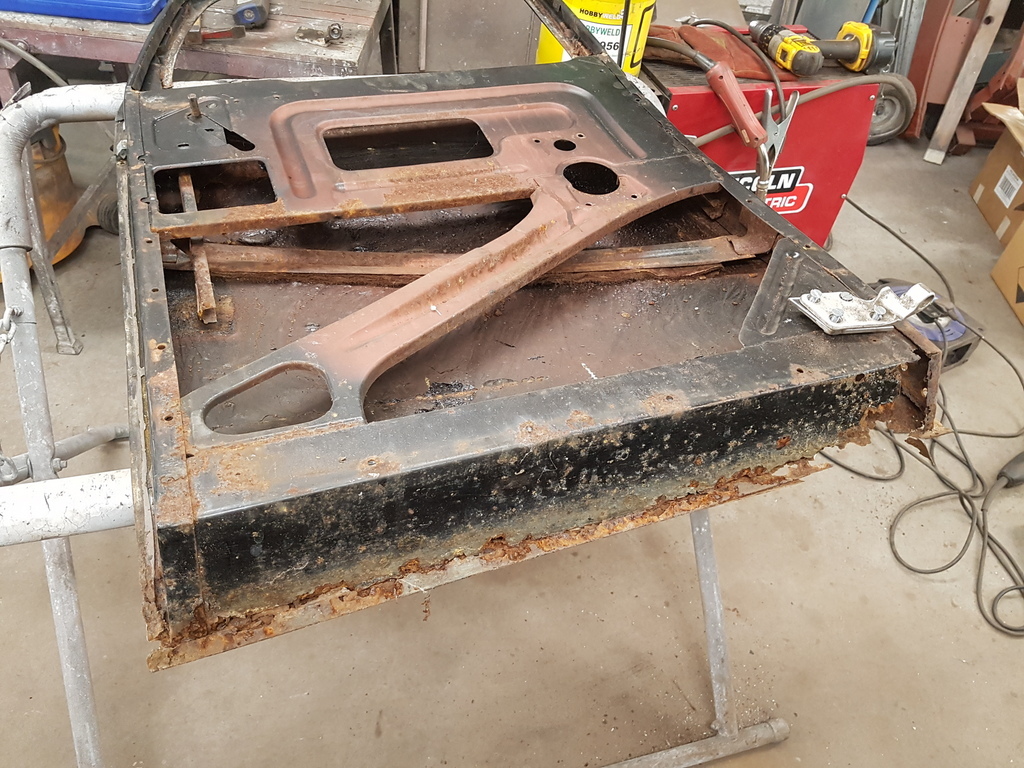 I will have to make a new door bottom up for it 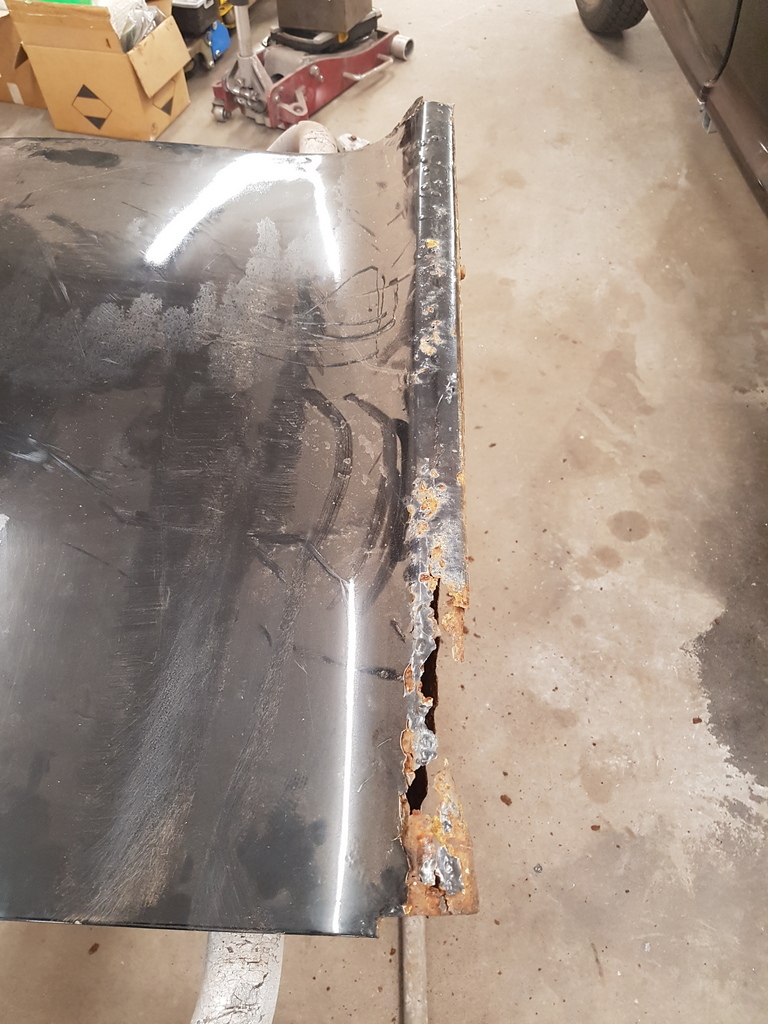 But I do have a repair panel for the bottom section of the door skin 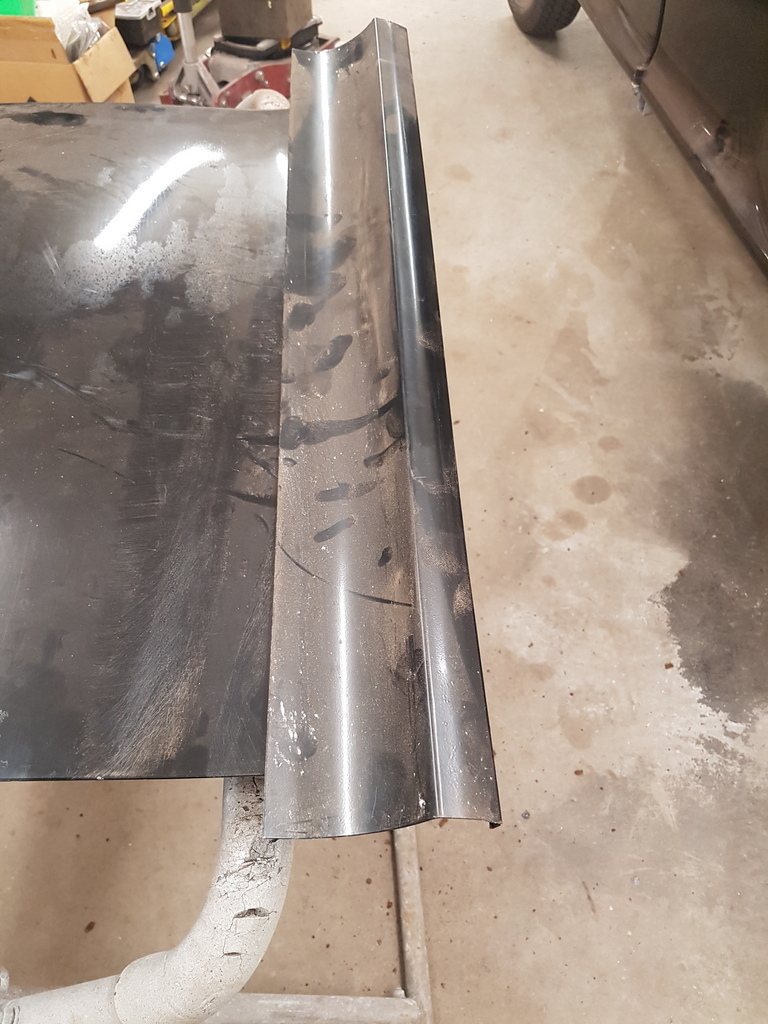 On the spanner front 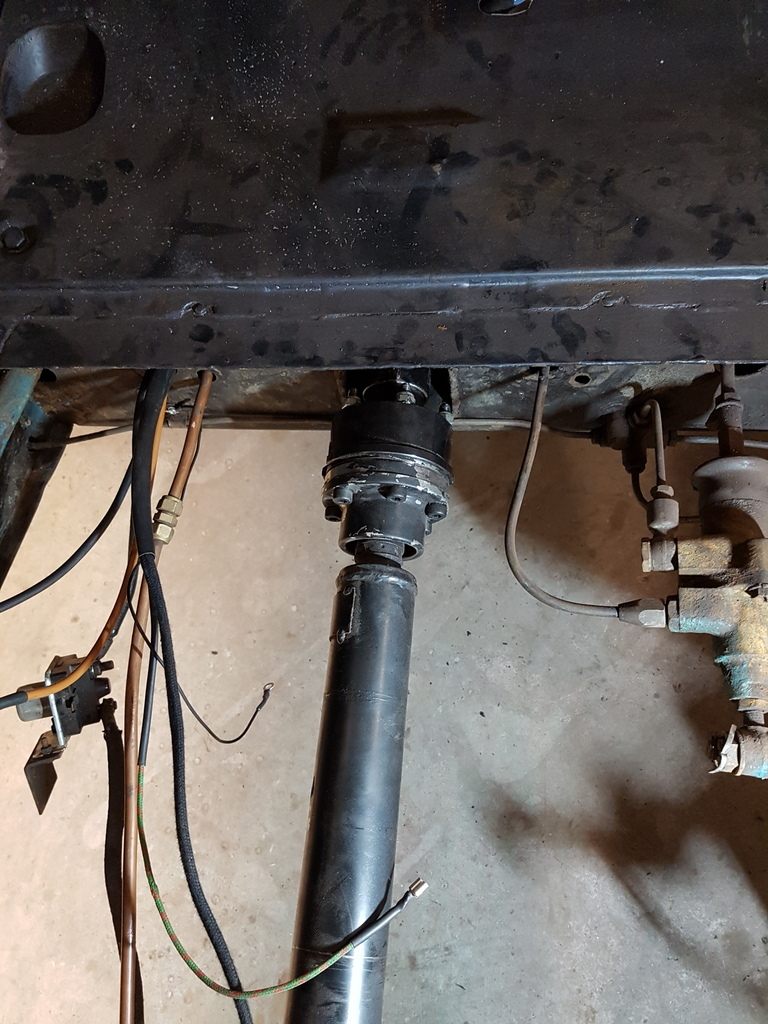 Propshaft now connected 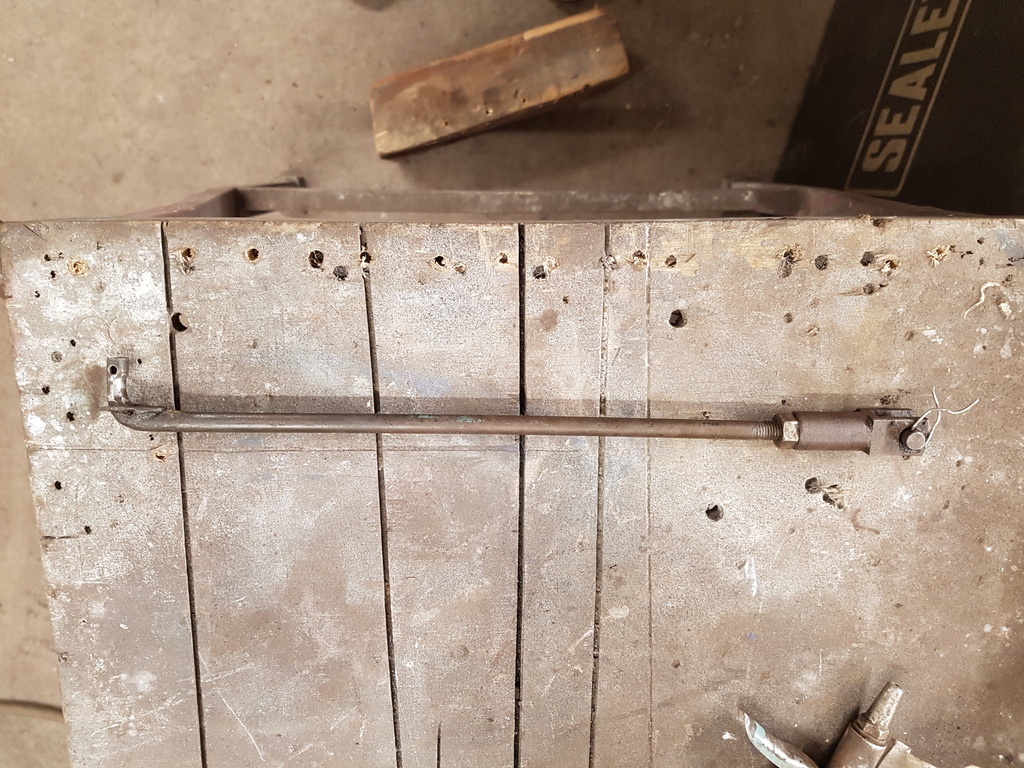 Clutch linkage 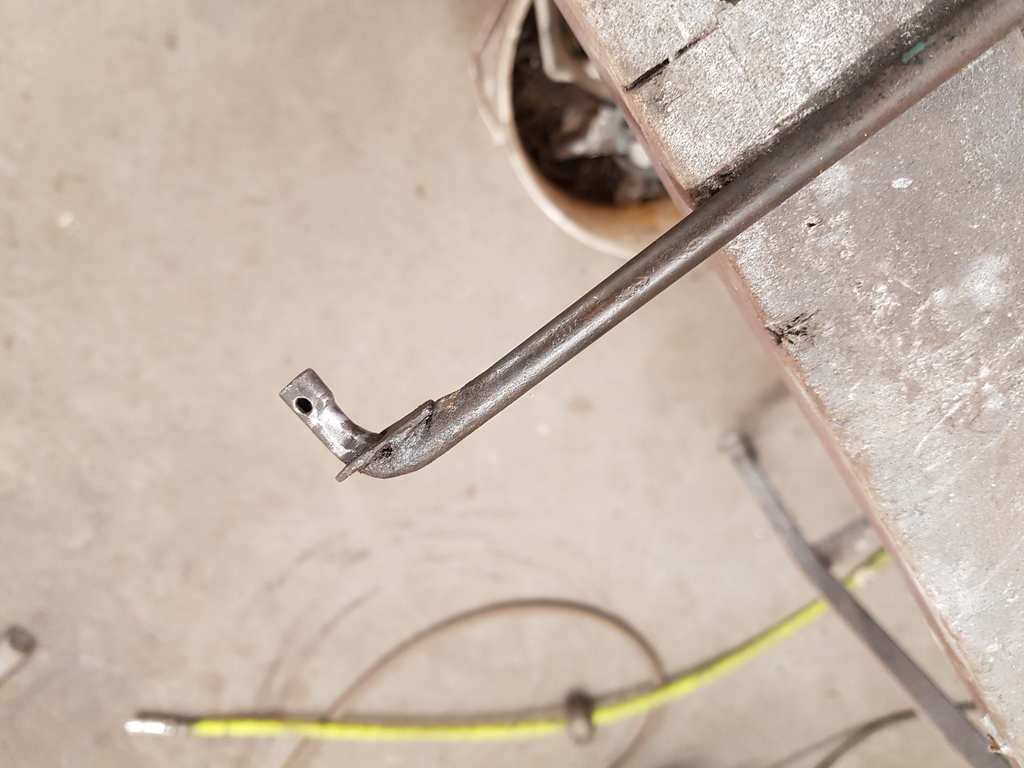 Displaying its 68 years of wear & use 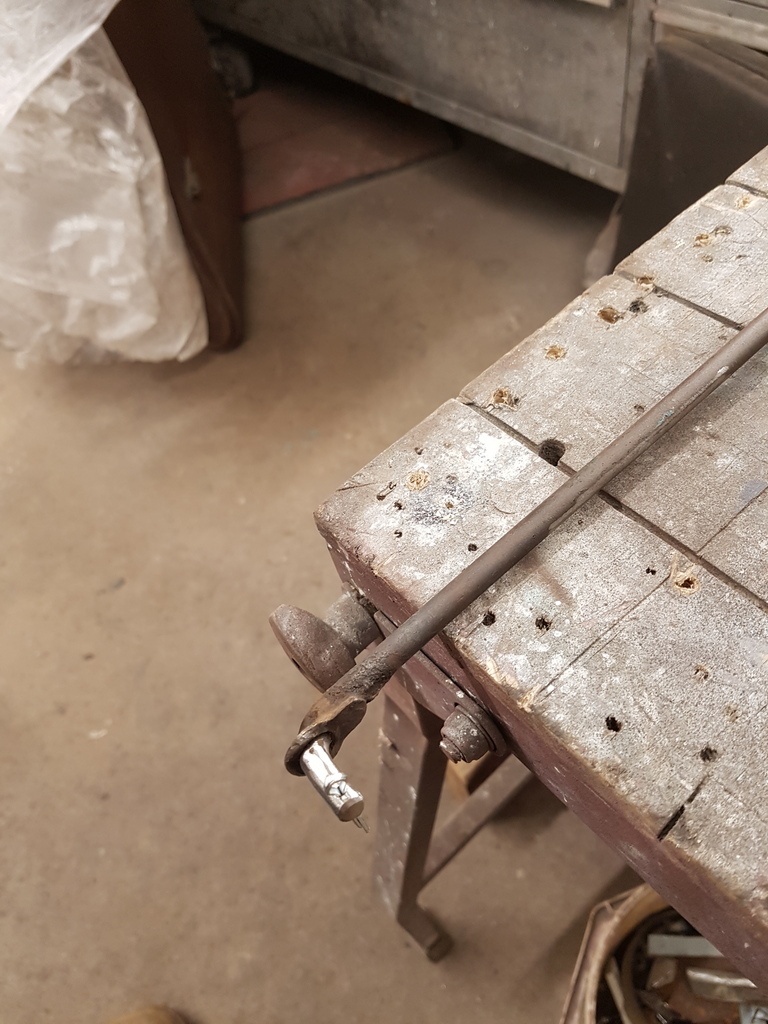 Soon built back up with weld & dressed back 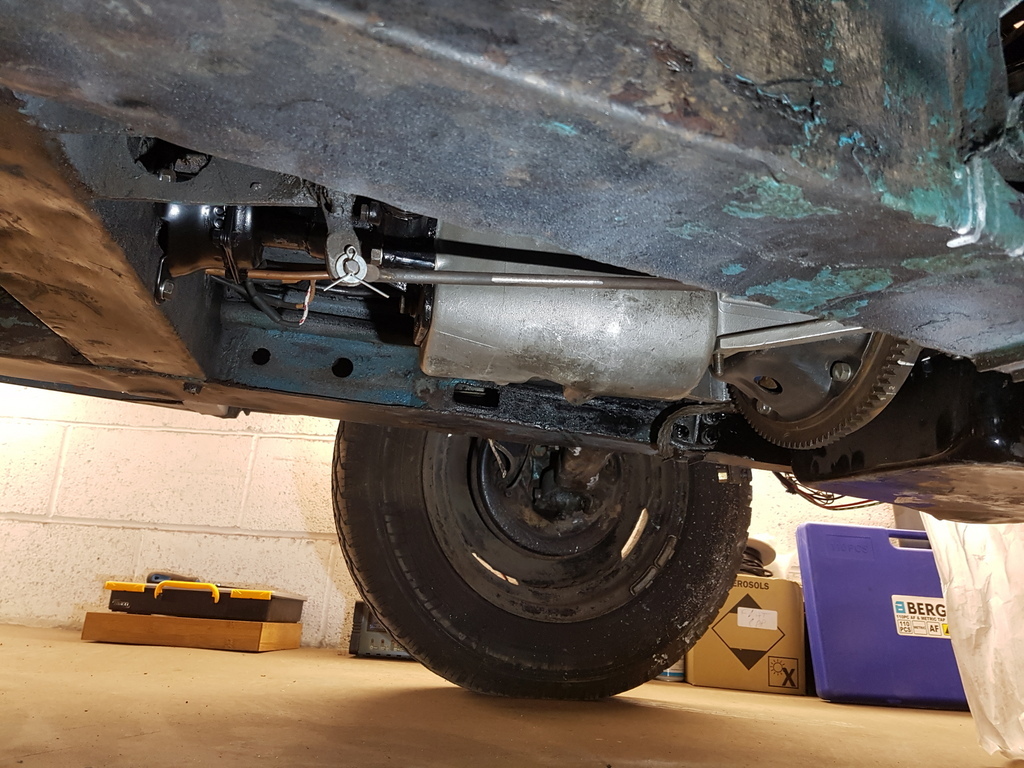 Fitted but requires an adjustable stop making up - the Javelin clutch can go over centre if the pedal gets depressed too far and then the clutch fork clatters with the rotating cover 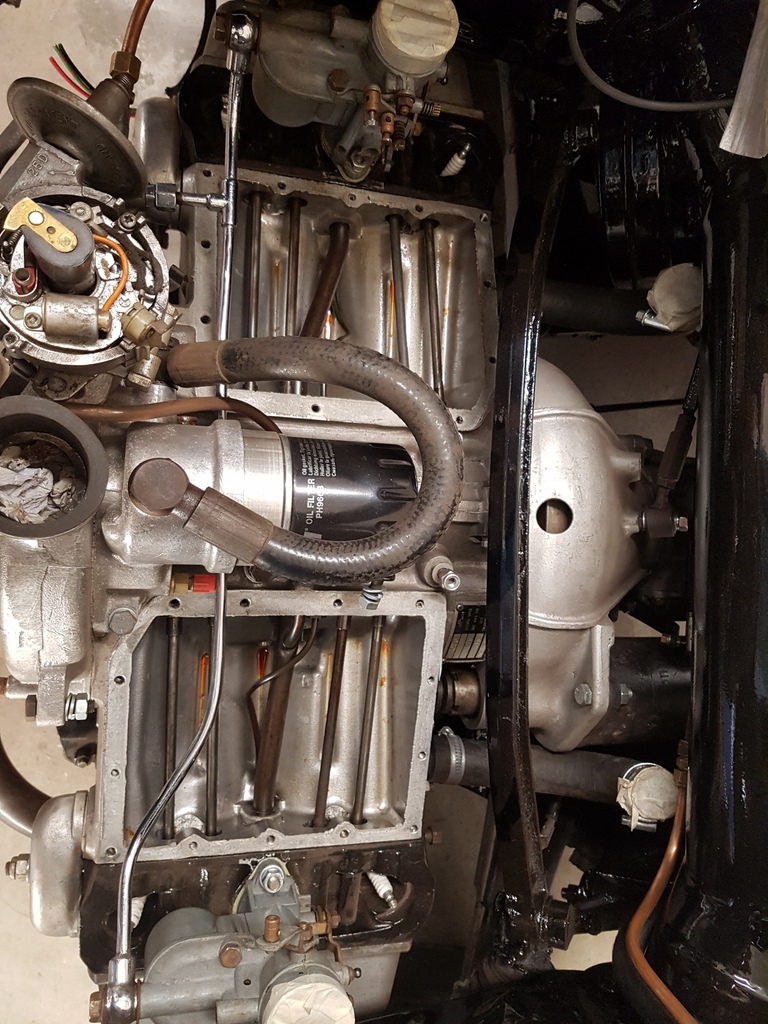 Valve chest covers mid way through being swapped over 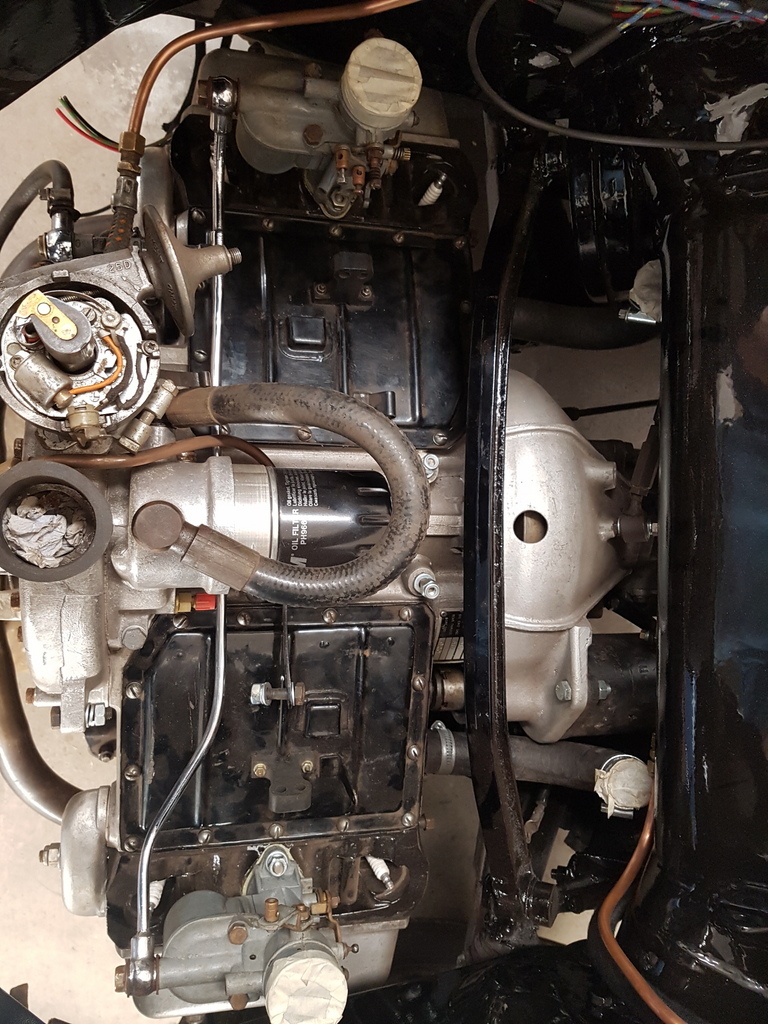 I needed to get this done before anything else got bolted back in the engine bay and made life difficult 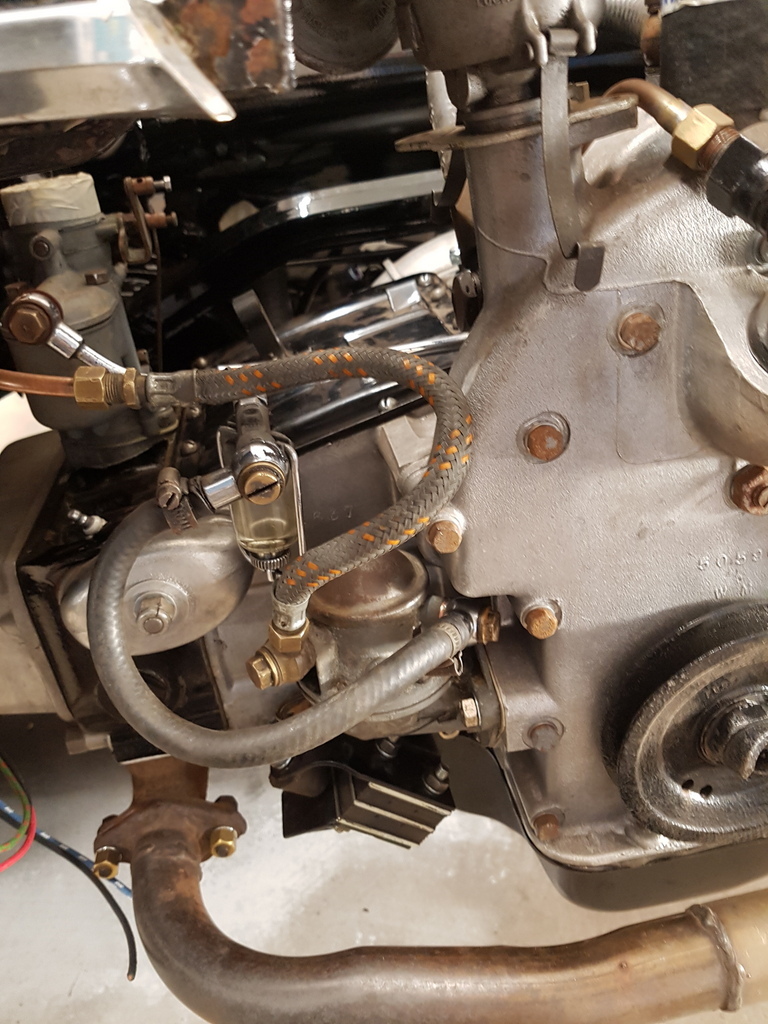 Fuel pump finally tracked down (been looking for it for days) now fitted / connected More tomorrow |
| |
Last Edit: Nov 27, 2019 22:32:44 GMT by Deleted
|
|
|
|
|
|
|
Nov 27, 2019 22:18:35 GMT
|
|
Just bloody amazing Chris.
Door work will be another trademark GN fix I guess.
Love the linkage repair.
Wonder if he will notice the difference.
|
| |
|
|
|
|
|
Nov 27, 2019 22:29:11 GMT
|
Just bloody amazing Chris. Door work will be another trademark GN fix I guess. Love the linkage repair. Wonder if he will notice the difference. Thanks Rian - It should be altogether better car - its having new shock absorbers & bushes has required, handbrake cable + anything else it needs - if anything it should handle a whole lot tighter - but Bill has had plenty of active use out of this car before today |
| |
|
|
|
|
|
|
|
|
It must have been a mix between a no brainer and a difficult choice to use the old rusty door again...We know youll have it fixed up to high standards in fairly short order...but wow...way to go!
JP
|
| |
I know its spelled Norman Luxury Yacht, but its pronounced Throat Wobbler Mangrove!
|
|
|
|
|
|
|
It must have been a mix between a no brainer and a difficult choice to use the old rusty door again...We know youll have it fixed up to high standards in fairly short order...but wow...way to go! JP JP - With new panels not being produced or made available for the last 65 years - you just have to make use of what you have - the other door will be fitted to another car at some stage but you have to save whatever you can and in reality the rusty one is not that bad and is a better fit - the other one being a poorer fit and from experience I would have to spend twice has long getting that to fit and still have unpick the misaligned work on the bottom of the door skin / frame base and replace it |
| |
|
|
|
|
|
|
|
|
Is that an adapter plate so you can use a readily available oil filter?
|
| |
|
|
|
|
|
|
|
Is that an adapter plate so you can use a readily available oil filter? Correct - the cartridge type filters are still available but the adaptor allows for the later screw on type filters which area lot easier & cleaner to change |
| |
|
|
|
|
|
Nov 28, 2019 21:29:47 GMT
|
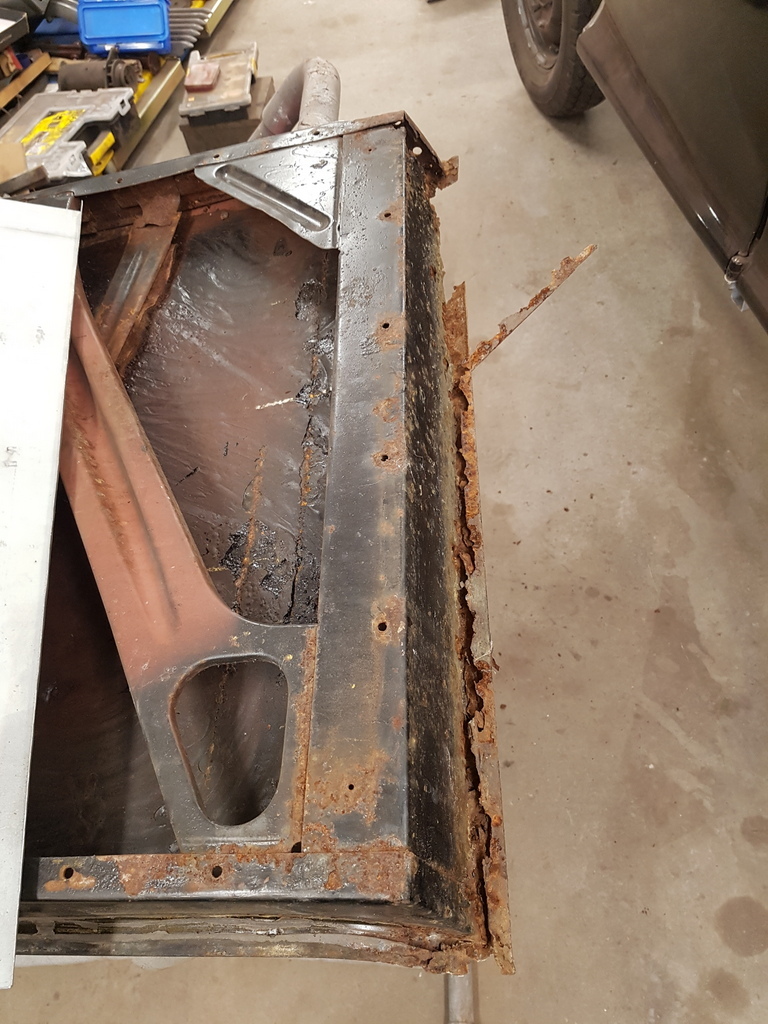 First job with the door was some careful measurements 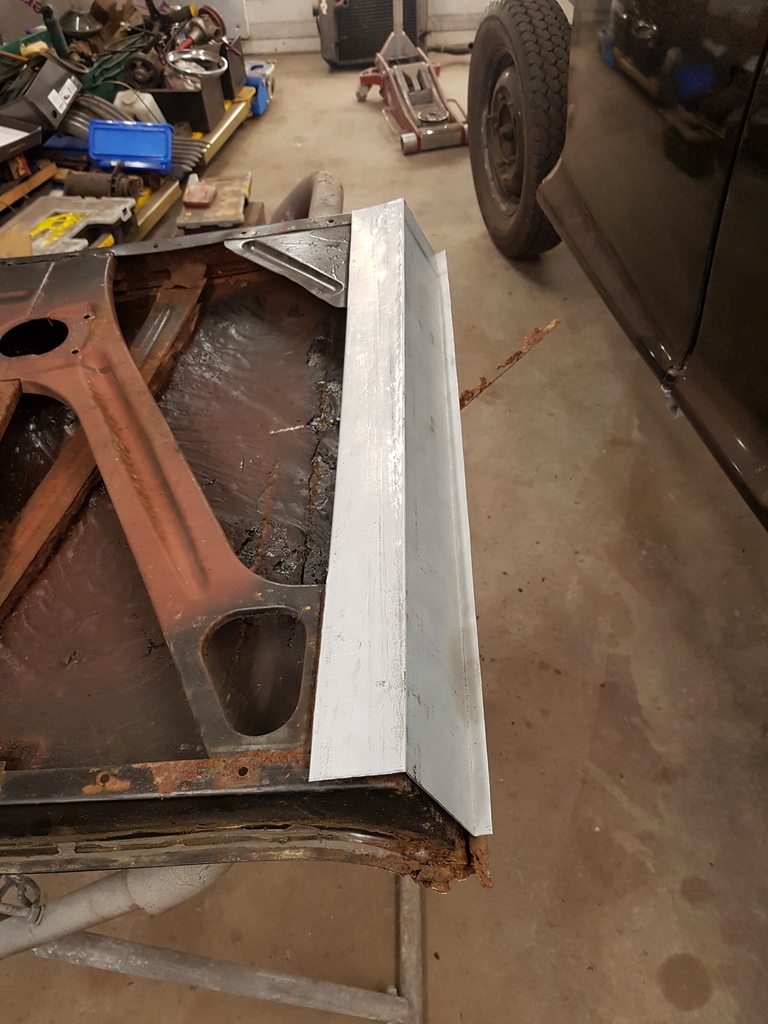 Then fabricated the door bottom panel whilst everything was still insitu 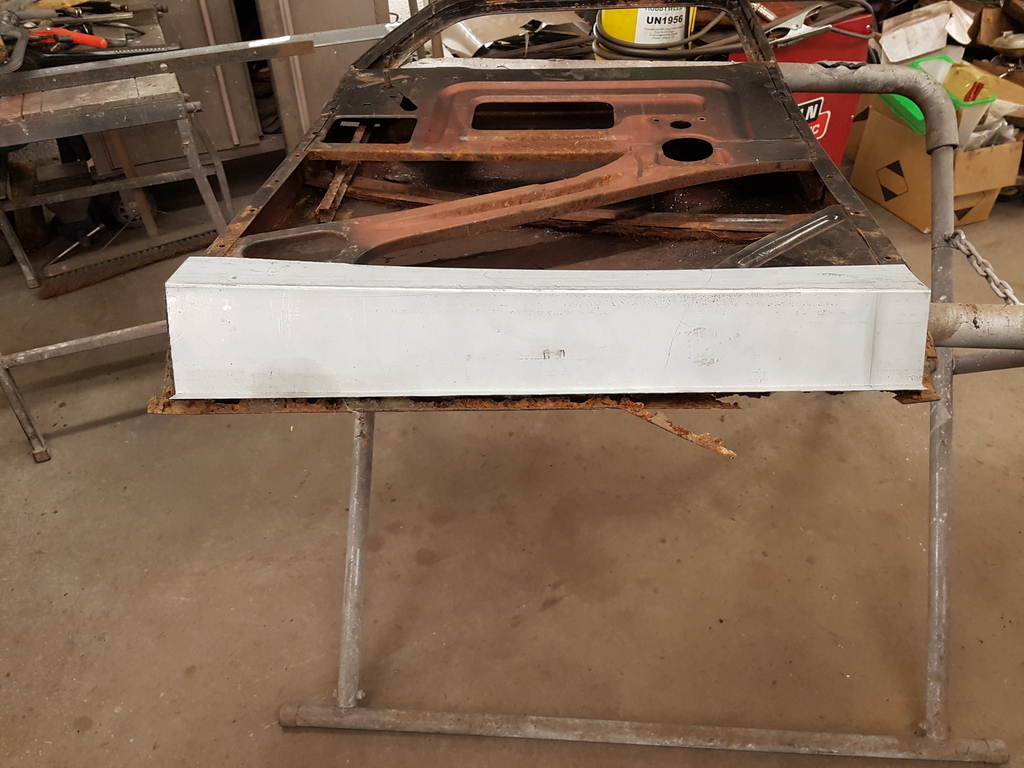 Which tapers from one side to the other 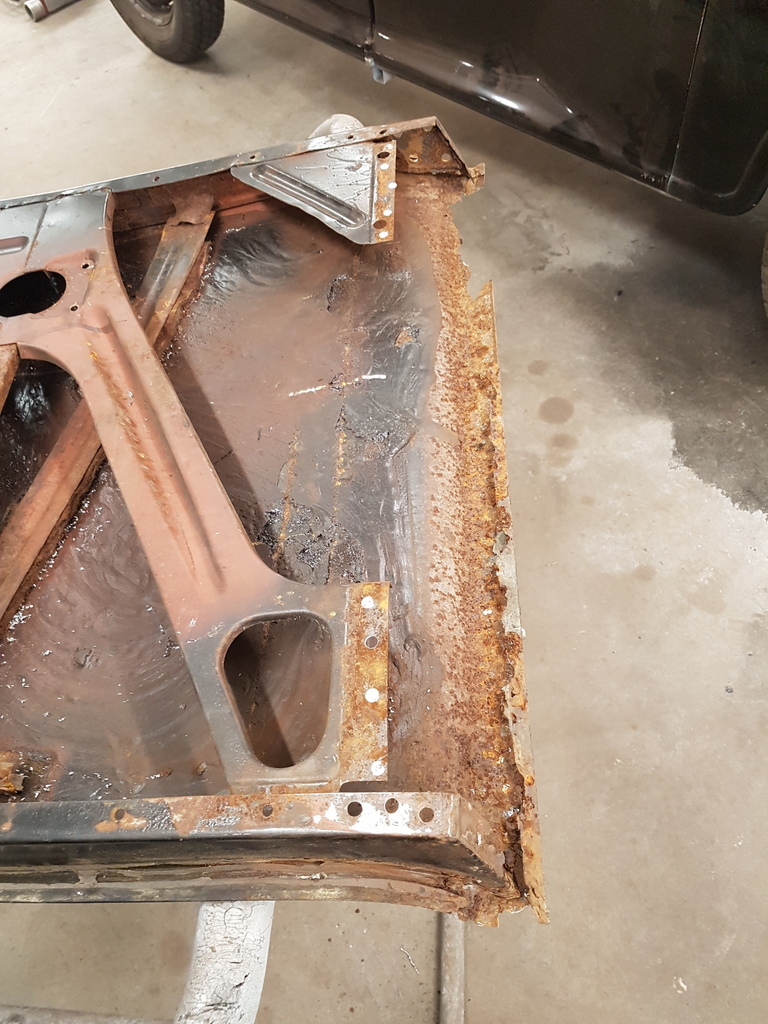 Then drilled the spot welds on the old panel & removed it 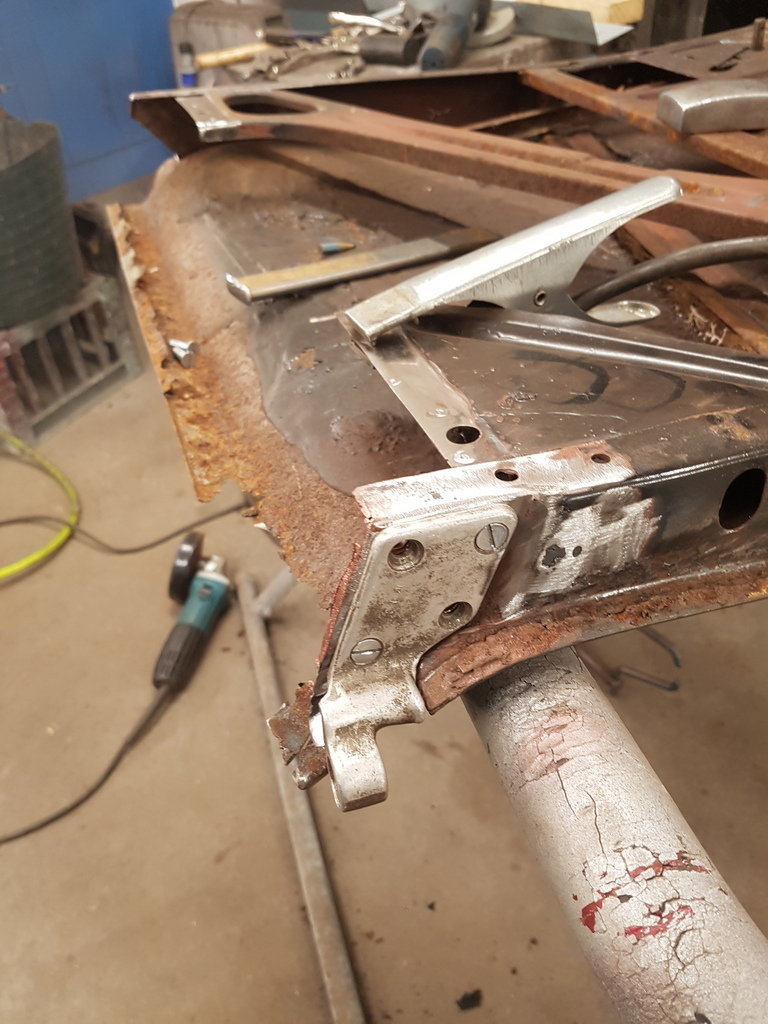 Refitted the hinge plate 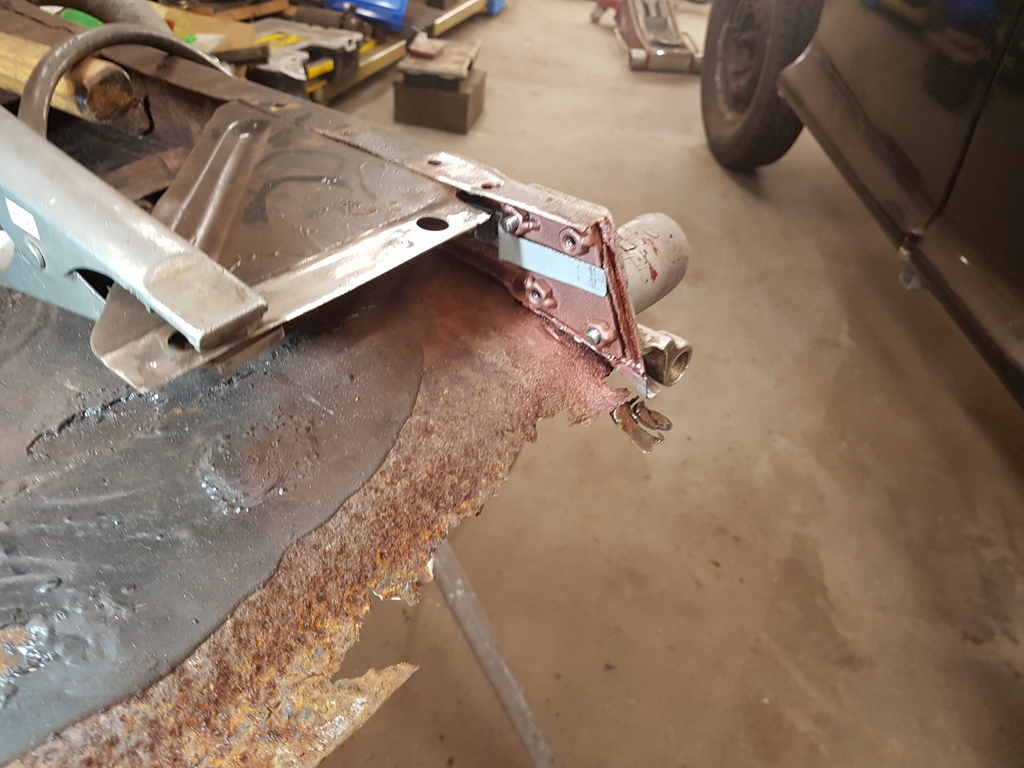 Then added a saddle to retain the backing plate but still allow minor movement for hinge alignment 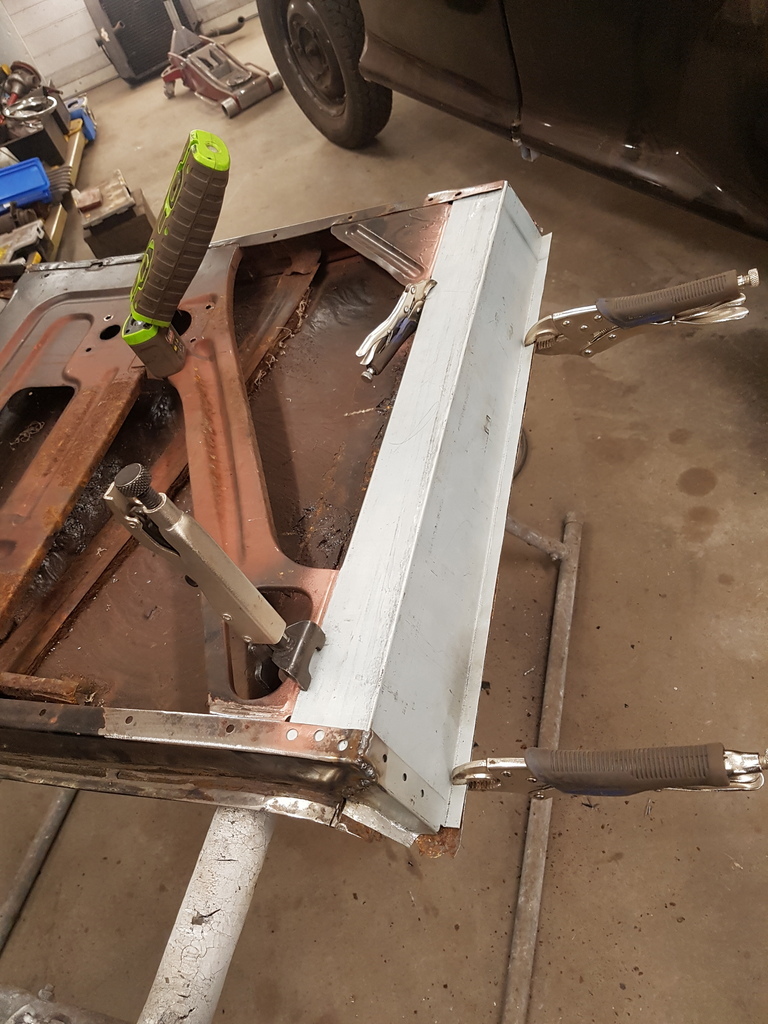 New panel clamped insitu 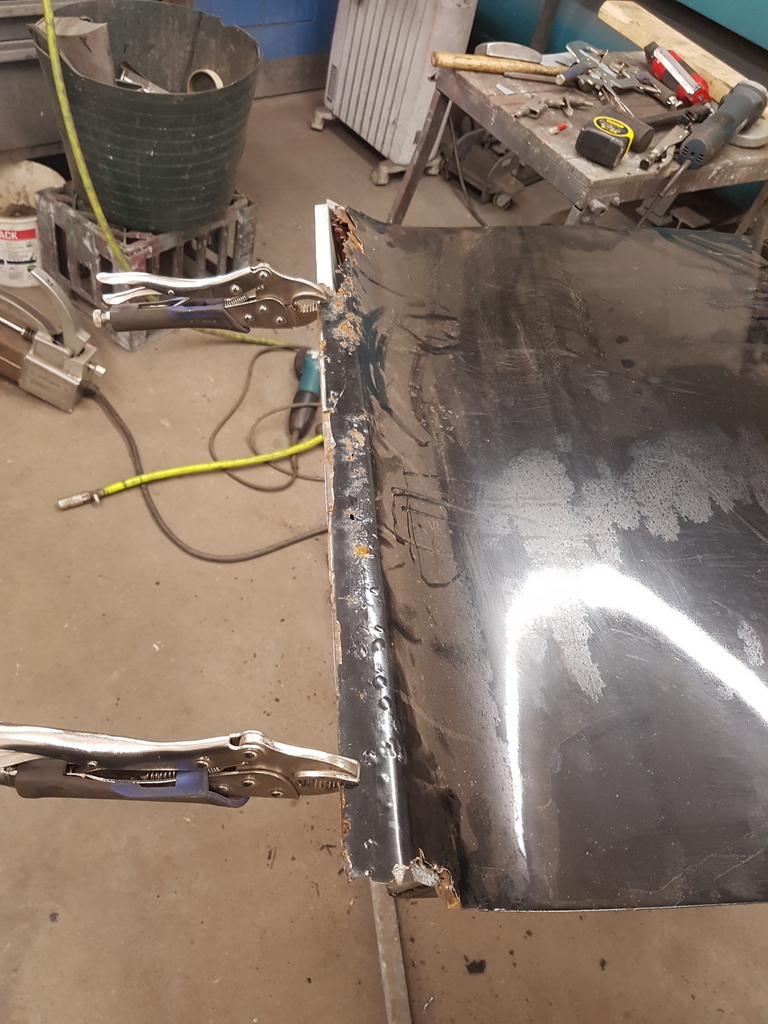 But I have left the bottom of the original door skin on for now has this very much aids the correct alignment of the new door bottom panel 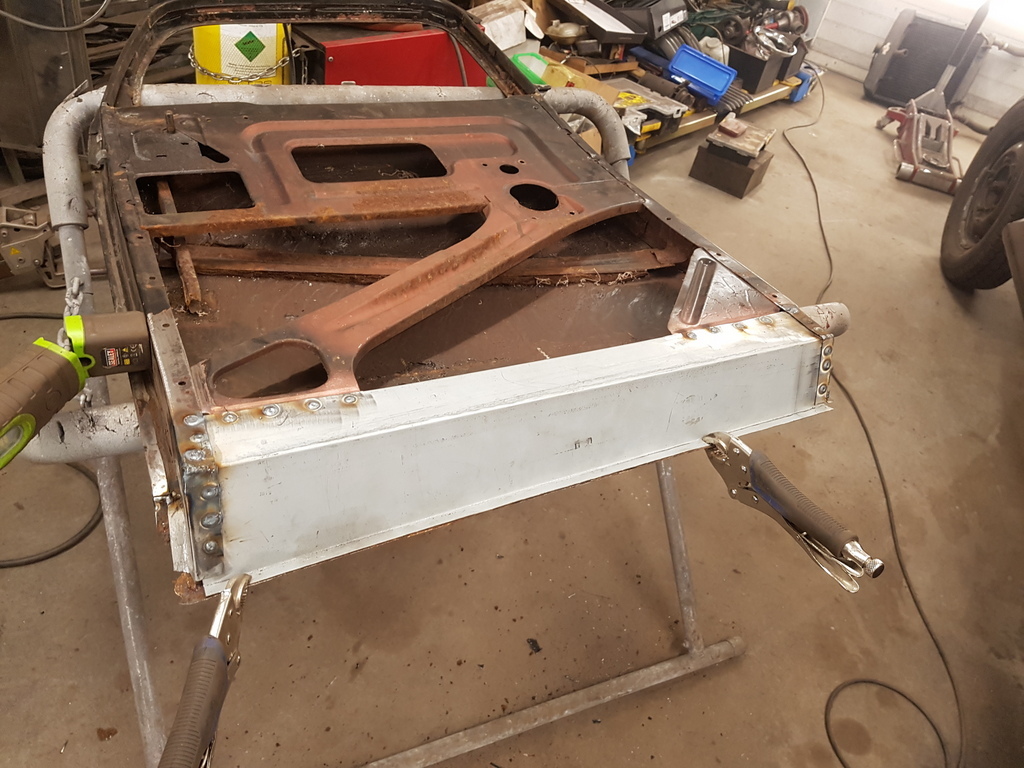 I used plug welds has it was too restrictive for the spot welder to access the panel 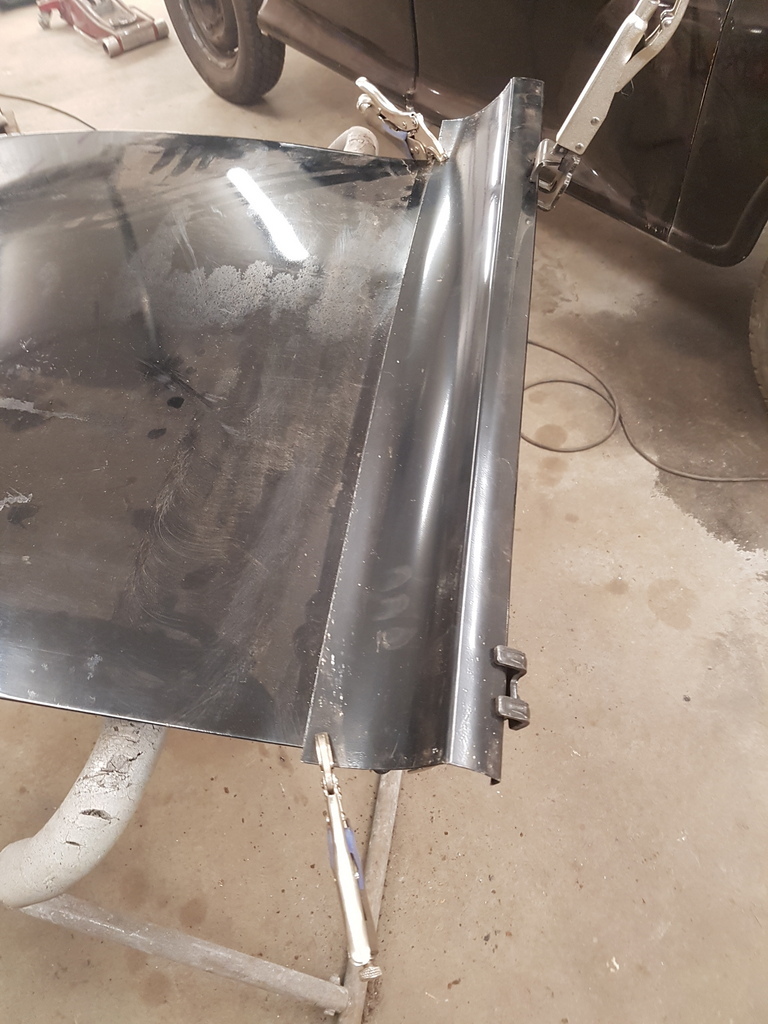 Once welded in & dressed - I trailed the outer panel 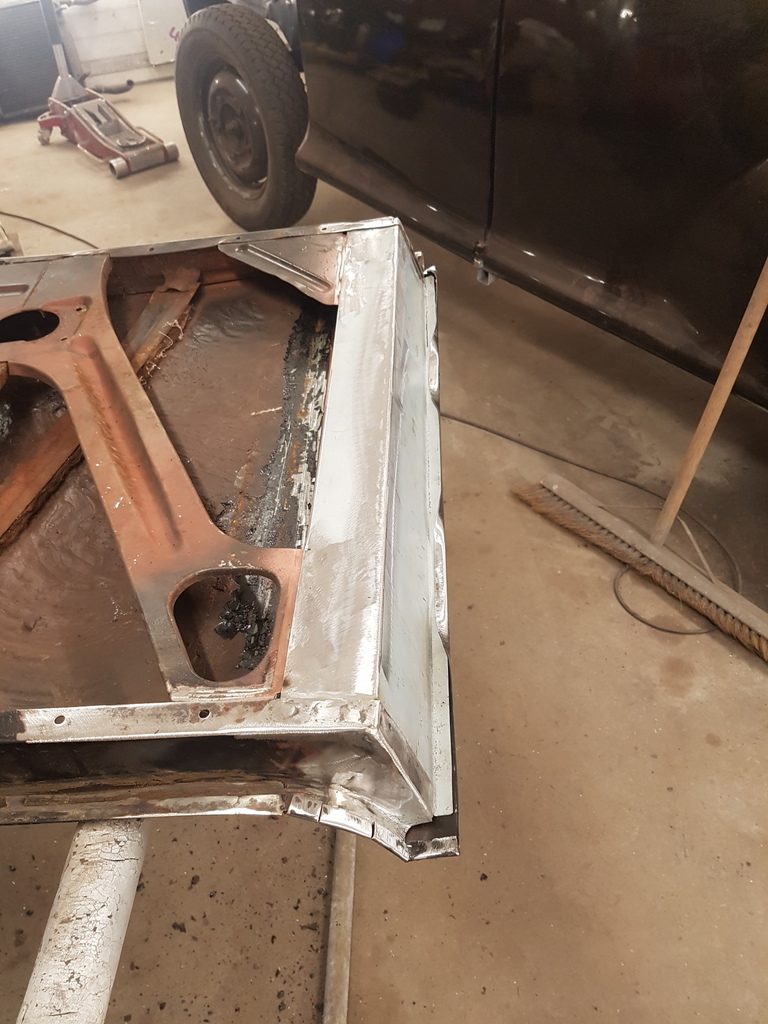 The paint is very thick and just burns with the sander - an old but sharp wood chisel got most of the area cleaned 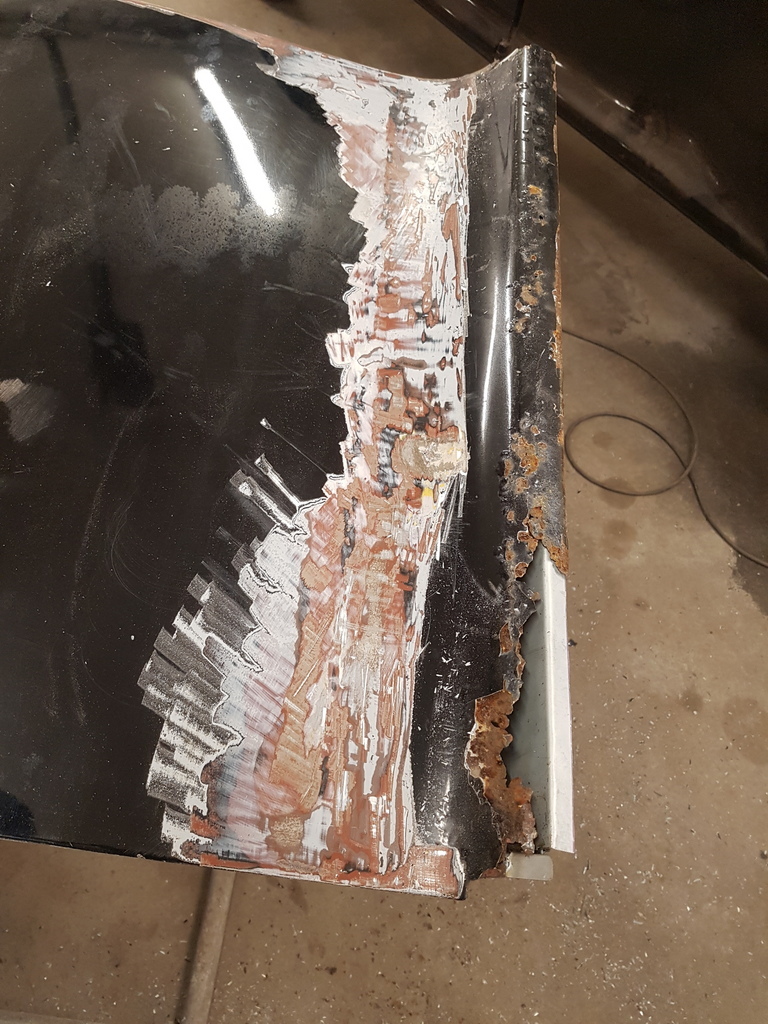 Then back on with the skin repair 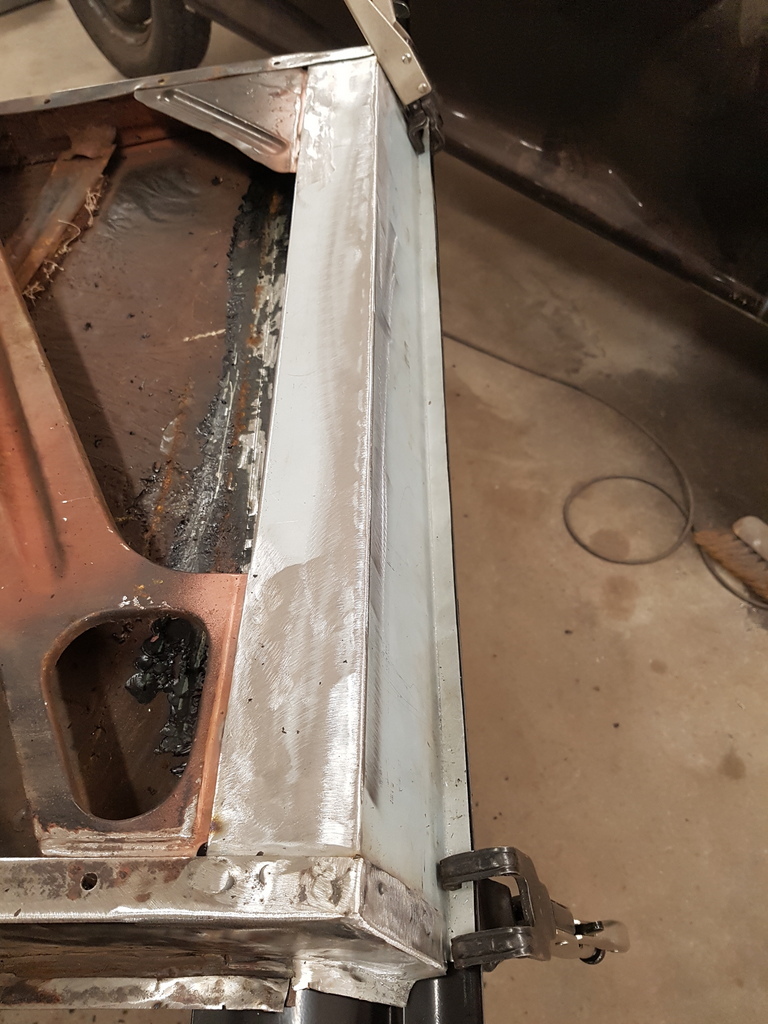 Repairs to either end of the door frame were also required 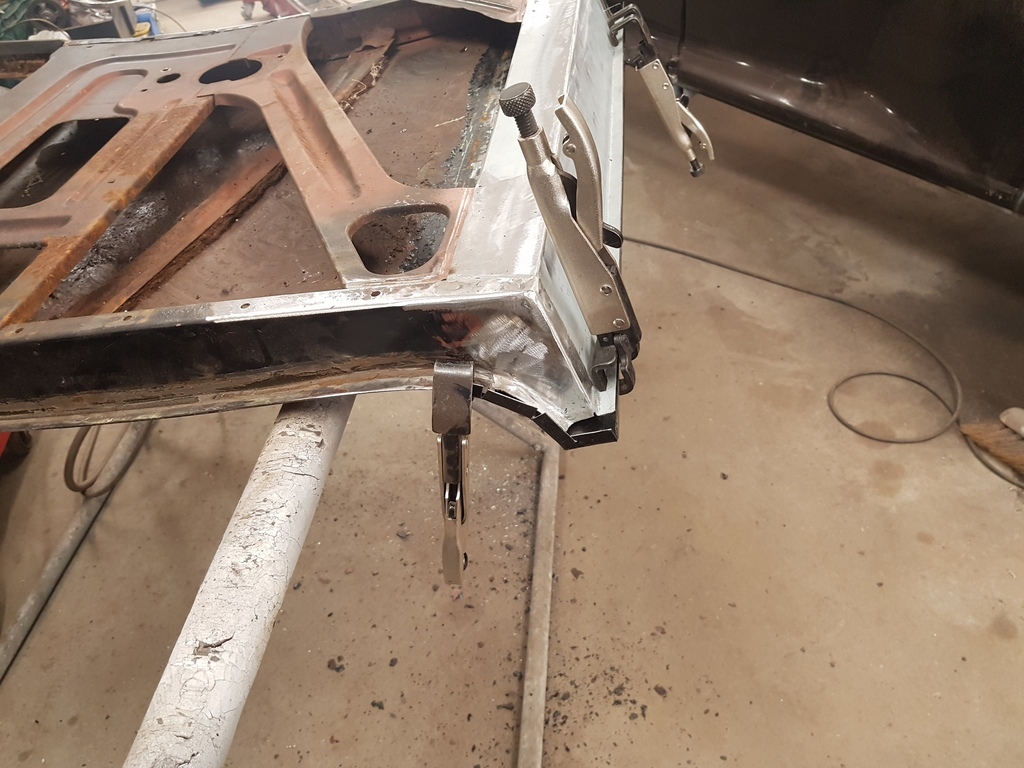 I put a rebated / joggled edge on the door skin then fitted the repair panel to it & retained it with temporary panel clips 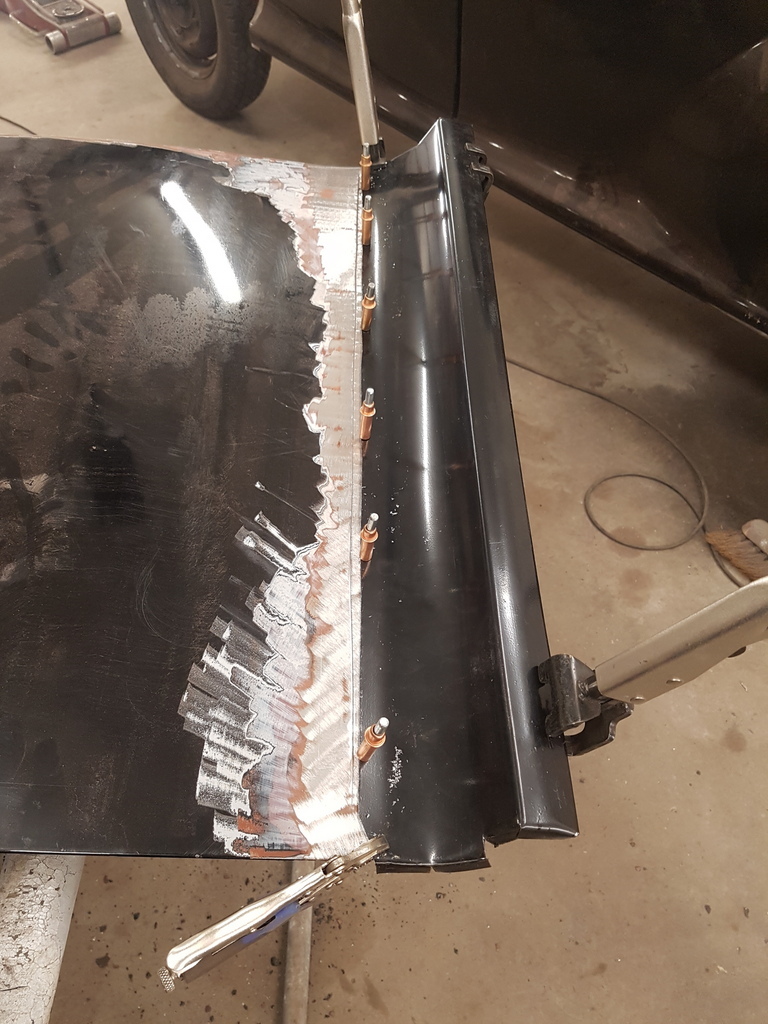 Flanged the ends of the repair over and refitted the hinge plate 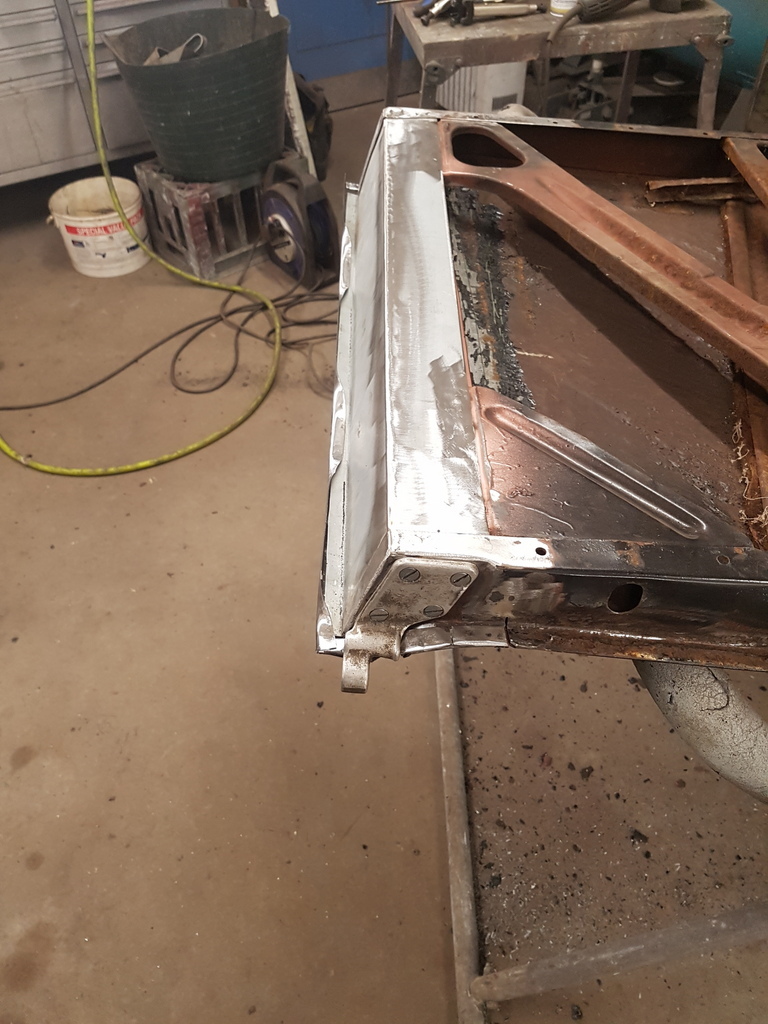 Then trial fitted the door to the car 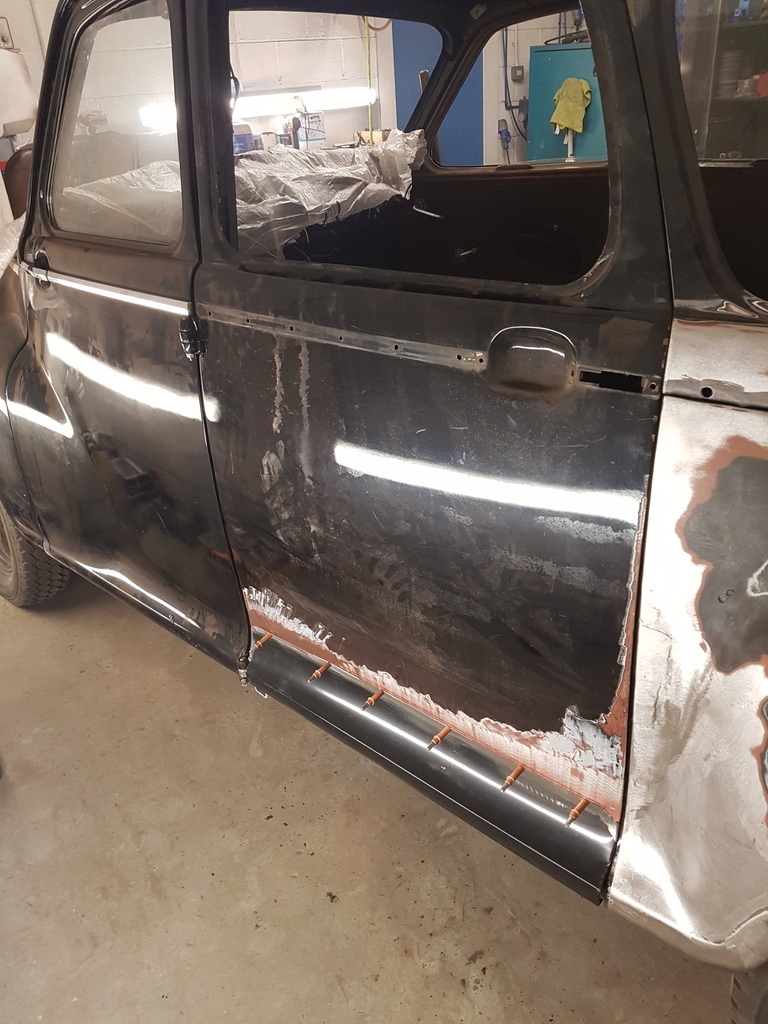 It lines up ok - however the repair panel return is incorrect and too acute - this should be a rolled edge not a folded one and does match the edge on the rest of the car 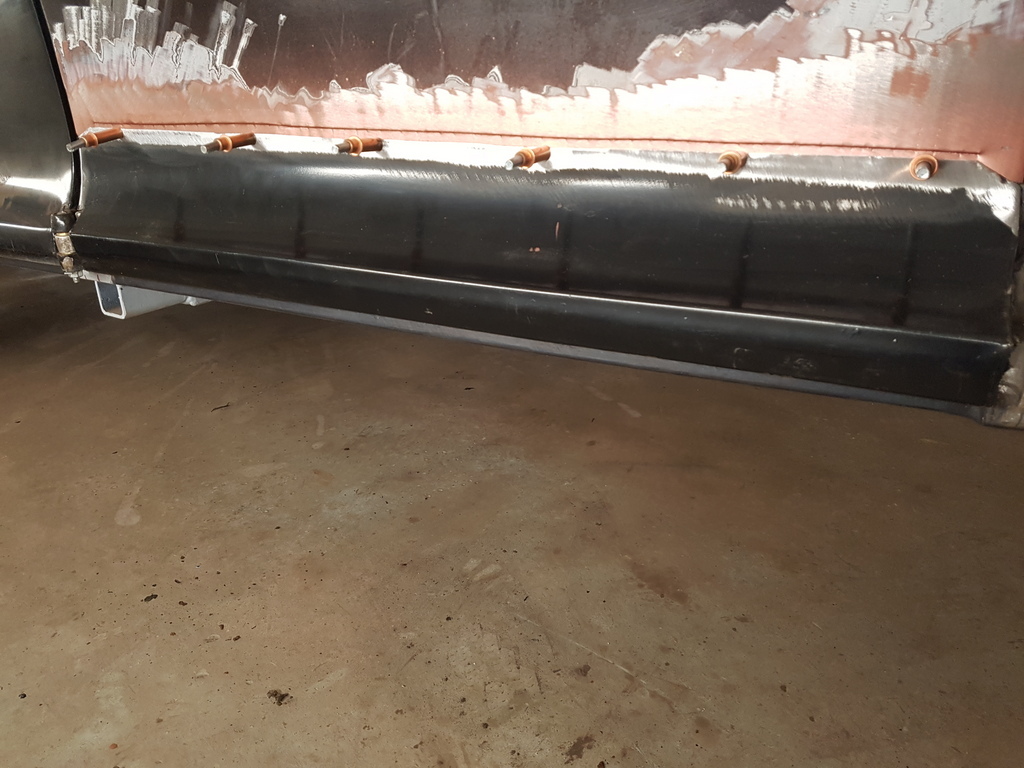 So how do I bosh dress / panel beat the folded edge to a rolled one 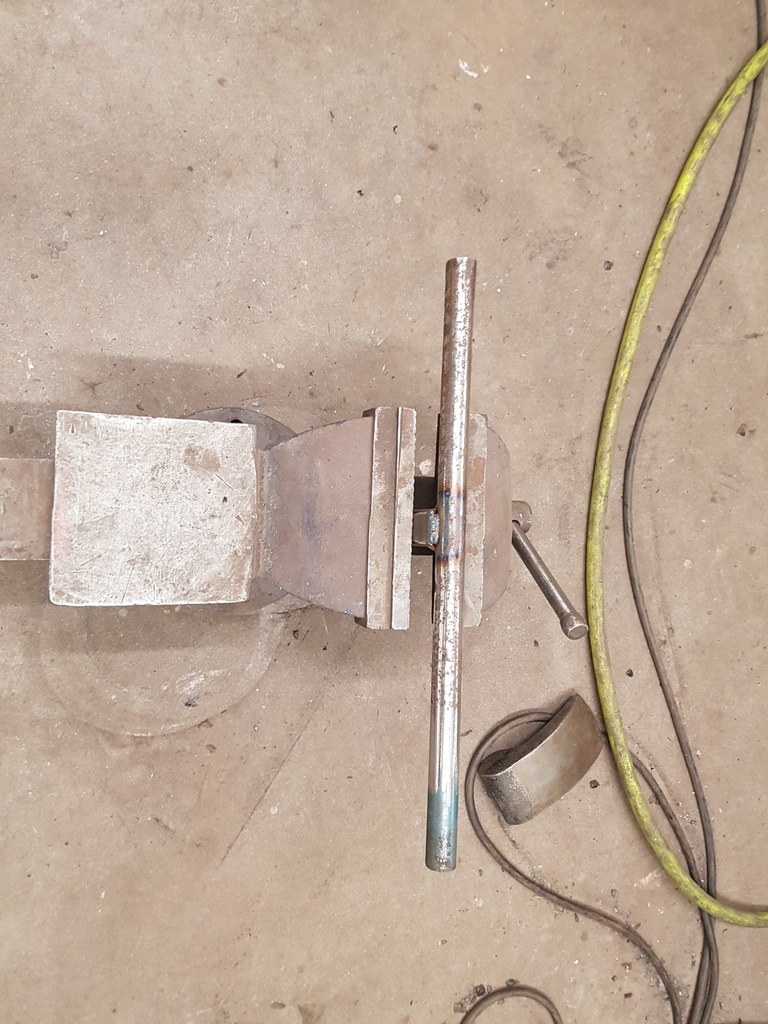 Knock a quick first stage former up and stick it in the vice - quite some boshing dressing later 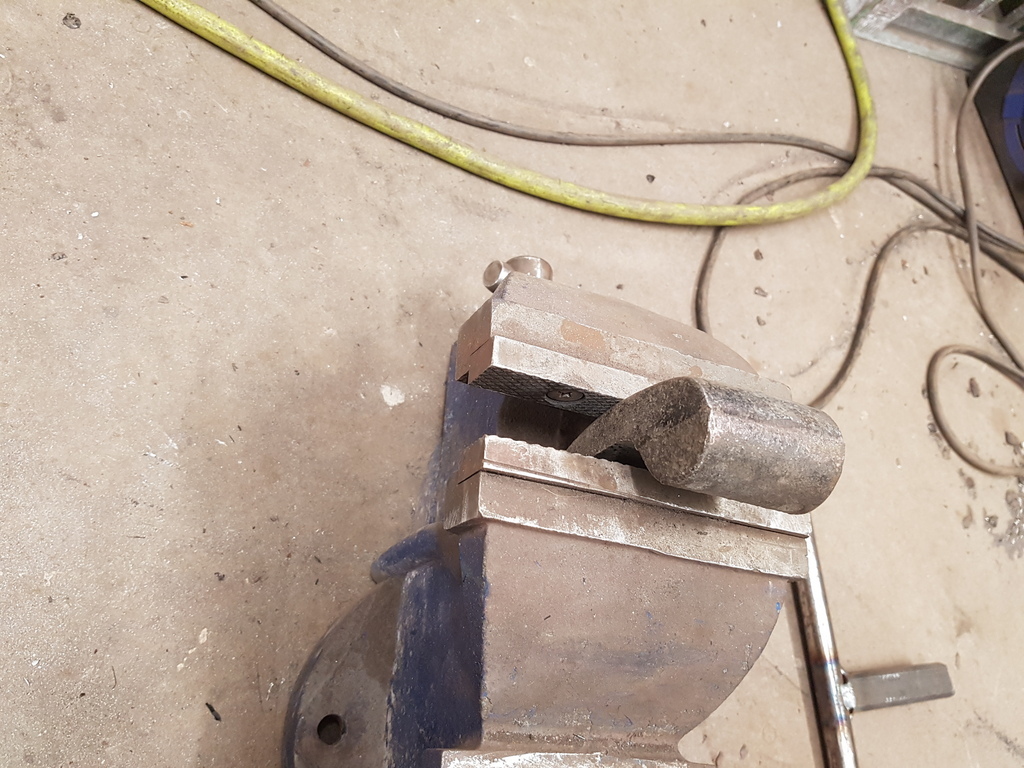 Use a second stage former (dolly end on) in the vice much more boshing panel beating later 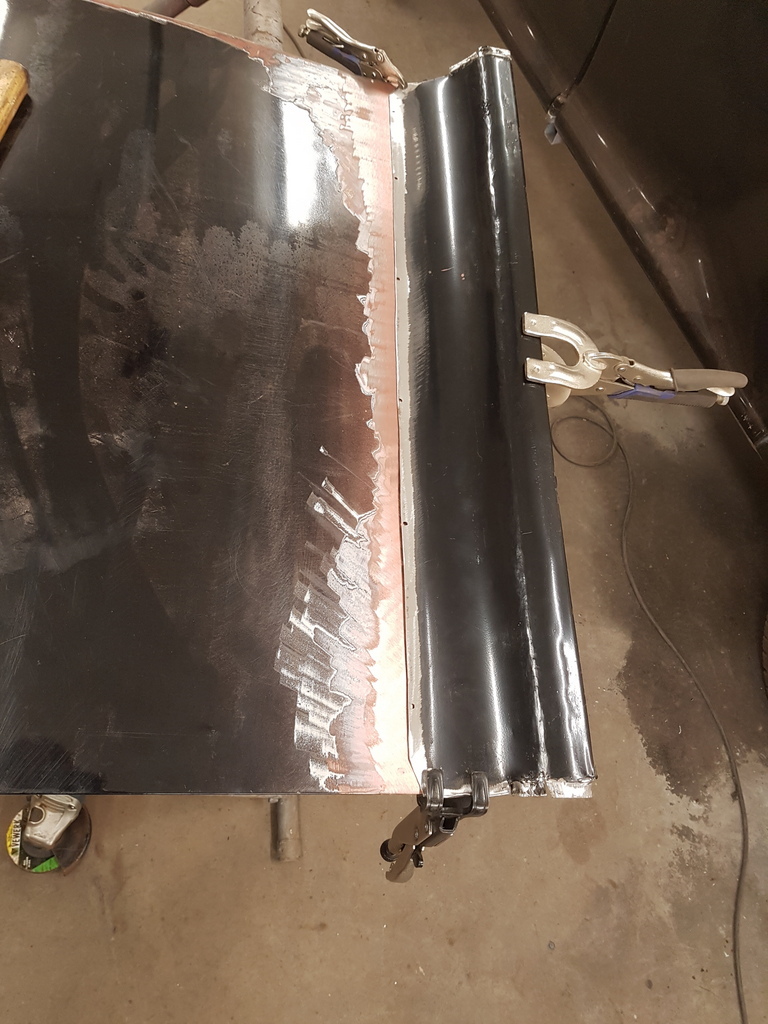 Some retrimming on the repair panel 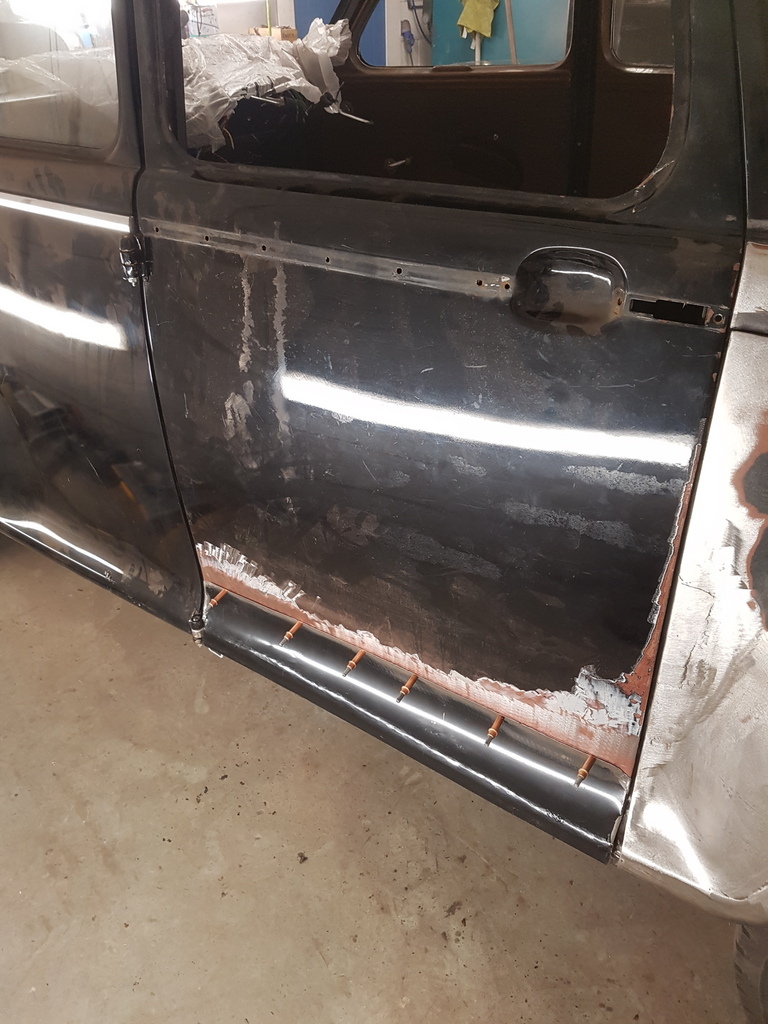 Rehang the door - much better - the radius edge still requires some further dressing but this is better done with the panel welded in place and the door hung on the car - that then gives me both hands with door secure to undertake the final dressing of the shape required 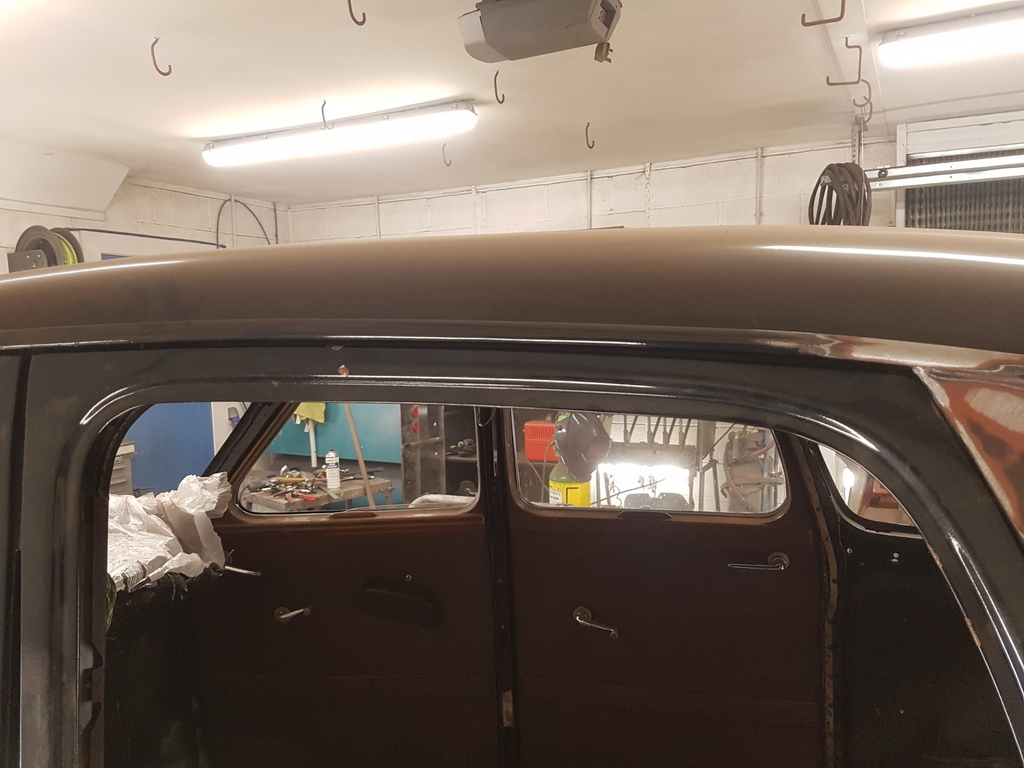 Elsewhere the roof gutter gapping is good 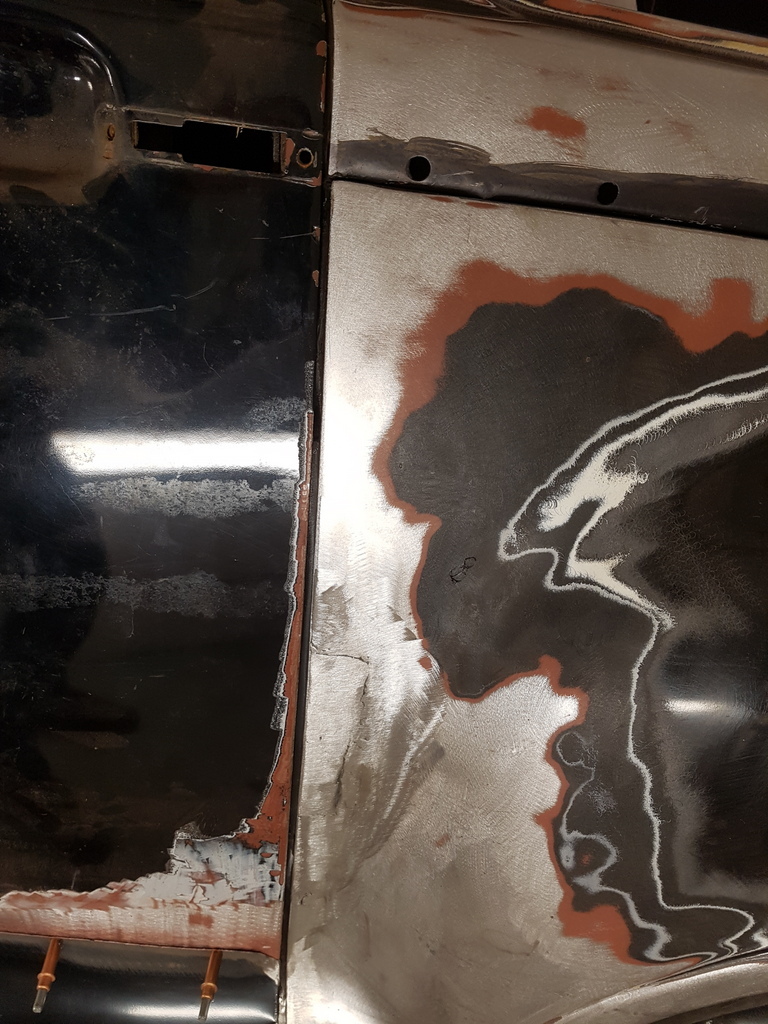 Gapping with the rear wing is also good 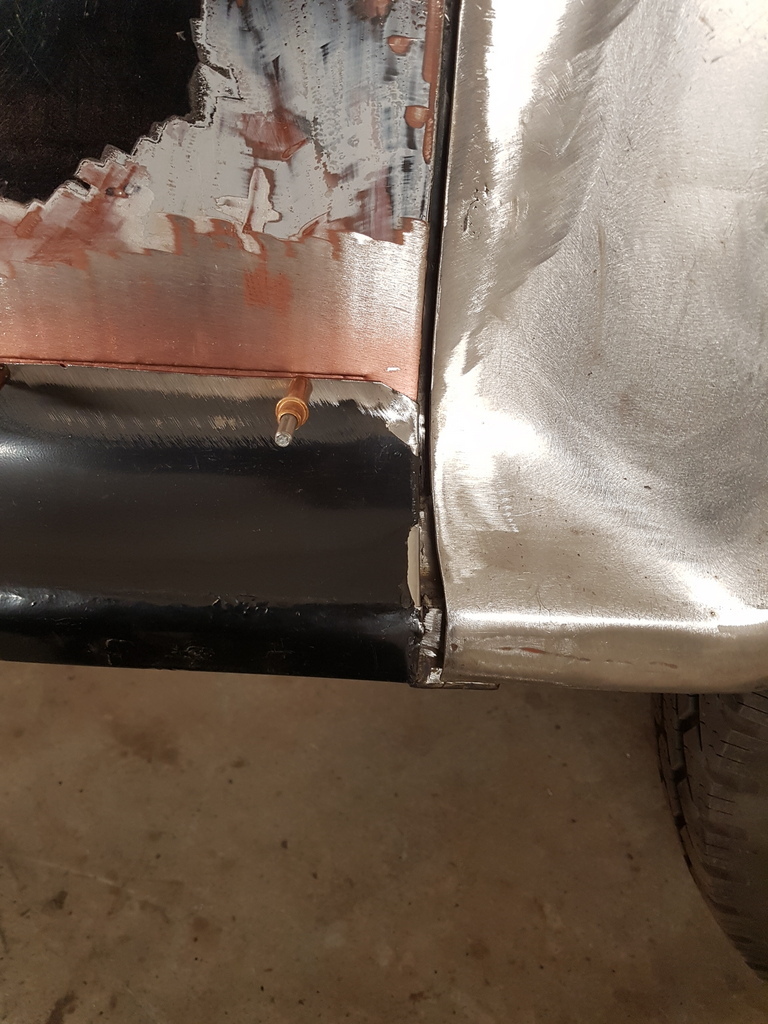 Bottom of the wing is overwide and this will require making up to suit 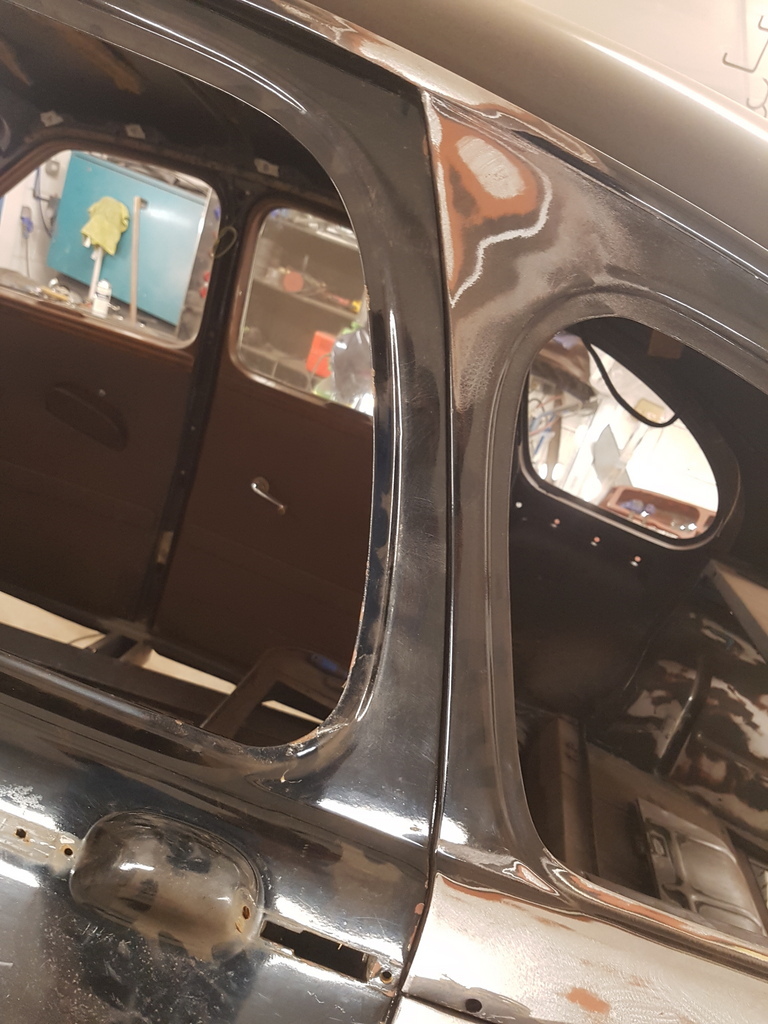 Top section of the door is tight with the upper D post and will require easing 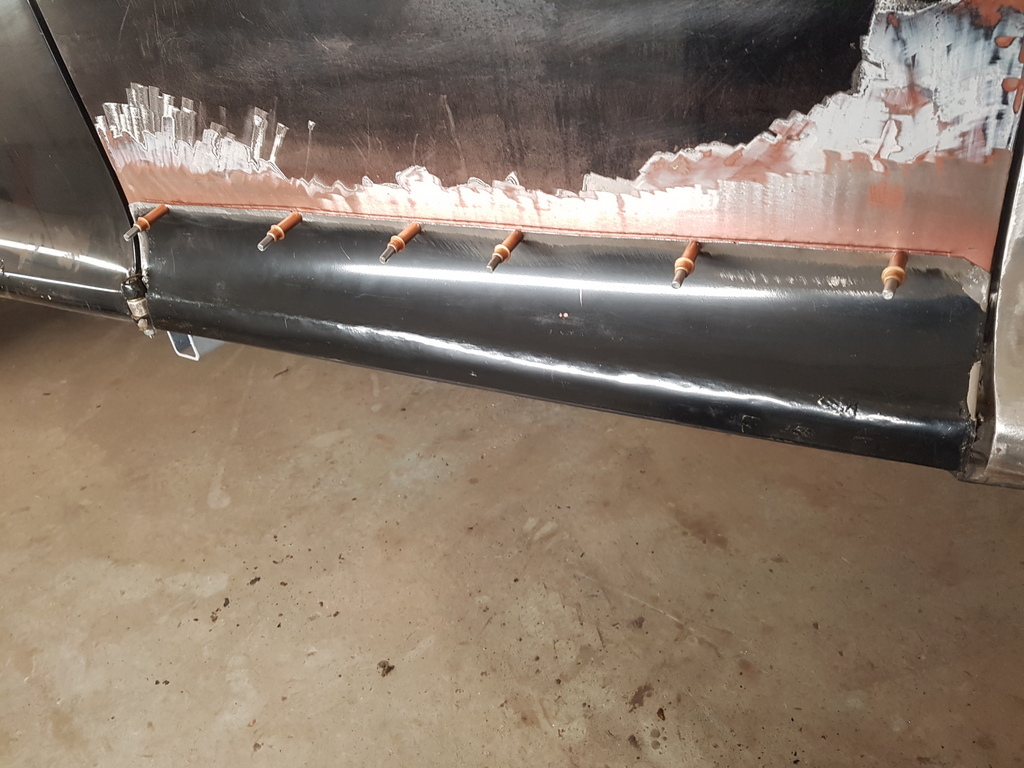 But the skin repair can now be welded up & dressed back prior some final shaping on the radius edge - there is still an inner return edge on the original door skin that is perforated / weak with rust that will require repairs 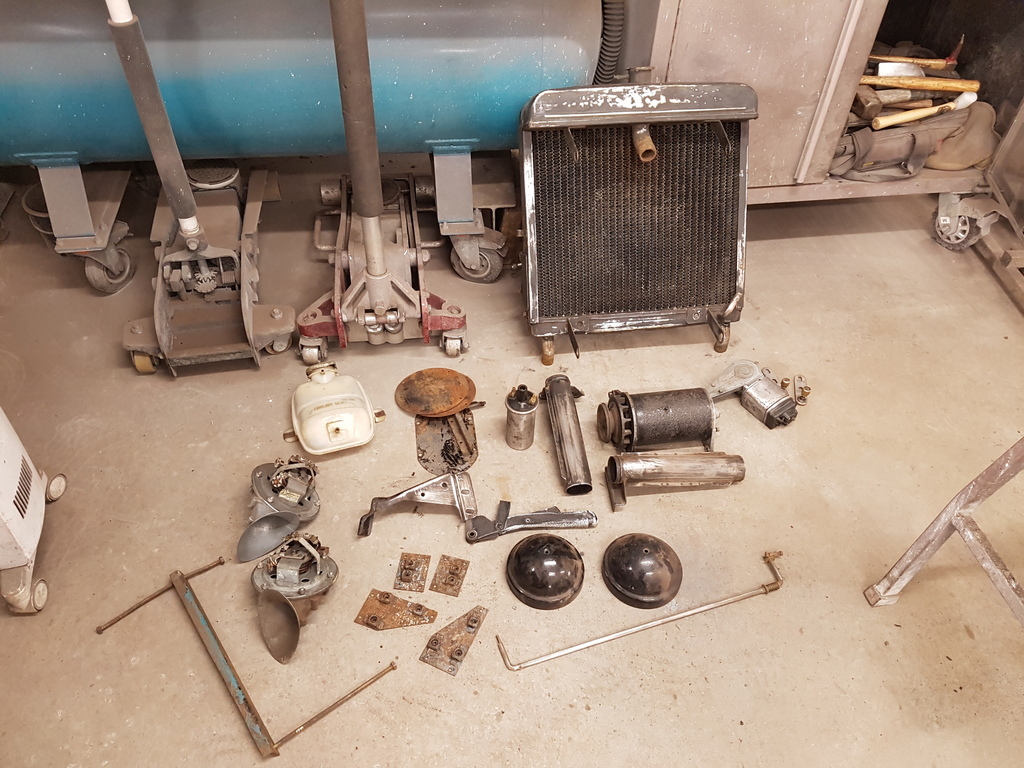 Meanwhile the pile of parts that require cleaning / prepping & a lick of paint is growing has is the small mountain of parts that can start to be refitted More tomorrow |
| |
Last Edit: Nov 28, 2019 21:30:59 GMT by Deleted
|
|
|
|
|
Nov 29, 2019 12:22:25 GMT
|
Thing is, we know you don't bosh. I might, even sweetpea may, now he's on the buses, and a few others could come clean. But not you.  |
| |
Last Edit: Nov 29, 2019 12:30:02 GMT by georgeb
|
|
|
|
|
Nov 29, 2019 13:13:46 GMT
|
|
But bashing is all I have, all I know?!?! I was hoping there was no other way....
Grumpy, what a great tutorial. I am now guilt ridden by not joggling the edge of my repairs and must learn/attempt to do so in future. I can tell the seam is strong and the welds located in a much more advantageous location for finishing as opposed to sitting up even with the surface...if that makes any sense.
thanks again for a shining example of doing it right.
JP
|
| |
I know its spelled Norman Luxury Yacht, but its pronounced Throat Wobbler Mangrove!
|
|
|
|
|
Nov 29, 2019 13:27:48 GMT
|
Thing is, we know you don't bosh. I might, even sweetpea may, now he's on the buses, and a few others could come clean. But not you.  Yeh - I know but I thought it may raise a giggle or two  |
| |
|
|
|
|


