|
|
|
Dec 23, 2019 20:59:08 GMT
|
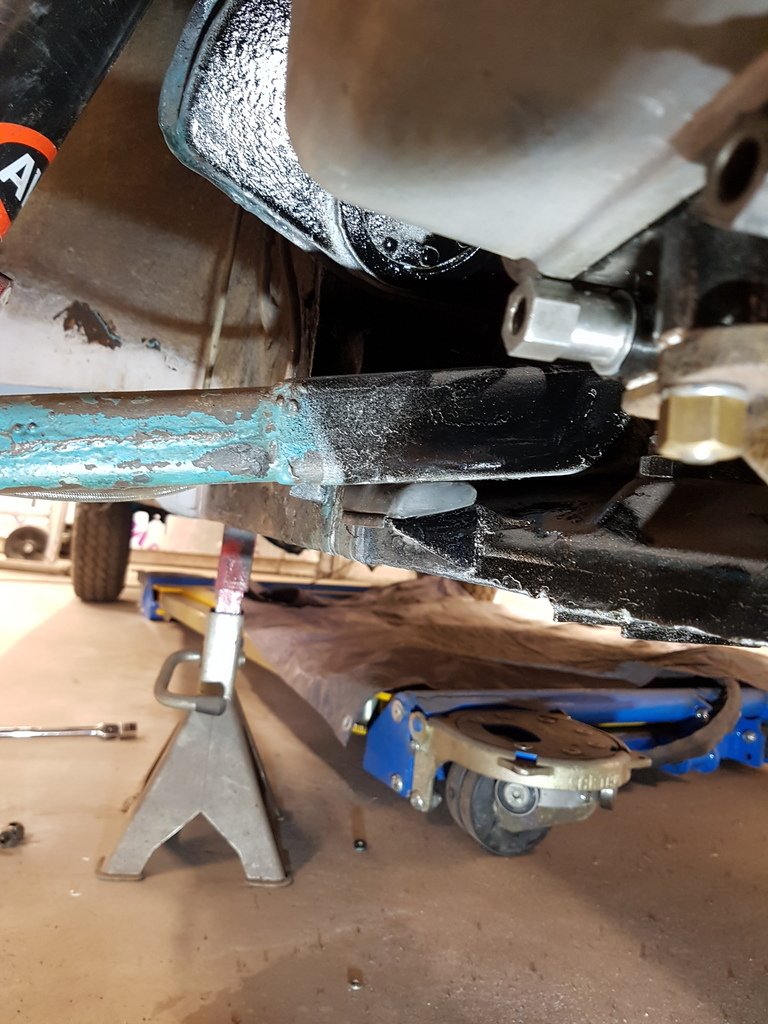 Front suspension bump stops fitted in between many other tasks 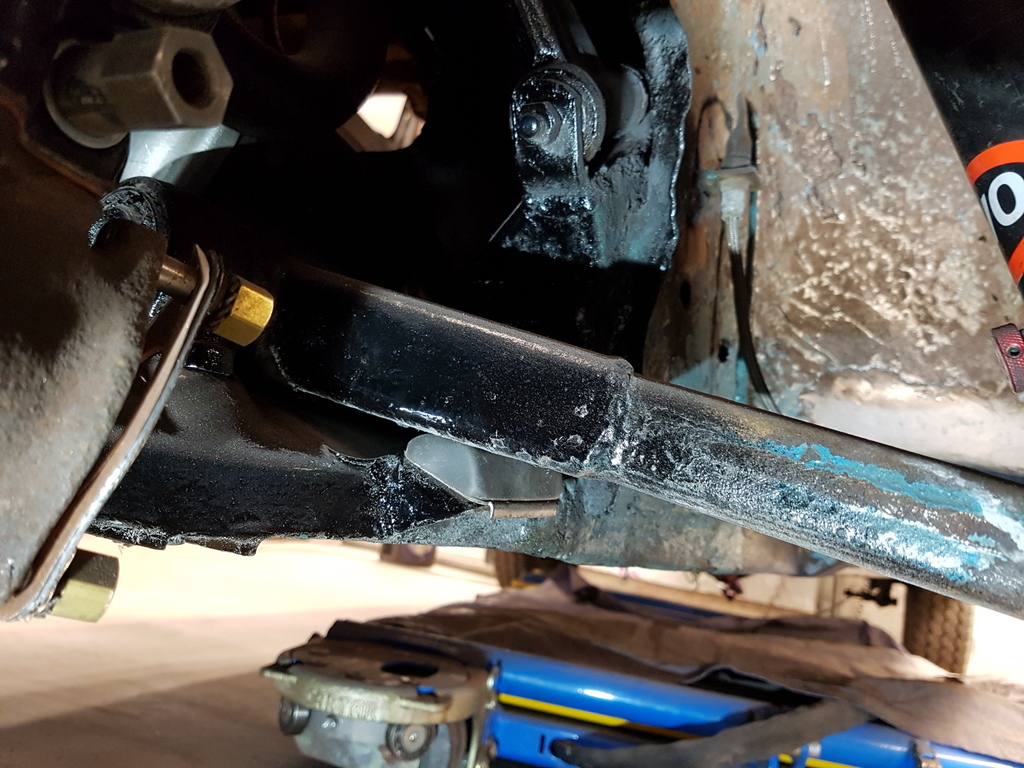 Paint on its way off the OSF wing 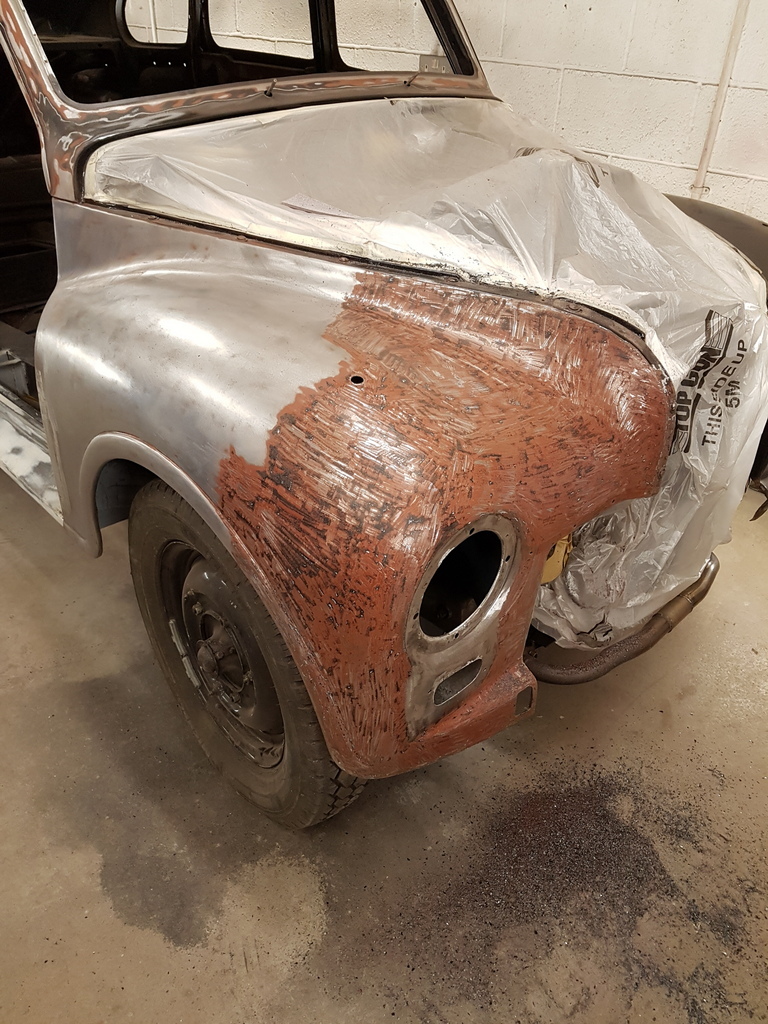 Gone 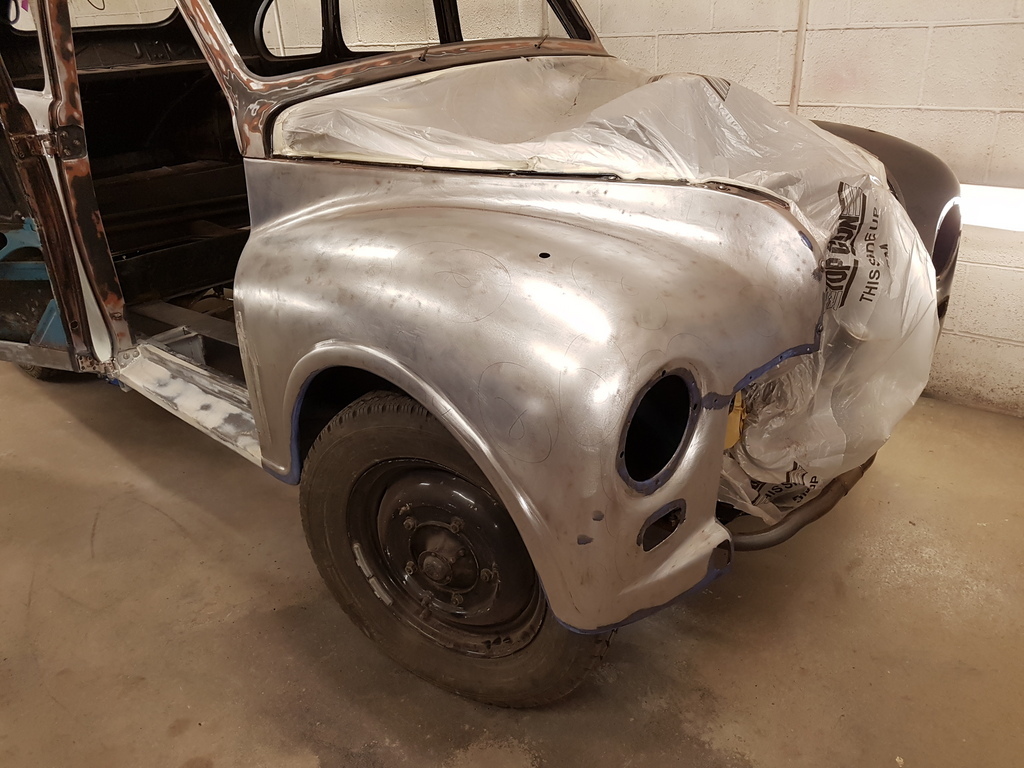 Wing edge repair lead loaded 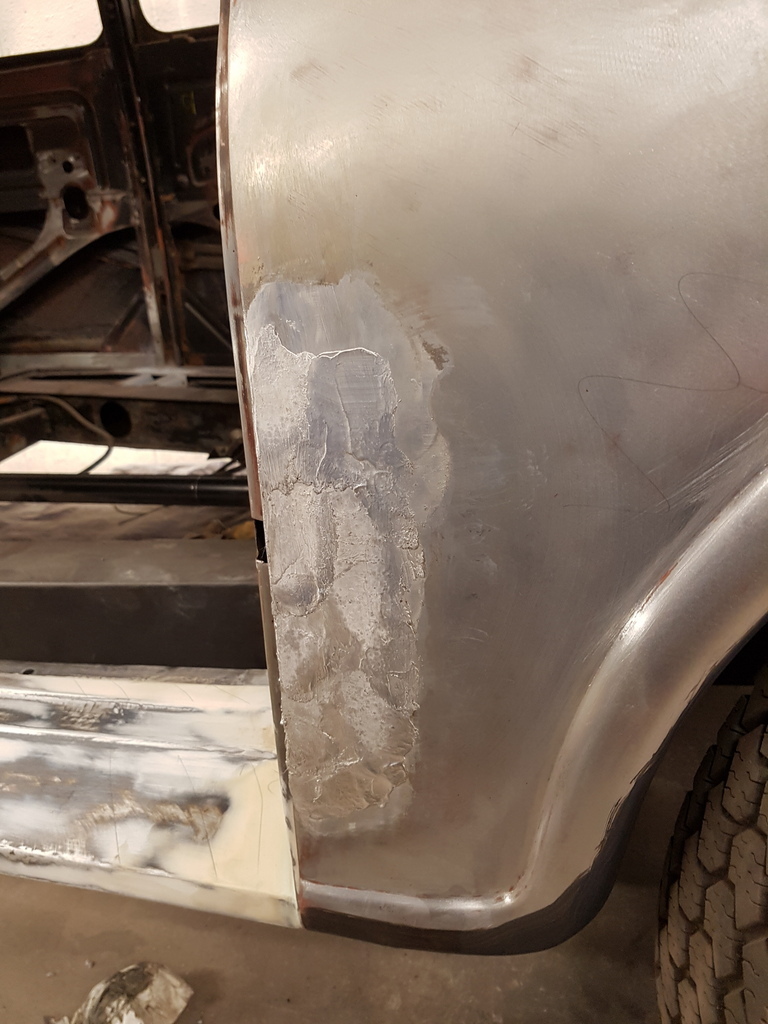 Trimmed back with a body file 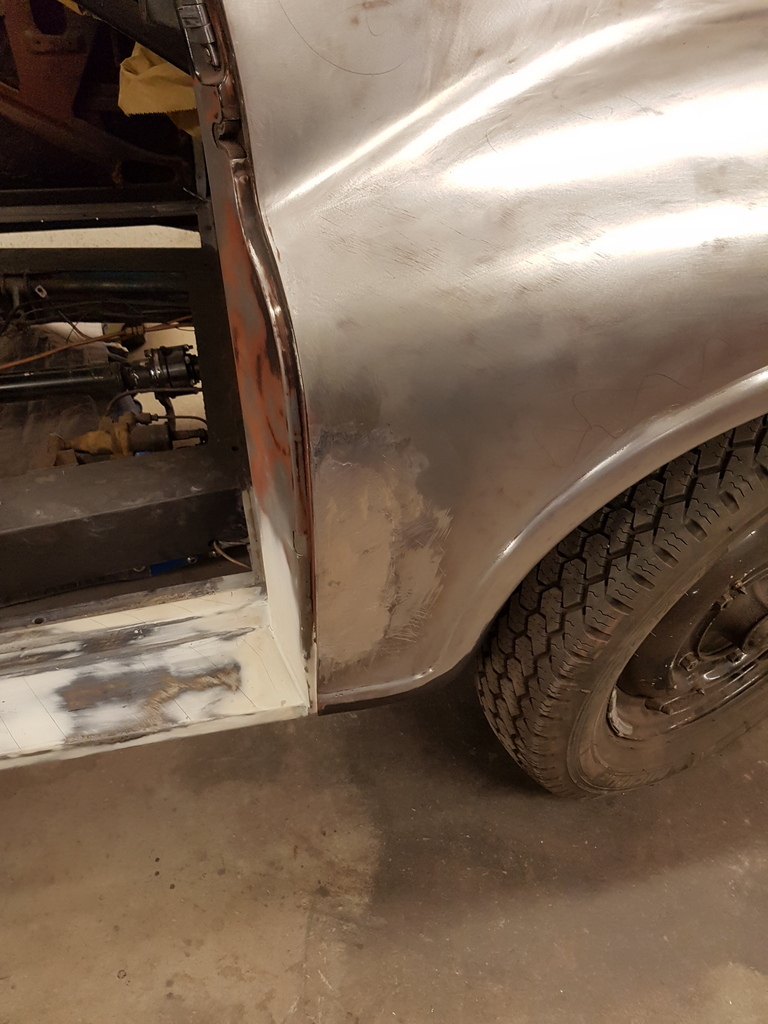 Then a quick buzz over with the sander 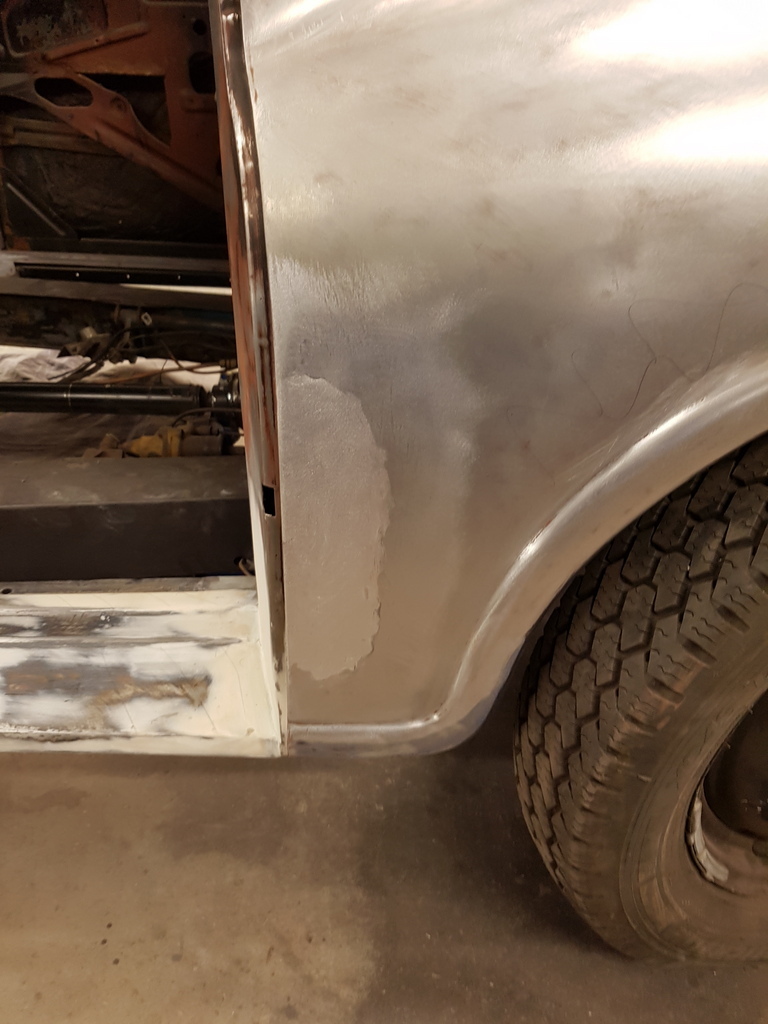 First skimming applied 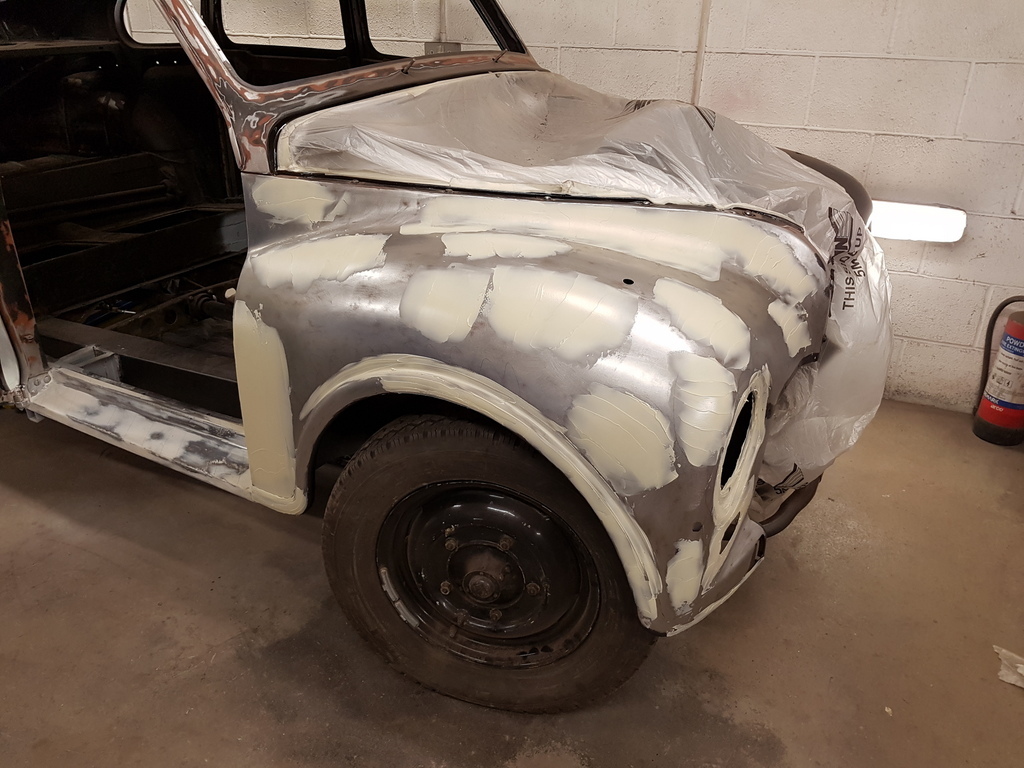 Whilst that was curing I straightened the front of the NSF wing up 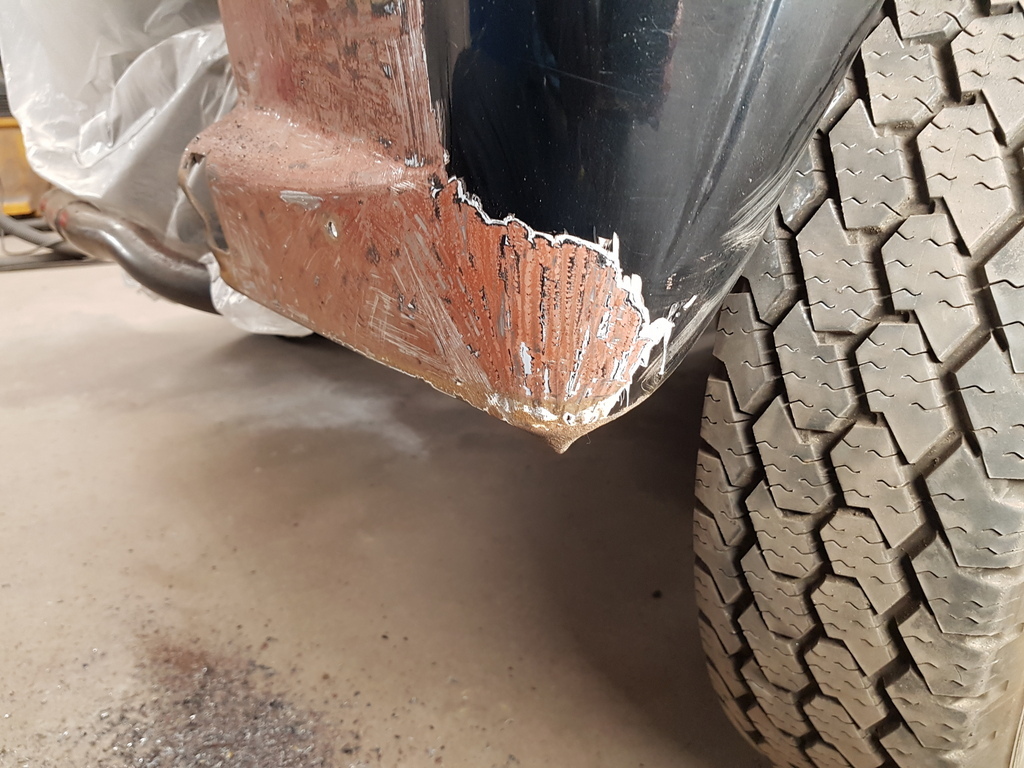 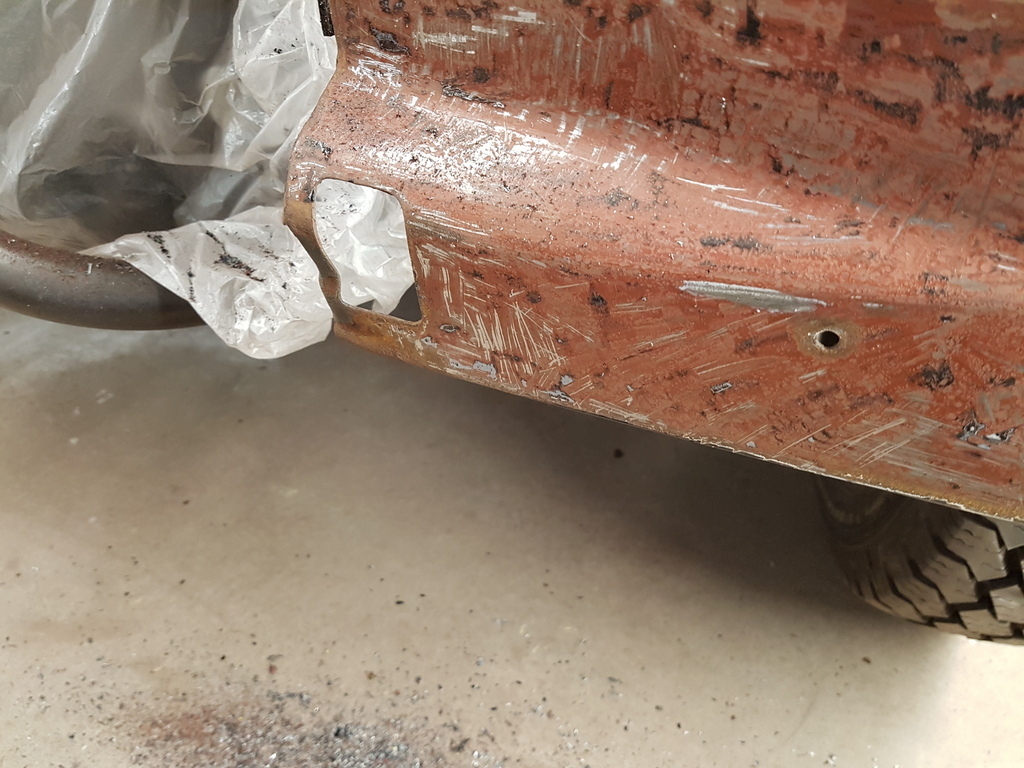 Then a trail fit of the front panel 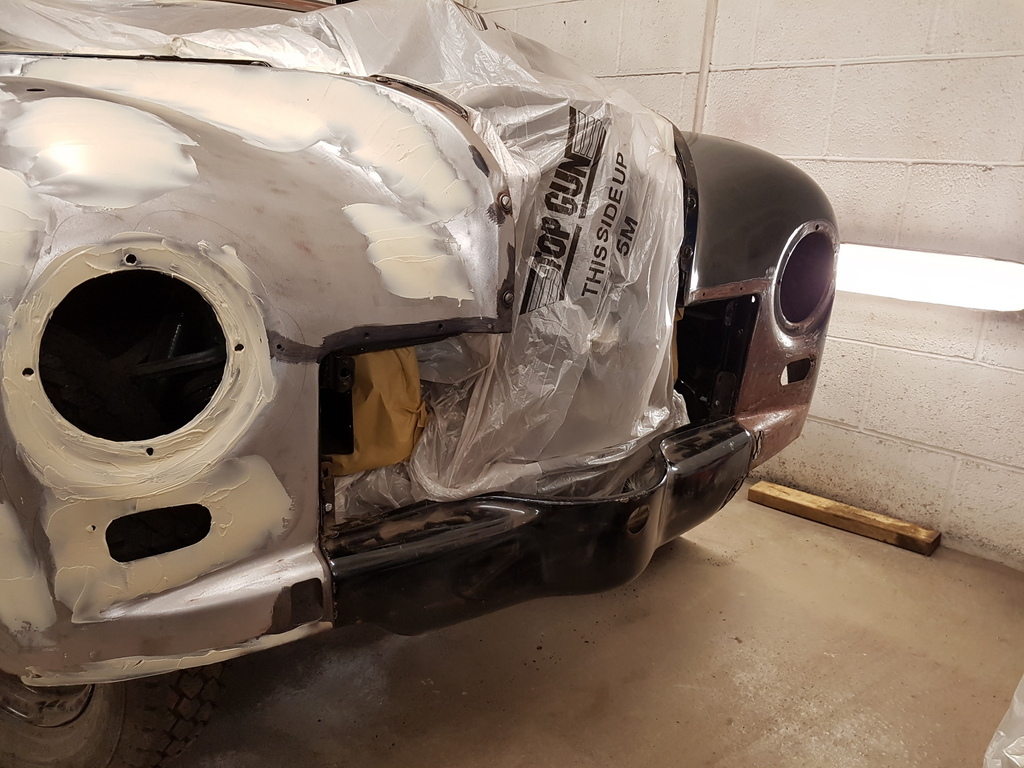 There is a piping bead that covers to joint 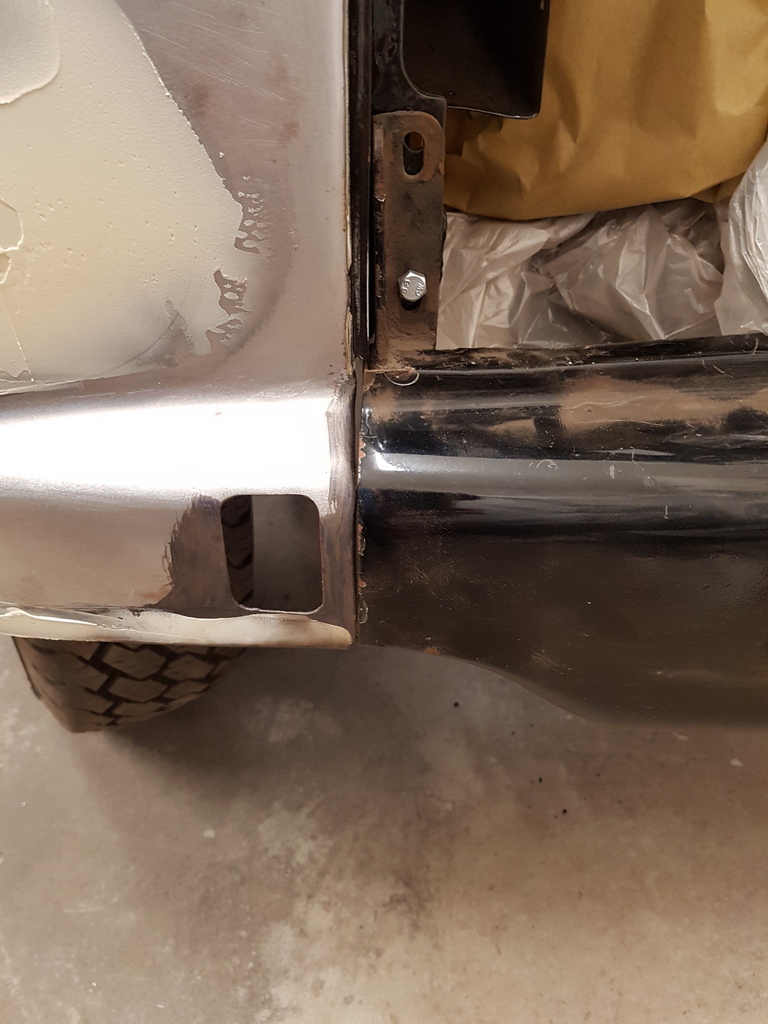 A little more work on the bumper iron aperture required to complete the straightening up 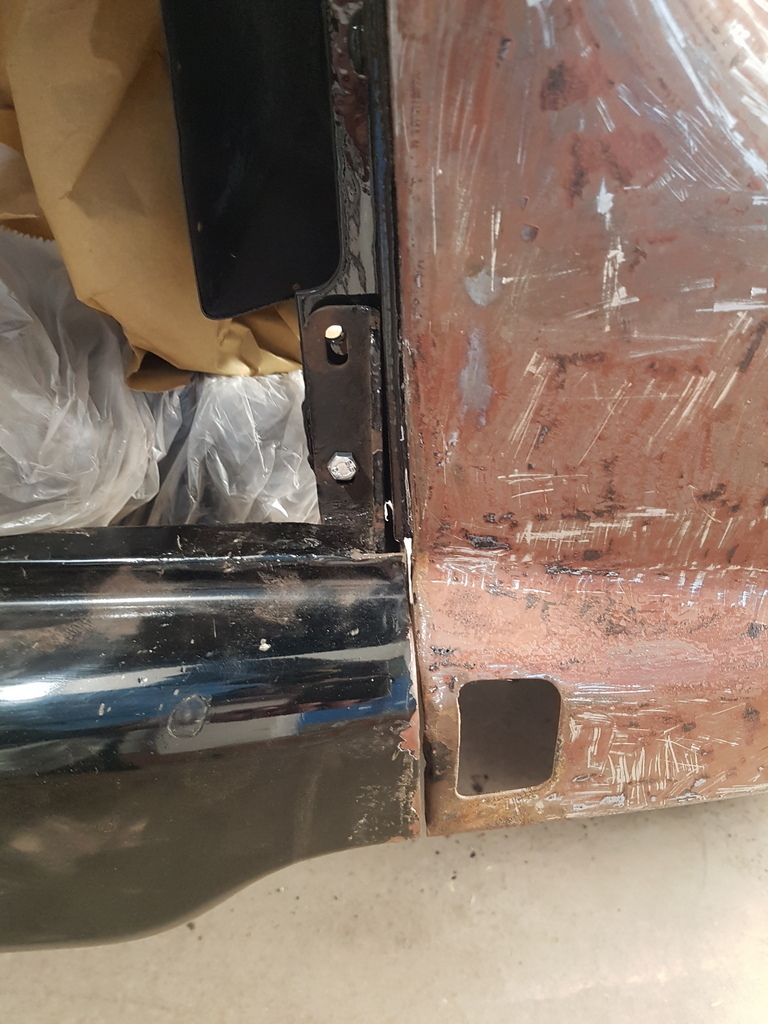 OSF wing is pretty well advanced on the profiles 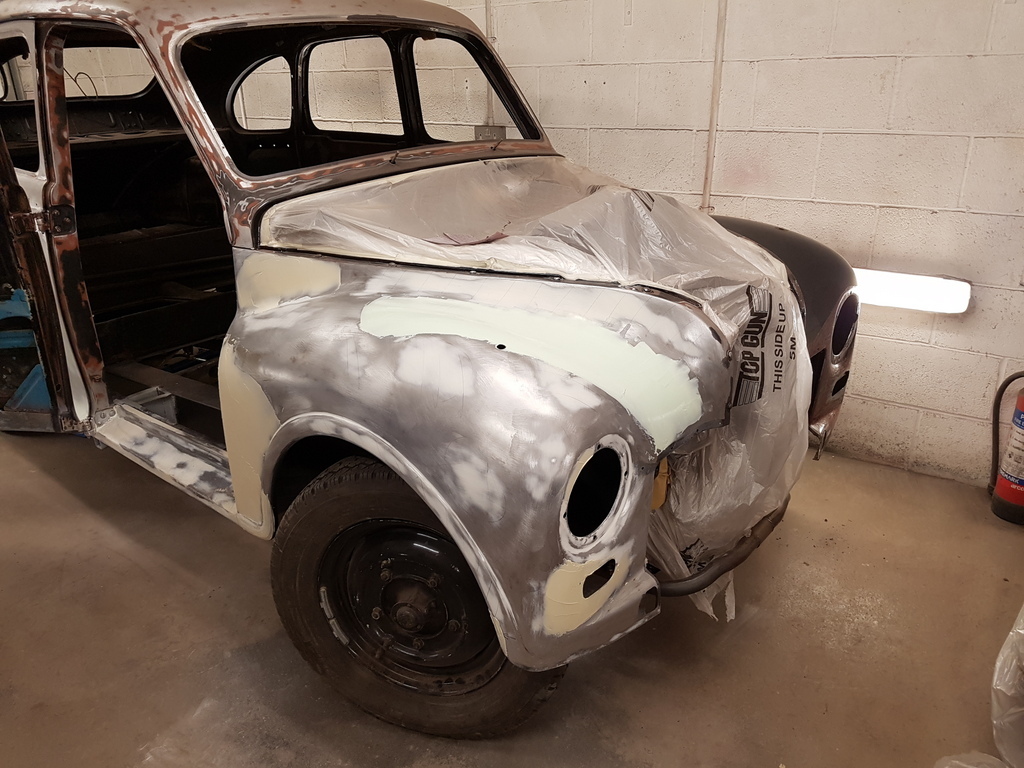 And a start has been made on removing the perforated areas at the front on the NSF wing 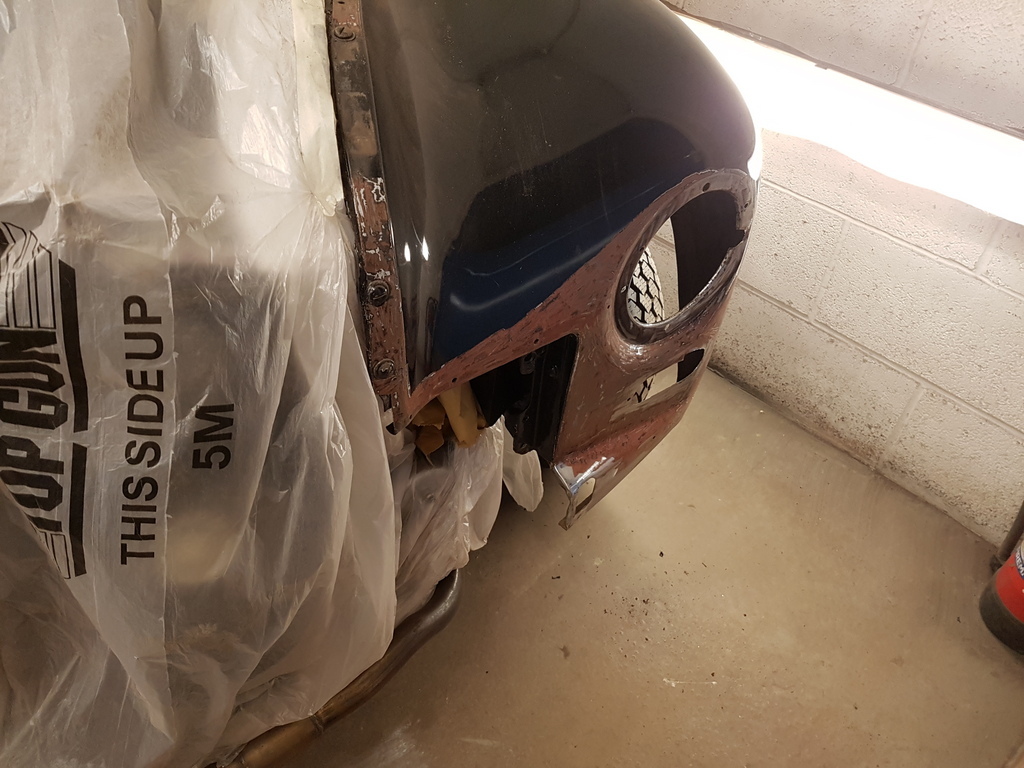 |
| |
|
|
|
|
|
|
|
Dec 24, 2019 12:08:21 GMT
|
Great work as usual Chris Do you have a before picture with the front cross piece in place please and was it the arch side or the front that was pushed in to give the crease in the corner?
|
| |
|
|
|
|
|
Dec 24, 2019 12:18:19 GMT
|
Great work as usual Chris Do you have a before picture with the front cross piece in place please and was it the arch side or the front that was pushed in to give the crease in the corner? 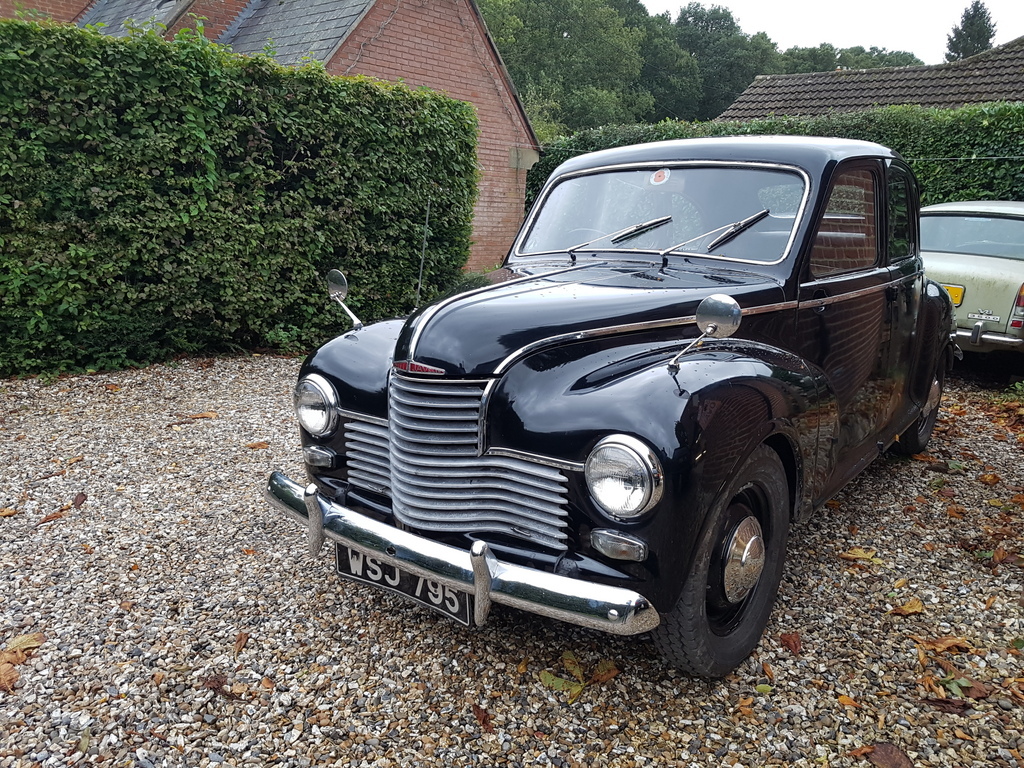 Pete - Its difficult to see it has its largely covered by the front bumper - again hard to see but there is a push higher up on the wheel arch - the damage caused around the bumper iron aperture was probably created by the wing springing against the bumper iron with the impact on the wheel arch |
| |
|
|
|
|
|
Dec 24, 2019 12:49:06 GMT
|
|
I can see it Chris thank you that explains why it had re shaped it self as it did.
|
| |
|
|
|
|
|
Dec 24, 2019 13:28:52 GMT
|
|
Once again you leave me just making noises inside my mouth
Love lead wipe work.
Did some 18 years ago on a widened bike mudguard that I had made.
Very rewarding result.
|
| |
|
|
|
|
|
Dec 24, 2019 16:27:01 GMT
|
|
Among everything else on this and GN's other efforts, I always like the clean shop floor.
I was also envisioning what mighty male/female body dies must have been used to punch-out those front wings at Briggs or whomever you'd mentioned made the bodies for Jowett.
Best Wishes to All for a Merry Christmas and extra special thanks to Chris/GN for sharing all this with us.
John, Connecticut/USA
|
| |
Last Edit: Dec 24, 2019 16:28:24 GMT by jjeffries
|
|
|
|
|
Dec 24, 2019 18:19:41 GMT
|
Among everything else on this and GN's other efforts, I always like the clean shop floor. I was also envisioning what mighty male/female body dies must have been used to punch-out those front wings at Briggs or whomever you'd mentioned made the bodies for Jowett. Best Wishes to All for a Merry Christmas and extra special thanks to Chris/GN for sharing all this with us. John, Connecticut/USA John - Many thanks - I hate working in curse word - hence I'm always on the go with the sweeping brush more or less cleaning up has I go - even today before breaking for the holidays I ran one of the cars out of the workshop and placed the Javelin on the opposite side of the workshop whilst I set to and had good tidy up I think I have some black & white photos somewhere of the Briggs panel production line for the Javelin - I will see if I can dig them out / scan them in - has you say must have been quite some machinery has the Javelin panels are quite made from really good gauge of steel Have a great Christmas - Chris |
| |
Last Edit: Dec 26, 2019 10:21:46 GMT by Deleted
|
|
|
|
|
Dec 24, 2019 19:43:25 GMT
|
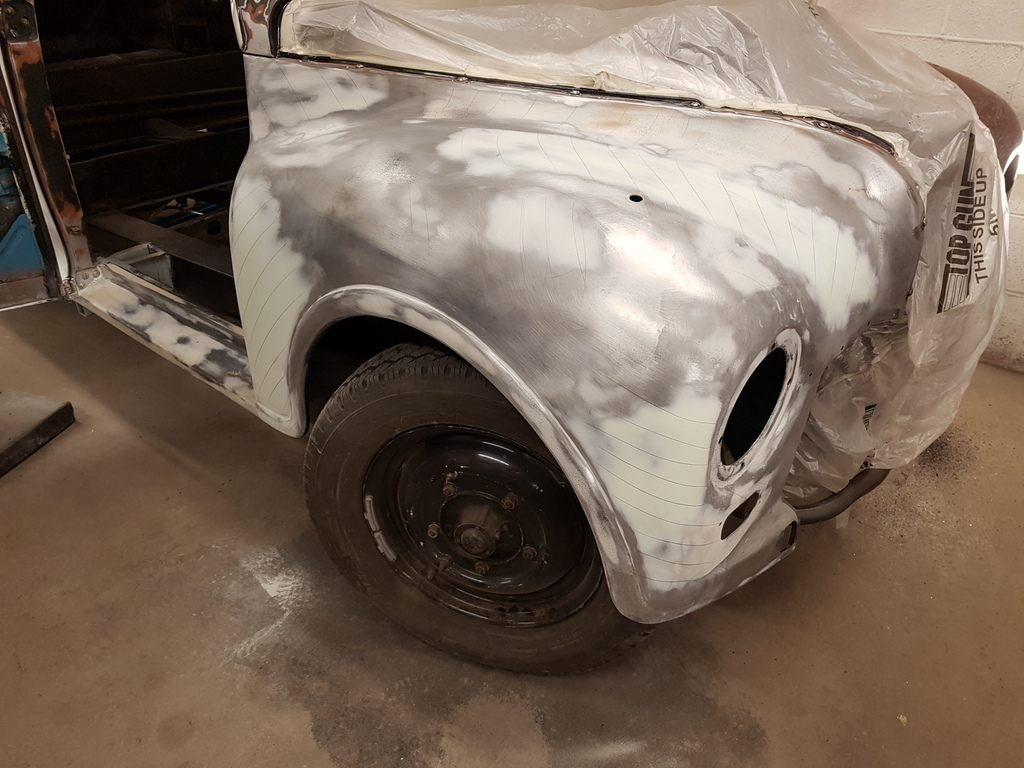 Continued with the profiles on the offside front wing 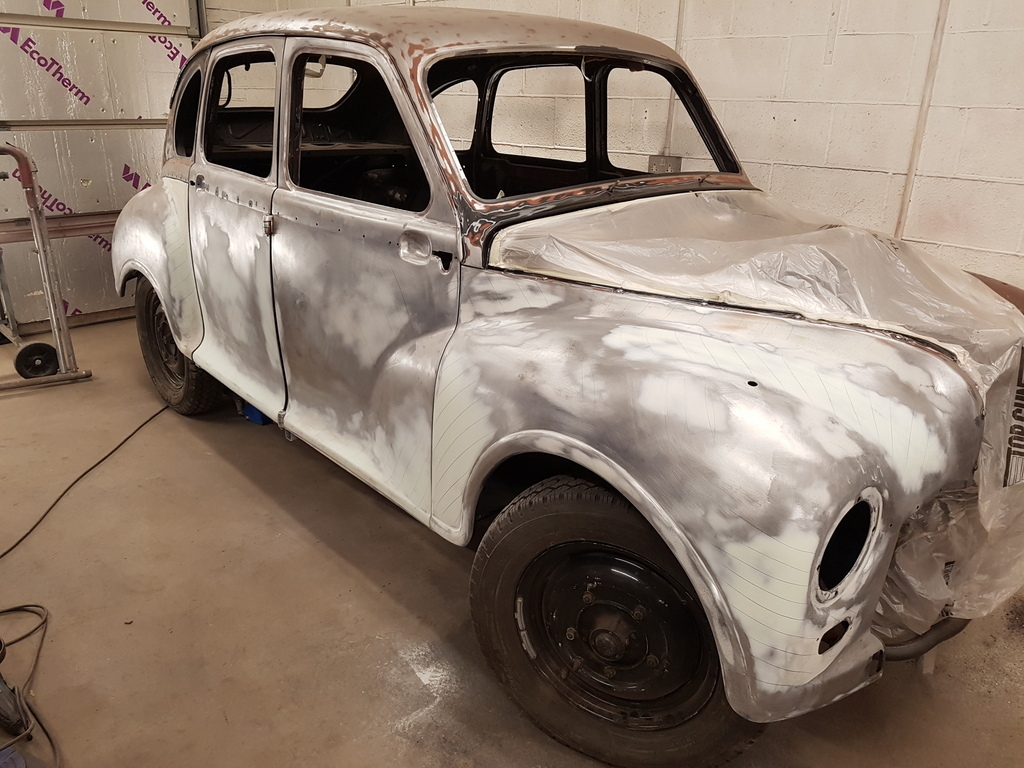 Which is now completed 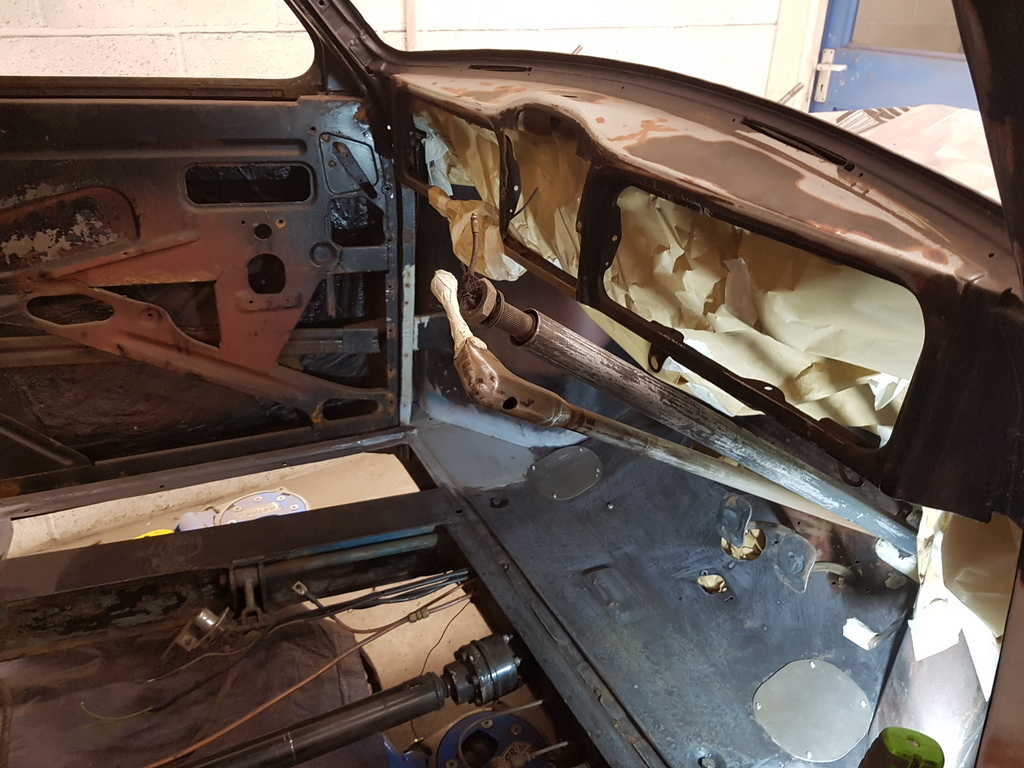 A little prep on the front floor pan to ready it for etching primer 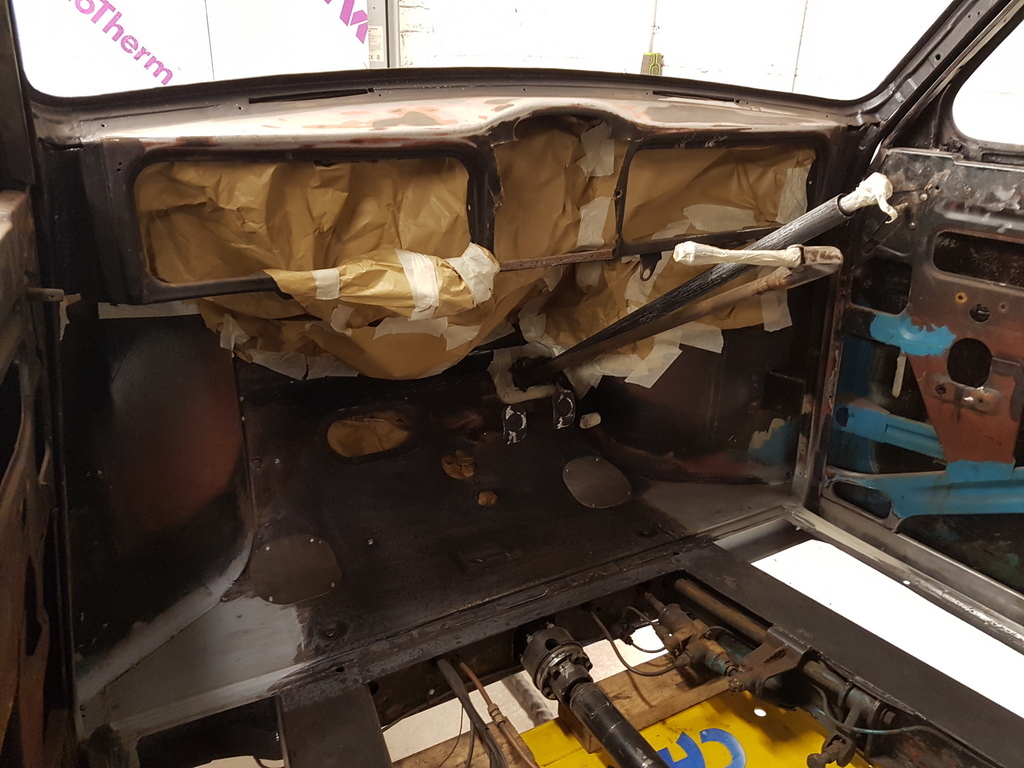 I cant be the only one on here that detests finding overspray on everything - even the things that cant be seen when its fitted up - bugs the hell out of me when I come across it - all for a little masking up or quite often than not just removing the parts then refitting them once the car has been painted 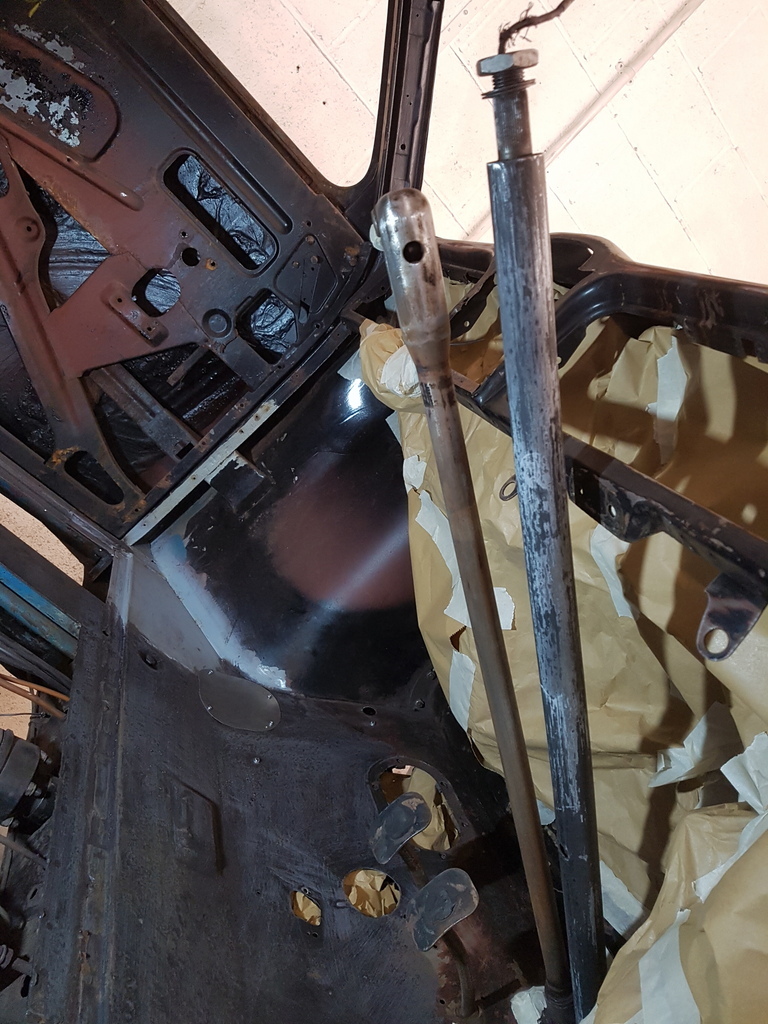 The steering & gearshift columns will also be getting a lick of paint 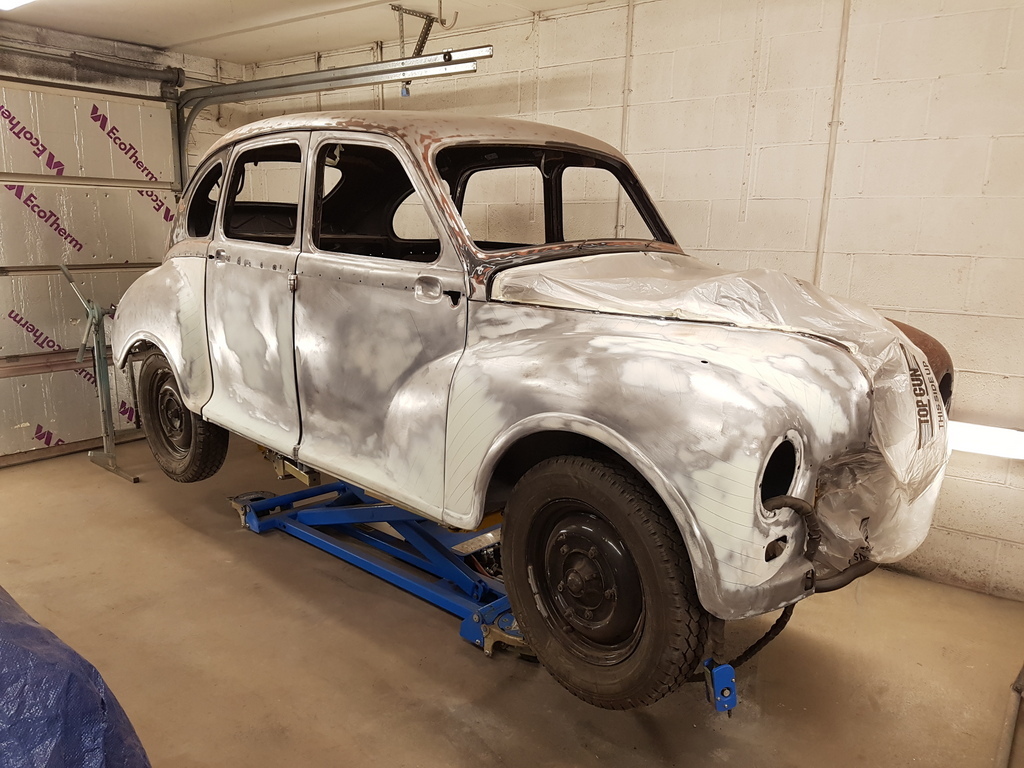 Then put the car on the lift so that I could have a good clean up of the workshop whilst turning the car around 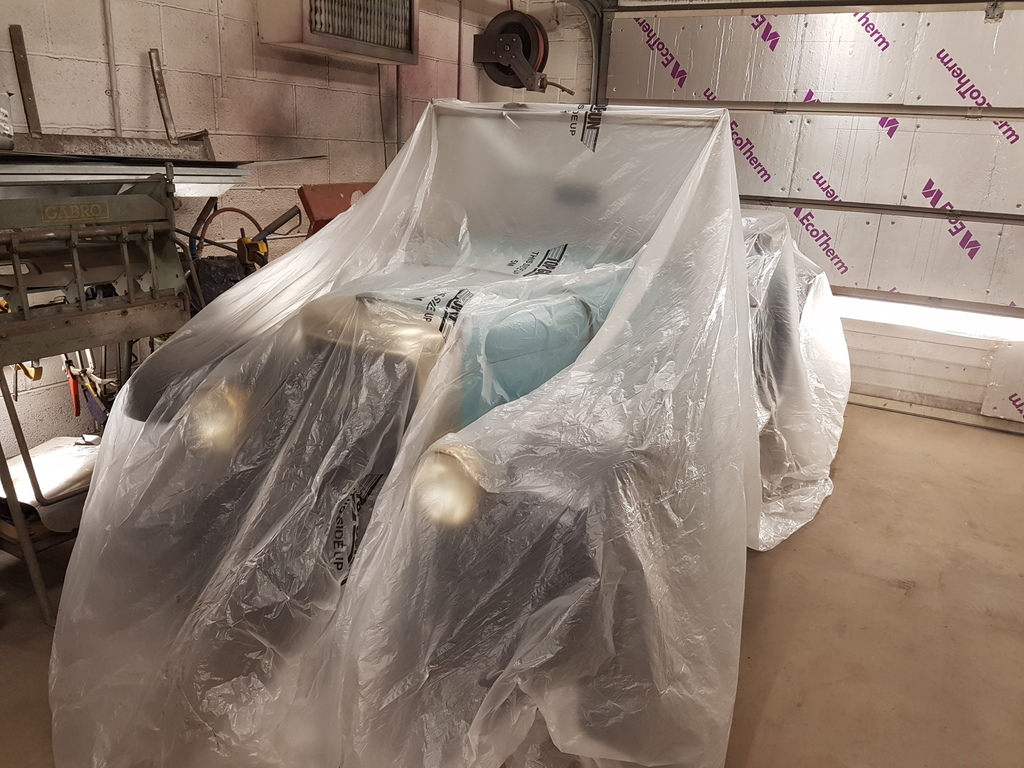 But first I have to uncover this and move it outside 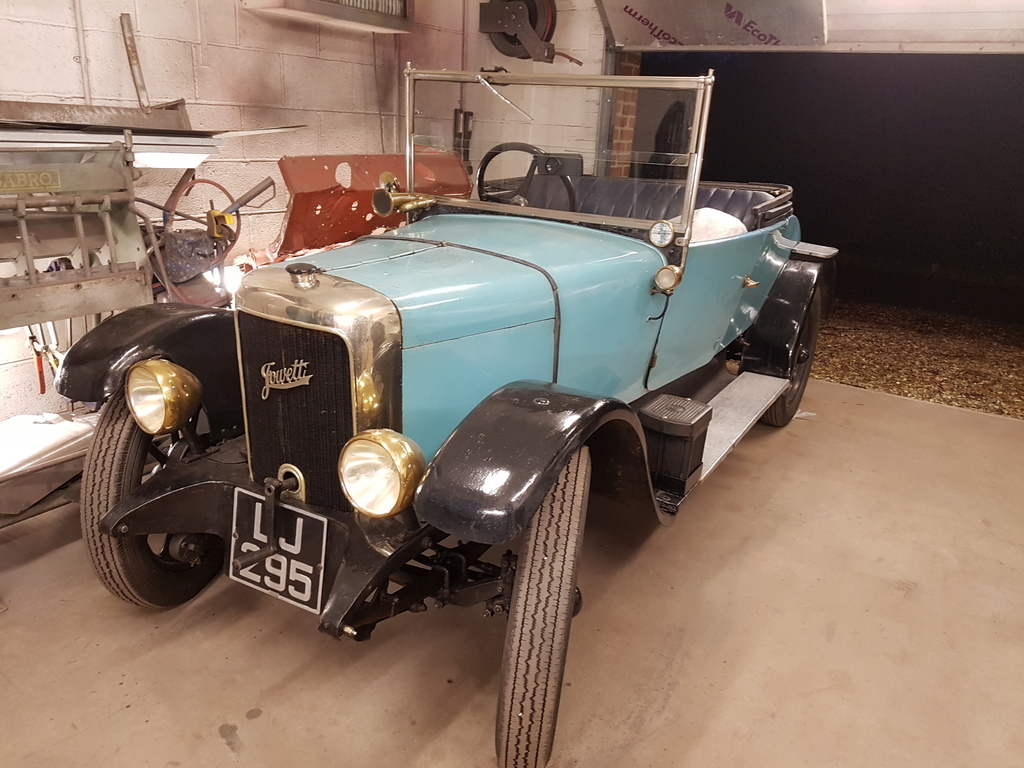 Its a 1929 Jowett Long 2 tourer and is with me for a new hood - its a largely all original - patina wearing car 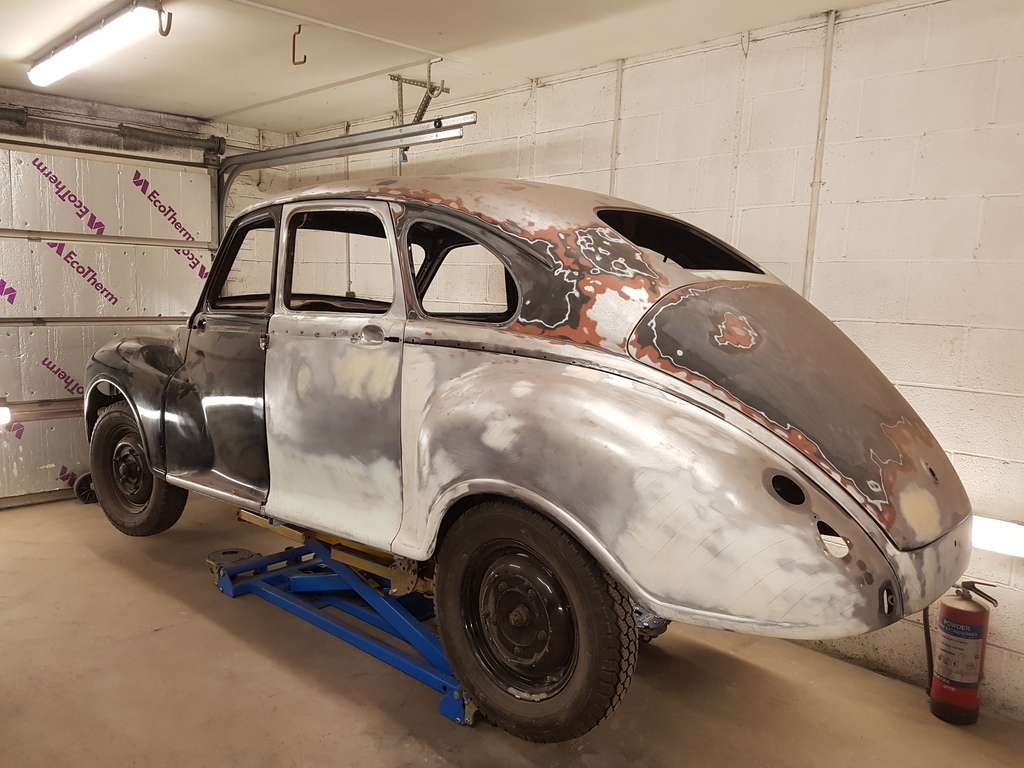 Good tidy up & turn round later - I will probably do the odd bit on both cars over the hols on the days that Sharon is at work - plus I need to keep the momentum moving on the Javelin - I have a very solid / busy year ahead so no slacking in the workshop department allowed for me  |
| |
Last Edit: Dec 26, 2019 10:22:20 GMT by Deleted
|
|
jpsmit
Posted a lot
  
Posts: 1,274
|
|
|
|
|
gorgeous - both of them.
How much do you think the unexpected list set you back time wise?
|
| |
|
|
|
|
|
Dec 26, 2019 10:25:58 GMT
|
gorgeous - both of them. How much do you think the unexpected list set you back time wise? Well the Javelin was with me initially for 2 weeks work - its still here 10 weeks later and there is about another 2 - 3 weeks work left on it - so its a good few months on the additional work front |
| |
|
|
|
|
|
|
|
Dec 26, 2019 11:15:52 GMT
|
I cant be the only one on here that detests finding overspray on everything - even the things that cant be seen when its fitted up - bugs the hell out of me when I come across it - all for a little masking up or quite often than not just removing the parts then refitting them once the car has been painted Thought of you today. Saw a fairly new Toyota that had obviously had two doors on one side blown over. How do I know? Both window rubbers were the same colour as the door!  |
| |
|
|
jpsmit
Posted a lot
  
Posts: 1,274
|
|
Dec 26, 2019 14:00:56 GMT
|
gorgeous - both of them. How much do you think the unexpected list set you back time wise? Well the Javelin was with me initially for 2 weeks work - its still here 10 weeks later and there is about another 2 - 3 weeks work left on it - so its a good few months on the additional work front That's kind of what I figured. Not much you can do (and you have to do it for both your business and for the sake of the project) but it helps explain why times to drop off a car (and pick it up) can be so fluid. love reading your projects! cheers |
| |
|
|
|
|
|
Dec 26, 2019 14:51:32 GMT
|
I cant be the only one on here that detests finding overspray on everything - even the things that cant be seen when its fitted up - bugs the hell out of me when I come across it - all for a little masking up or quite often than not just removing the parts then refitting them once the car has been painted Thought of you today. Saw a fairly new Toyota that had obviously had two doors on one side blown over. How do I know? Both window rubbers were the same colour as the door!  And the owner probably did not even notice. |
| |
|
|
|
|
|
Dec 27, 2019 21:39:41 GMT
|
More on the progress front 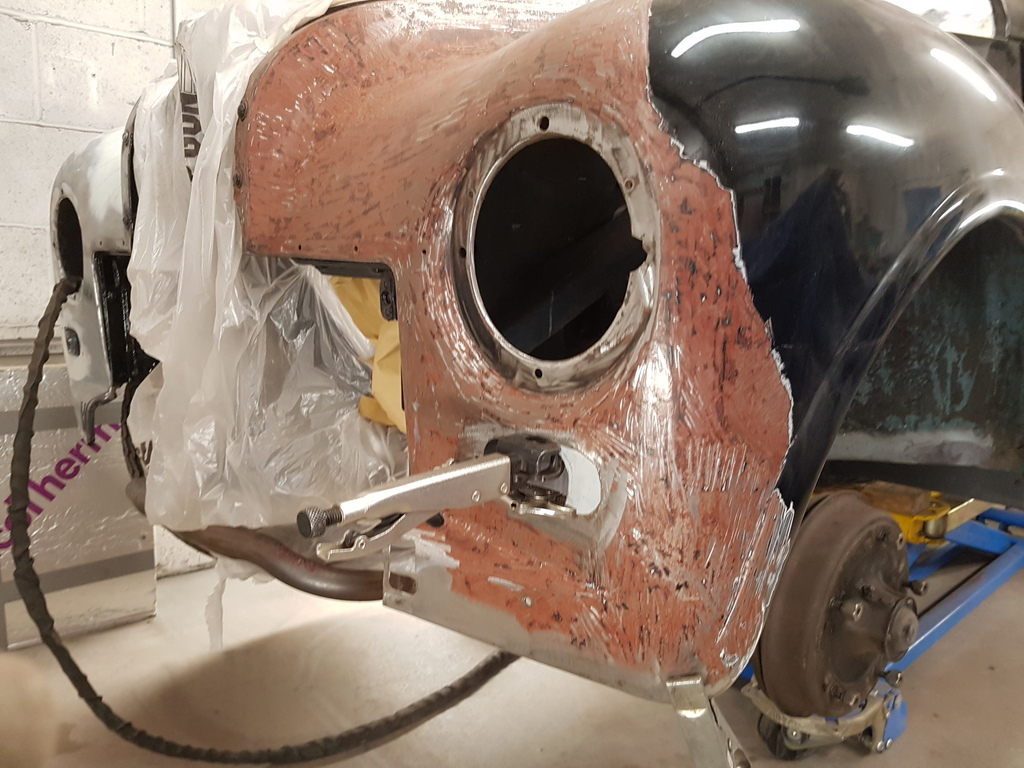 Tackled the panel repairs around the lamp apertures on the nearside front wing 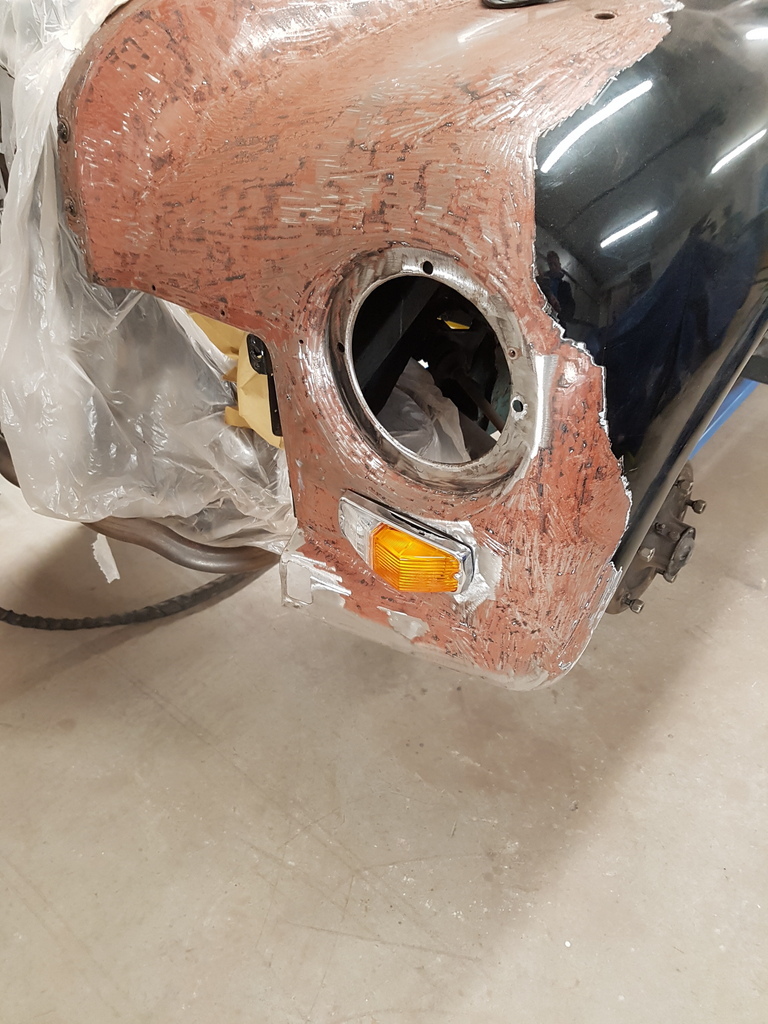 Trial fitted the new side / indicator lamp & I now have clear lenses in stock for the indicators which give the front a more period / cleaner finish - just use orange bulbs instead for the indicators 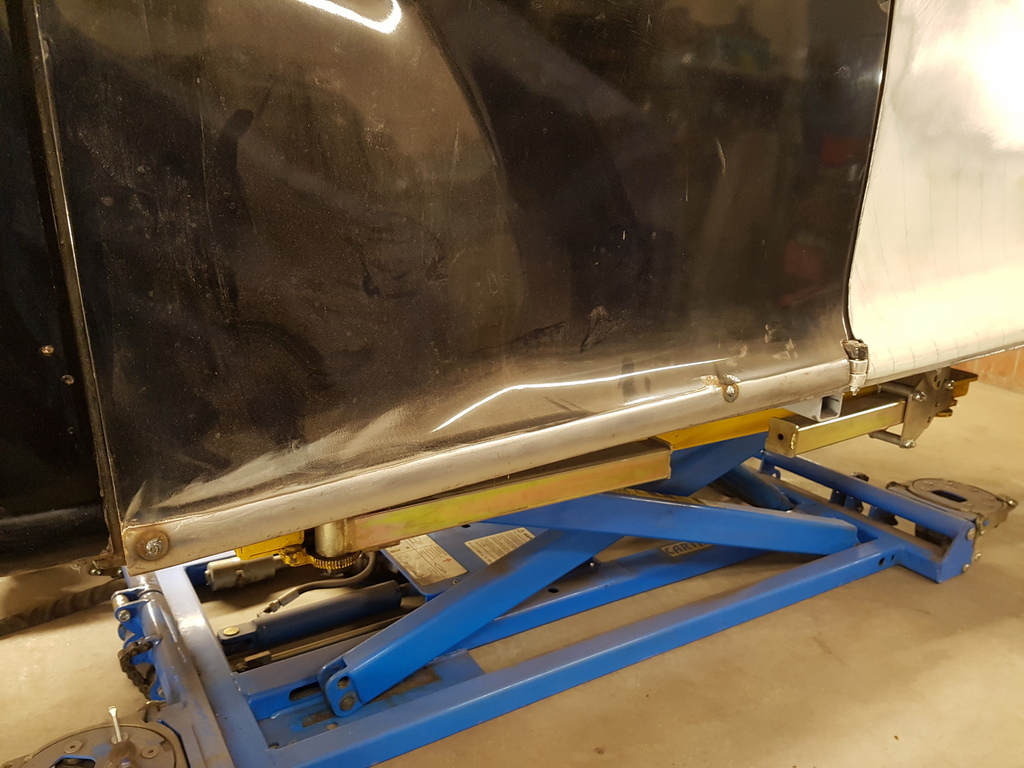 Just few pinholes on the bottom of the door skin on the nearside front door 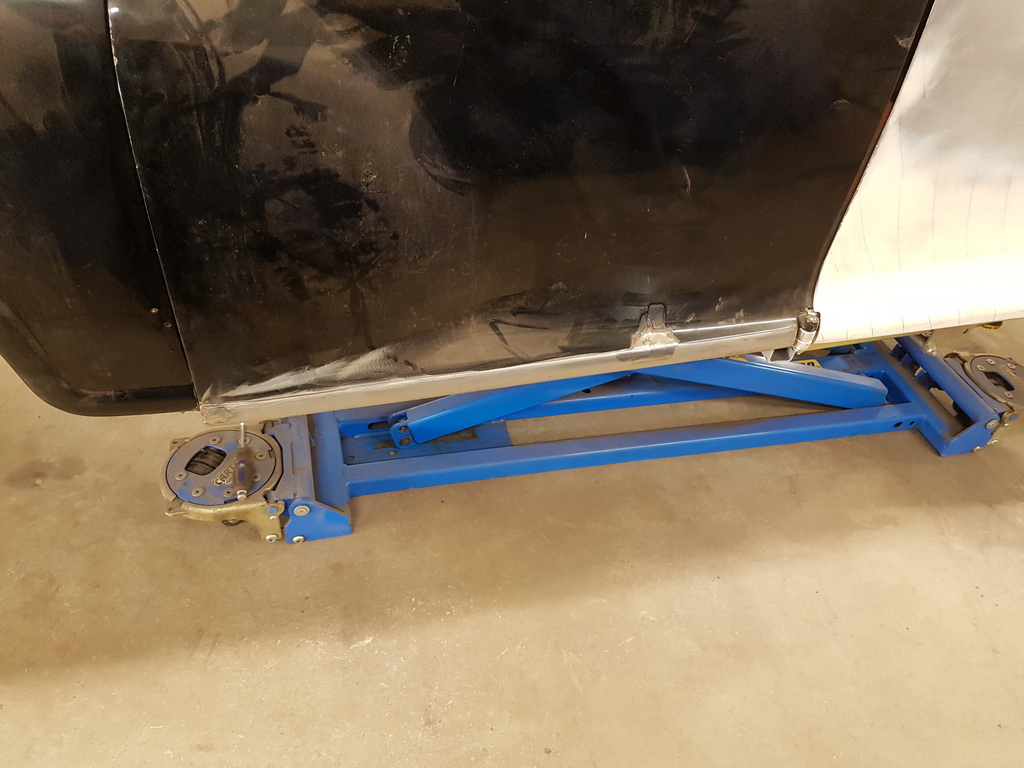 I rebated the area and then filled this with weld prior to dressing back with a flapdisc 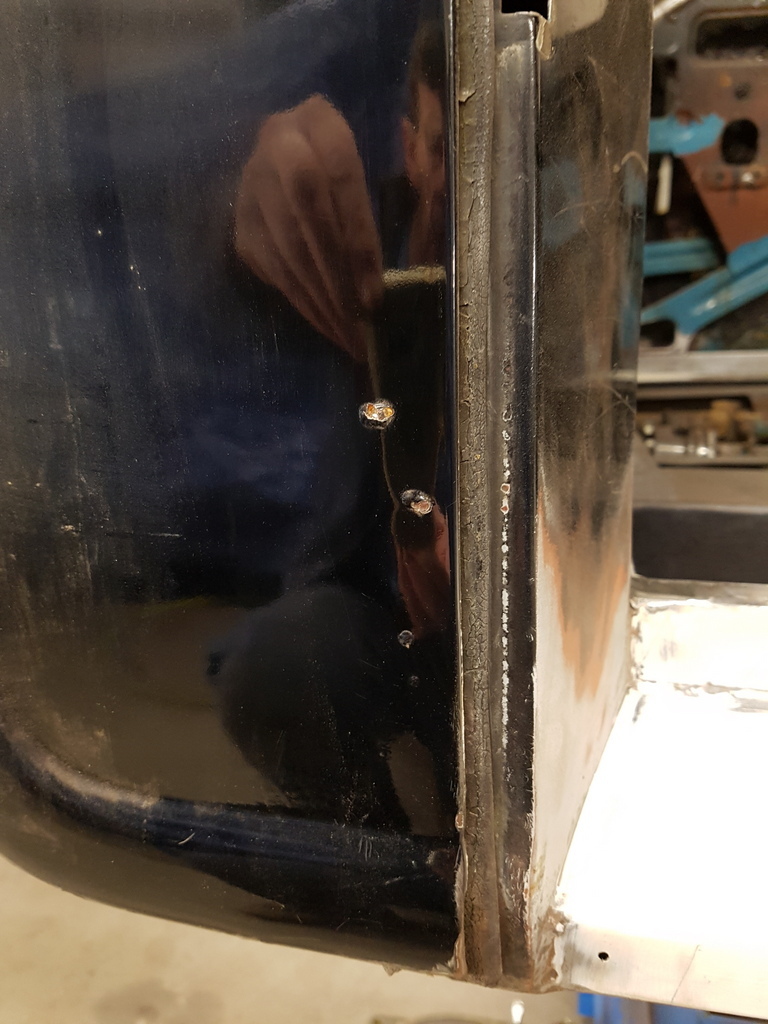 Rear flange edge of the NSF wing - very minor perforations but the rust of the rear supporting / reinforcing edge has swelled and forced a bulge into the wing 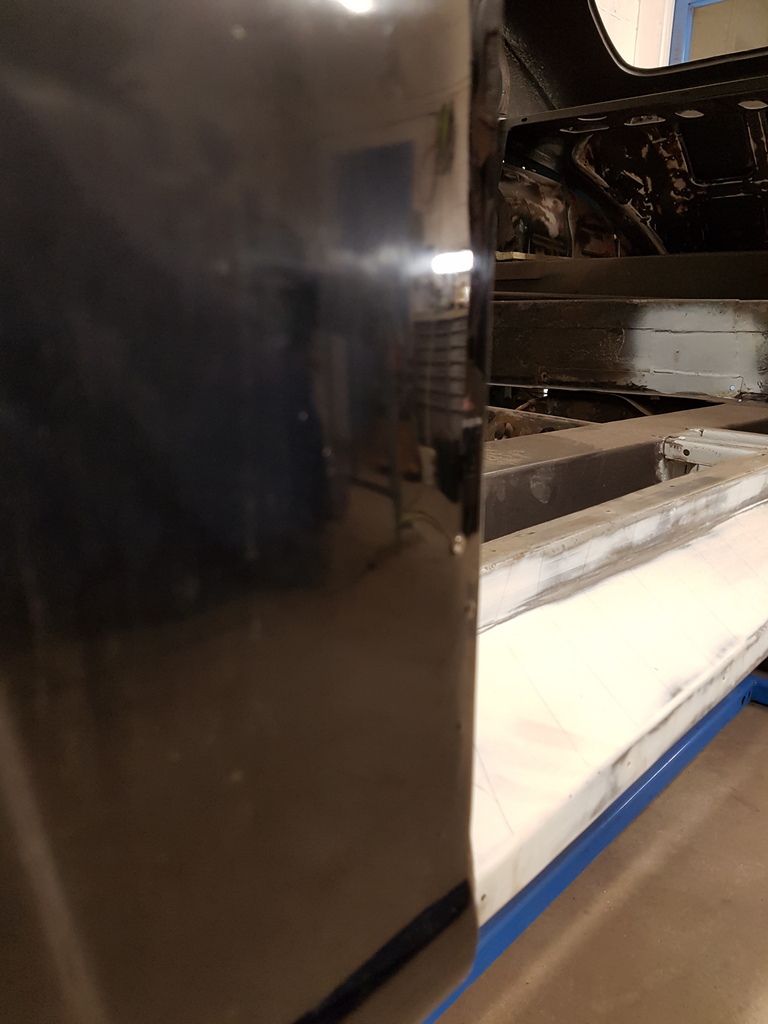 Only one true way of sorting this problem 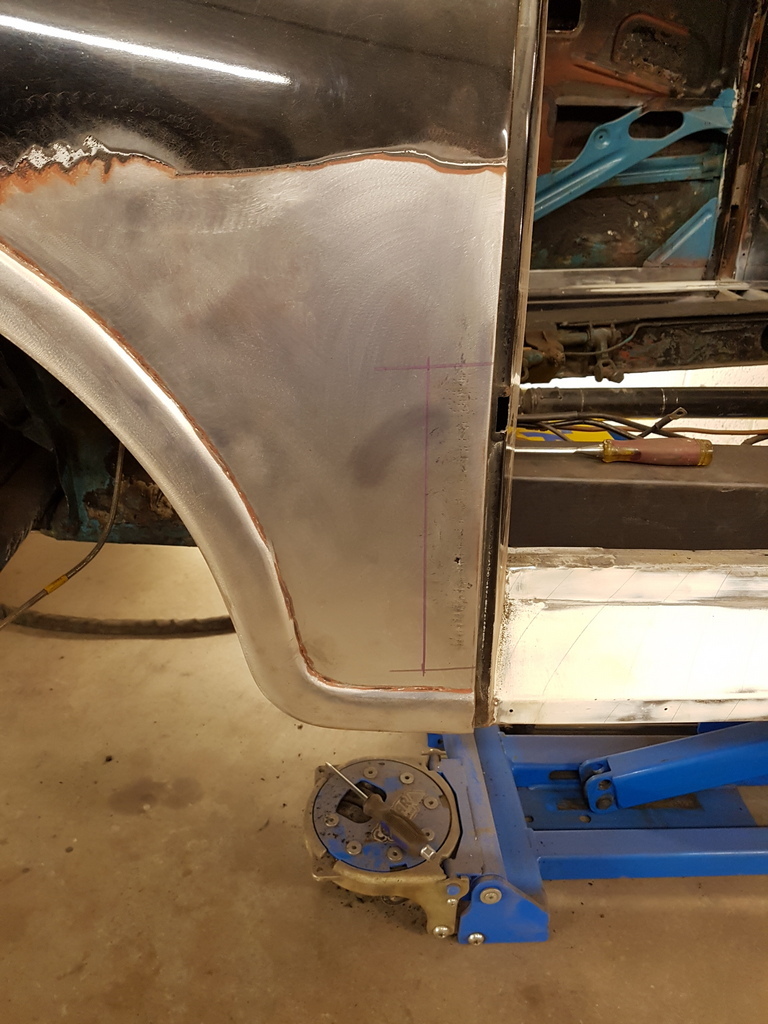 You can probably see in this image how the rust scale has built up and forced the outer wing skin section outwards (although most of it has fallen out by now) - I cleaned the reinforcing section up and applied a weld through primer to it 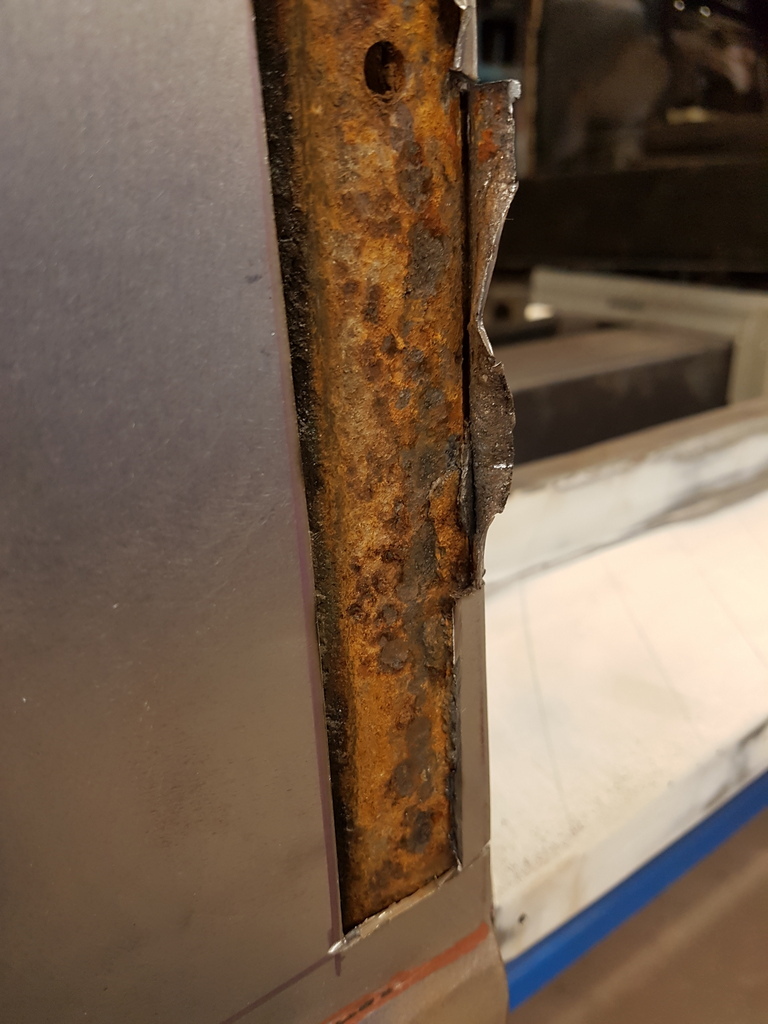 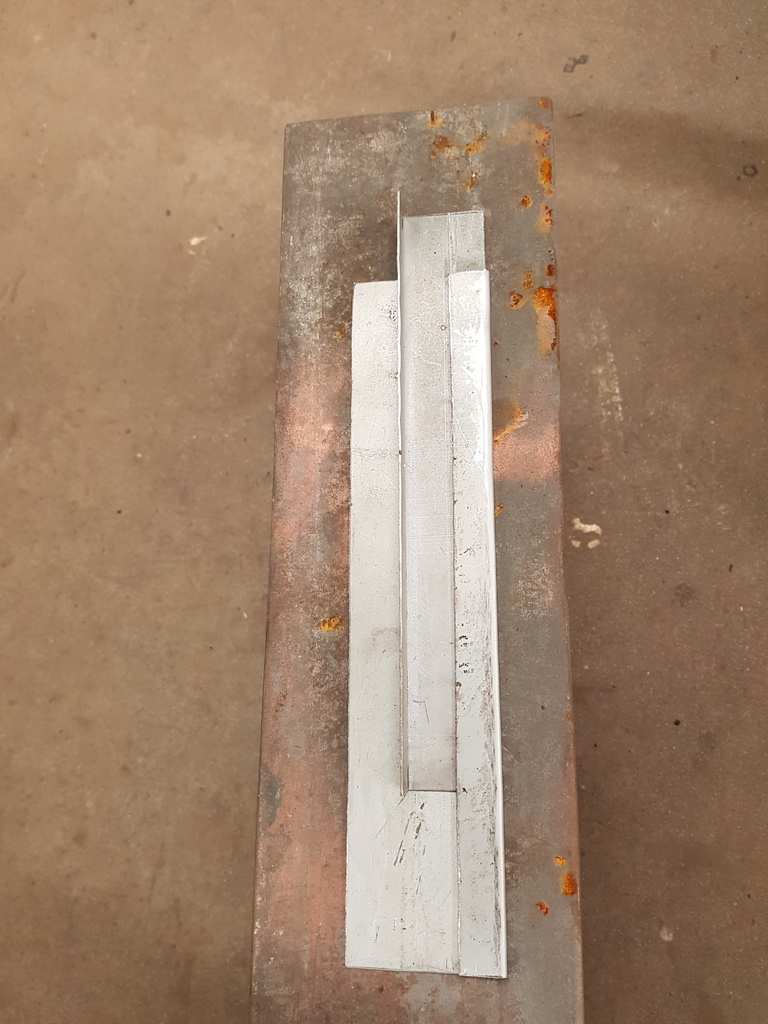 Quick tip on forming edge flanges - if you use a loose piece of sheet steel rather than tapping the flange edge to the point that it closes up too tight 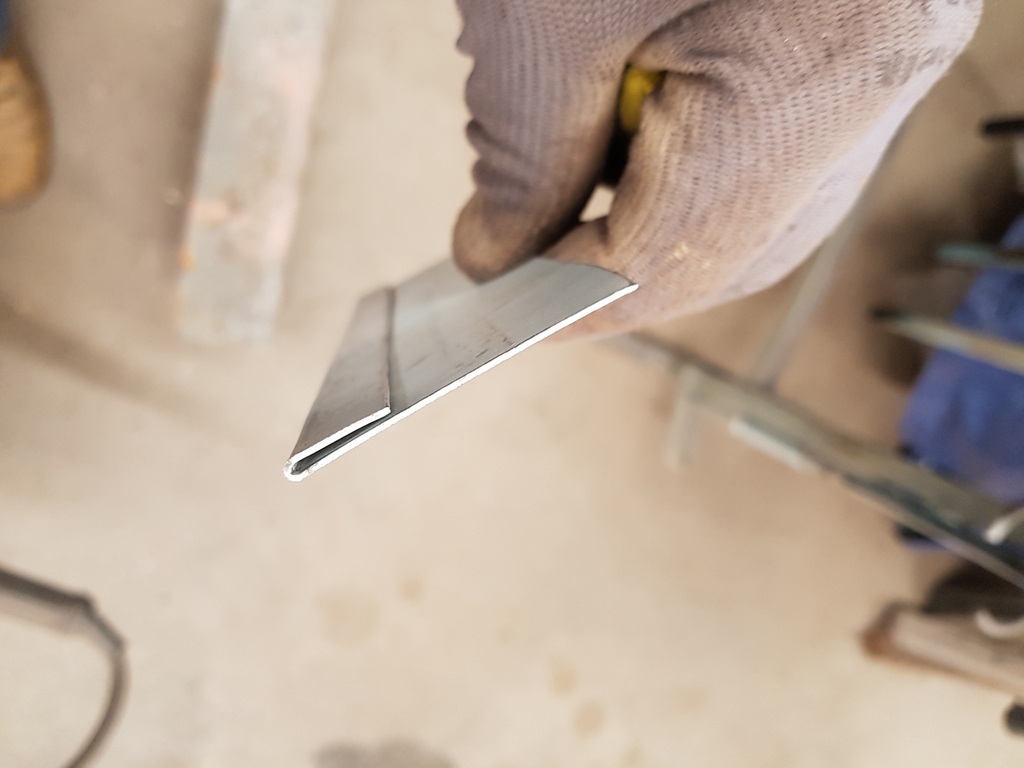 It will leave you with enough of an opening to slide it over the male flange section 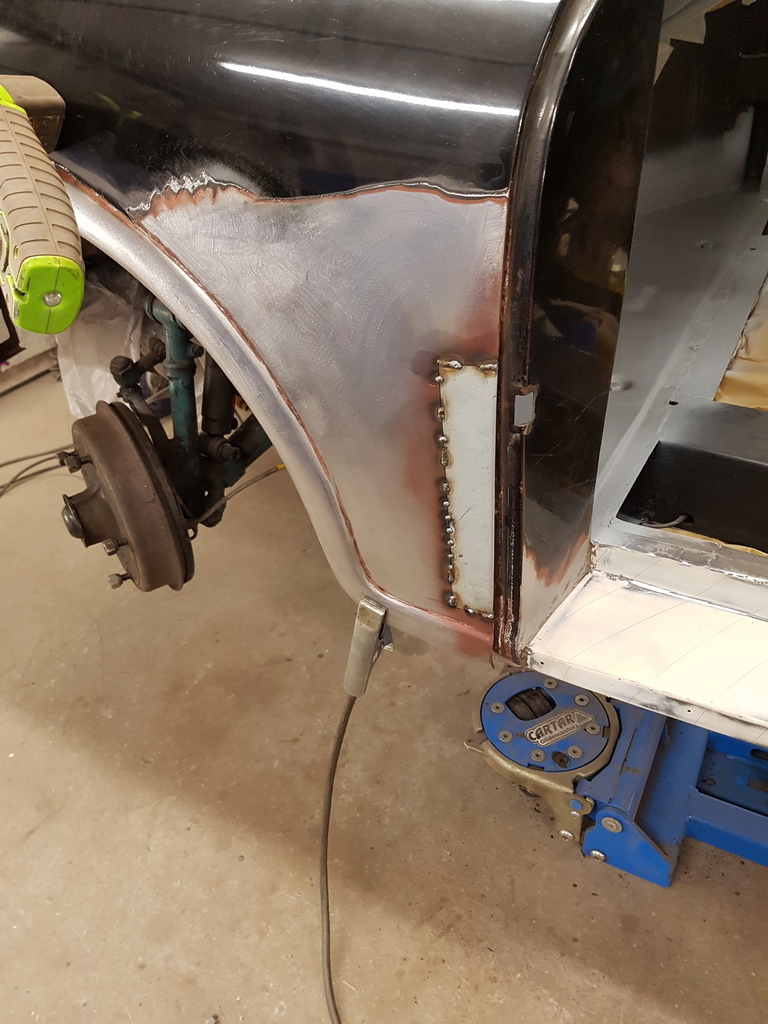 Repair trimmed & tacked in 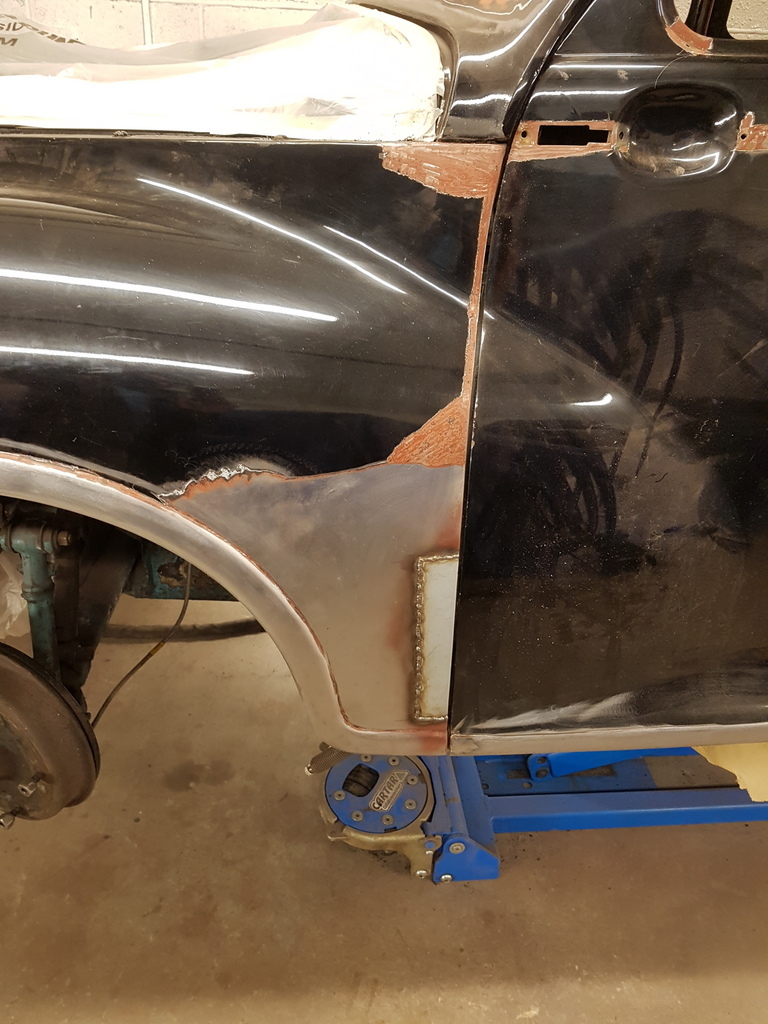 Fully welded - I will dress it back in the morning prior to lead loading it 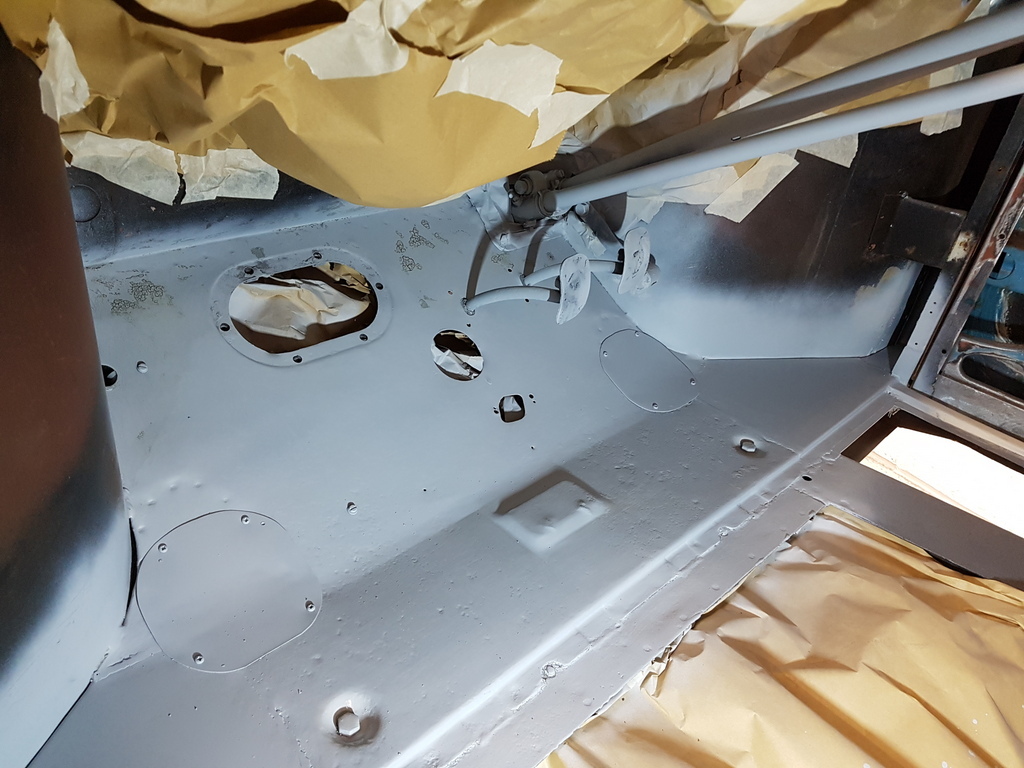 Etching primer applied to the front footwell 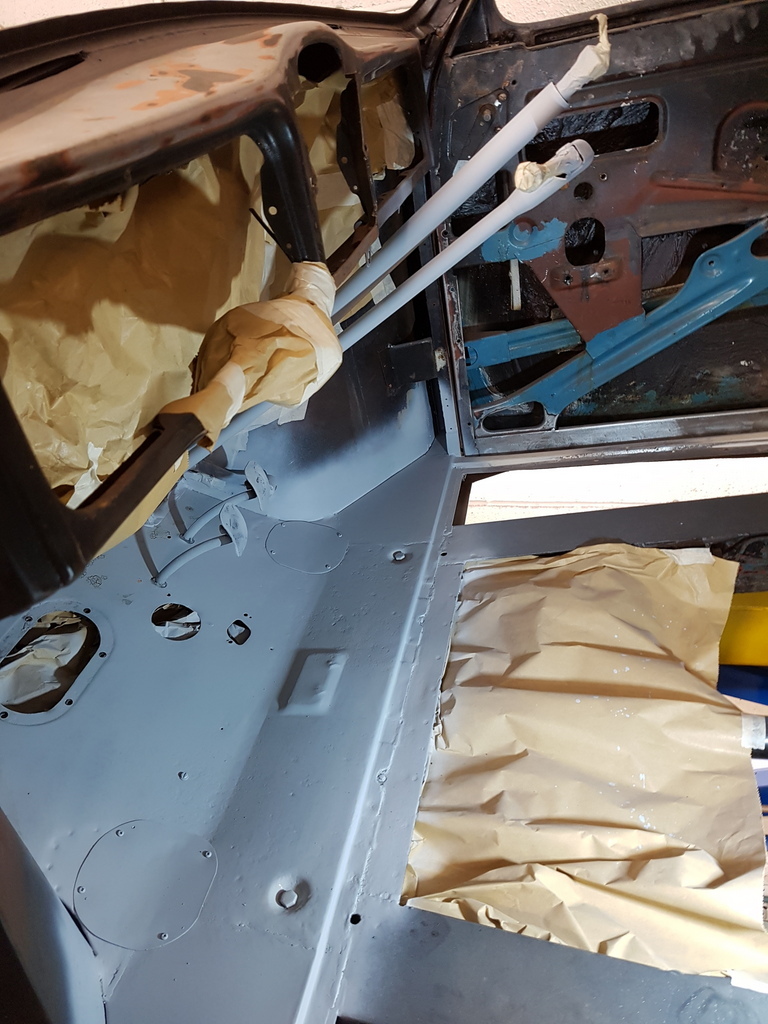 Along with the steering & gearshift columns 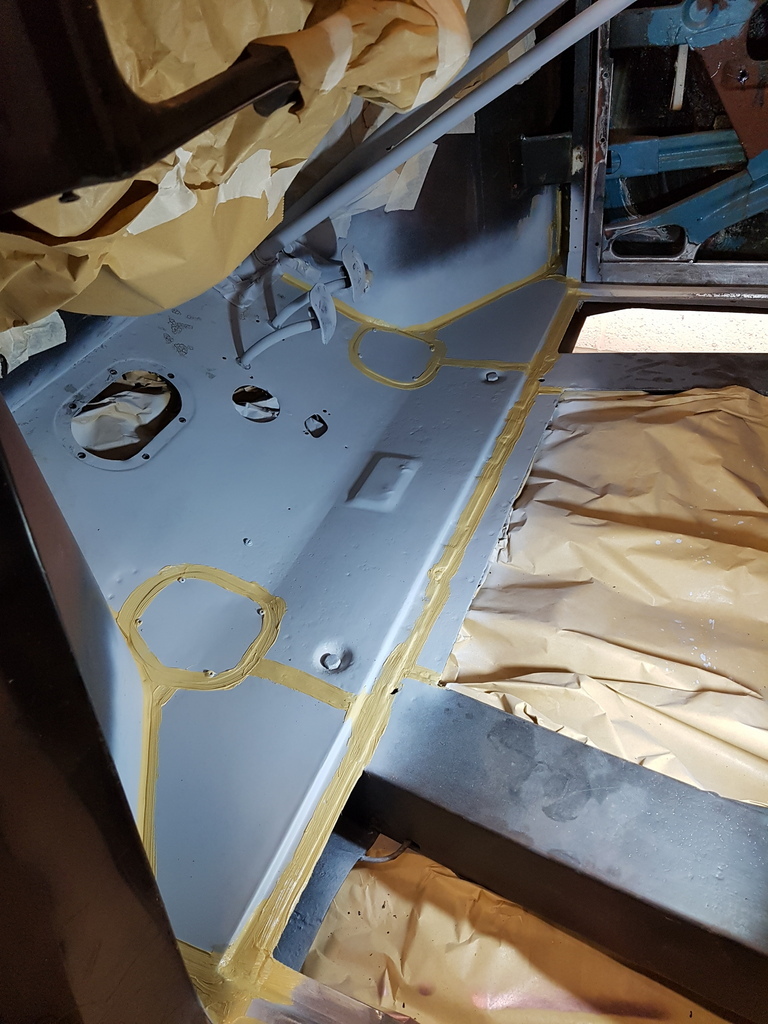 Once the primer had cured I applied seam sealer has required to the area More tomorrow |
| |
Last Edit: Dec 27, 2019 21:42:18 GMT by Deleted
|
|
|
|
|
|
|
|
Any sign of your preferred welder back from repair yet? John
|
| |
|
|
|
|
|
|
|
|
Quick question Chris.
The flange you folded in, does it butt up to the top and bottom of the repair when welding in?
Thanks
|
| |
|
|
|
|
|
|
|
Any sign of your preferred welder back from repair yet? John John - I was at my welding supplier just before the hols to exchange a bottle of gas and they updated me - the control board has been returned to the manufacture and we are awaiting an outcome from them - what he did tell me is that it's third one of its type in recent weeks with the same fault so hopefully the manufacture will resolve the issue even through the machine is now out of warranty (but not by much) |
| |
|
|
|
|
|
|
|
Quick question Chris. The flange you folded in, does it butt up to the top and bottom of the repair when welding in? Thanks Rian - Yes - not much more that I can add to that comment - do you need some more images or close ups ? |
| |
|
|
|
|
|
Dec 28, 2019 12:13:48 GMT
|
|
|
| |
|
|
|
|
|
Dec 28, 2019 13:56:39 GMT
|
|
I'm assuming you treated the rusty rear flange with Hydrate 80 before the weld through primer?
|
| |
|
|
|
|


