samta22
Club Retro Rides Member
Stuck in once more...
Posts: 1,276  Club RR Member Number: 32
|
|
Jan 30, 2020 11:36:27 GMT
|
|
^^^ what he said, can't 'like ' that post, especially not 2 and 3 anyway.
Let me know if you need anything re number 2, sounds like you've got it sorted though.
|
| |
'37 Austin 7 '56 Austin A35 '58 Austin A35 '65 Triumph Herald 12/50 '69 MGB GT '74 MGB GT V8'73 TA22 Toyota Celica restoration'95 Mercedes SL320 '04 MGTF 135 'Cool Blue' (Mrs' Baby) '05 Land Rover Discovery 3 V8 '67 Abarth 595 (Mrs' runabout) '18 Disco V |
|
|
|
|
|
|
|
|
Things have been happening behind the scenes and with several issues now dealt with I can start to make further progress on the Javelin (along with many other things that are also on the boil) Mrs GN is due to leave the country for a few months to oversee a contract out in Budapest so has very kindly completed any of the interior trim that required her skills 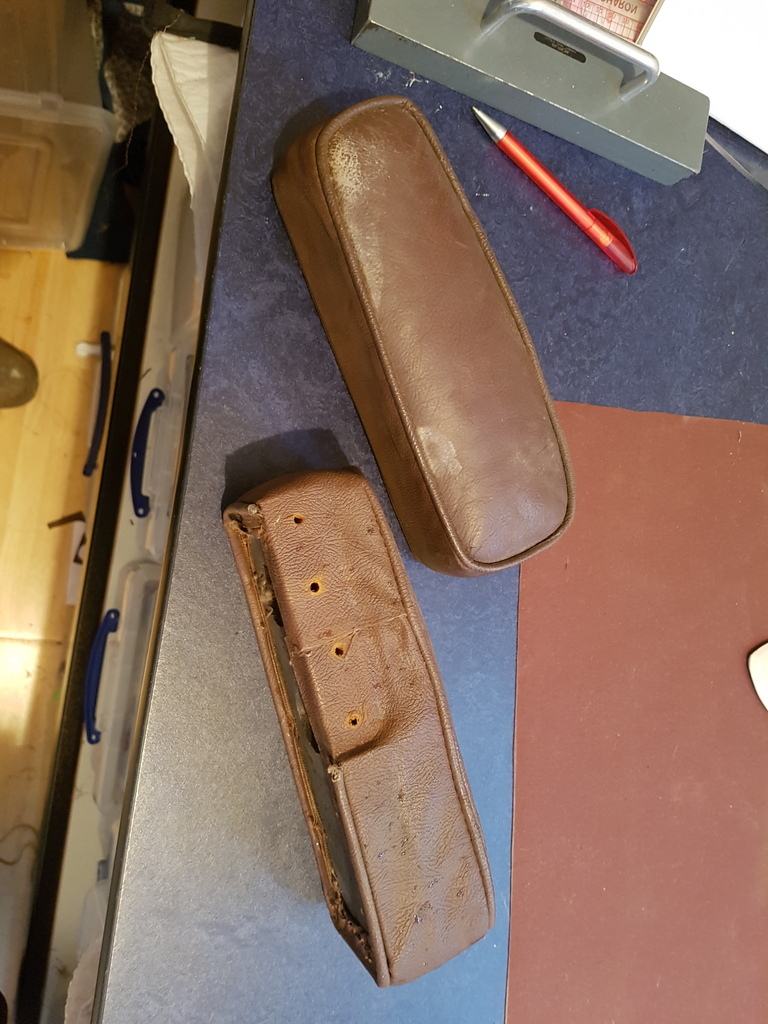 These are the rear armrests - they are not too bad for nearly 70 years old but require recovering to match the rest of the interior that is being replaced 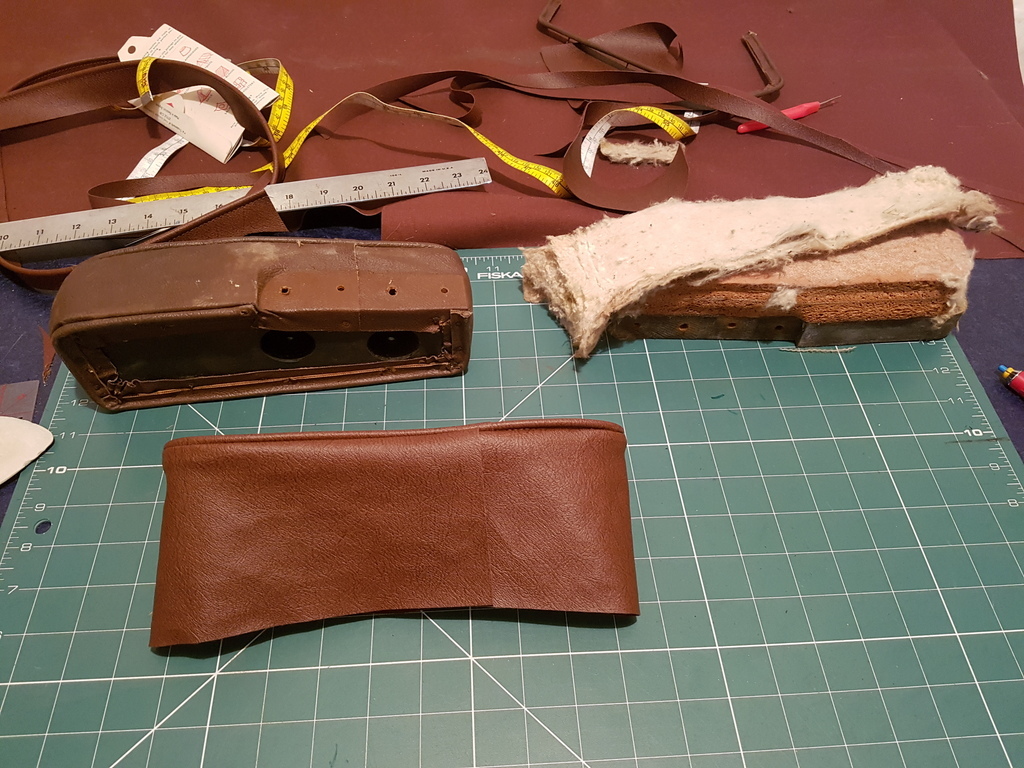 I took one apart for the pattern then she made the covers & trim pieces up for them in new vinyl - the original material is rexine - a early type of vinyl 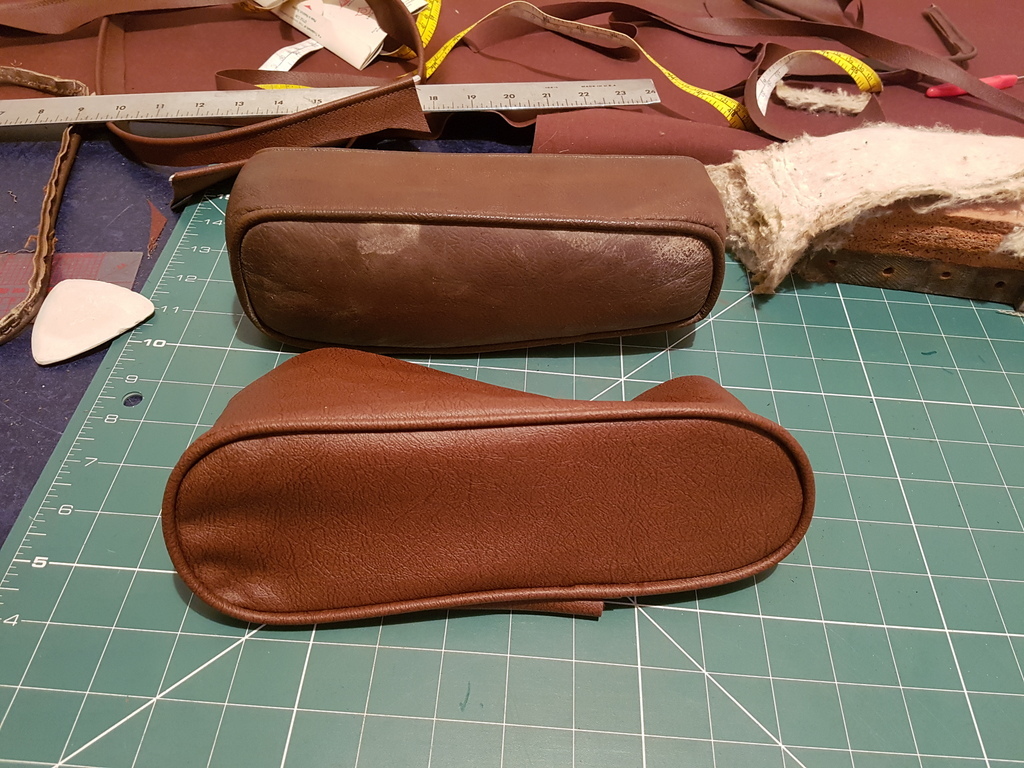 I just need to reassemble them and tack the trims back into situ 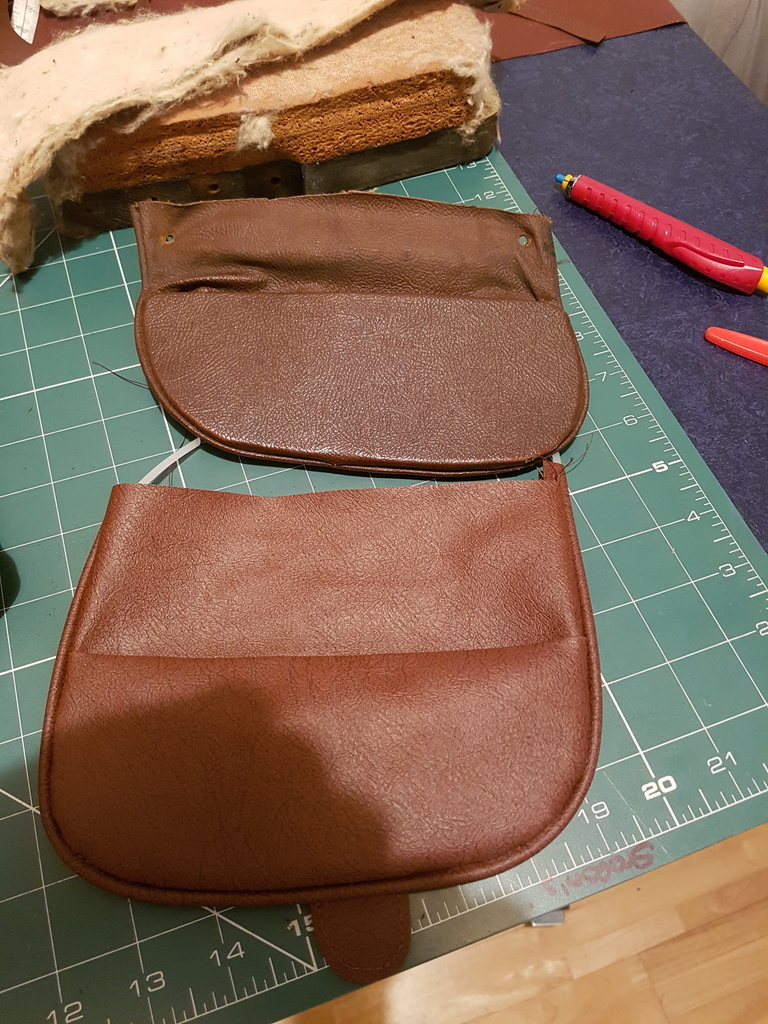 New front armrest covers also made up - these fold down out of the door card 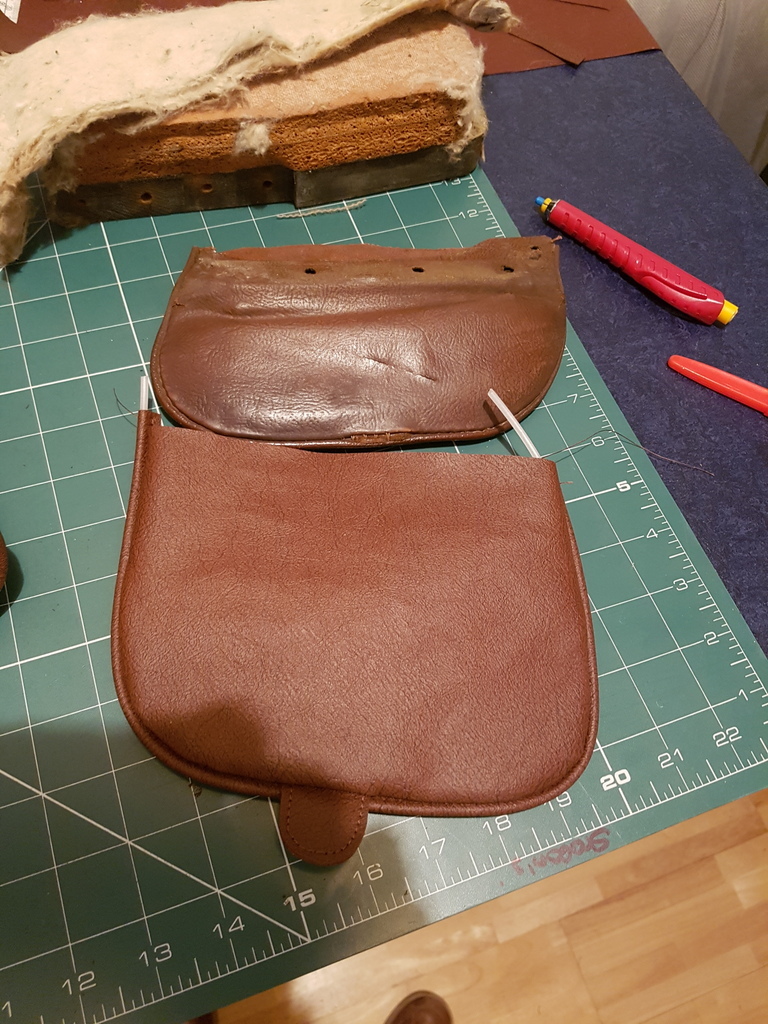 Again these just now require reassembly 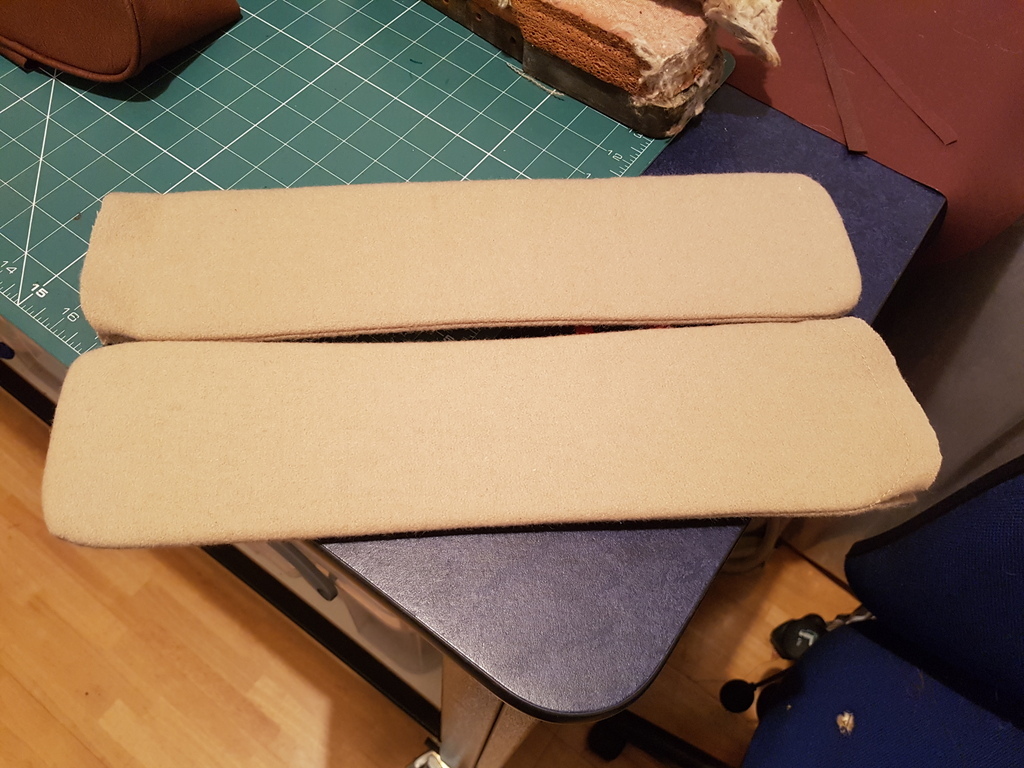 New covers for the sunvisors have also been completed 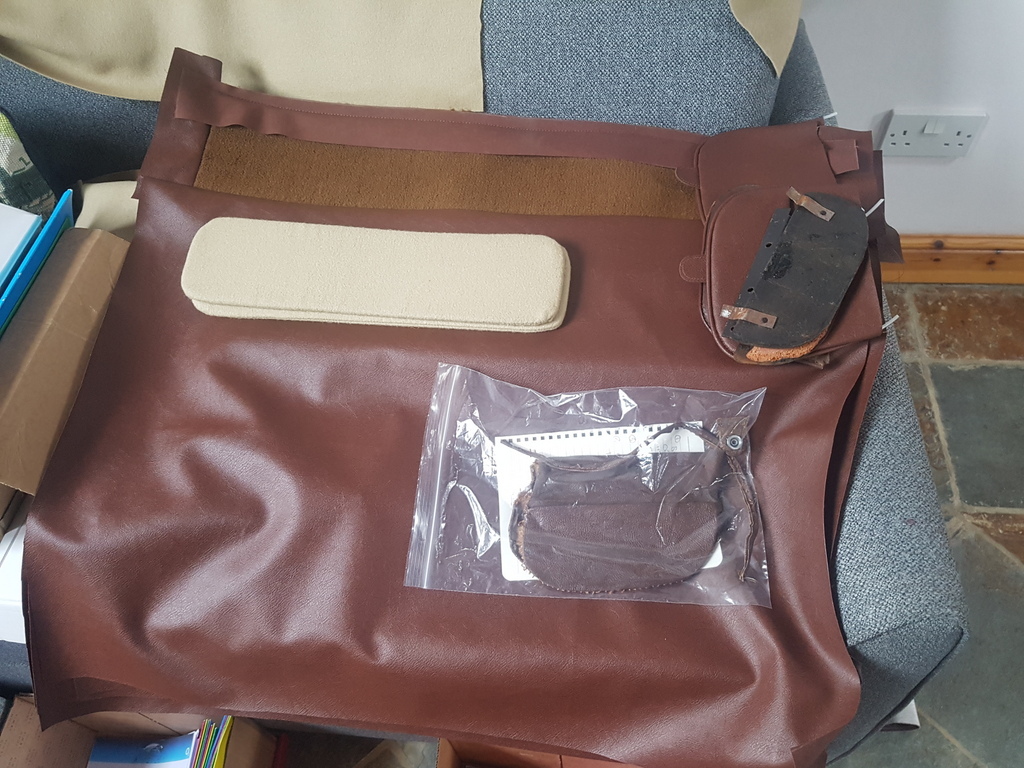 And the 4 door cards made up which involves a stitched carpet section to the bottom of the panel |
| |
Last Edit: Feb 1, 2020 20:24:29 GMT by Deleted
|
|
|
|
|
|
|
|
she is indeed a very talented lady!
i hope the main issue has been permanently resolved?
|
| |
'80 s1 924 turbo..hibernating
'80 golf gli cabriolet...doing impression of a skip
'97 pug 106 commuter...continuing cheapness making me smile!
firm believer in the k.i.s.s and f.i.s.h principles.
|
|
|
|
|
|
|
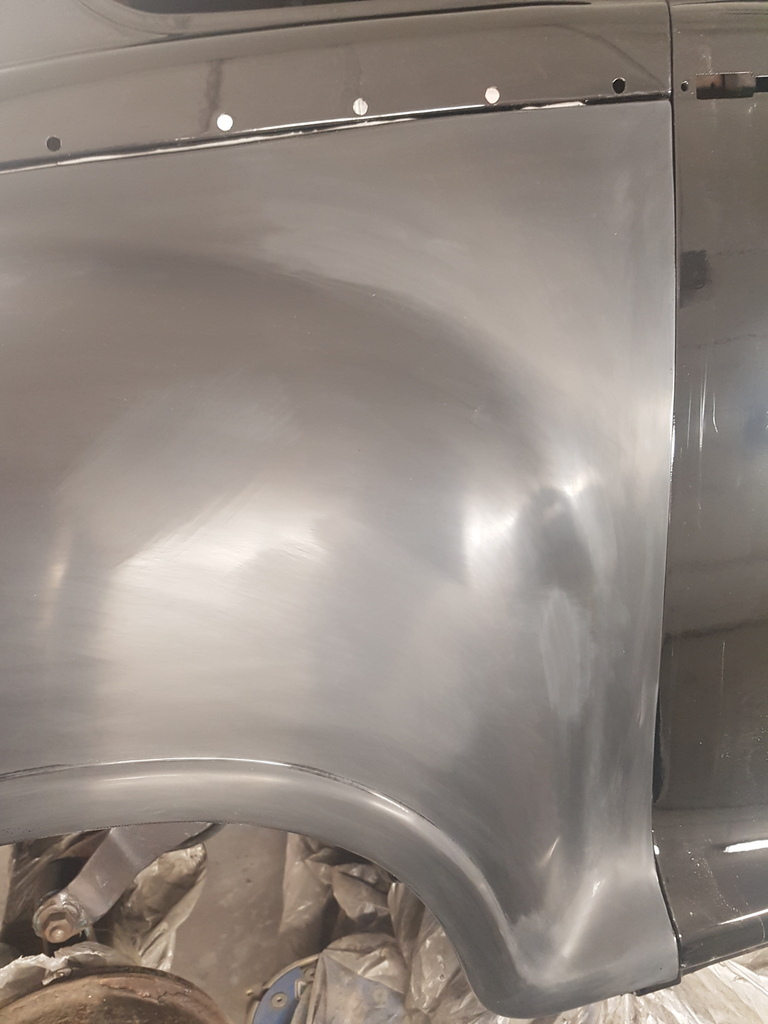 I think I recall stating that I would do a quick guide on polishing - I always flat new paint / lacquer (some people refer to it as 'colour sanding' others call it 'de nibbing') - undertaken wet & normally with 1500 / 2000 grade paper - this should remove any small dust particles / imperfections / orange peel - but only if done correctly & carefully 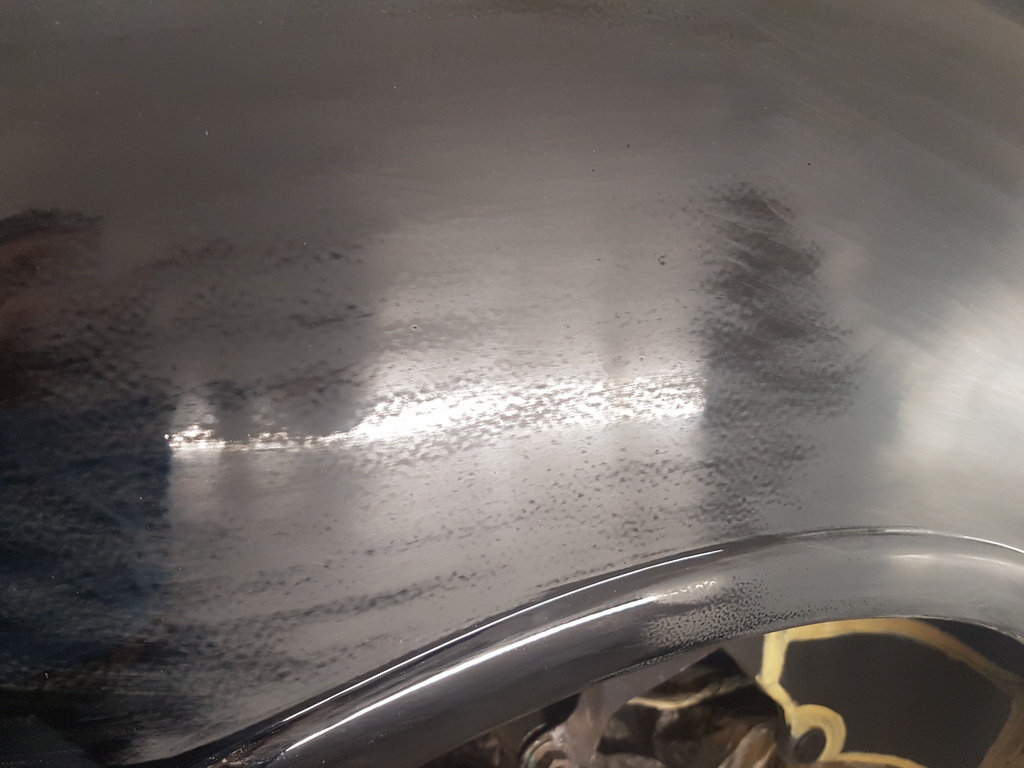 Here is an example of what you ideally need to remove - I have just lightly gone over the paint to highlight the paint finish - you need to achieve the flat dull appearance that is shown in the previous pic 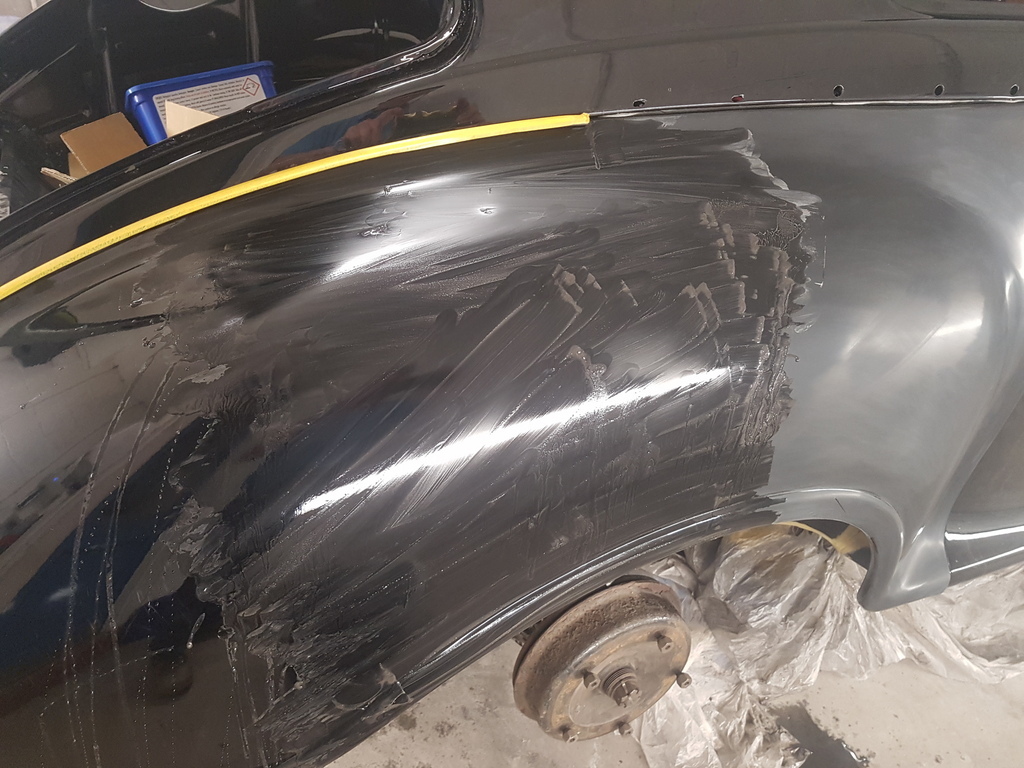 With the wing carrying a wide compound curvature I undertook the flatting all by hand on this panel - on flatter panels you would be better to use a block - critical areas such as panel edges / swage lines / raised profiles are very vulnerable to the point that you can easily flat / polish through - you can always protect edges / profiles with masking tape if required - always flat with plenty of water and in a uncontaminated area - i.e. Its pointless if someone on the other side of the workshop is generating grinding dust that is landing in your flatting / polishing 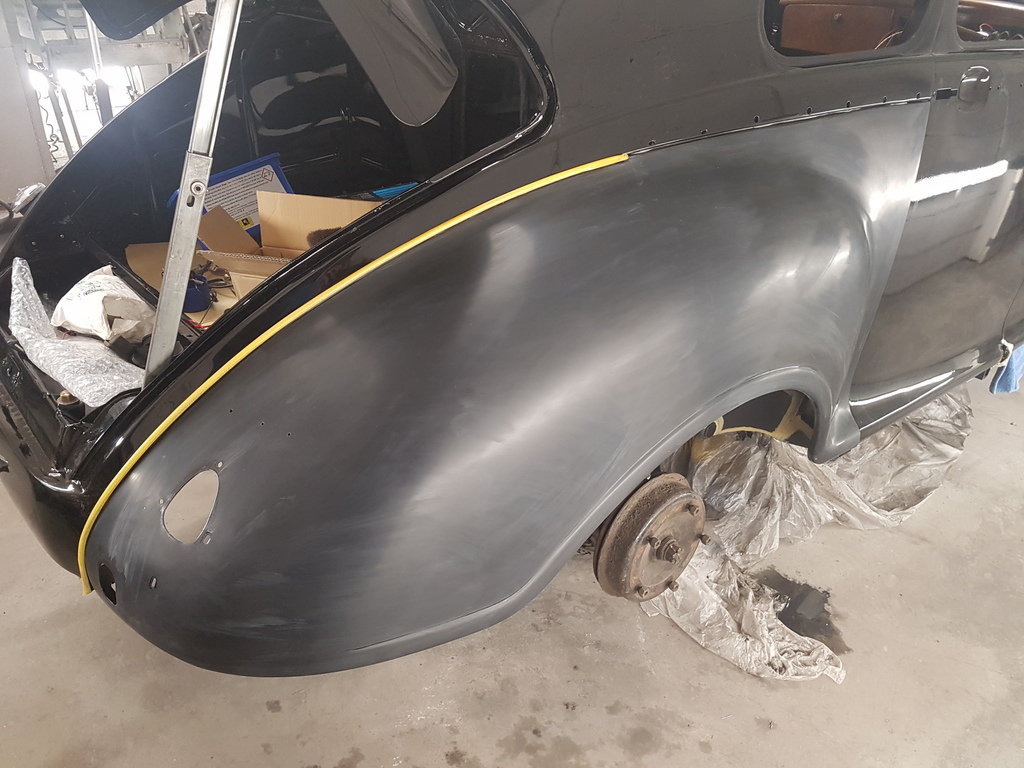 Regardless of how you are flatting you need to have the confidence that there is enough depth of paint to flat & polish back in the first place - top tips at this stage are take your time / don't over apply pressure that may create deep marks in the paint finish that may well be too deep to polish back out - you need to flat with the palm of your hand don't be tempted to bridge your fingers - this will result in furrows in the paint - undertake both the flatting & the polishing on a section at time basis 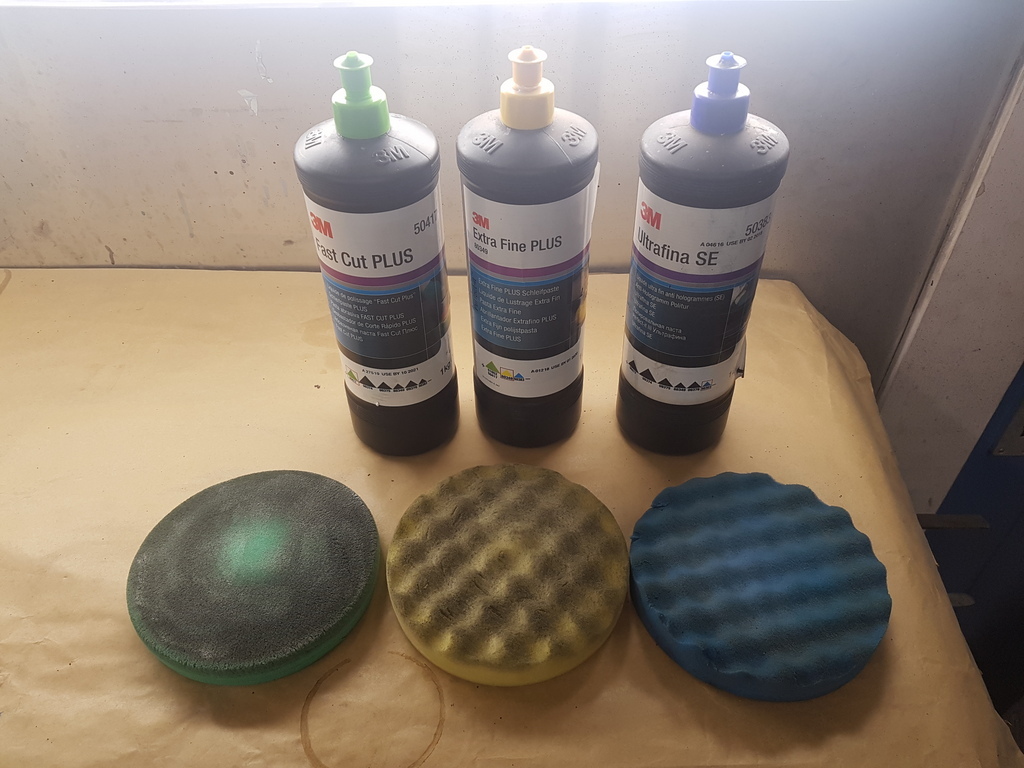 There are many polish ranges in the market - this is my choice - its a professional range that I prefer - don't be hoodwinked by all the fancy overpriced & over rated stuff - note that I keep a different polishing head for each polish type 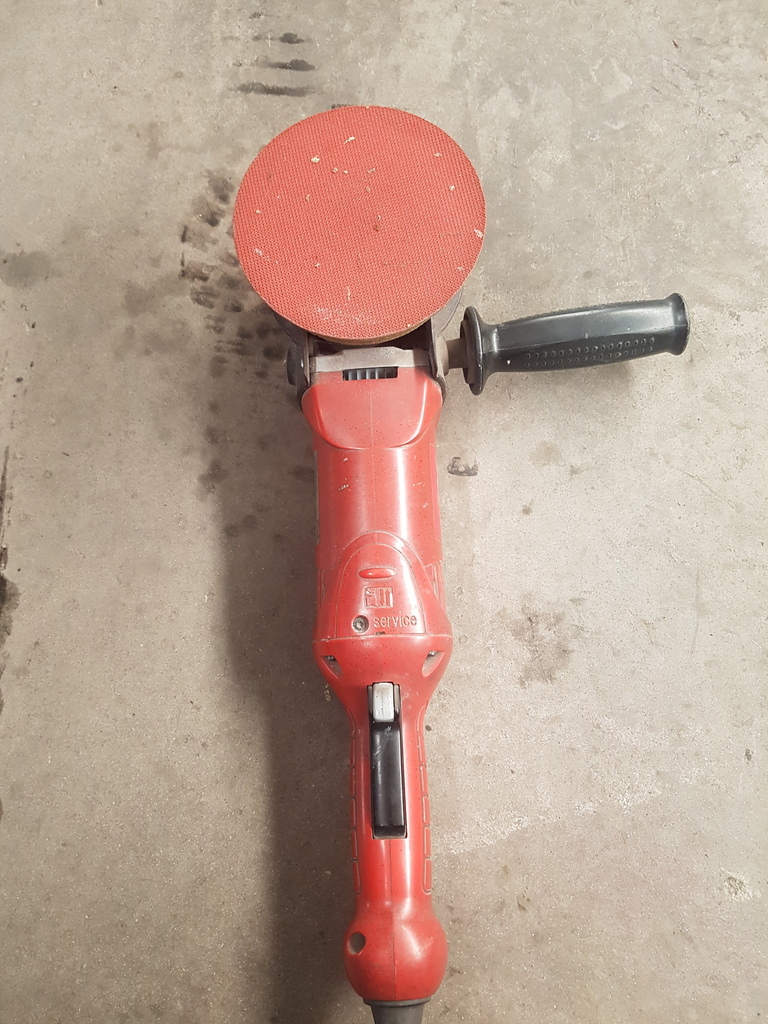 My choice of machine polisher - again there are a load of them out there some cheap rubbish - some decent mid range and some over priced / over rated - this is a mid range and cost circa £160 - its been doing sterling work for the last 5 years - it has a 900 - 2500 RPM variable speed range - I never use it above 900 RPM - that is all you need to produce a good finish - use a polisher at higher speed and you will burn through the paint before you know it 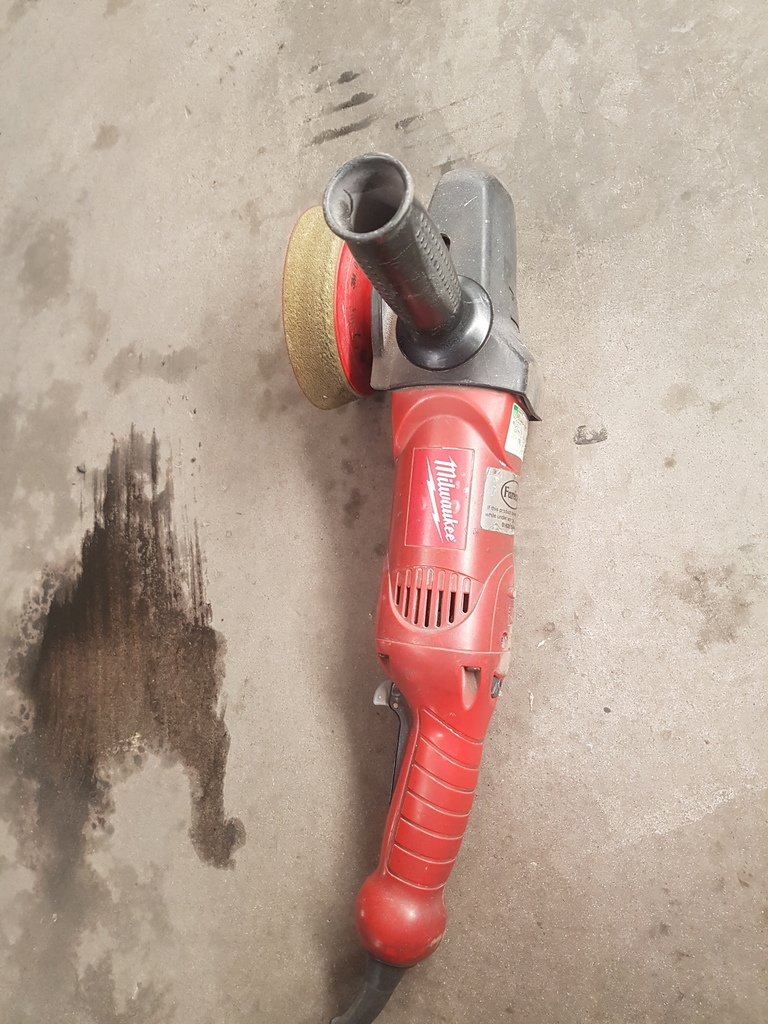 The polishing heads are just a velcro type system - you will need to wash them through frequently - then spin the water out them (only time that I use the polisher on its high speed setting) 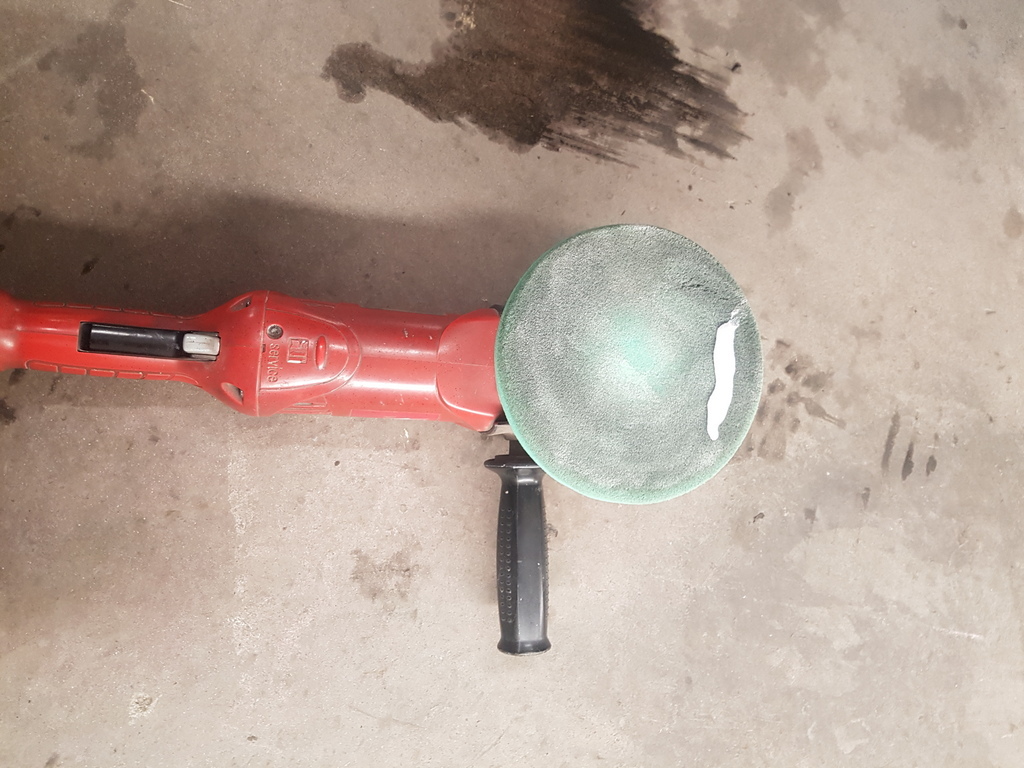 Polishing head on - first stage compound (medium) on the head but then wipe the polish on the head on the panel before switching it on - unless you want to splatter everything including yourself with polish 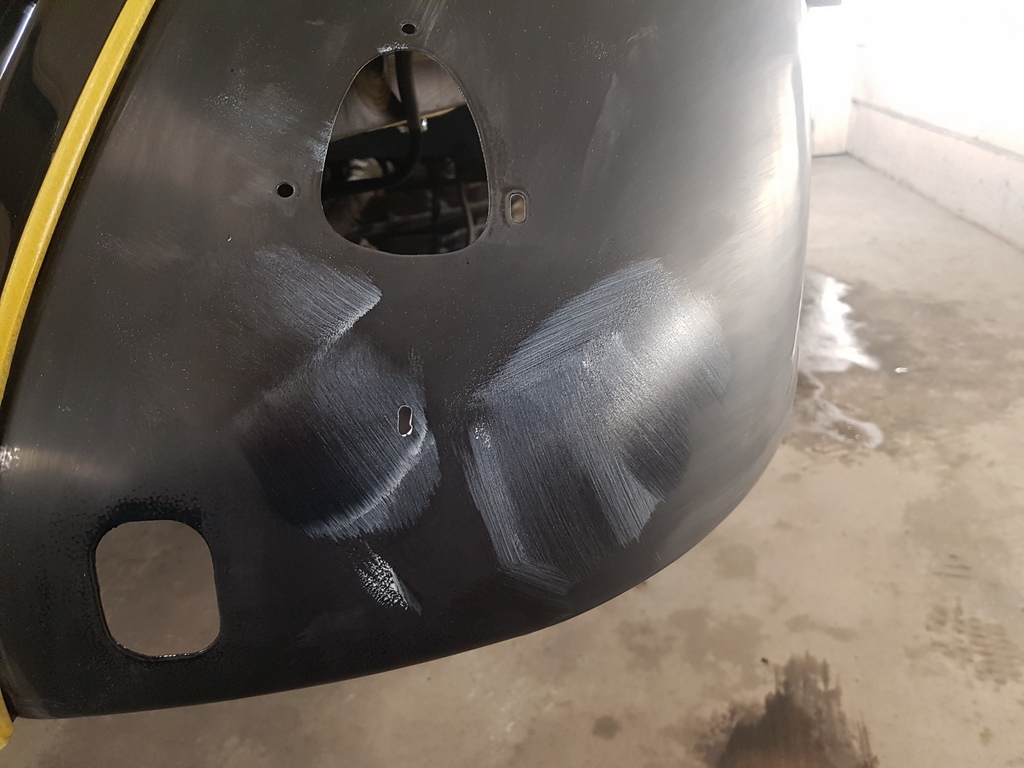 Small section at time - a few mins work will start to bring the results - I like to go for a few mins then a have a wipe off then go again with a fresh application of compound again for another a few mins and you should have a good result 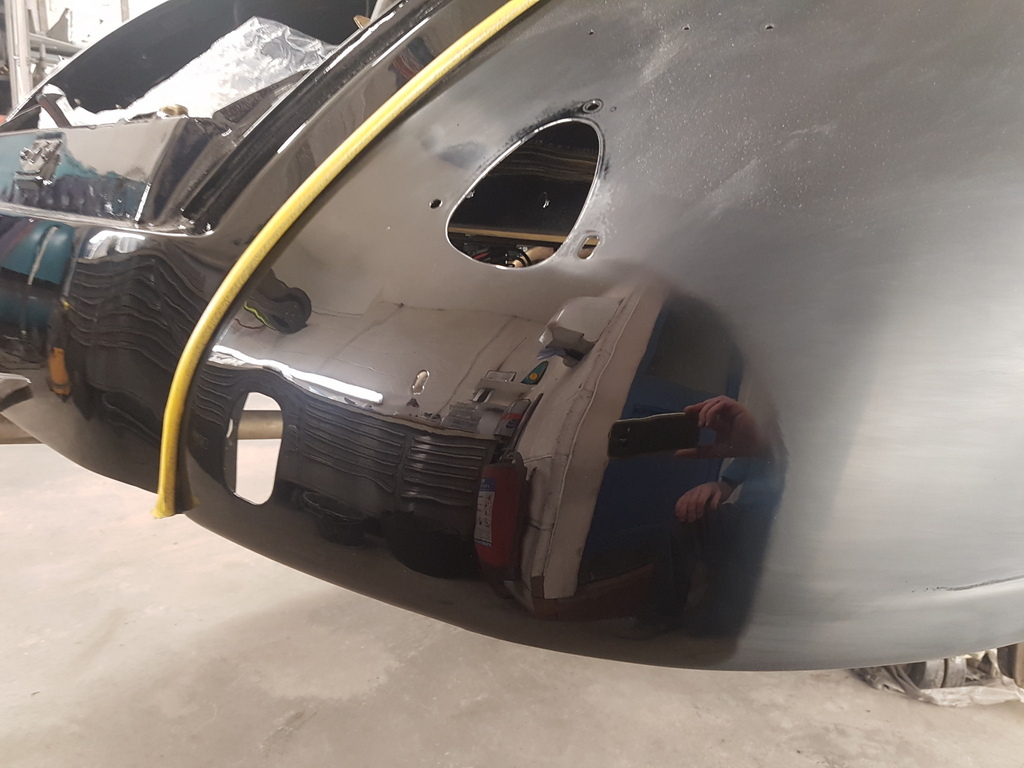 Always keep the machine moving - don't be tempted to stay in one area as you will just burn the paint through friction 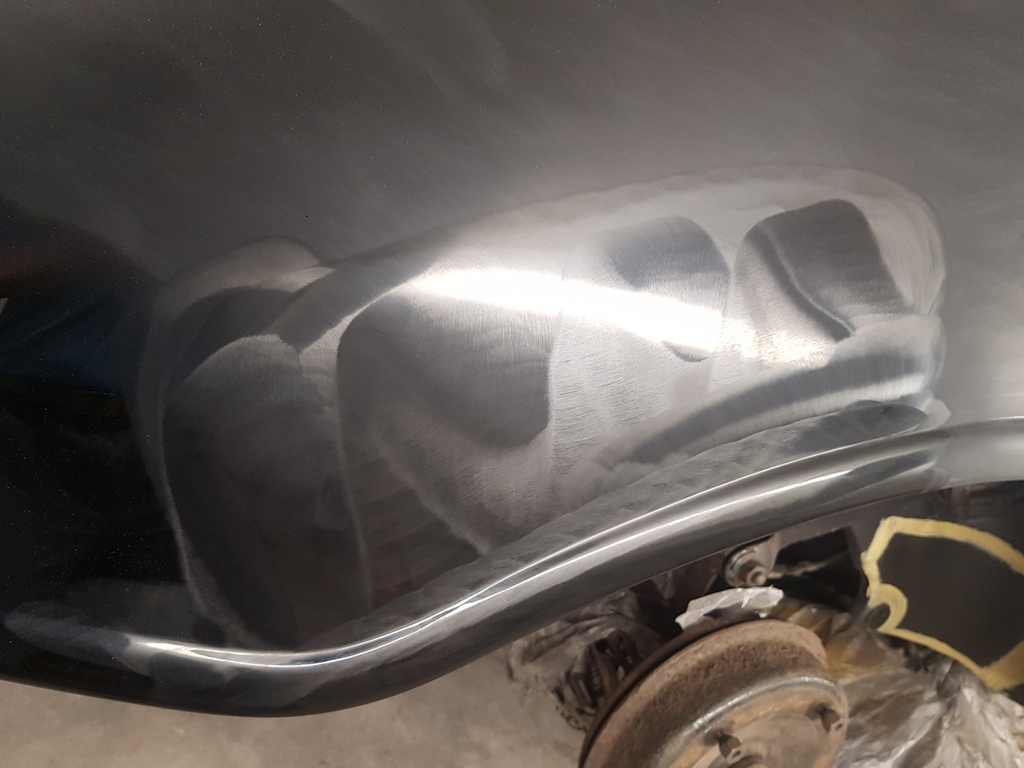 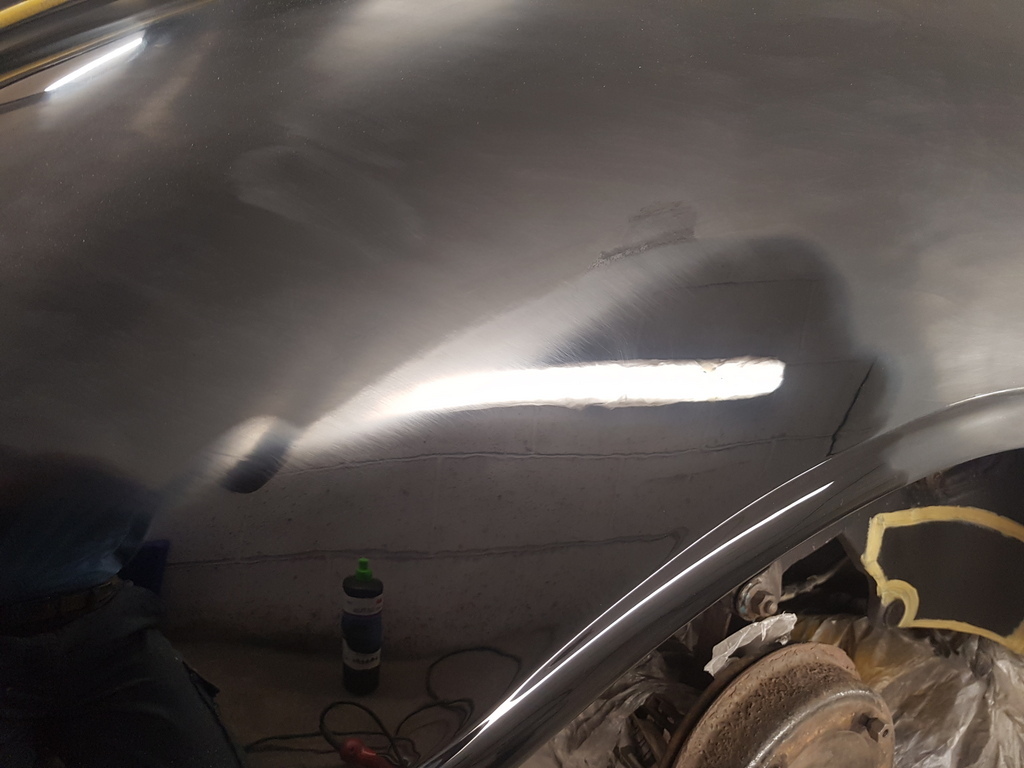 Any very minor marks / imperfections that remain you can just go over again 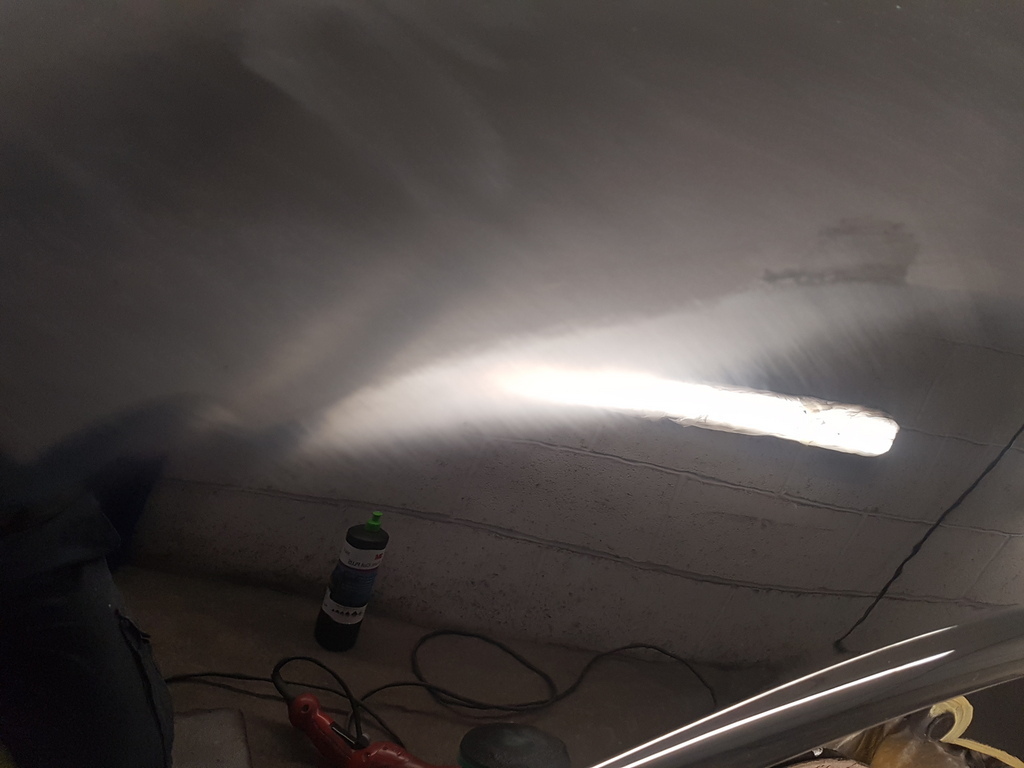 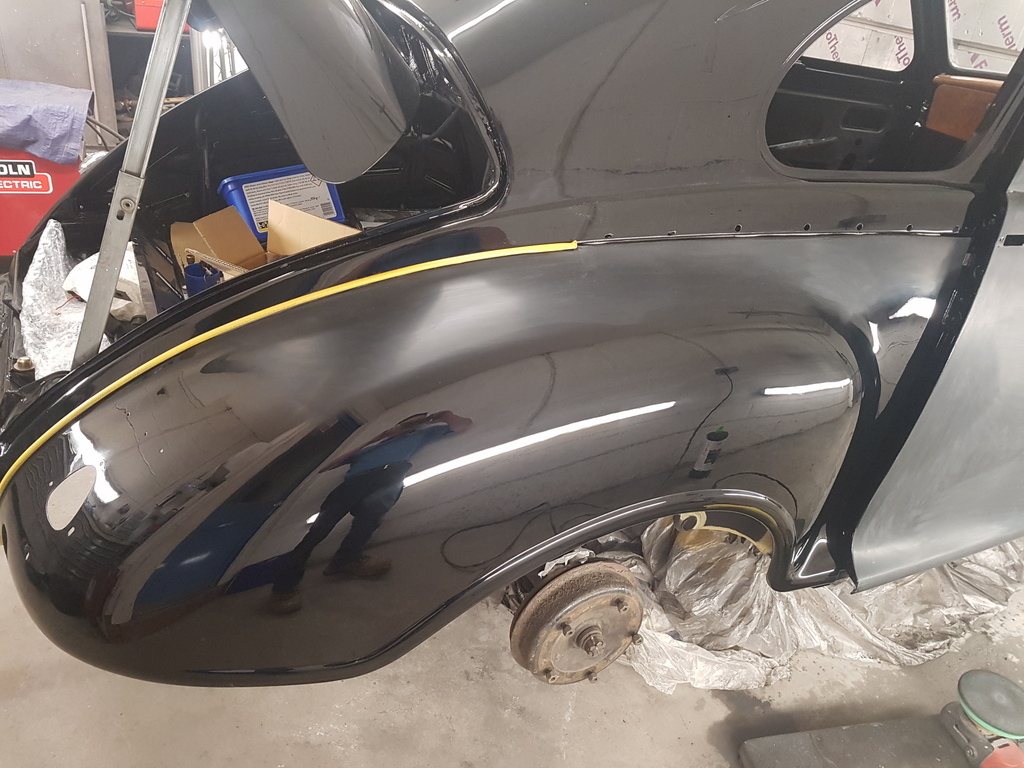 Once the head starts to throw the compound out - its time to give it a wash - I would not recommend the use of the lambs wool type mops 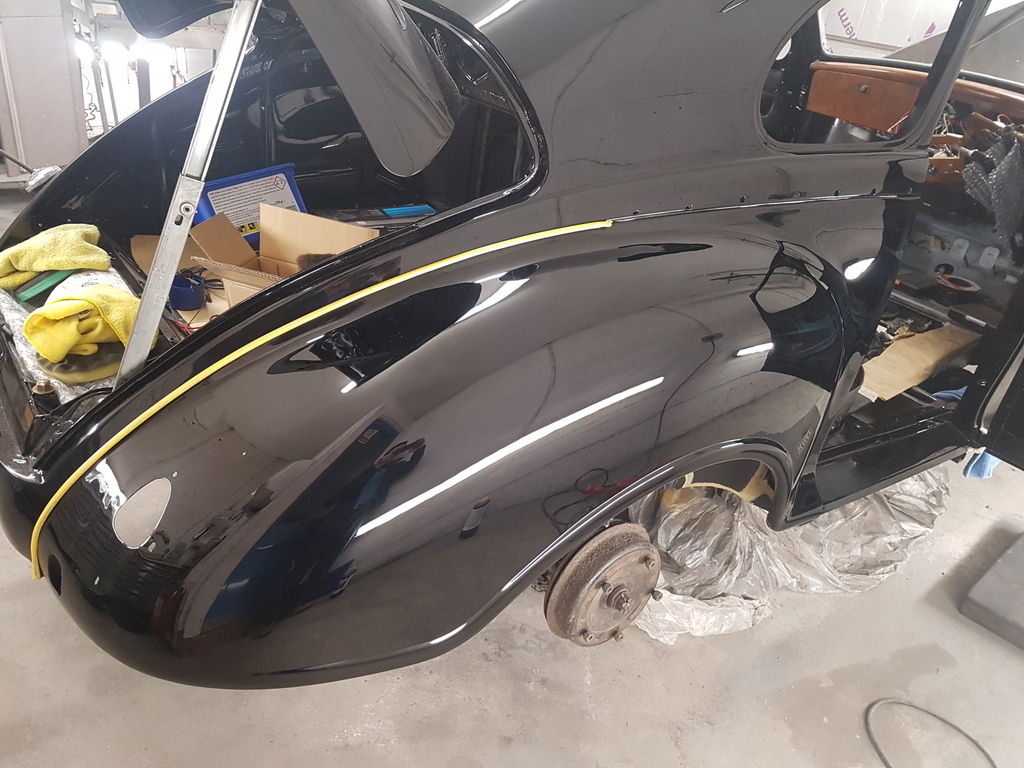 Once I complete the first stage polish on a panel I then go over it with a very fine compound but not for long - this should remove any residual swirls or marks in the paint - you need to be methodical - just do one panel at a time - don't rush - practice makes perfect - 40 years in and I'm still practicing  There are smaller machine polishers in the market - I have recently purchased this cordless version with a 75mm polishing head - ideal for the small / difficult to access areas 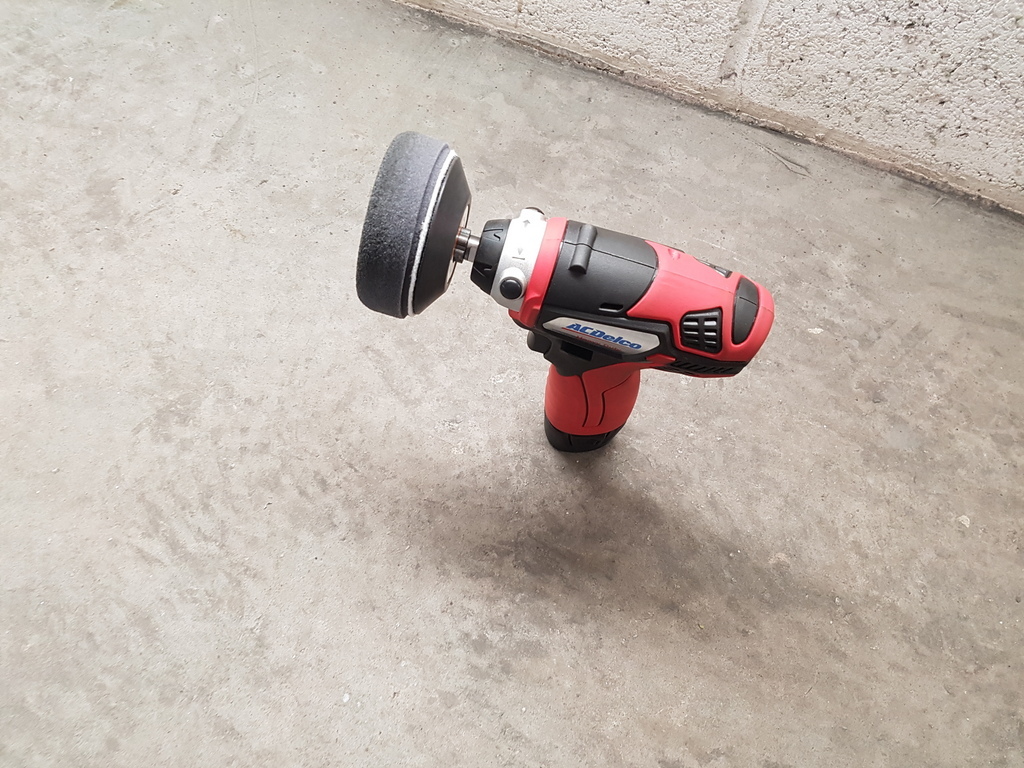 You can achieve some fantastic results with the right kit & correct mindset equally you can wreck a decent paint job with poor kit and a 'gun ho' attitude Any questions - just post them up and I will get back to you |
| |
Last Edit: Feb 1, 2020 21:47:45 GMT by Deleted
|
|
|
|
|
|
|
she is indeed a very talented lady! i hope the main issue has been permanently resolved? Pete - We are certainly some way down the road with it - I will update once everything has been implemented  |
| |
|
|
820
South East
Posts: 793
|
|
|
|
|
That looks amazing, thanks for taking time to post your priceless wisdom
|
| |
|
|
vulgalour
Club Retro Rides Member
Posts: 7,280
Club RR Member Number: 146
|
|
|
|
|
Had a bit of a catch up and I'm still reeling from the fact you have to bend the windscreen to fit it. That's terrifying.
|
| |
|
|
glenanderson
Club Retro Rides Member
Posts: 4,345
Club RR Member Number: 64
|
|
|
|
she is indeed a very talented lady! i hope the main issue has been permanently resolved? Pete - We are certainly some way down the road with it - I will update once everything has been implemented  Restraining Order? |
| |
My worst worry about dying is my wife selling my stuff for what I told her it cost...
|
|
|
|
|
|
|
|
That last pic of the wing really shows off your skills. Its a simply incredible shine, hats off to you.
And bending glass. Madness.
|
| |
|
|
jpsmit
Posted a lot
  
Posts: 1,274
|
|
|
|
|
Thanks so much for the lesson. I have all the equipment and the compounds. Sadly my prescription for brave pills is not yet filled. My one question is this: everyone speaks of taping edges and profiles. But doesn't that leave dull edges and profiles?
|
| |
|
|
|
|
|
|
|
|
|
Thanks so much for the lesson. I have all the equipment and the compounds. Sadly my prescription for brave pills is not yet filled. My one question is this: everyone speaks of taping edges and profiles. But doesn't that leave dull edges and profiles? Correct but these are then just undertaken by hand - on raised profiles I will avoid flatting them - just use polish alone but if a raised profile area requires more work other than just polish you can always up the grade of the flatting abrasive to a very fine one - hence if you using 1500 for the main panel areas but use something like 2500 or 3000 for the raised profiles |
| |
Last Edit: Feb 2, 2020 8:44:54 GMT by Deleted
|
|
|
|
|
|
|
she is indeed a very talented lady! i hope the main issue has been permanently resolved? Pete - We are certainly some way down the road with it - I will update once everything has been implemented  And i hope that road is smooth for you and has a solid brick wall right across it for the other party involved. Back to the lesson now.. |
| |
'80 s1 924 turbo..hibernating
'80 golf gli cabriolet...doing impression of a skip
'97 pug 106 commuter...continuing cheapness making me smile!
firm believer in the k.i.s.s and f.i.s.h principles.
|
|
|
|
|
|
|
Other items are also being progressed 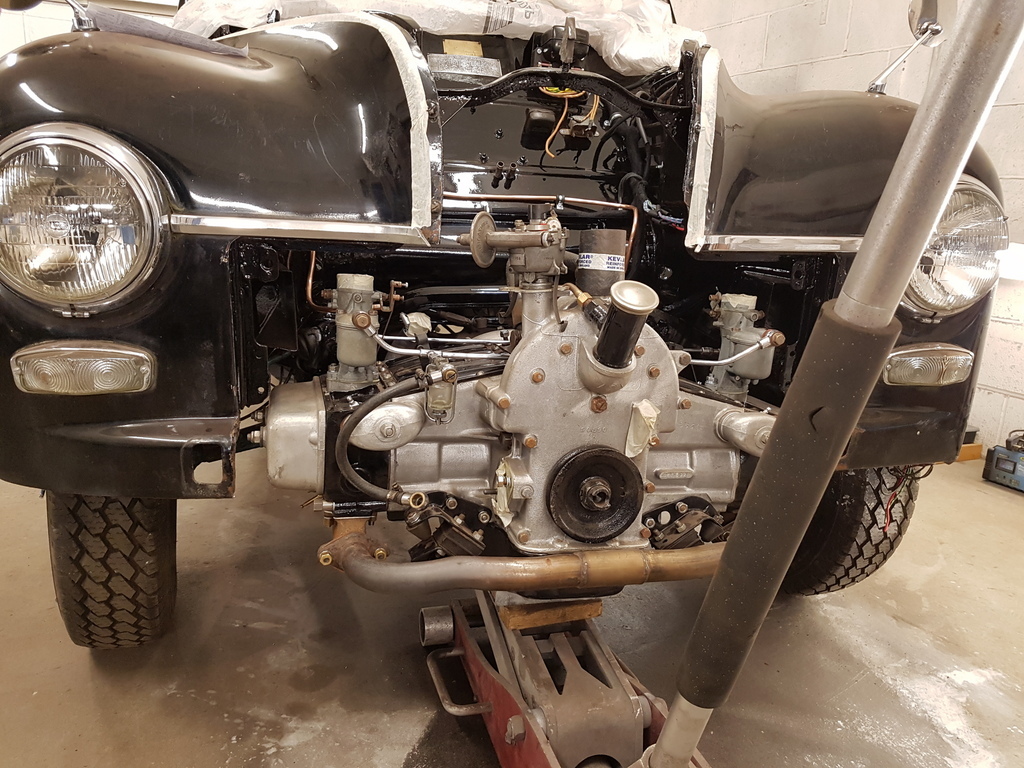 The Javelin exhaust is a woefully painful thing to get right - this is the only easy part of it - the front cross pipe which connects the manifolds on either side - the rest of it will require several trial fits and bracket fabrication before you get anywhere close to achieving the right results 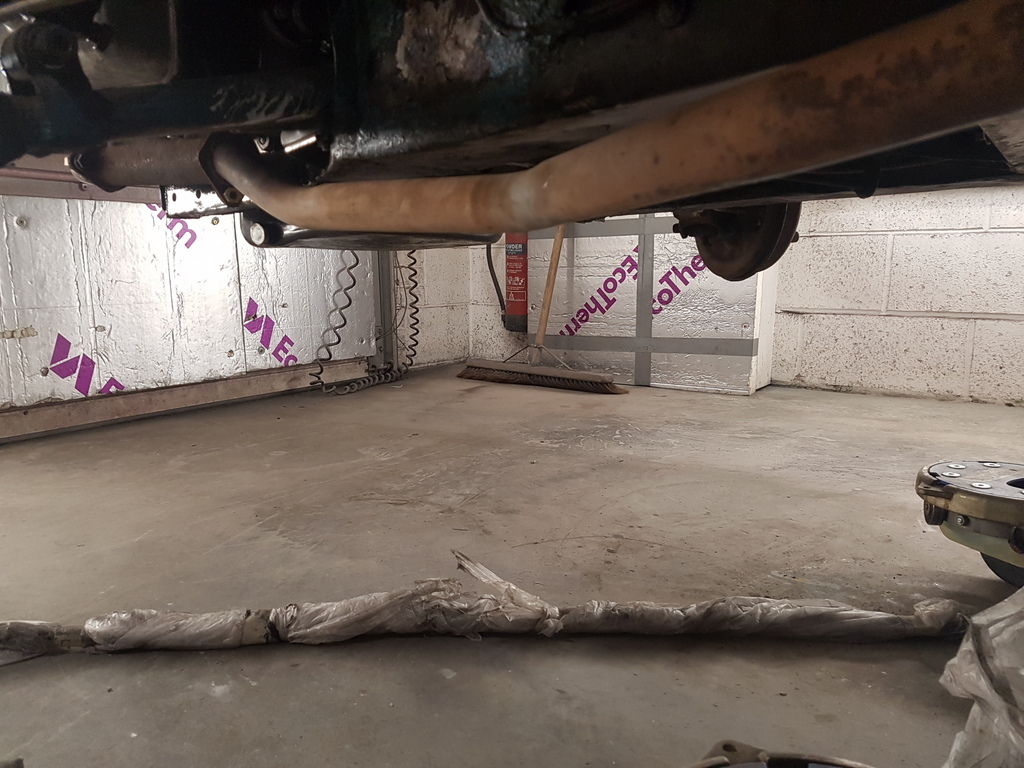 This is the forward section looking towards the engine - it runs part underneath the front chassis leg - then down the side of the floor & sill on the passenger side 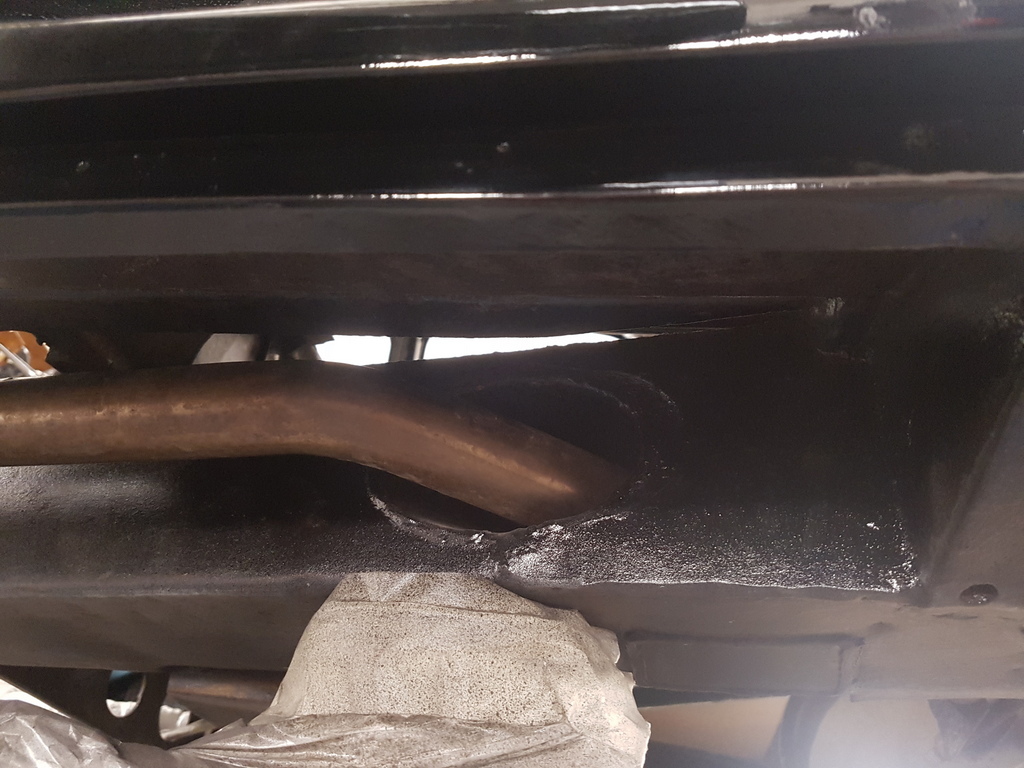 Next section travels through a aperture in the rear of the chassis rail then immediately on exit of the aperture joins the silencer box - the exhaust also travels through a aperture in the jacking point halfway down the car & the silencer is very tight on space between the chassis rail, panhard rod & the rear axle - unless you get the exhaust centralised with the correct spacings & clearings through the apertures & drive train it will consistently knock / rattle / bang and become more annoying than most things that you can imagine 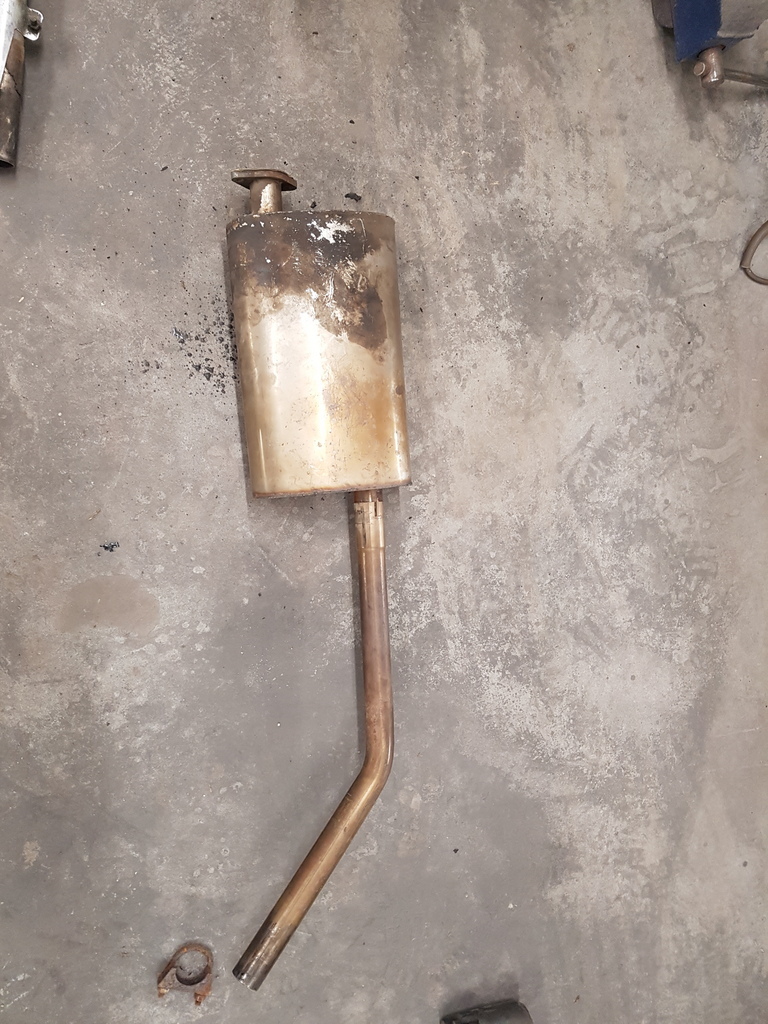 The exhaust is a aftermarket stainless one and has been on the car probably for the last 20 years or so 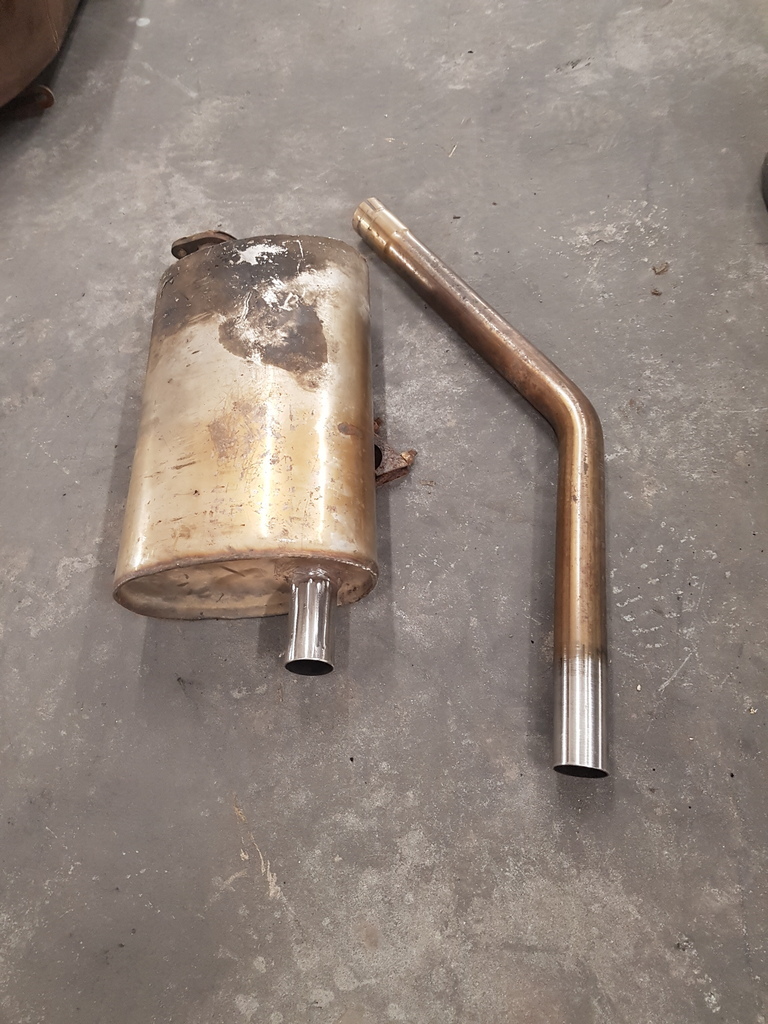 With the swaged joints all being tight and not allowing for any movement to allow configuration of the system I separated every section and cleaned the joints up - this in its self was a fight to separate the sections without creating any damage to the silencer or pipes which had to be clamped up at one end whilst blocks of wood and a lump hammer eventually convinced the sections to part 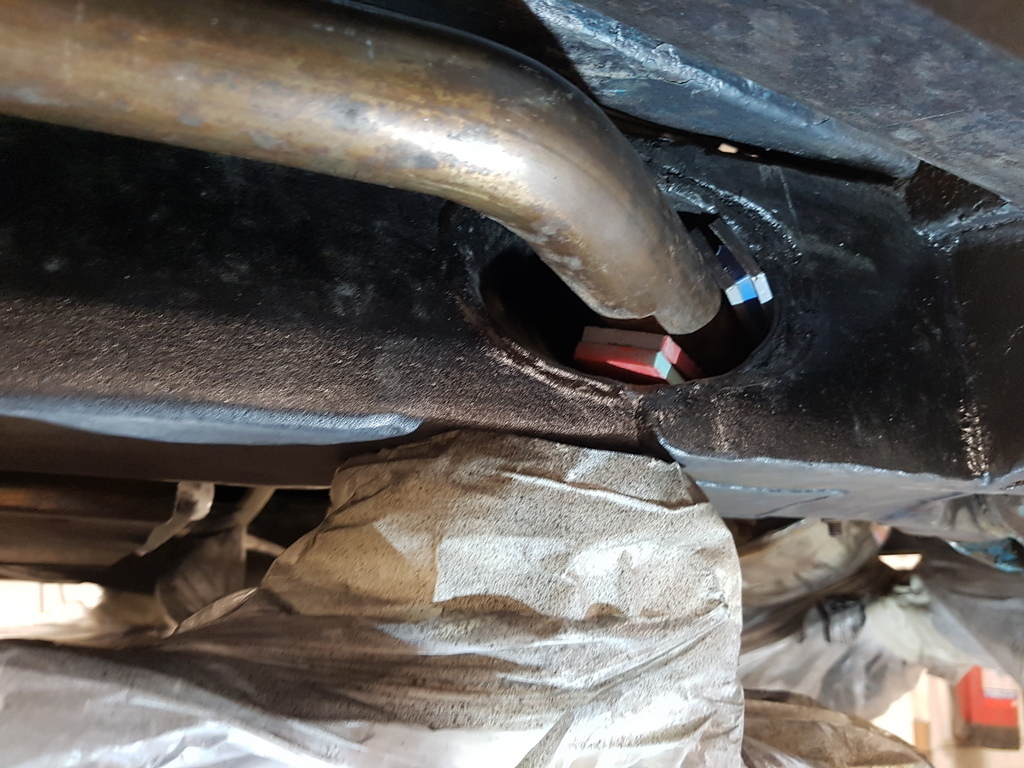 Refitted loosely and the pipe centred through the chassis aperture with packings 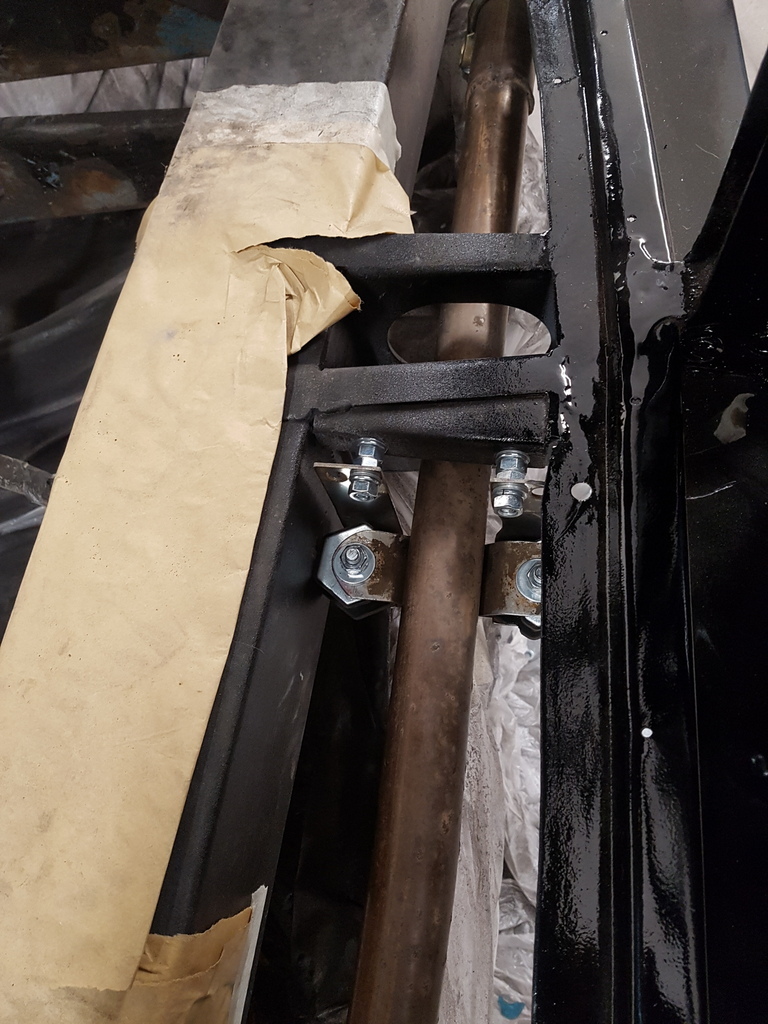 New brackets made up and spaced from the jacking point to suit the fixed mounting point on the pipe - new heavy duty exhaust bobbin mountings utilised (use the cheap / small ones and they will be apart in less than a few hundred miles) 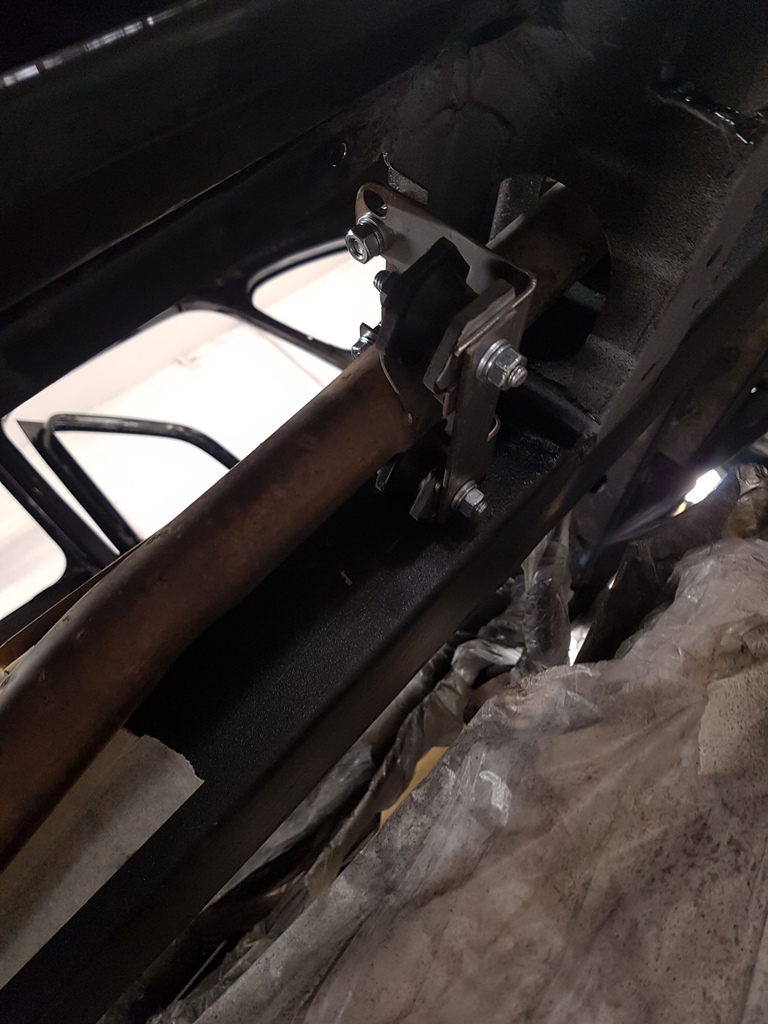 Cross brace between the mountings is essential 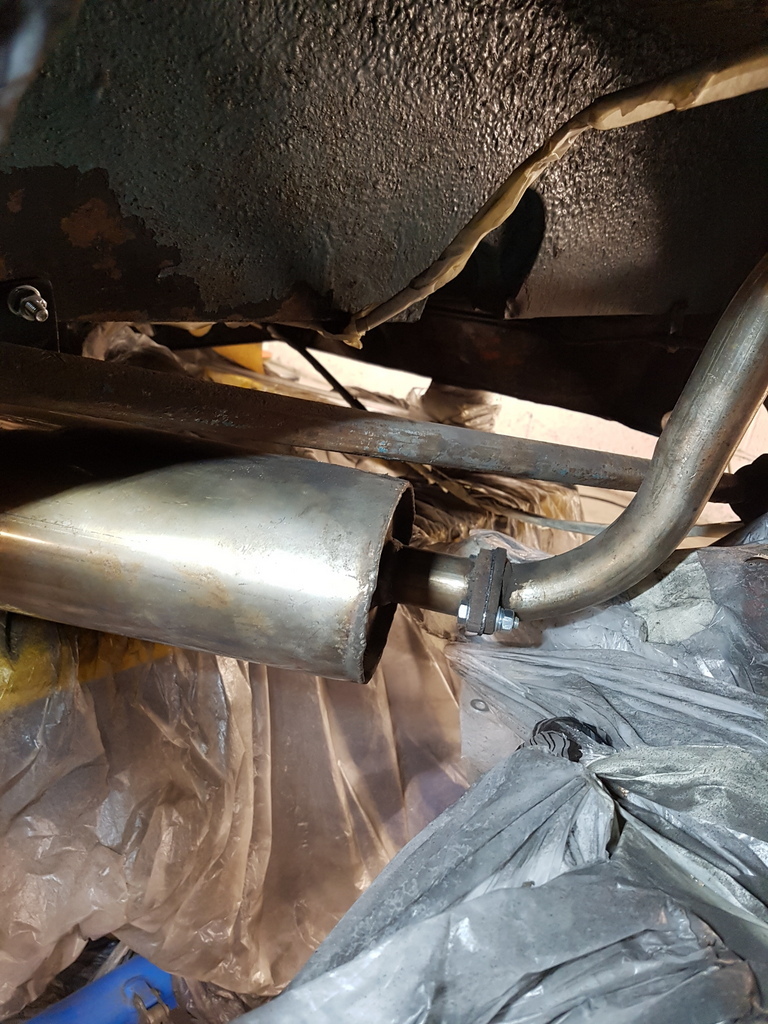 Pic of the restrictive tolerance between the rear axle / panhard rod and the silencer 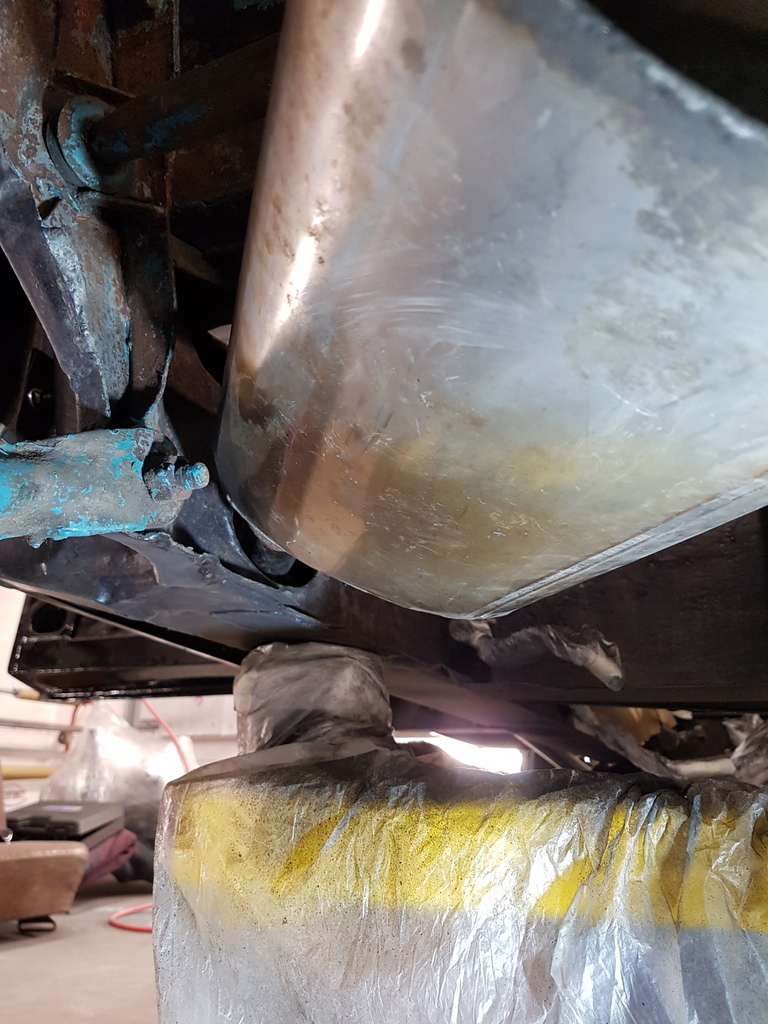 Then the silencer against the chassis aperture - with the tail pipe on I could now locate any intolerance points on the system - I knew from experience where it be - the chassis aperture 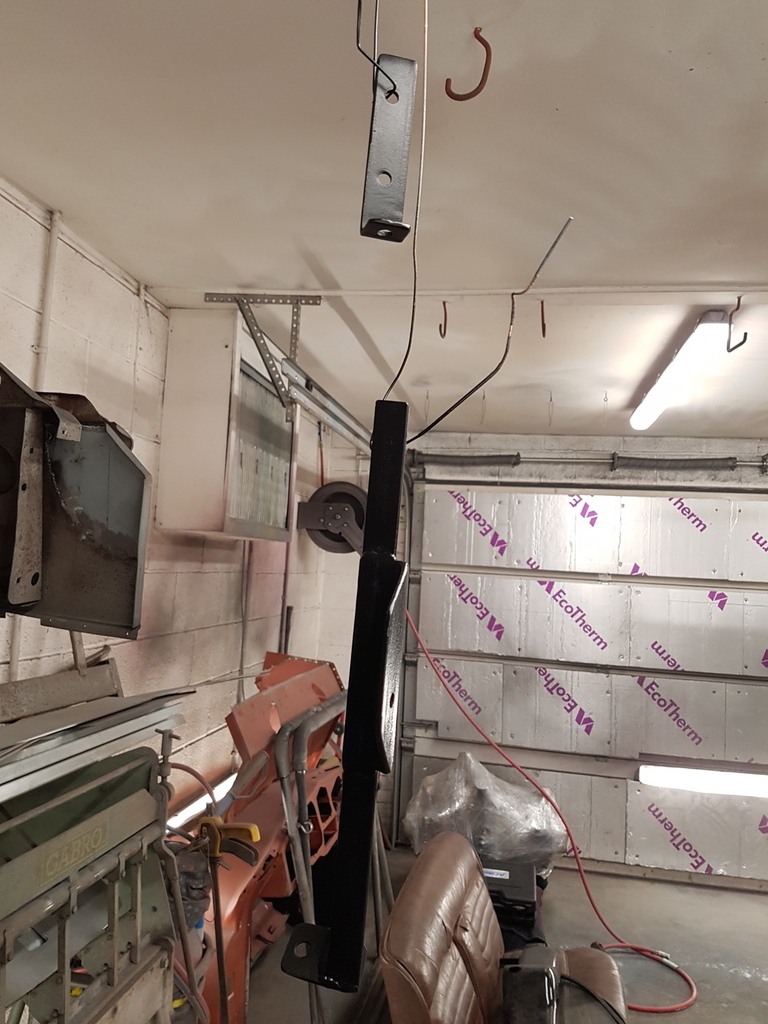 Sometimes you can factor this out with adjustment but more times than enough its easier to make an additional bracket / mounting point up 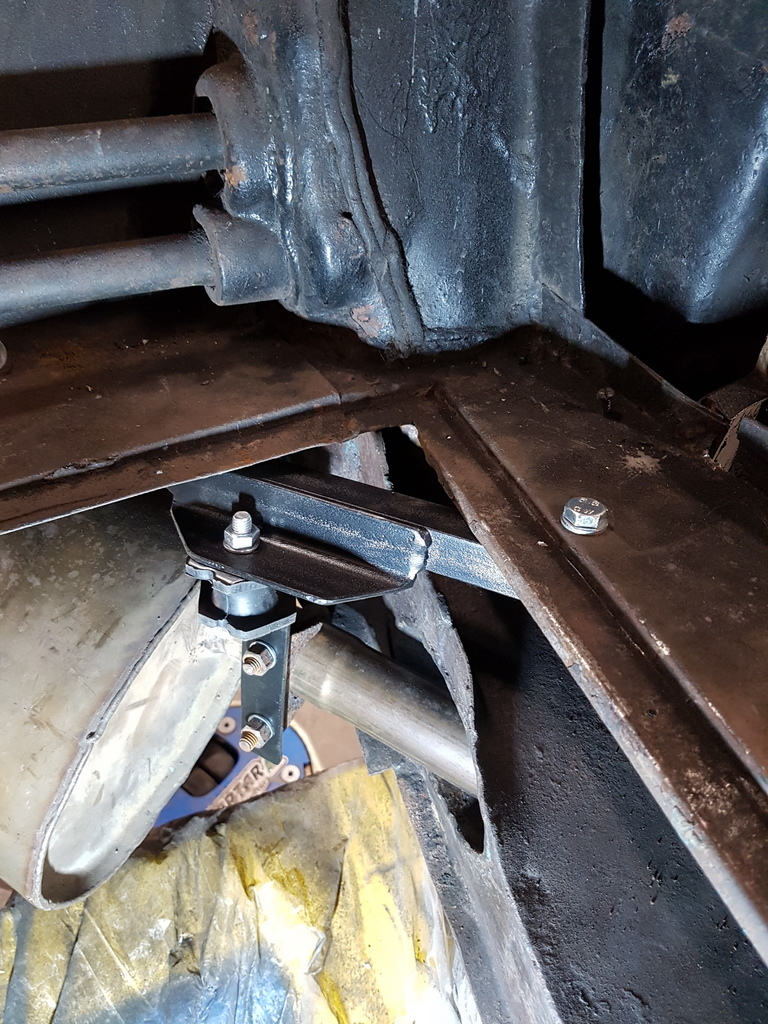 This goes in just under the rear seat & picks up on the U clamp at the front of the silencer - its tight on space 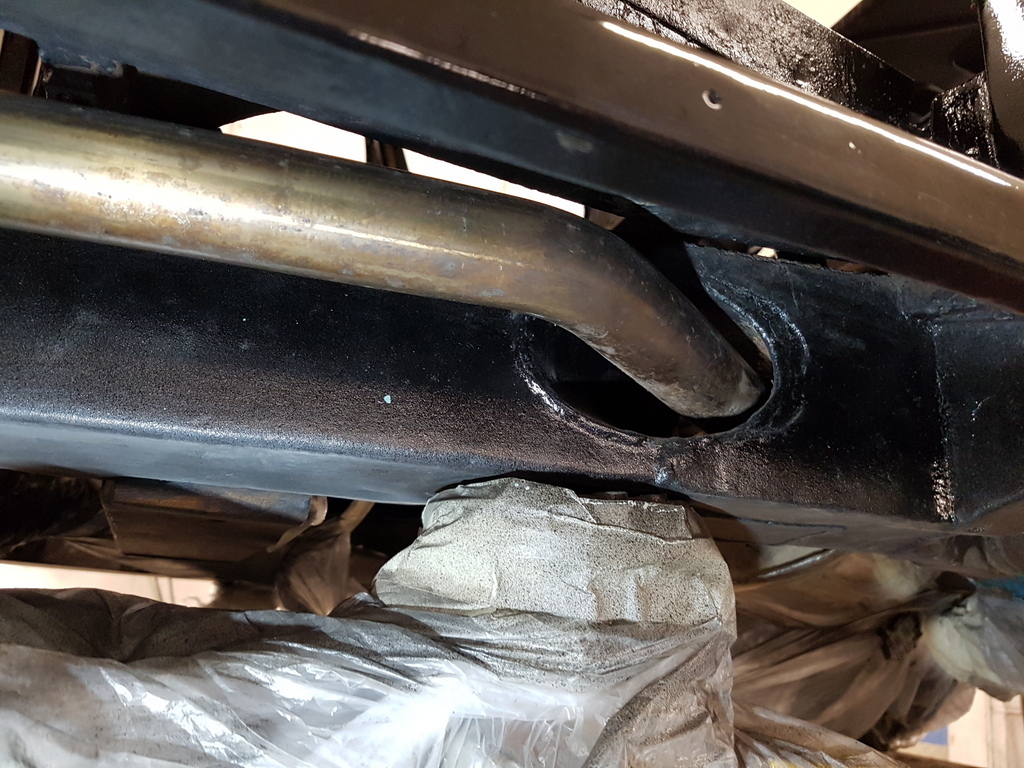 But it produces all the right results 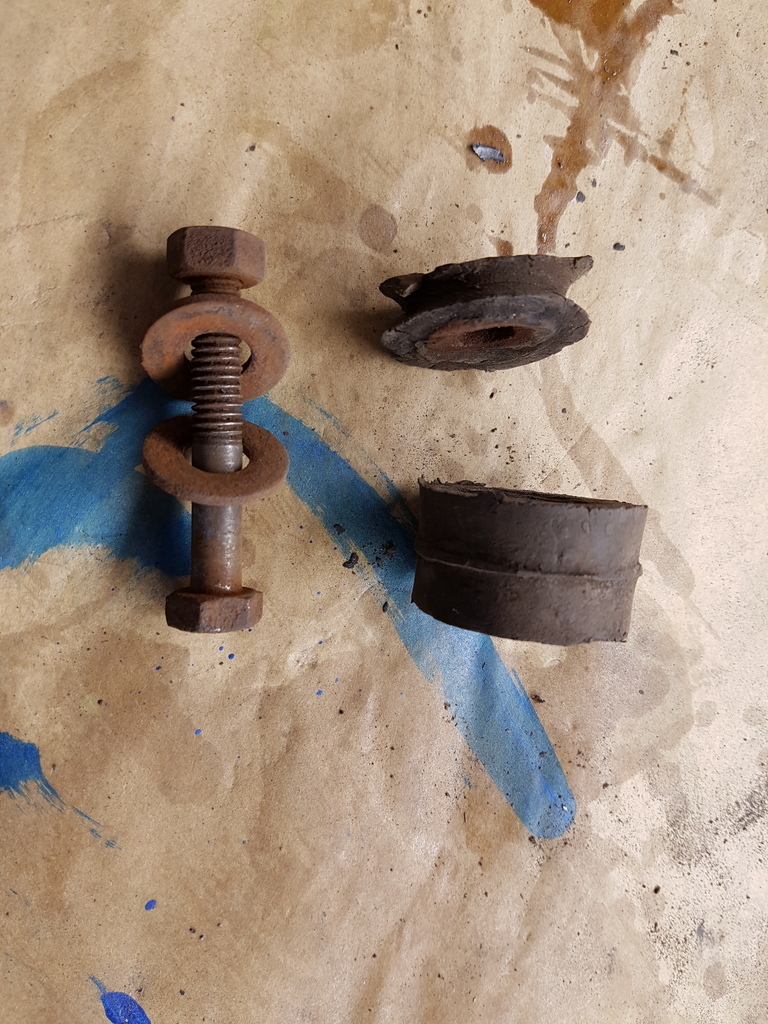 I binned all the old / make do type mountings - I have fitted several exhaust systems to Javelin models over the years - not one of them has been simple - all of them have involved the fabrication of bespoke brackets - and in getting this one to fit correctly I have over a days work expended  |
| |
Last Edit: Feb 2, 2020 9:40:55 GMT by Deleted
|
|
|
|
|
|
|
So no updates for over a week hence you getting treated to several updates in a 24 hour period 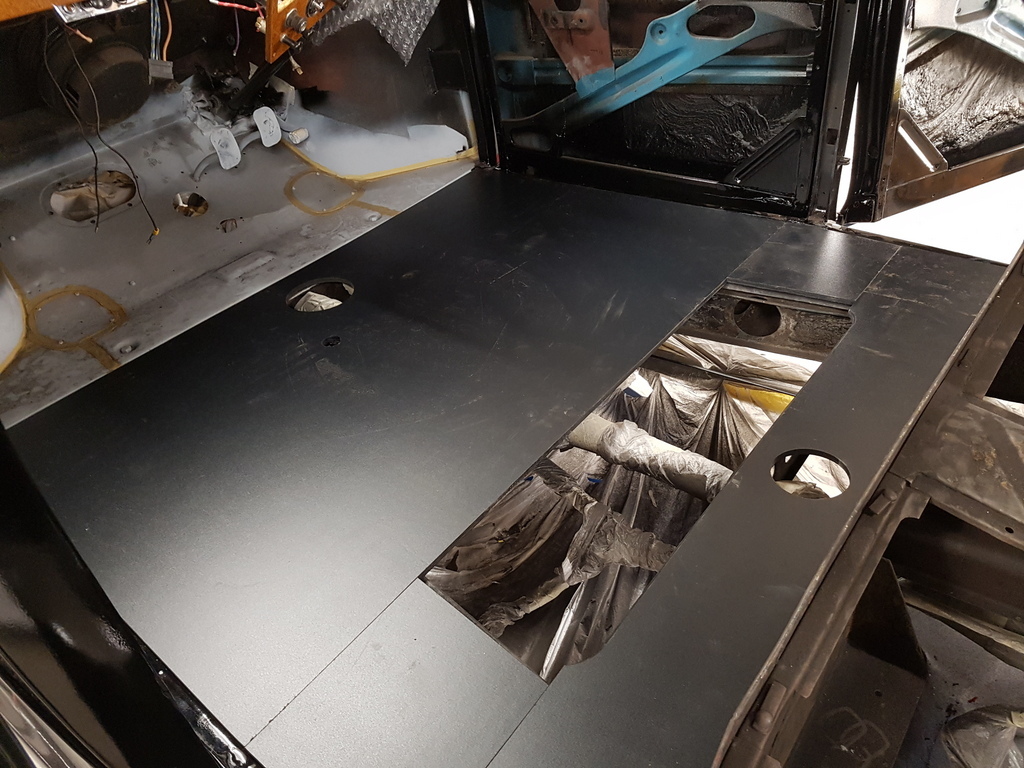 With the exhaust fitted - I can now pattern the ply floor up for permanent fitting - I had been holding off on this until the exhaust was fitted and with the floor out I have much better access to the mounting points 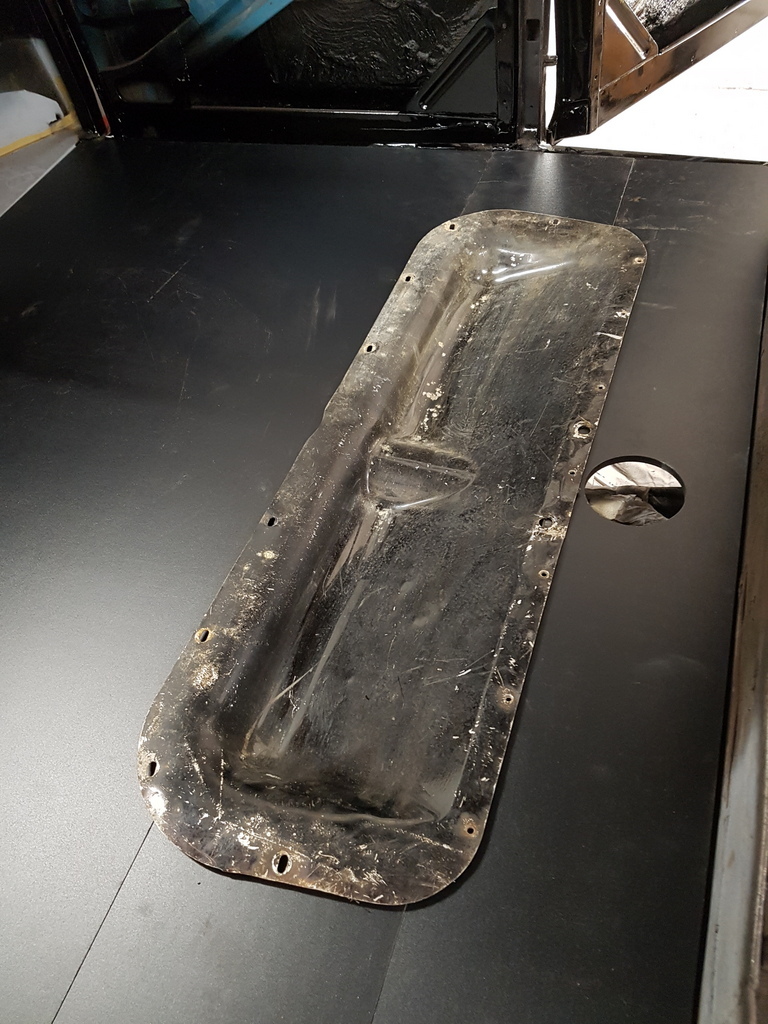 The Javelin was one of the first post war cars to start setting new luxury standards in the family car market - this alloy floor panel allows for rebated foot space for the rear seat passengers 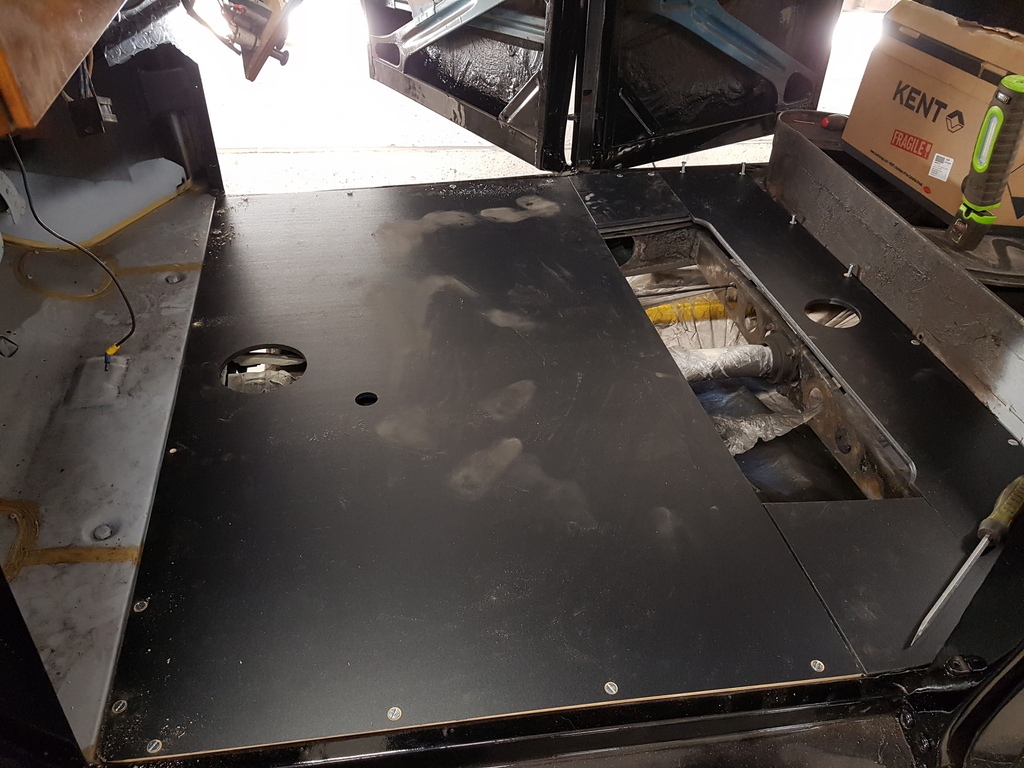 Fastening points drilled & countersunk - I will bolt it all in place later today 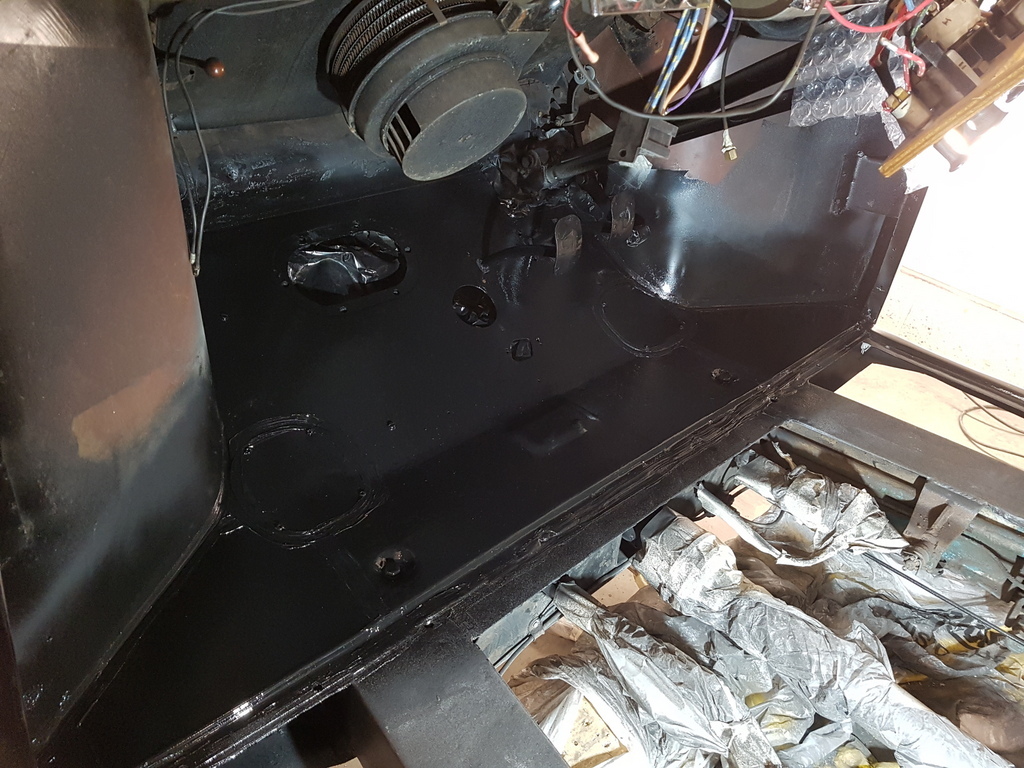 Front floor well painted in satin black - it all goes unseen and is covered with underlay & carpet - none the less I am not the type that's going to leave it in a primer finish |
| |
Last Edit: Feb 2, 2020 10:18:21 GMT by Deleted
|
|
|
|
|
|
|
|
Thank you for the polishing tutorial GN, much appreciated. I'm just about to get a polisher (waiting for my pension on Tuesday LOL), just need some bigger spheroids before I apply it to the lacquer.
|
| |
Proton Jumbuck-deceased :-(
2005 Kia Sorento the parts hauling heap
V8 Humber Hawk
1948 Standard12 pickup SOLD
1953 Pop build (wifey's BIVA build).
|
|
|
|
|
|
|
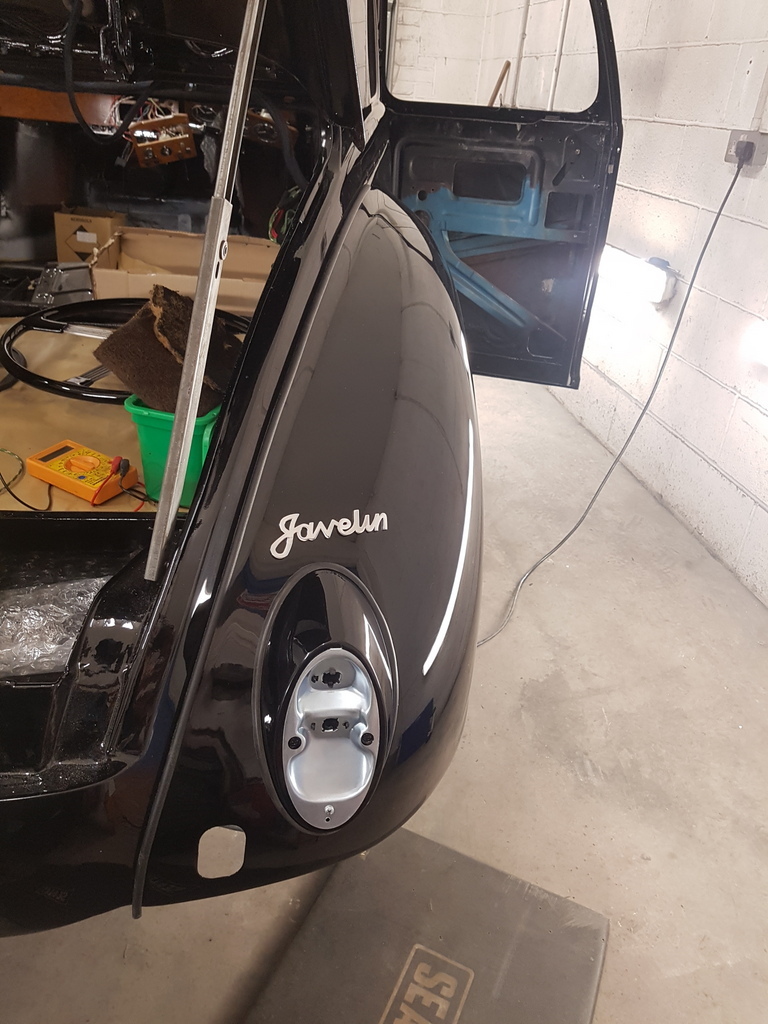 With the rear wing polished I could now fit the rear lamp shroud - this is far from original and comes from a VW Beetle - it does however allow for a rear lighting set with indicators (Javelins were only ever fitted with trafficators in the B posts originally) 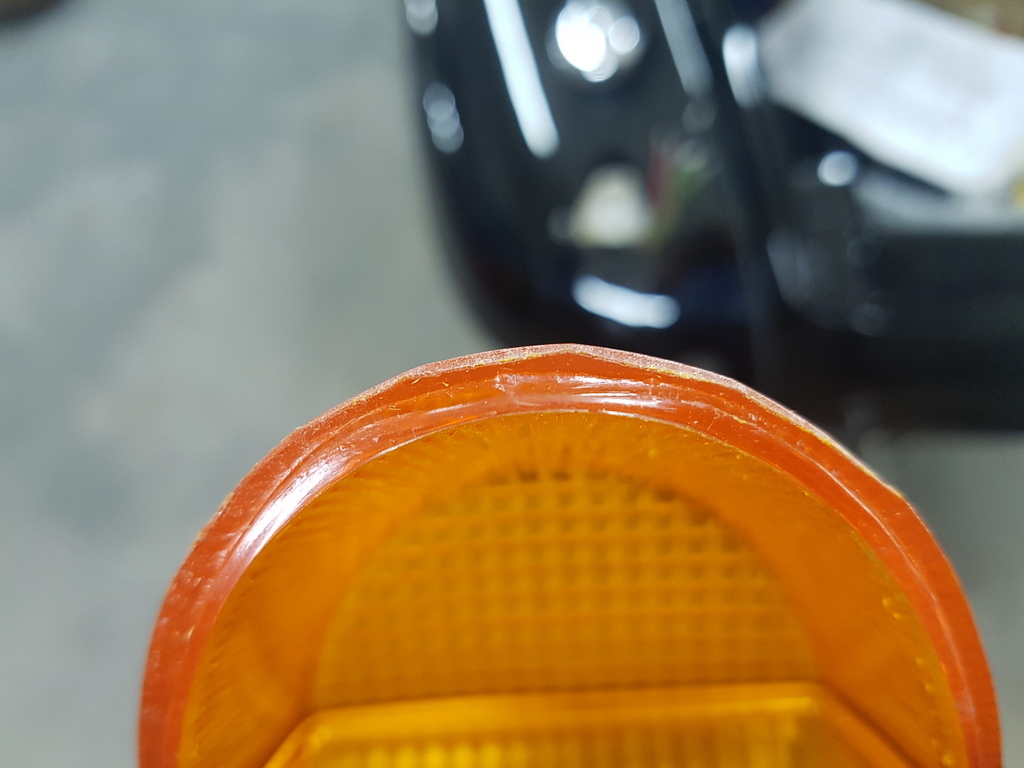 I ordered new lamp shrouds & lenses from 'VW Heritage' - I have to say that expected better quality standards than this - the lenses taken from the moulds when cast and just roughly shaped with an abrasive wheel of some type - this is nothing more than pathetic in my book - whilst I accept that its a reproduction part I have absolutely no time for companies with such poor quality control standards 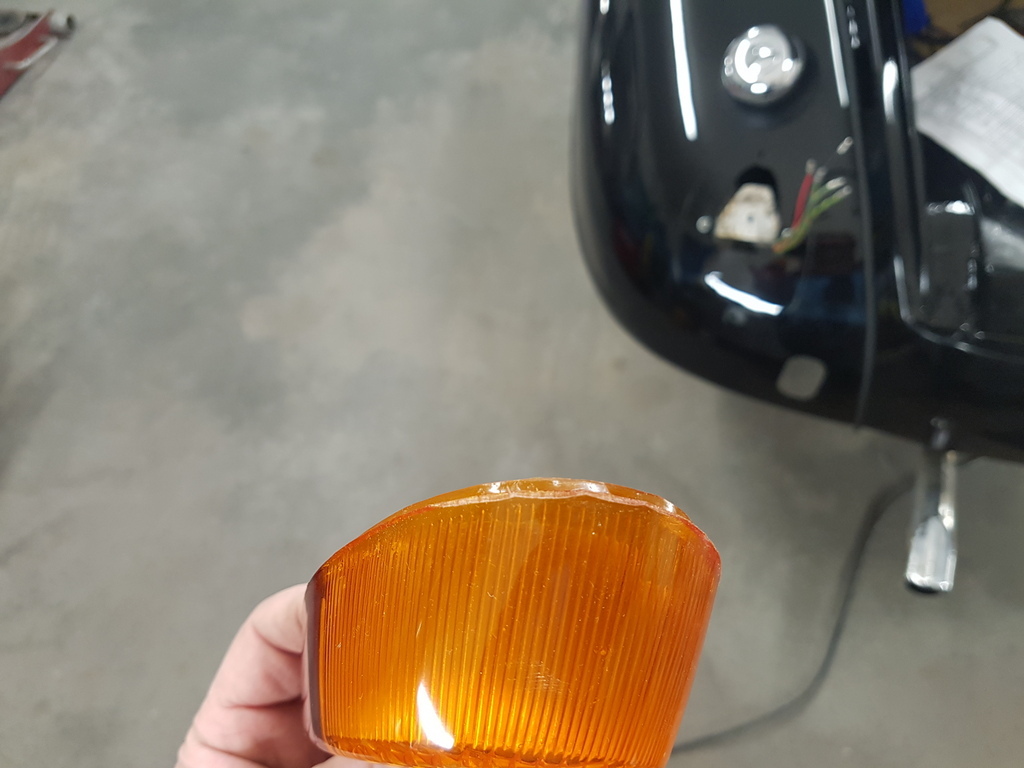 I reshaped the lens with 600 wet & dry then polished it with compound - not perfect but the rest of it is hidden by the seal trim 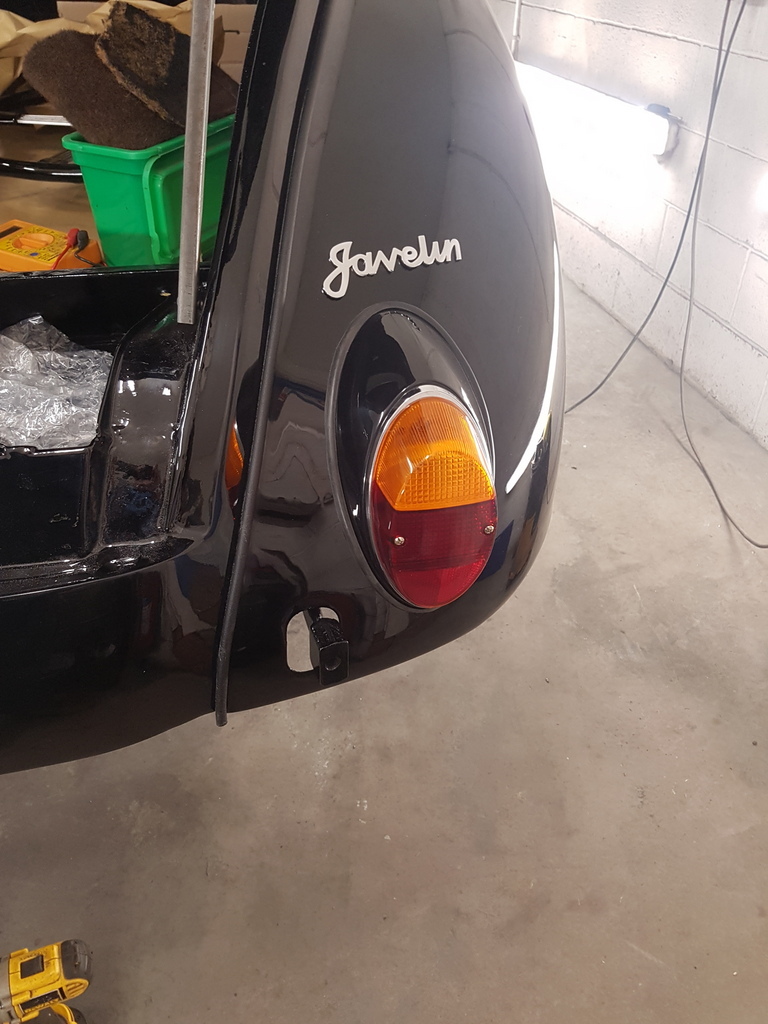 Fitted - but I had to modify the wiring harness to spade terminal ends to suit the fitting - also had to add in a supply to the rear number plate lamp in the bumper which for some reason they had deleted and then found that they had transversed the indicator wiring - i.e. the right hand indicator feed was powering the left hand indicator & vice versa - a simple mistake and easily corrected but these are professional companies producing professional products at professional prices which consistently fail minimum quality standards - boils my blood it does  don't ever get me on Classic Car Parts Suppliers 101 !! 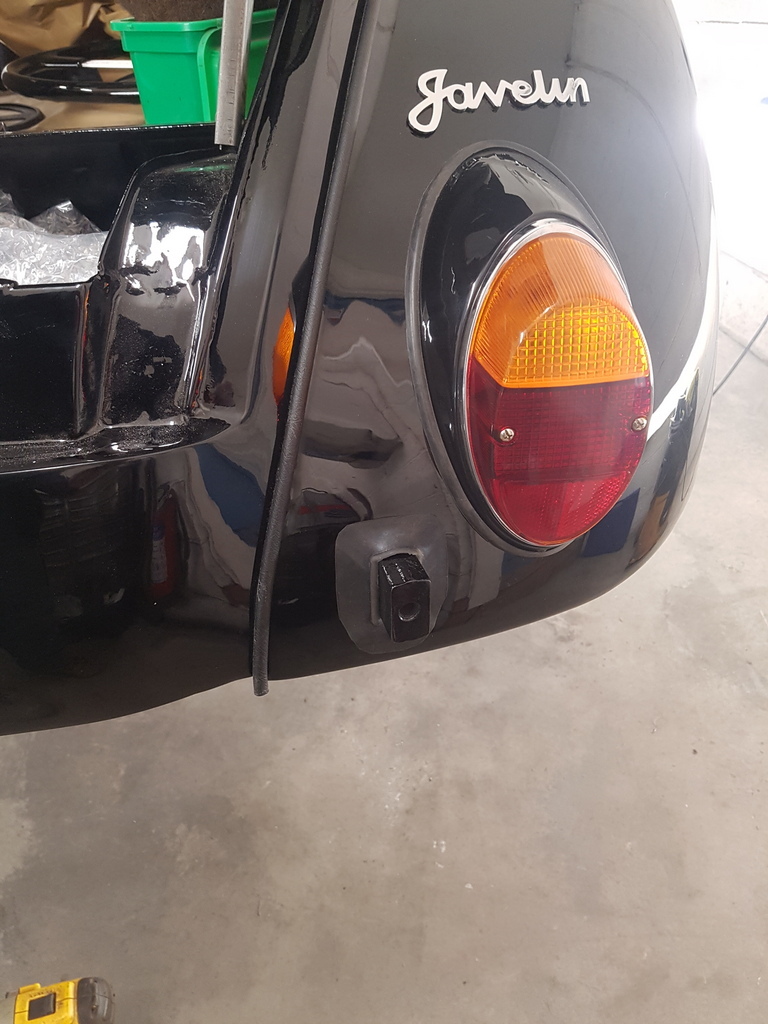 Rear bumper iron fitted complete with its wing grommet which are produced to the original pattern and supplied by the clubs own parts department 'Jowett Car Spares' Right then - that's the updates for now - off to the workshop to create some more progress |
| |
Last Edit: Feb 2, 2020 10:52:51 GMT by Deleted
|
|
|
|
|
|
|
|
Chris, I found that many of the parts supplied by VW Heritage (in Shoreham) are of pathetic quality, whereas the VW Classic Parts Center in Wolfsburg are superb...and in many cases the prices are lower and delivery quicker!
|
| |
Ich habe kein Geld!
|
|
npp
Part of things
 
Posts: 121 
|
|
|
|
So no updates for over a week hence you getting treated to several updates in a 24 hour period many thanks - I was starting to feel like something was missing from my daily routine |
| |
|
|
|
|
|
|
|
|
|
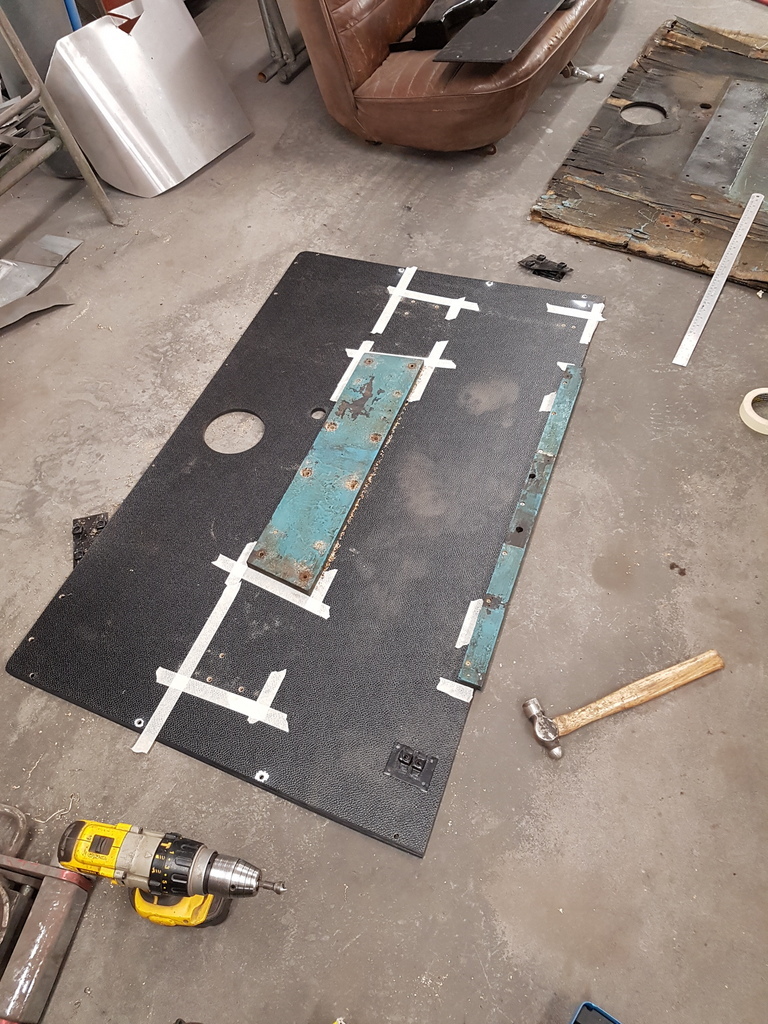 Transferred the hardwood braces to the new floor panel which despite being covered in blue paint are in good condition (much unlike everything else that was covered in blue paint on the car) 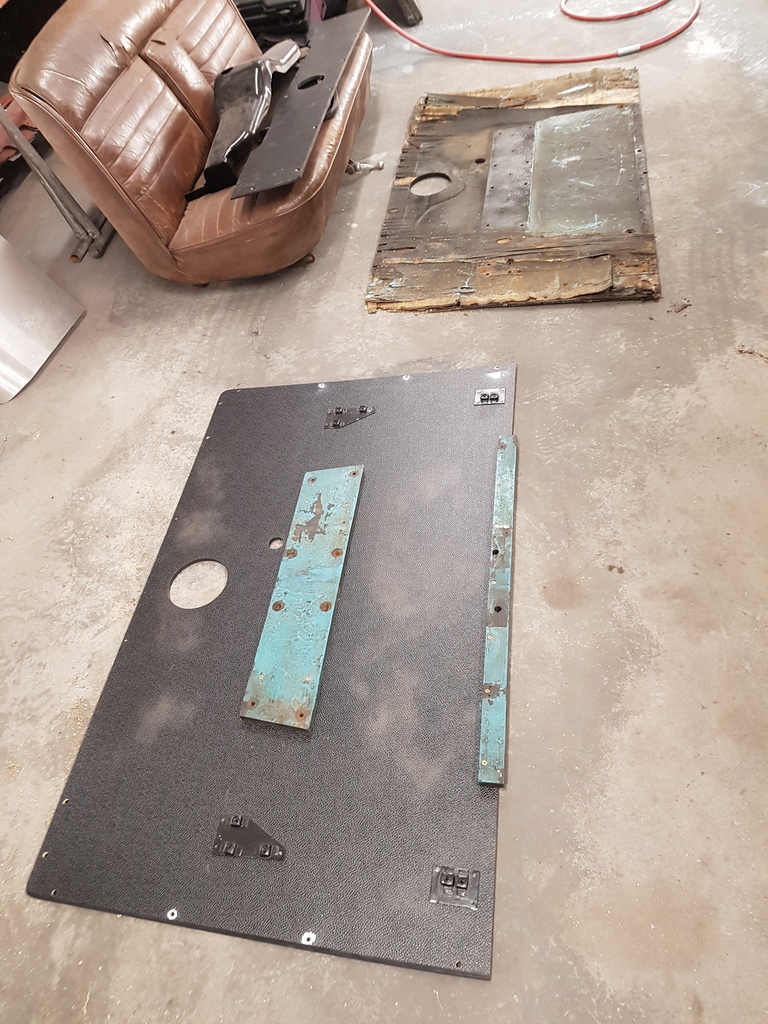 Then spent some time transferring the measurements over from the old floor to the new one in order to drill for the seat mounting points & brackets - once done I could attach the plates with the captive nuts for the seat mounting points 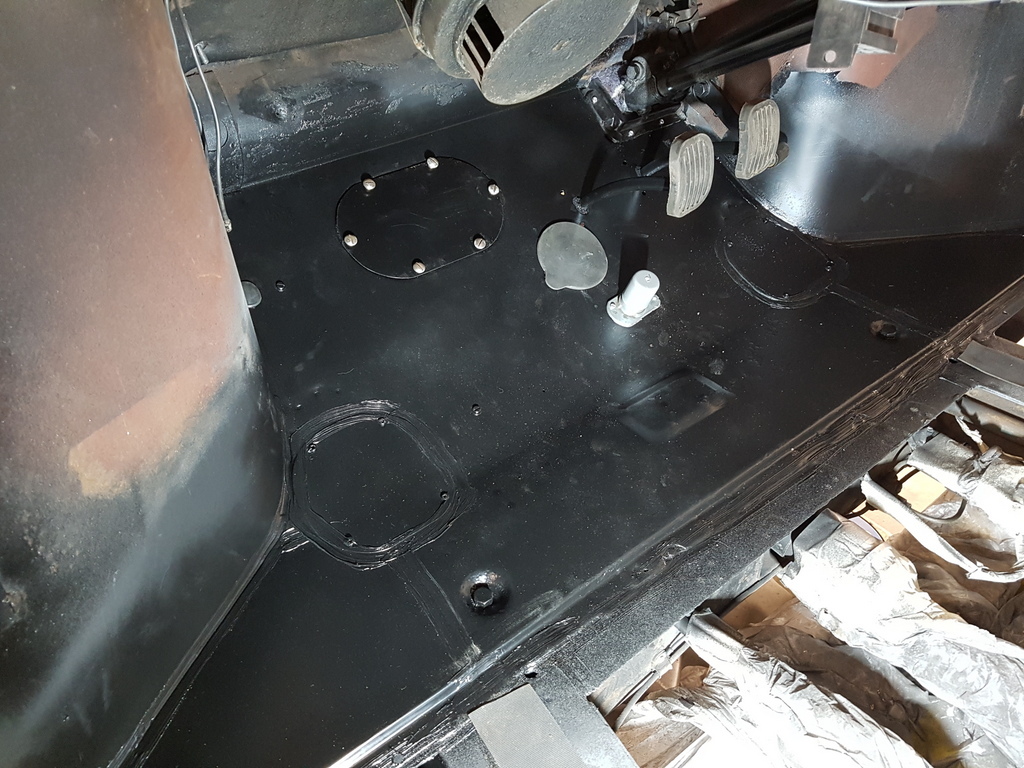 With the front footwell / floor pan now painted I could install & wire up the headlamp dip switch and place the access covers - only temporary though - I will still require access to ensure that the column change linkage is correctly set up and that the gearbox is filled with oil / level checked - with the main floor still unfitted it just makes access a little easier 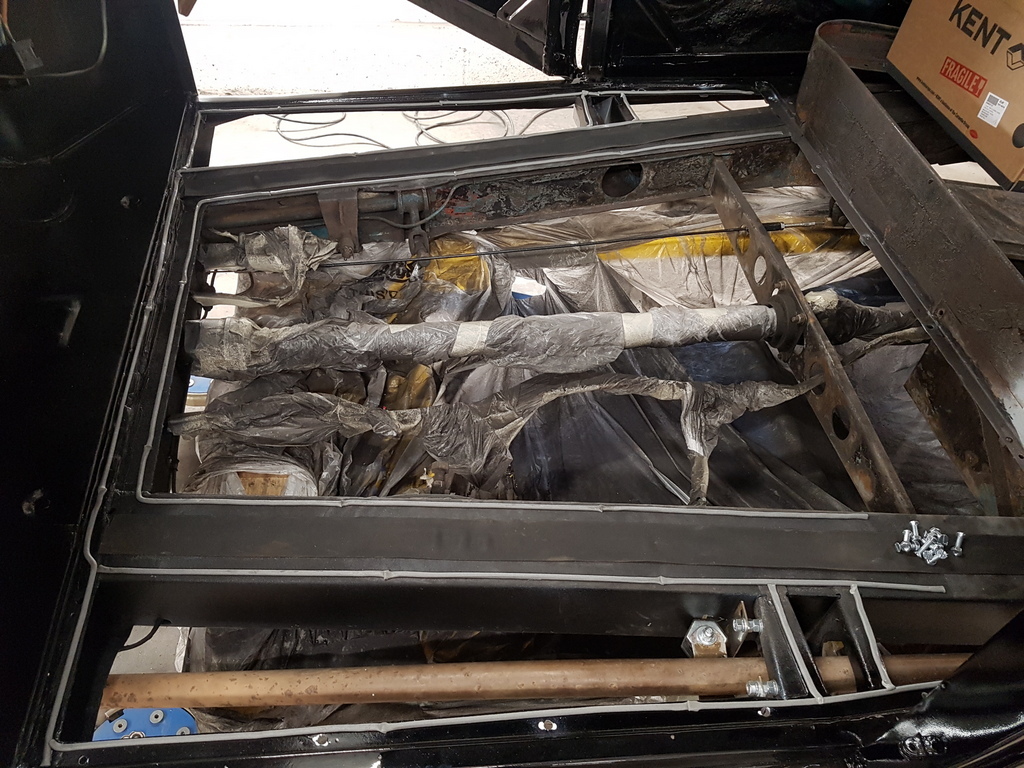 With floor panel checked again for fitting since adding the braces I could now apply the caulking to the contact points on the sills & chassis rails - originally the cars left the factory with very little to seal the ply floor to the sill panels and only an absorbent felt on top of the chassis rails 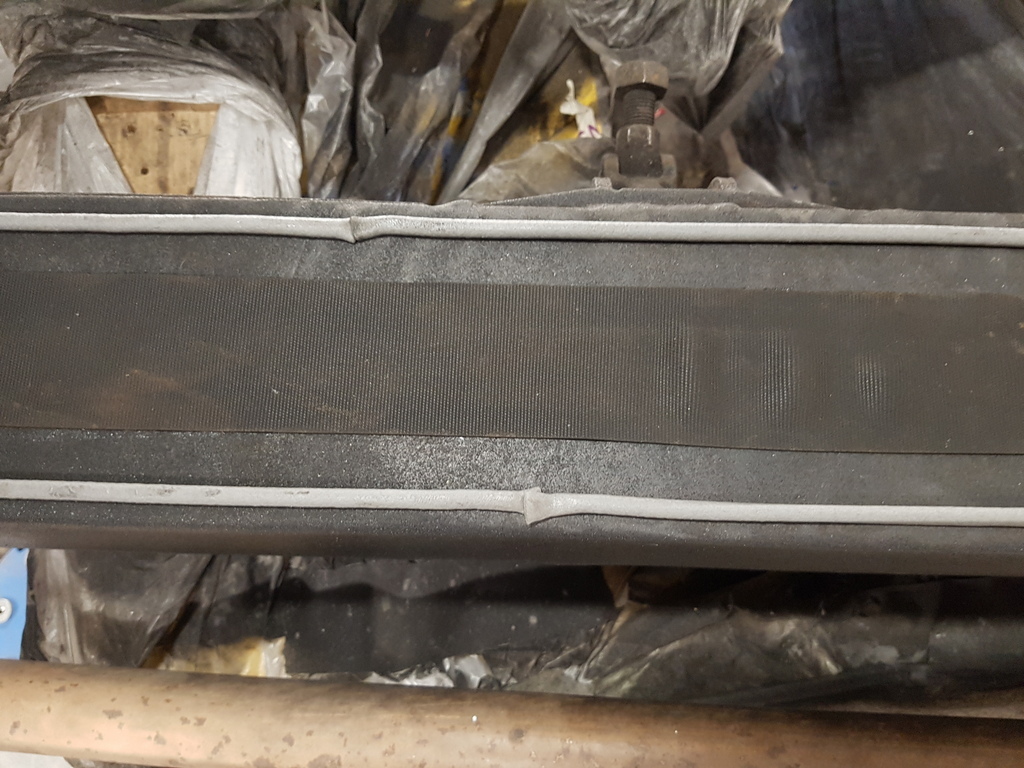 I have used a thin butyl band on top of the chassis rail but also then used a automotive body caulking to prevent water ingress from the underside of the car 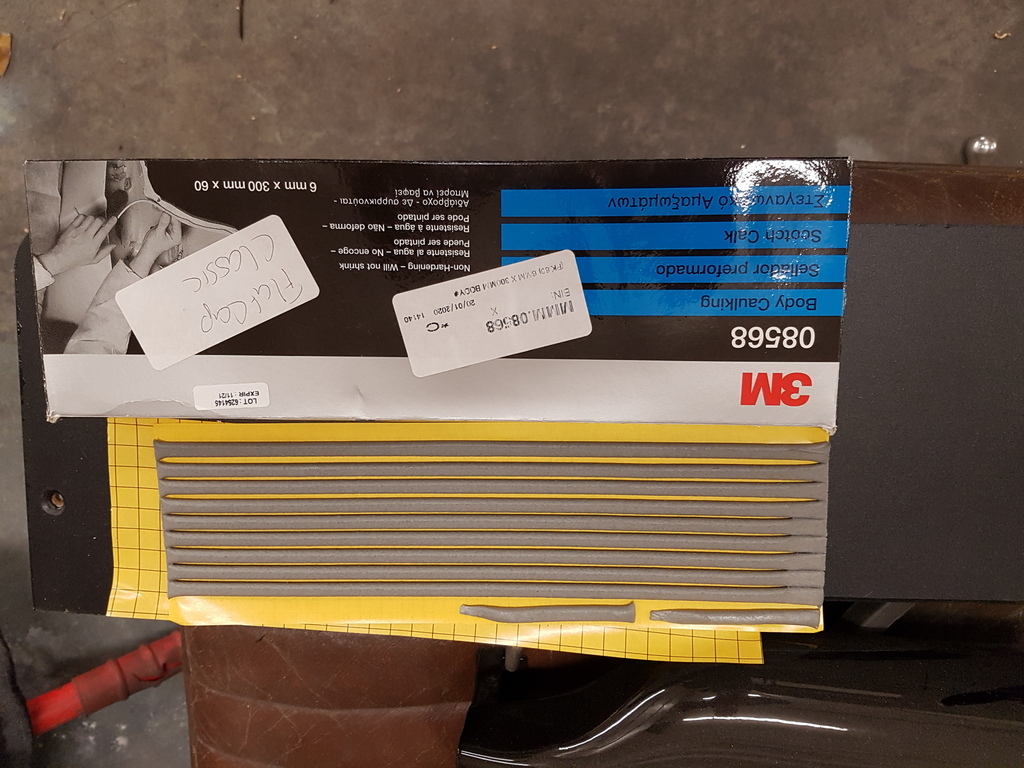 This is a very useful product whilst it provides for a seal it stays in soft non setting form - so should you ever need to remove the floor panel without damaging it or anything else then its perfectly possible - but the product has many other uses - its great for bolt on panels where you don't want water ingress between the seams 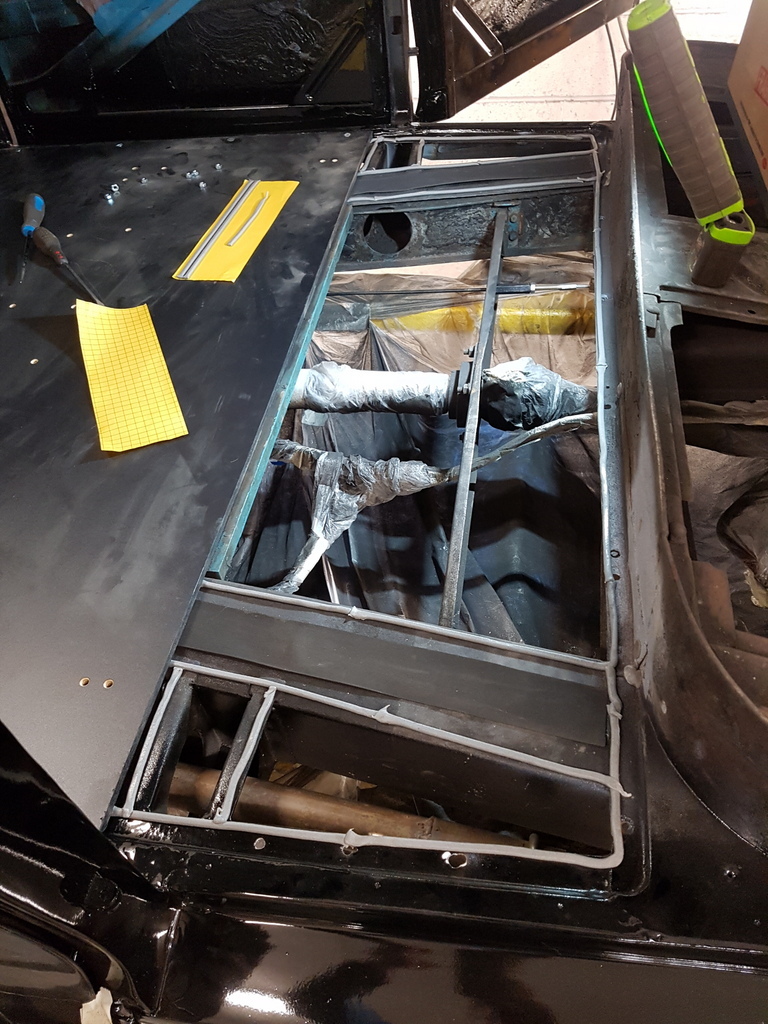 Front section fitted and rear sections ready 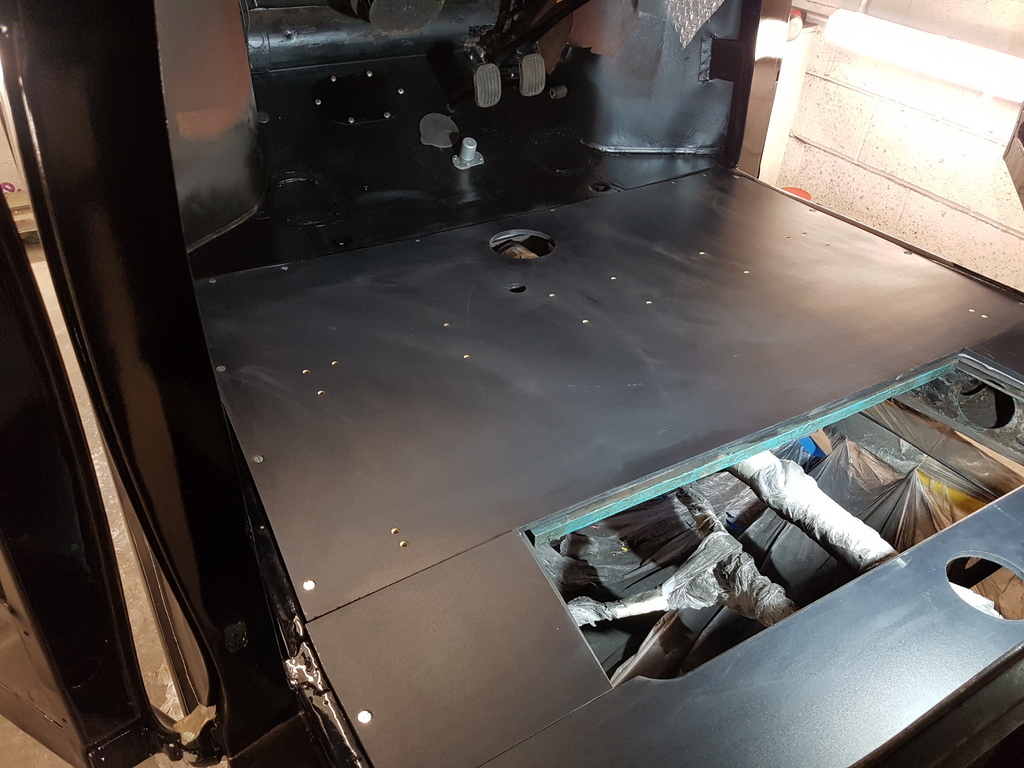 All 4 sections fastened down 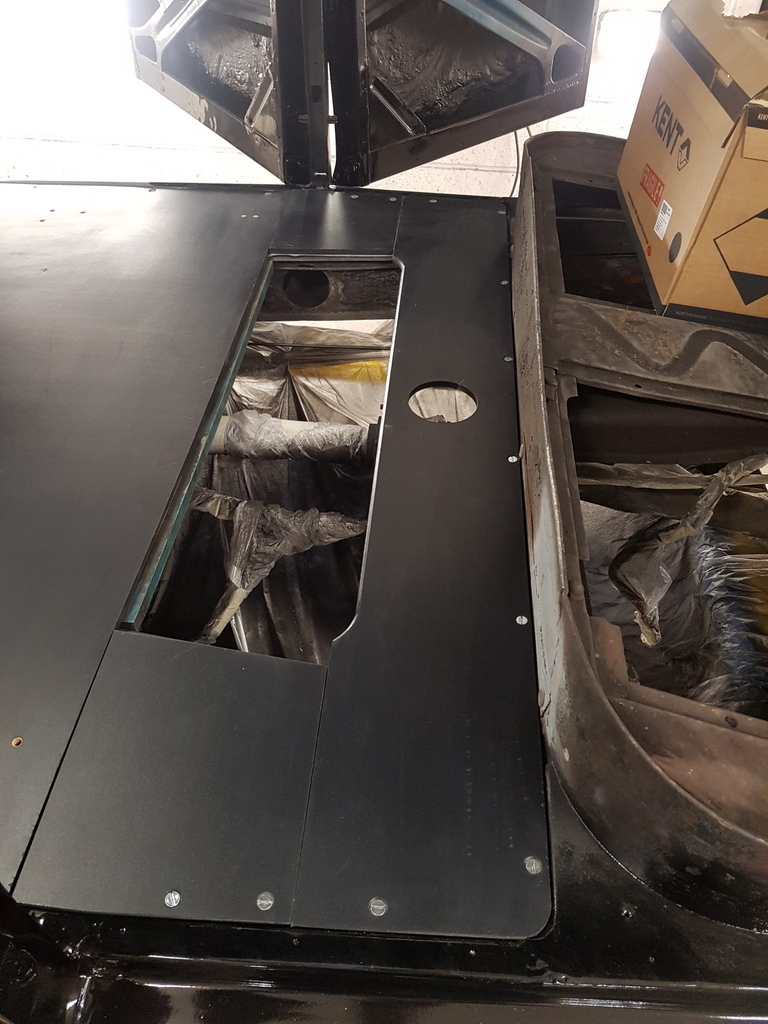 Just need to clean the rear footwell panel up with a lick of paint before fitting it 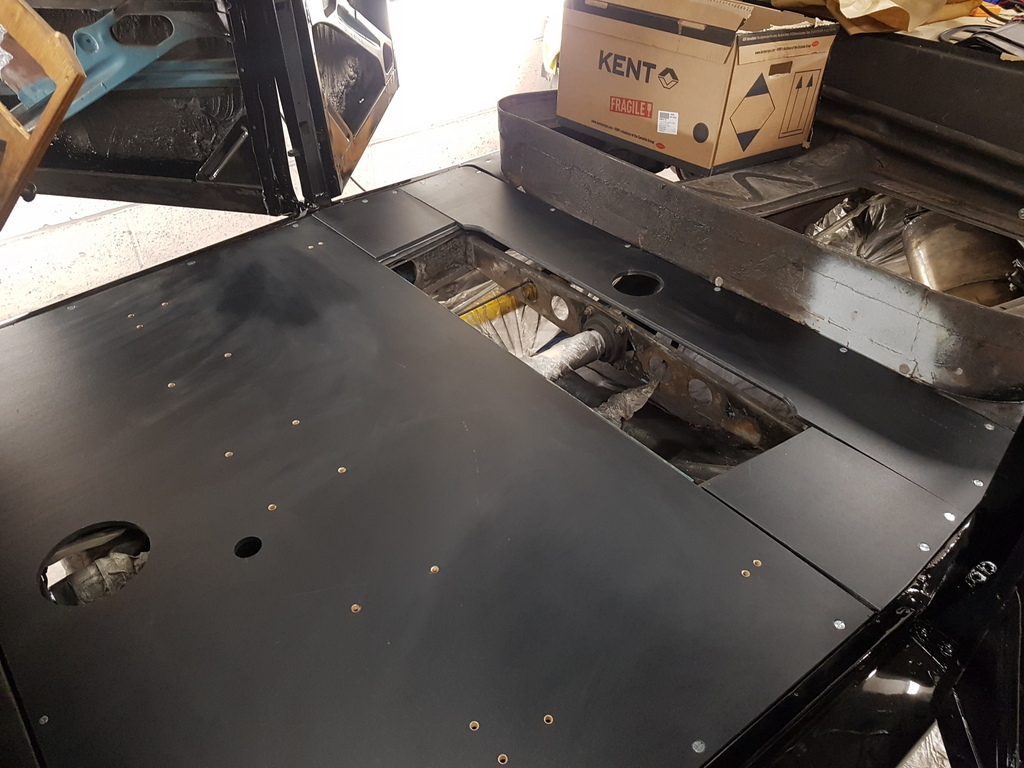 More tomorrow |
| |
|
|
|
|


 don't ever get me on Classic Car Parts Suppliers 101 !!


