|
|
|
Nov 14, 2019 12:54:33 GMT
|
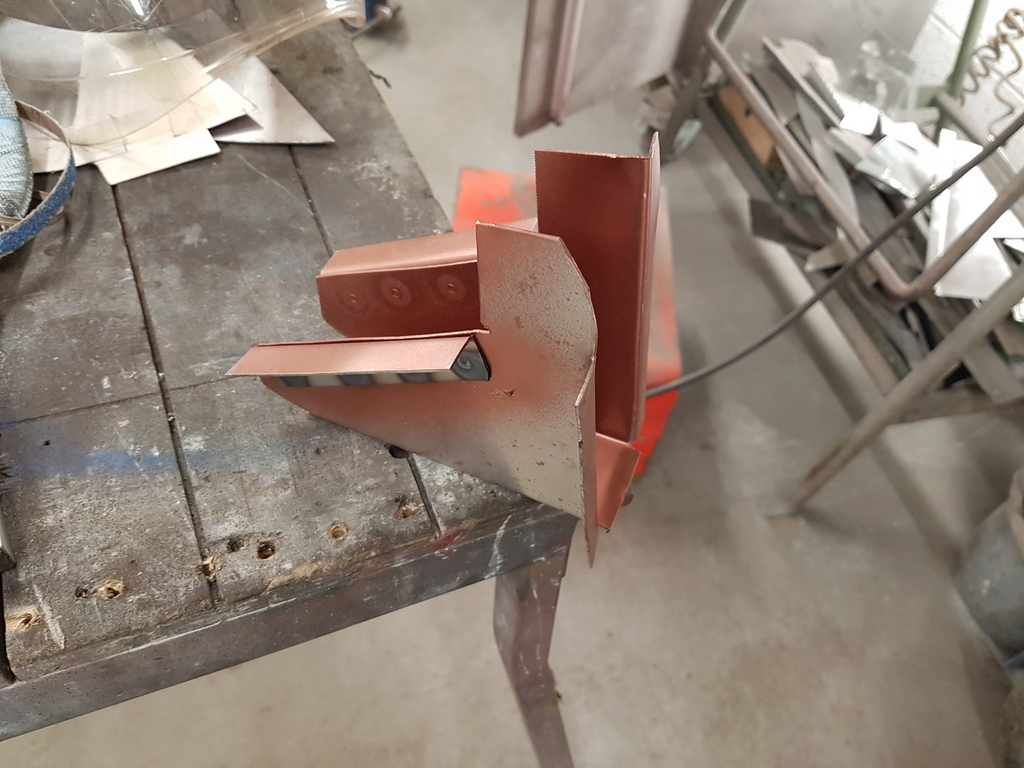 Once I had dressed the welds back from yesterdays work I went about making patterns up & fabricating a new rear outrigger Out of interest, is this folded up using a folder, or using bits of angle iron in a vice? And are the spot welded angles done that way because you've run out of ways to hold it in the vice or folder to bend them over? I've just been given a folder by a very generous mate who is clearing some stuff out, and while it's great for some stuff, I'm finding a lot of places where it's not quite possible to get the piece in, so resort to the vice and my collection of bits of bar and angle, and a hammer. I do have a folder and its good but not great - what you really need is a 'Box Pan Folder' which allows for sections to be removed to aid the folding of the fabrication - so yes its easier to fold up certain sections with the folder to the basic shape then other flanges with the vice / angle iron method - then add to once its starts to get complex with the spotwelded flanges (but this is also following the original factory pattern) My current folder is only a 600mm bed - which is good because its nice & compact - but pathetic when I want to fold a door repair panel that's 900mm long - Folders are readily available at decent prices but I don't have room for a 2 metre bed folder that weighs 1,000 kg Hence high on my list of priorities is one of these www.baileighindustrial.co.uk/magnetic-brake-bb-4816m-2Its just the right size for what I need and is very versatile - I have a contact of mine whom has one and is retiring - I have my name all over it ! |
| |
|
|
|
|
|
|
|
Nov 14, 2019 15:31:59 GMT
|
|
thats fab, both the noun and the adjective version
|
| |
|
|
|
|
|
Nov 14, 2019 19:11:12 GMT
|
Chris, when you bring the panels to my work I'll show you our box pan folder - its up for grabs and may well be perfect for you. Much cheaper than the one in your link too  |
| |
|
|
|
|
|
Nov 14, 2019 19:43:19 GMT
|
Chris, when you bring the panels to my work I'll show you our box pan folder - its up for grabs and may well be perfect for you. Much cheaper than the one in your link too  Mark - Sounds good - Keep trying to get over but very busy at my end - will hopefully get over Mon / Tues to you |
| |
|
|
|
|
|
Nov 15, 2019 20:41:49 GMT
|
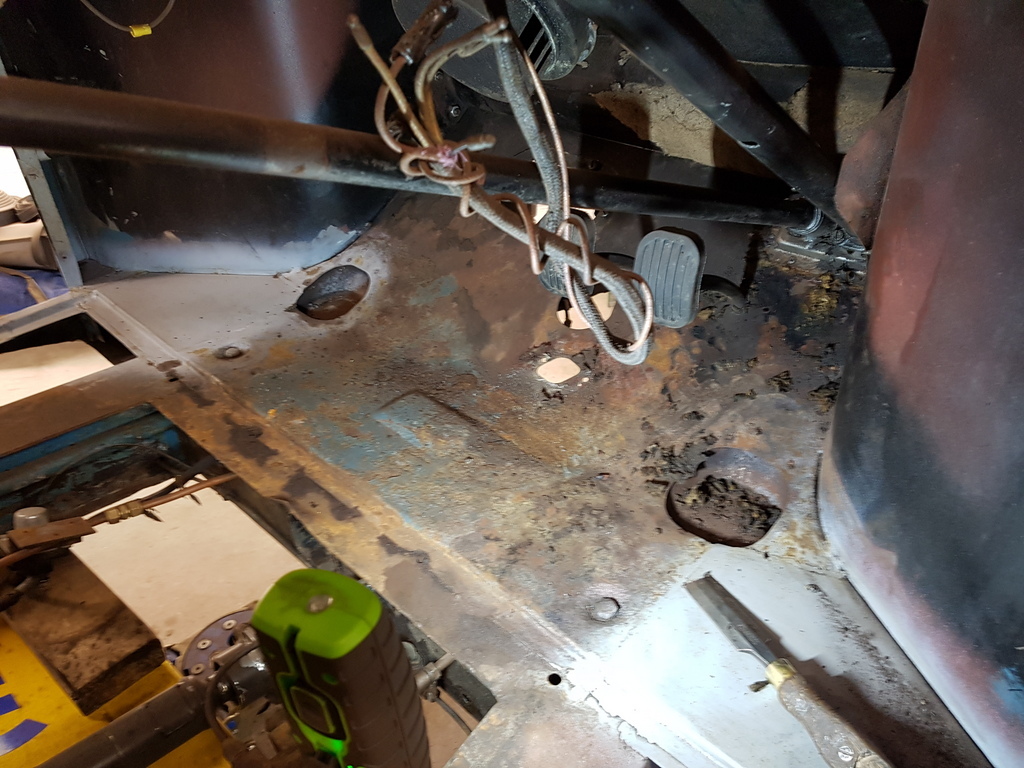 With the majority of the rear structural areas now de-rusted I needed to sort the chassis rails & sills out - with the windscreen leaking for a substantial period and the sound deadening under the carpet being absorbent the front floorpan was also pretty thick with rust 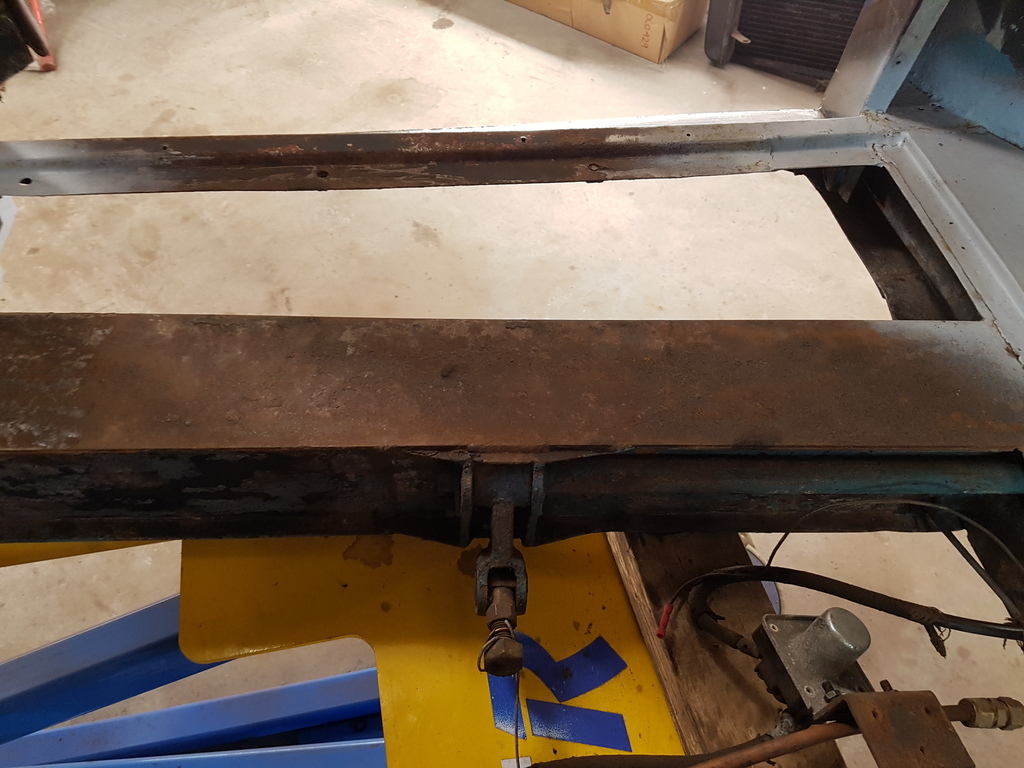 The box section chassis rails were no better - the factory lined the top of rails with a water absorbent felt before placing the ply floor on top of the rails hence the rust - the rails are very heavily constructed though so most of them survive 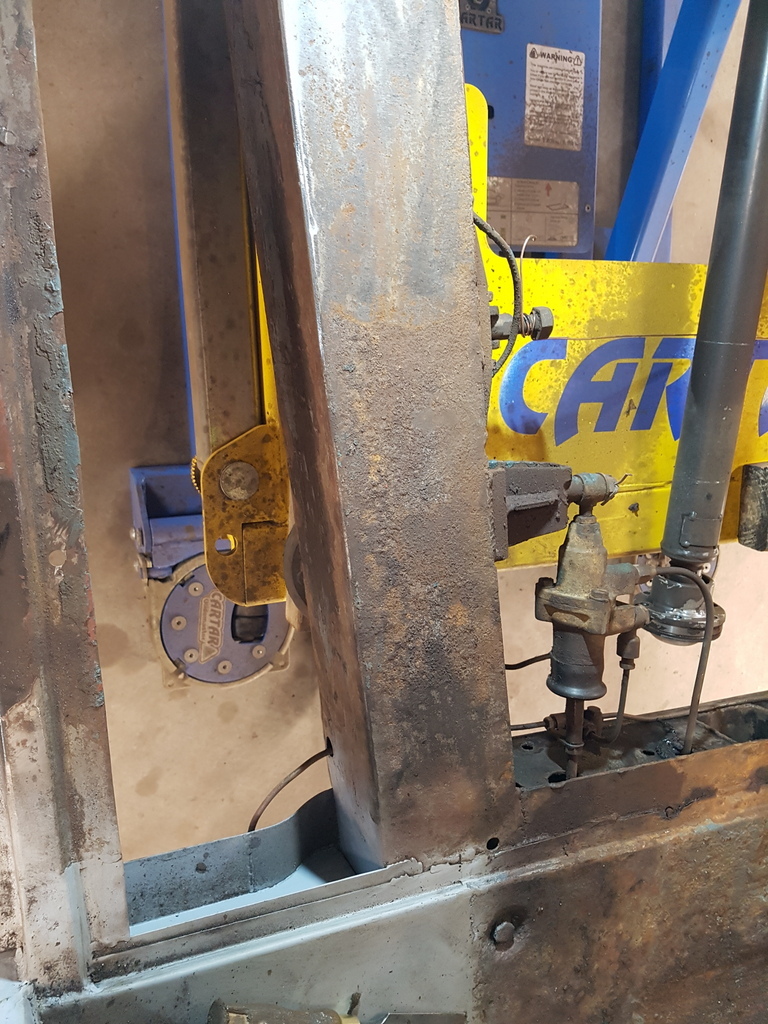 After several hours with the grinder fitted with a flapwheel - I had made some progress 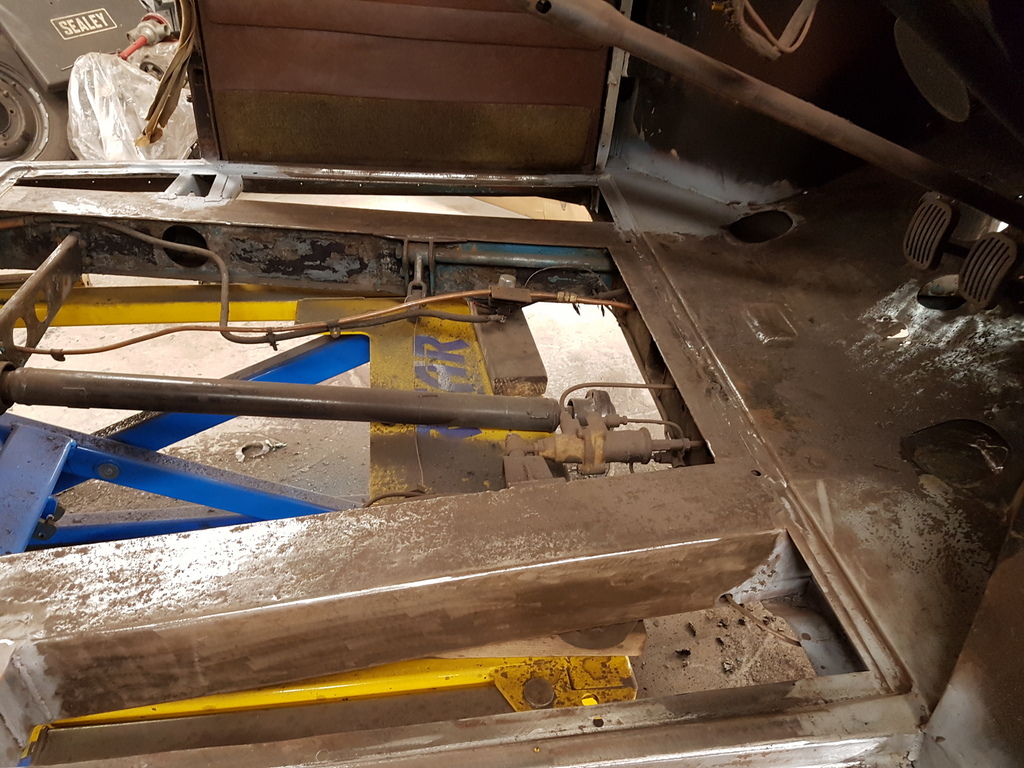 Along with a lot of mess 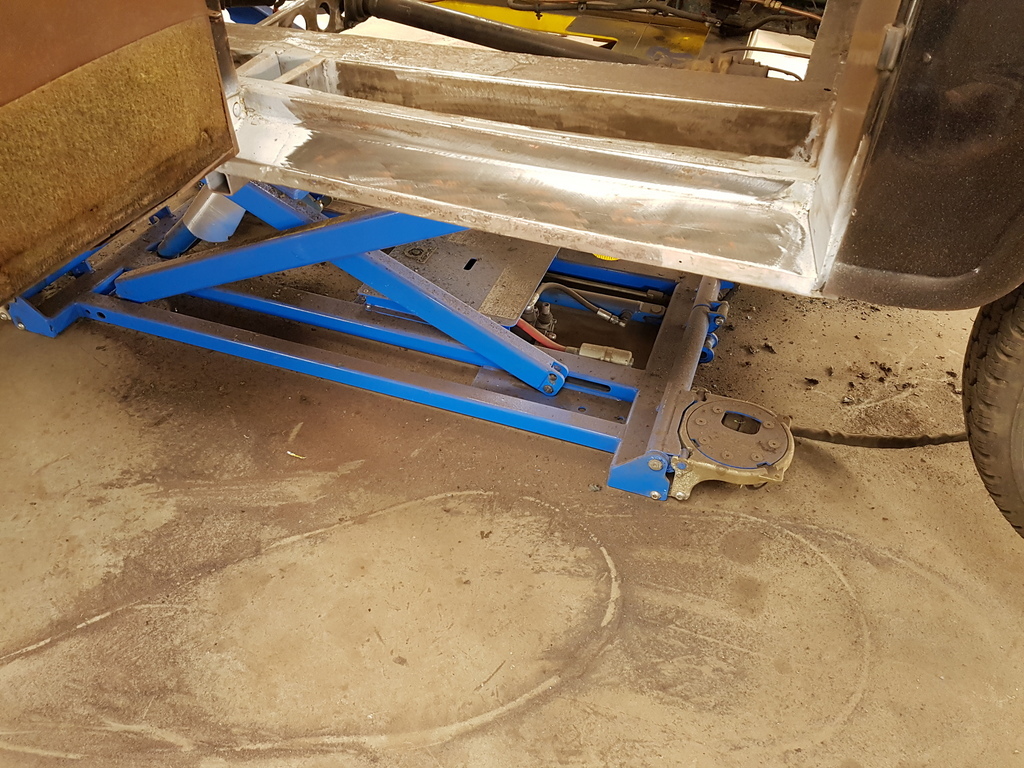 A good session with the airline blowgun & good sweep up later 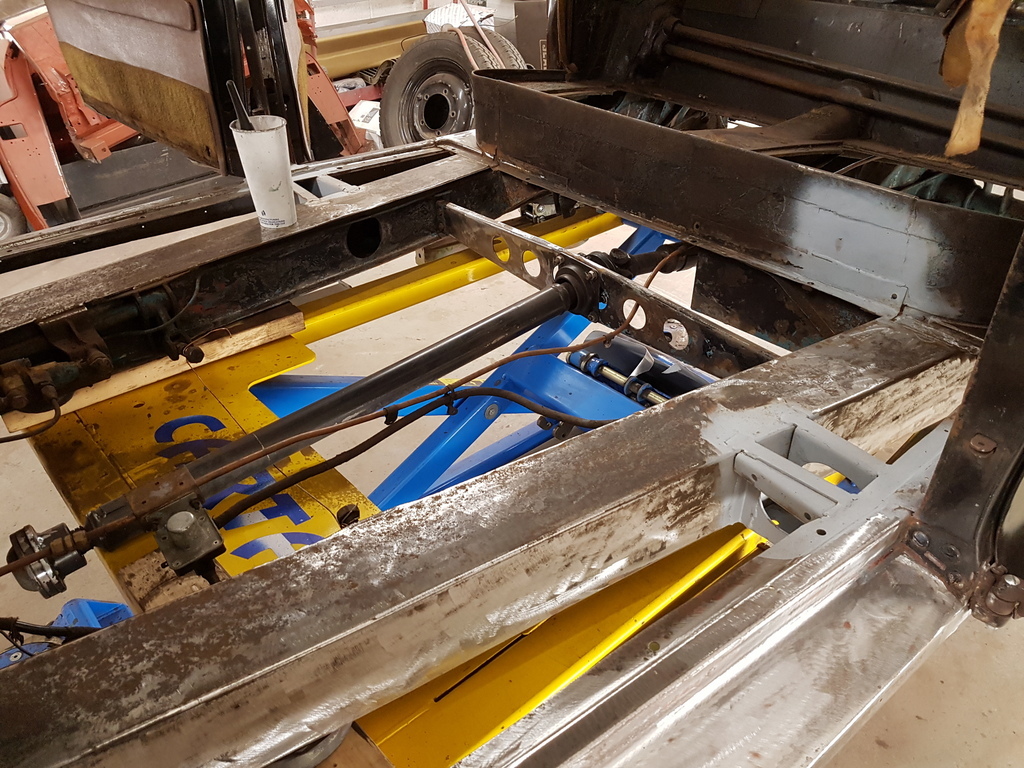 The first dose of Hydrate 80 could be applied - this will now keep the rust in check and provide a suitable substrate to work from 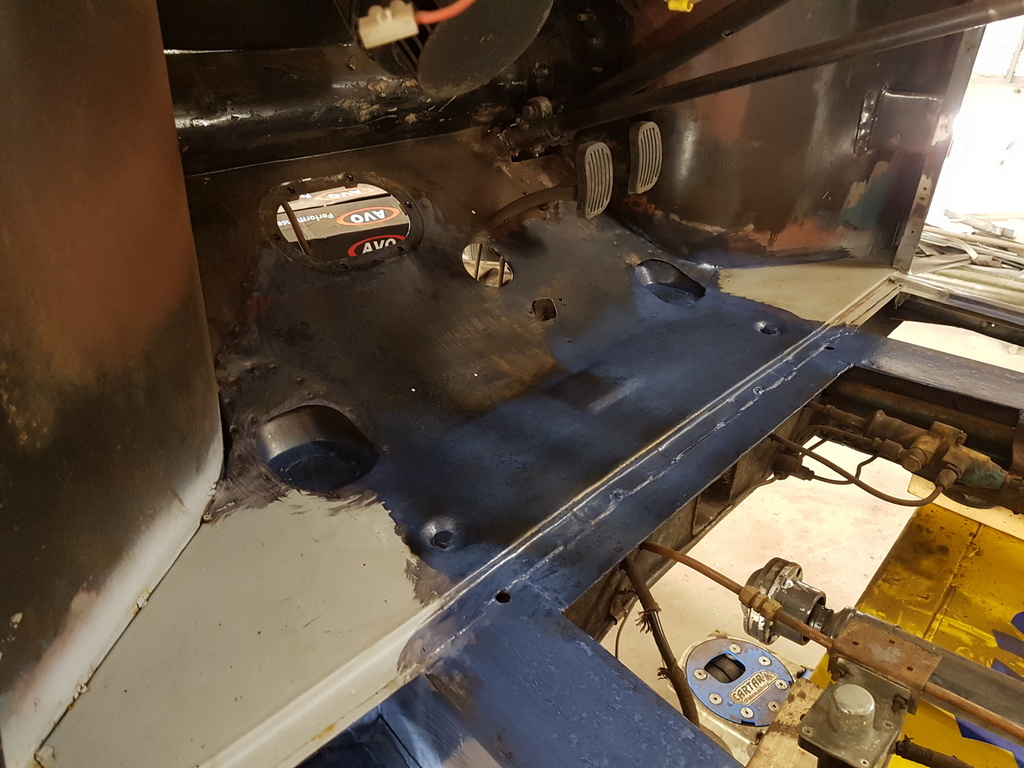 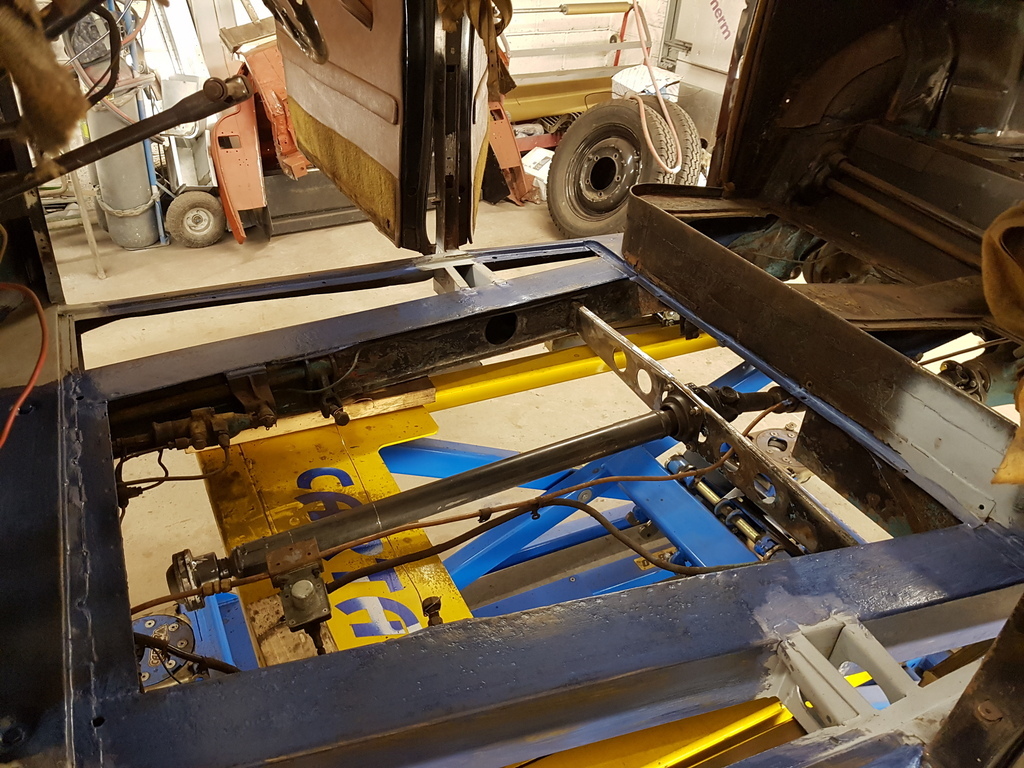 I managed to get 2 coats on and also applied a second coat to the rear inner wings & boot floor flanges 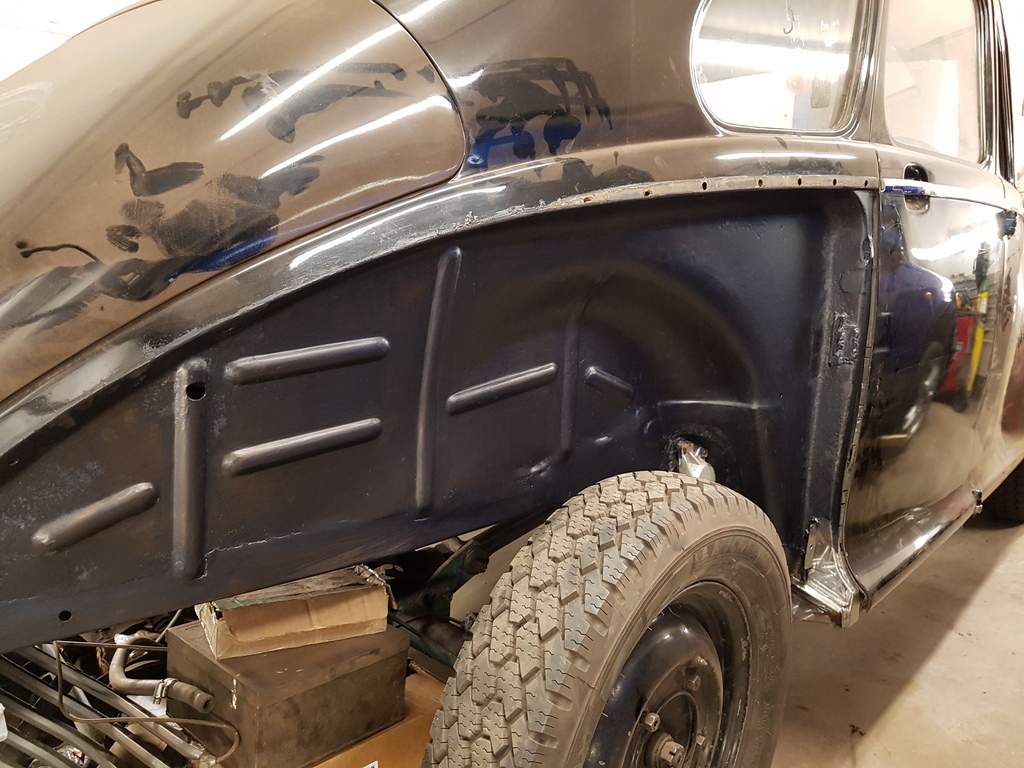 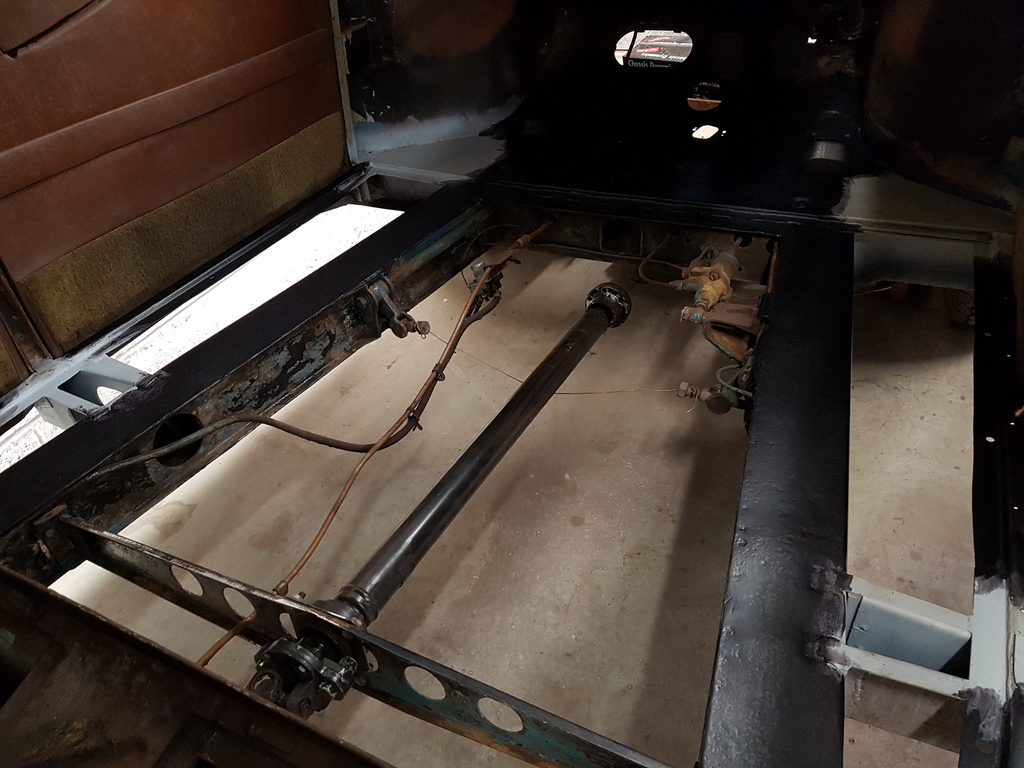 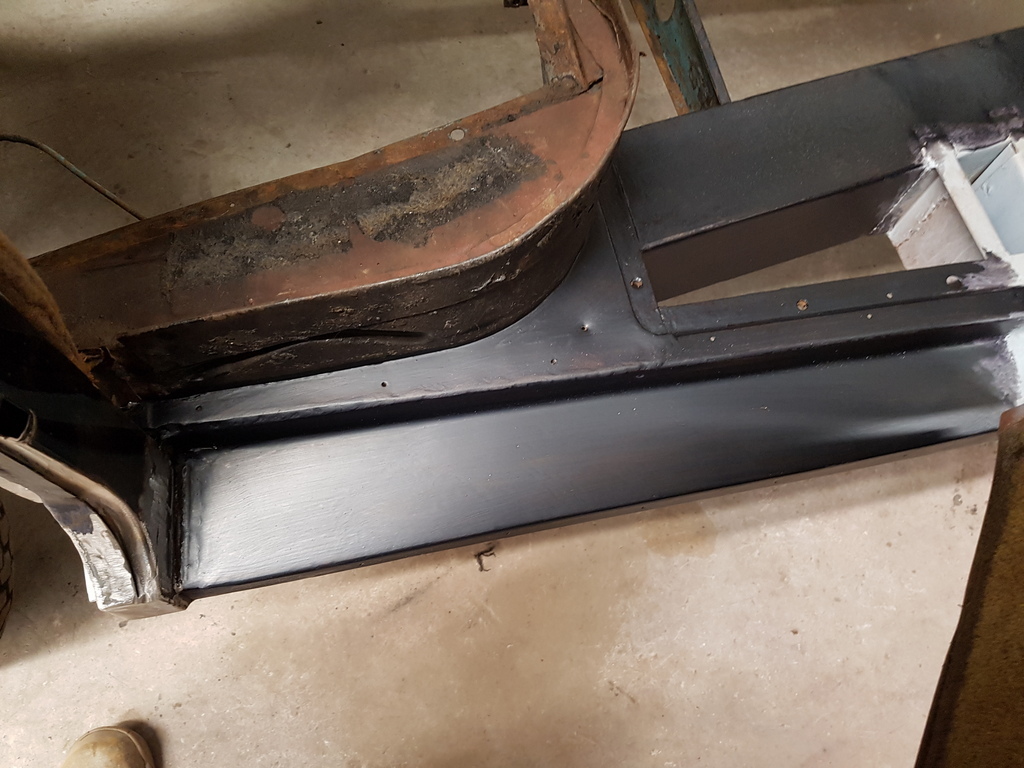 I still need to access the underside of the chassis rails but the car has to come off the lift for that which I will sort over the next day or so |
| |
Last Edit: Nov 15, 2019 20:42:40 GMT by Deleted
|
|
|
|
|
Nov 16, 2019 21:02:51 GMT
|
Placed the wheels back on the car and took it off the lift to allow access to the chassis rails 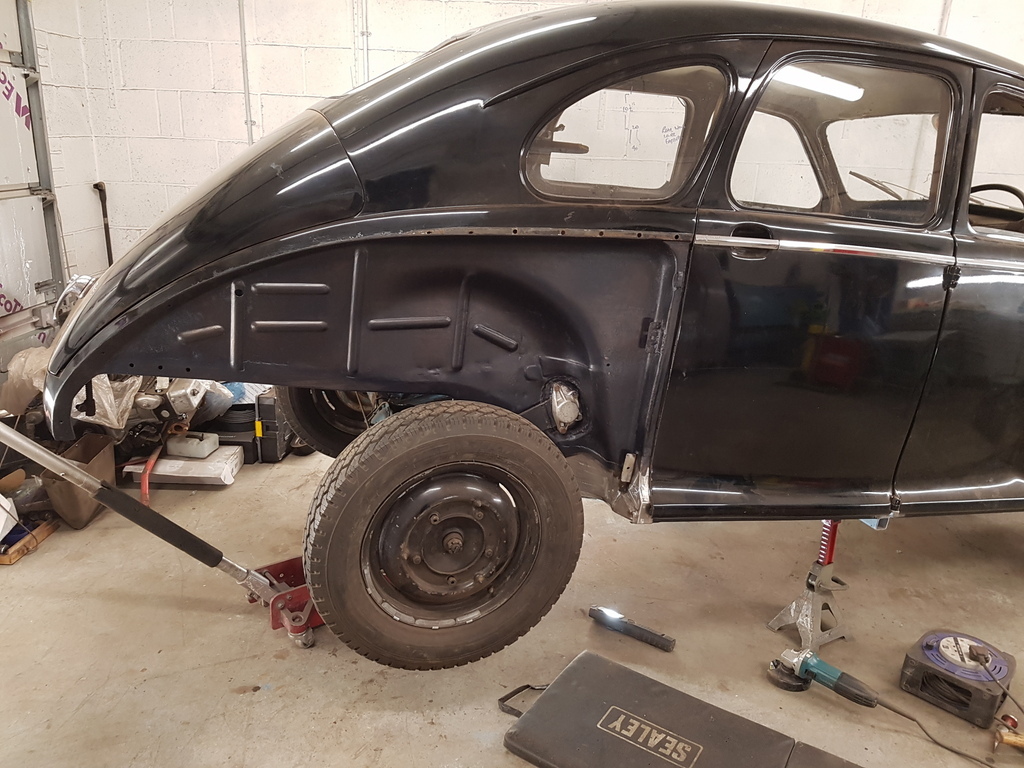 Put the rear up on the jack with axle stands under the jacking points 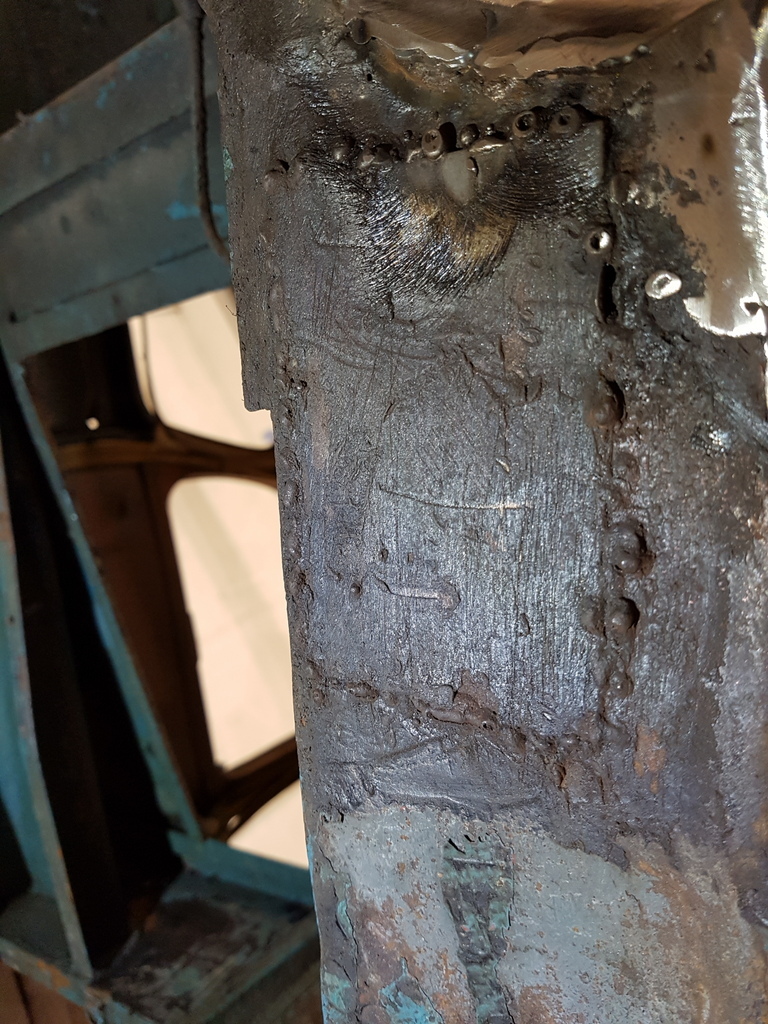 There's a pathetic attempt of a previous welded repair with underseal smeared around it on the offside rear of the rail 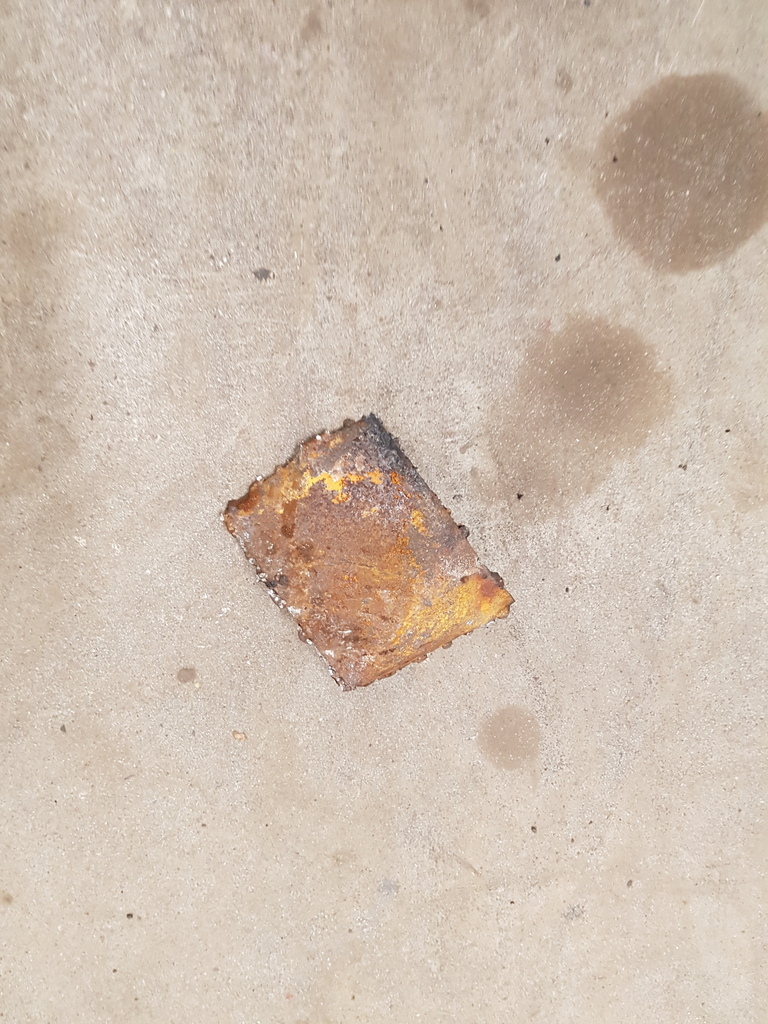 It didn't take much persuasion to remove it 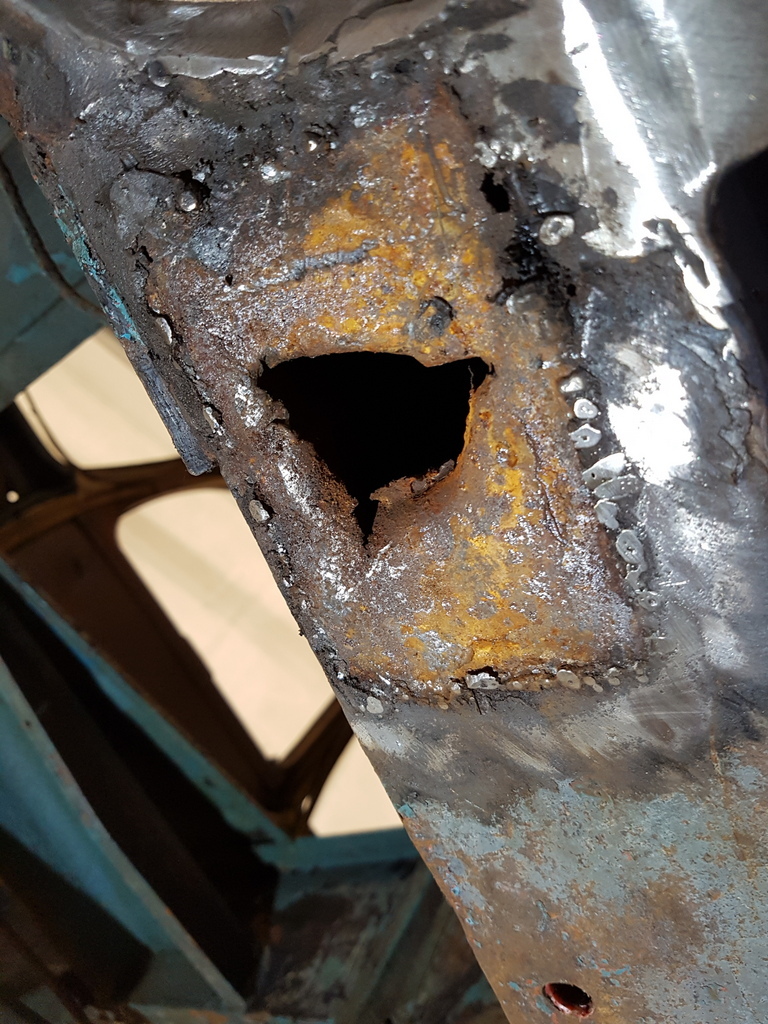 Just some turned in perforated edges to chop out 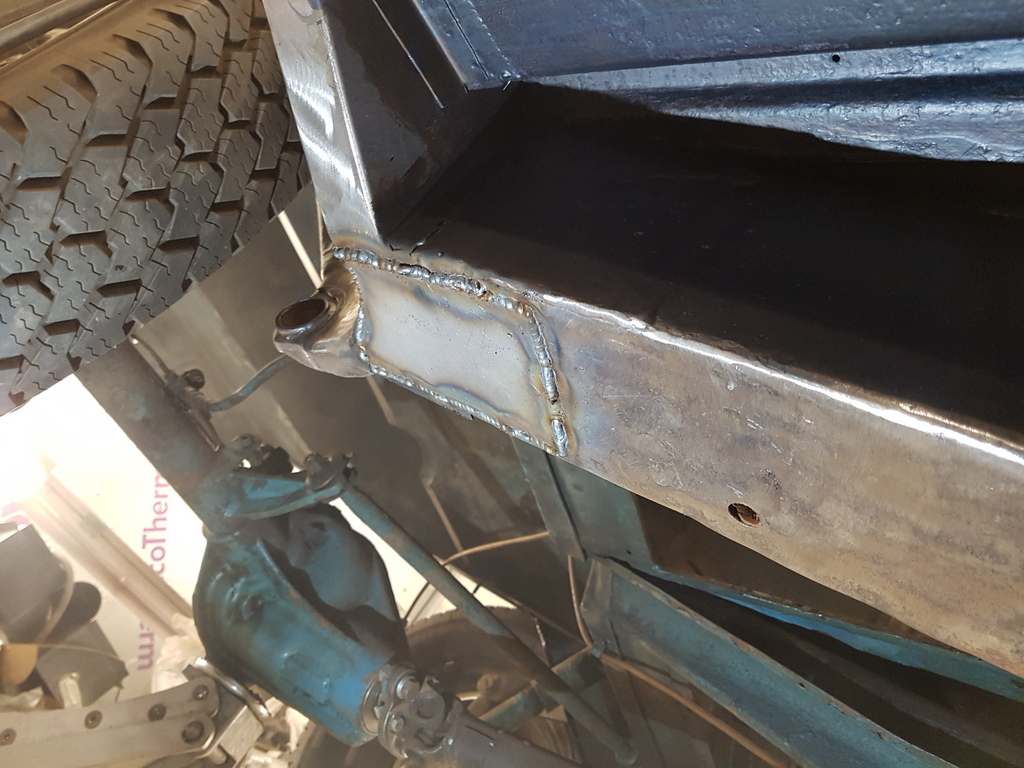 Once cleaned up I over plated the area with a fully welded in repair - it still needs the weld beads dressing back slightly 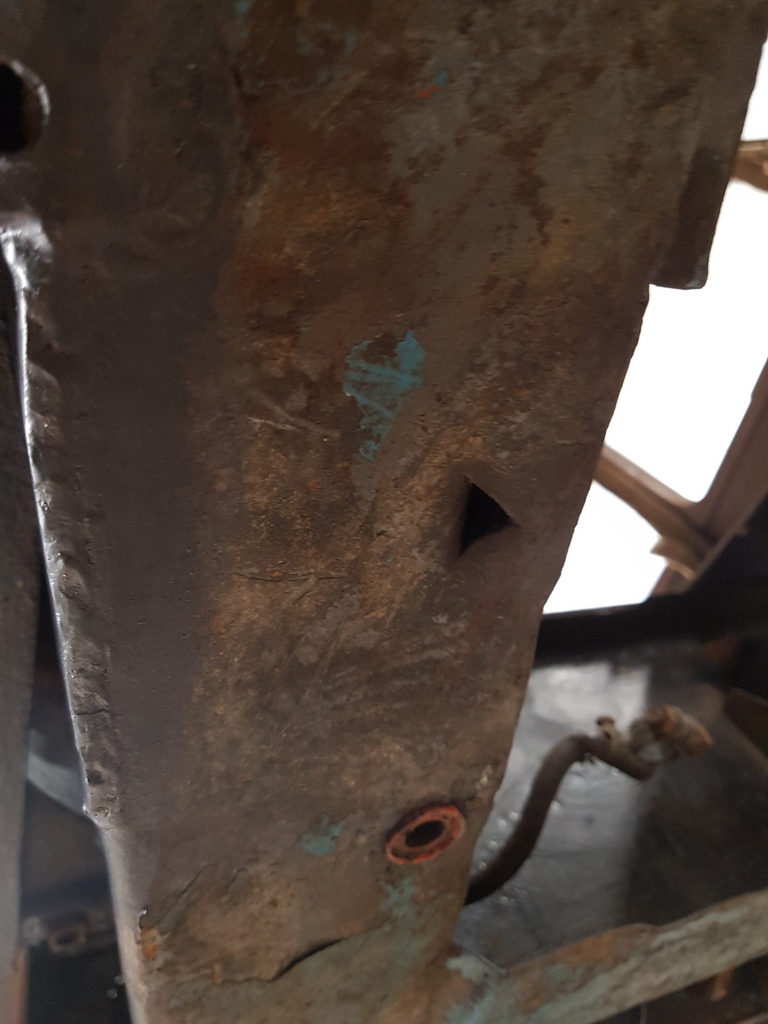 On the nearside rear rail was small hole that had been punched through for some reason 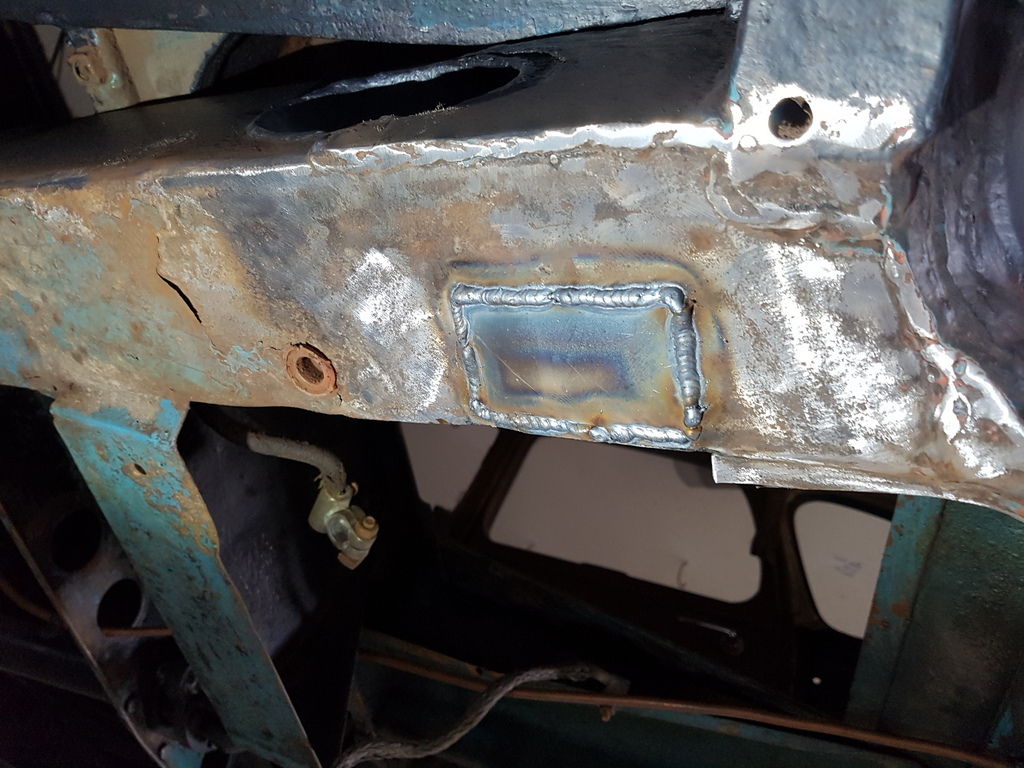 Again I plated this with a fully welded repair 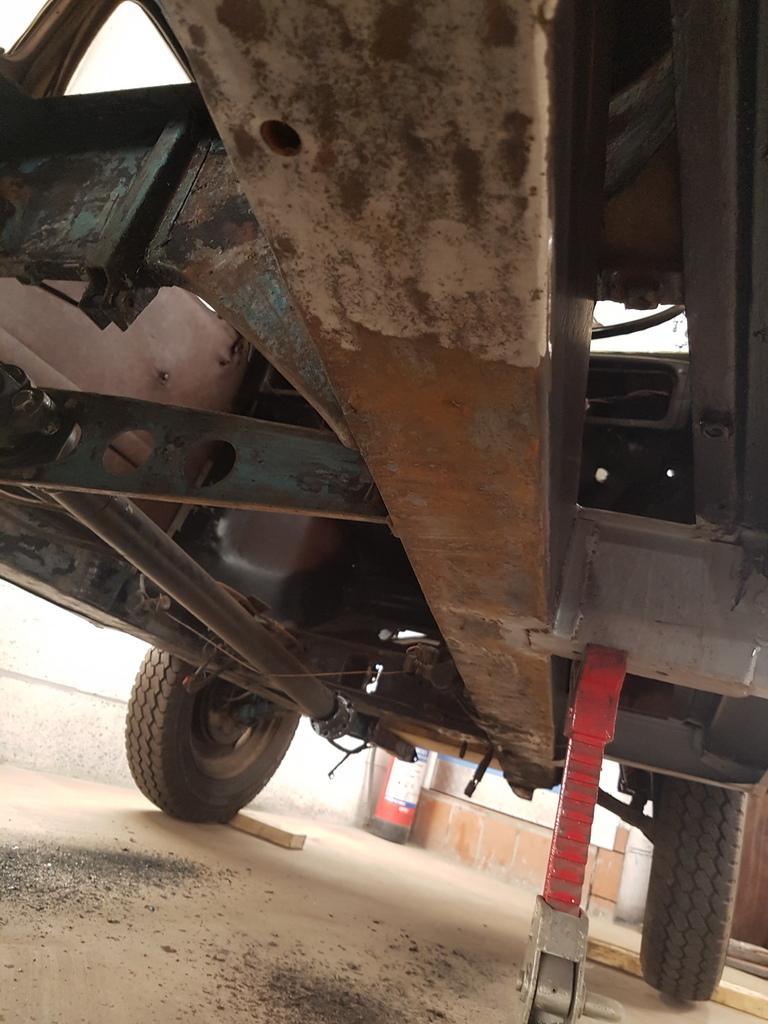 I scraped all the loose paint off the underside of both rails and will give them a clean up next week with the flapwheel 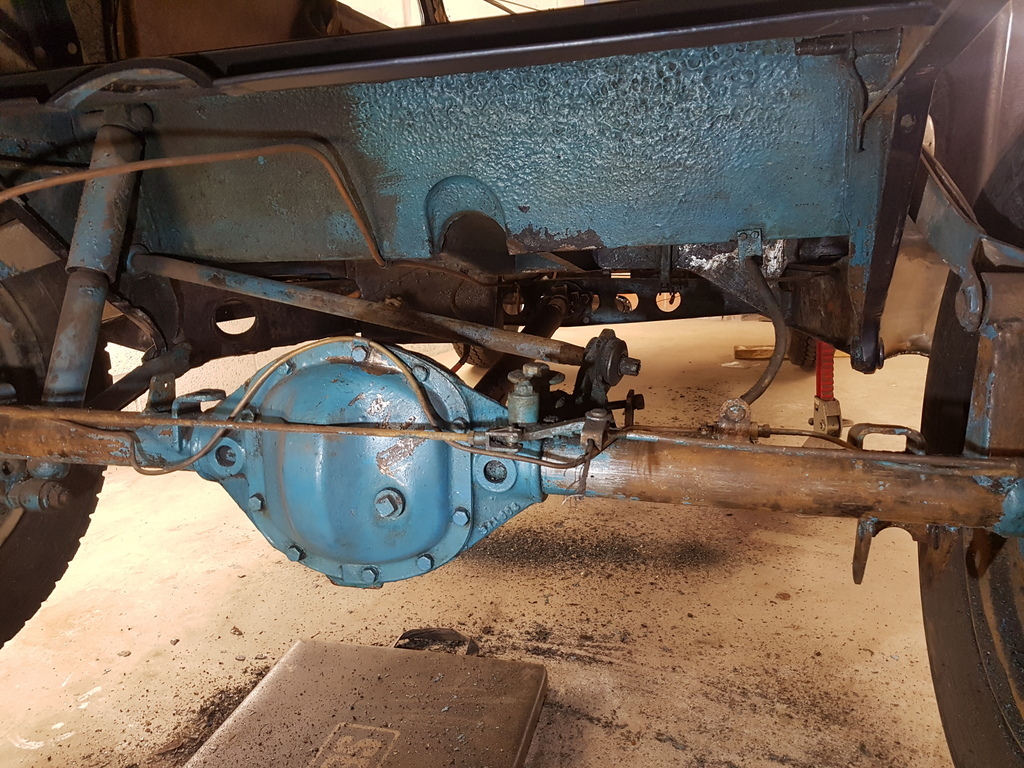 Made a start on getting the remaining areas of the rear end cleaned up - cant for the life of me understand why people paint over untreated rust - still some more work to do here and will catch up with it next week 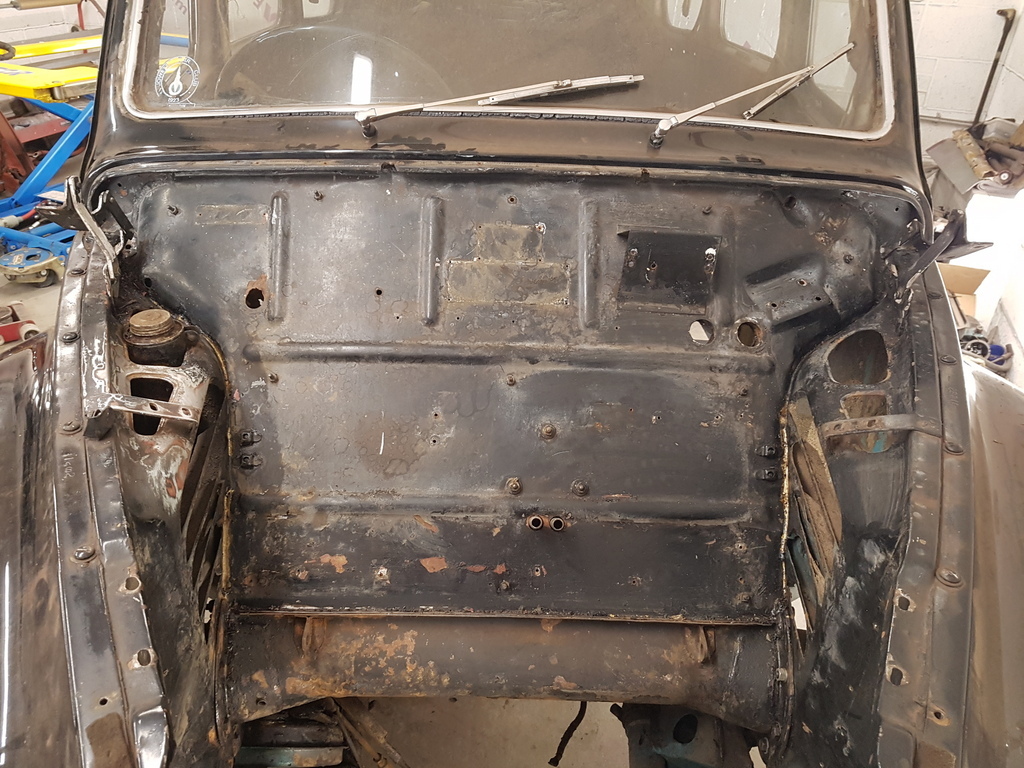 Removed the ID plates from the bulkhead and scraped any loose paint off 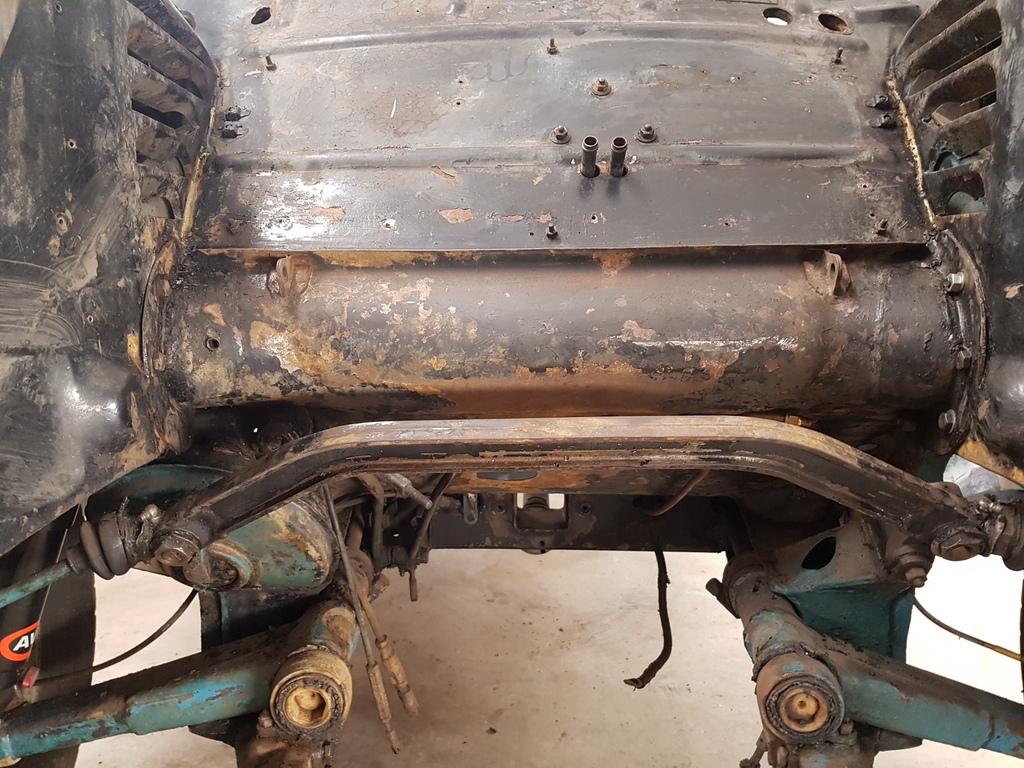 This is now all ready for sanding back in preparation of primer & paint to the engine bay |
| |
Last Edit: Nov 16, 2019 21:08:44 GMT by Deleted
|
|
|
|
|
|
|
|
That sure is a lot of balance weight added to that right rear wheel/tire. Is it tough finding a quality tire in that size? I'm assuming a Javelin runs better on bias plies than radials. Best, John
|
| |
|
|
|
|
|
|
|
That sure is a lot of balance weight added to that right rear wheel/tire. Is it tough finding a quality tire in that size? I'm assuming a Javelin runs better on bias plies than radials. Best, John John - the shock absorber and lower axle link are both off the right hand side at present so it may give a false impression - tyres are readily available in both radial & crossply - crossplys were originally fitted to the car has OE - providing you fit a good quality ones the car drives & handles very well - I run 'Avon Tourists' all round on it - some Javelin owners have radials fitted - I don't think it makes the cars any safer in fact if anything worse has some drivers push the cars beyond the braking capability of the car along with the fact that the radials are slightly wider and tend to catch on the front wing arches |
| |
|
|
|
|
|
Nov 18, 2019 19:56:07 GMT
|
That sure is a lot of balance weight added to that right rear wheel/tire. Is it tough finding a quality tire in that size? I'm assuming a Javelin runs better on bias plies than radials. Best, John John - the shock absorber and lower axle link are both off the right hand side at present so it may give a false impression - tyres are readily available in both radial & crossply - crossplys were originally fitted to the car has OE - providing you fit a good quality ones the car drives & handles very well - I run 'Avon Tourists' all round on it - some Javelin owners have radials fitted - I don't think it makes the cars any safer in fact if anything worse has some drivers push the cars beyond the braking capability of the car along with the fact that the radials are slightly wider and tend to catch on the front wing arches I think that he was referring to the balance weights on the OSR wheel rim, the tyres look like Michelin 175x16 Taxi radials, I have found them not to need balancing at all. |
| |
|
|
|
|
|
Nov 18, 2019 20:25:12 GMT
|
John - the shock absorber and lower axle link are both off the right hand side at present so it may give a false impression - tyres are readily available in both radial & crossply - crossplys were originally fitted to the car has OE - providing you fit a good quality ones the car drives & handles very well - I run 'Avon Tourists' all round on it - some Javelin owners have radials fitted - I don't think it makes the cars any safer in fact if anything worse has some drivers push the cars beyond the braking capability of the car along with the fact that the radials are slightly wider and tend to catch on the front wing arches I think that he was referring to the balance weights on the OSR wheel rim, the tyres look like Michelin 175x16 Taxi radials, I have found them not to need balancing at all. I run Crossplys on my own Javelin - you are correct these are radials on this clients car - the rims were manufactured by Dunlop for Jowett and are model specific / unique - I don't know of one Jowett rim that has not required balancing regardless of what tyres are fitted |
| |
|
|
|
|
|
|
|
Nov 18, 2019 20:33:30 GMT
|
|
Just in relation to your "why do people paint over rust" question I'd like to know your opinion of things like Hammerite?
|
| |
|
|
|
|
|
Nov 18, 2019 20:42:03 GMT
|
Just in relation to your "why do people paint over rust" question I'd like to know your opinion of things like Hammerite? I don't & wont use it - it's an outdated product that does not really work that well on vehicle components - Hammerite sets to quite a hard finish so when its applied to the underside of vehicles / suspension parts etc it gets chipped easily - then allows water ingress & rust to develop - there are far better products on the market that are better suited & more durable |
| |
|
|
|
|
|
Nov 18, 2019 21:23:52 GMT
|
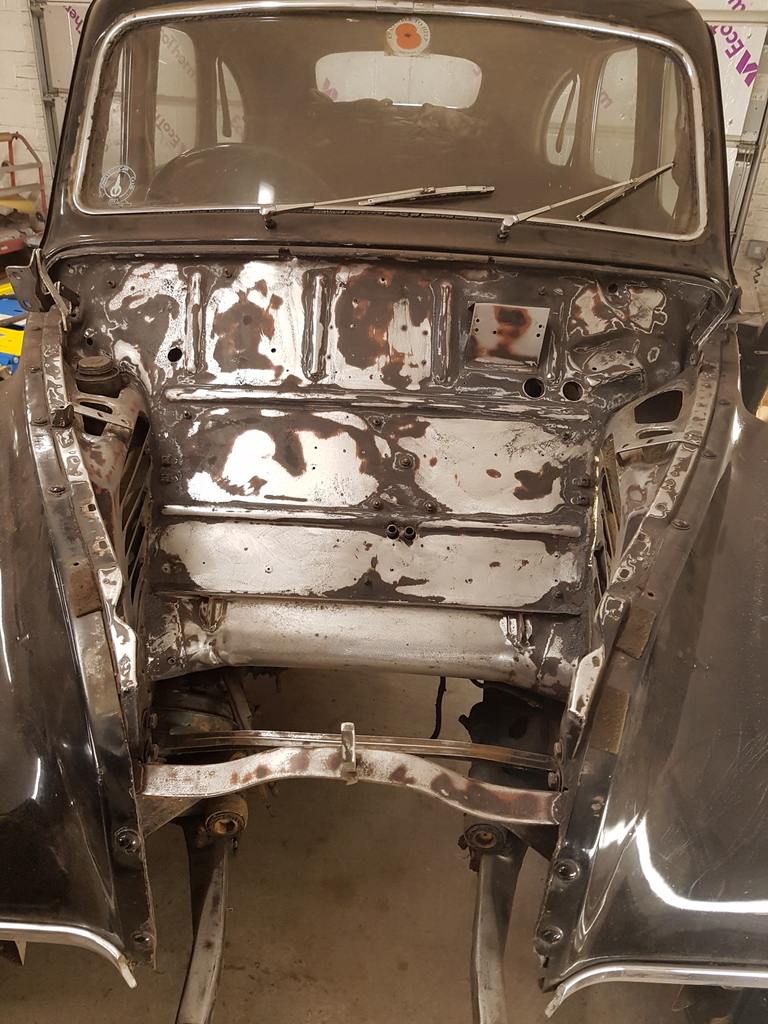 Made a start on getting the engine bay prepped for primer 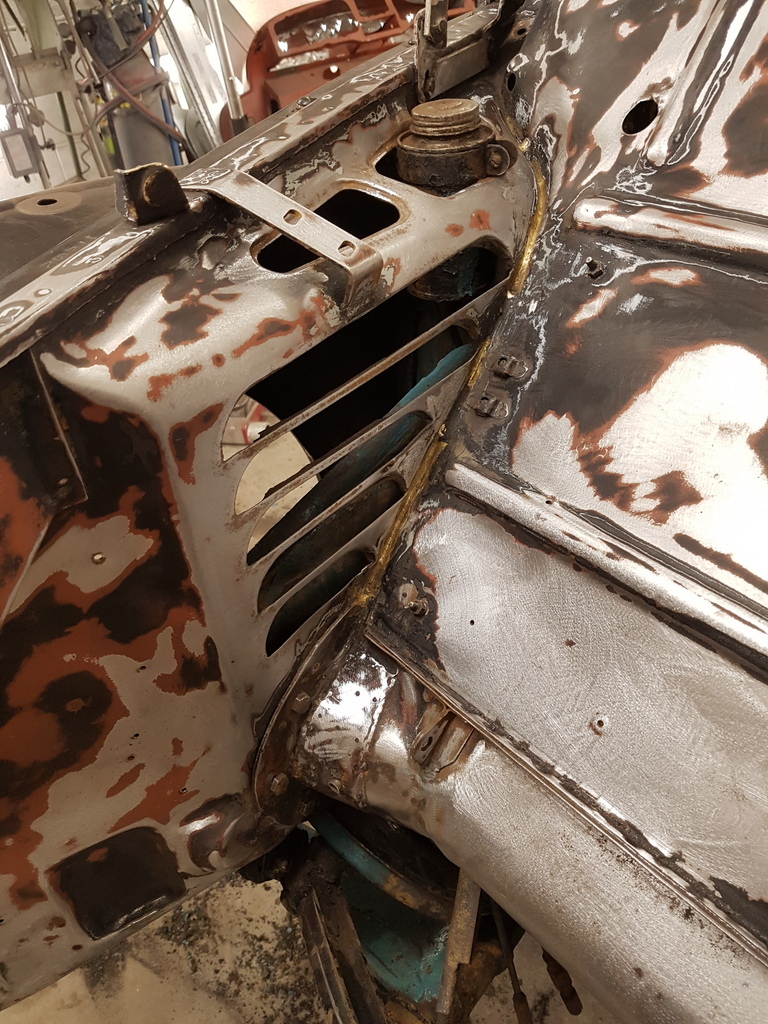 Lots of fiddly & awkward areas like these air vent fins on the inner wings - all harbouring rust 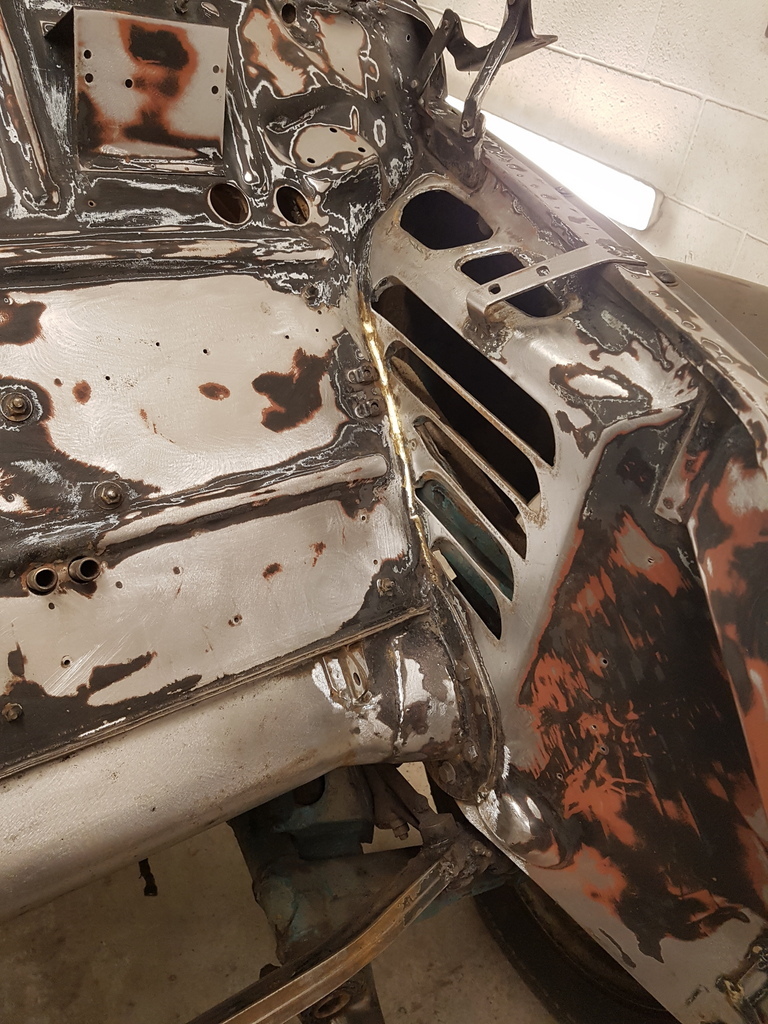 And to paint them without all the road debris from the front wheelarches & underside of the wings means that all of these areas require cleaning up too 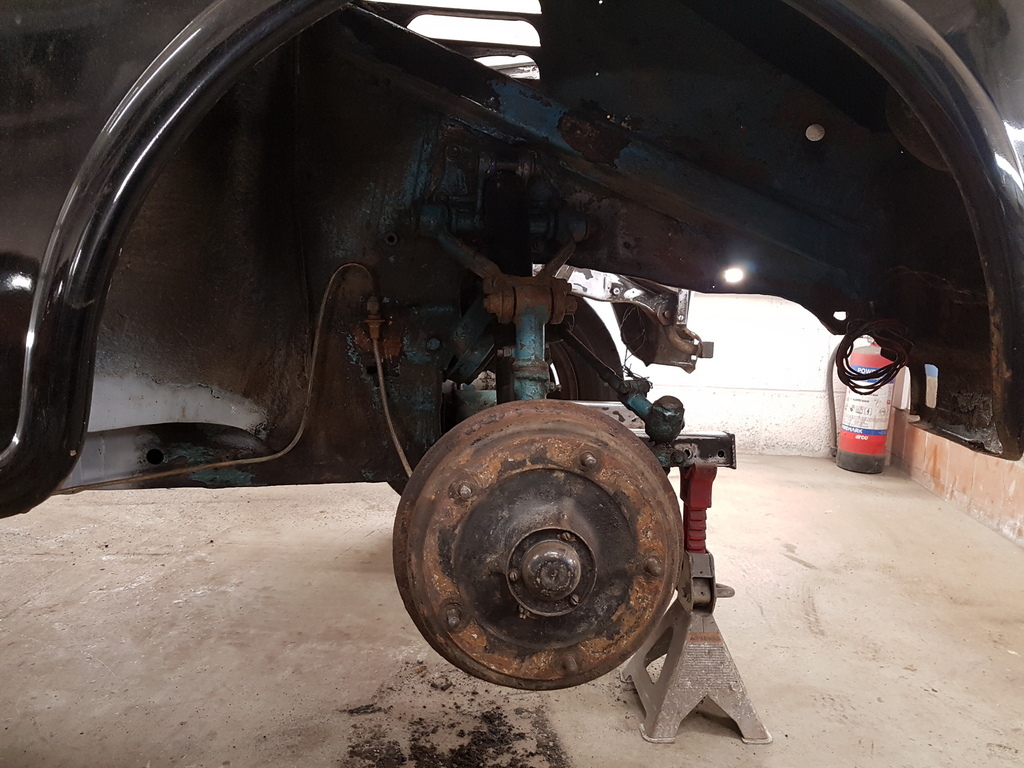 Several piles of this size were removed - this car is certainly going to be slightly quicker and better on fuel with all the debris & rust removed 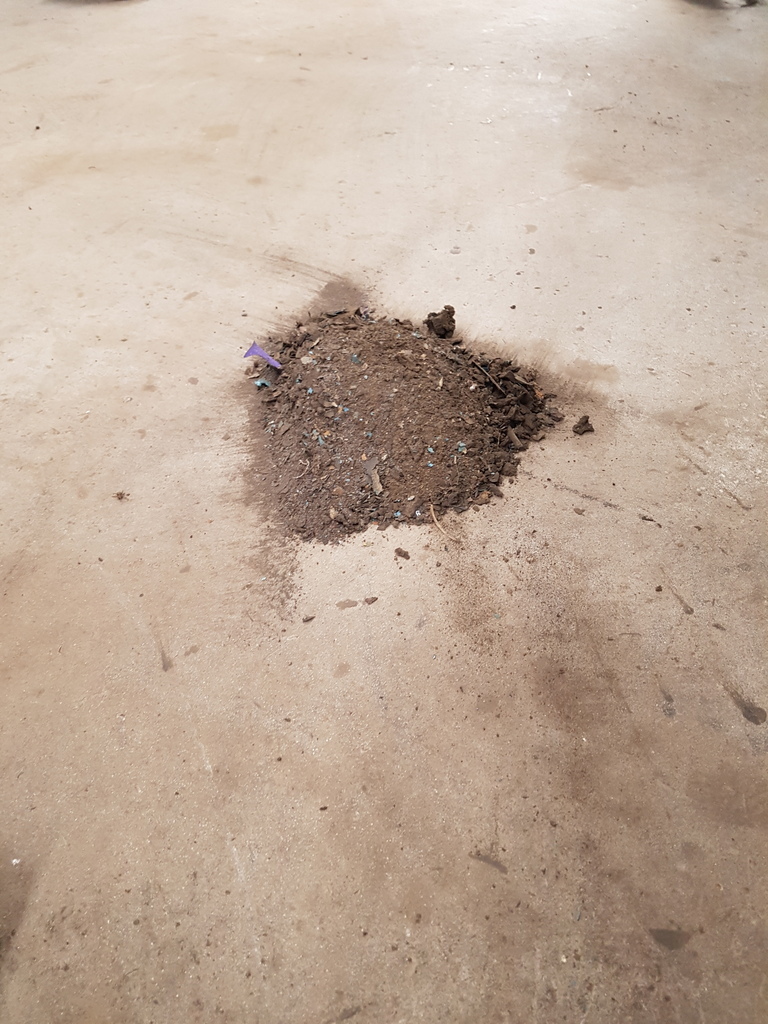 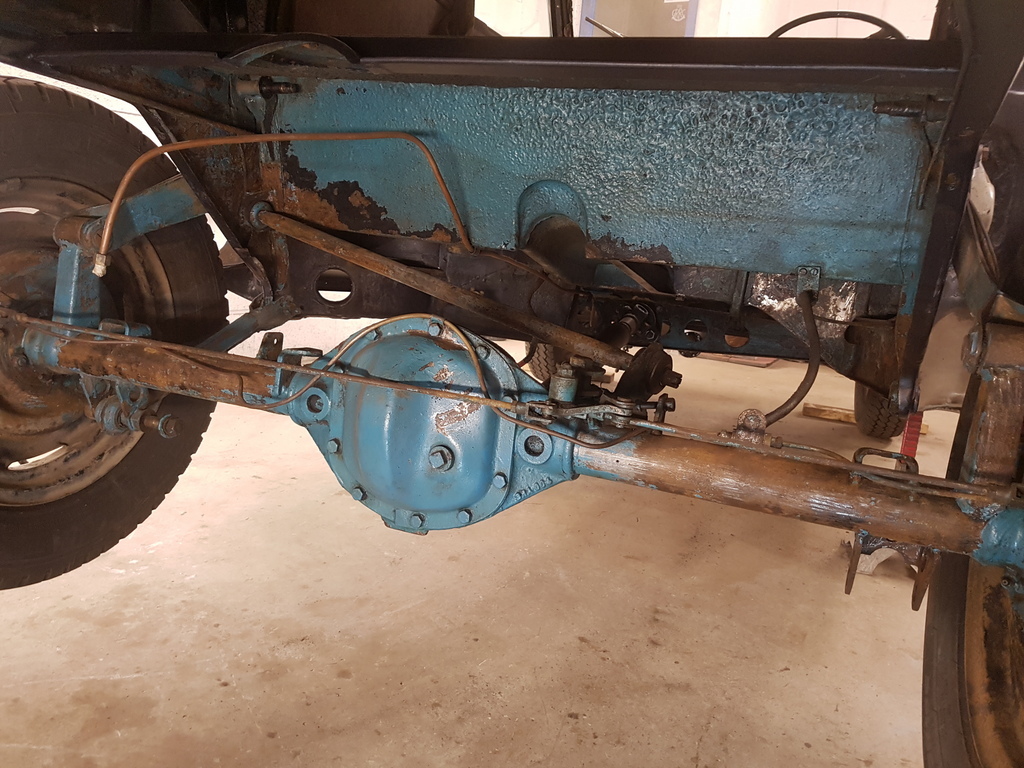 Some more cleaning back on the rear underside / rear axle area done and this is nearing completion 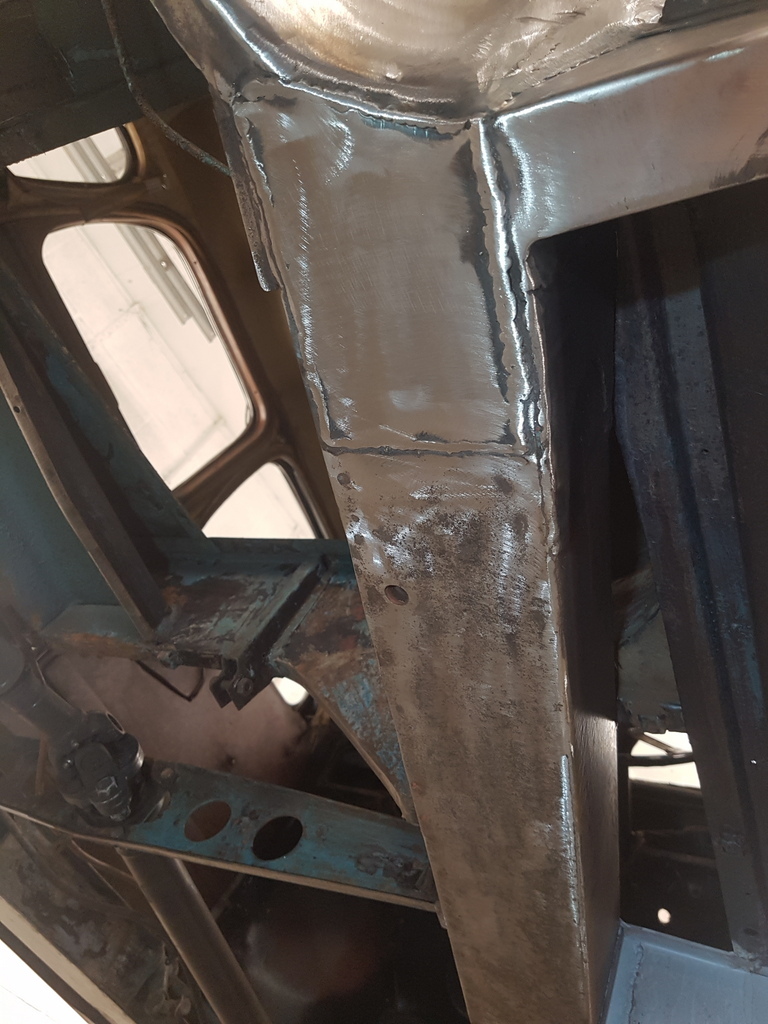 Underside of the chassis rails treated to a flapwheel session 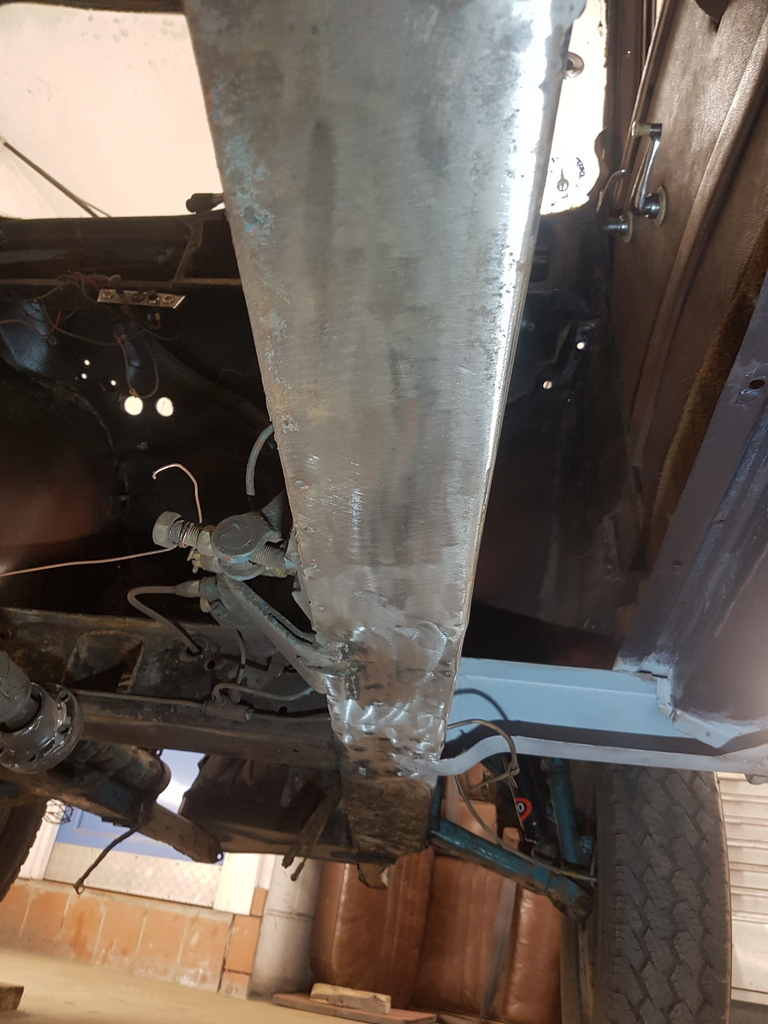 Along with the weld beads dressed back on the repairs 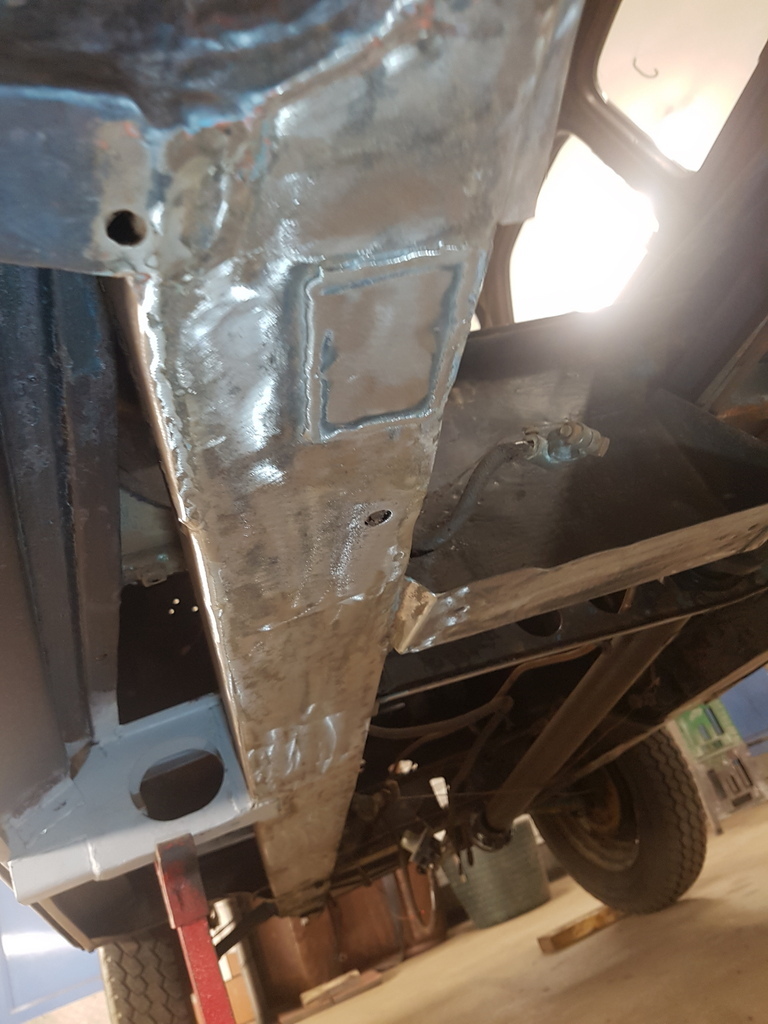 Then treated with a liberal dose of Hydrate 80 on both rails 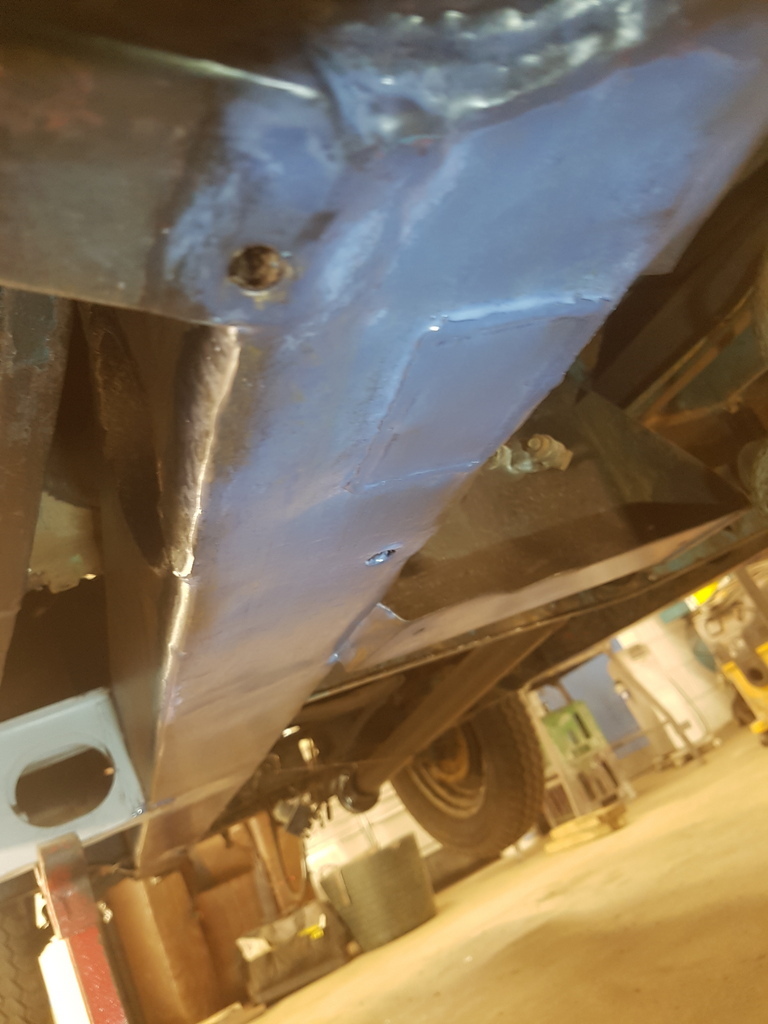 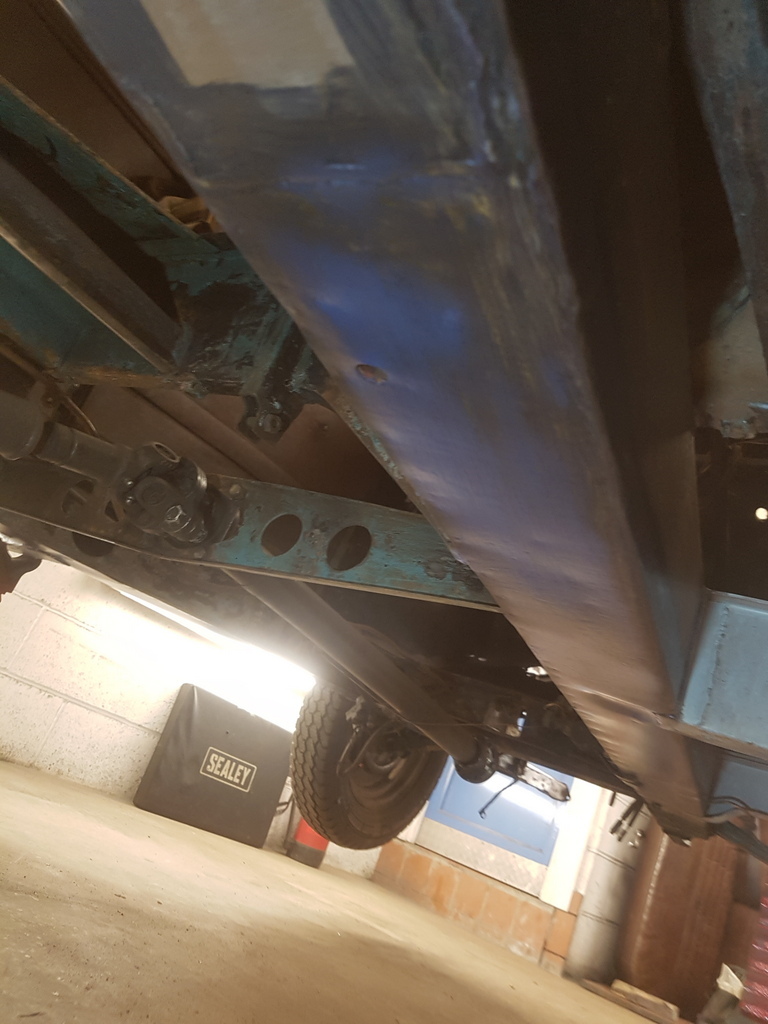 Engine bay / bulkhead also treated with Hydrate 80 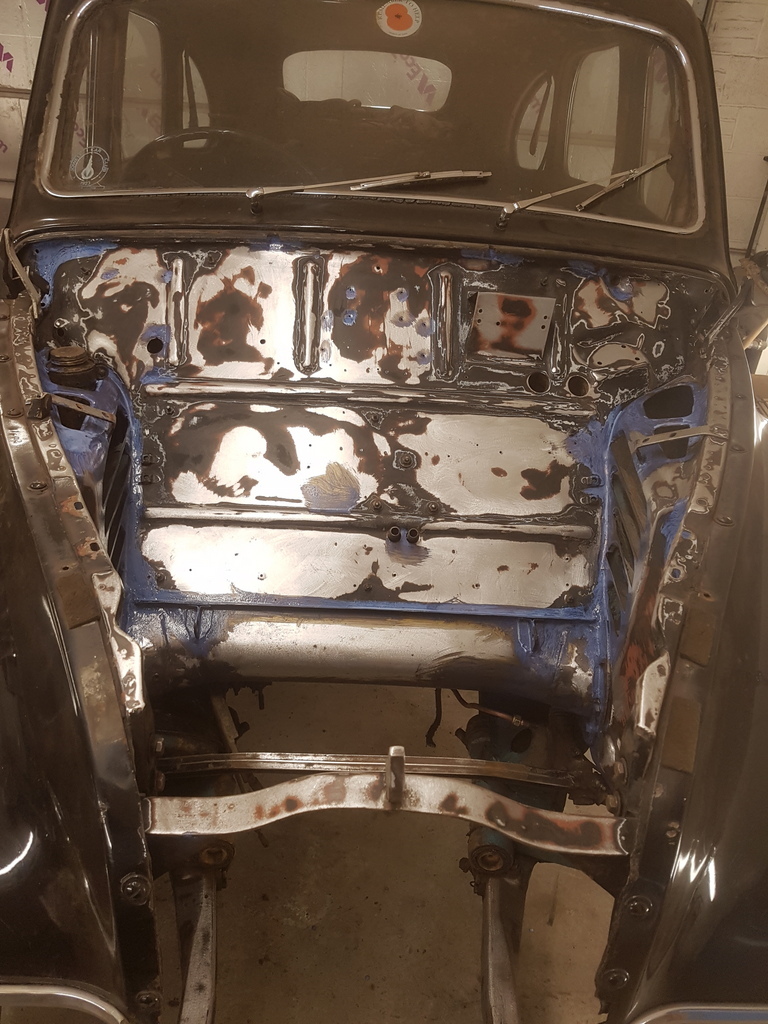 Some more work required yet in the difficult to access areas and this will have to be done by hand 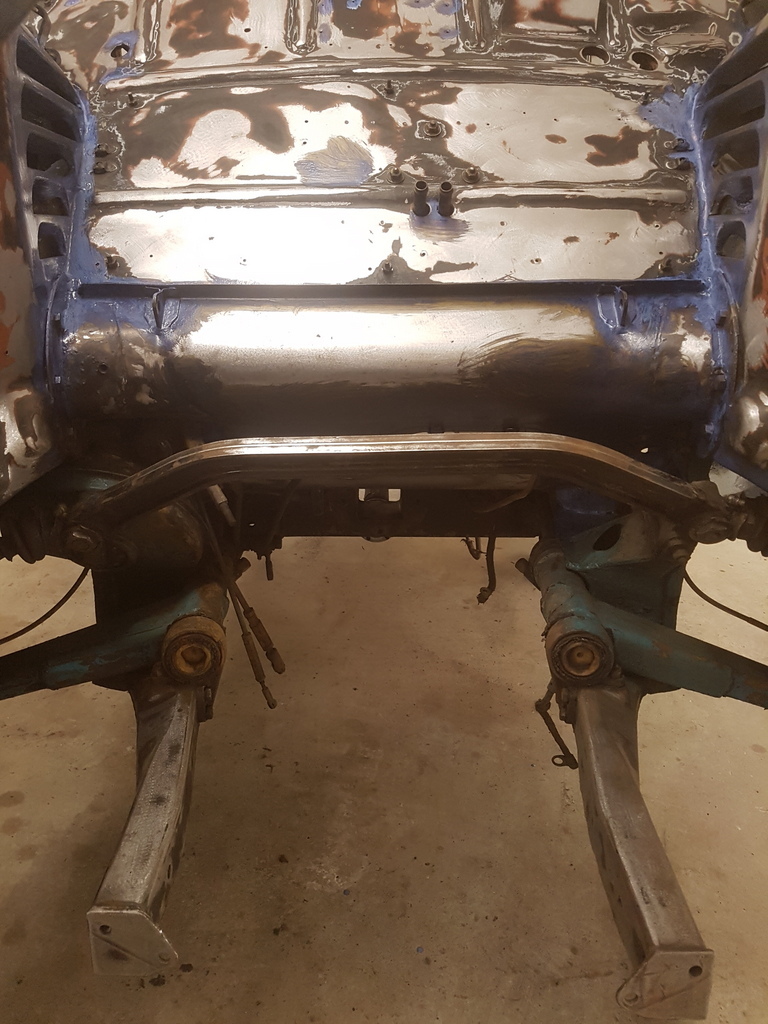 But so very nearly there with the filthy side of it - more tomorrow |
| |
Last Edit: Nov 18, 2019 21:27:28 GMT by Deleted
|
|
|
|
|
Nov 18, 2019 21:27:44 GMT
|
|
Just smiling here.
Nothing to add.
|
| |
|
|
|
|
|
Nov 19, 2019 21:46:58 GMT
|
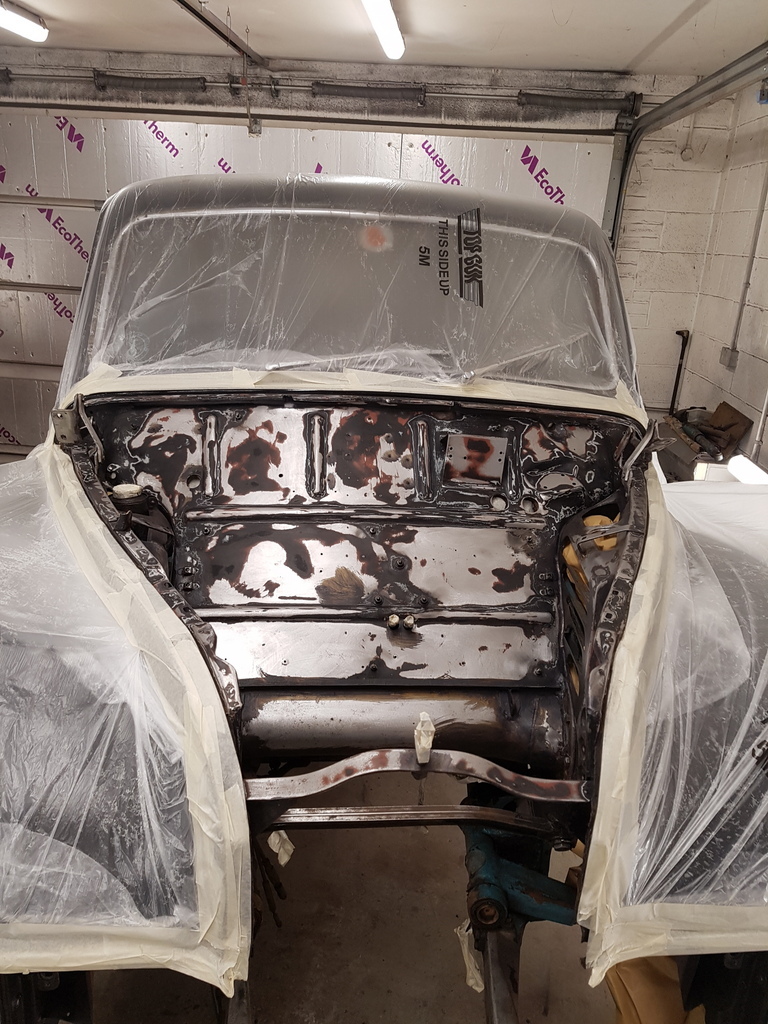 Completed some final prep on the engine bay & bulkhead then masked them up 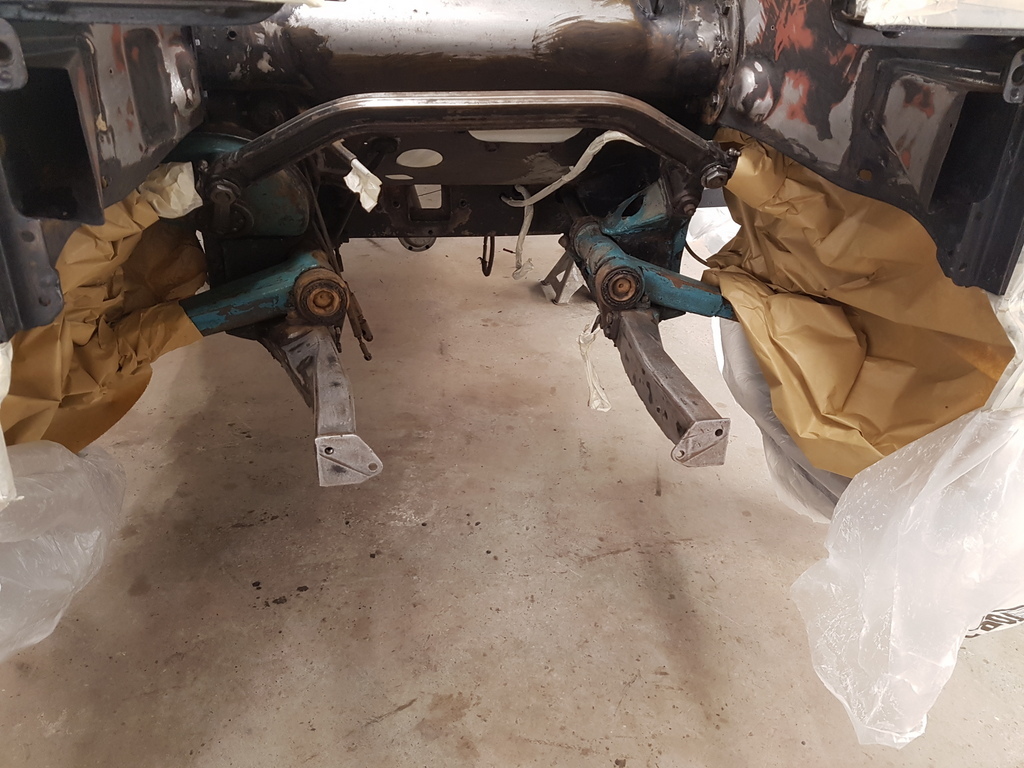 Then on with the primer 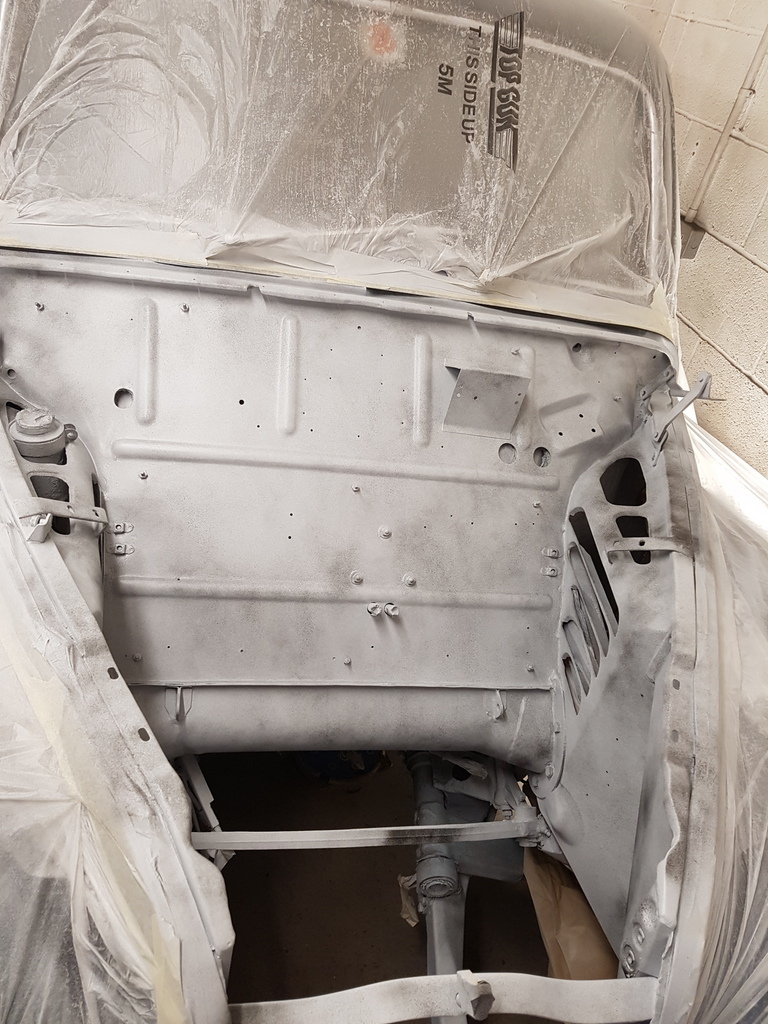 Guide coated ready for flatting back at some stage tomorrow 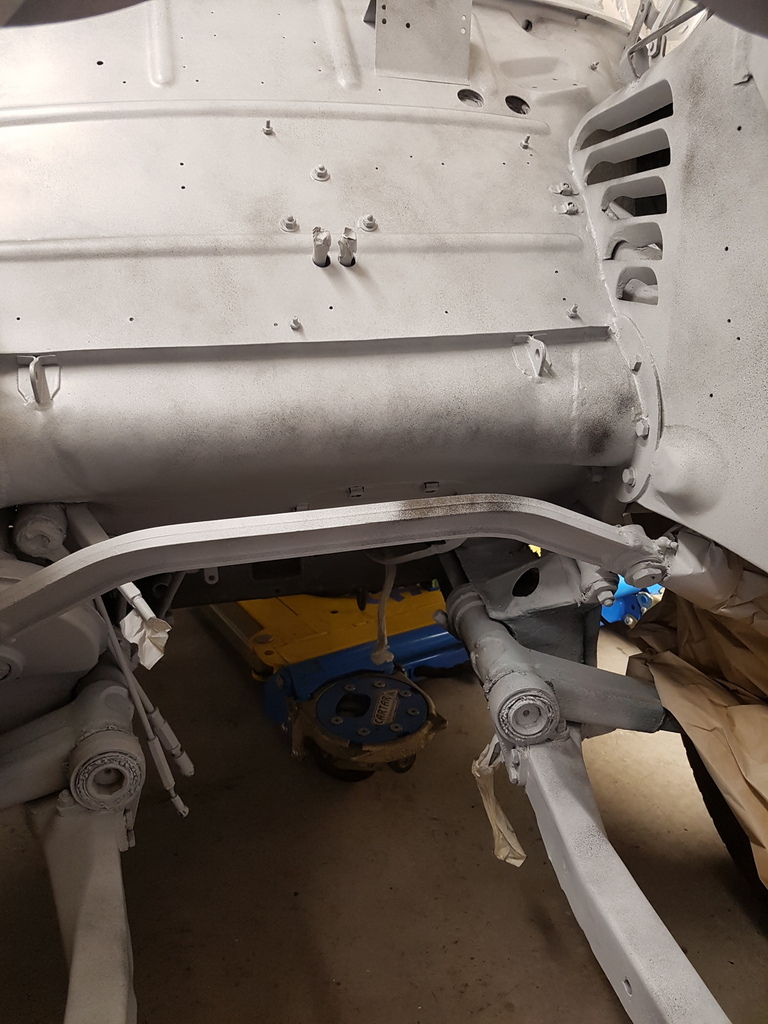 Meanwhile the material for the wool headlining has arrived 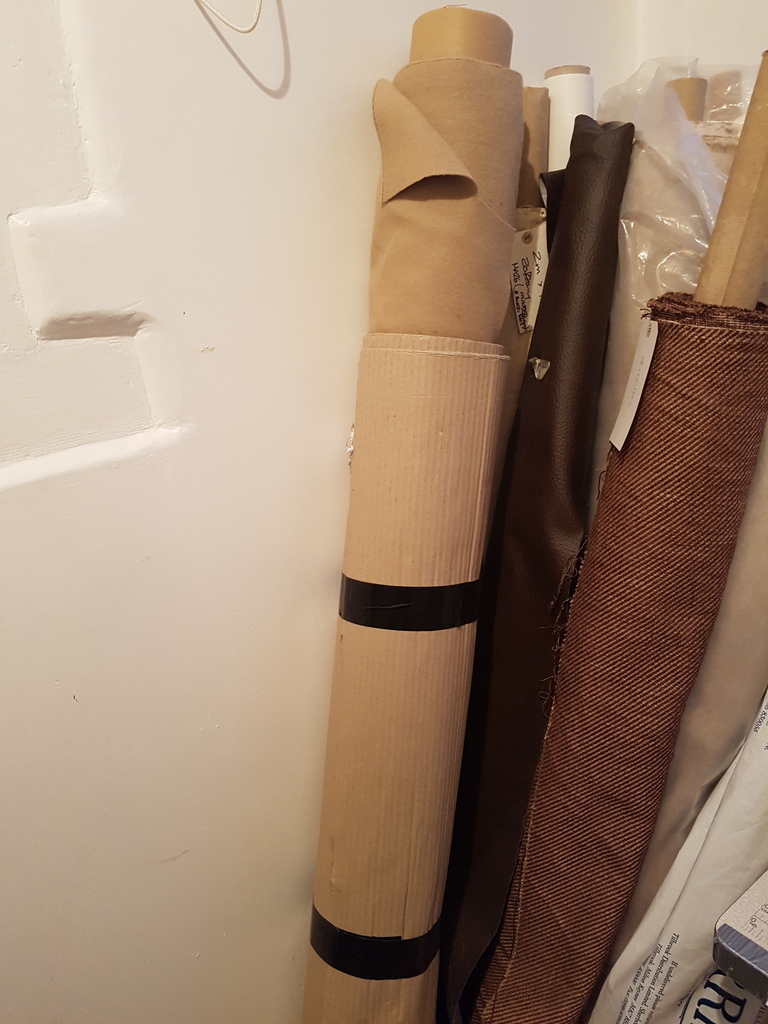 And on SWMBO's work table in her studio is the headlining pattern already to go 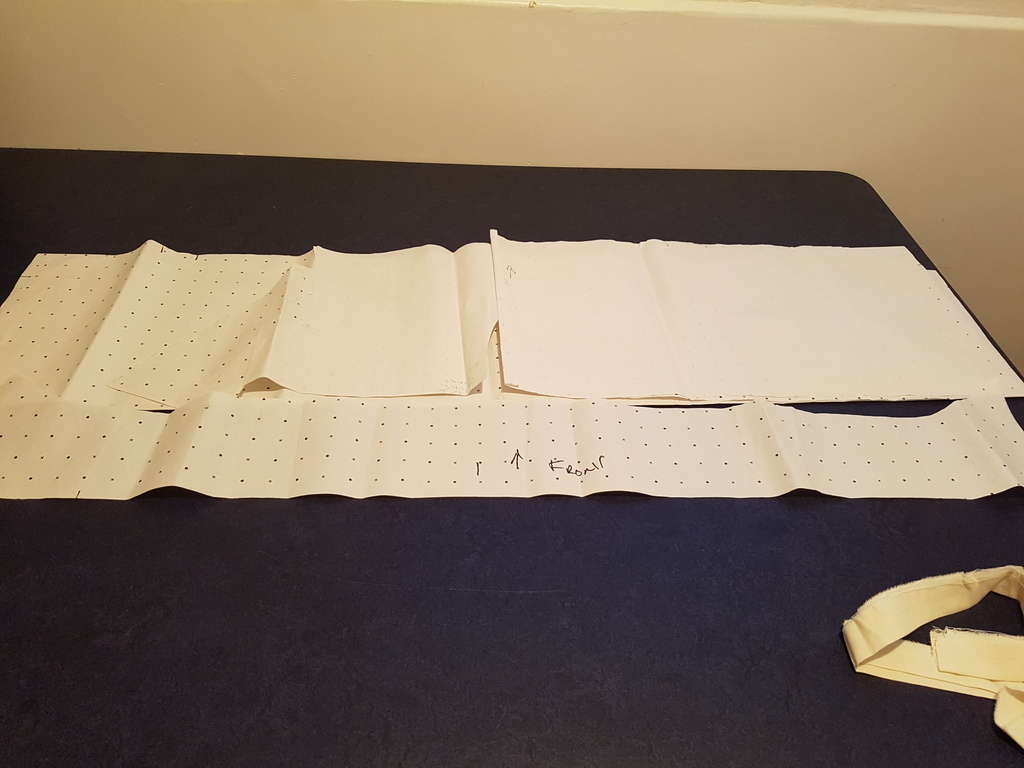 More tomorrow |
| |
Last Edit: Nov 19, 2019 21:48:05 GMT by Deleted
|
|
|
|
|
Nov 19, 2019 22:19:48 GMT
|
You only apply Hydrate 80 to the pitted areas? some people apply it to the whole panel? |
| |
|
|
|
|
|
Nov 19, 2019 22:46:06 GMT
|
You only apply Hydrate 80 to the pitted areas? some people apply it to the whole panel? That's up to them - Hydrate 80 is a rust treatment so you apply it rust / rust effected areas - sure if you have a panel that's widely effected with rust then by all means apply it to the whole panel (has I did with the inner rear wings on this car) 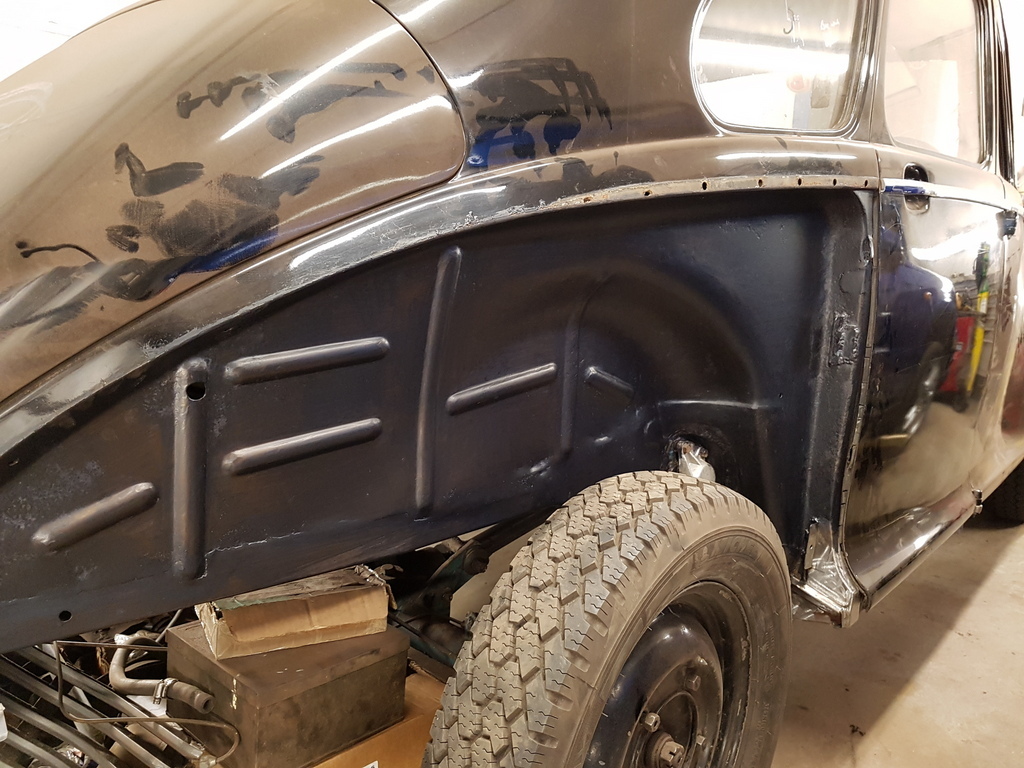 But its pointless applying it where its not needed - its not has though you are going to gain anything by doing so |
| |
Last Edit: Nov 19, 2019 22:47:00 GMT by Deleted
|
|
|
|
|
|
|
|
nothing but inspirational, Grumpy!
JP
|
| |
I know its spelled Norman Luxury Yacht, but its pronounced Throat Wobbler Mangrove!
|
|
|
|
|
|
|
|
I think most of those rust converter products are acid based, where the acid reacts with the rust and neutralises it. You can see it change colour. So if there is no rust there .. there’s no reaction. I’ve painted loads on before; and on good metal it’s just sat there and sort of dried on the surface.
|
| |
|
|
|
|
|
Nov 20, 2019 21:01:48 GMT
|
I think most of those rust converter products are acid based, where the acid reacts with the rust and neutralises it. You can see it change colour. So if there is no rust there .. there’s no reaction. I’ve painted loads on before; and on good metal it’s just sat there and sort of dried on the surface. Hydrate 80 is a non acid based treatment - but is the most effective rust treatment that I found to date (other than blasting or dipping) |
| |
|
|
|
|


