So, what was the plan that didn’t go so well?
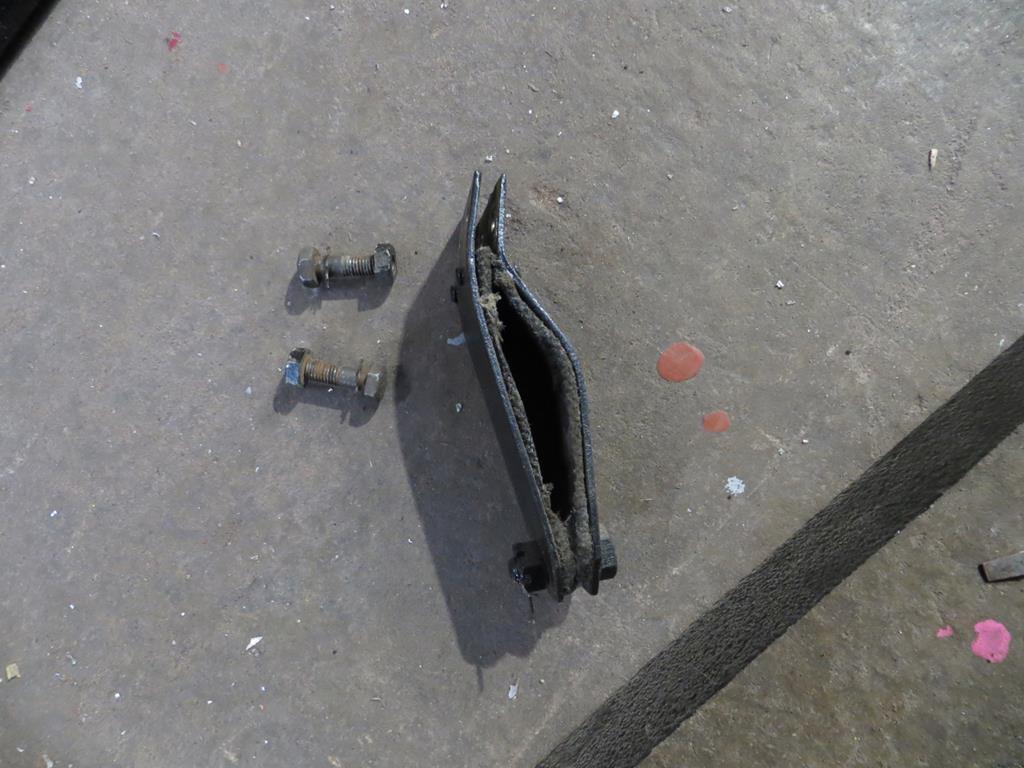
Well, remember that the bushes in one pair of rear brake shoes were worn? The bush in the hole in the end of the shoe…

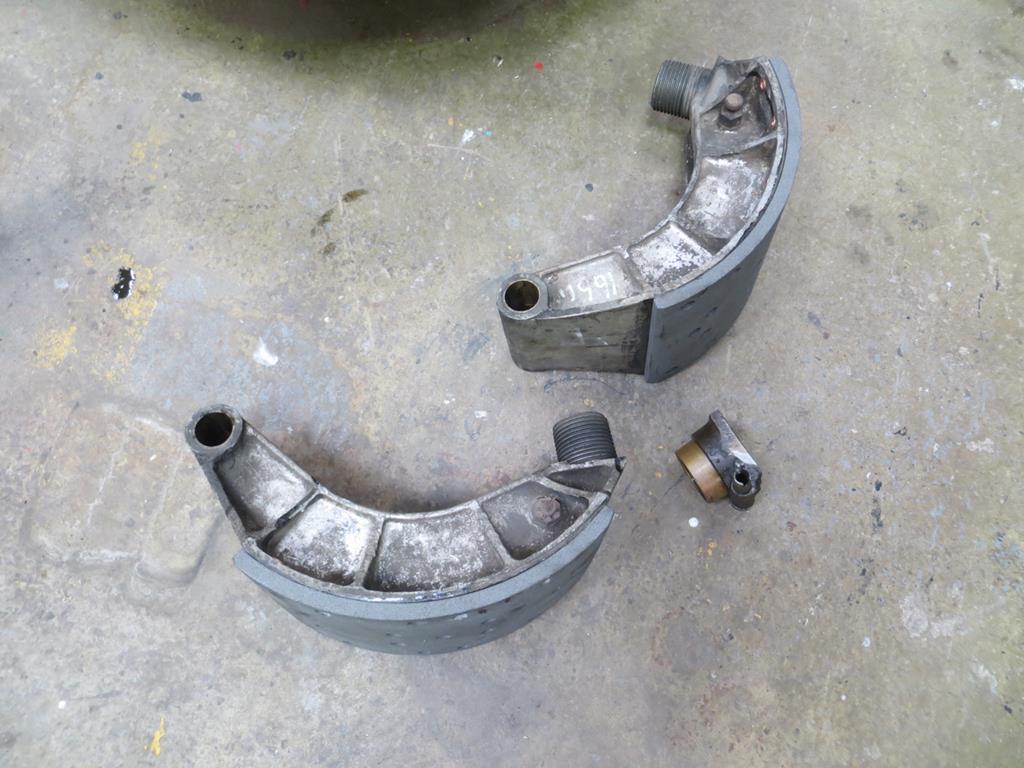
Well Ian got them replaced and had the shoes with him to fit back on the bus.
So, the plan was this…
1, Plonk the shoes on the drivers side rear wheel.
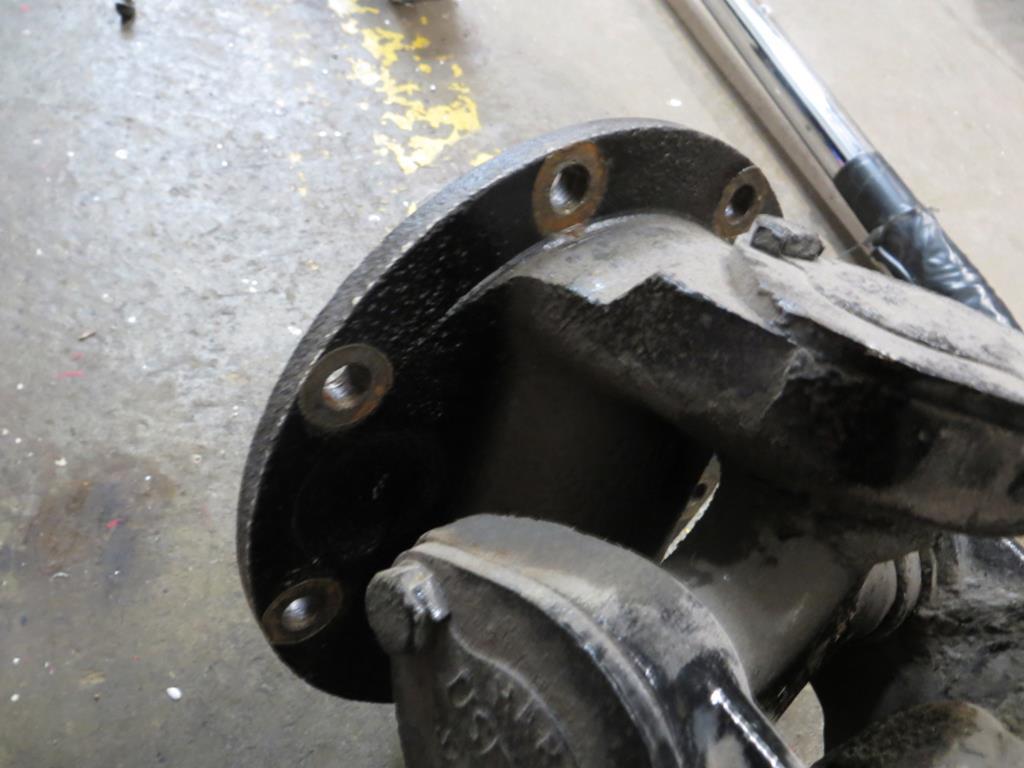
2, Fit the pilot bearing in the flywheel.
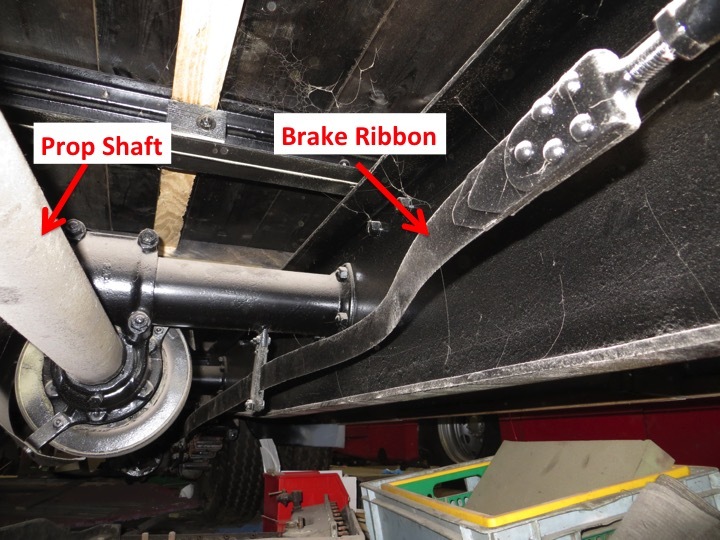
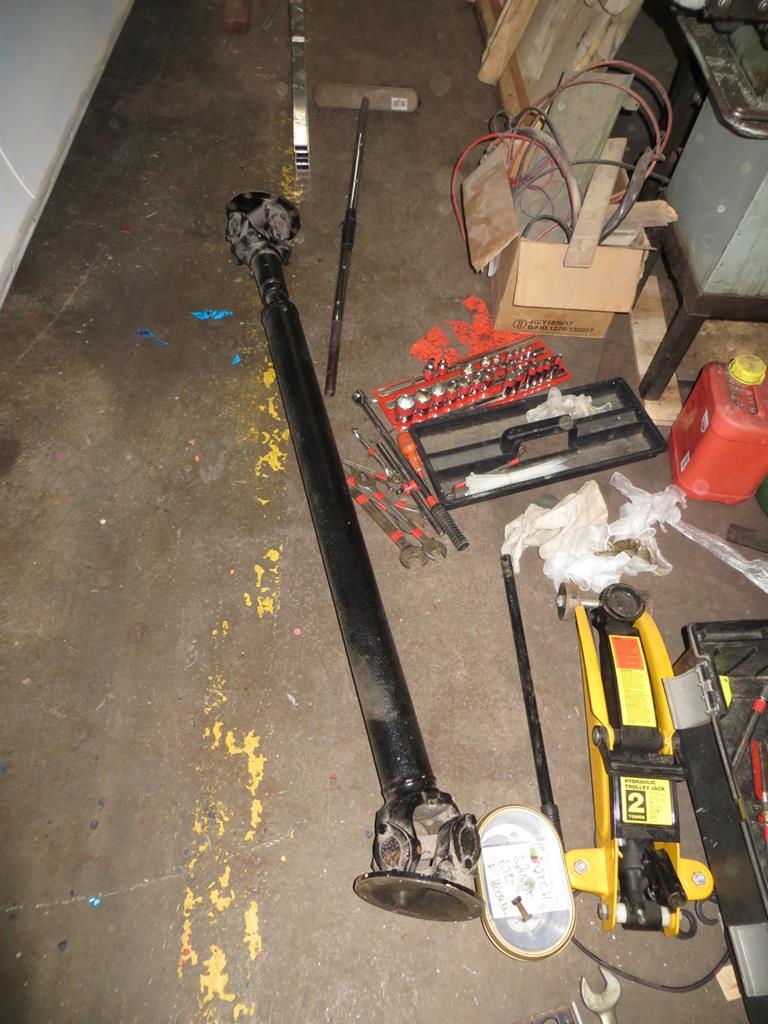
3, Drop the prop shaft off and replace the UJ bearings.
4, Lunch.
5, Tea and medals.
Hmmm.
Wheels off.

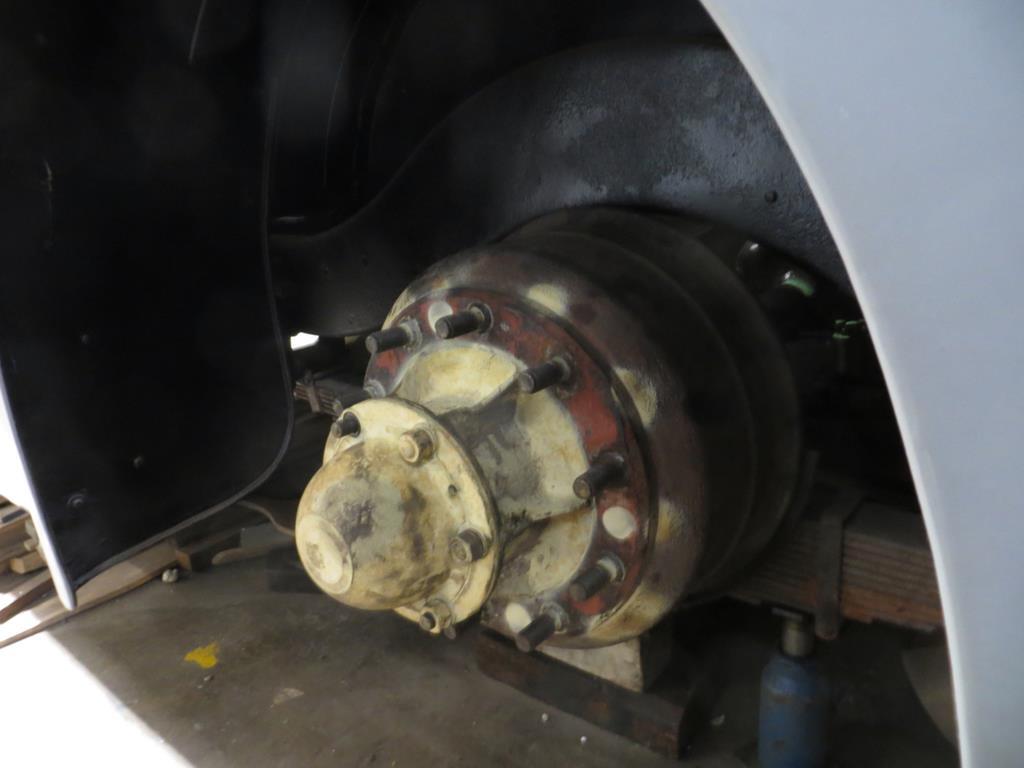
By the way, it’s only when you push one of those wheels across the workshop floor that you realise how big they are. And how heavy.
Next the half shaft comes out. Basically you undo the dome on the end of the hub and the half shaft comes with it.
You maybe don’t recall, not being personally intimate with the back end of a bus, but some time ago I said that the differential was off set to the left hand side in order to get a flat floor over the axle. So the half shaft on the left side is fairly short. The one on the right isn’t!

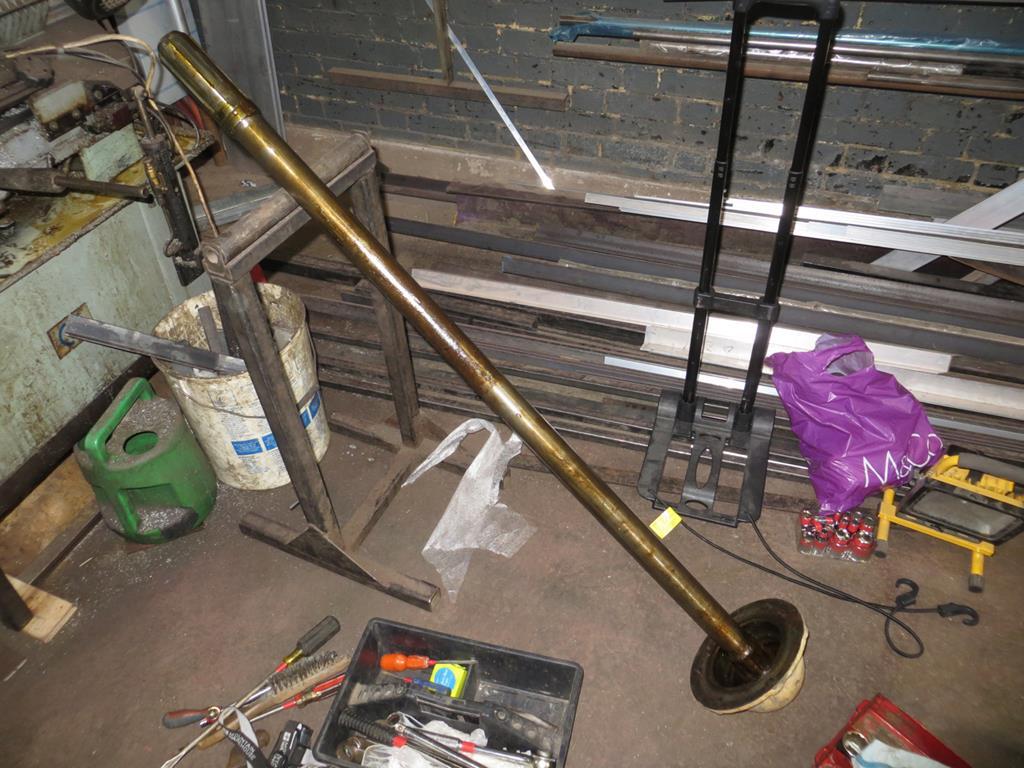
It’s huge.
Then the hub, wheel bearings and spacers can come off.

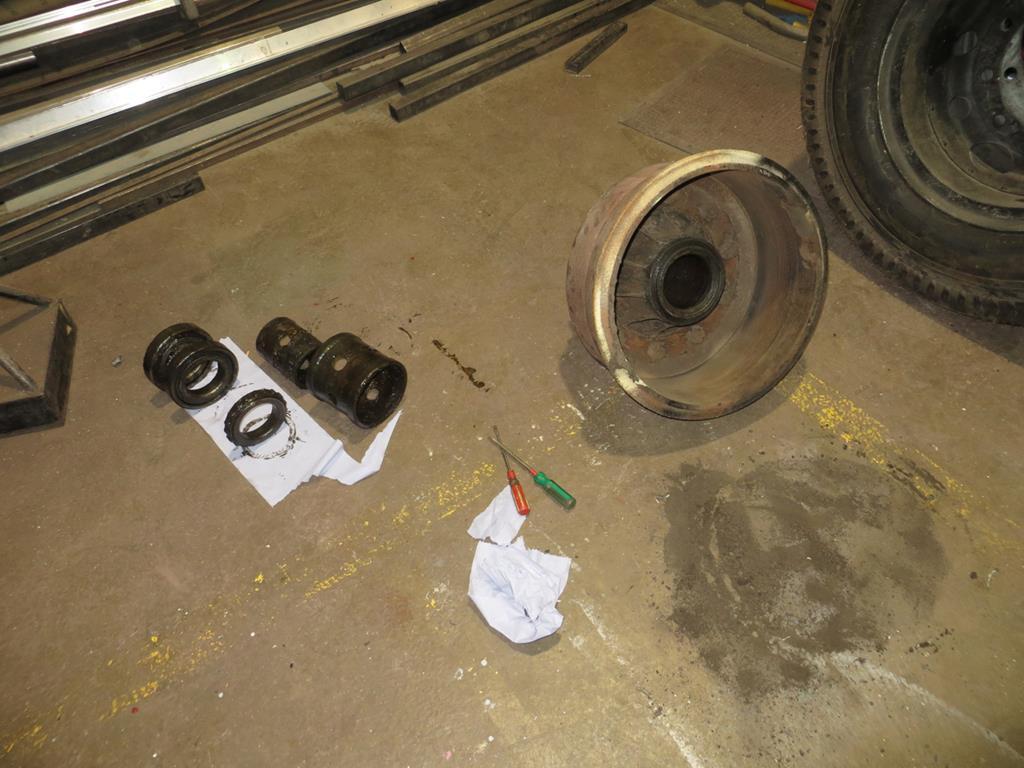
The new bushes in the brake shoes were under sized and needed reaming out. So while Ian did that I started cleaning the muck out of the brake drum and the old grease off the bearings.
This side was clearly in better condition than the left side. The dirt in the brake drum was dry whereas on the left side it was oily and wet so its oil seal must have been weeping a little. And the grease in the bearings was clean. On the left side there was evidence of metal filings, presumably from a bearing failure some time in its long history. So I didn’t go so mad cleaning this side up.
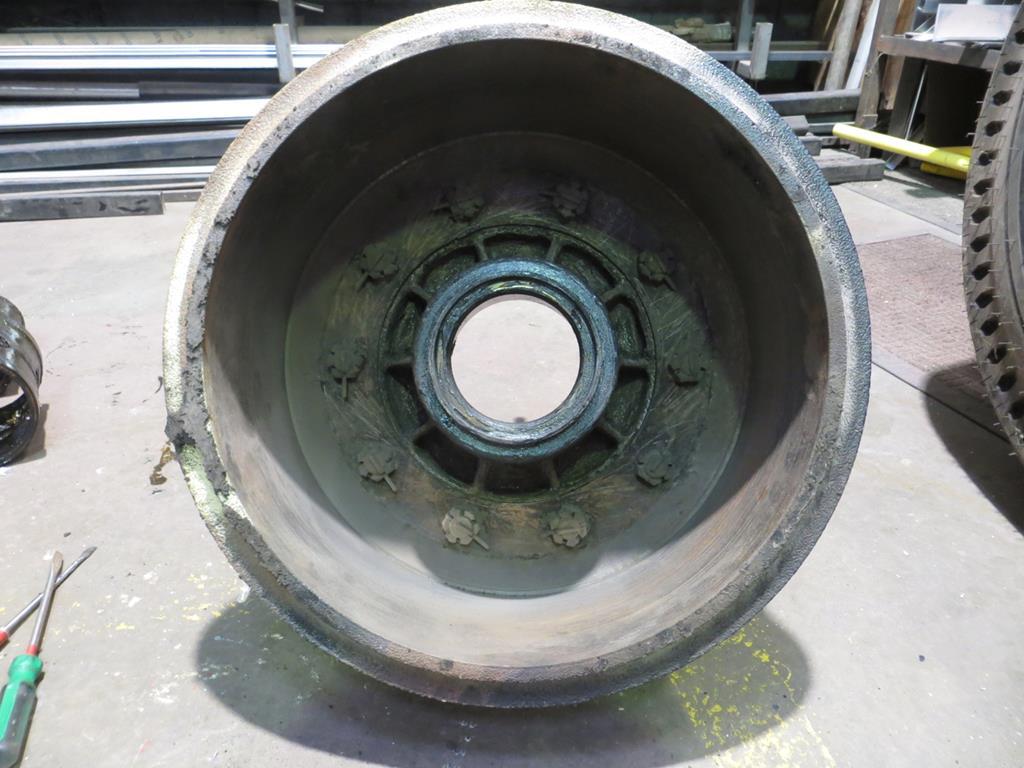
It’s about here that things started to get interesting. When I was cleaning the drum from the other side there were voids that dirt could fall into. But this side there weren’t. I couldn’t quite remember what the differences were but it was clear that this side has a different drum and hub assembly.
Here’s the right hand side…

And this is a photo of the left that I took a couple of months ago.
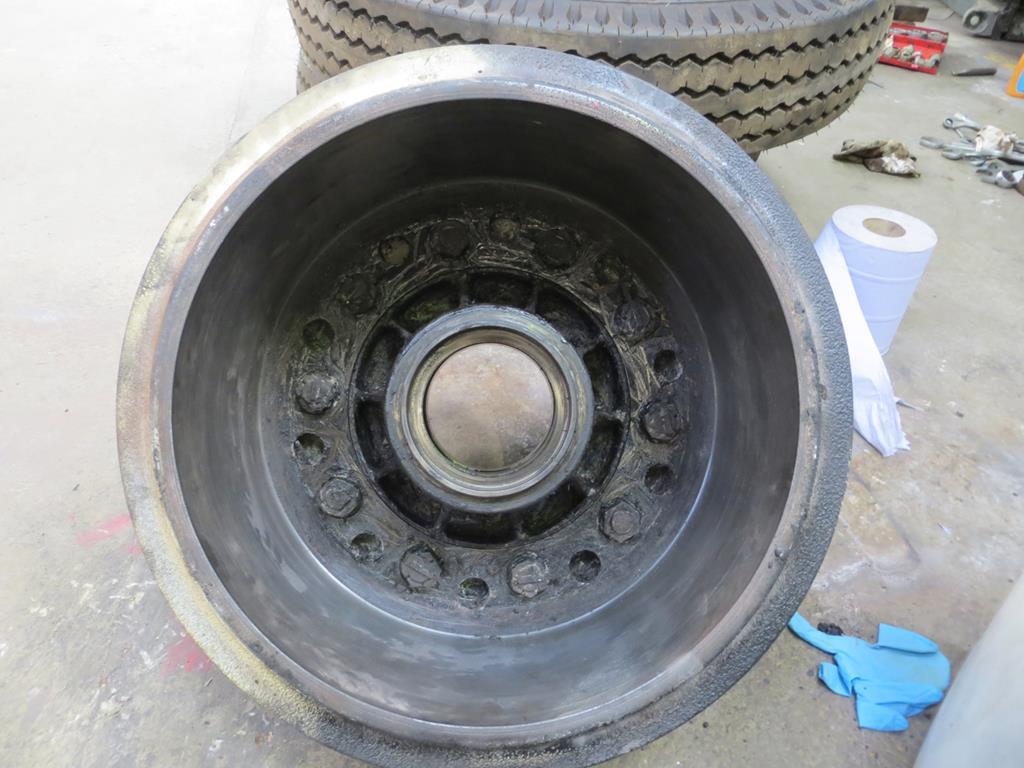

So one difference is that the drum has two sets of mounting holes with different PCDs. Oh well, an interesting if minor thing.
Ian had a new oil seal so I poked the old one out and cleaned up the mounting flange.
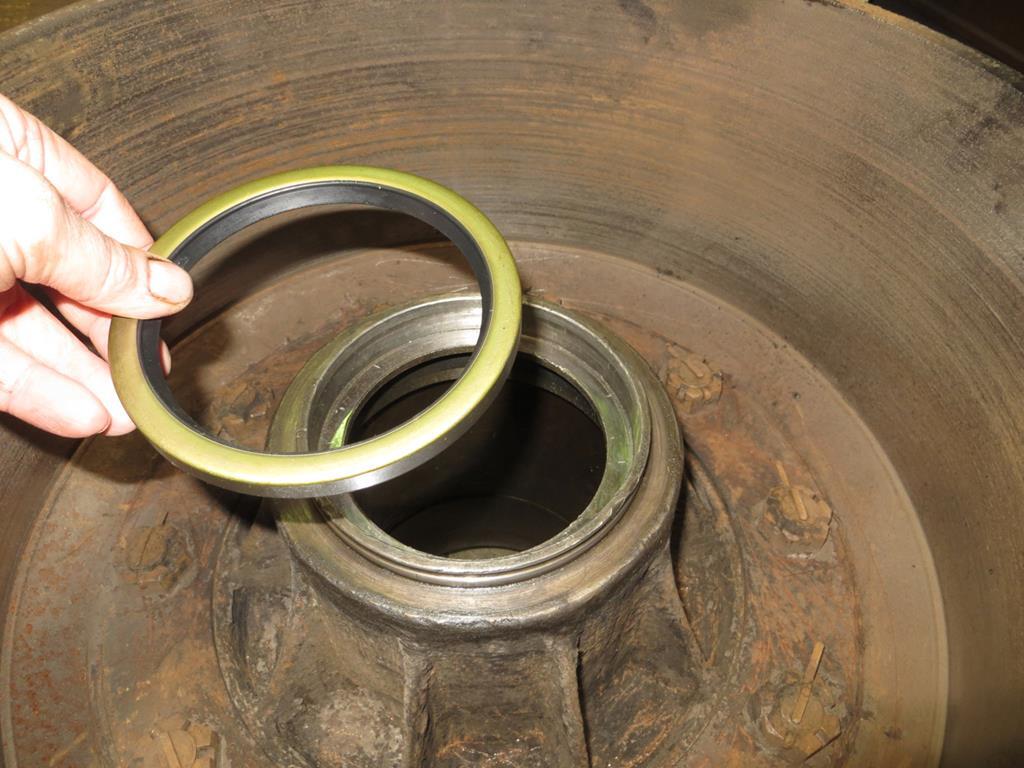

Ah, damn. Now this might be a problem.
You see, this bit…
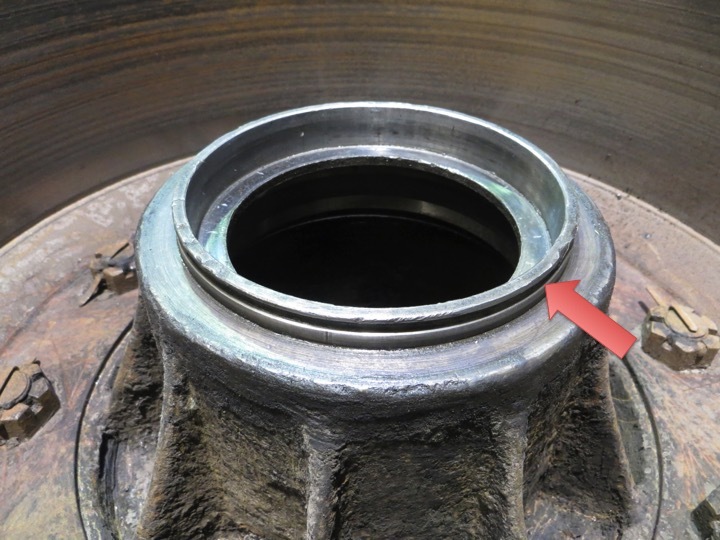

…that the oil seal sits in is loose. It spins round. I didn’t notice the other side doing this.
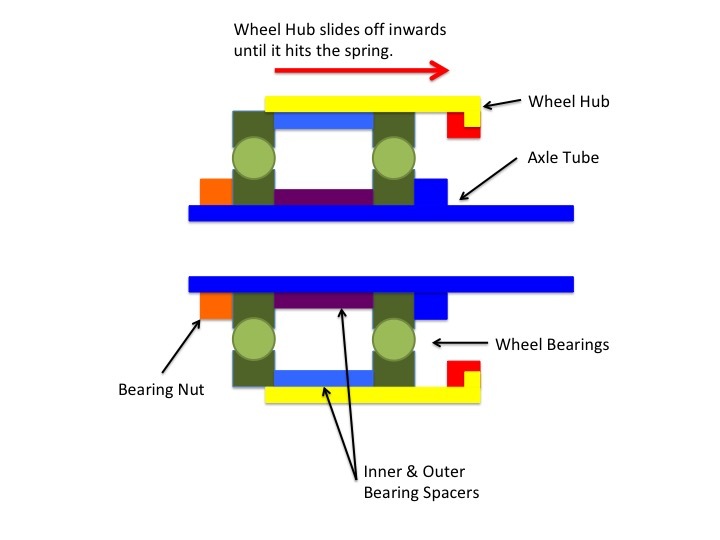
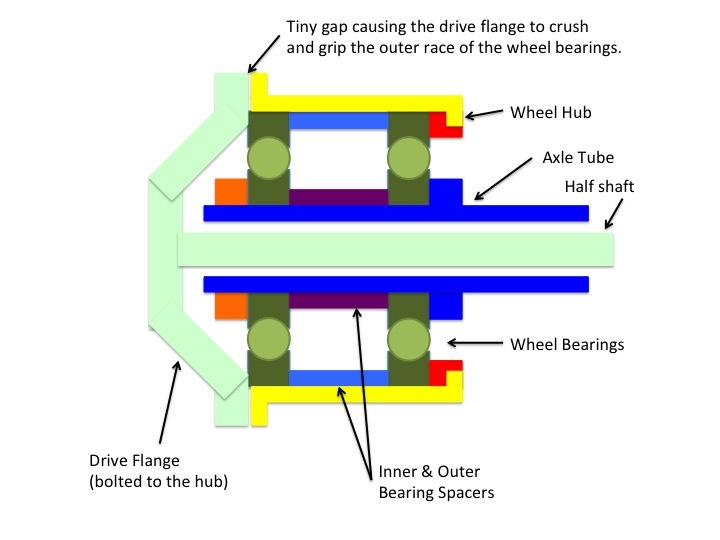
This might not seem to be a huge problem but the bearings pack against it so if it comes out of the hub the wheel falls off.
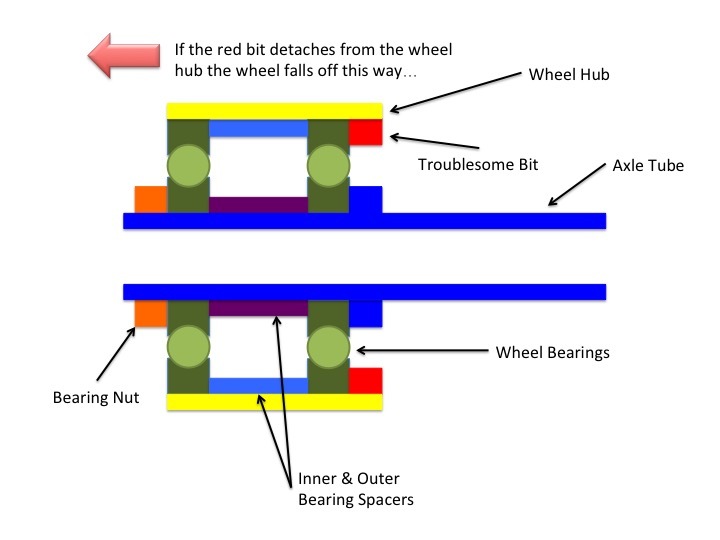

We can move it back and forth a little but it won’t come out. And the wheel hasn’t fallen off since it was fitted. But we still have to prove to ourselves that it’s safe.
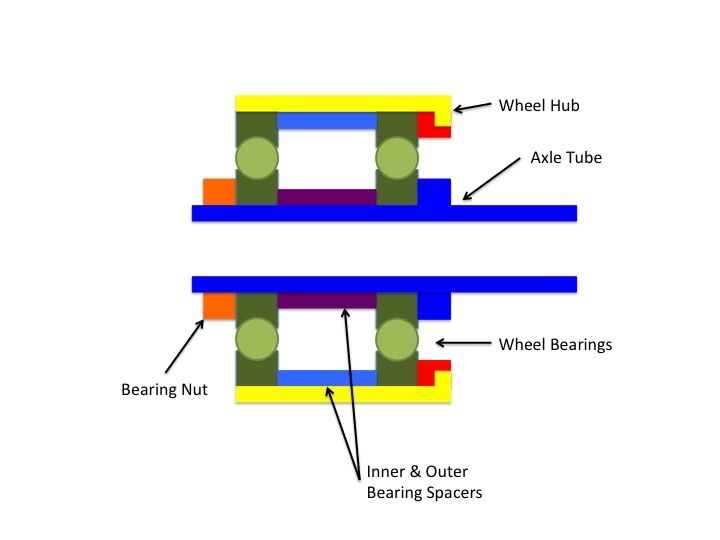
After a bit of a chat and some head scratching we conclude that there is a step machined into the hub so it can’t come out. Like this…
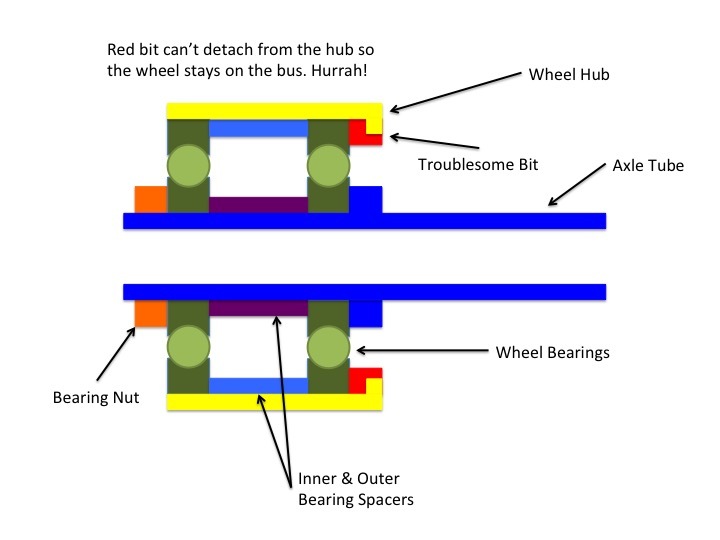

Ian wondered if the oil seal carrier had been damaged at some point and a new one machined and inserted. But why not just replace the hub? Well, if it had happened during the war, Ian points out that Bristol would have been busy building aircraft engines. Not wheel hubs.
Later I spotted “QM” markings on the oil seal carrier. It’s a QM type axle. So the eventual conclusion is that this hub was designed like this and we’d wasted an hour scratching our heads.
Good, that conundrum sorted, next we need to take off the brake actuating cam and lubricate it.

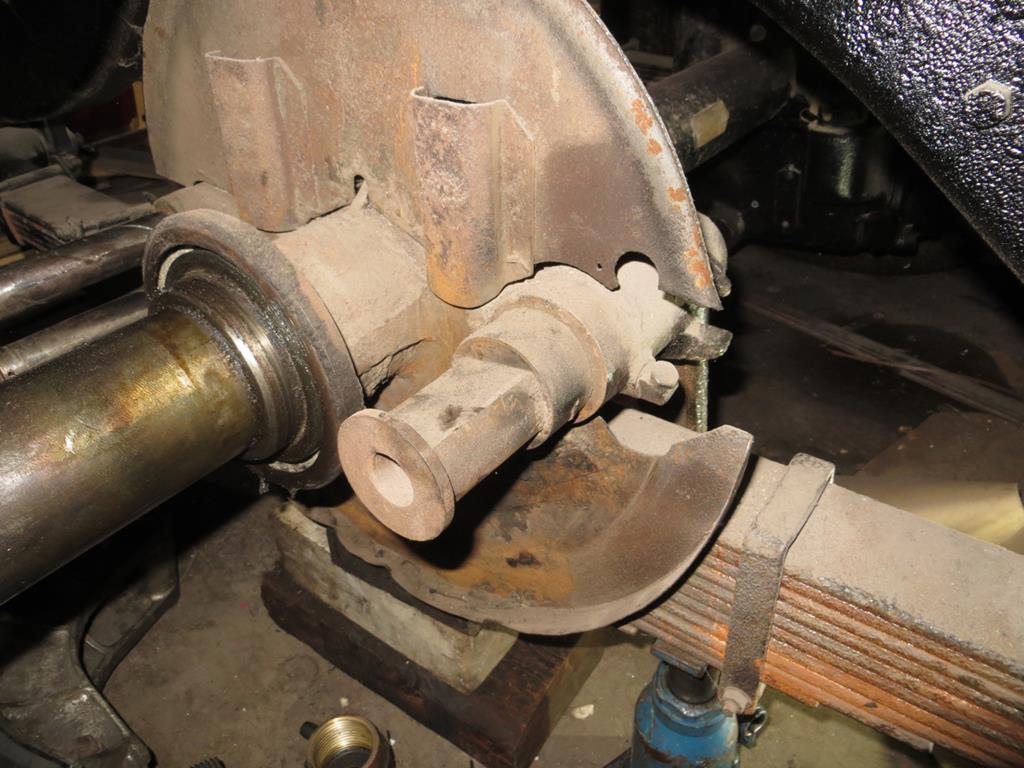
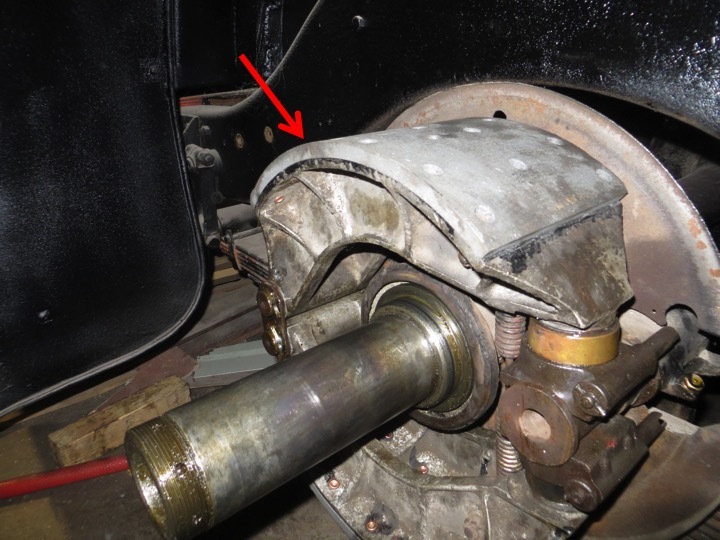
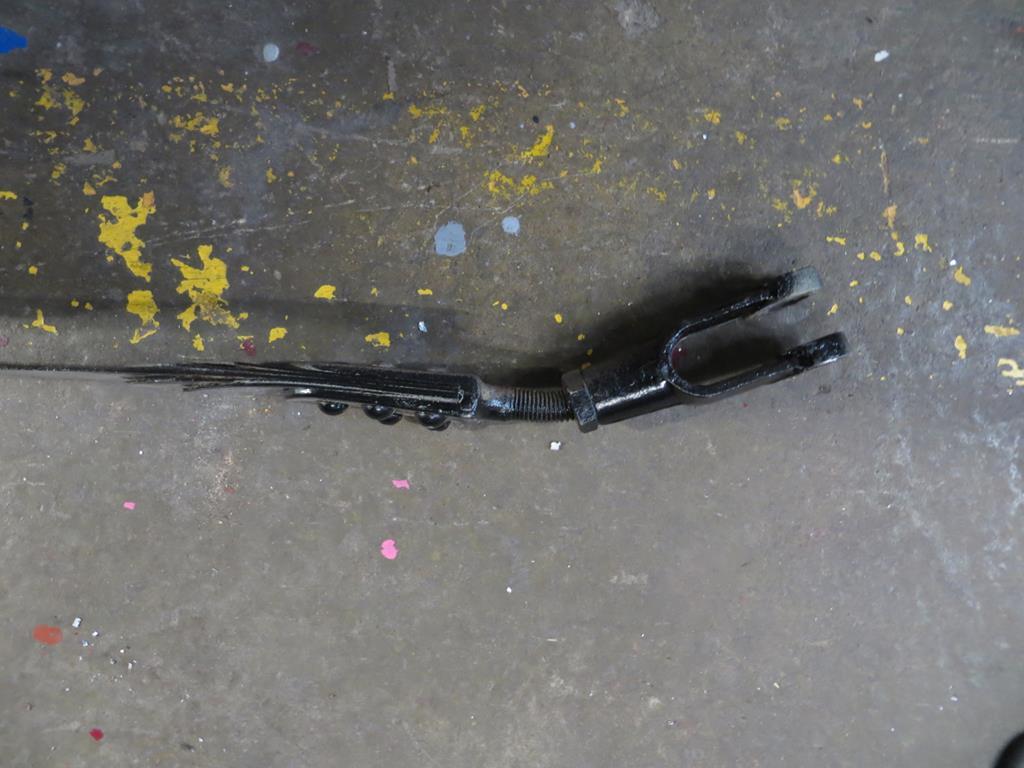
The actuating arm is splined on the back of the cam’s shaft and held on with bolt that runs through a slot in the shaft. This bolt…
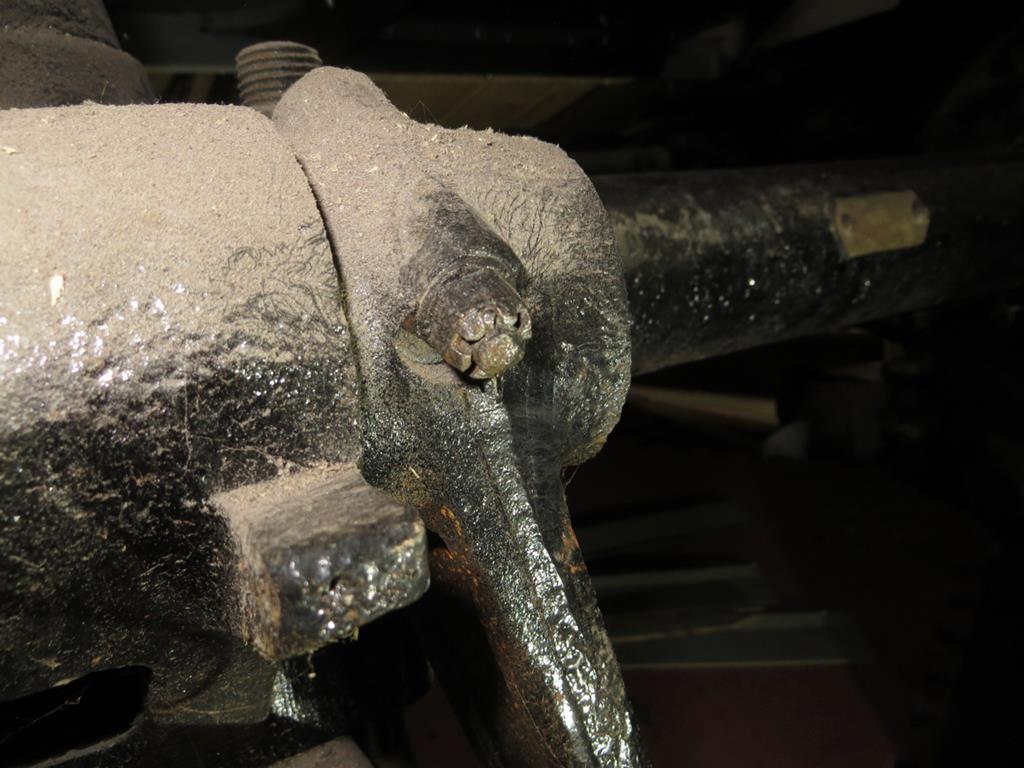

Just remove the bolt and the arm slides off the shaft. Here’s the splines. Big in’t they?

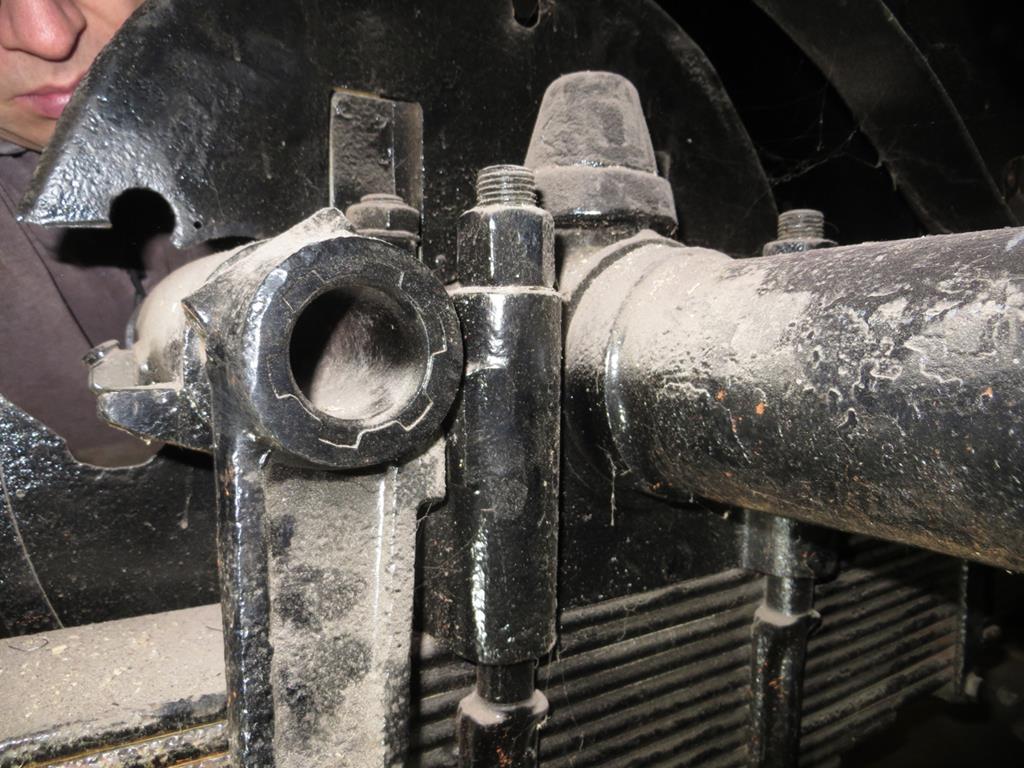
Well the other side slid off the splines. This side. Not so much. Ian slid underneath and gave it a bit of a thumping but it wasn’t moving.
The cam was pretty free (which the other side wasn’t) so we quickly gave up and put the bolt back. There is a grease nipple on the side so it got lubed. Job done.
Right, chuck the shoes on…

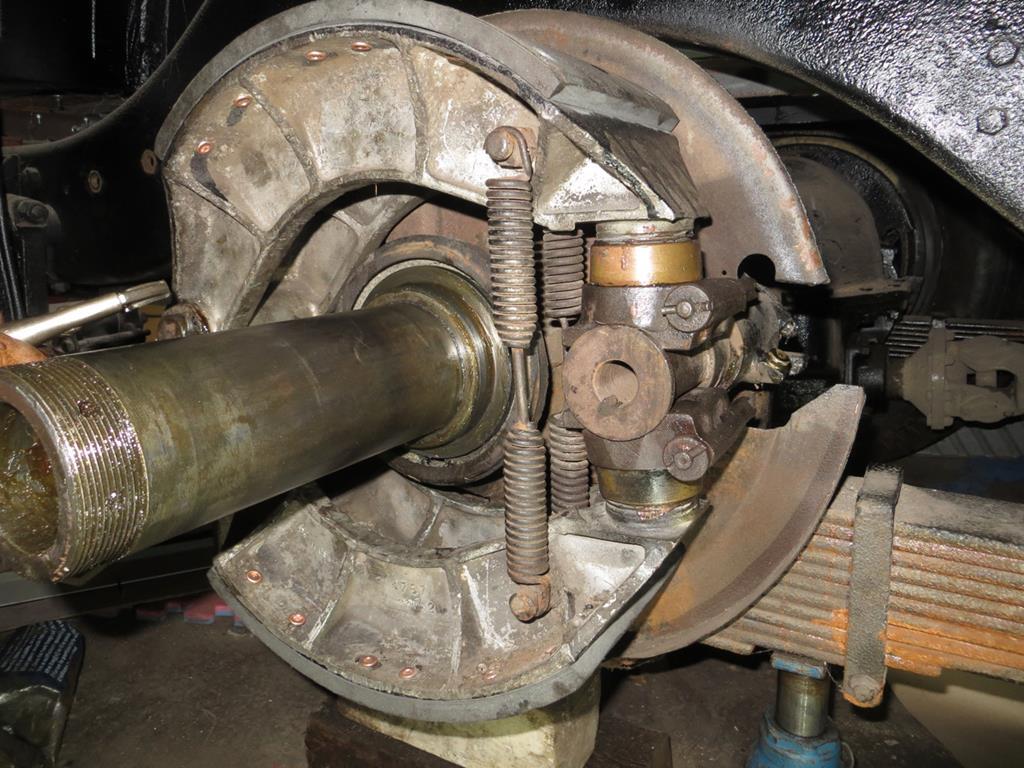
And then the hub.
And then it all went Pete Tong again. When spinning the hub it was making a horrific noise.The noise sounded like a spring being caught. We took the hub off again. Bare in mind that that’s no trivial task ‘cos it weighs a flippin’ ton and takes two of us to manhandle it on and off the axle tube.
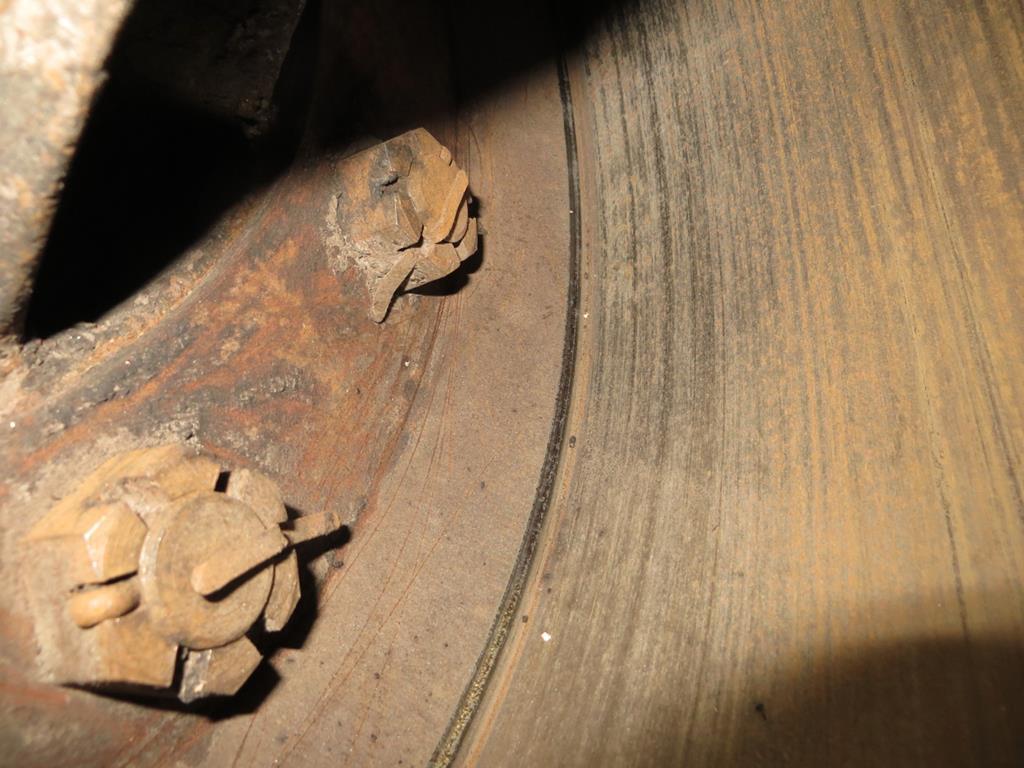
Right, you see the two return springs? One in the middle of the shoe and one on the outside? Well there was a witness mark in the middle of the outer spring where the re-enforcement ribs on the hub… These things…

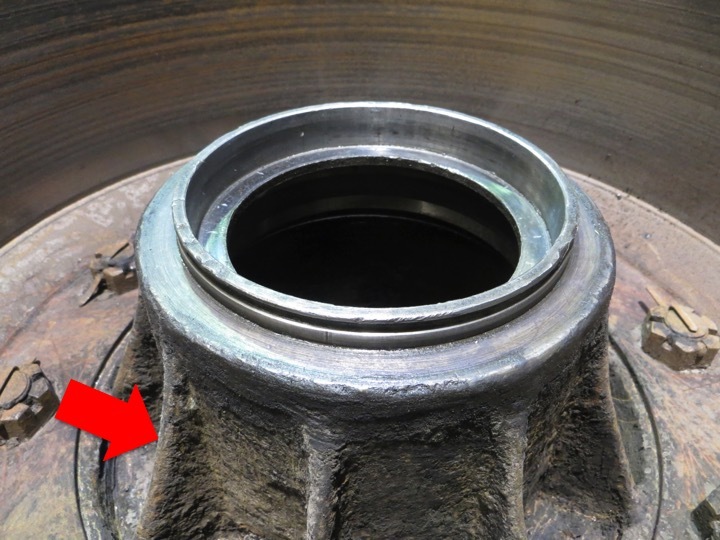
…Were hitting the spring.
This is exactly how we built the other side and it’s fine. So another difference between the hubs must be the design of the re-enforcement ribs.
Ian sat on the floor to think about it and I went to the loo to think about it. I do my best thinking on the loo. I don’t know why. It’s just a thing.
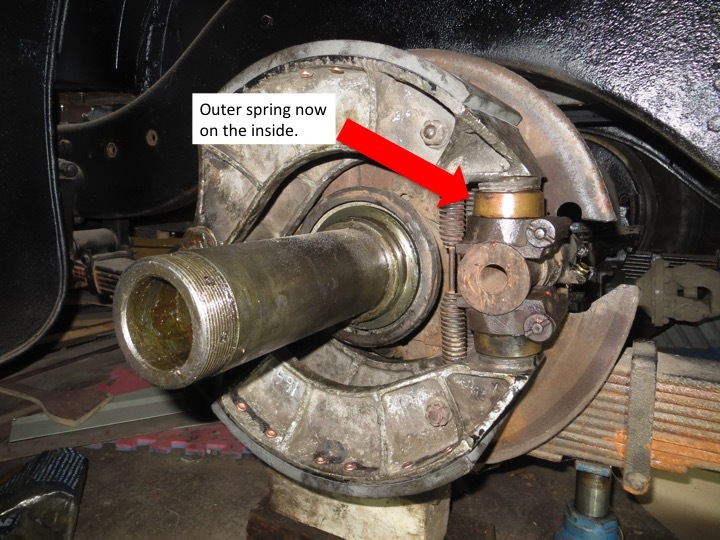
We both had the same idea. Swap the brake shoes round so the outer spring is on the inside.
Like this…

Since getting home I’ve looked at the manual to see how it should be. And it’s still not clear.
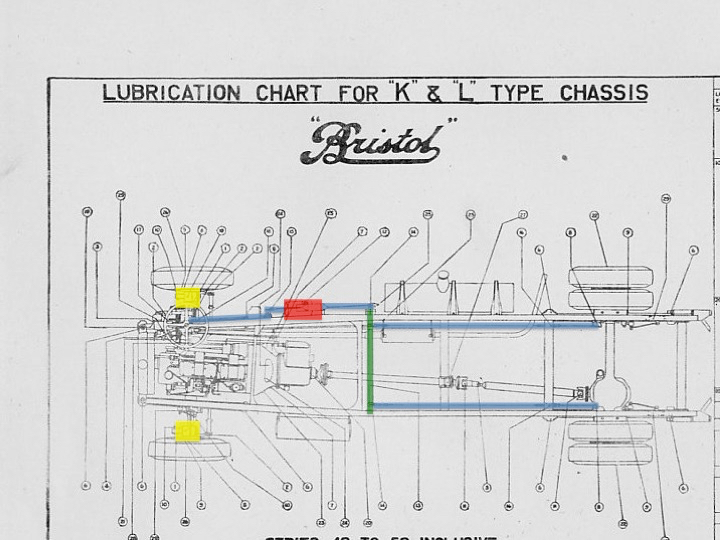
The drawing for the Bristol L (the related single decker version) seems to show a single spring in the middle of the shoe.
The drawing for the Bristol K seems to show two springs. One right on the back - where we have it now, the other right on the front where it was catching the hub.
So that’s no help. The design probably changed over the years and, 80 years later, the manuals we have may not be exactly right for the vehicle.
Hub back on and it’s not hitting the springs. Yay! Call that a win.
Trouble is, the brakes aren’t working properly either. Boo!
When I pull the actuating arm the brakes come on but when I let go it won’t return and the brakes are stuck on. Ian reckons the new linings are sticking in the edge of the of the drum and need filing off. But by this time South Eastern Coachworks was looking like closing up shop so we threw the wheel back on and gave up.
No tea and medals this time. And we’ll have to take the bloody hub off again next time.
They did have an interesting Routemaster in the garage though. Maybe another day I’ll see what I can find and tell you about it.
James




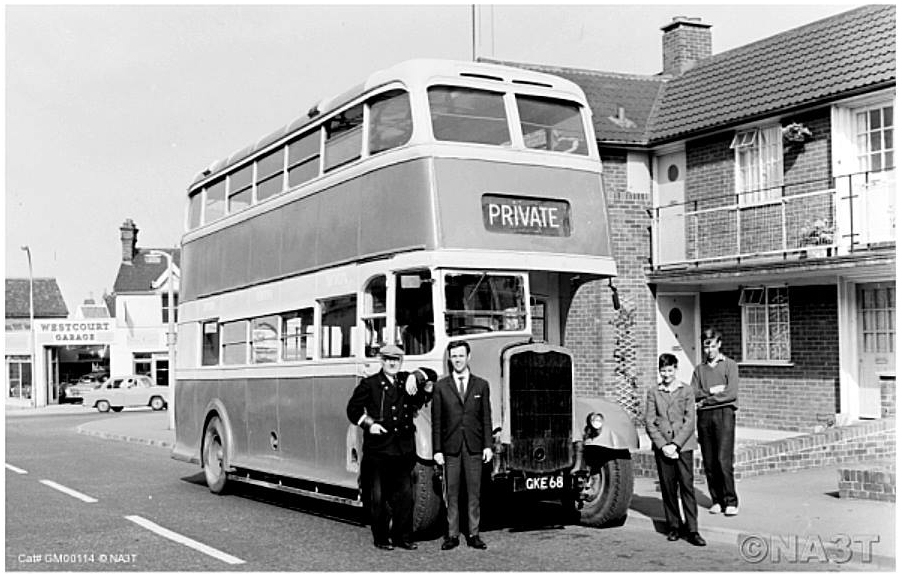





 will cripple me in a week. Cautiously over doing it once a month keeps me fit and healthy. Working on GKE is doing me no harm at all at the moment.