Alright, where was I? Ah, yes, just tearing into the engine and making some wild-ass guesses.
Anyway, it turns out that the 'B' and 'Y' stamped in the top of the piston are the "piston grade", or the size to fit the liner in that cylinder.
| Piston Grade | Piston Size | Liner Bore Diameter |
| R | 3.8715 to 3.8720in | 3.8735 to 3.8740in |
| B | 3.8720 to 3.8725in | 3.8740 to 3.8745in |
| Y | 3.8725 to 3.8730in | 3.8745 to 3.8750in |
| W | 3.8730 to 3.8735in | 3.8750 to 3.8755in |
Furthermore, the manual also advises:
Where the liner bore is scored or the maximum wear exceeds .010 in. the cylinder liner and piston should be renewed. Reboring or honing of cylinder liners is not recommended, and for this reason oversize pistons are not serviced.All well and good, when you have a nice big stock of factory parts to draw upon and you're not modifying anything.

Which, of course, is not where I'm at. So I've been doing some measuring and some maths. Some measuring has put the combustion chambers at 120cc or so; and I have calculated that, to get the compression I want (~8.5:1), I need to reduce that to 96.6cc. So then I had to break out the geometry, and an extra box of head-scratching, to work out -- if I go for following the outline of the combustion chamber, smaller by a margin of 5mm or so all round -- how tall the raised portion on the piston would need to be. (While also maintaining a nice wide margin of safety for piston to valve contact (or piston to spark-plug contact))
In the case that I *do* go for having pistons made for this, then I expect I'll have them all made up to the diameter for the 'W' piston grade, and have the bores honed out accordingly. All this is subject to change, of course.
Getting away from the noodling and theory side of things:
Footwell vent, on the nearside, as I removed the duct:
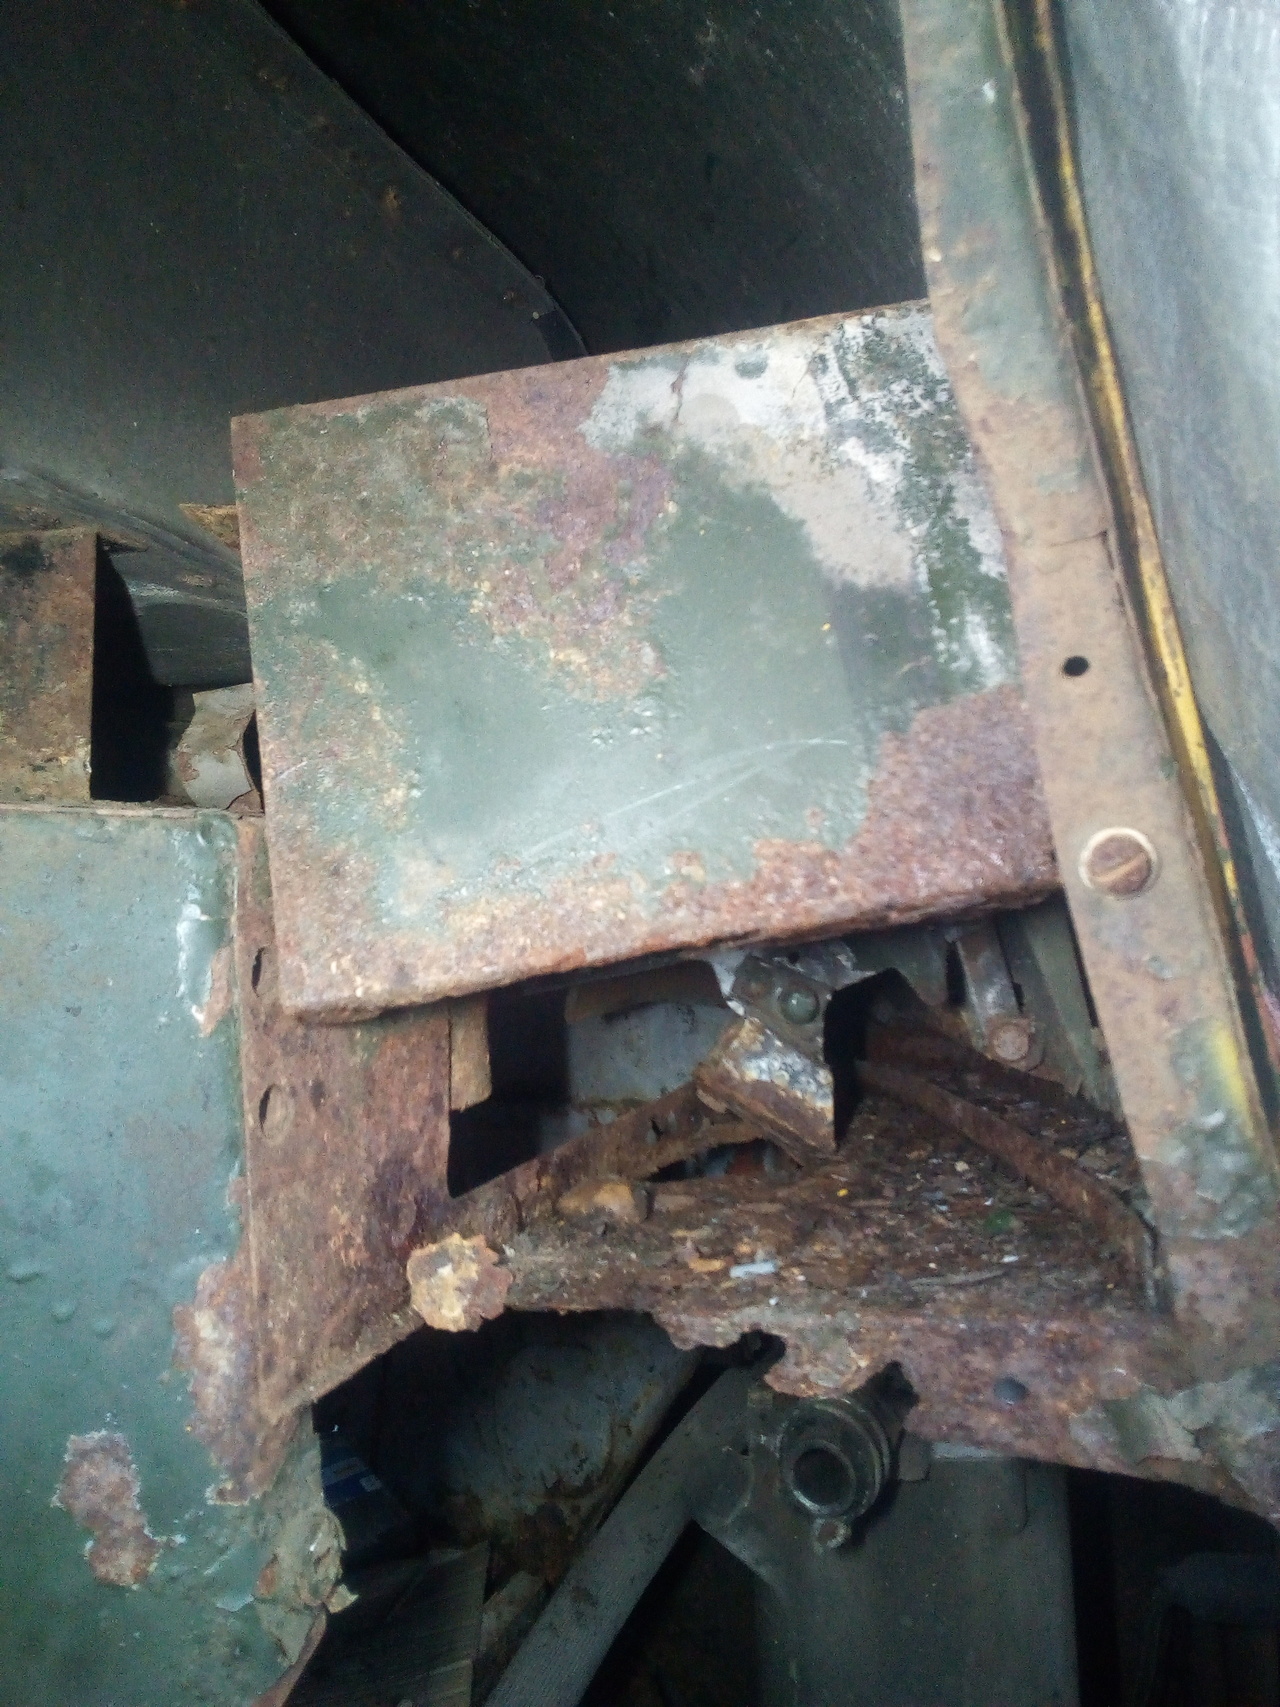
...and with the duct removed entirely:
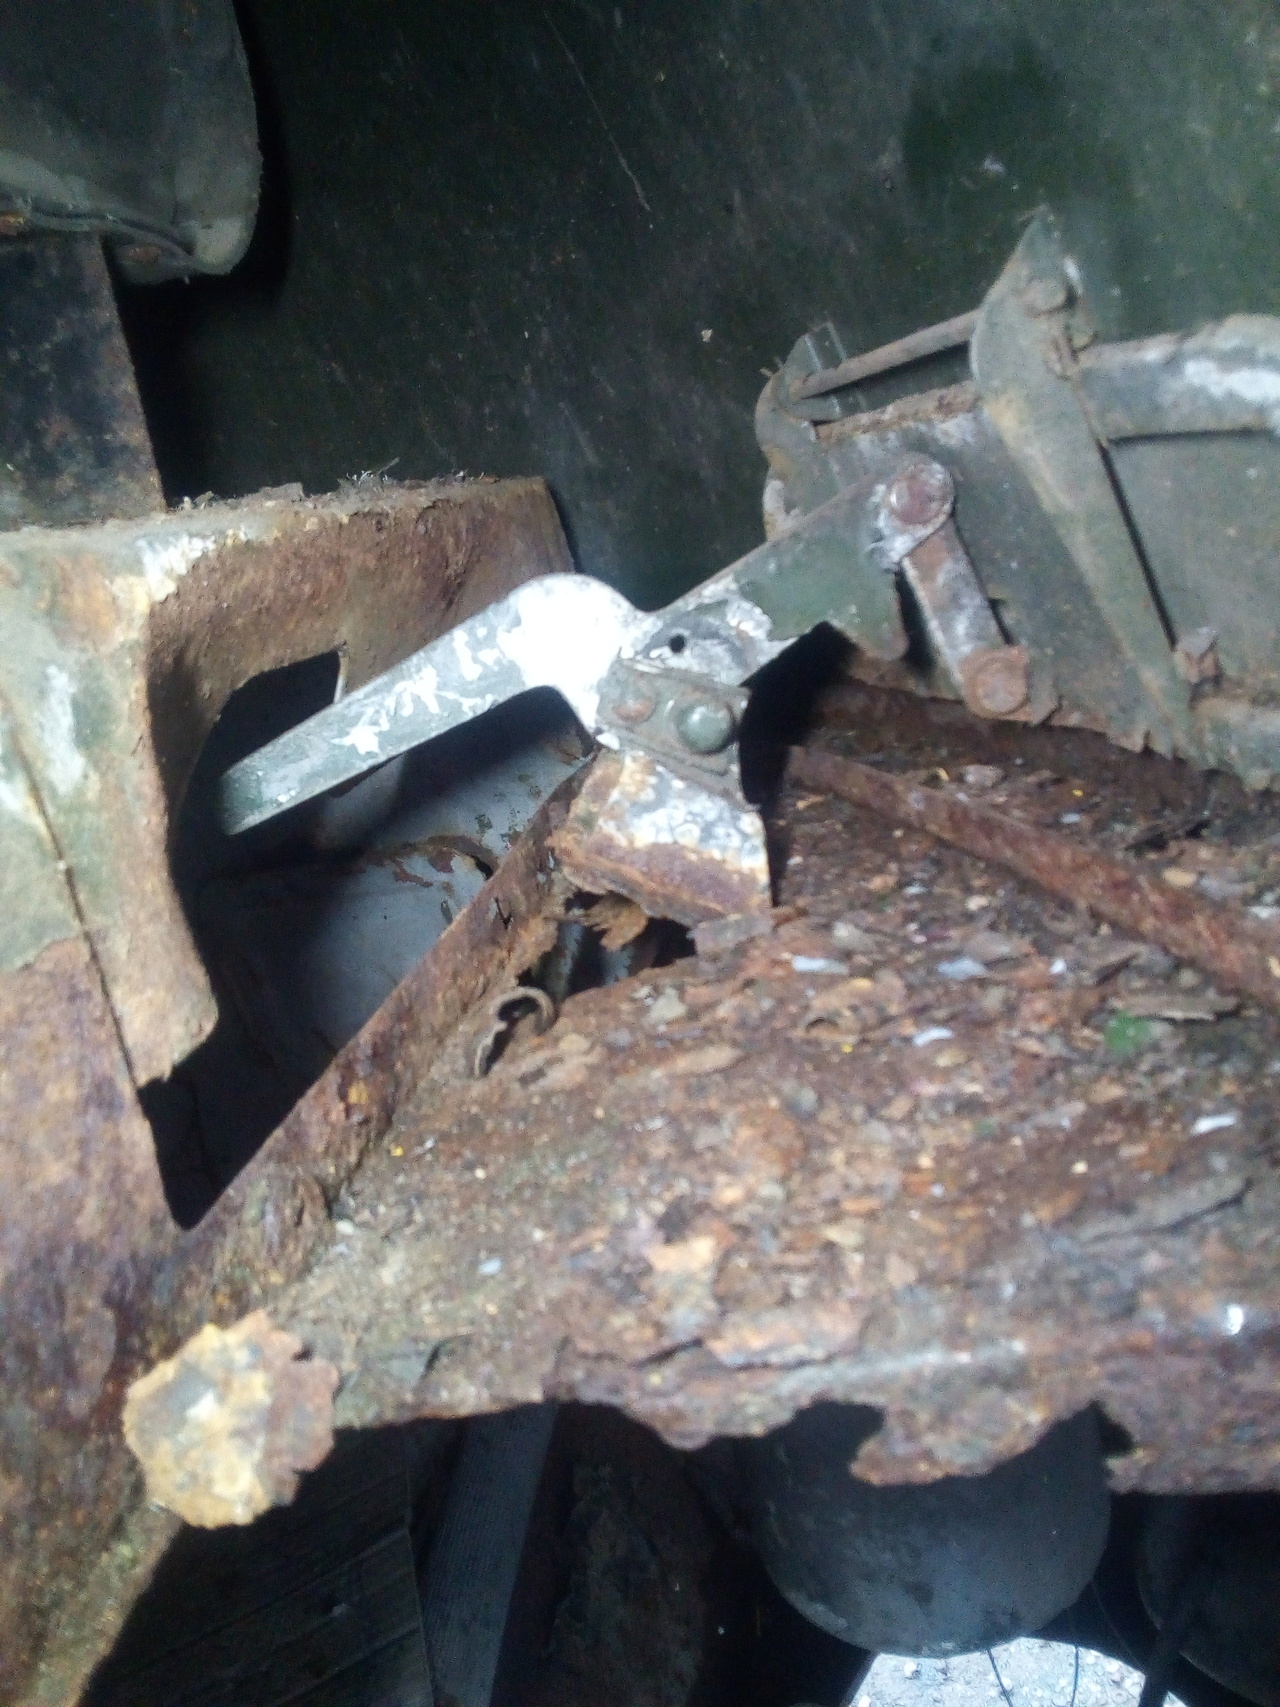
Not so pretty. Not beyond redemption, though. The offside, thankfully, is in much better shape; but will still need some attention.
Following on from that... Some other bits 'fell off'.
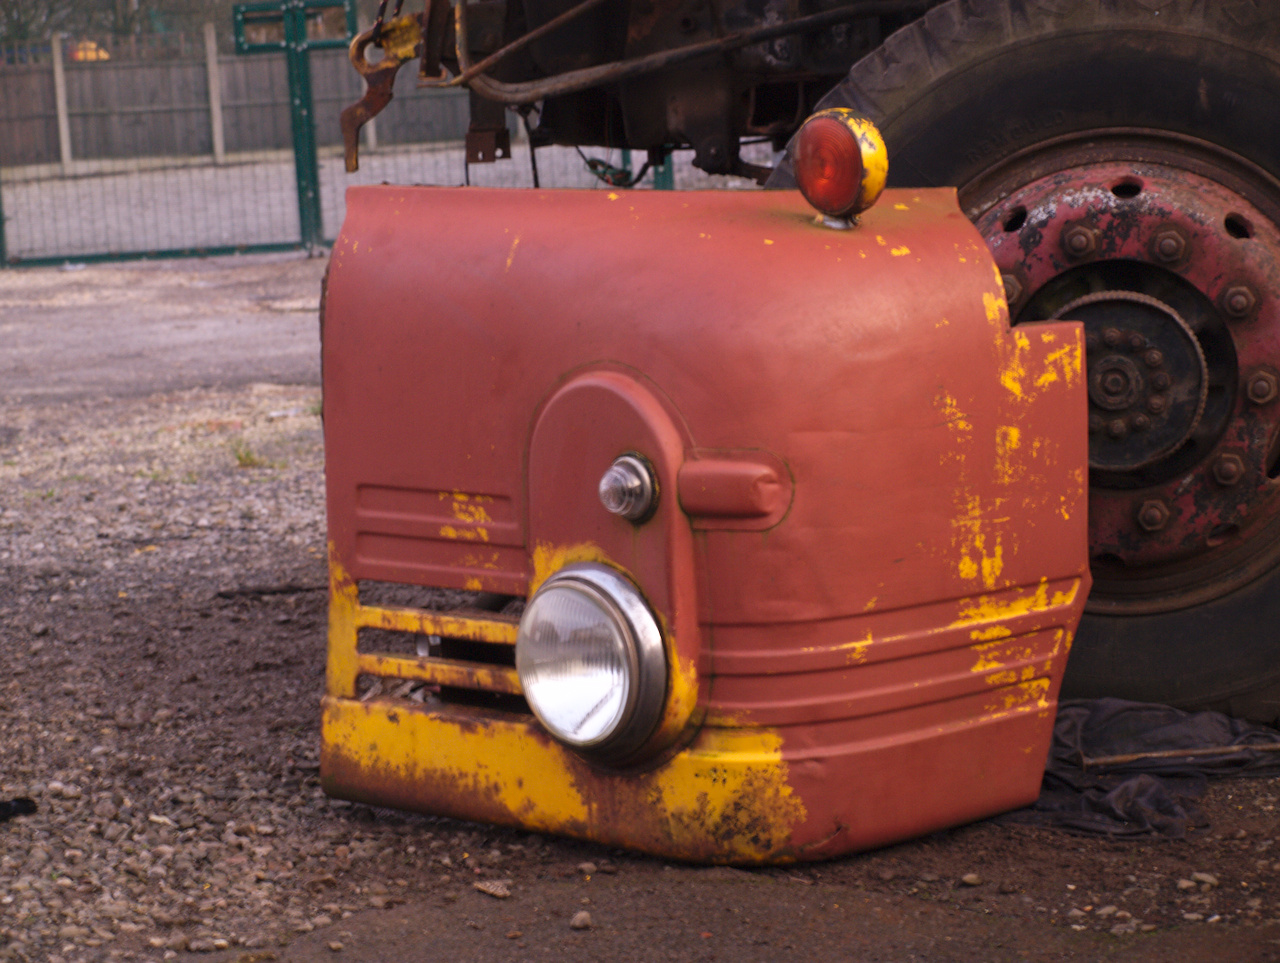
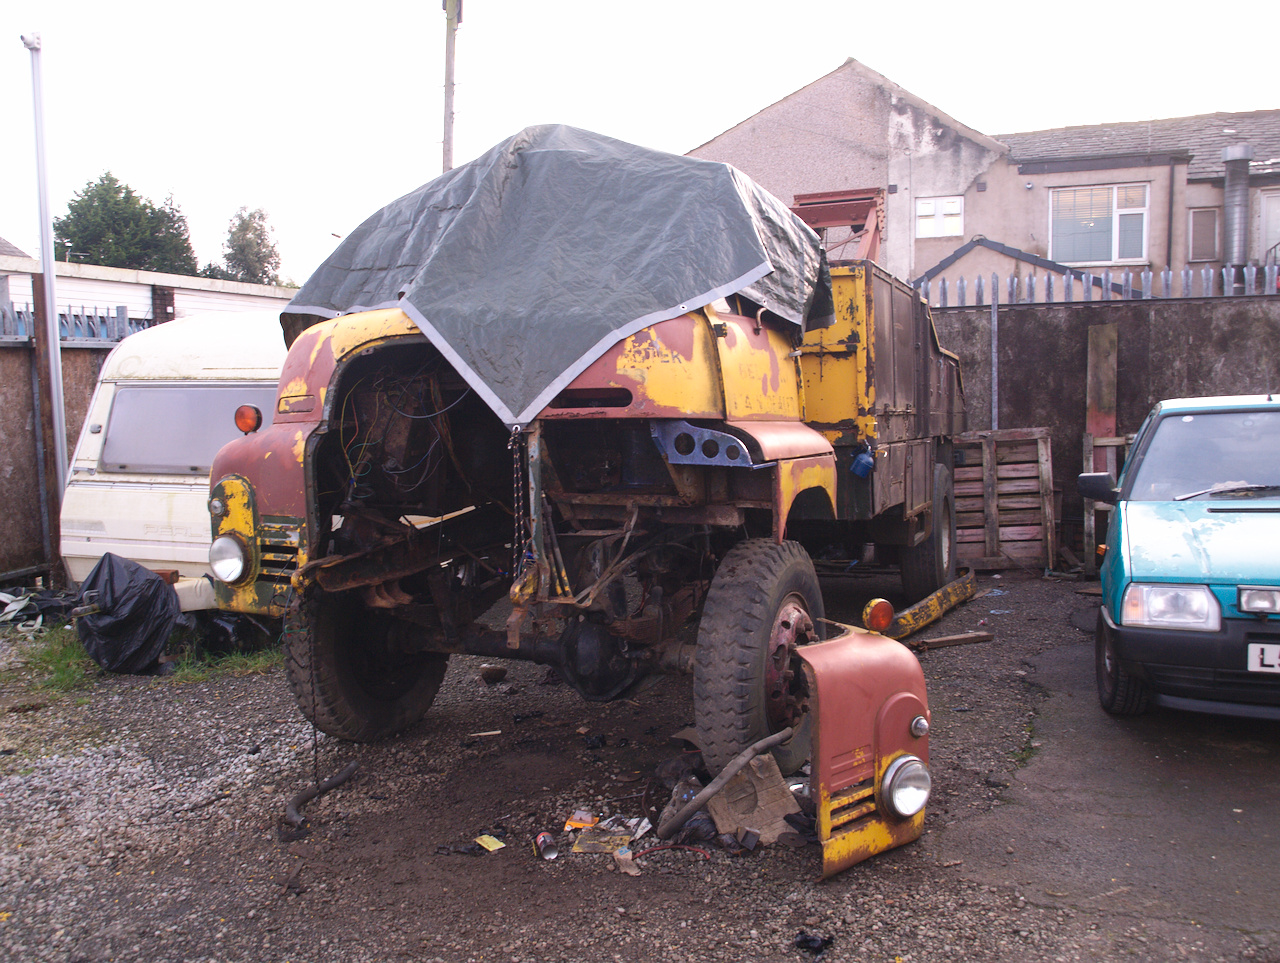
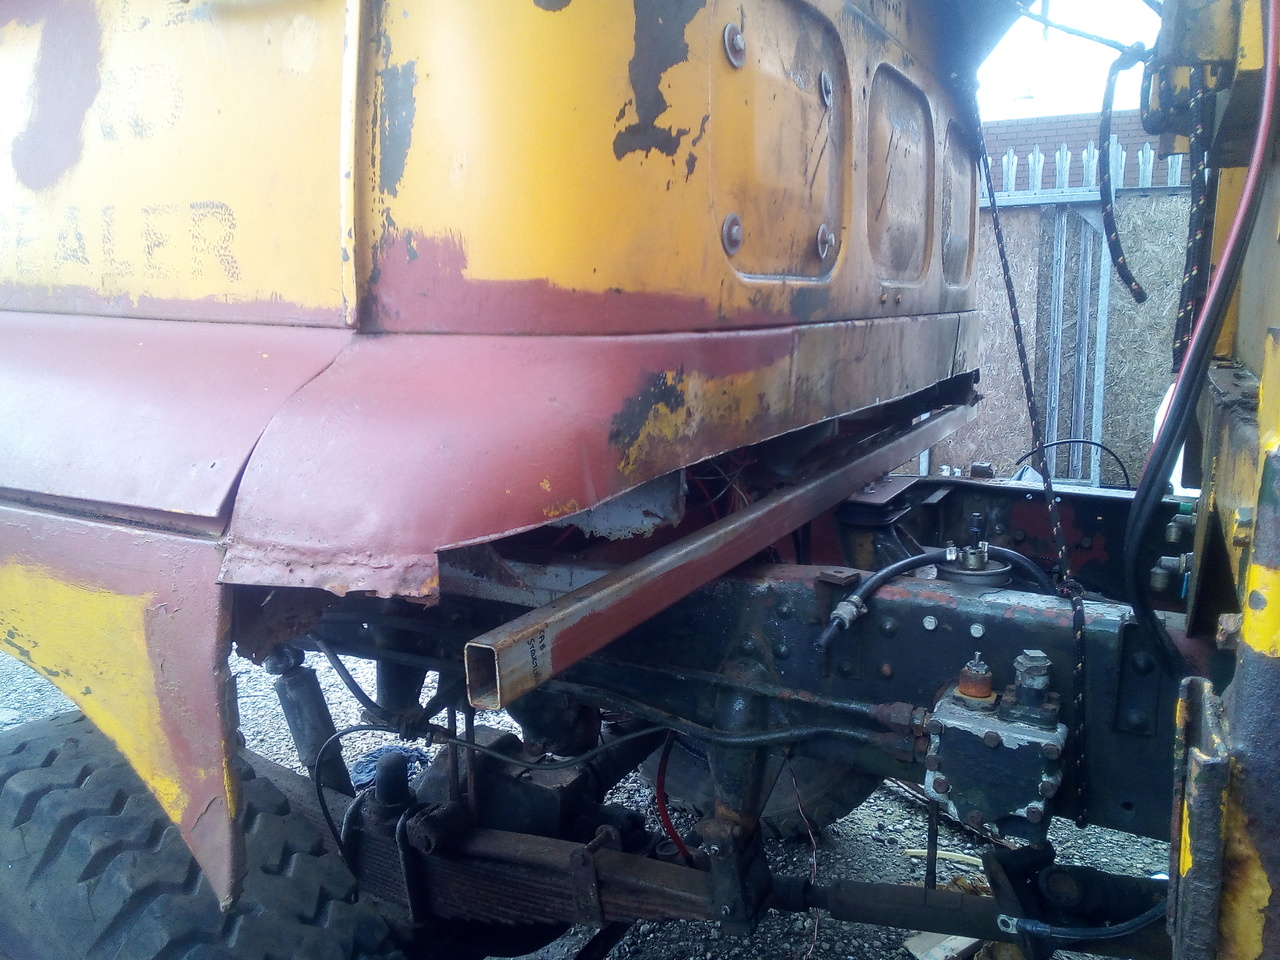
Both of those corner panels undo by way of lots of little screws, and the odd nigh-inaccessible nut, that thankfully
mostly just undid without putting up much of a fight. The lights on that corner are all wired up with a nice pair of multi-plugs for quick attachment when it's finally ready to go back on. Still have to add a ground lug to the chassis on each side for them to connect to, which isn't
strictly needed, since it does ground via the panel itself; but why not add a proper lug to guarantee a good connection while I have it all apart?
Anyway, it'll be a while before that panel goes back on, because having the extra room to sit where the engine used to be and look around while I was working on the wiring let me get a good look at the next bit of fun and joy:
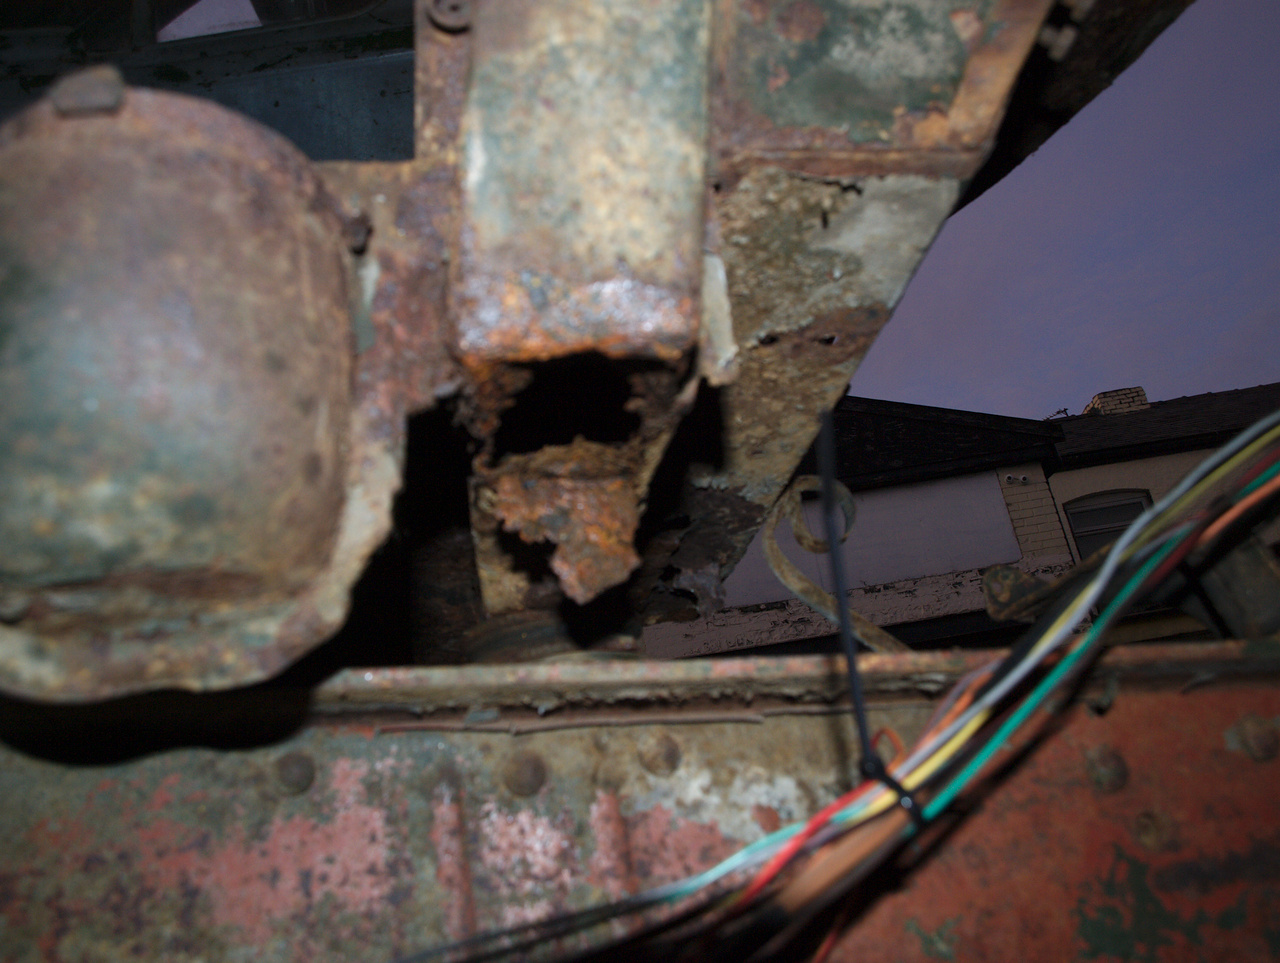
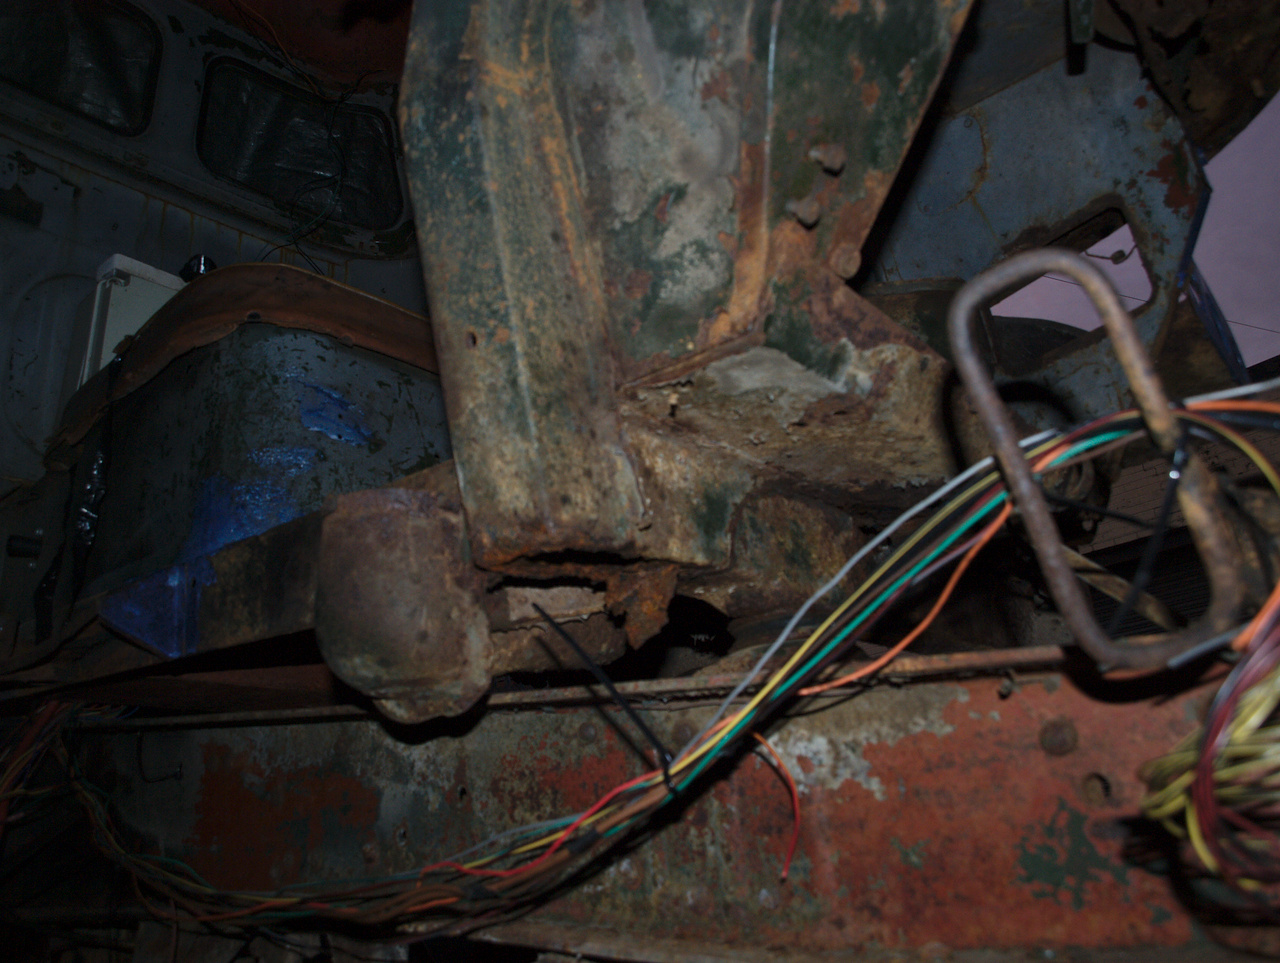

I knew those front cab cross-members were bad, though it's always somehow rather painful to discover just
how bad things are. I reckon I'm going to deal with this in a similar way to how I dealt with the rear cab cross-member: Support the cab across the chassis rails, excise the rotten metalwork, and apply sufficient amounts of new metal as to ensure appropriate levels of structural soliditude.
Time -- doing as it will -- passes, and the wiring continues to be chipped away at. In retrospect, I should've left the truck entirely running via bodge-wires up until much later, rather than run half a wiring loom, modify it, add more, take bits away... But it's all part of the learning curve.
(Hell, I originally ran the wiring for the O/S headlight down the N/S chassis leg, and across the front cross-member; but now I know better, and it doesn't go that way now.)
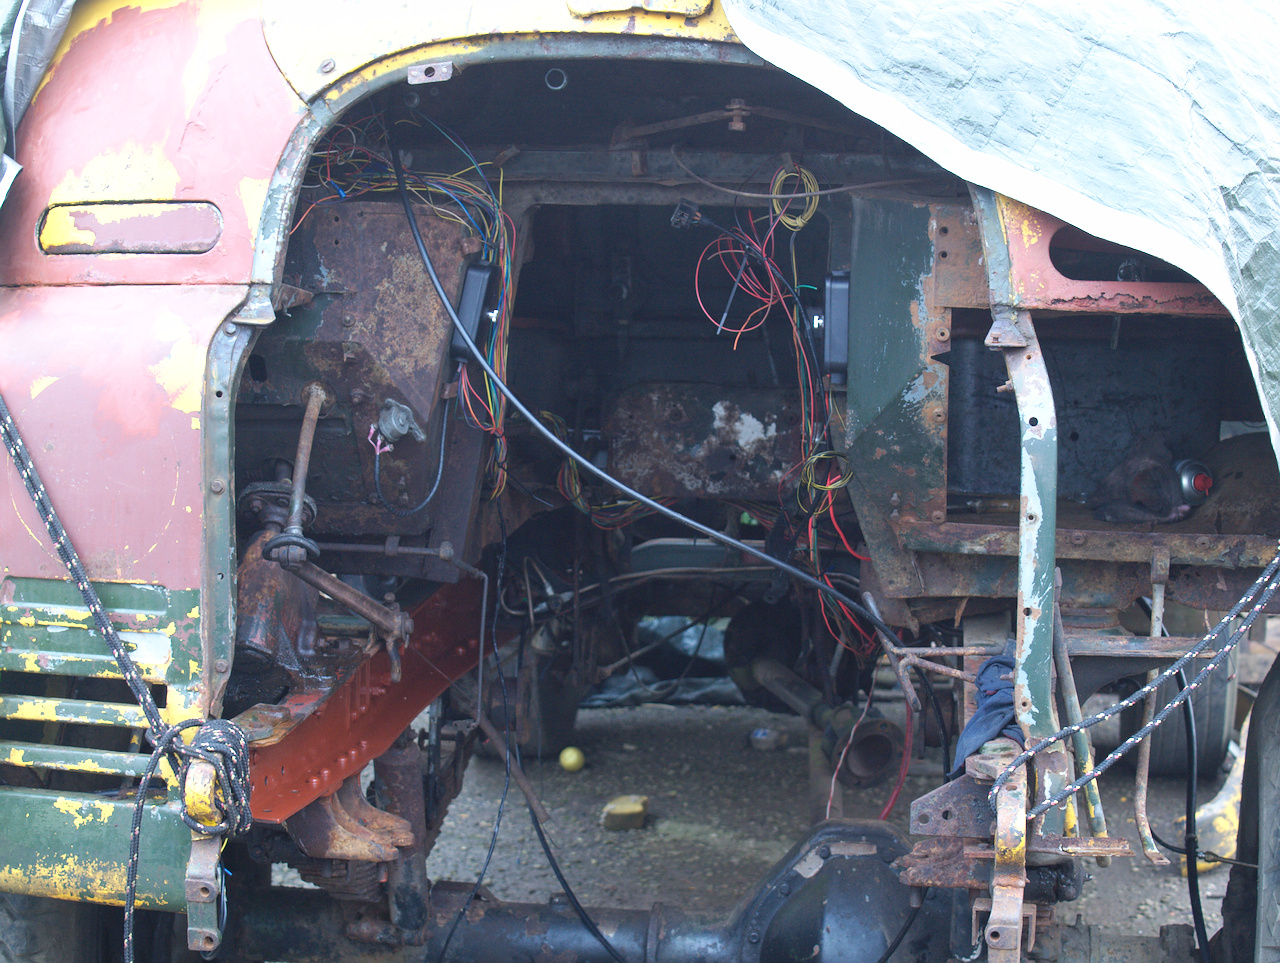
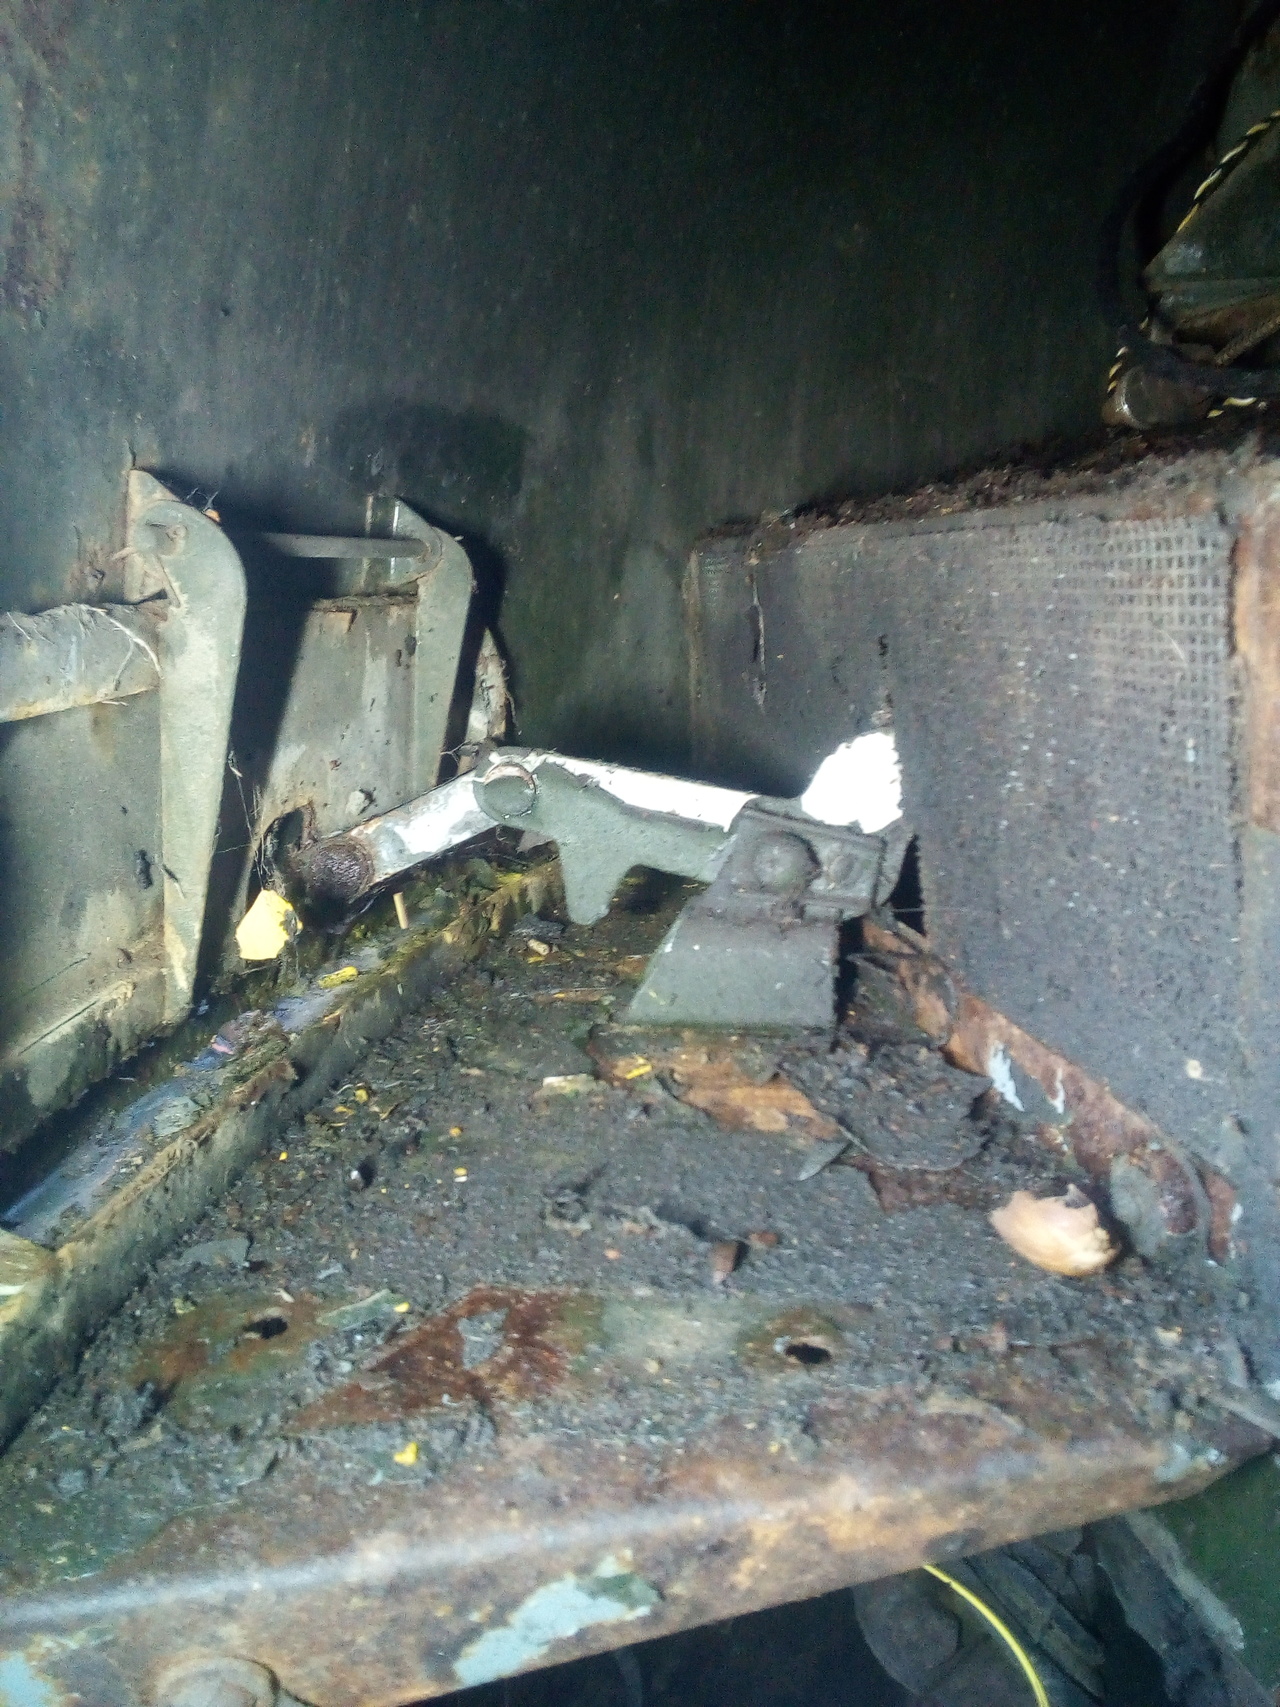
Time, once again, passed in a bit of a blur; and I found myself in March, holding the handbrake and winch-brake lever linkage bracket, that came out of here:
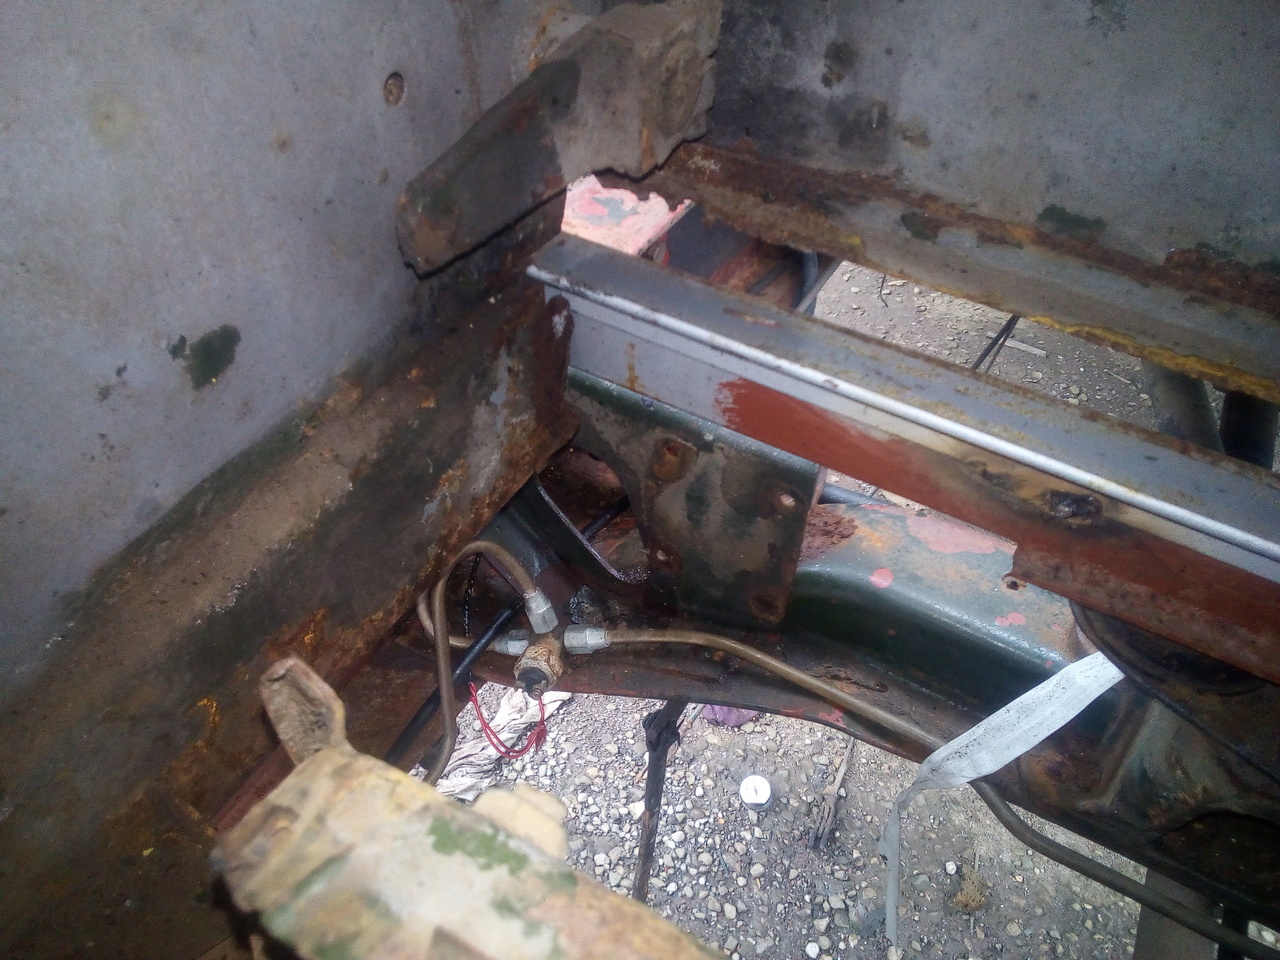
Now, what on earth possessed me to do that?
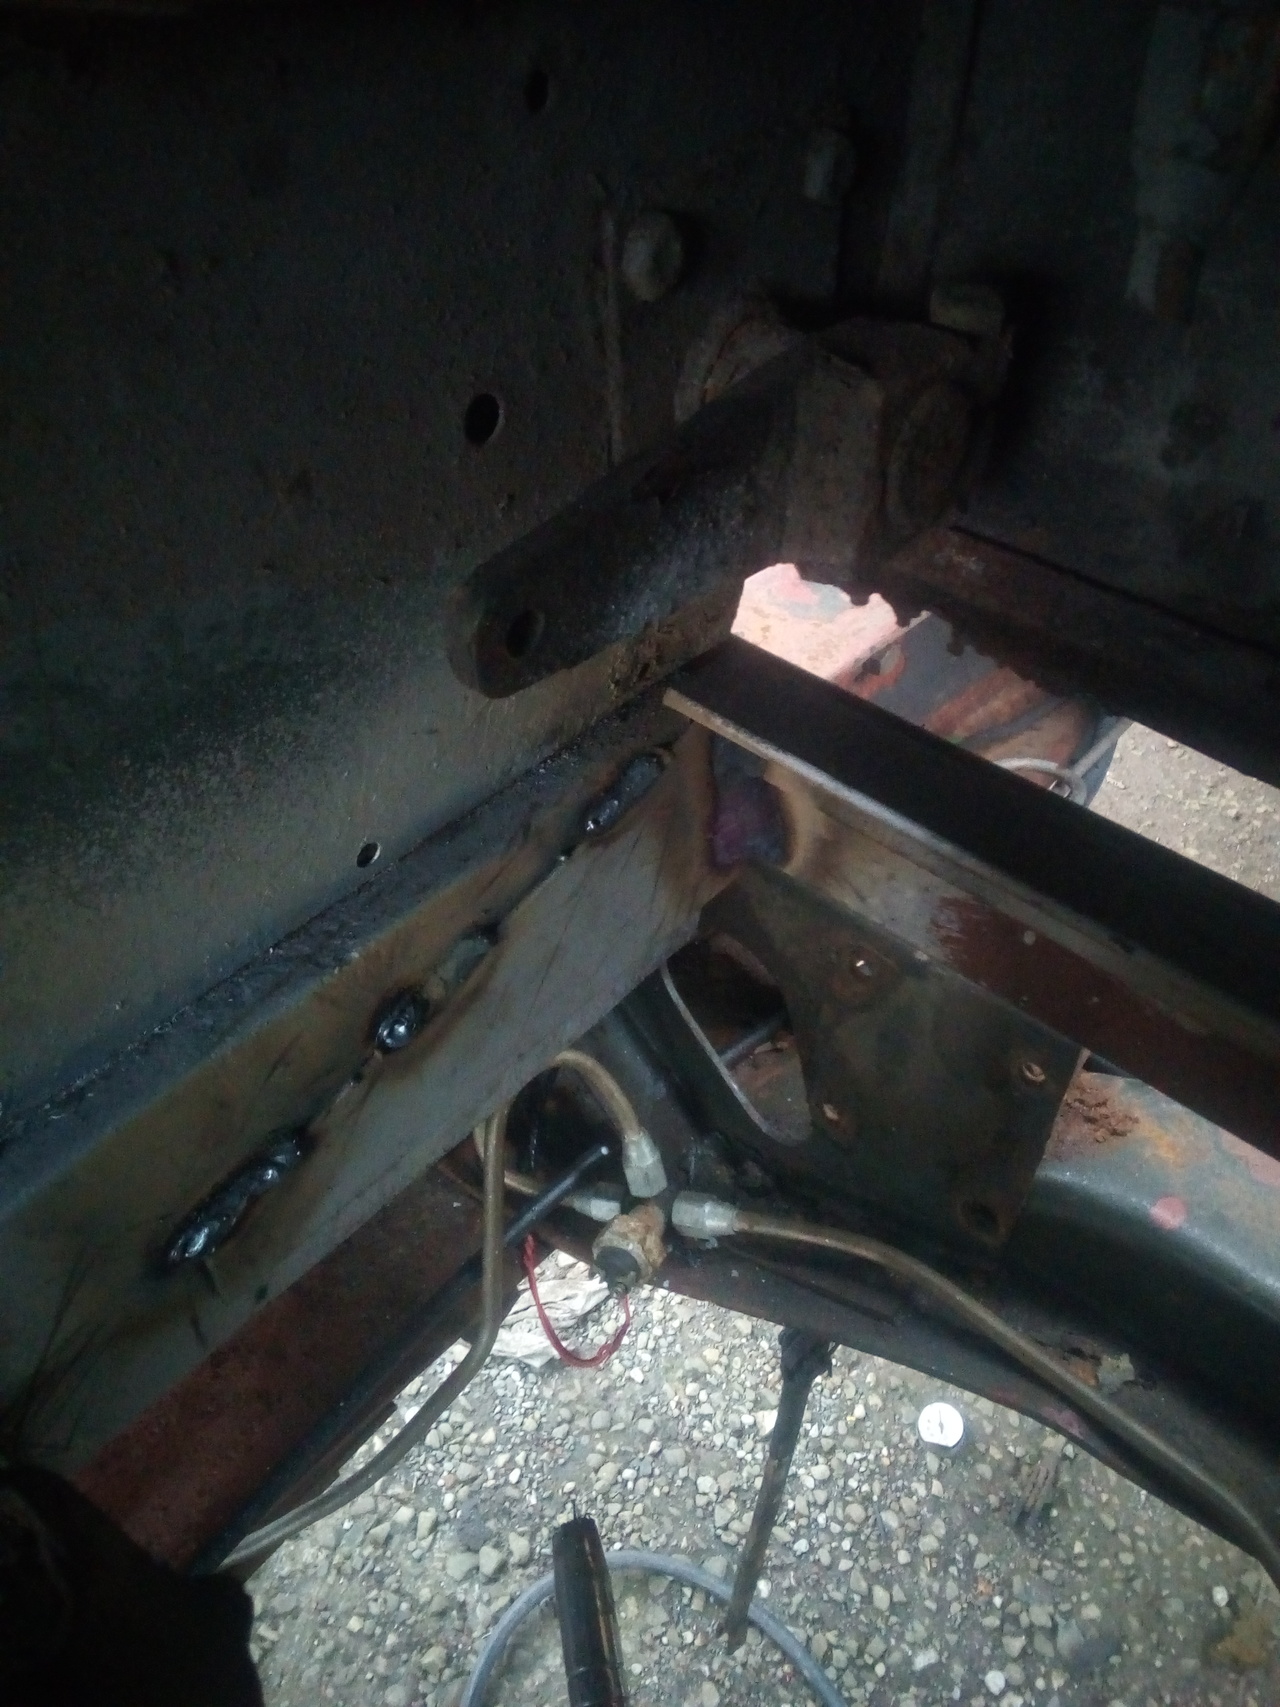
Oh, right. Yes.
Bracketry
Sins hidden.
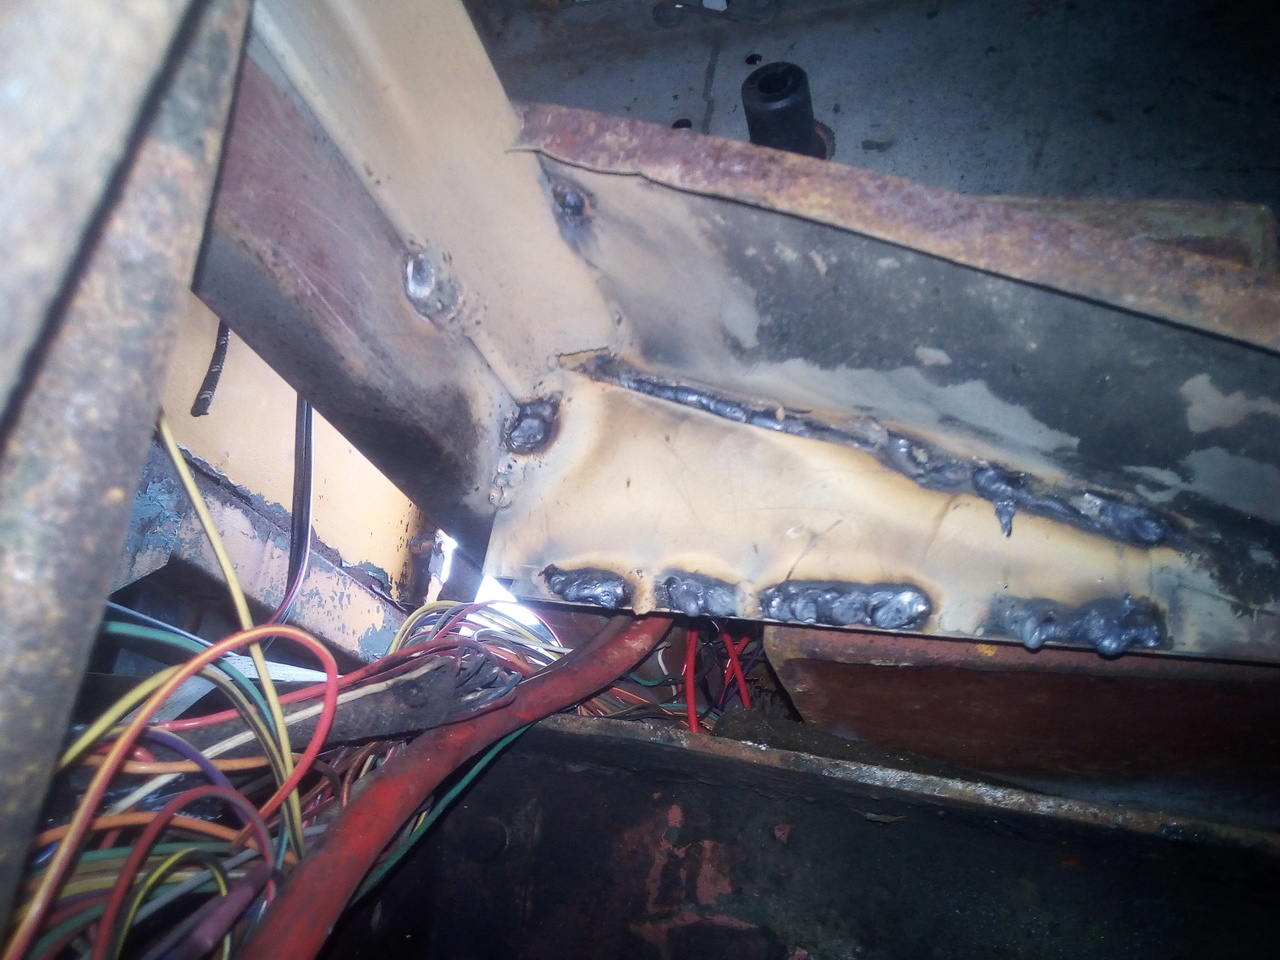
And much the same on the other side, except slightly uglier because my access wasn't as good. None of the wiring was harmed in the process. (This is what I mean about it being in the way...)
Anyway, that brings the rear cab structural member replacement to about 80% completed; to finish up on that part, I need to undo the mounts, lift the cab back up, clean up and properly weld the brackets on the
outside of those rails. Then there's some cosmetic tidying and closing in to do at the back end, with maybe little a cavity wax as a treat.
Also, while I was in the area, I tested that brake light pressure switch just for gits and shiggles. It only went and worked. (But I'm missing one of the terminal screws anyway. If I can't find a replacement for that screw, I might just replace the whole pressure switch, it's a pretty standard item.)
Oh, yeah, and I cut another big bit of sheet metal off the back of the cab, so now it's a straight line right the way across compared to the horrible jaggedy mess it was before. Should make it easier to add the new sheet metal back in, when I'm done.
