Tamber
Part of things
  Shattered. Held together by spite and tape.
Posts: 336
|
|
Jul 21, 2019 20:30:09 GMT
|
I seem to be leaving a trail of half-finished threads everywhere with this truck, since I seem to drift from board to board; so I thought I'd leave one here, too. The 'proper' home thread is on HMVF ( hmvf.co.uk/topic/33622-its-here-bedford-rl/), but it's a different-feeling place from here, so the thread has a bit of a different atmosphere. Think of it more like chatting with your mates around the barbeque, rather than in the office; that sort of thing. So, a bit of a summary... 2016, Feb, 11: Not content with having a car that occasionally decides it doesn't want to run, I take leave of my senses, and decide to buy a truck that I saw in a breaker's yard listing back in 2008. Somewhat surprisingly, it's still there 8 years later, and they don't want the earth for it. So I managed to work up the courage (or foolishness) to phone them, ask how much it was, get a bank loan, and buy it. Based off three tiny photos (They were 340x255 jpegs. But if I zoomed in real far, and squinted...  ), and without ever having seen it in person. And then I end up hiring a recovery firm to haul it up from Colchester, to where I worked at the time. Still without ever having seen it. Nerves were setting in. I got the phone-call from work...
"Your truck's arrived. You've got your work cut out for you." One mad rush down to work, with my brother, and I laid eyes on it and that was it, all was right with the world.  The tyres were still warm from the journey, since they brought it up from their yard on an under-lift, and all I can say is that their driver is braver than I am.    48898 miles on the clock.  Turns out the speedo cable is broken, and I have no idea how long it's been like that; and I still haven't fixed it... Things of note that were discovered then: - It didn't run.
- The rear propshaft was kinked, and not usable. Well, bum. The other three are all usable, though.
 - There's no paperwork for it. Not a V5, not an old-style logbook, nothing.
 - It has rust. I know, shocker, right? Don't worry, it gets worse before it gets better.

2016, Feb, 17: Having spent the time since I got it taking the spark-plugs out and squirting oil&diesel down the bores, I managed to carefully break it free with the Big Adjustable Of Doom. Once it rotated easily using the BAOD, with no nasty noises or interference, I did a quick Negative Earth conversion (Swapped the terminal clamps.  ) and borrowed work's jump battery trolley. Moment of truth, I pressed the big ol' Lucas starter switch, and it started to wind over, slowly freeing up until it was going great! 2016, Feb, 22: It was cranking over nicely on the starter, and I'd gotten it its own battery. At this point, it still didn't run, but that was narrowed down to the ignition parts. Understandably, coil & condenser (Also points, but I hadn't figured that out yet.) were rather poorly; so I ordered up some replacements for those, and all the parts needed to make some new HT leads, since I was in that general area already. By the 24th, I'd gotten the parts in, and it was spitting & popping, which is an encouraging sign, albeit in the wrong order. The firing order is cast into the intake manifold, but I'd put all the leads onto the distributor one over from where they should be, so when I finally figured that out... Yeah, that's more like it.  The next few weeks of work were removing crusty & disintegrating bits of radiator hose, cleaning things, doing an oil-change on it (Which included going to the parts shop with the old filter, an 'AC 72', and having them figure out what would replace it. (A Sogefi FA3448, for reference.), pondering what I was going to do with the wiring, and so forth. 2016, March, 23: An alternator was fitted, in place of the generator; a new belt was fitted; and my little clack-clack fuel pump had turned up, so it got wedged into a jerry-can in the passenger foot-well, and everything was bodge-wired up. So, of course, what needed to happen? Yup.  Notice, in that video, the radiator is out. It was leaking from -- I thought -- the end-tank; so I dropped it off with a radiator shop in Chorley (Phoenix Radiators.) to see what he could do with it. Unfortunately, the answer was "It needs a new core, it's all rotten." So that stung a bit. Looking back, it seems like I could've just found a radiator that was similar in size, and made it fit; but the original one had all the brackets and holes to fit right in place, so while it hurt the wallet, it saved a lot of messing about to have a modern core put in it. 2016, March, 28: Continuing on my foolish puttering, I spotted a plate behind one of the side lockers, which turned out to be the Ministry of Supply plate that listed the chassis number, original ERM, contract number, and suchforth. The ERM (It's military registration, thus confirming that it was indeed an ex-mob vehicle) was 11 CE 32; thus "Charlie's Echo". (Or "Madam Mayhem", depending on how I'm feeling.  ) I also carefully -- okay, flat out, trying to get it done before it boiled out the water from the total-loss cooling system at the time -- ran it round to roll it over work's weighbridge, for no reason other than curiosity. ----------------------
13:13:25 25 Mar 16
Vehicle: 5970kg
Number of axles: 2
Axle 1: 2480kg
Axle 2: 3490kg
Speed: 0.8km/h
----------------------Not too shabby. Though, I'll admit, the truck did look pretty shabby at the time.  |
| |
Last Edit: Jul 21, 2019 20:30:34 GMT by Tamber
-< Welder. Allegedly a mechanic. Bodger of Things >-
* 1958? Bedford RL - Progress: Glacial.
* 1994 Skoda Favorit - It's baaaaaaaack!
* 2018 Herald Classic - Gone!
|
|
|
|
Tamber
Part of things
  Shattered. Held together by spite and tape.
Posts: 336
|
|
Jul 21, 2019 21:09:20 GMT
|
Early April 2016 I got the new radiator, lightened my wallet not inconsiderably, and fitted it in a giddy rush. (Hence the little mark in the glorious blackness of radiator enamel. *sigh*)  Oh boy how wrong I was on that, looking back. There is a lot of reconstruction to do. And I've gotten very little of it done since then. Anyway, my next mission was starting on stopping; a project in and of itself that wouldn't be anywhere near complete until early June of this year.  So, I started by yanking carefully removing the master cylinder & brake booster.  Not the prettiest thing in the world. And nor does it look anything like what the manual says the truck is supposed to have, which is always an experience.  Hm. Here, while I ponder the brake system, have some air-conditioning.   The teardown of the brake system continued.  It exposed some unpleasantness.   Some cleaning and tinkering ensued, and I did make the air-assist cylinder do its thing, using an air-line. The inside of the servo has sorta the same beam arrangement as the one in the drawing, it's just ...well, completely different.   Further disassembly continued at the master cylinder, where this whole sub-project got frustrating and expensive again, but I wouldn't know it at the time.  So, faced with a master cylinder full of stinking oil that bore no resemblance to the brake fluid that should be in there, and expecting it to get worse as I dug in, I did what any reasonable person would do; and ...stuffed it under the bench to deal with later, and built myself a new battery-box to replace the very rotten one.  Cometh the Sunday, after work, and I go to fit it. The big yeller beastie is driven into the workshop, and the weldening ensues.  It's less good when you realise that the only thing holding it on, at that point, was literally just a set of plug welds in the side, through to the cab frame; because there was nothing to weld onto, at the other side.  But it's better than the original one was, because that disintegrated completely as I stopped the truck after getting into the workshop, and dropped the battery out of the bottom of the cab. Nice! The comedy didn't end there, that evening, though, oh no... It didn't want to start again -- in hindsight, because the pump was struggling to pick fuel up from a pretty much empty jerry-can (And, to be fair, the (full-current!) starter switch was sticking and not working anyway)... It only got worse from there, too. And my biggest regret is that I didn't have a video camera to capture the whole fox-show. So, I grabbed the forklift to go push the now-dead truck; and managed to drop one of its rear wheels into a pothole deep enough to lift the front -- powered -- wheel off the ground. Did you know that forklifts generally have open diffs? I'll let you imagine how that went. So my mate had to push 8 tons of forklift up and out of the pothole, using his little Escort van. And then, when the forklift was free, I carefully shoved the truck back -- with him driving -- until it was parked where it should be. |
| |
Last Edit: Jul 21, 2019 21:11:53 GMT by Tamber: Note about starter switch
-< Welder. Allegedly a mechanic. Bodger of Things >-
* 1958? Bedford RL - Progress: Glacial.
* 1994 Skoda Favorit - It's baaaaaaaack!
* 2018 Herald Classic - Gone!
|
|
Tamber
Part of things
  Shattered. Held together by spite and tape.
Posts: 336
|
|
Jul 21, 2019 22:32:22 GMT
|
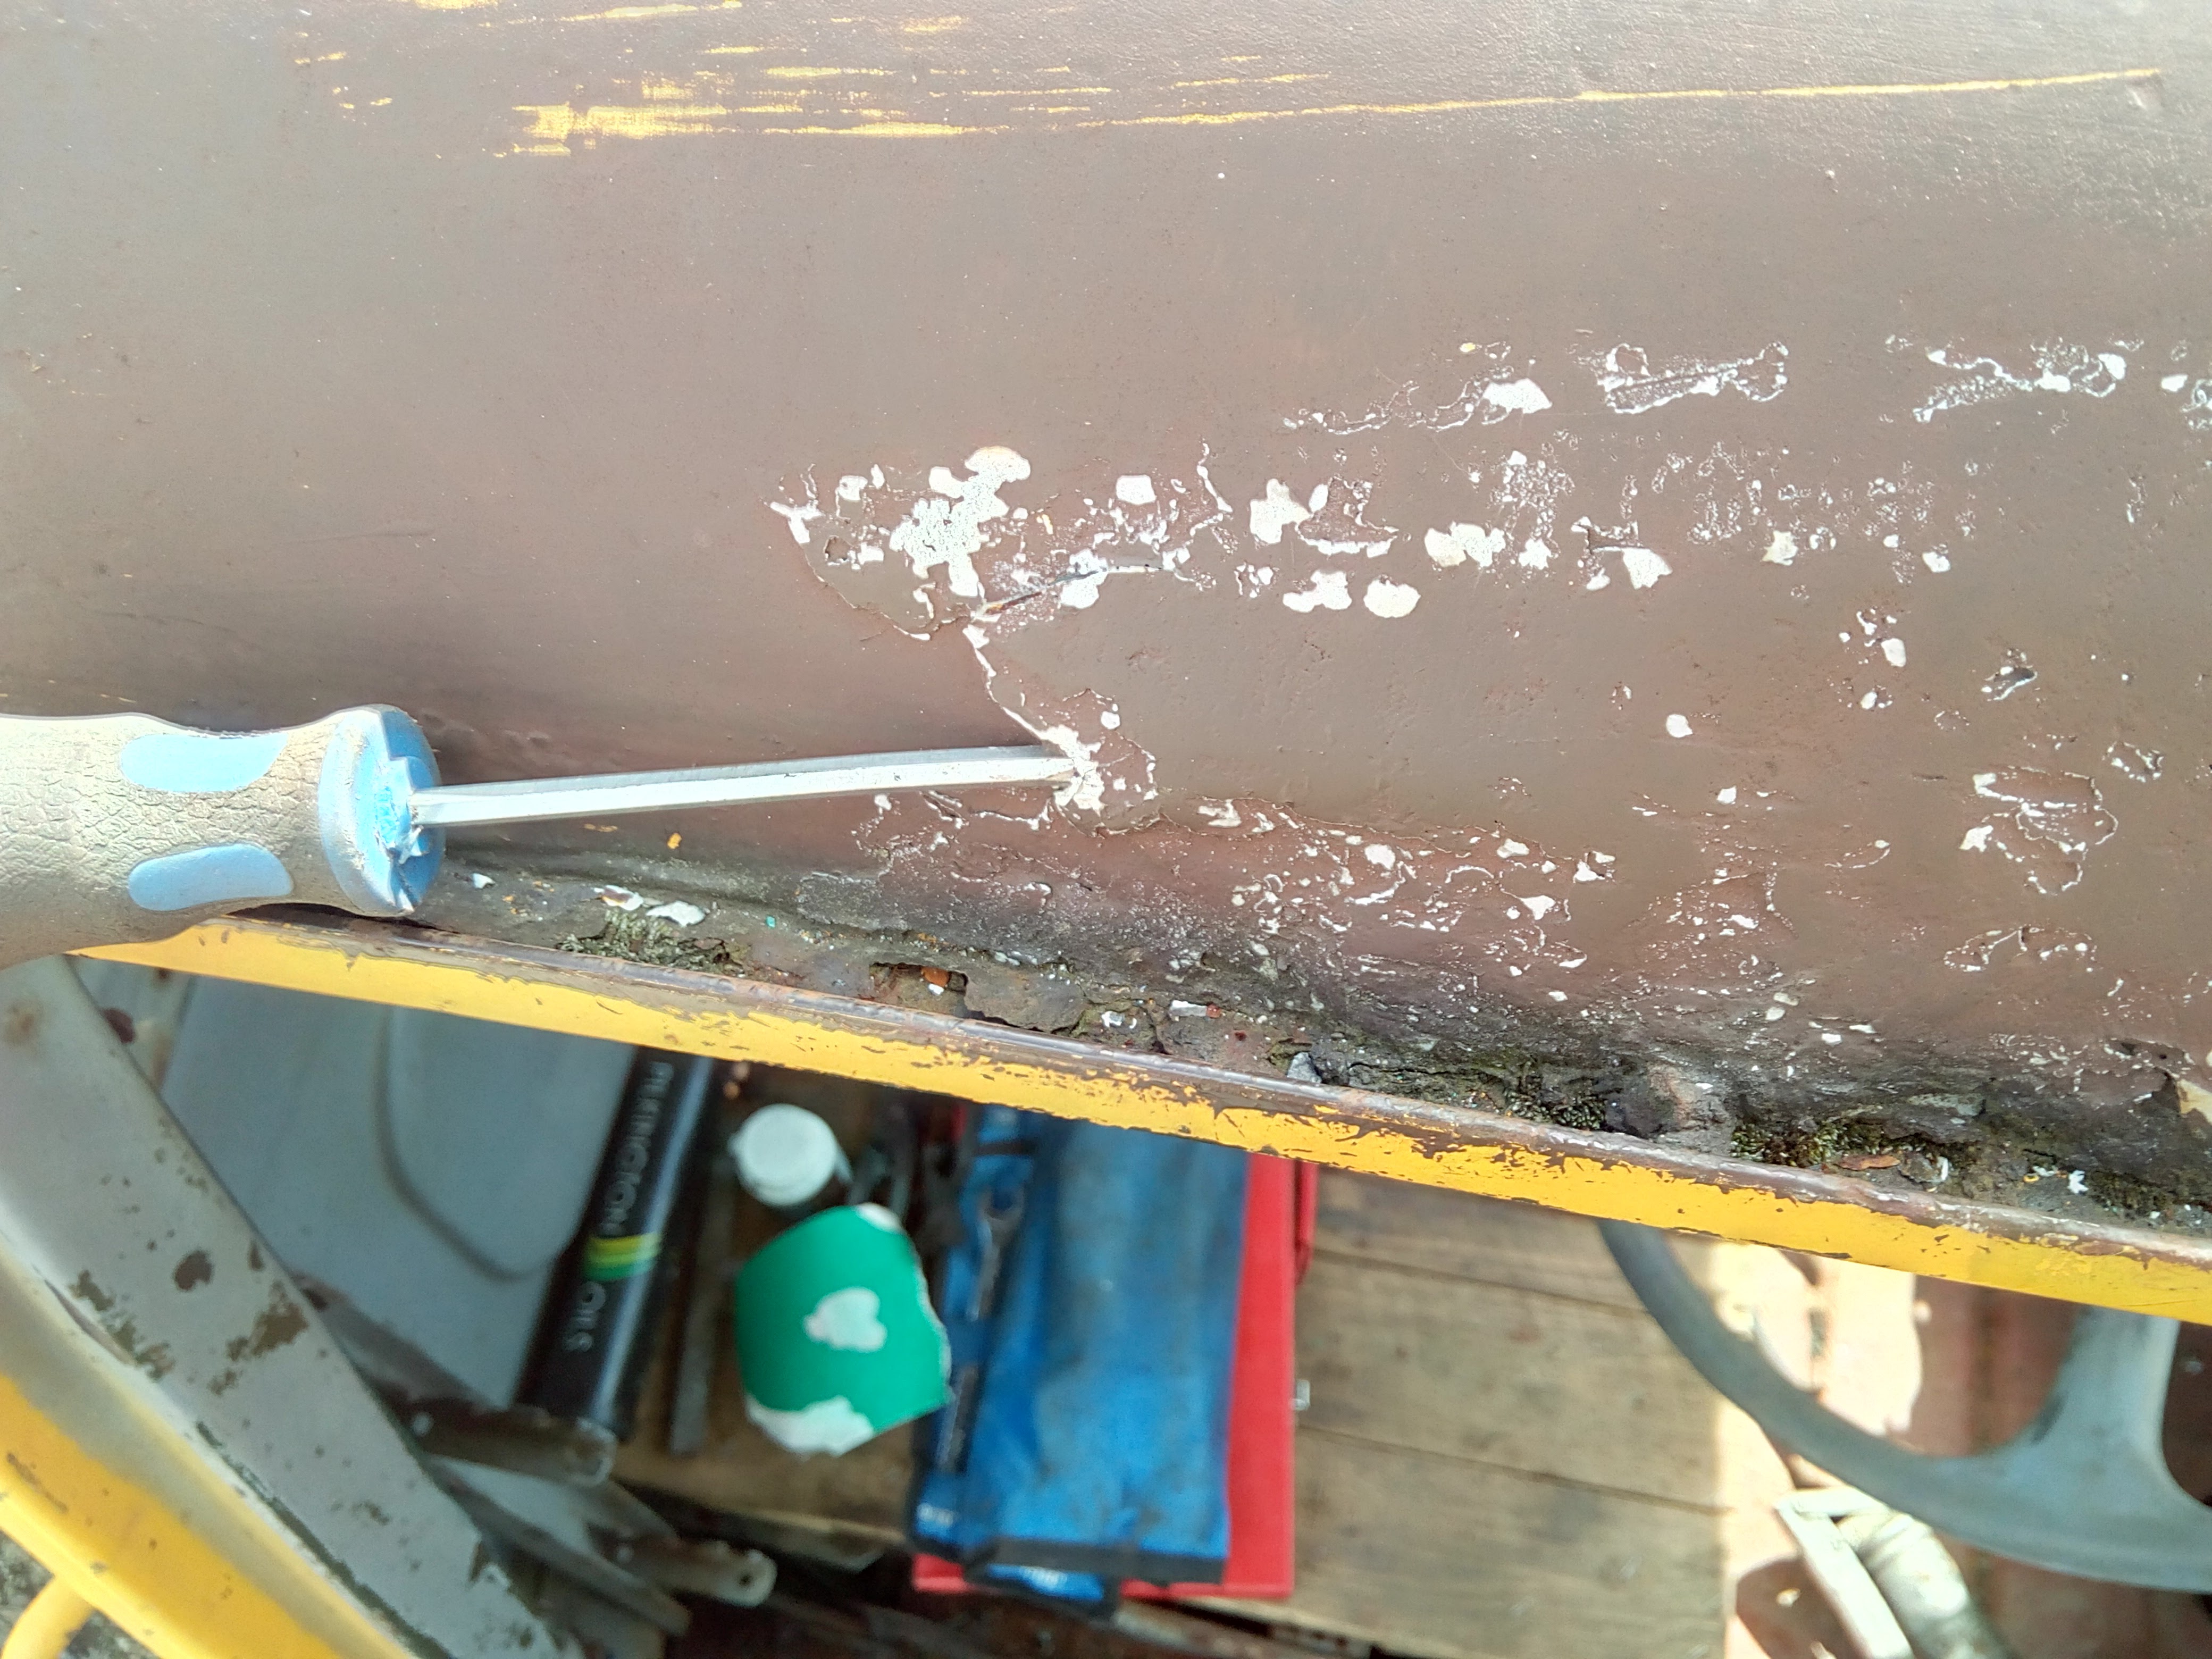
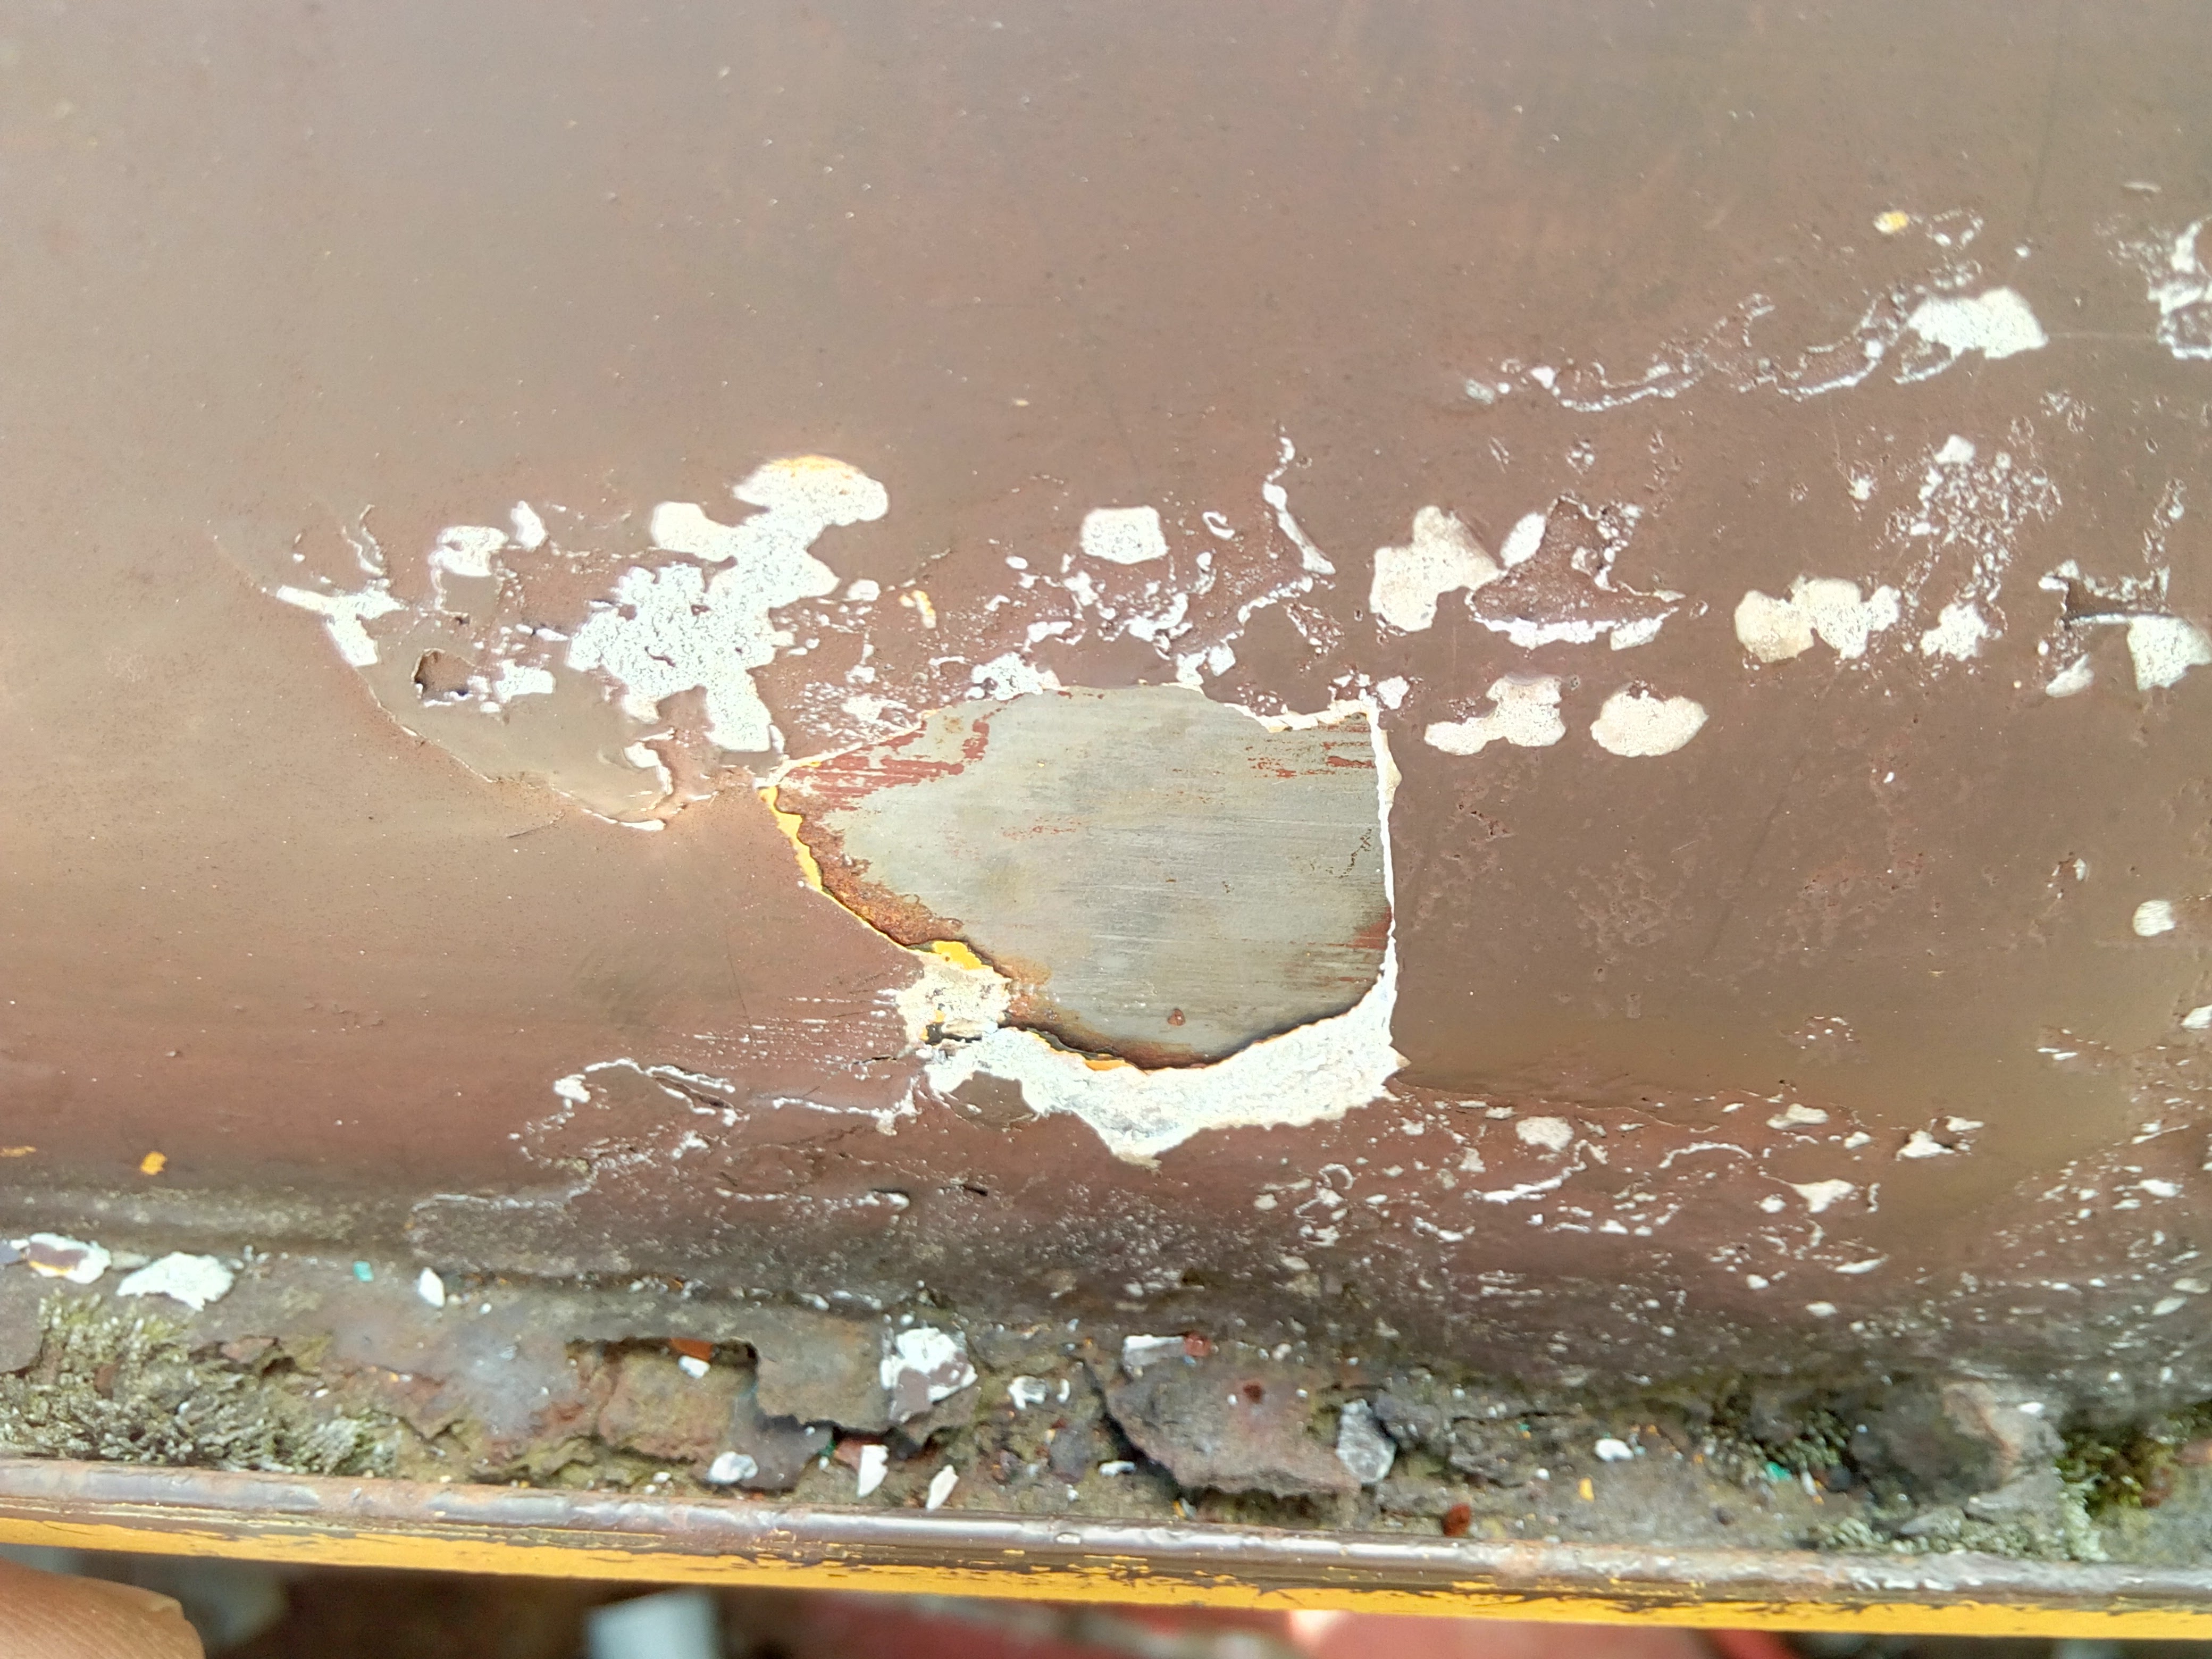
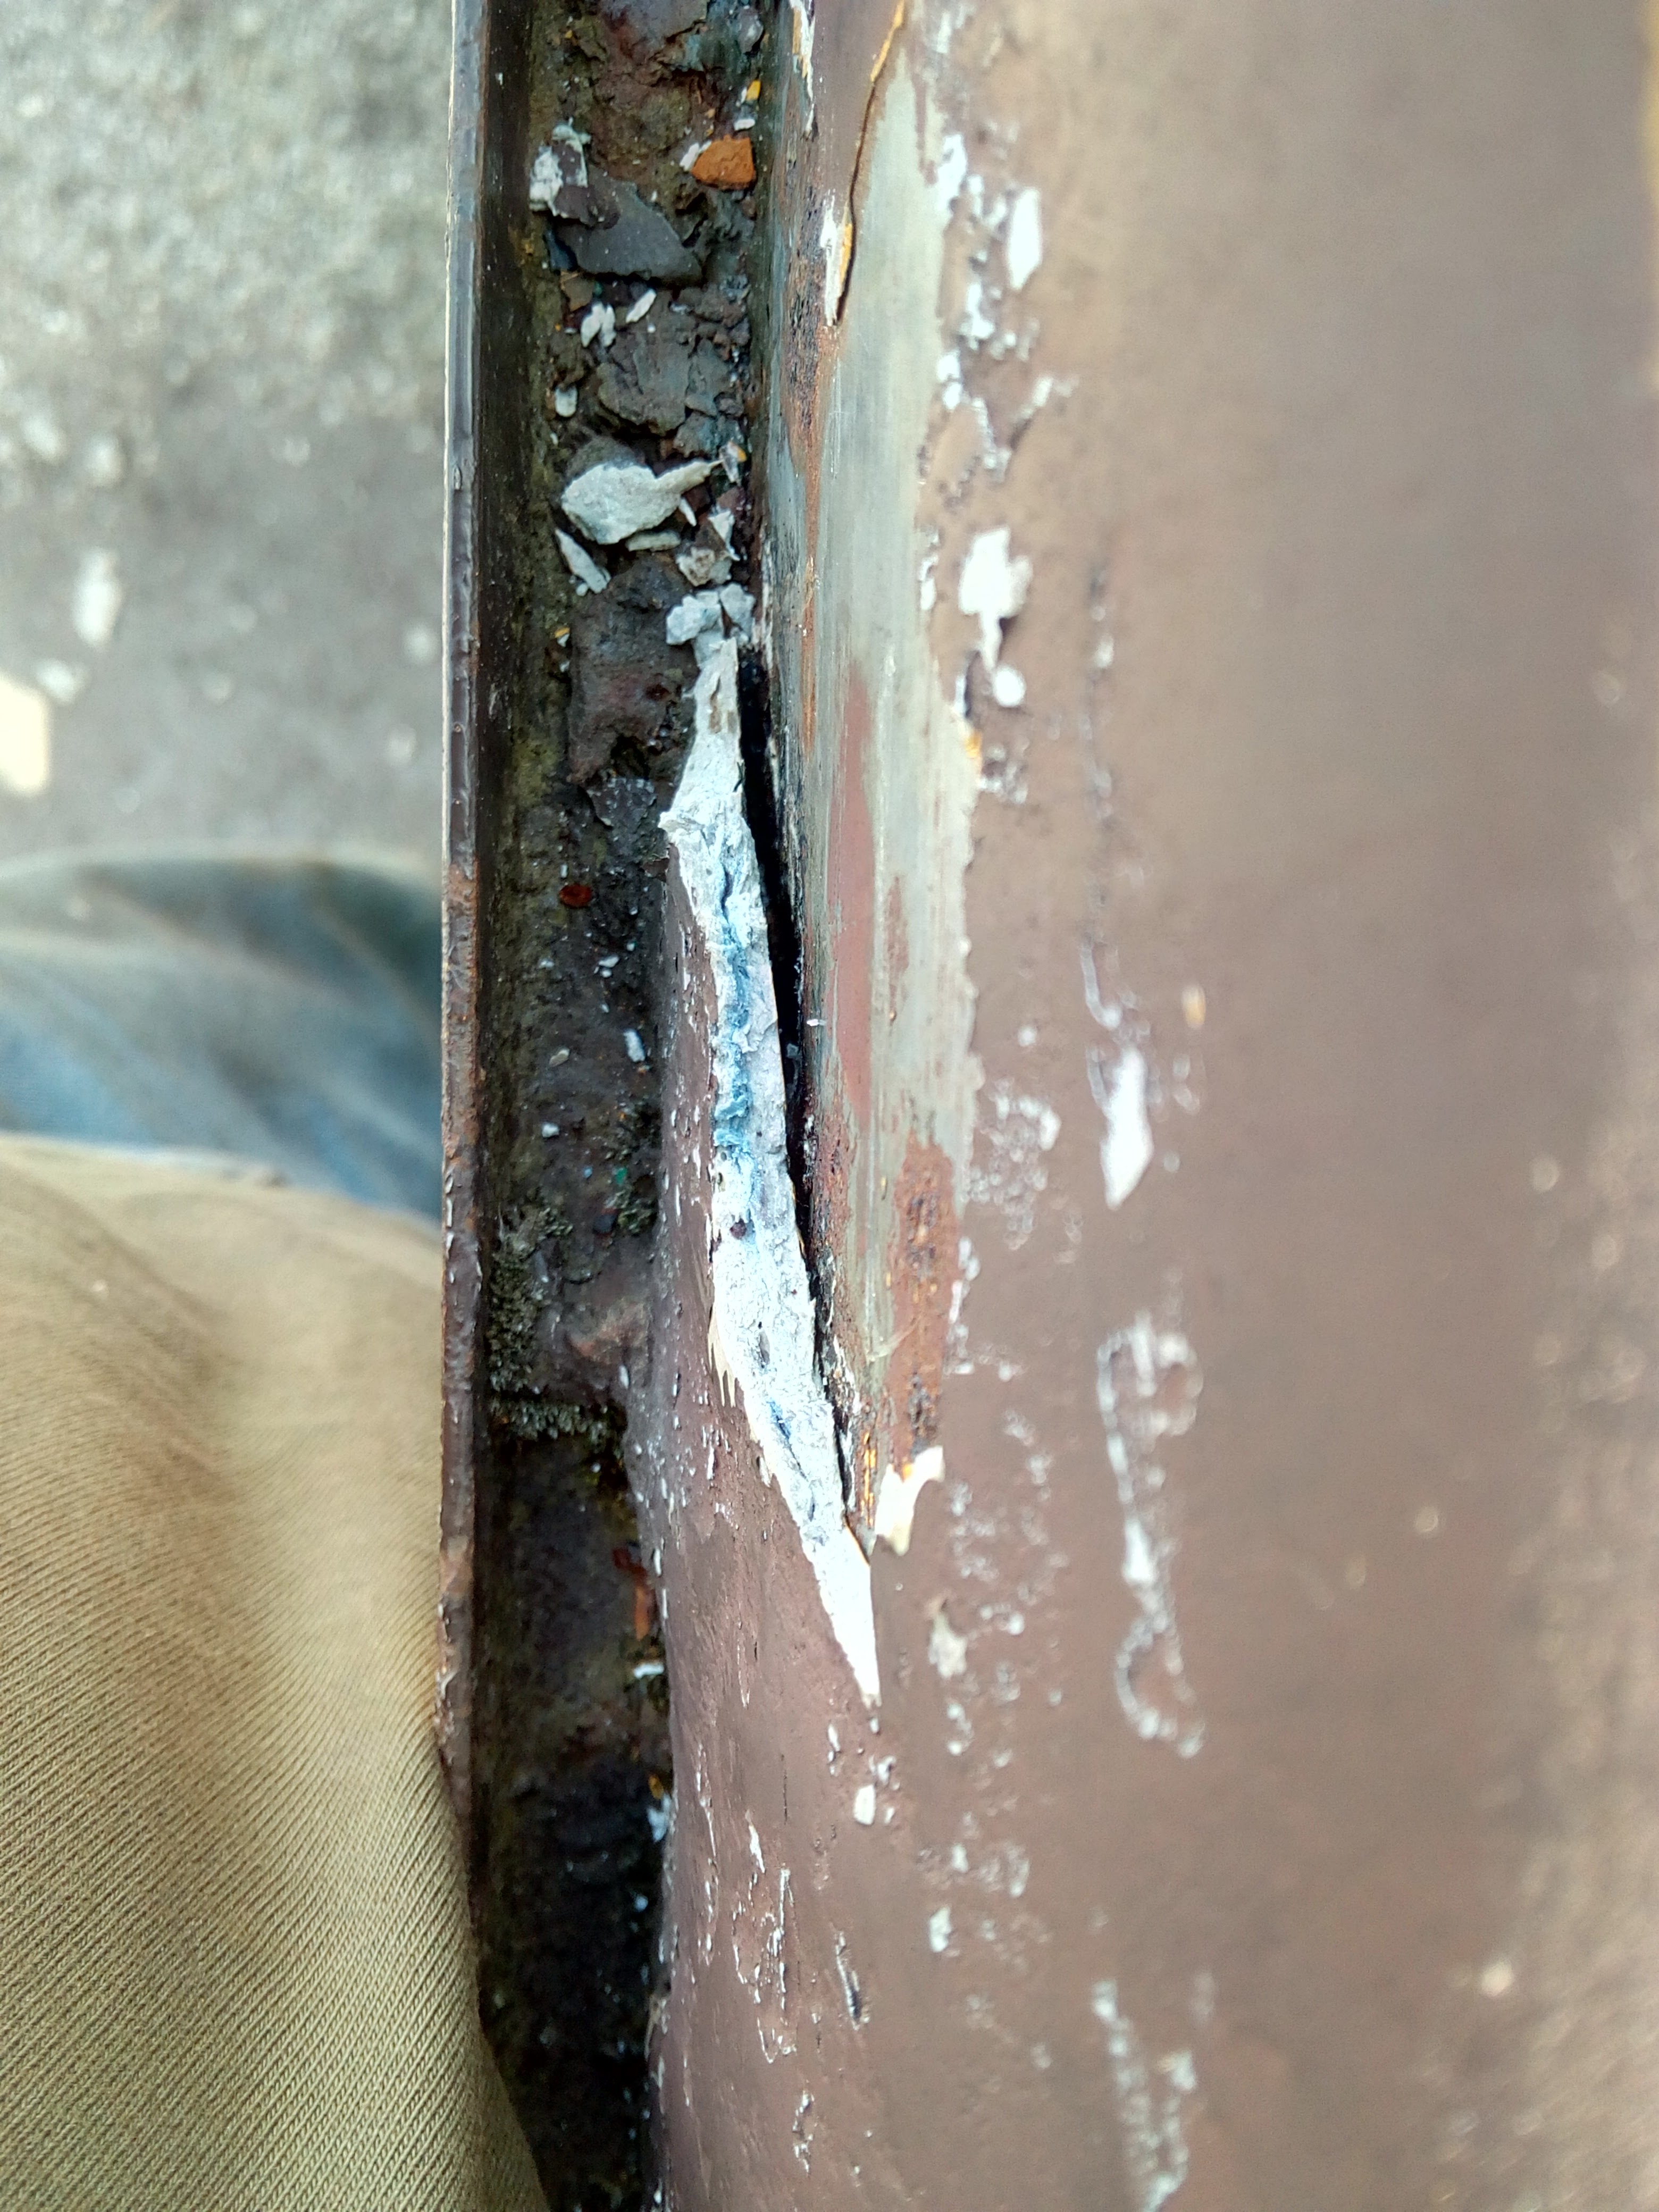
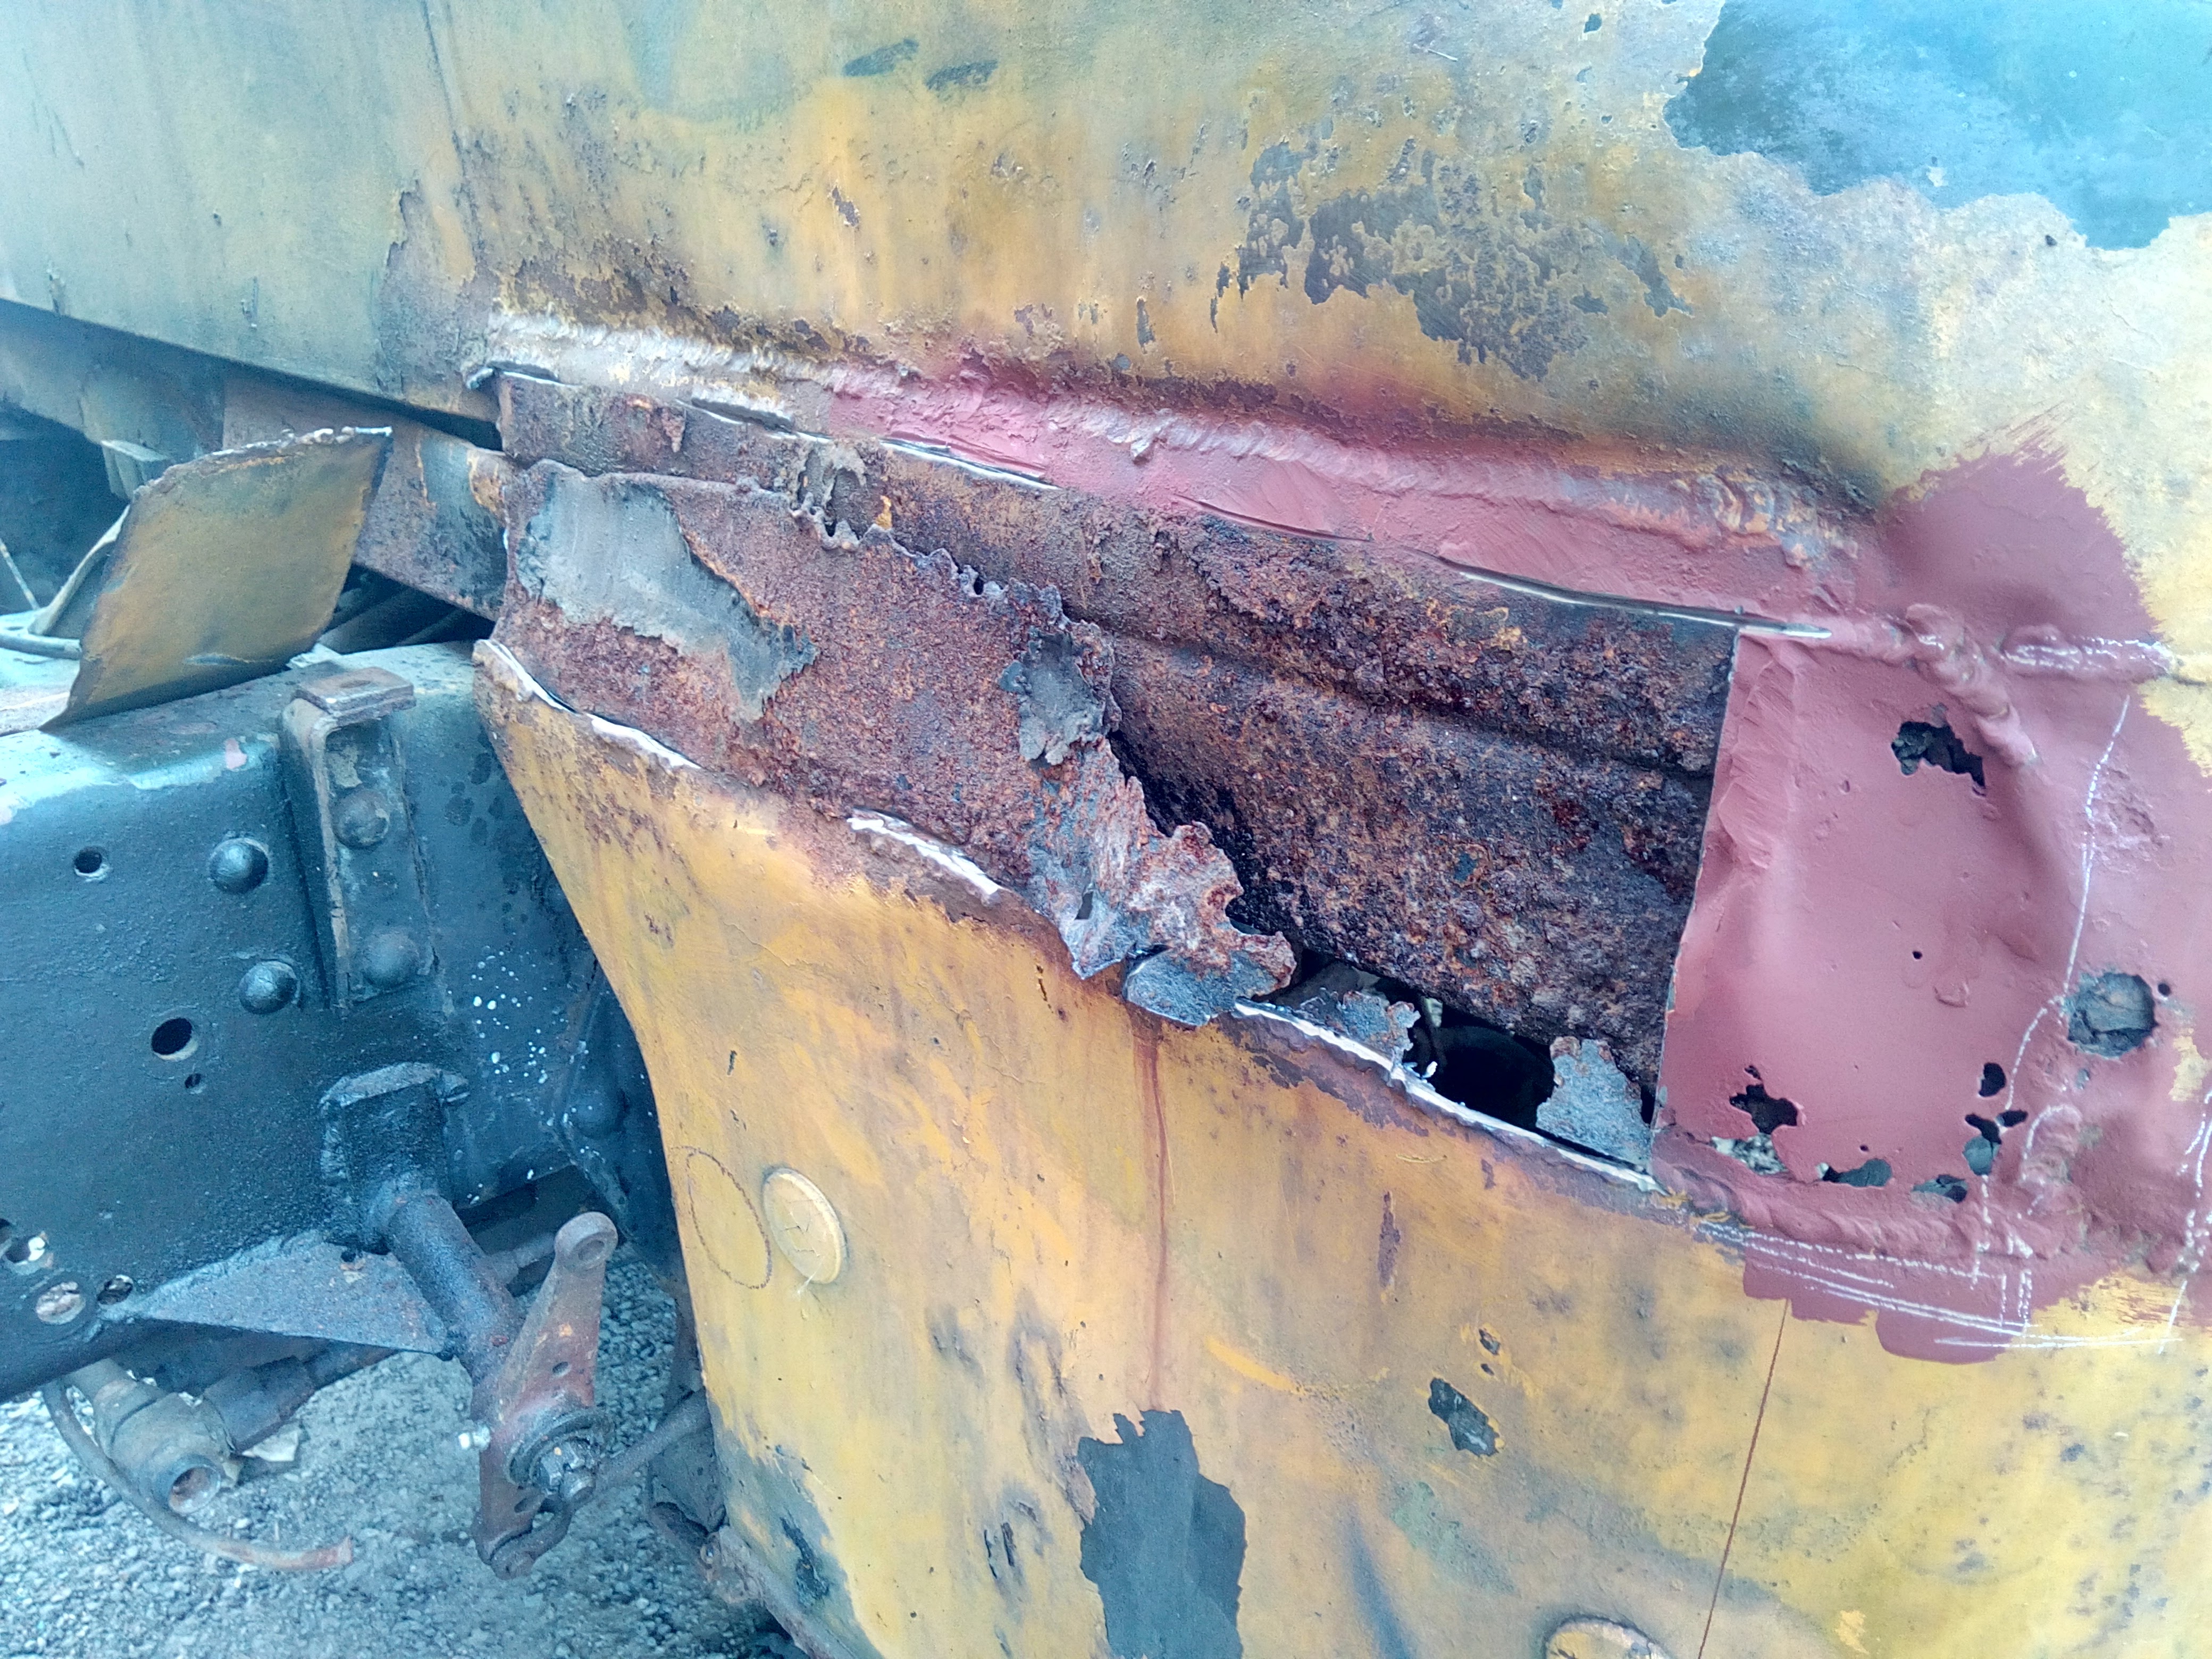
After the disaster that was starting the truck to get it out of the workshop, using a bit of steel bar to bridge the contacts on the starter switch, I decided that maybe it was time to start doing some of the re-wiring. This is part of why there are some real janky bits -- or, at least, parts that I would do very differently now -- in the new(er) wiring; it wasn't done properly start to finish, it just sorta grew in place, most important stuff first. But, that's why I got this truck; it's a bit of a playground and learning experience.  Starting with, appropriately enough, the starter wiring (Some of which now has to change again, because of later additions; namely the brown wires that are the B+ from the alternator, which now need to be extended to be on the other side of the isolator switch that I now have.  ): 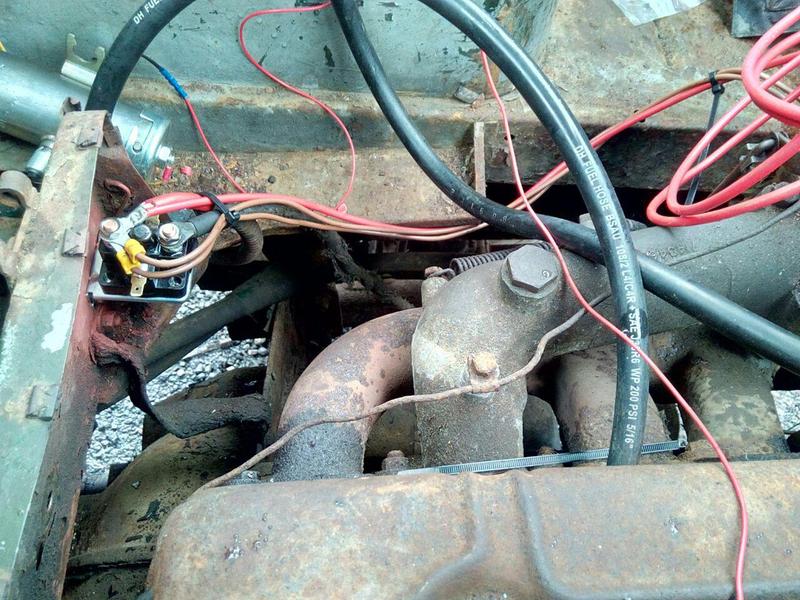 Noice!  At this point, it's early May 2016, and I was deciding to get stuck back into the brakes. This time, wheel cylinders. The fronts in particular, because the backs are a little scary. That meant taking the wheels off, and oh boy... Never did find that socket adapter.  I did, however, find out that my truck is a little bit special!  That's right, it's a REME conversion to a Field Artillery Tractor; which would've then spent its life towing something like a 25pdr field gun, probably for an artillery training school. Who knows! I certainly don't, yet.  About a month later, I finally got help getting the wheel-nuts loose, by way of a tame tyre man who had come in to change some wheels over for a customer's truck; he cracked 'em loose with the 1" gun (Which struggled  ), for the princely sum of... getting to sit in the truck while it burbled away, and getting some photos. Work also continued on the new fuse & relay panel -- which is, really, more my field of work (Though, again, there's stuff I'd like to do differently now.) -- which unfortunately included melting one of the little plastic-mounted bus-bars because I was overenthusiastic with the TIG welder.  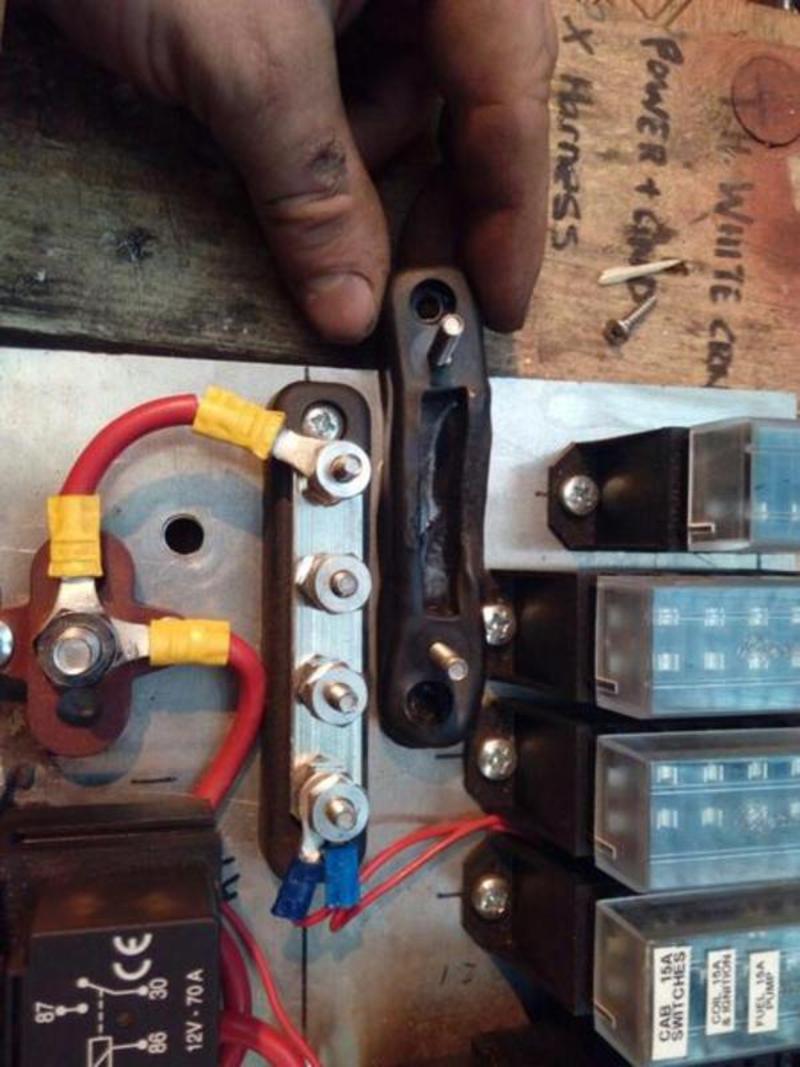 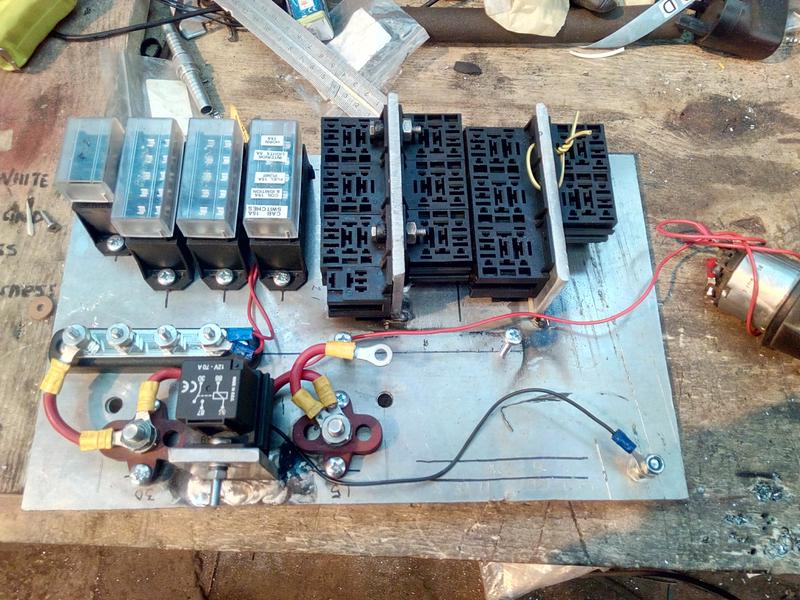 June 2016 June 2016After some flapping about bearings, and hubs, and brakes, and assorted stupidity... I took on the leaking water-pump. How badly was it leaking, you ask? 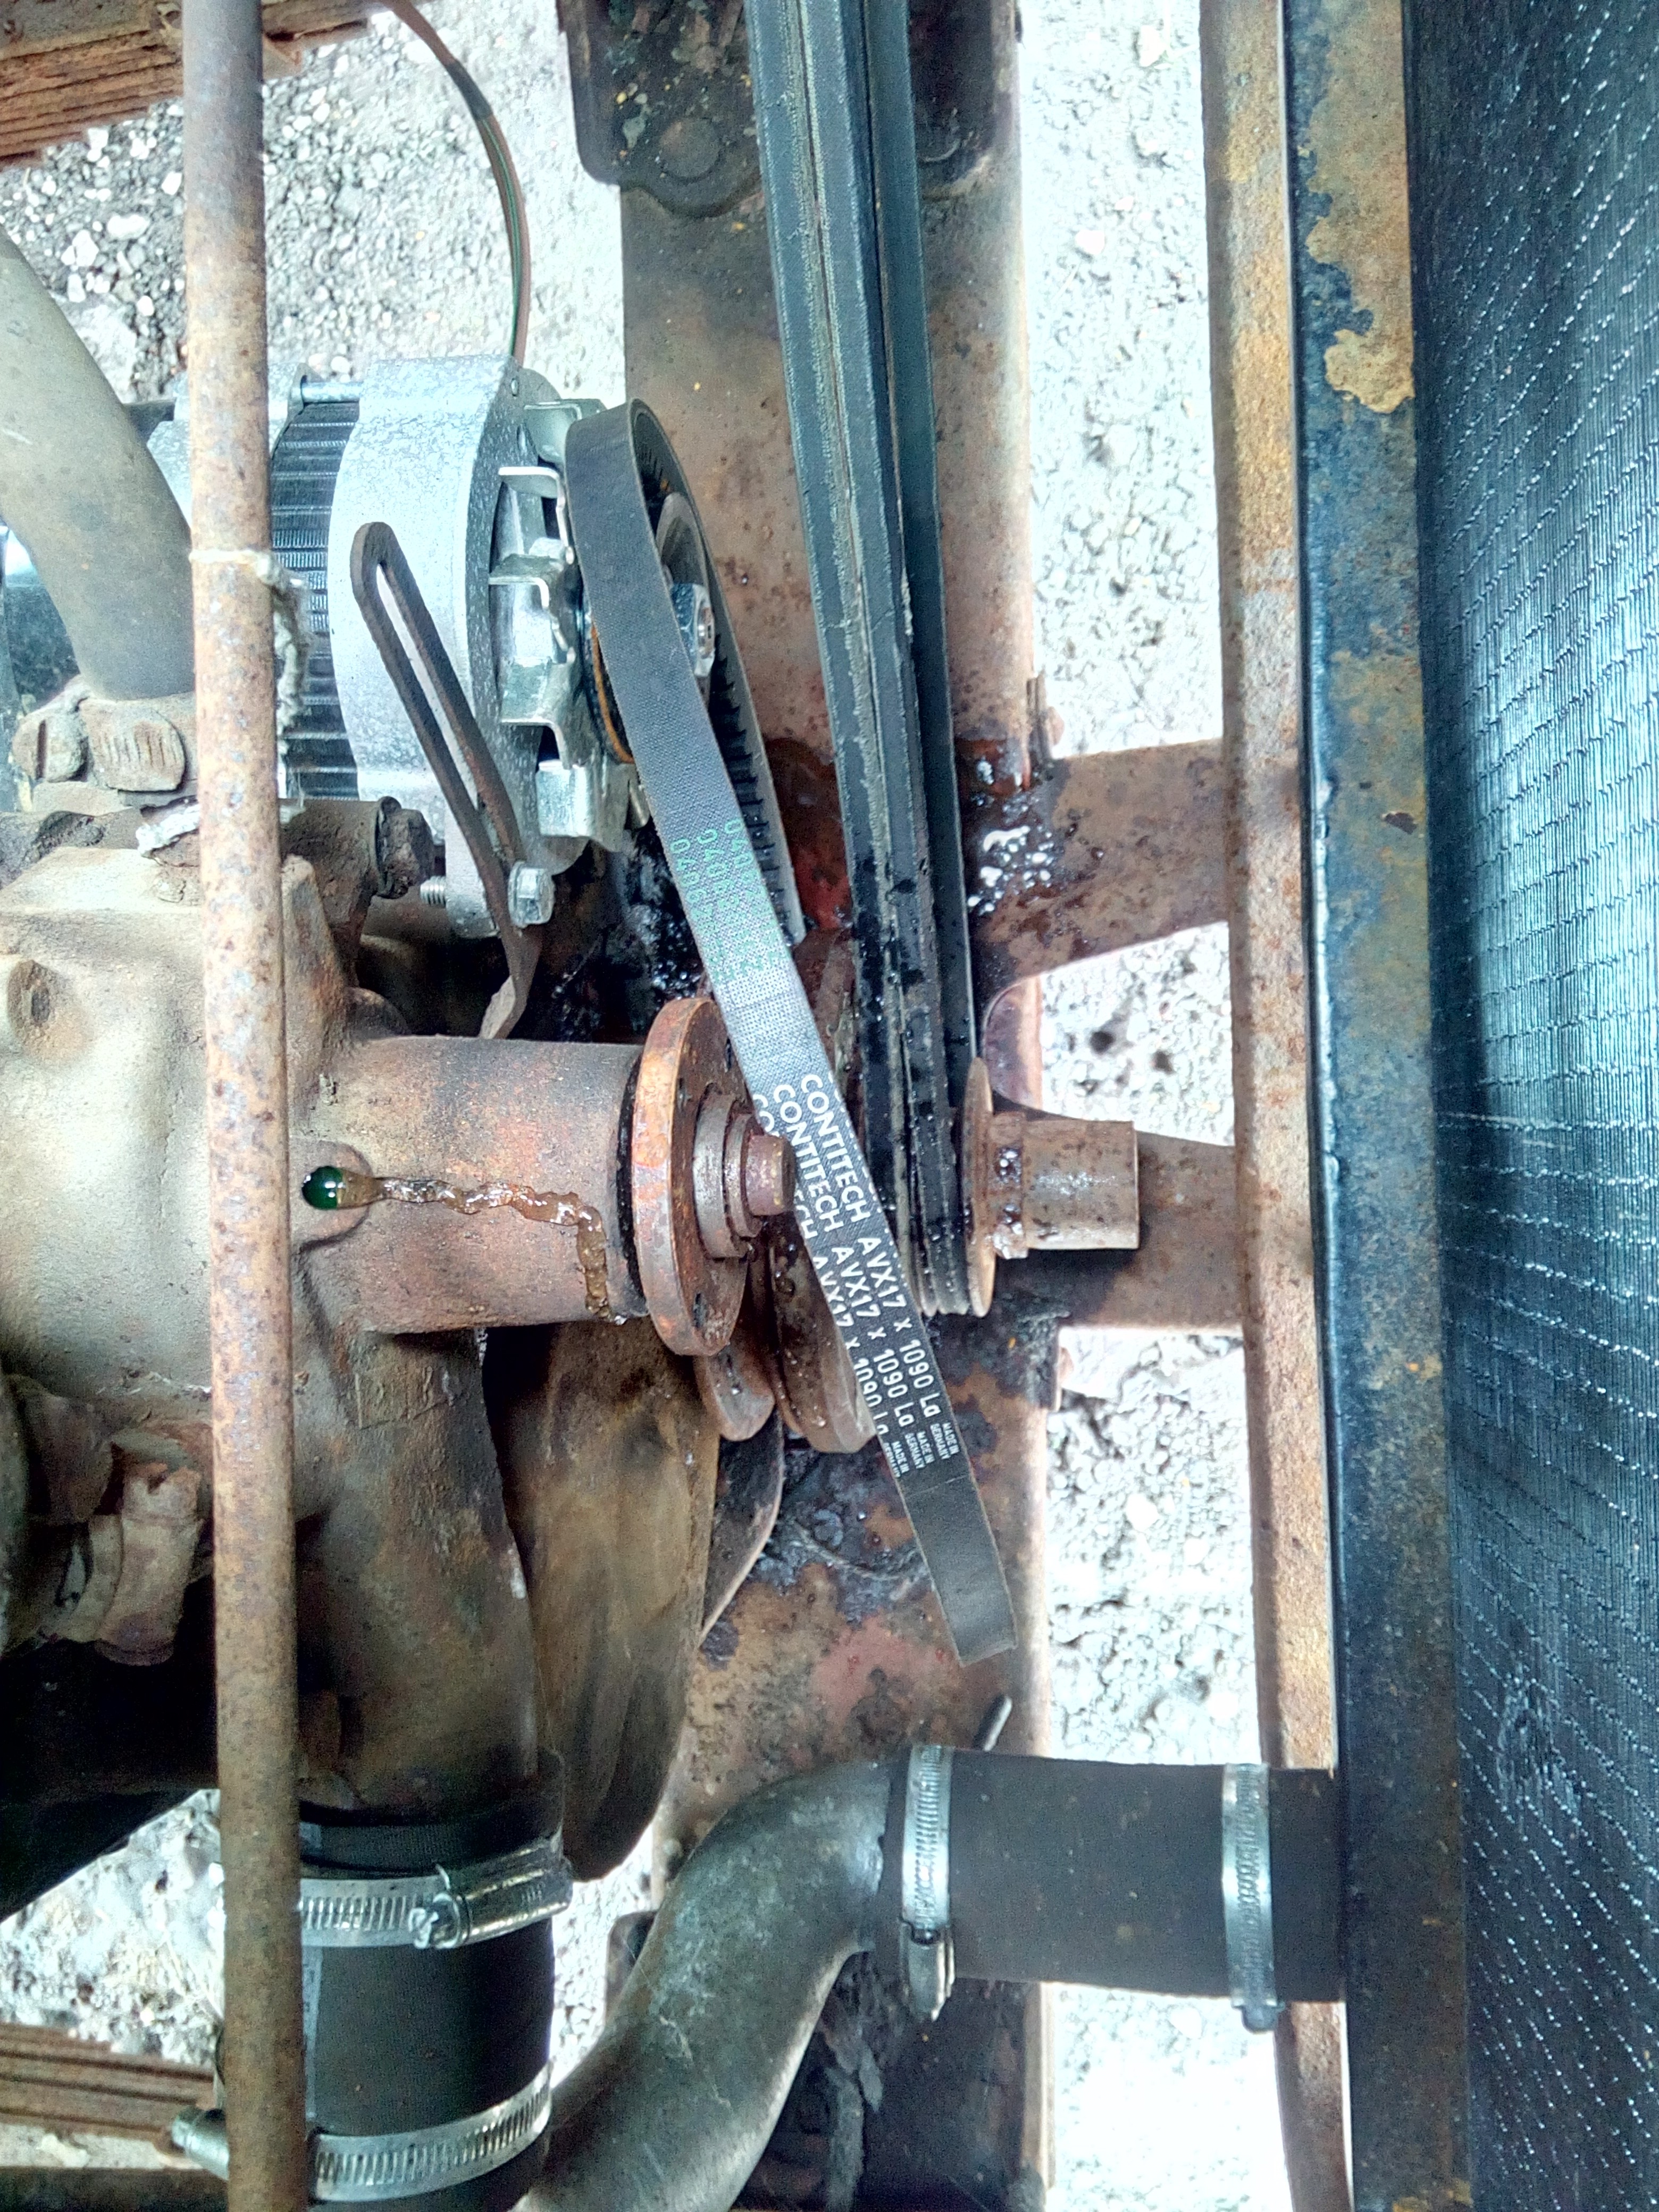 Just a bit. Unfortunately, someone else had been in here before me, and royally munched on the screws. Two of them came out with an impact, but the others had to have nuts welded onto them. That meant more delay, ordering new screws to go in there! And also a gear puller needed to be procured... 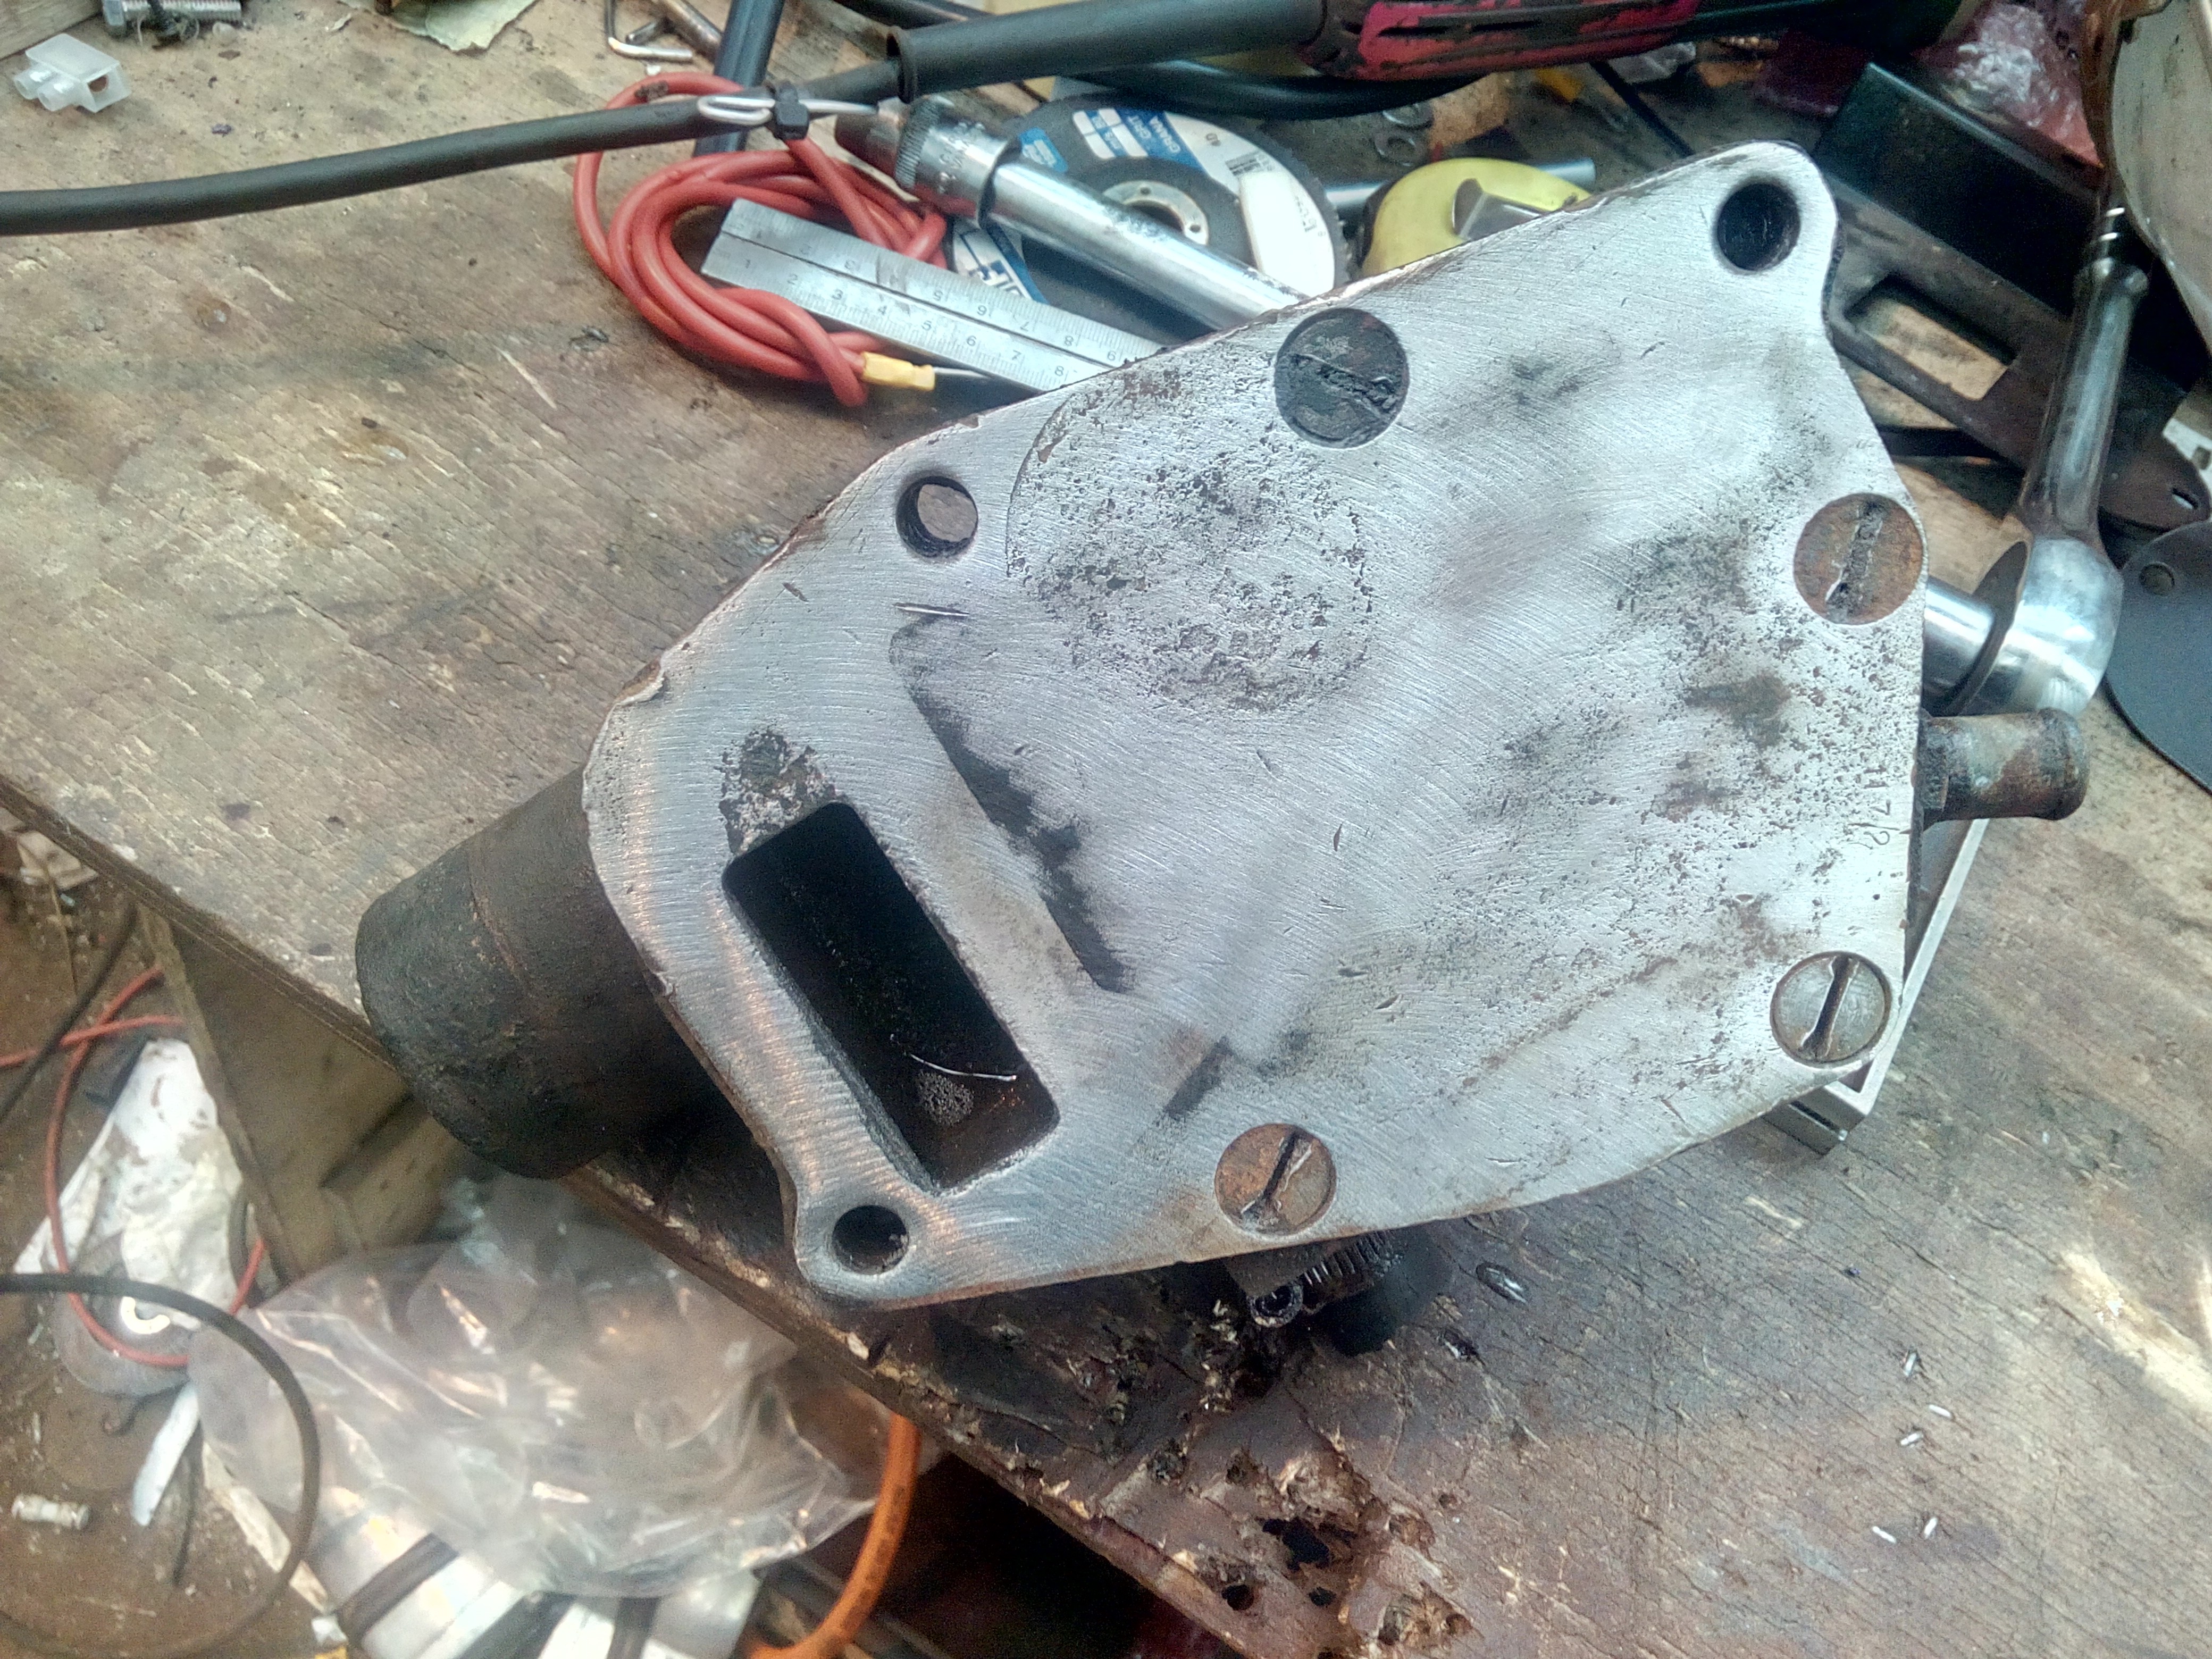 So, what do you do when you can't proceed? Get the paint out.  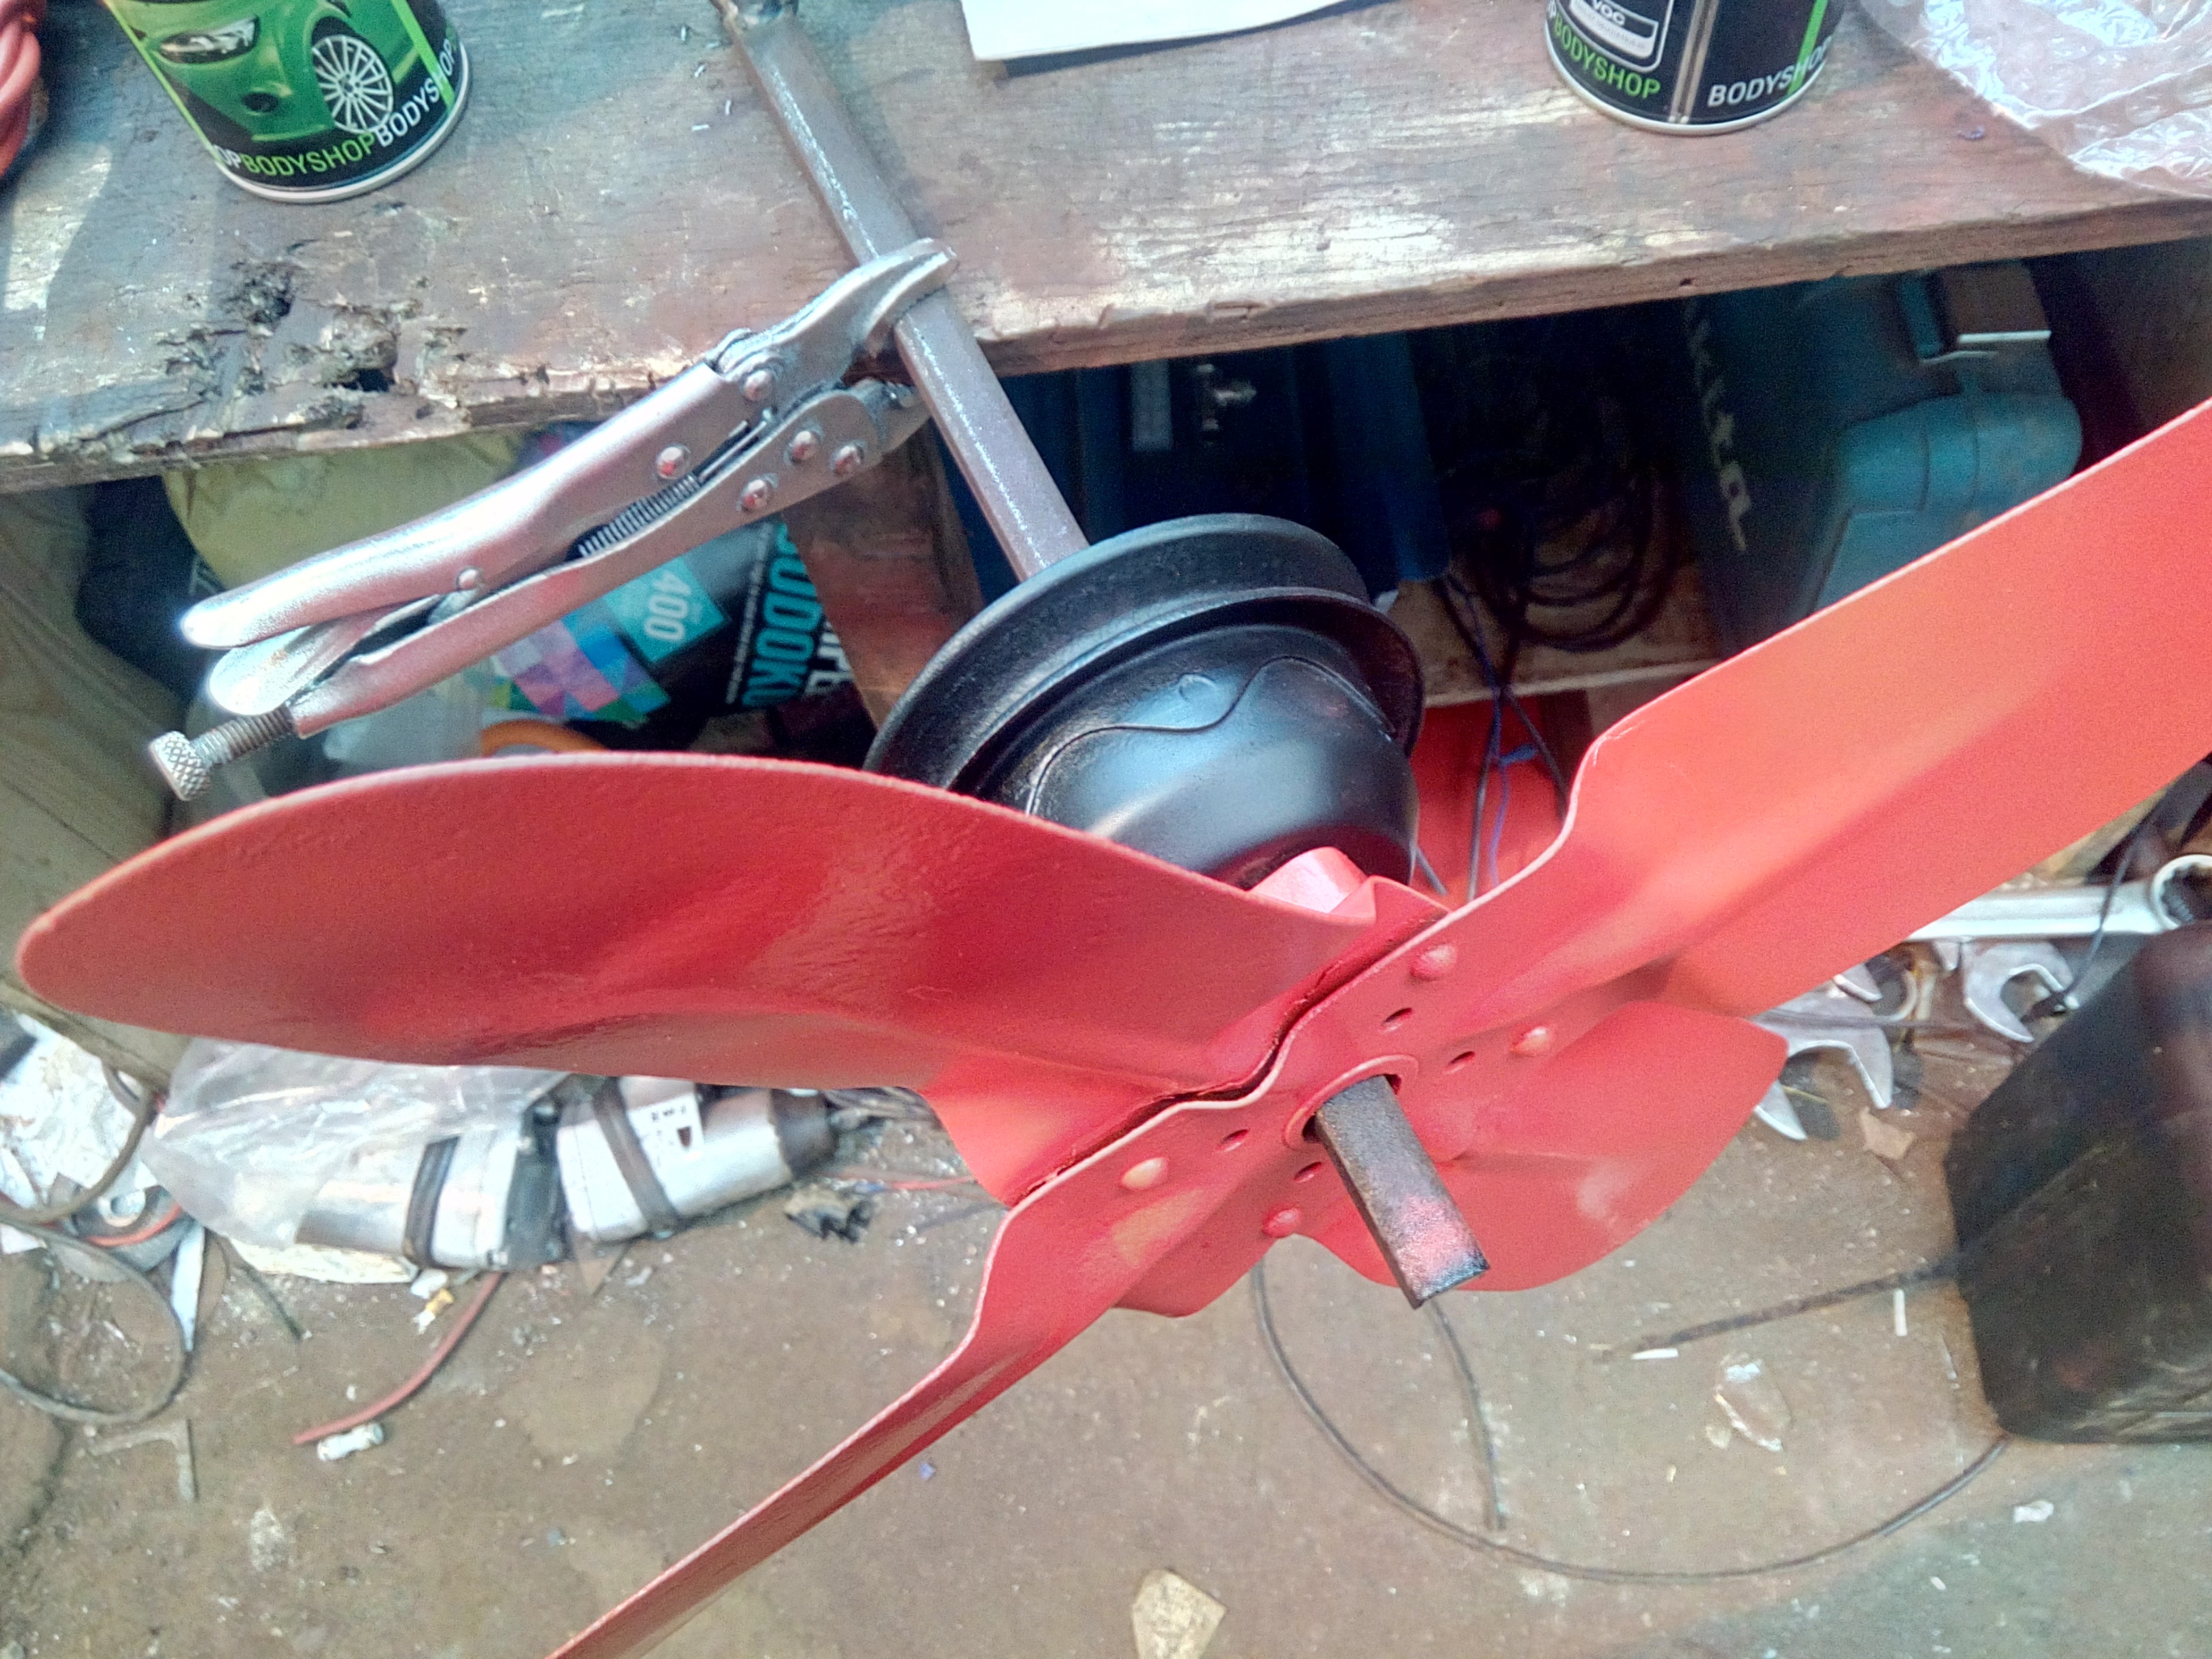 Snazzy! A few days later, I picked up the water pump, armed with my new gear puller. Promptly split the cast-iron pulley-flange into pieces with the puller.  Off to the machine-shop with the pieces, superglued together, to see if he could make a new one. And with that, disassembly resumed. It exposed ugly. 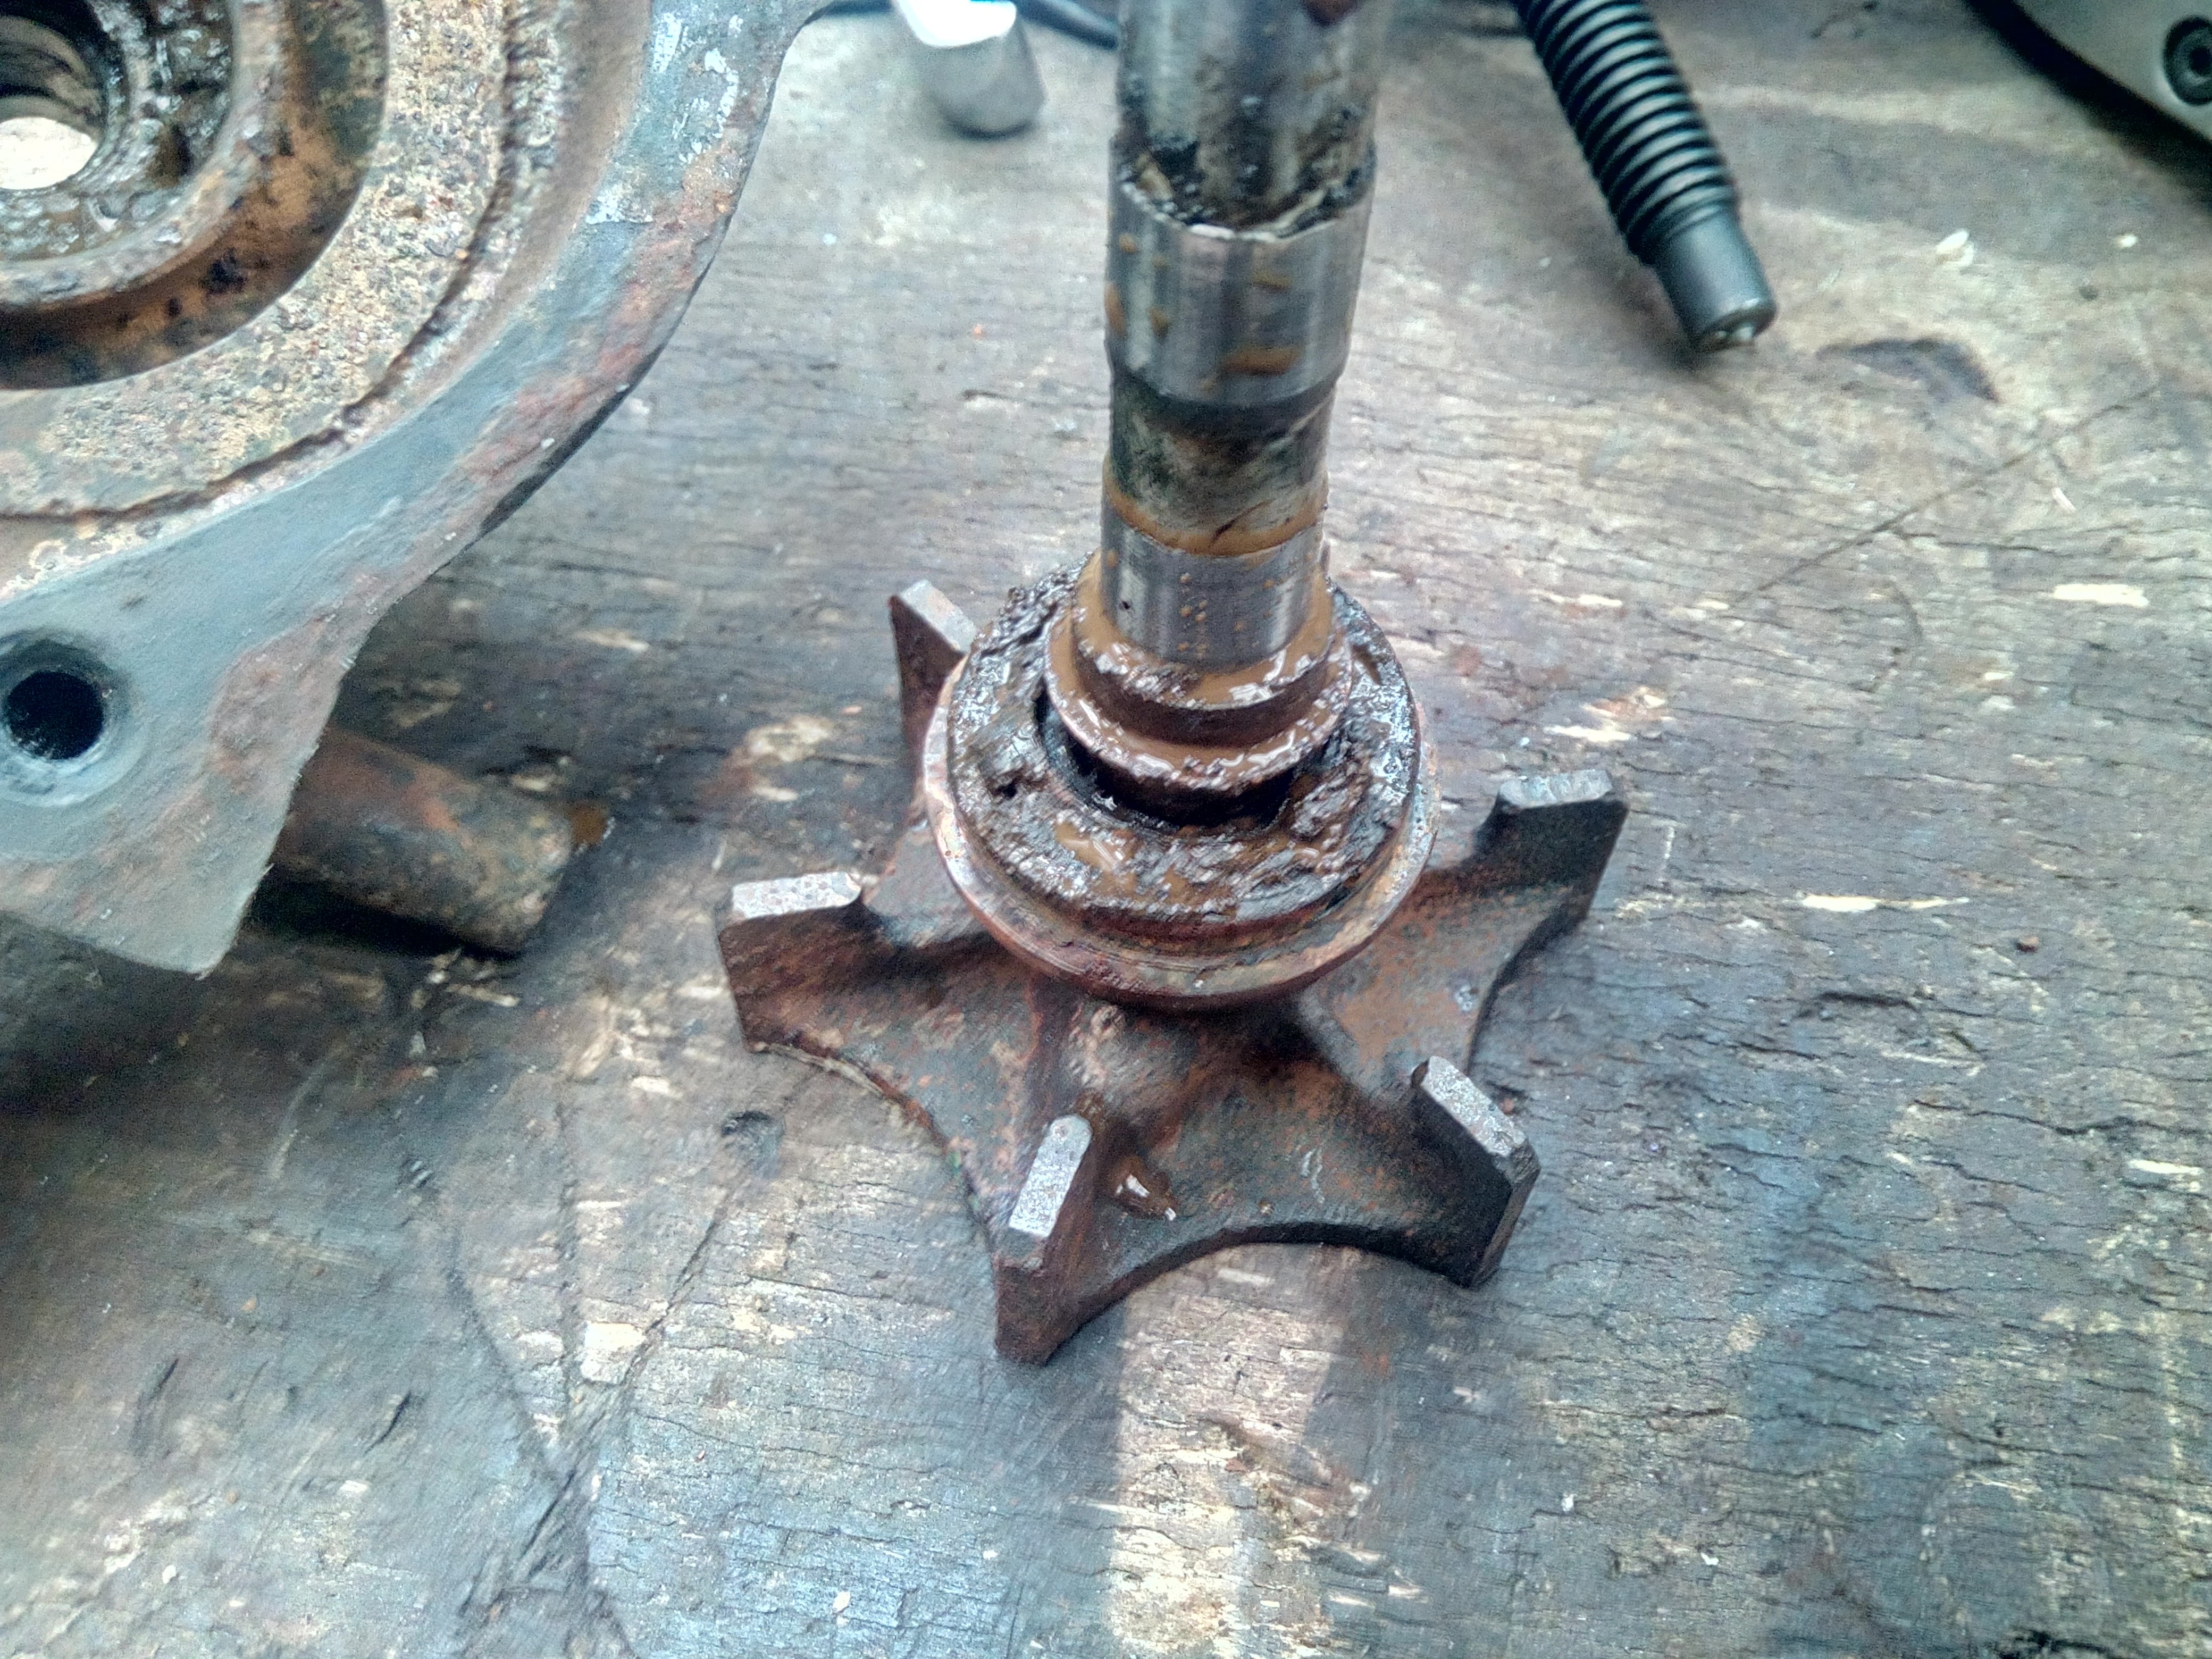 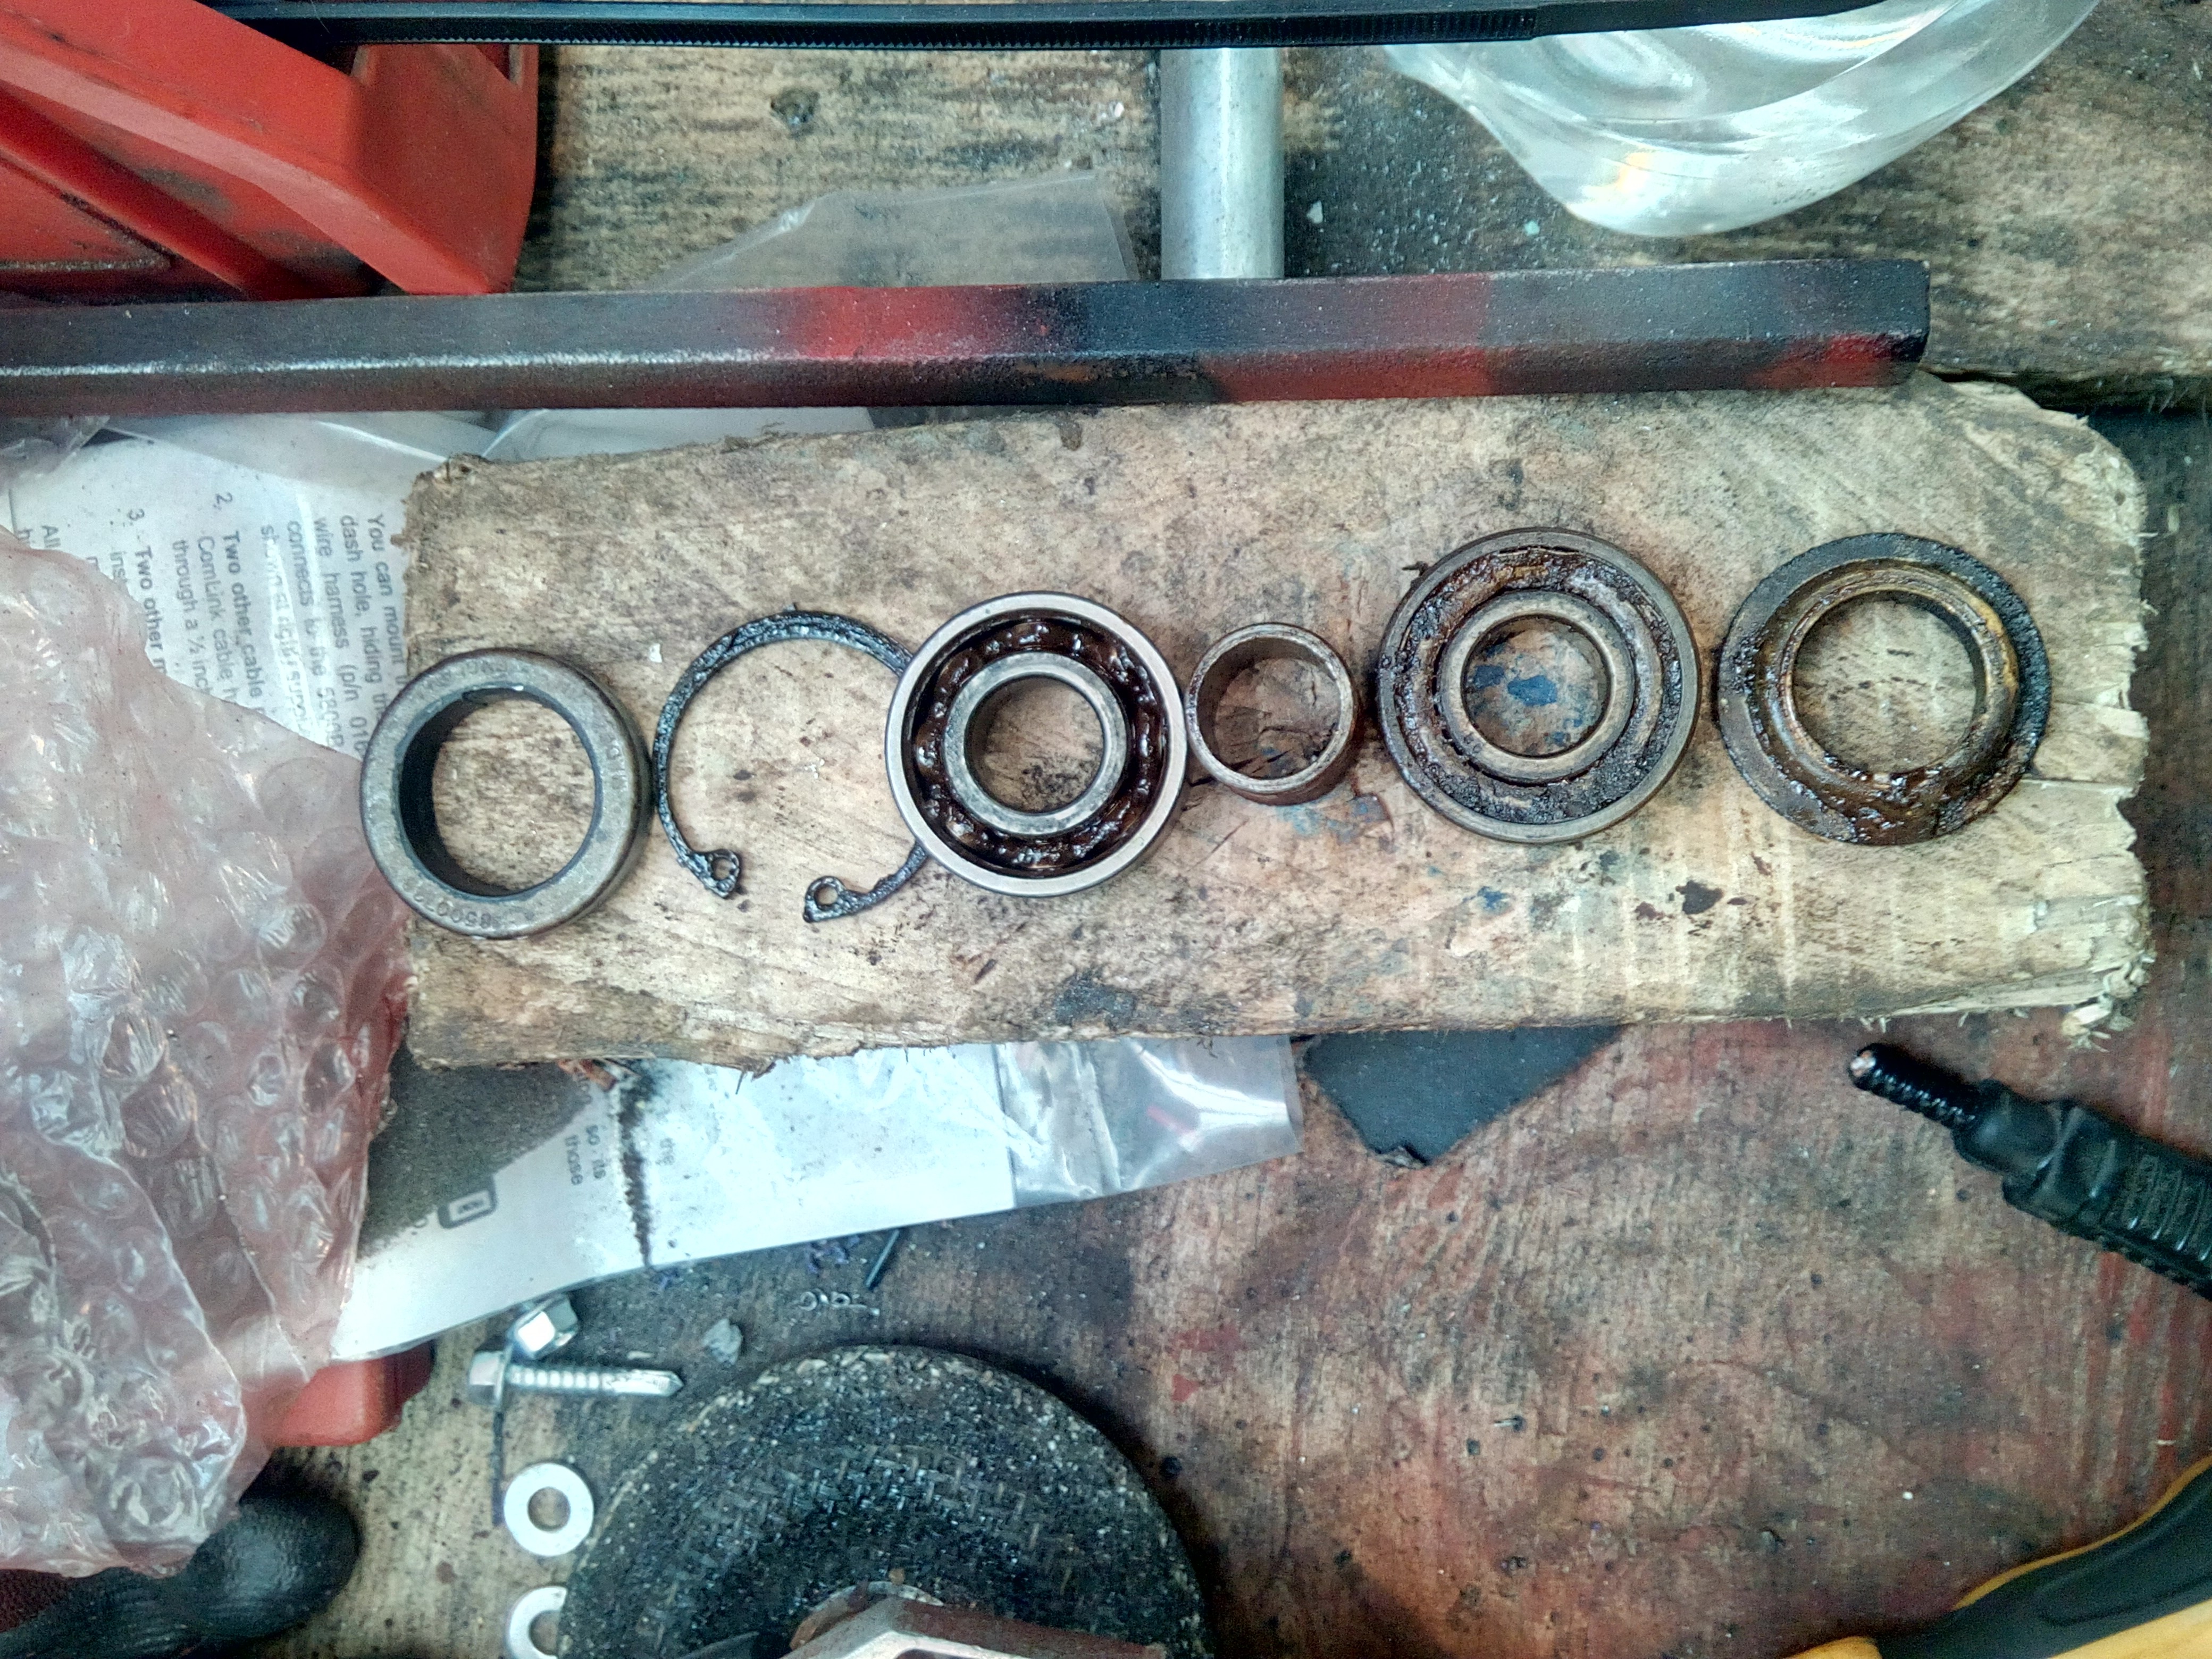 Apply one (1) water-pump rebuild kit. 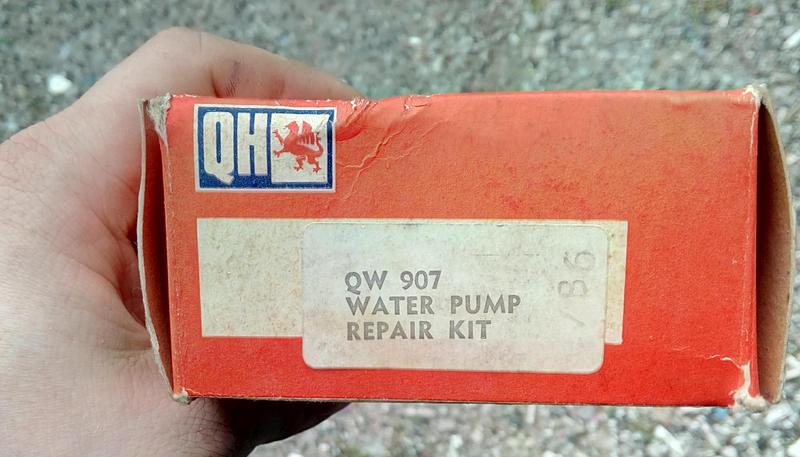 Story of my foxing life.  In related (by way of the calendar) news, check out me knob!  And also that decently solid-looking floor.  AAAAANYWAY... Speaking of solid-looking, um. 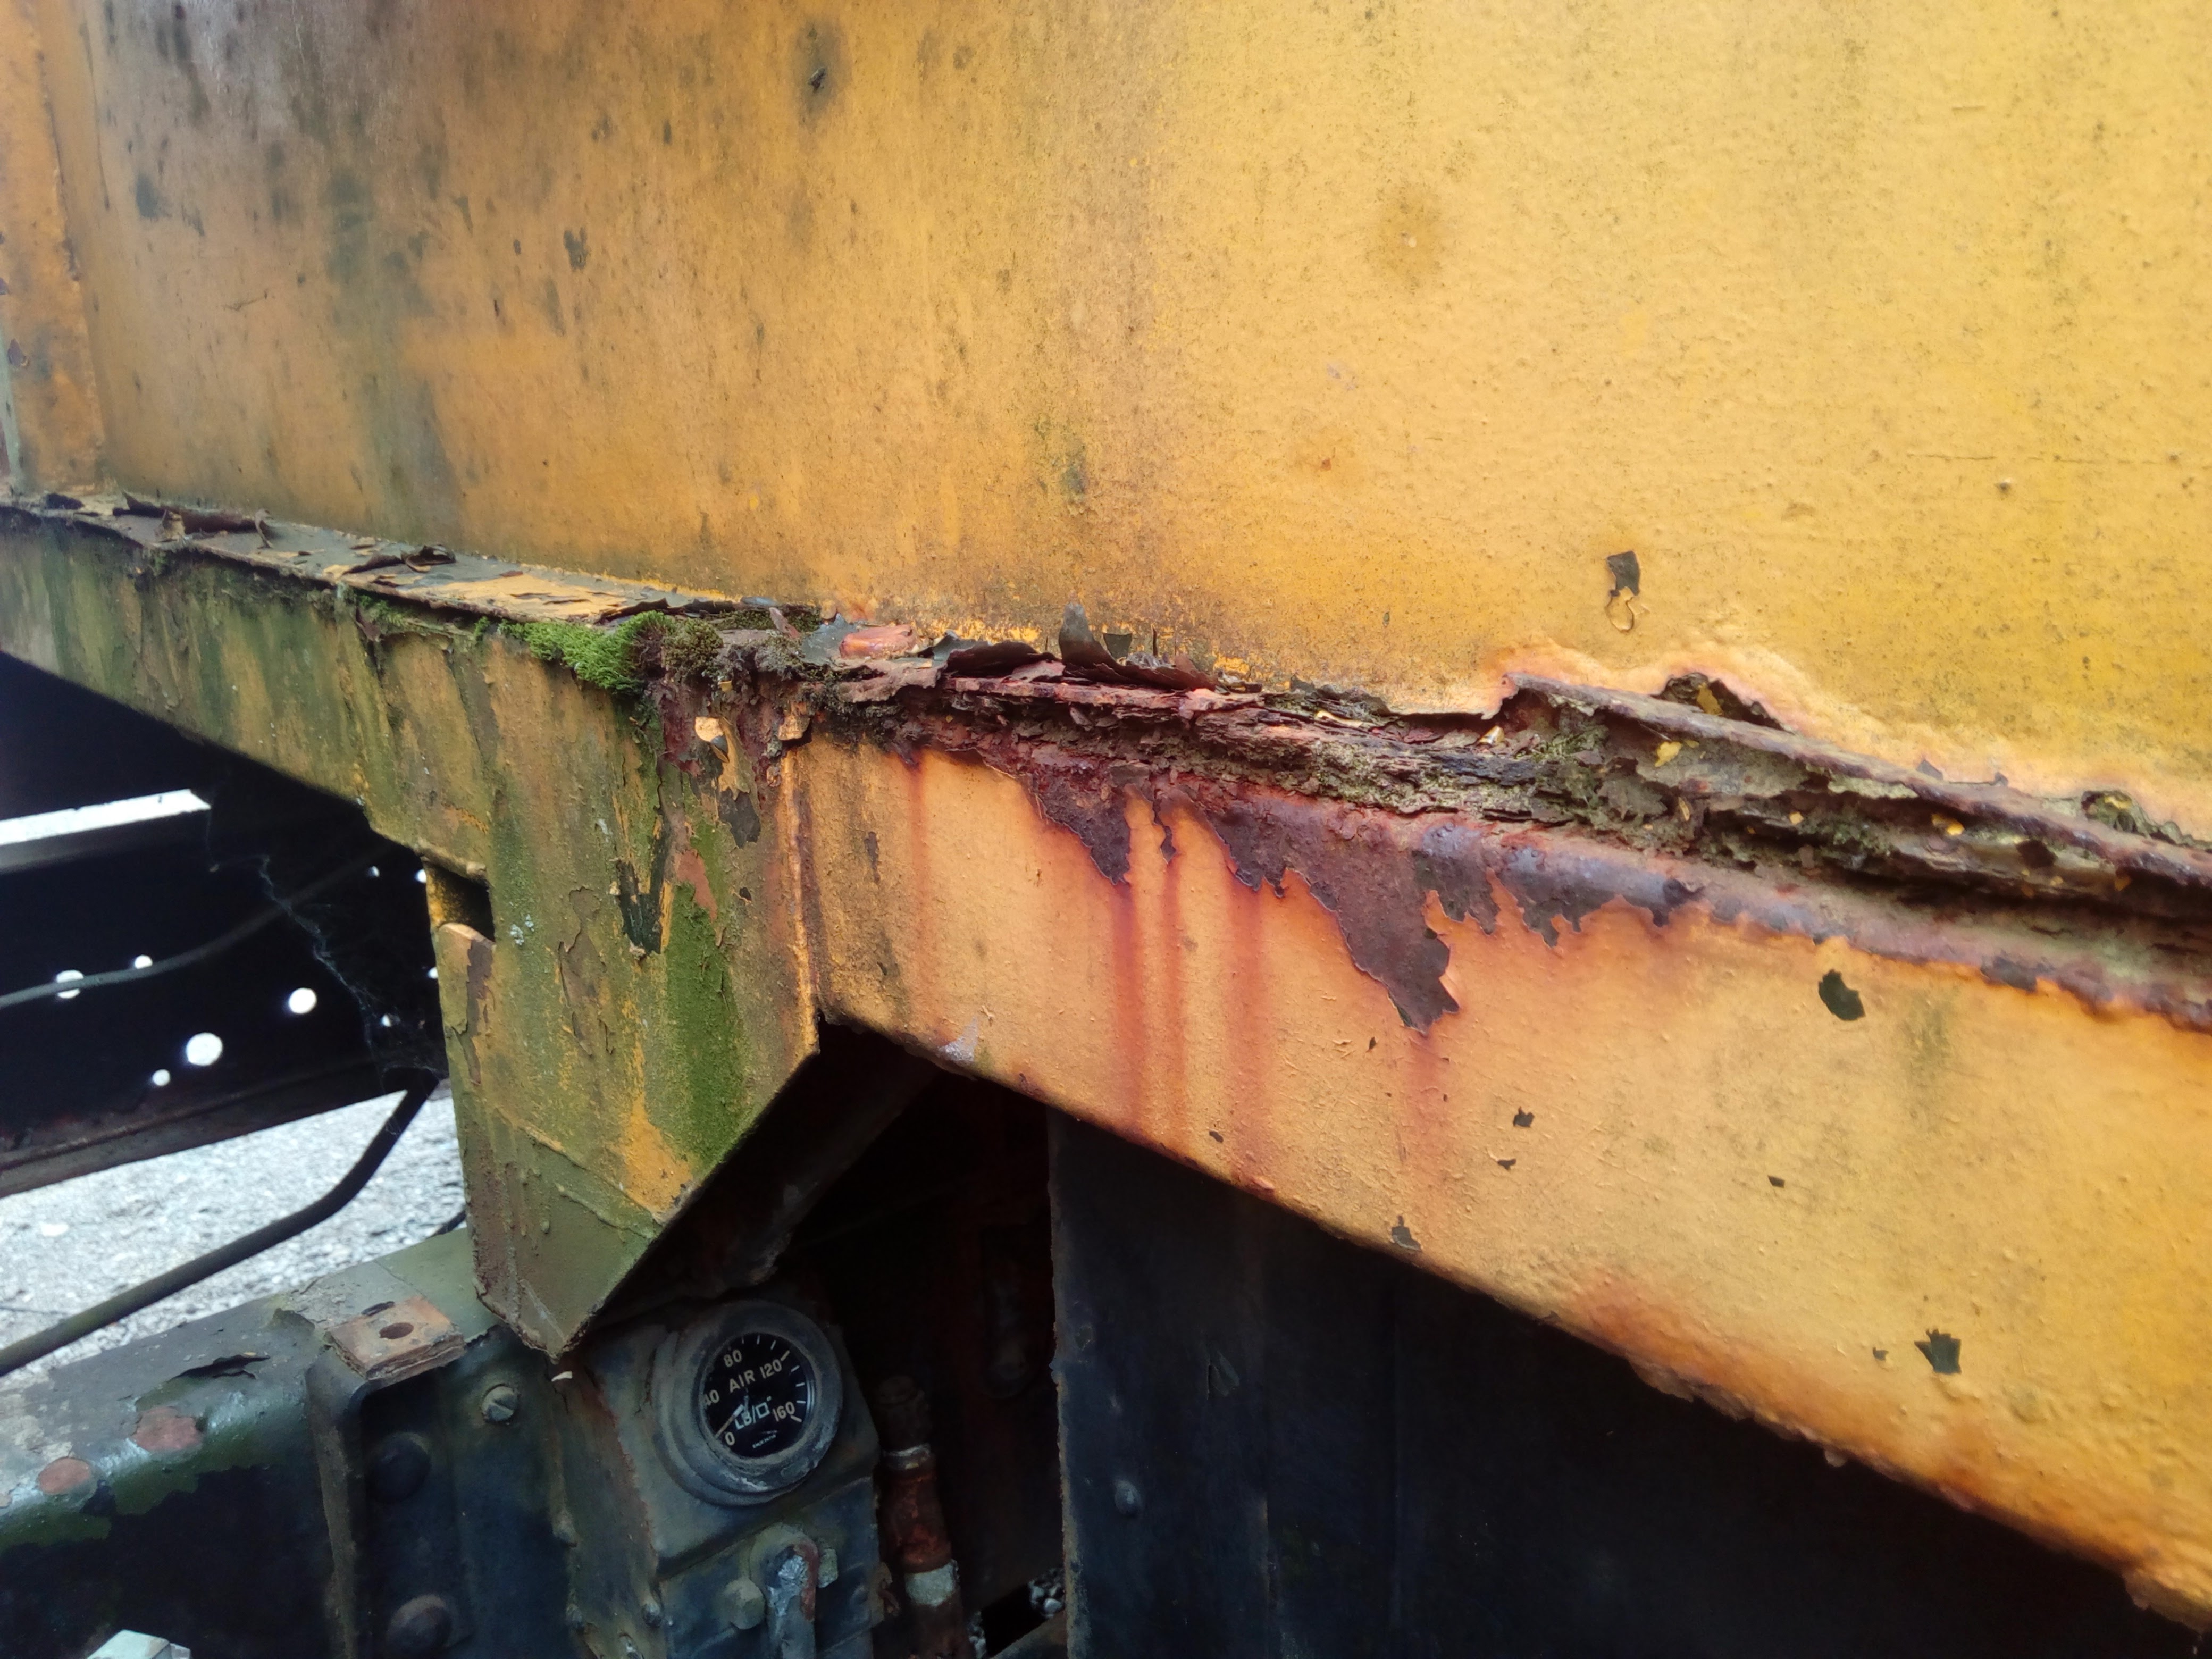 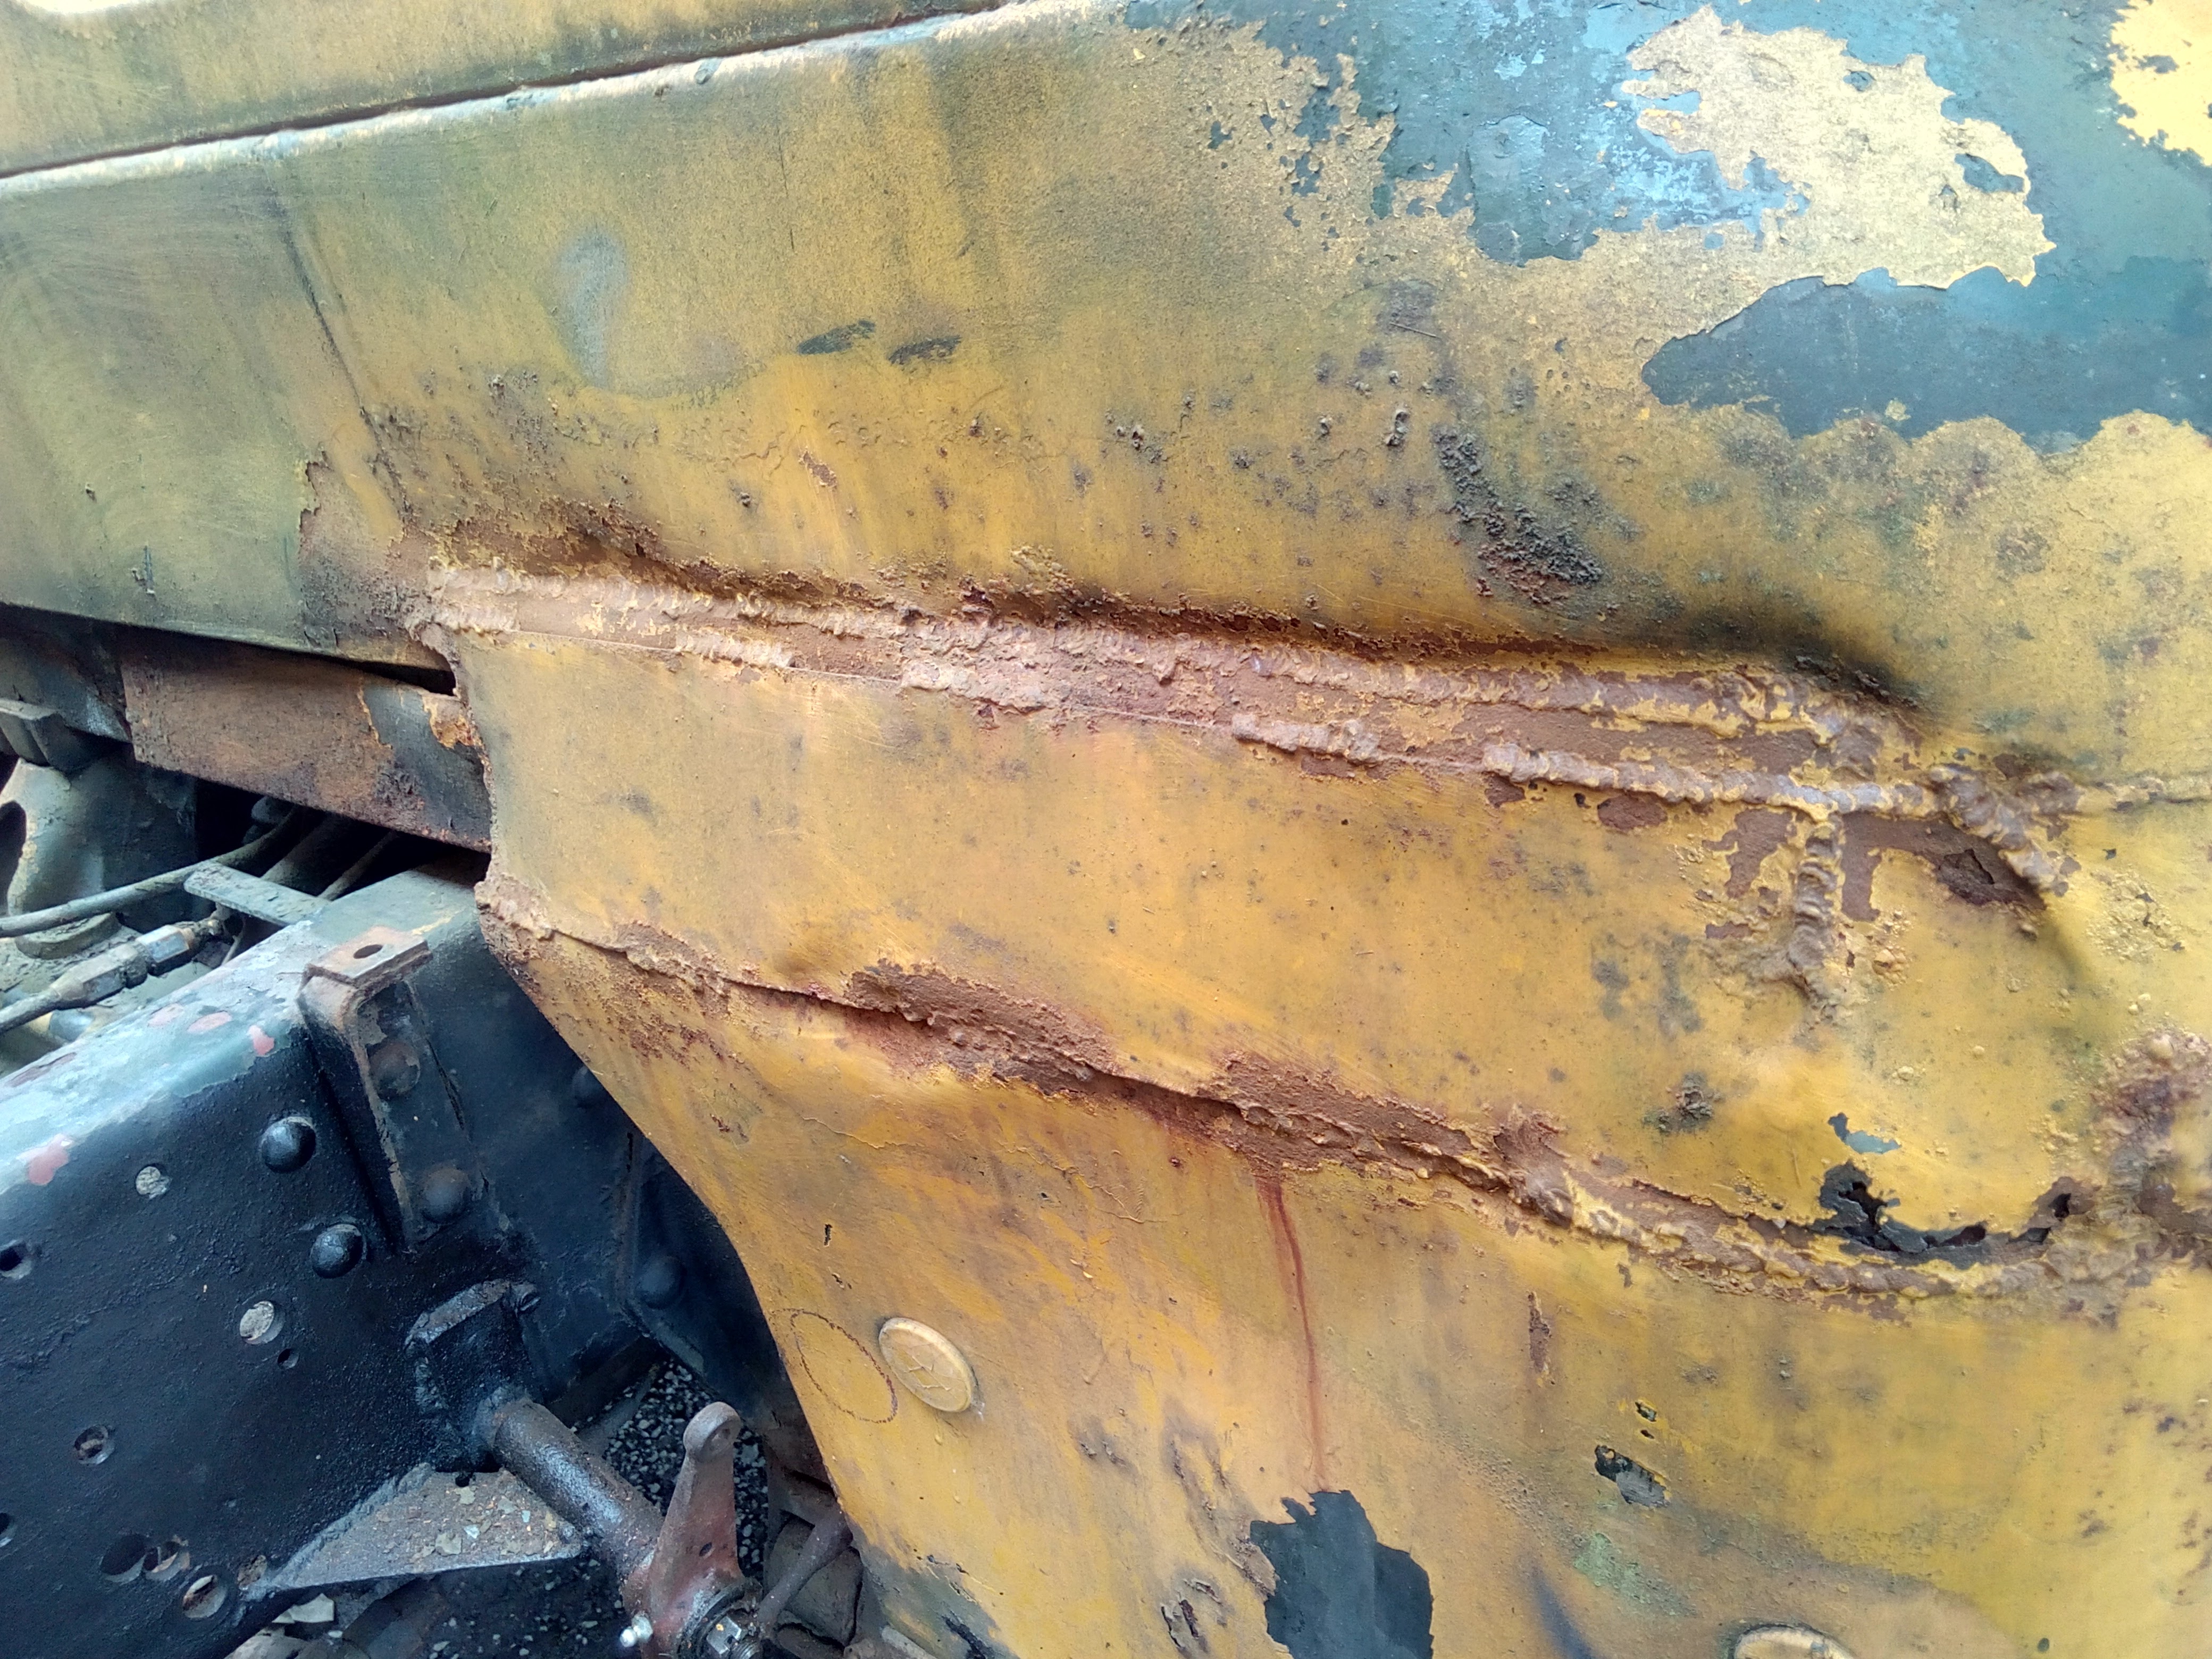 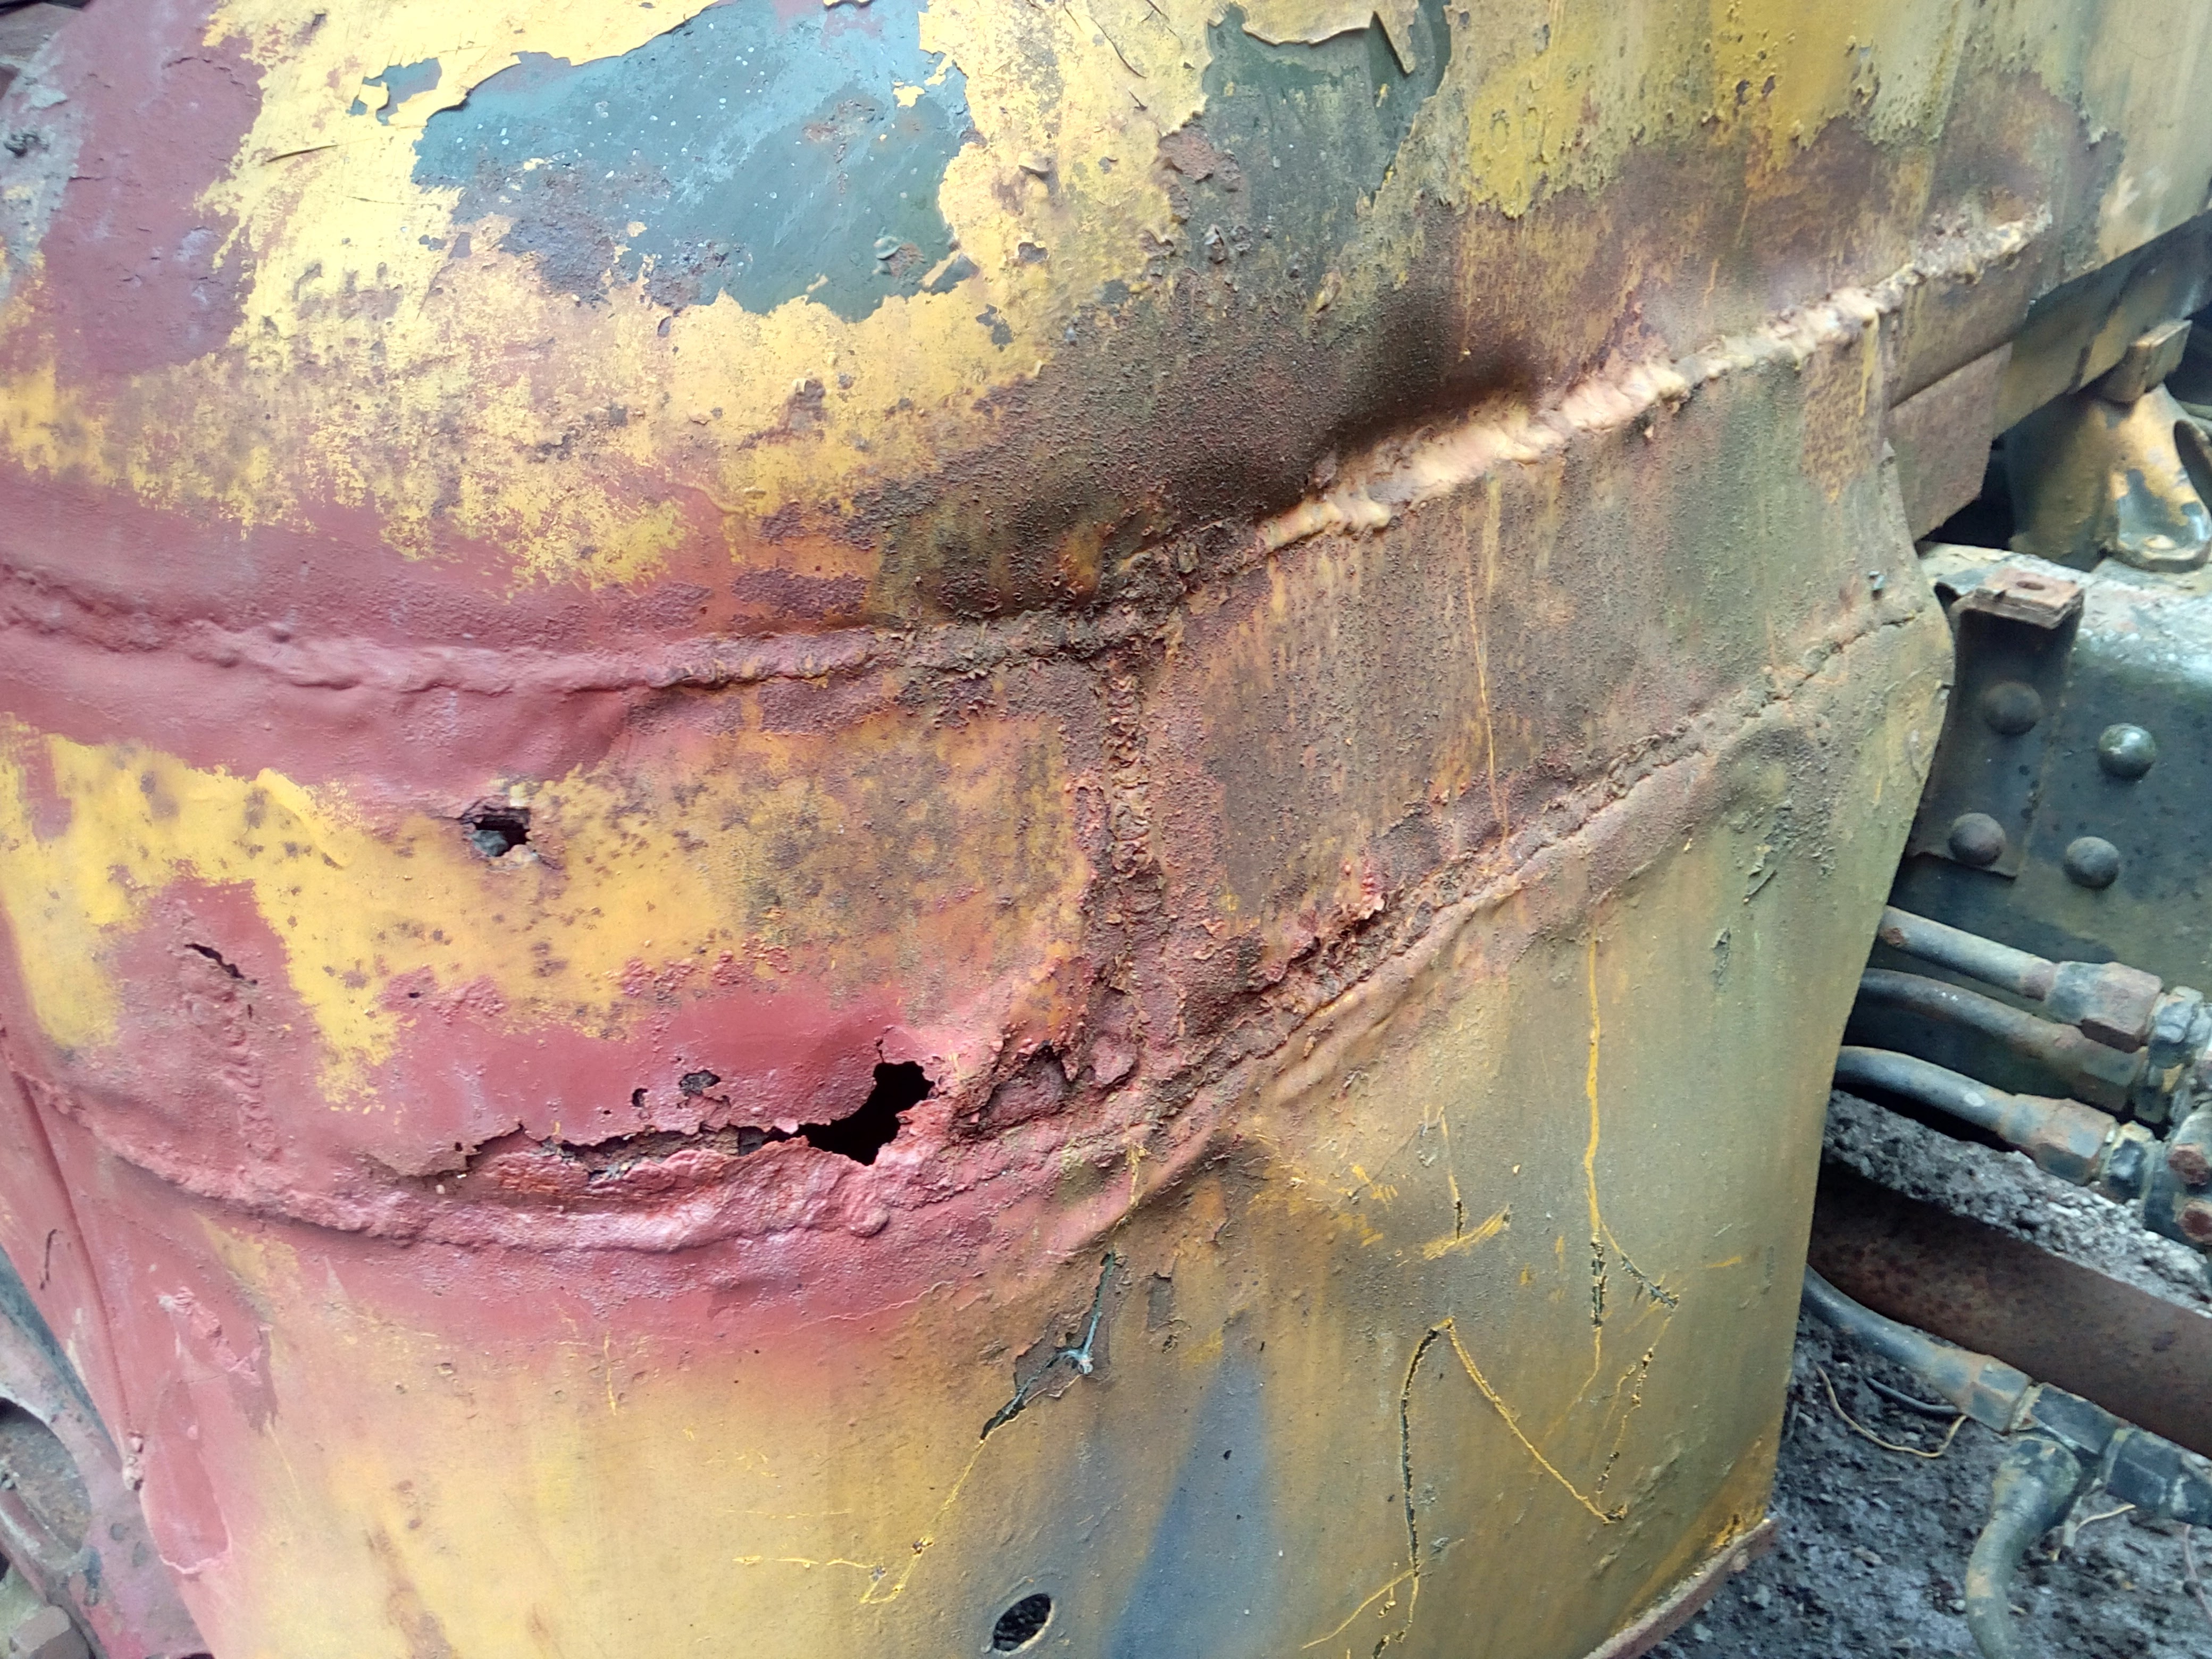 And then I leant on the roof while inspecting the (known) rust spots, and there was a crunch. 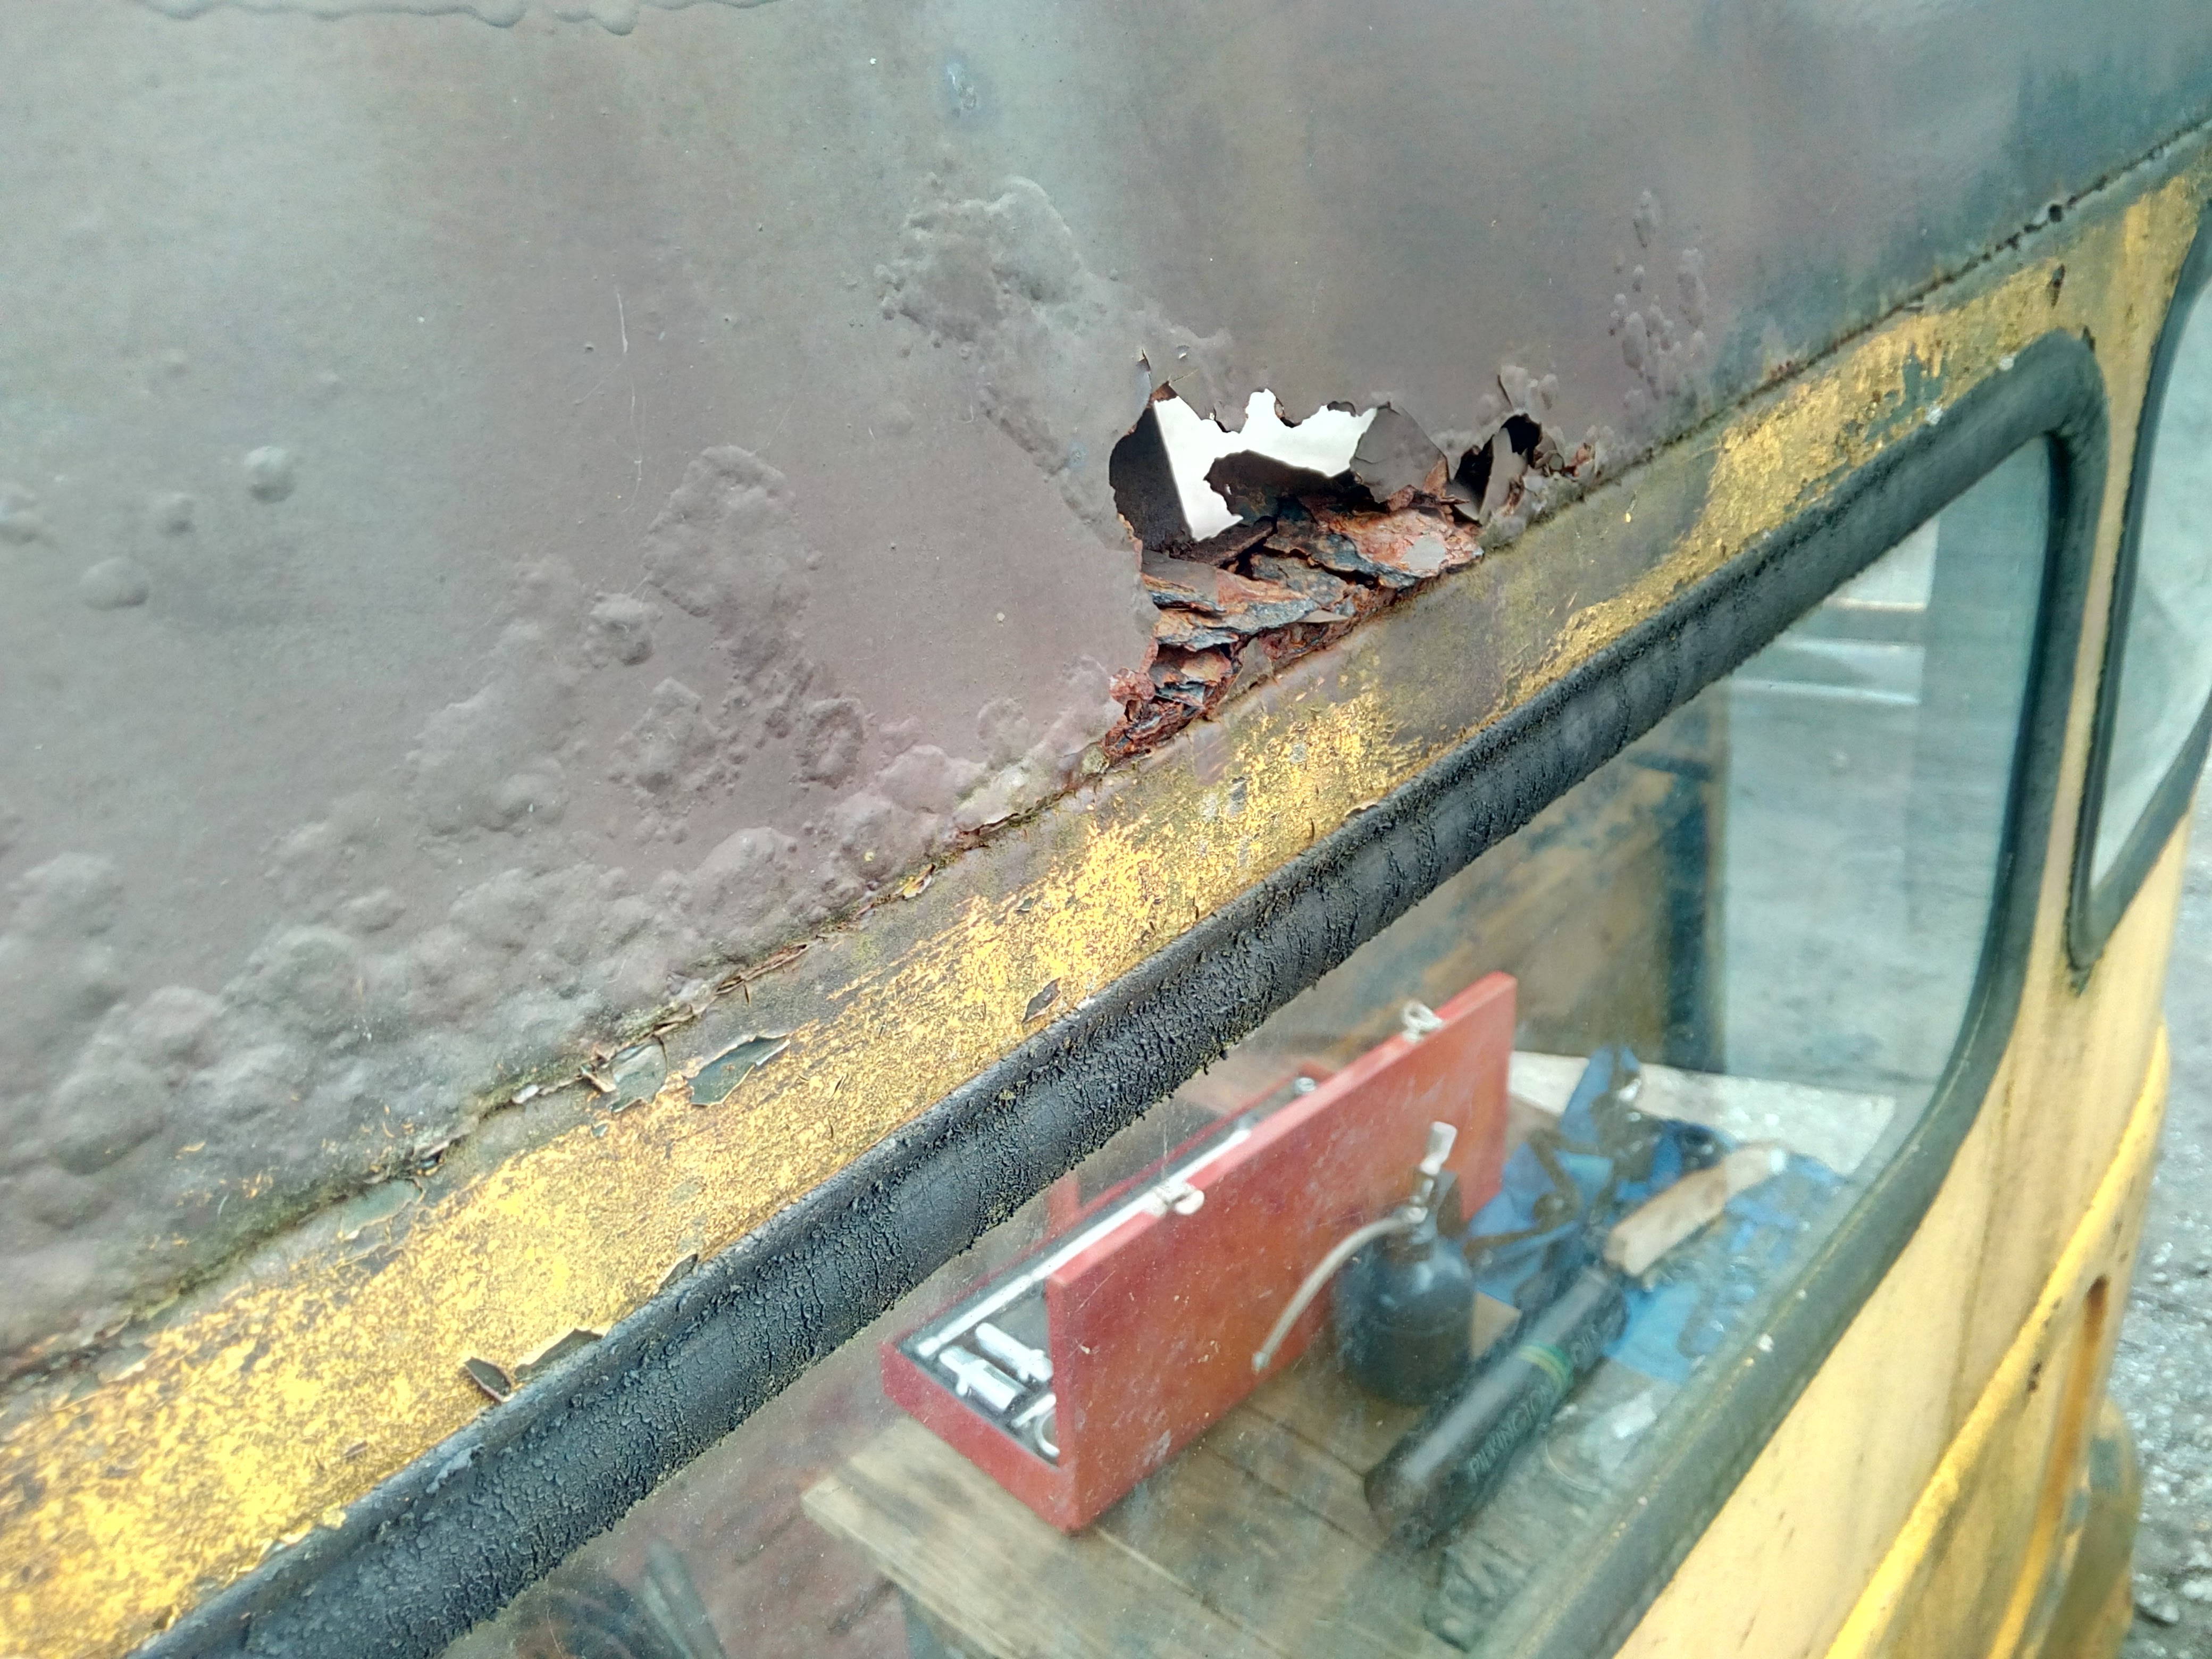 Oh, buggeration. 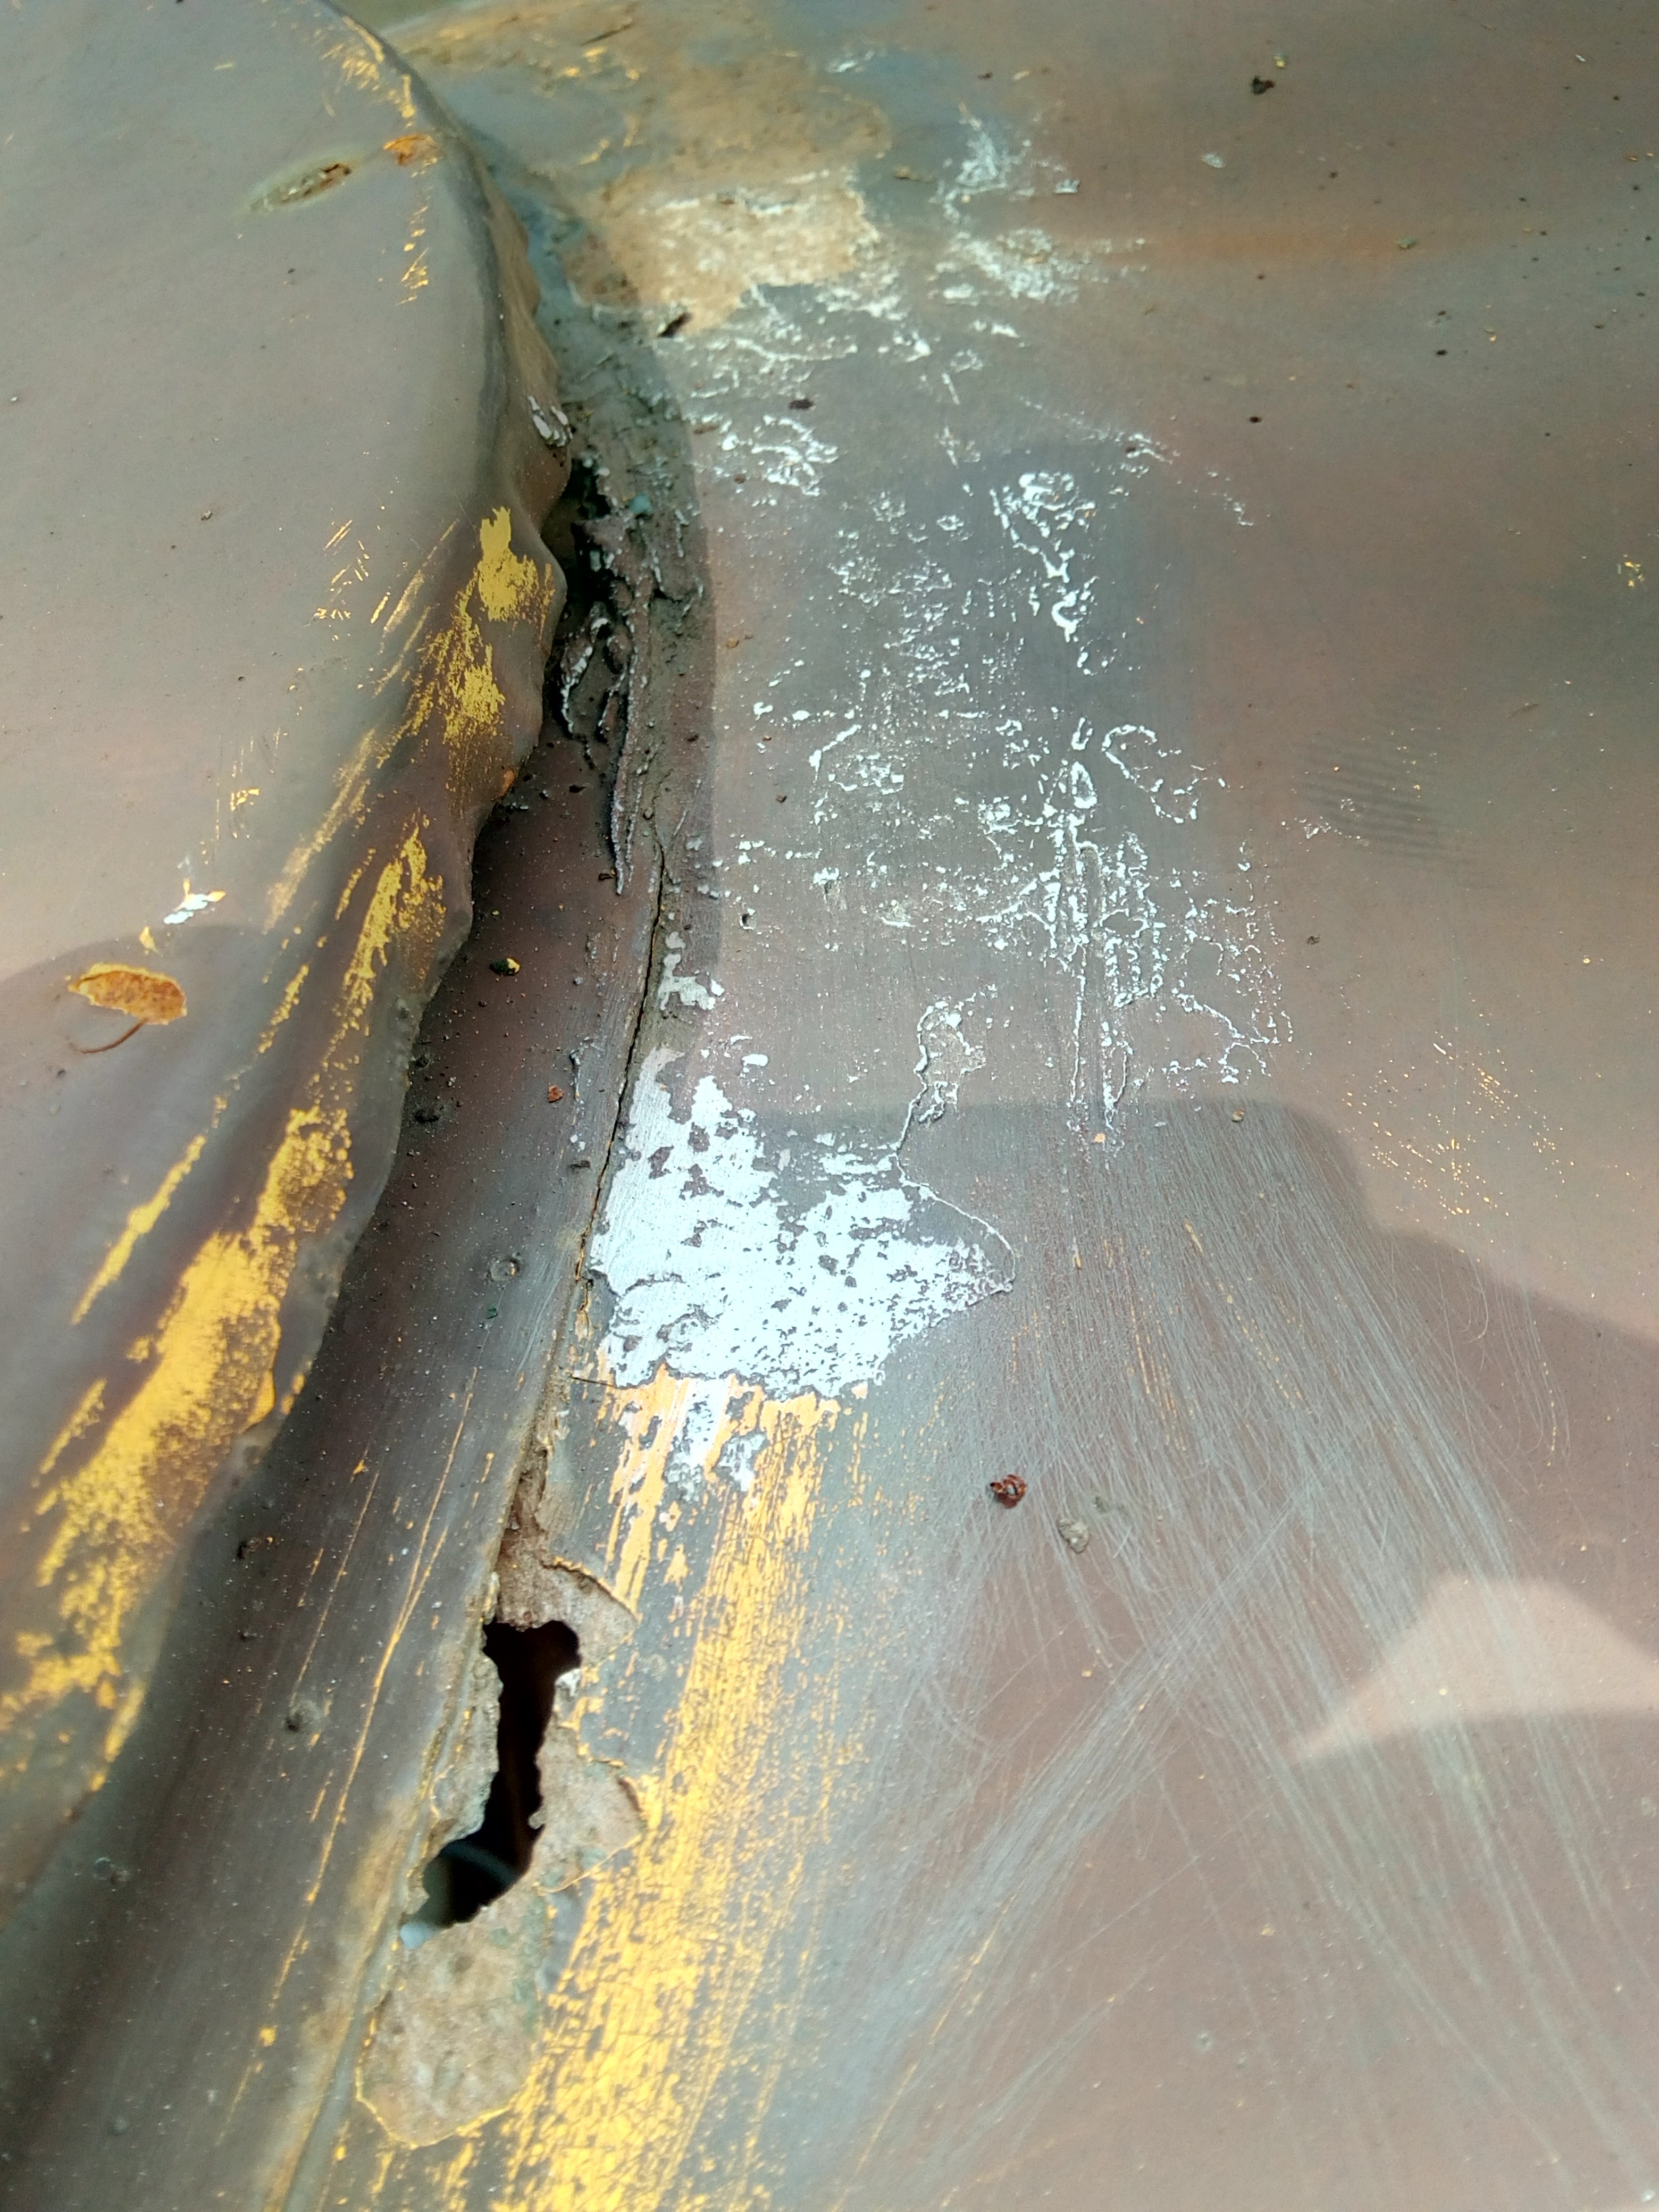 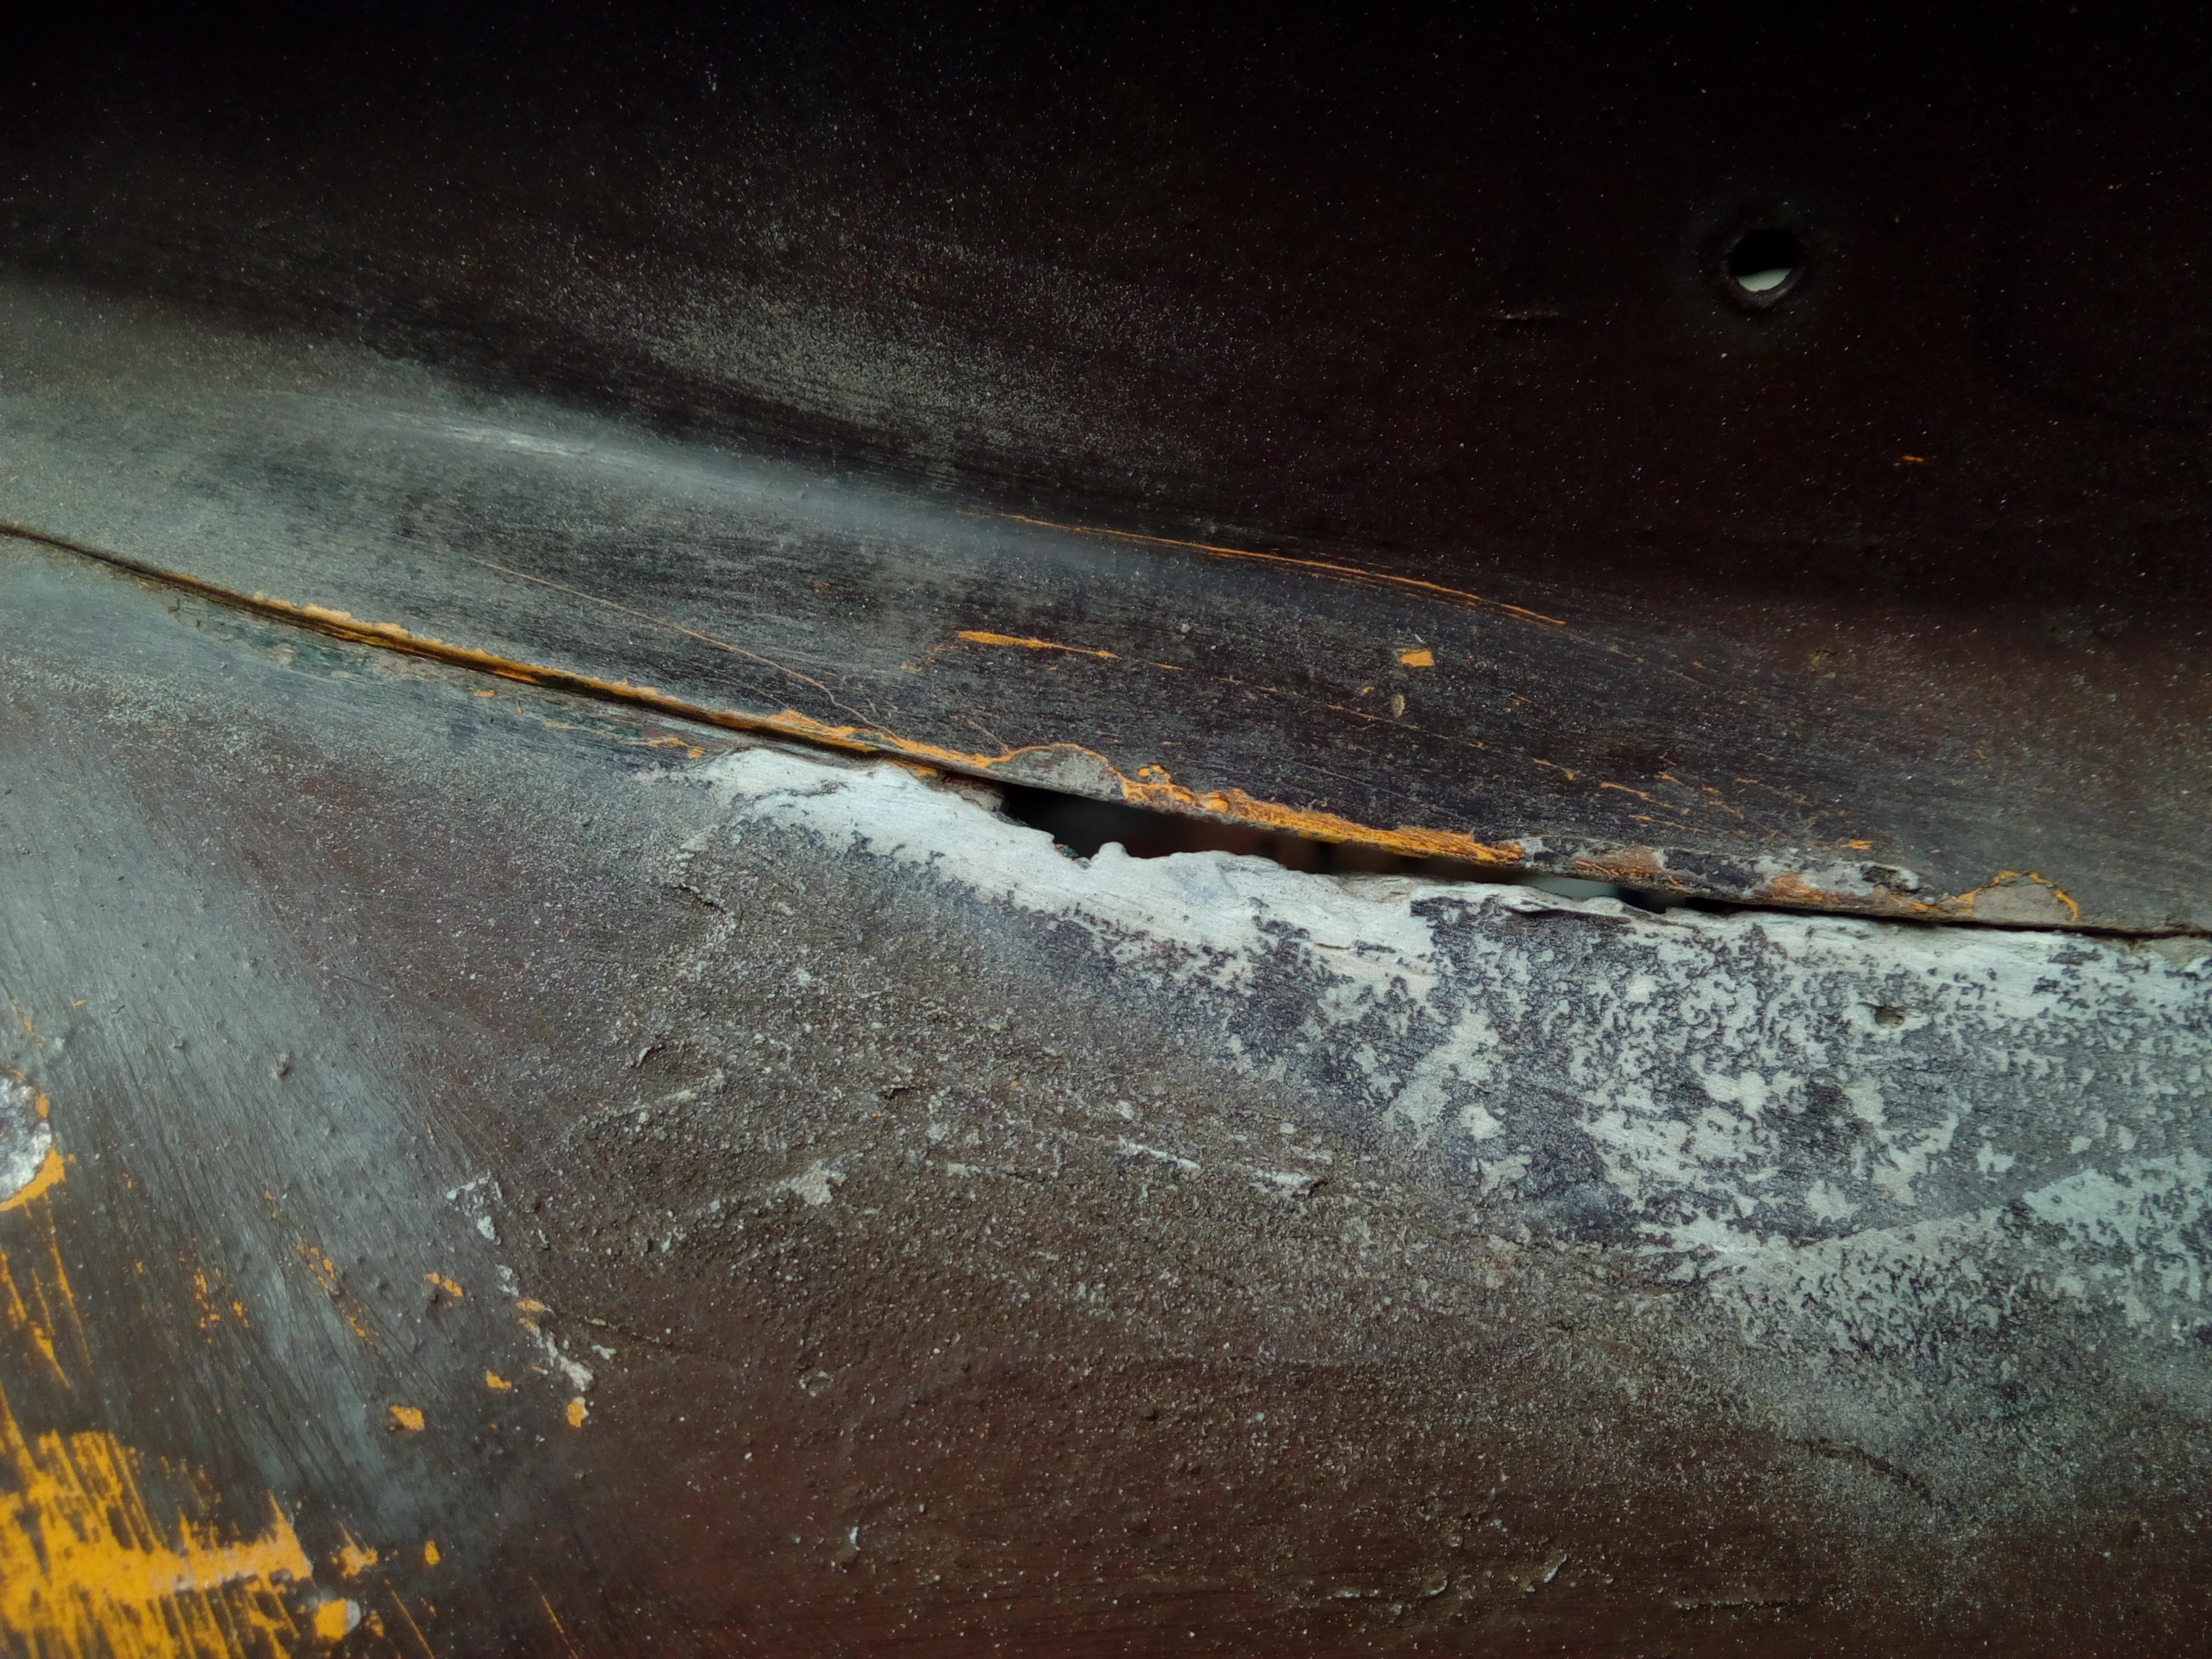 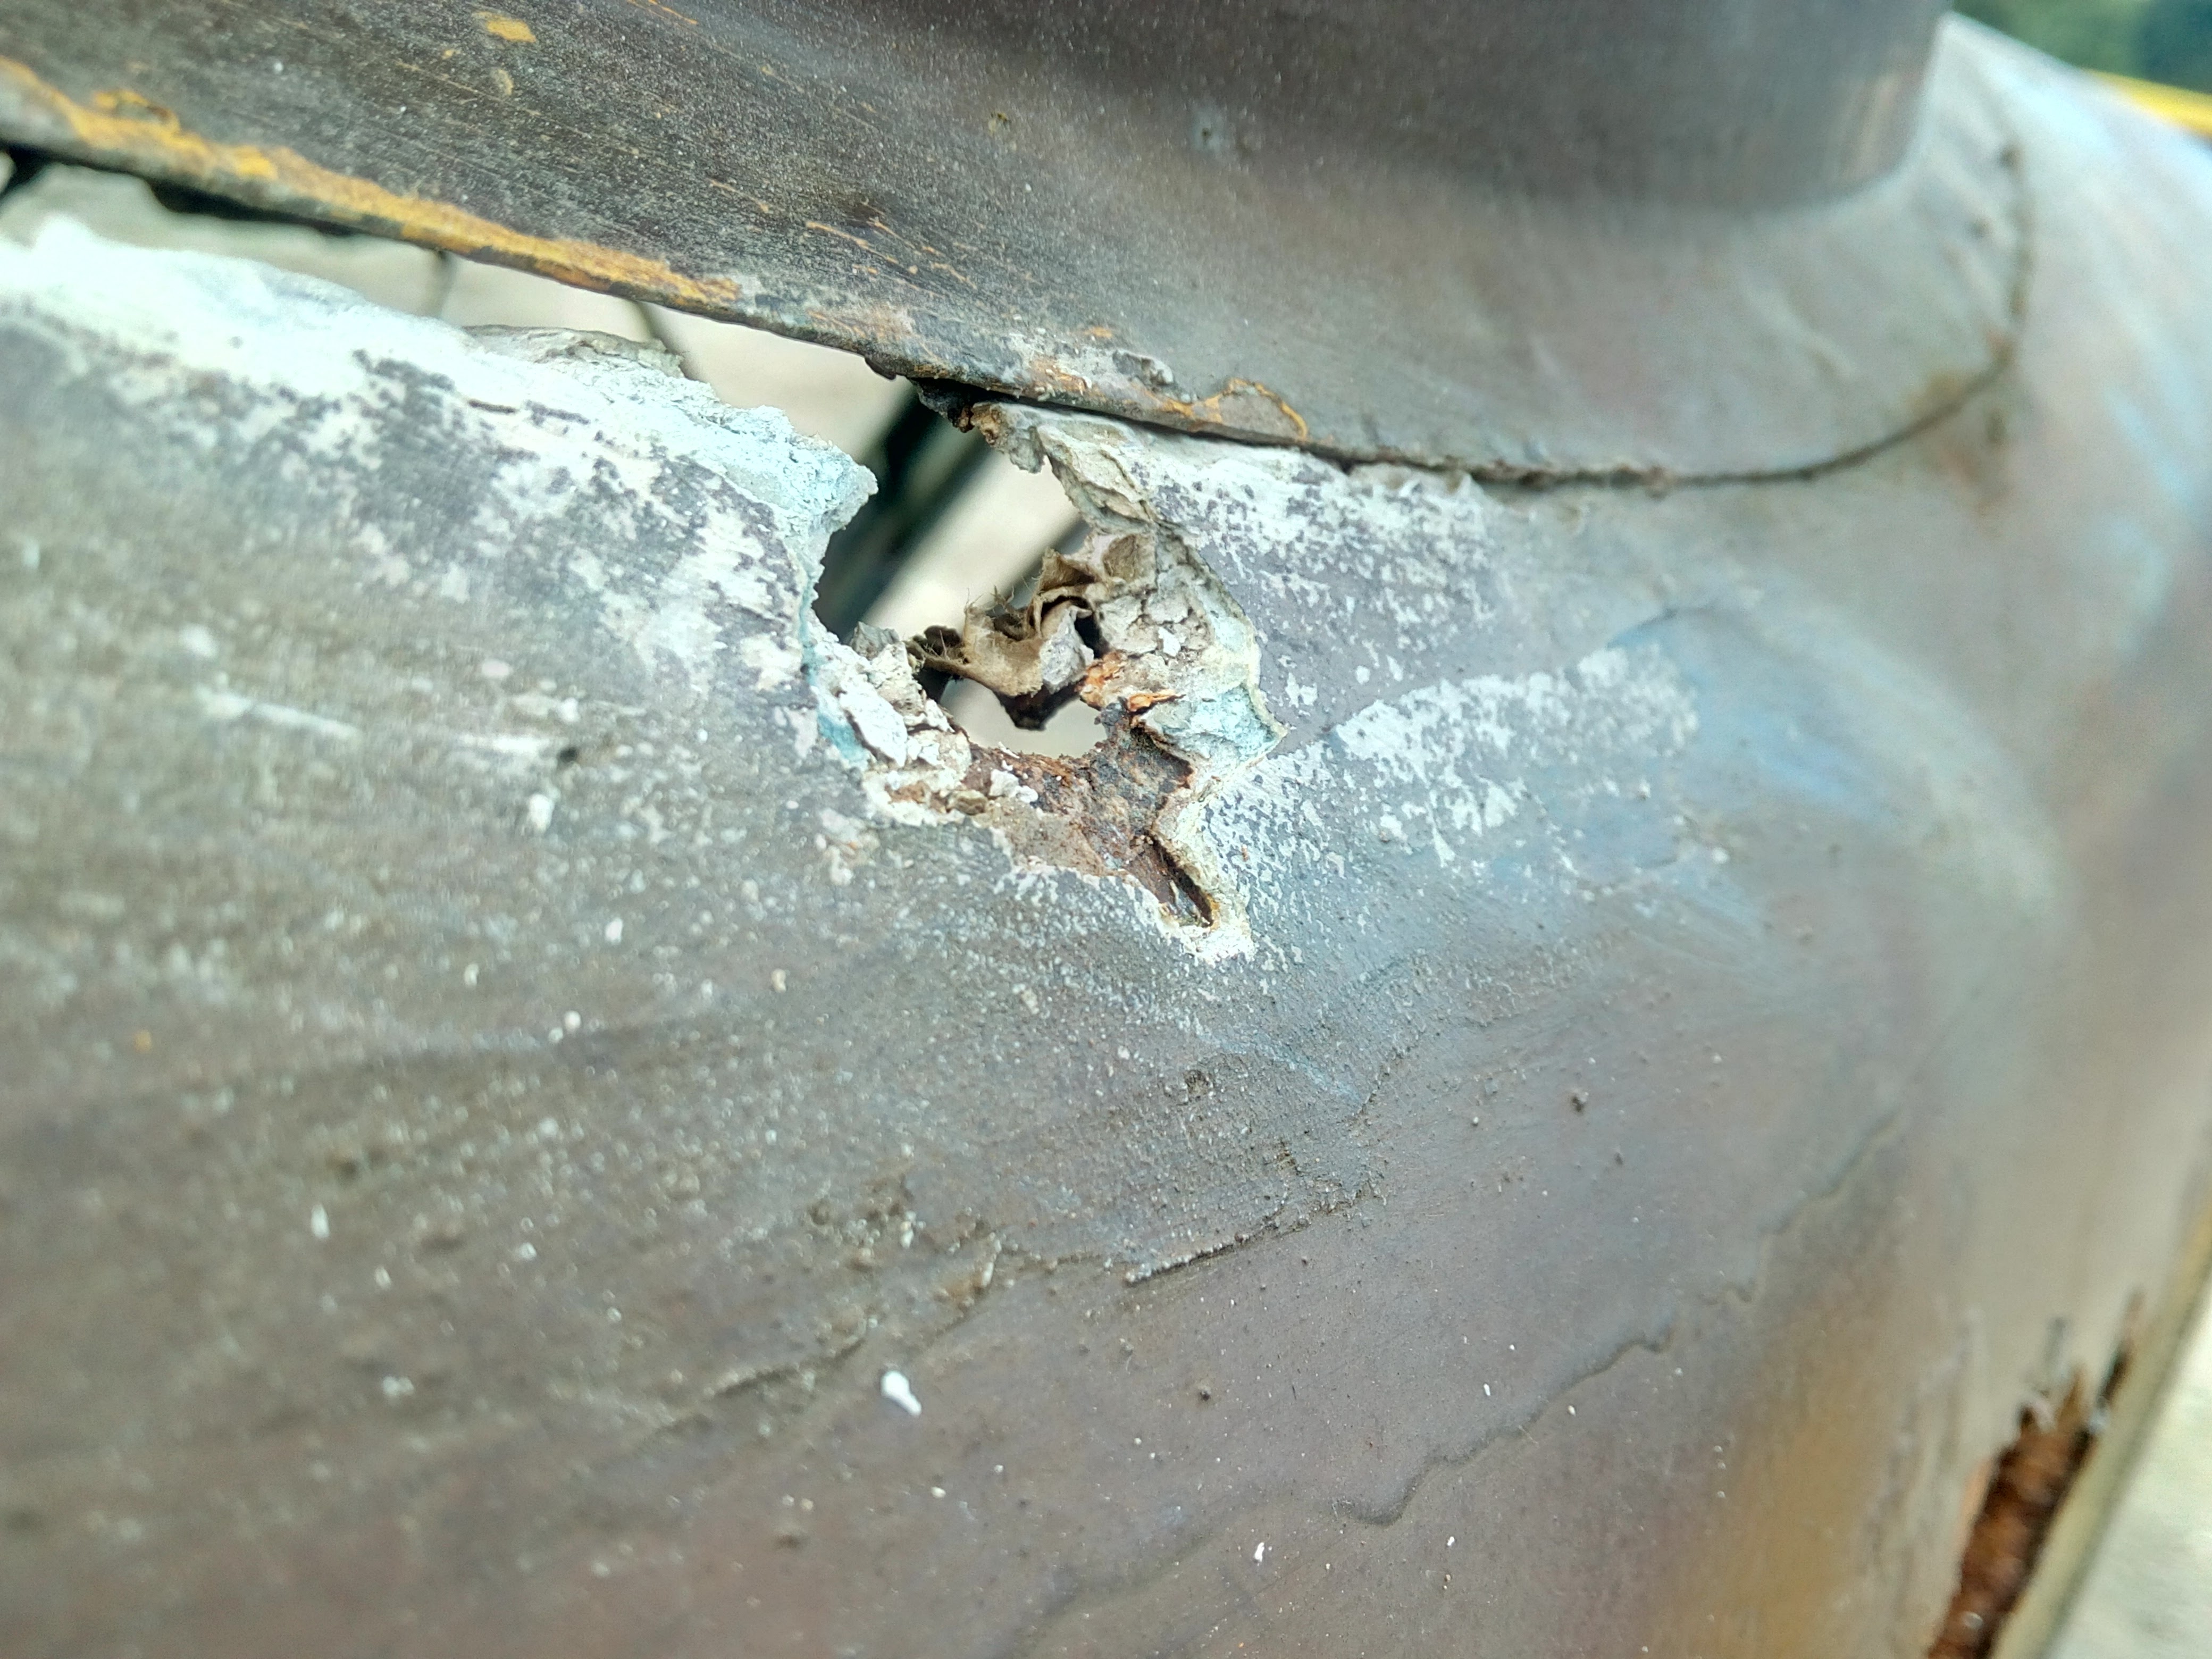 I'll be honest with you, it doesn't get much better from here, but I suspect you knew that already.  For example, I got myself a new toy, a cordless grinder, and gave the truck a bit of a trim. I didn't intend to cut so far, but, uh... Well, y'see, once I started touching the "iffy" bits with a wire wheel, and they started blowing away in the wind... 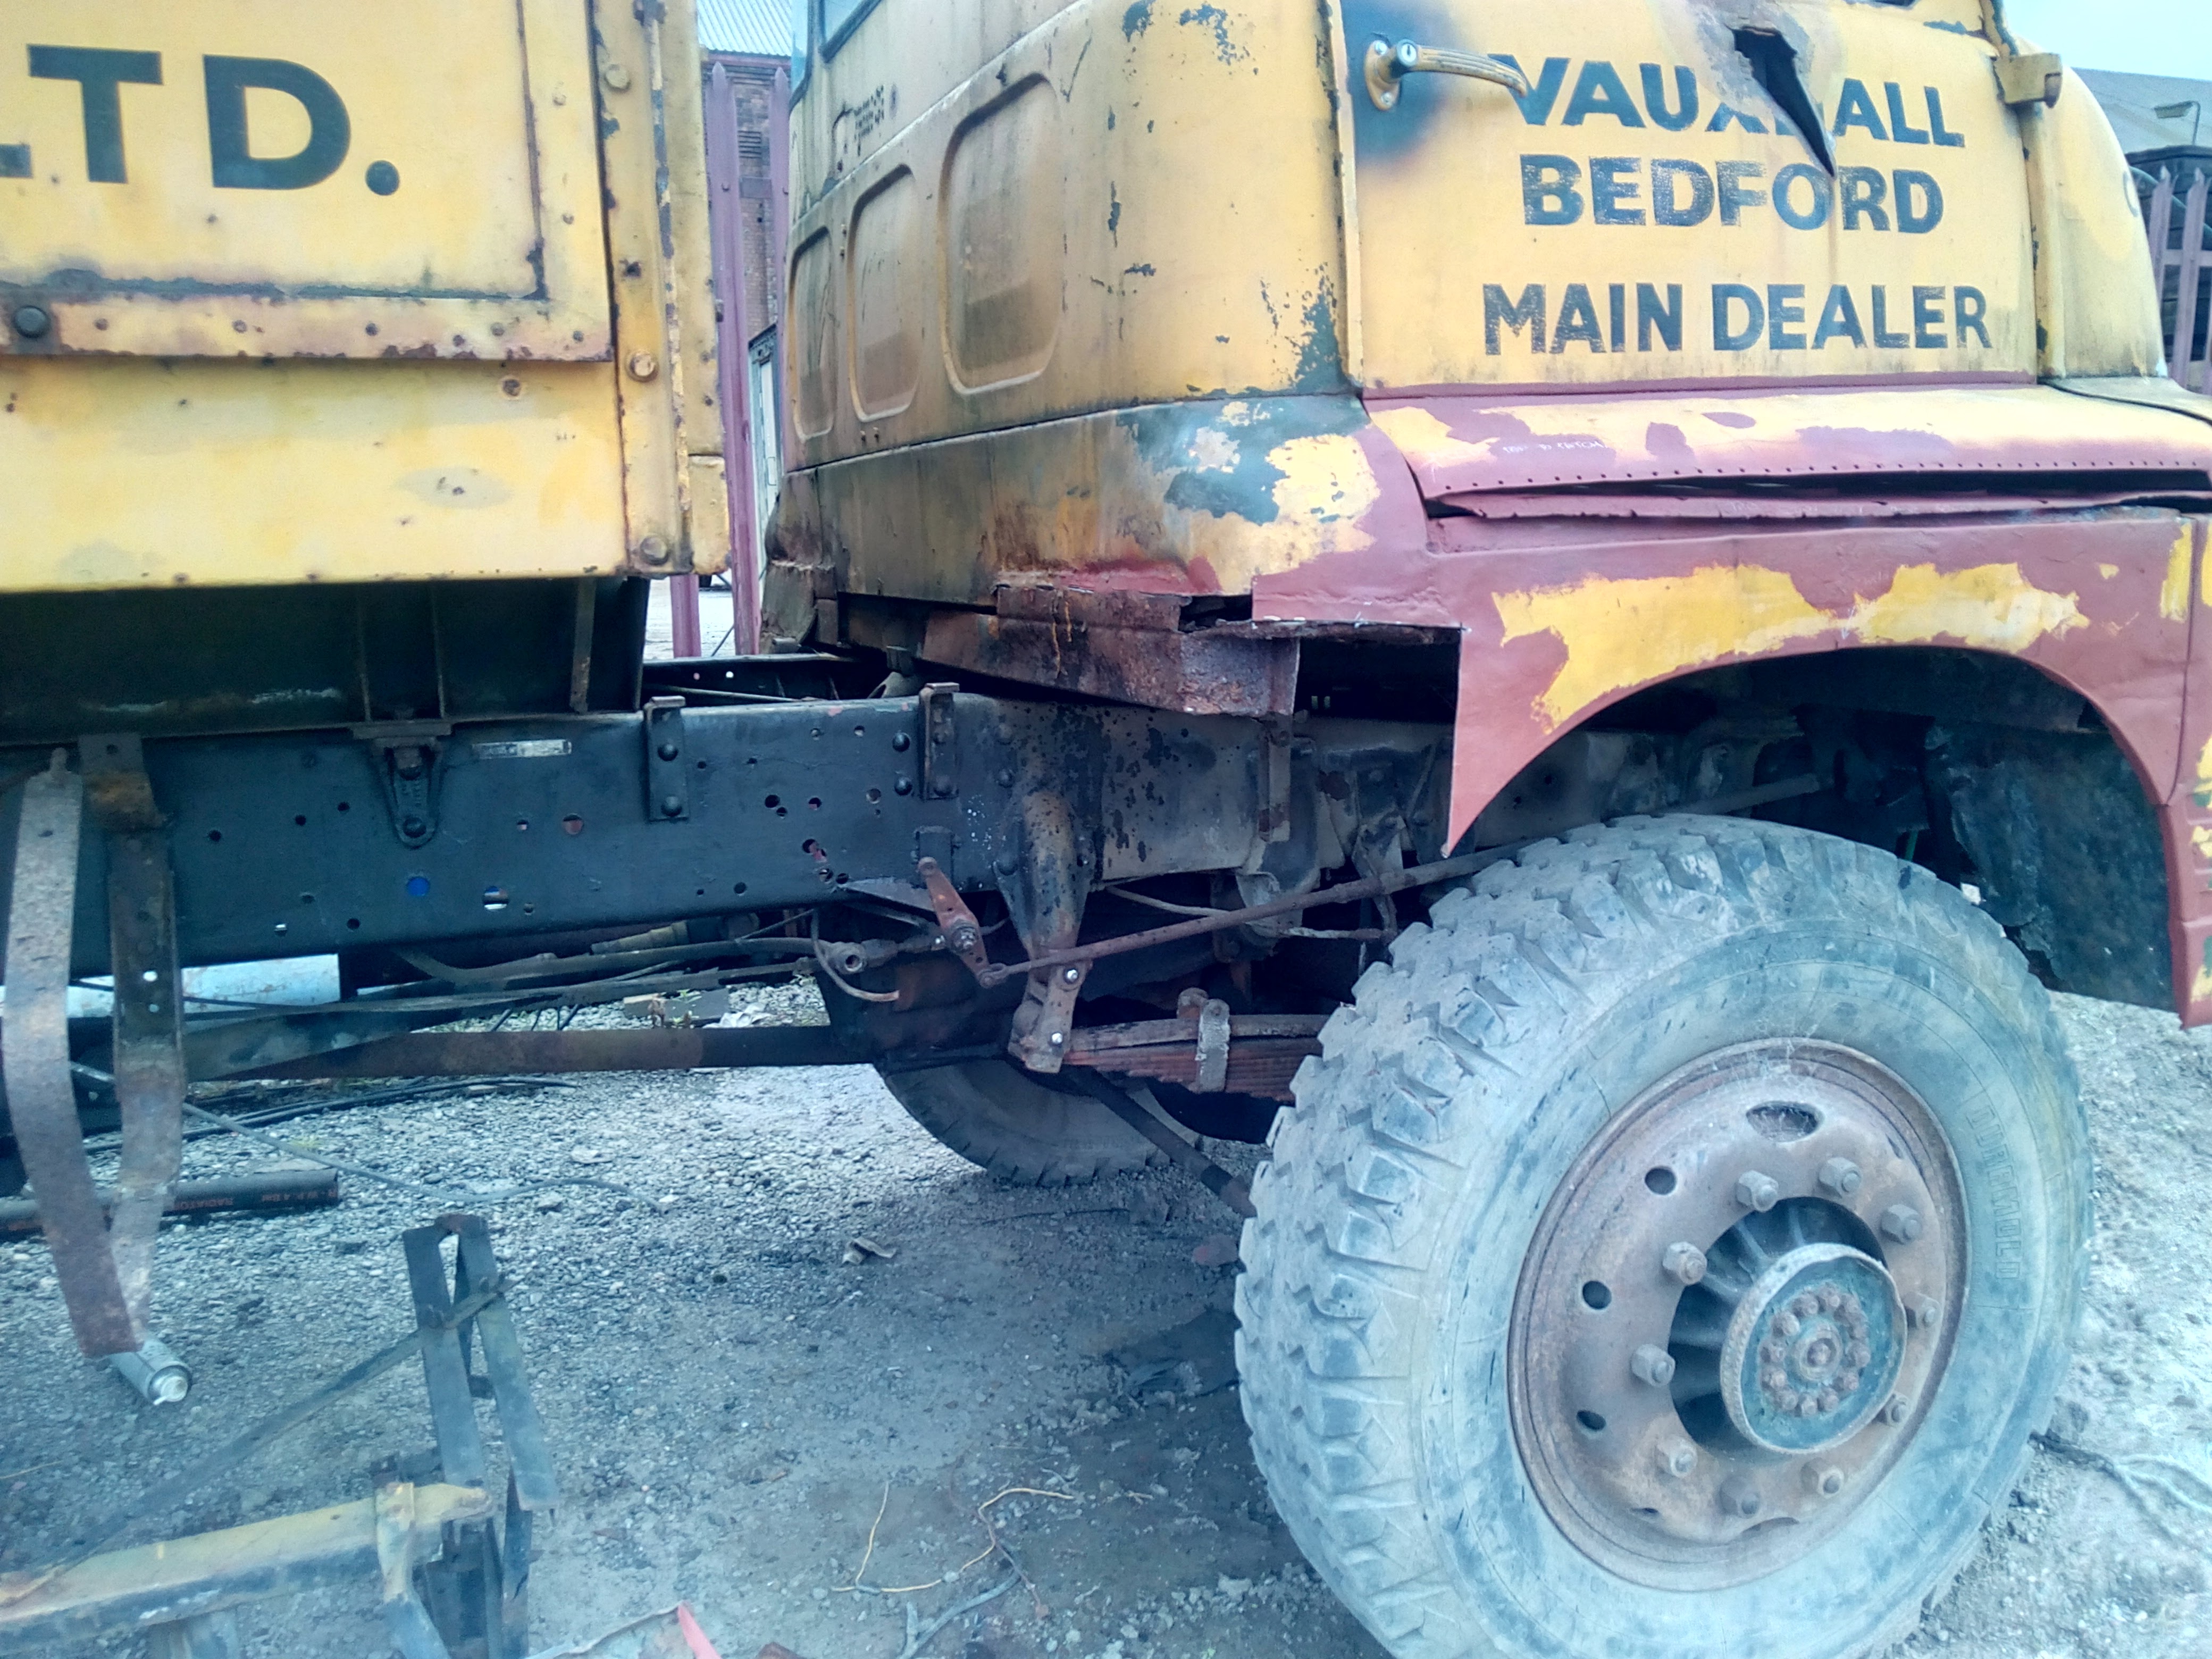 You can get counselling for that kind of traumatic experience And on those horrors, I shall have to leave you for the time being; because work, unfortunately, is looming.  |
| |
-< Welder. Allegedly a mechanic. Bodger of Things >-
* 1958? Bedford RL - Progress: Glacial.
* 1994 Skoda Favorit - It's baaaaaaaack!
* 2018 Herald Classic - Gone!
|
|
|
|
|
|
|
Always nice to have another classic big lump of a thing on here  |
| |
Last Edit: Jul 22, 2019 8:15:51 GMT by Deleted
|
|
|
|
|
|
|
|
Fantastic machine. Following this one eagerly.
|
| |
|
|
|
|
|
|
|
|
Nice, who doesn't like a big Bedford! there were an awful lot of variations on these models especially when in military spec, I do have various Bedford parts books and microfiches so if you need part numbers let me know
|
| |
|
|
recarouk
Yorkshire and The Humber
Posts: 435 
|
|
Jul 22, 2019 12:09:29 GMT
|
|
this is awesome!
|
| |
|
|
|
|
|
Jul 22, 2019 12:17:32 GMT
|
|
Wonderful machine. Plenty to do there - keep it coming, thoroughly enjoyed that thanks!
|
| |
1968 Mini MkII, 1968 VW T1, 1967 VW T1, 1974 VW T1, 1974 VW T1 1303, 1975 Mini 1000 auto, 1979 Chevette, 1981 Cortina, 1978 Mini 1000 1981 Mini City, 1981 Mini van, 1974 Mini Clubman, 1982 Metro City, 1987 Escort, 1989 Lancia Y10, 1989 Cavalier, 1990 Sierra, 1990 Renault 19, 1993 Nova, 1990 Citroen BX, 1994 Ford Scorpio, 1990 Renault Clio, 2004 Citroen C3, 2006 Citroen C2, 2004 Citroen C4, 2013 Citroen DS5. 2017 DS3 130 Plenty of other scrappers!
|
|
Tamber
Part of things
  Shattered. Held together by spite and tape.
Posts: 336
|
|
Jul 22, 2019 21:46:20 GMT
|
Nice, who doesn't like a big Bedford! there were an awful lot of variations on these models especially when in military spec, I do have various Bedford parts books and microfiches so if you need part numbers let me know Thanks, I'll bear that in mind! I'm doing a lot of mix-n-match with what's on hand, or at least easy to get, or isn't original but gets me some other feature that I want. Y'know, more resto-mod than restoration.  It's all part of the fun. And if someone else later down the line wants to go full restoration, that's cool too. Anyway, I finished picking holes in the roof. 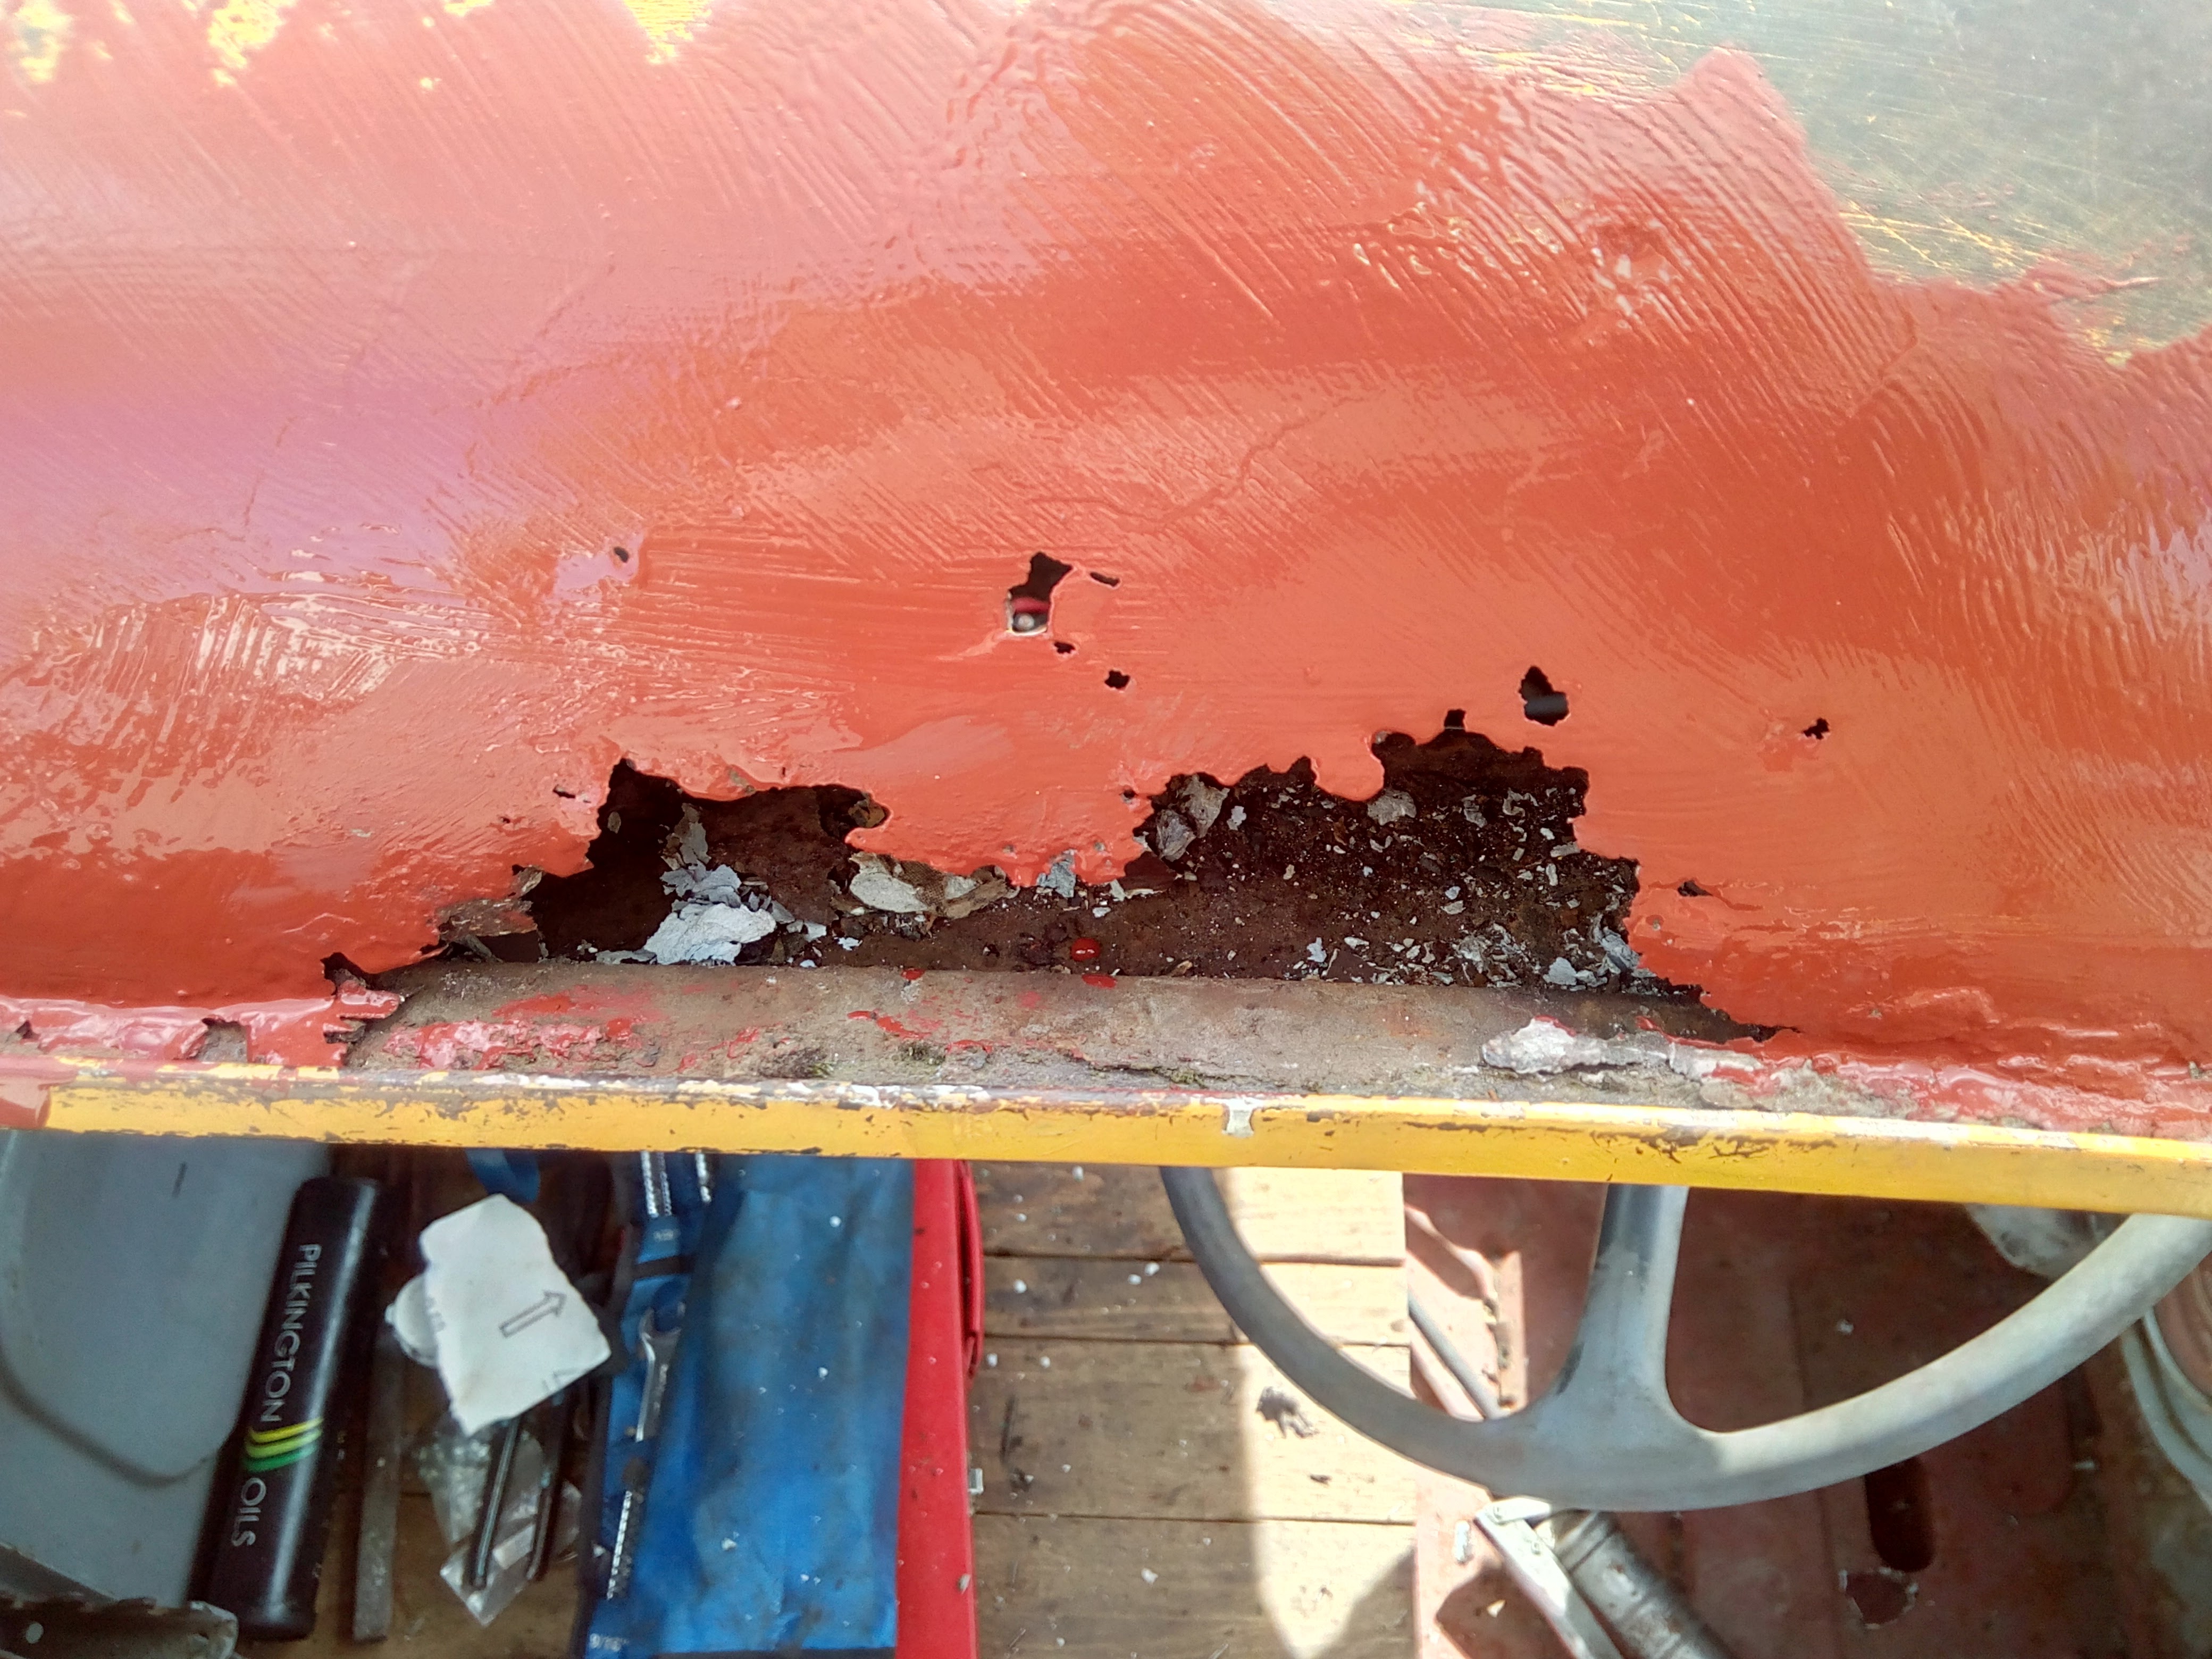 That's quite nice. 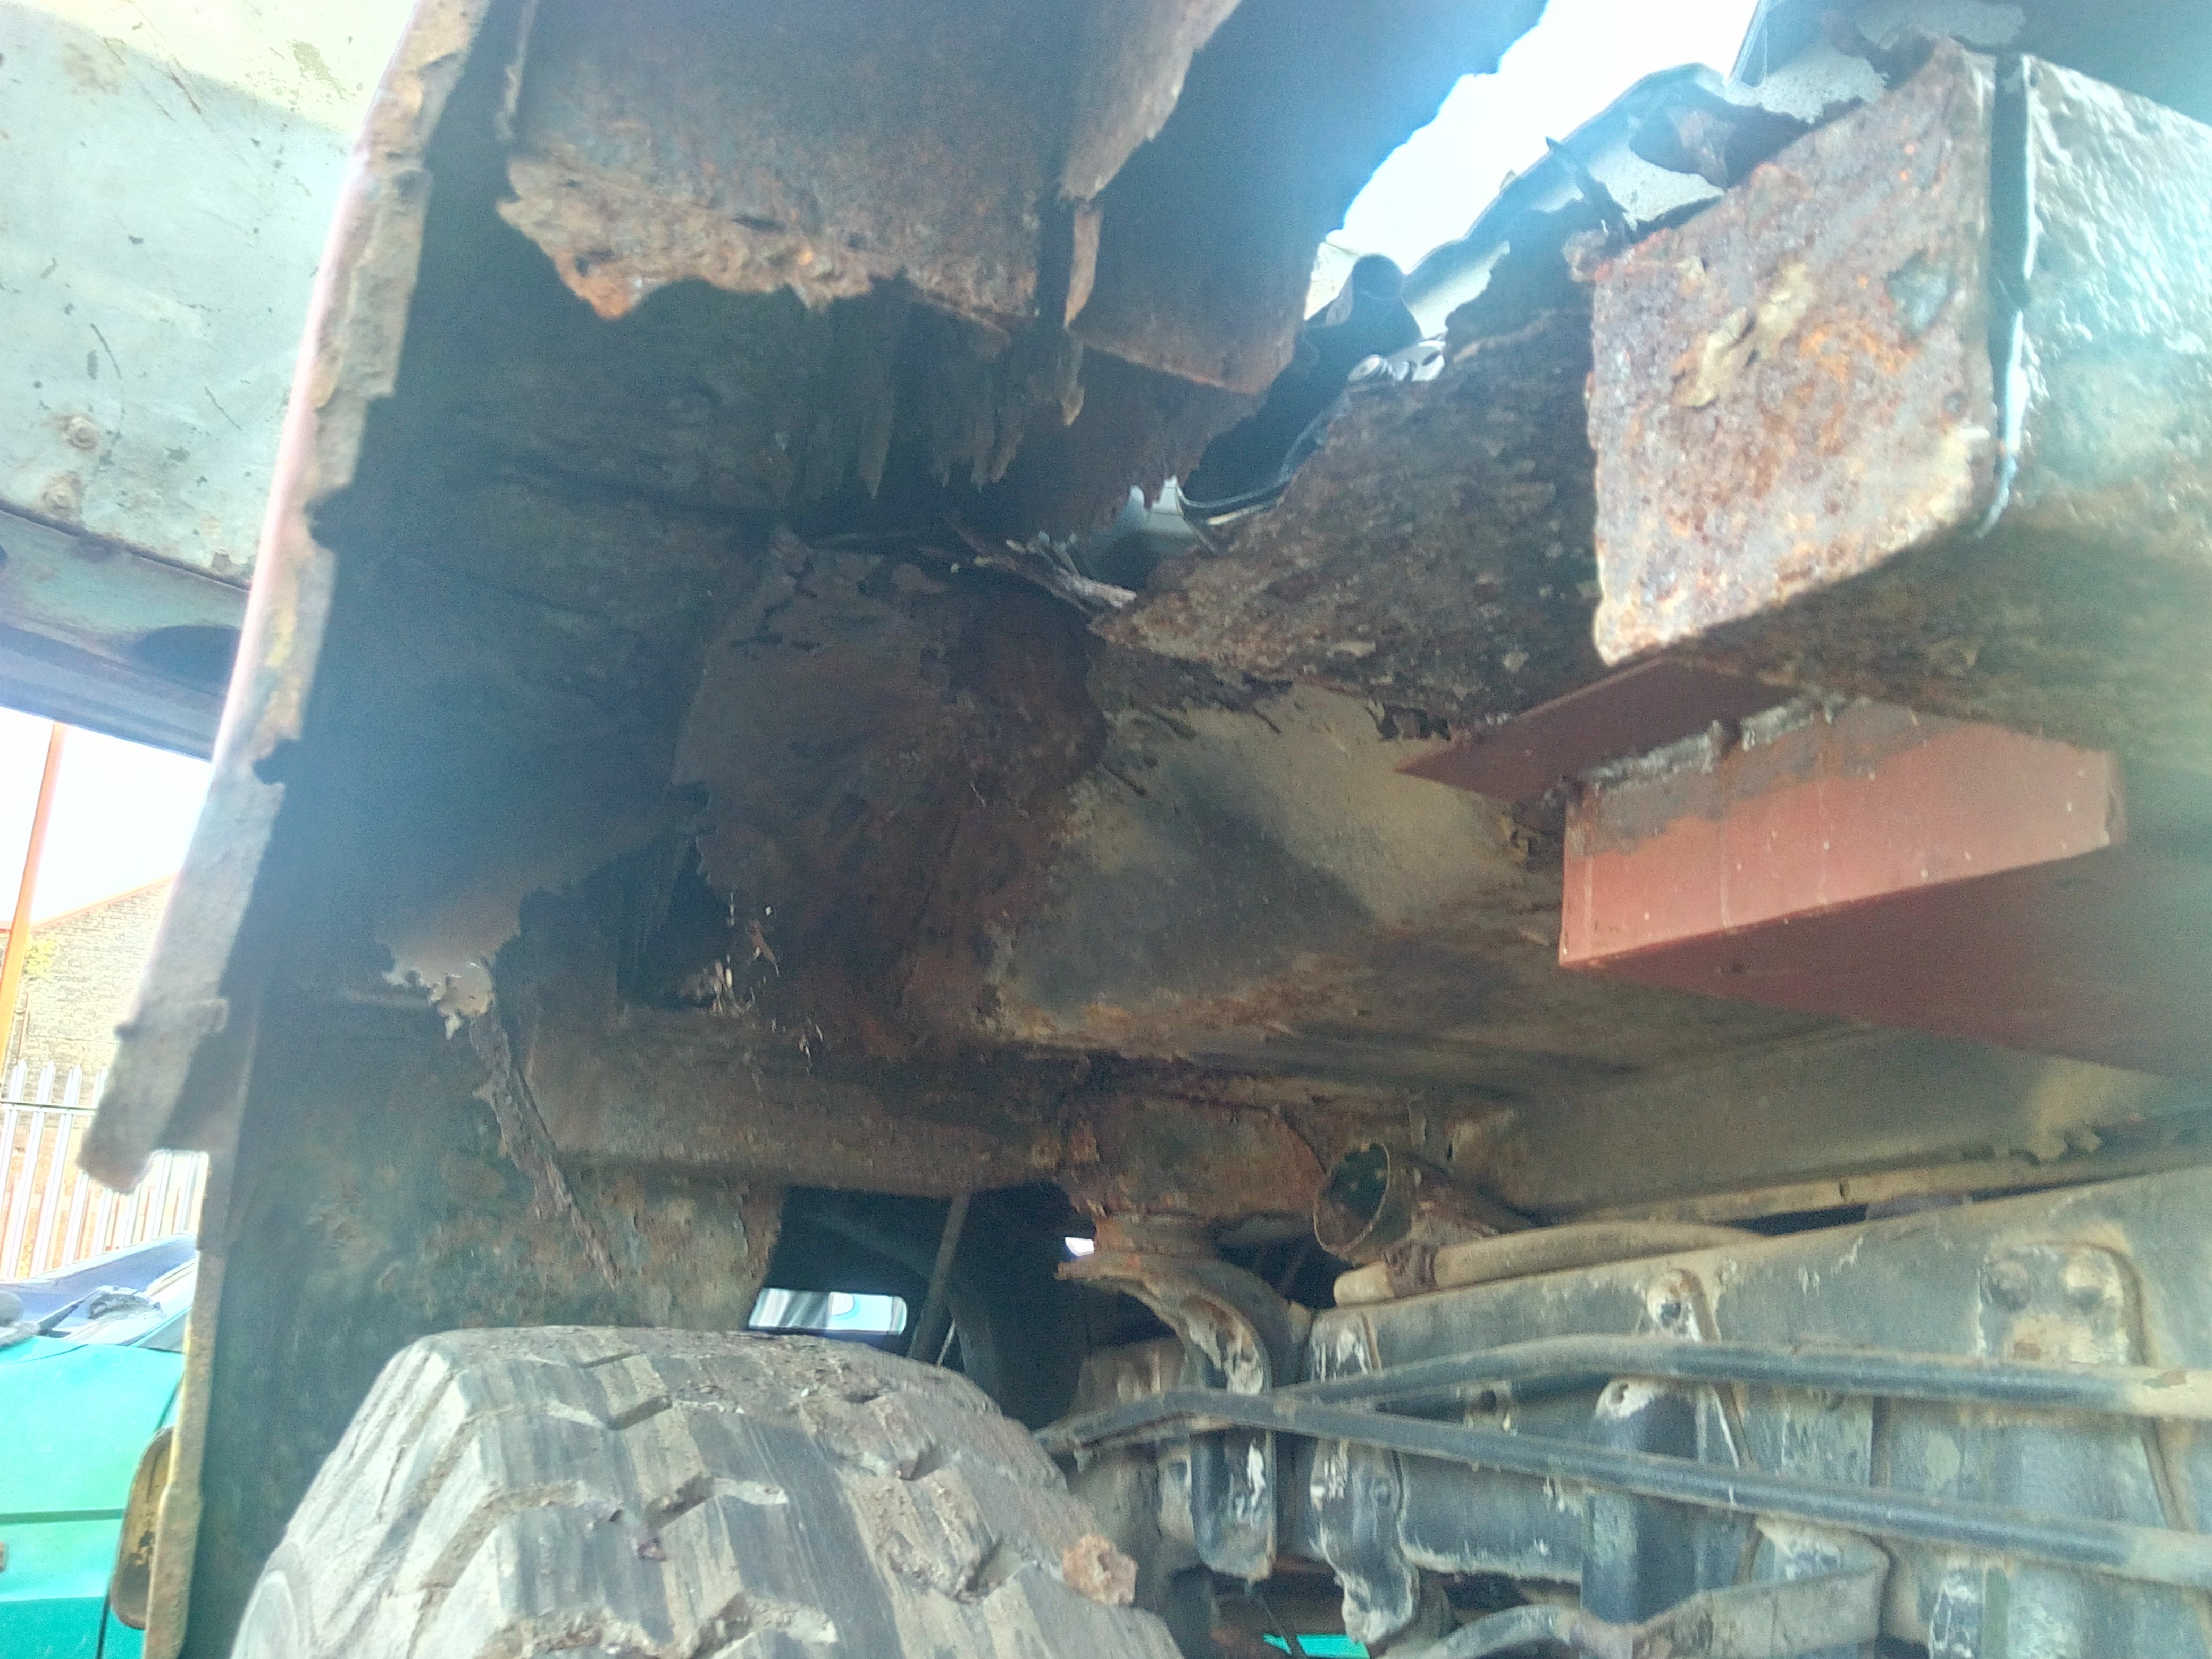 I made a fusebox. Okay, finished the fusebox. ...Okay, mostly finished the fuse-box.  It's still not fully bolted together, so sometimes if I take the cover off, the ali plate with everything on it, falls out. But it's bolted to the cab, so it'll do for now. 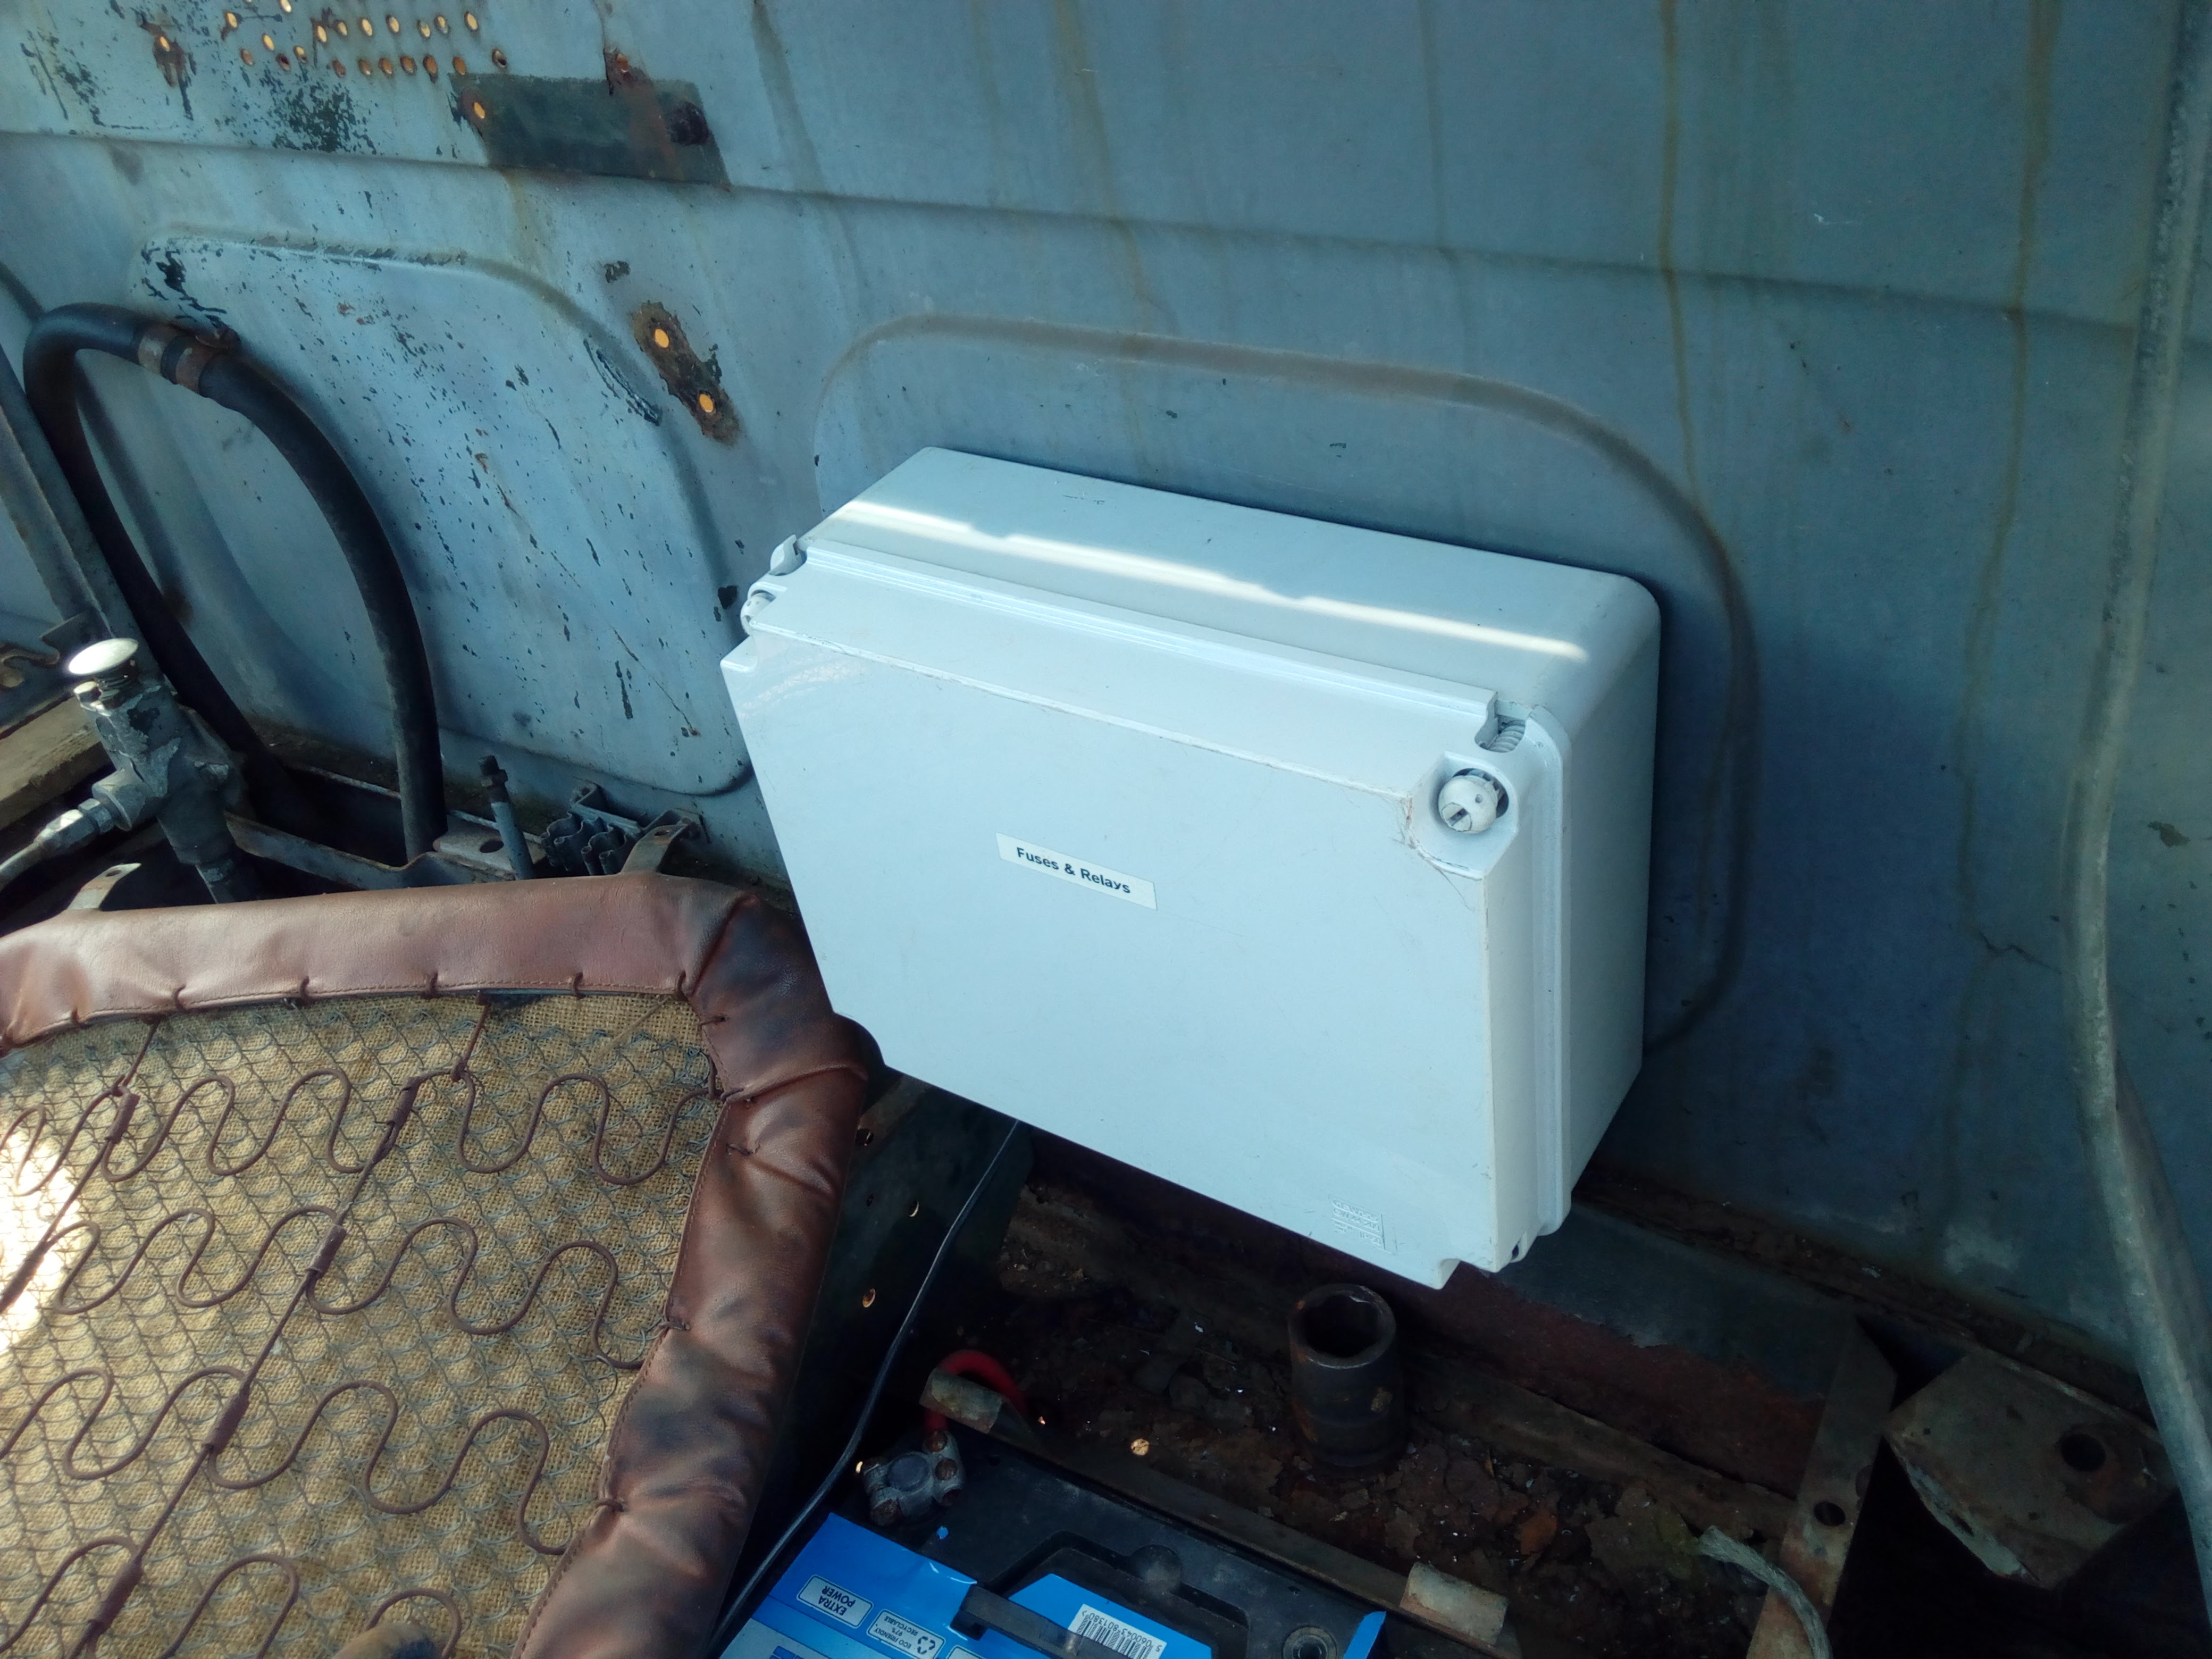 It fits, just, behind the passenger seat. 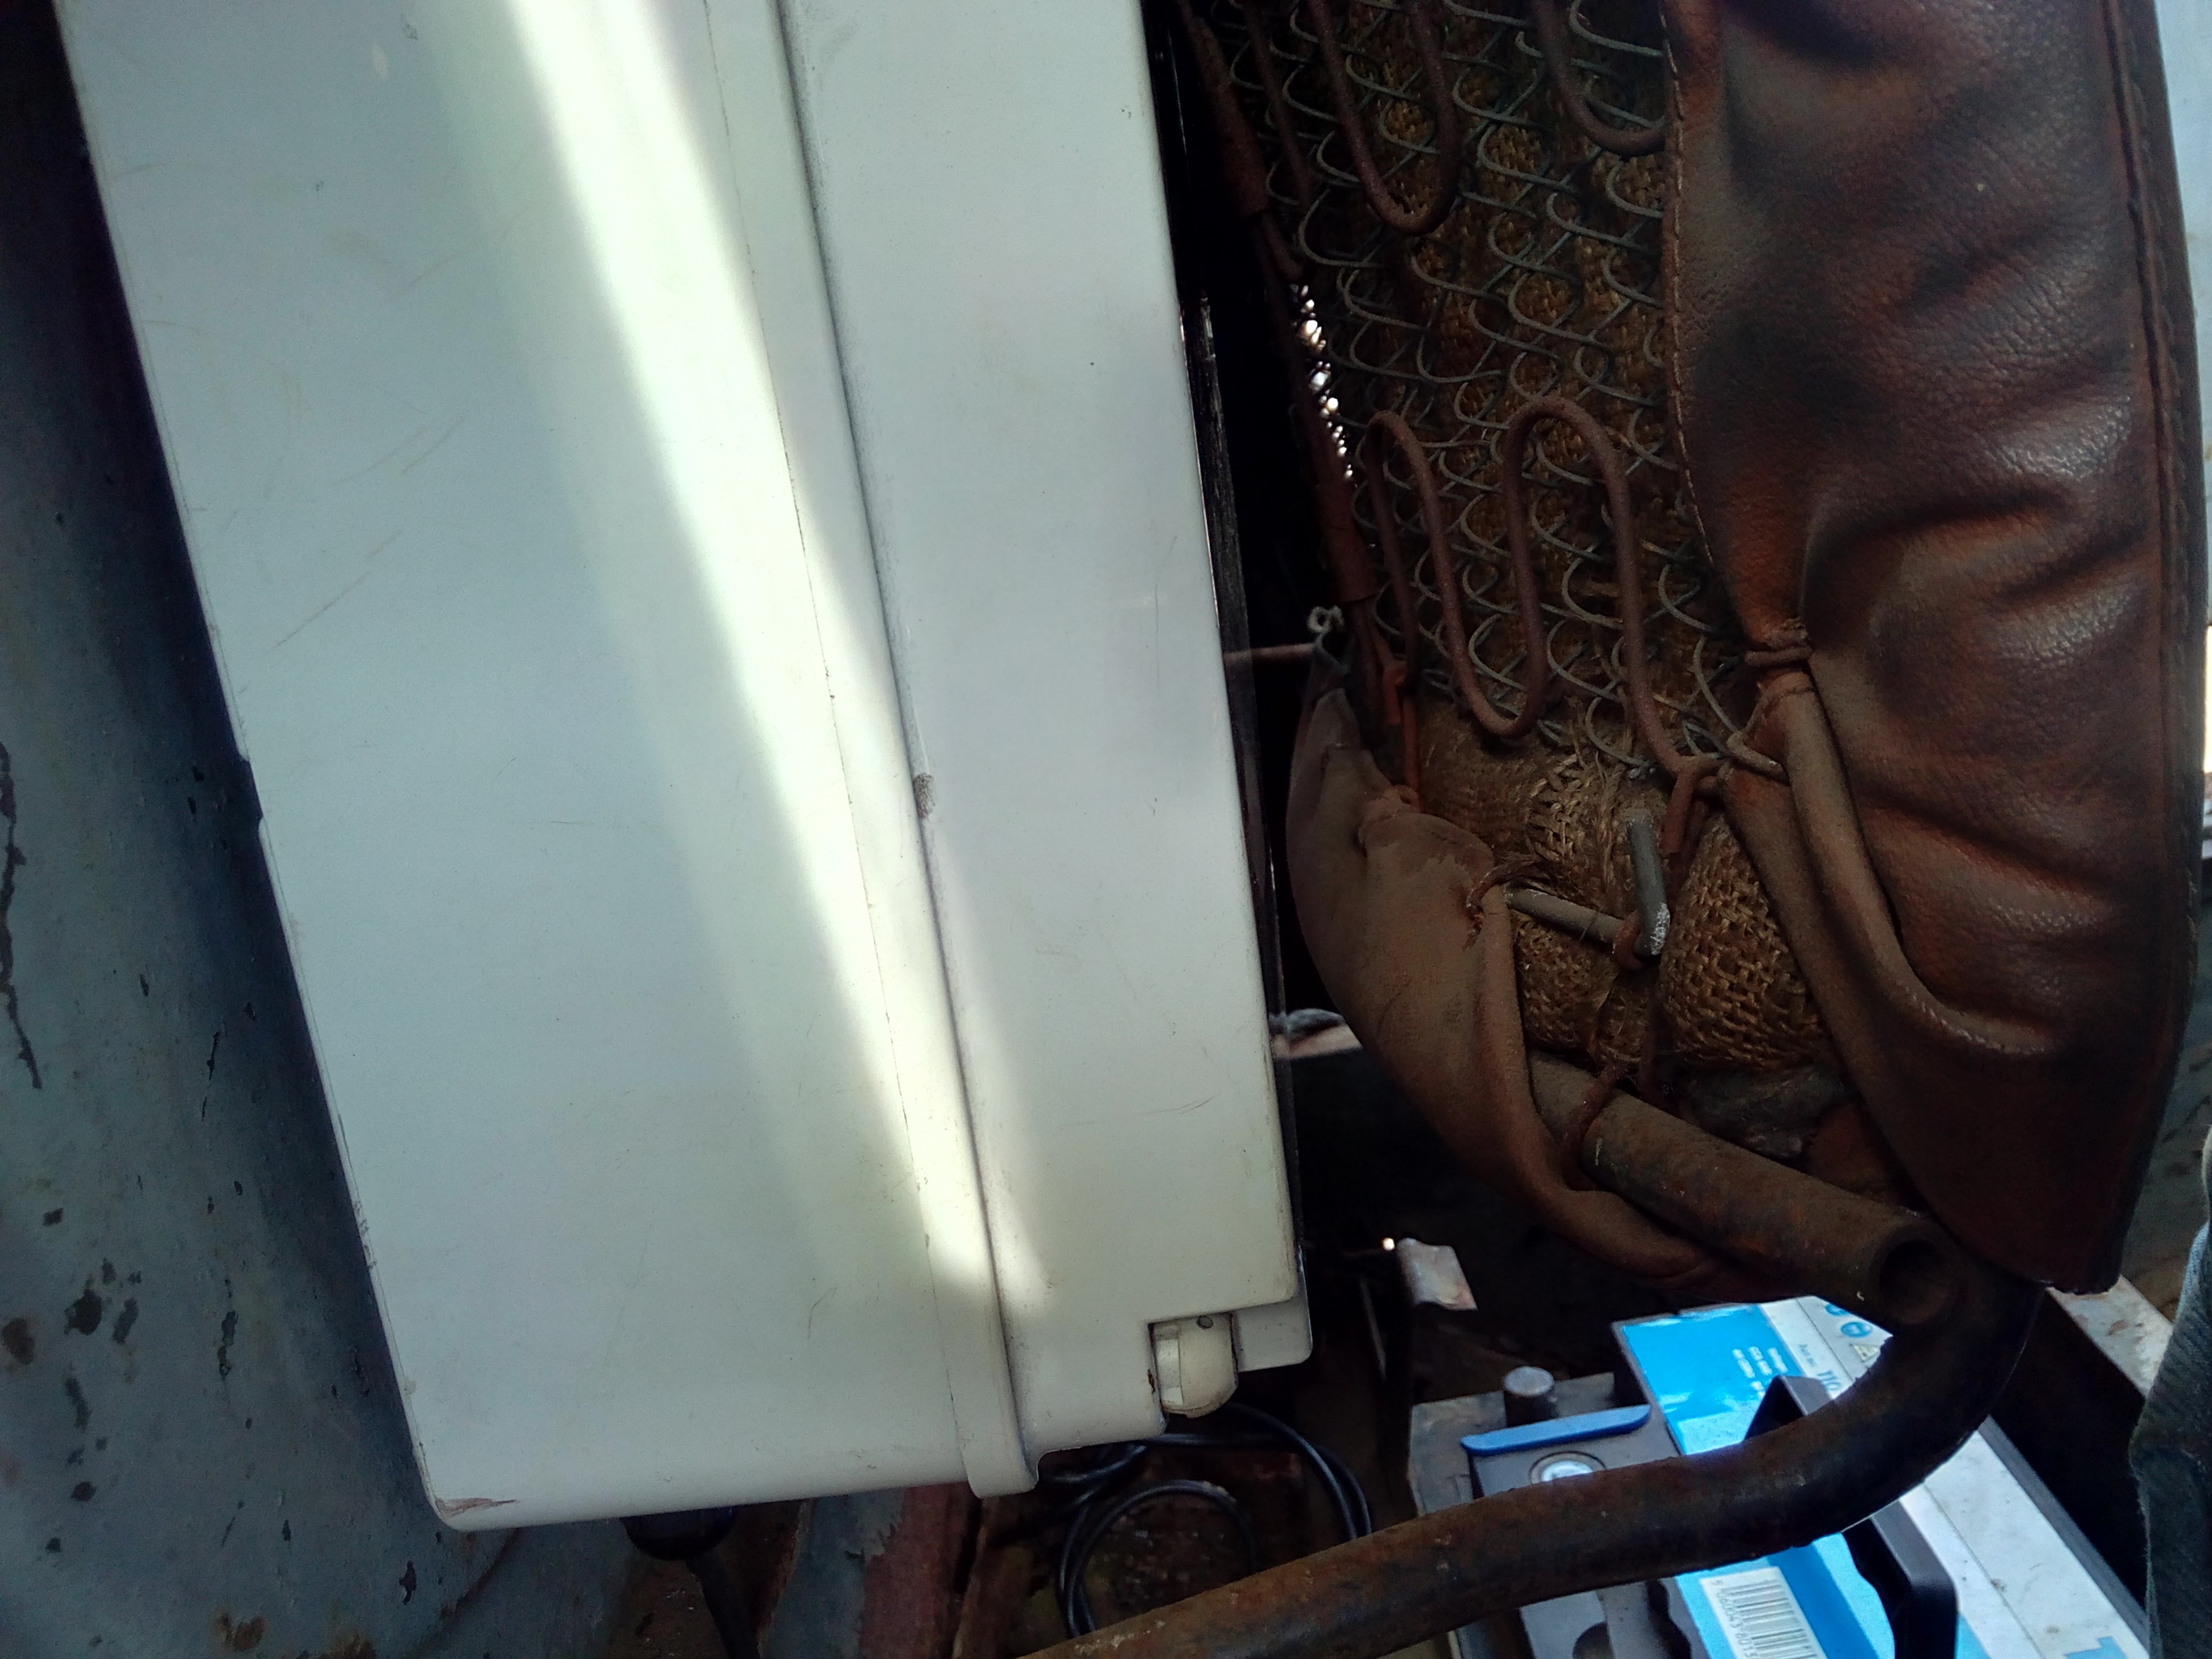 Throw some wire at it... 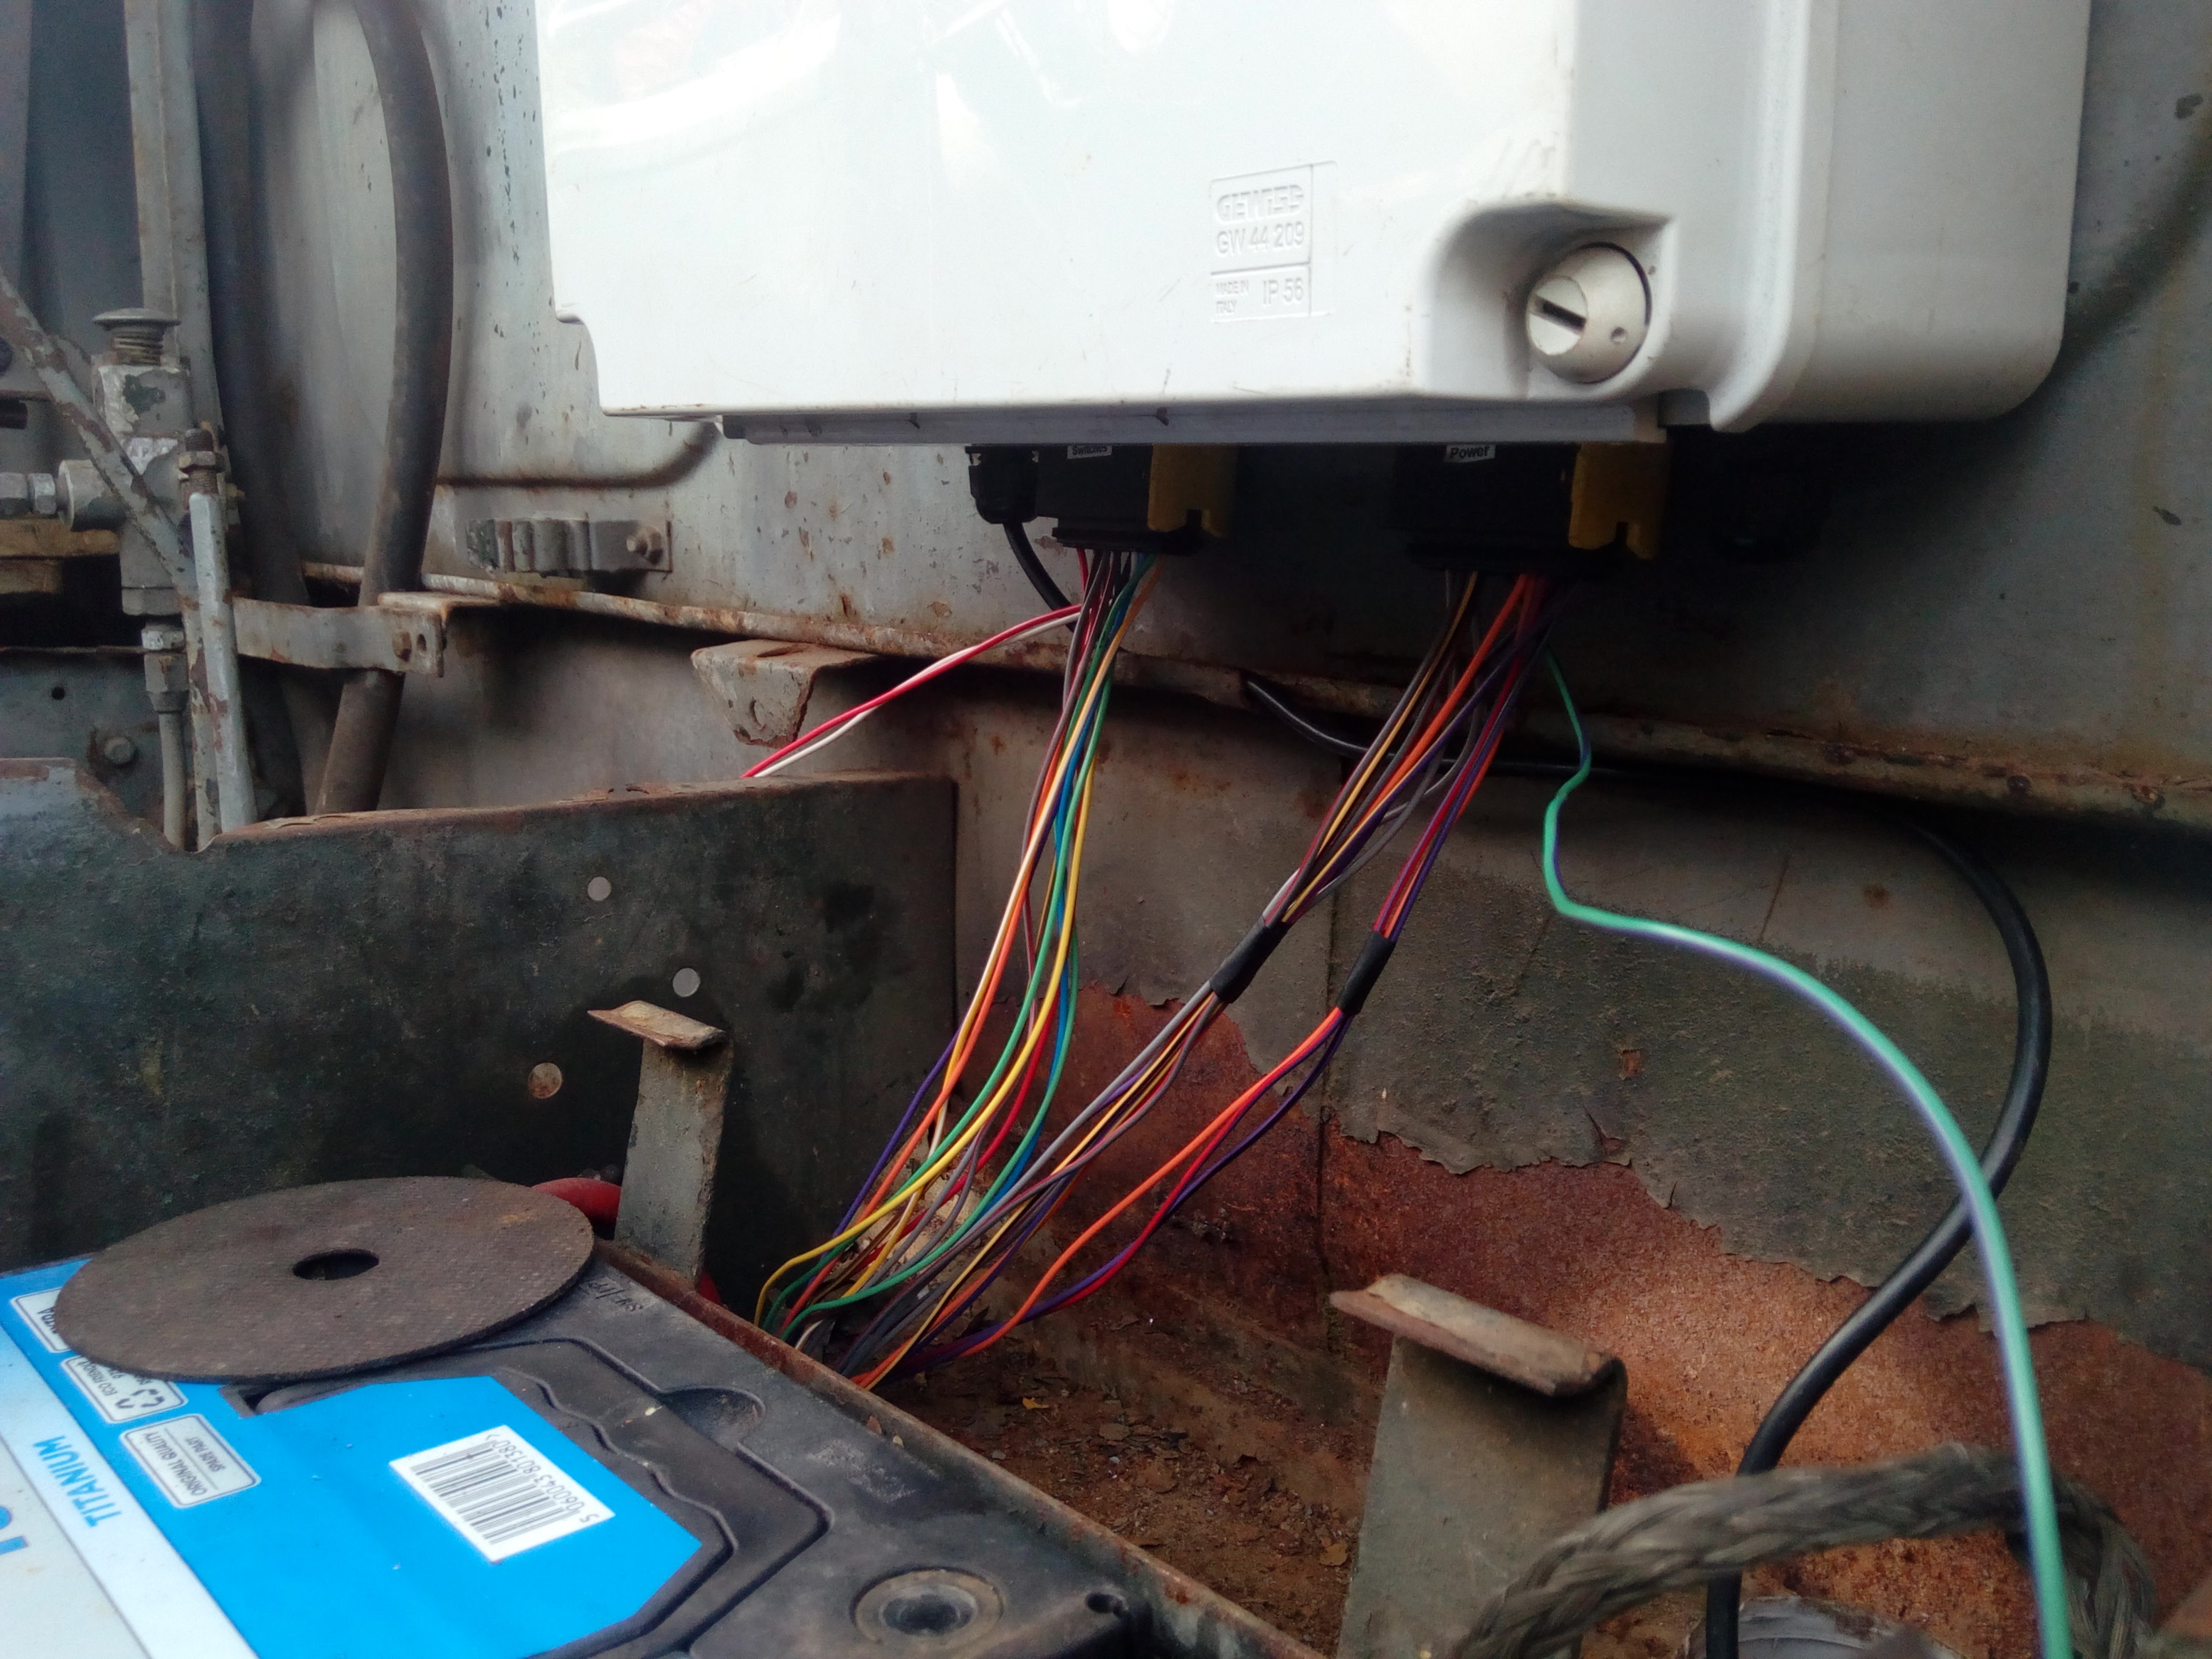 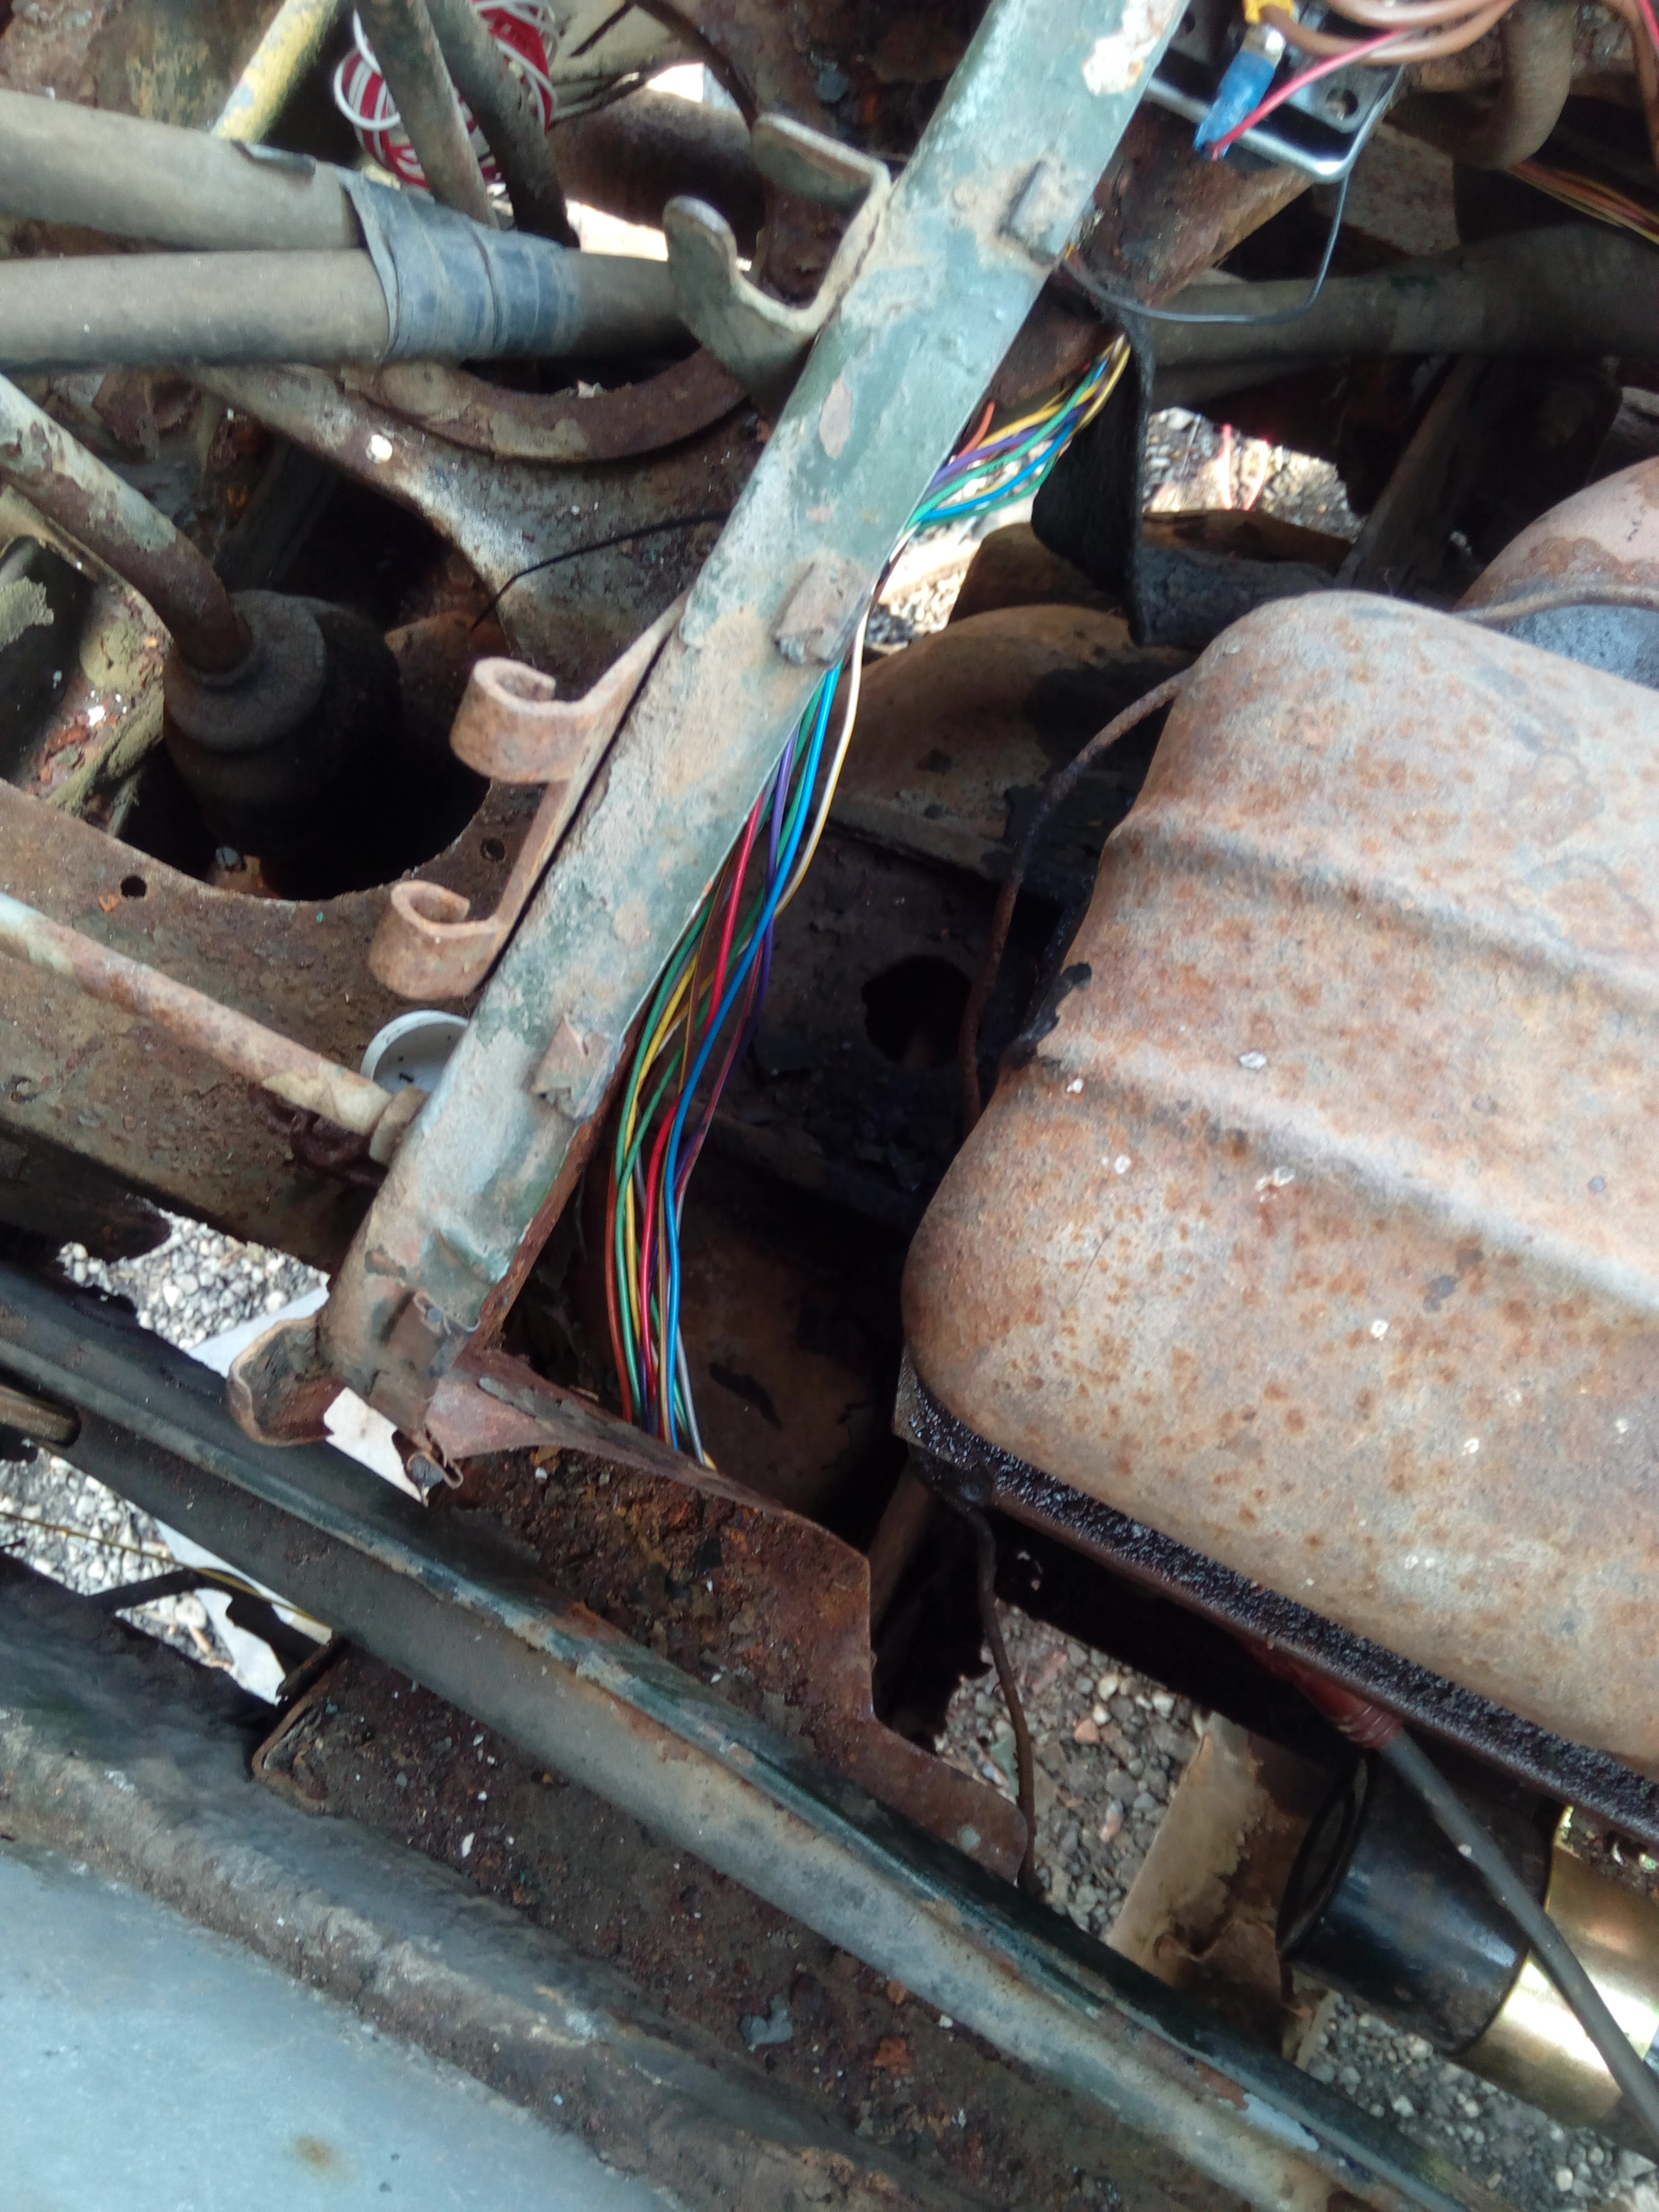 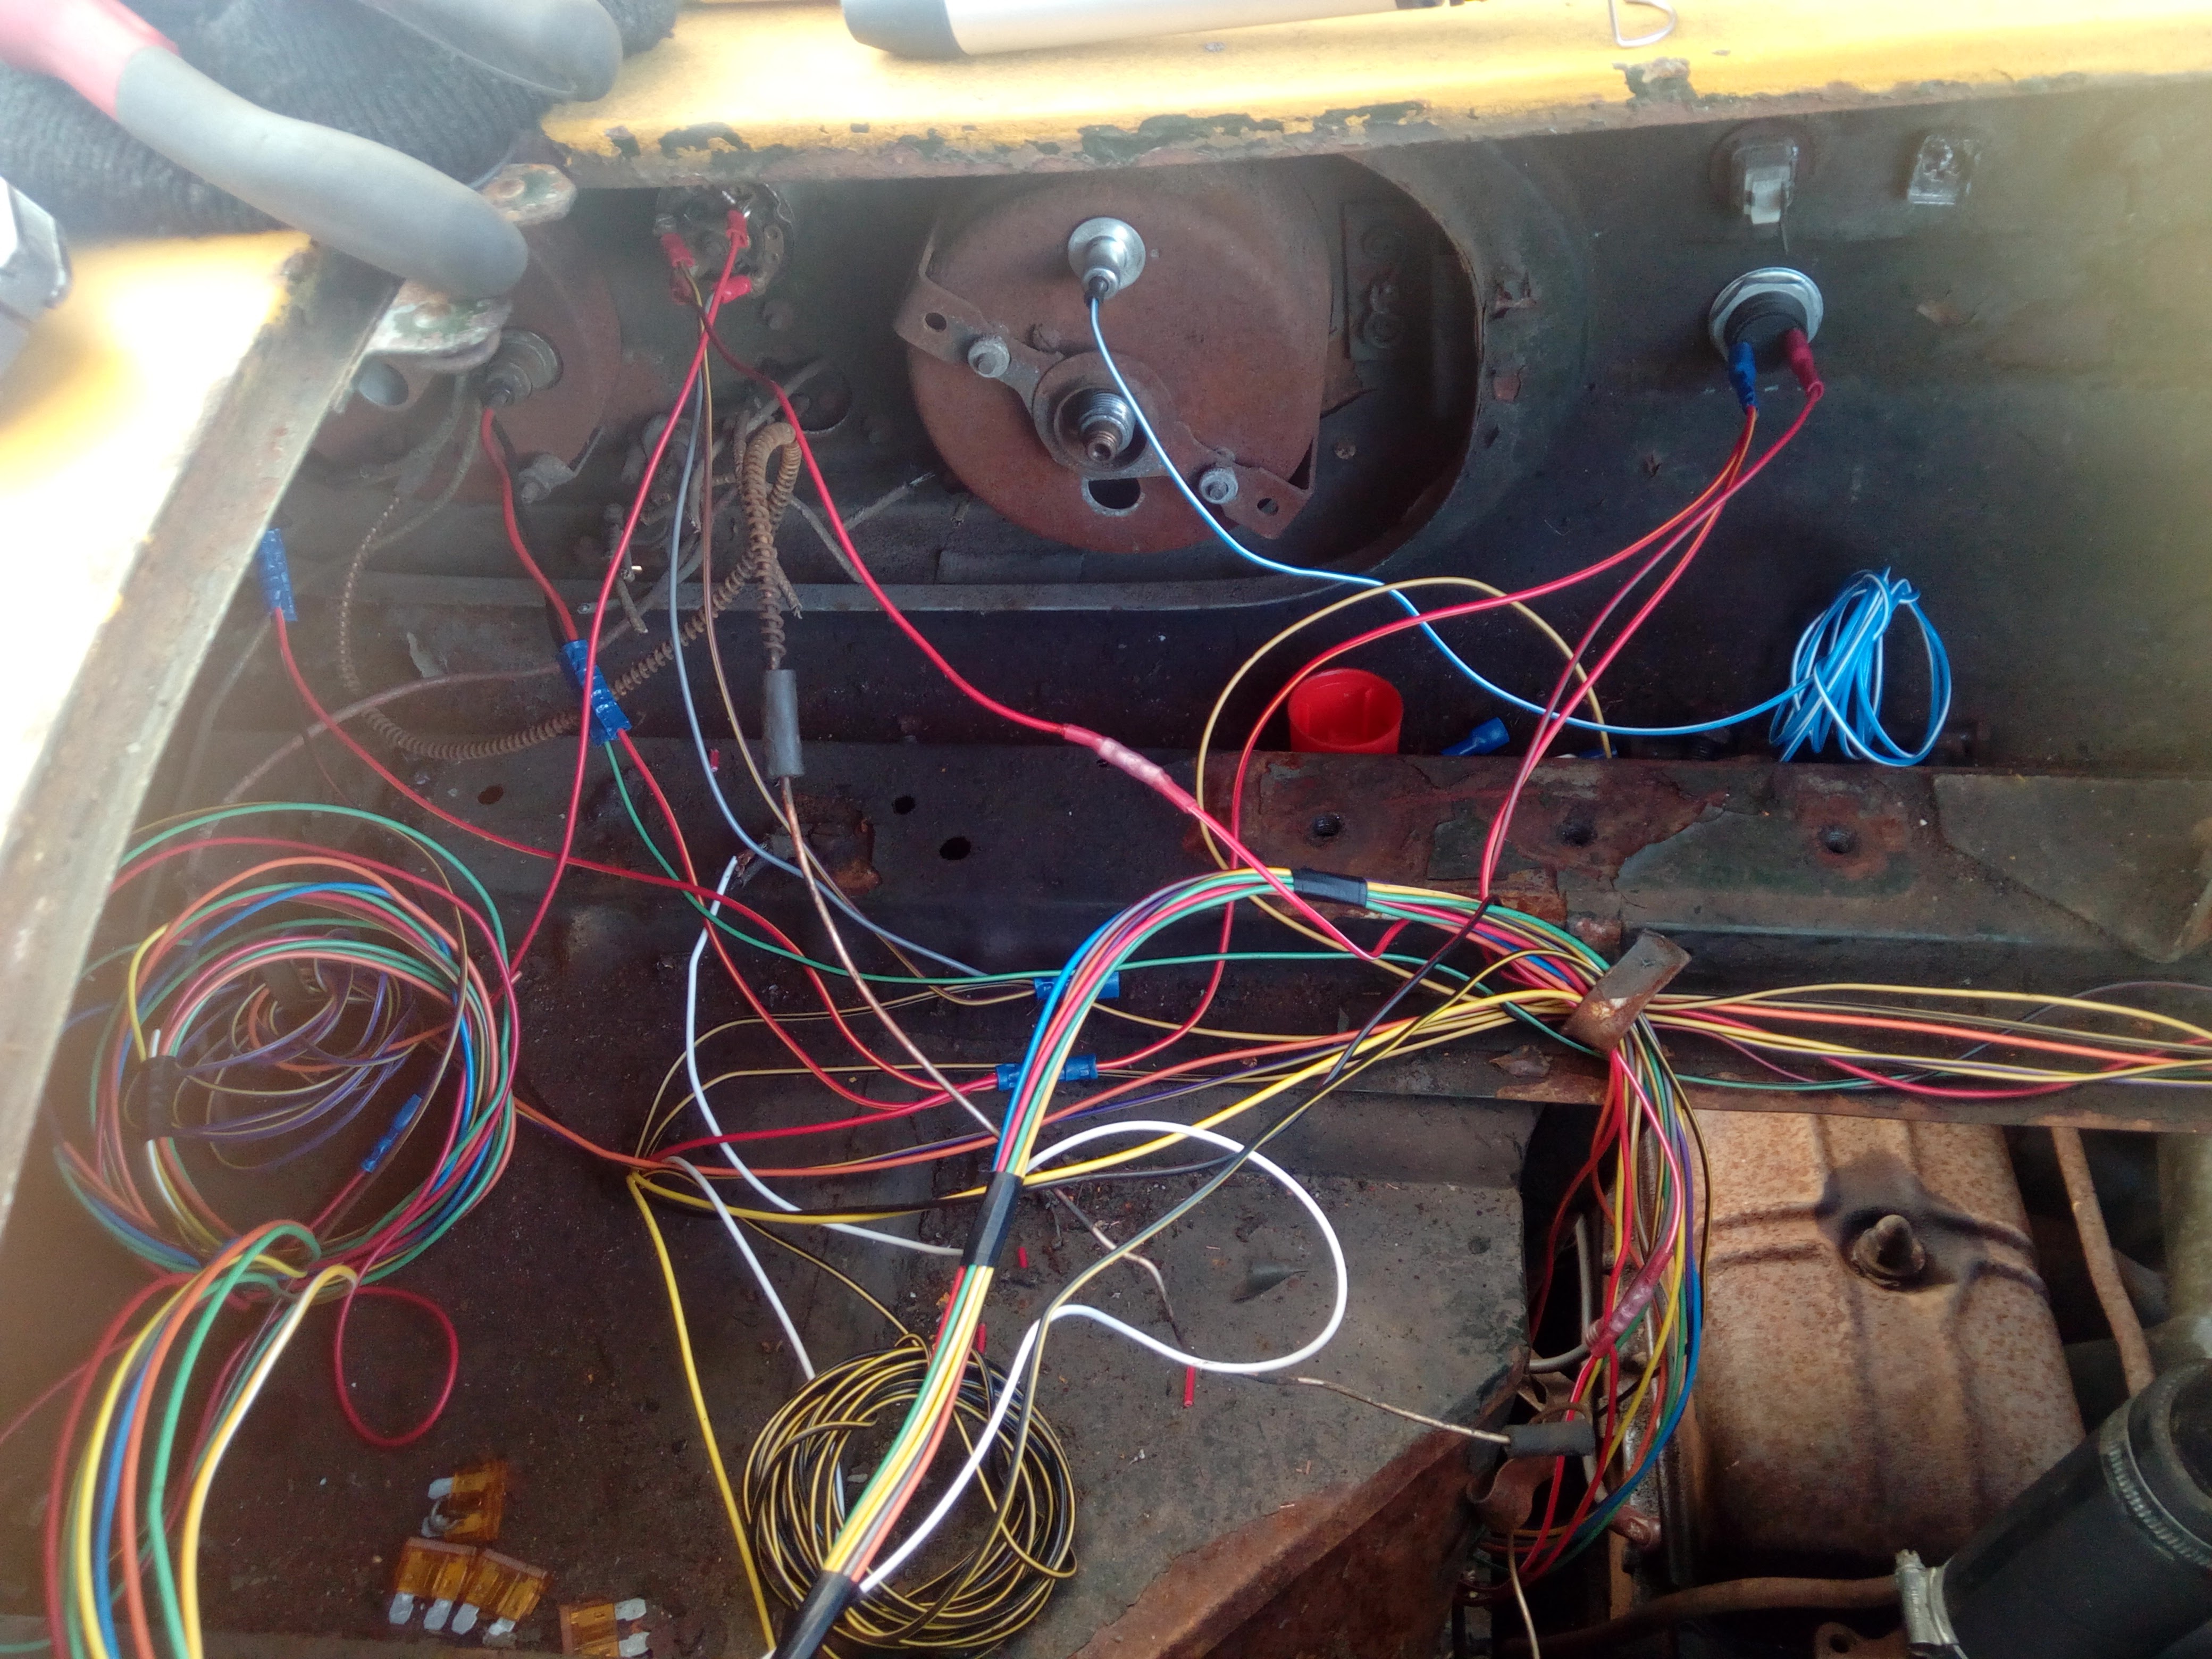 Yeah, nice! And that lets us do:  Now, let's look in on what's going on with that brake situation again. Master cylinder guts... 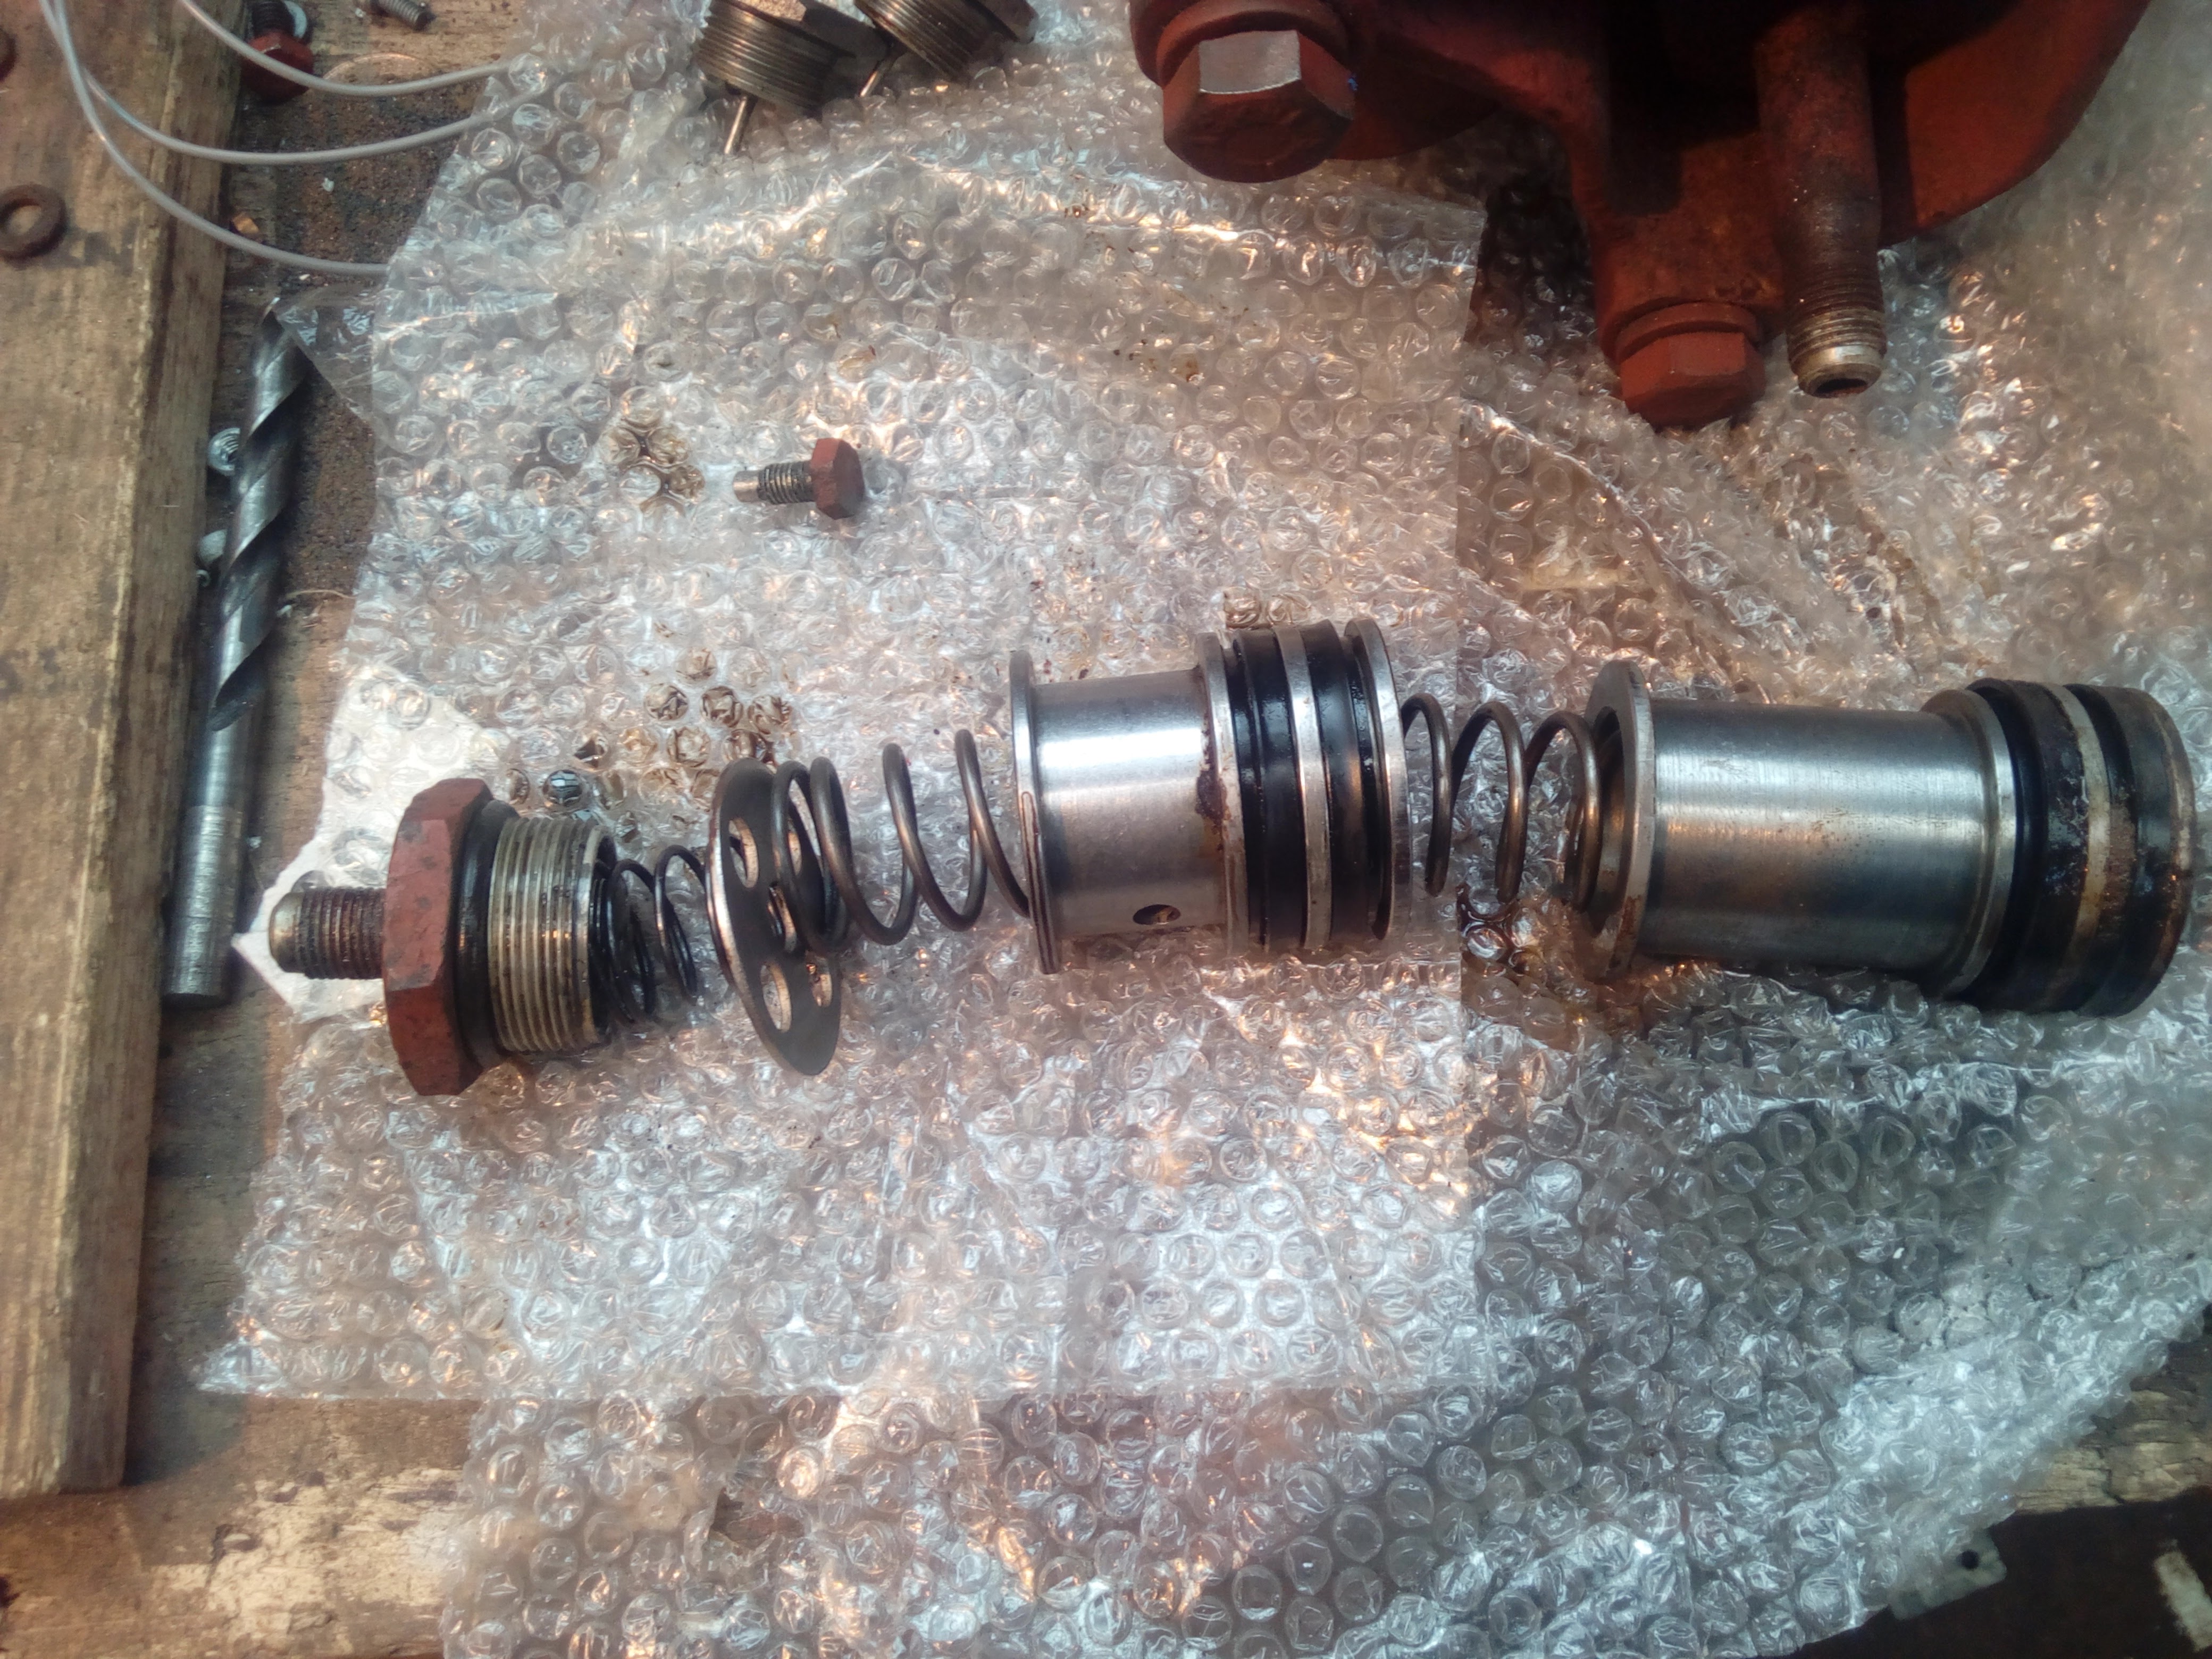 Master cylinder bore...  Mm, not pretty. Let's see if it cleans up with the brake cylinder hone.  And it does, but it's still a touch questionable. So I go to knock another gert big hole in my wallet, and send it off to be furtled about with. Hmm, what to do in the meantime... Well, I have a fuel tank sitting around... Time for it to have some quality time with a wire wheel on a grinder, and some paint! 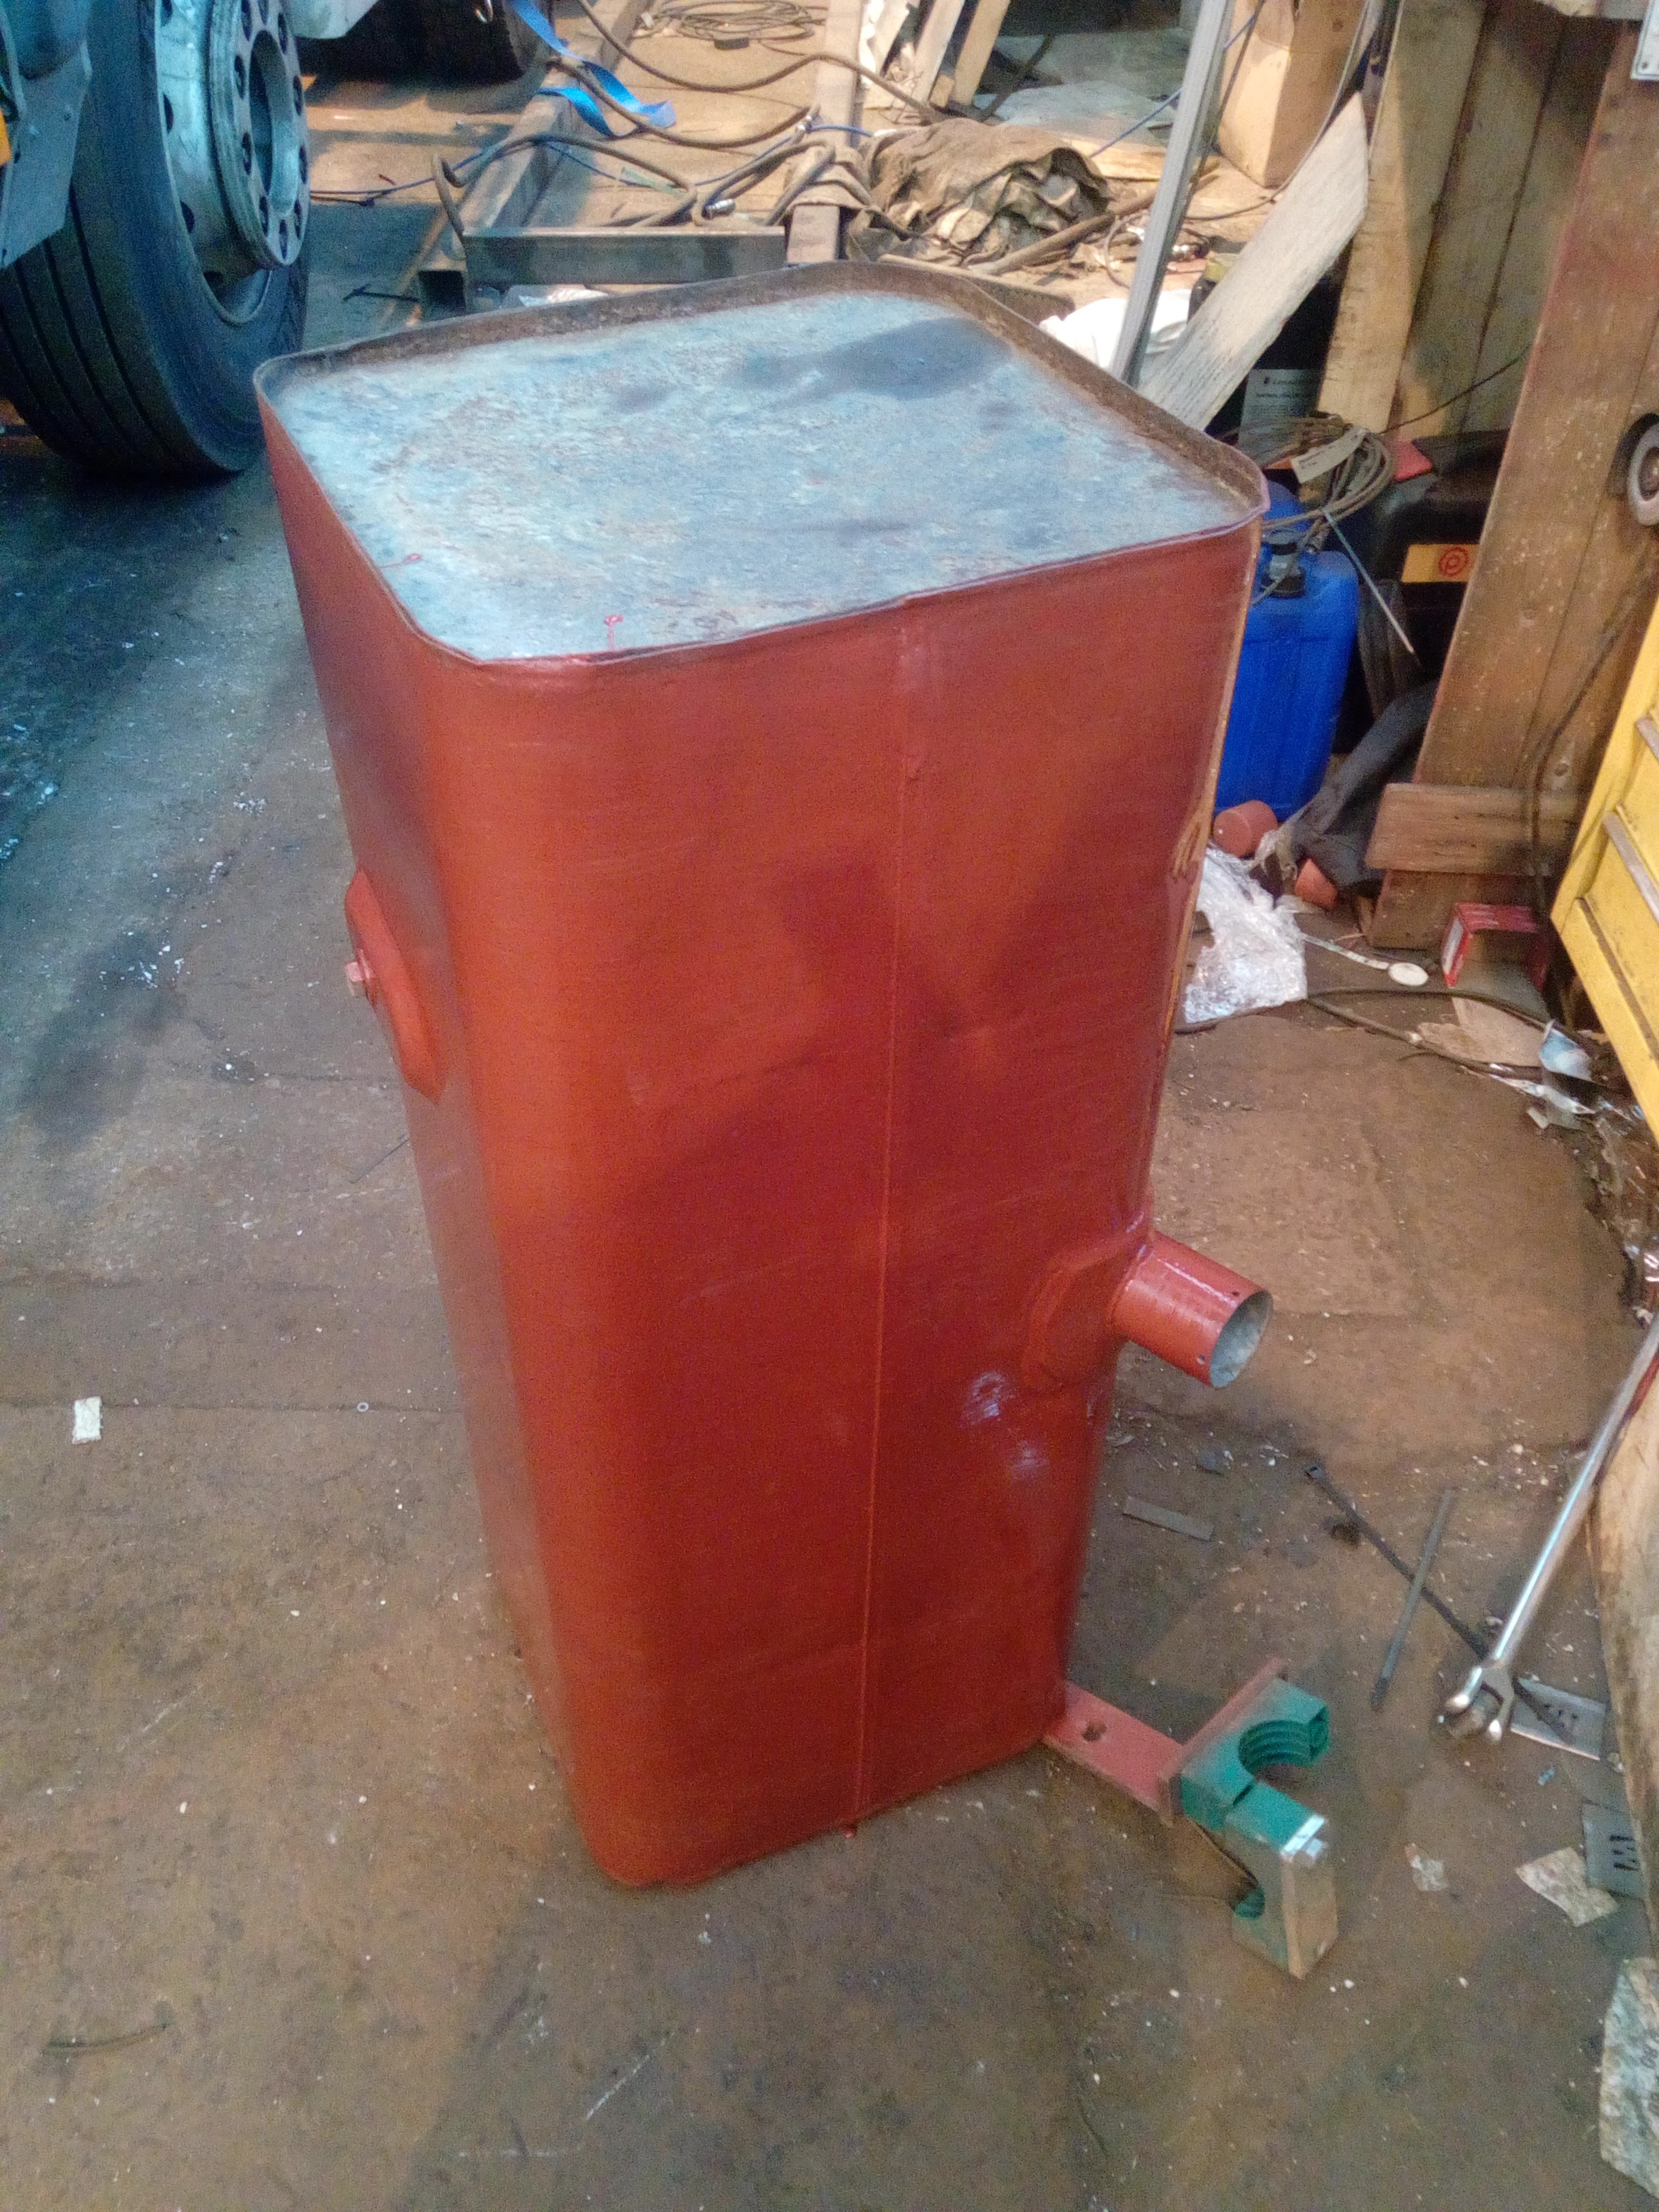 Nice! Now let's see it in gloss black... 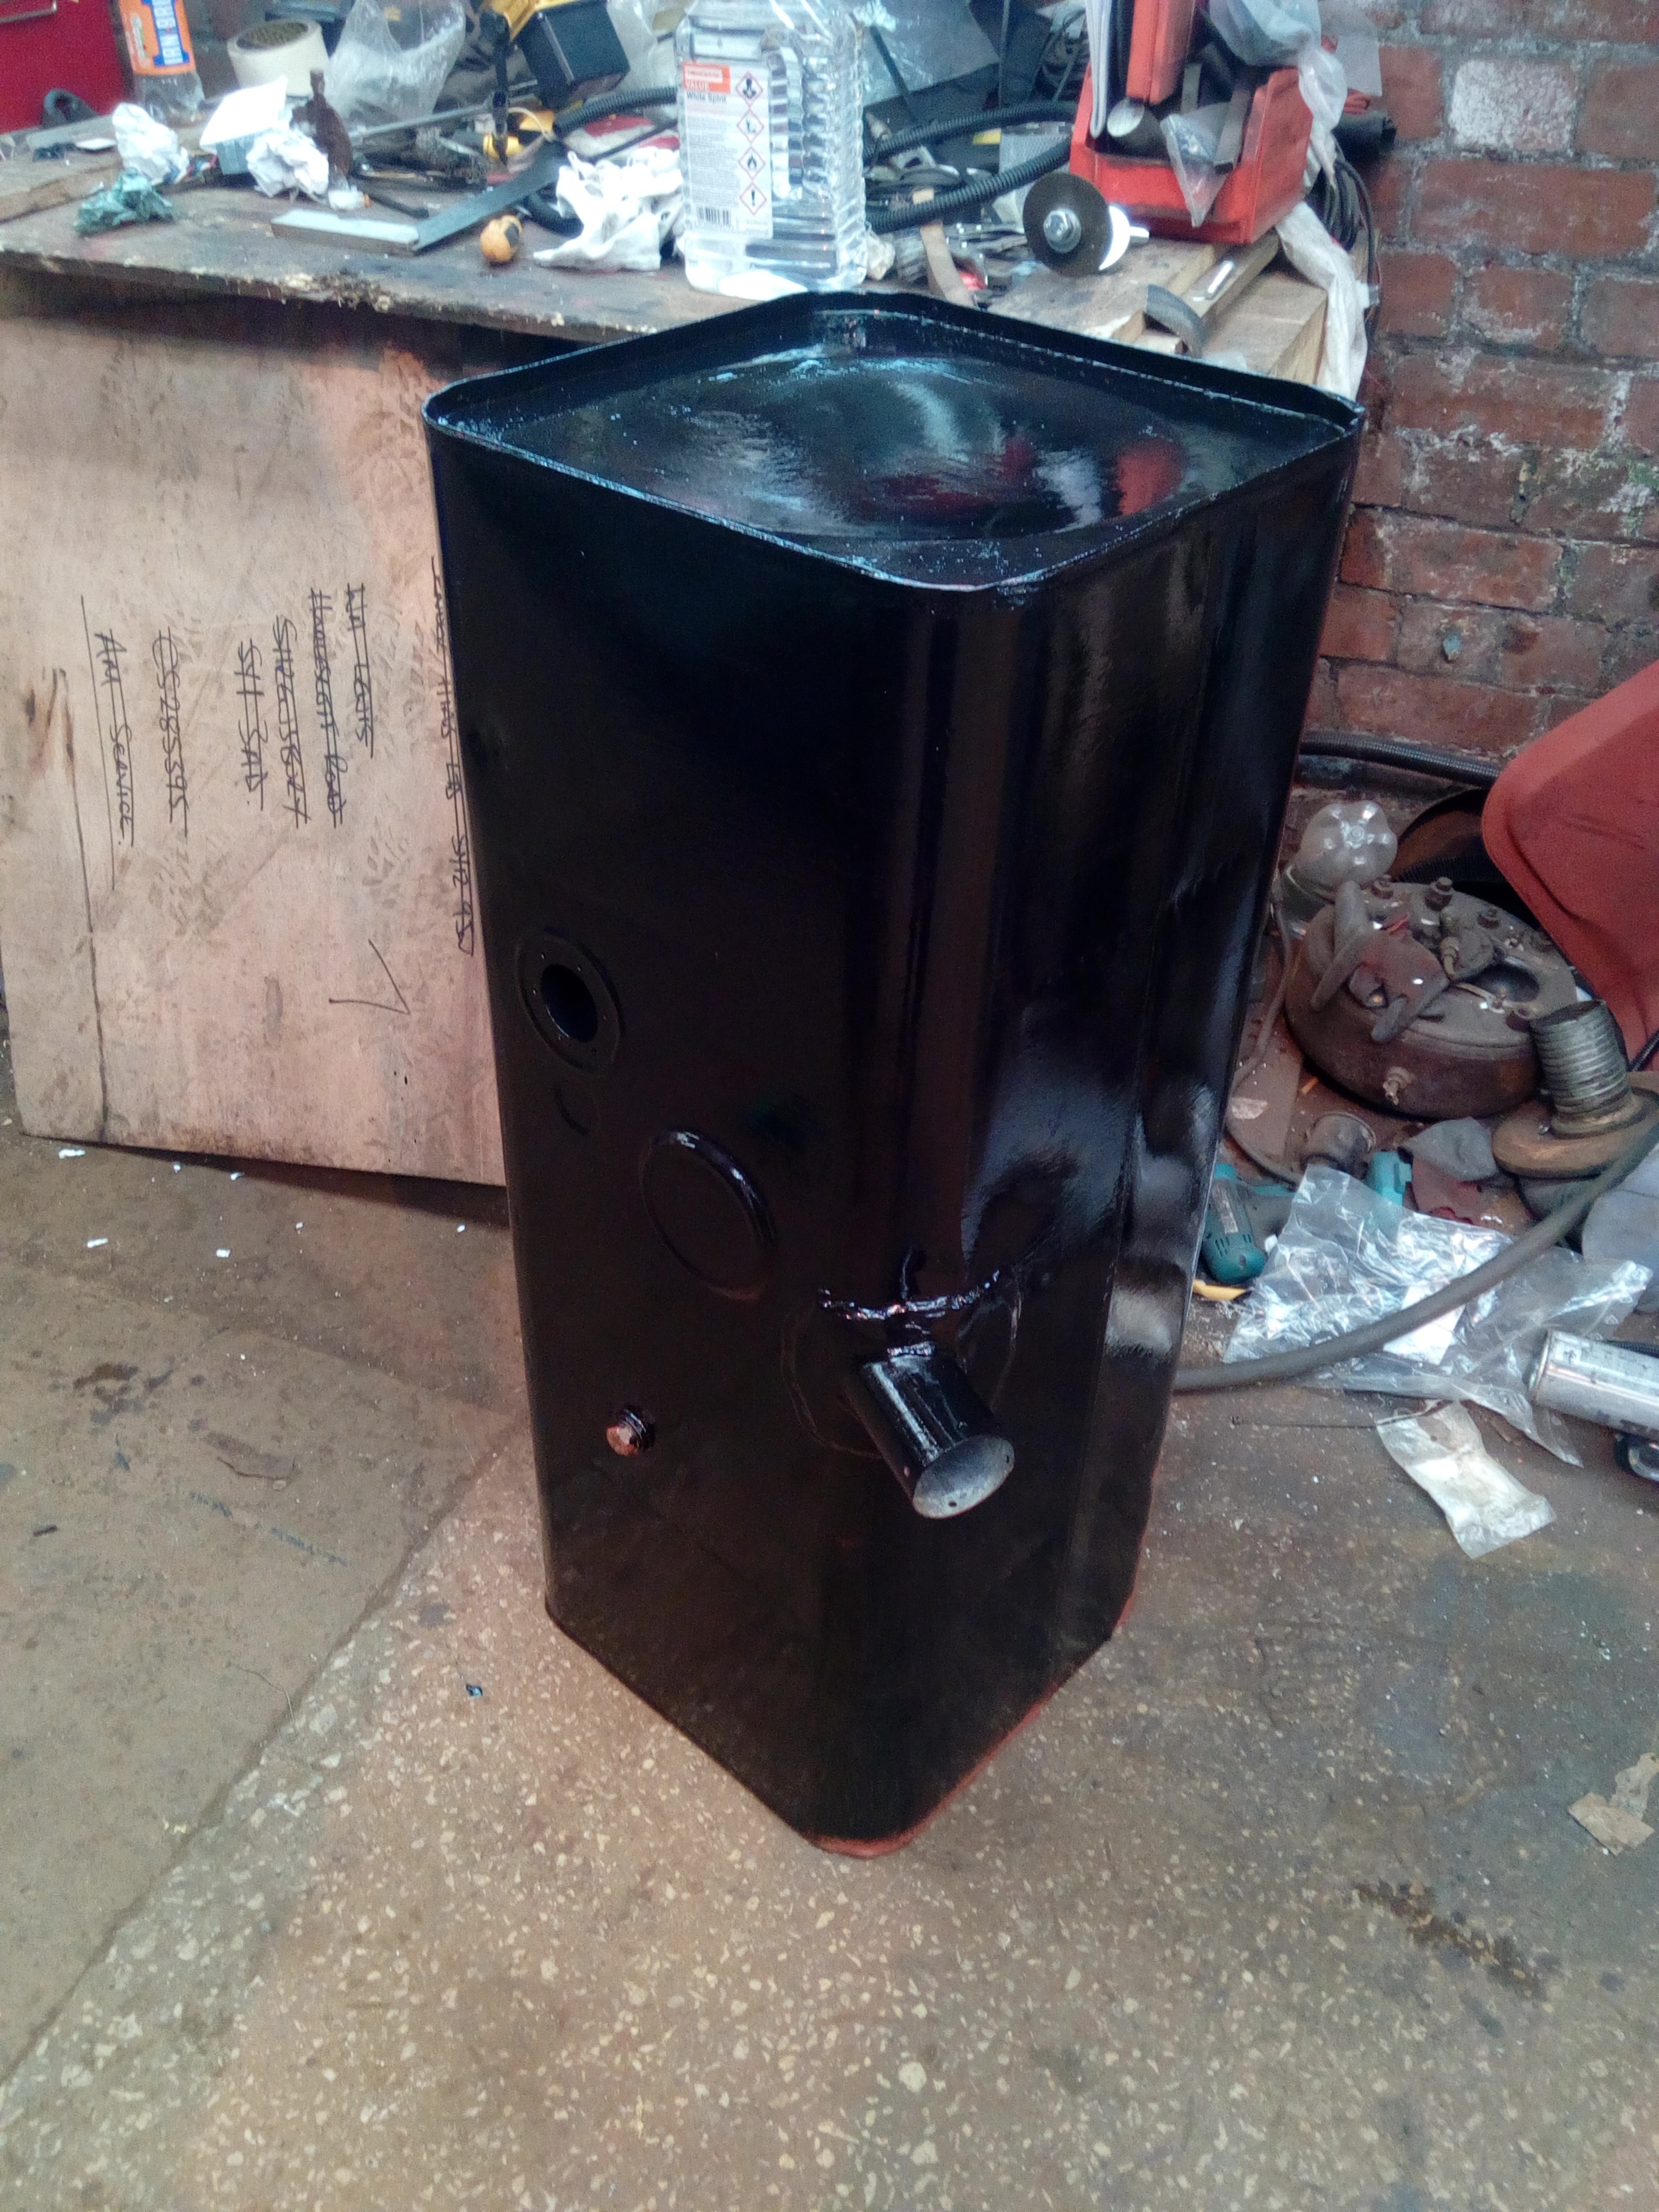 Snazzy! Also, the tank mounting brackets were done in the same black, after a course of wire wheel, Kurust, primer... Then, some planning ahead: Add a fuel filter! Which needs a bracket... 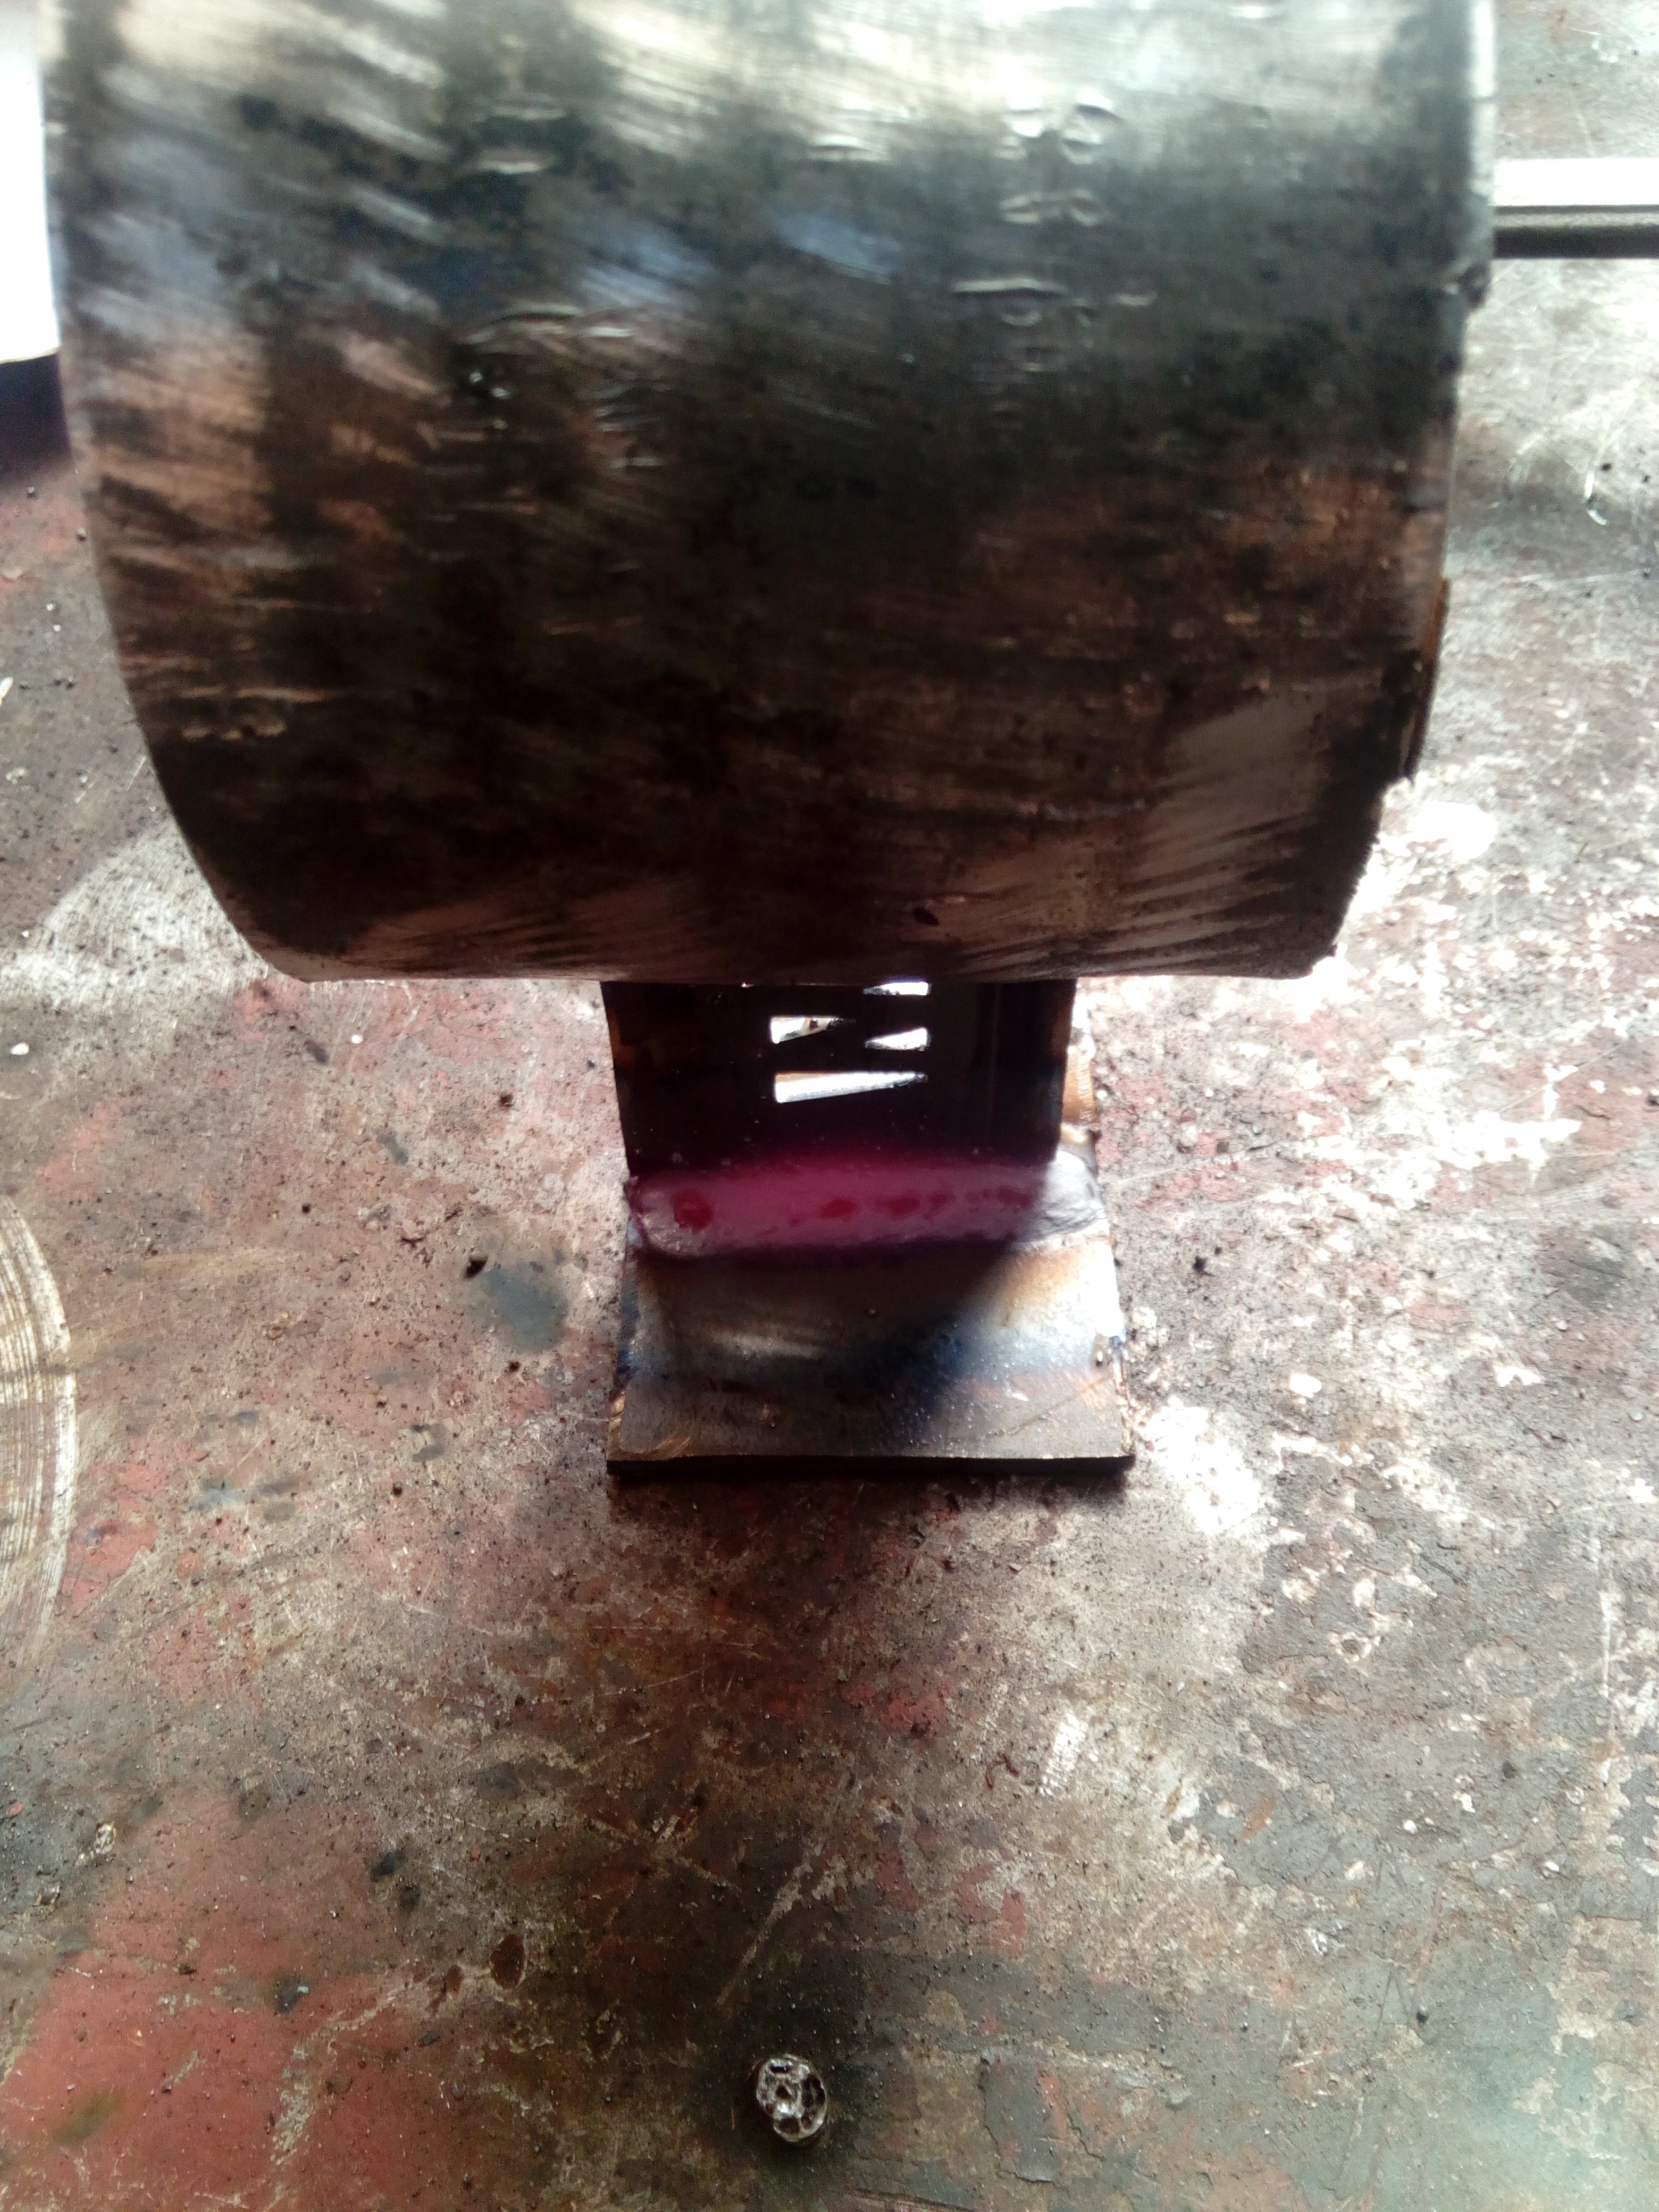 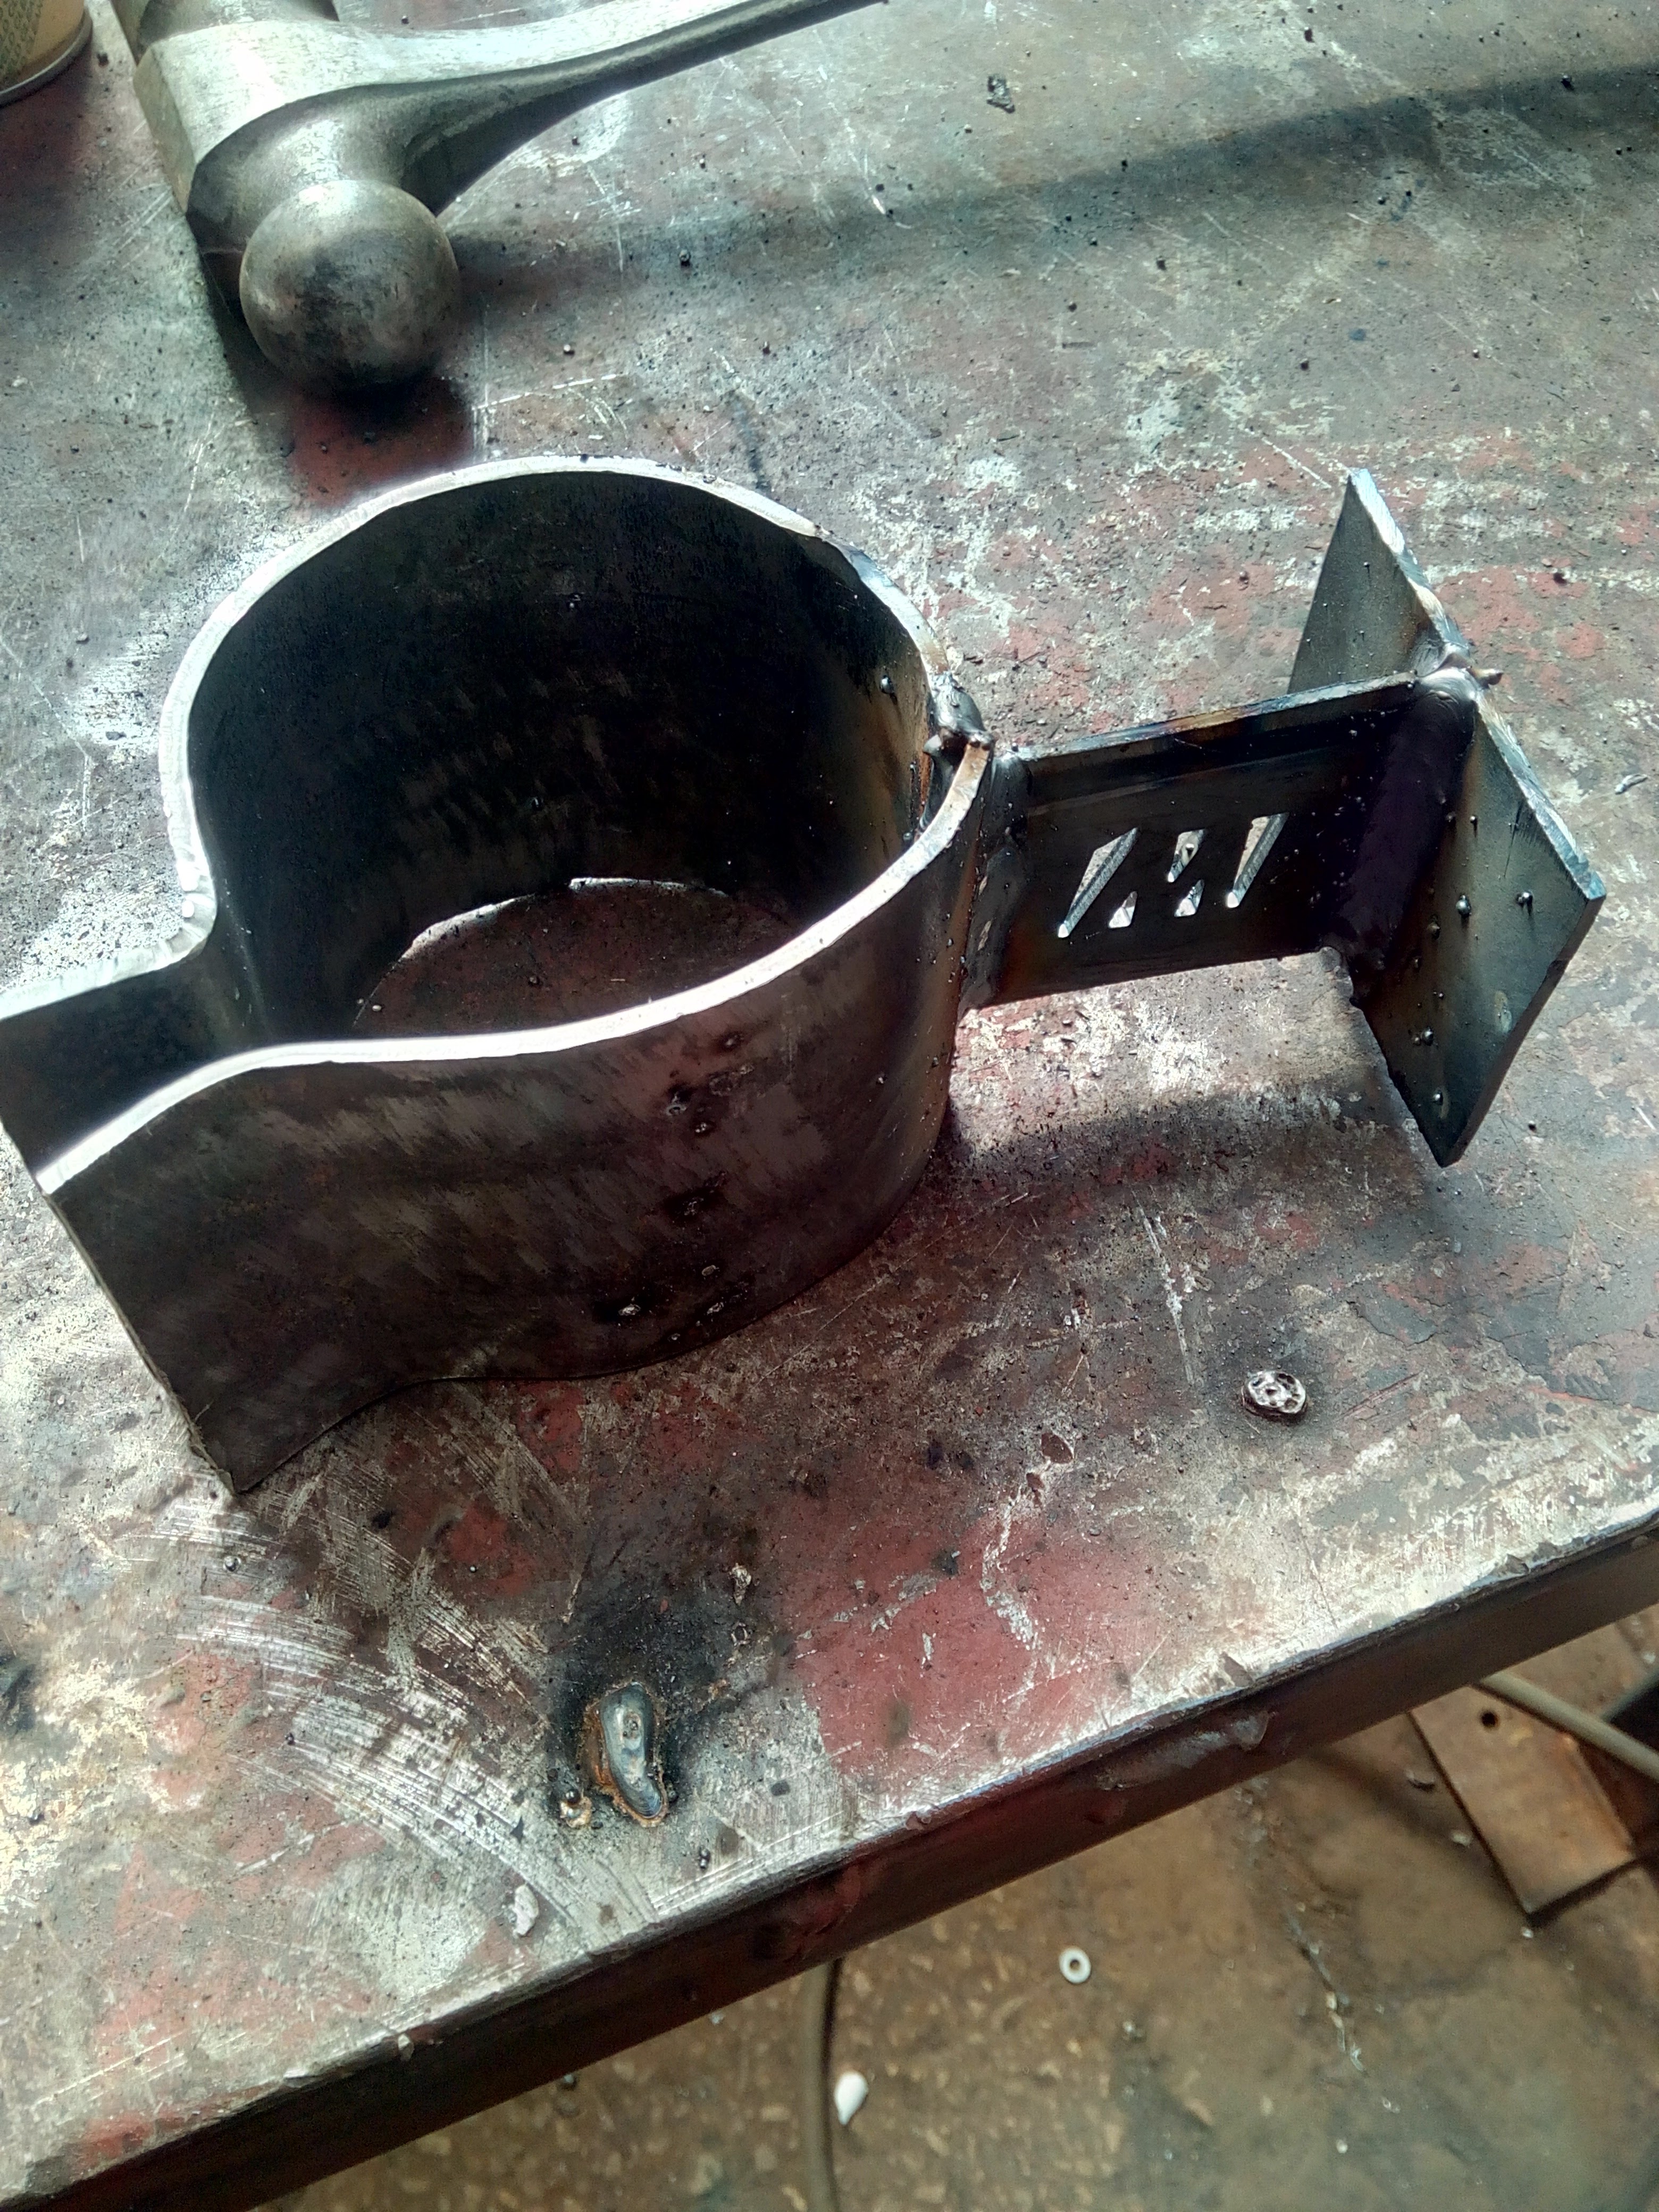 Yeah, something like that. Which goes, here: 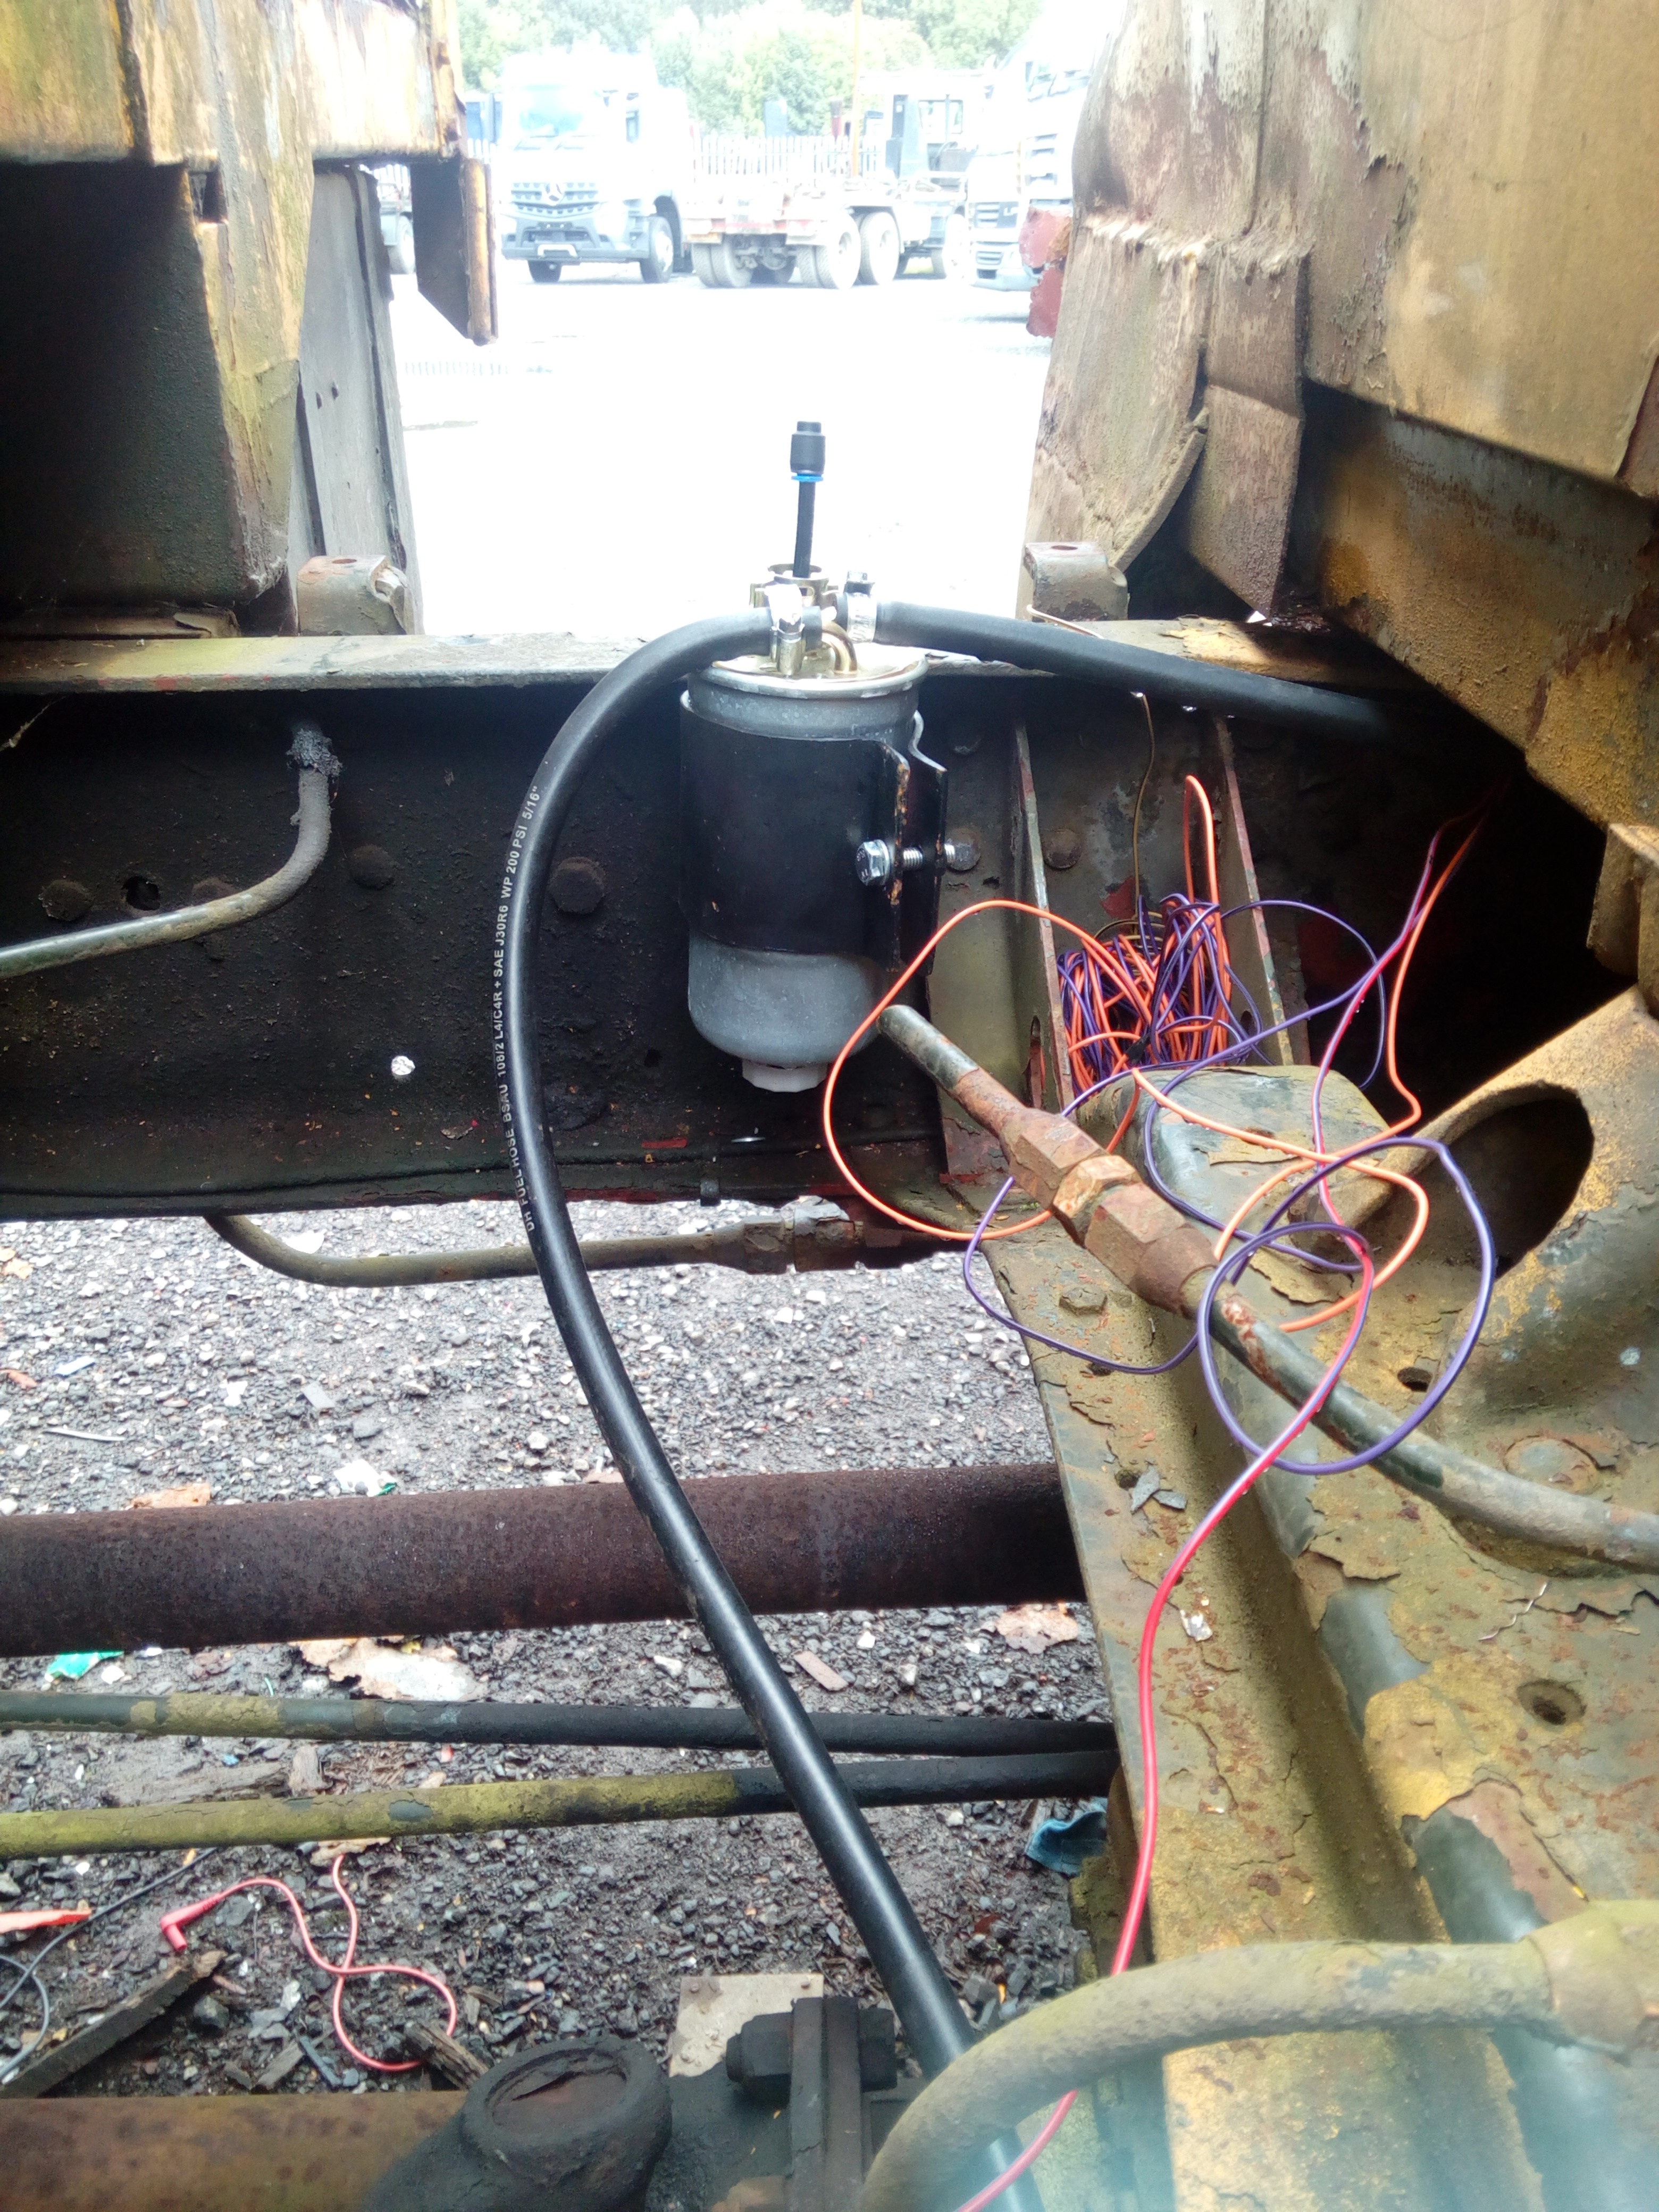 At some point, I decide to take it for a drive, again. October 2016Okay, let's finally tackle that hole in the back of the roof. 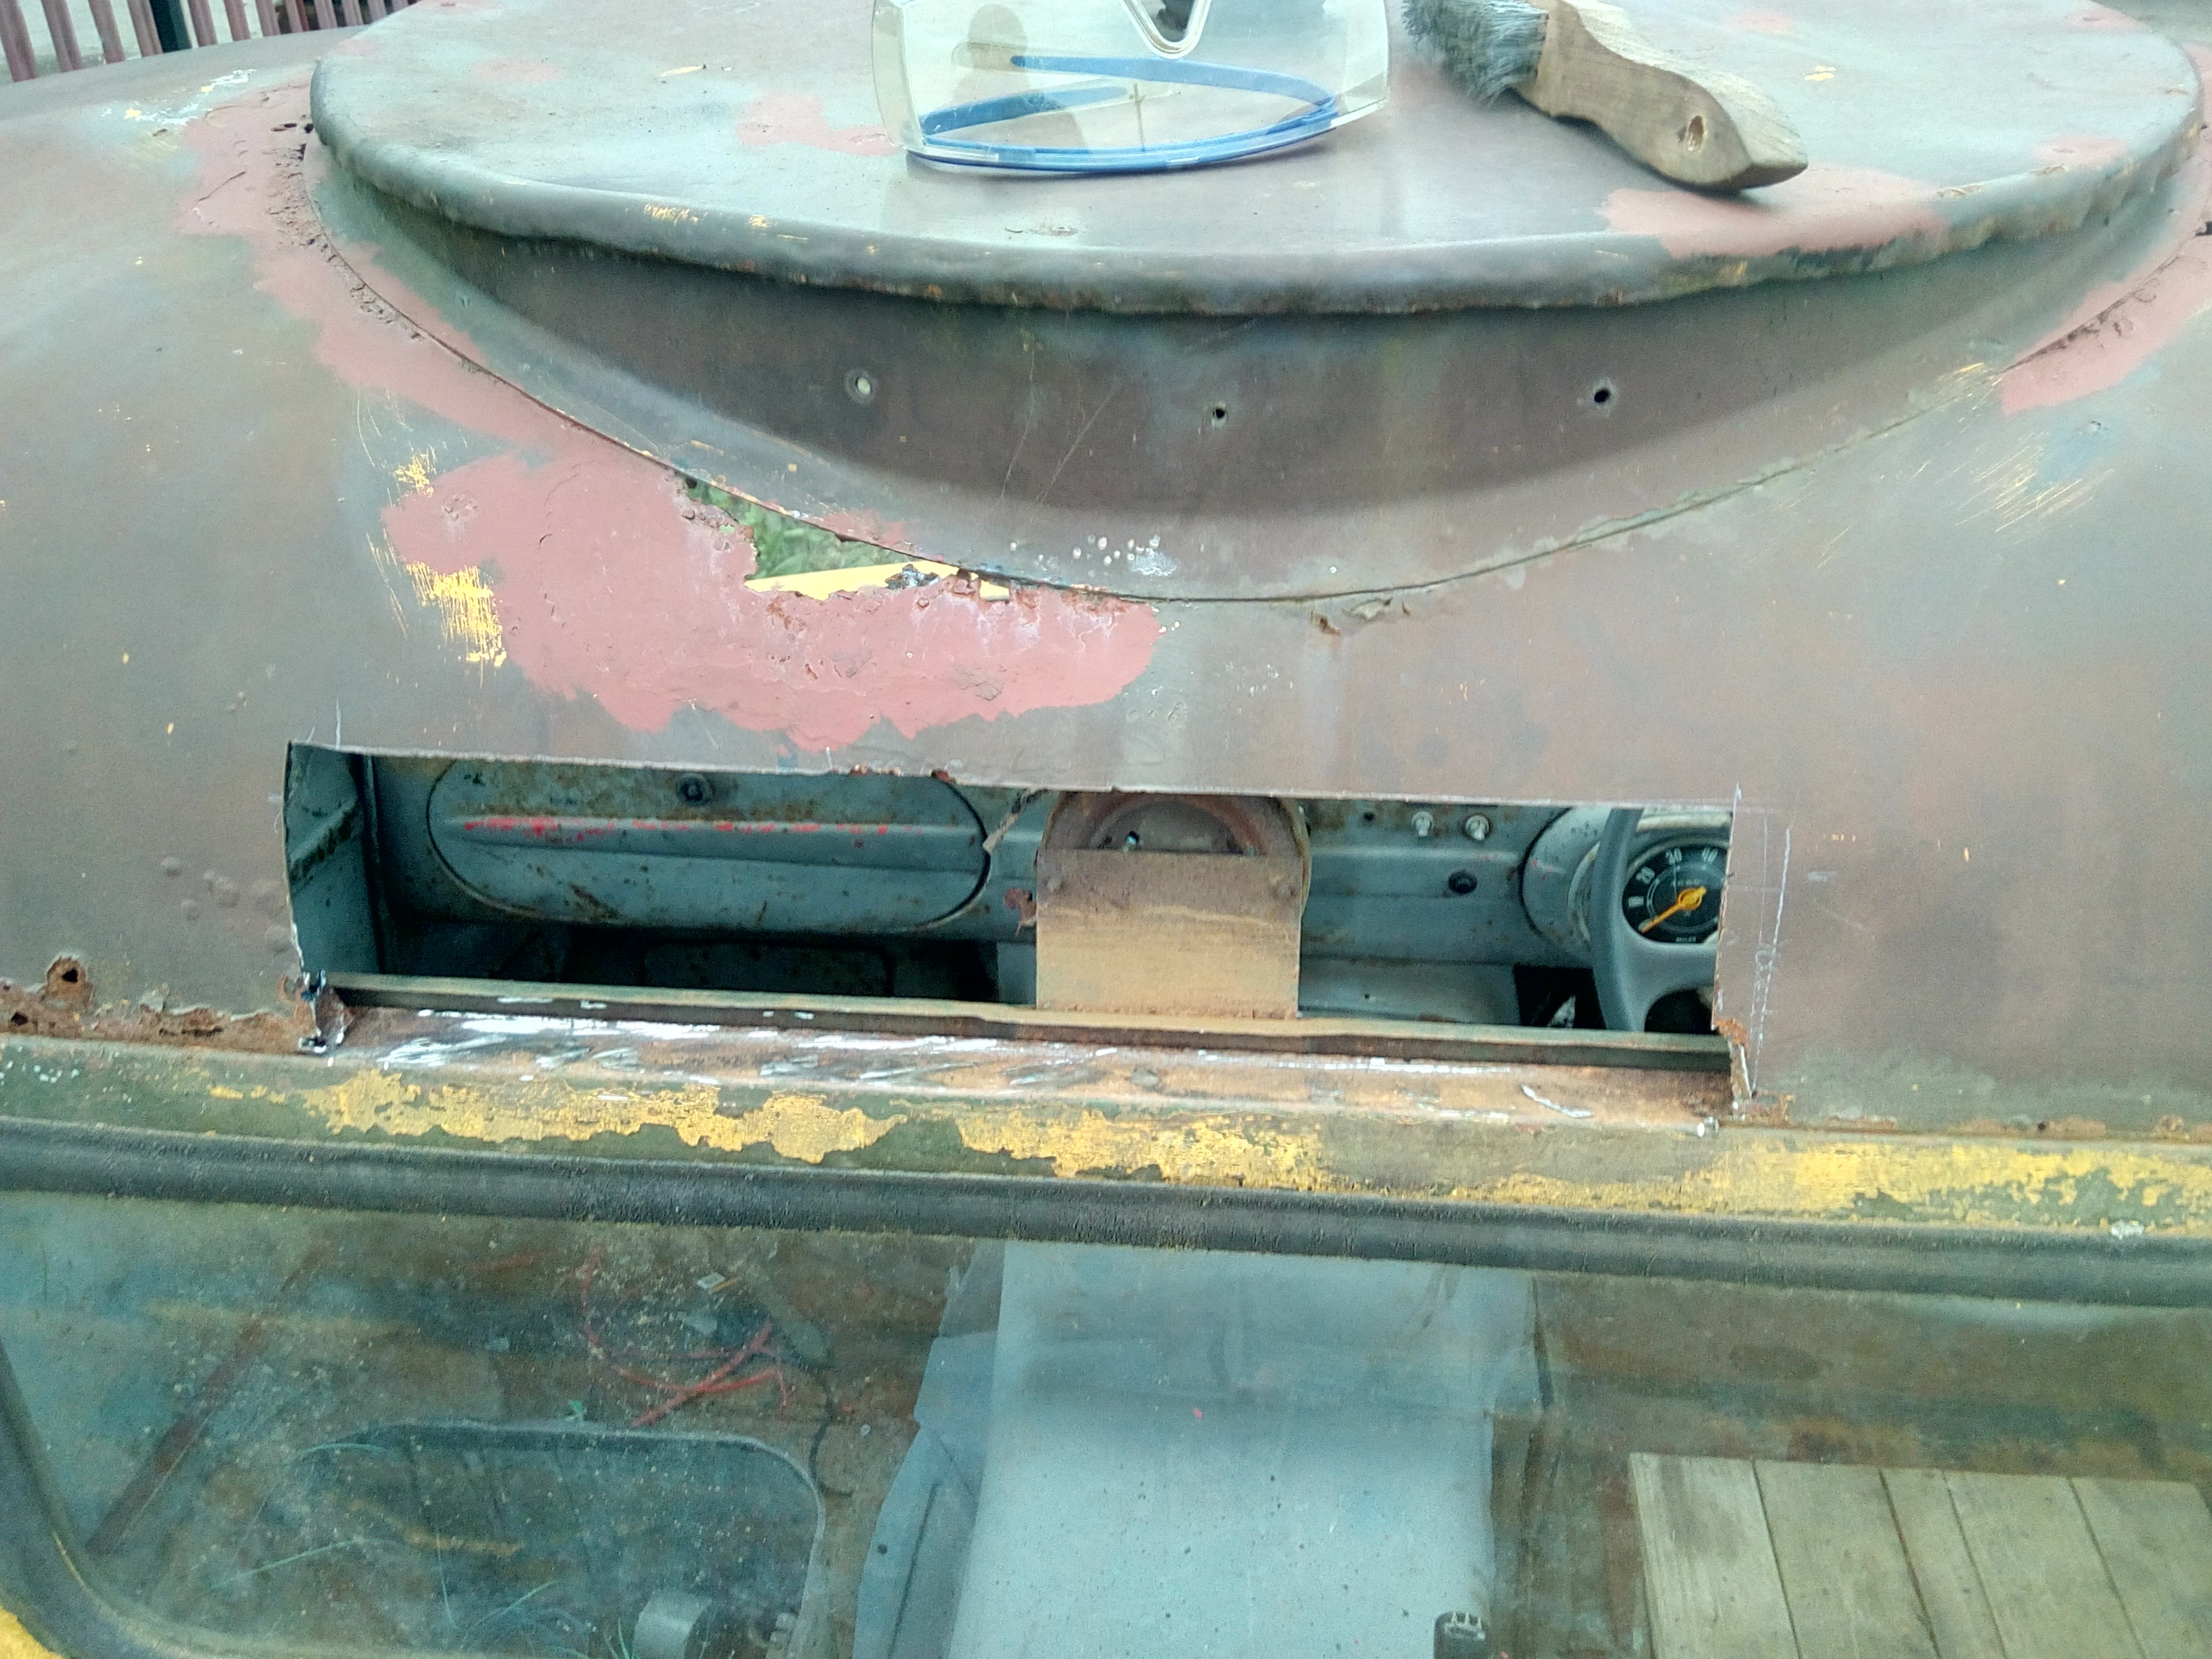 Patch panel that I punched holes in, which I shouldn't've. Again, on the "stuff I would do differently" list... 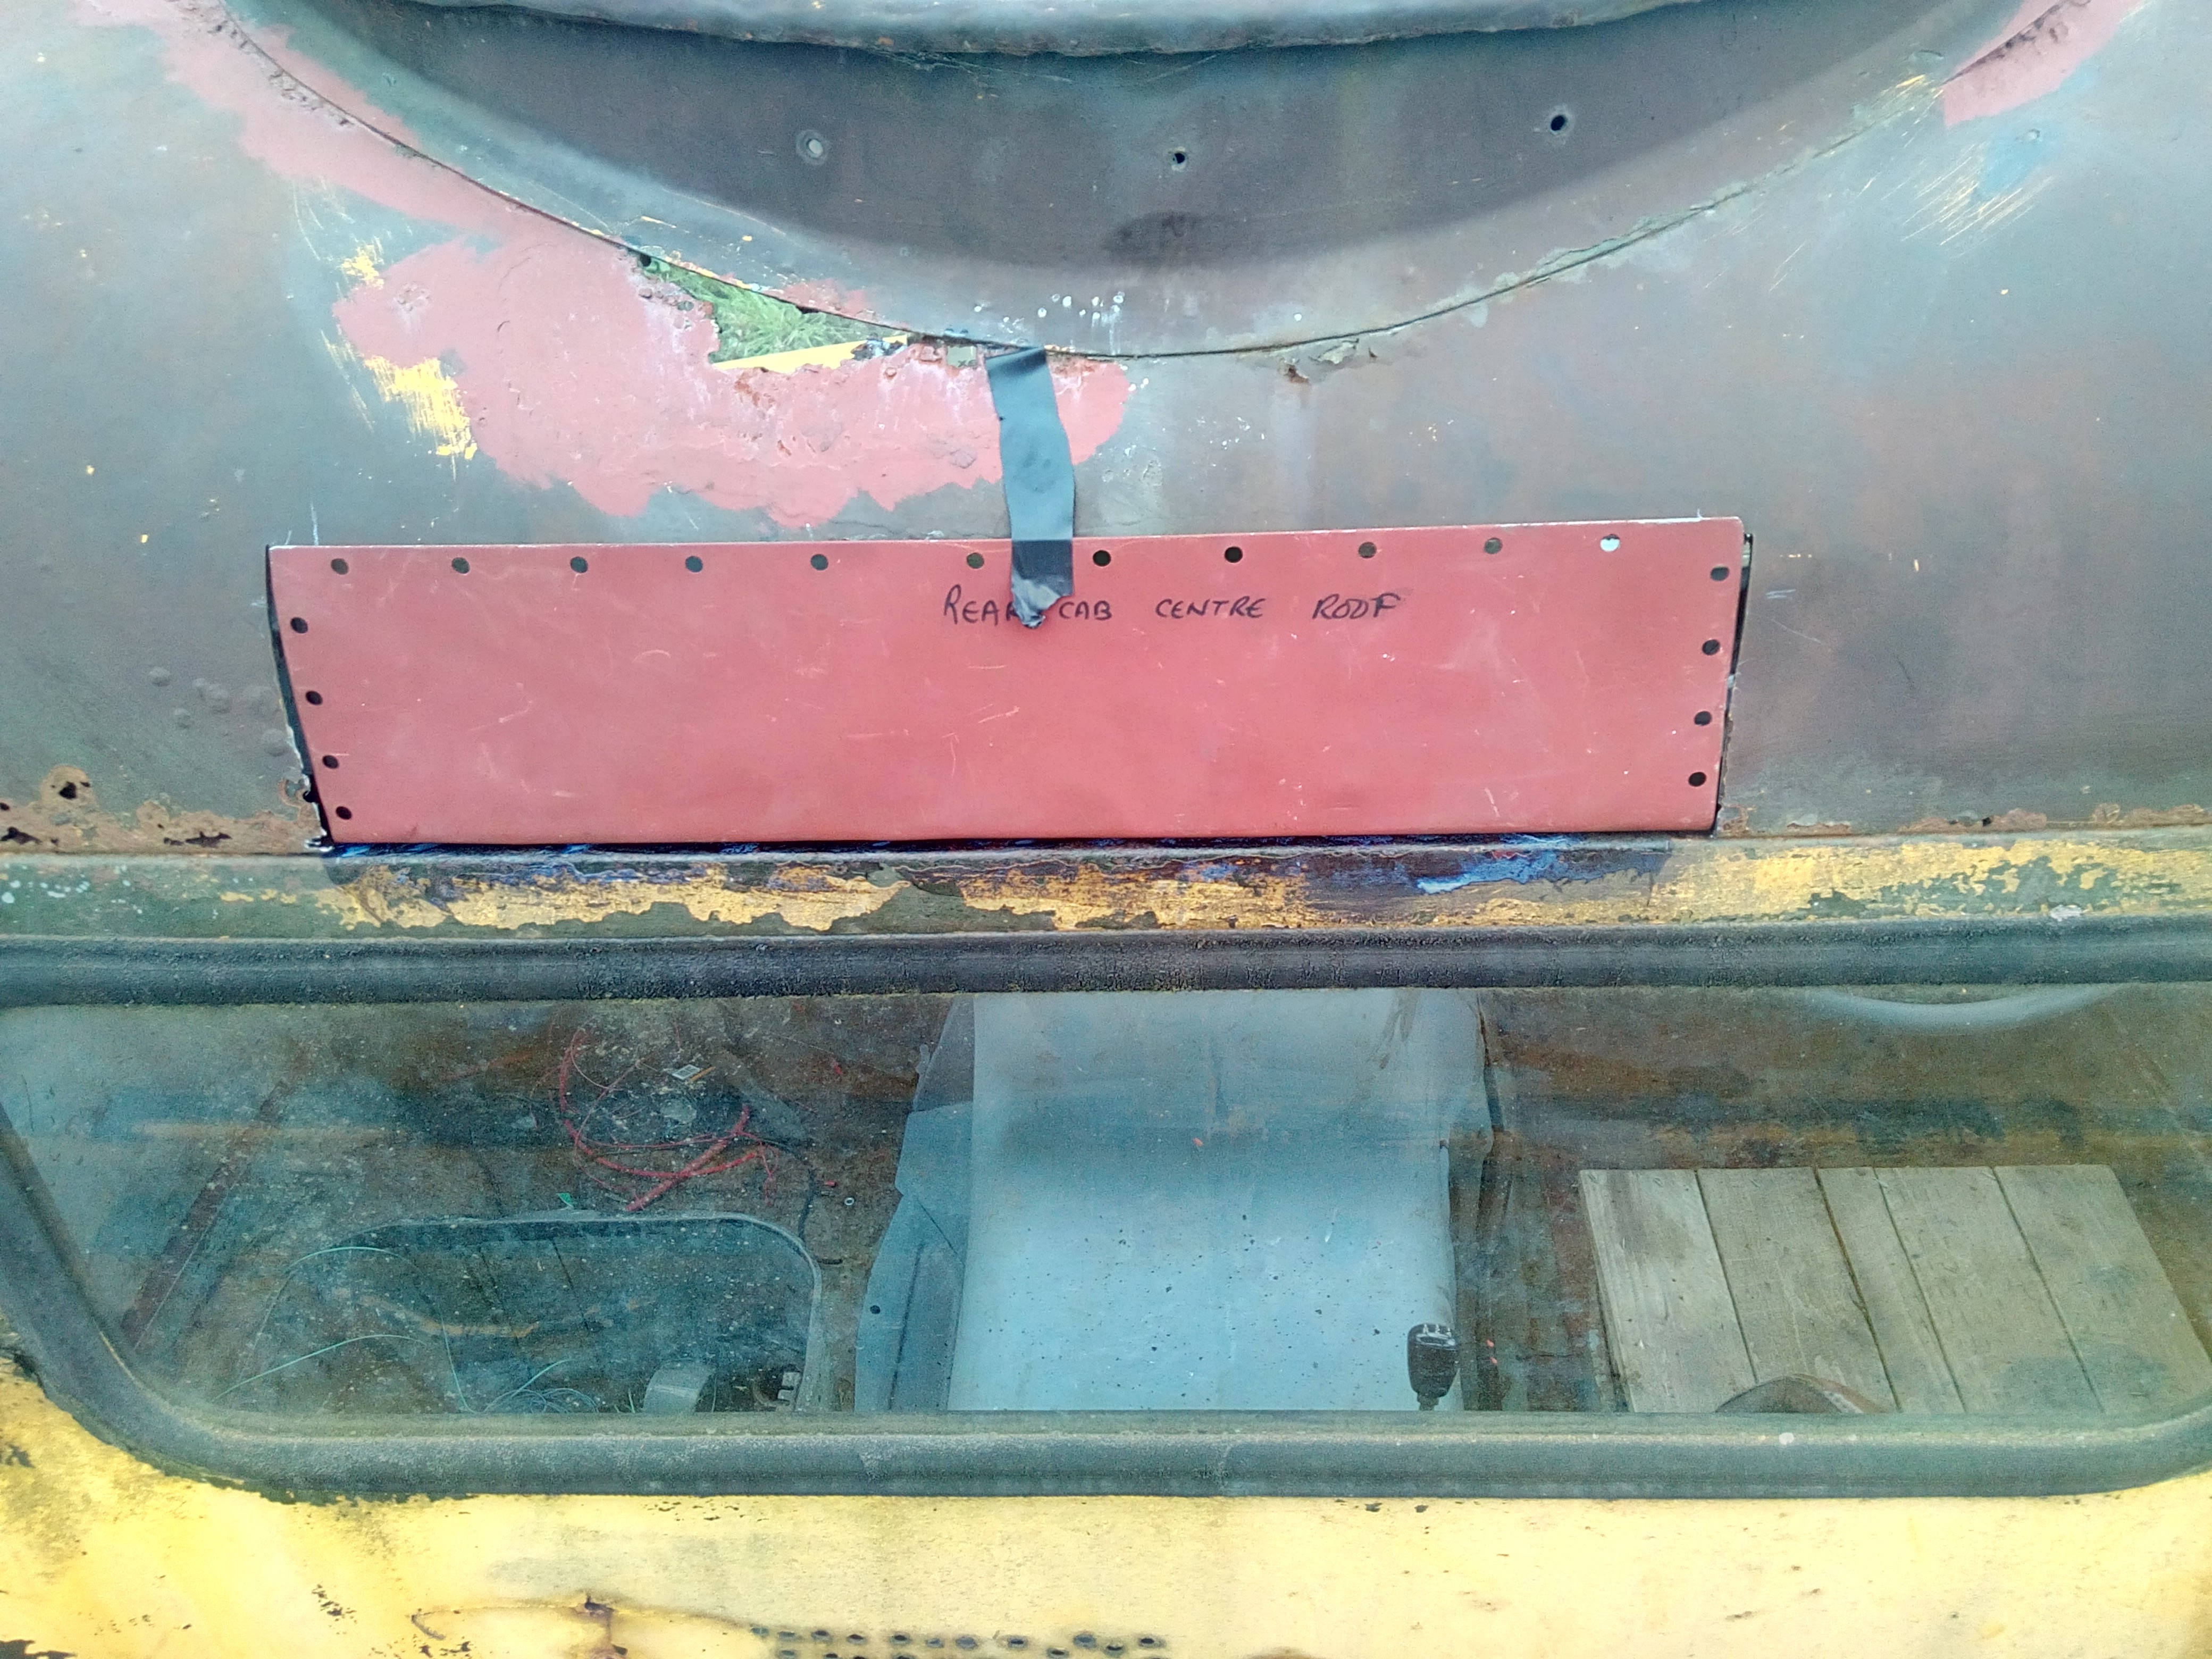 Take over some space in the workshop on a Sunday evening, again... 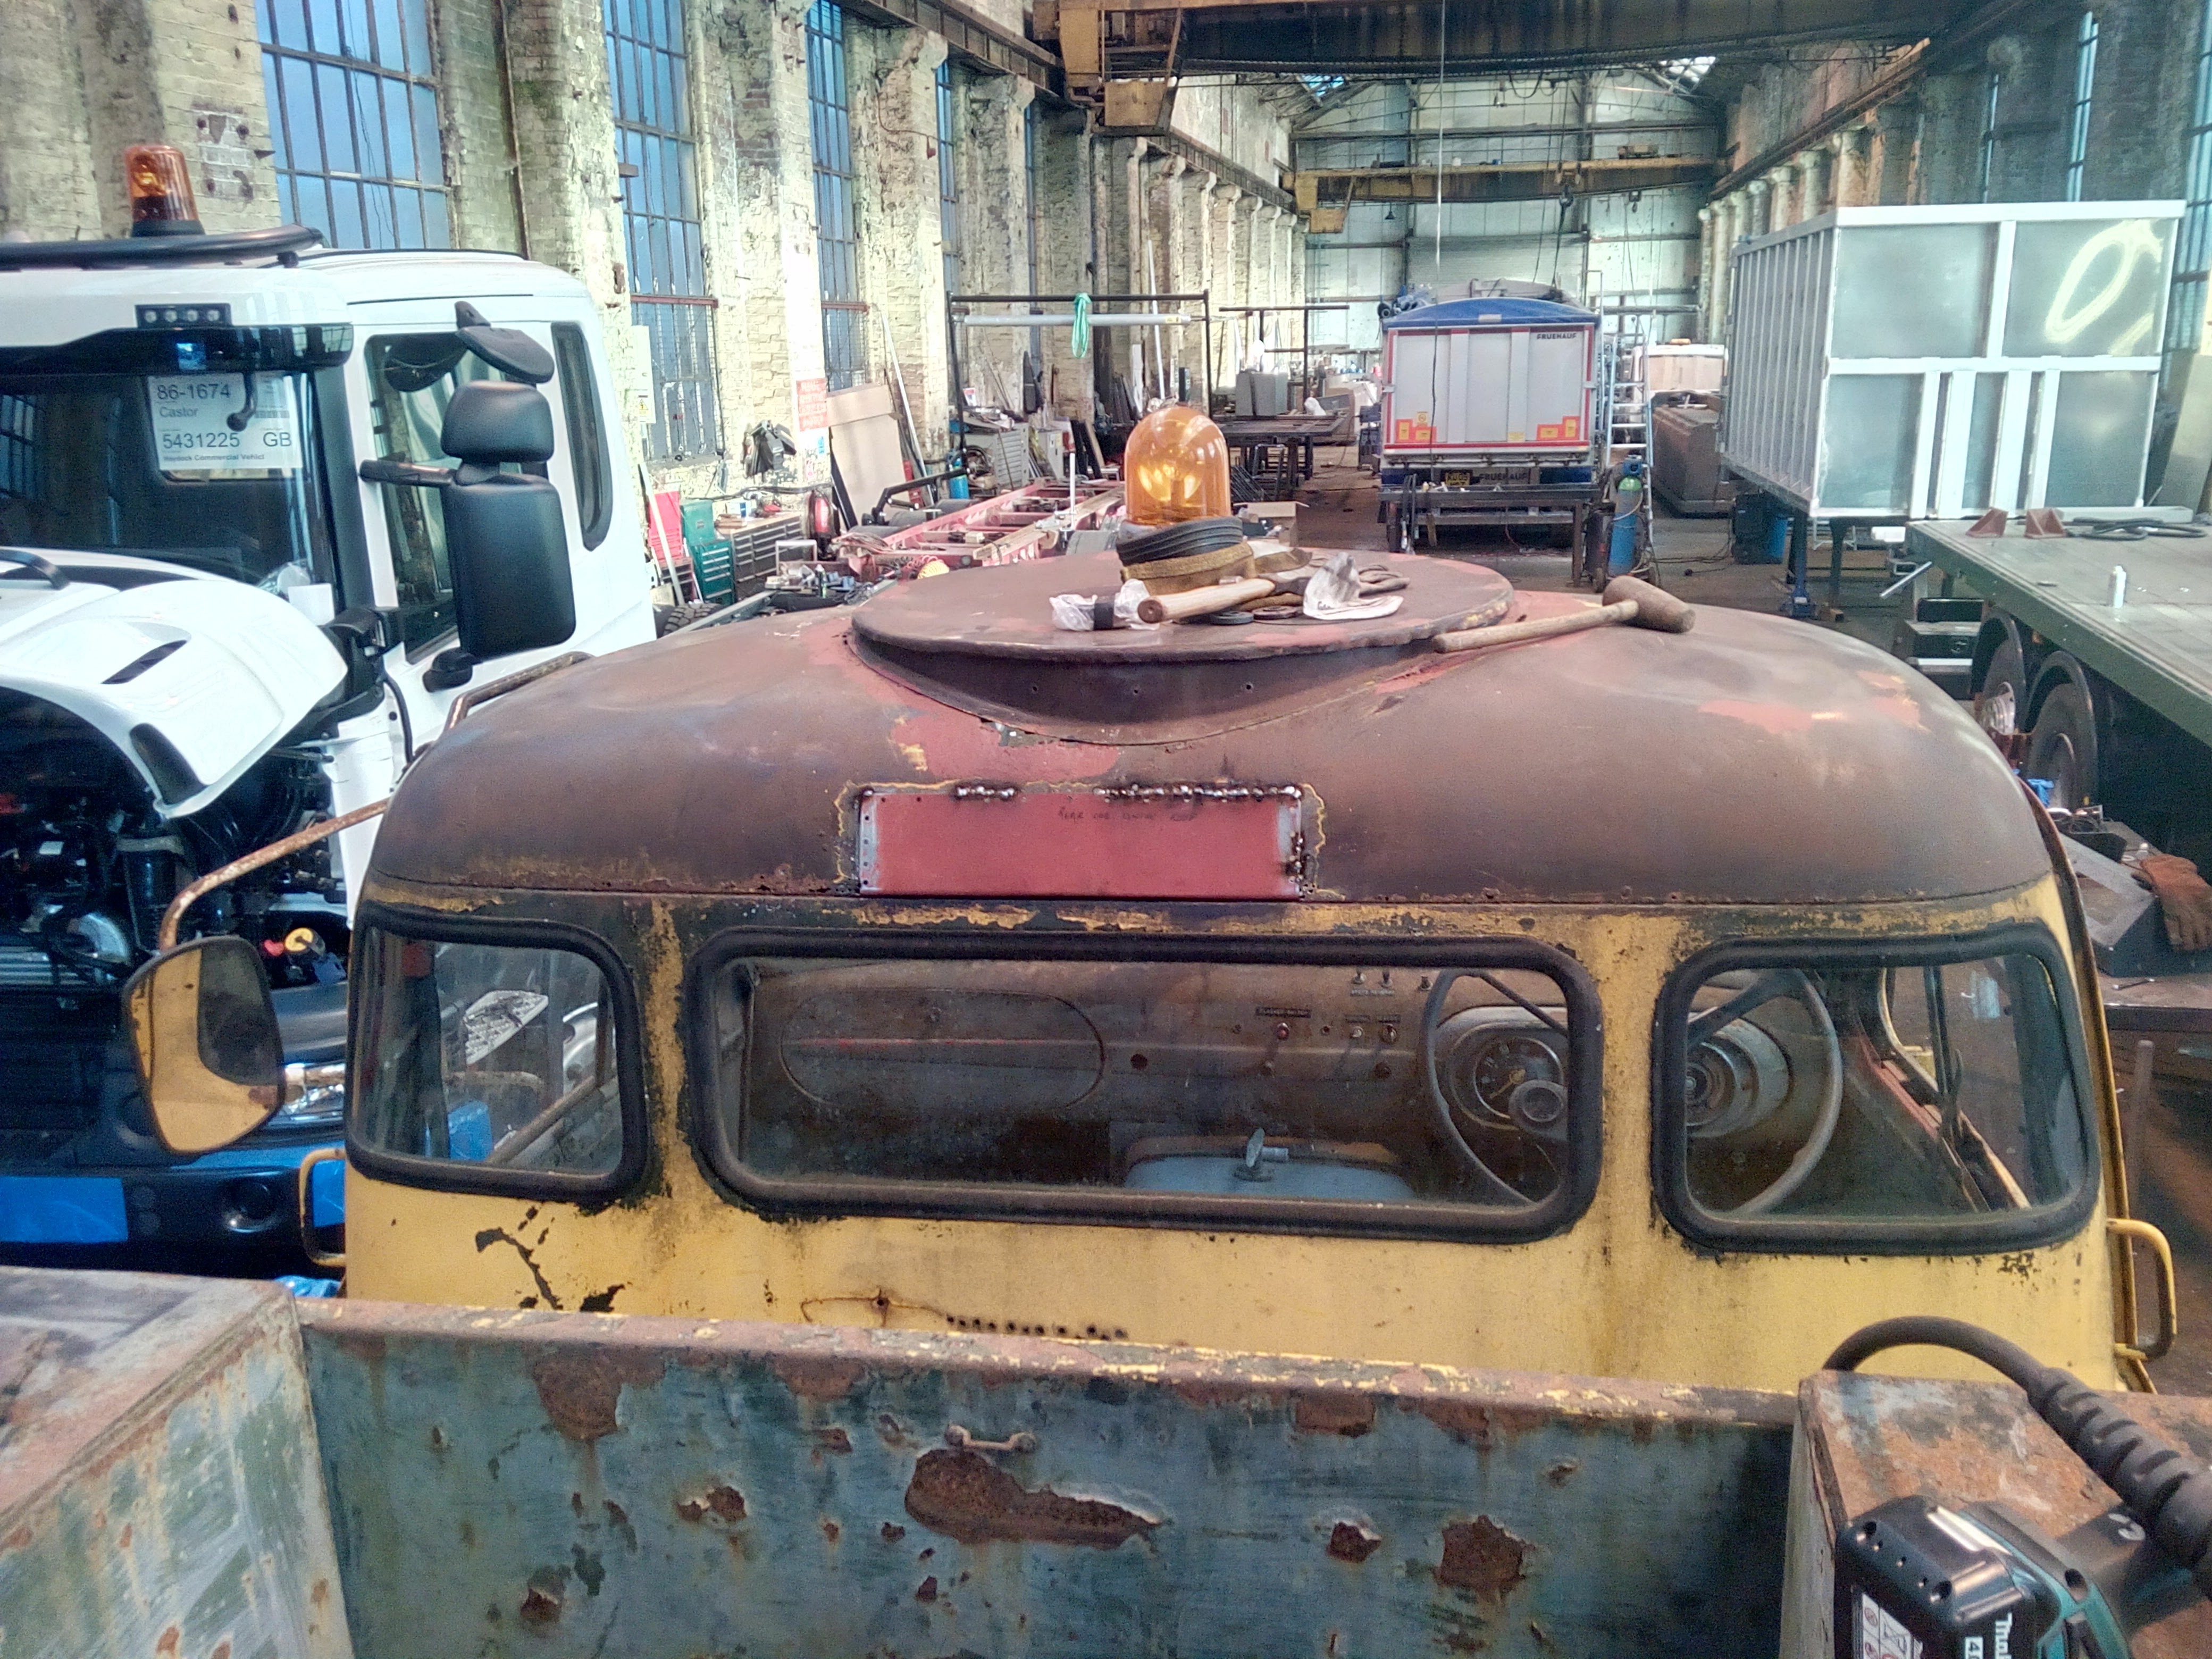 (Mid-process pic. It was beginning to get dark by the time I'd finished welding; and I was in a bit of a rush to apply paint, and get the truck out of the workshop, so didn't take any further pictures. At that point, I had a repeat of the last time I had the truck pulled into the workshop: not enough fuel to start and run back to the parking spot. Thankfully, since I'm not running out of the jerry-can any more, I had enough left in that to refill the truck's tank and hurtle back to the compound. I dread to think what an ear-bashing I'd get for blocking up prime workshop space.  ) Take a bit of detour into ranting about industrial heritage and the loss of fantastic old workshop buildings... Secondly, that workshop your in is a fab bit of vintage architecture, high roof and overhead crane etc. What did it used to be? It used to be the carriage and wagon wheels workshop at the Horwich Loco Works; over a hundred years old, by now. It's even possible to see the remains of the mountings for line-shafting along the walls. We also use the unit across from the back of it, which was the patterns shop for the foundry. My boss is on the hunt for another building to move to, due to requirements for more space -- and because it's really quite frustrating how much time we lose 'unpacking' the building to get stuff out of the middle of it that's blocked by other work. It's almost as if the shop was designed around stuff running through on rails, or something -- but it's apparently quite difficult to find a place that has a roof tall enough to tip a 40ft long tipper trailer to full extension, as well as overhead cranes, and space outside for storage, etc. Also amusing is how the foremost old overhead crane in that picture is still running strong, a few occasional glitches in the retrofitted pendant controls aside; whereas the much more modern crane throws a hissy fit every few weeks and stops working in certain directions. The one right up against the far wall is unfortunately dead, and has been cannibalised for parts -- mostly bearings, since the modern maintenance schedule in is play: do nothing until it stops working, then run around screaming about how critical to the business it is and it needs to be repaired NOW. *eyeroll* -- to keep the other running.) I'll be quite sad to leave the place, honestly; as much as it's a pain with the roof leaking so heavily, I feel quite a pleasant connection to the building. It just feels right and proper somehow, with those big windows, tall ceiling, etc. Meanwhile, right next door, they've just about finished knocking half of the old erecting shop down; they pushed the old 50t cranes off the end of the track yesterday, and chopped them up where they lay. It's a crying shame, how we've let our industrial heritage rot. 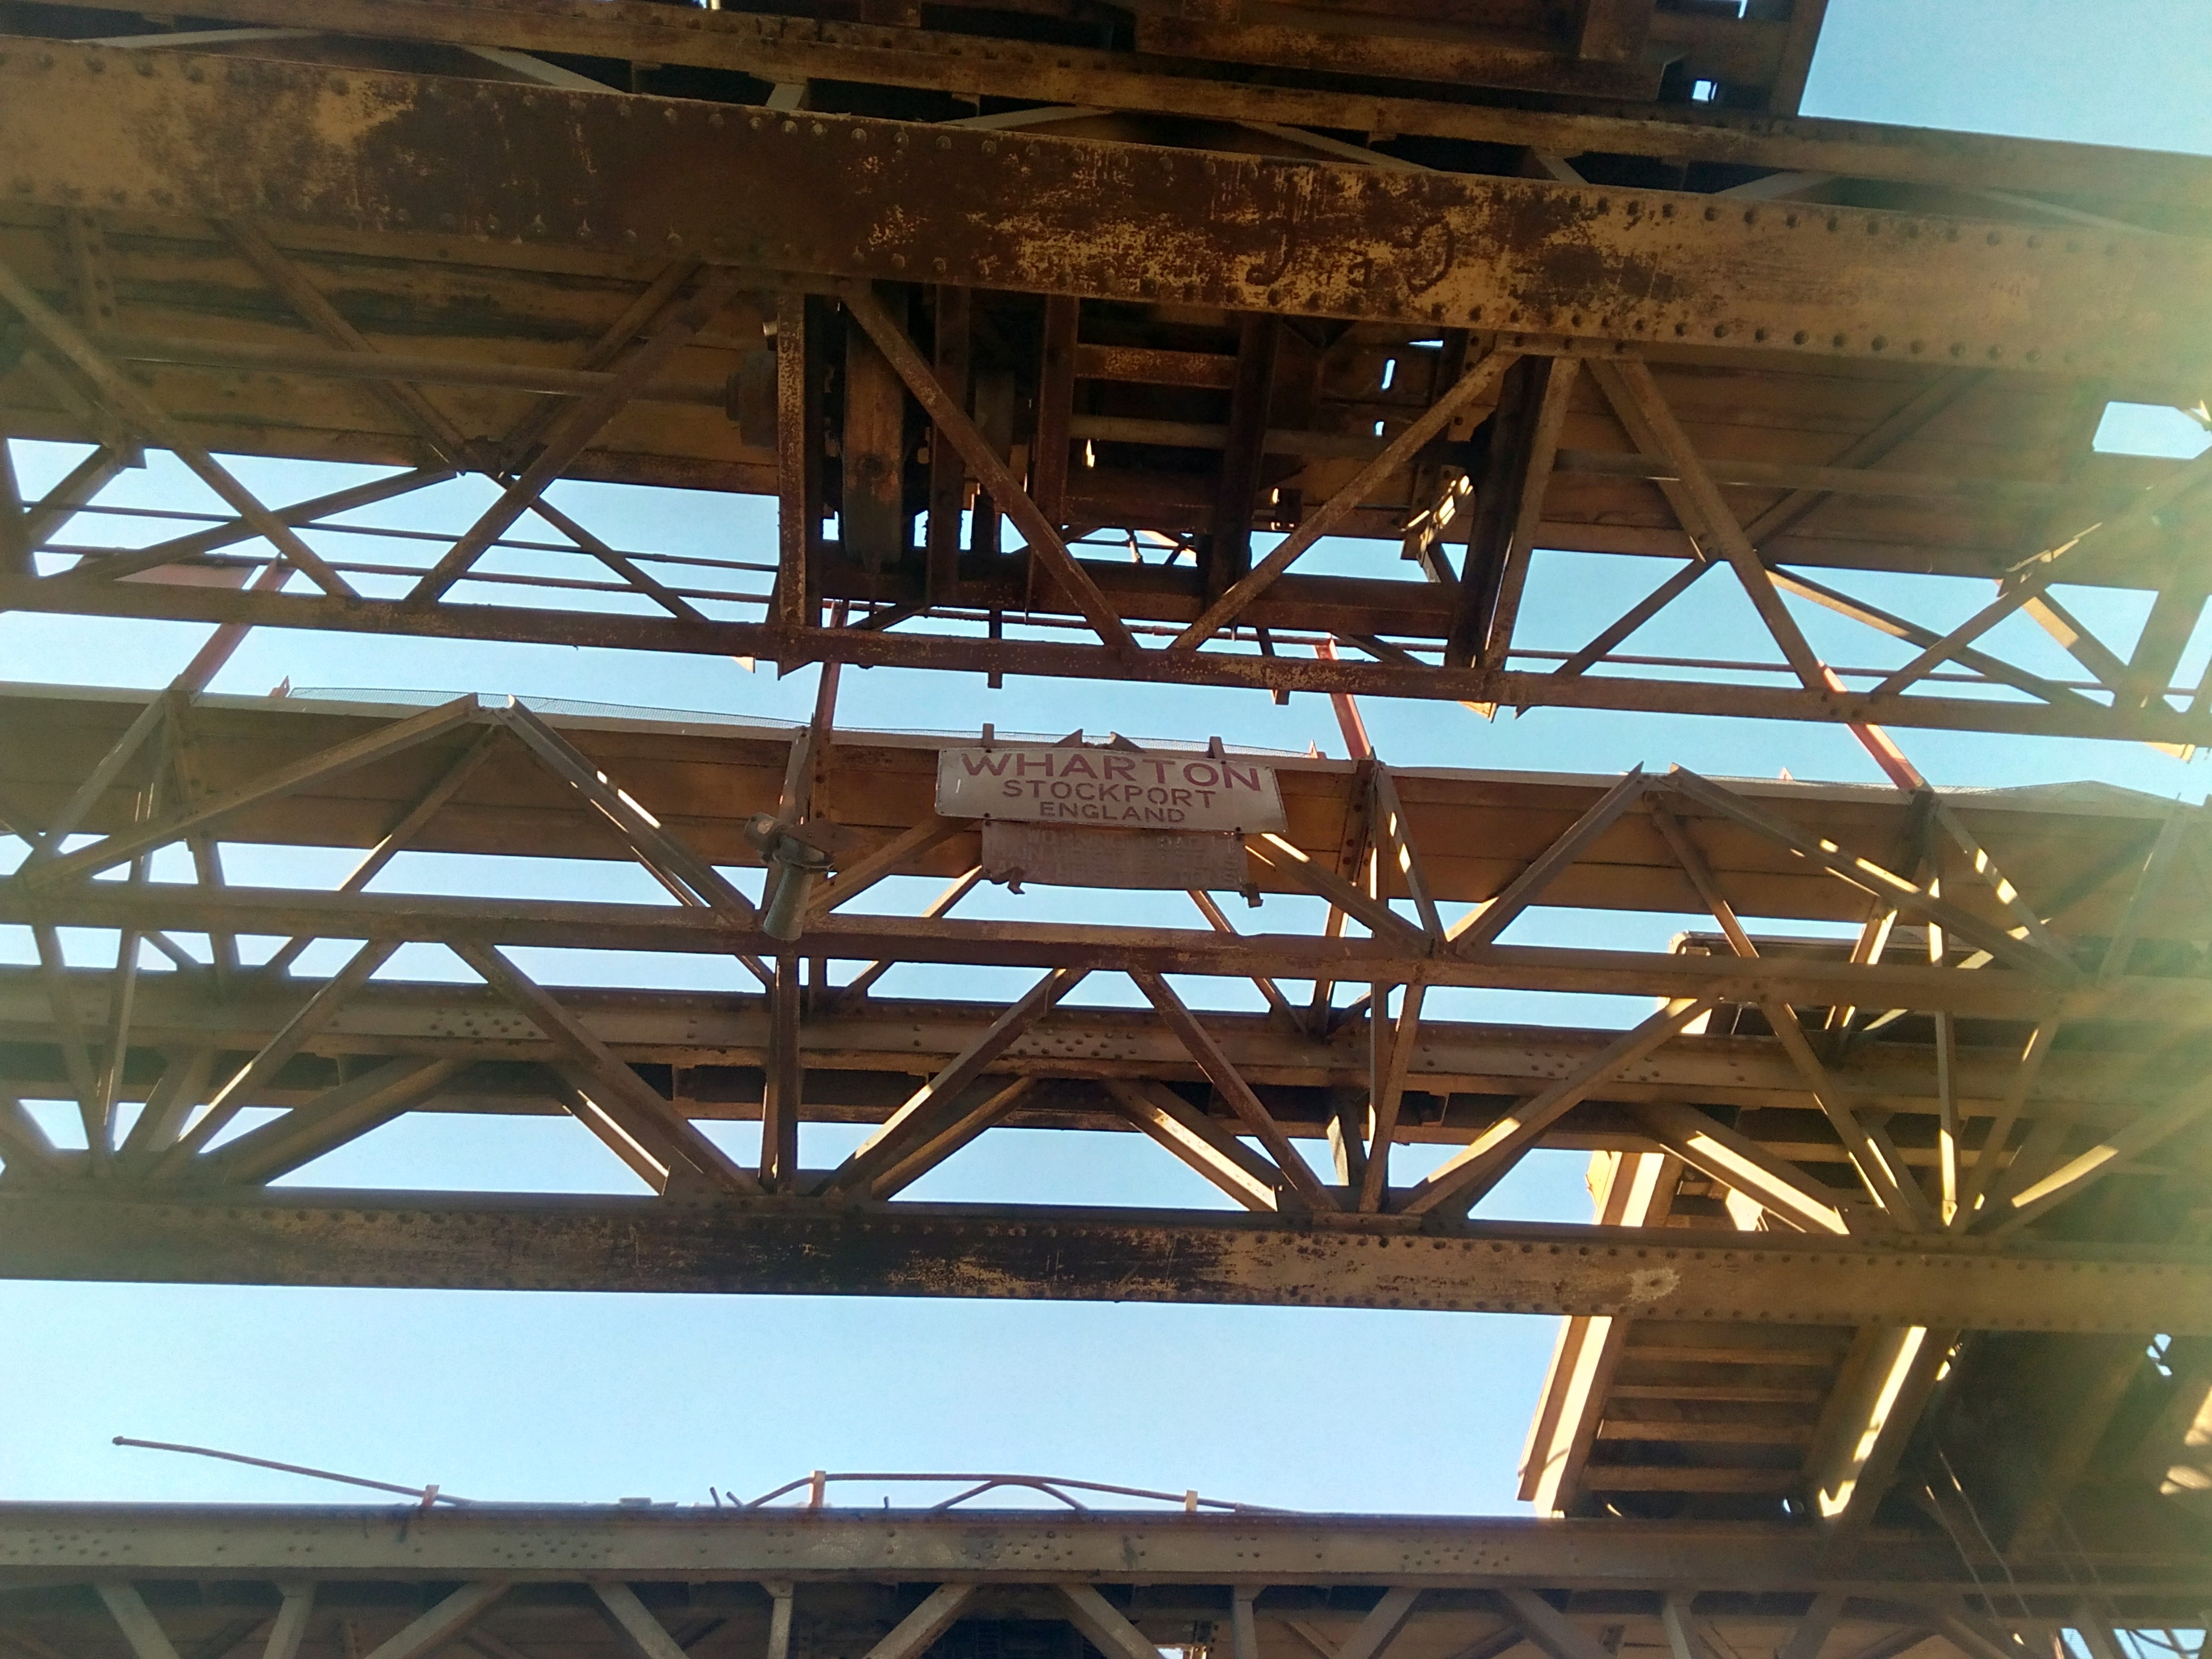  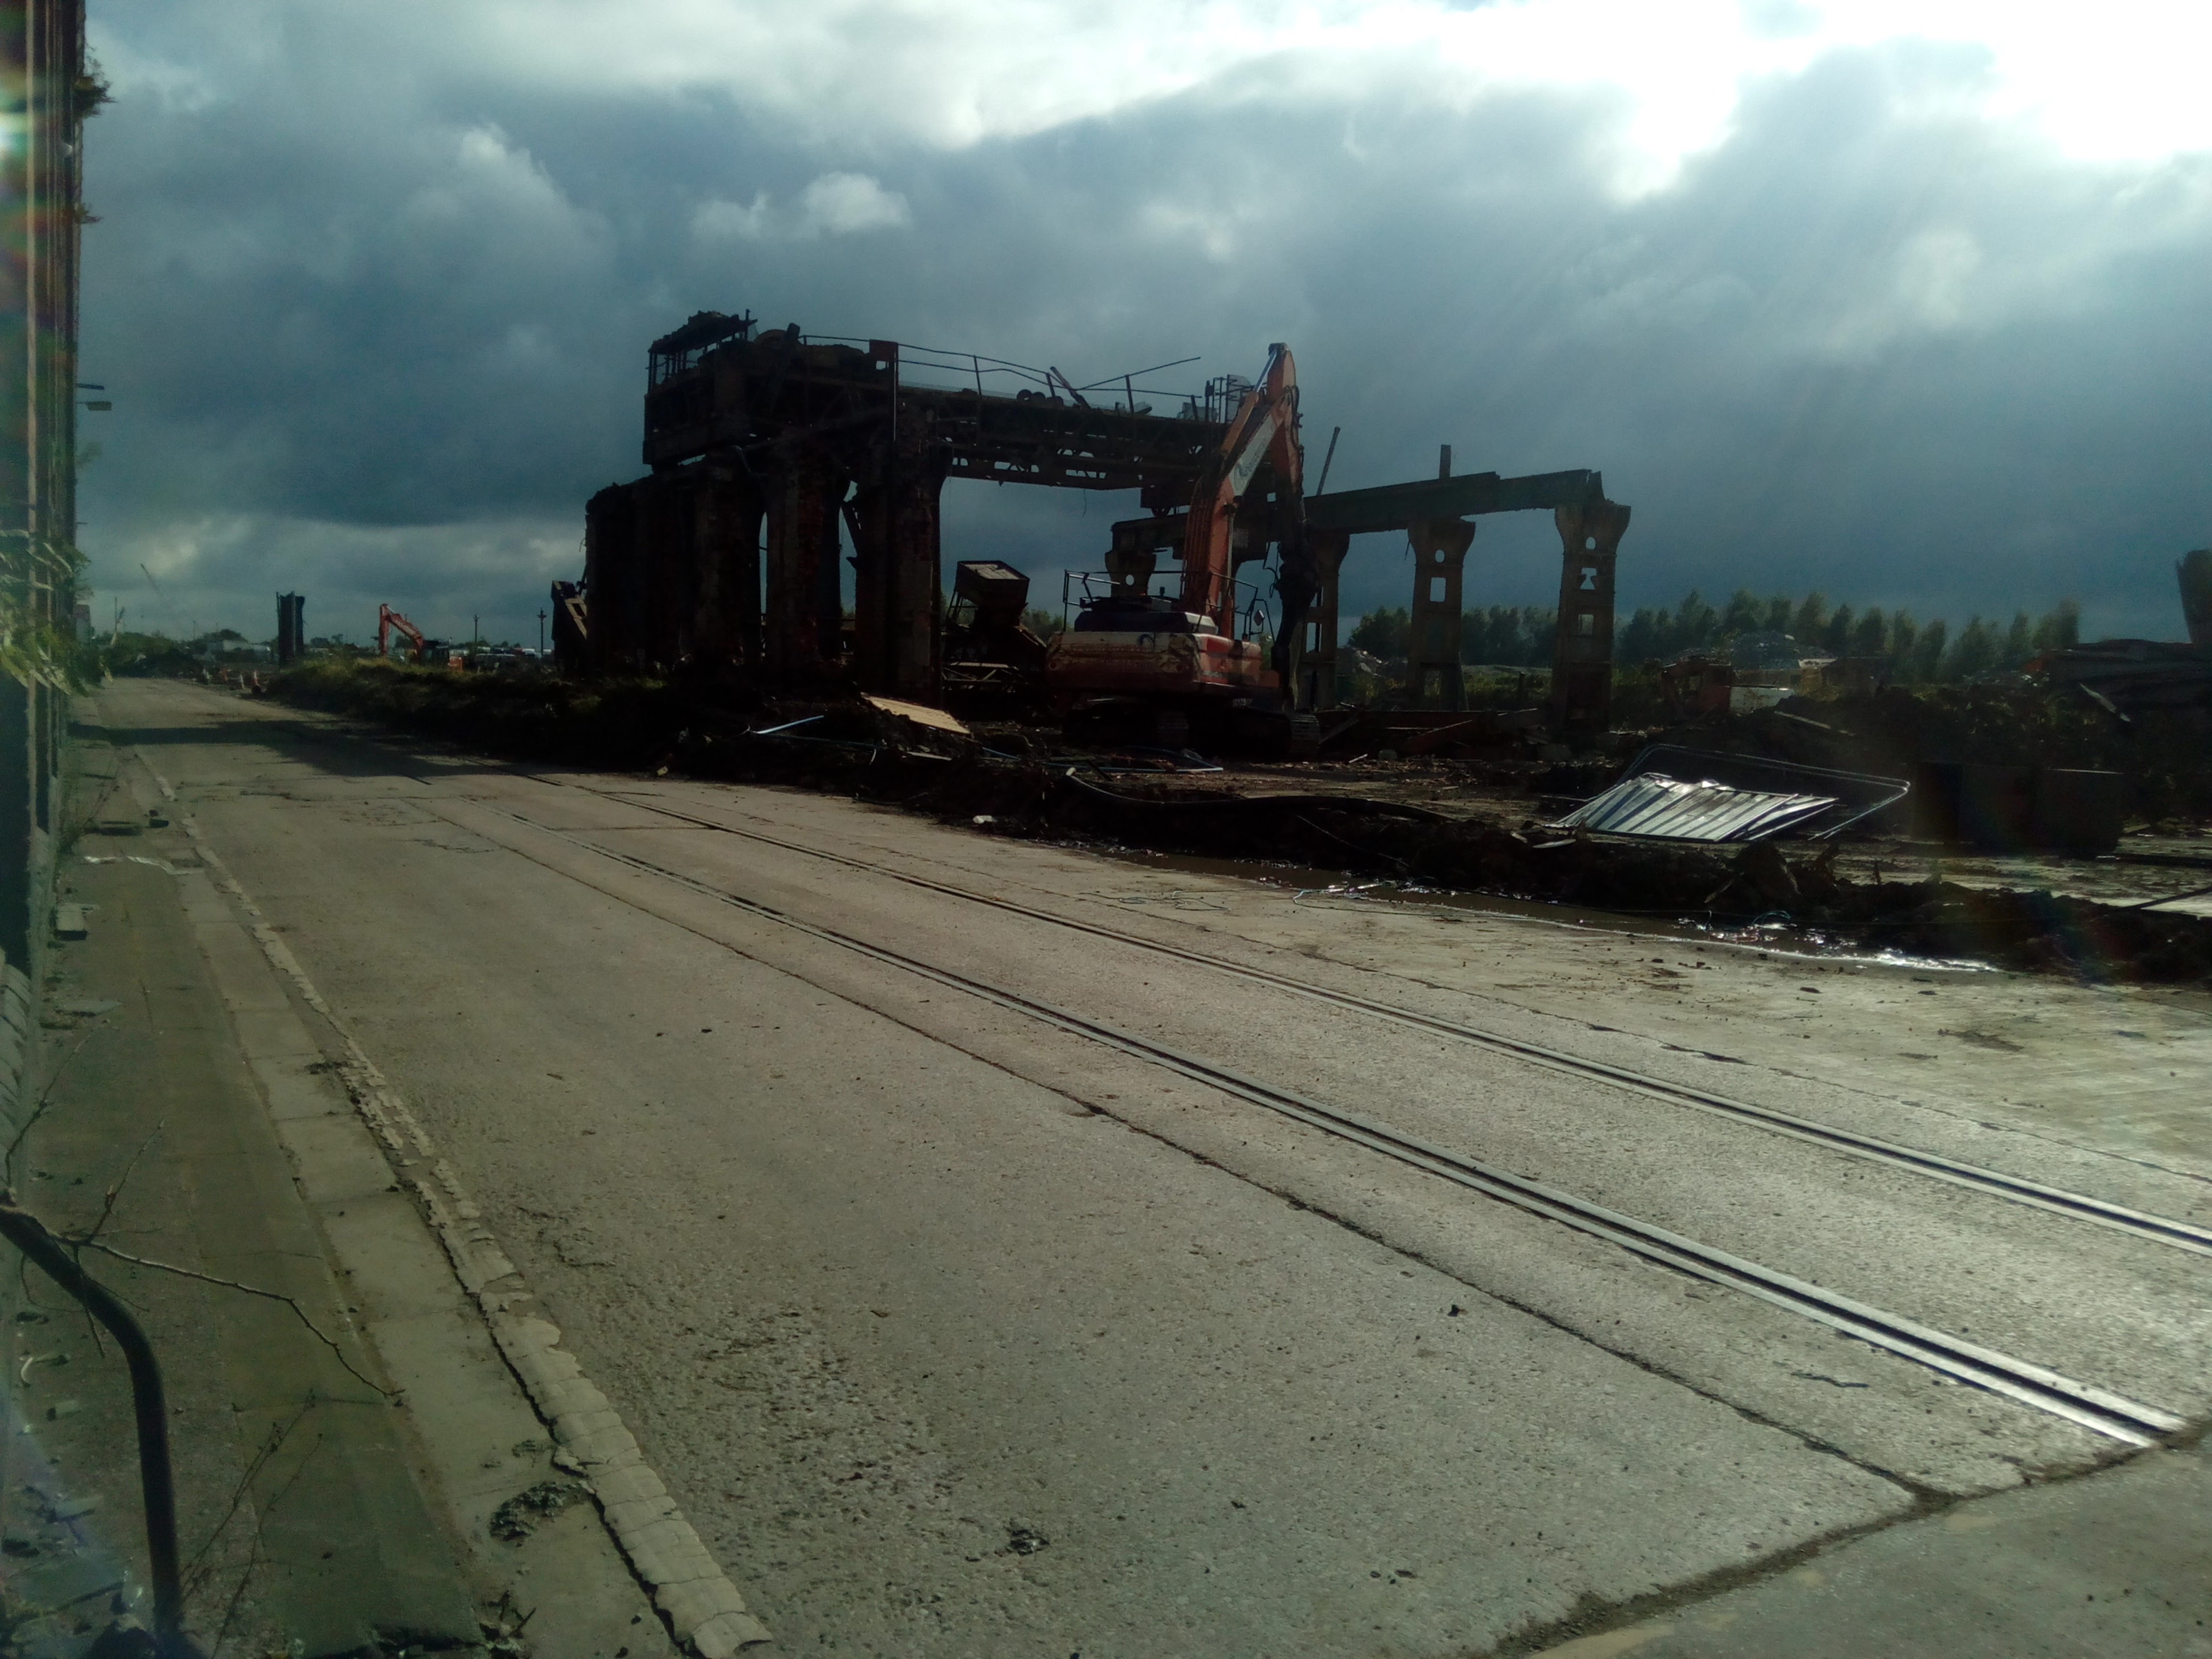 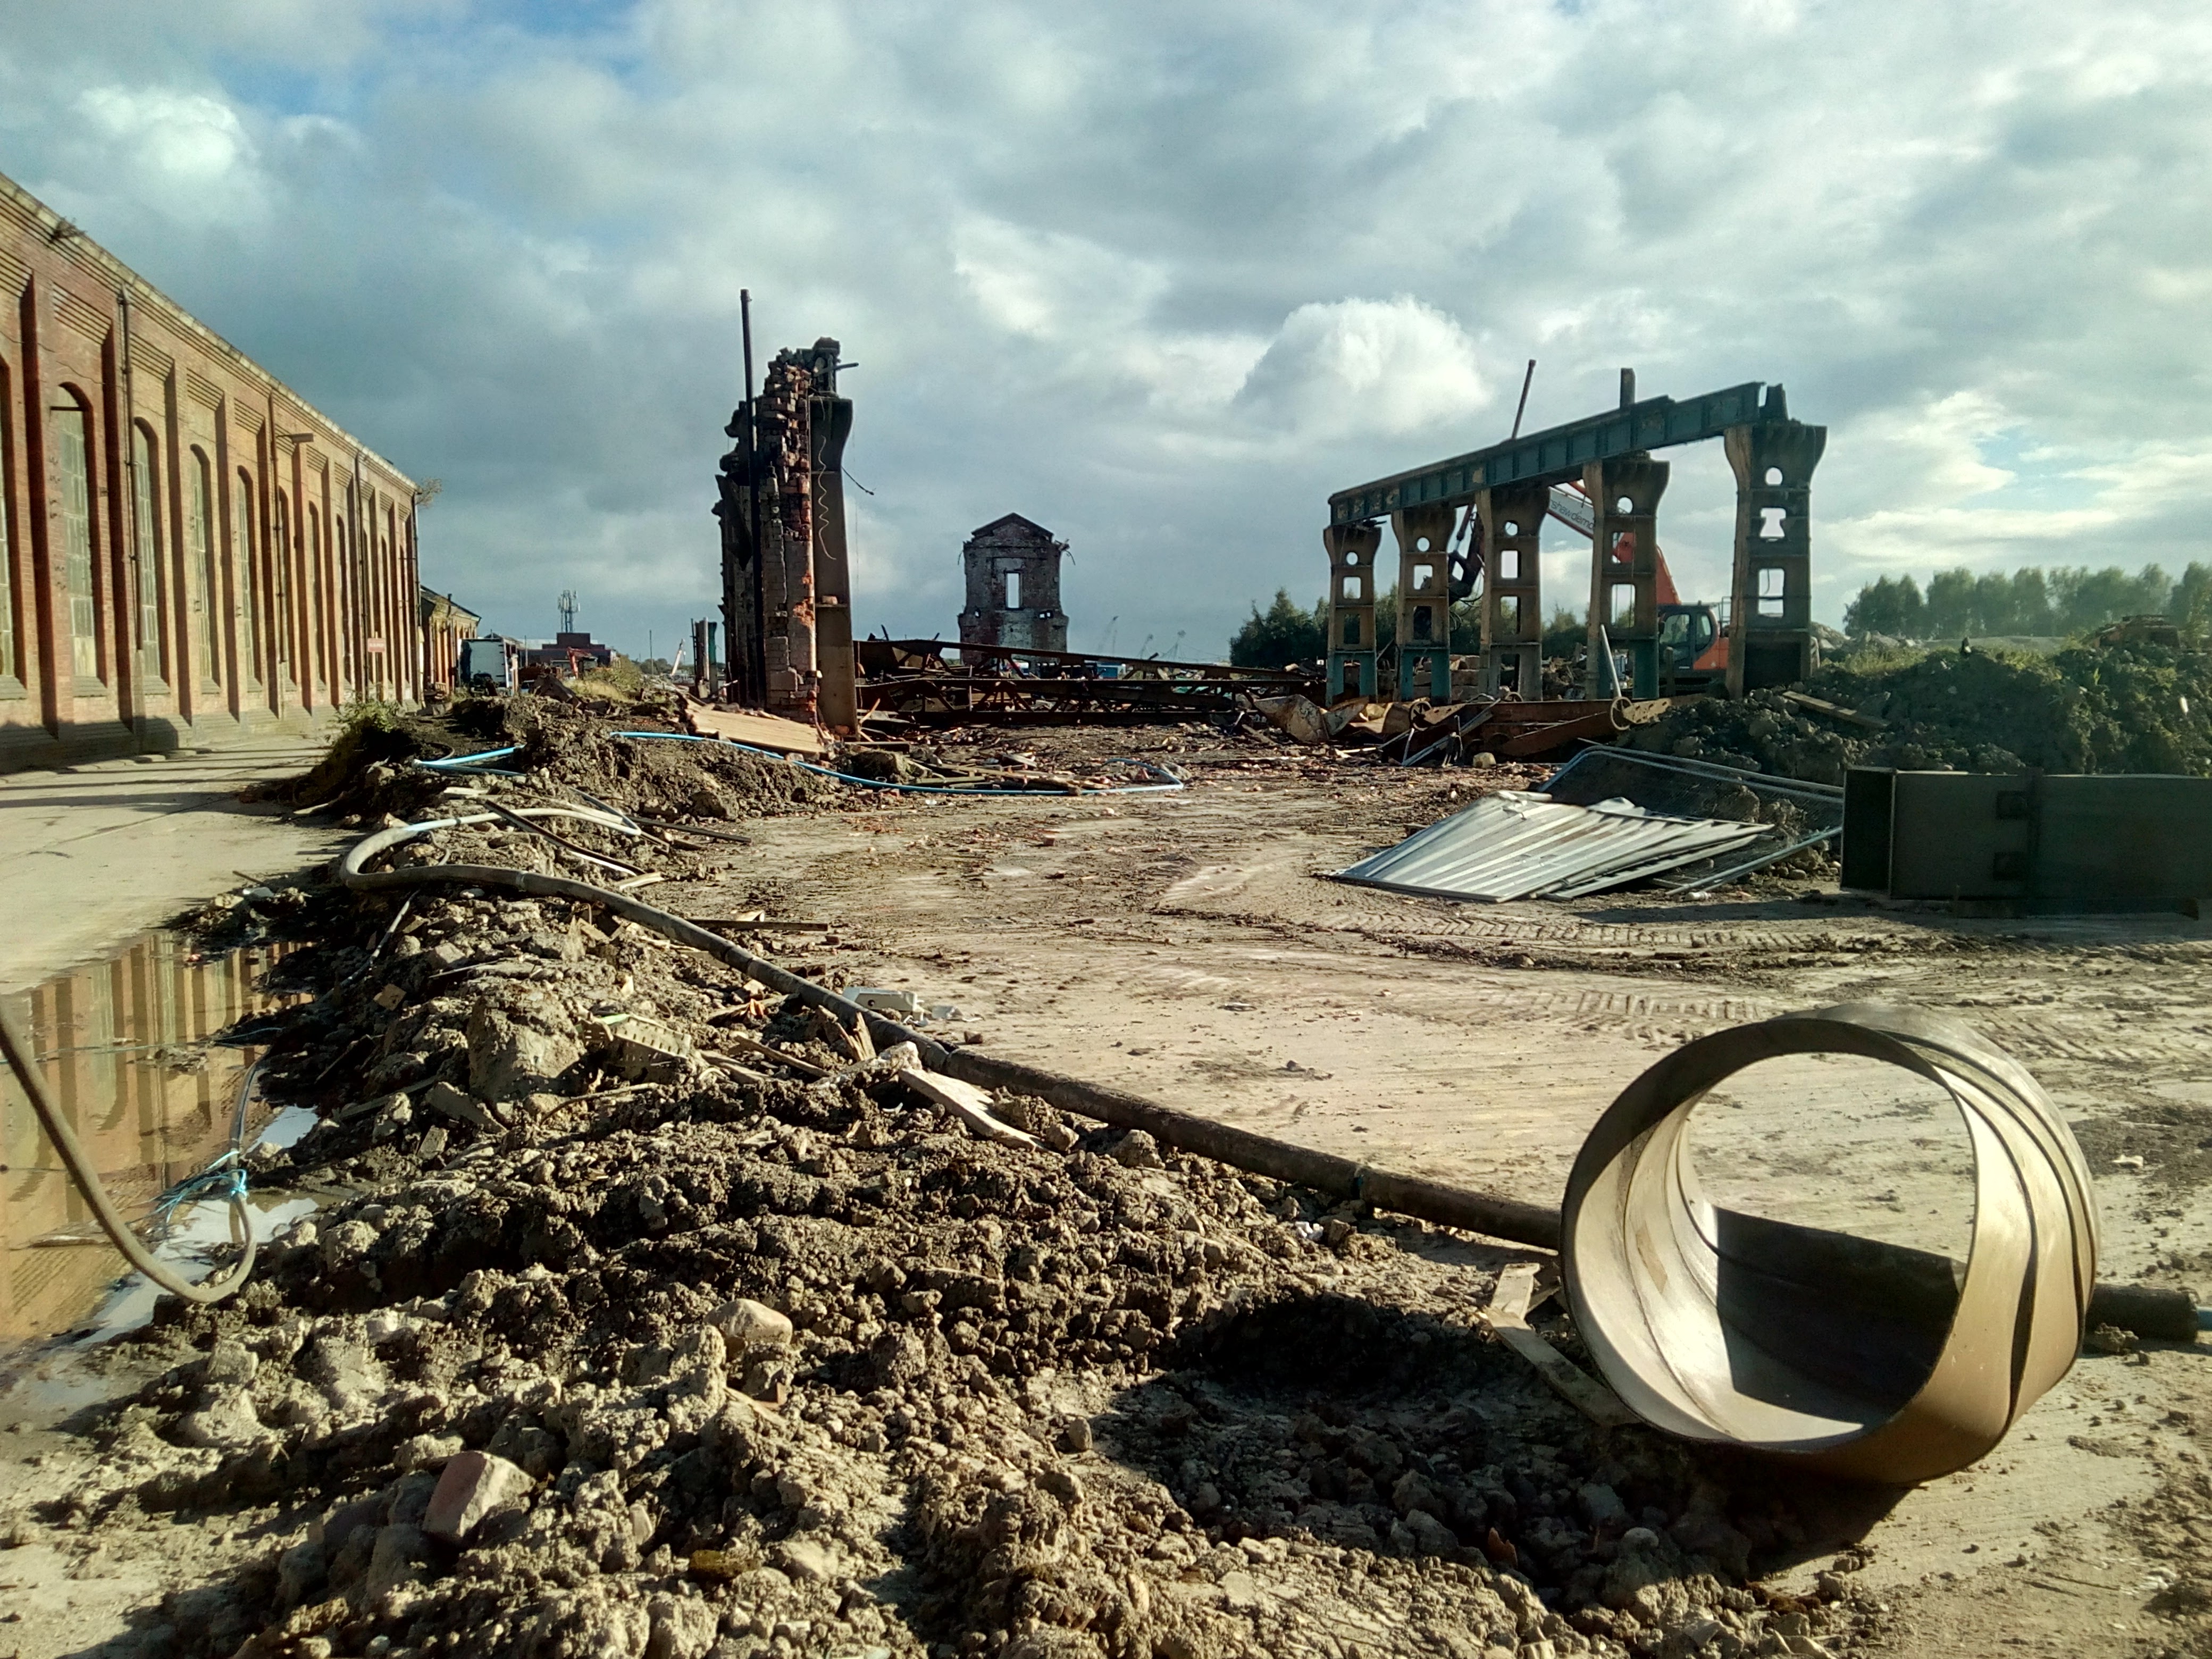 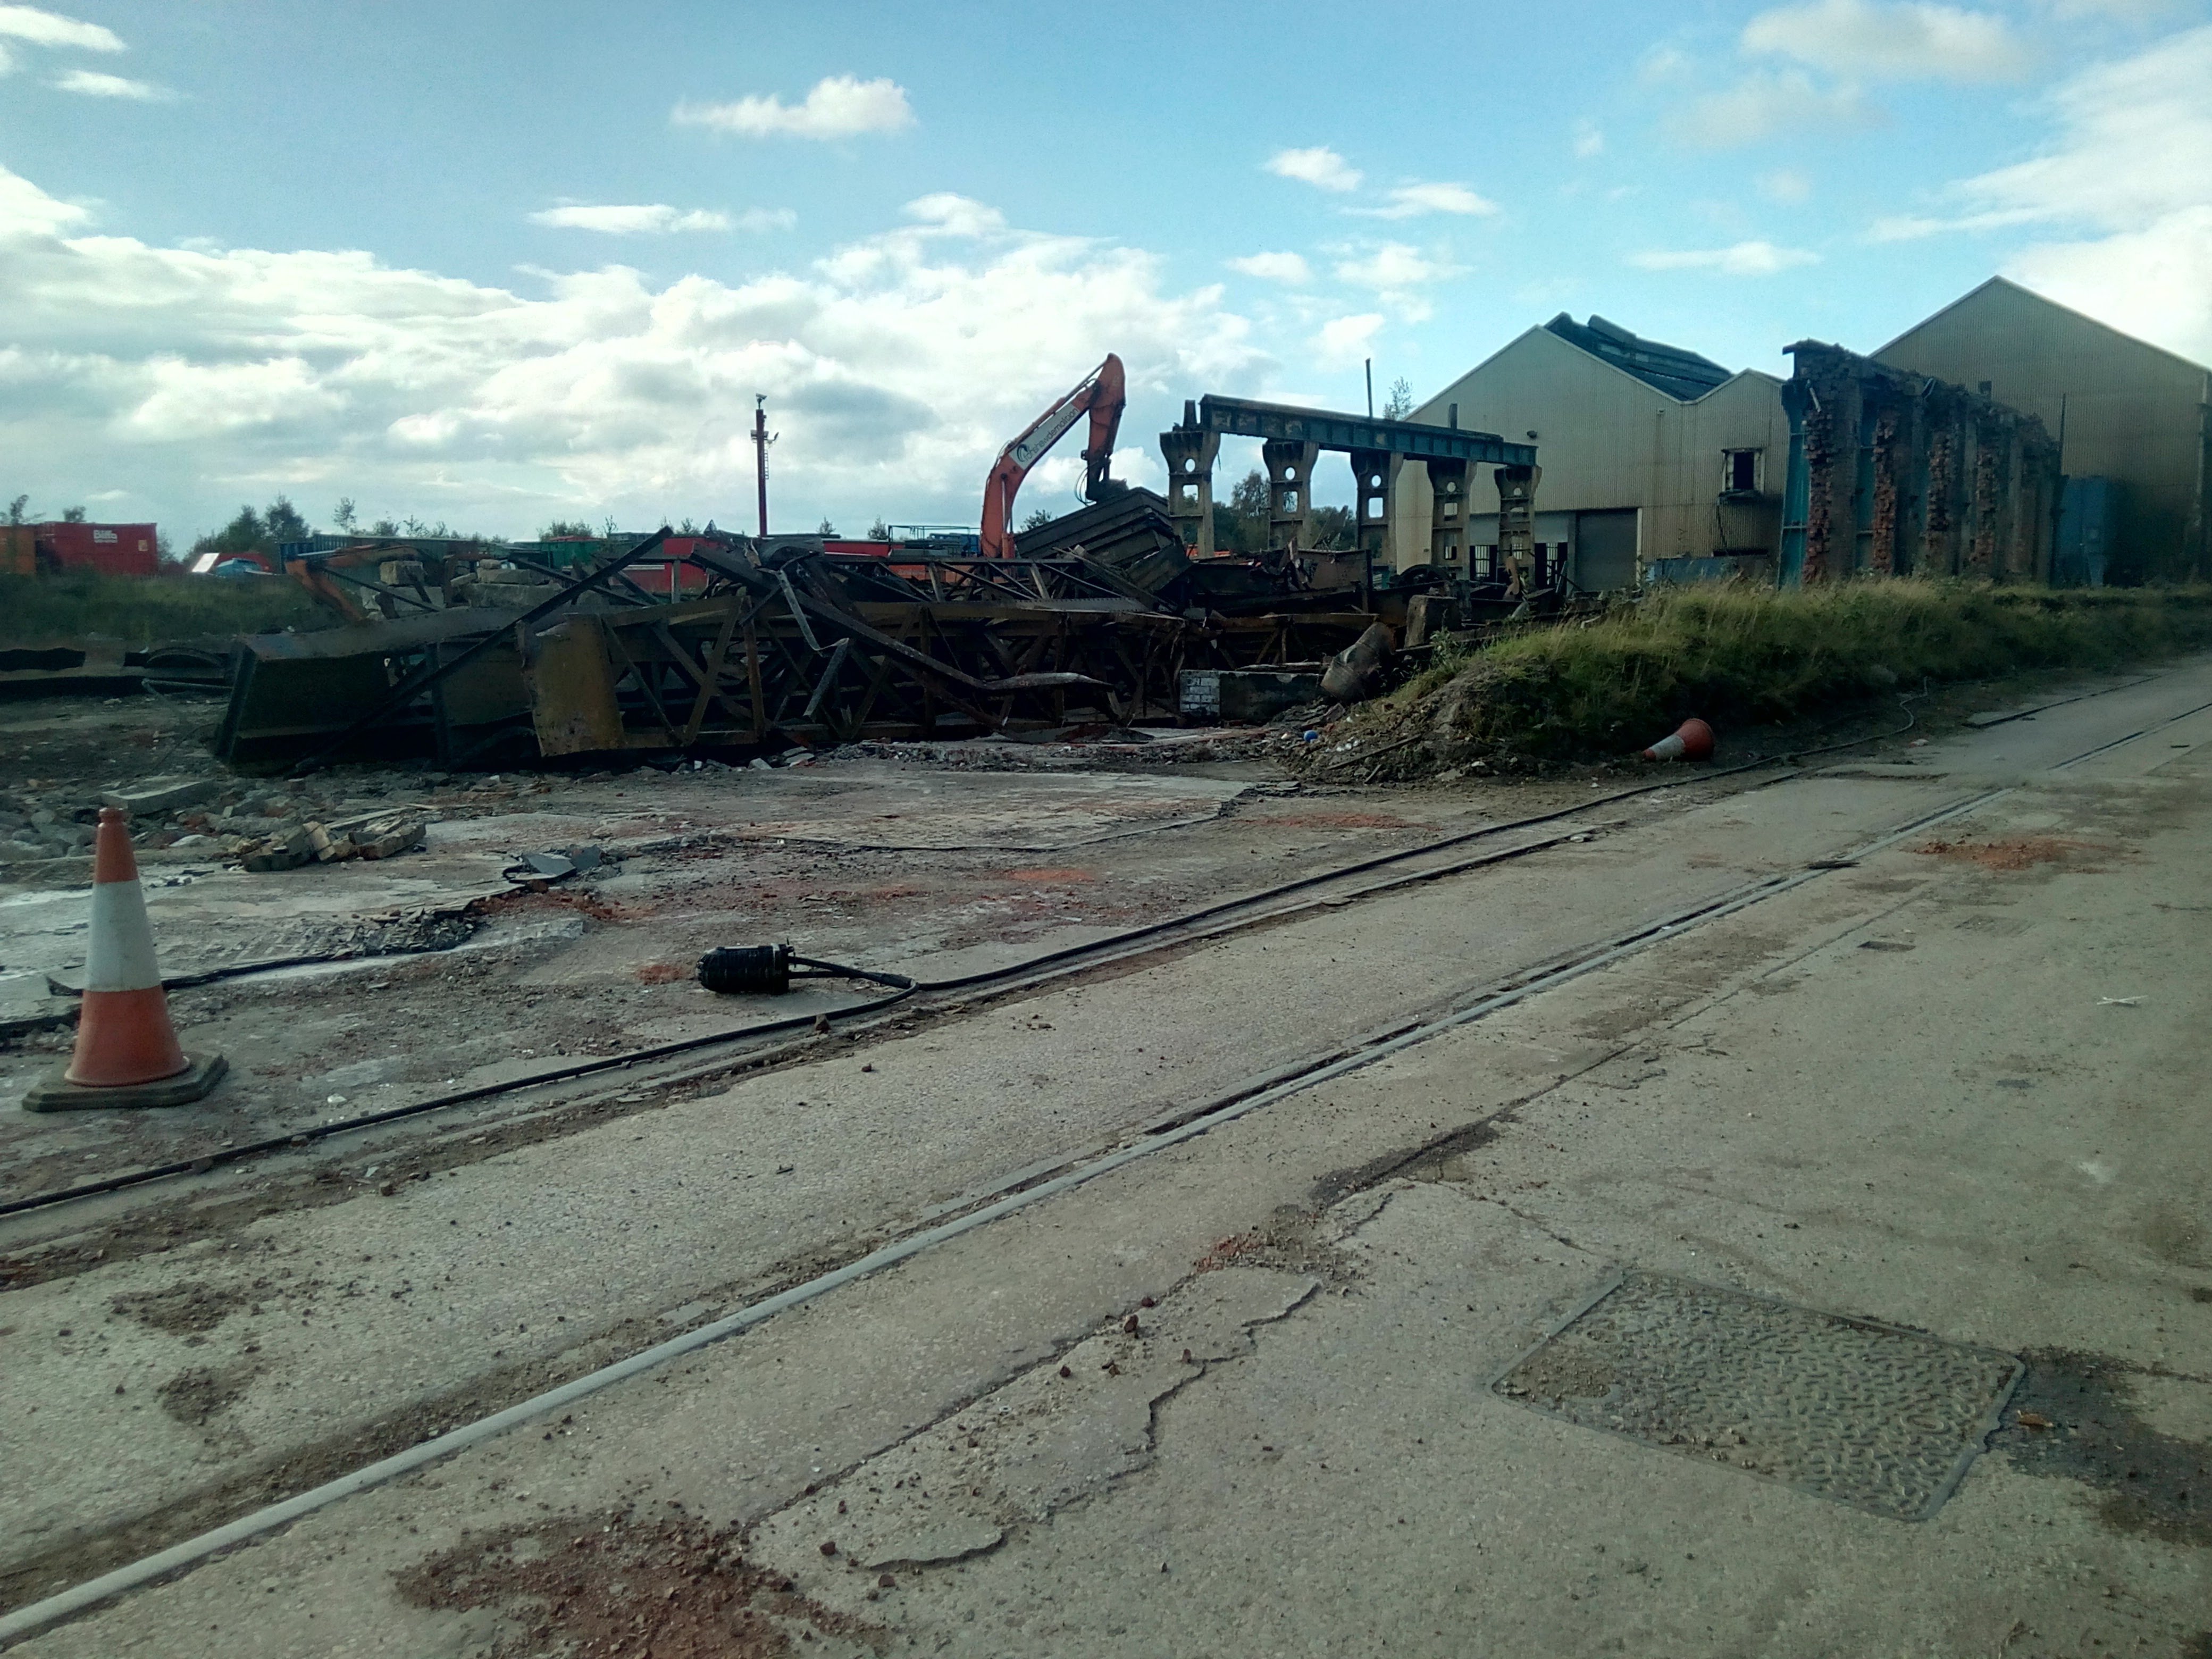 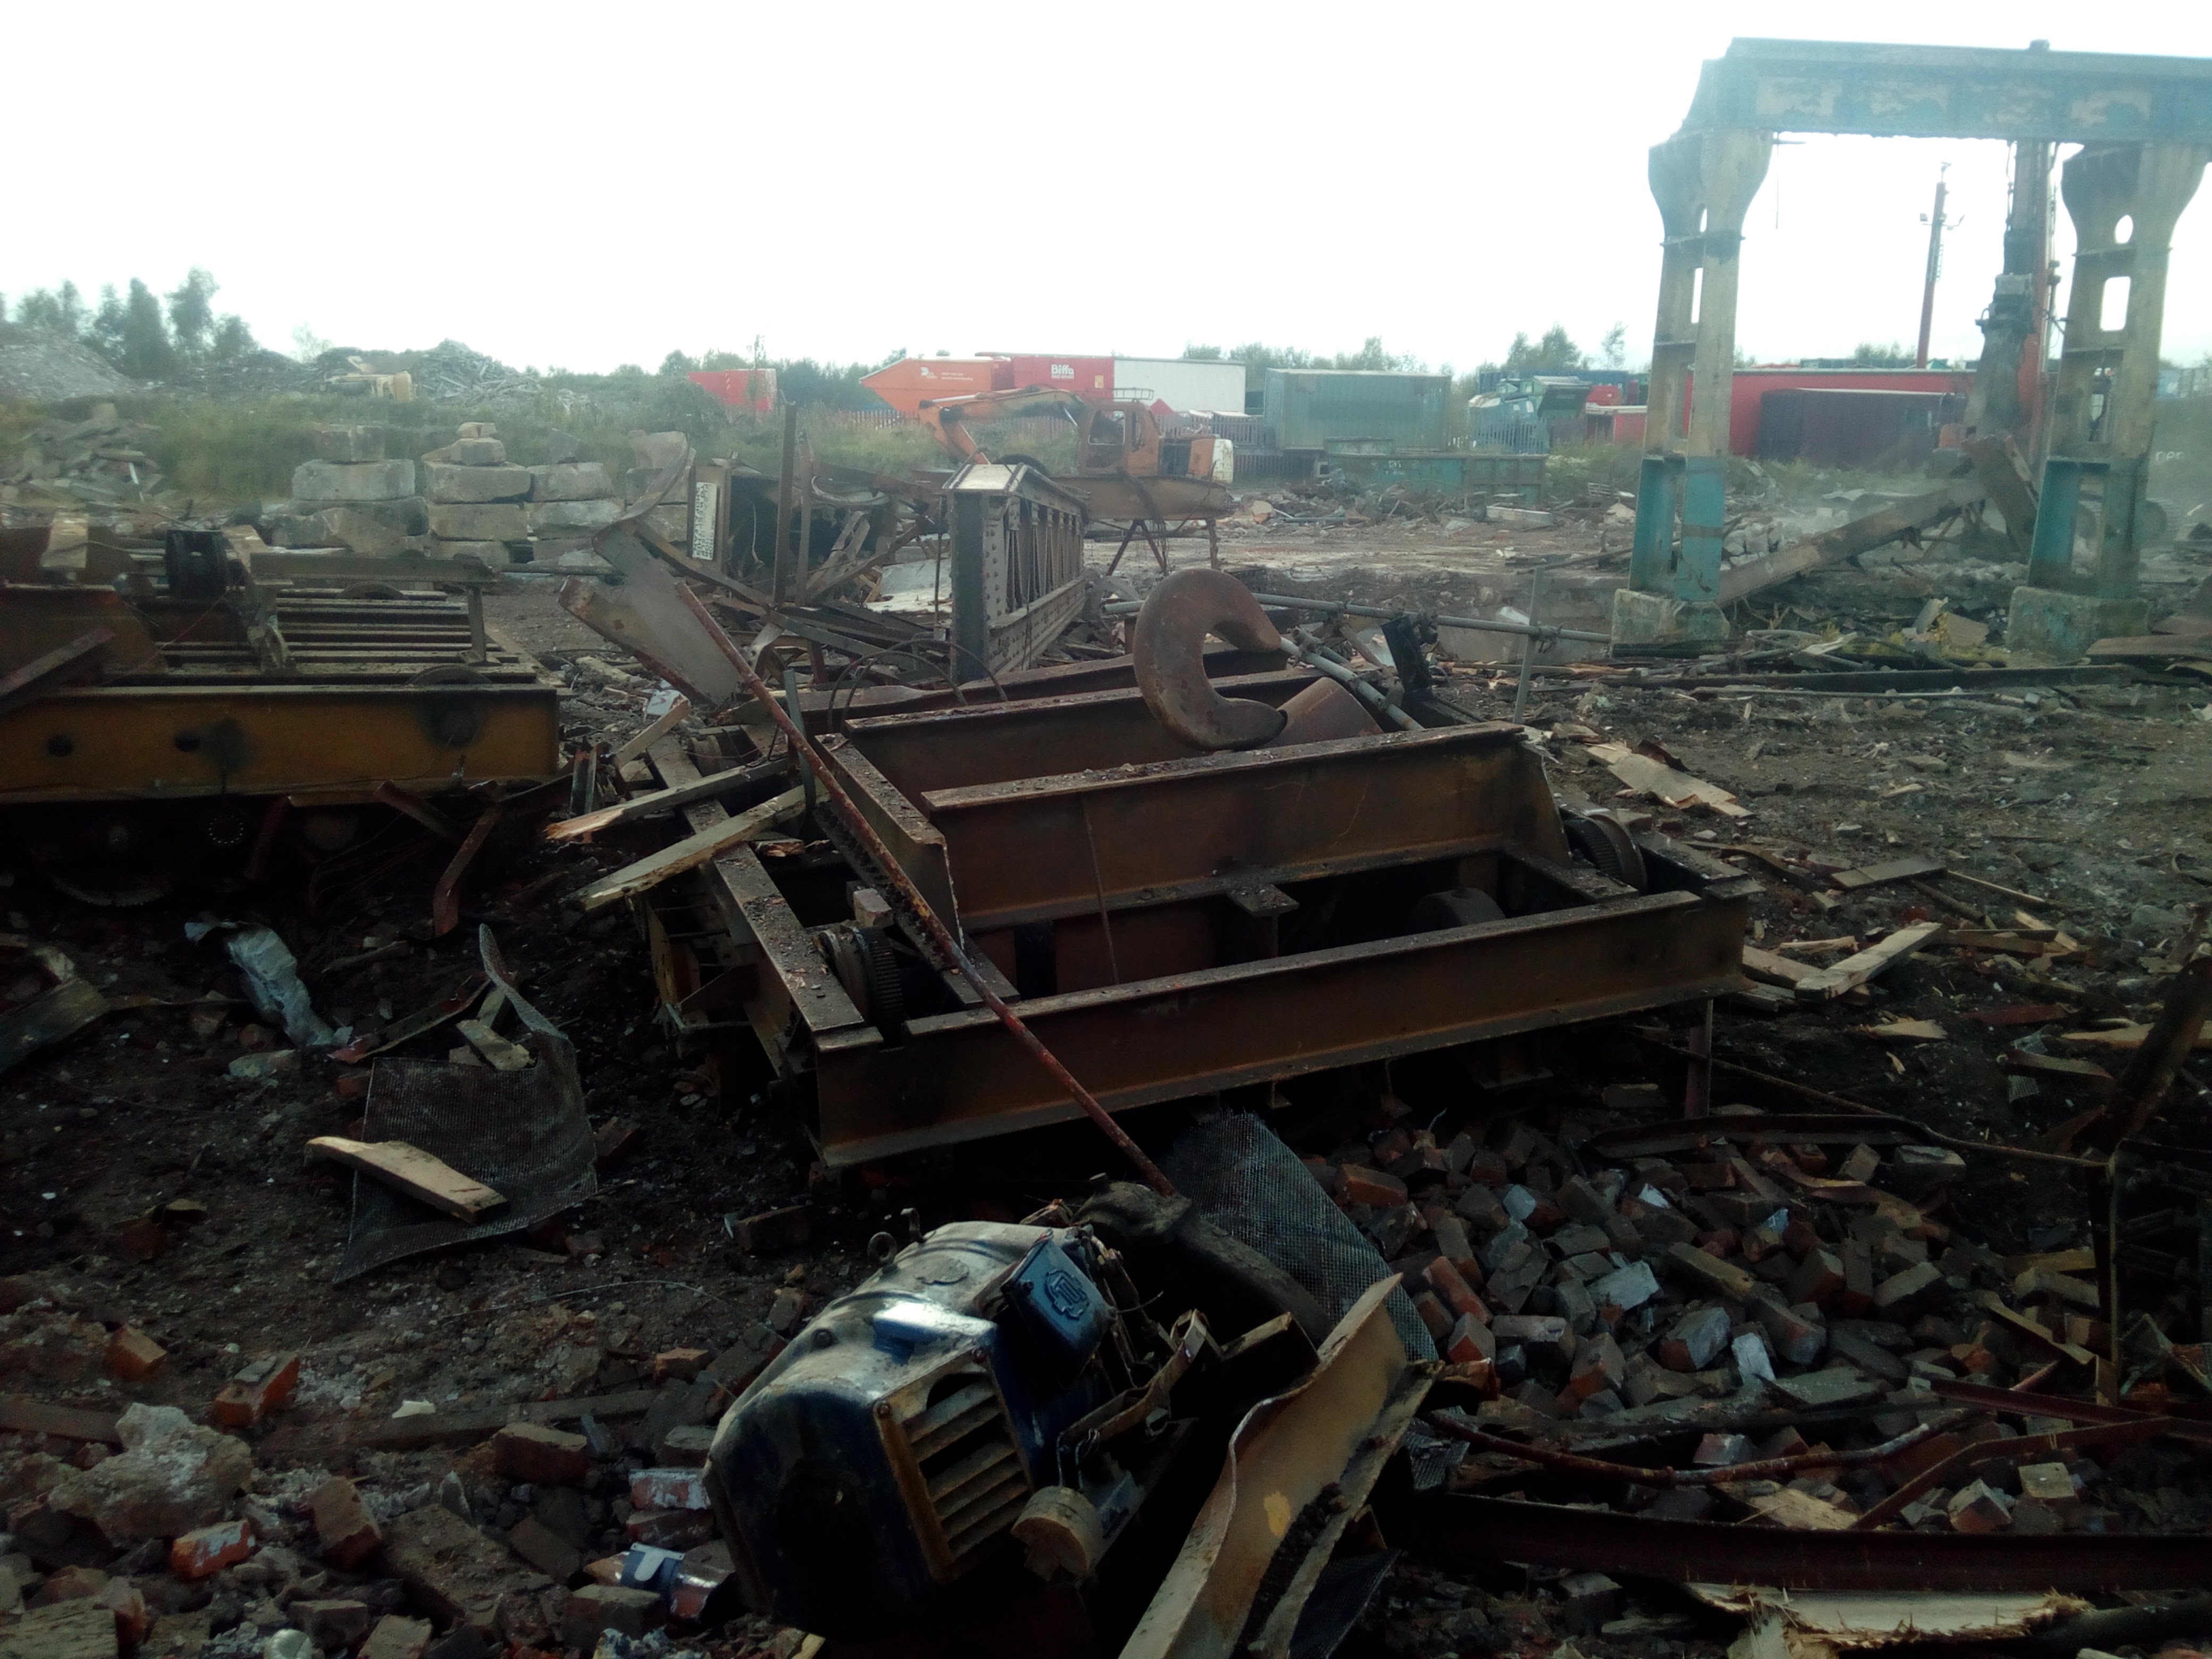 They're levelling everything they can, to make way for 1600 cookie-cutter houses, and some generic office buildings. :undecided: I have an album of pictures (and, occasionally, video. Unfortunately, nothing from when they pushed the cranes off, I missed that. Though... they went, not with a bang, but with a whimper... well, a quiet crunch.) from the past year or so, snapping what I could as they collapsed it to nothing; because, by the time they're done, there'll be no trace anything ever existed there, least of all a huge part of local heavy engineering history. goo.gl/photos/yb5CzaHbuZCWdJf56(An effort was made to have the buildings listed, but it failed because the buildings are of "utilitarian design with a few special characteristics of craftsmanship or decoration”; and, on top of this, they don't have their original equipment any more, and there have been other changes such as knocking new doorways in, etc. And then, I expect, people will turn around when everything's just vast expanses of generic shopping centres and identikit houses, and lament our 'inability' to produce anything, and how bland everything is... Ho-hum.) *removes rose-tinted spectacles* Such is progress, apparently. Dereliction is my aesthetic.  Anyway, continuing onward! I took a week off work, and spent it doing... uh, work. On my broken junk, though, not theirs. But because there wasn't room in the workshop, I decided I'd do sparkplugs. 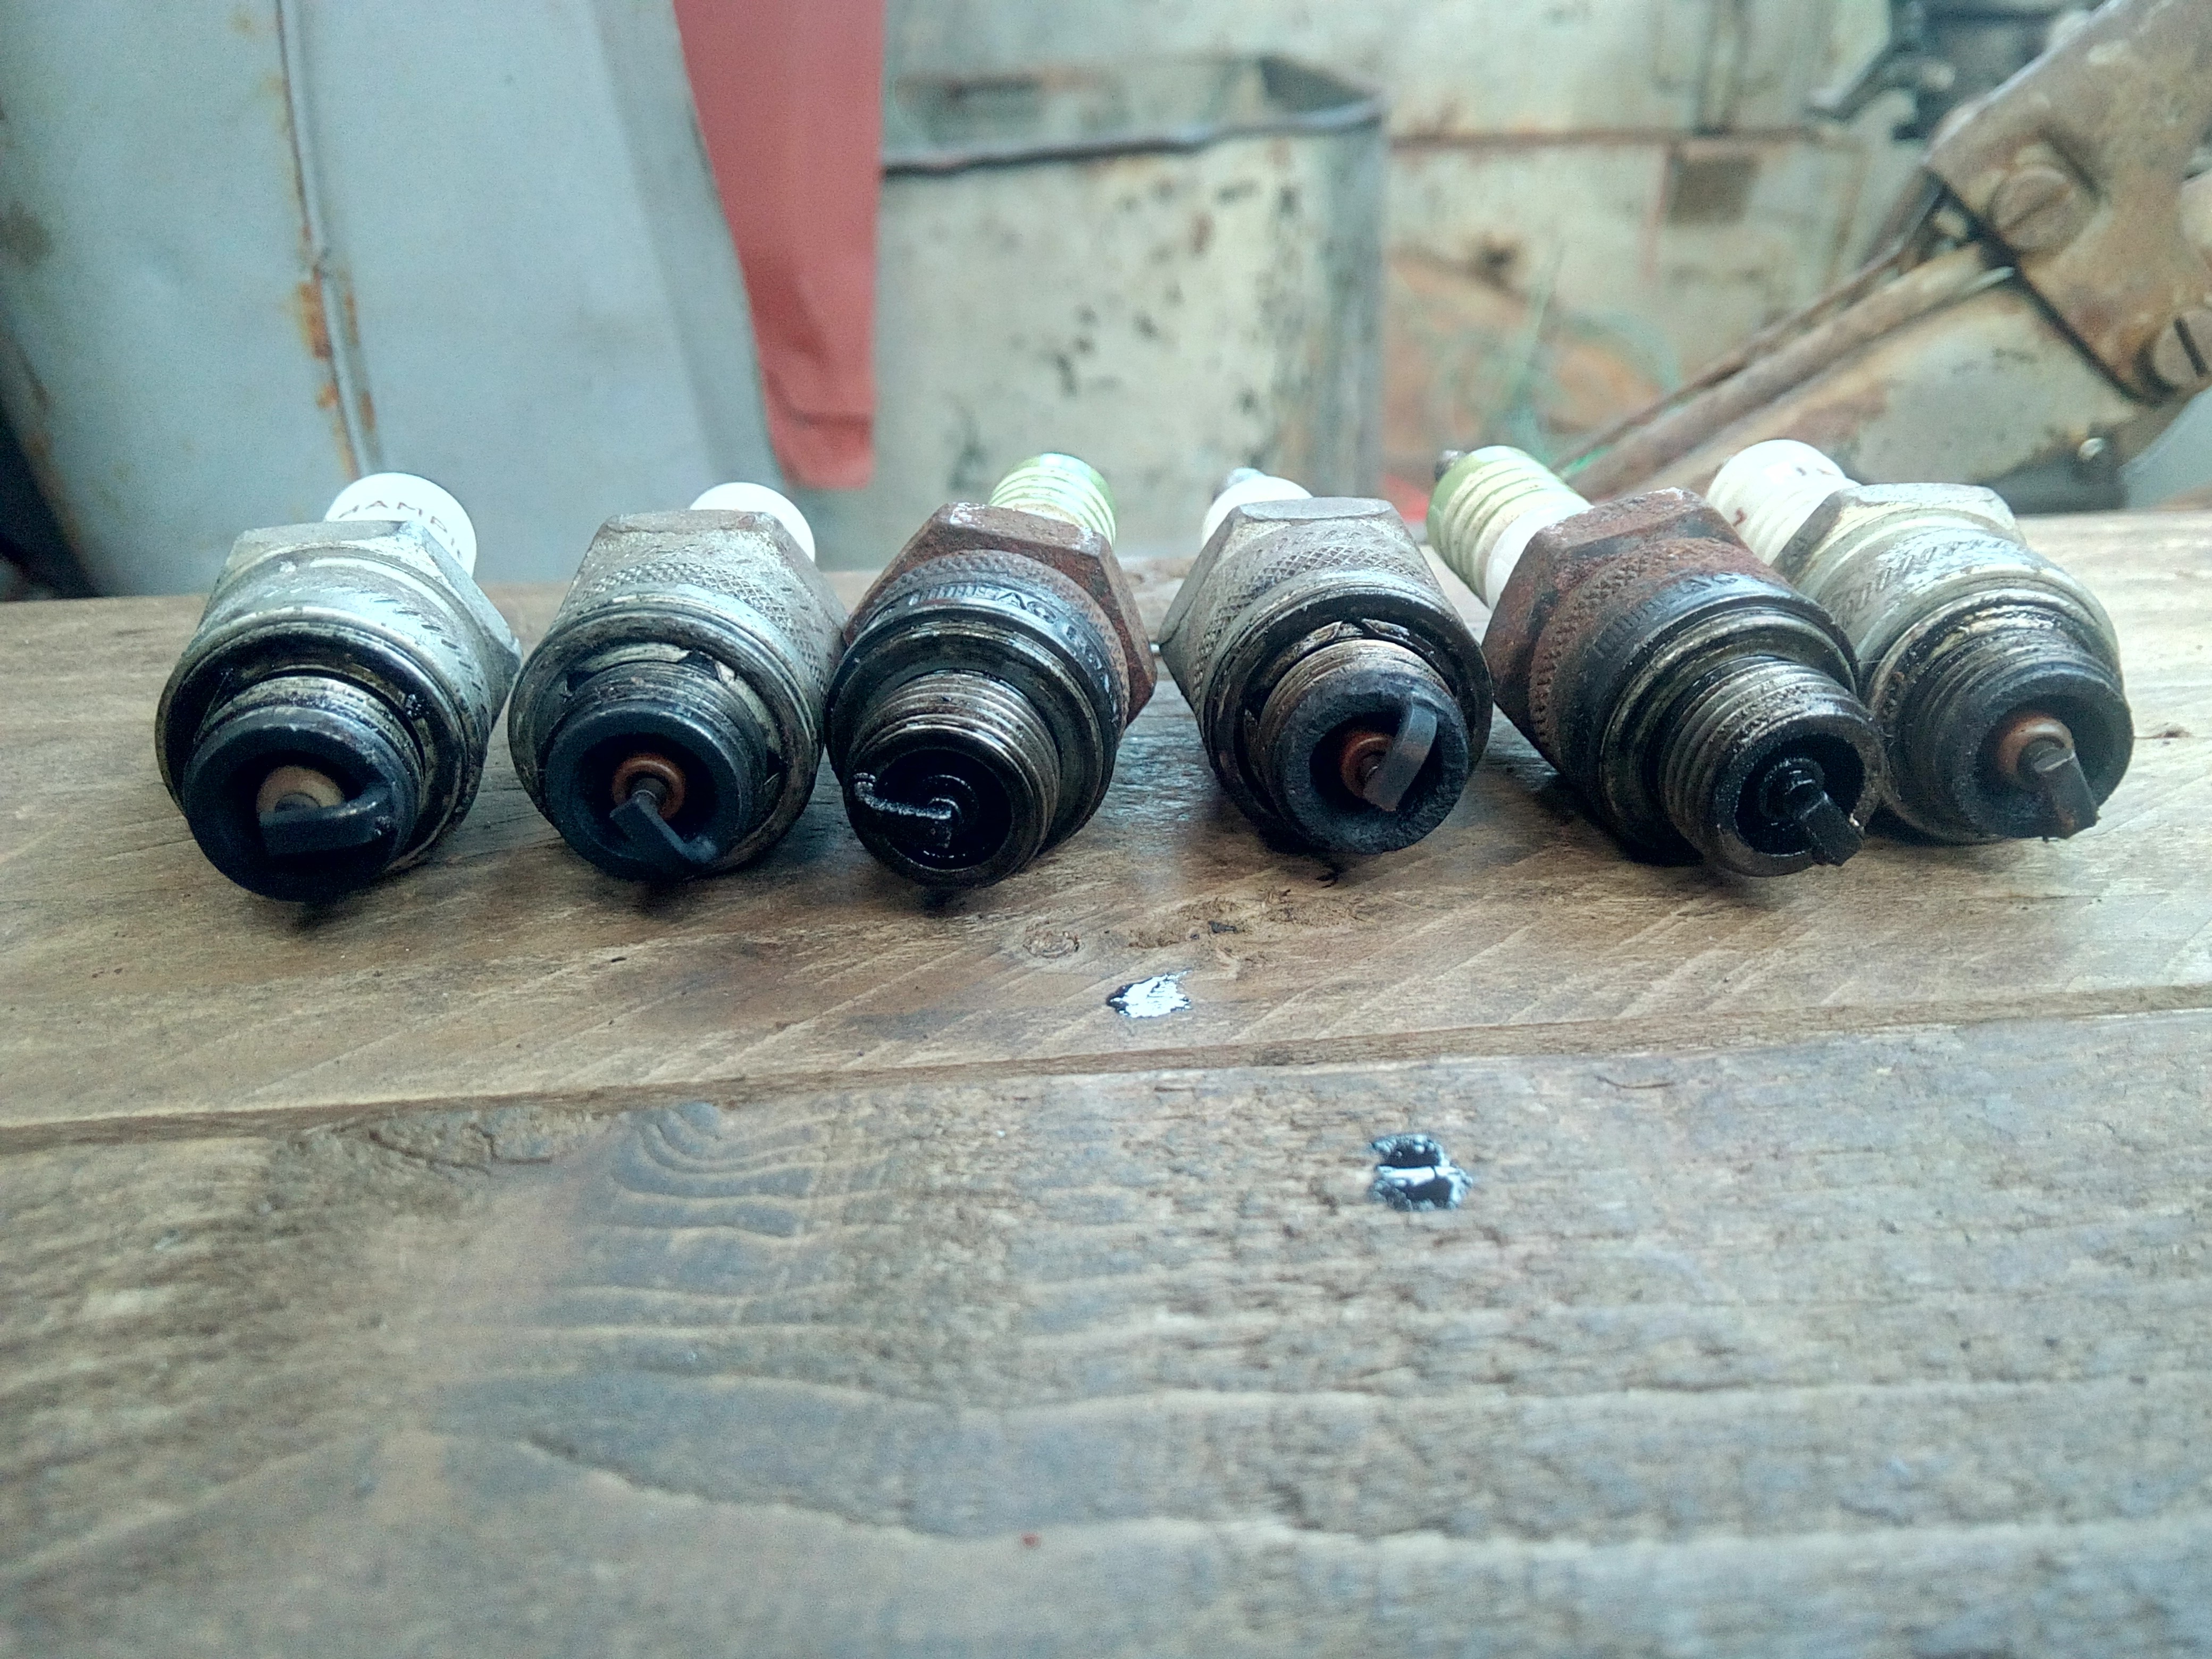 (Ordered from cylinder #6 to #1.) Honestly, those plugs could be a damn sight worse considering they're the ones that were in there when I bought the truck. (You can even see the rust-pitting on the end of #3, because that was the cylinder with its intake valve open, if you look closely!) A set of NGK B6S went in. NGK is my preference because the box is a nice cheerful yellow. That's all I have to say on the matter of spark-plug manufacturer preference.  Some new leads were also made up, because why not. Then, the following episode, I weldinated a bit more of the roof. 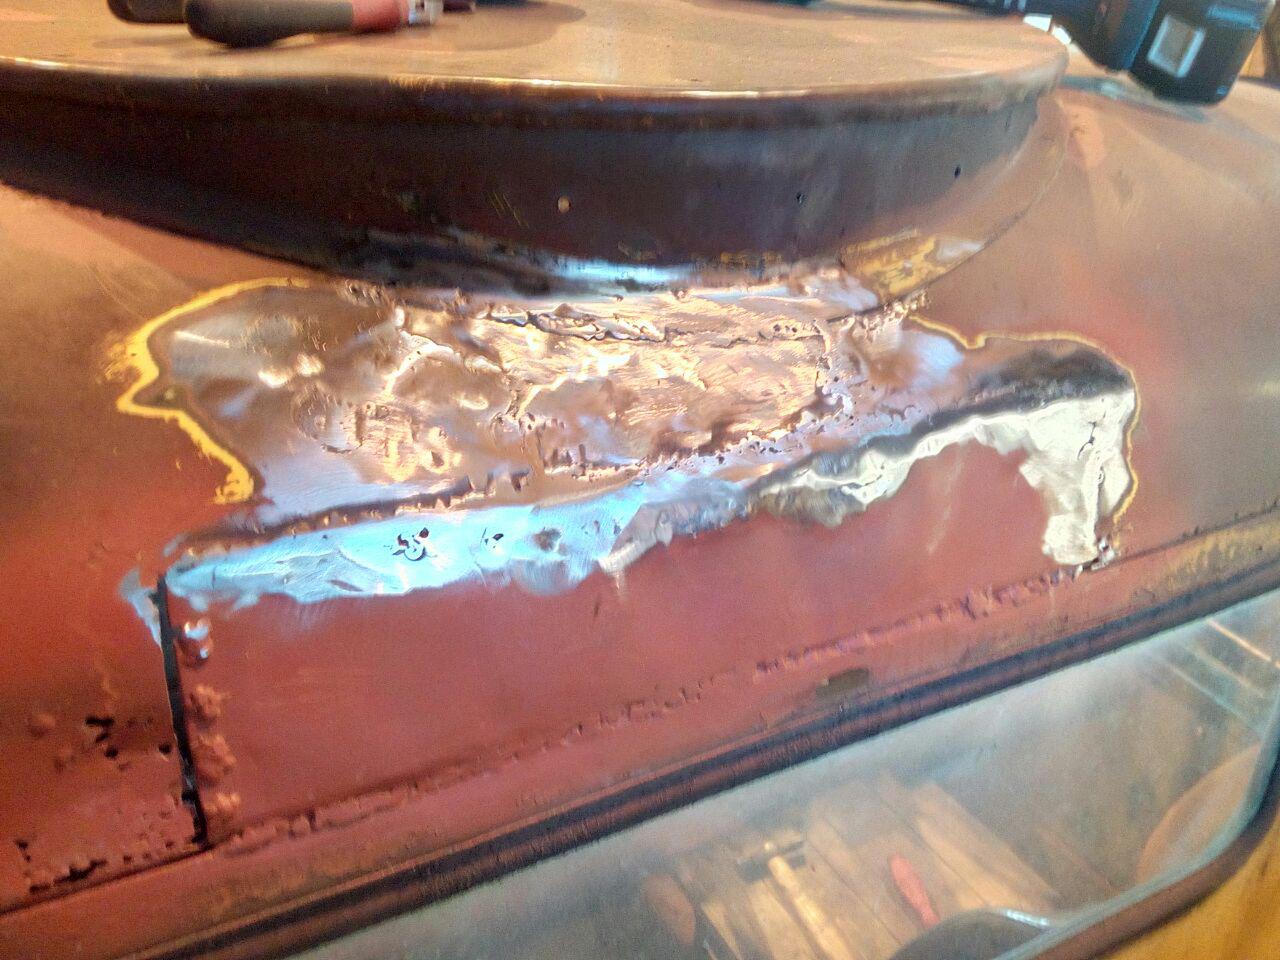 And then promptly fell off it, one elbow on the roof, the other on the top of the body; which brought them sharply up to the level of my ears, and something went crunch. Oh well. Whatever it was, it grew back. Also discovered the O/S cab mount has delaminated... this was discovered by the whole cab tipping over alarmingly as I heaved myself up by the grab-handle above the N/S door. (This same thing also claimed another victim; my co-workers' iPhone, which fell out of his pocket and landed screen-down on the carpark when he did the same thing I did, to point out the body-mount separating. It popped the whole front off it, cracked the screen, and launched the home-button off to realms unknown. Those things are the very definition of fragile, by my book...)...and that the brakes are dragging on one side of the rear axle; so I'll need to unstick that again. 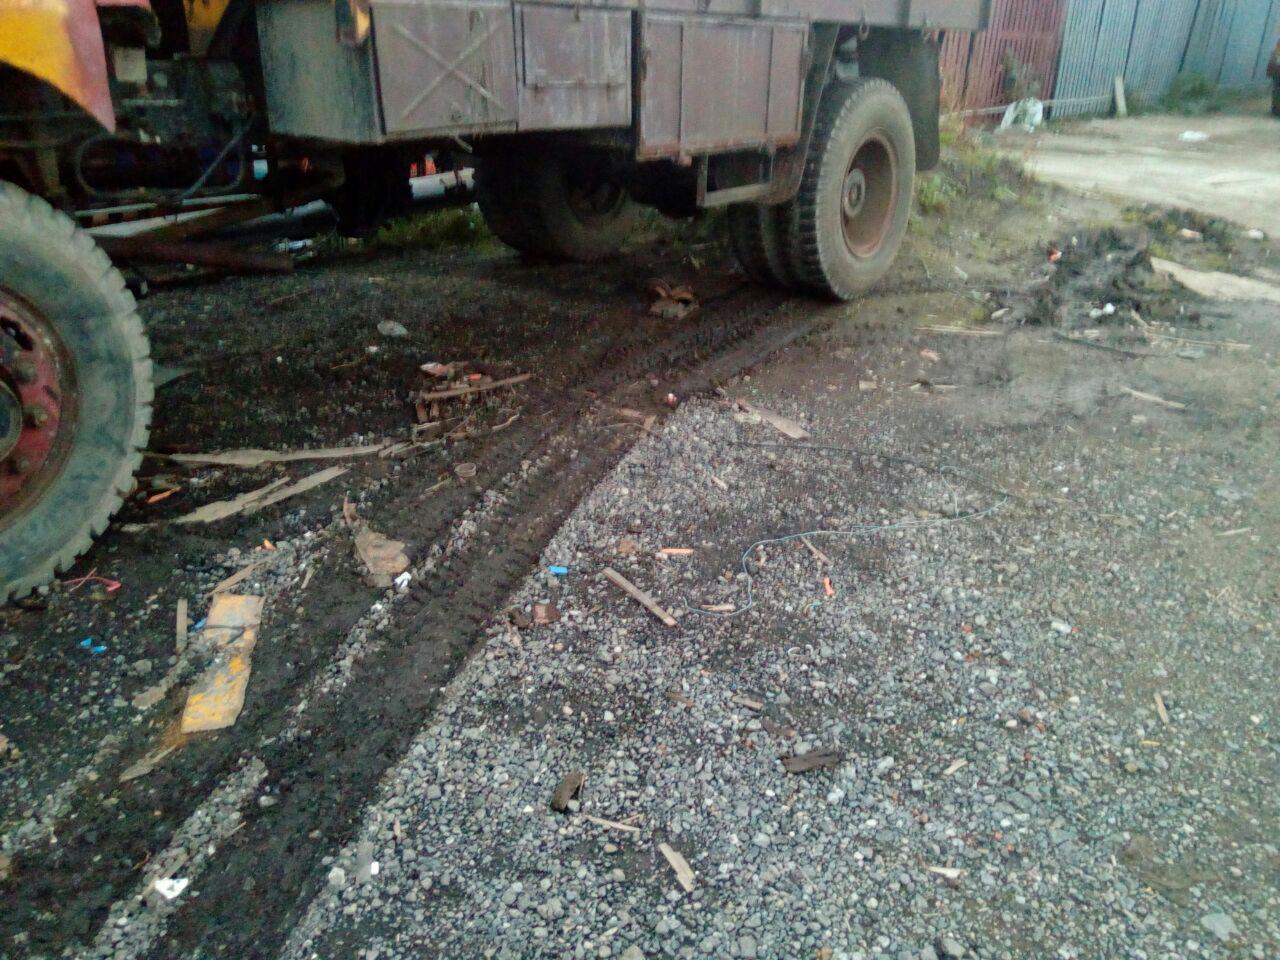 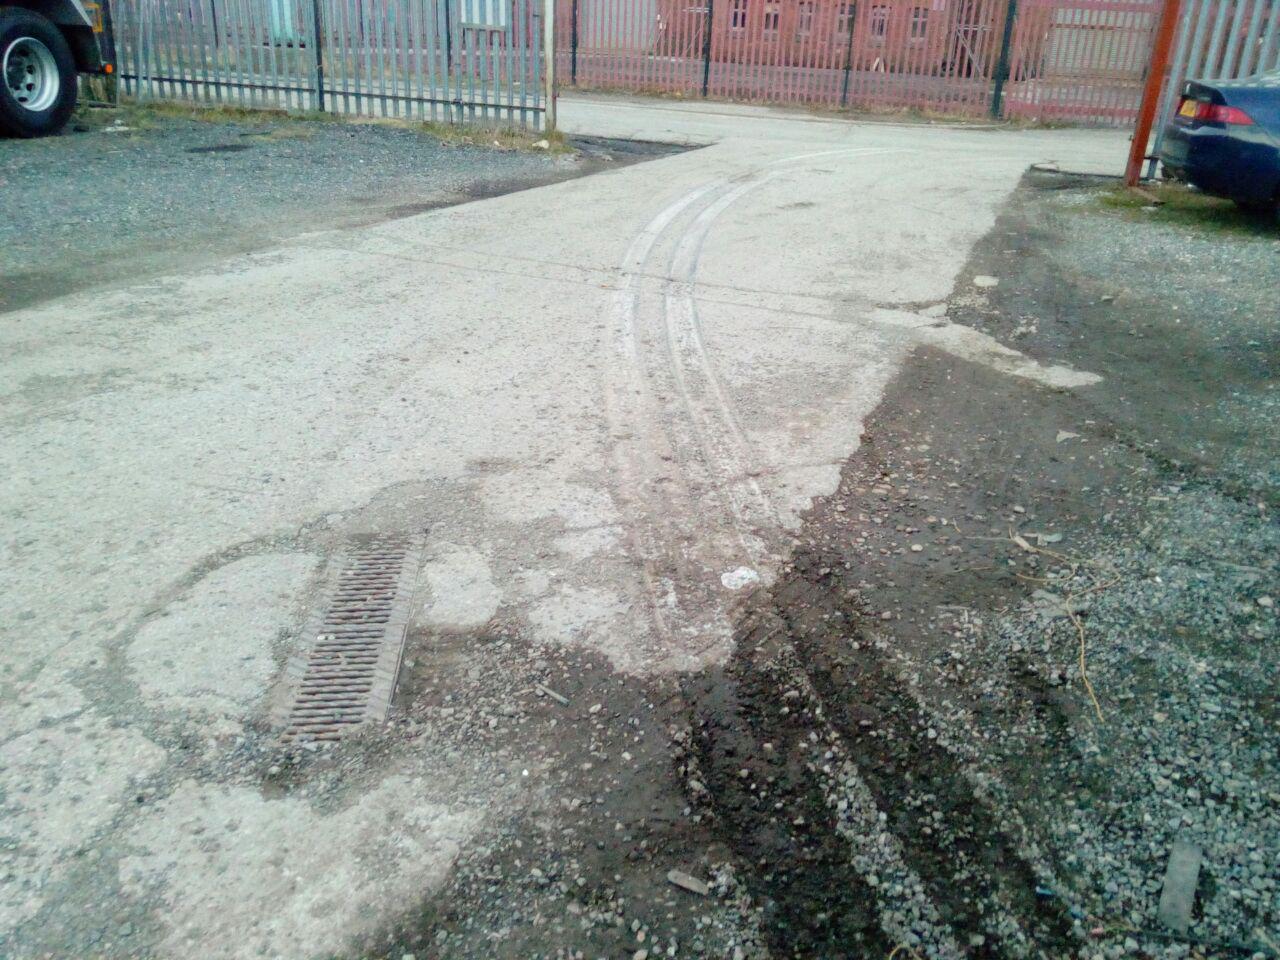 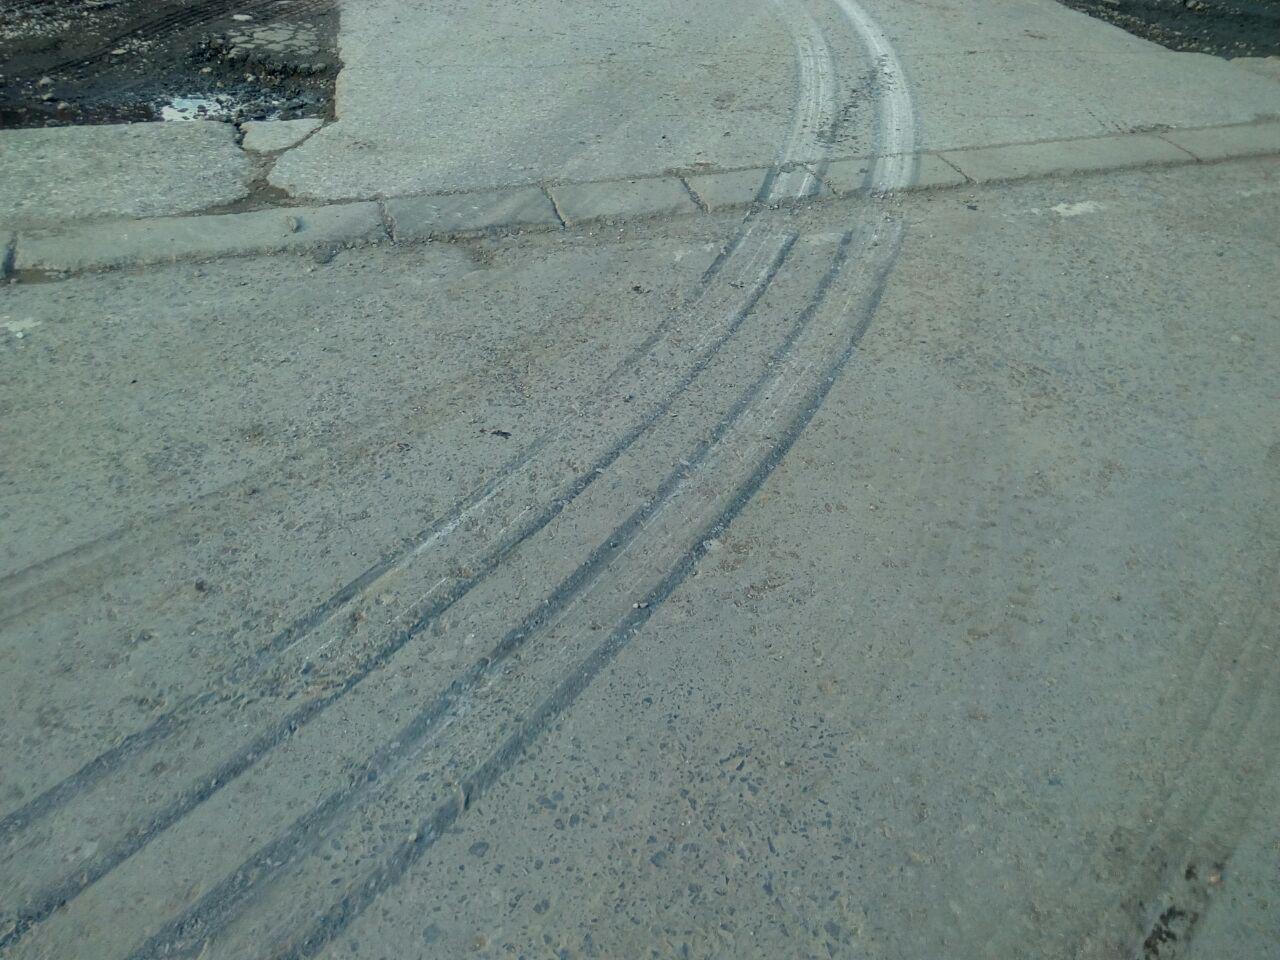 Ah, she'll be right. November 2016Okay, fine, I'll go deal with the fuel toilet... 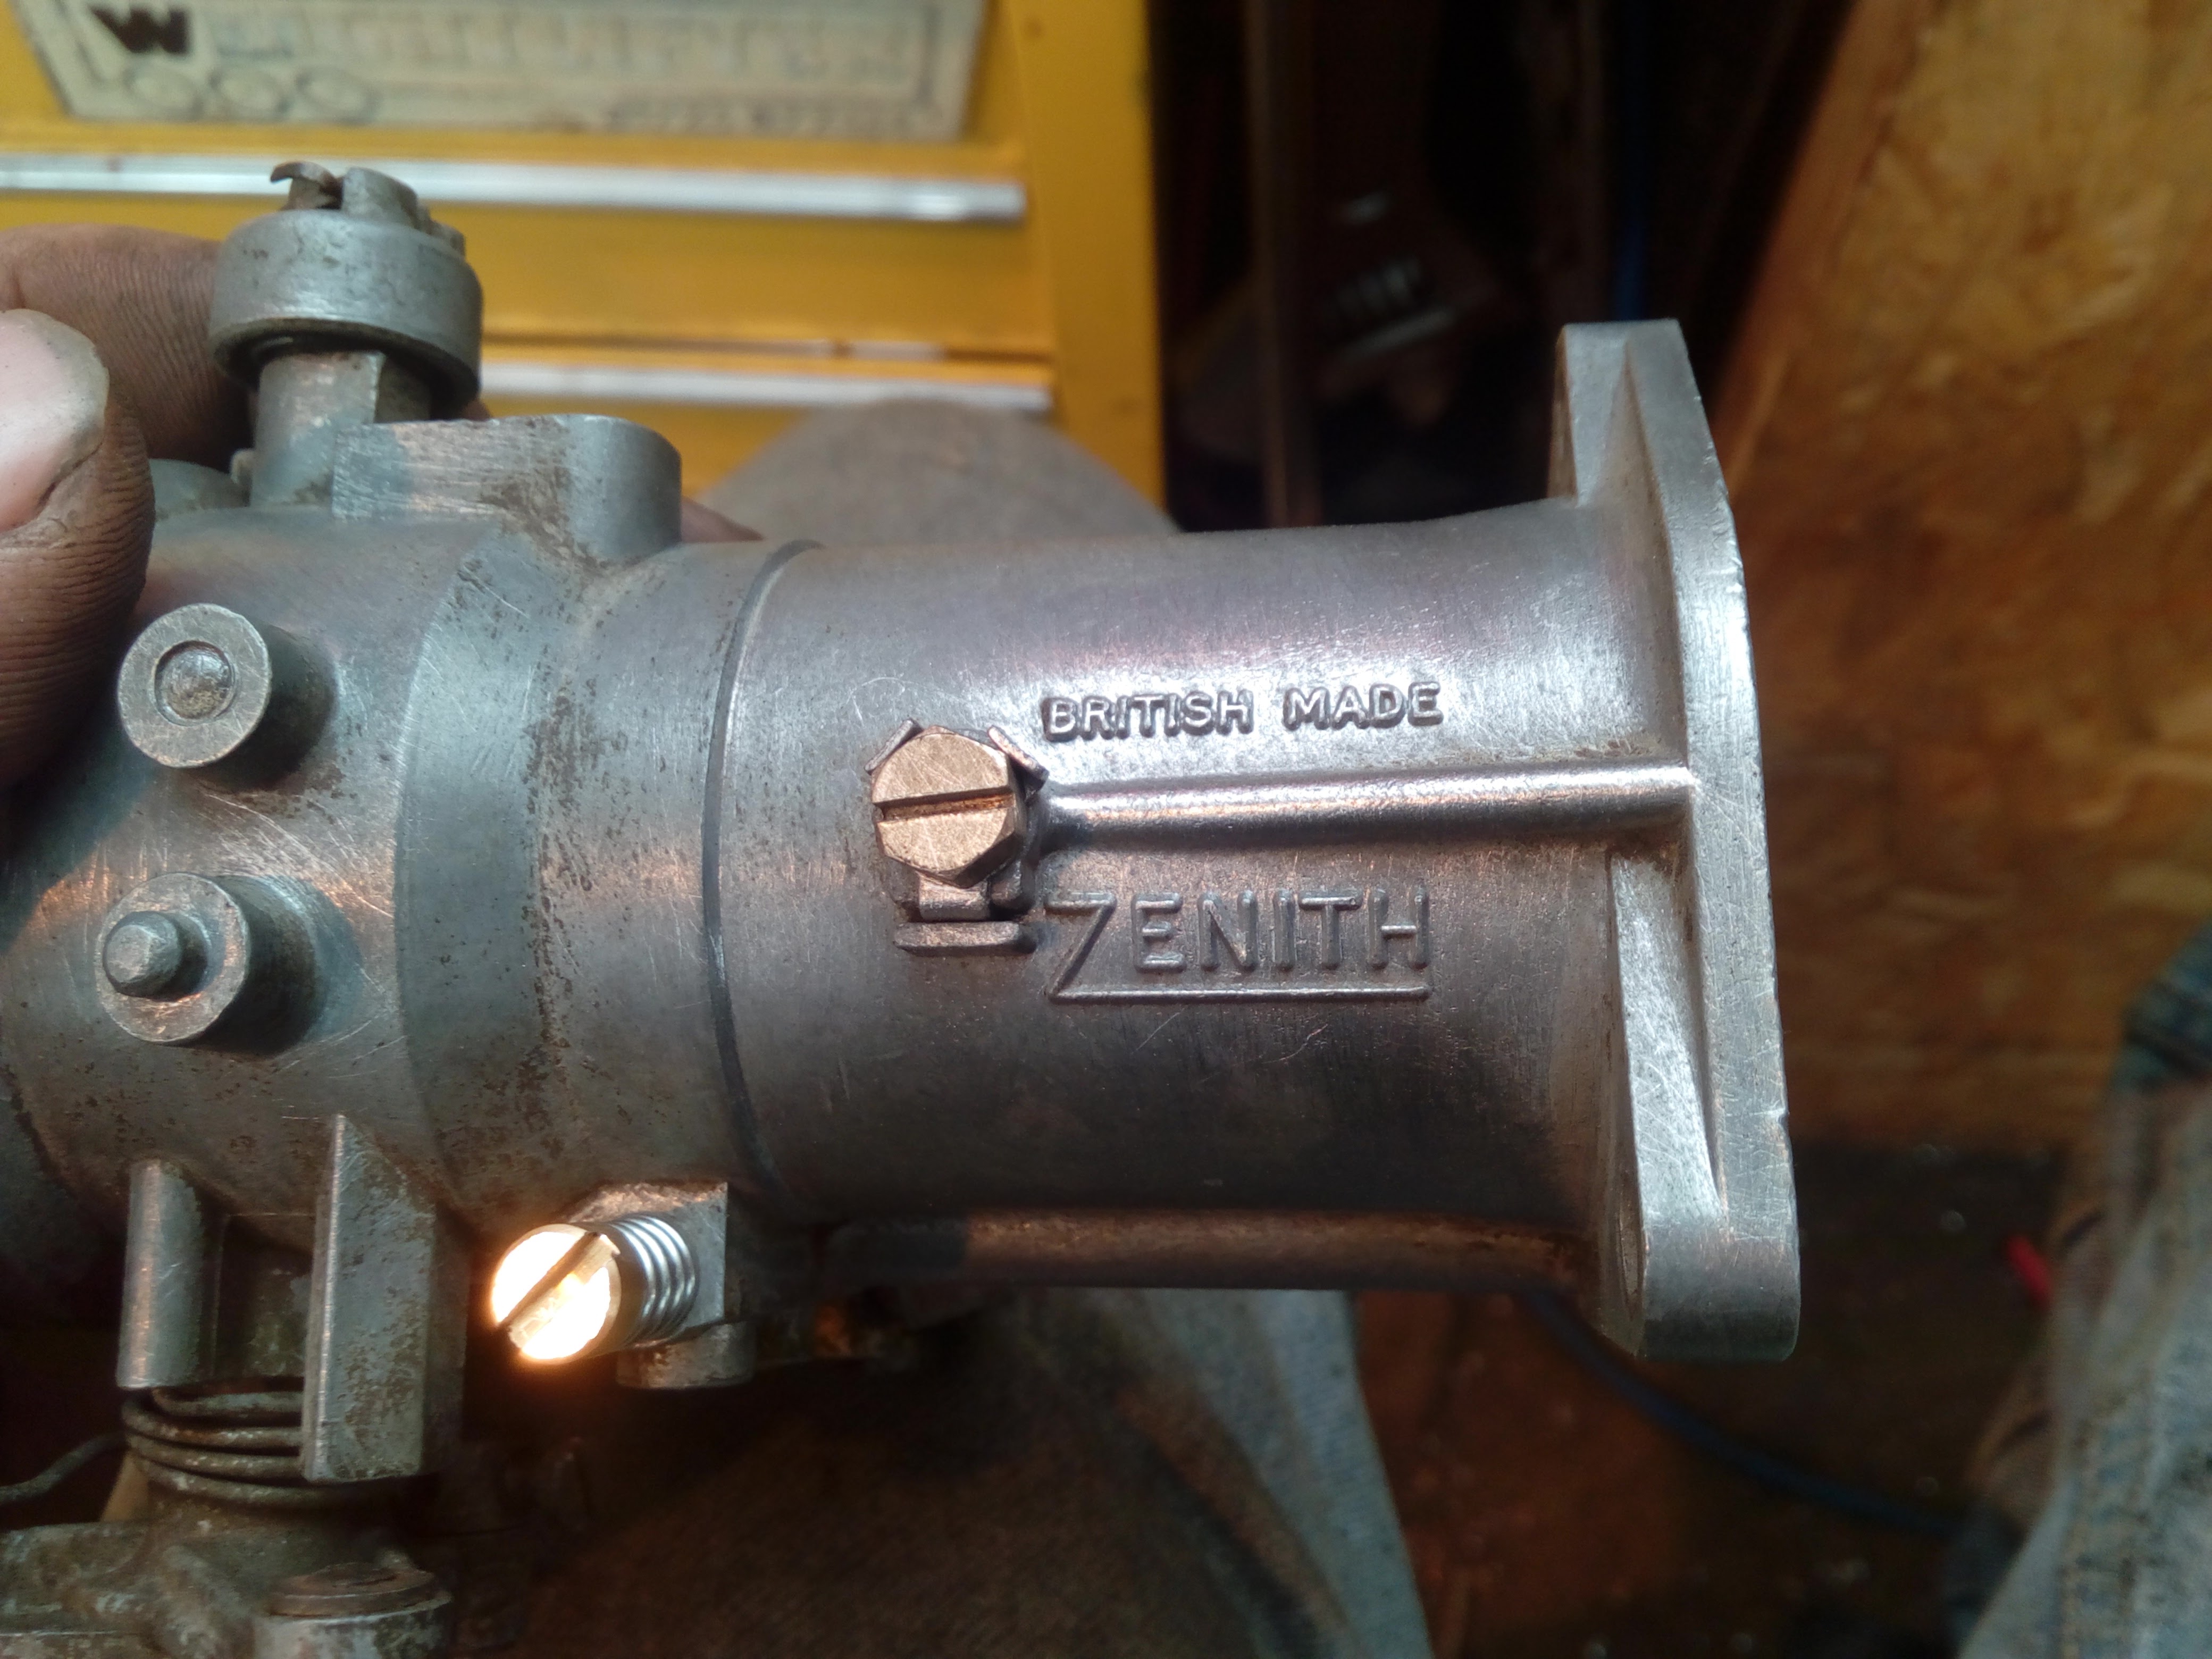 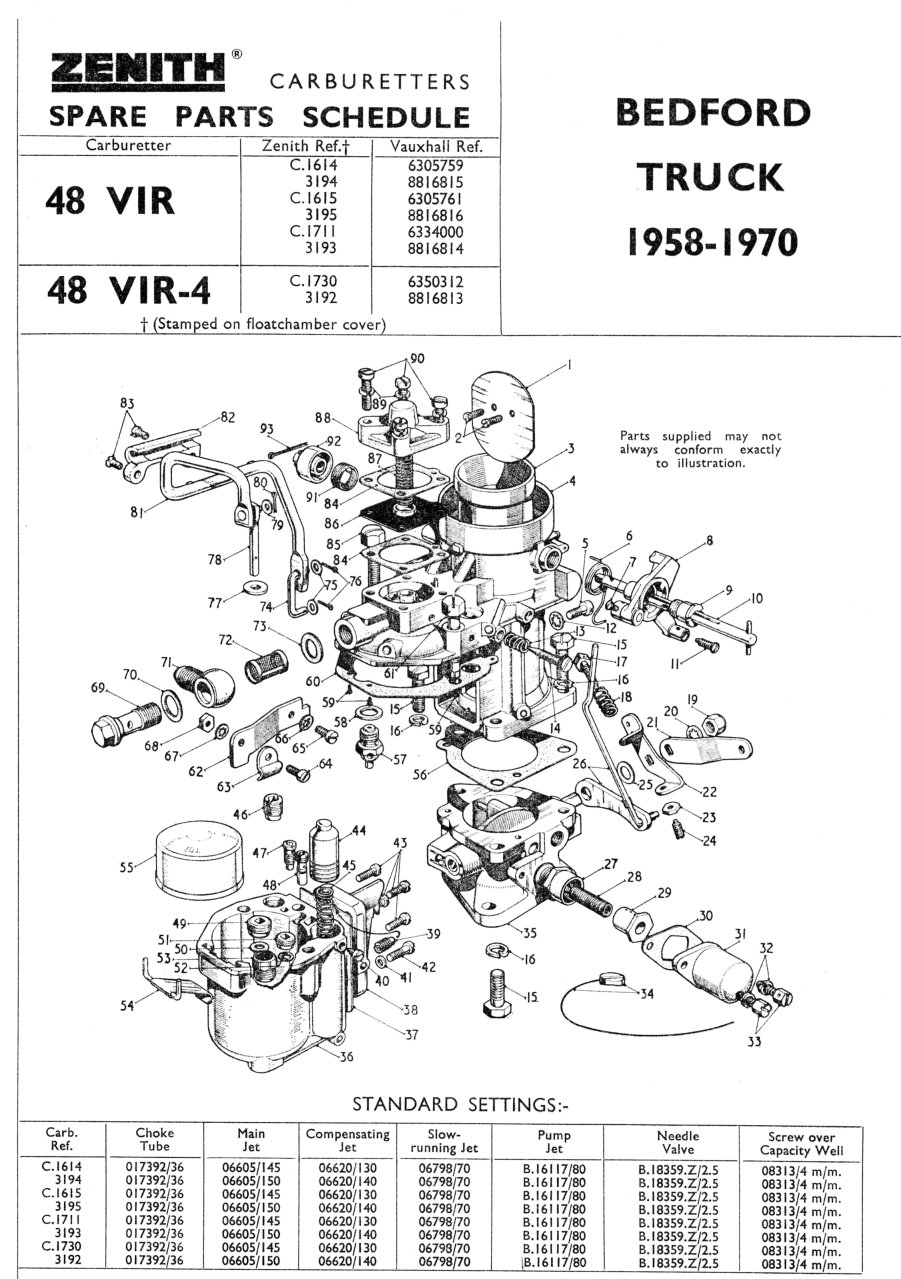 (Item No. 42 curse word me over later. Spoilers!) 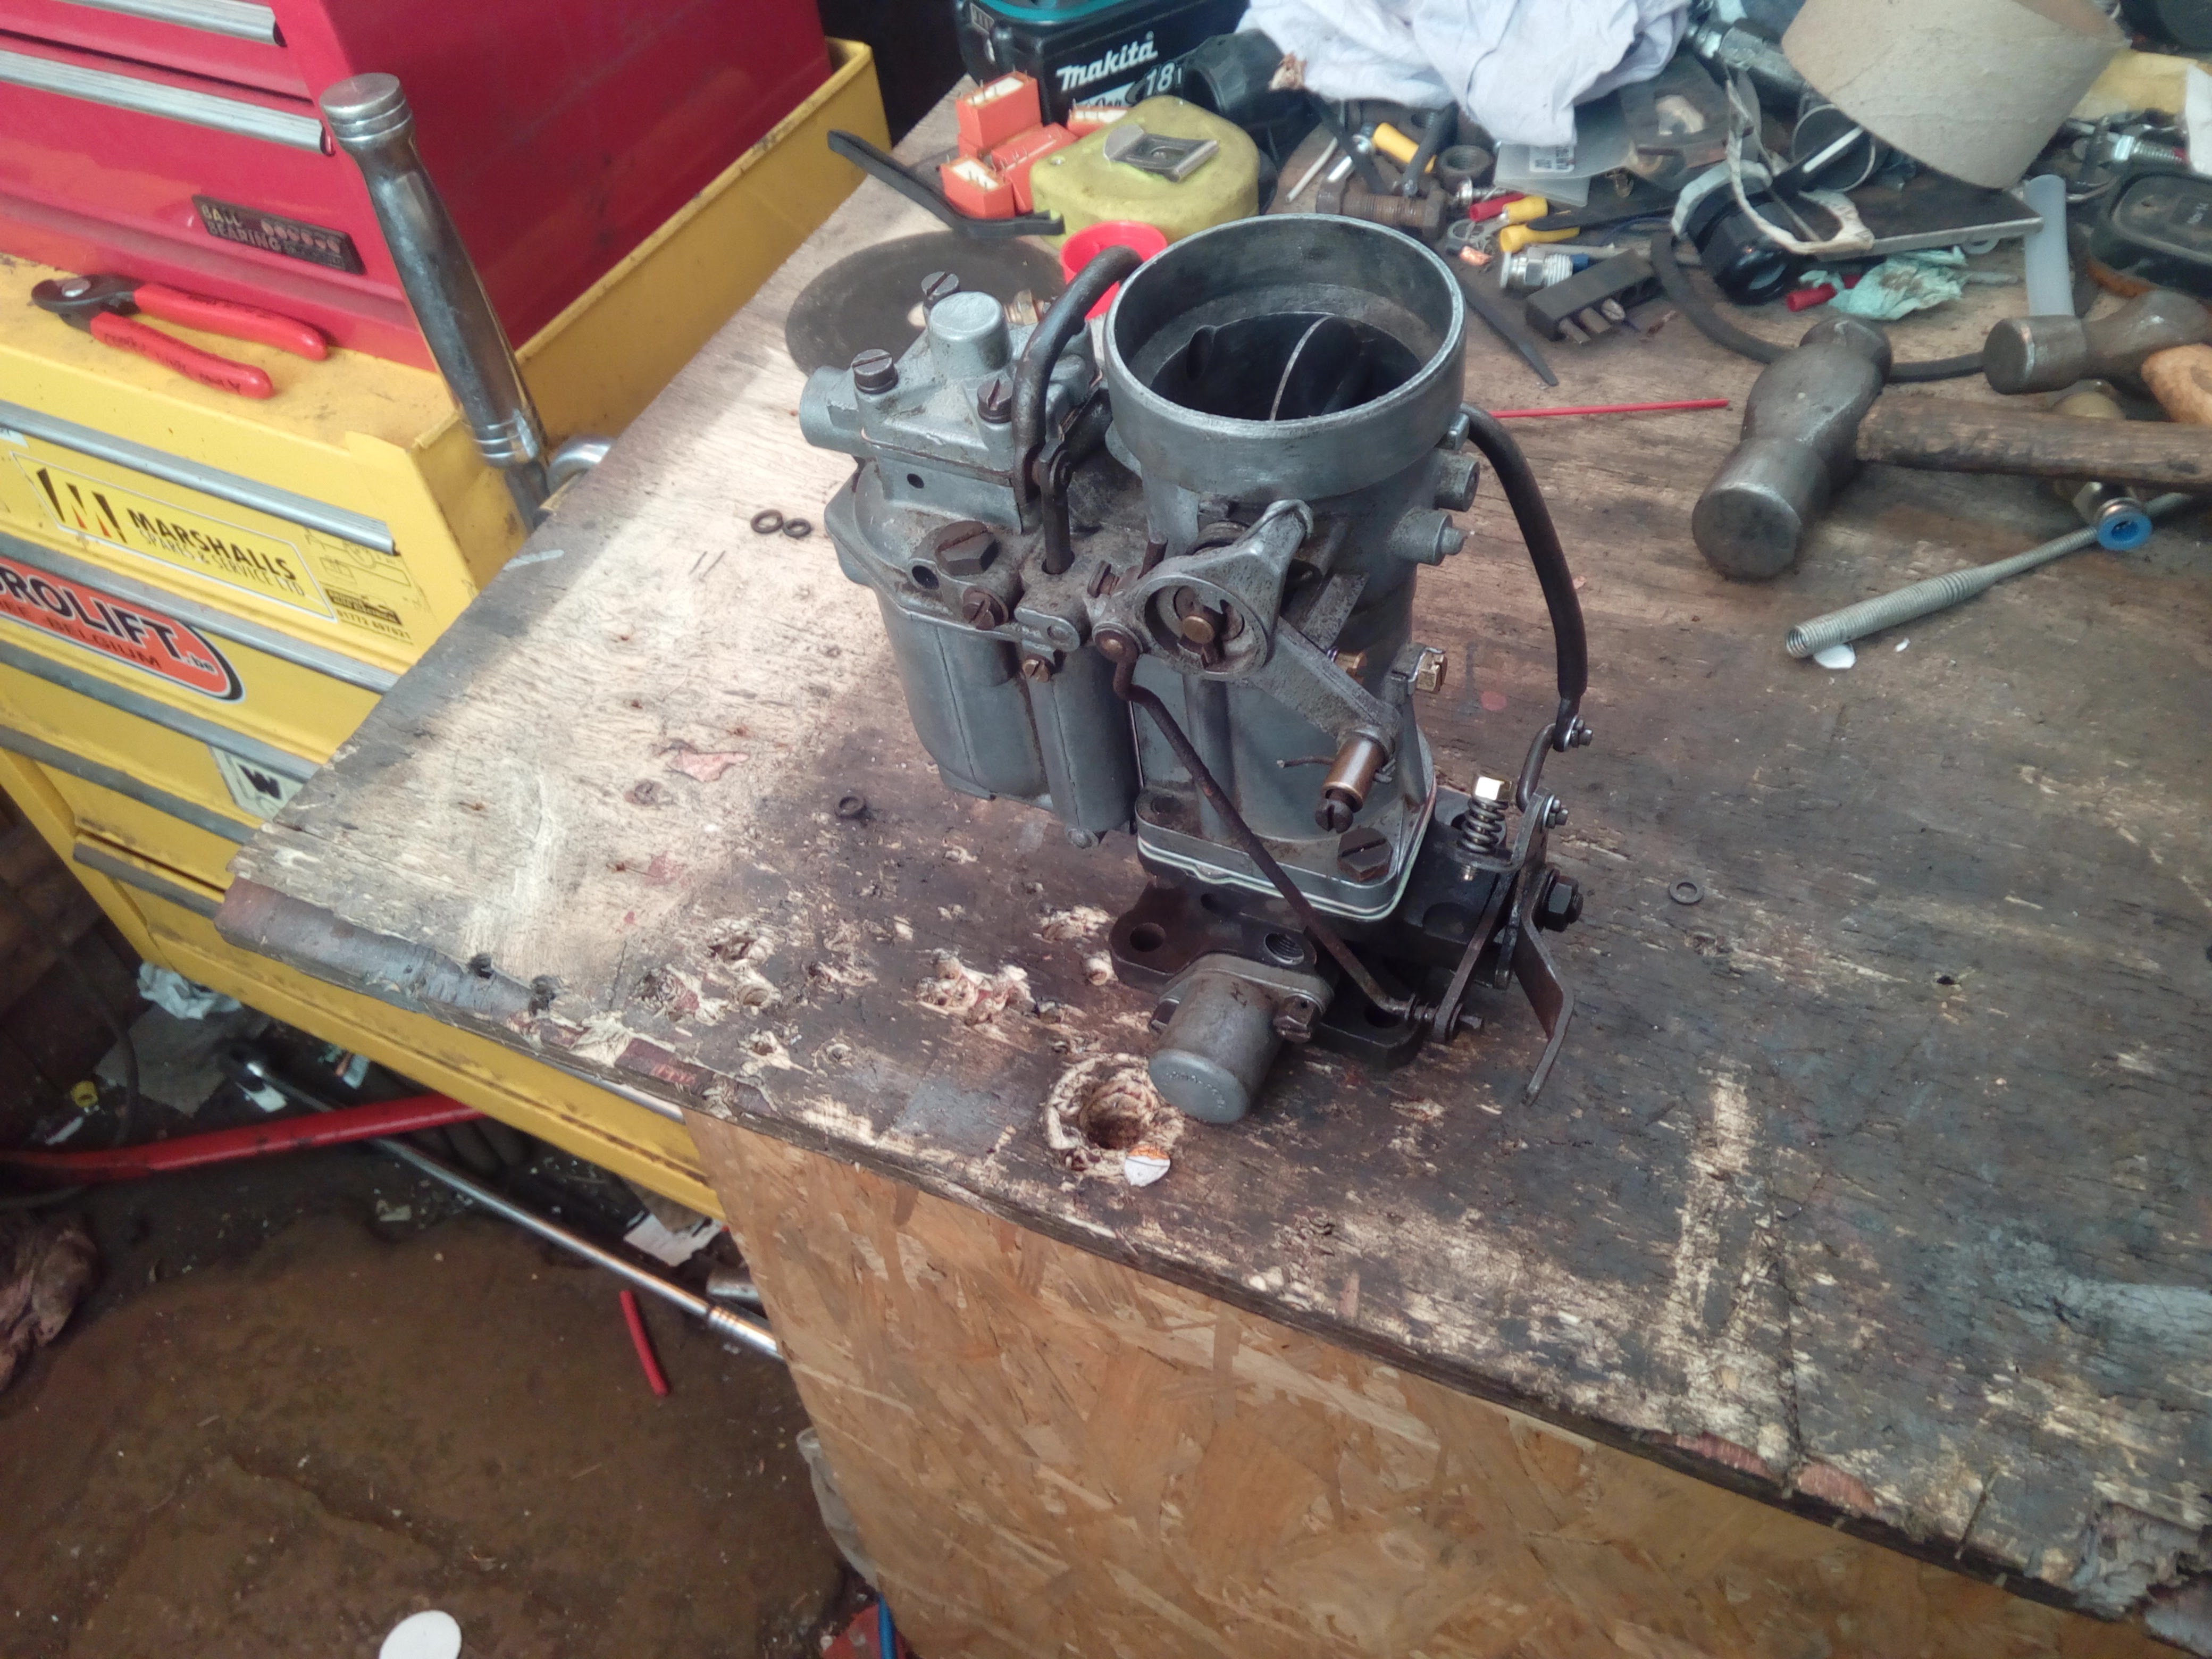 Assembly is the reverse of disassembly, but you swear in different places. 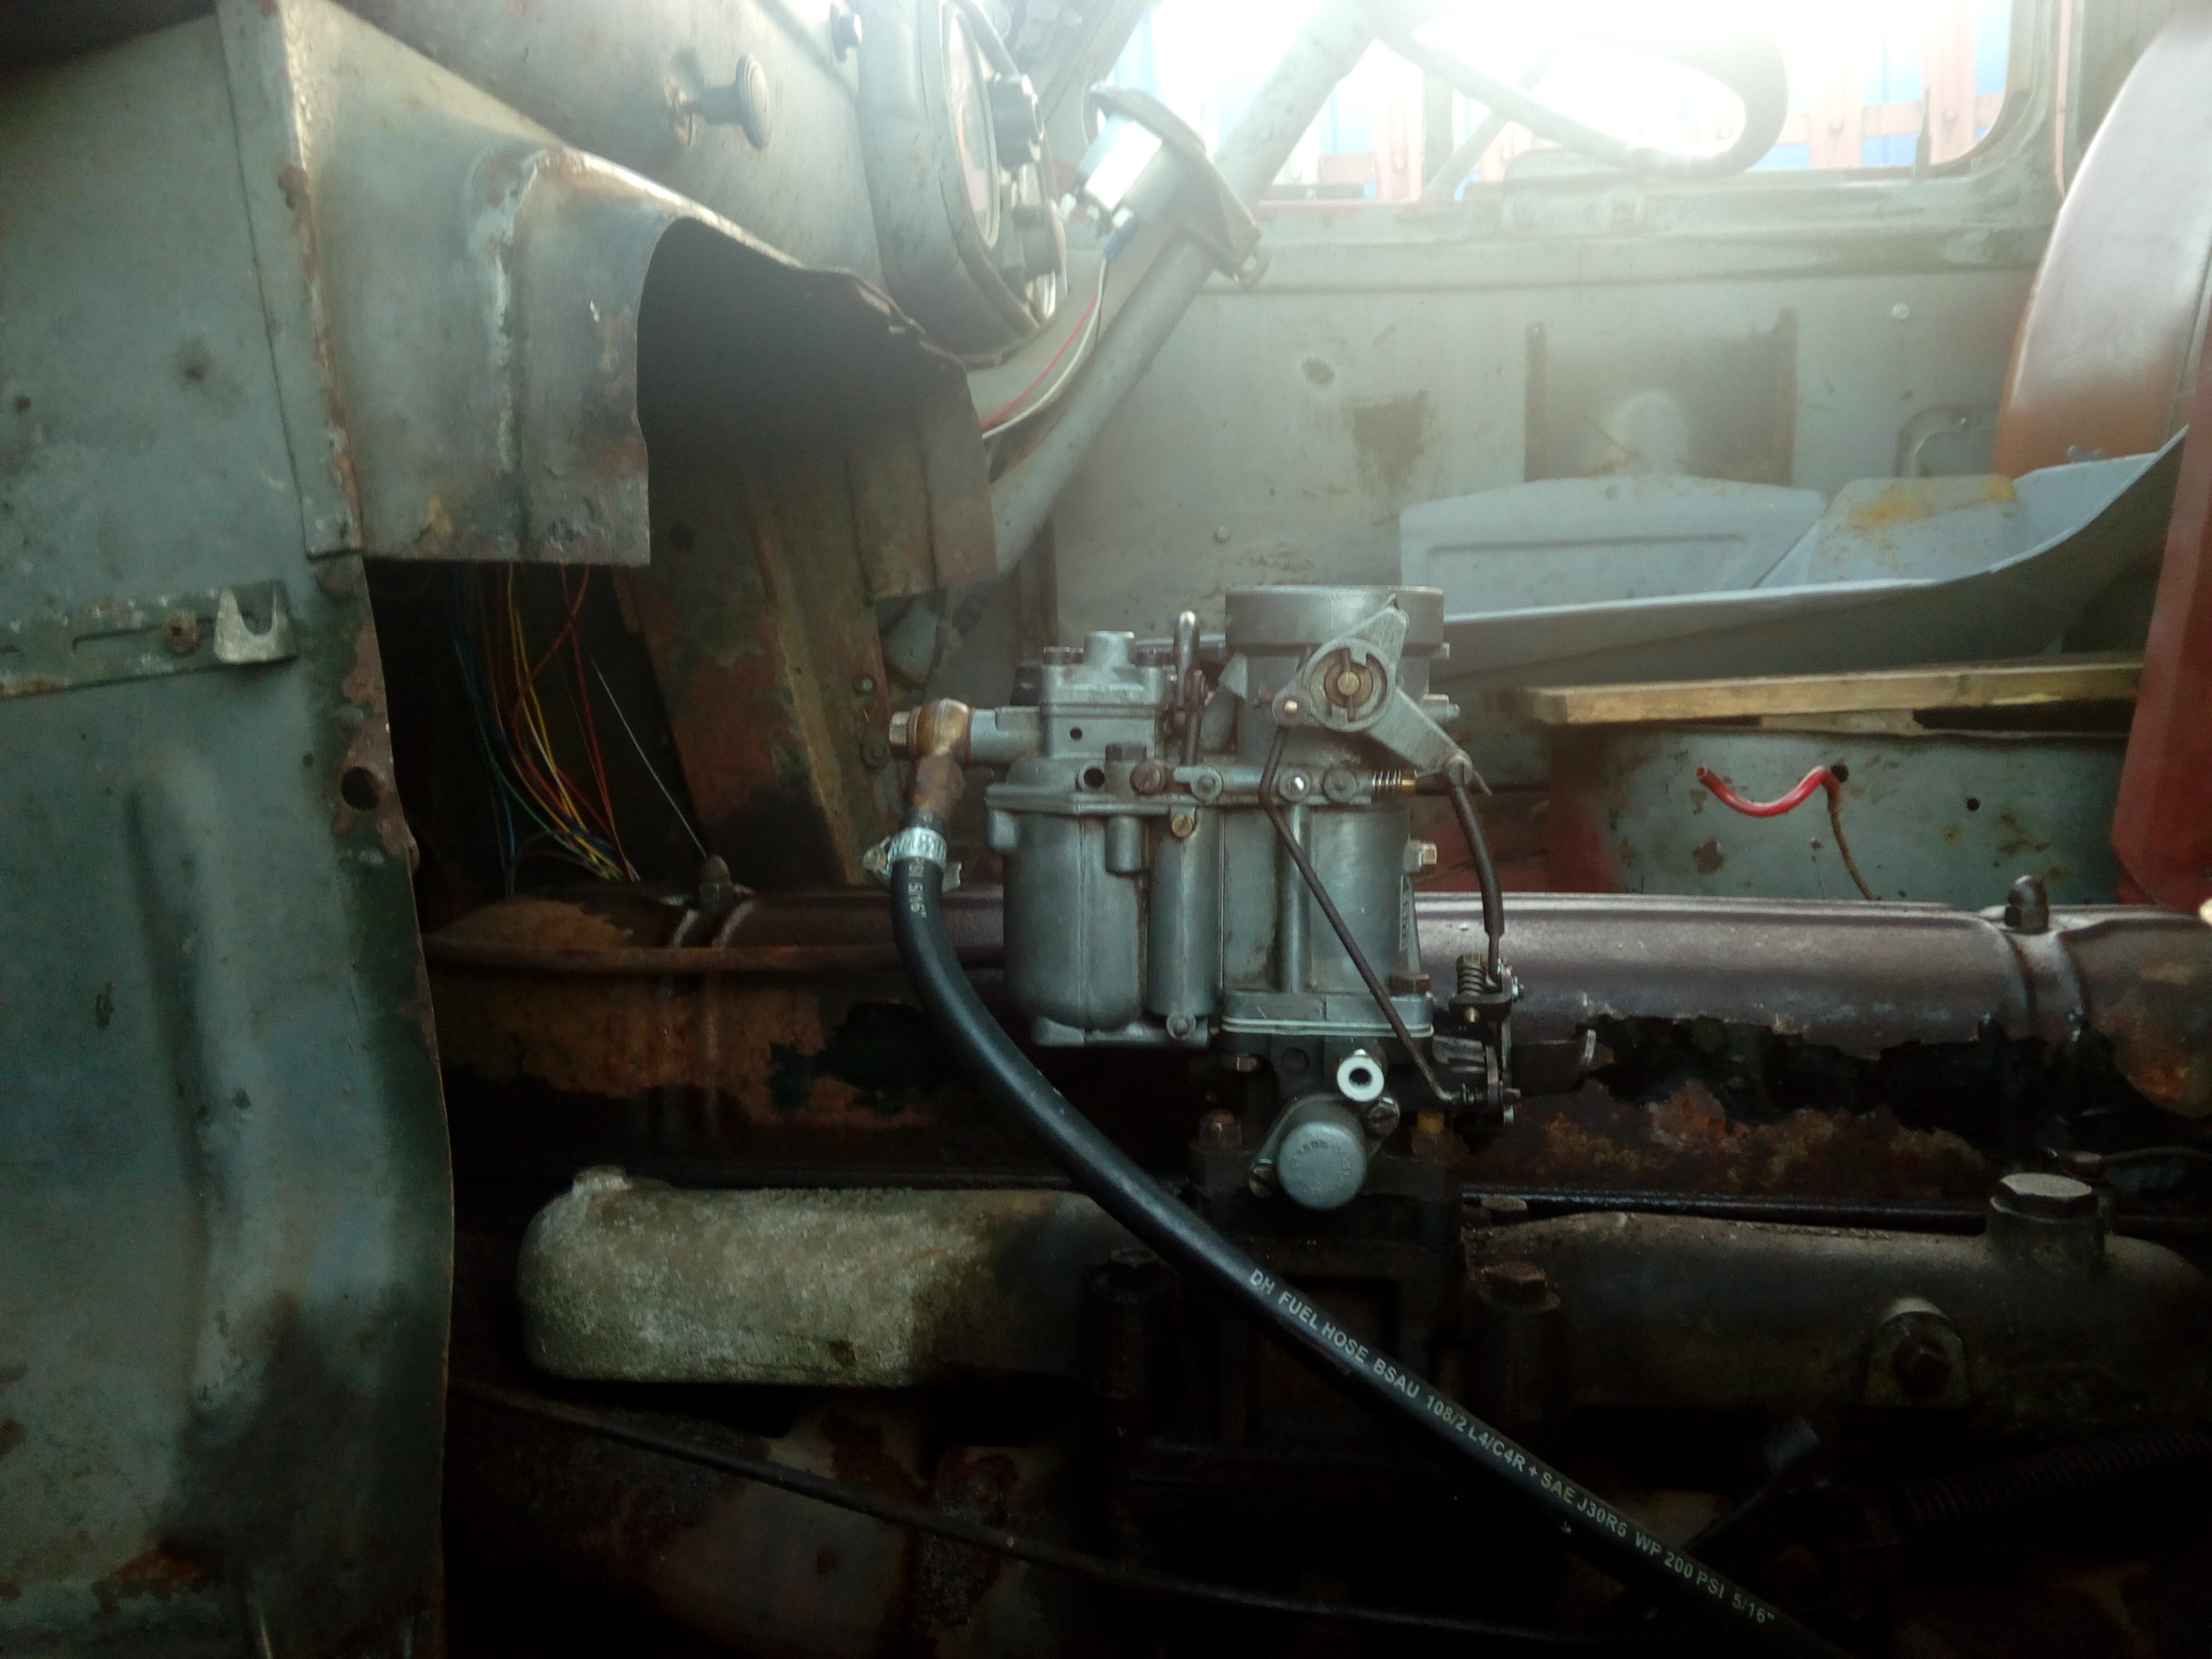 Refit. Forget to connect the throttle linkage, which means the throttle goes to full governed open. curse word pants when the engine goes straight to 3000rpm upon starting. Stop engine, shake gravel from pants, connect throttle linkage. A few days later...New master cylinder comes in, and looks snazzy! 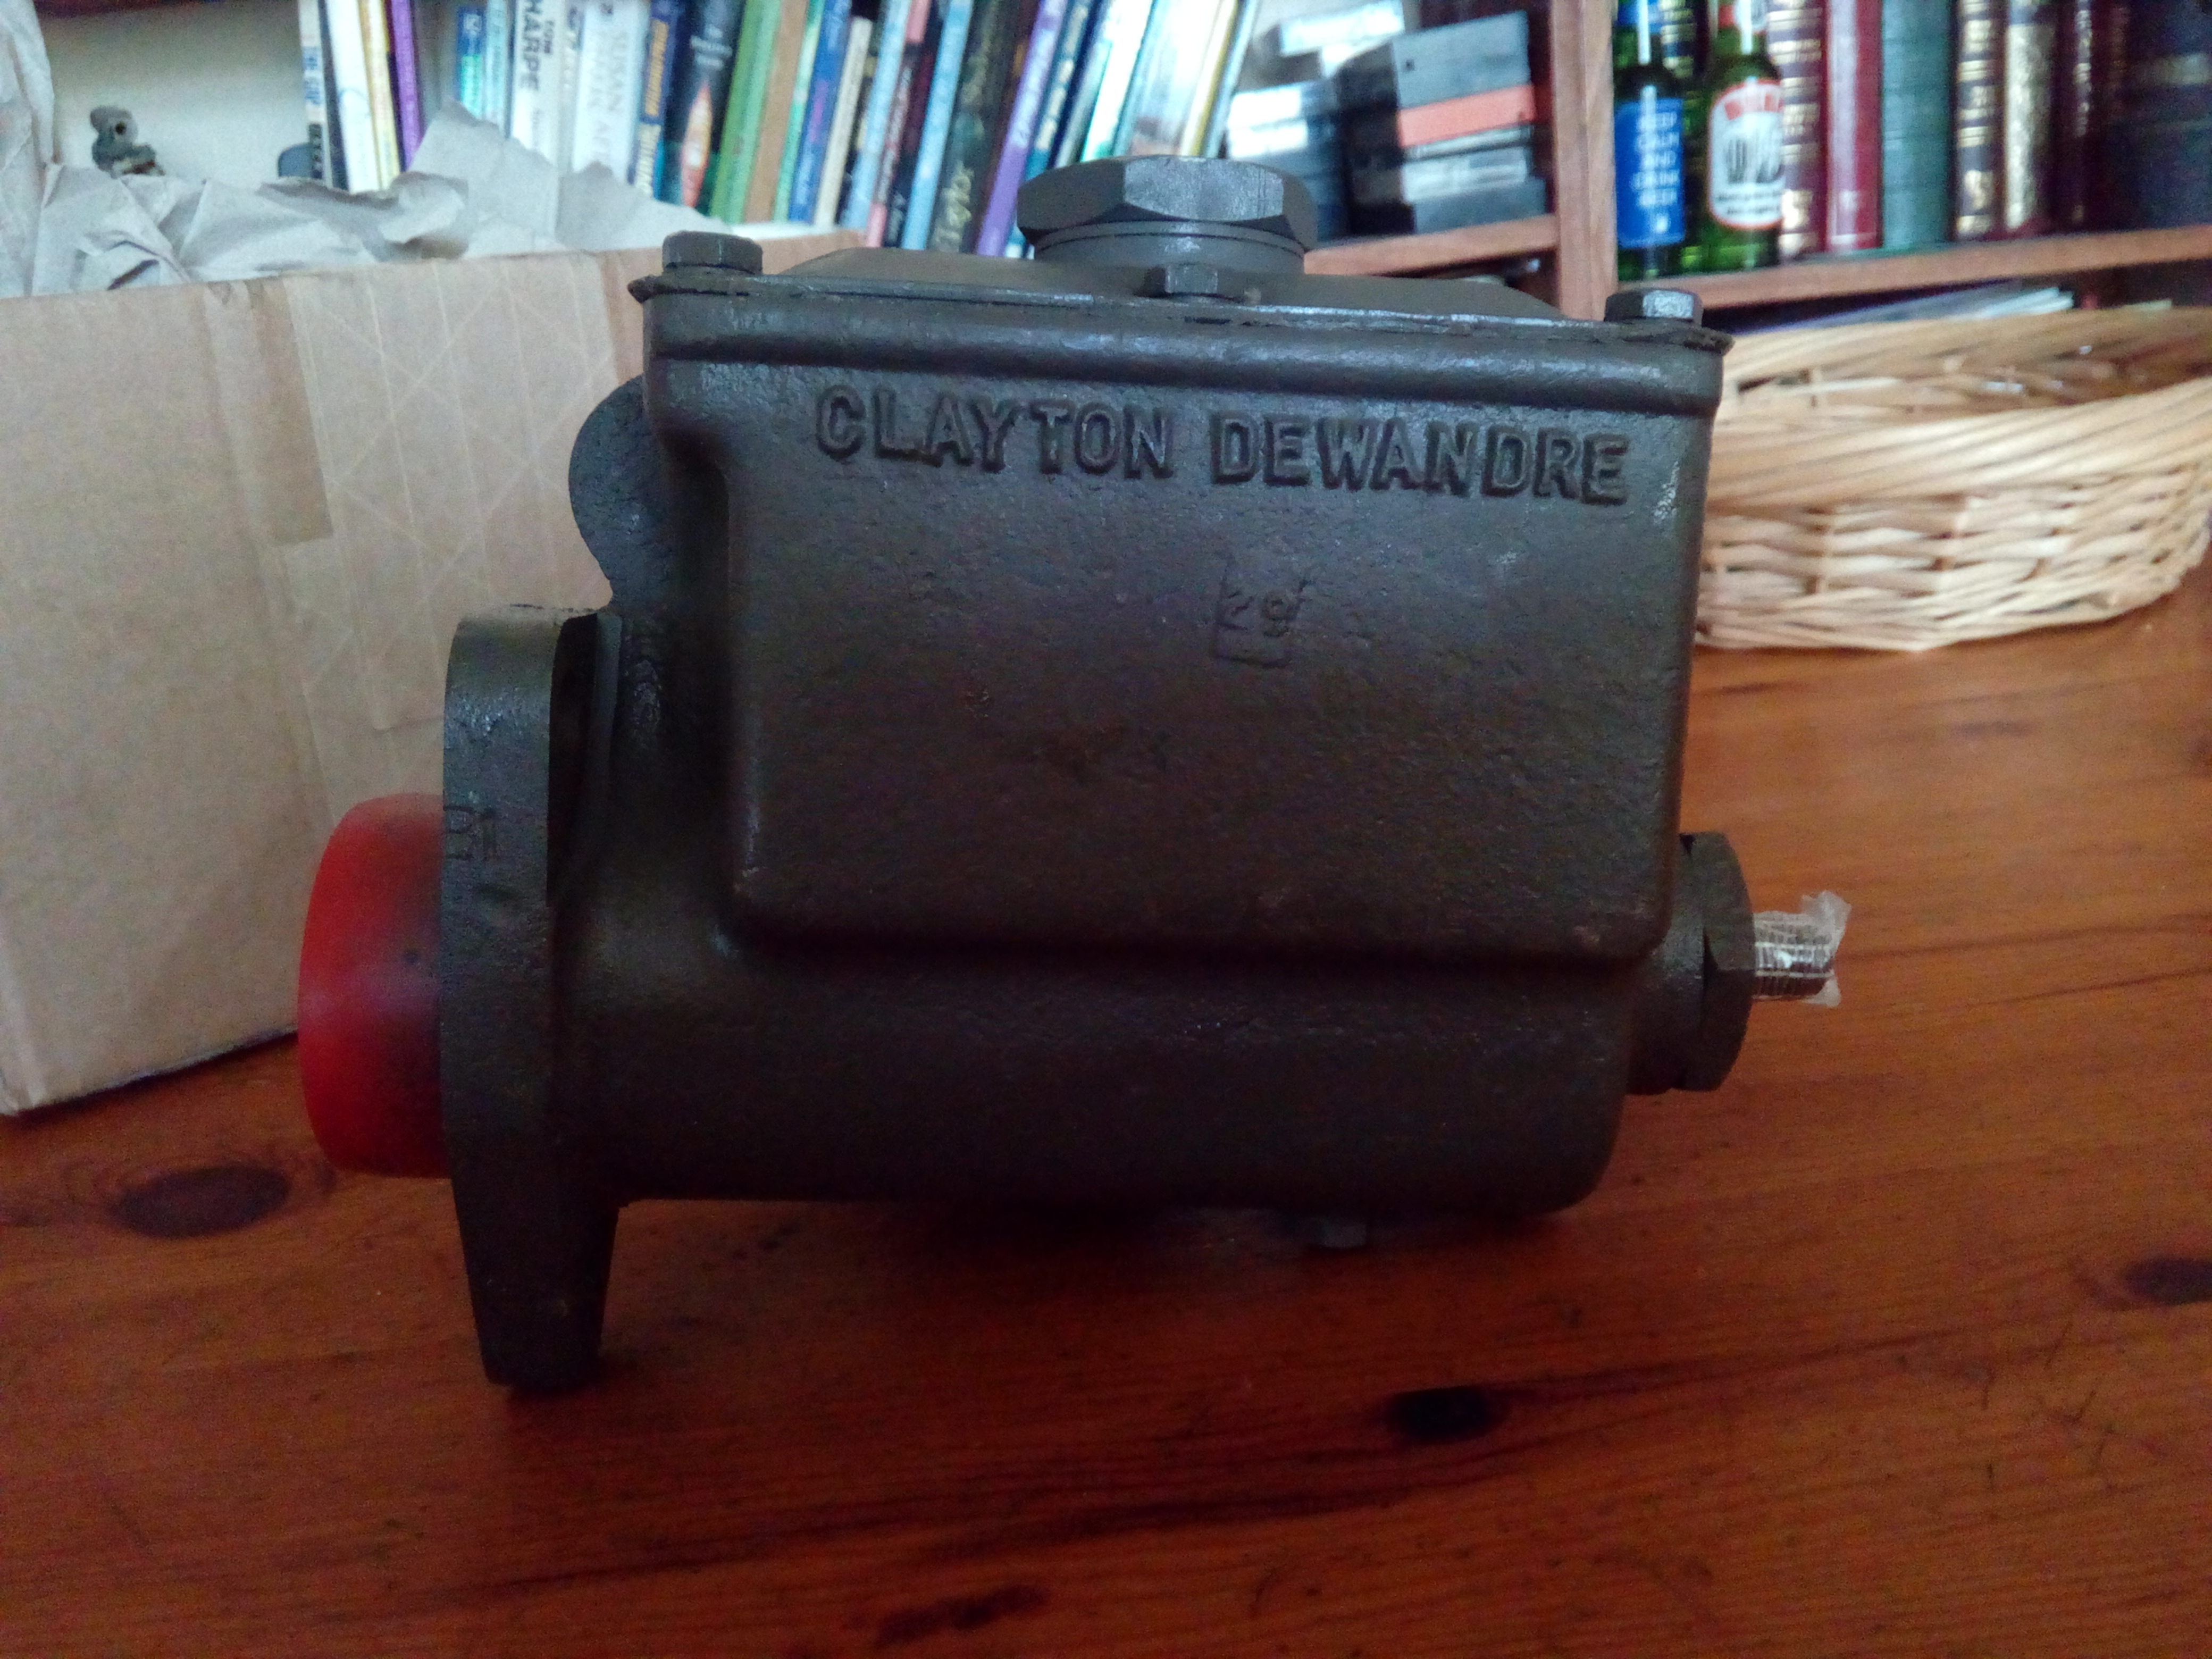   I've read, and re-read, the section of the WSM regarding the brake drums a good few times; and I'm still 50/50 on whether or not I can actually take the drum off without pulling the bearings. The diagram makes it look like the drum is bolted on the back; but the text of the manual reads like the drum is pushed on over the wheel-studs, and retained by the three screws. (And the conical washers for the wheels.) I've got some material to make a socket to remove the bearing retaining nut, if I have to; but I'm going to try removing all the cone washers and seeing if I can just slip the drum off. The bearings may well have to come out later on, but right now, I'm hoping to get away with not removing the hub. We shall see... Well, you may resume laughing at me. The hub does have to come off to sort the brakes out... :-D The drum came off nice and easily with a little careful persuasion, after removing the cone washers. So, without further ado, here's today's progress, along with the thoughts I was experiencing at the time. Just after pulling the cone washers. "Oh, this looks promising." 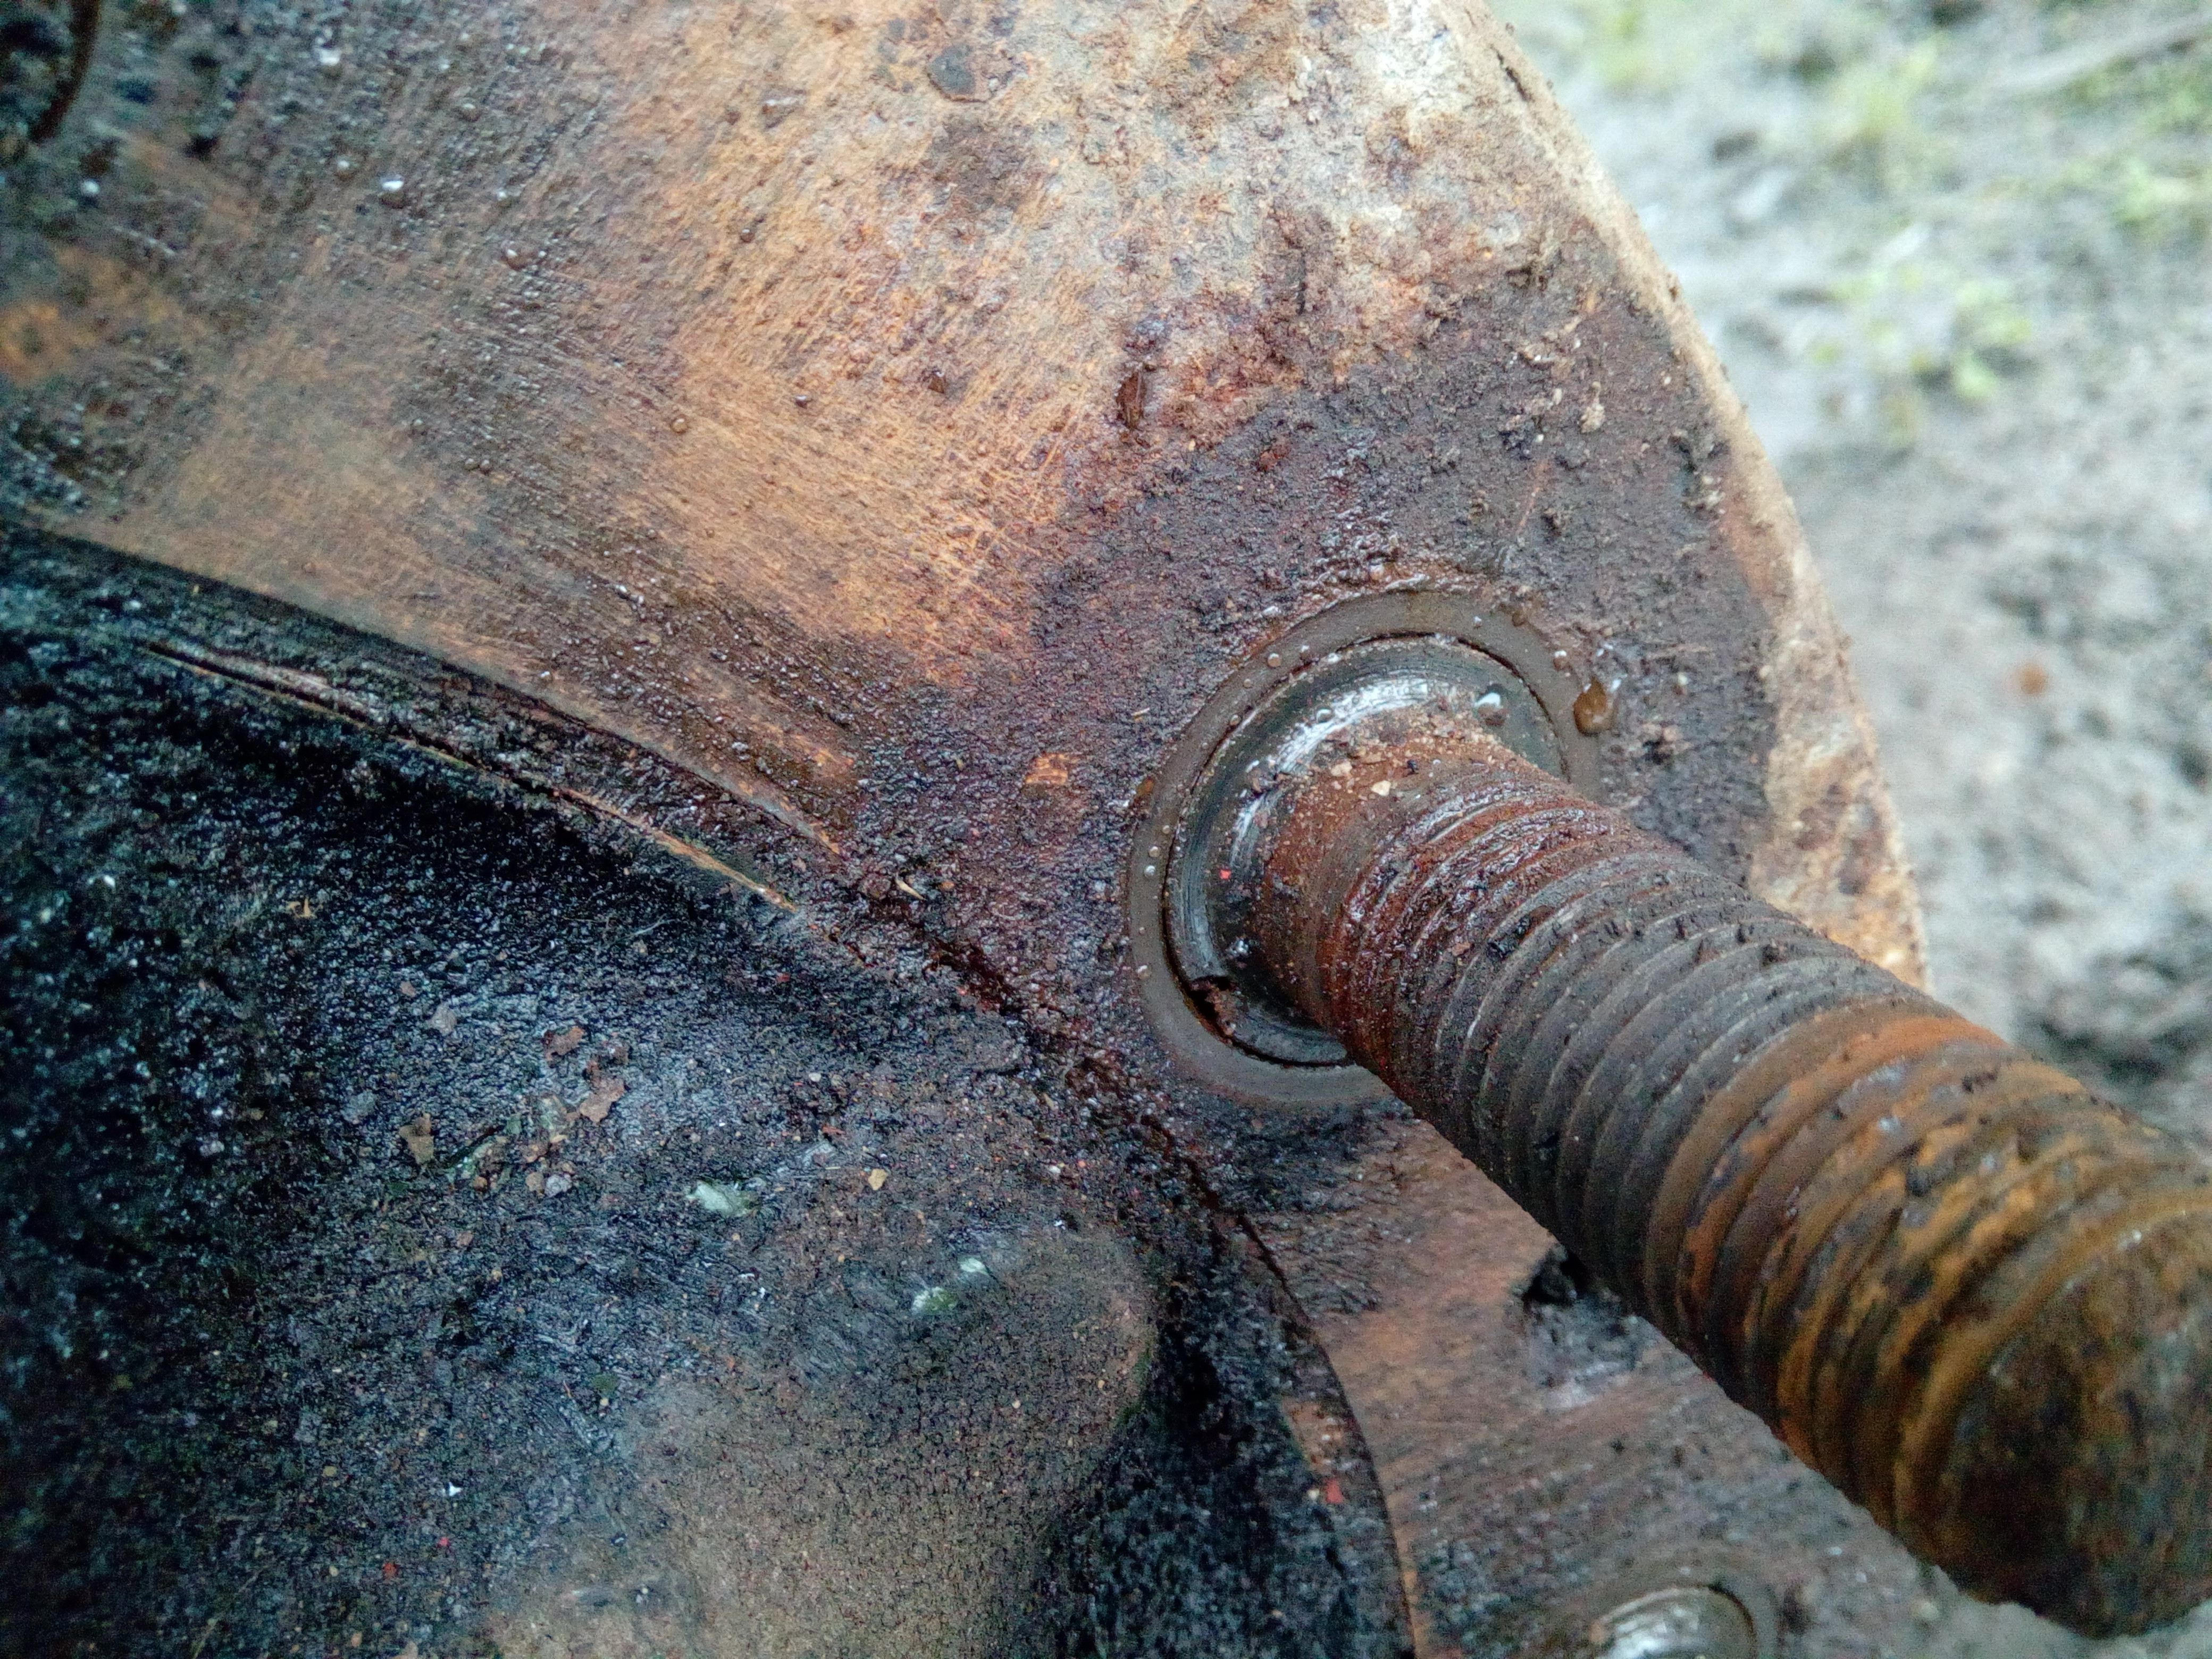 The drum retaining screws came out as if they were still brand new; which was a little strange... Cue the tap tap tapping; and "This is going well!" 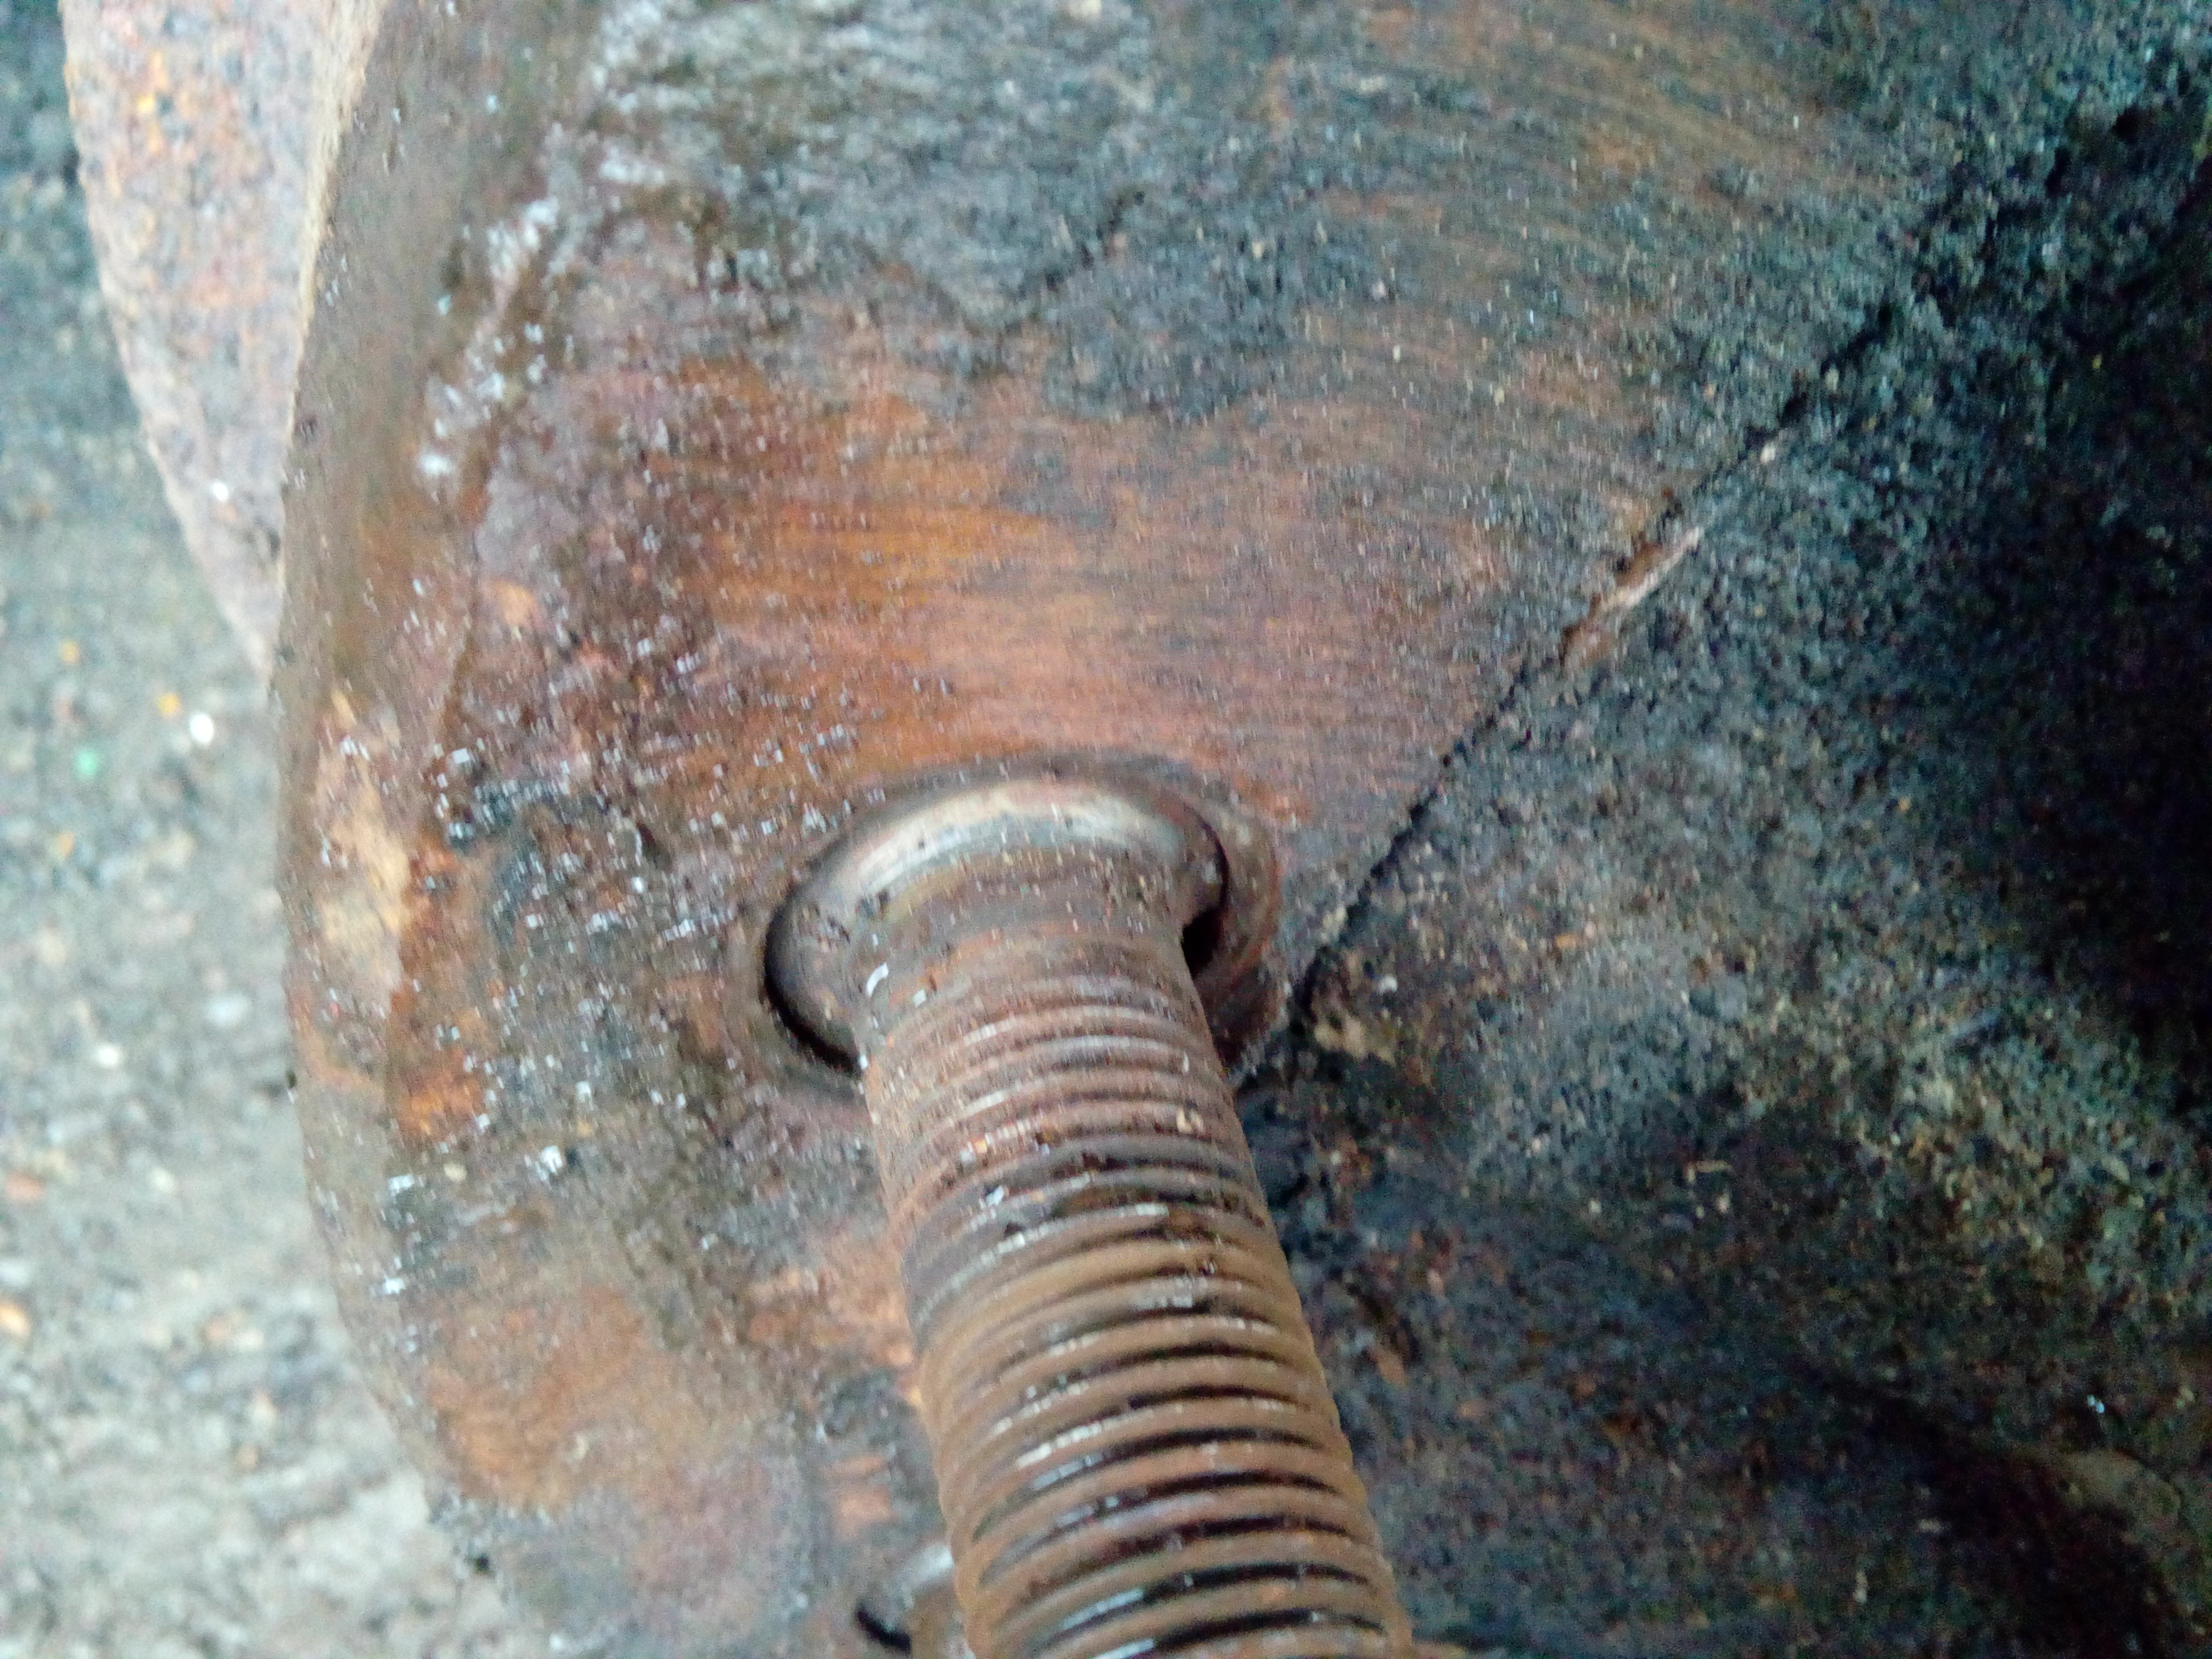 "Oh, wow, I might just about be able to do this!" 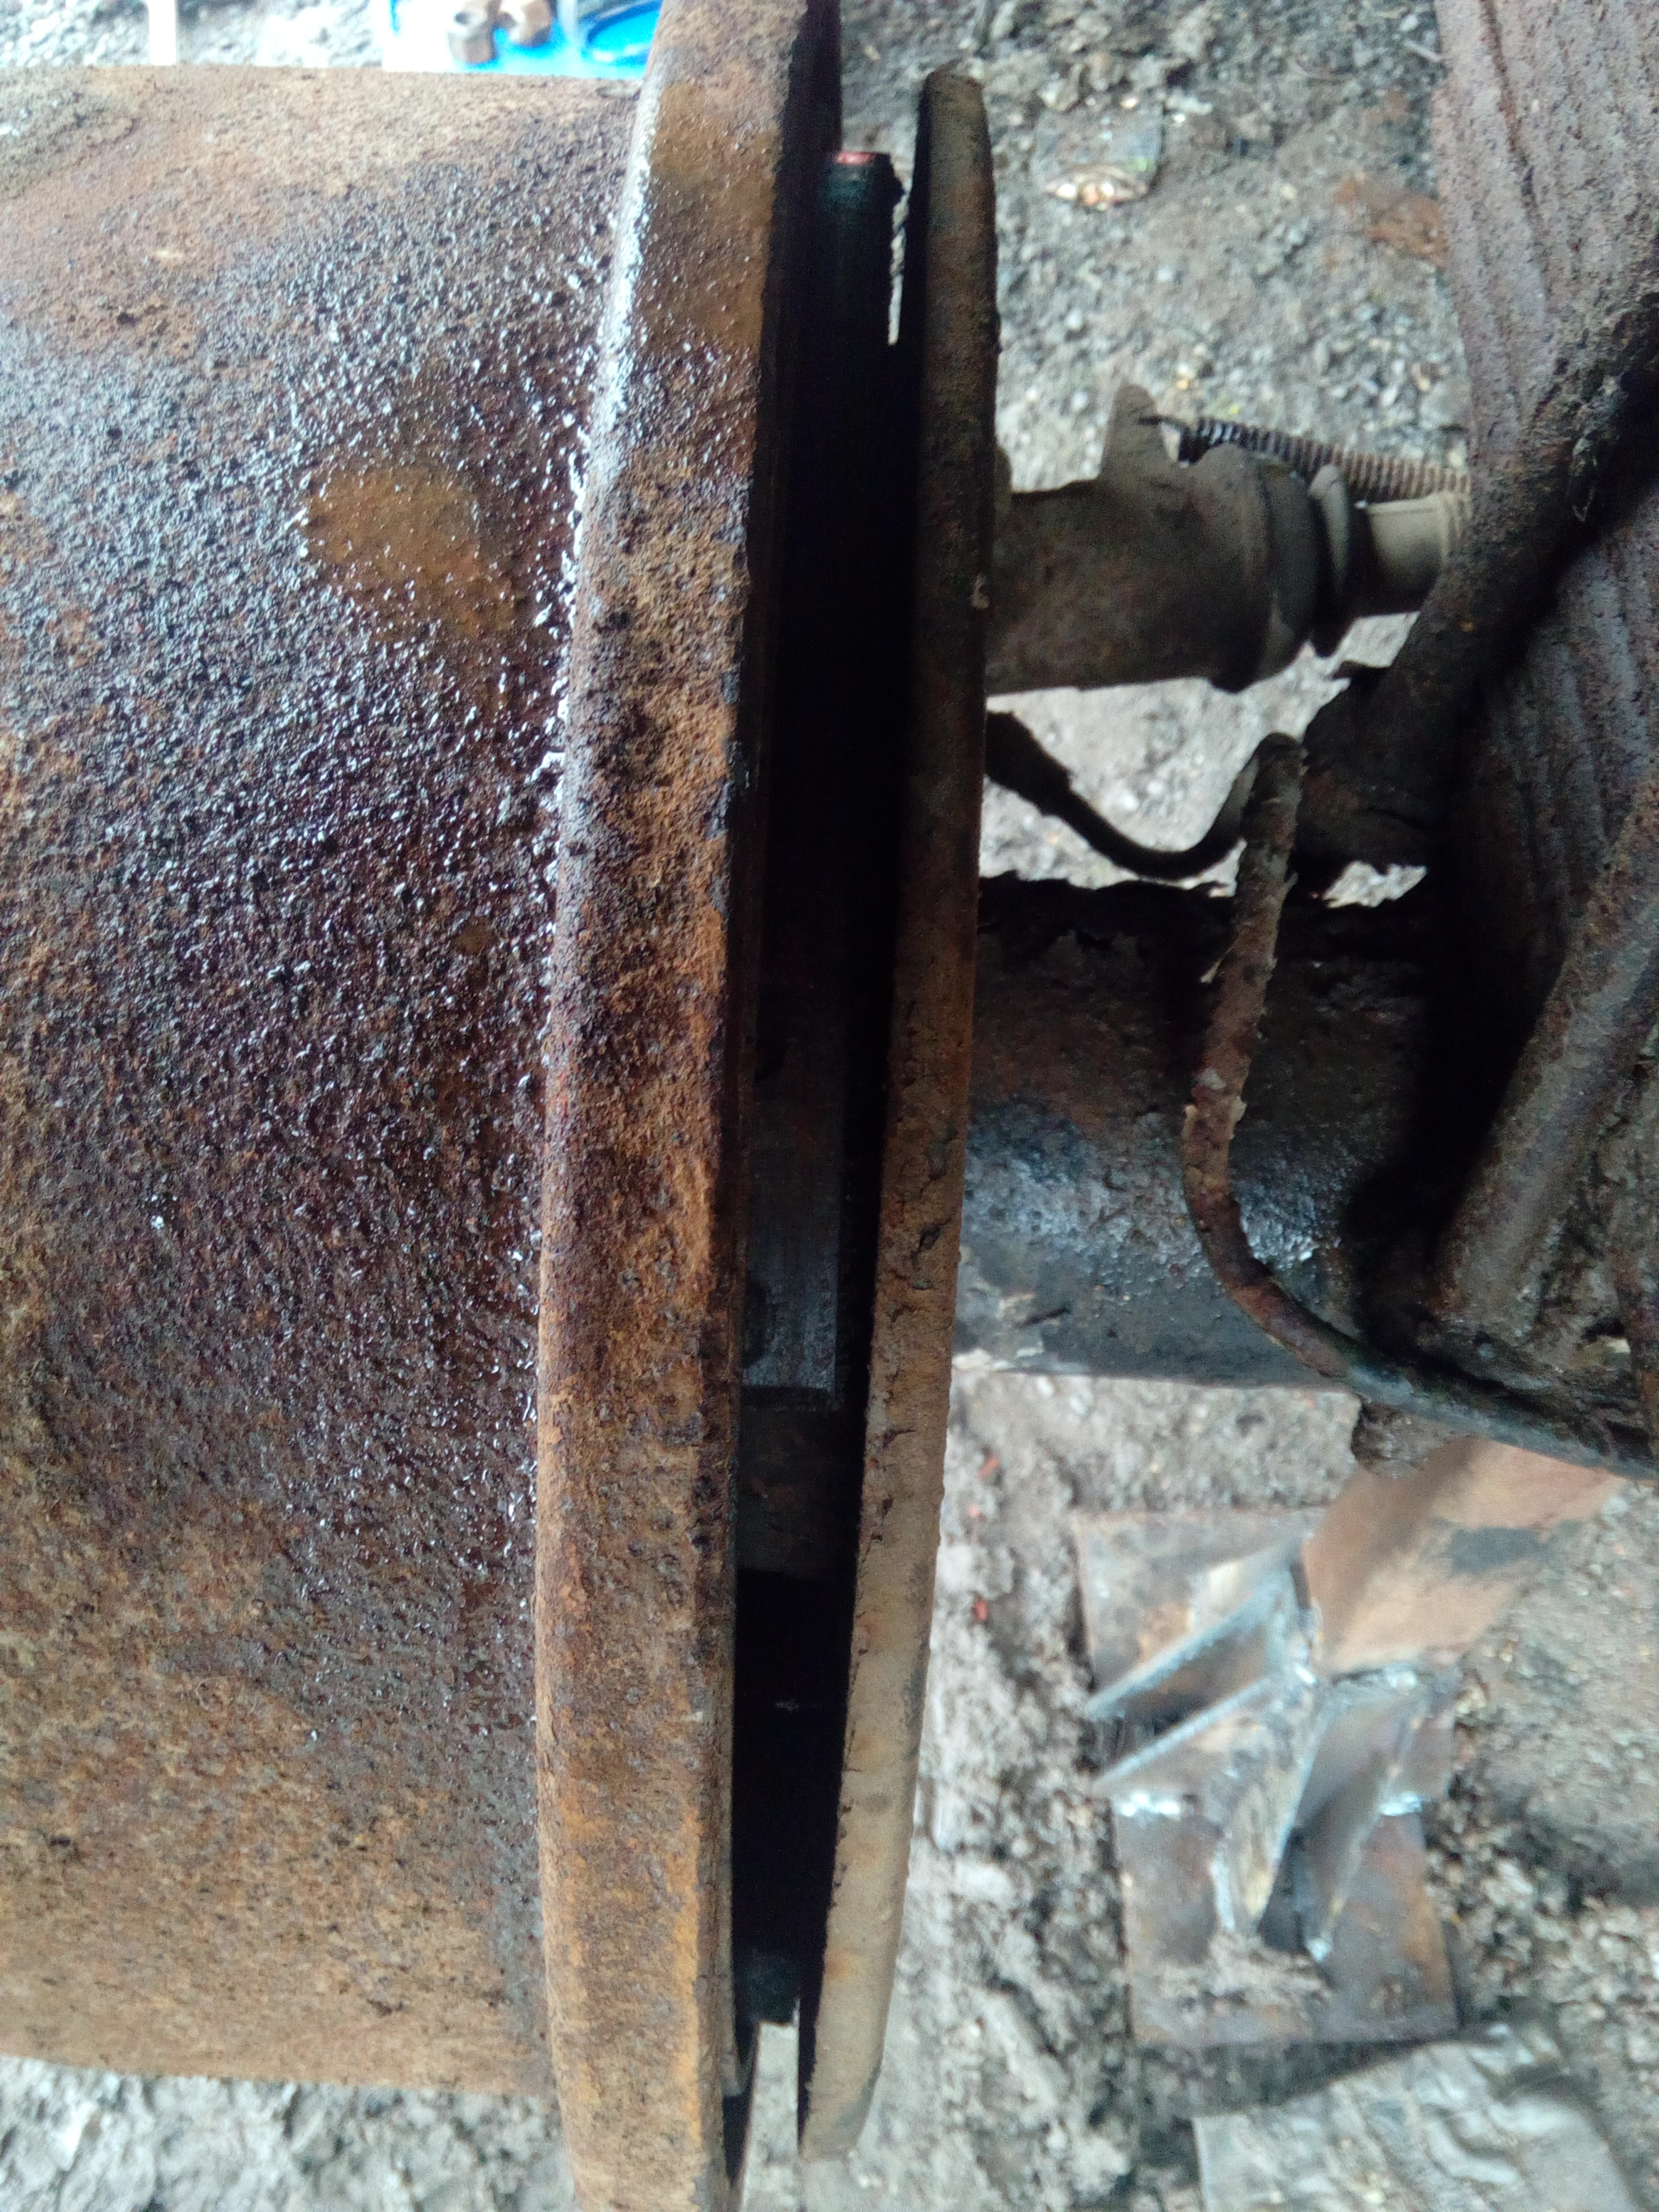 "Ahaha, this is going great!" 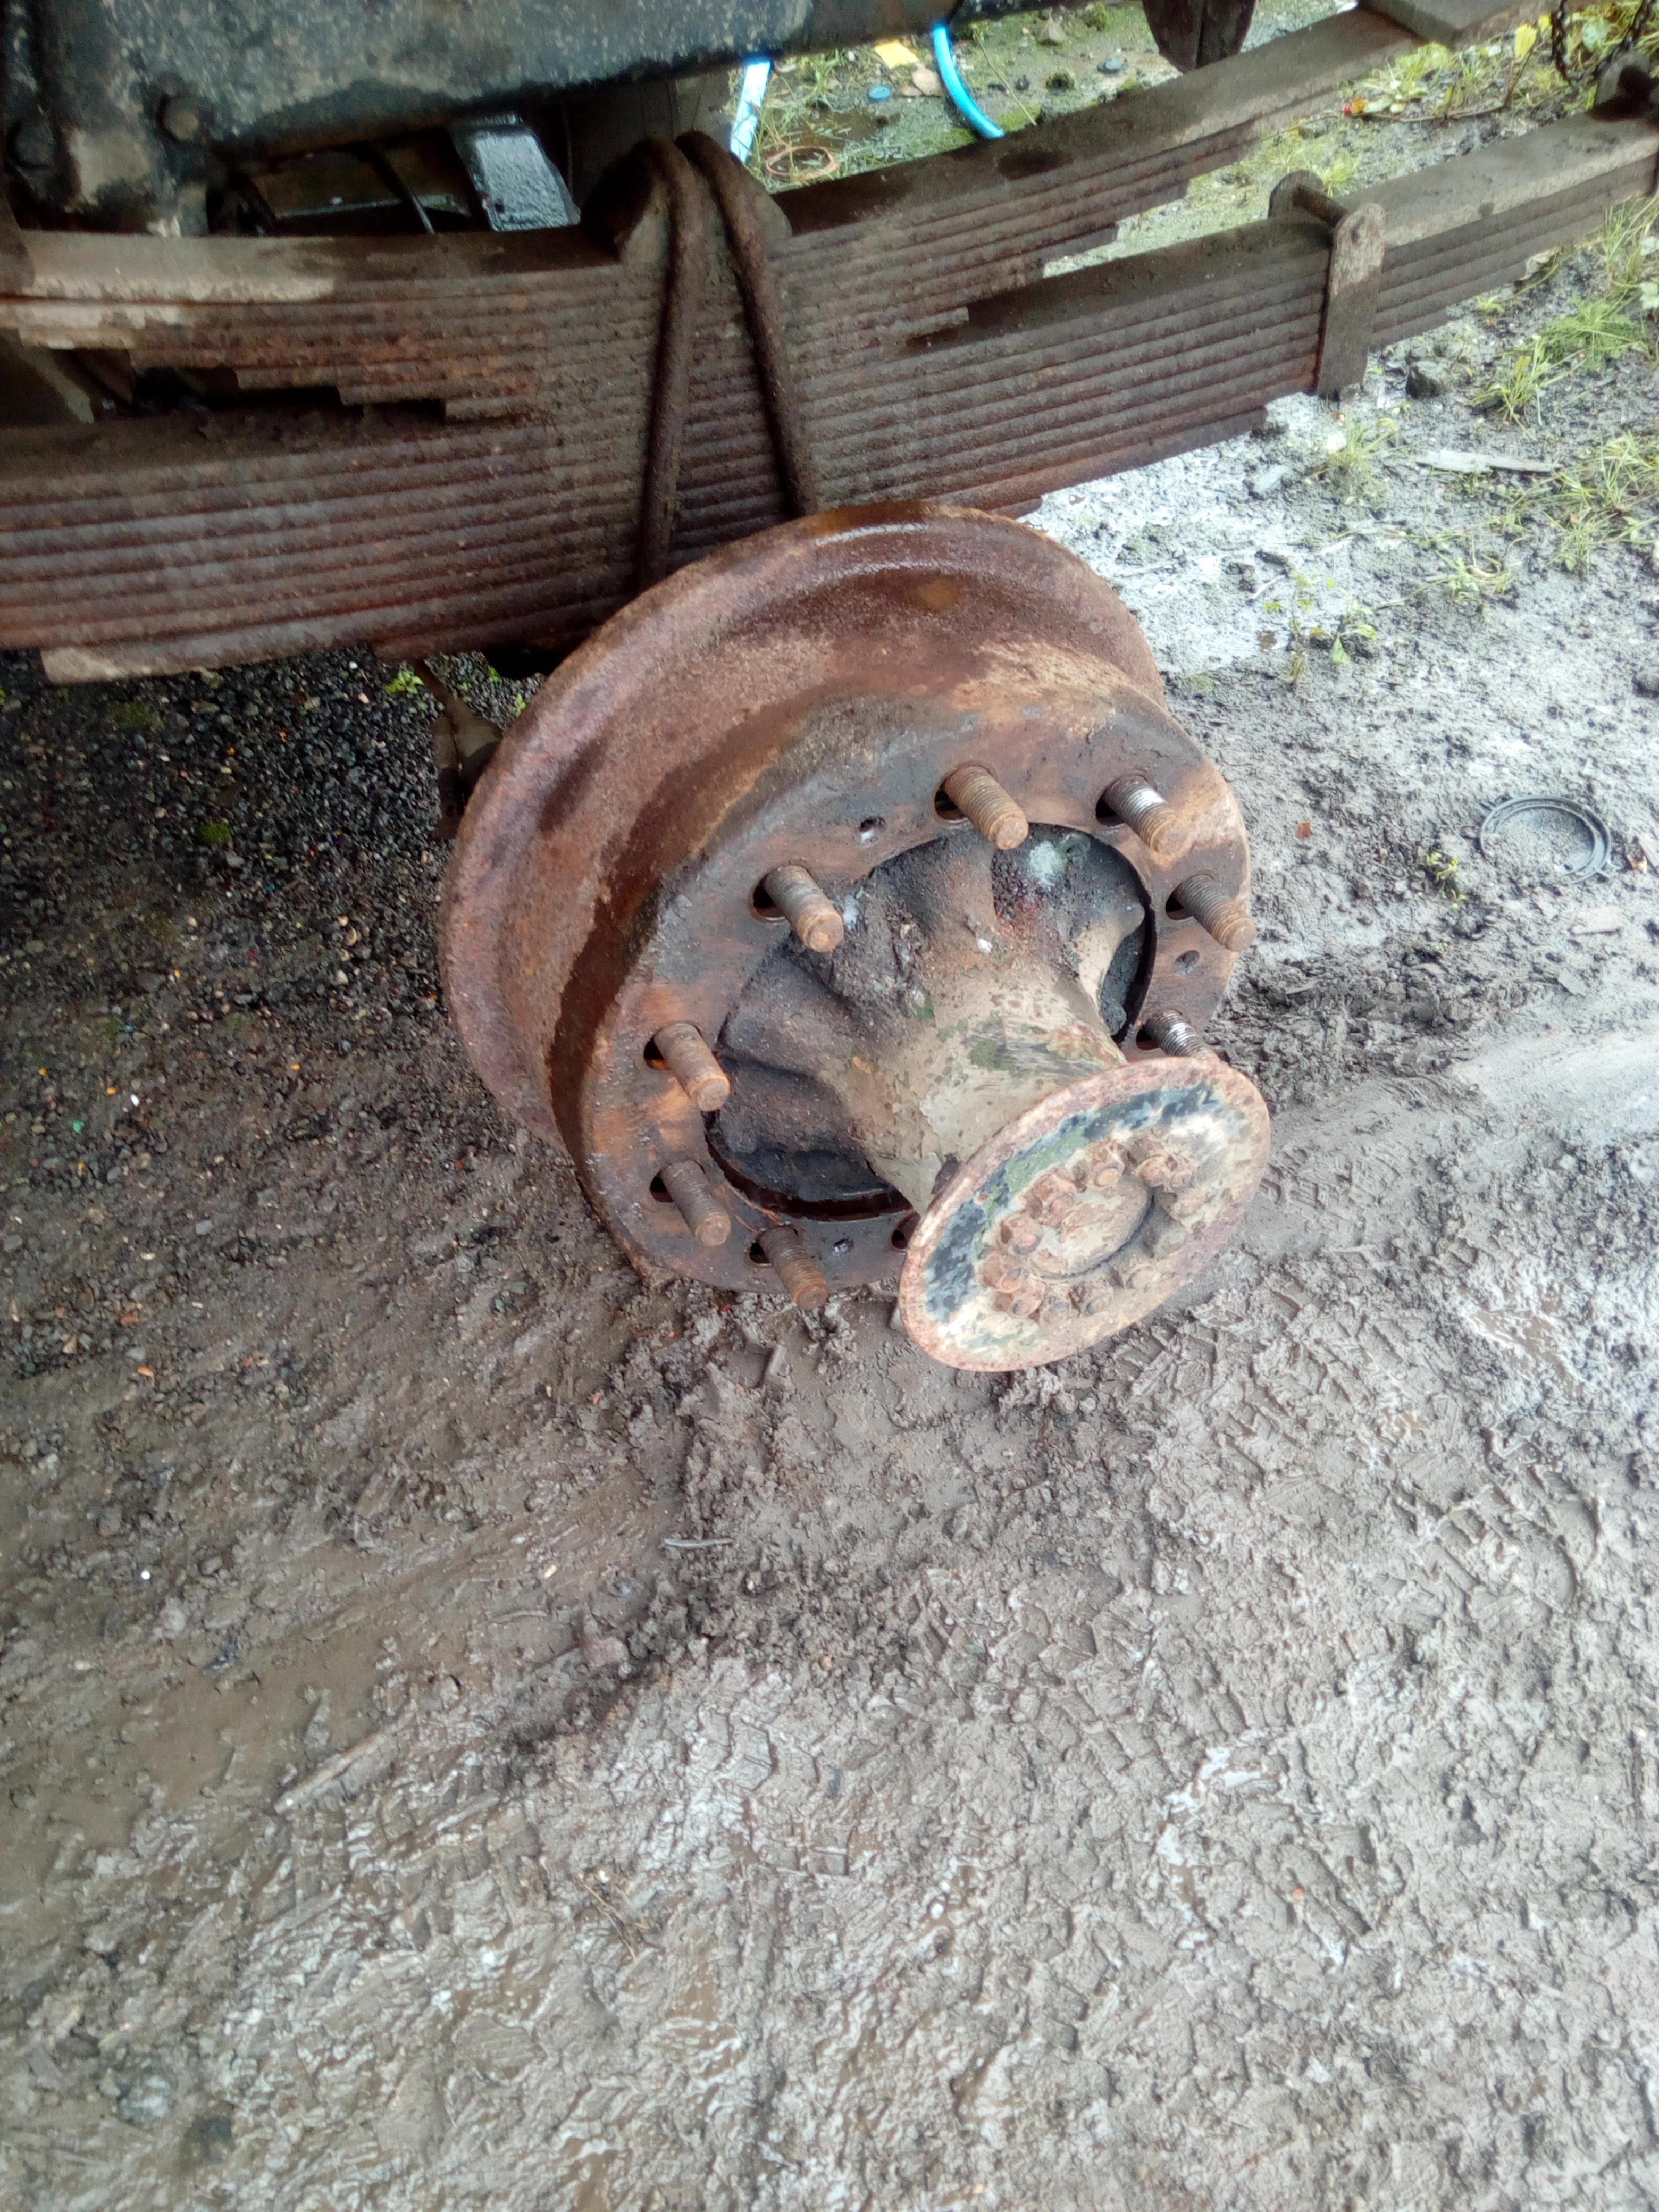 "...Oh. That's why the manual says... right. Hm. In hindsight, this is blindingly obvious." 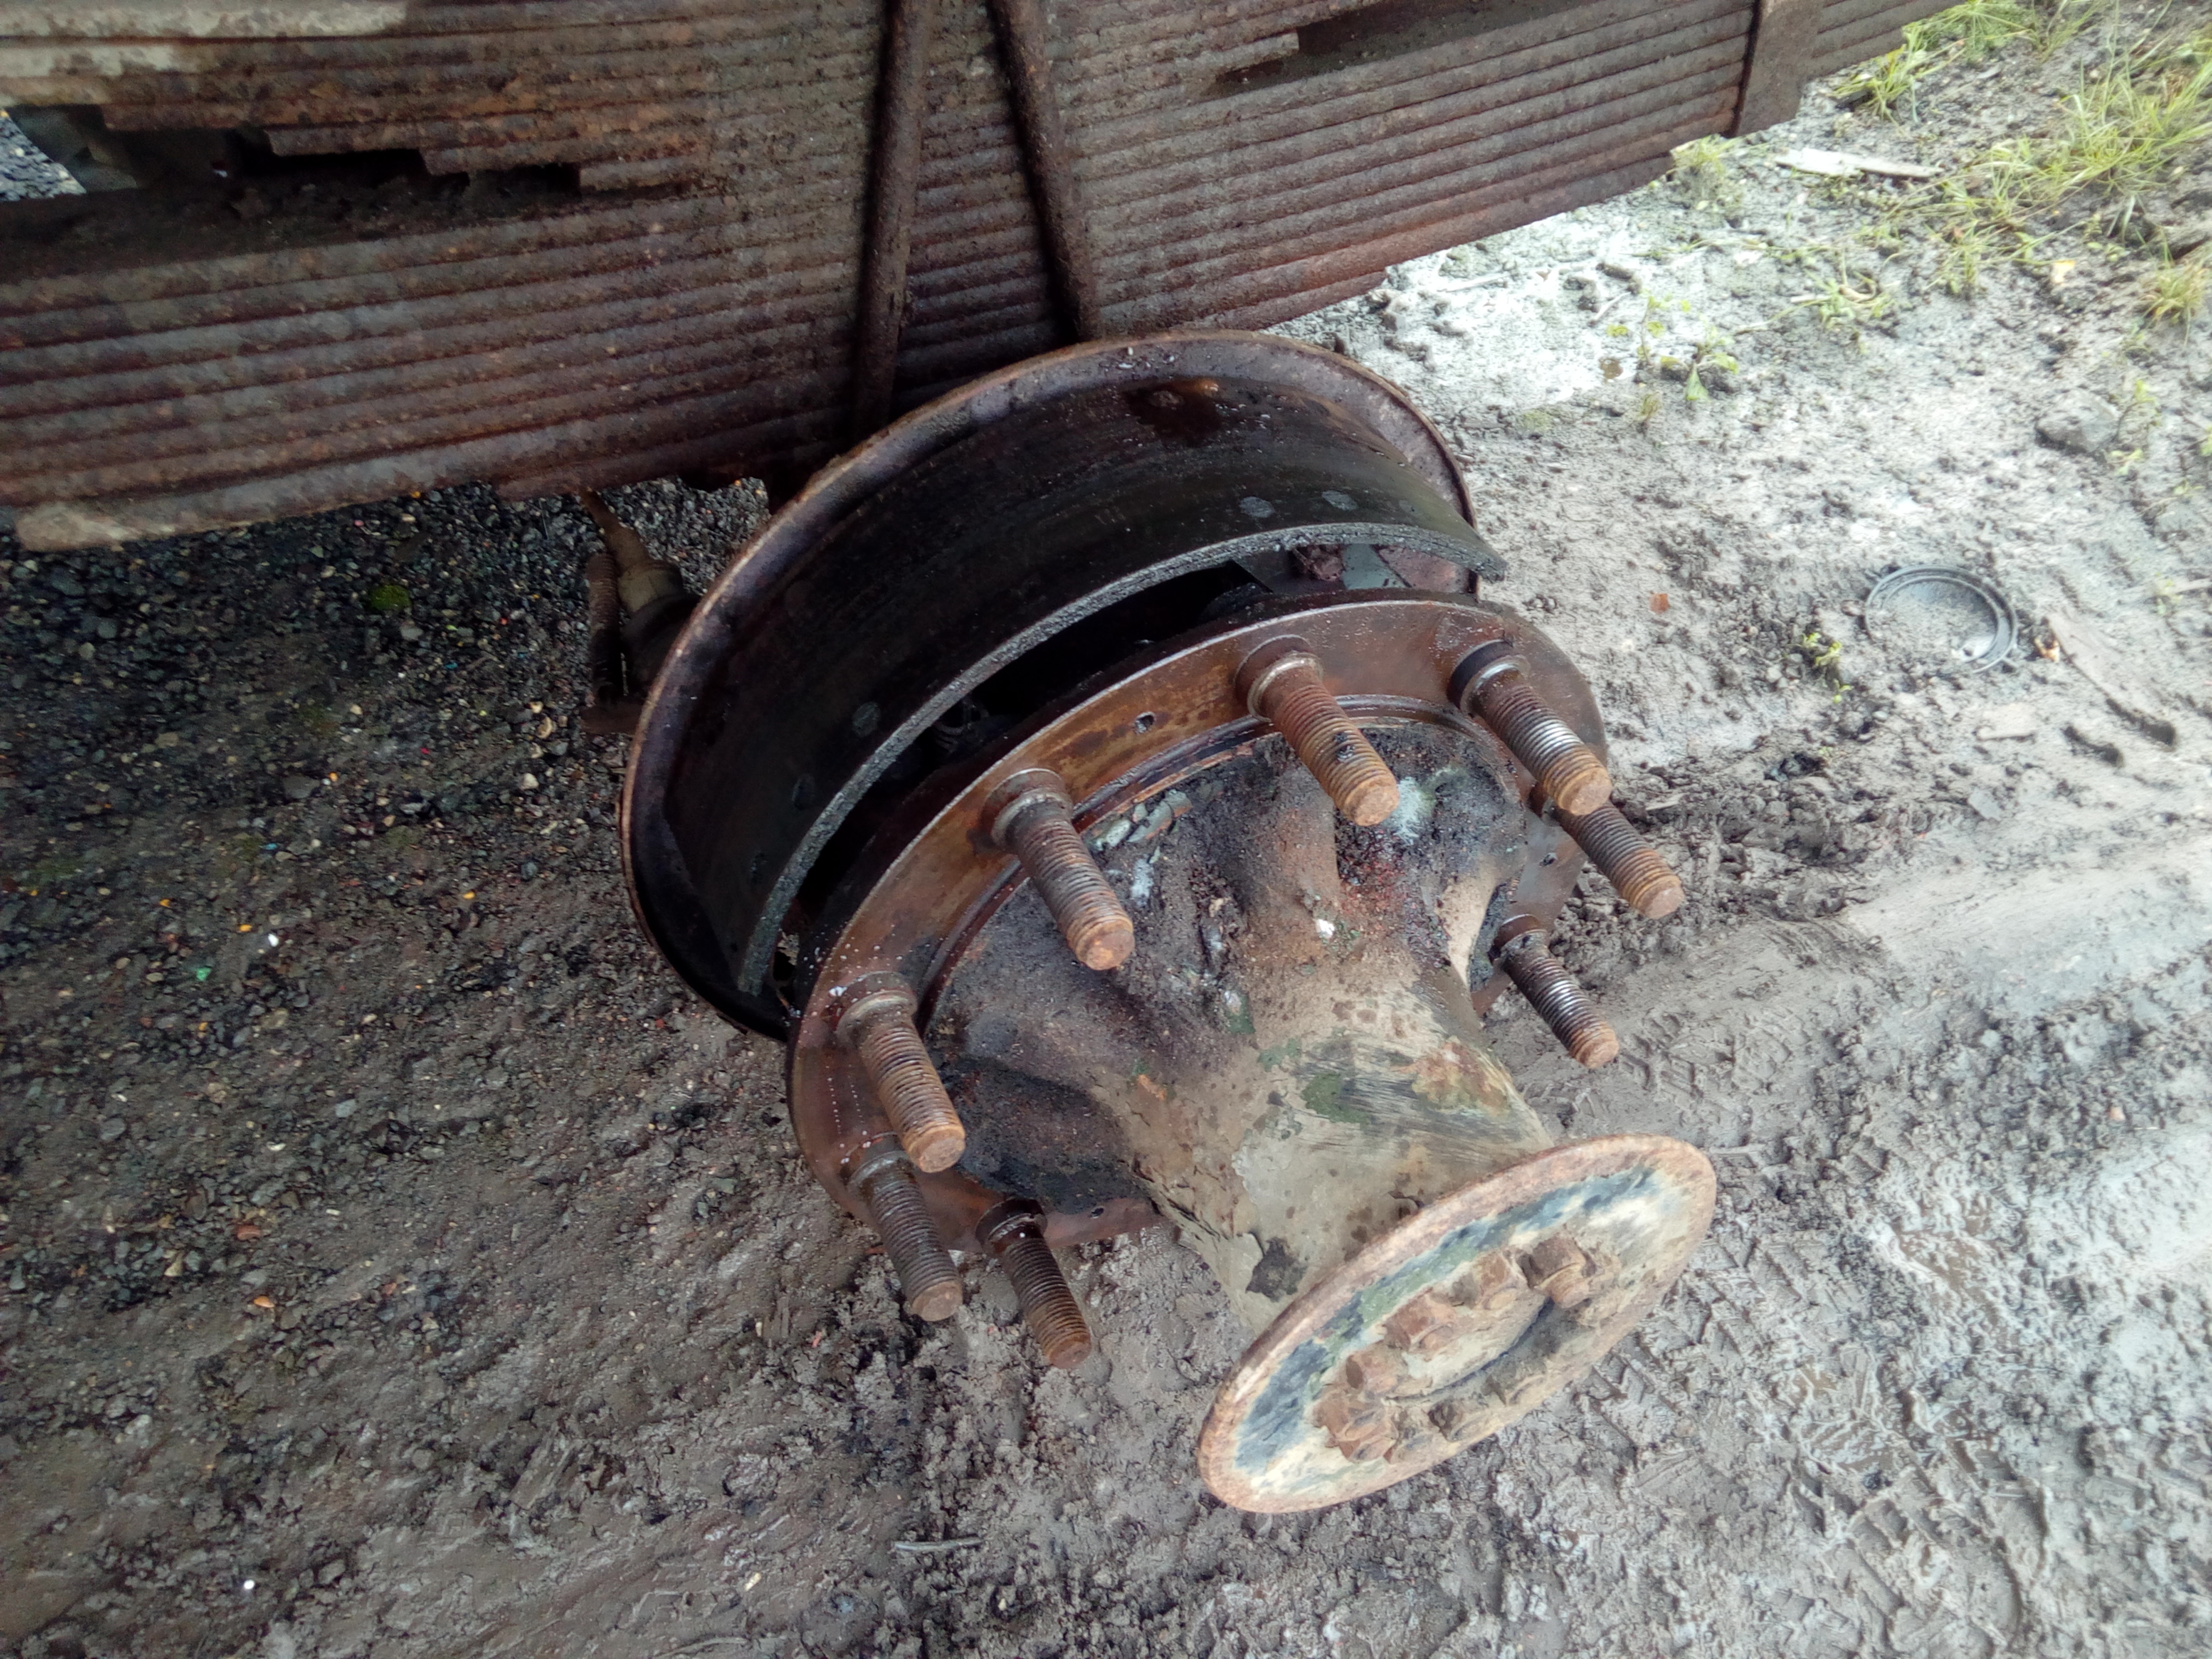 Brakes are looking delicious!  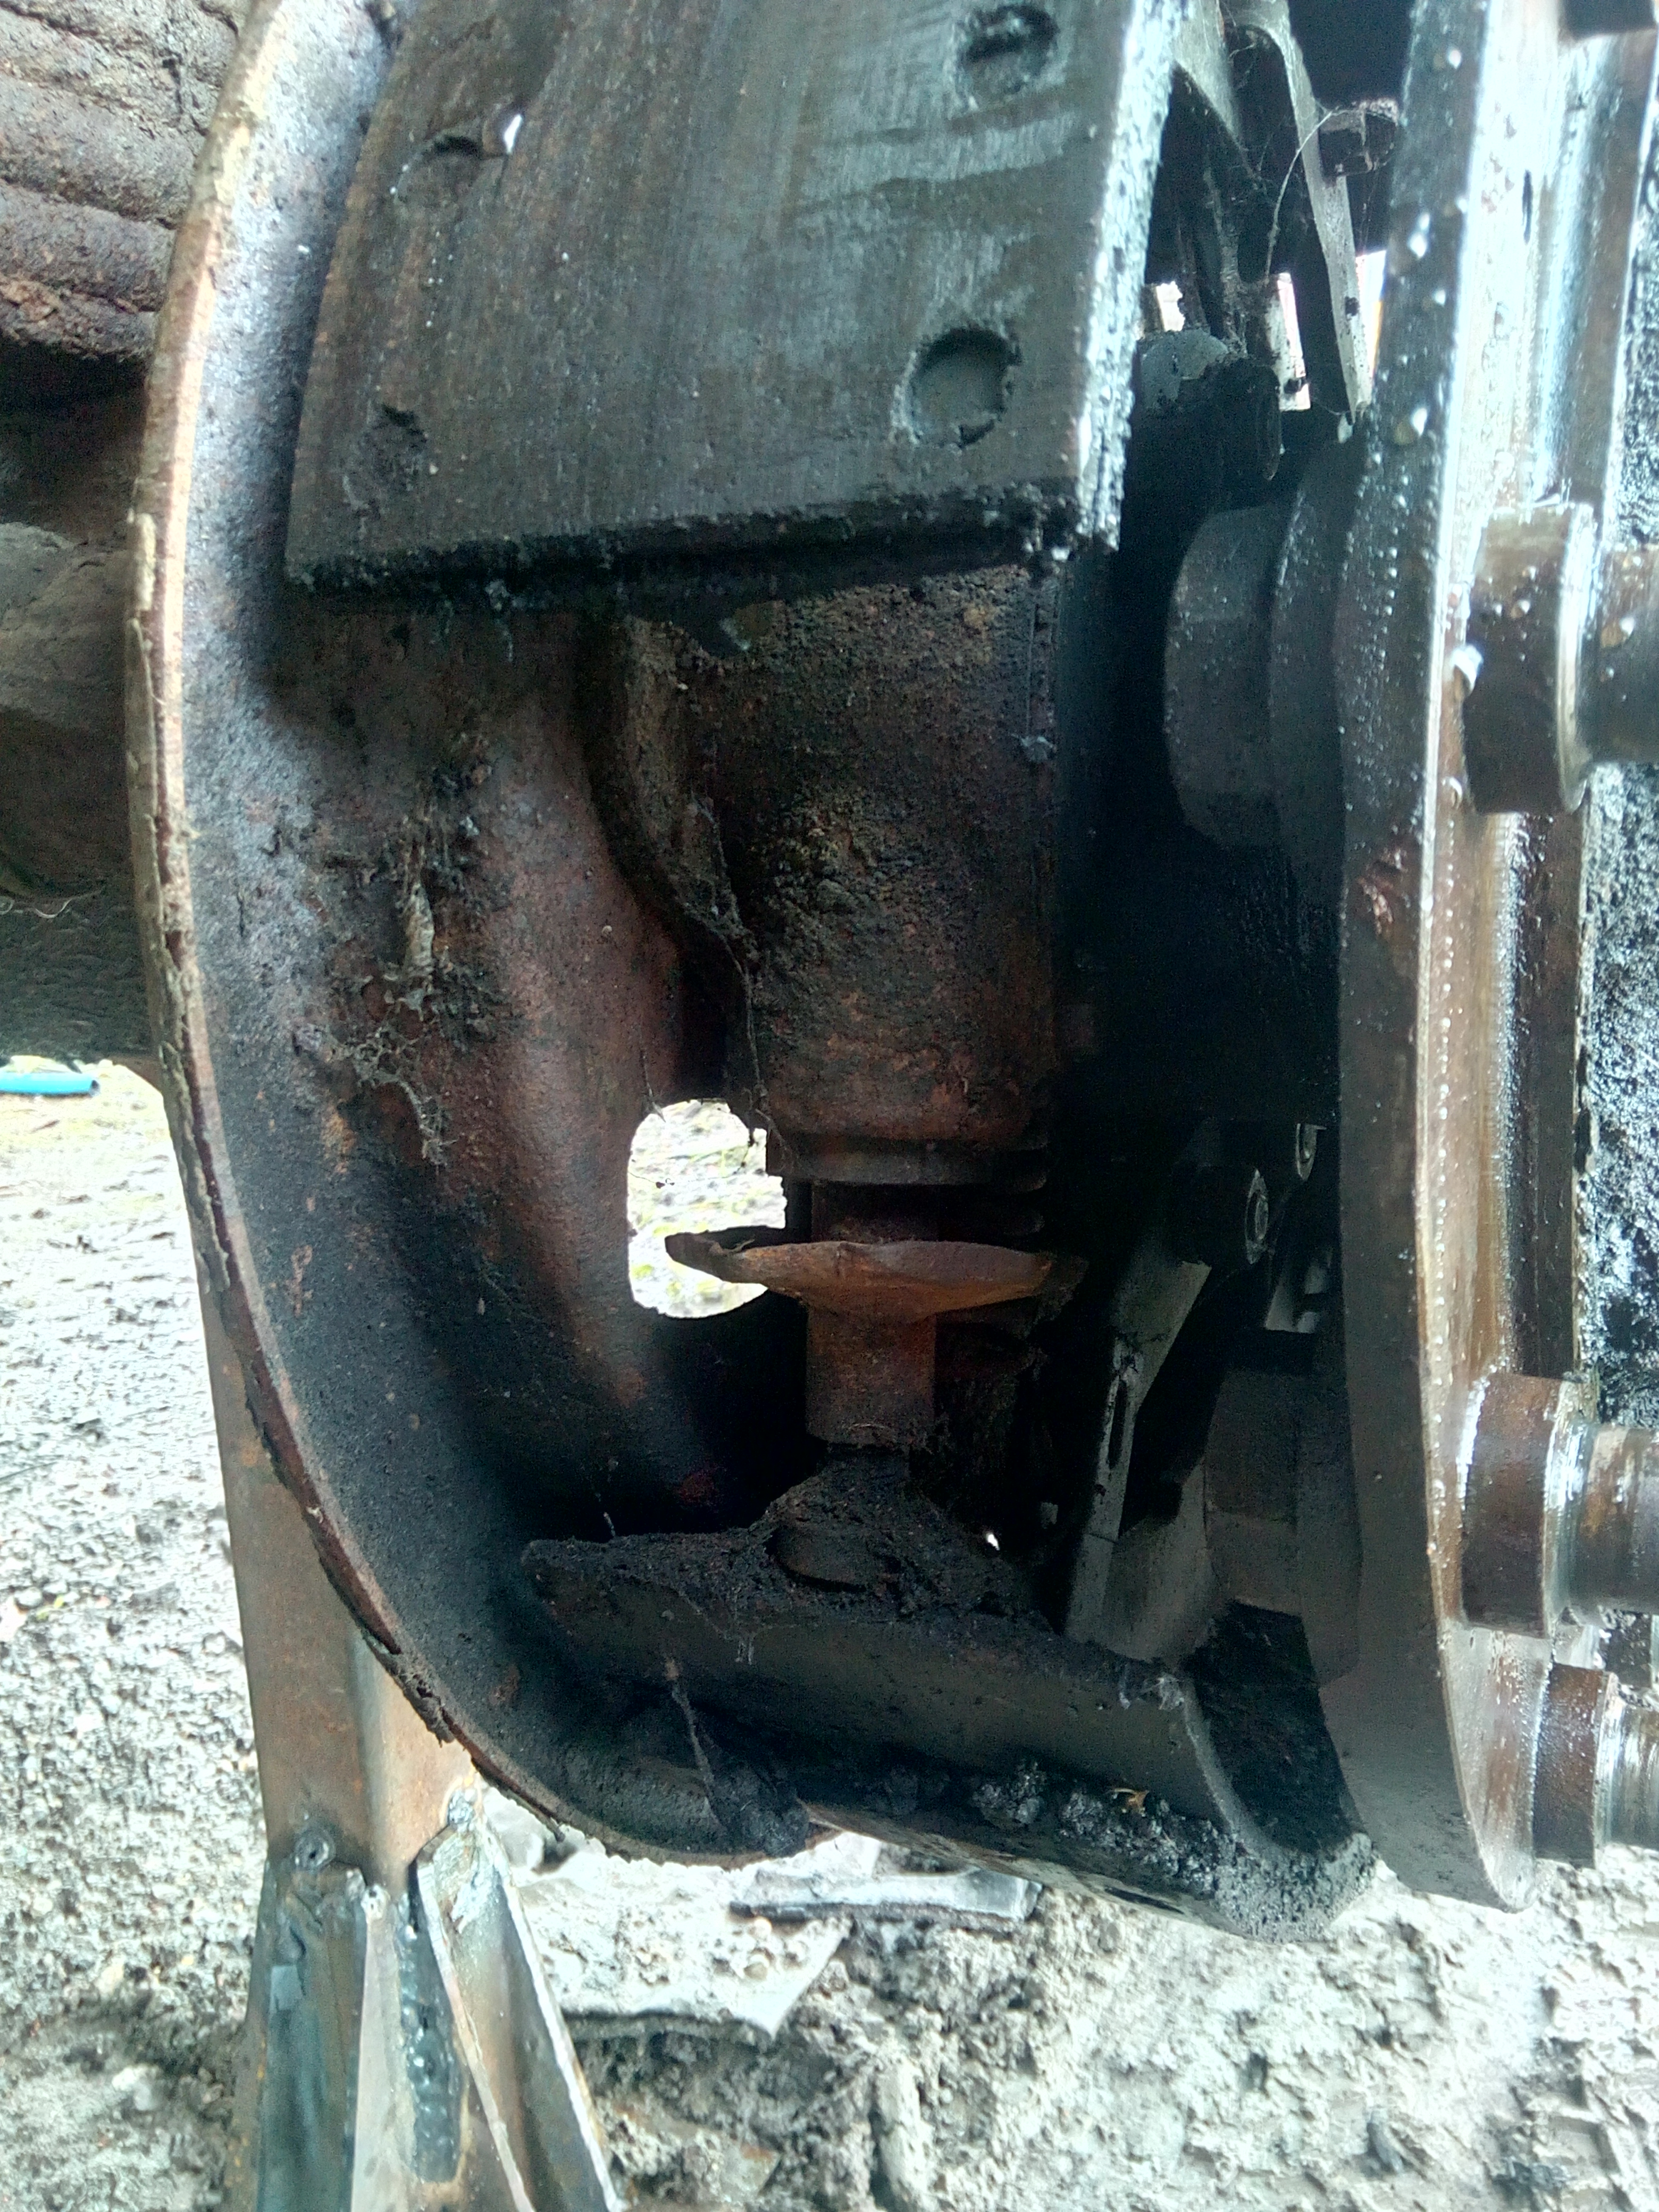 Okay, hub's gotta come off, which I'd not done before at this point. (Done it plenty now, both on my truck and others!) So, that means halfshaft out: 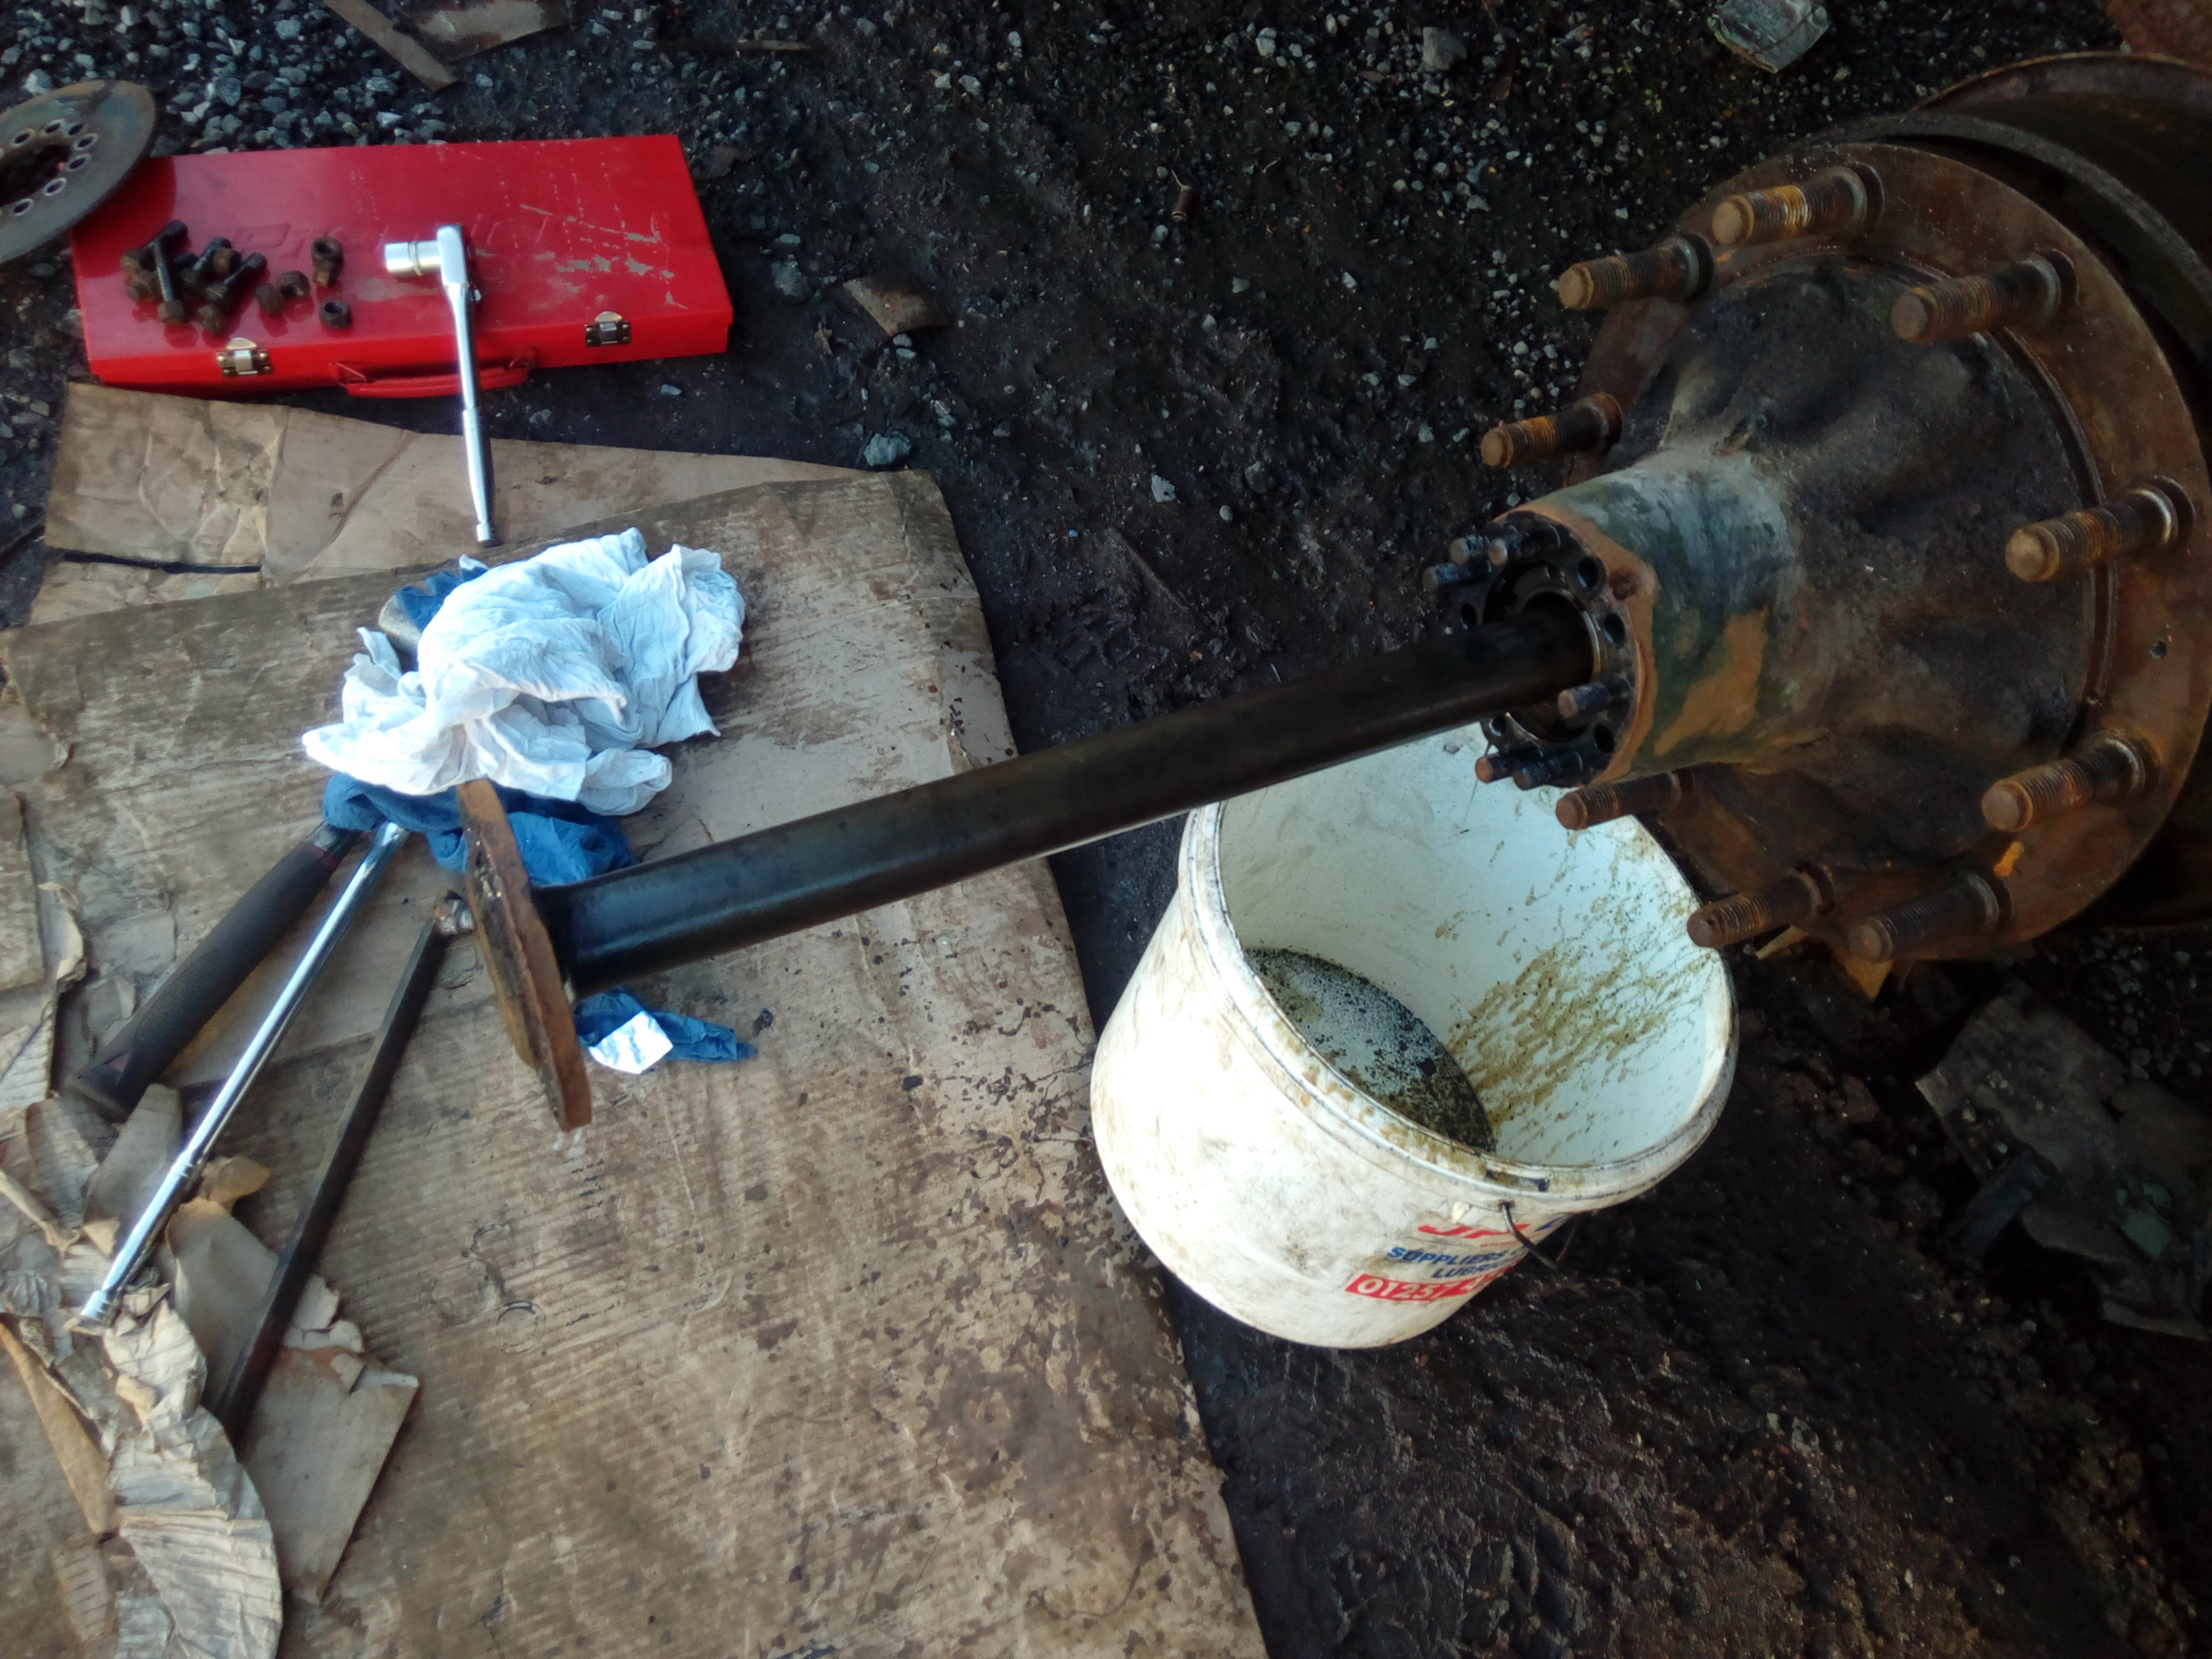 Admire chunkiness of shaft. 1/2" ratchet for scale. 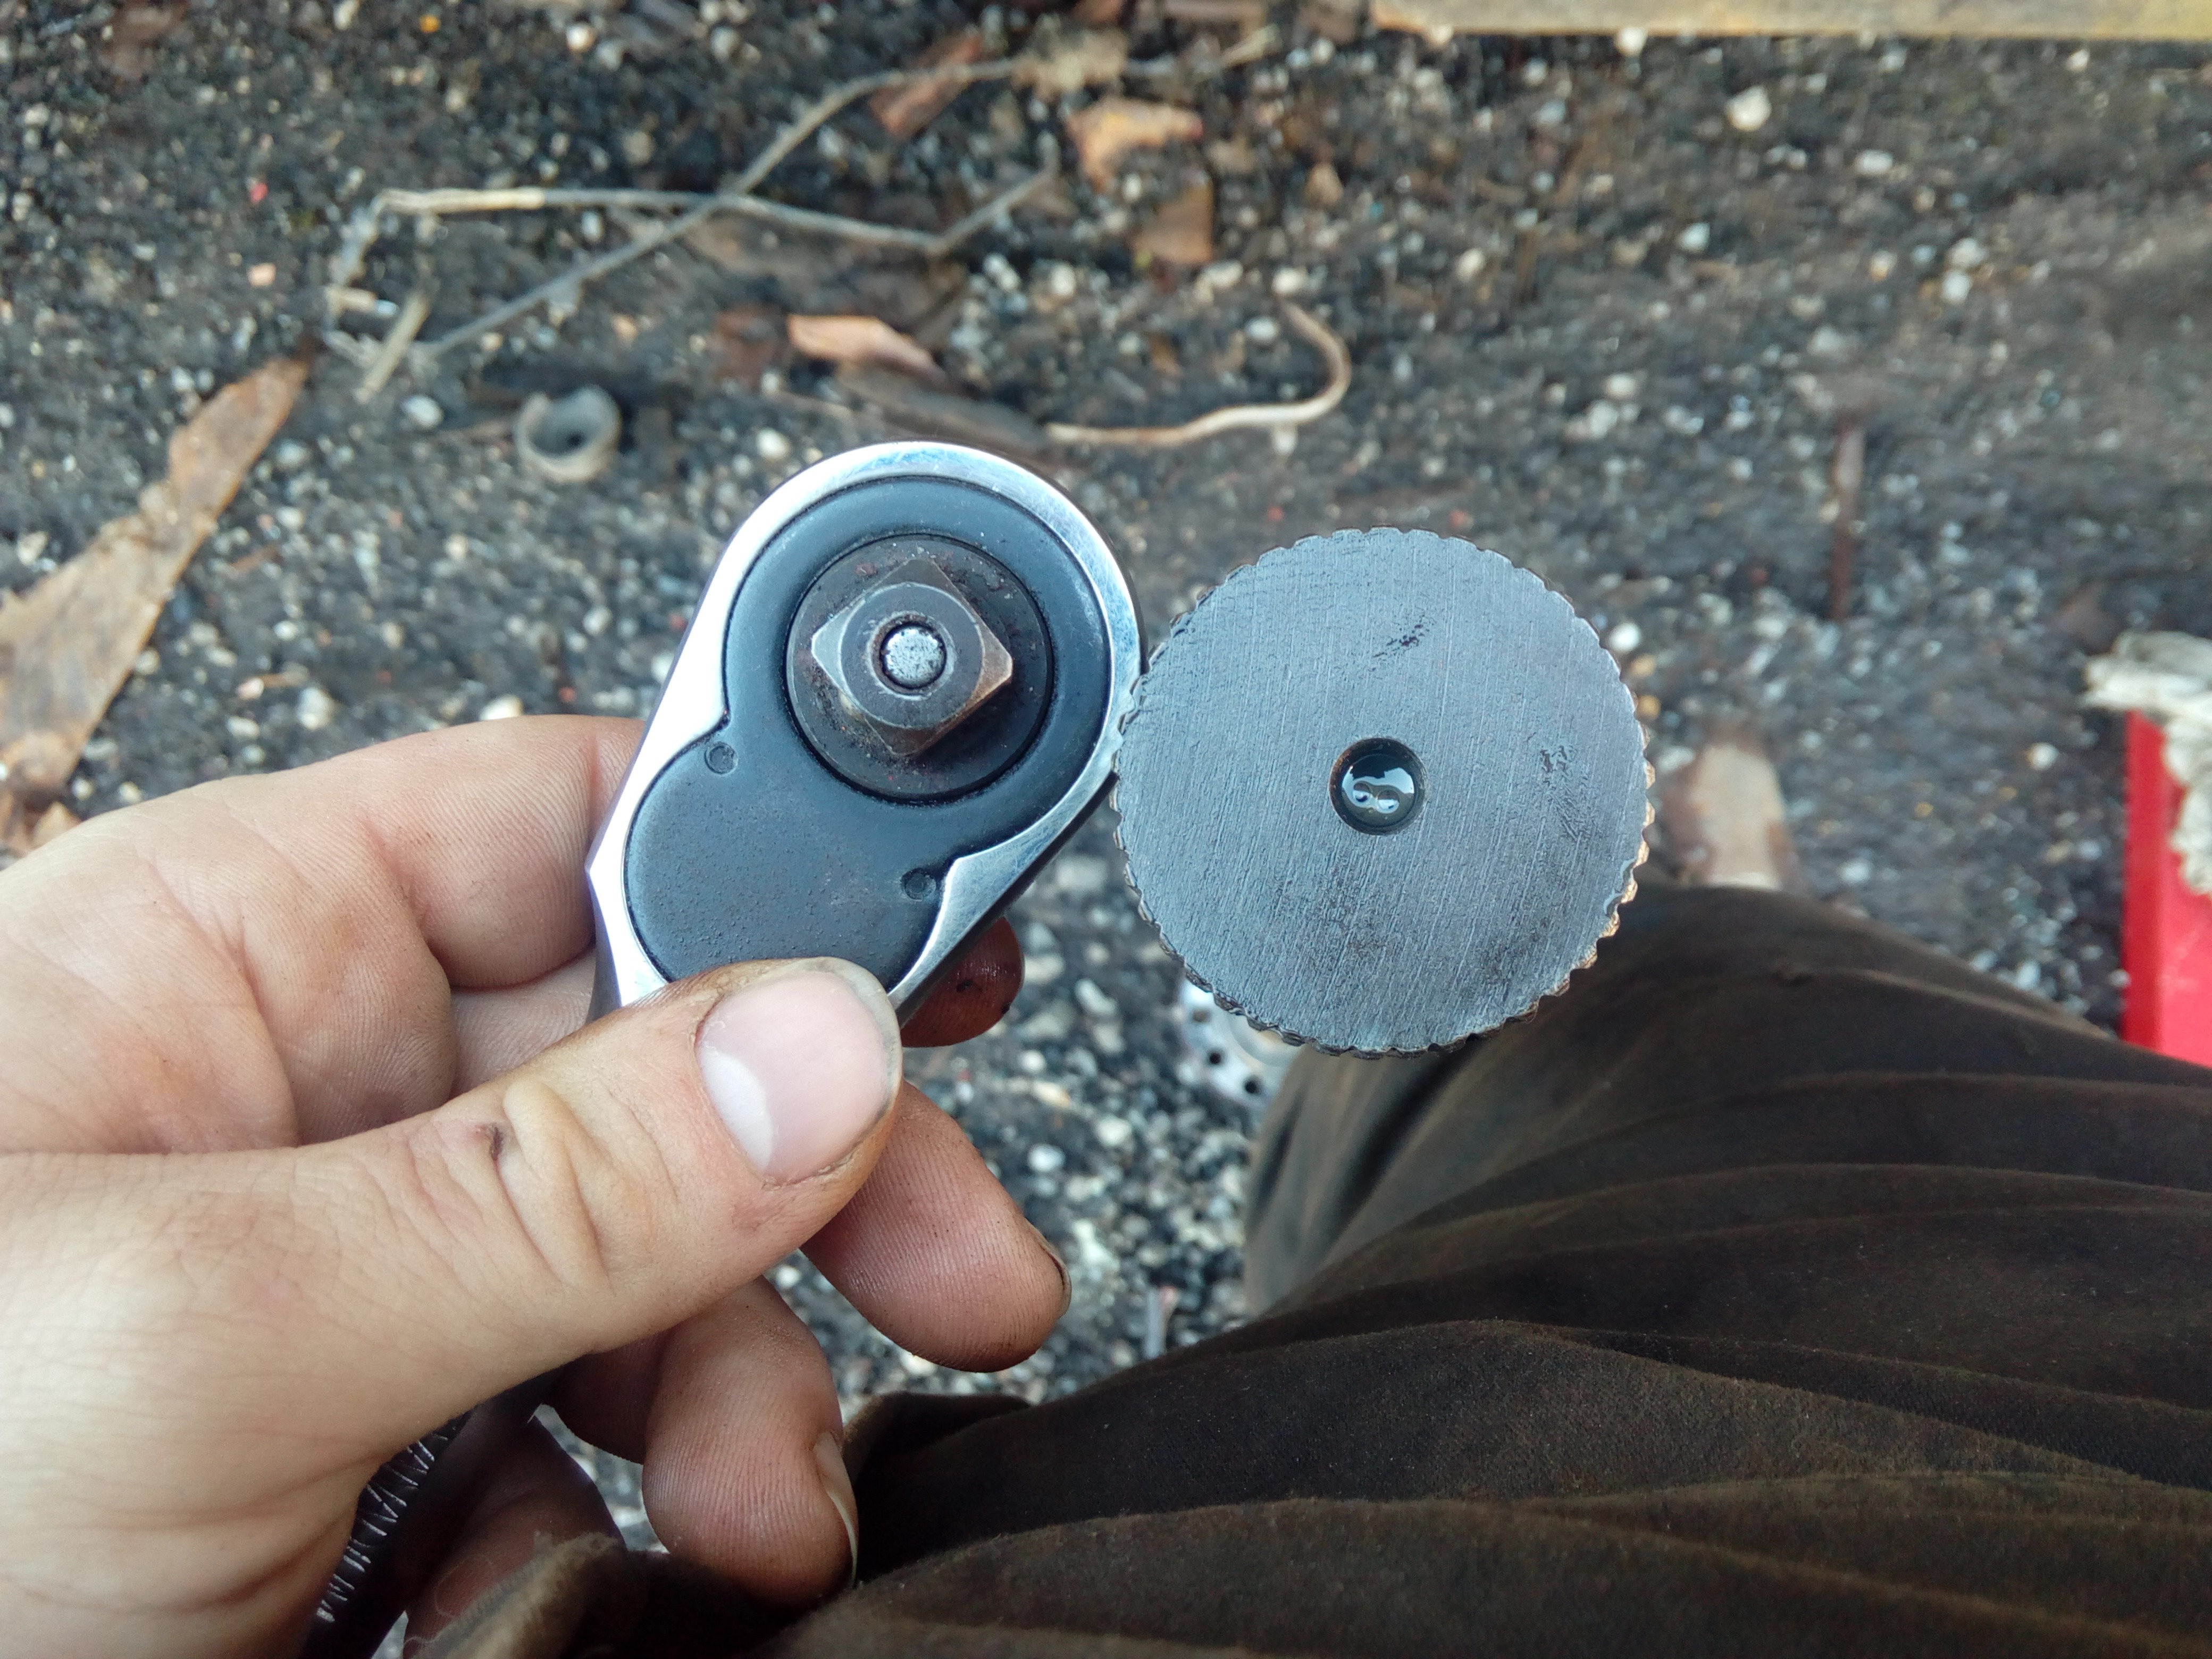 Remove those retaining nuts, and schlide the whole thing free, promptly dropping it on my foot and covering myself with the ensuing drool of gear oil. 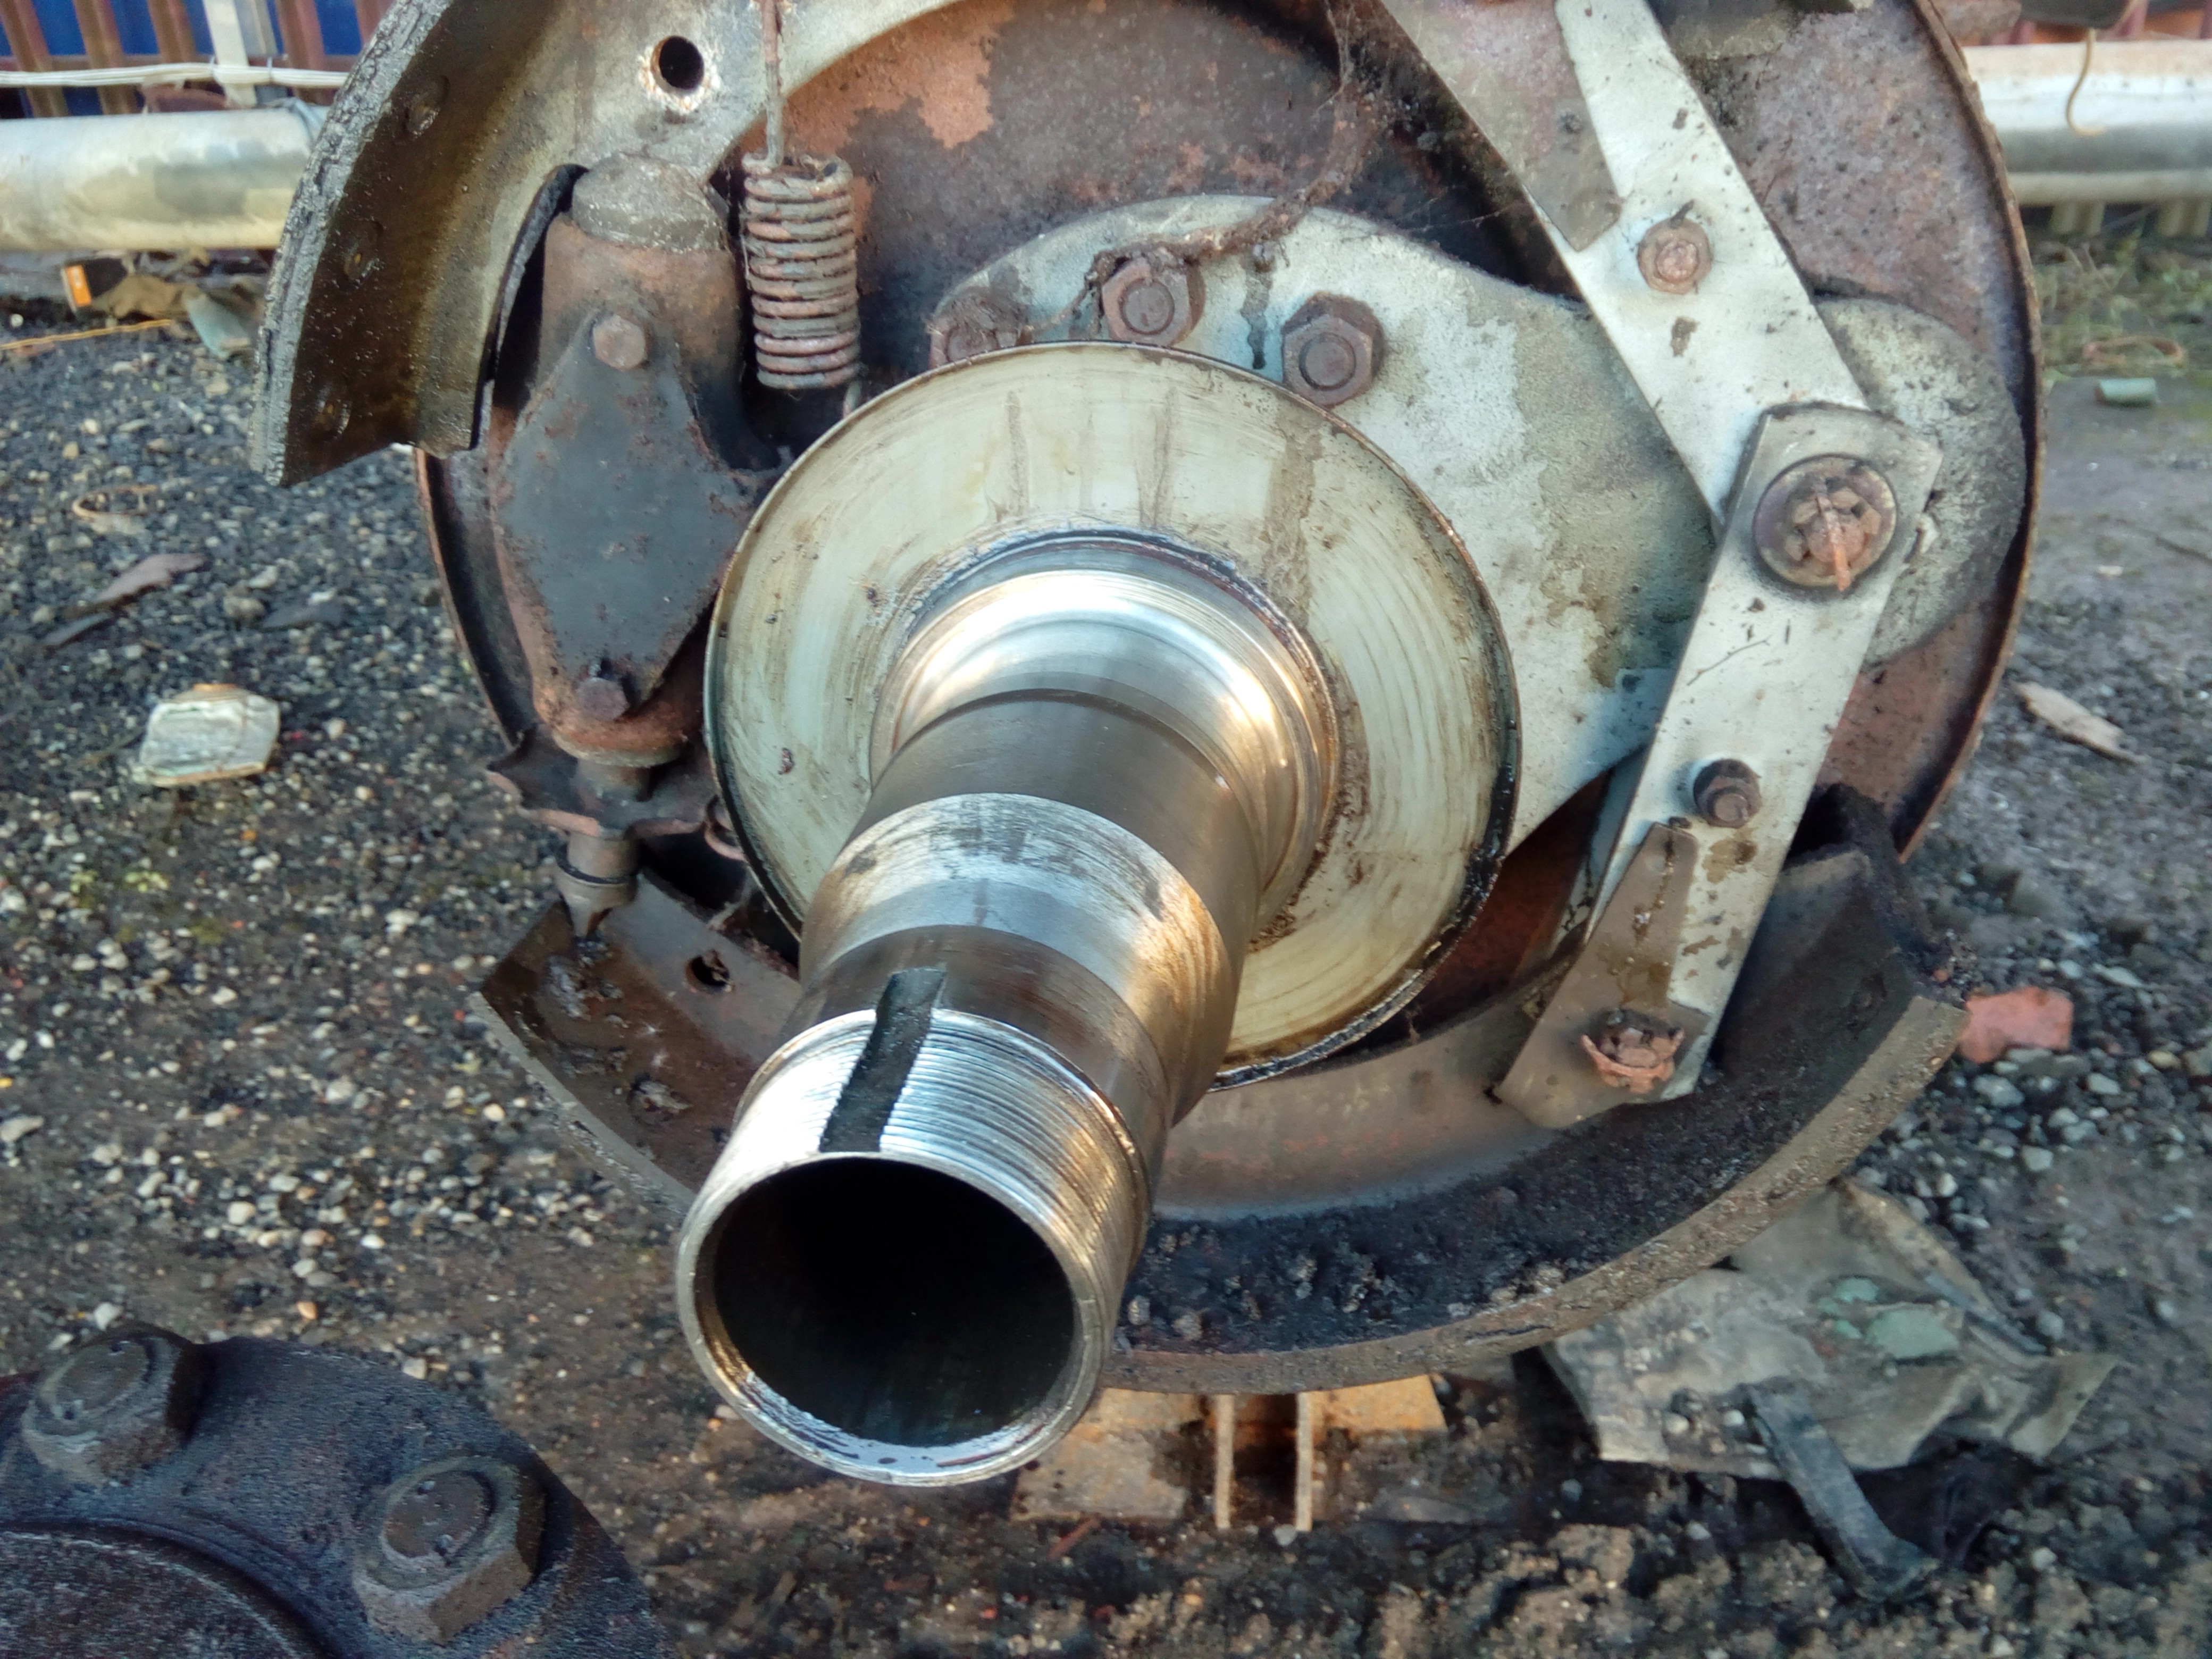 December 2016 December 2016Little things.  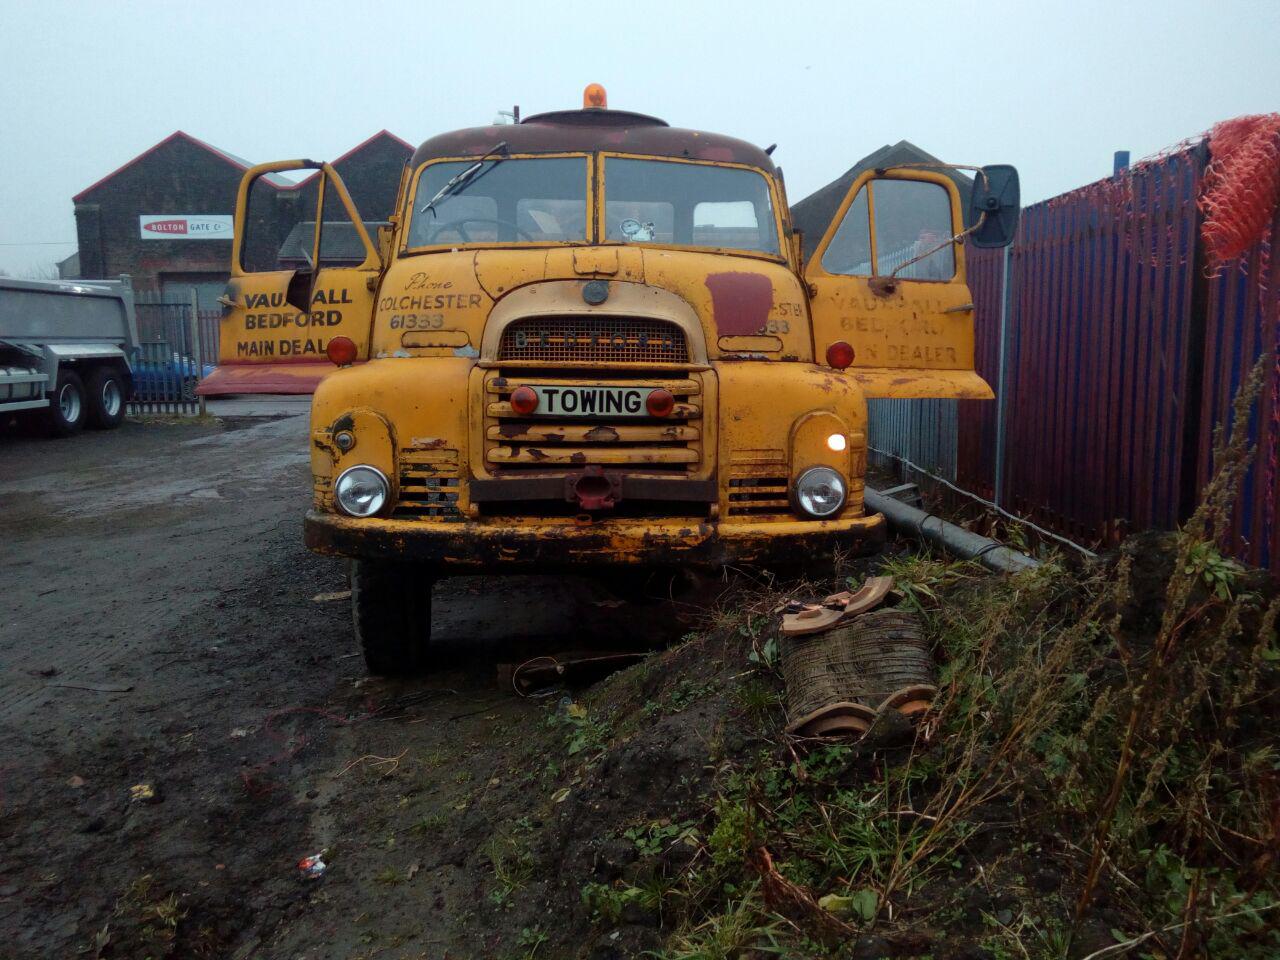 Some more connecting later... 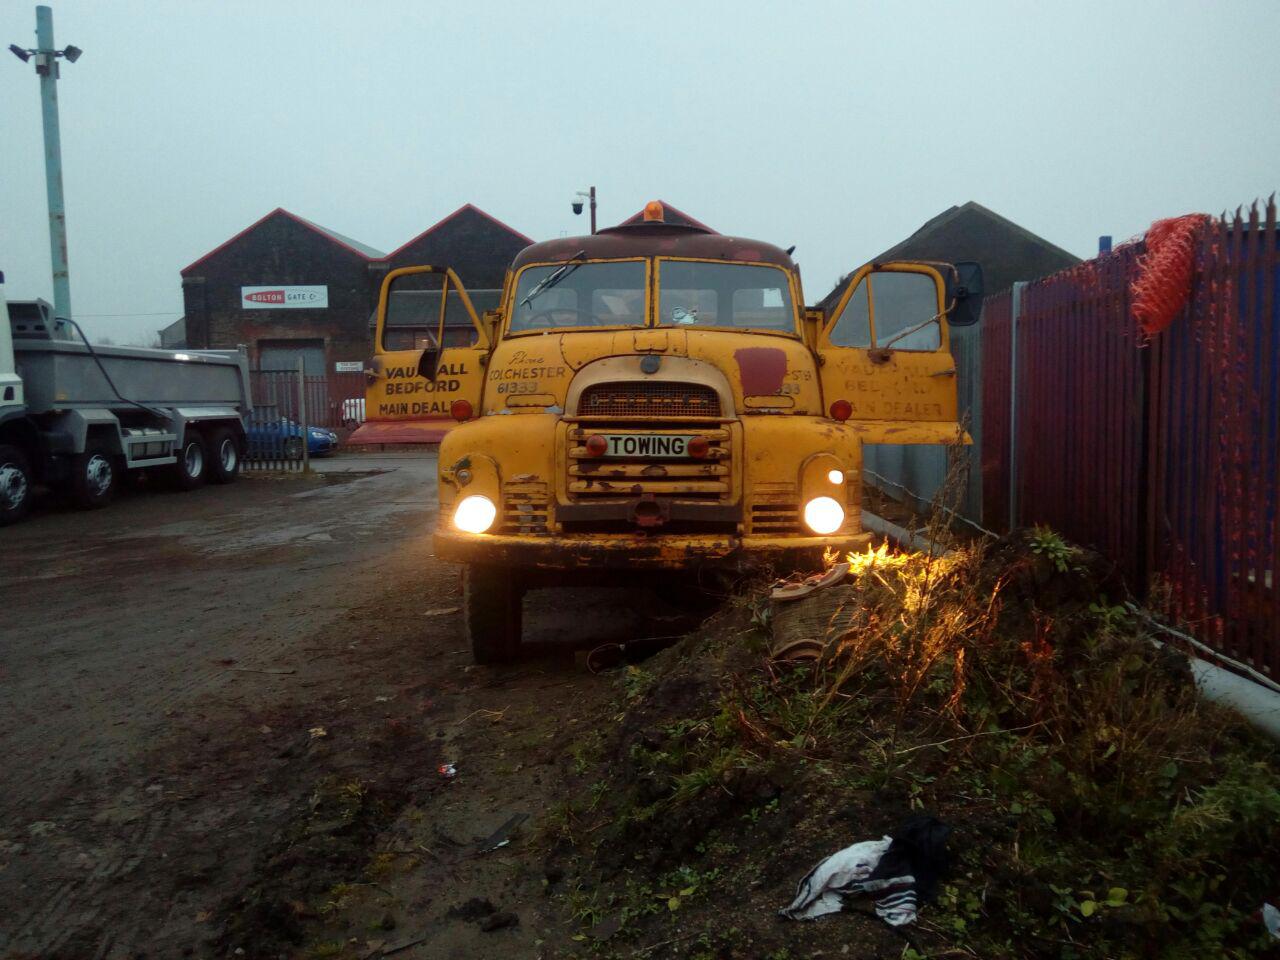 The O/S sidelight wire was still curled up waiting to be pulled through and connected at that point. It got connected up later, and more recently I disconnected it to route it with all the others, because fox only knows what I was thinking when I ran it the first time... January 2017Beginning to have problems. Remember what I said about Part No. 24 during that carb rebuild? Very very minor update; since the carb rebuild, I've been fighting a few vacuum leaks, which I think I've mostly nailed down now. Though, with typical good timing, I appear to have run out of fuel; thankfully whilst parked up, but it's annoying when it happens part-way through trying to make sure you've strangled all the vacuum leaks, check timing, etc.  The suspicious part of me suspects someone's siphoning fuel out of the tank. This remains to be seen, however. Probably going to bump a better filler-cap further up the priority list, just to make myself feel better. :/ (And then it'll turn out that nobody's siphoning it, I'm just burning through it that quickly...  I don't think I am, though; at the rate it seems to be 'evaporating', I'd have to be pumping liquid fuel out of the tailpipe...) Anyway! Onto the current minor headache, timing. Following a bit of advice that "most carburettor problems are actually ignition problems", I thought I'd check where the timing actually was. I located the markers on the flywheel, cleaned them up and added a few dabs' worth of white paint marker just to make them even more visible. (And I know the clutch is worn out! Something else that needs changing...) 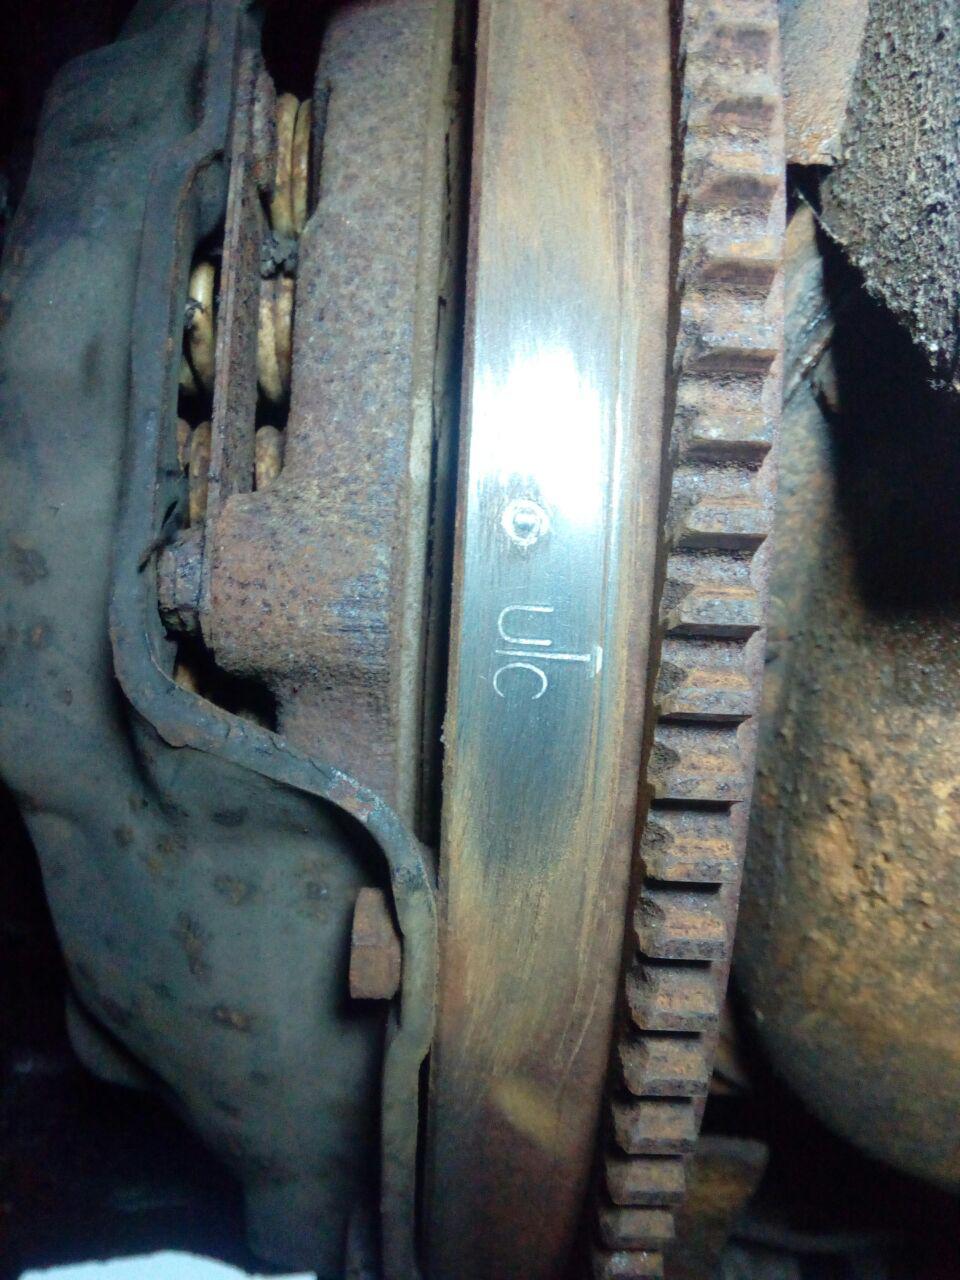 Cue some time going back and forth trying to figure out what the hell was going on, where the hell my timing was, why all the fuel was disappearing so fast, why are my points burning up, finding out what distributor I actually had (Delco D200), and so forth. Late FebruaryTime for some cleaning. 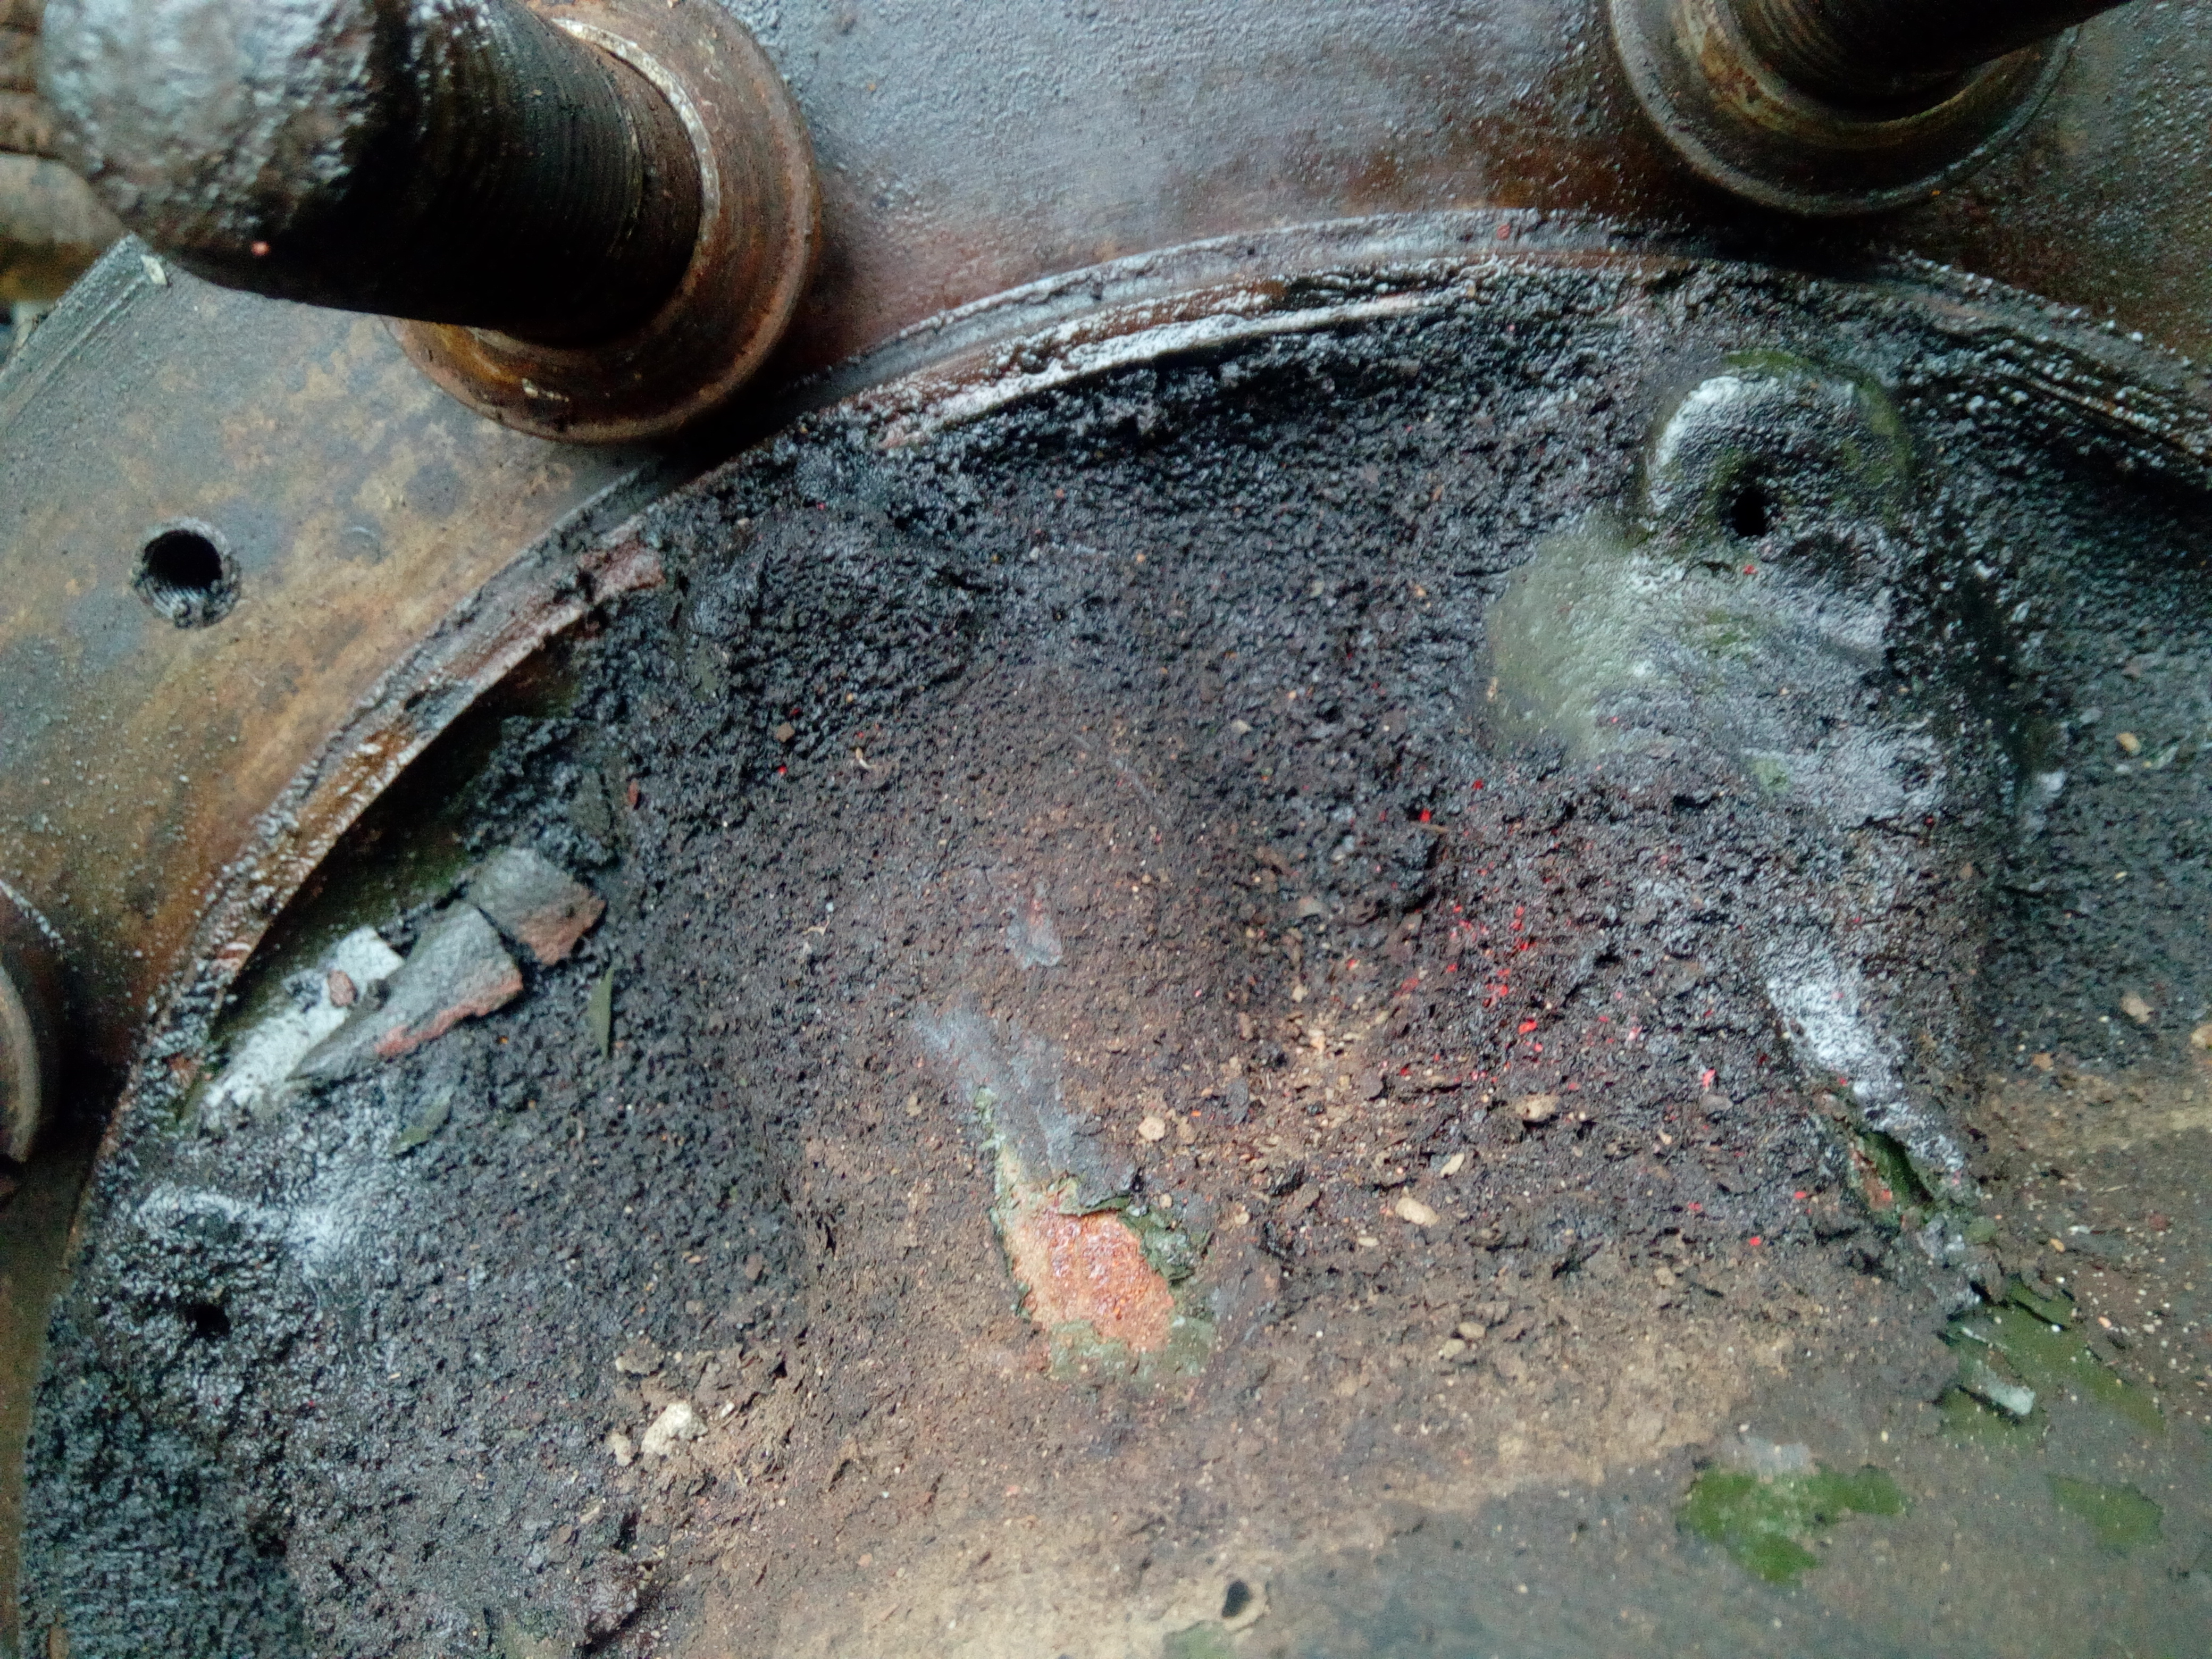 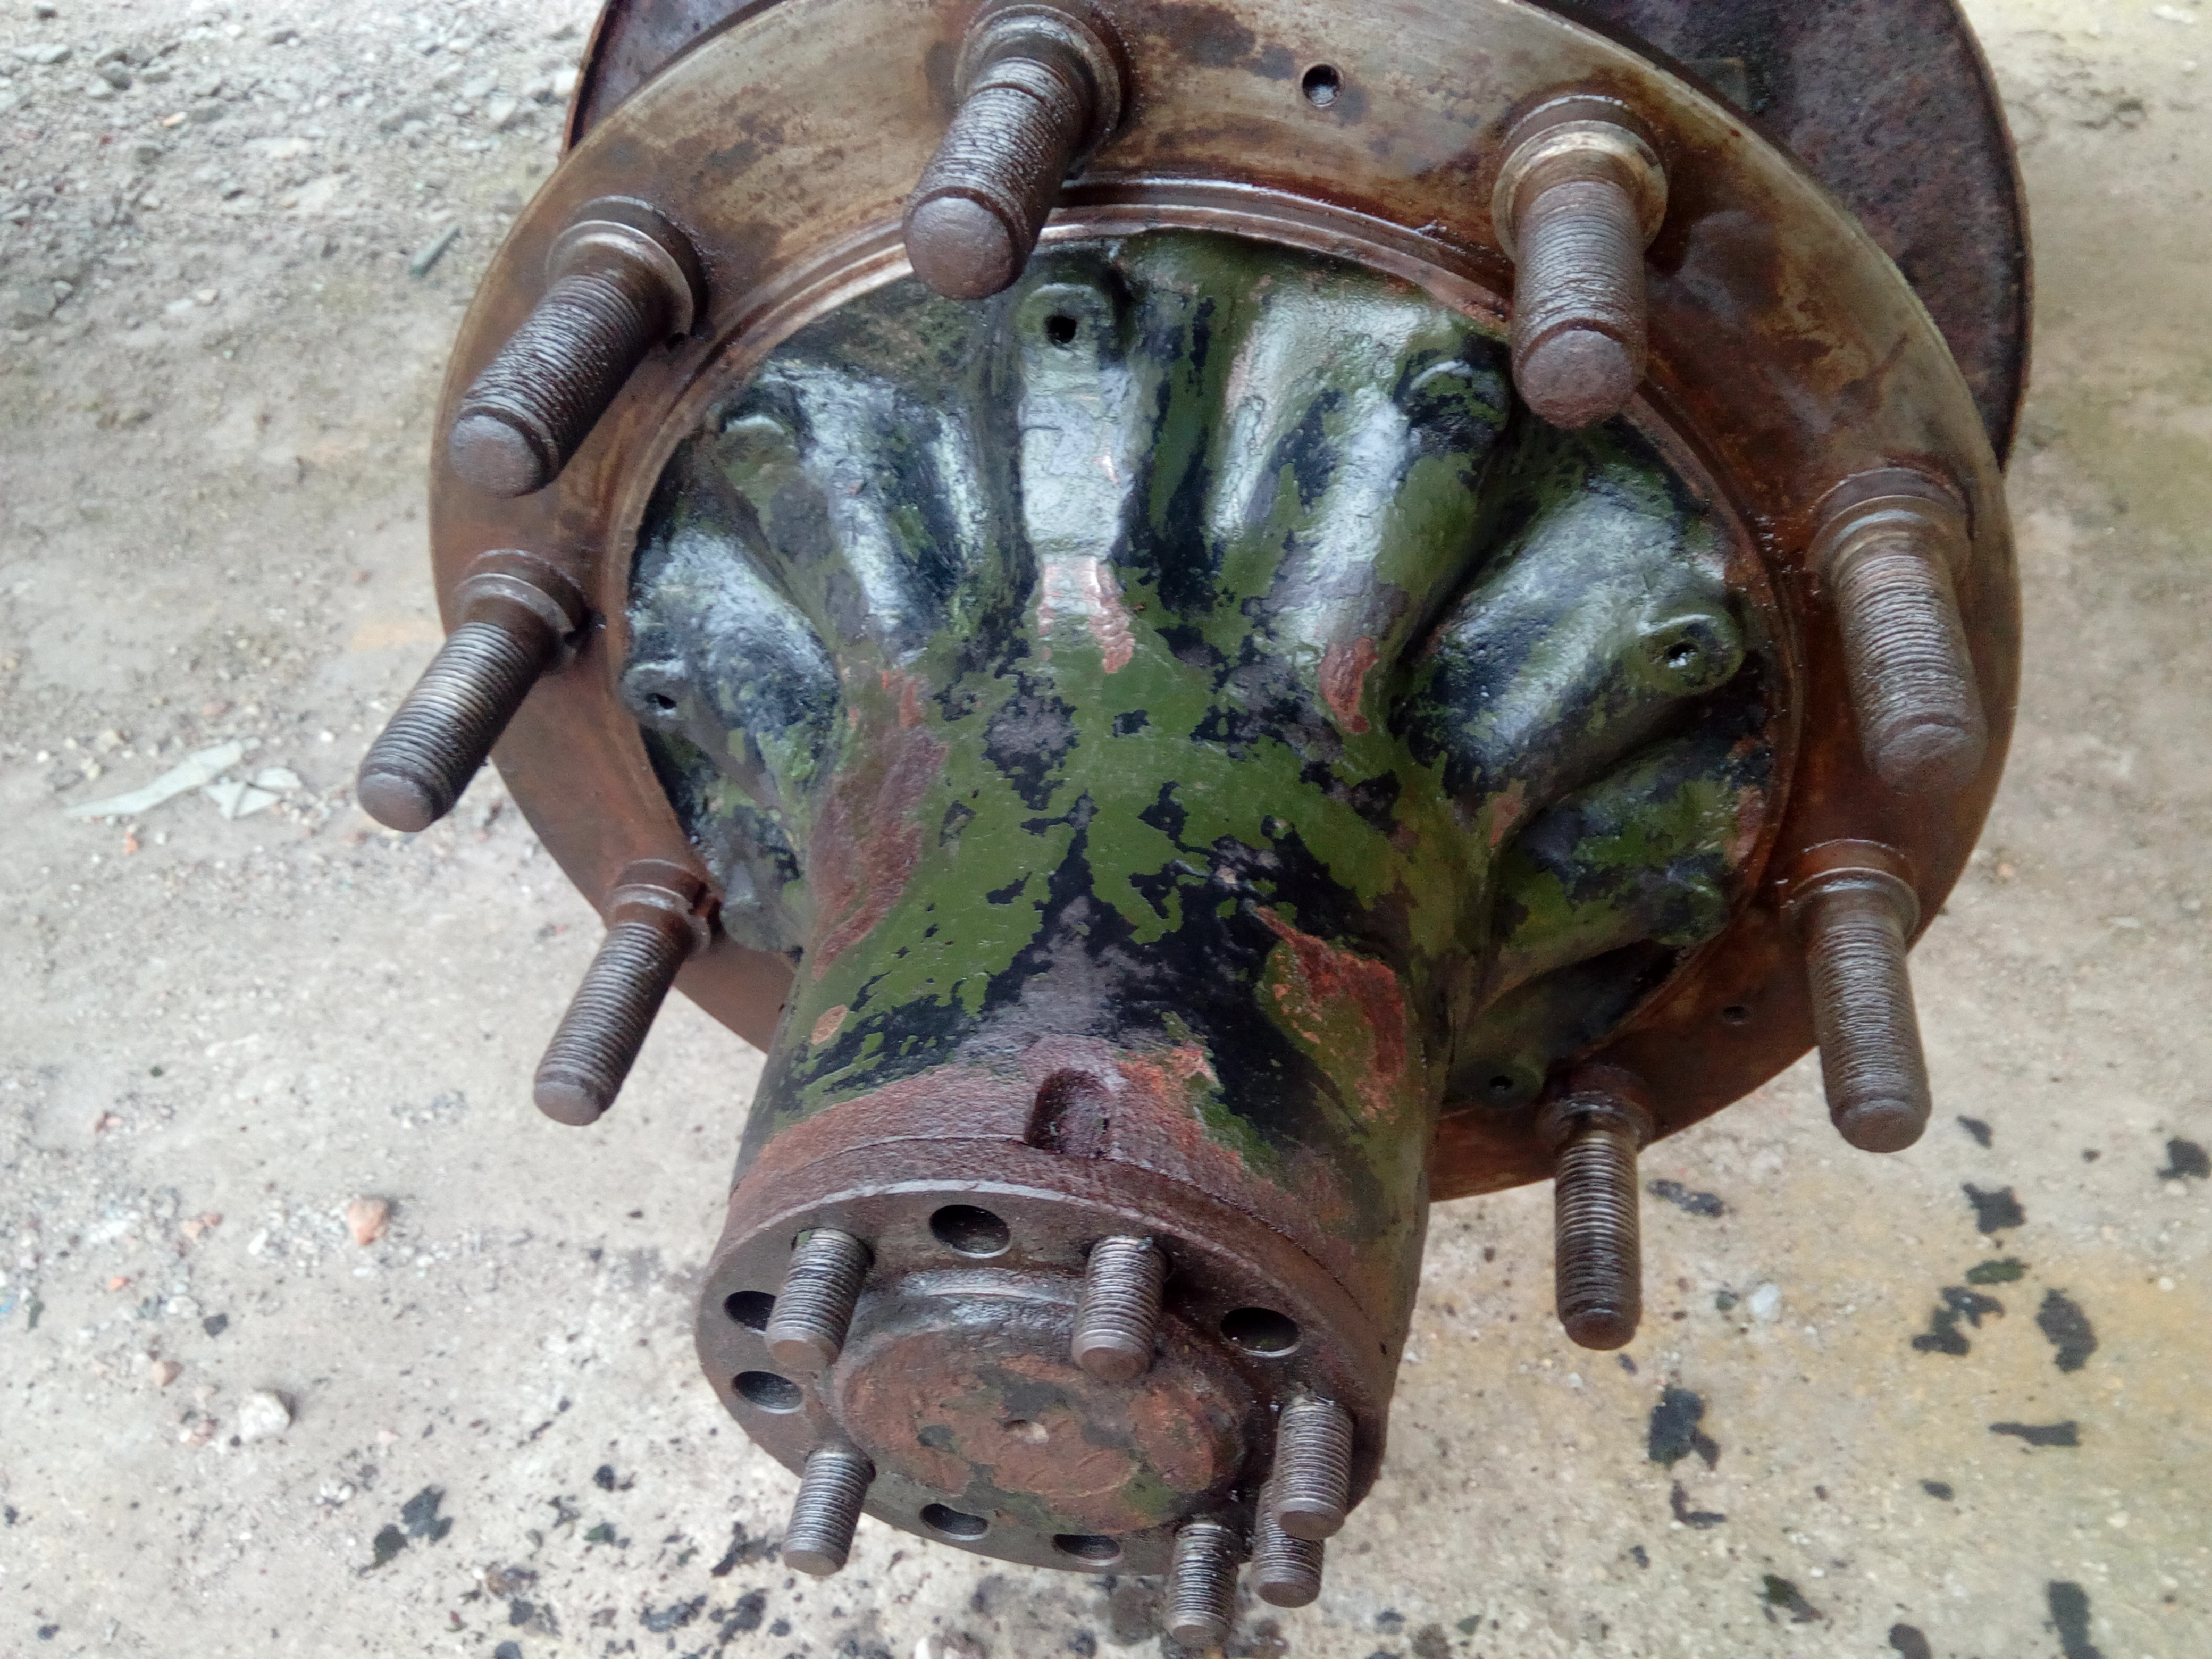 That's better. Time for the new hub sea... oh, fox. 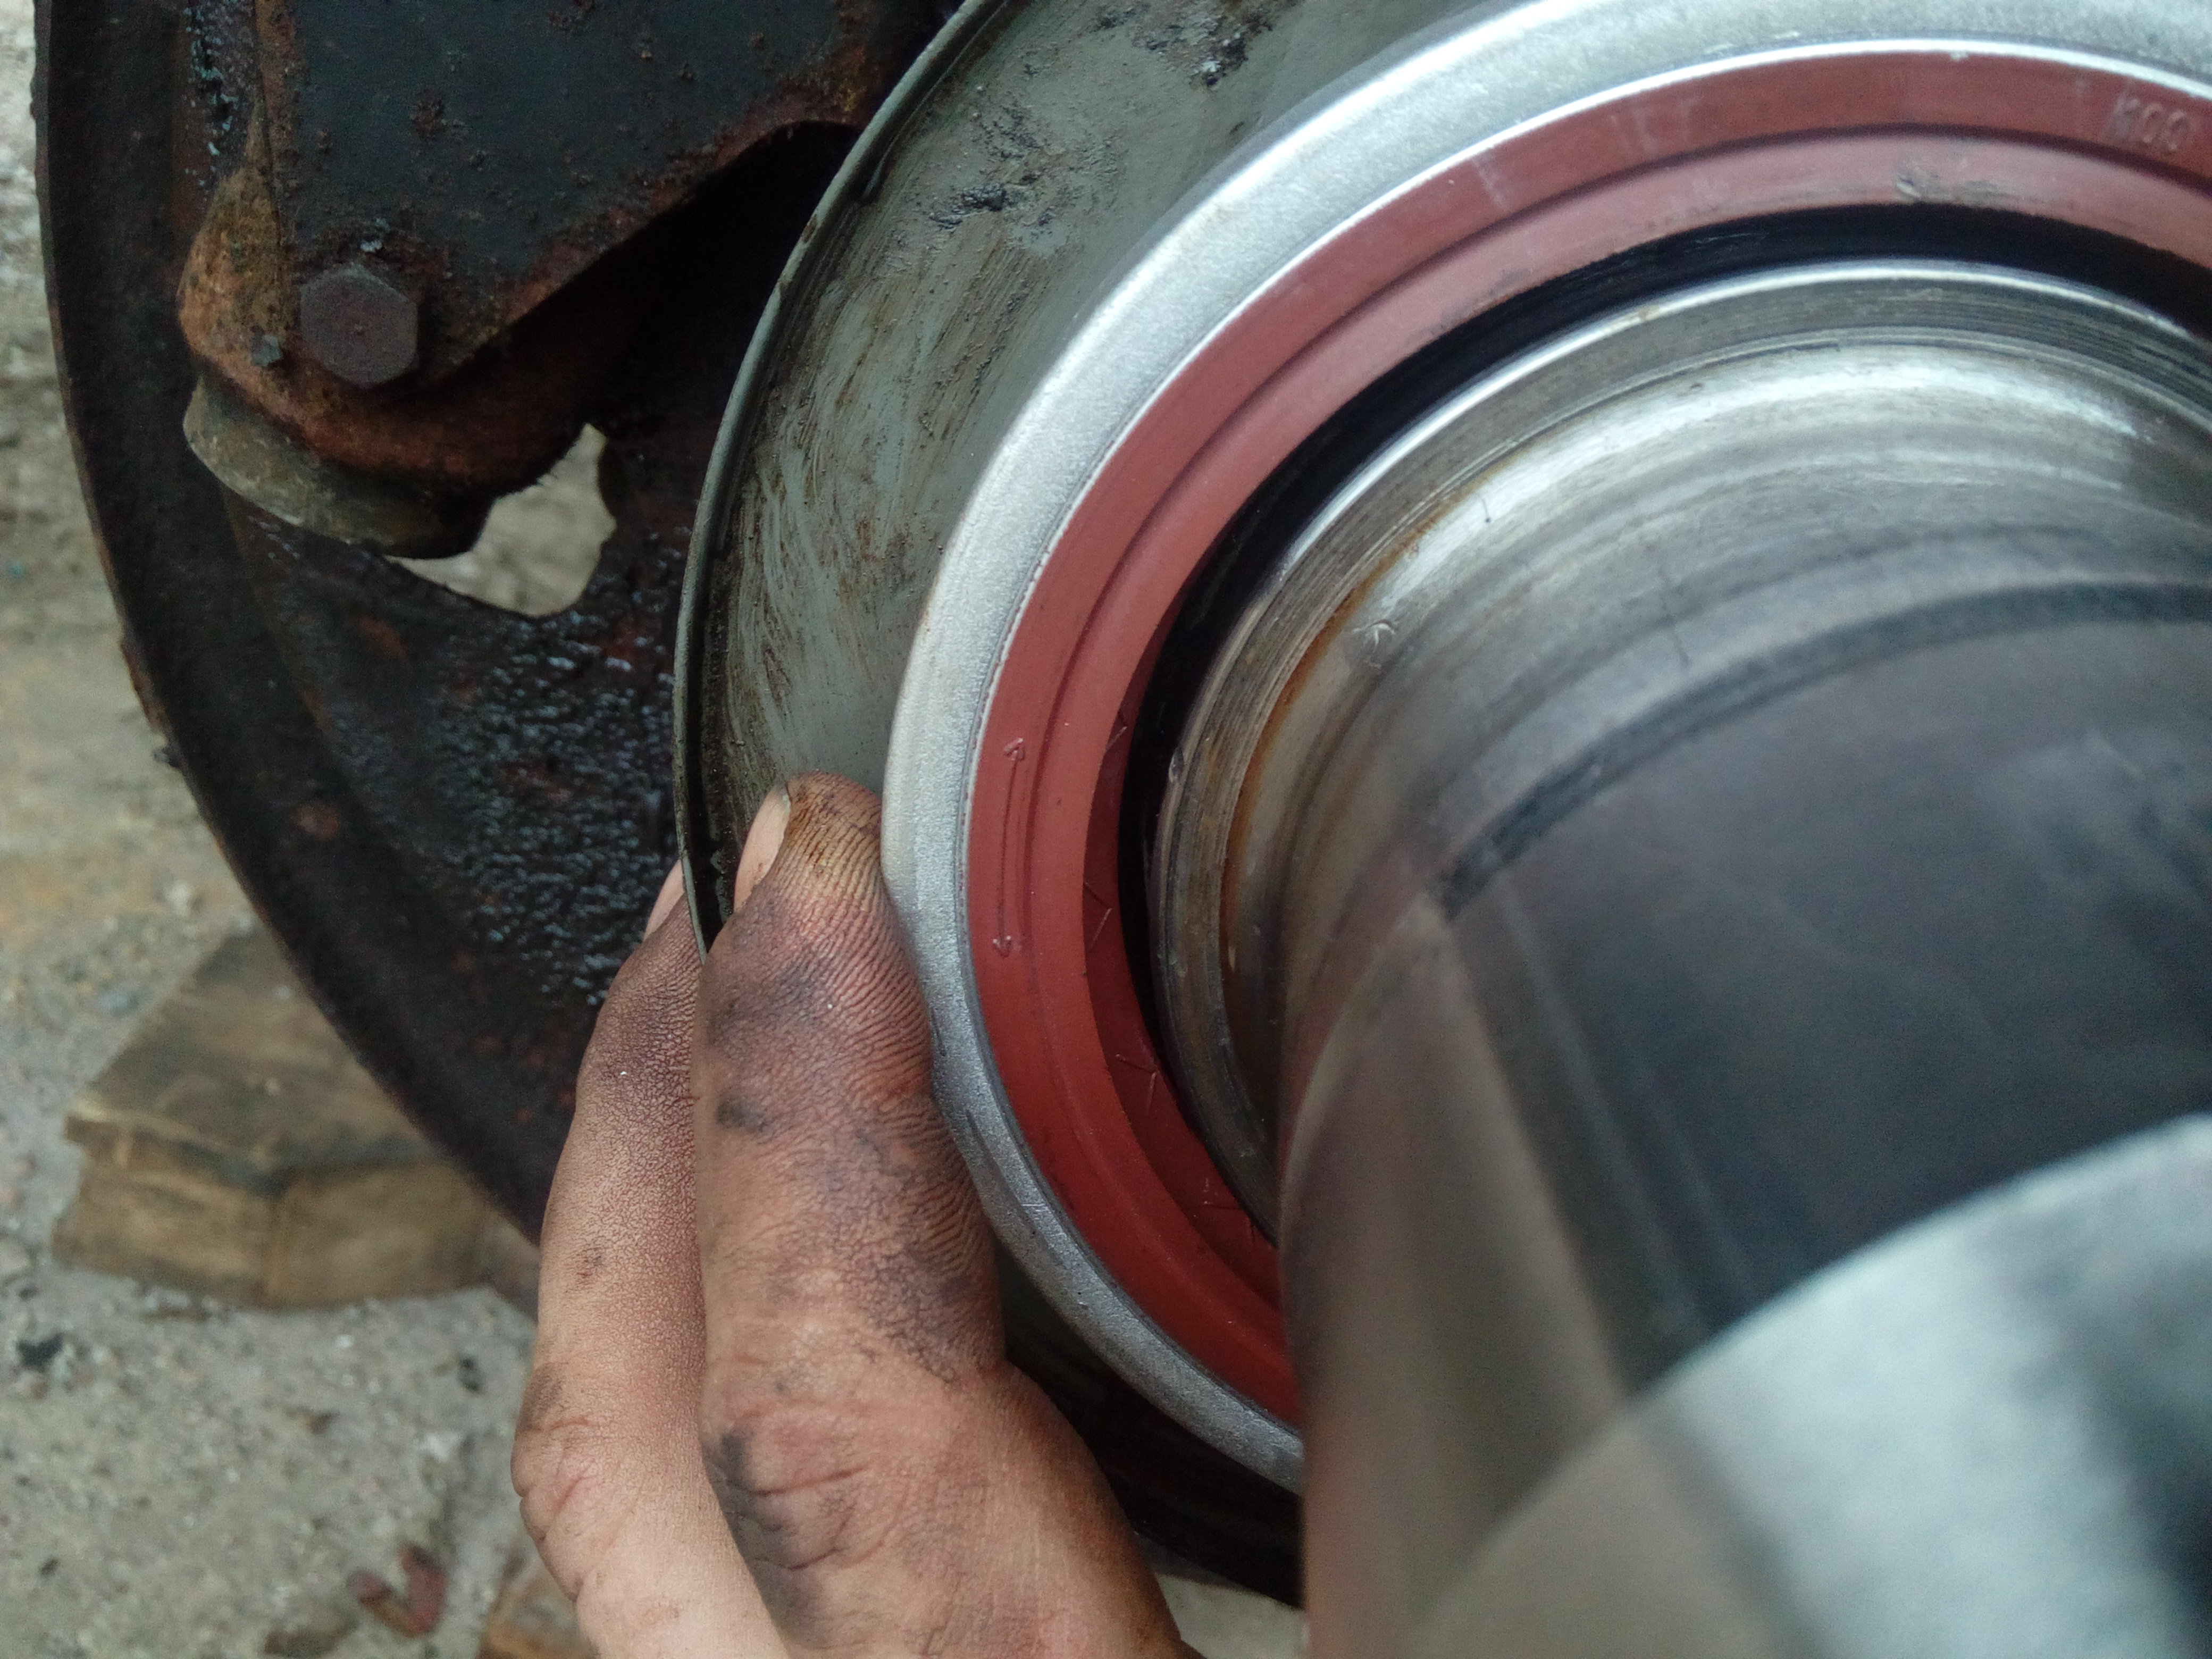 Cue some measuring, and a run out to a bearing shop nearby, at some point. In the meantime, more cleaning! This time, with the needle-gun. 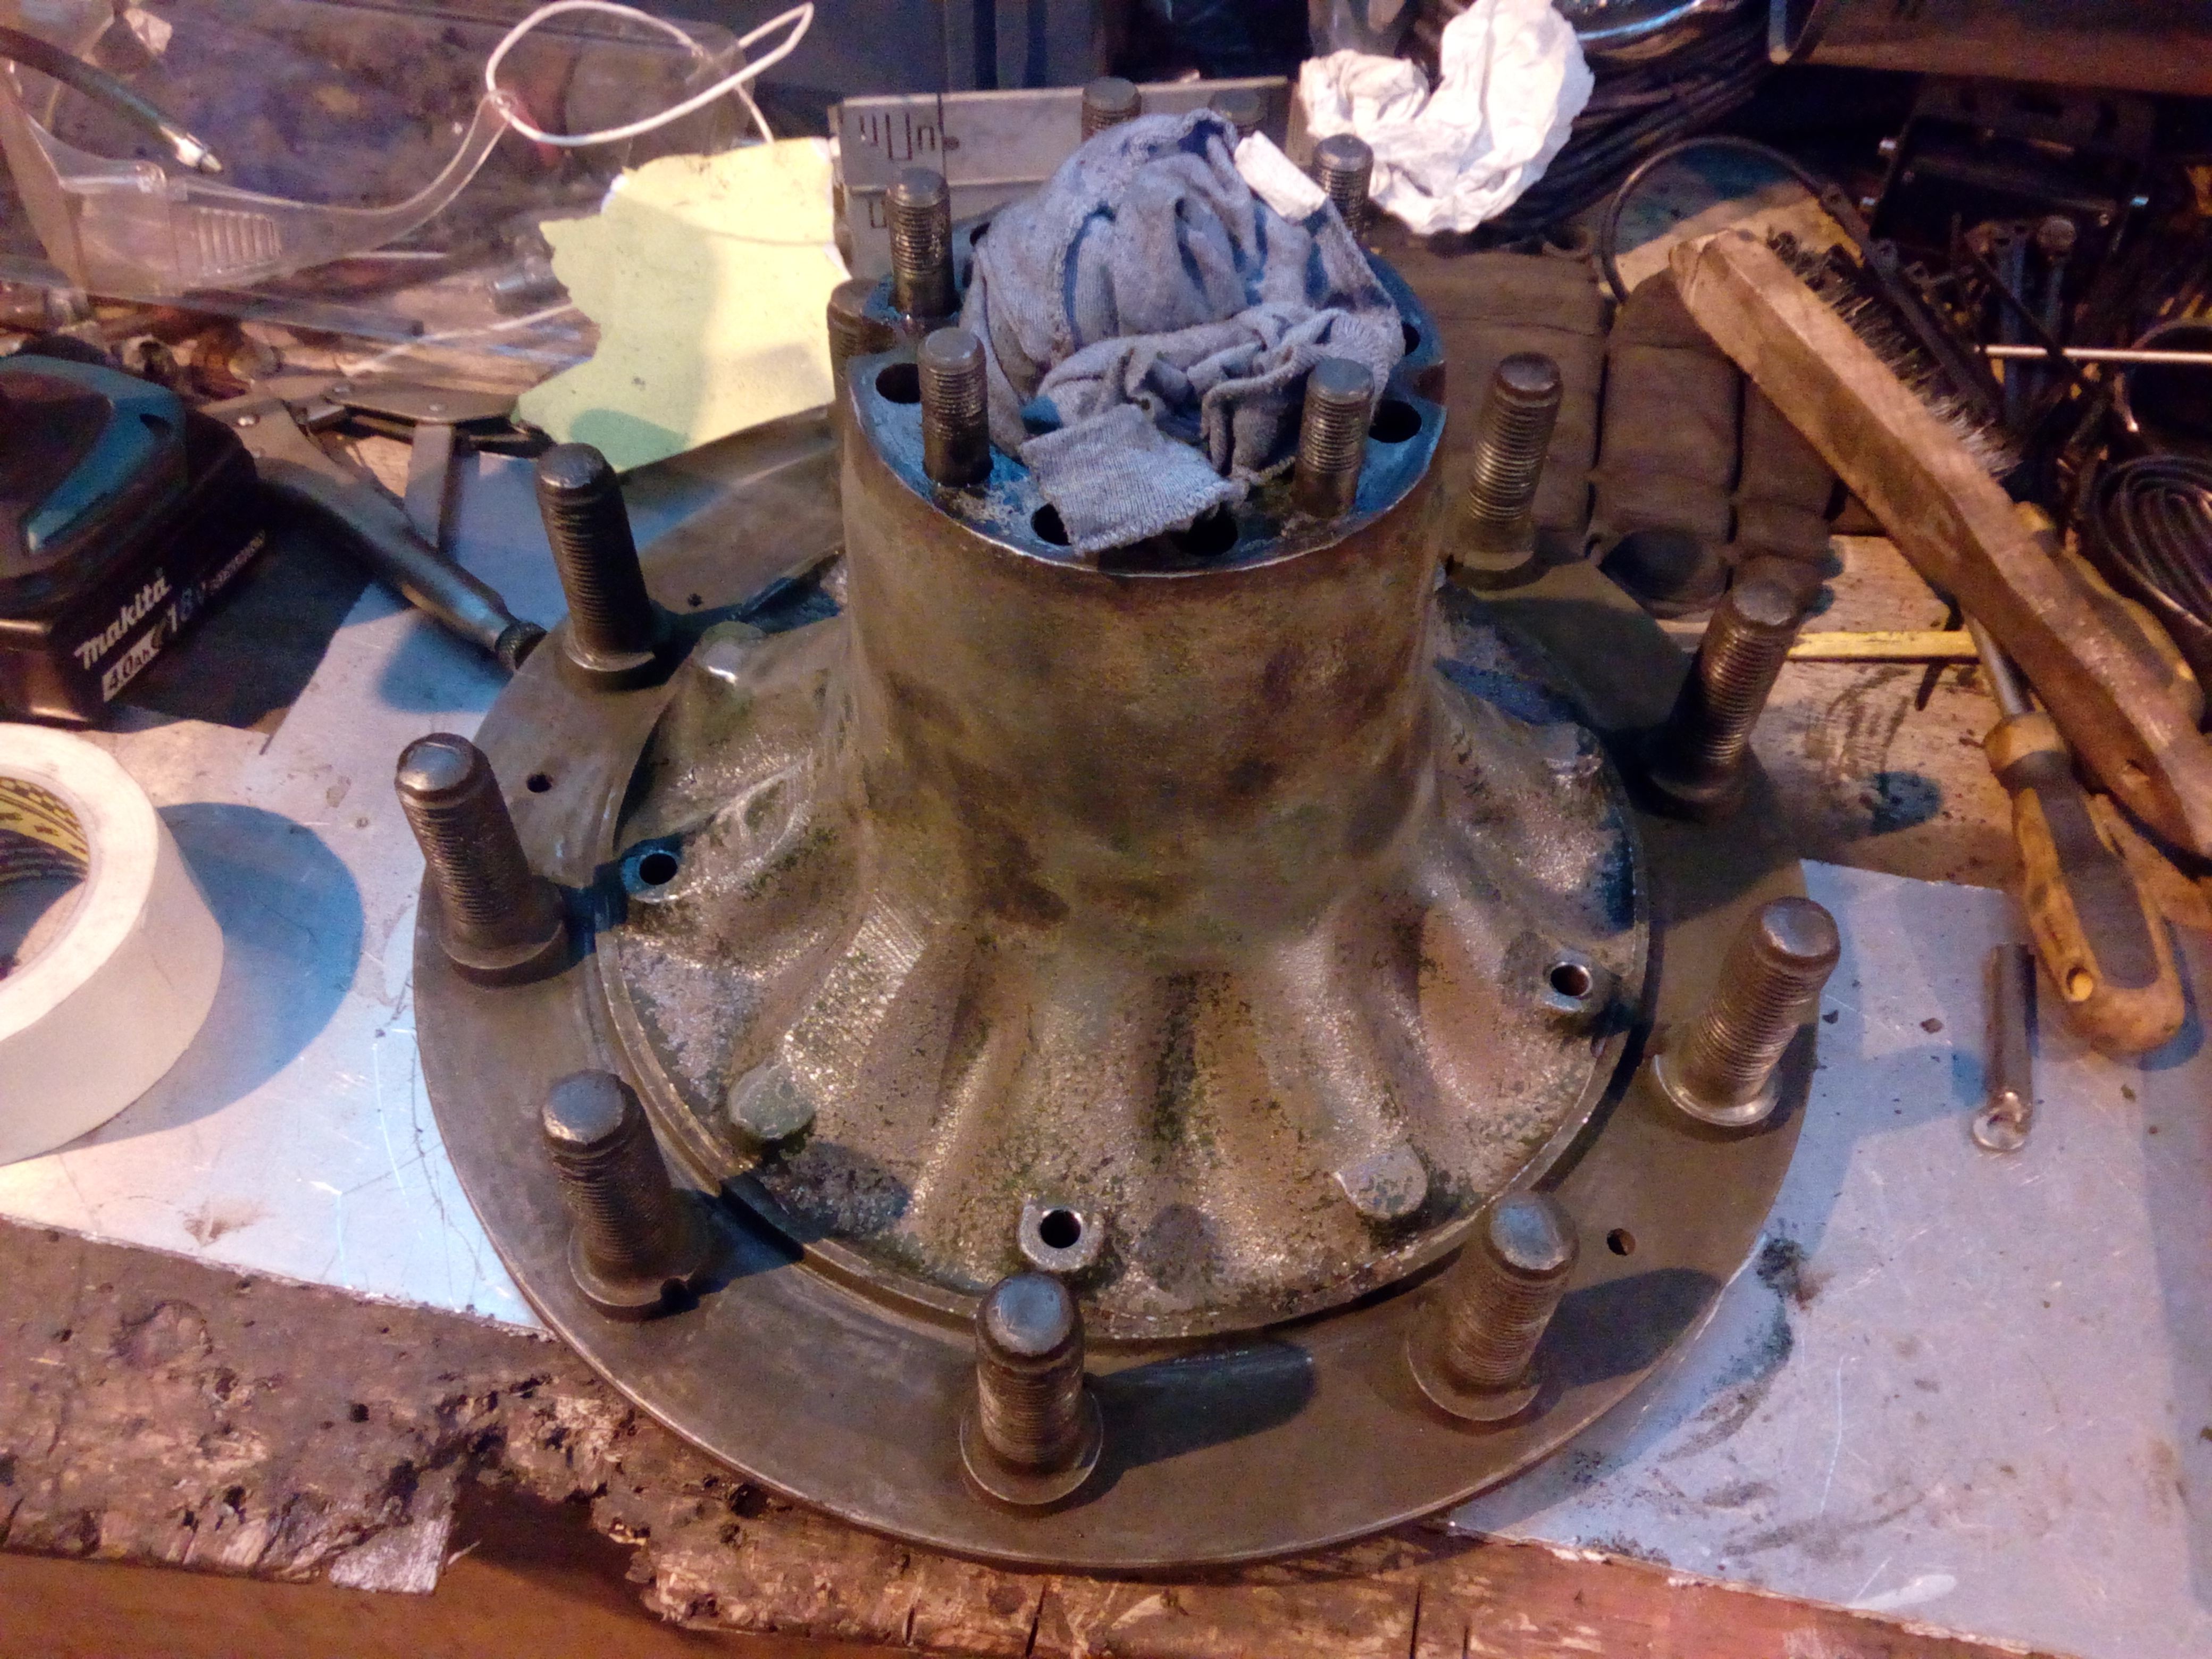 And some un-cleaning, with the red-oxide. 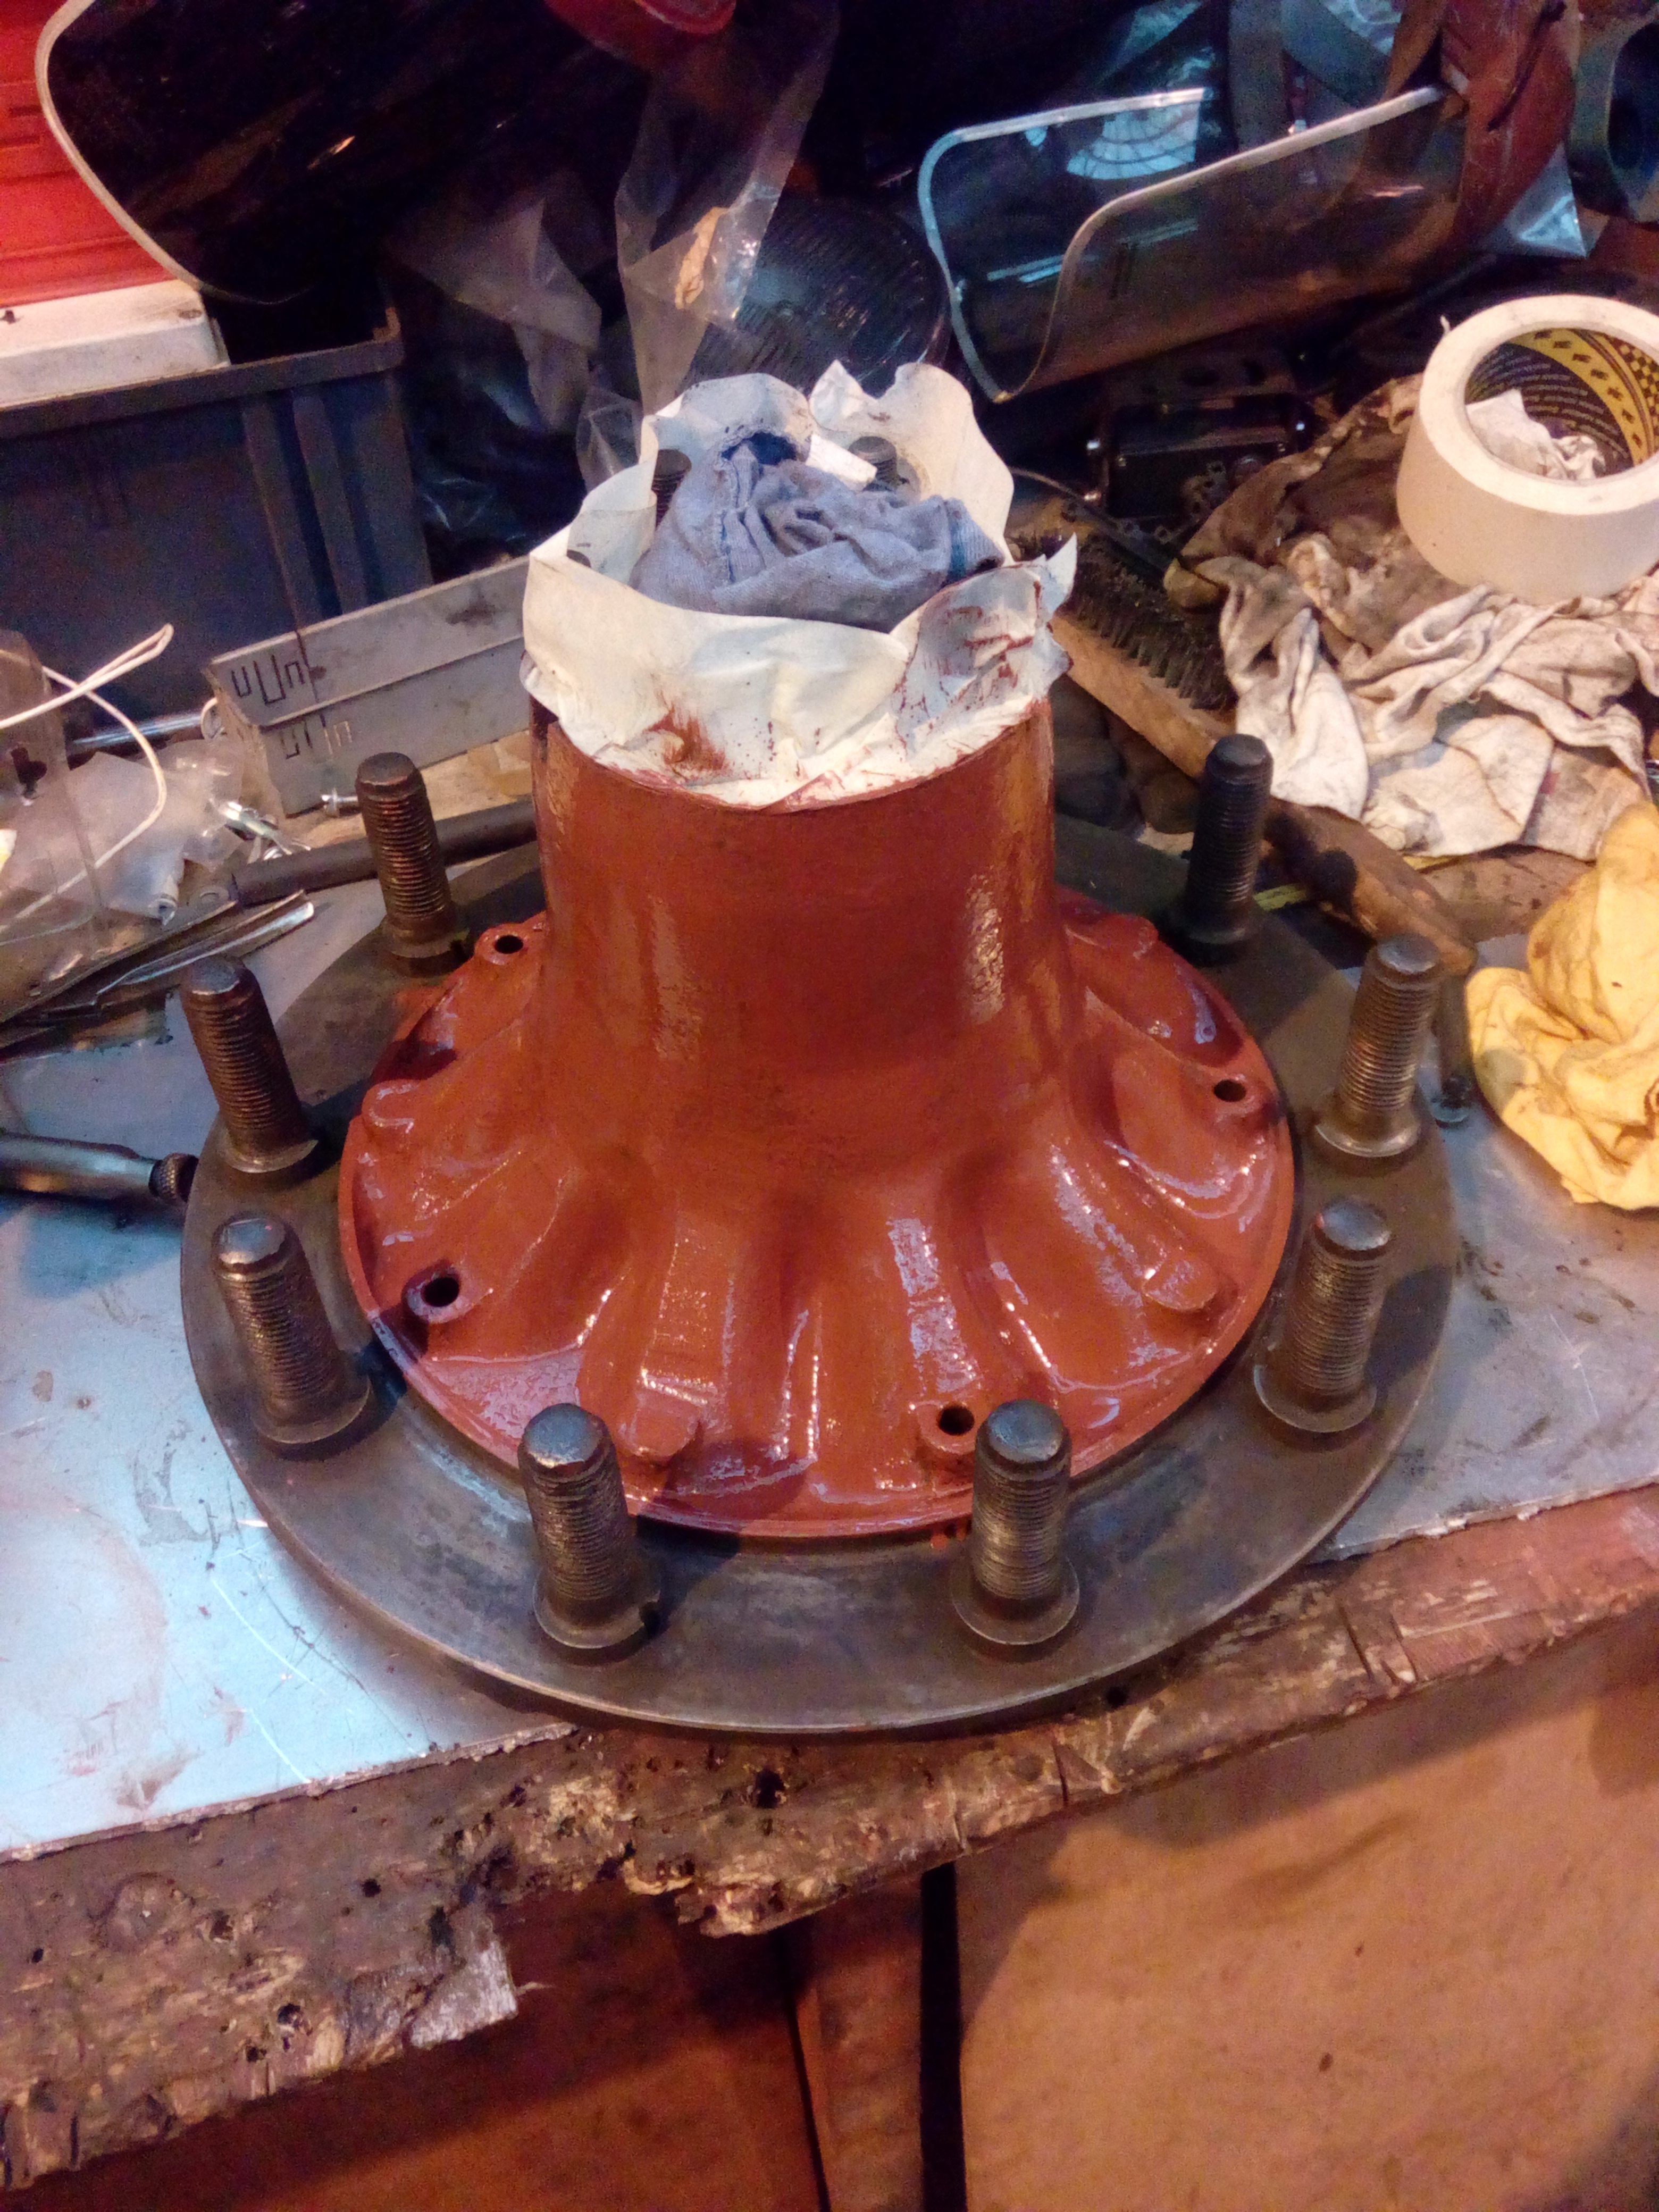 Should probably make them go black, as well. Maybe in the future. Now to look at the brake bisectors. 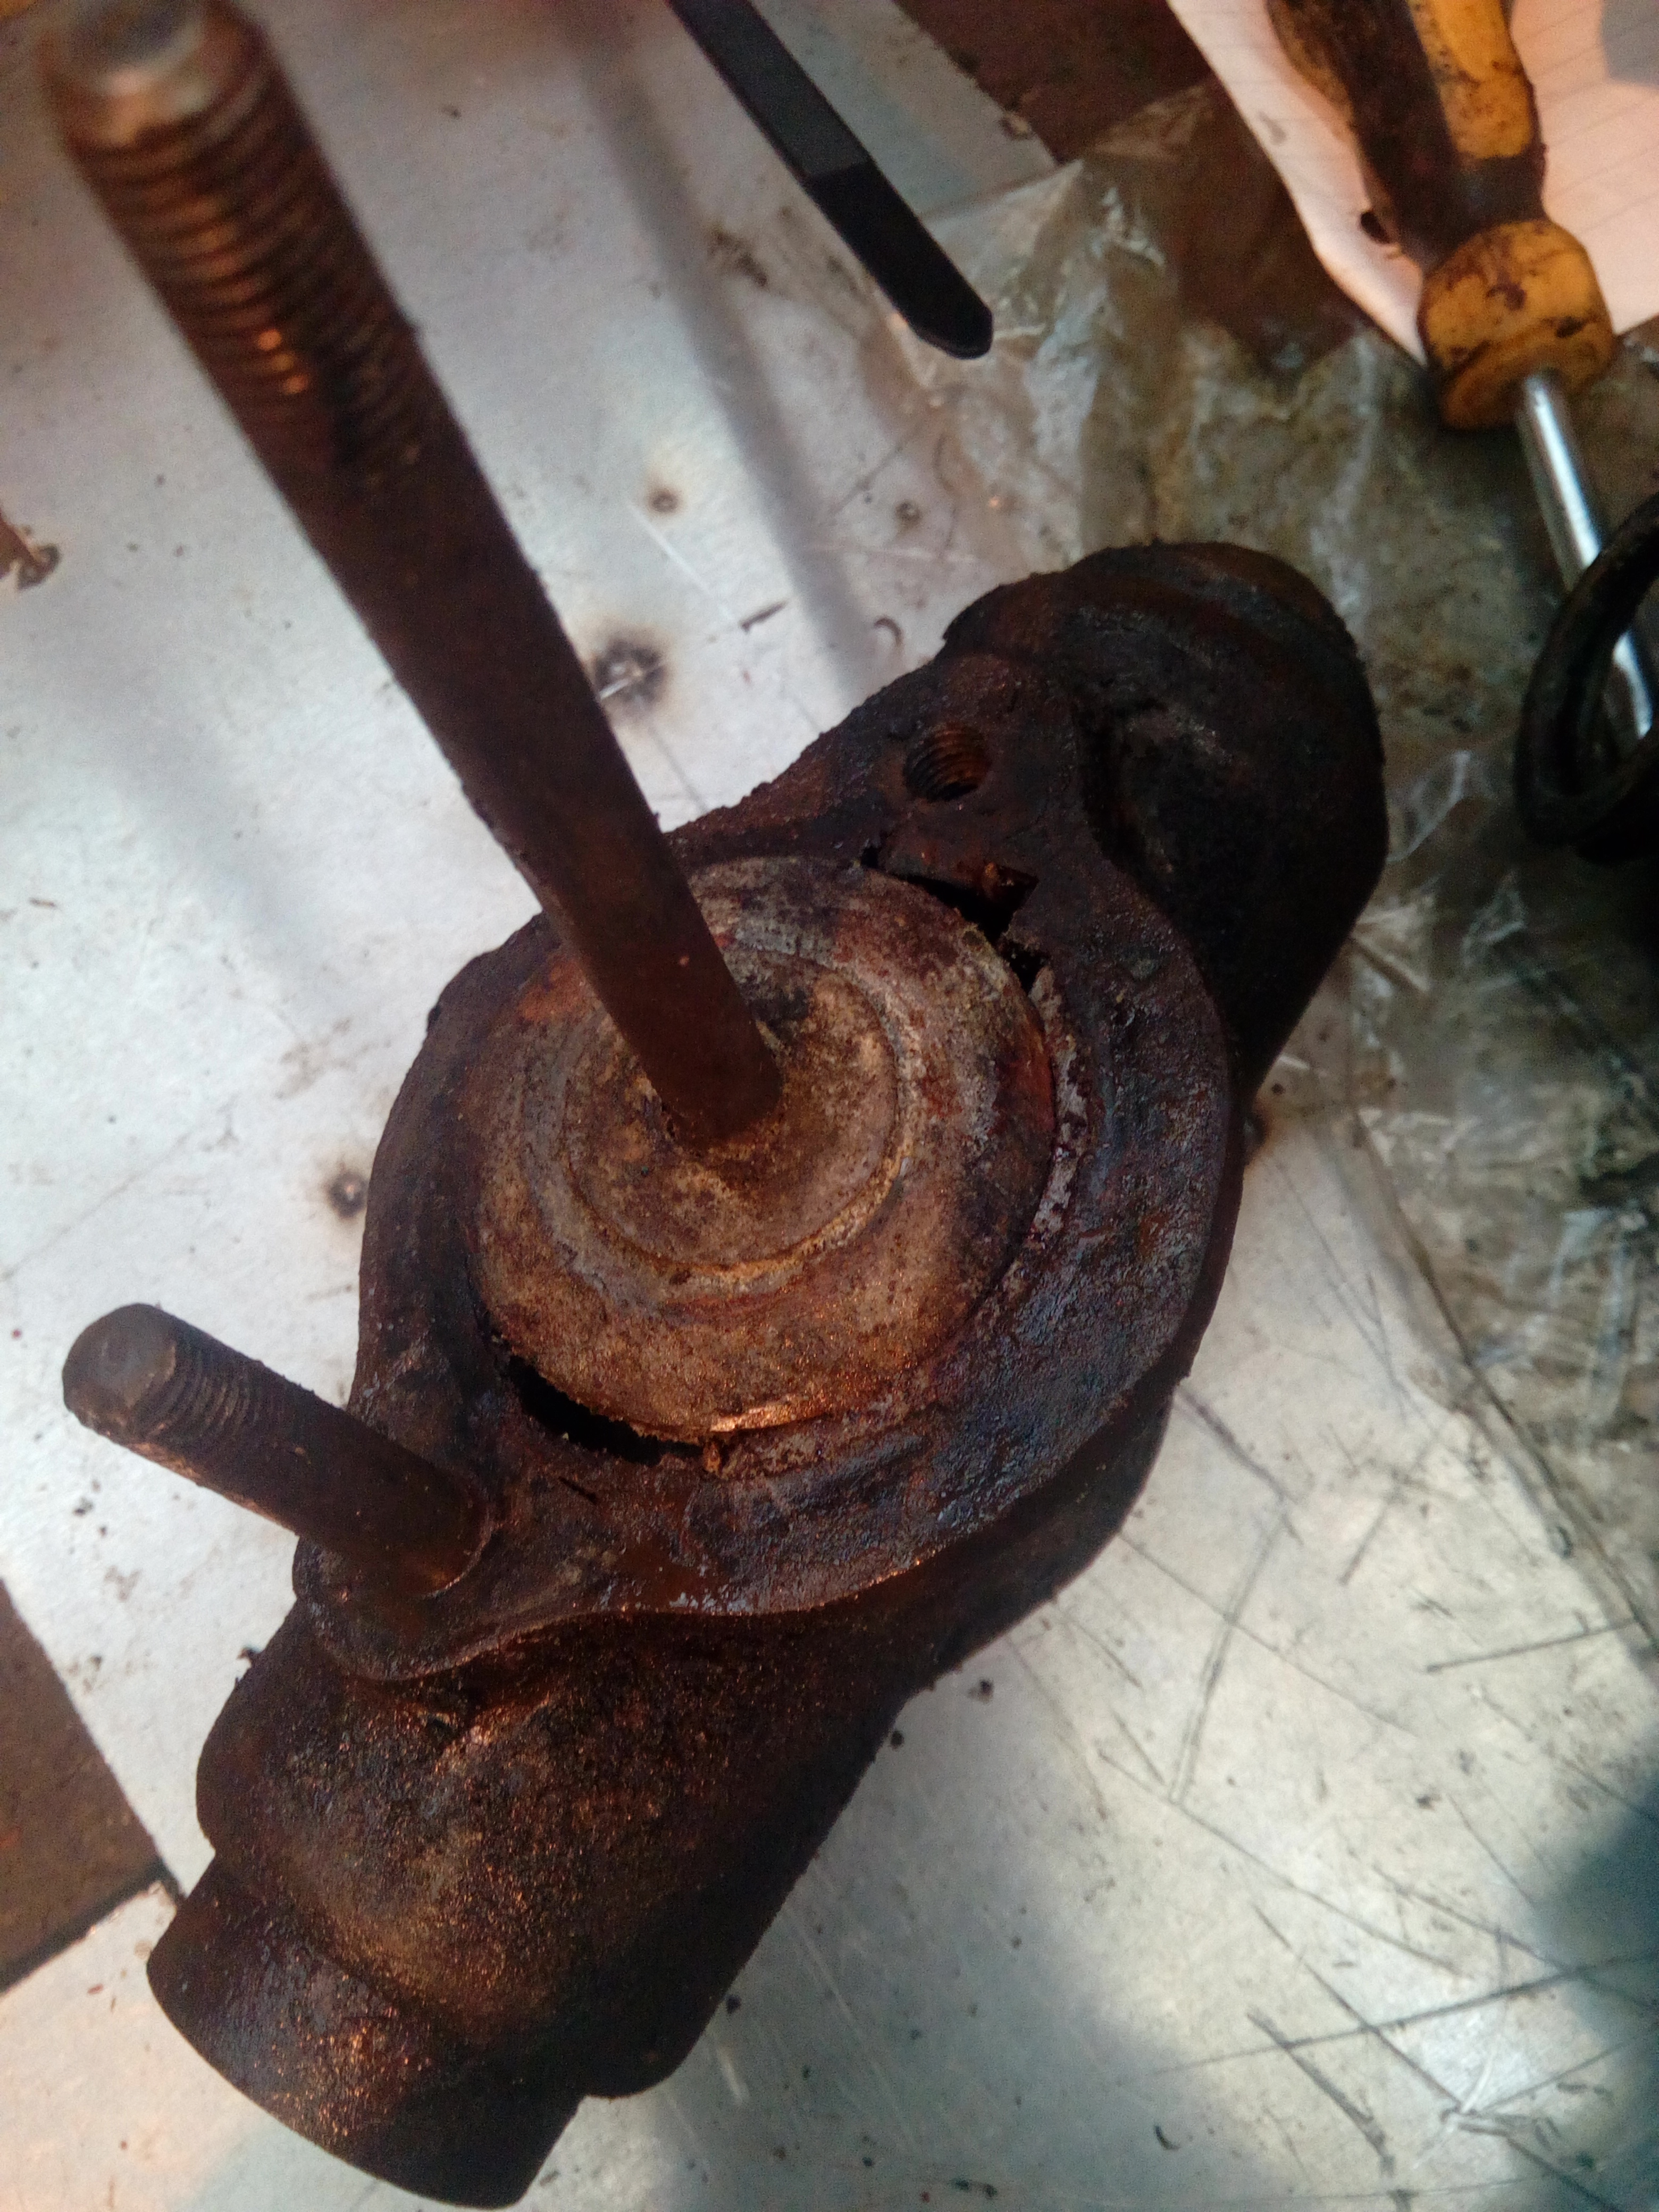 Mm, that's not ideal. Neither's this, the rear brake cylinder: 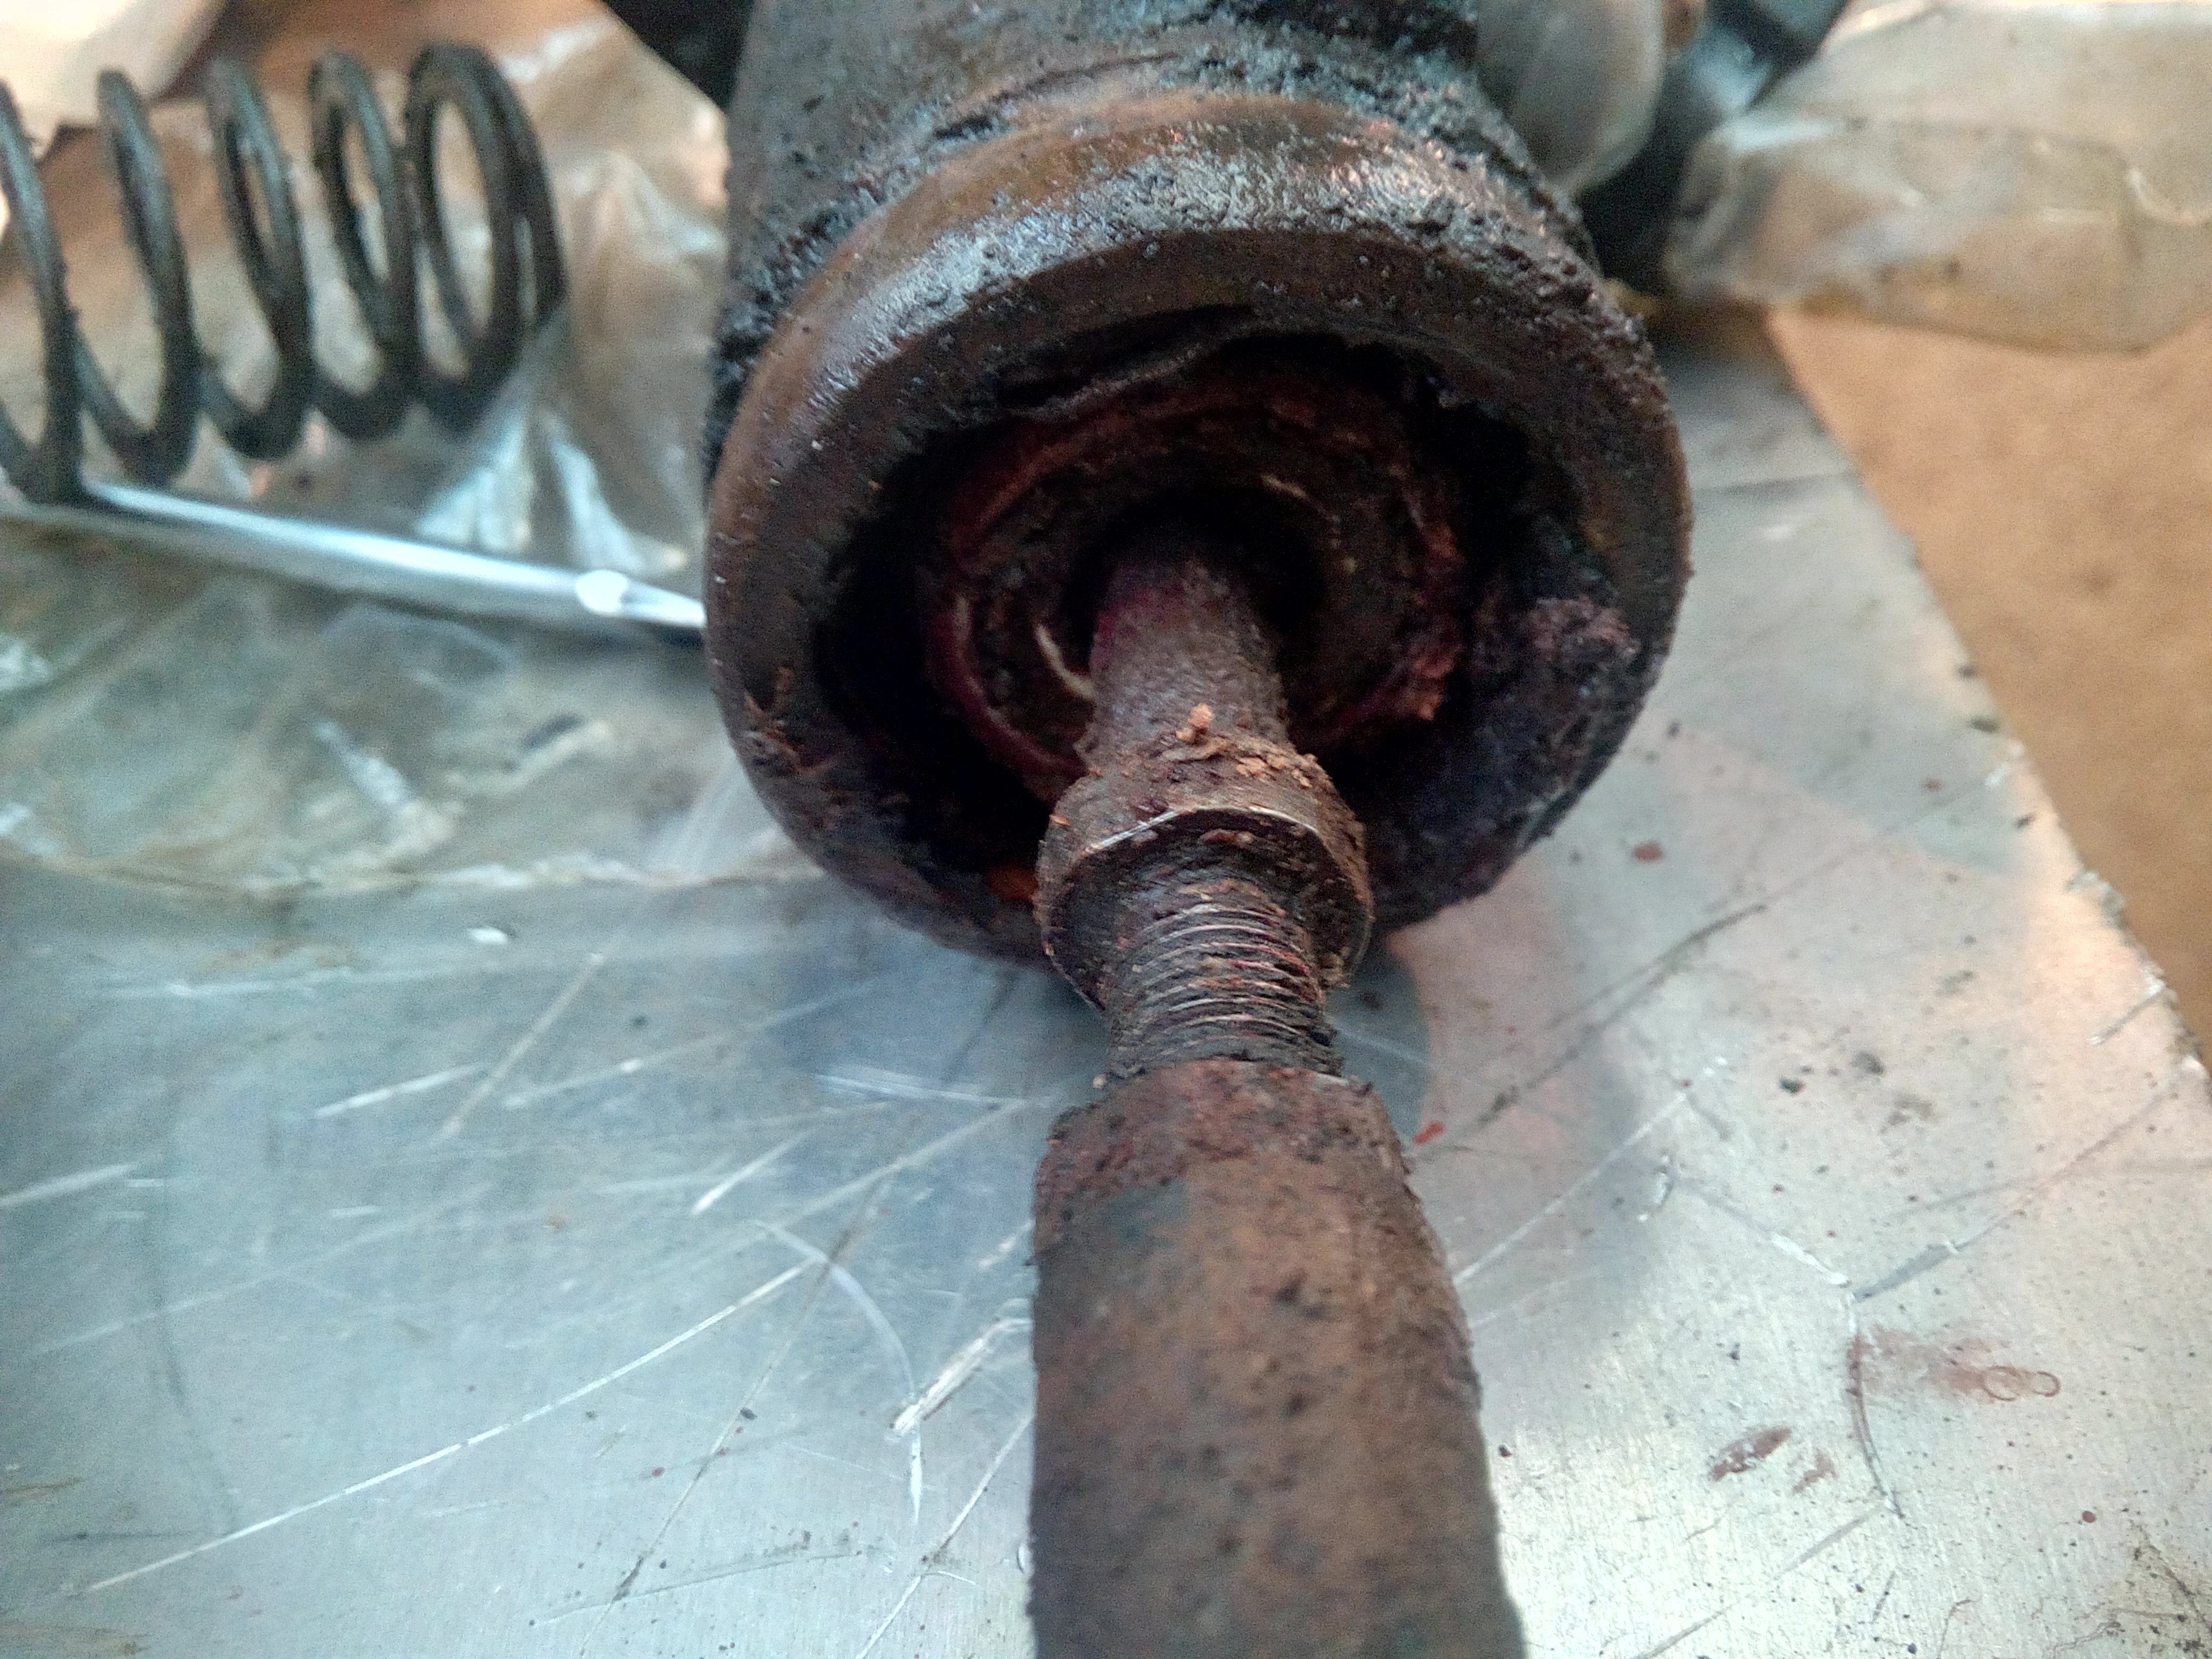 More cleaning needed. 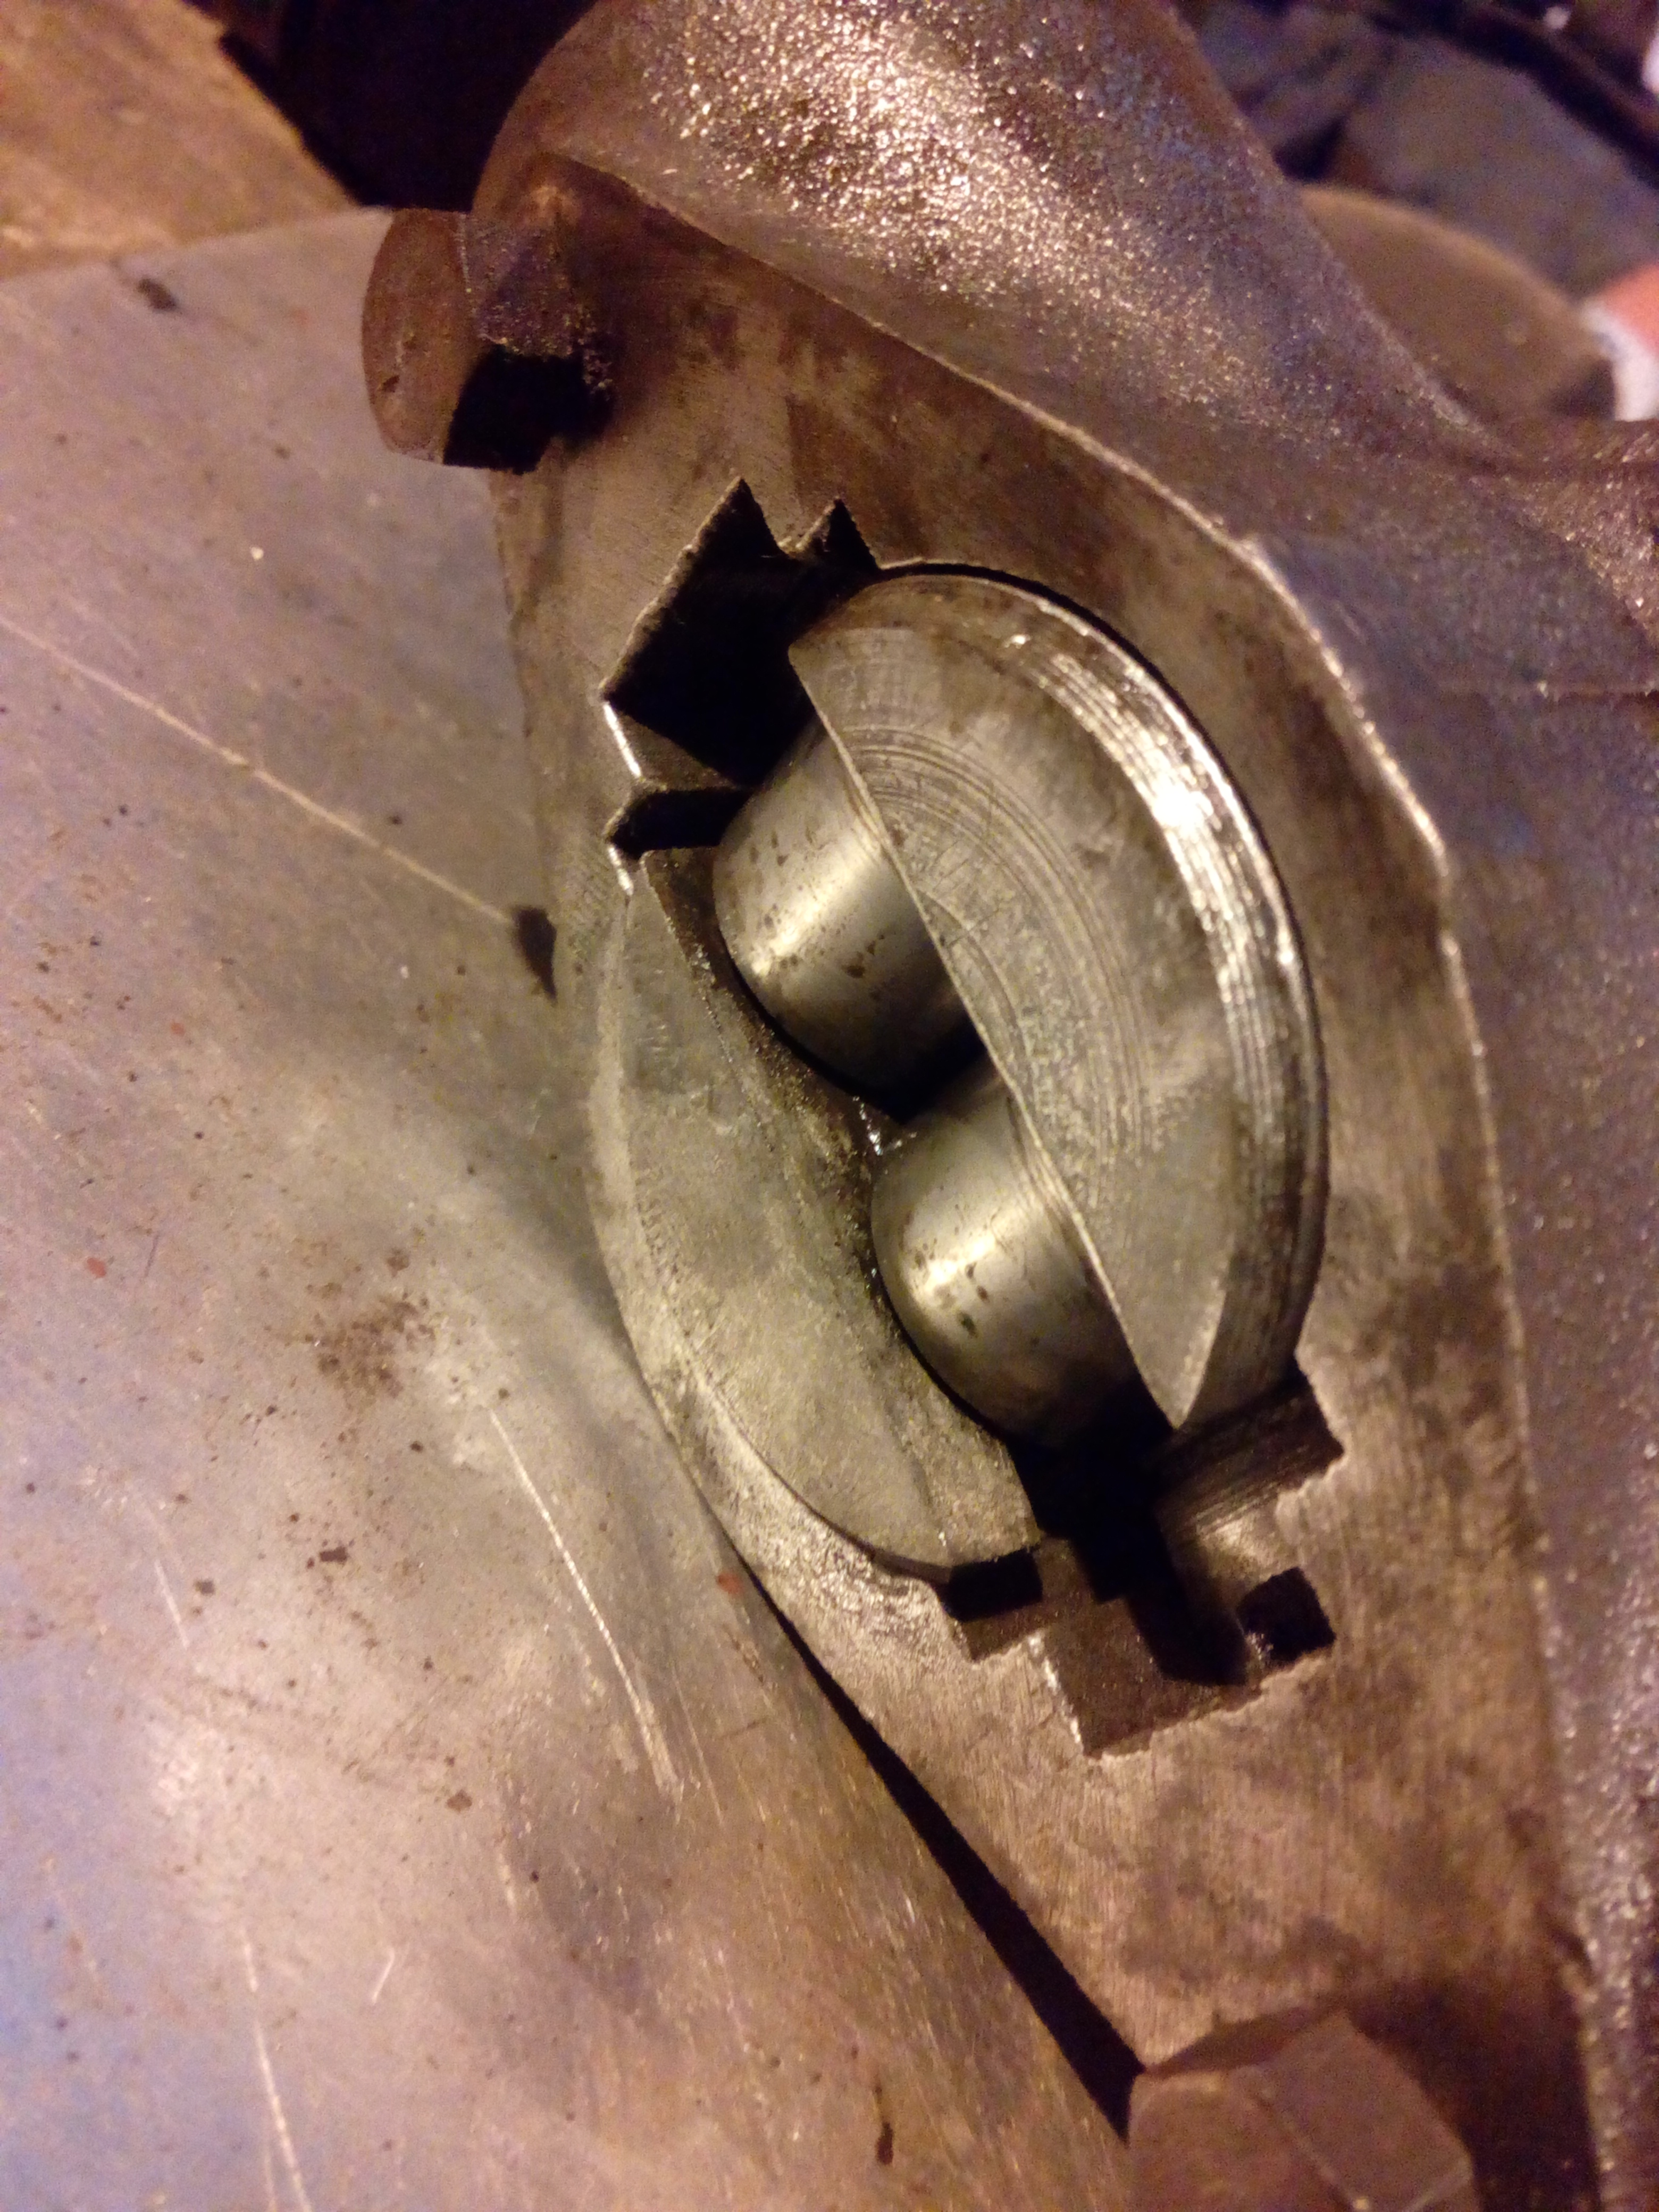 Much better. March 2017Hey, look what I got! 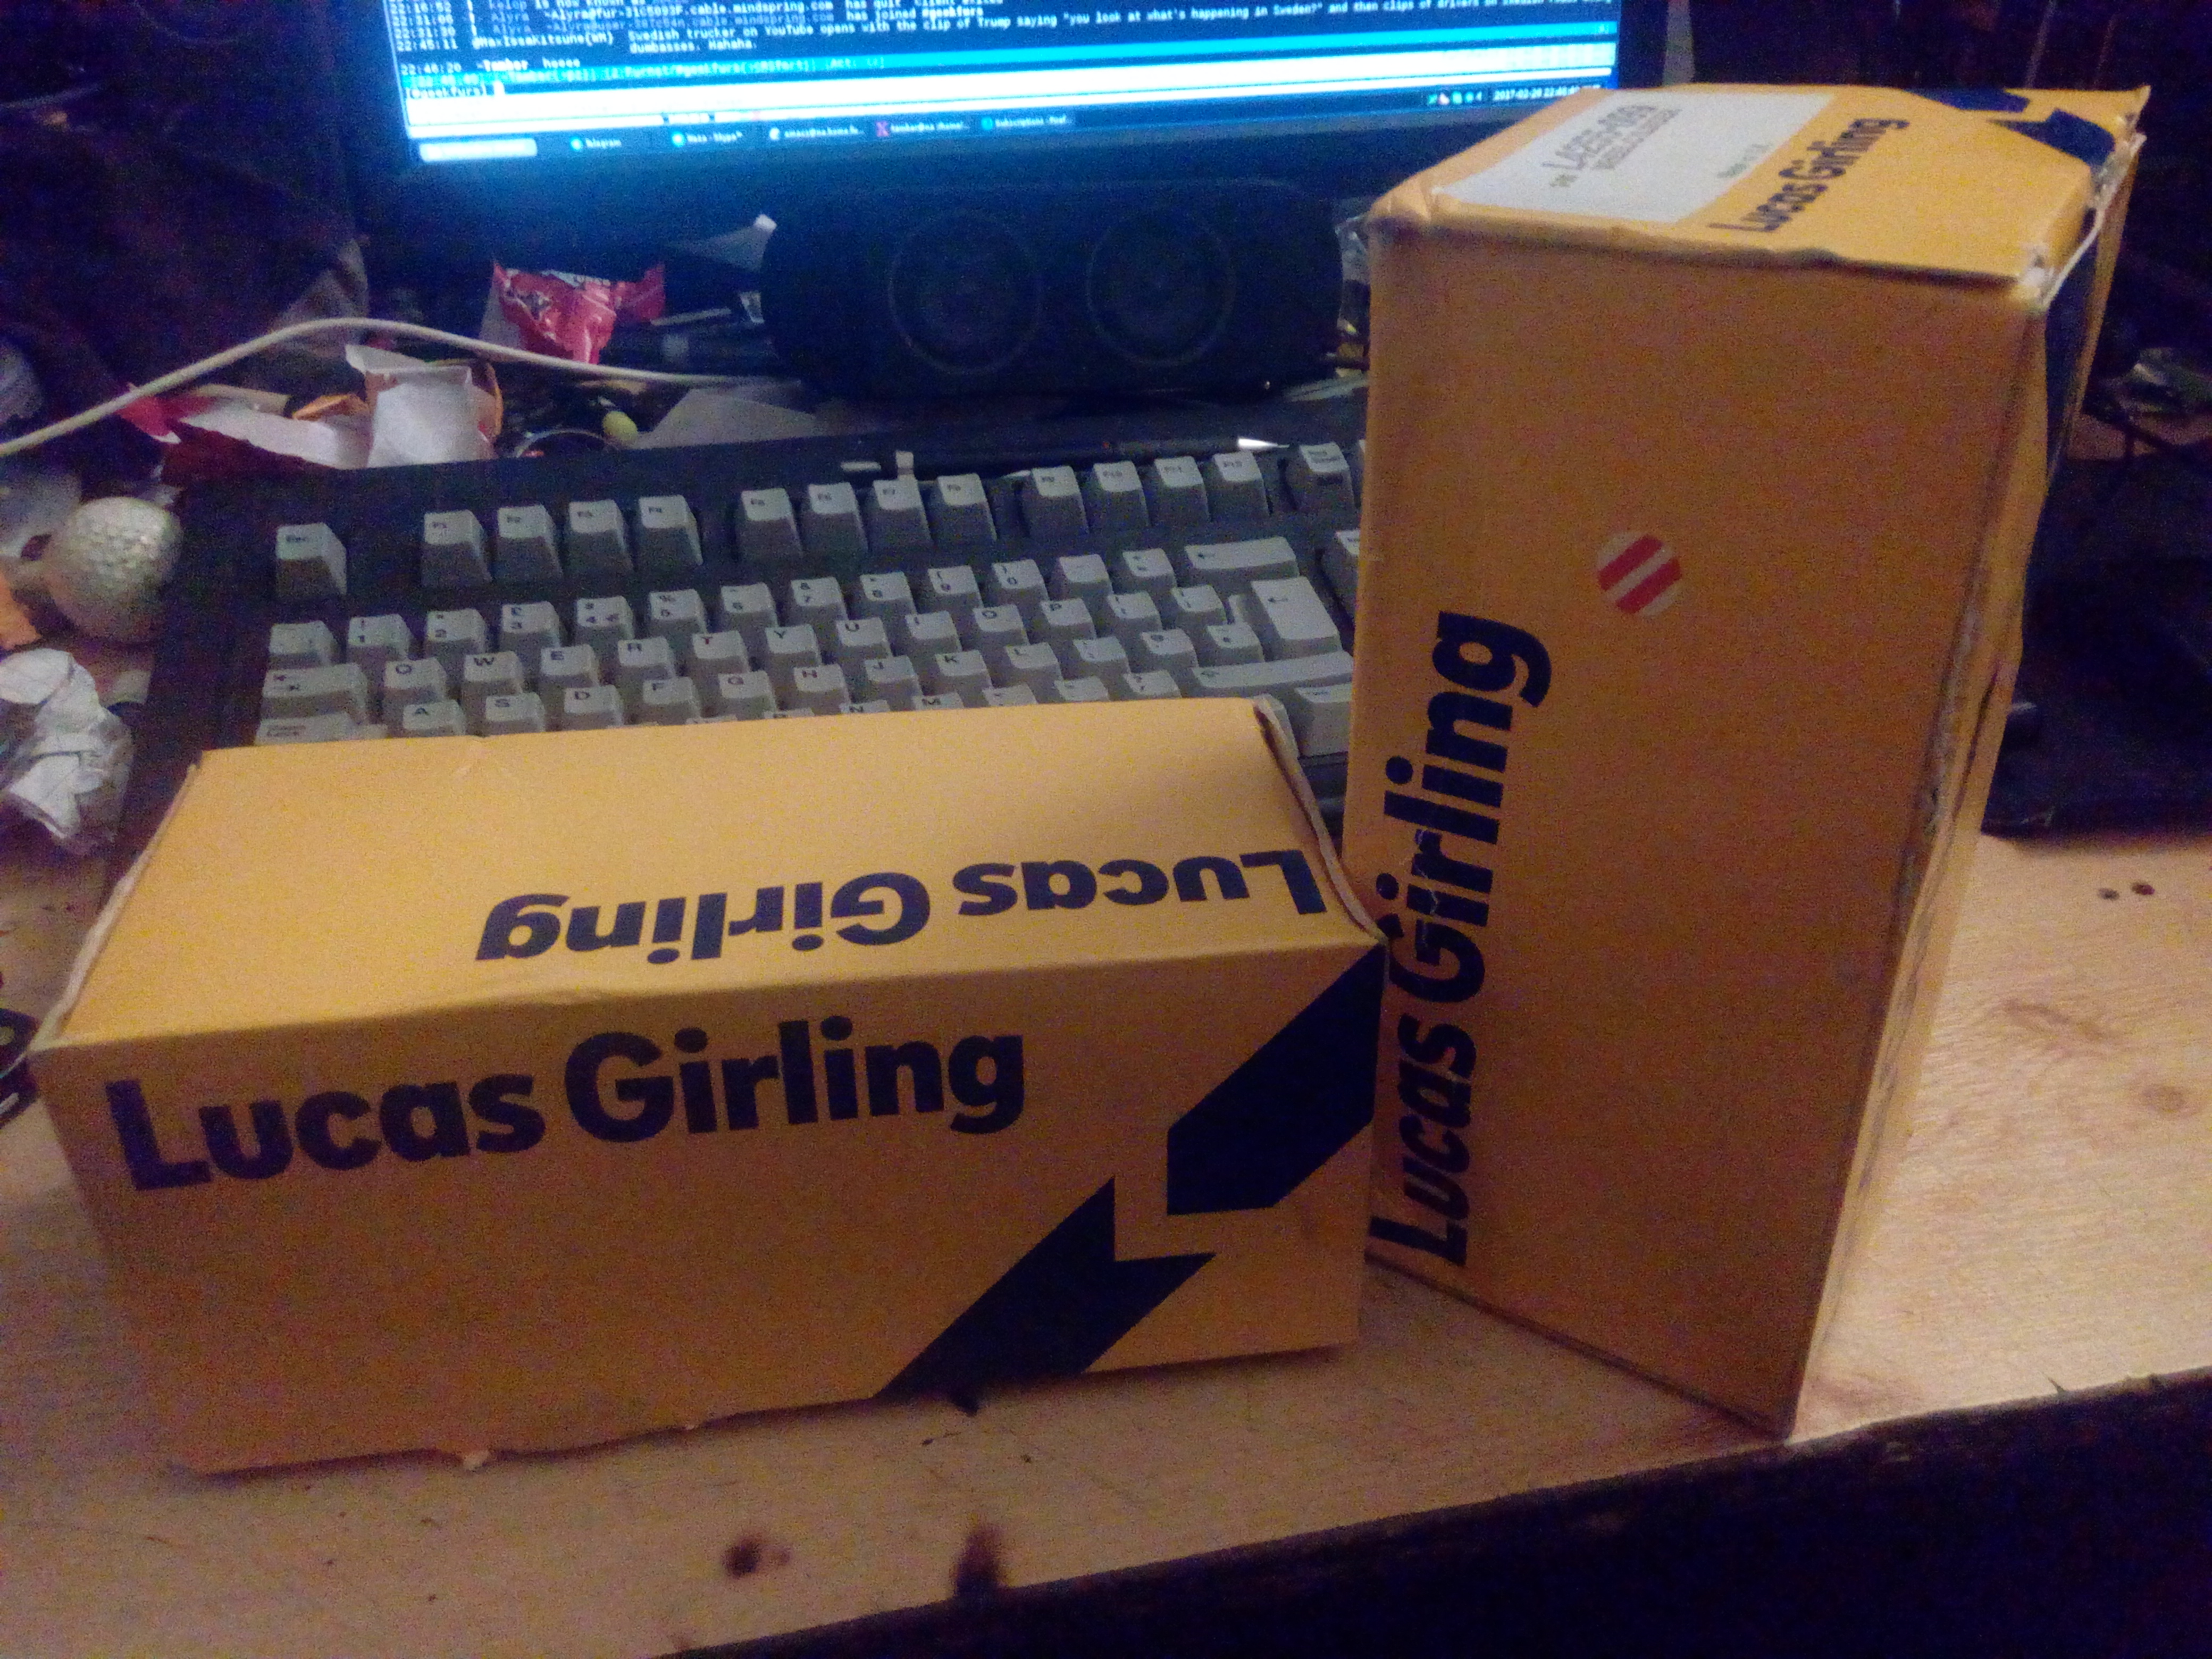 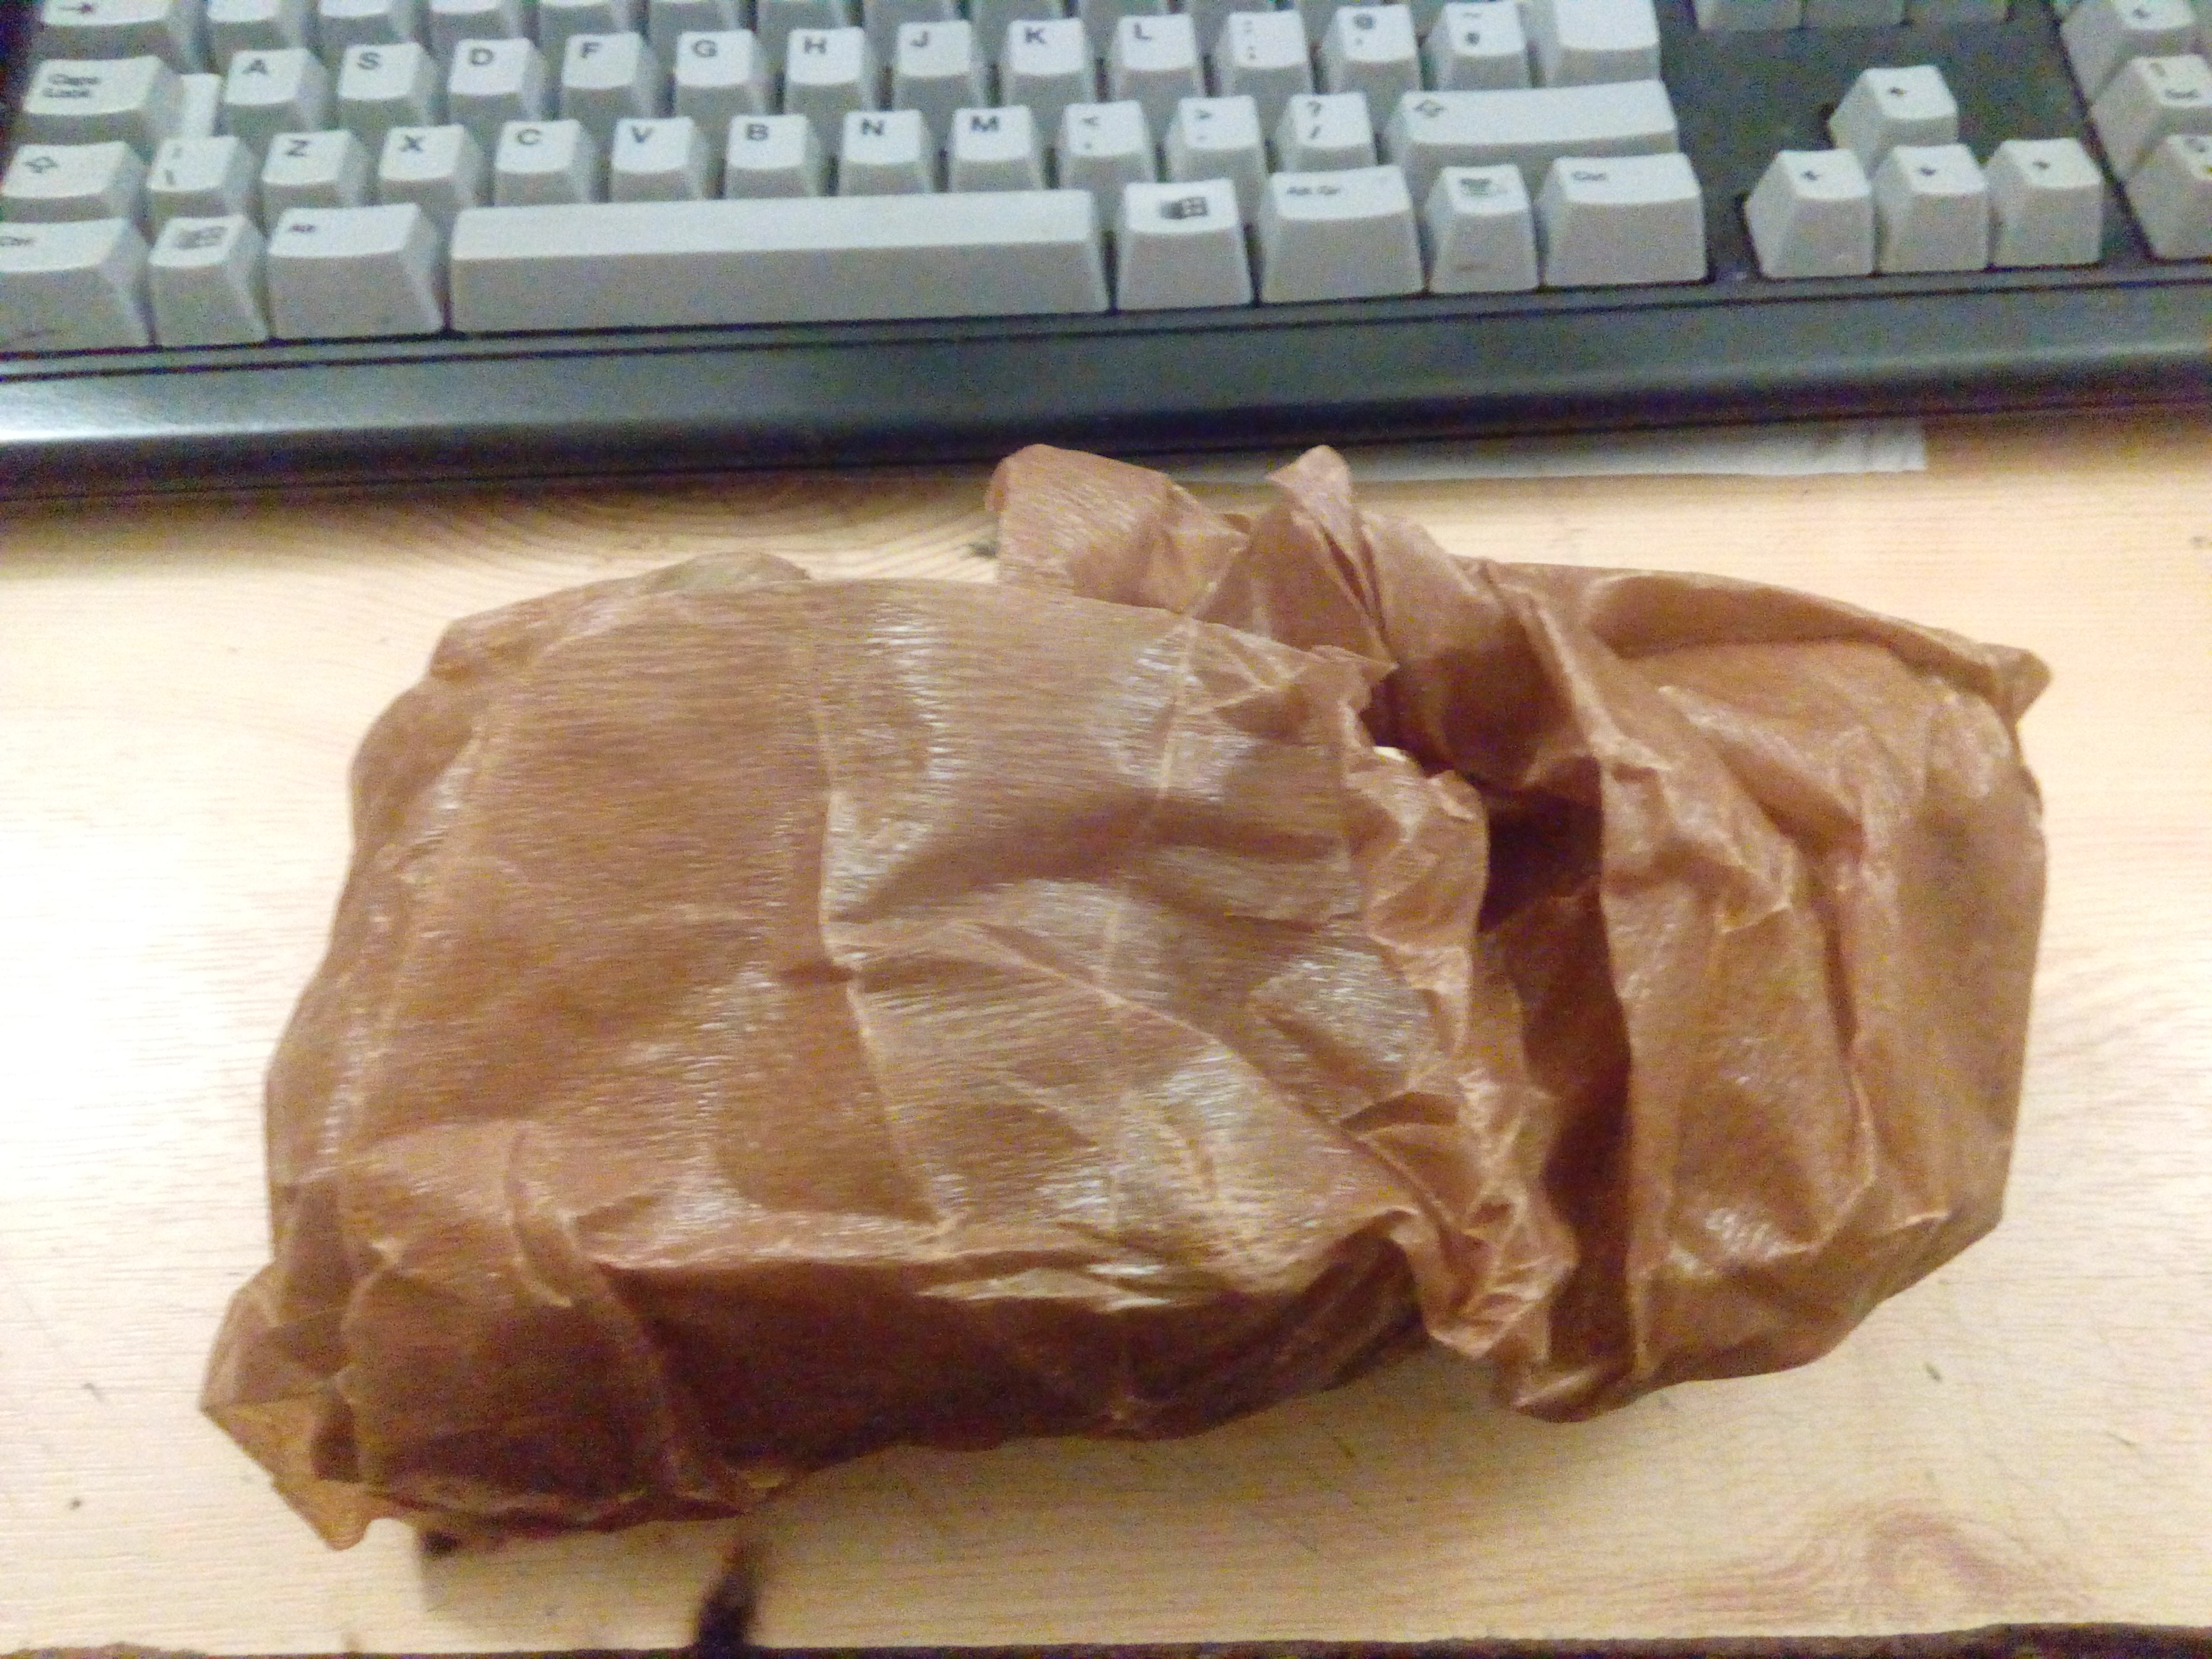 Wonder what's inside? 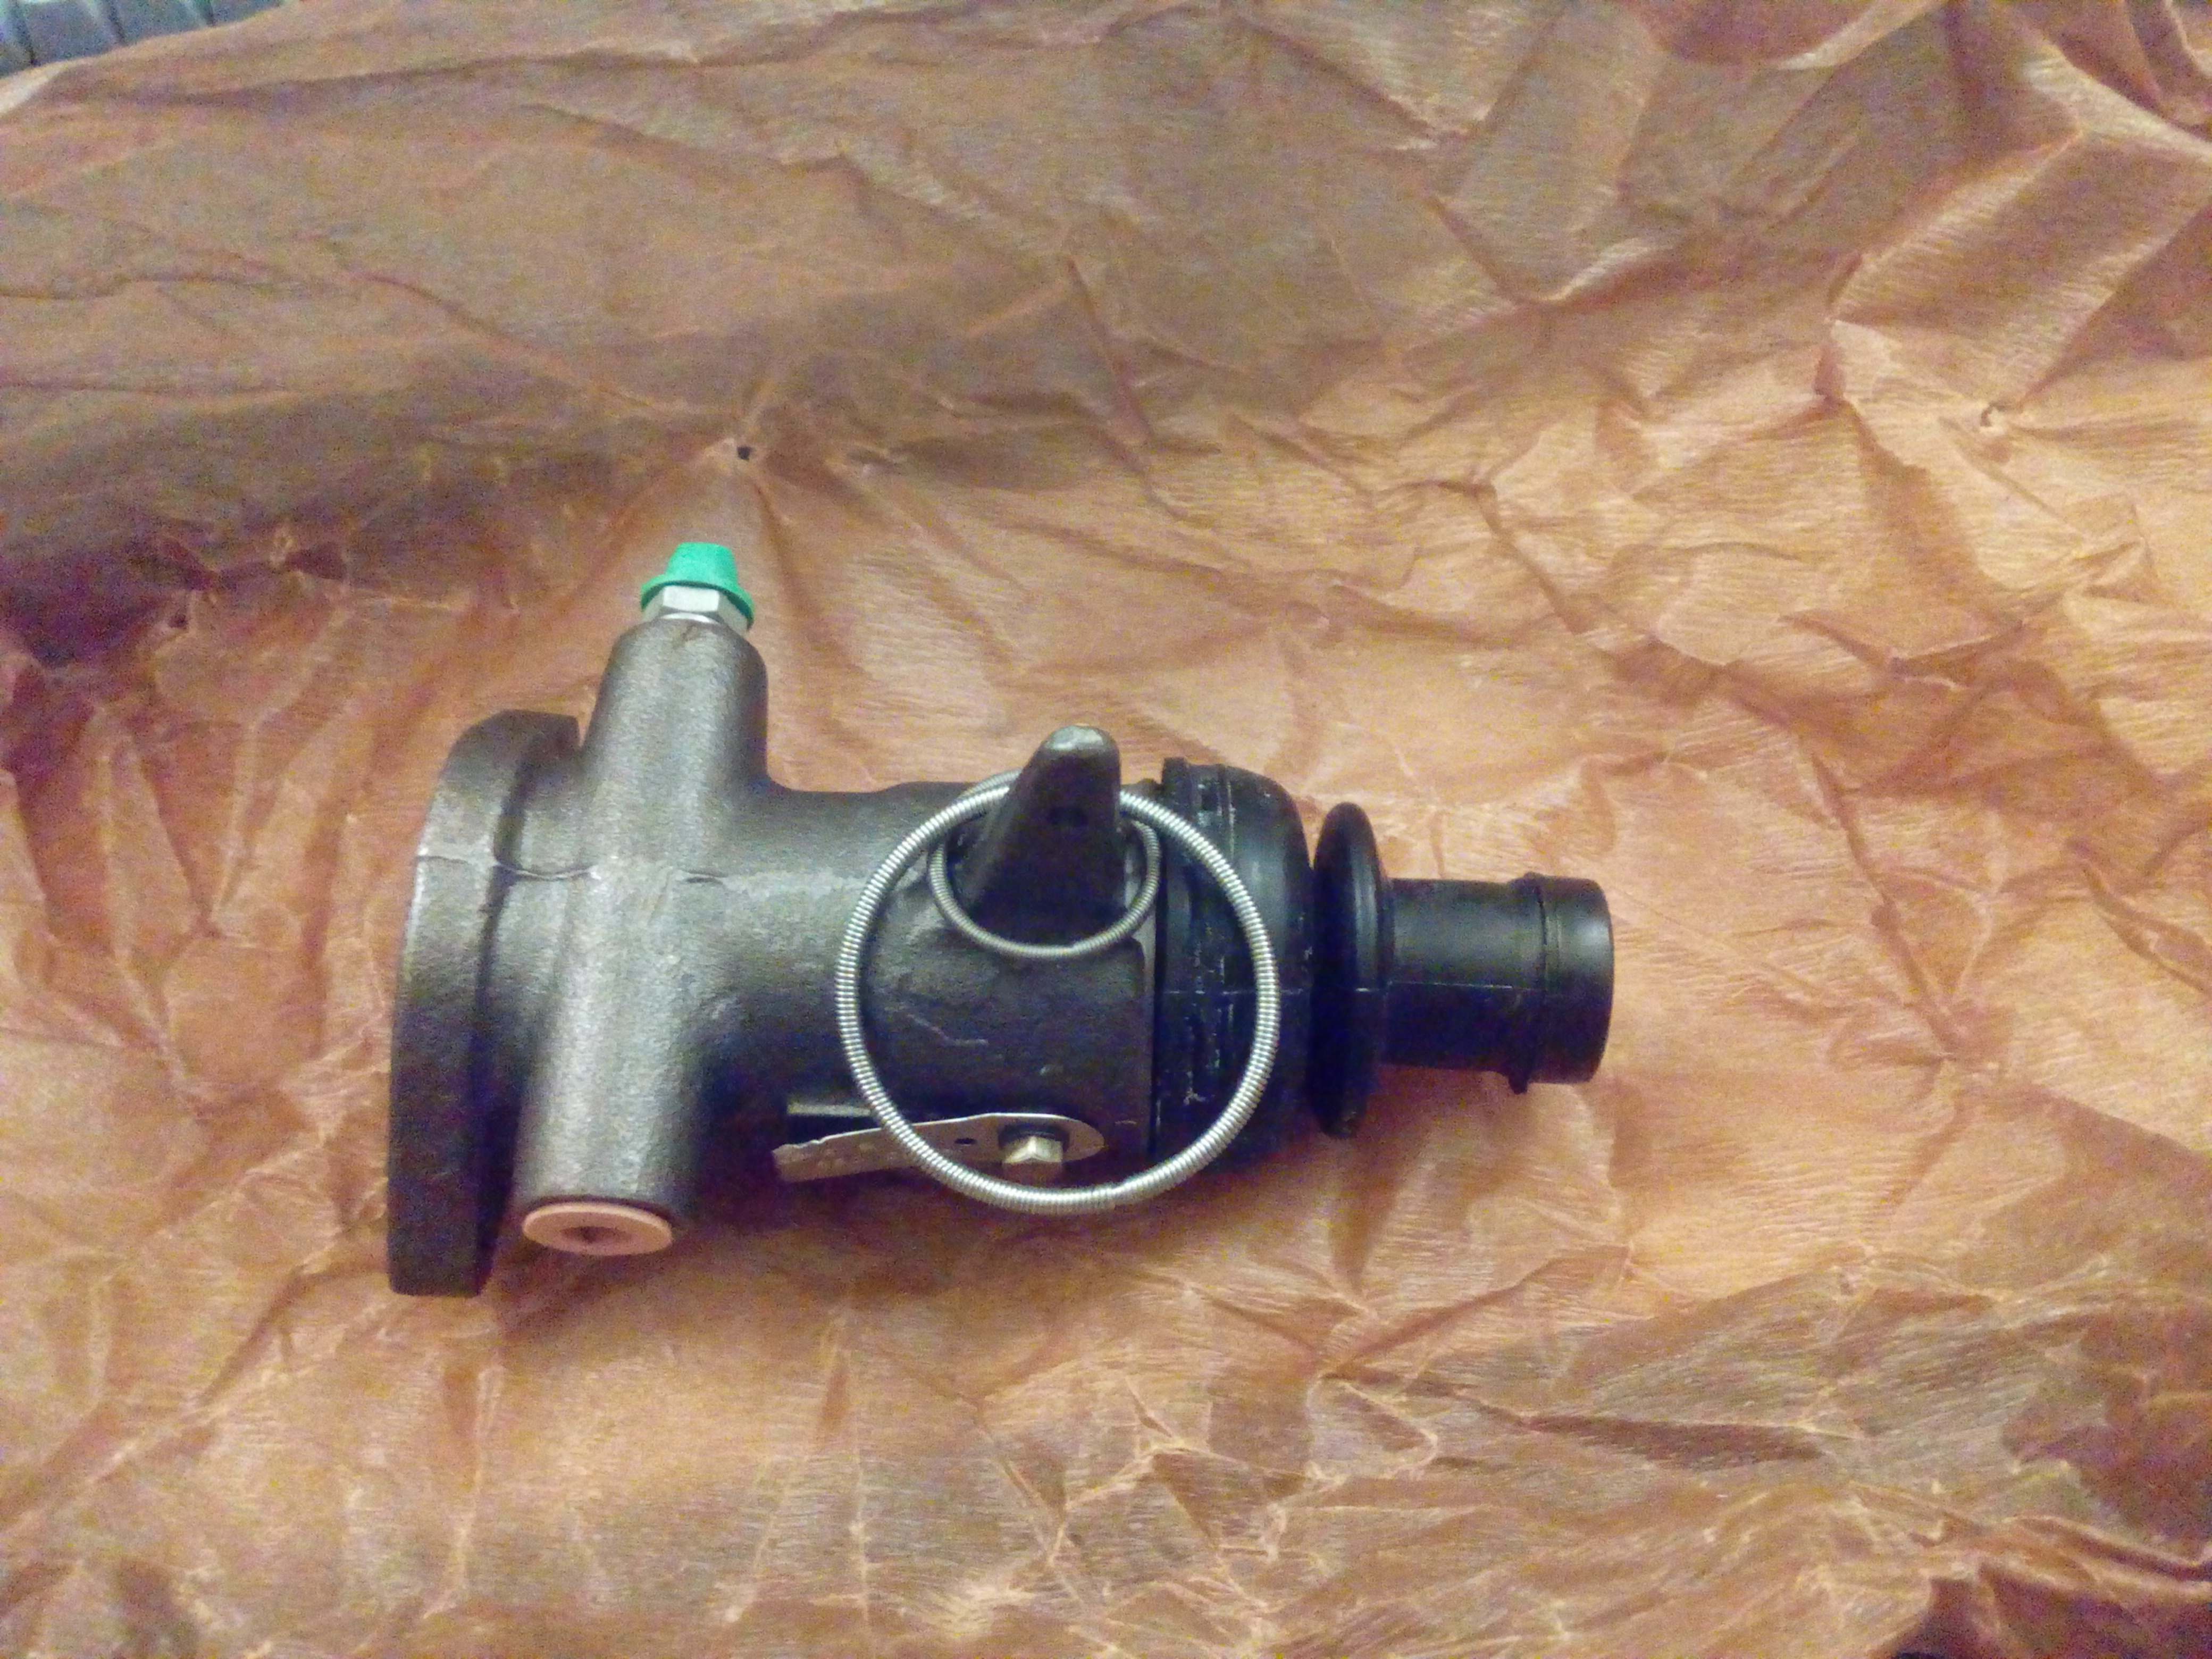 Mmmm, transverse brake cylinders. Later on, let's... make ourselves a hub-nut socket! 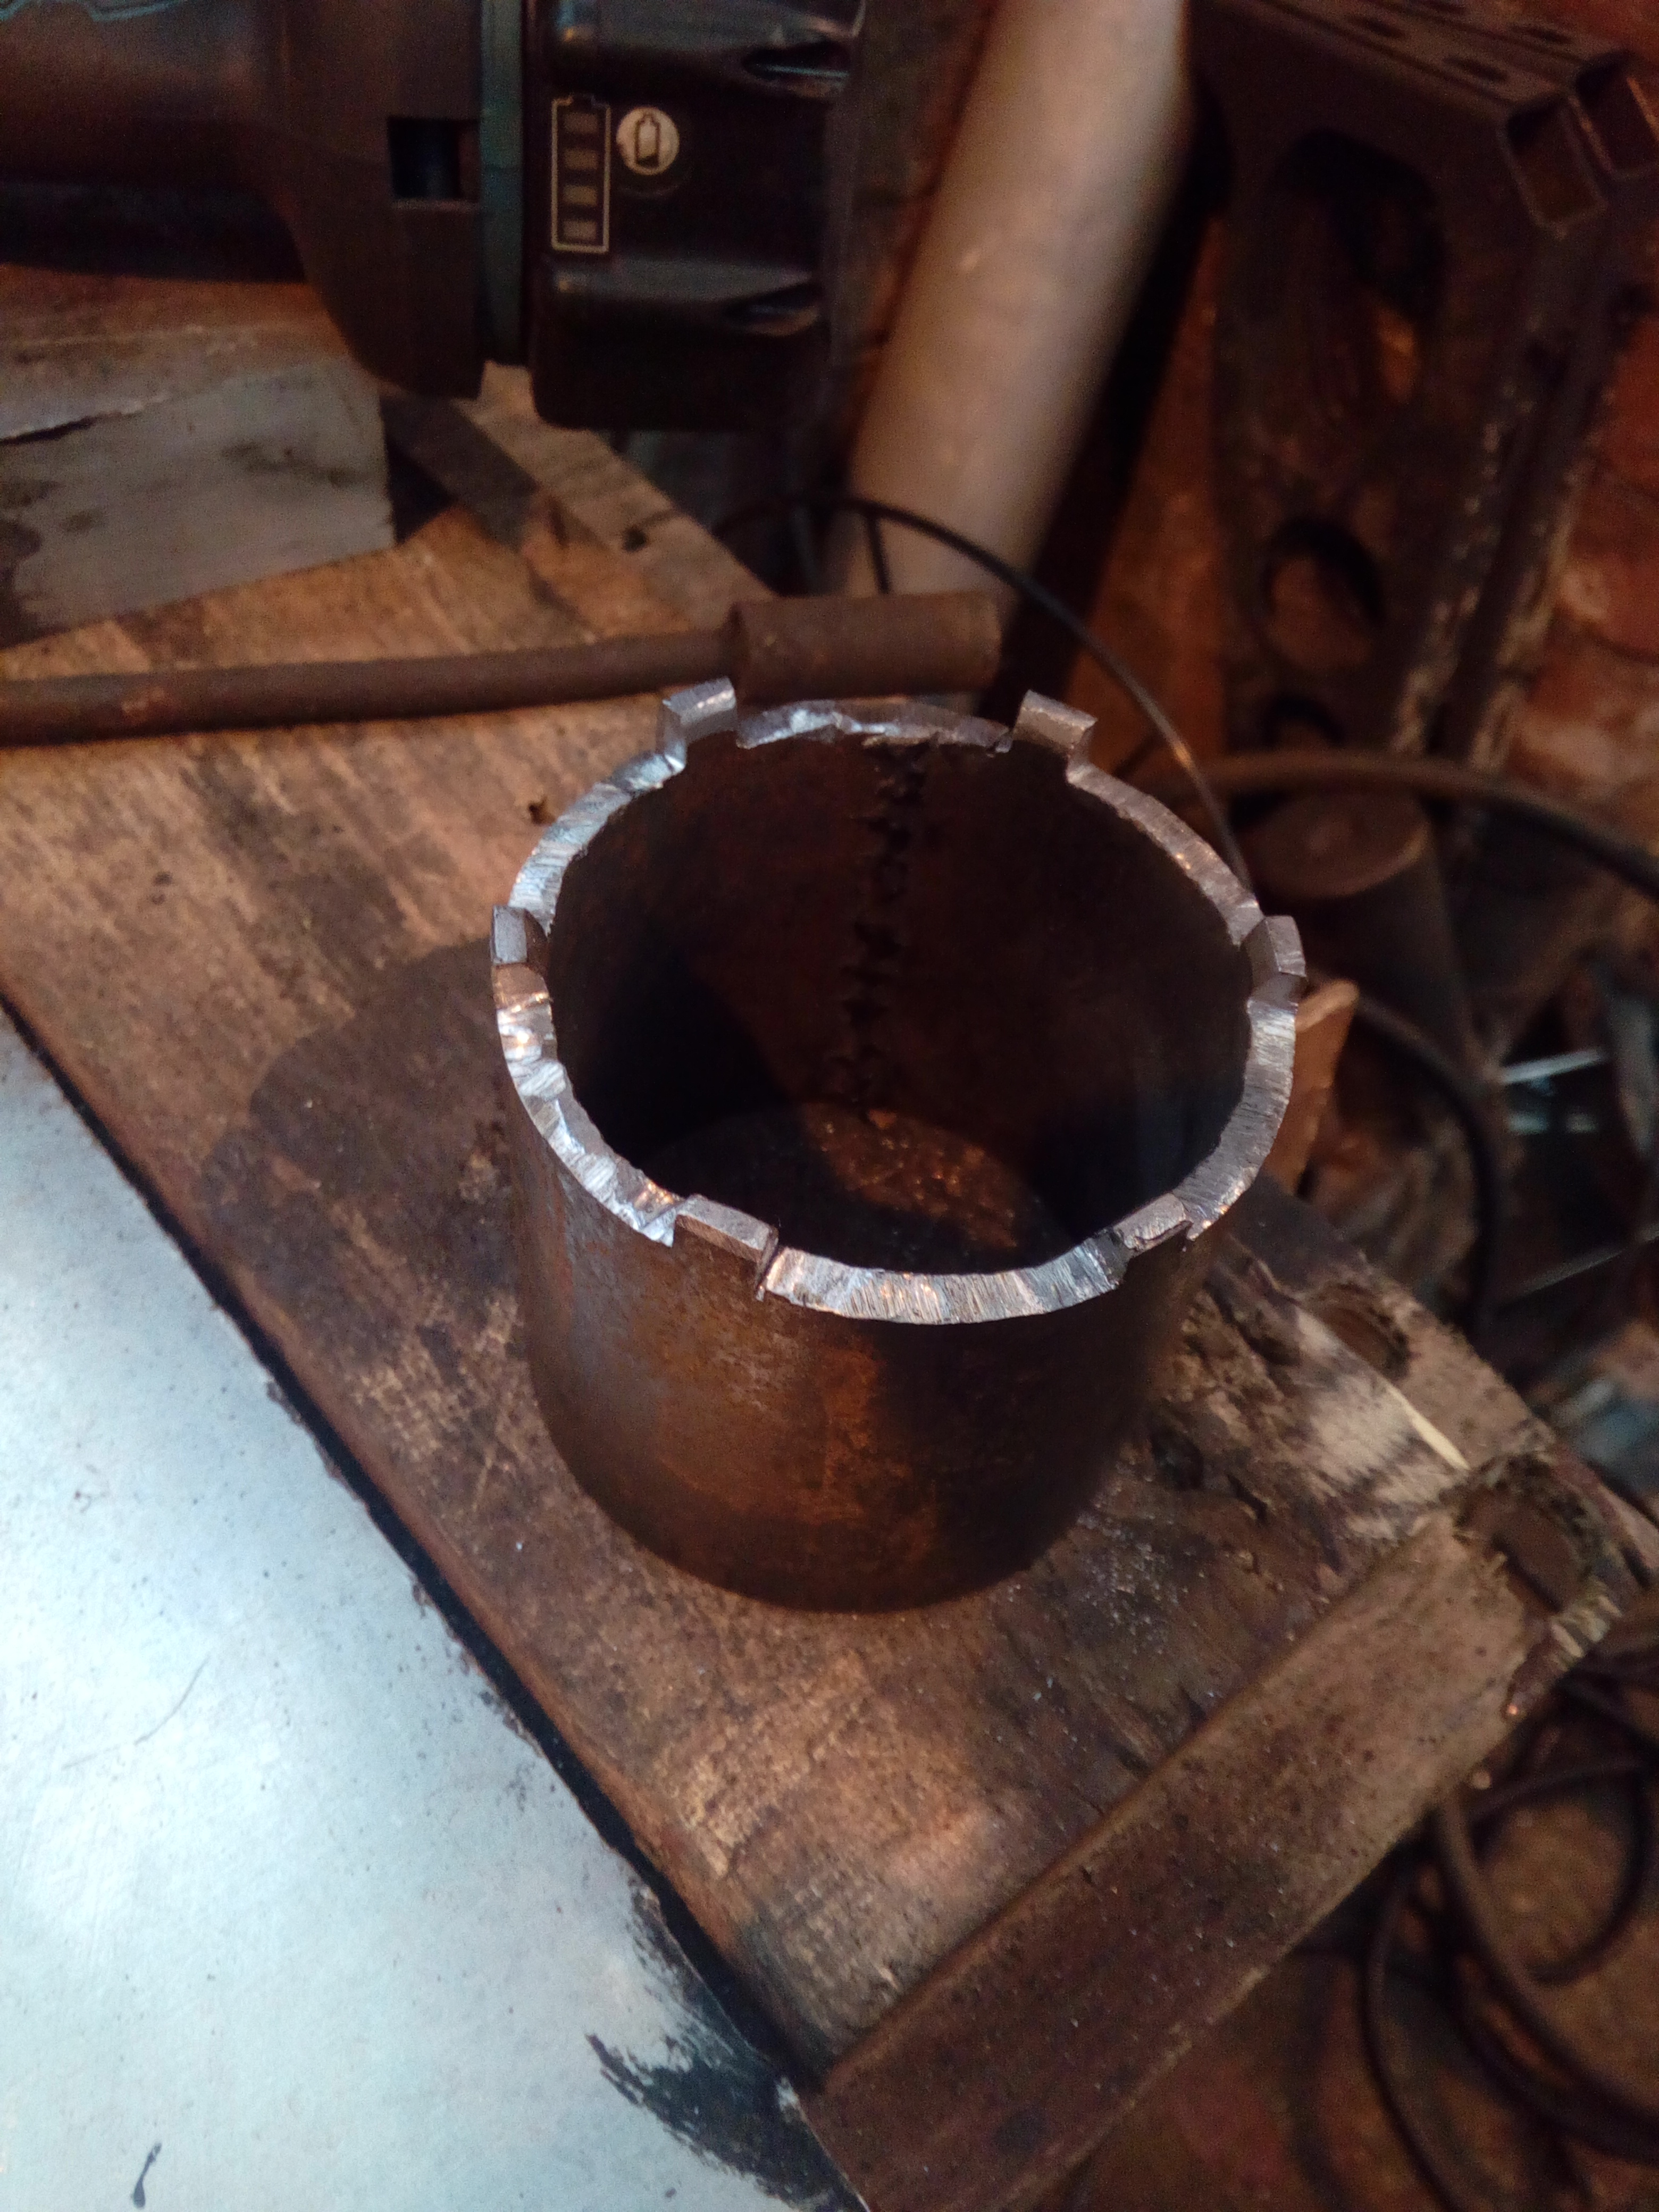 And let's go shove those hubs back on, now with their new seals and painted black. 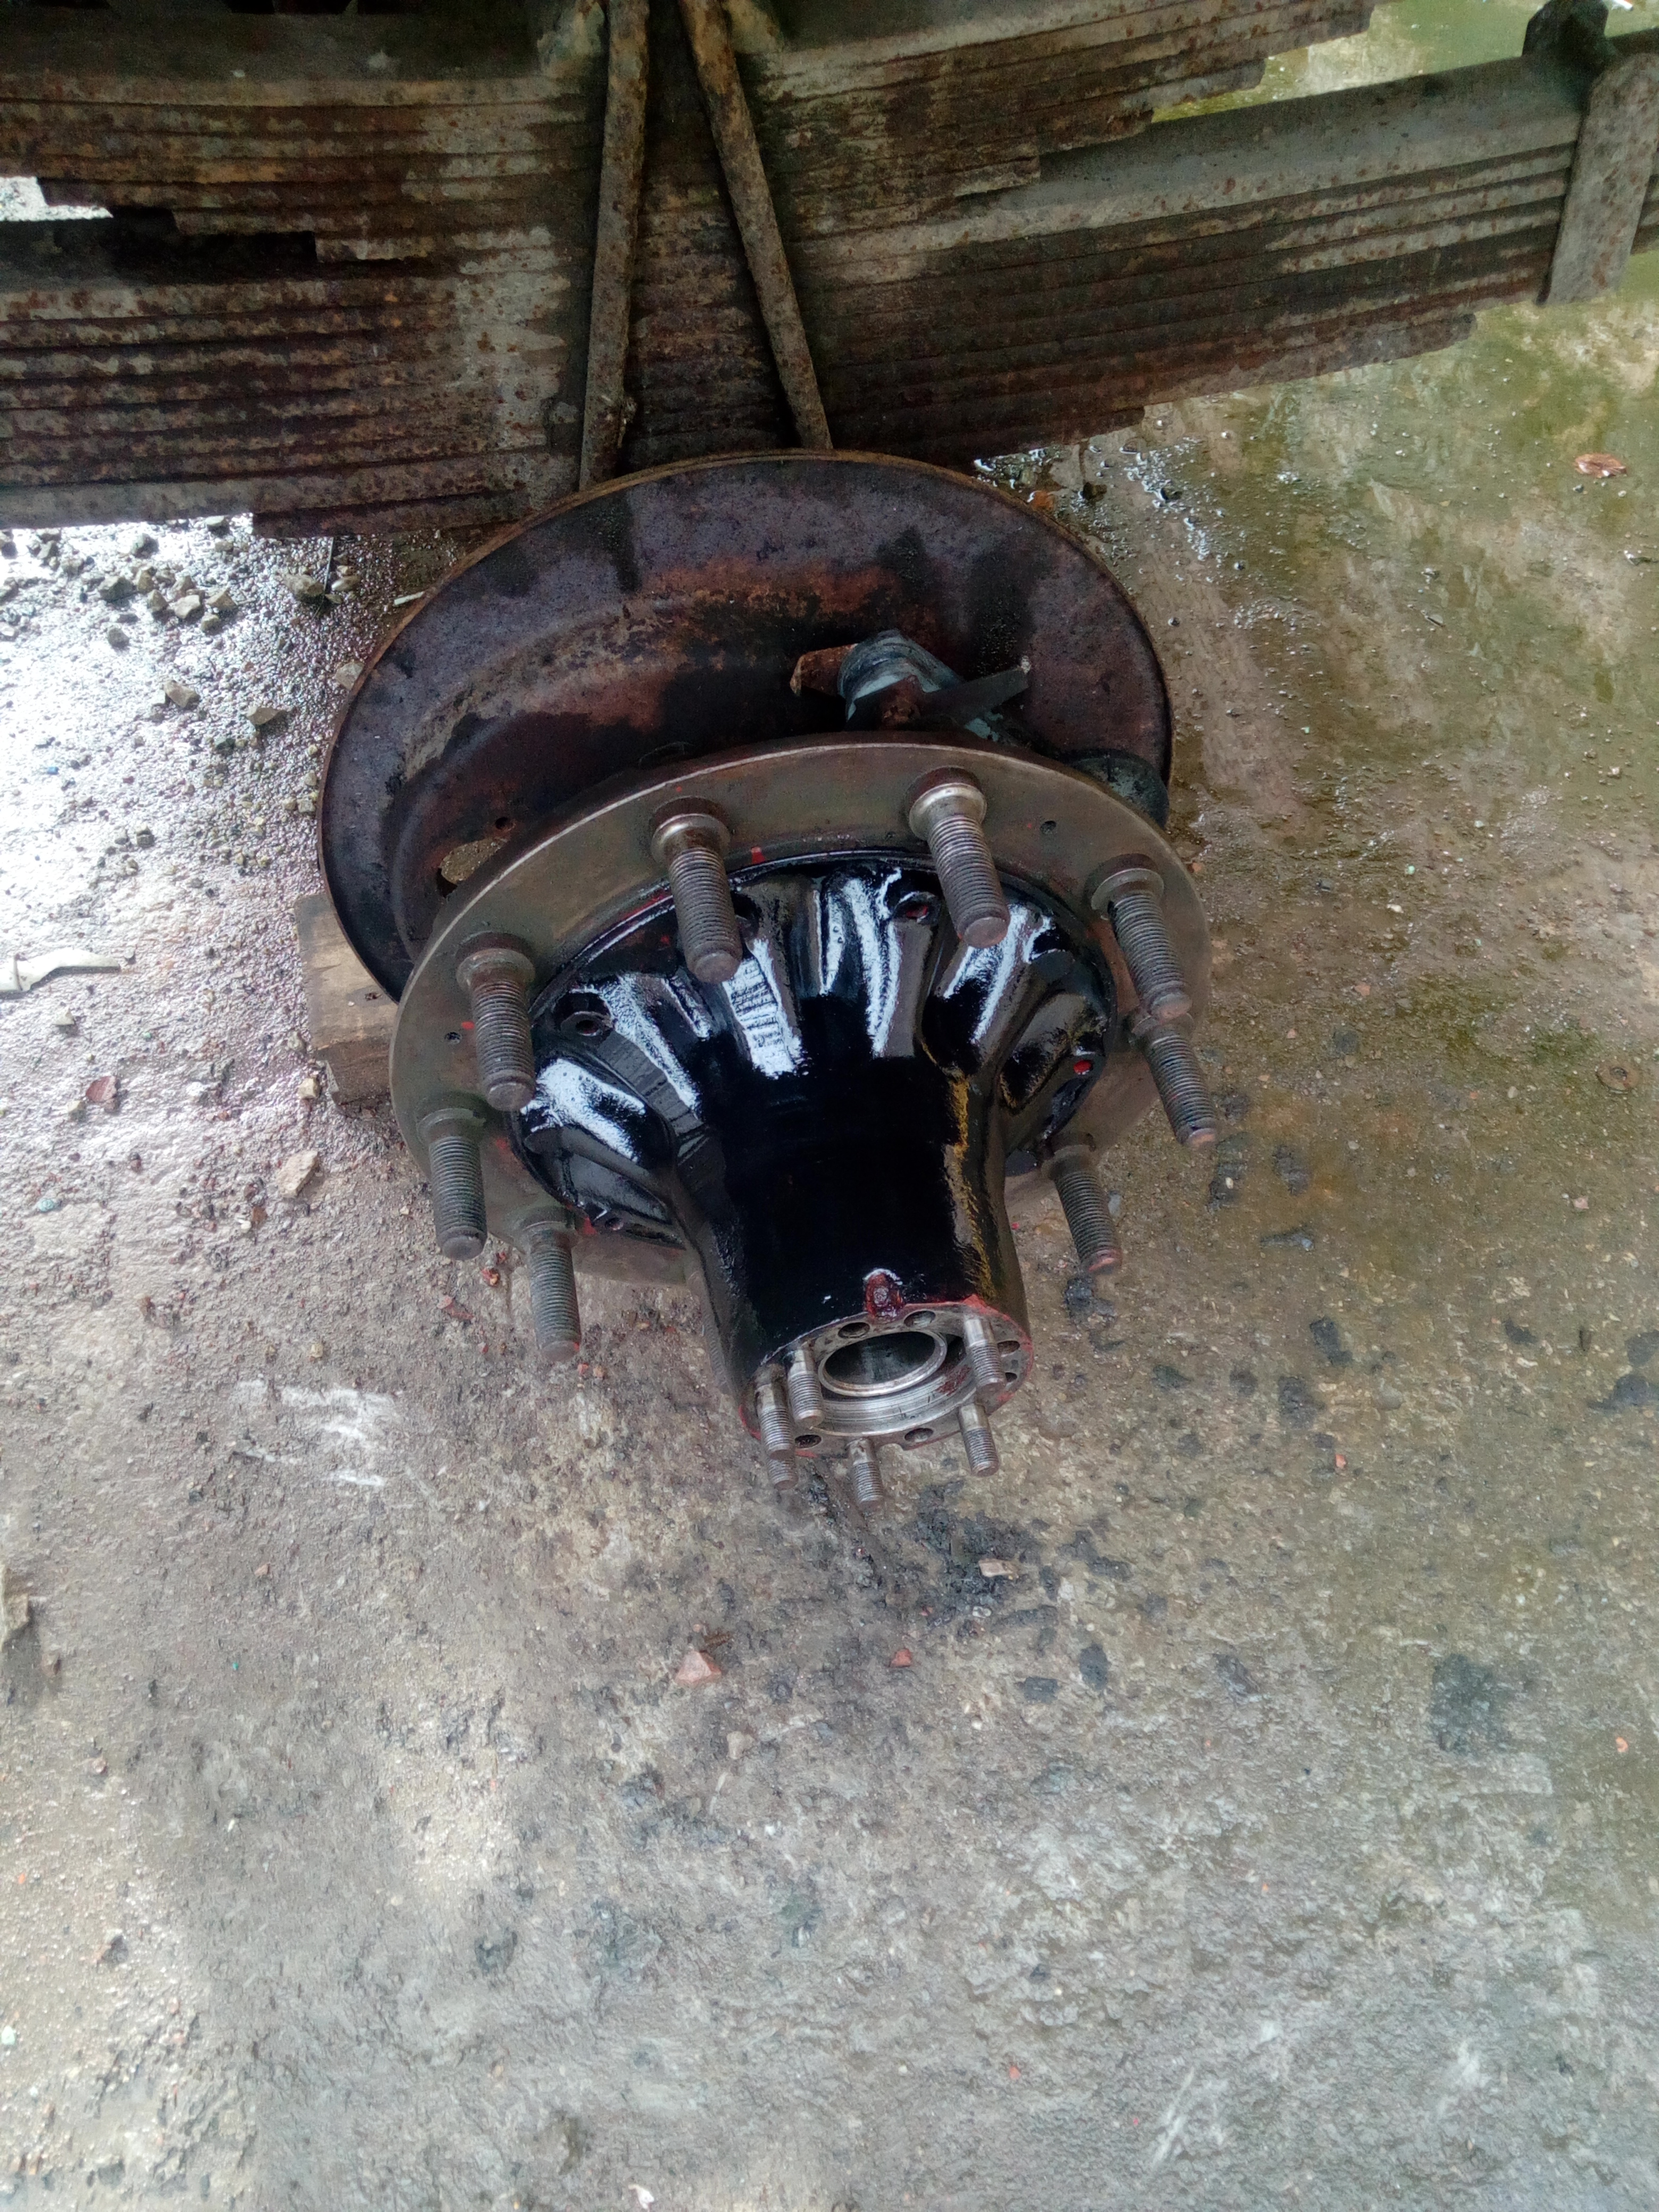 Stick the wheels back on, discover I forgot to put the conical washers on first, curse profusely, take them back off, fit the washers, re-fit the wheels, etc. 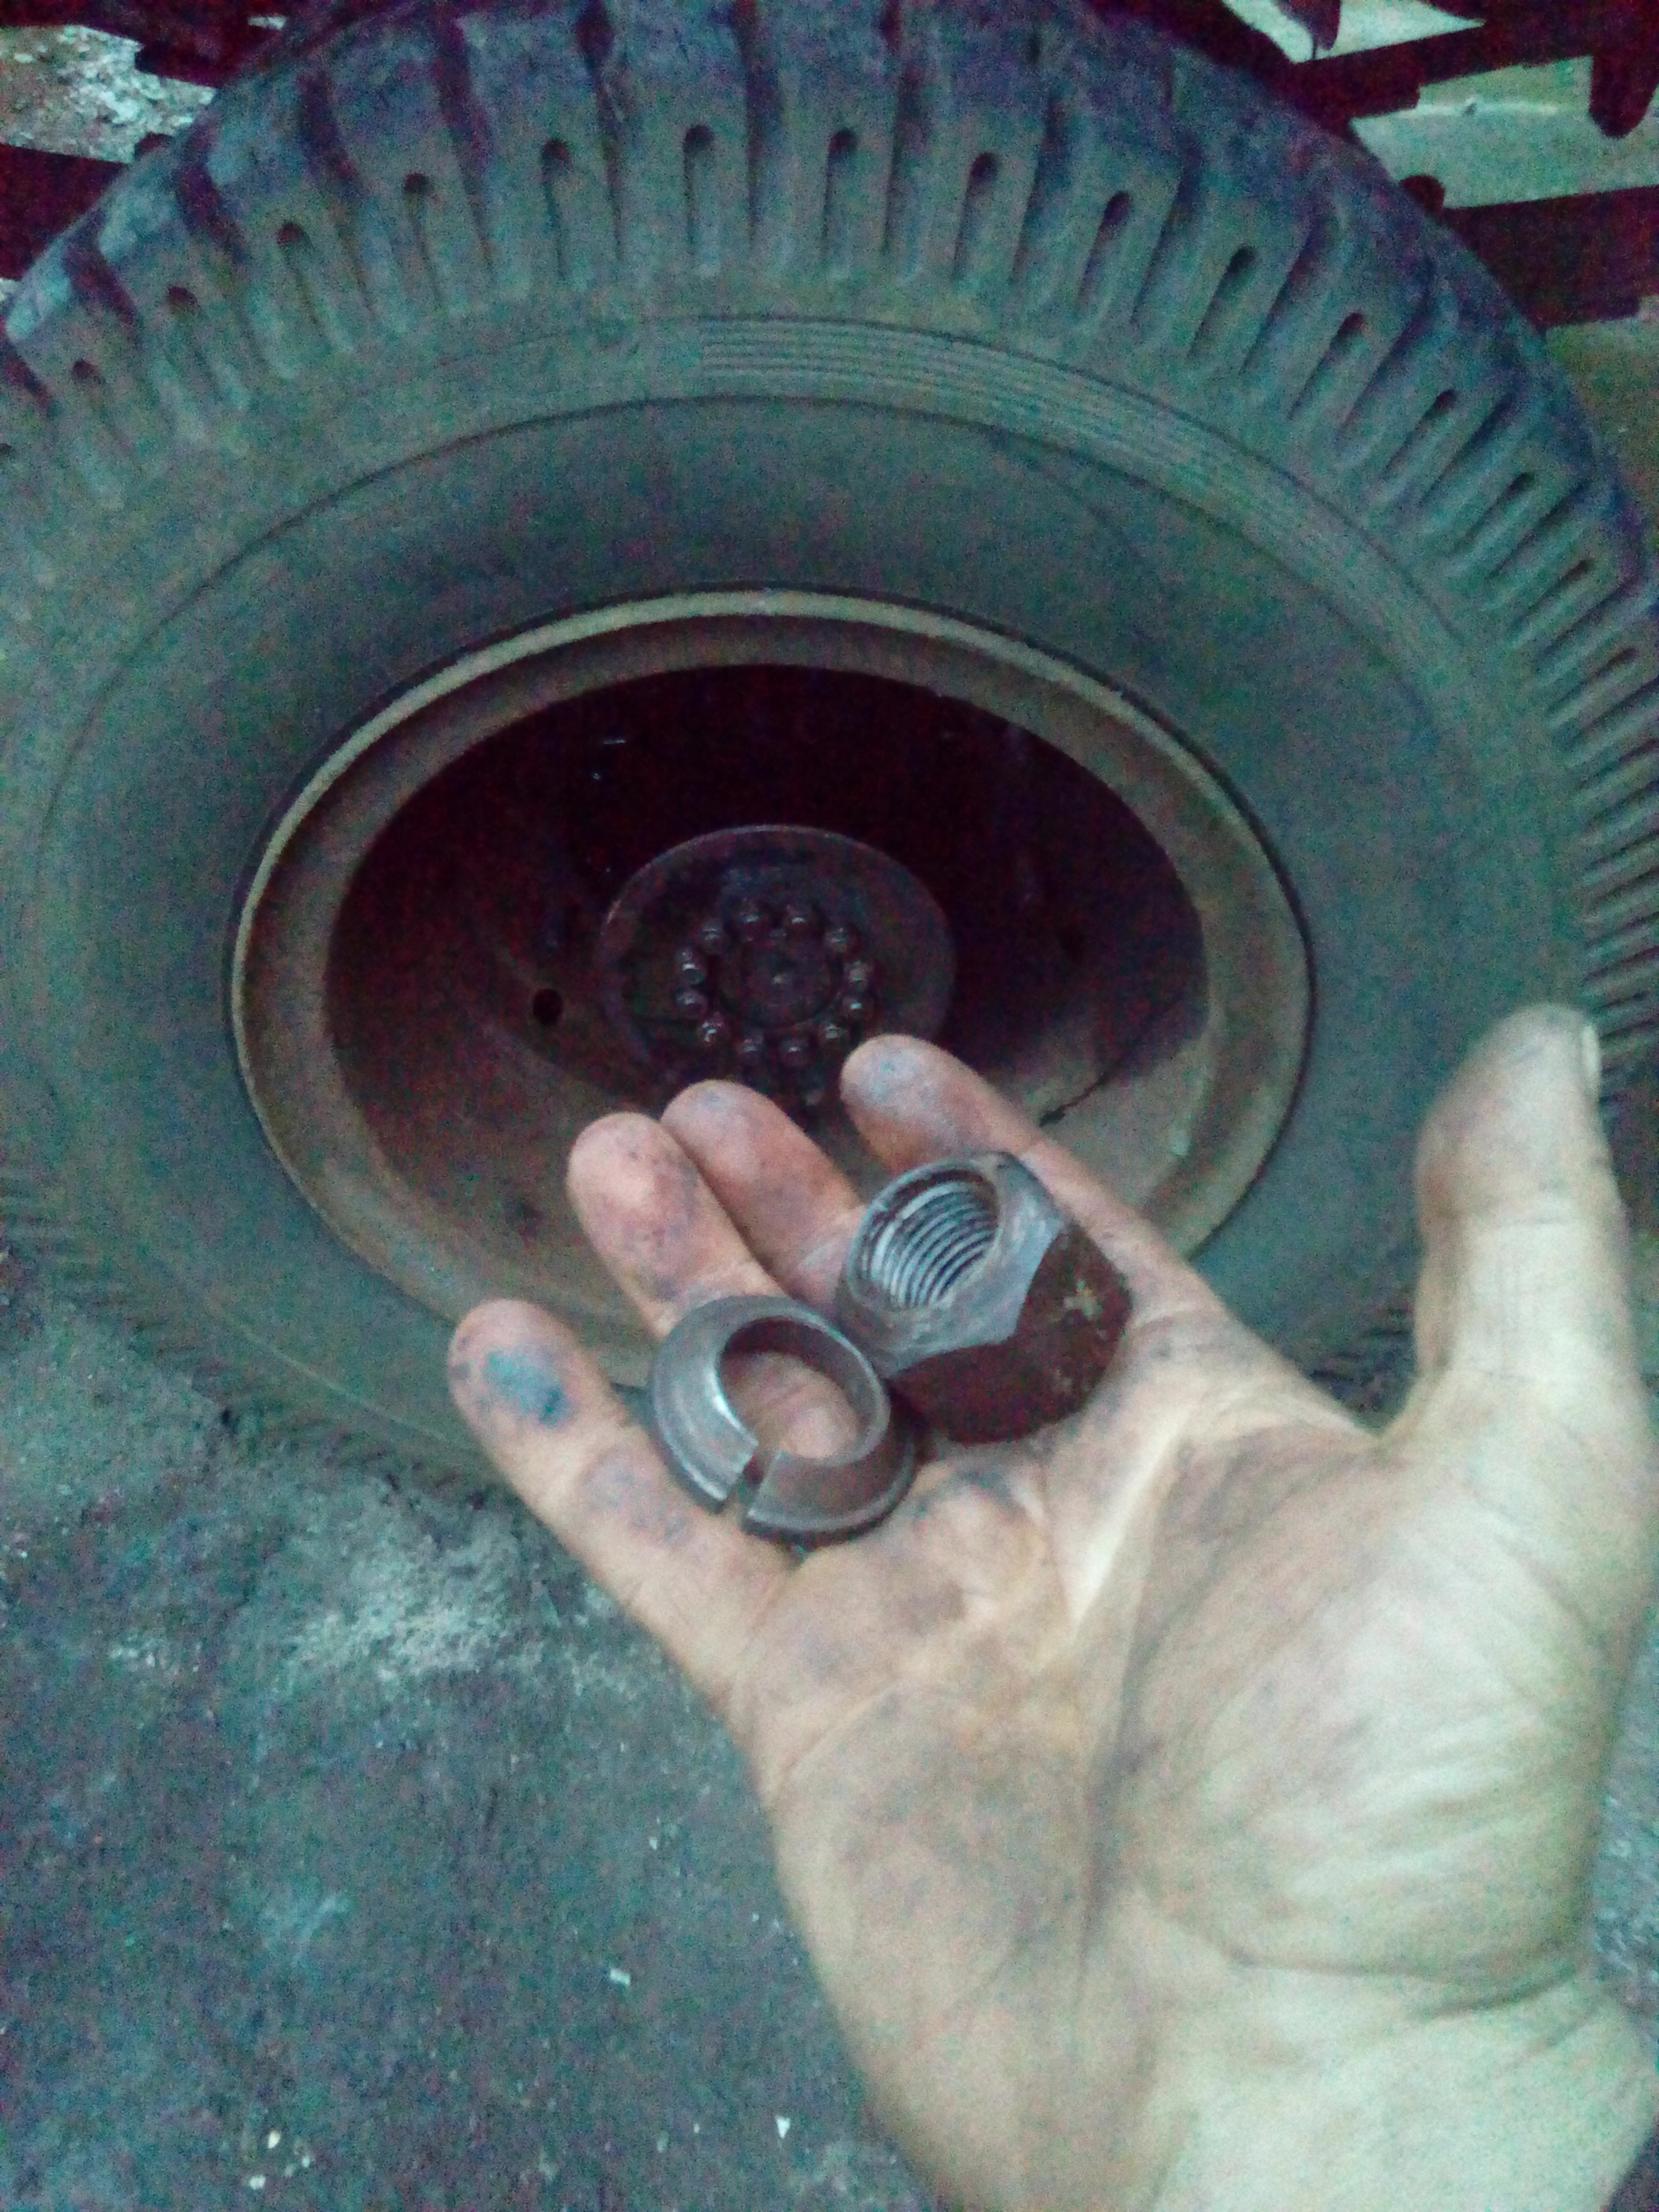 Late March 2017. Late March 2017.Can you see a theme with these time-stamps? Getting further and further between 'em, as I struggle to keep going with the project. Anyway, OSR hub time now. And the drum didn't want to come off, so I took the whole lot -- hub and drum -- off in one go. Then persuaded it to come off with a big hammer. 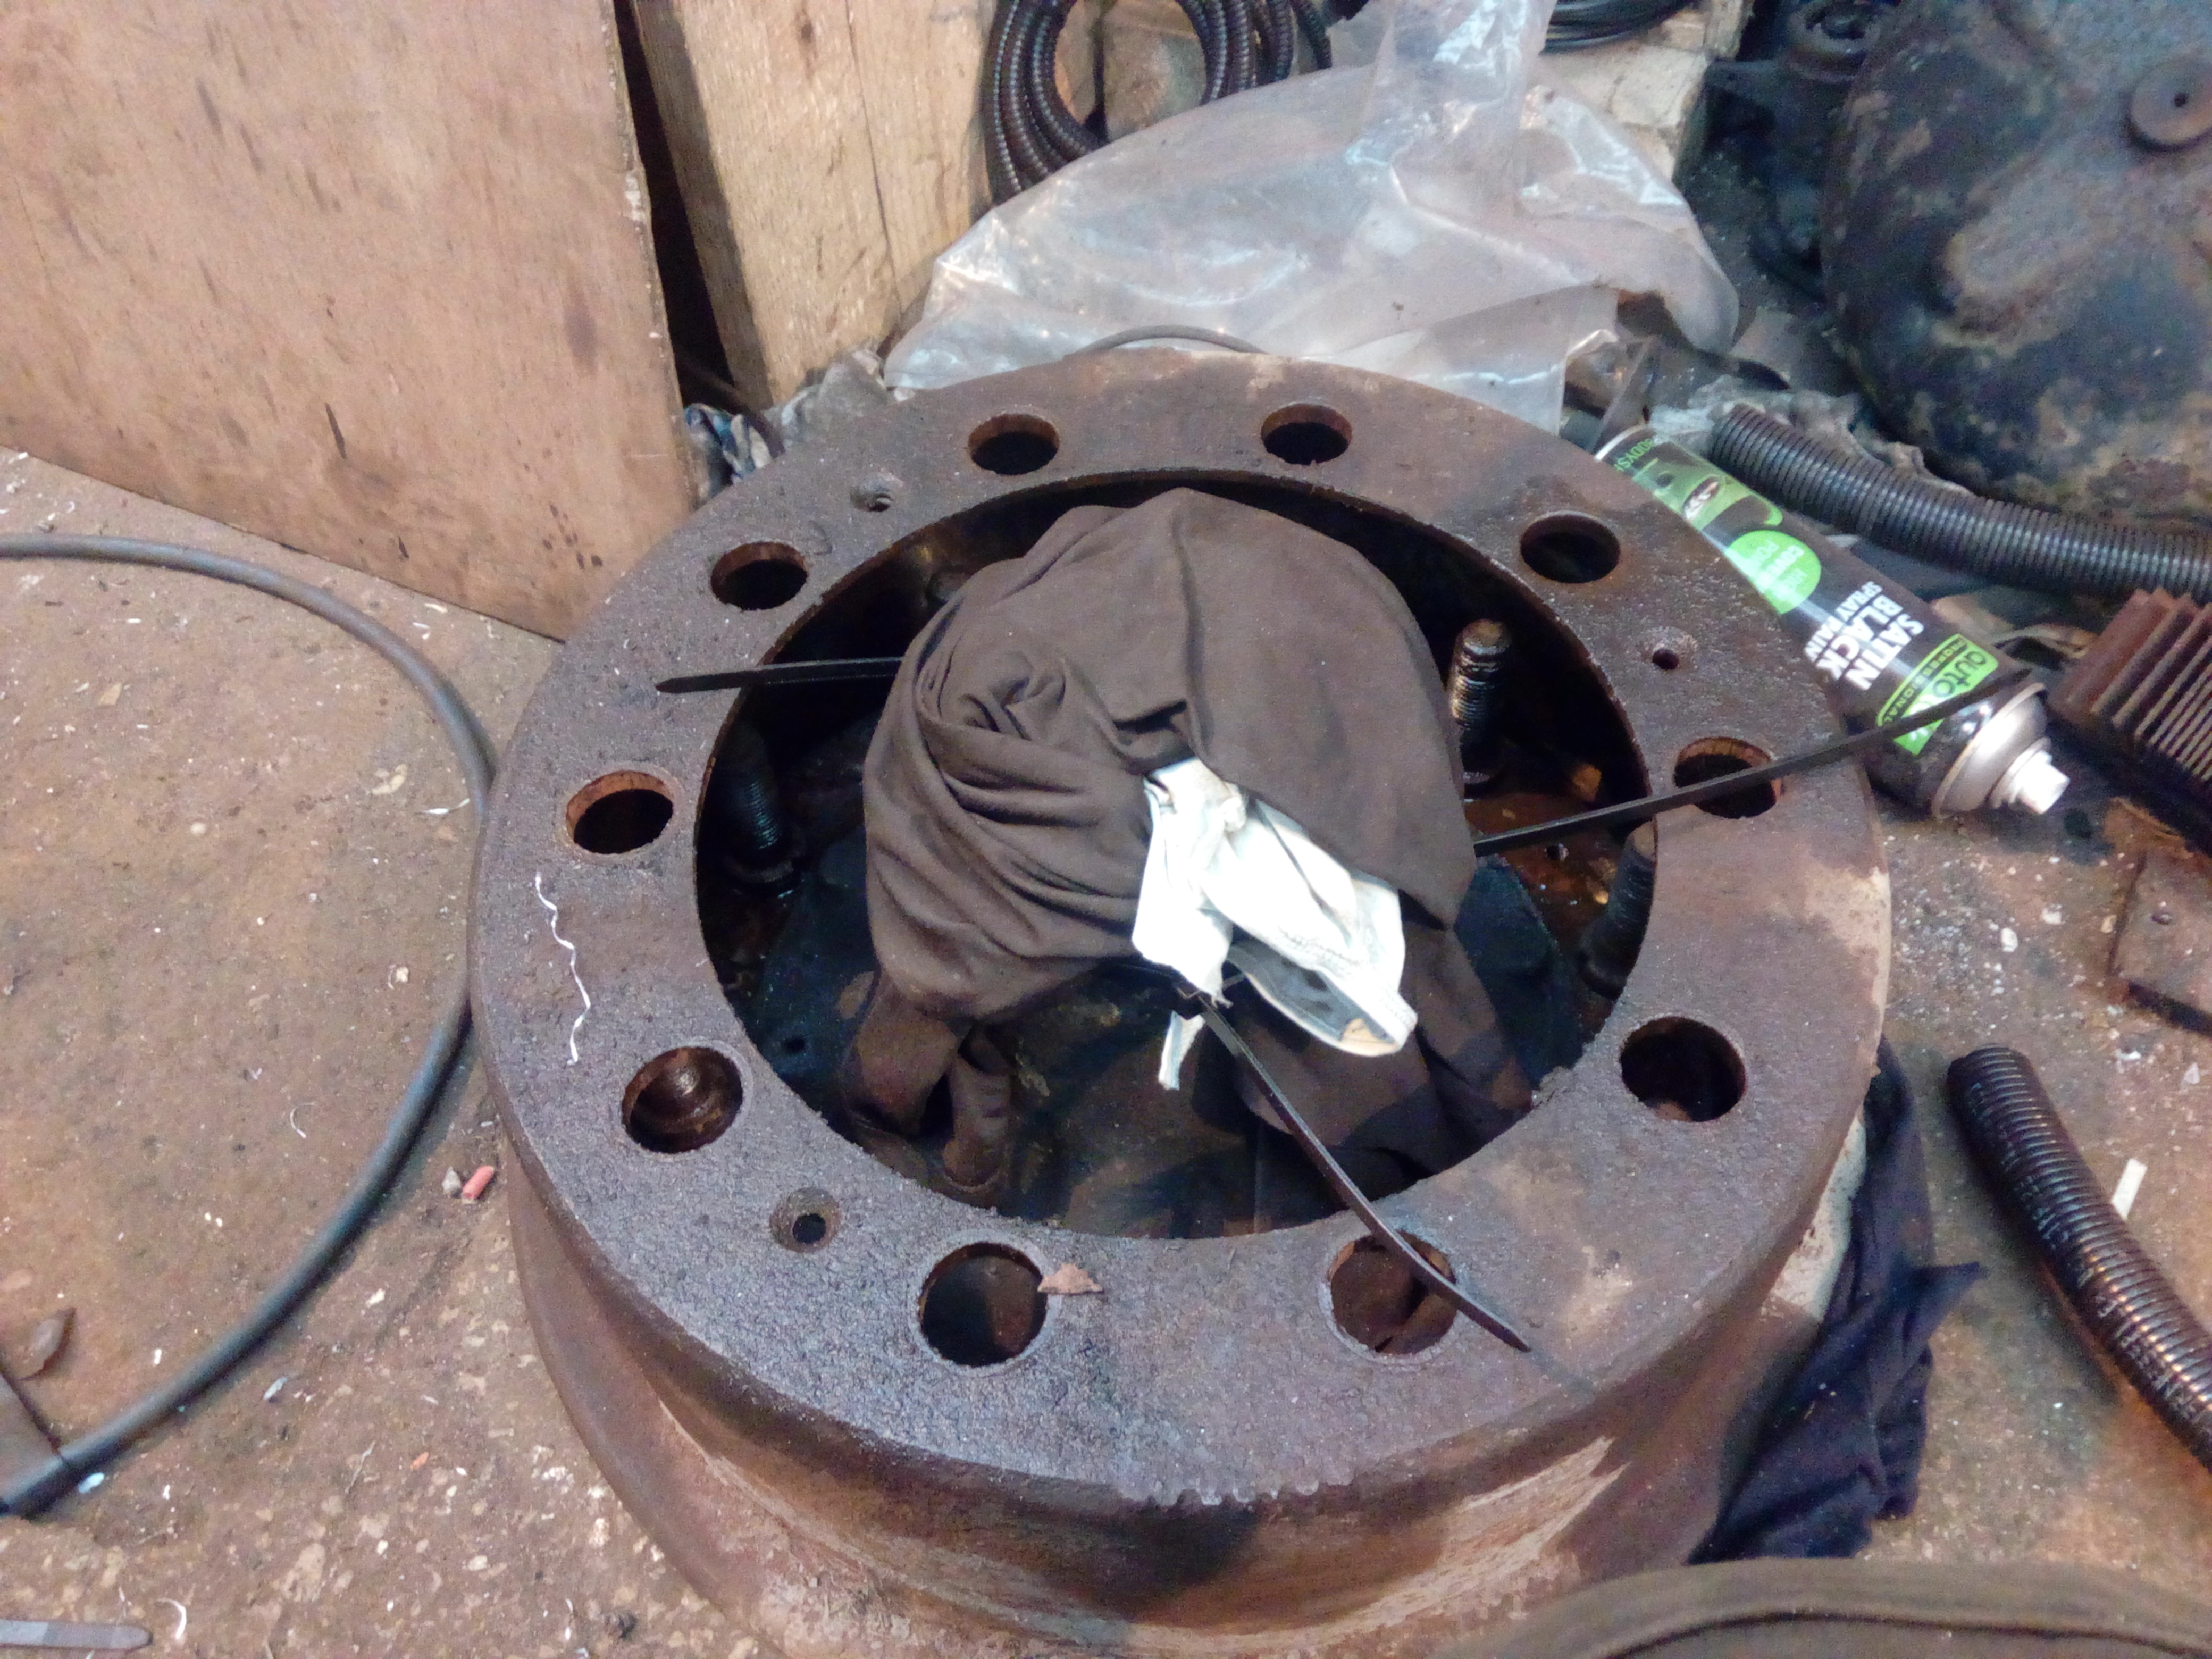 Then I celebrated my success -- and the annoying of the entire workshop with my thumping  -- by wiring up that other sidelight. Noice. 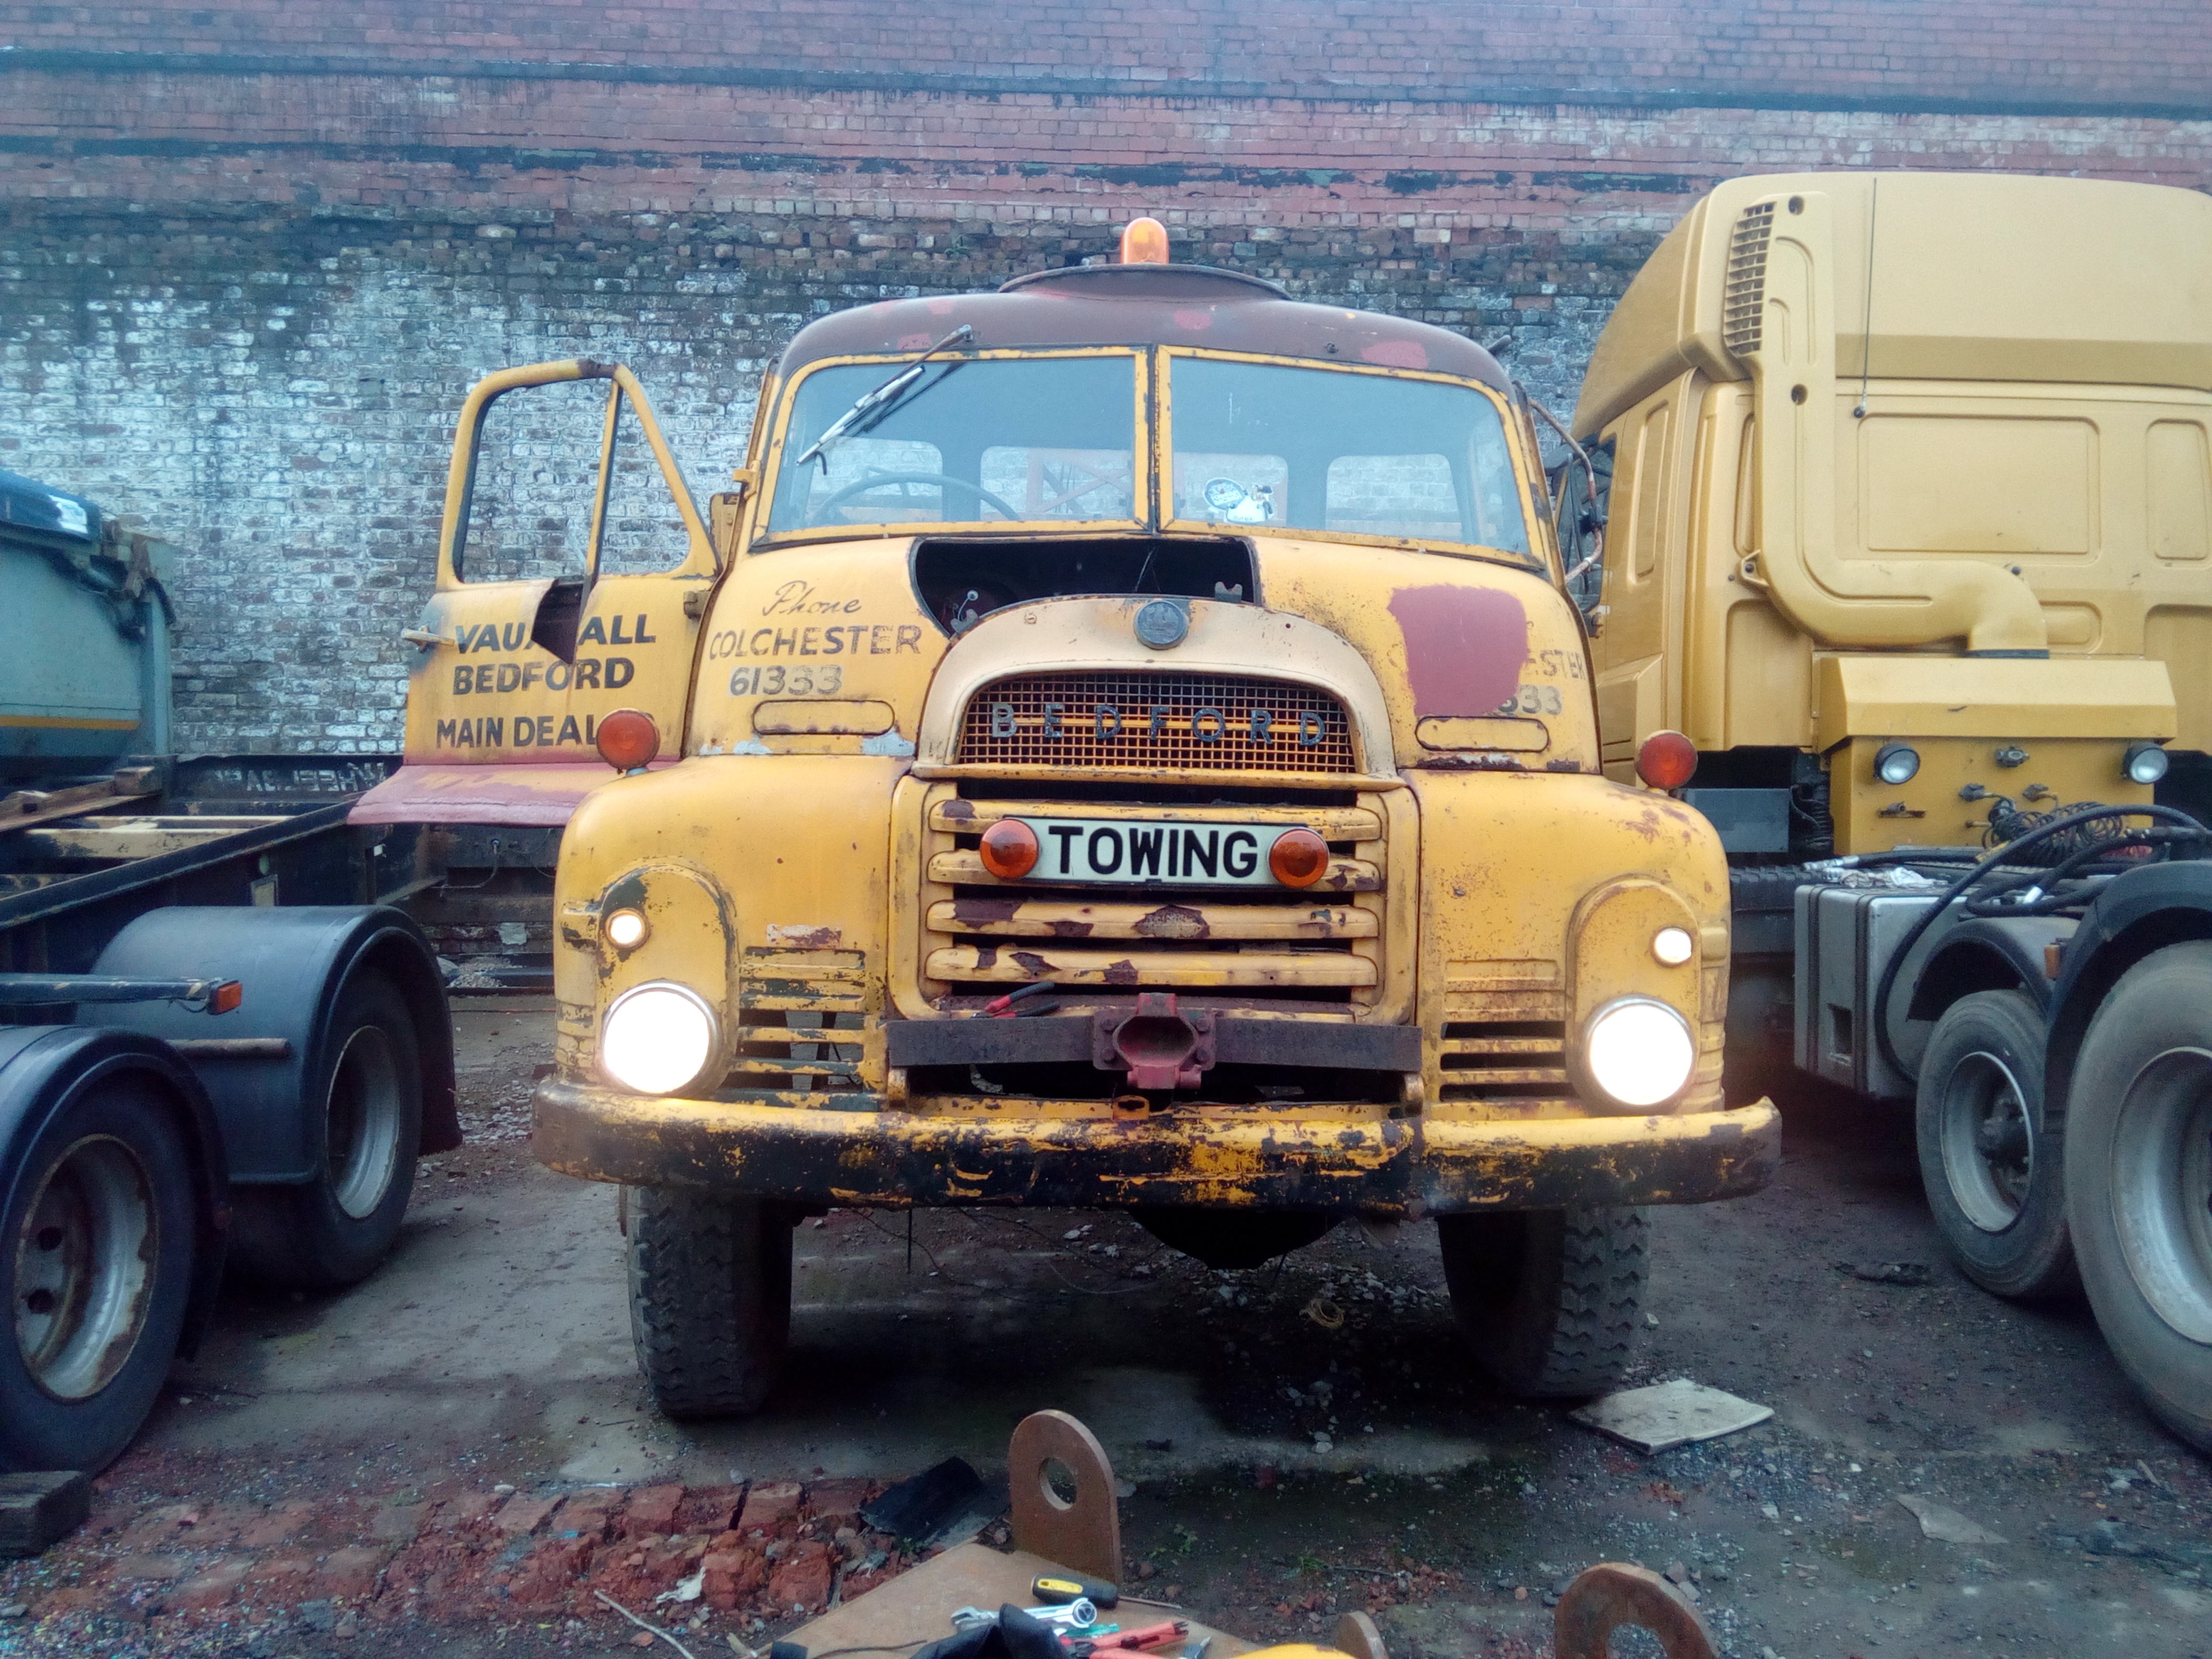 The hub was descaled, primed, painted, and fitted with a new seal... now with the use of my artisanal hardwood mallet: 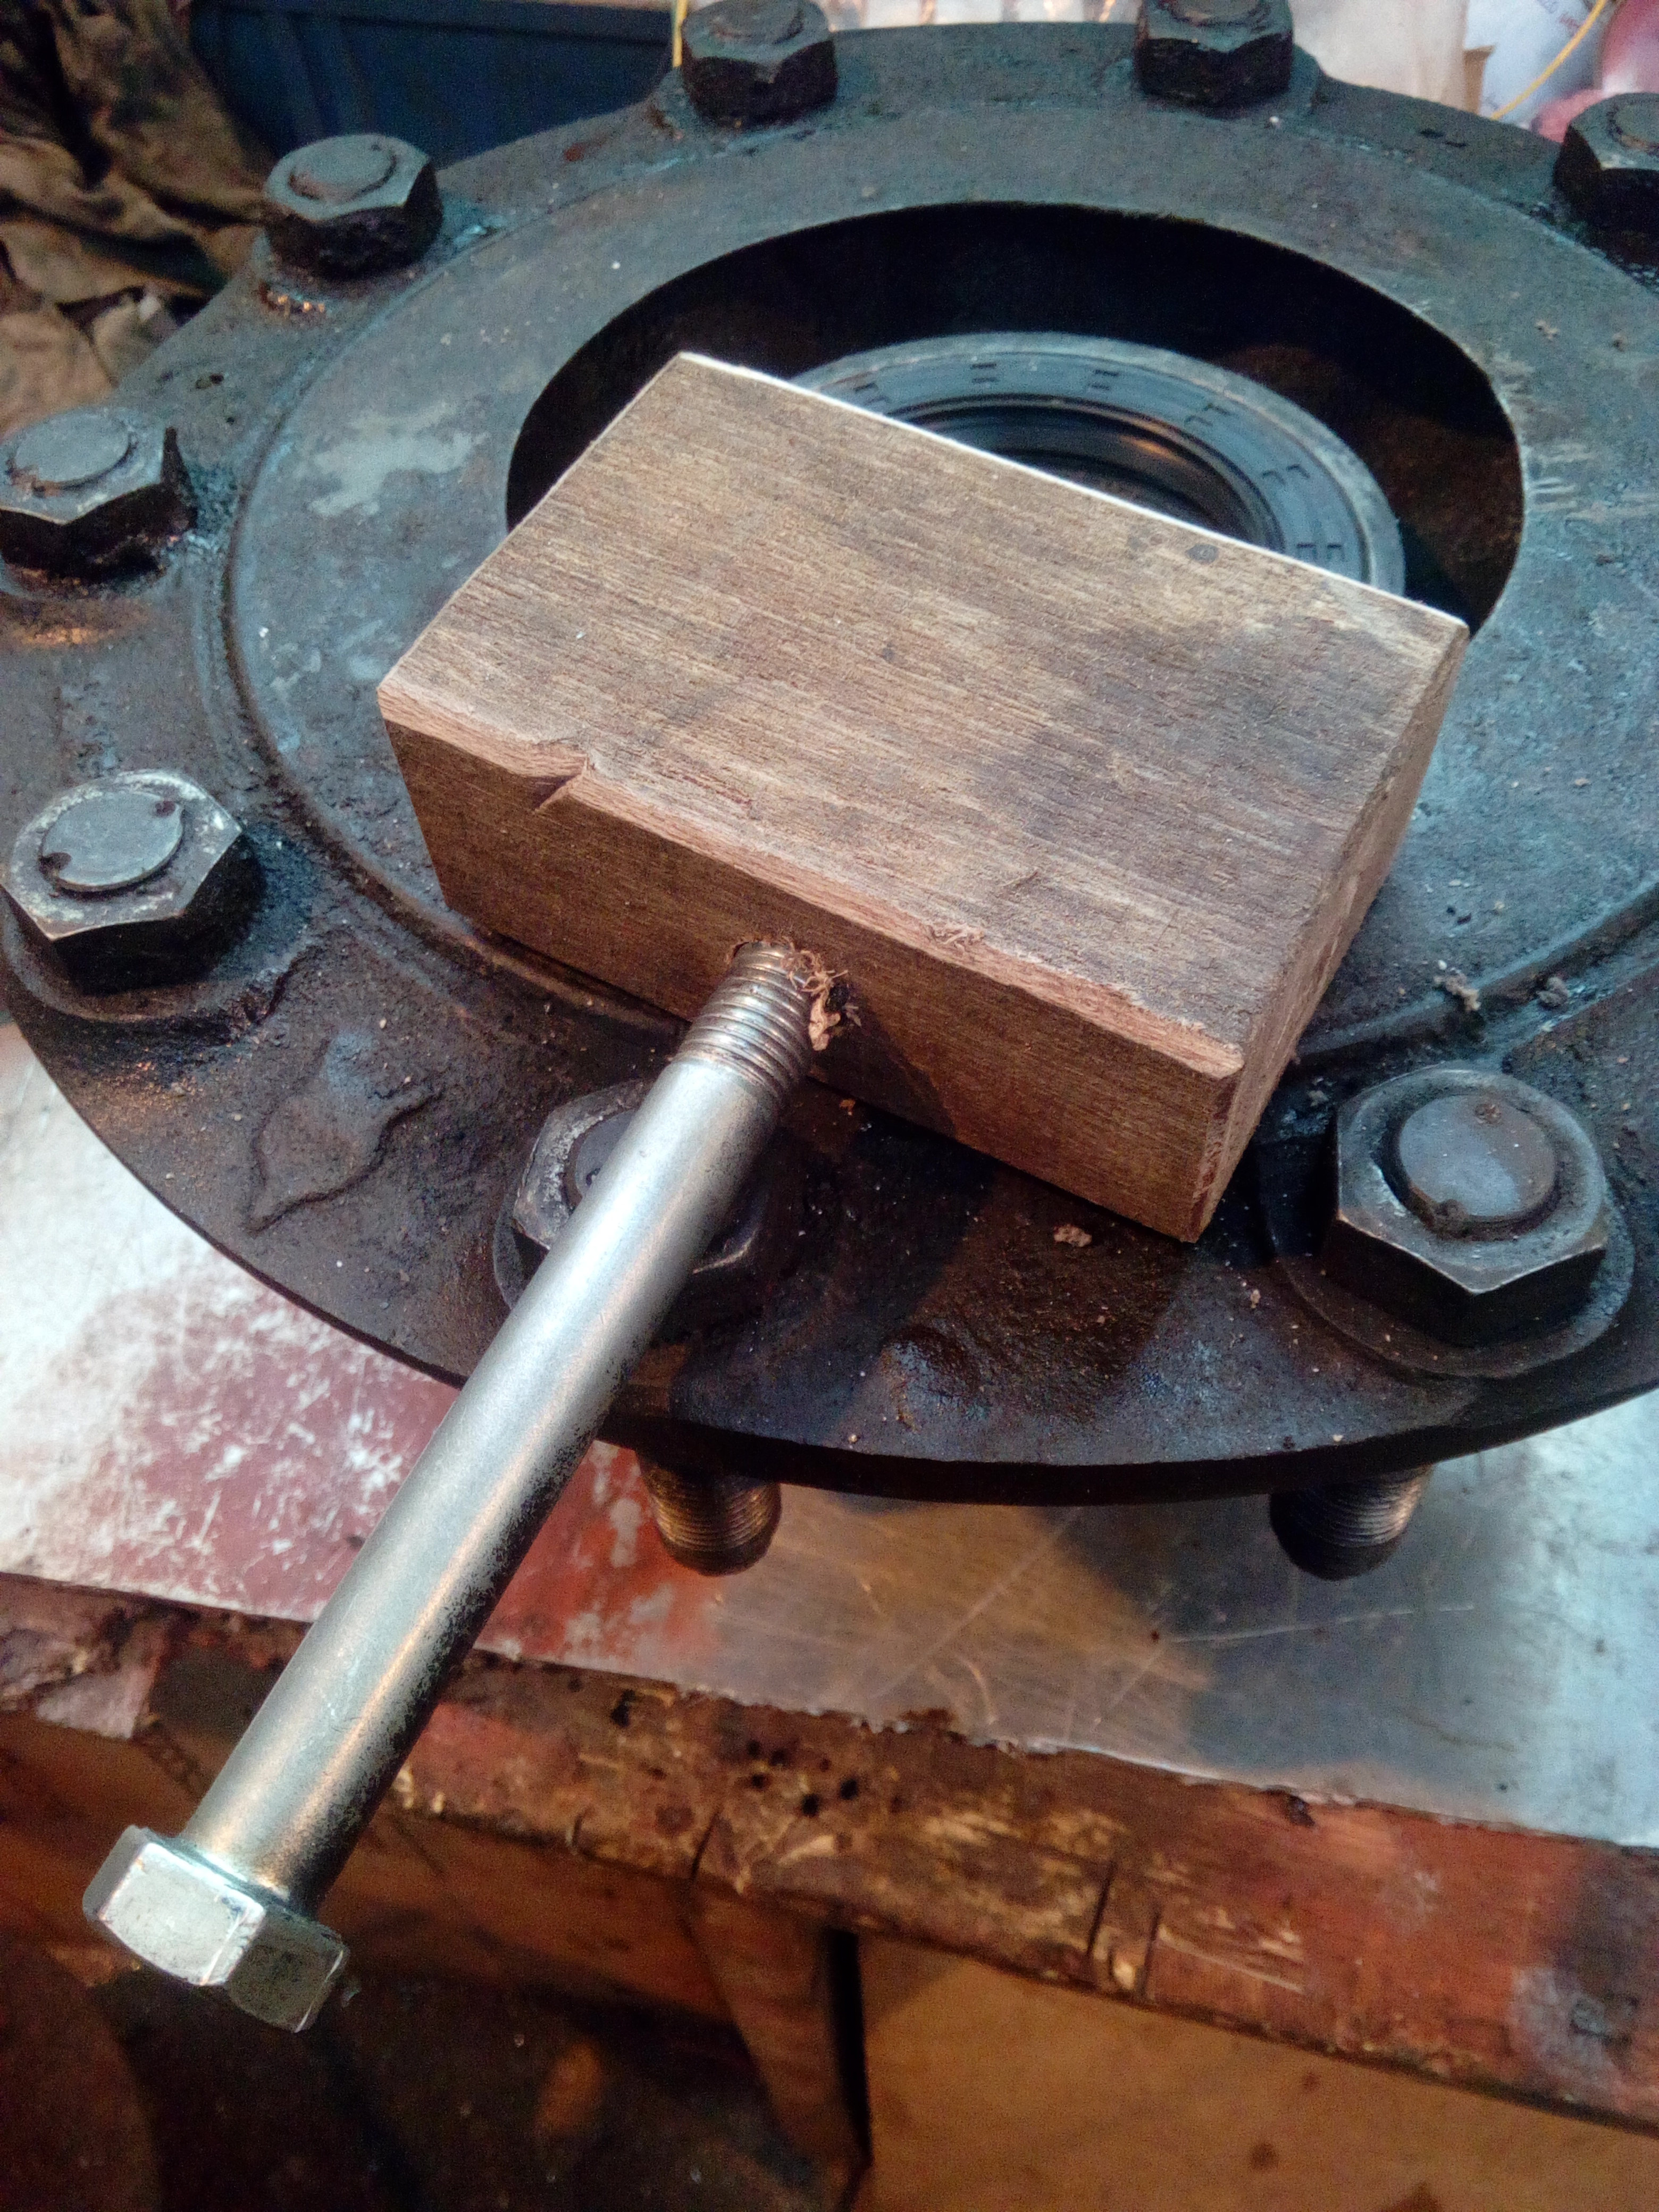 Here, have another video! It's likely to be a total waste of nearly an hour of your life, but hopefully it's a bit entertaining watching me struggle. So, what next? How about, uh, inspecting the diff of the rear axle... which was in no way because I'm an idiot and forgot the bottom two bolts on the cover are actually the drain plugs, and just zipping them out from the top...  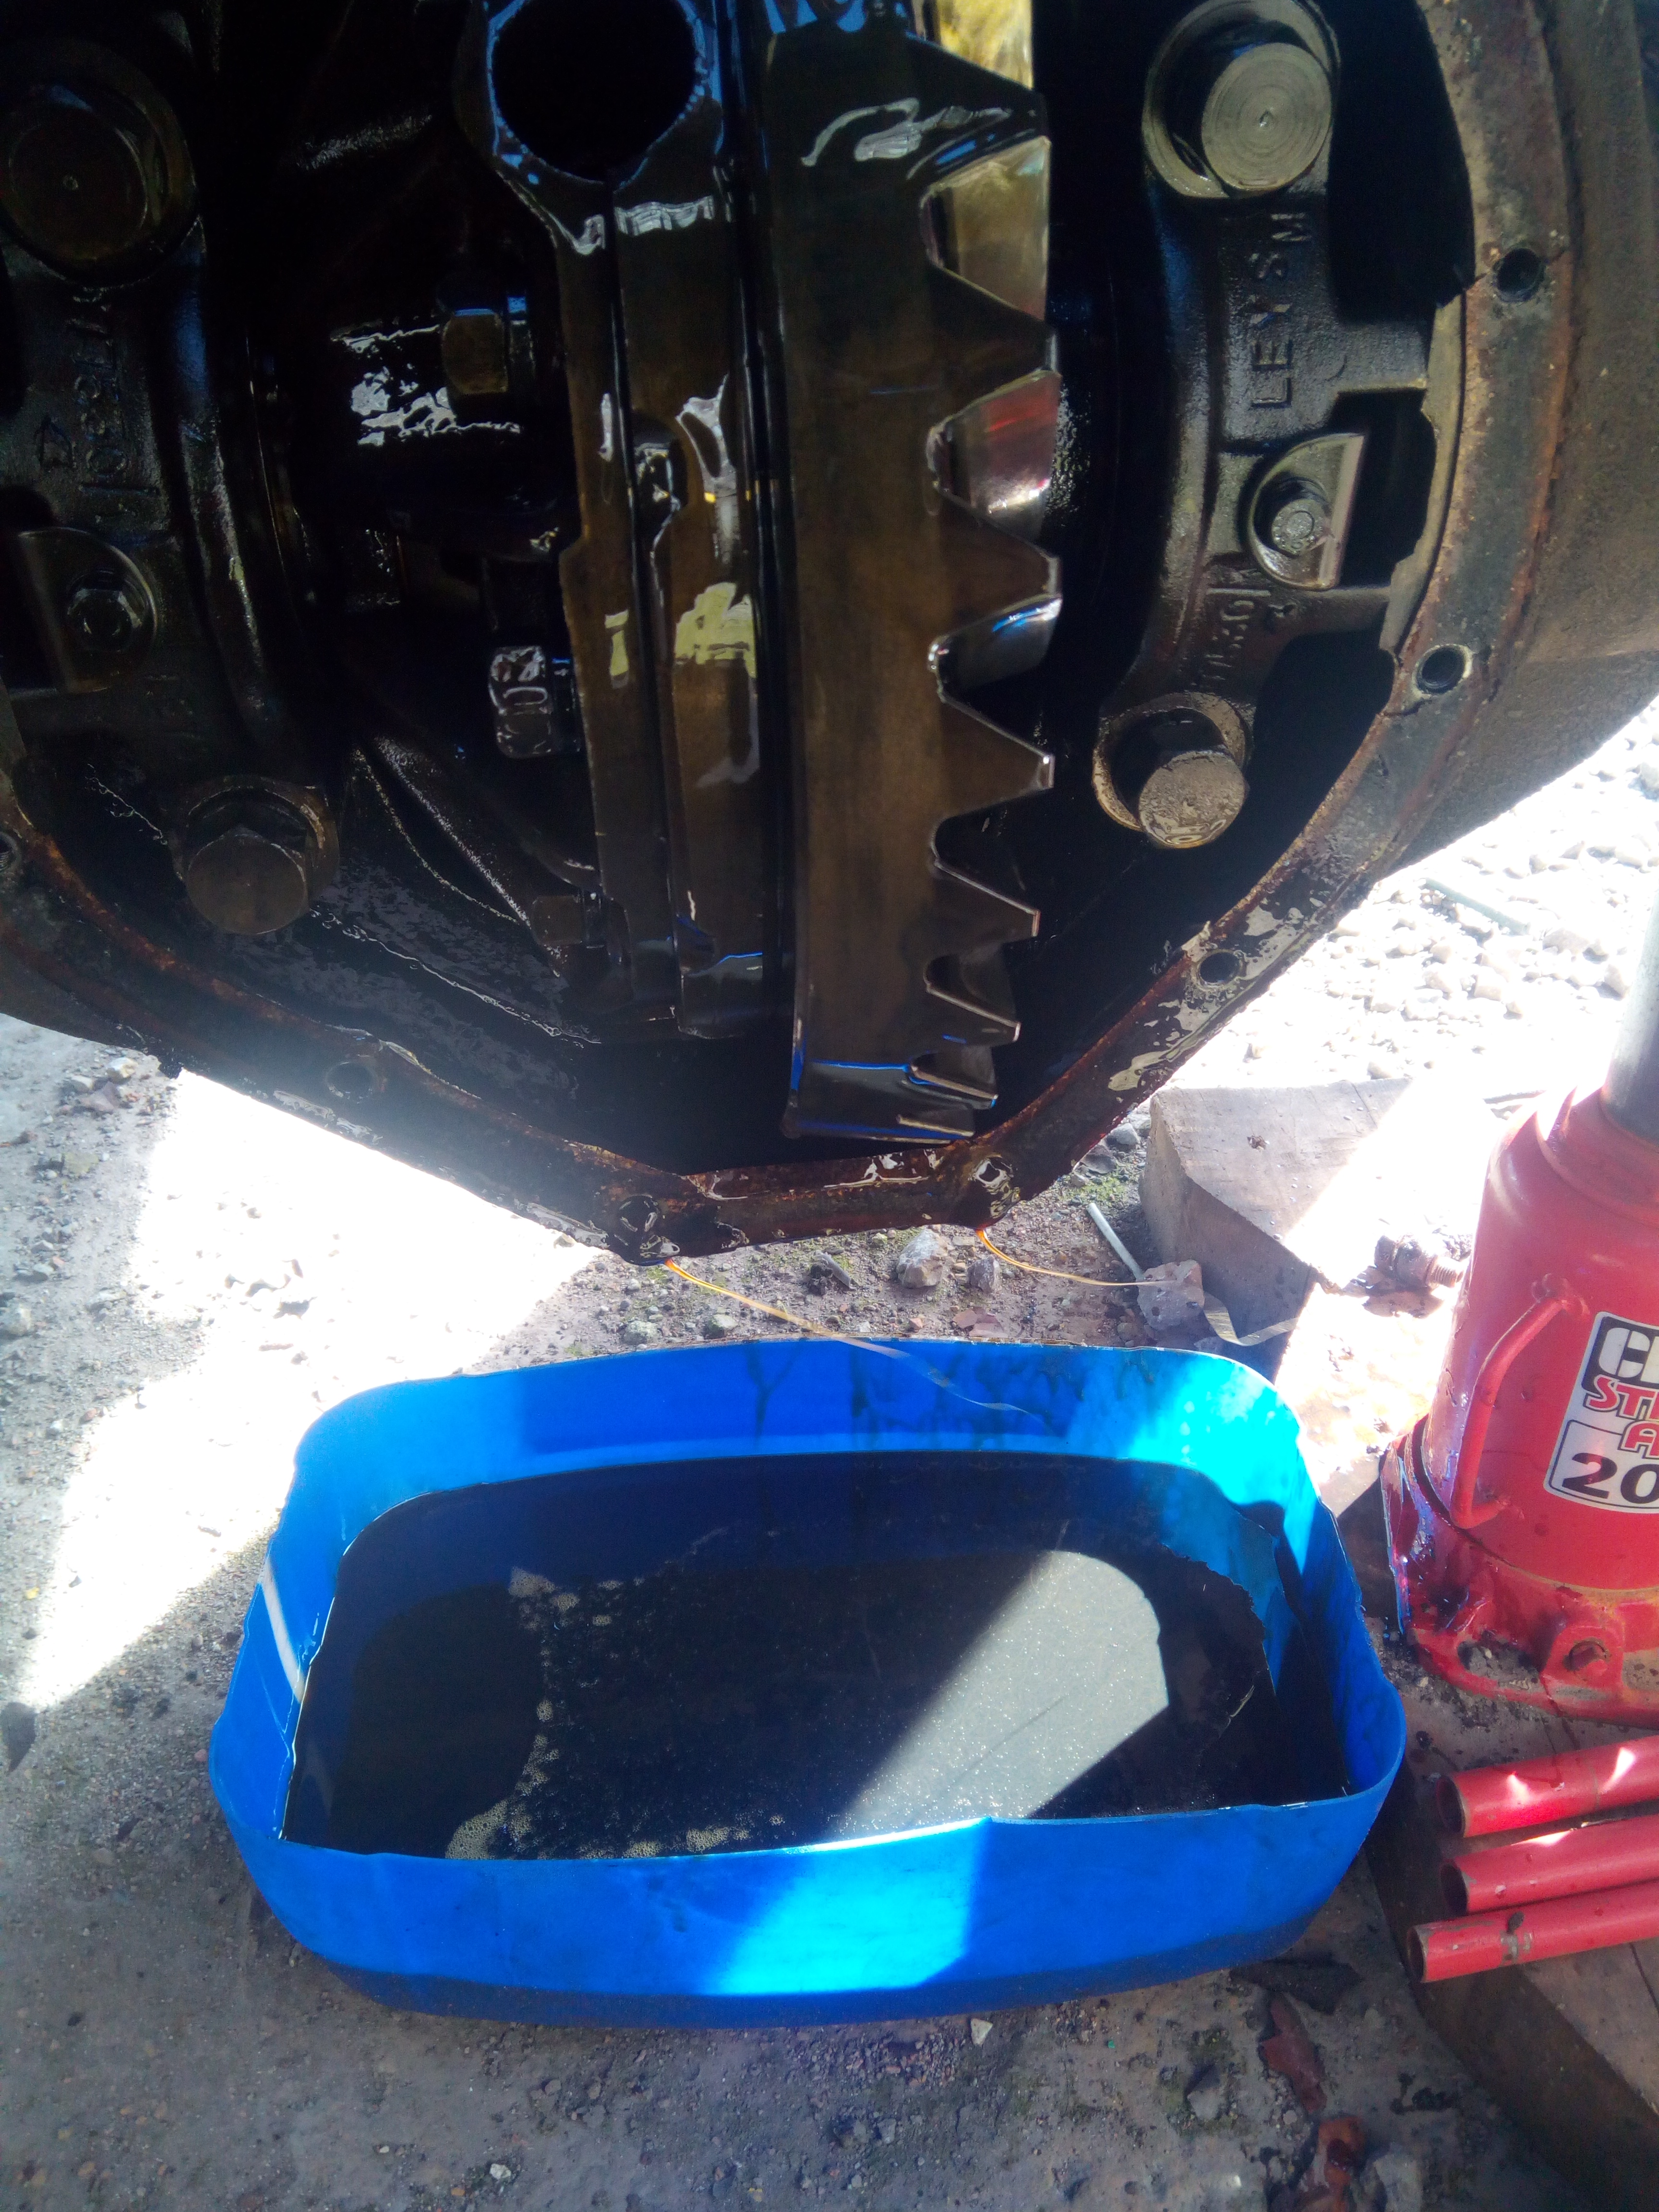 Oil doesn't look bad. 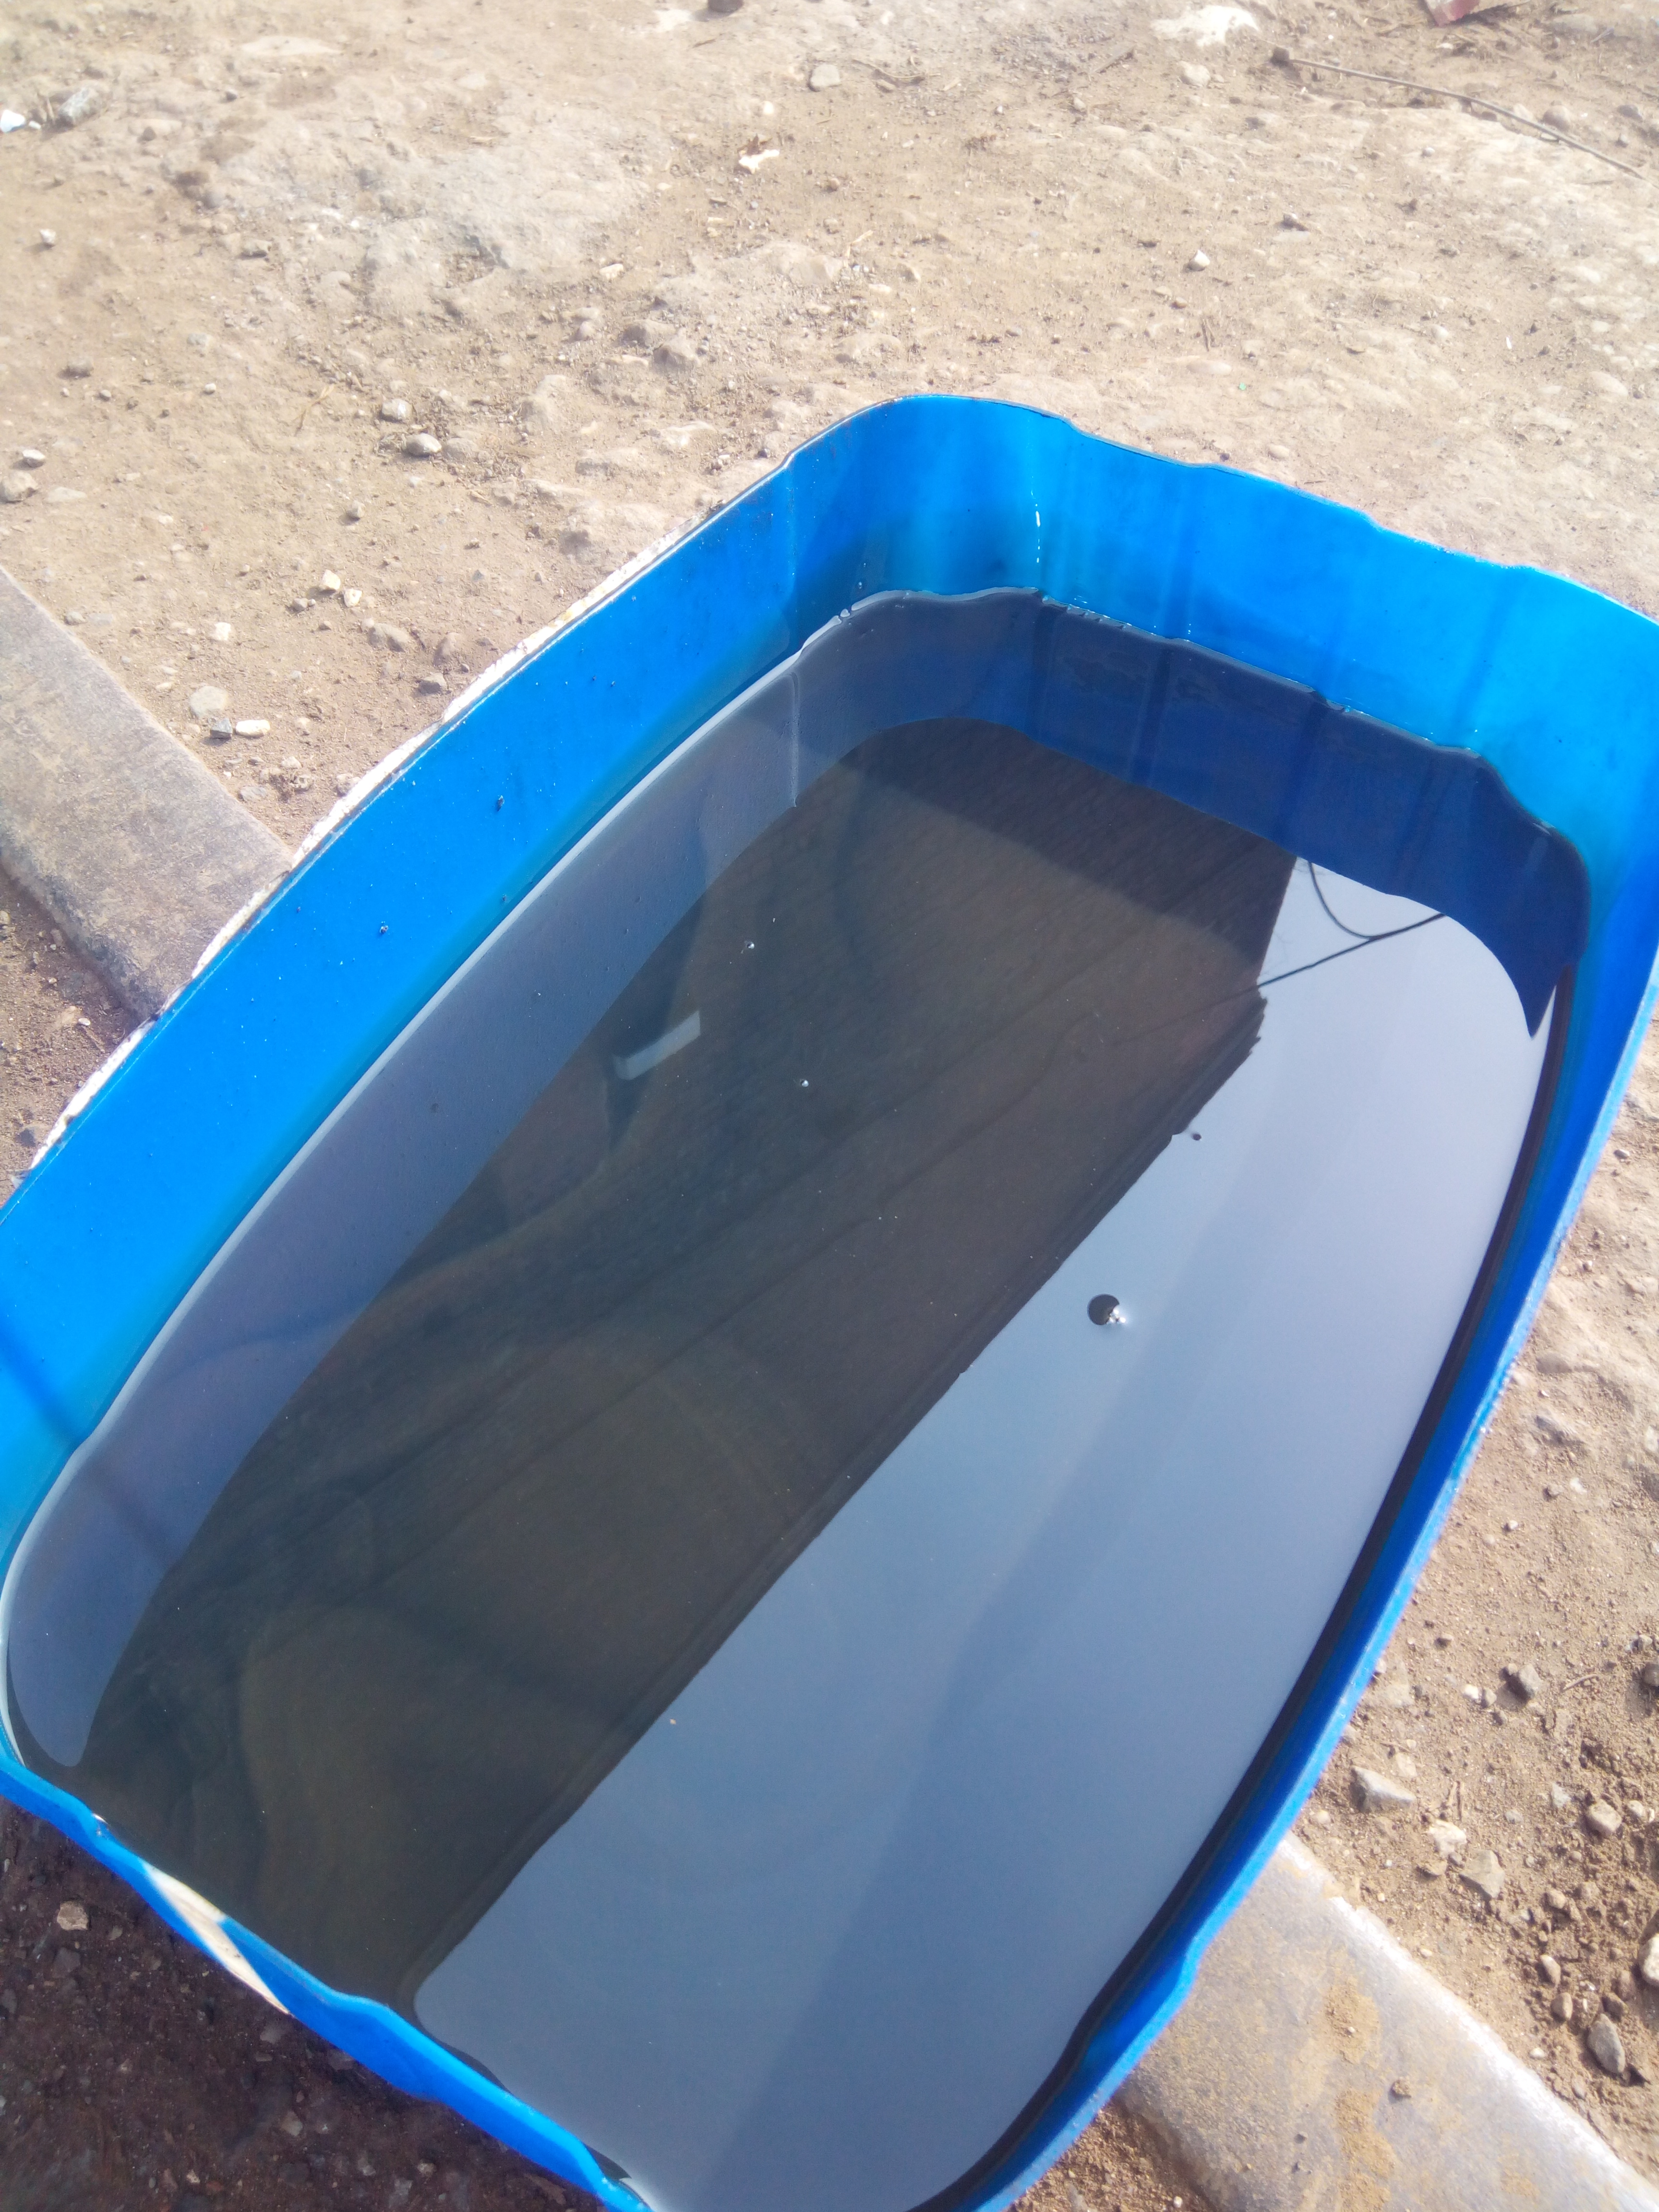 Diff cover looks like it's seen some excitement! 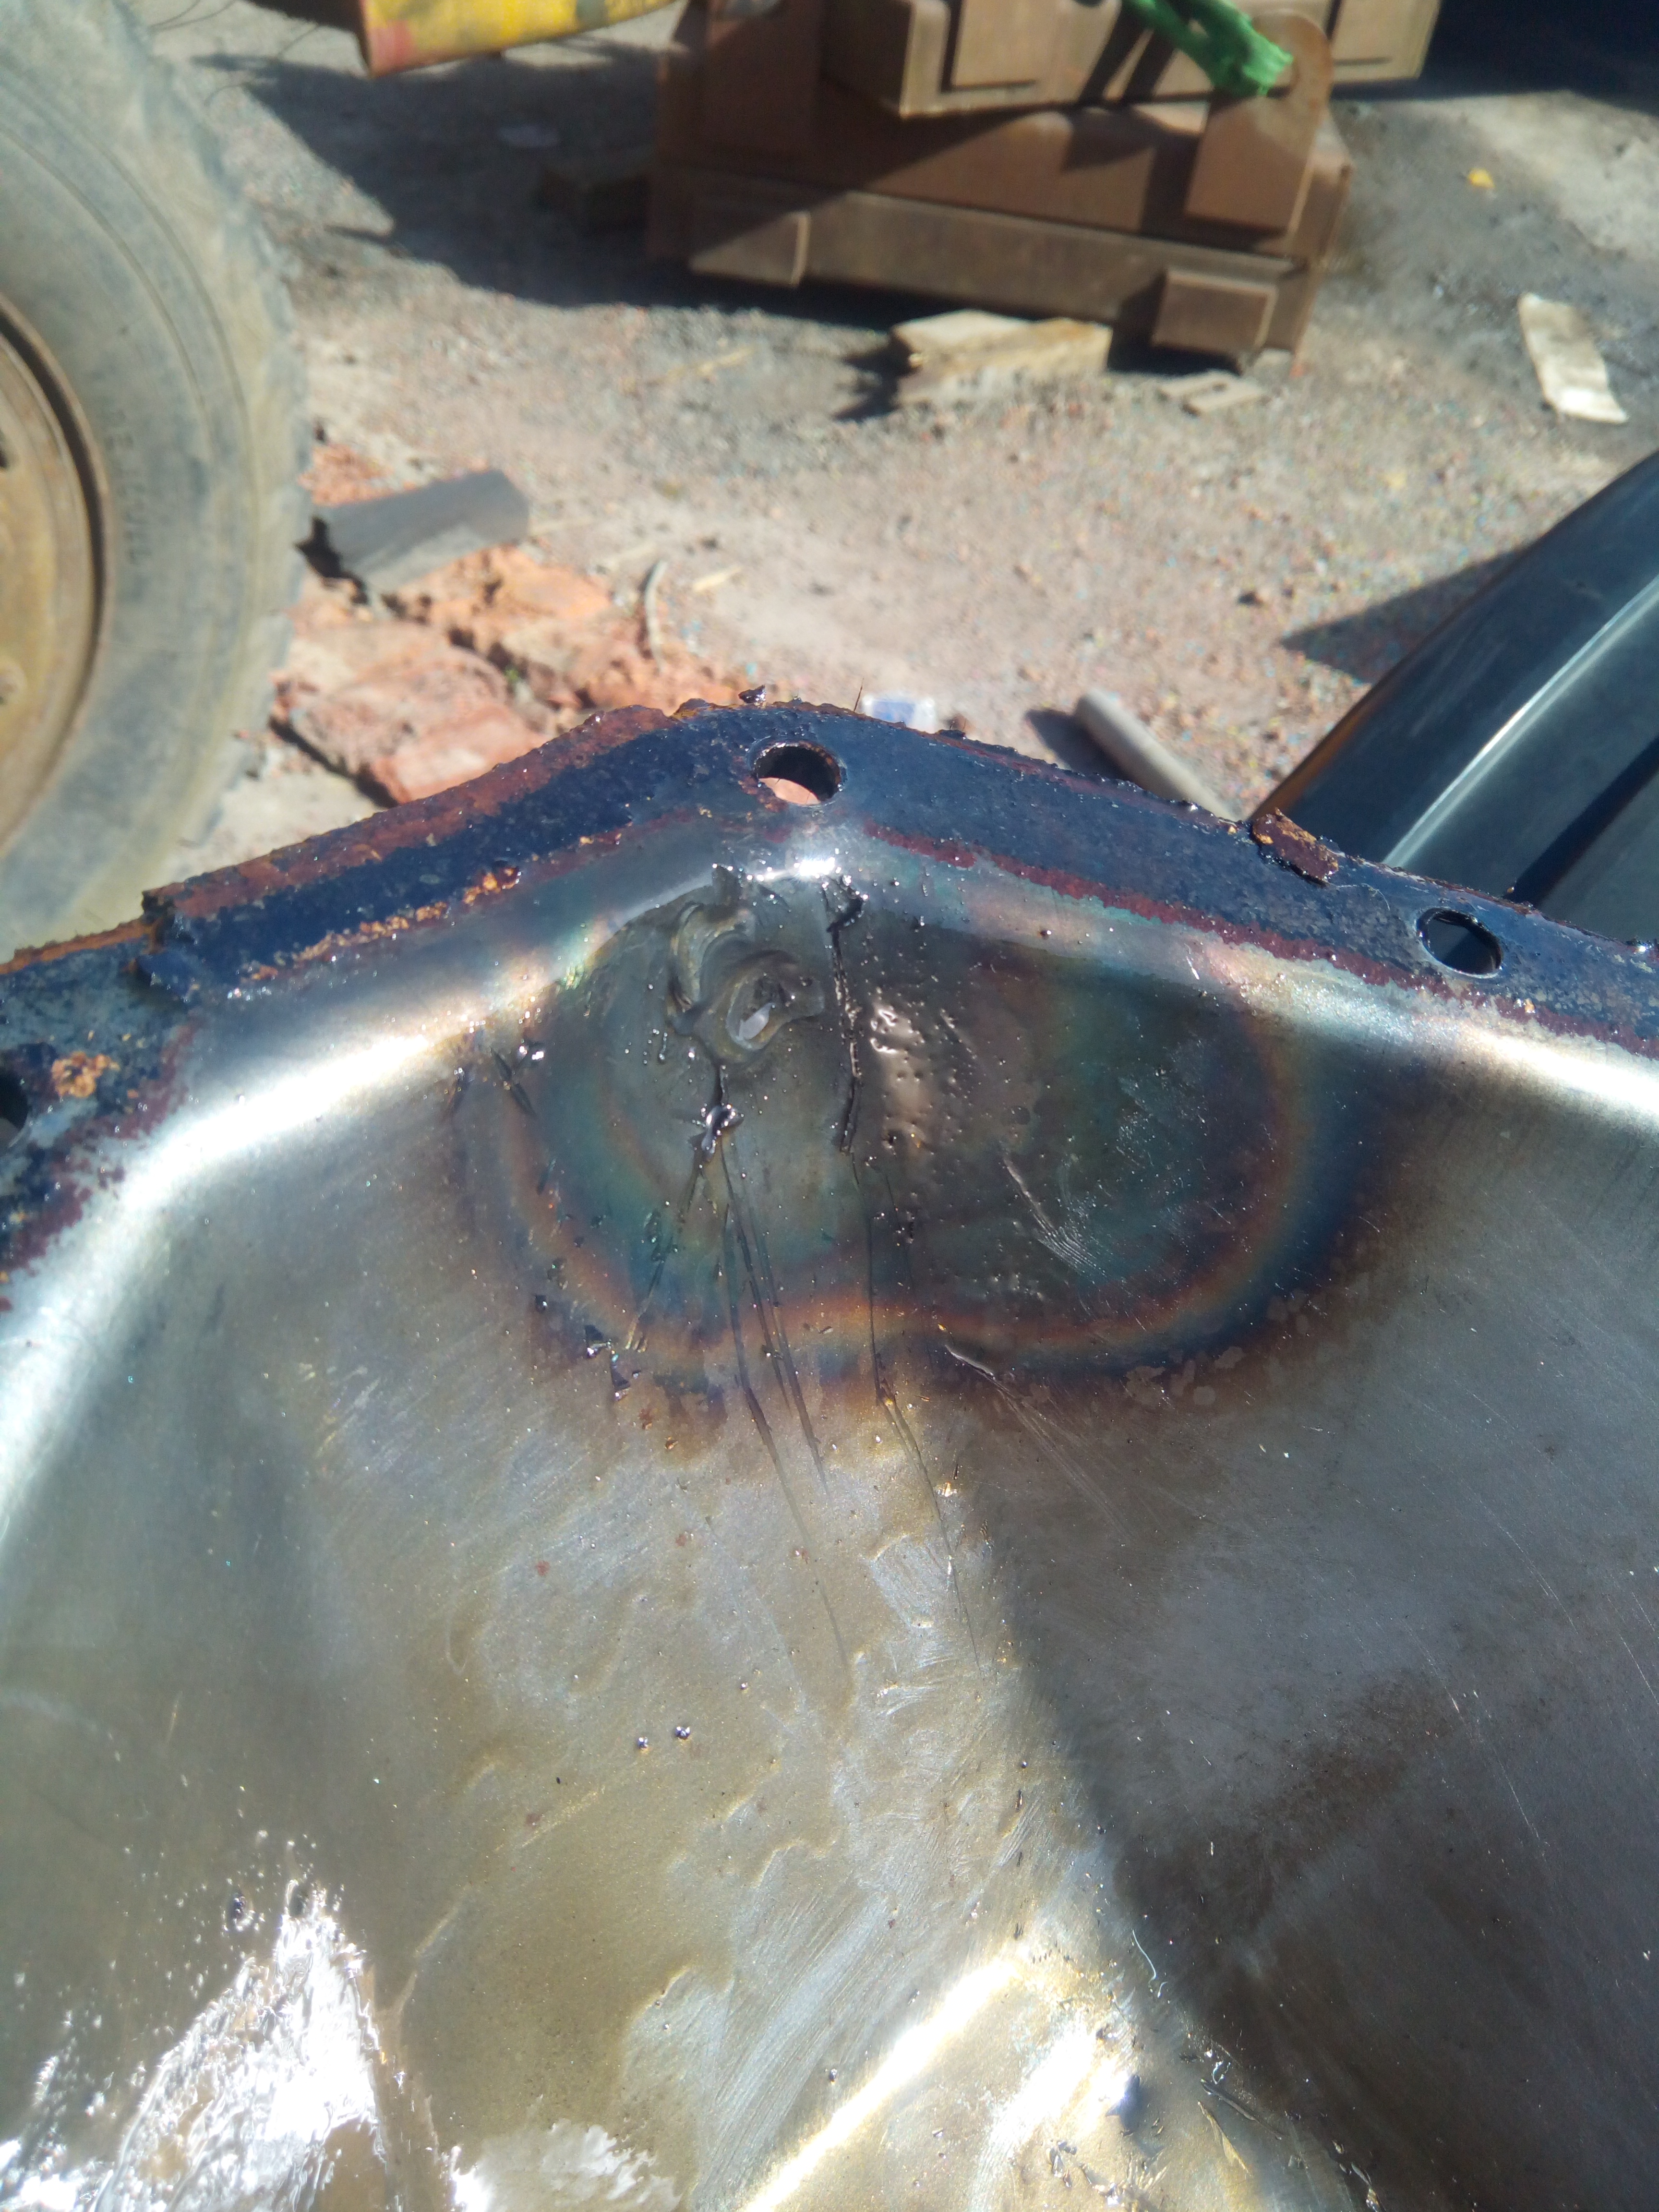 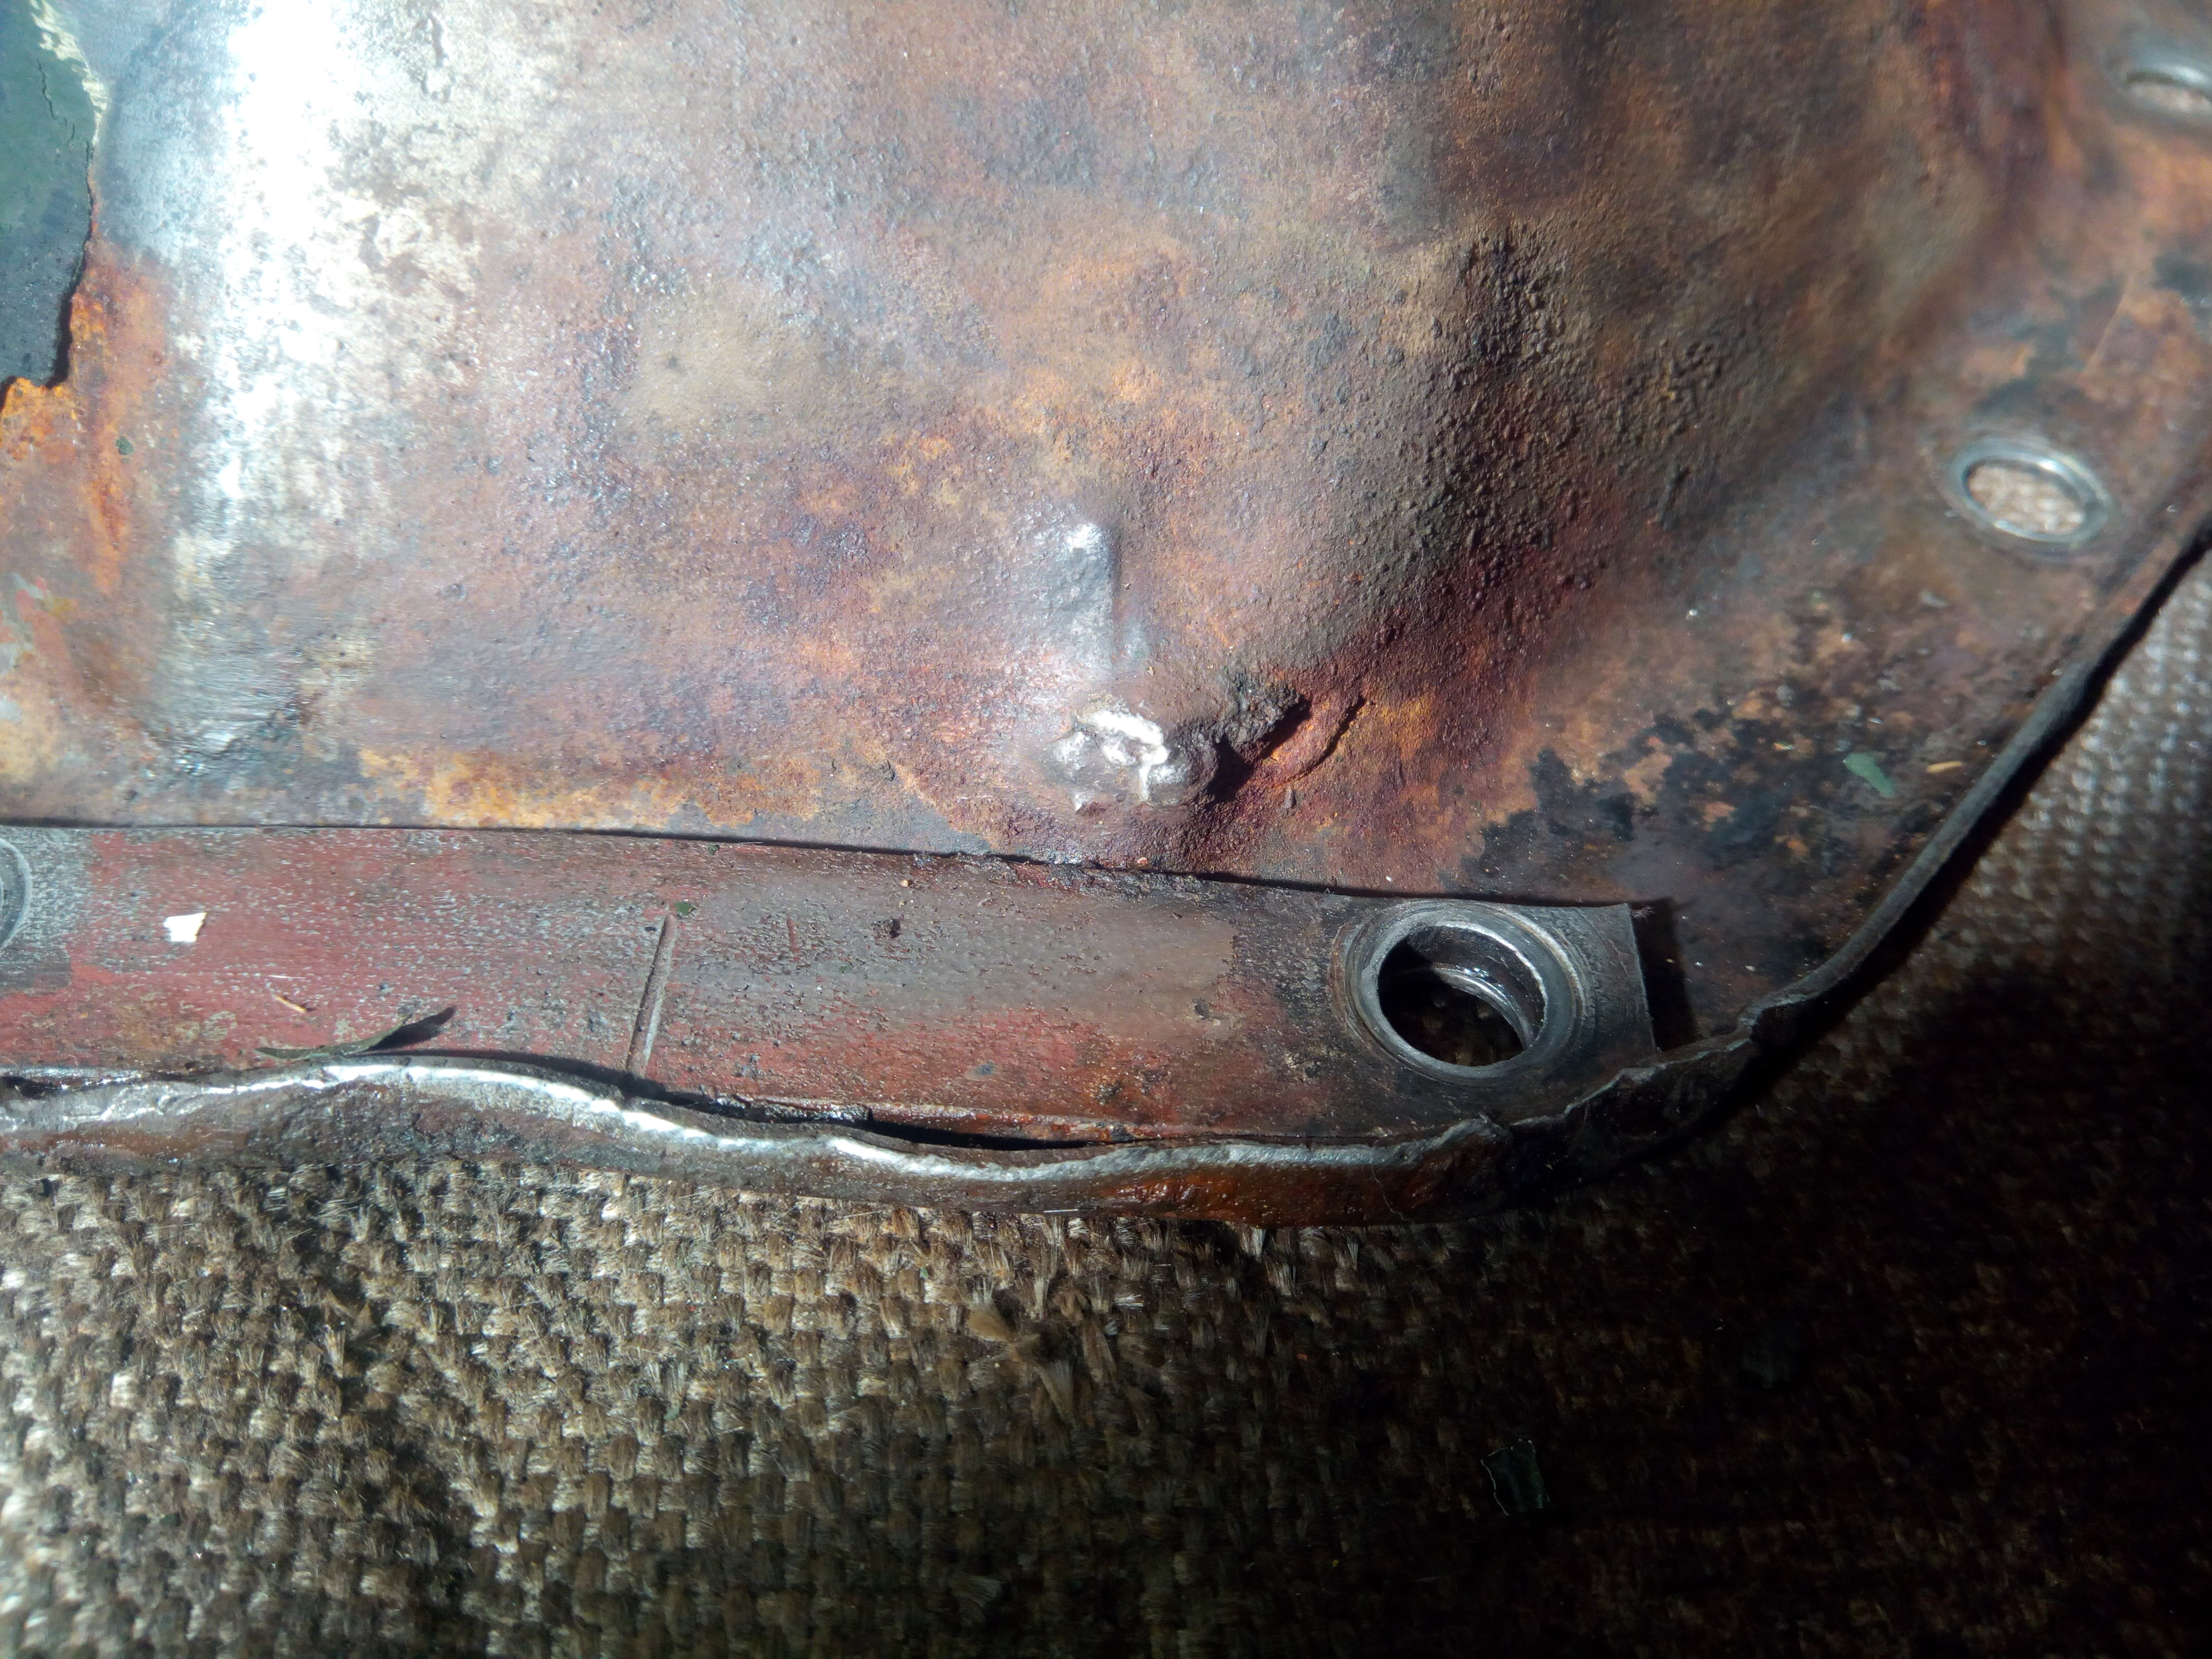 All in all, it's a bit shabby and needs some tidying. 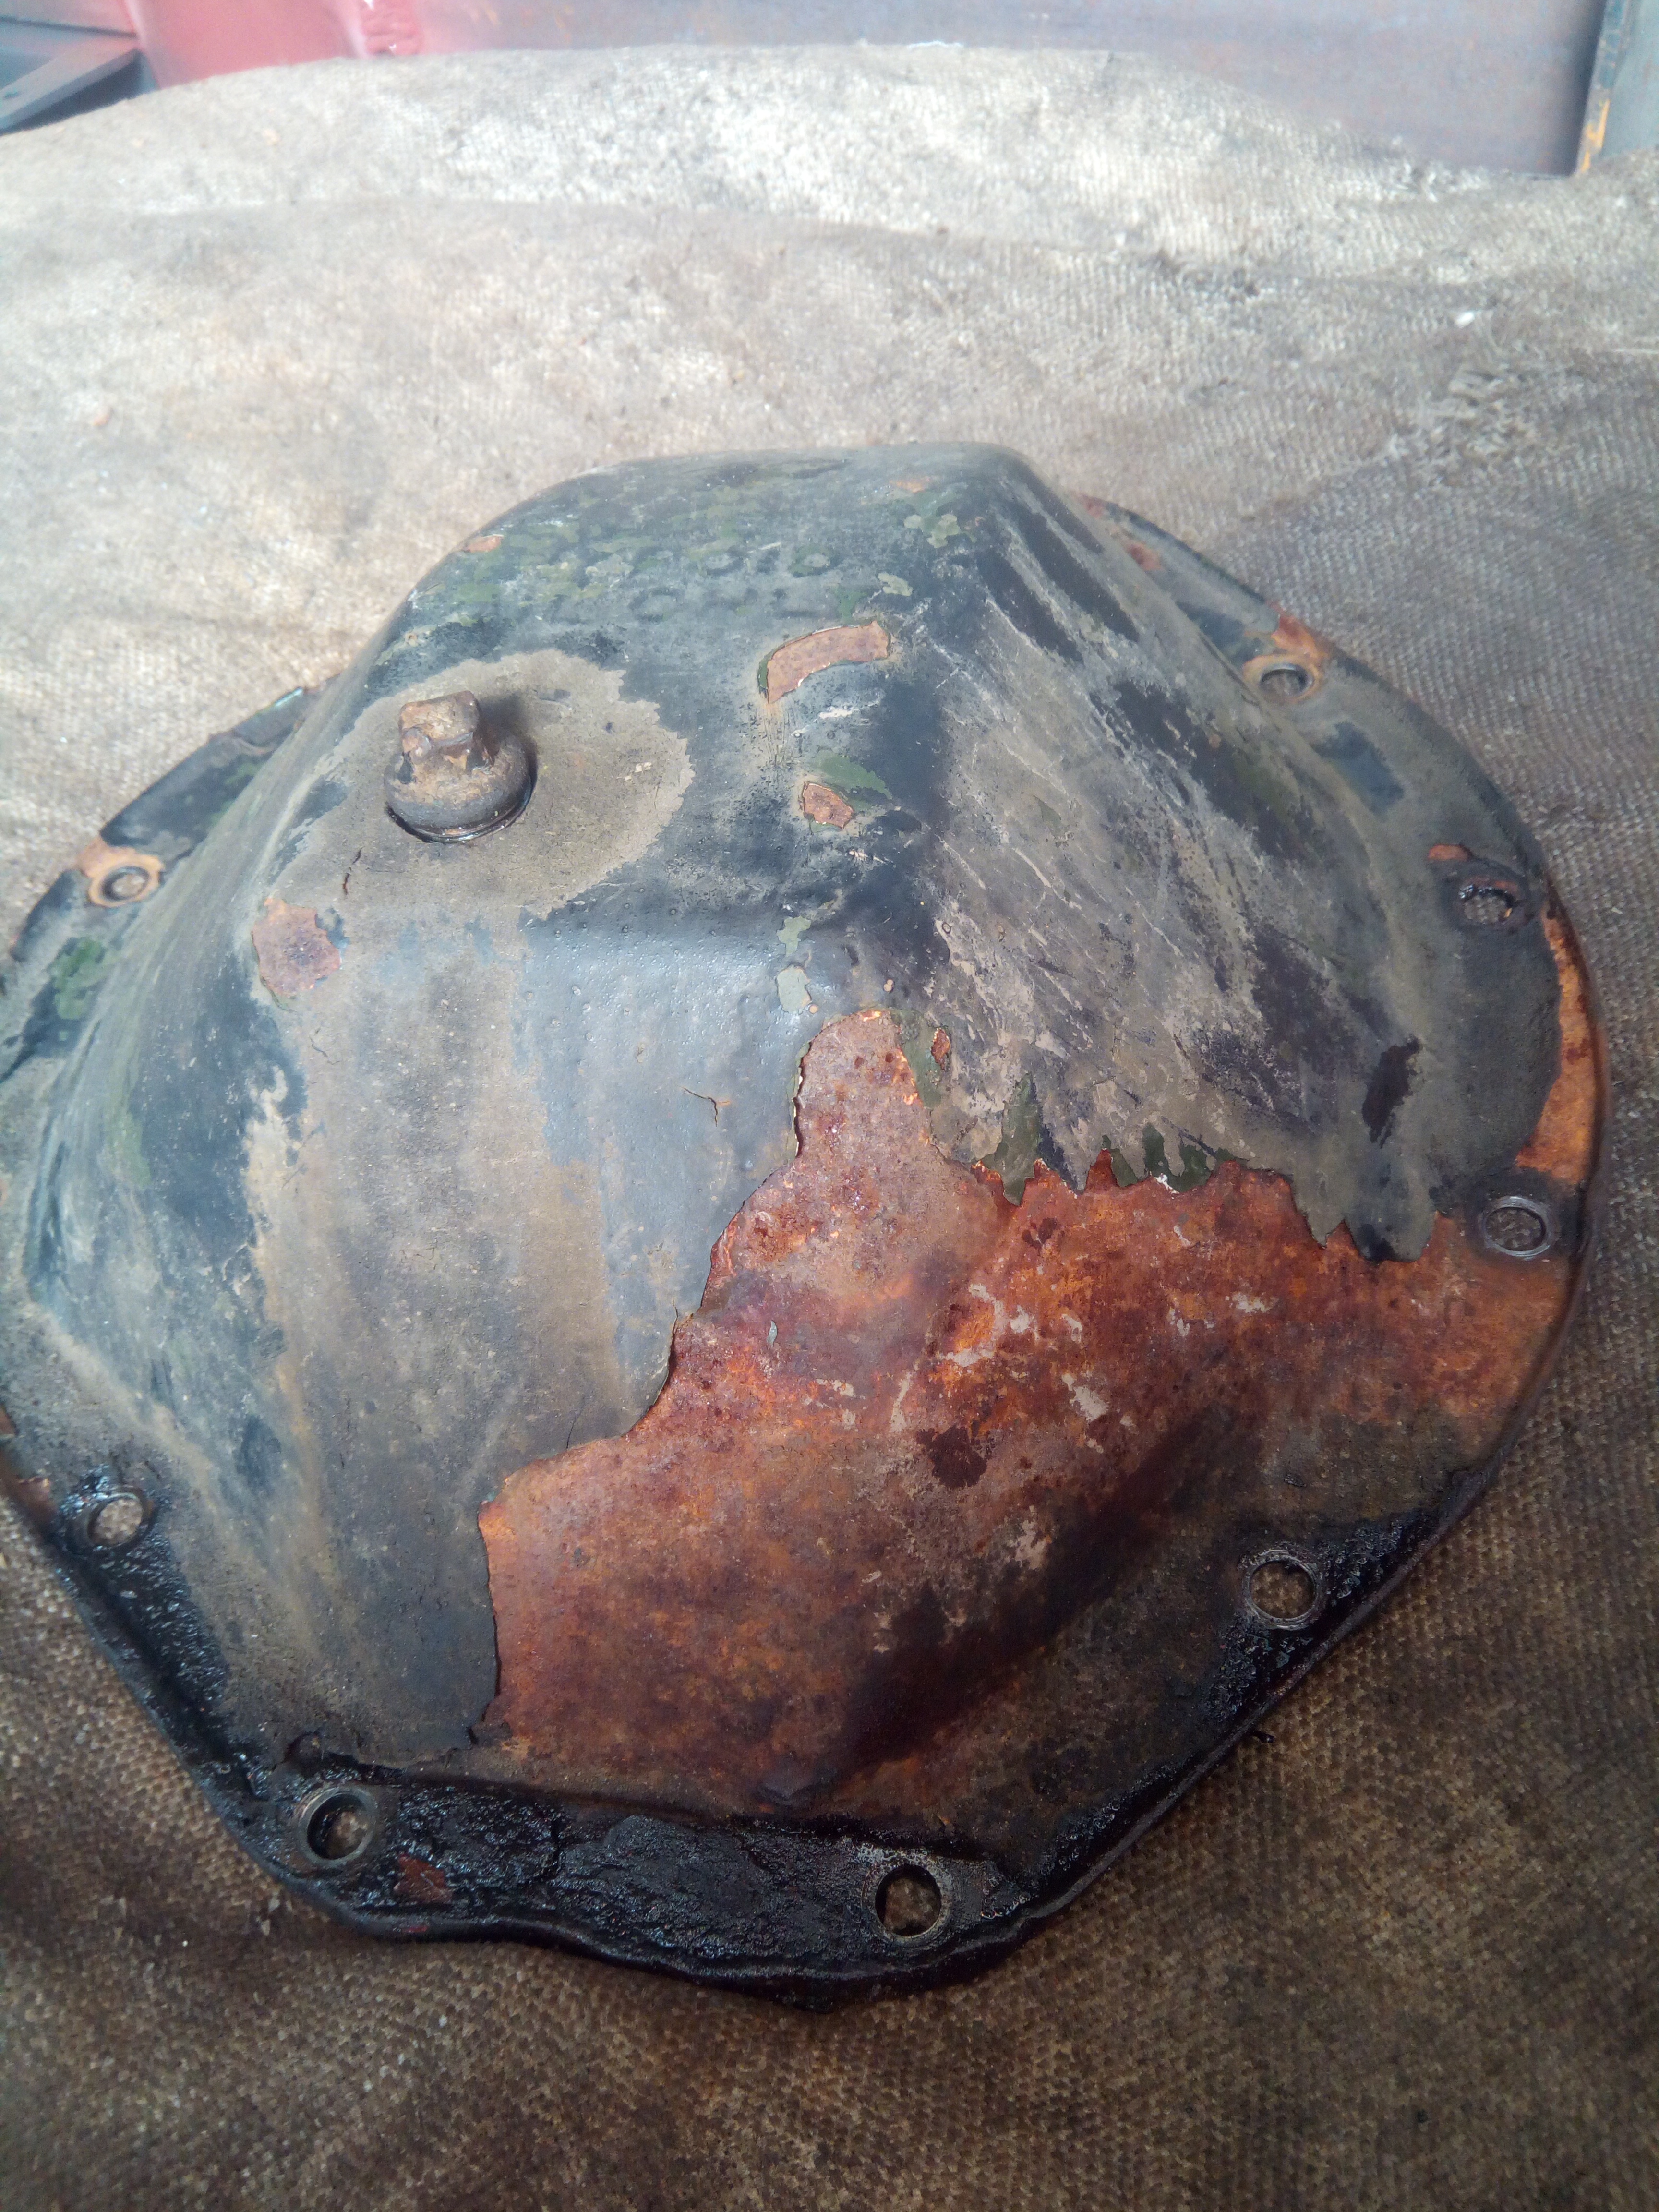 Better. 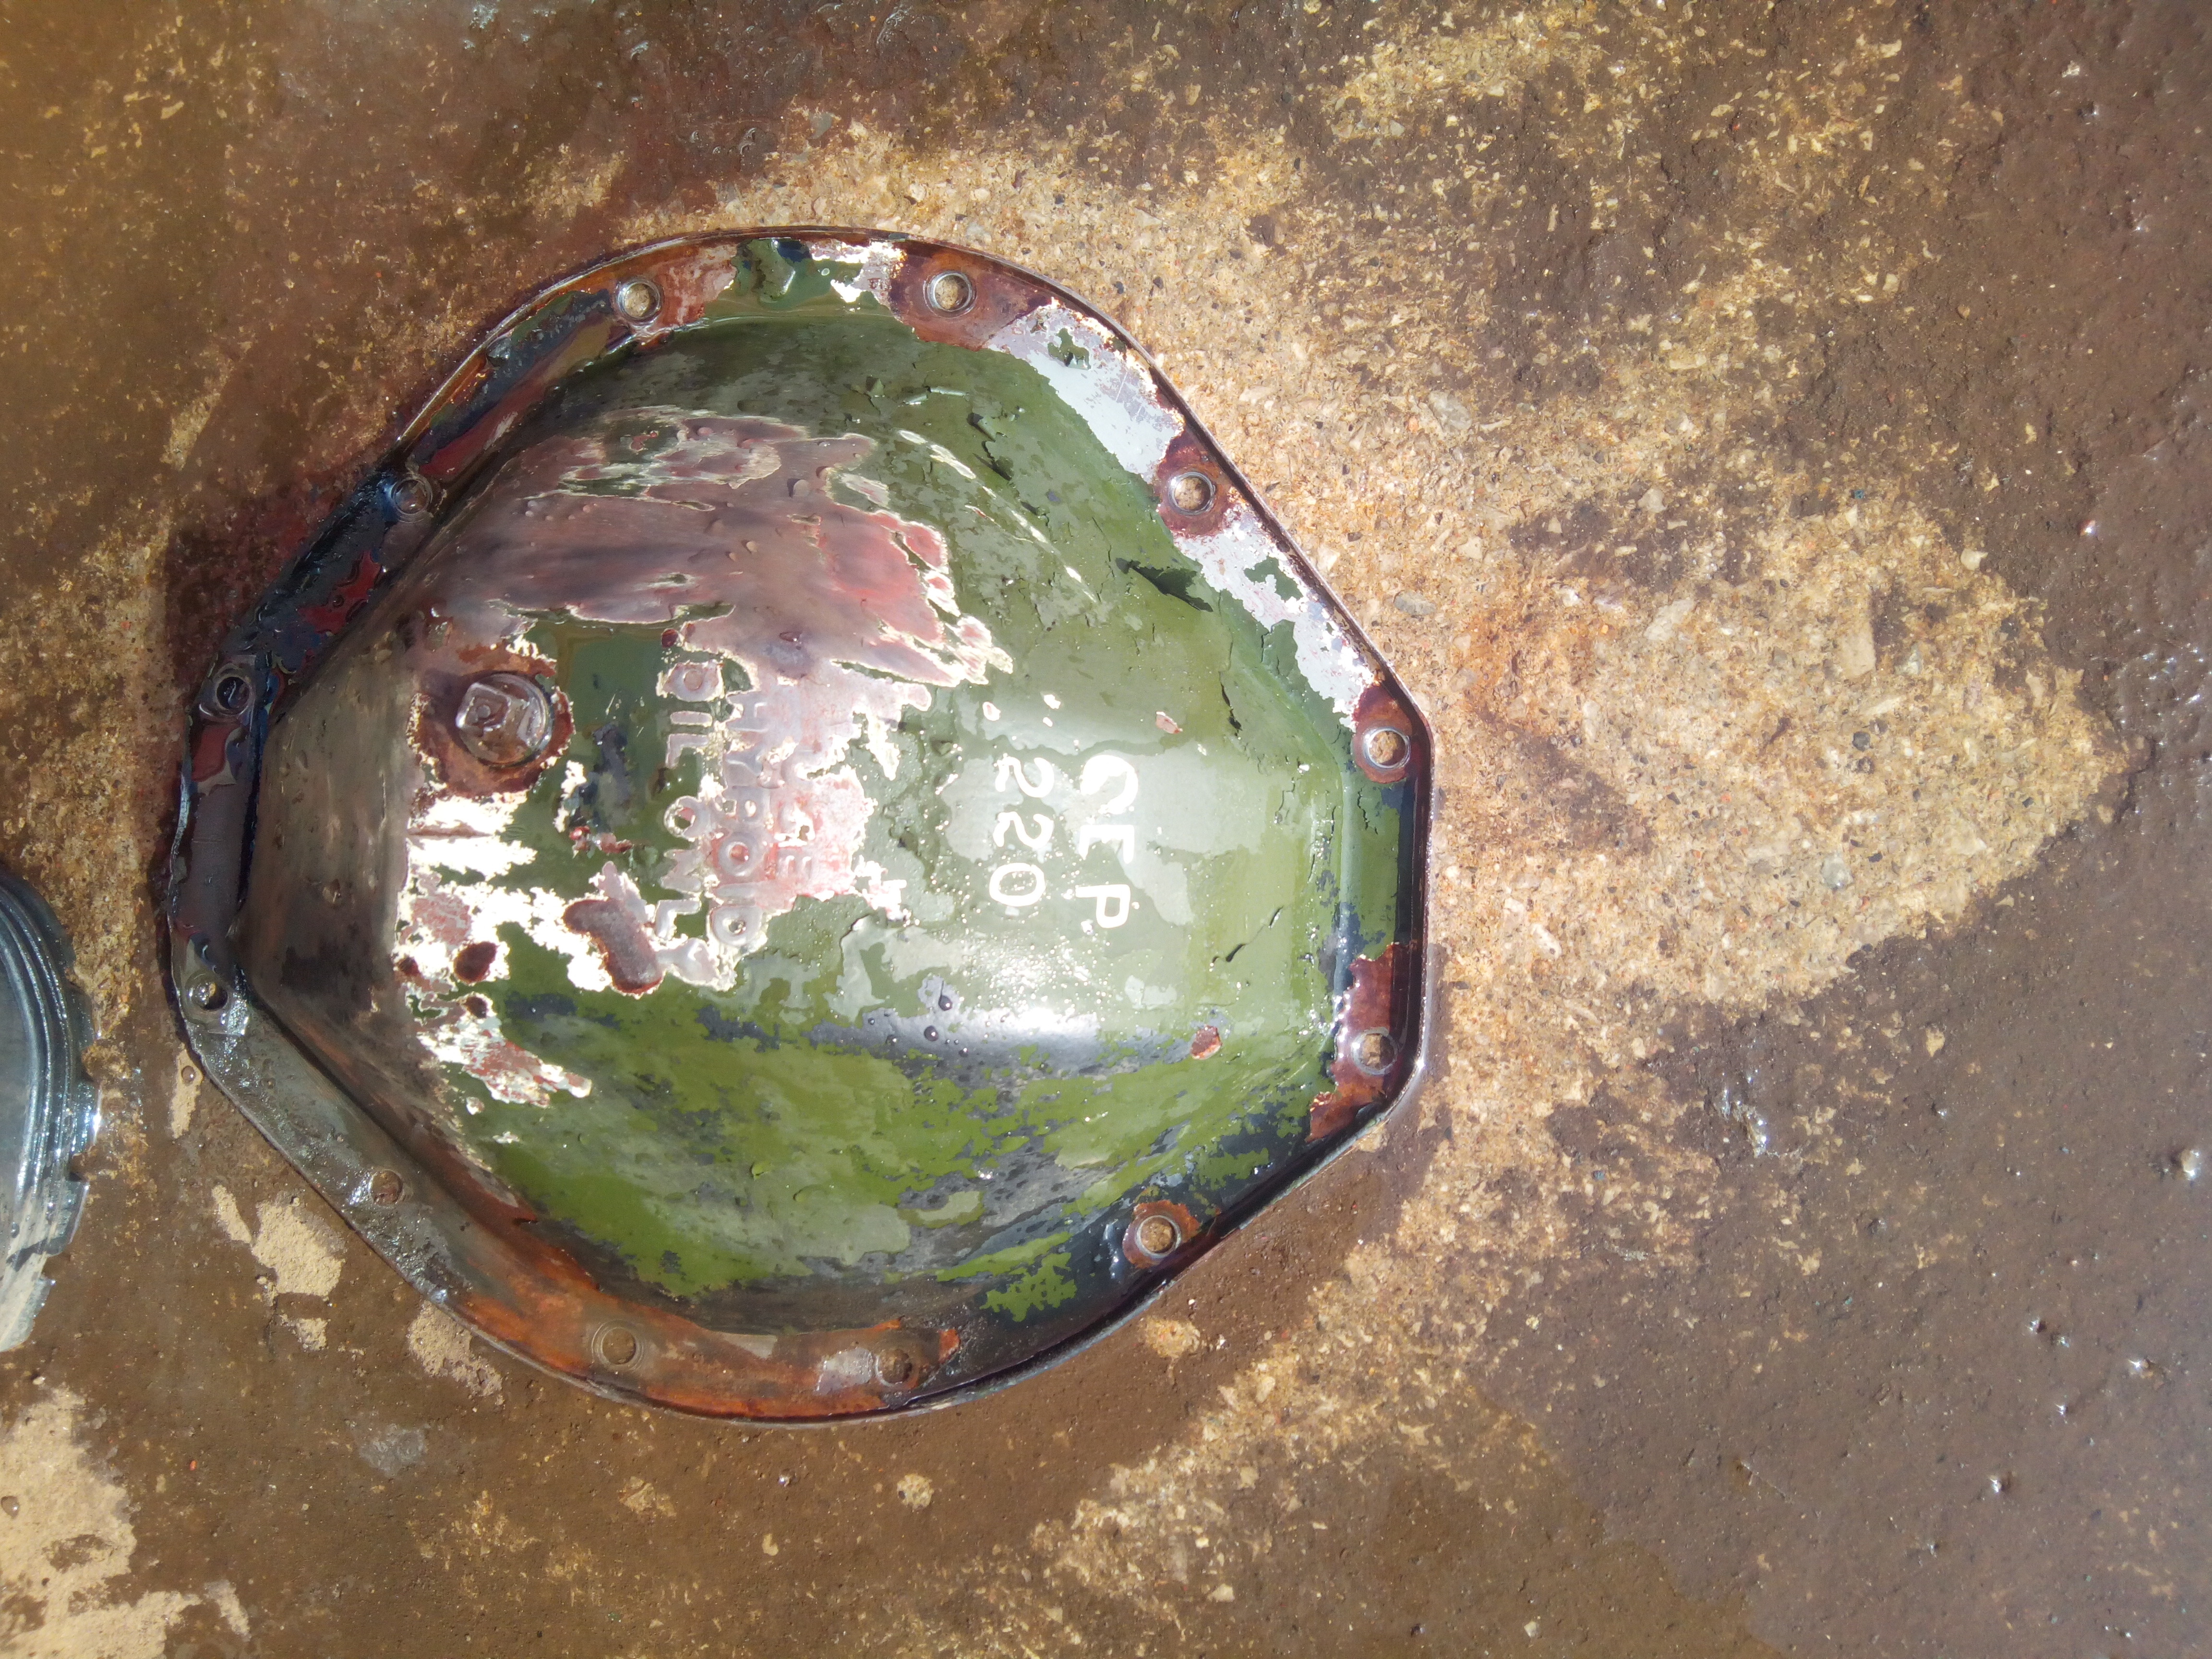 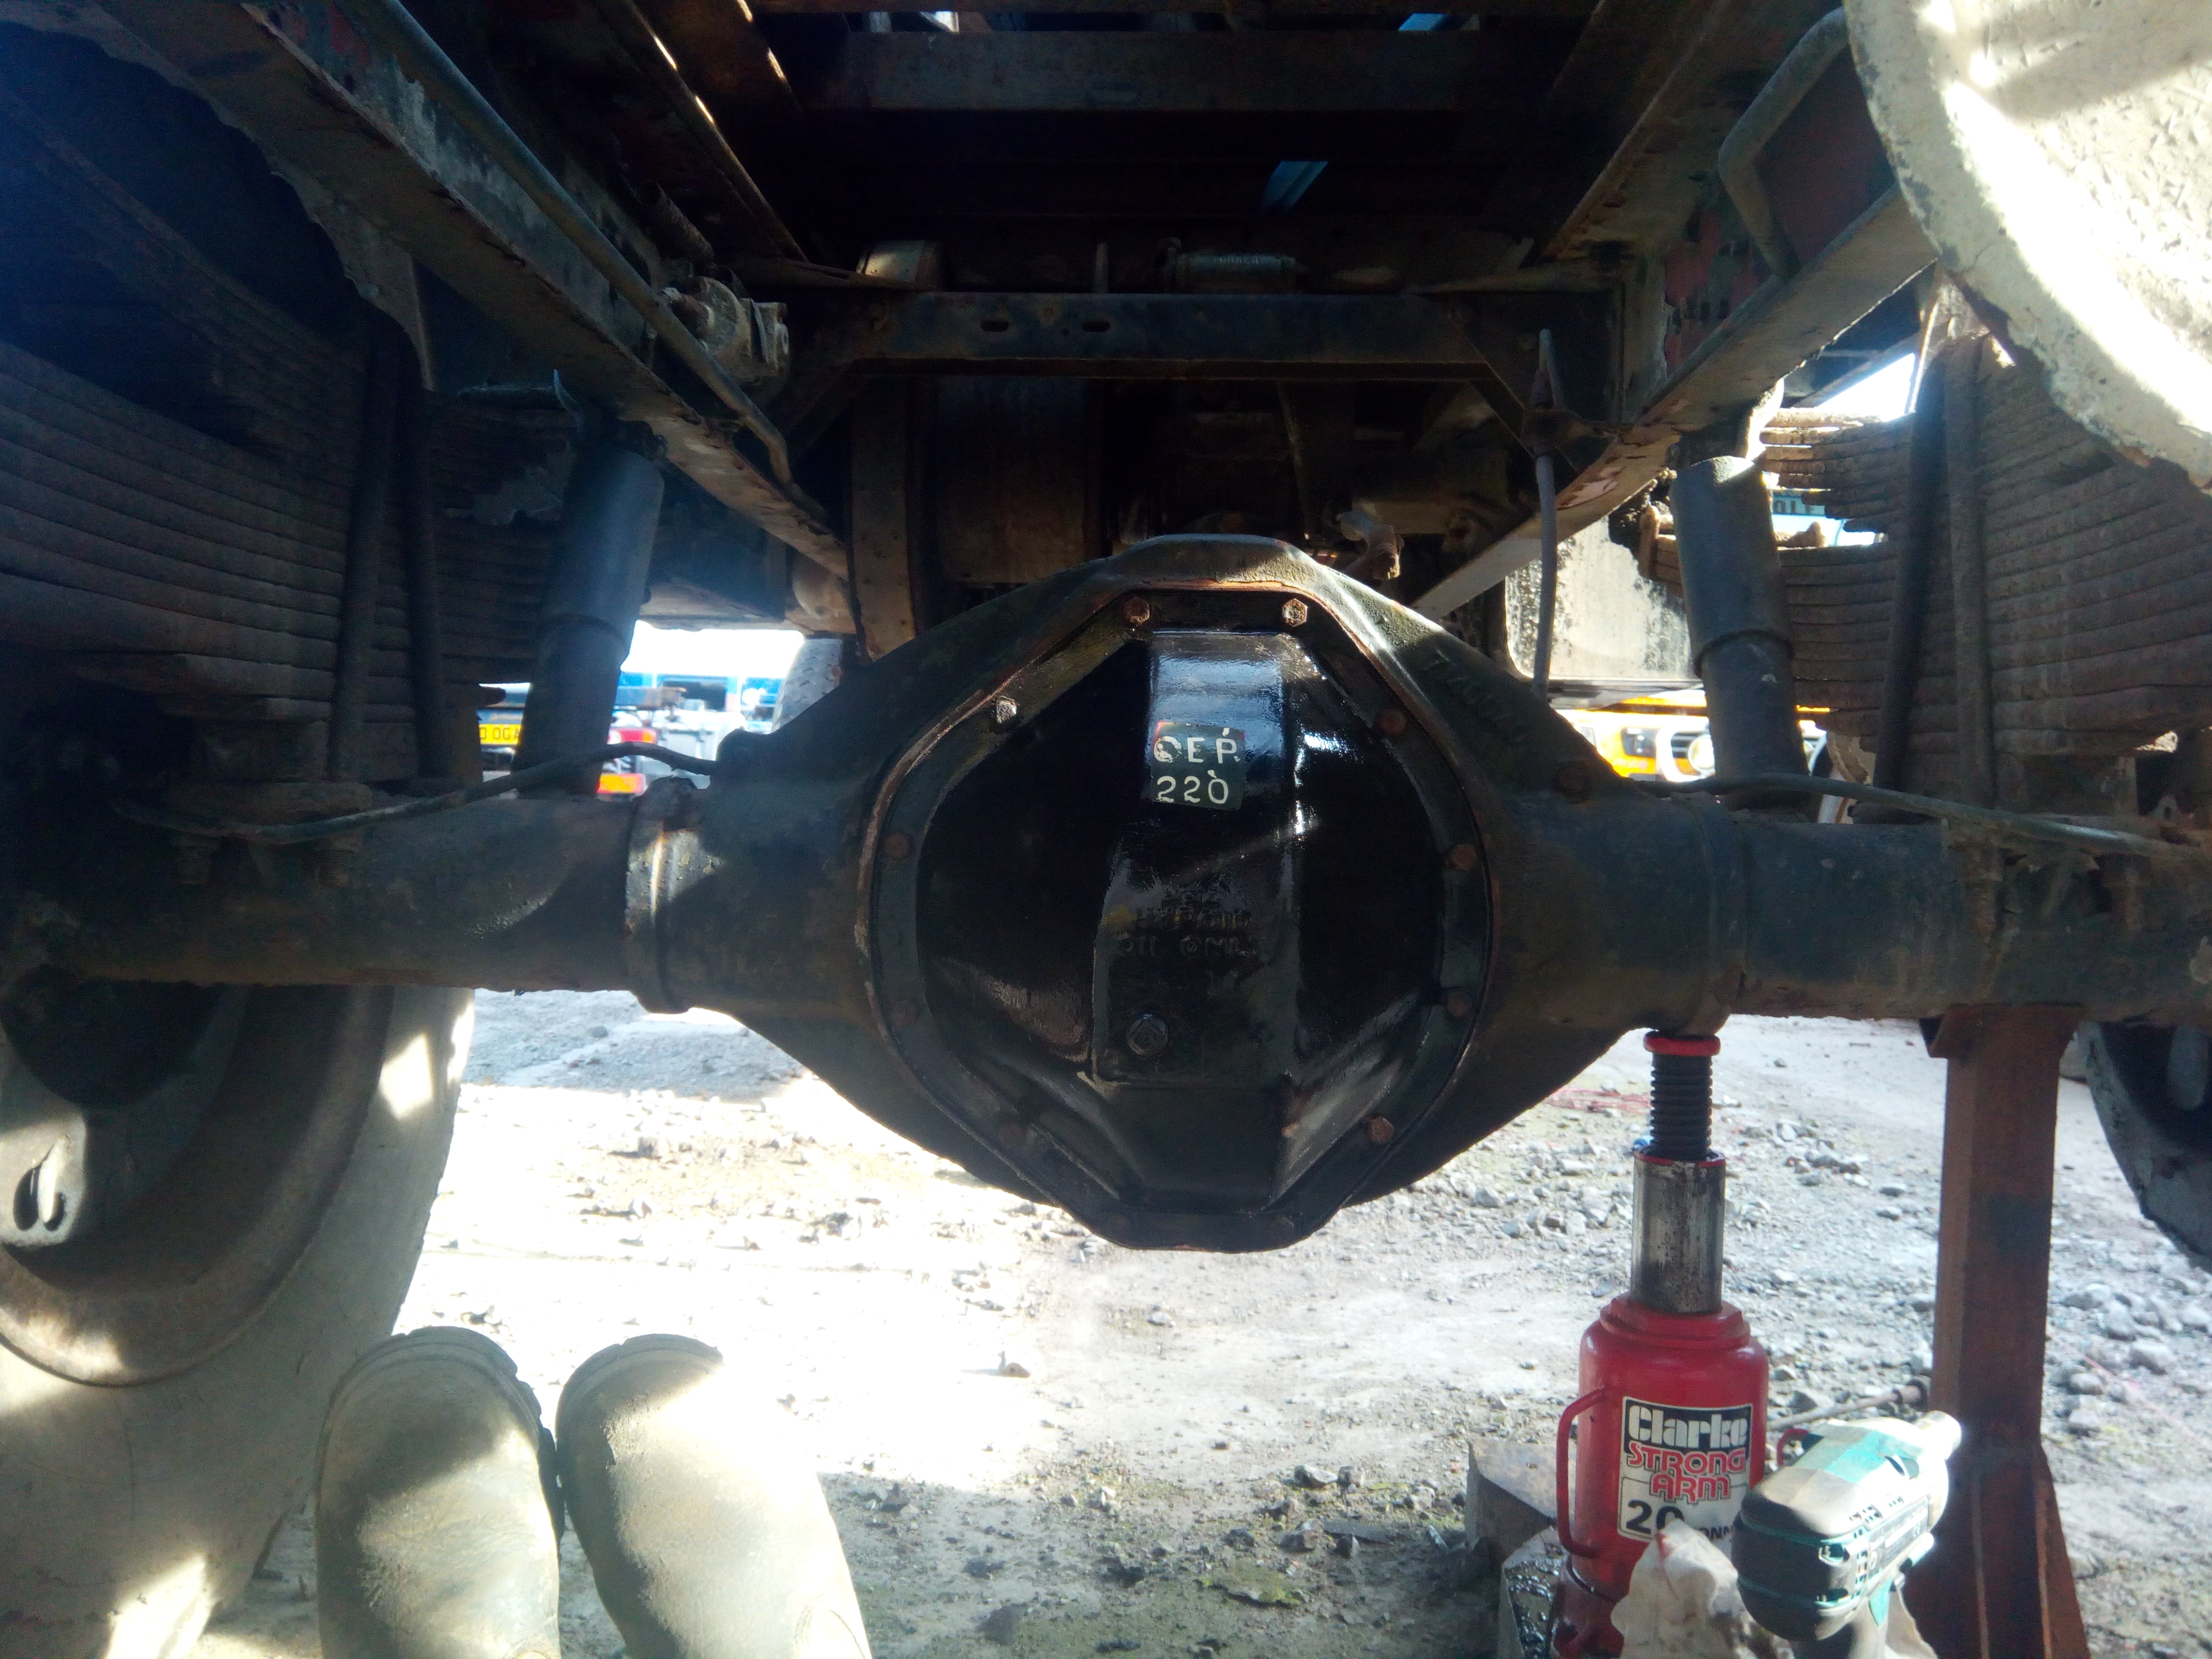 Mid April Mid AprilLet's have a bit of light! 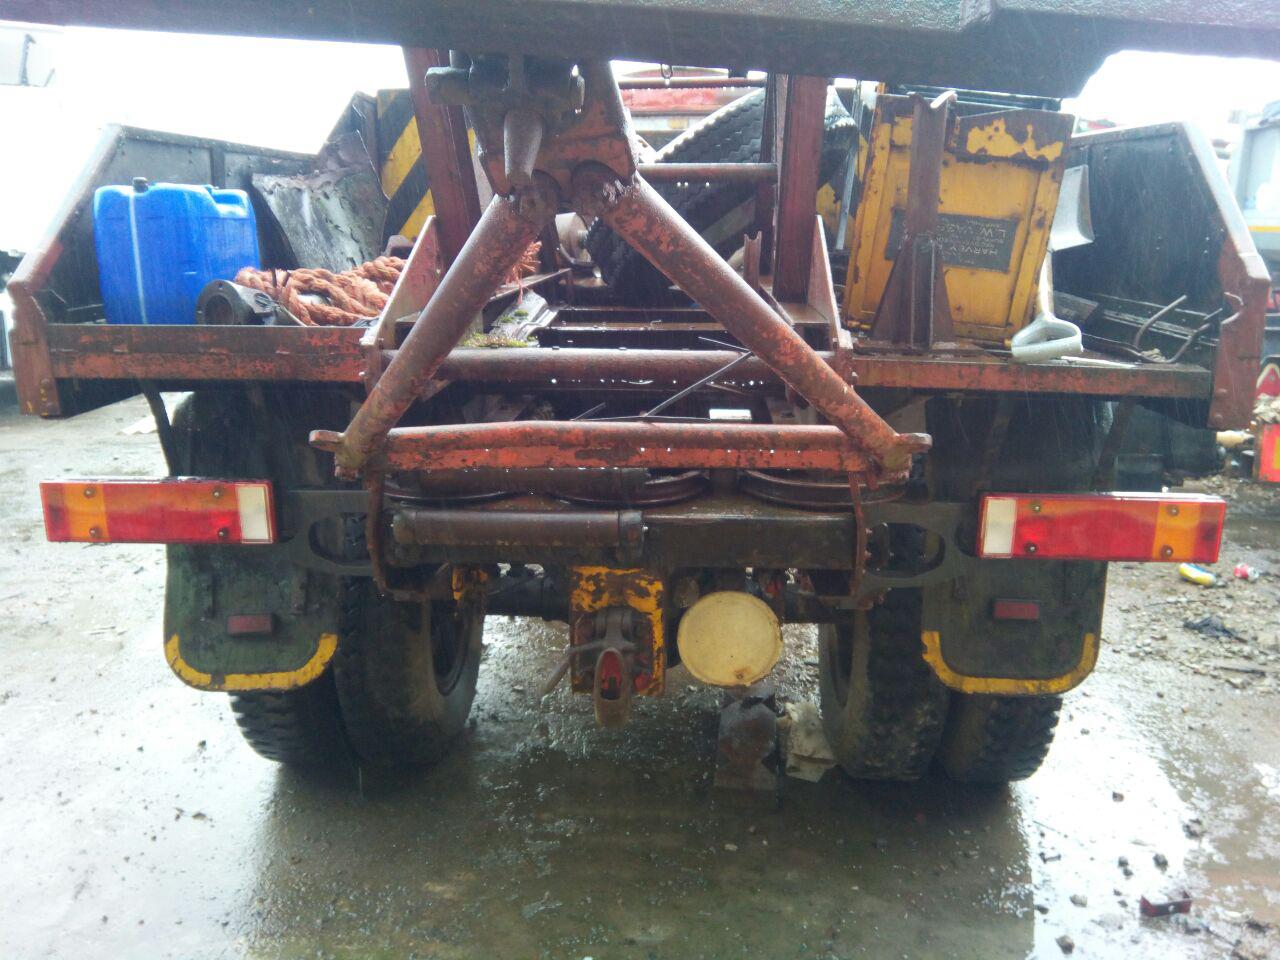 Also a bit of philosophy... (Side-note: Apparently, their go-to place for information on these bits has most of its knowledge-base residing in the head of a man named Frank, who's only in on Tuesdays. It scares me a little just how much information is contained solely within the Franks of this world.) There is an old saying - "when an old man dies, it's as though a whole library has been burnt". I wish there was some way of downloading the knowledge of the Franks of this world. Forums like this are a start. Unfortunate but very true. The main problem is, the stereotypical Frank is an unassuming bloke who is quite modest and doesn't see himself, or his knowledge, as being anything special. He does what he does, but no one notices until after he's gone Very very true, unfortunately.  (Same with all those parts places that are wall to wall shelves with scruffy little cardboard boxes, and the old guy behind the counter who knows where everything is; even if you're looking for that 1958-only counter-clockwise turbo-retro-encabulator that's just a strange assembly with spinny bits and a collection of springs to everyone else. Then the Franks pass on, and you get left with the spotty young kid who's job is apparently just to tell you that the computer can't find the part you need because it doesn't recognise your chassis or registration number.) Anyway, there was a bit of furtling about with the little control valve for the air-assist in the servo. It didn't really come to anything. I sort-of have an idea of what's supposed to be in there, but nothing close enough to concrete dimensions to make a replacement. So the current plan is to fit an external foot valve from a more modern truck alongside the original brake servo, controlled by the same brake linkage. Details yet to follow. (It also has the advantage of inherently giving me air brake control to a trailer, which is something that I wanted to add in anyway.) In other little items, one of the members from HMVF, Ian43, managed to figure out what sort of key was needed for the locking fuel cap, and then... Early May 2017The fallout from Part No. 42 finally hits me. The other day, I went to double-check and re-set static timing, just in case I'd screwed something up; and as I barred the engine over, there was a thunk and it stopped dead. Pulled the spark-plugs, and it started to turn over again; wound it over on the starter, and fuel squirted out. Note, not fuel mist but liquid petrol. Some checks were made, and I spotted fuel dribbling down onto the throttle-plate. Did the usual wishful-thinking fix of tapping the float-bowl with a screwdriver; nothing improved. "Ah, fuel pressure's maybe a little high..." thinks Jim, in a full-on [muppet] moment, completely forgetting that the electric pump was meant for carburettors and that sort of issue would've reared its head sooner anyway. So a pressure regulator was ordered, and fitted. And the problem persisted, even with the pressure set to 1psi. A co-worker suggested a stuck float, and the float-bowl was removed. Float wasn't sticking, but fuel did seem to be pouring out unless it was held at a certain angle. Let's have a wee game of Spot the Difference (Followed -- and this is foreshadowing -- by a game of Hide and Seek.): Venturi side of the emulsion block after the carb rebuild: 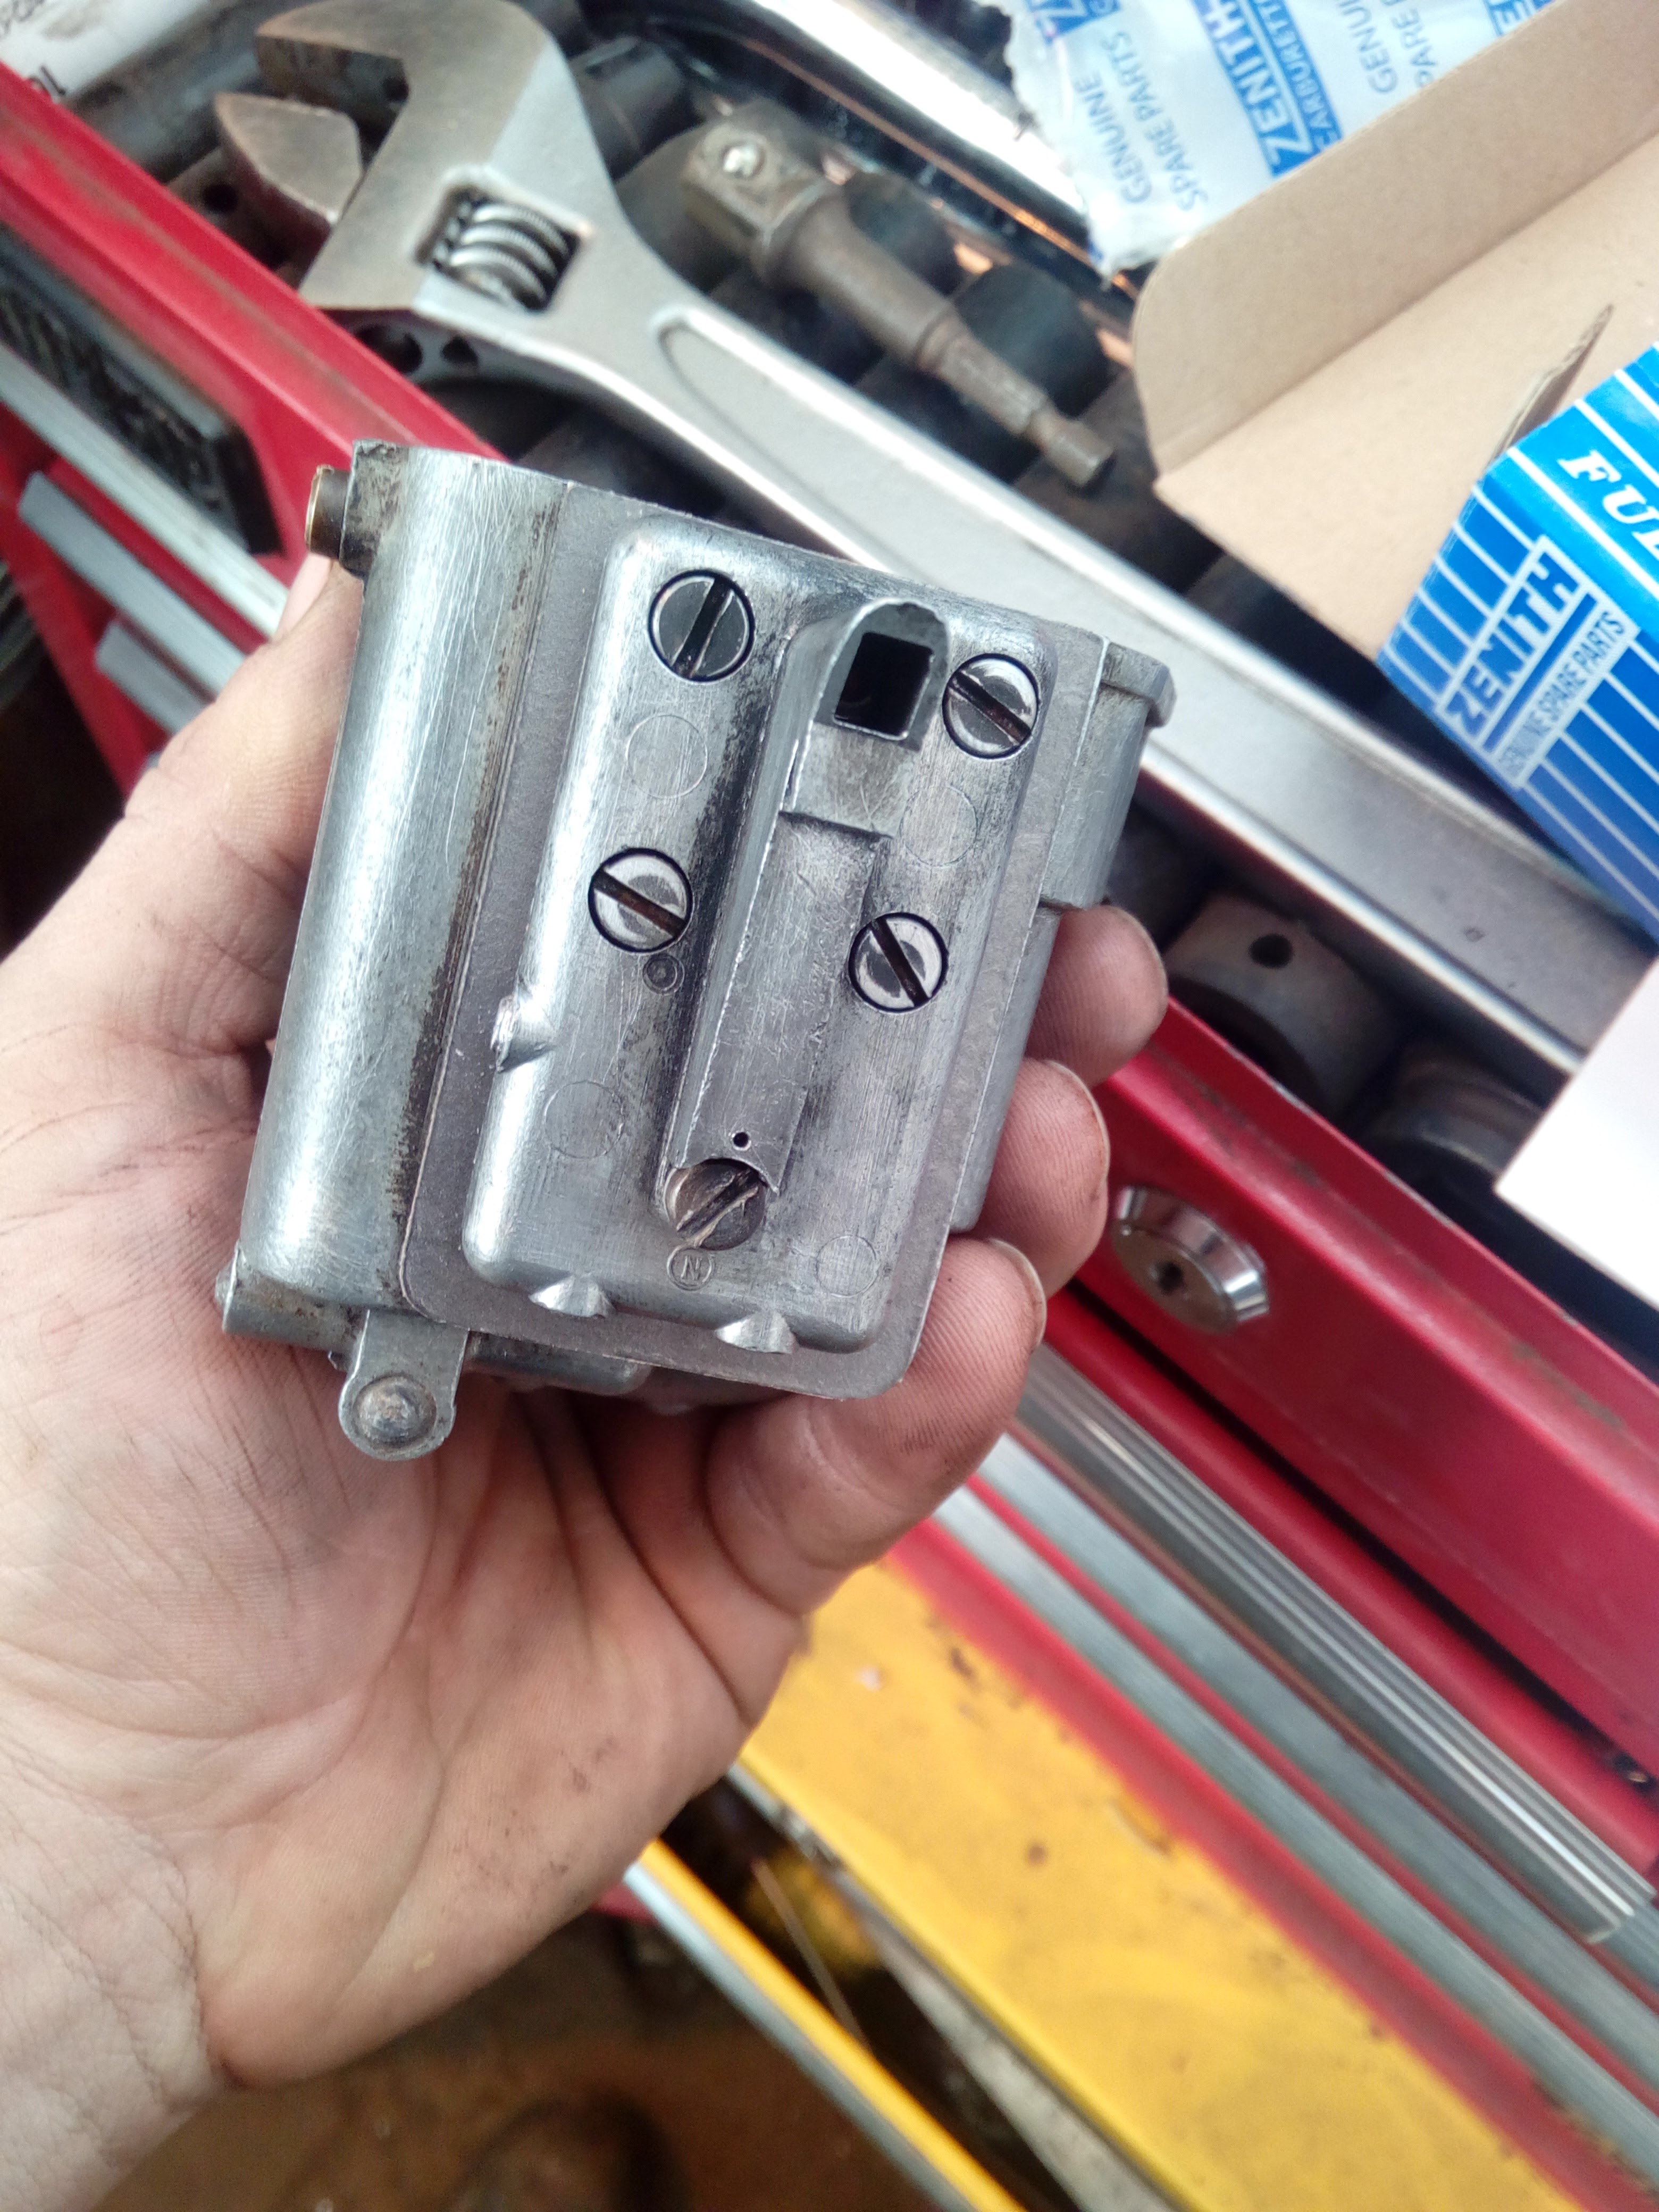 Venturi side of the emulsion block this afternoon: 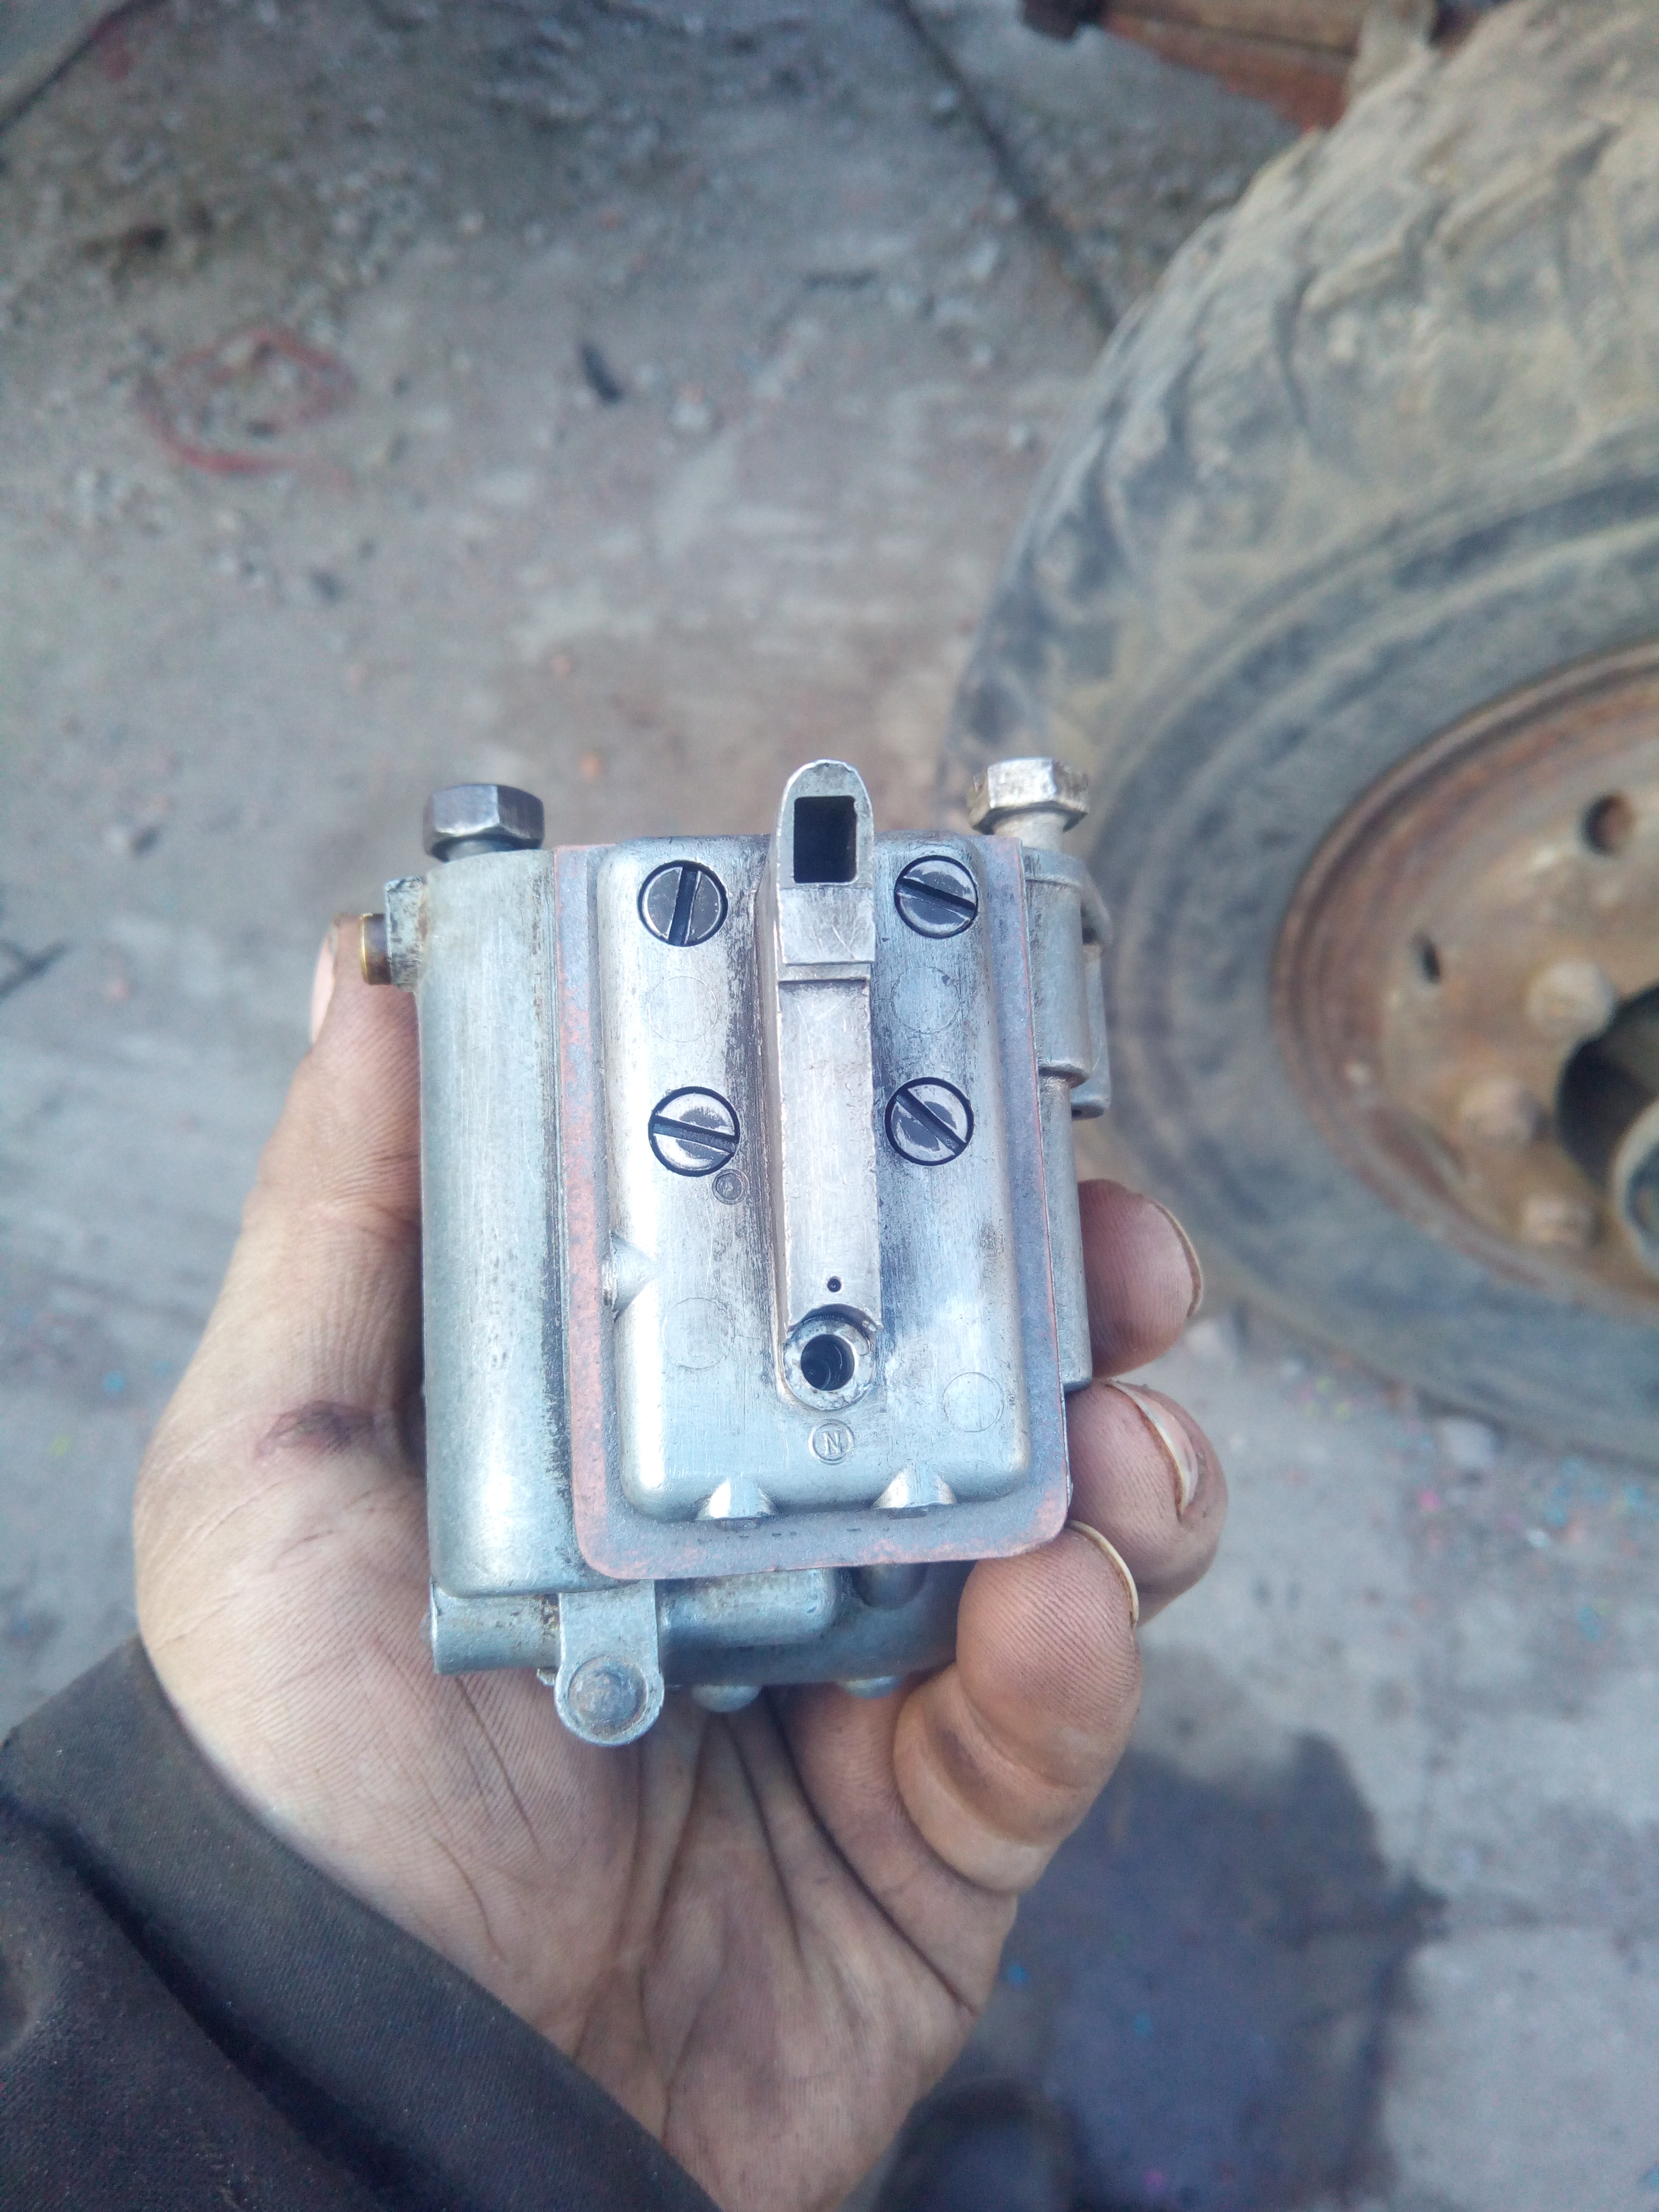 Yes, that screw has gone where you think it's gone. :angry: I'm going to break out the inspection camera and go on a hunt for that stray screw. I'm not getting my hopes up too much, but I shan't despair yet. (In any case, does anyone know what size & thread that screw is, then I can order a replacement? :-D) I also need to get some more oil ordered, since the sump probably has more petrol in it than the tank does, at this point...  That was a bit of a bummer... |
| |
Last Edit: Jul 22, 2019 21:53:56 GMT by Tamber: Remove a dead link because I couldn't be bothered hunting down where the picture vanished to. *shrug*
-< Welder. Allegedly a mechanic. Bodger of Things >-
* 1958? Bedford RL - Progress: Glacial.
* 1994 Skoda Favorit - It's baaaaaaaack!
* 2018 Herald Classic - Gone!
|
|
Tamber
Part of things
  Shattered. Held together by spite and tape.
Posts: 336
|
|
Jul 22, 2019 22:31:33 GMT
|
Still Early MayCamera poked down plug-holes has come up inconclusive. I don't have any horrible noises when I crank the engine over, though, so I'm not going to bump "engine tear-down" up the list of priorities just yet. For the time being, I'll plan on towing the truck to the workshop with the forklift when I need to work on it. Some rot removal happened. More surprisingly, the battery box didn't immediately fall out of the truck. Late May, 2017
The screw that's missing from the carburettor is a little oddball, it appears to be M4x0.75; which is a non-standard (but formerly popular apparently in French stuff) metric screw that's apparently made of unobtanium. (Yes. Metric. I was highly surprised, too. I had to do the "check it four times, remove glasses and hold it up to the light and a bit closer just to make sure" dance. Started with the UNF/UNC thread pitch gauges; they fit the thread profile, but not the thread pitch. Whitform is the wrong angle, so it wasn't that. And the 0.75mm metric gauge dropped in perfectly. Go figure.) I've solved this problem the slightly rough way (Retapped the hole for a screw that I actually had: a standard M4x0.70.  ) and applied a dab of thread-locker to all of them. Continuing on the theme of hackery, I've undone the rear cab mount and jacked the cab up very slightly to sit it on a length of 1-1/4" box section laid across the chassis rails; taking the weight off the rear mount and the hollow section it's attached to, so that I can cut out that rusted section and replace it with new metal without the cab falling off. Hopefully. I'll have the camera rolling when I make those cuts, so you'll have something good to laugh at afterwards, if it does go wrong.  June, 2017
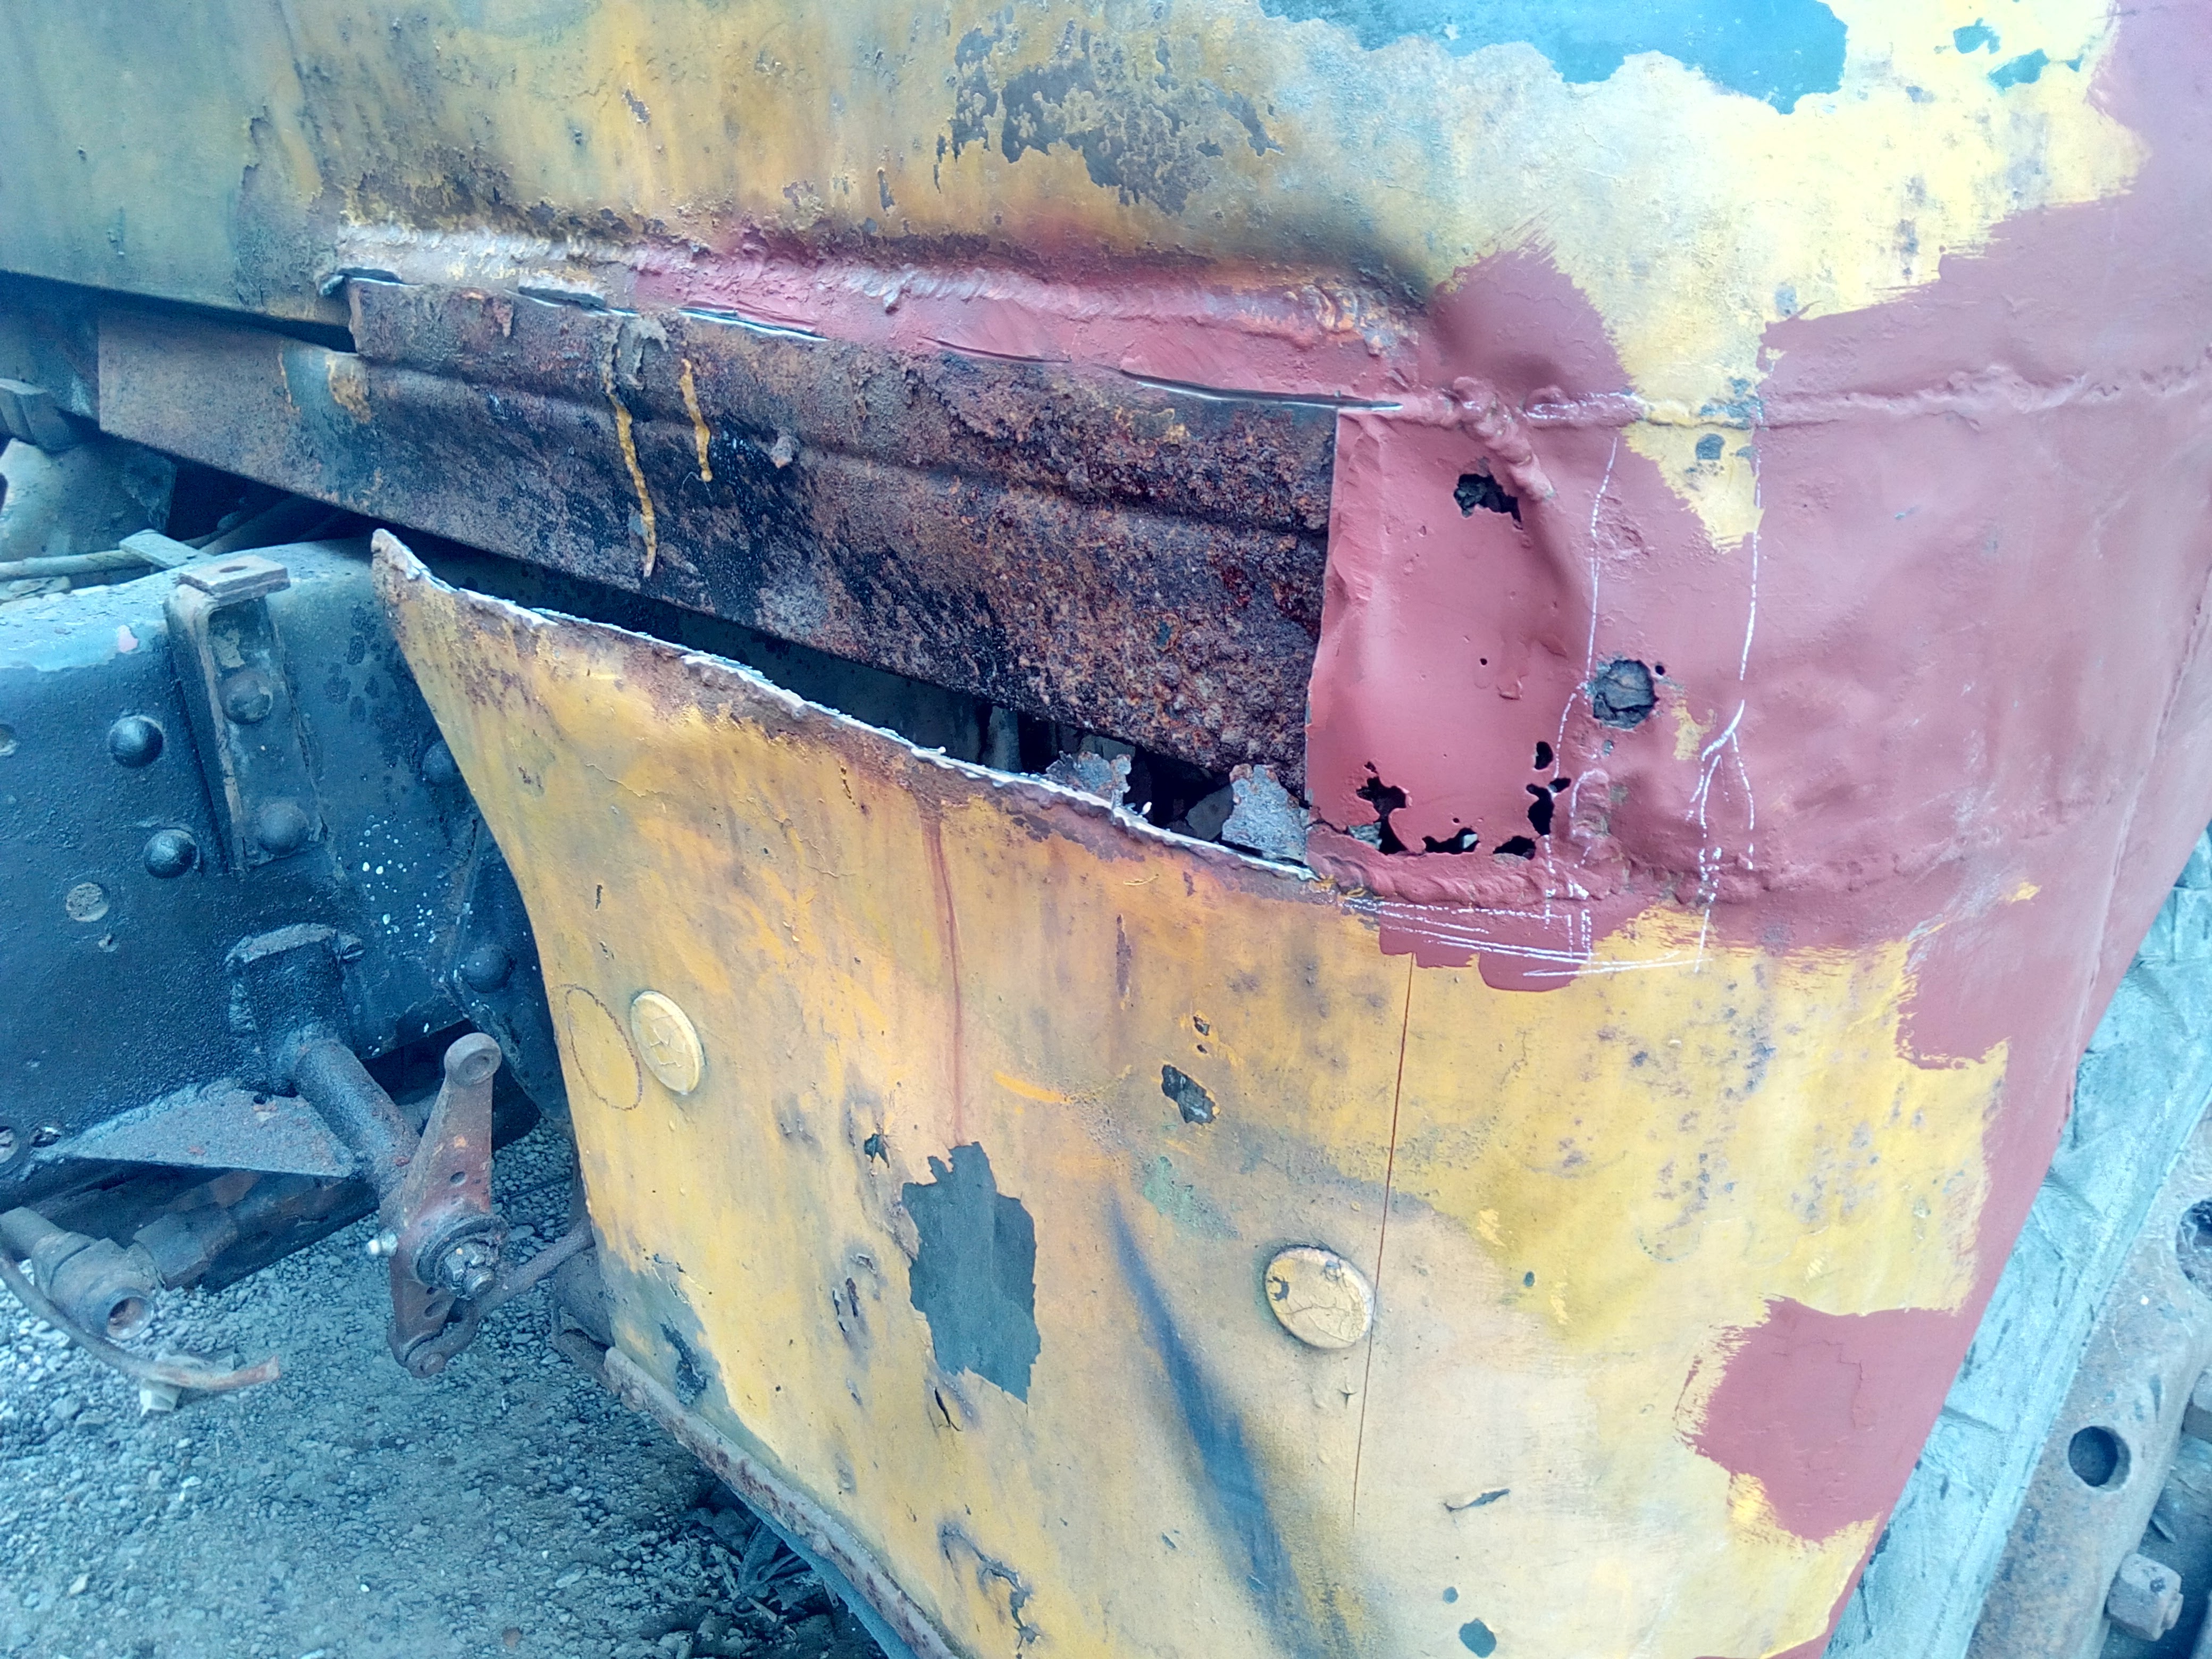
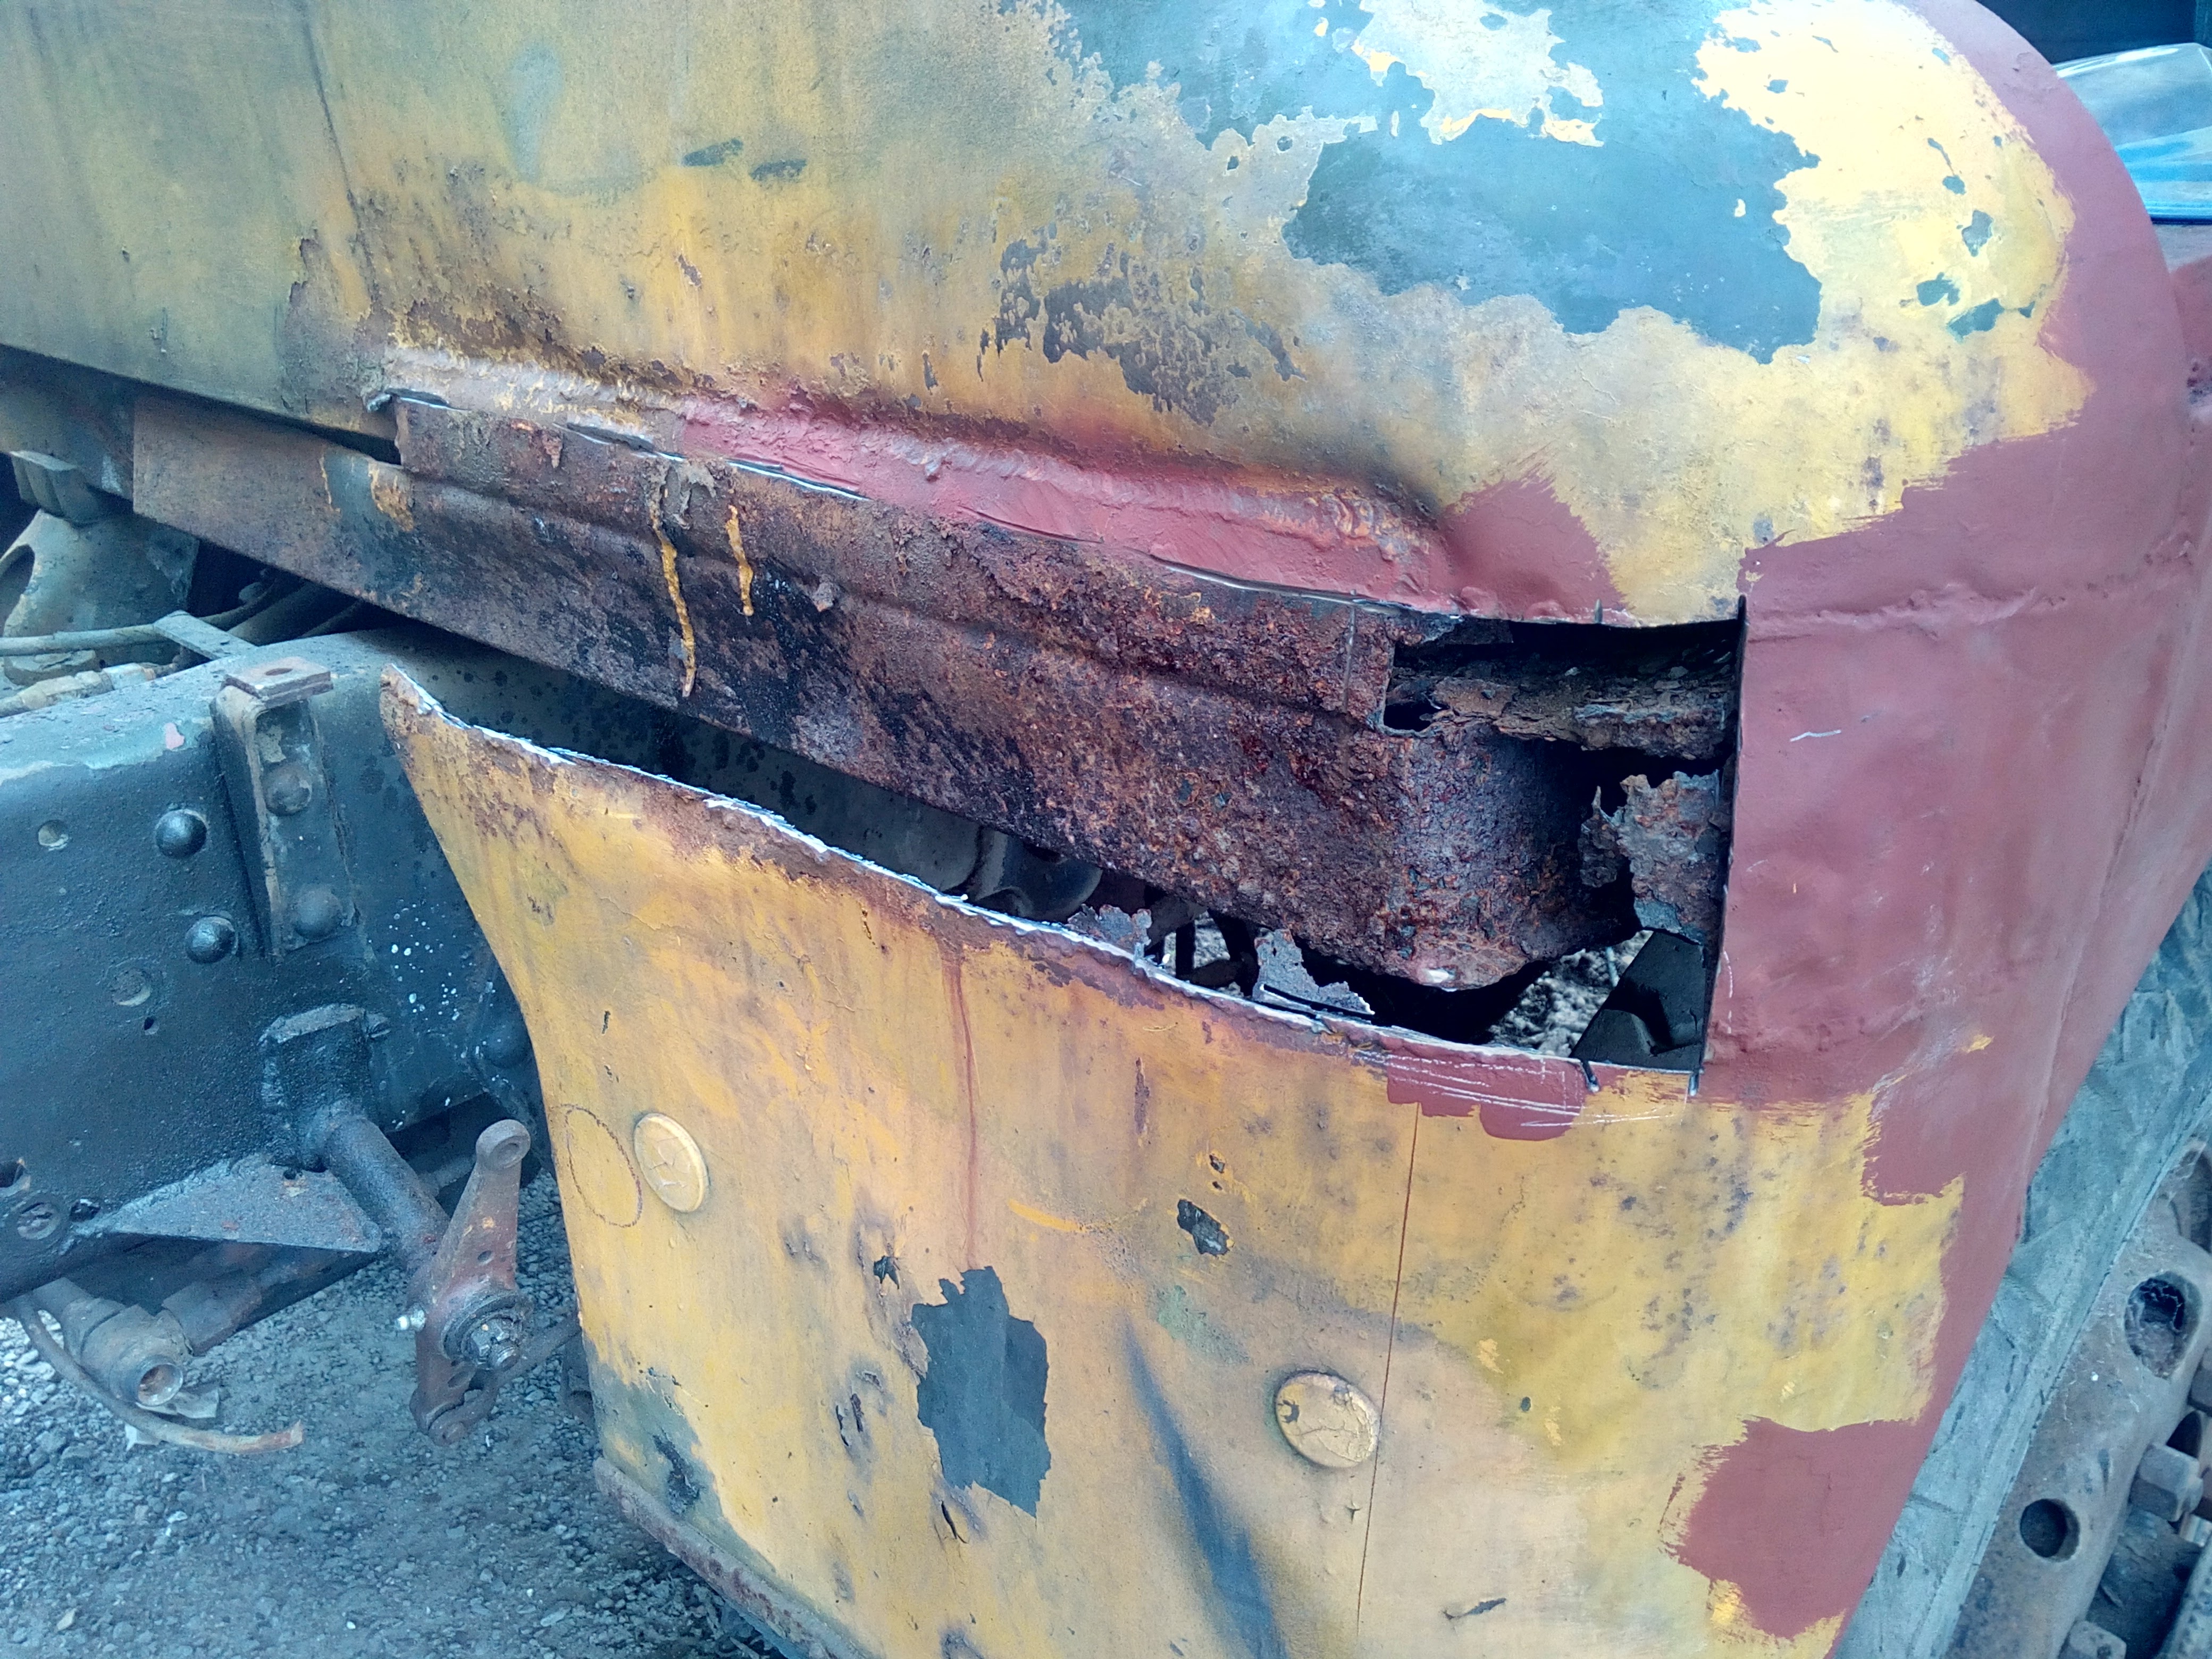
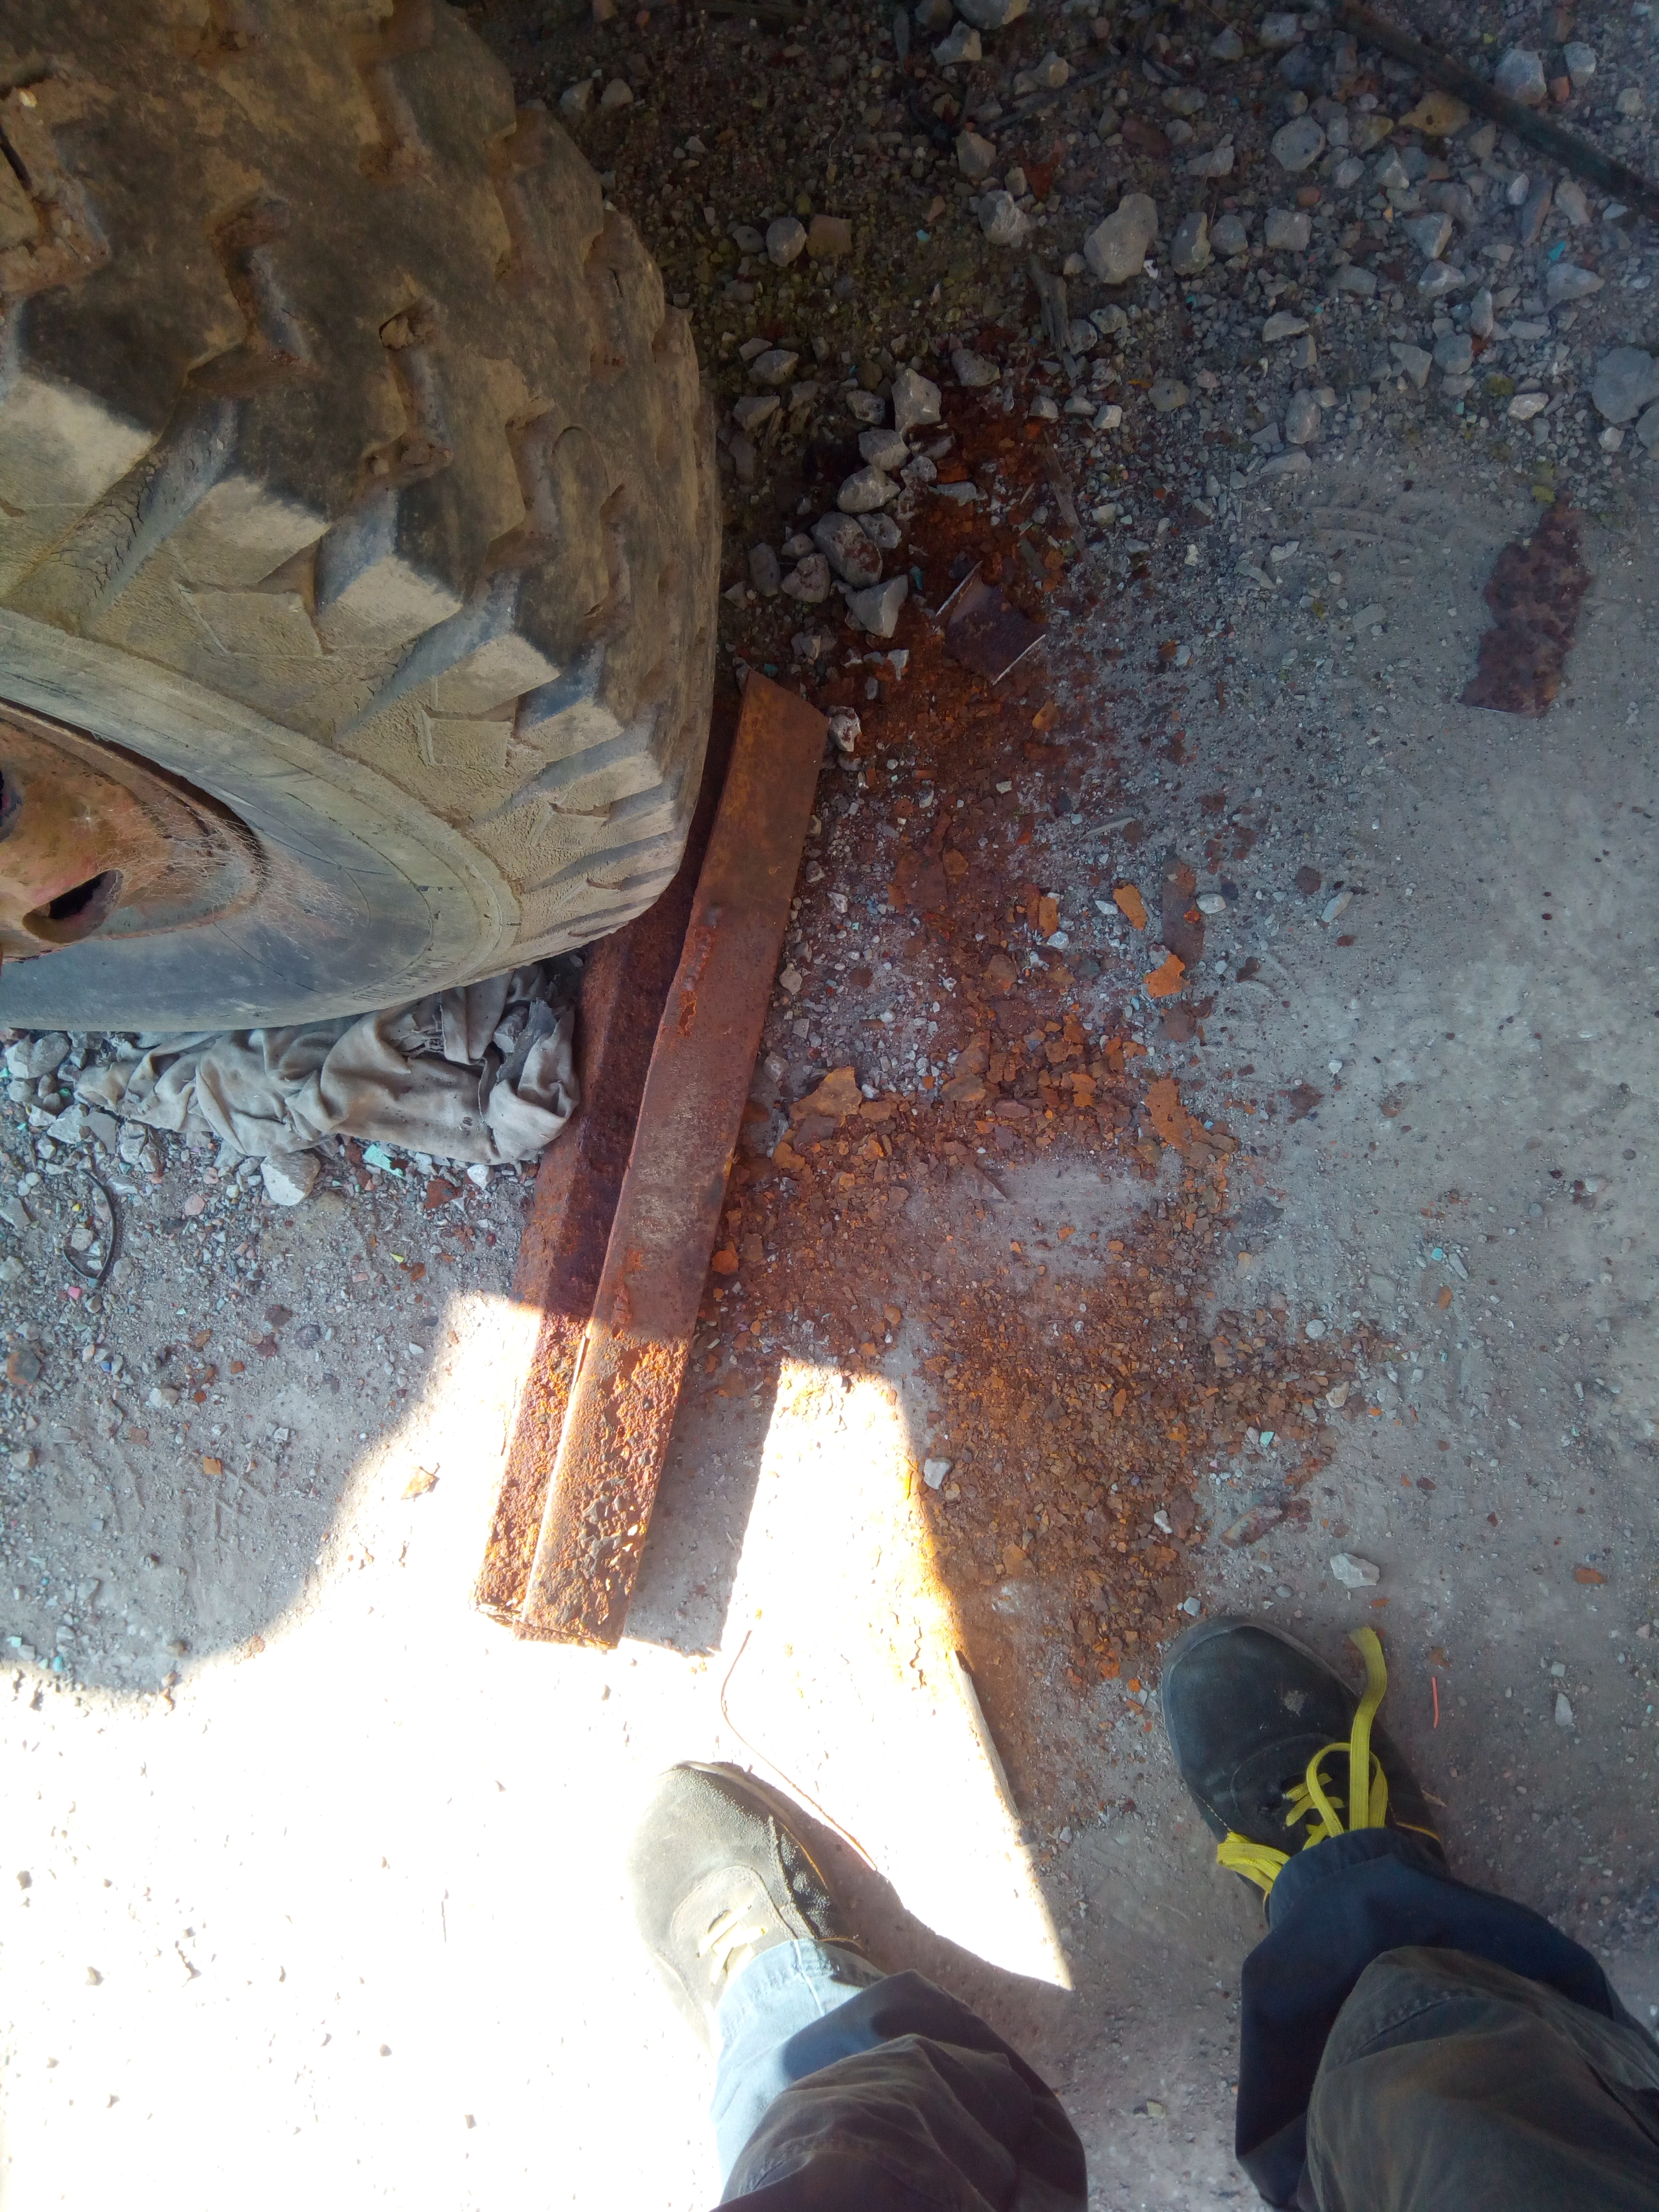
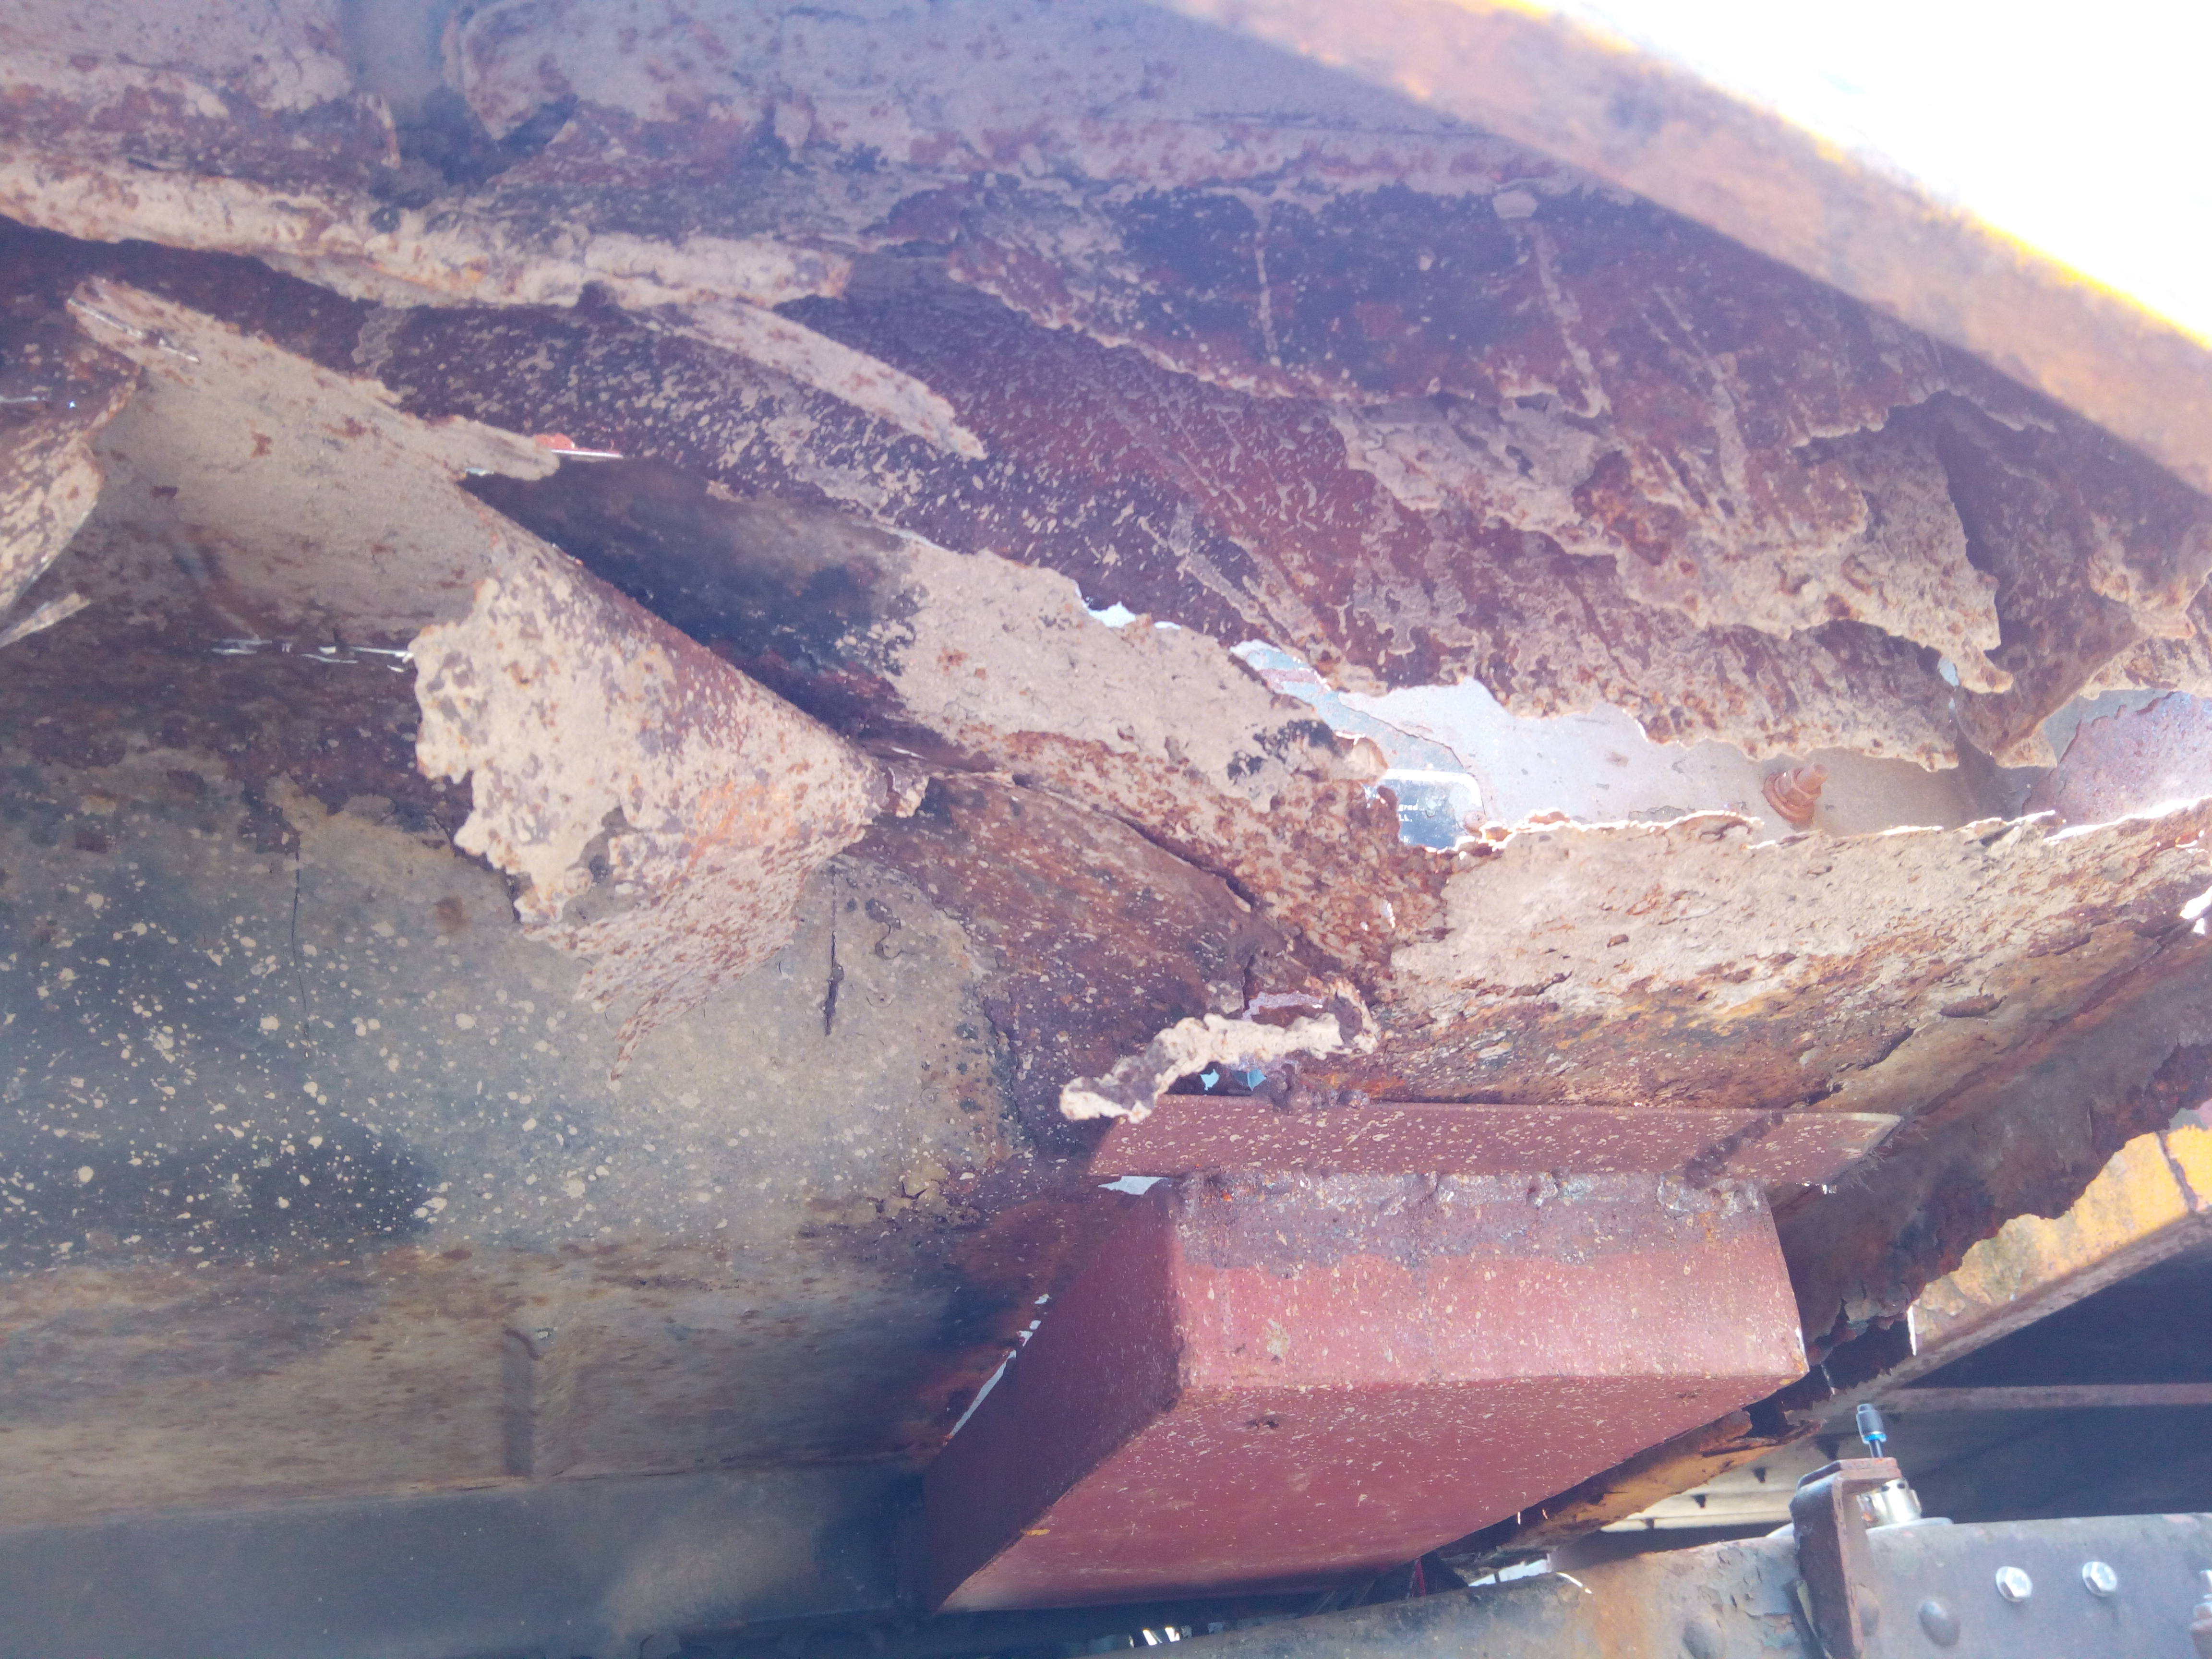
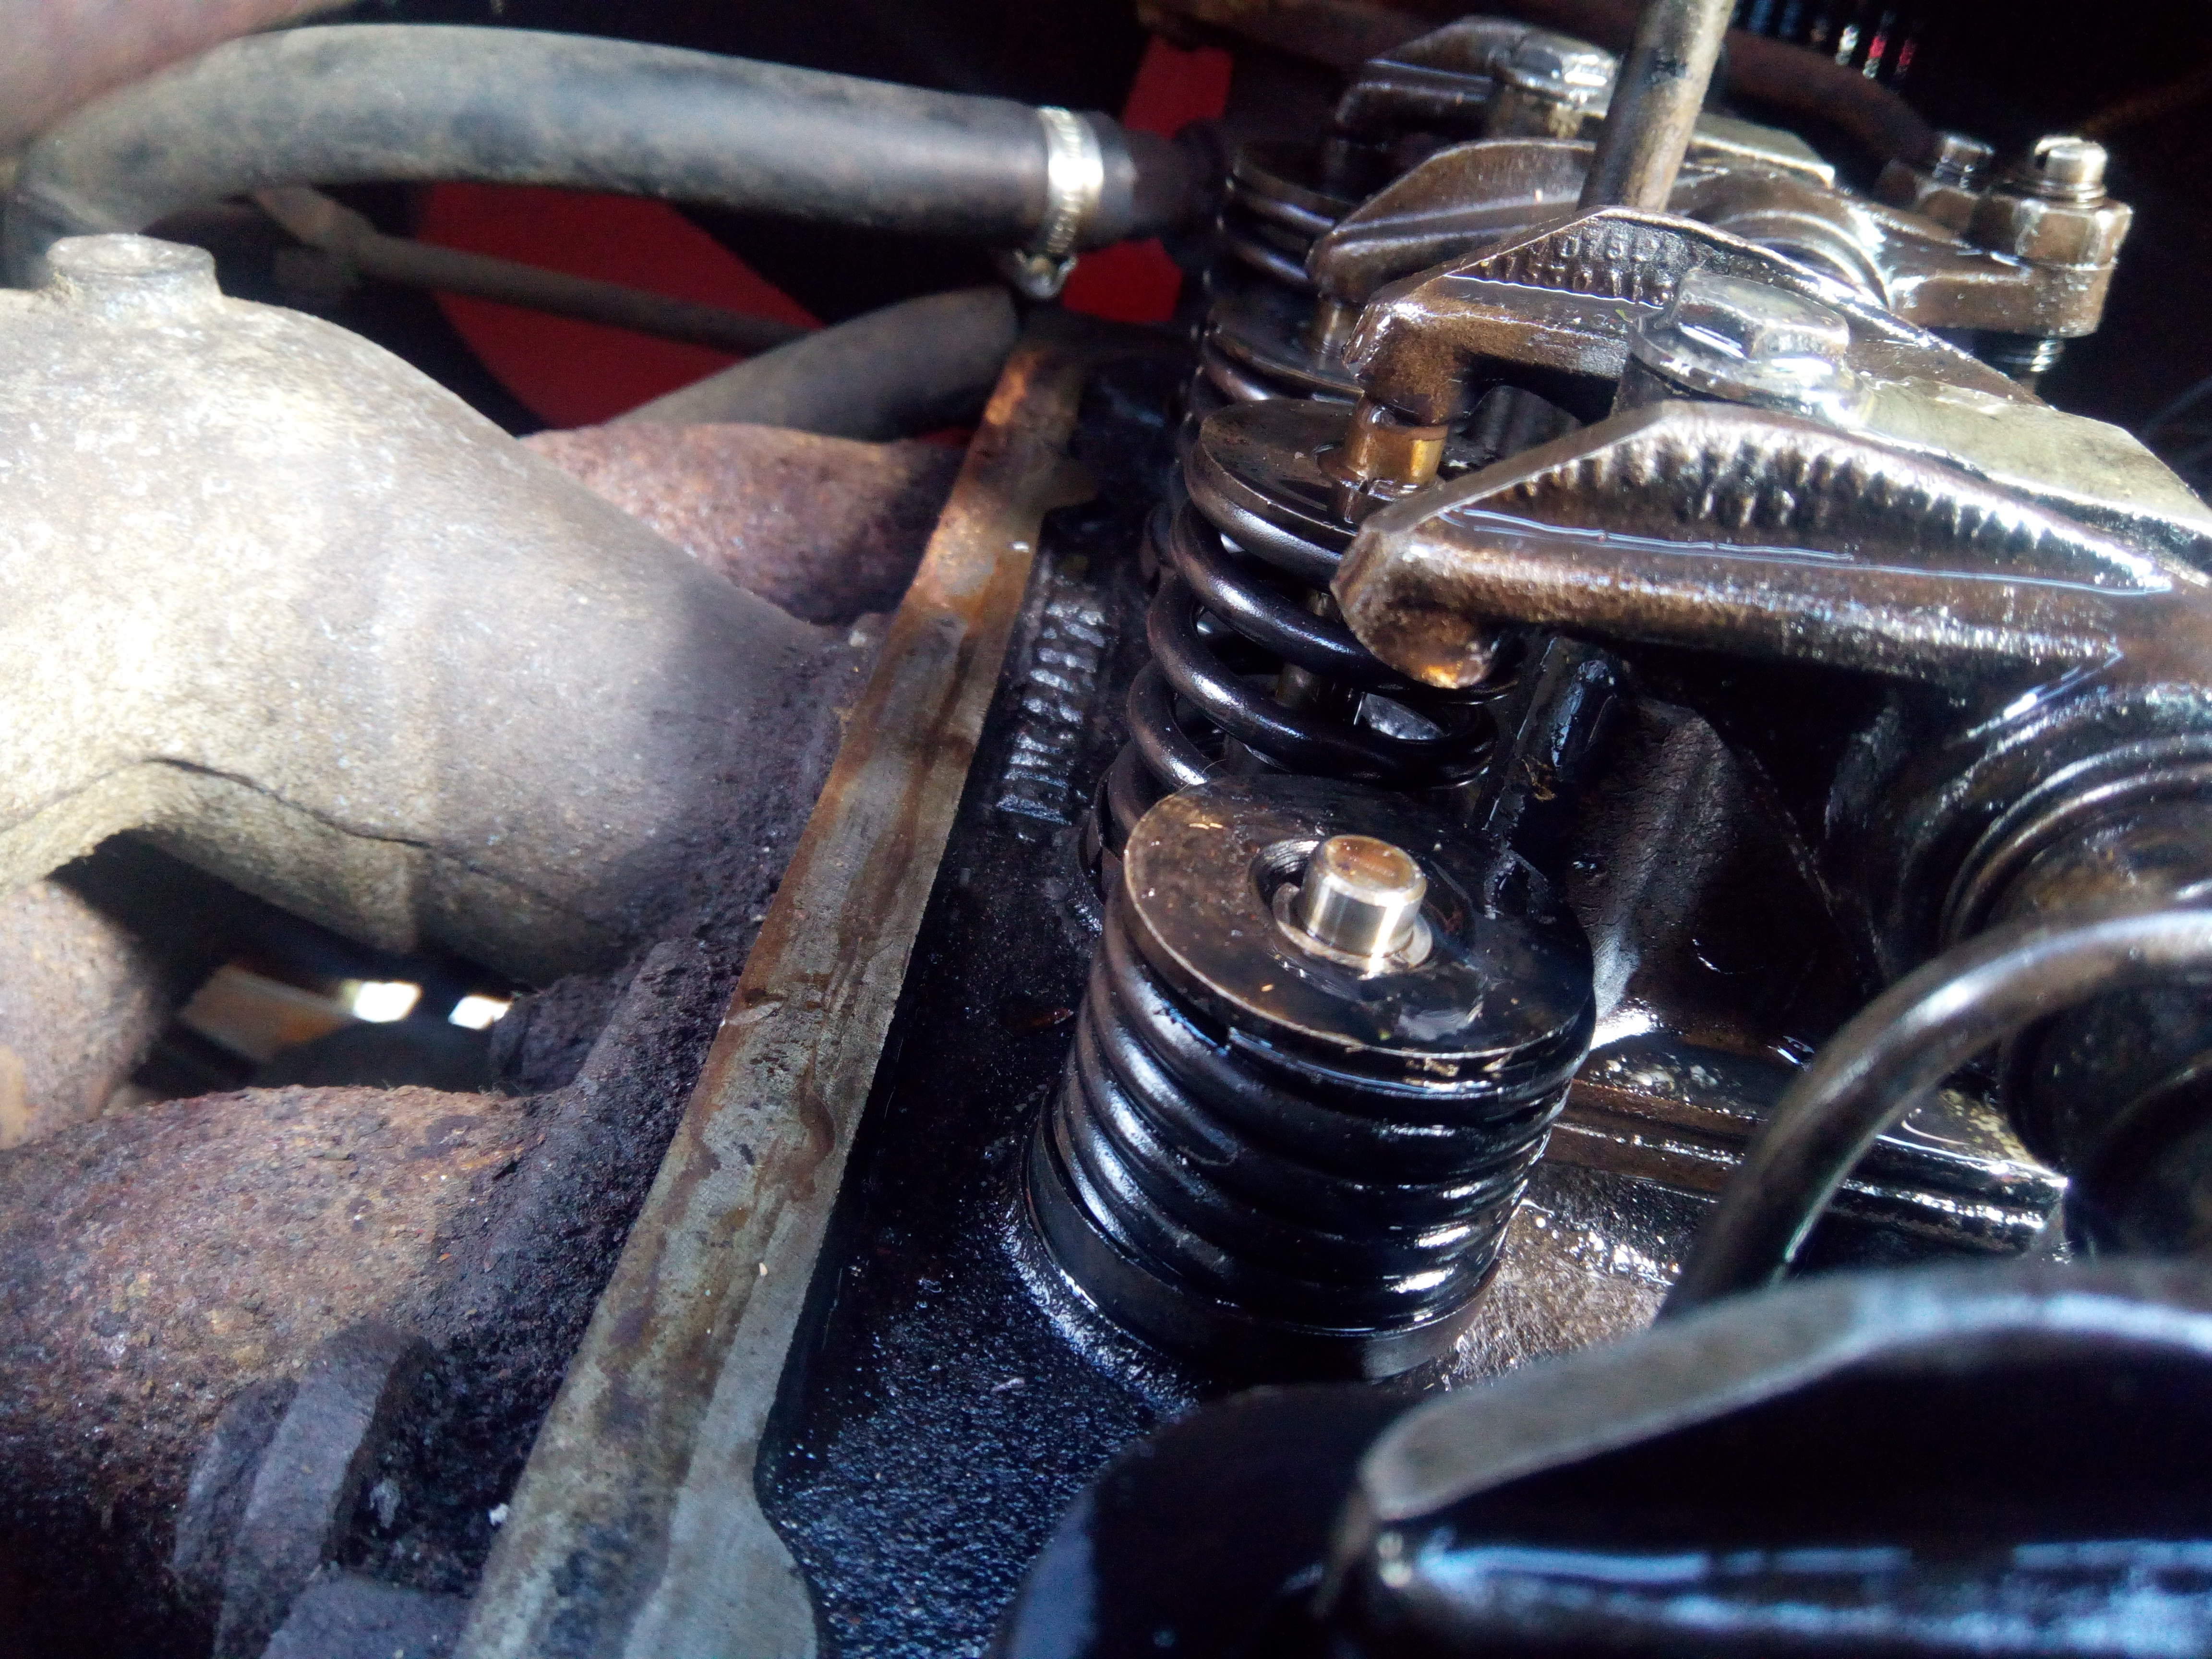
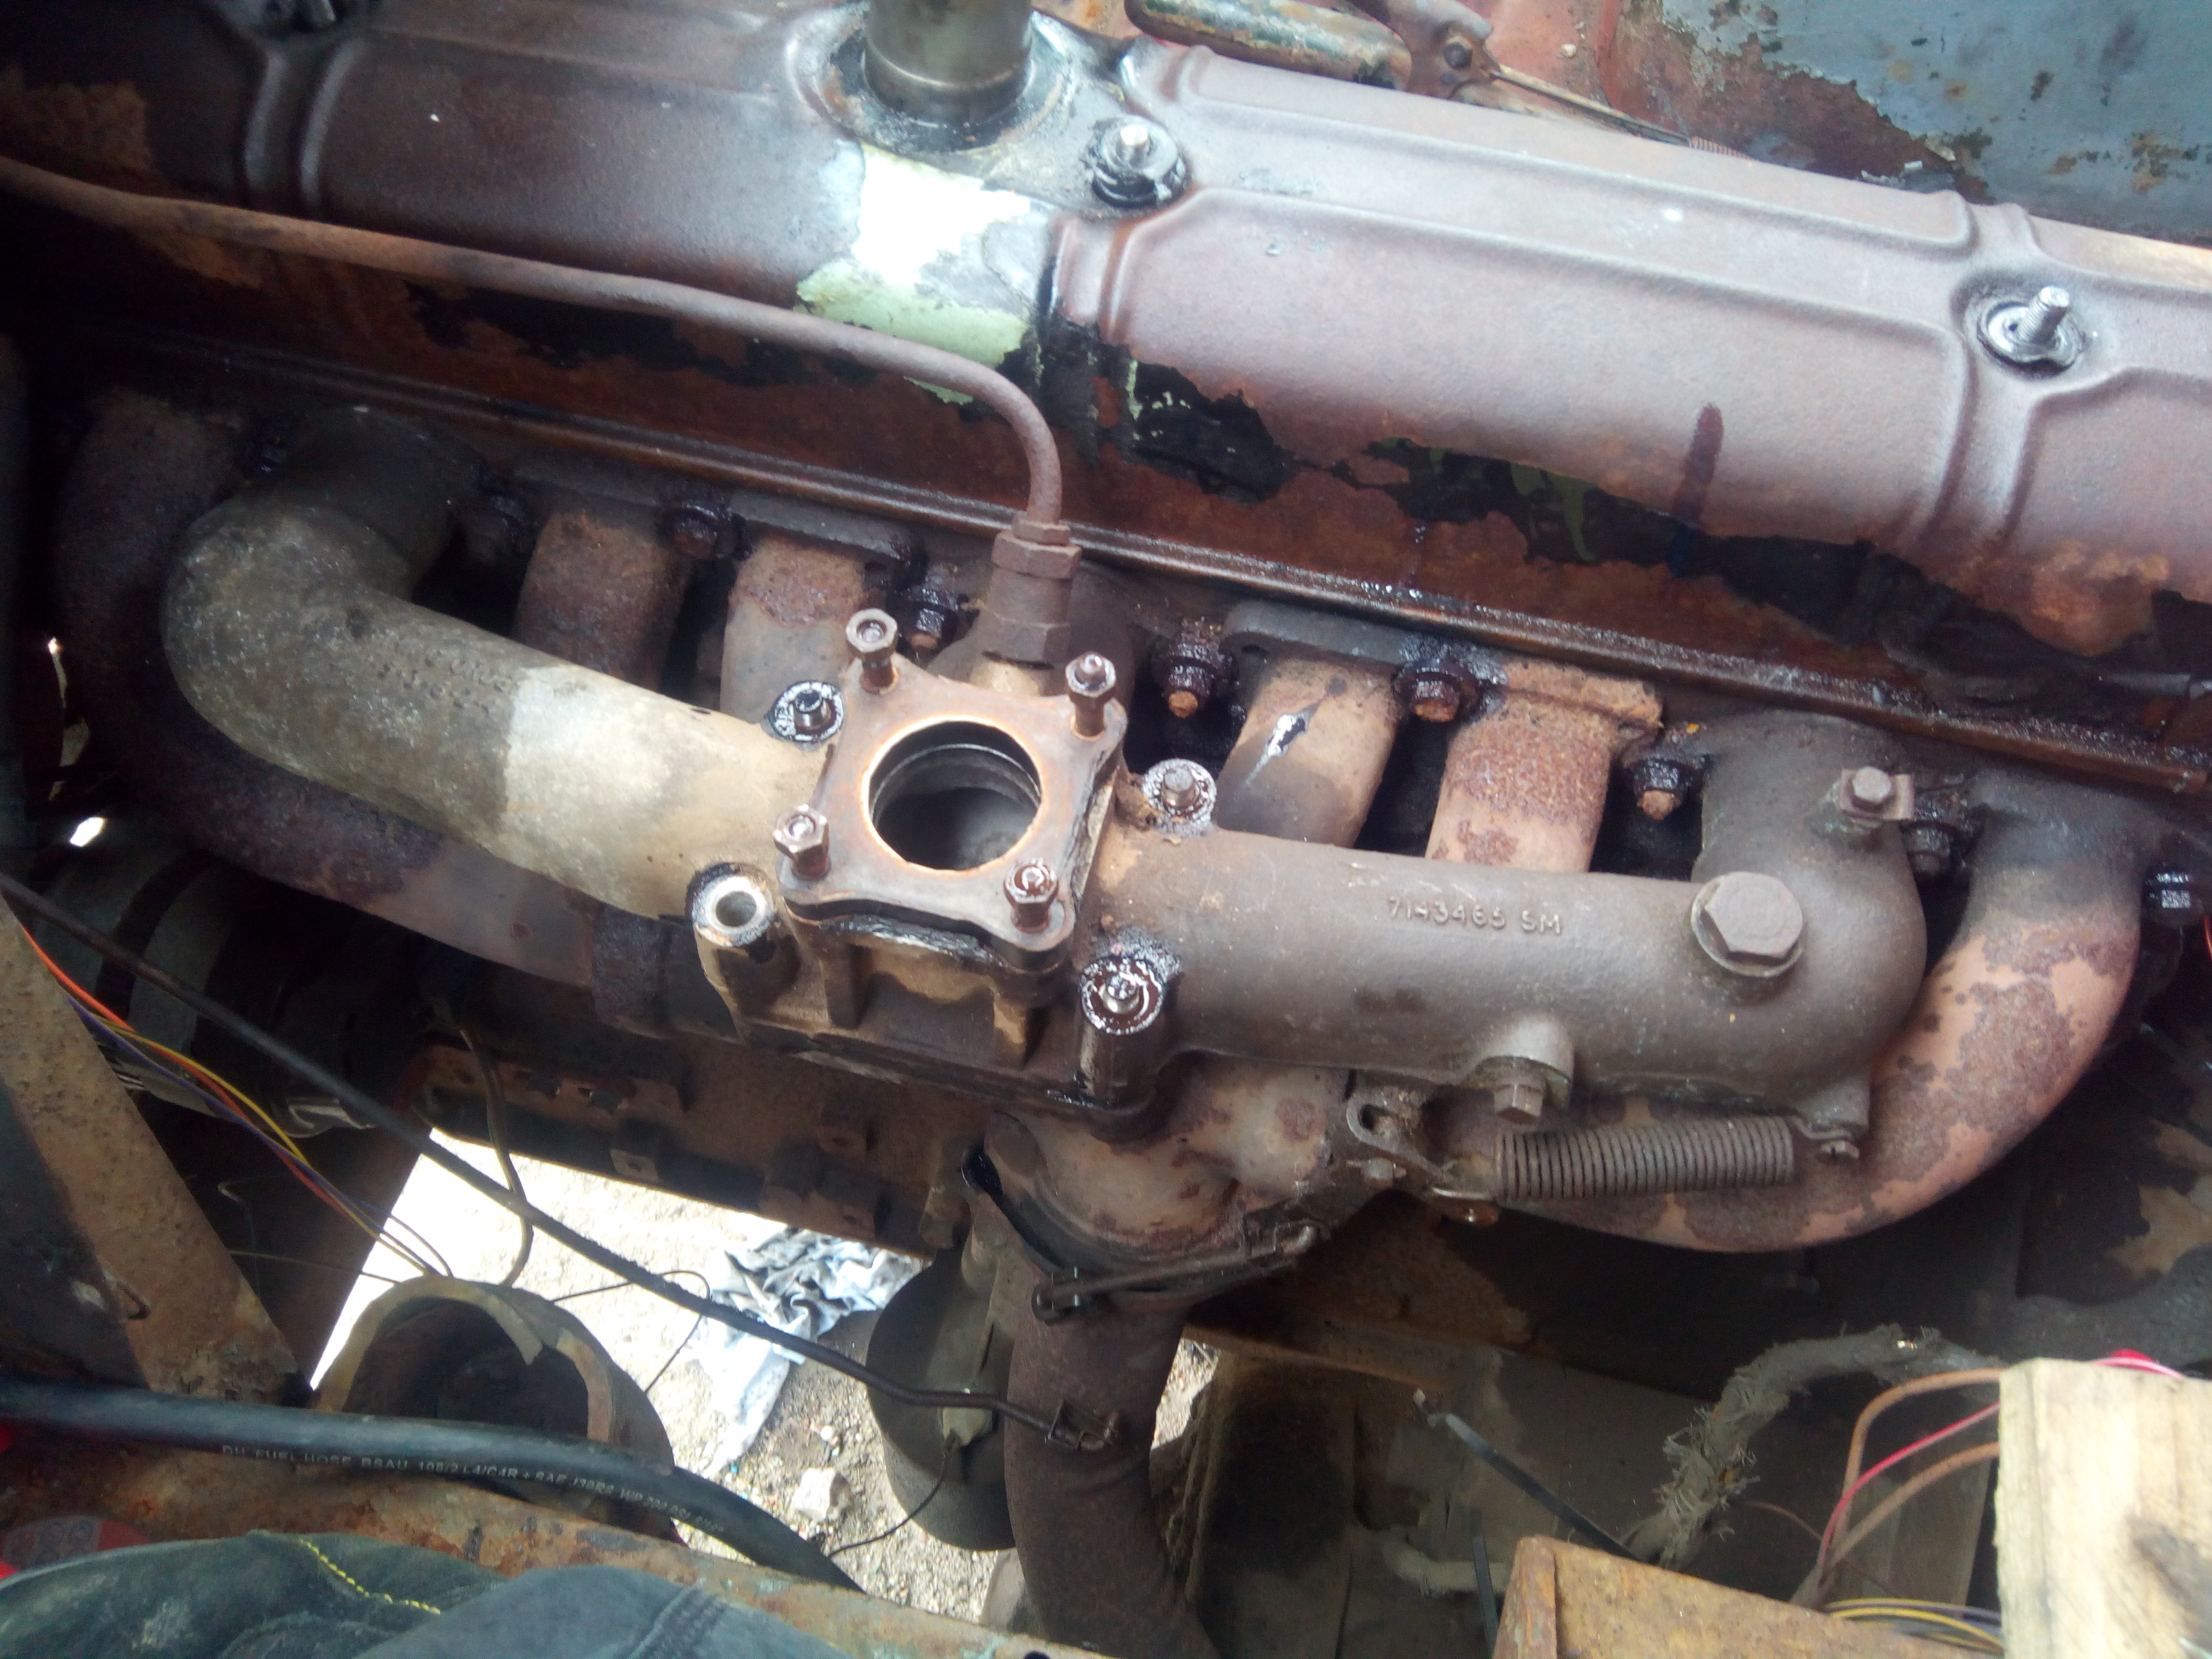
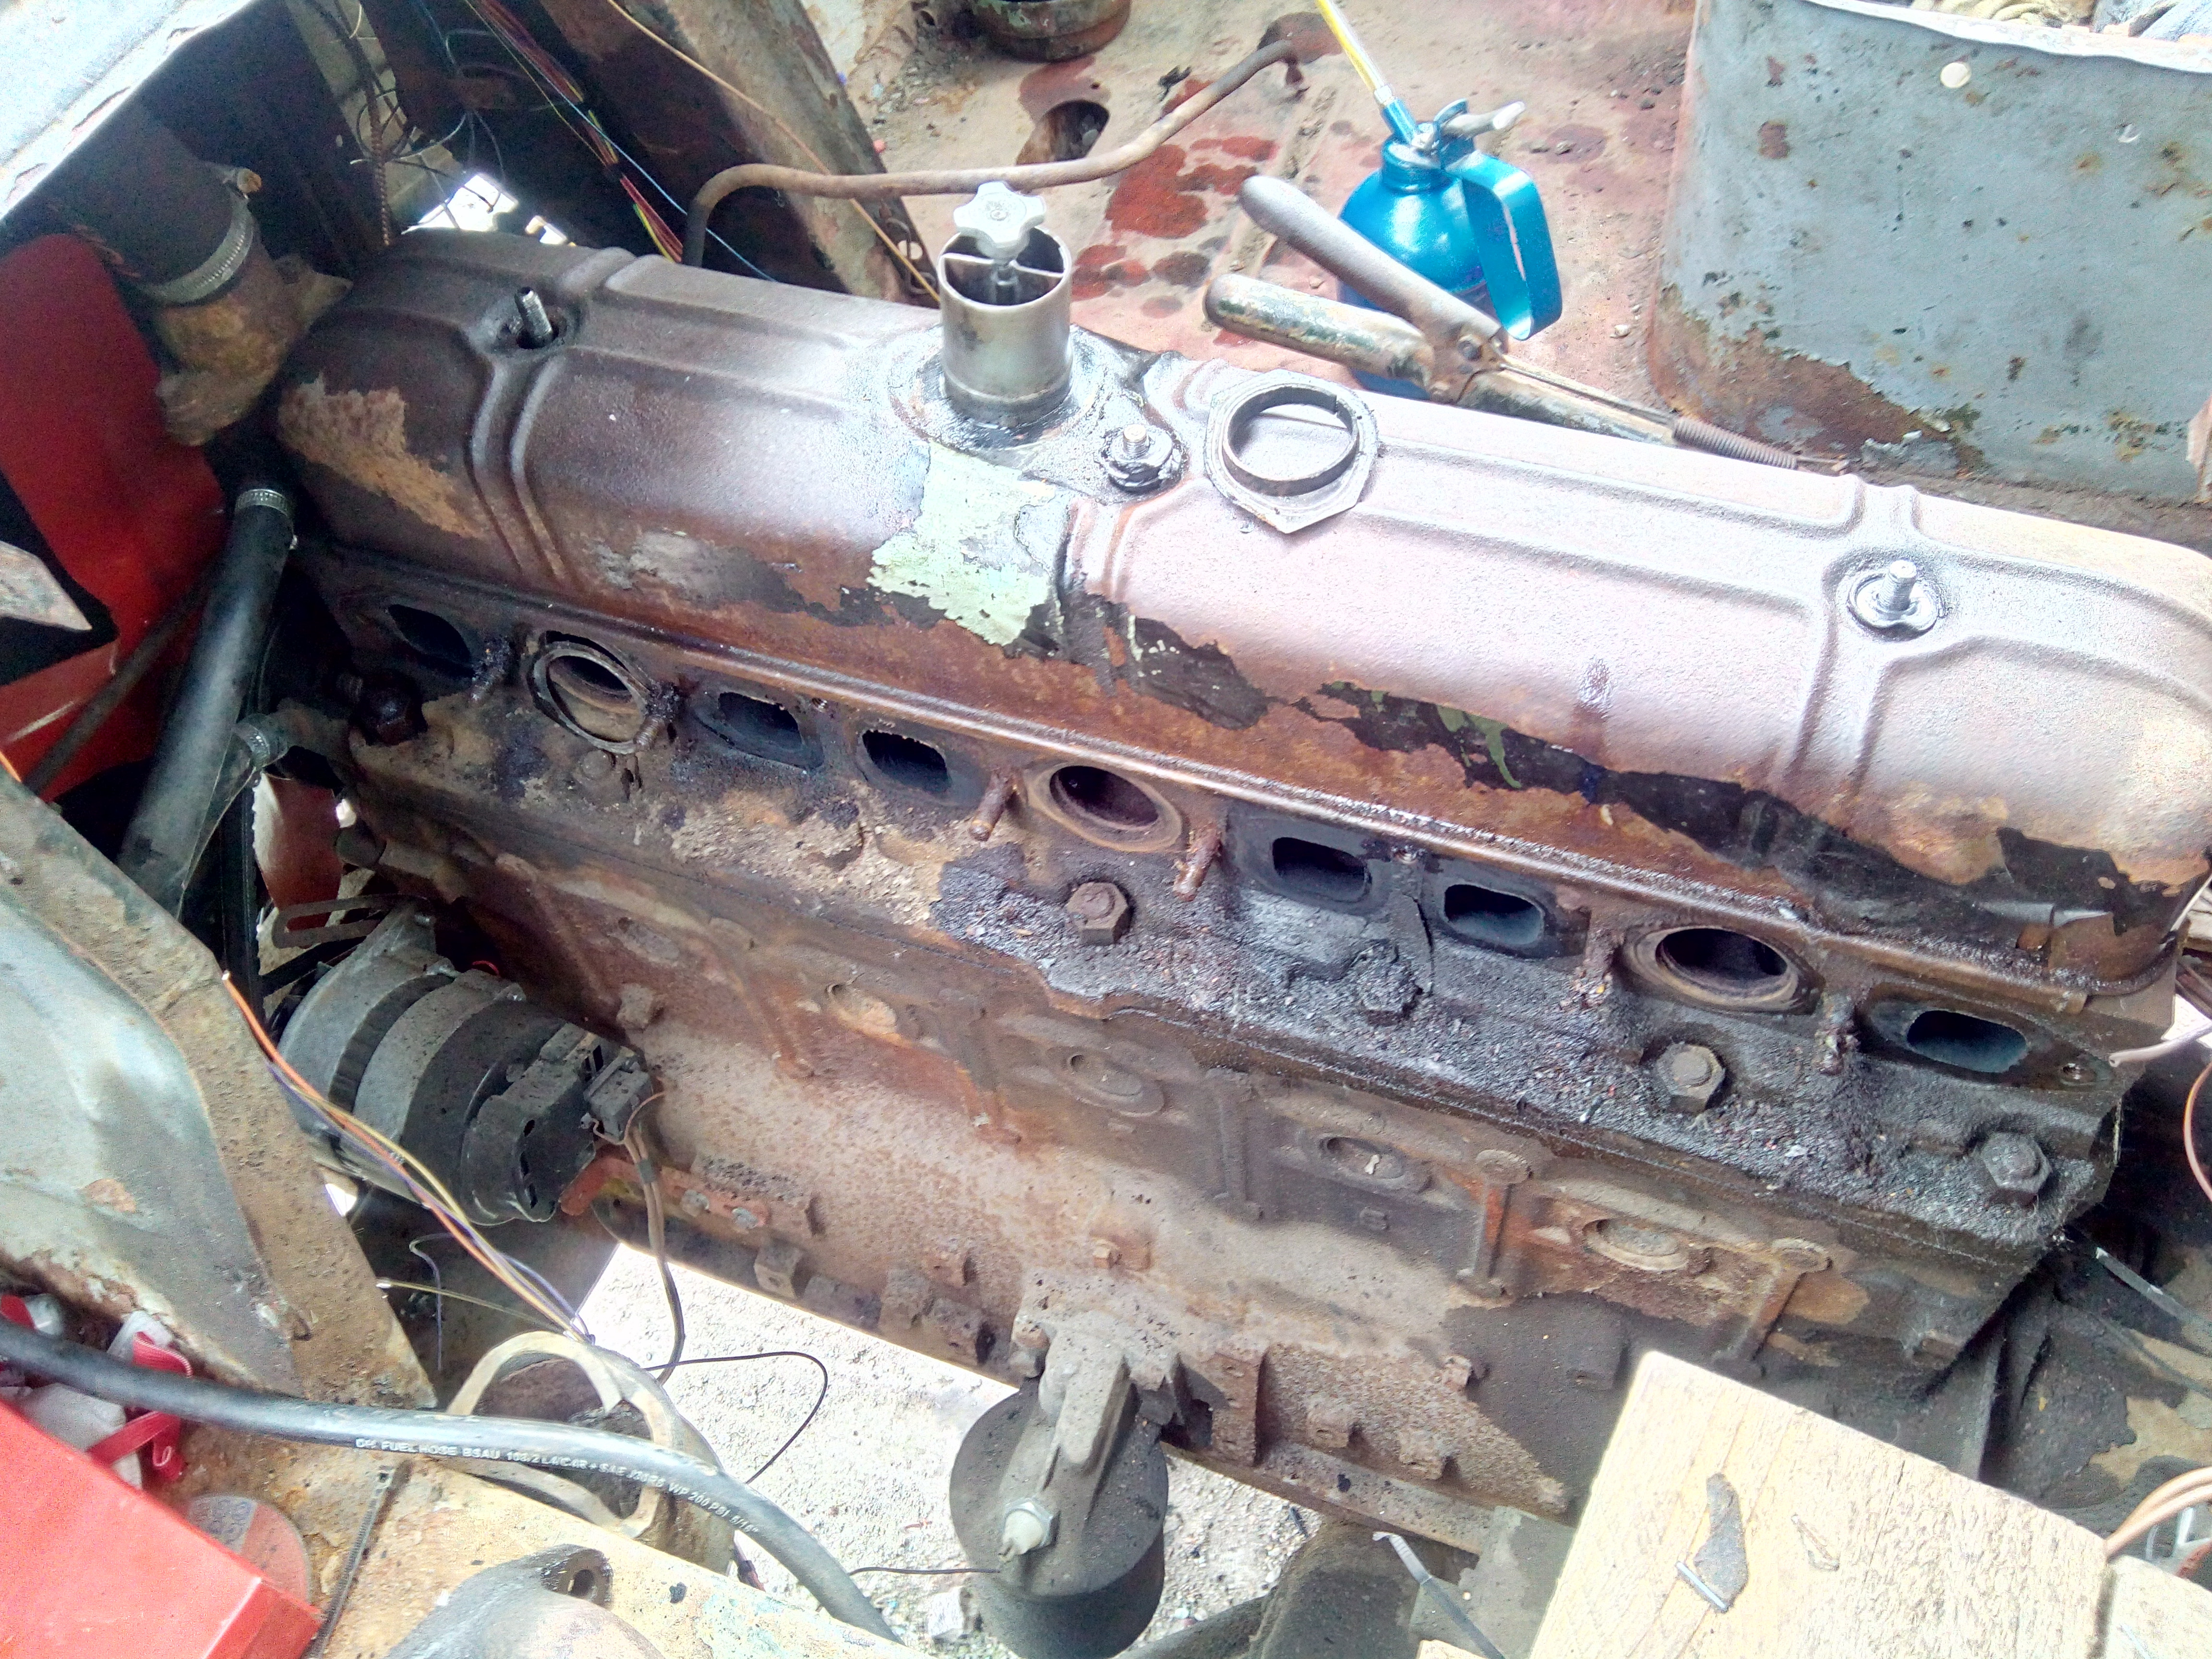
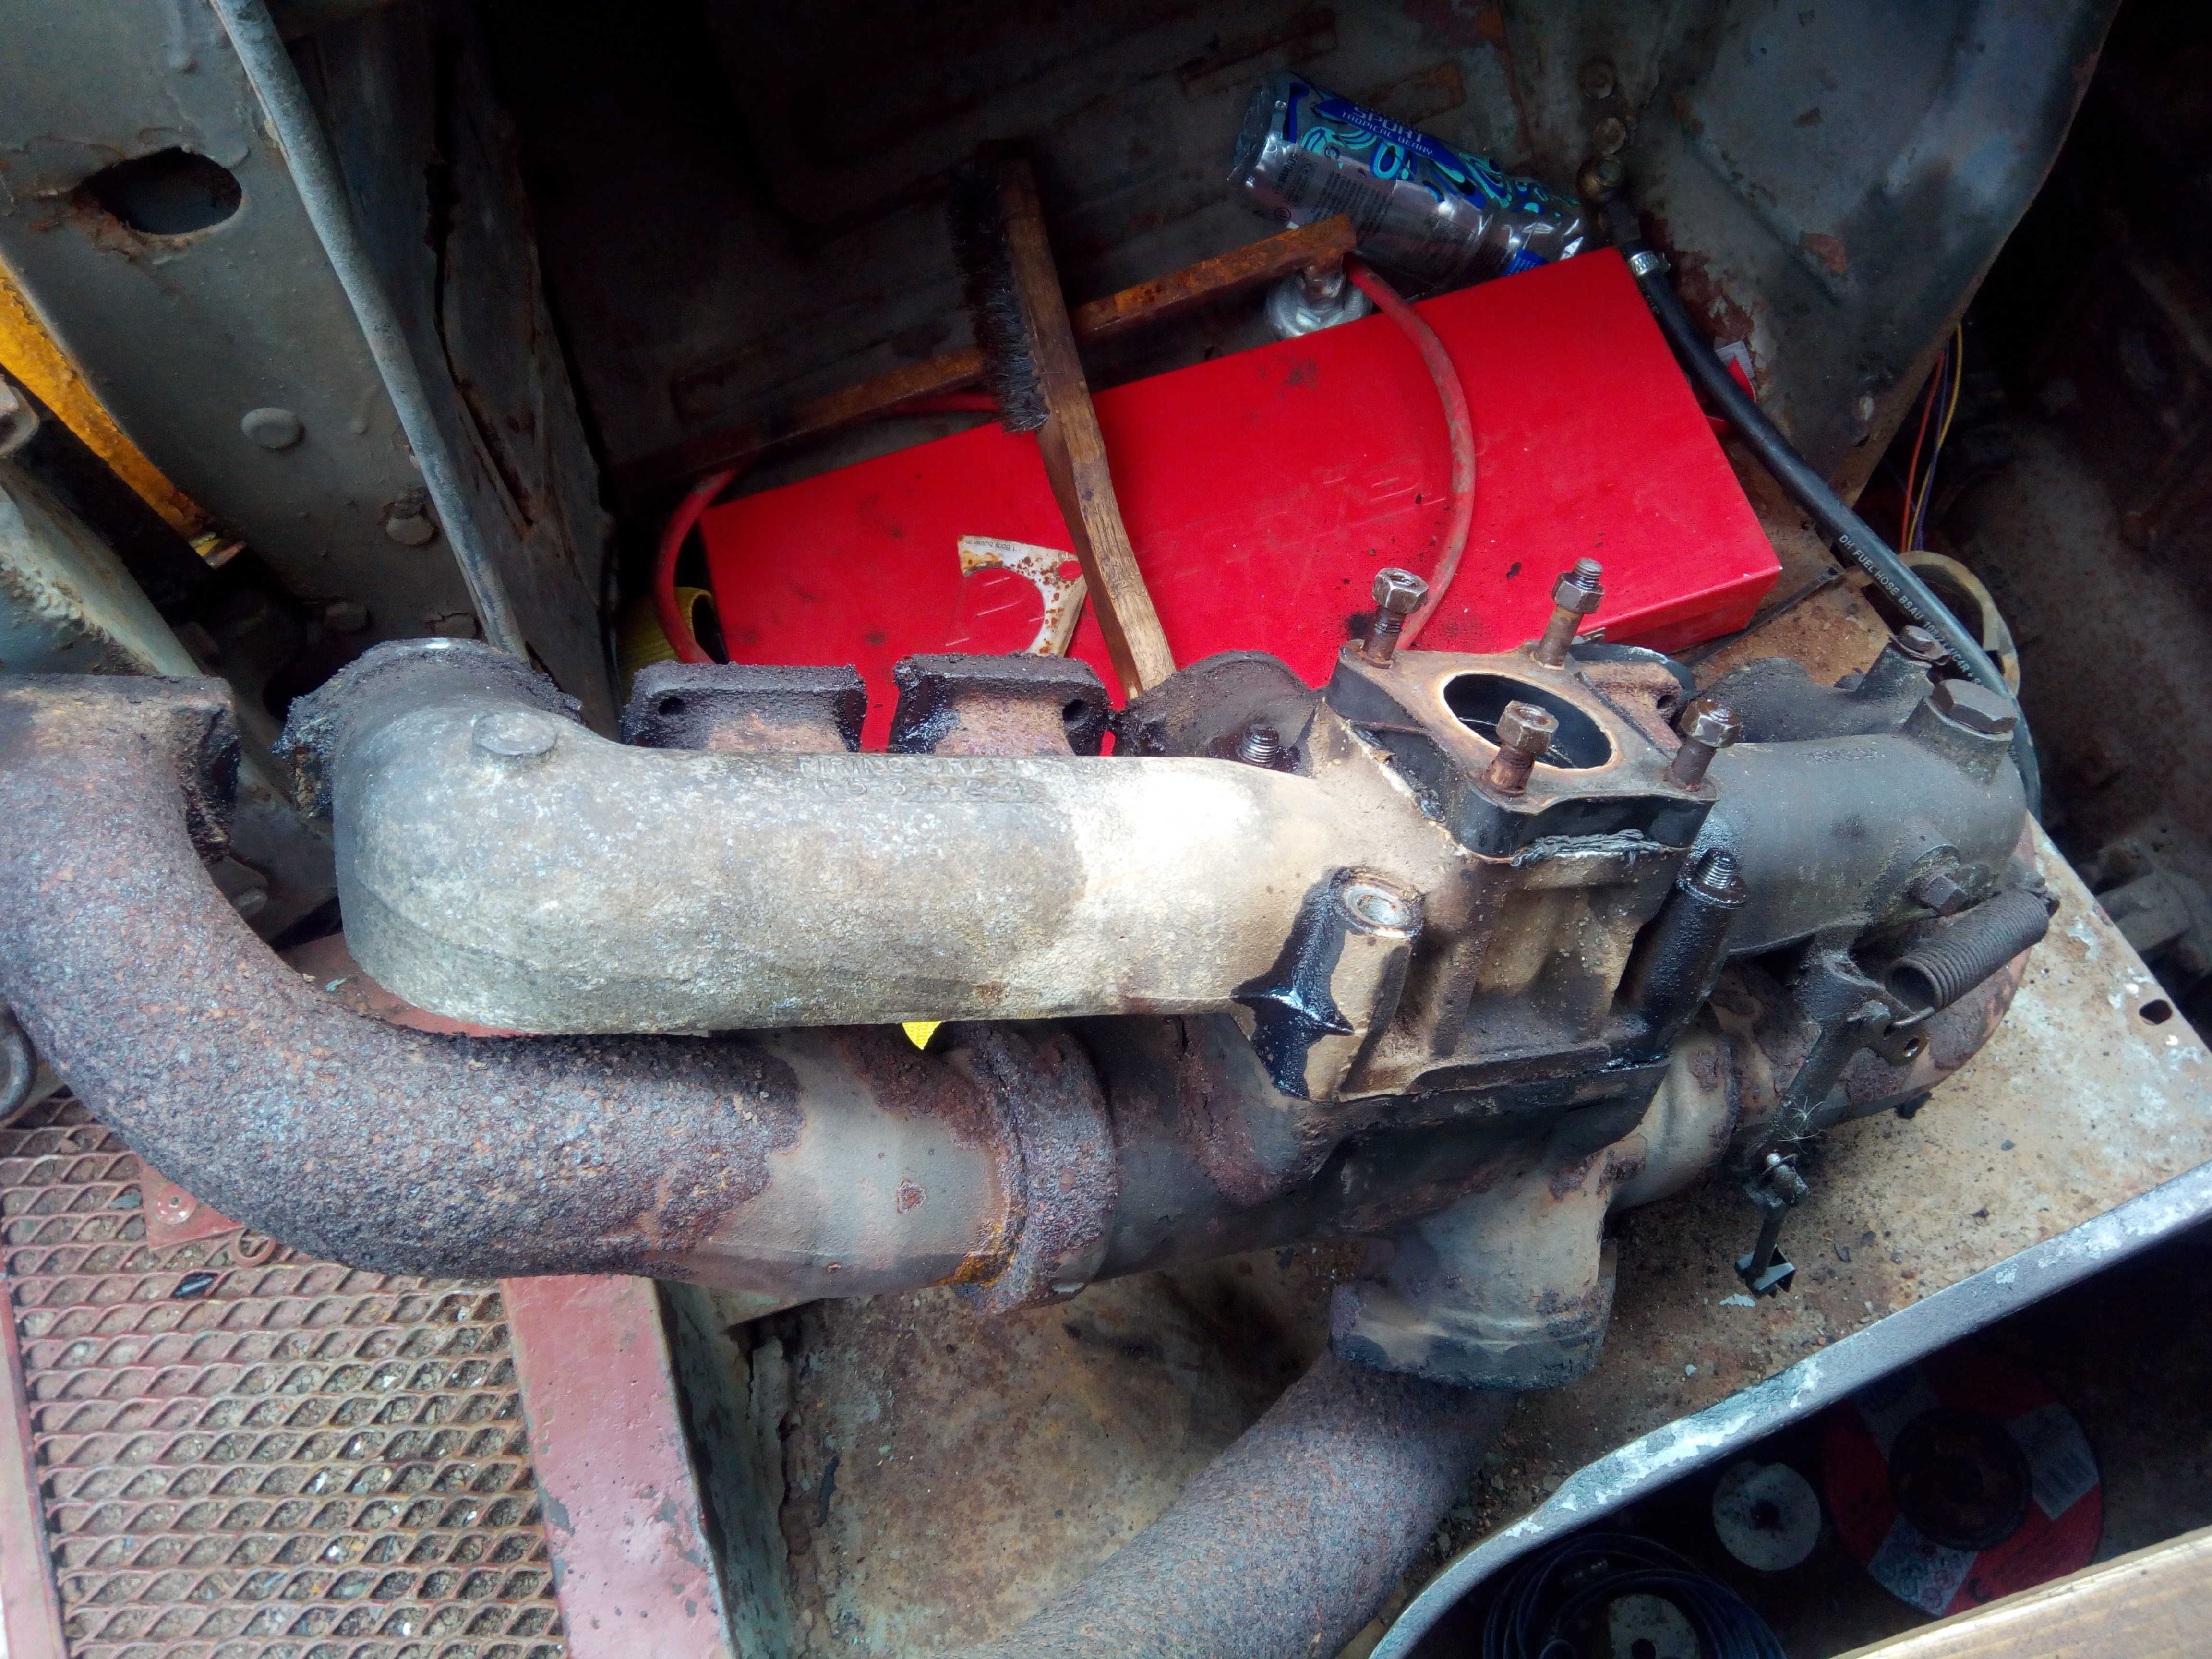
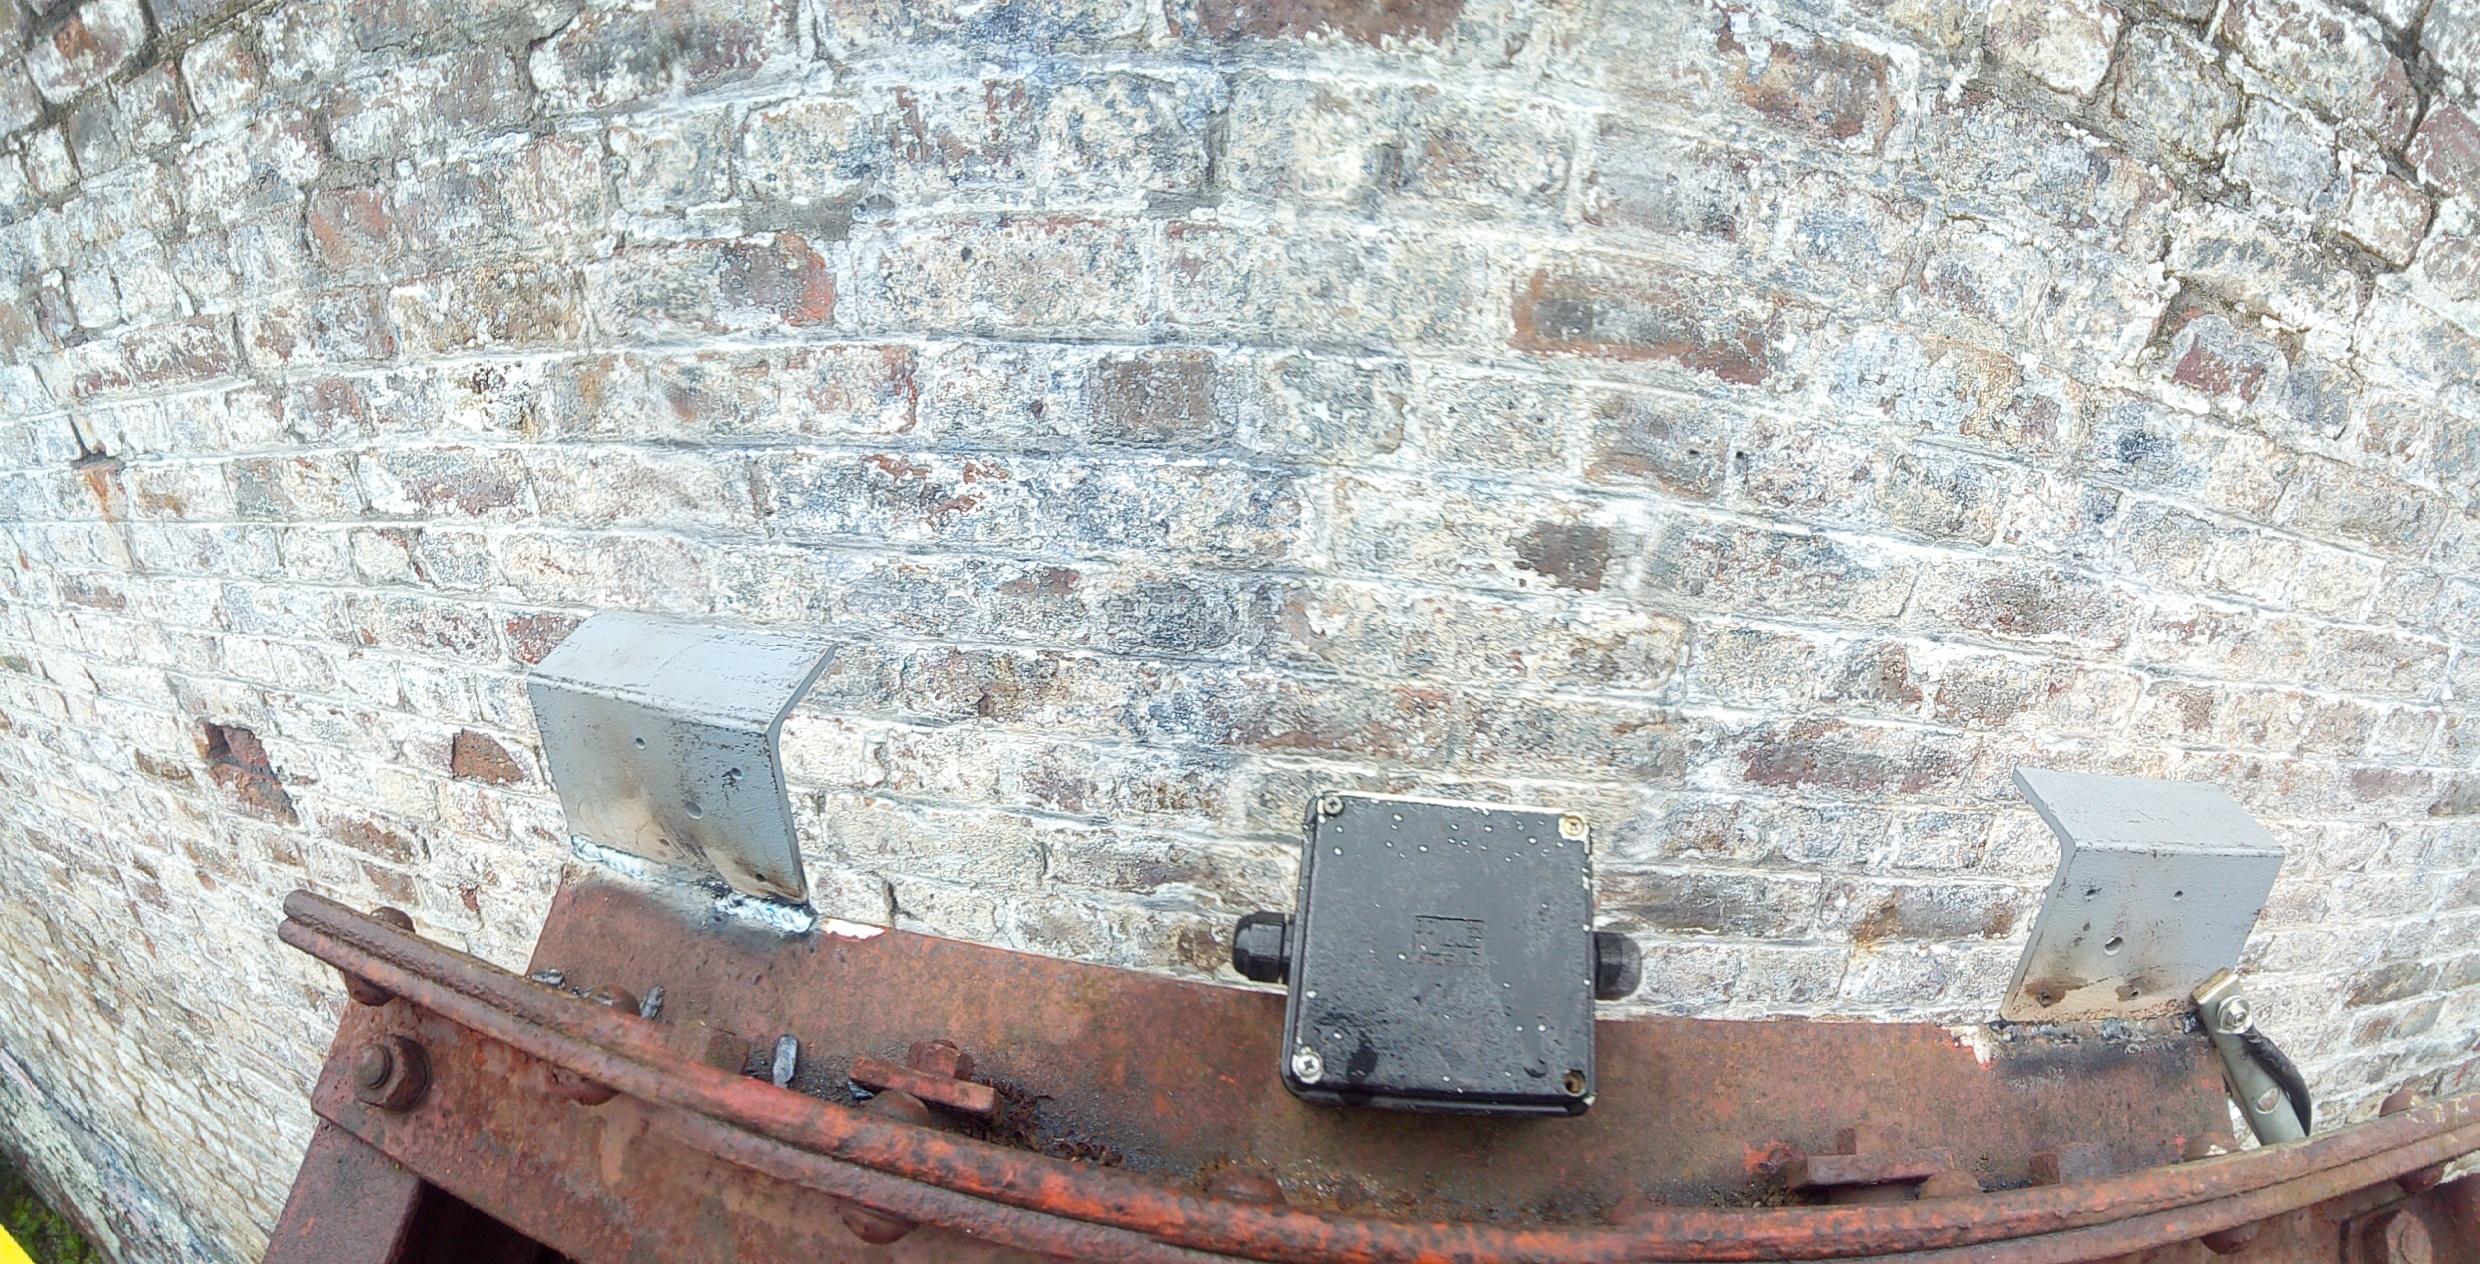
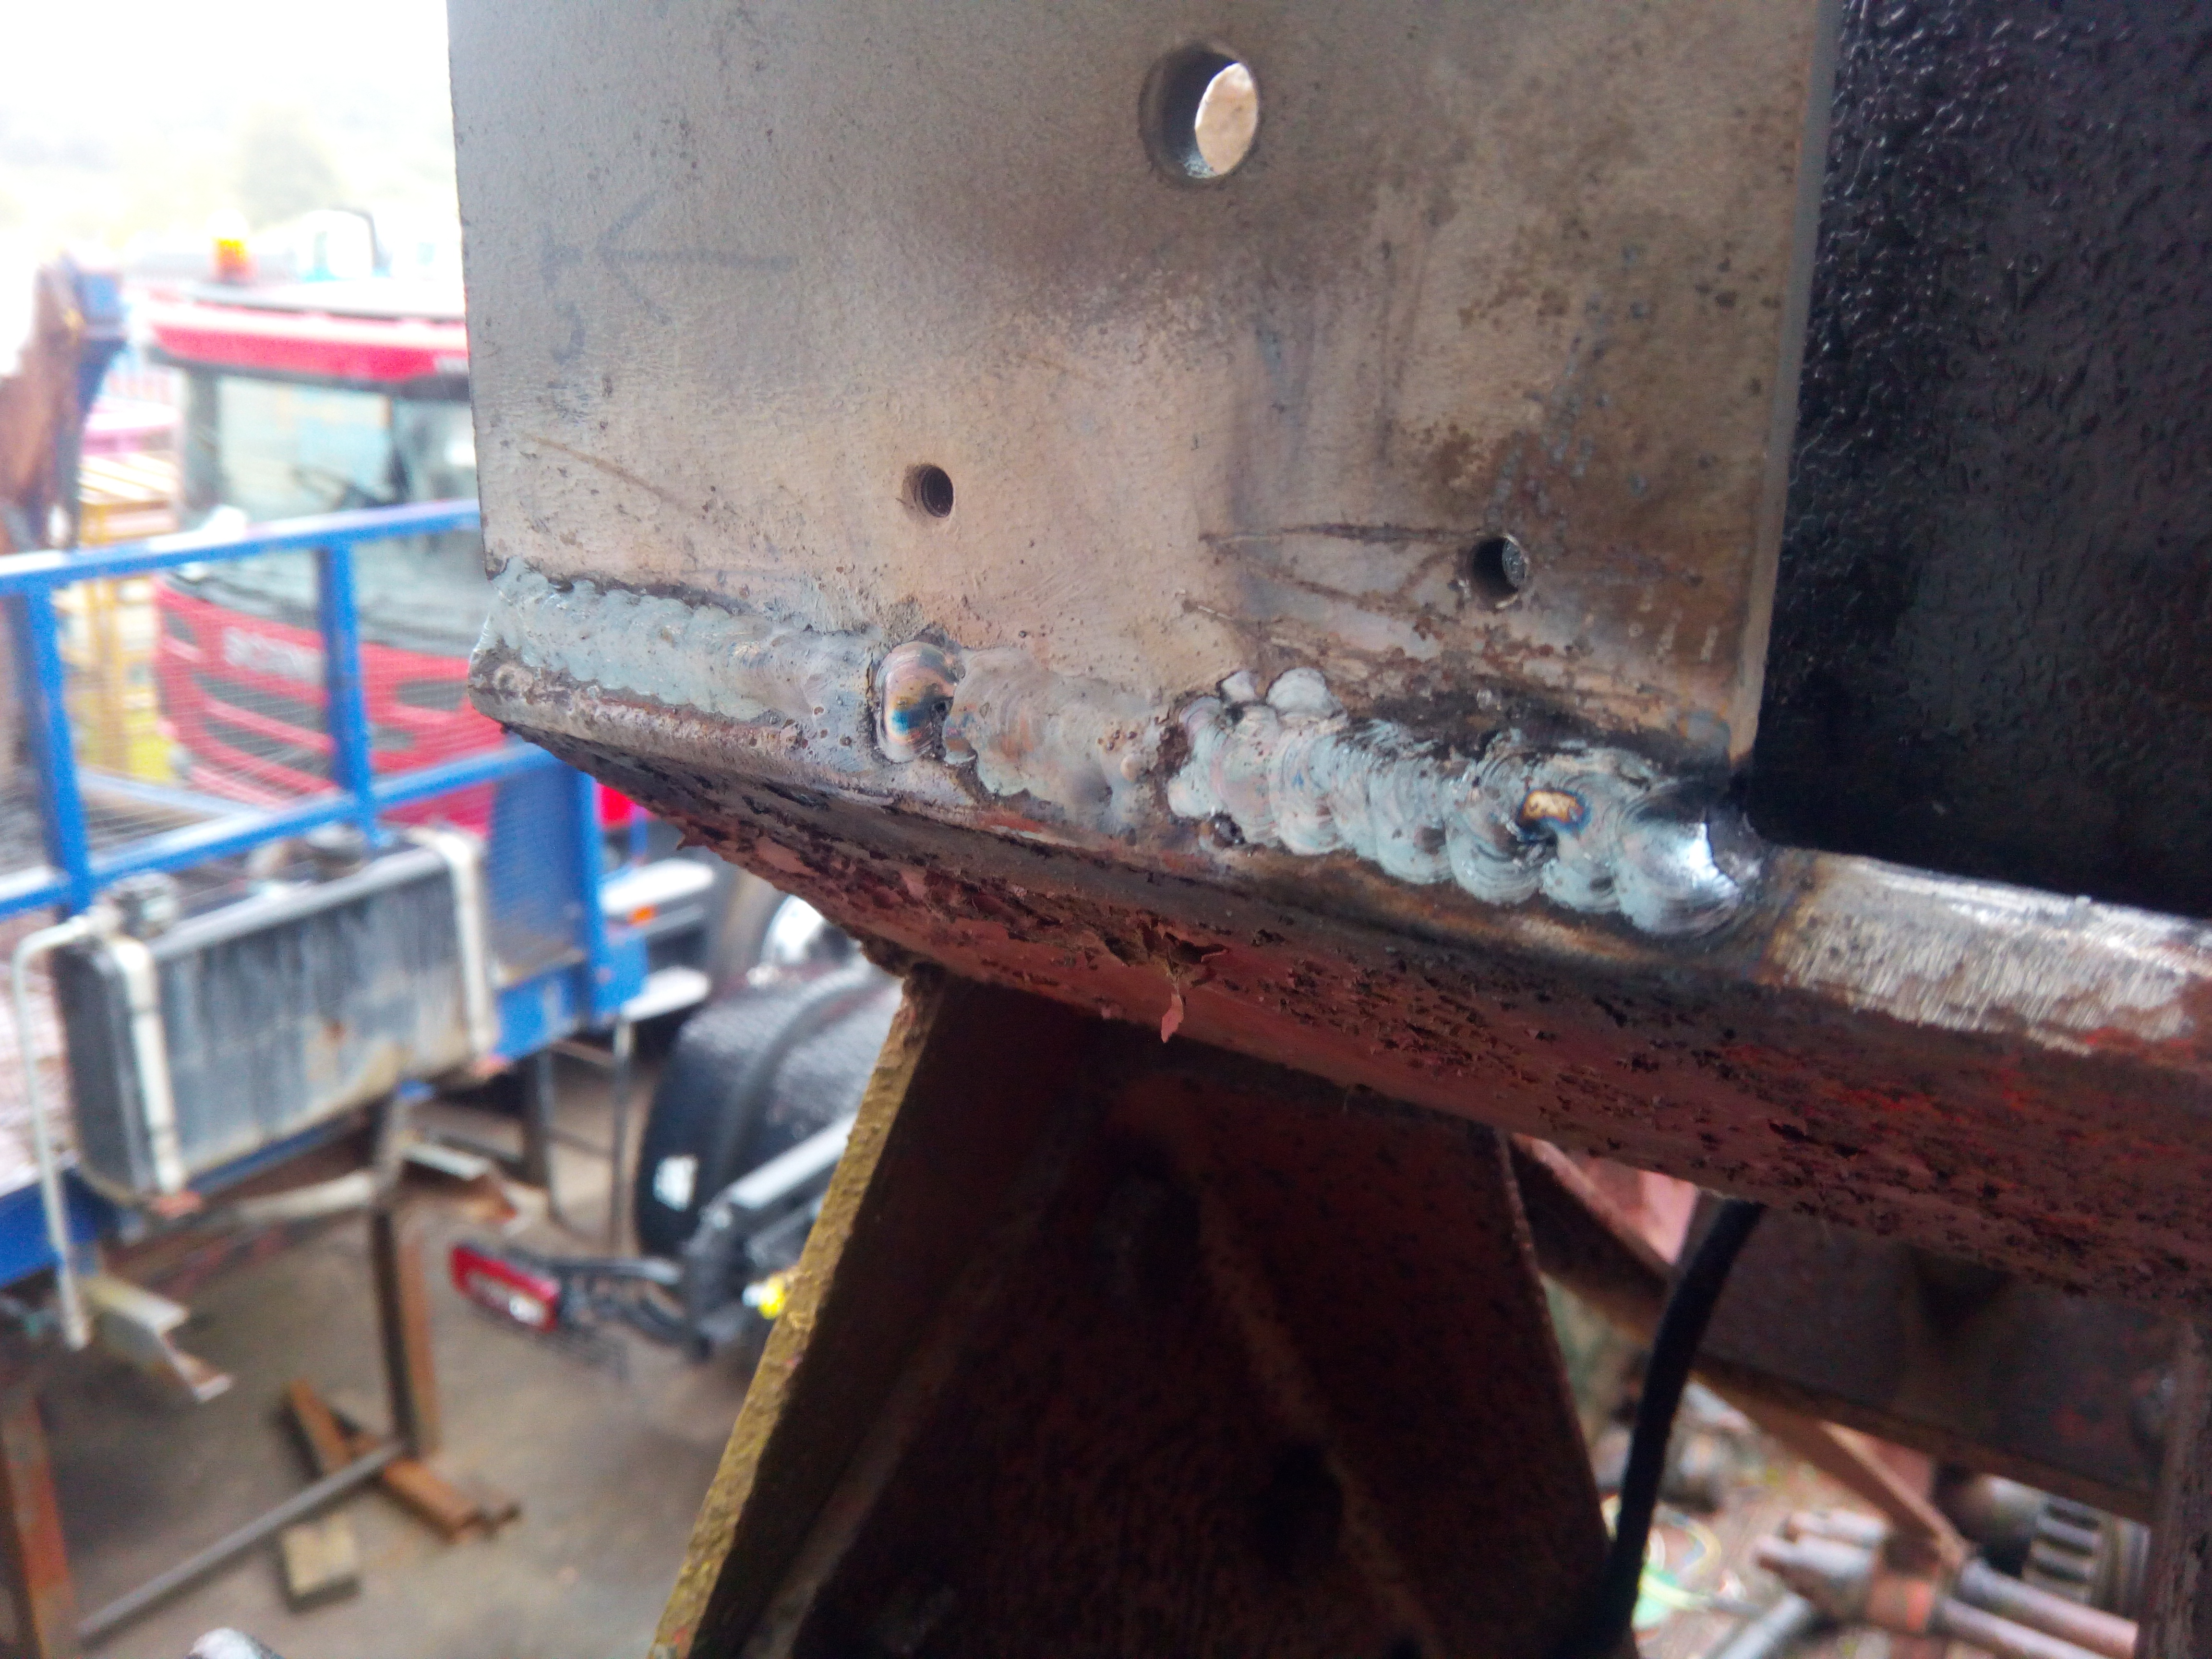
Anyway, turned out I didn't get as lucky as I first hoped. Hmm. Maybe the screw is still in there, holding it open? Time to start tearing it down... There were casualties of getting to that point. The exhaust studs snapped right off, because of coooooourse. But, eventually, with much straining, the manifolds were off. ...as one big daft lump. Prodding, poking, and jiggling about with a length of TIG rod ensued; trying to see if I could feel the screw stuck in the valve. Unfortunately not. So the only logical conclusion was that the valve was now either bent, or otherwise stuck in the valve guide. Some carefully applied brutality managed to get it pulled up and almost completely closed, to prevent it from getting battered by the piston. Spirits were at an all-time low, at this point, especially since it was now blocked in by a heavily-vandalised and immobilised truck, so I couldn't just tow it across to the workshop to do any welding. End of June, 2017 Light brackets at the top of the jib! That's what I need! So, antics ensued. They resulted in some light brackets being attached. Have a little weld porn too.  Indicators! \o/ Late August, 2017Some more activity on the brakes. This time, the front offside. Usual procedure, jack, wheel off, hub off, beat the snot out of the drum&hub, etc. 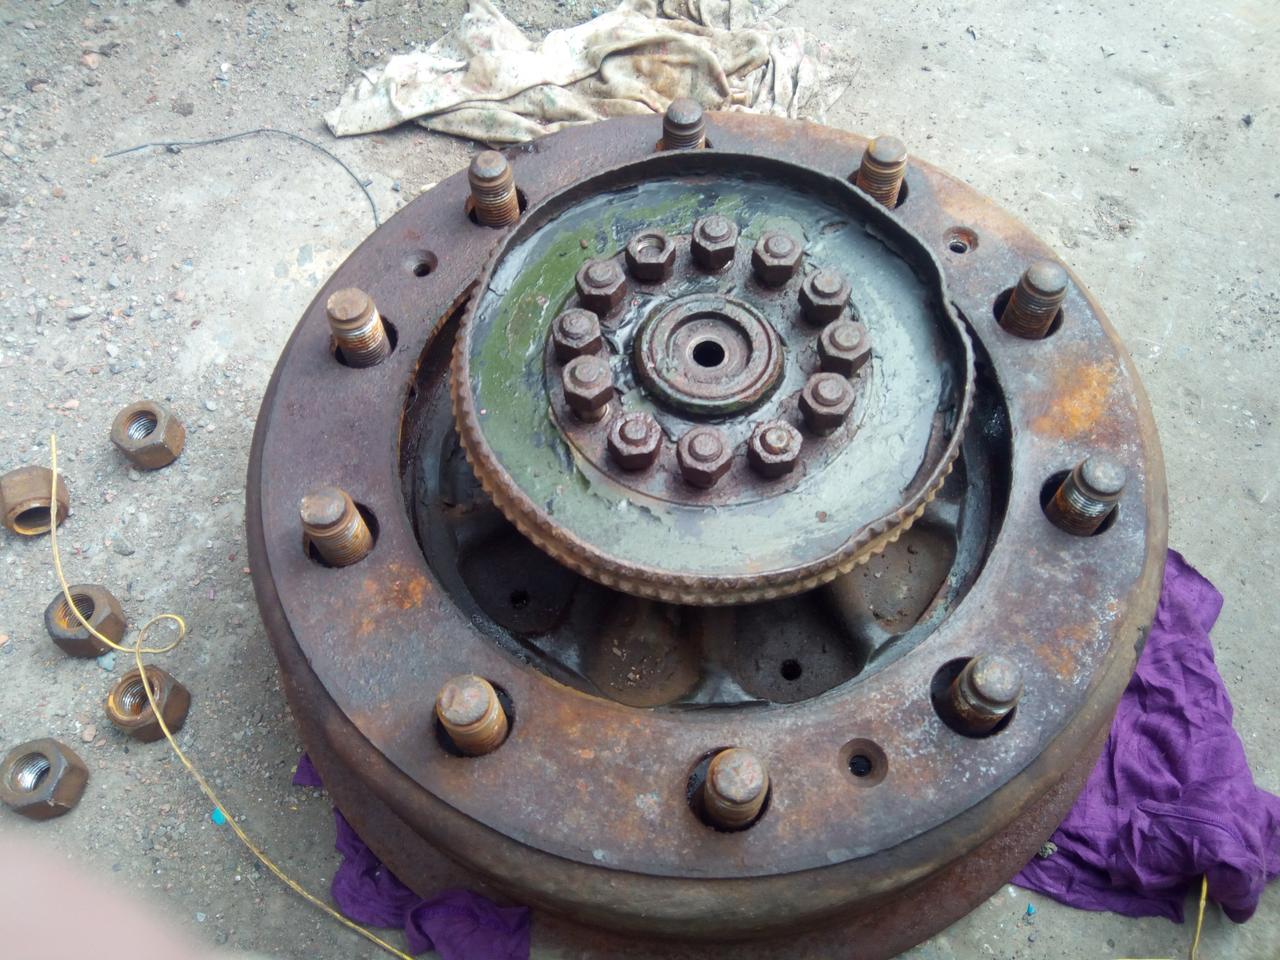 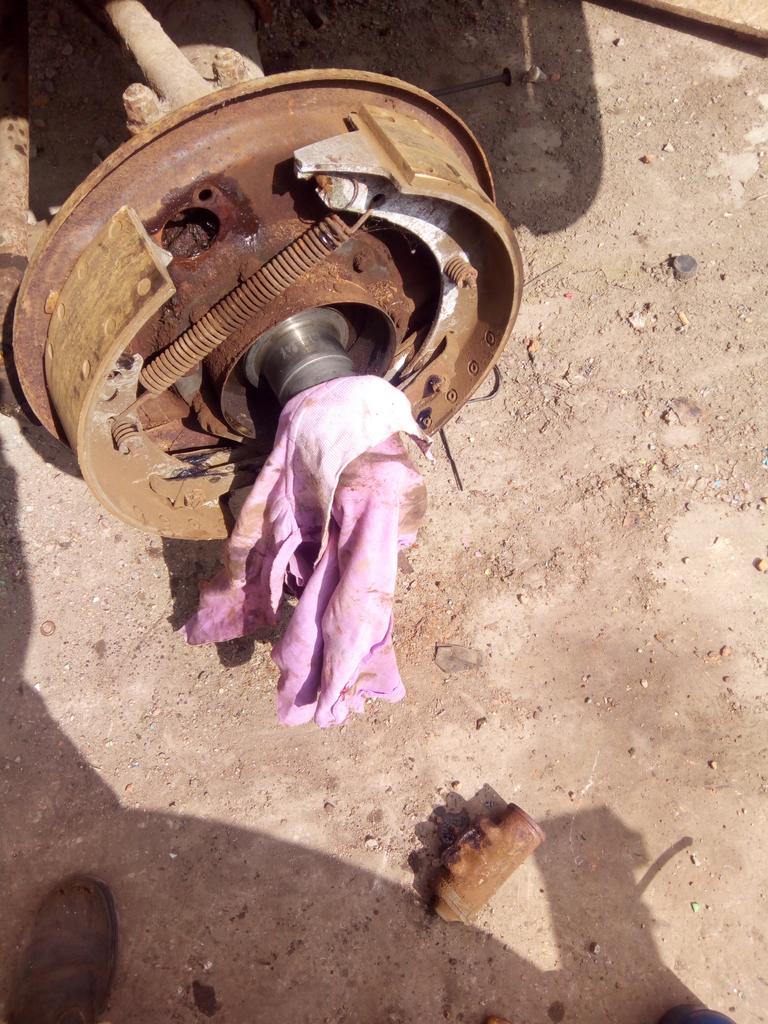 At least these look like normal drum brakes. This snazzy adapter aside: 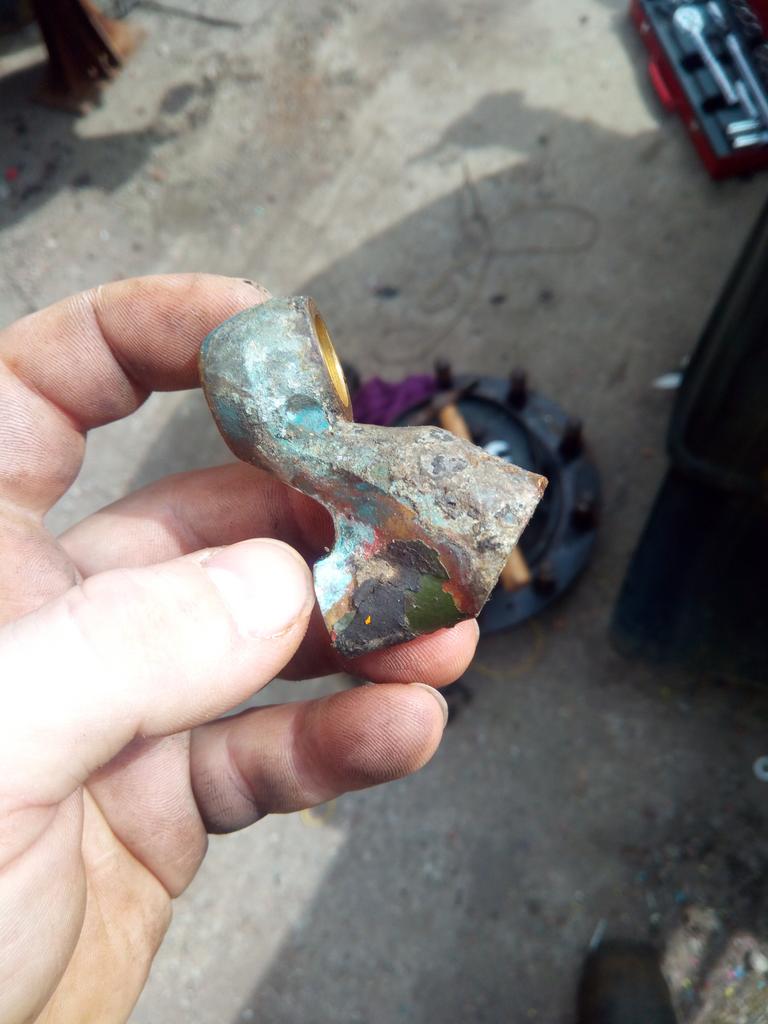 Goes on the brake cylinder, thusly, and connects the flexible hose to the banjo bolt, while supporting itself on one of the mounting bolts for the cylinder itself. 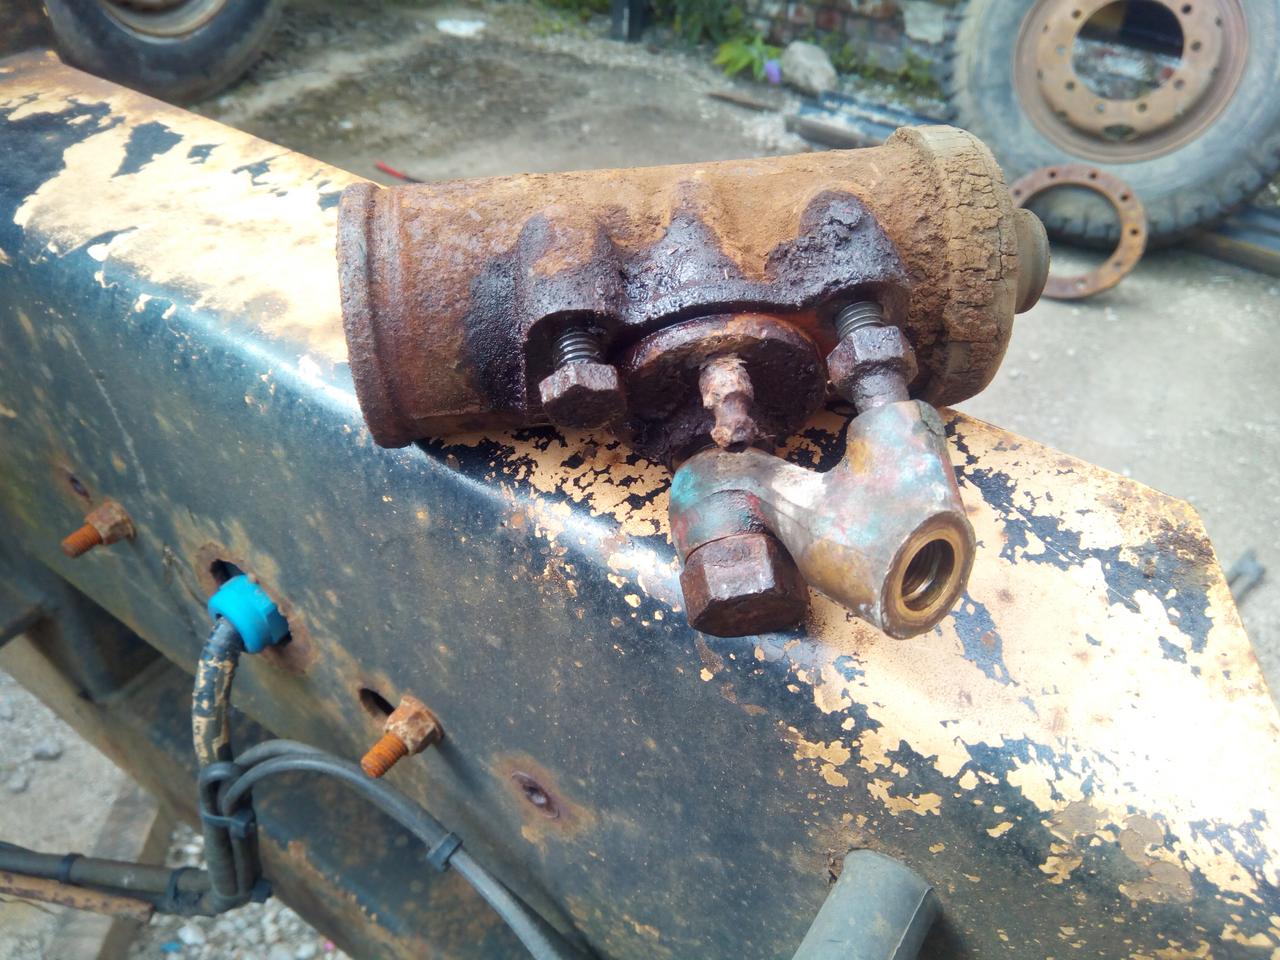 I also strategically lightened my shovel, using it to refit the wheels. Nearly face-planting straight into it, in the process.  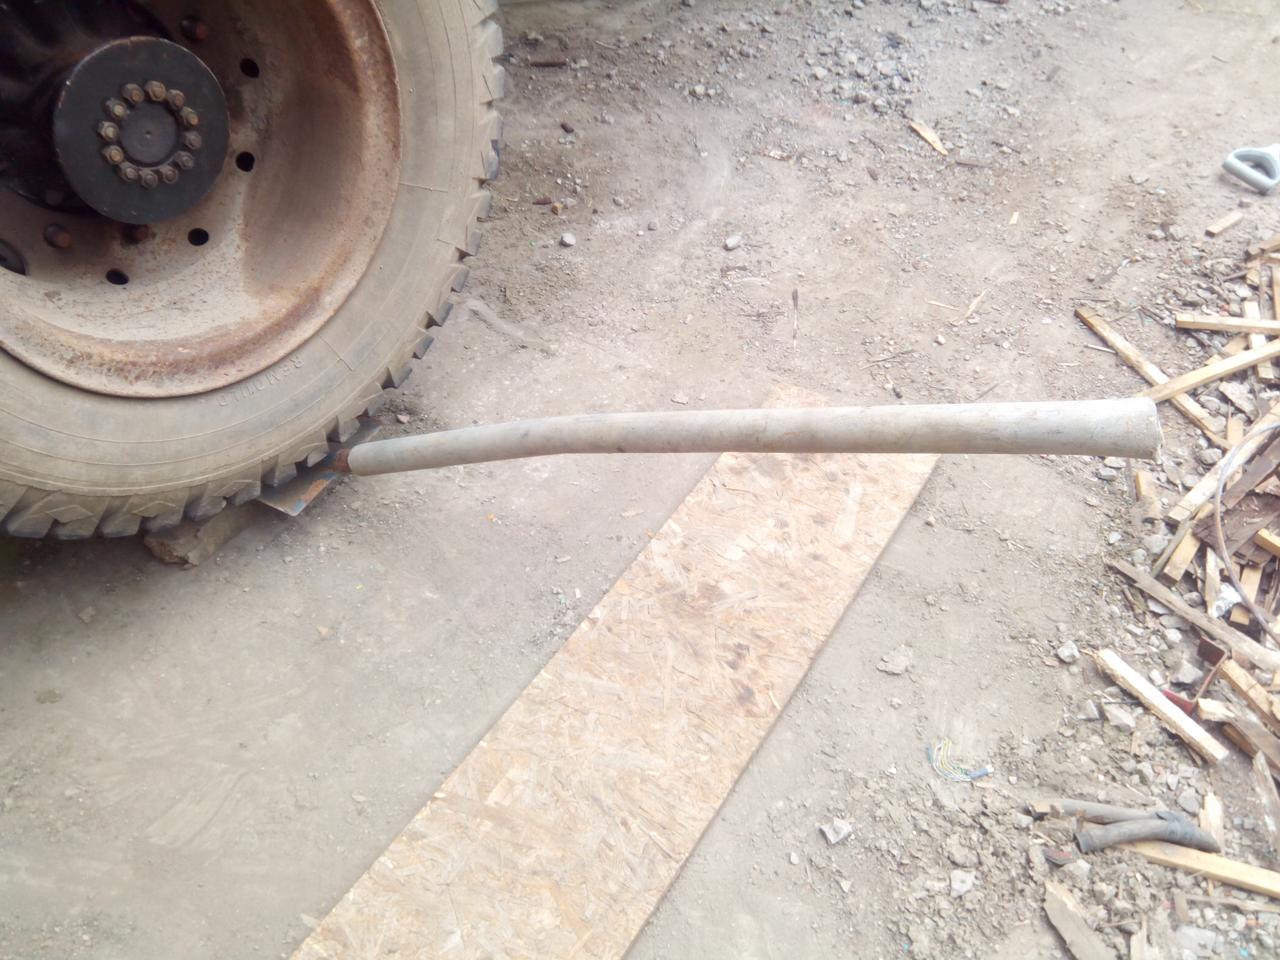 December 2017 December 2017Returned from holiday to Canada, sorely needed because work sucked. Work has been causing me a lot of stress, which significantly reduces my desire to be anywhere near the damn place to work on it... (" You can't be stressed, you only work five days a week!") And it's not helped that we've moved to a different unit on the estate while the old one is being demolished, with the easy route (300 ft or so) blocked off by demolition-company fencing, turning it into about a third of a mile walk between toolbox and truck. (Which isn't so bad, except for when you're on your twentieth trip after forgetting something...) Not much happened, some painting and whatnot. Also a little bit more welding on the door, because I figured I'd best actually do something with it, because muppets kept squashing it where it was, leant up against my workbench. 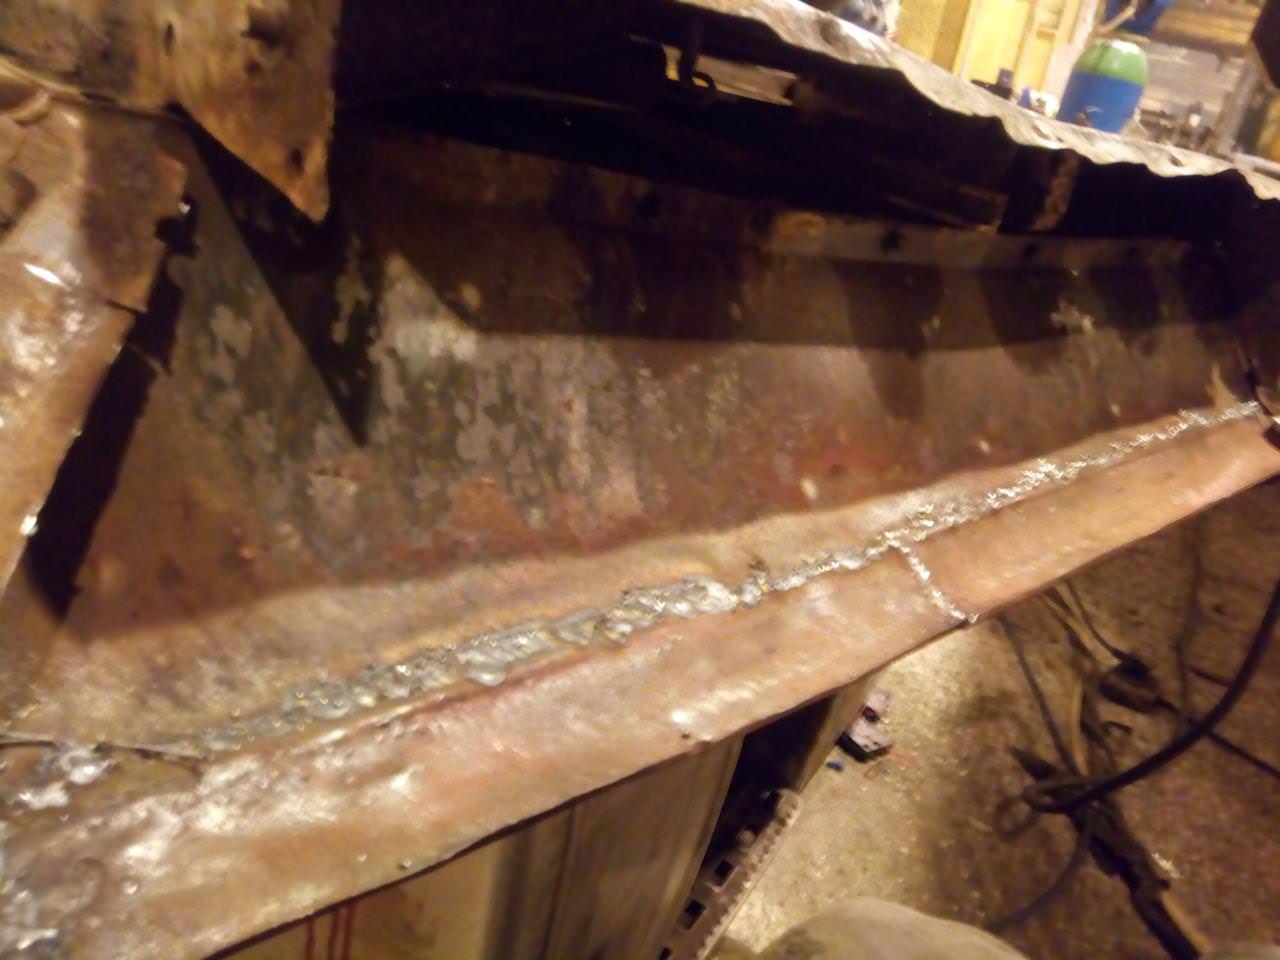 It was not pretty welding. It has started turning out to be easier to do it with stick, than work's overpowered welders. 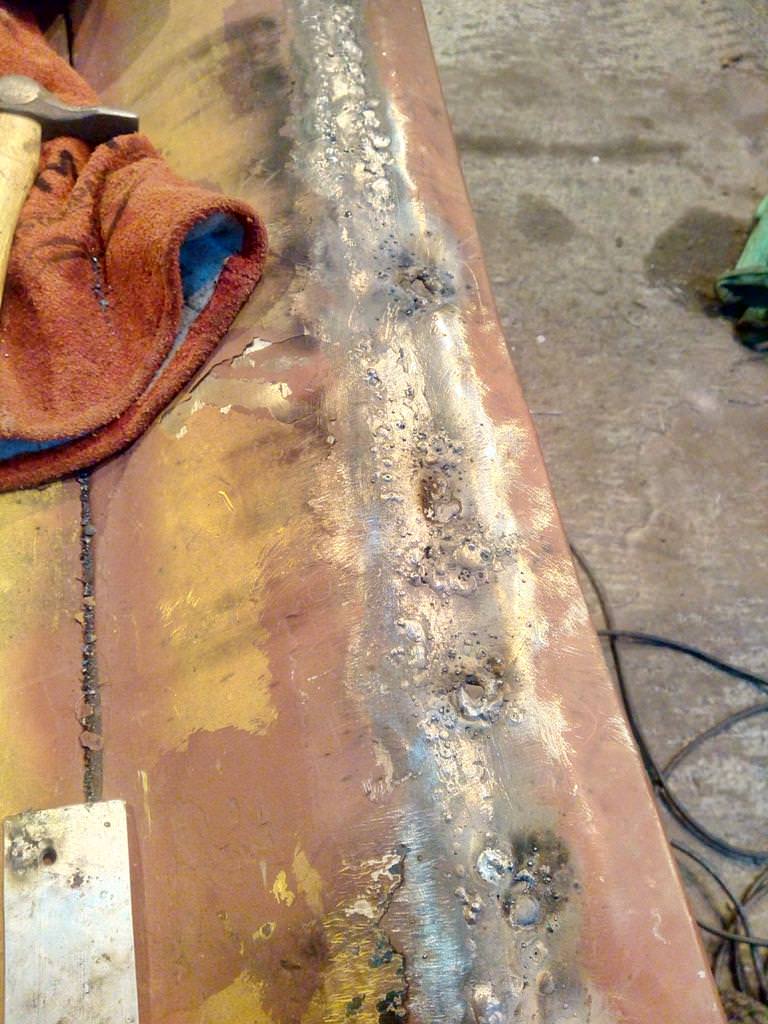 So, if anyone ever asks if it's possible to weld sheet metal with a stick welder, ...yes, but it's not a pleasant experience.  Closer to being done. February 2018Right, time to get serious with it. 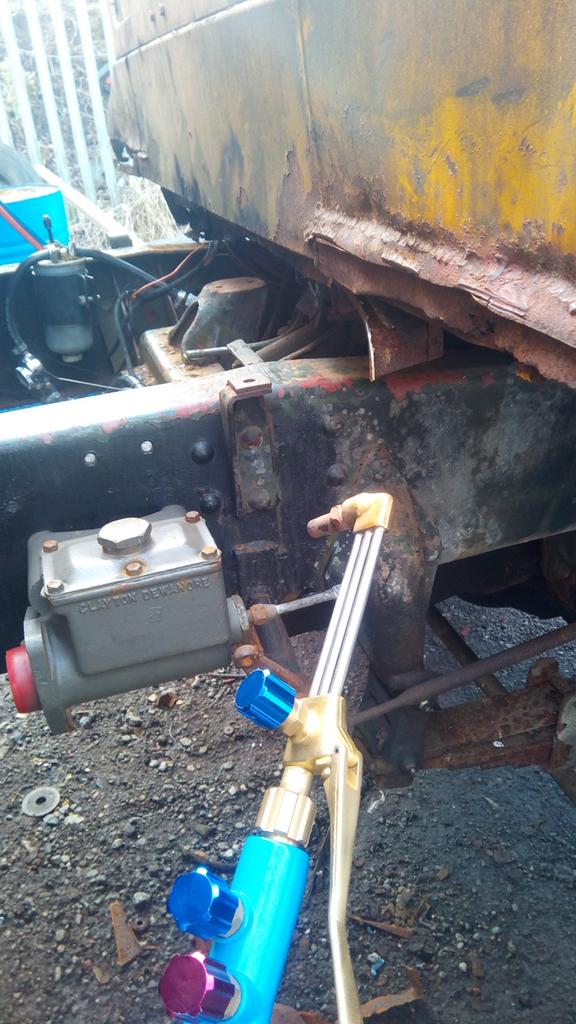 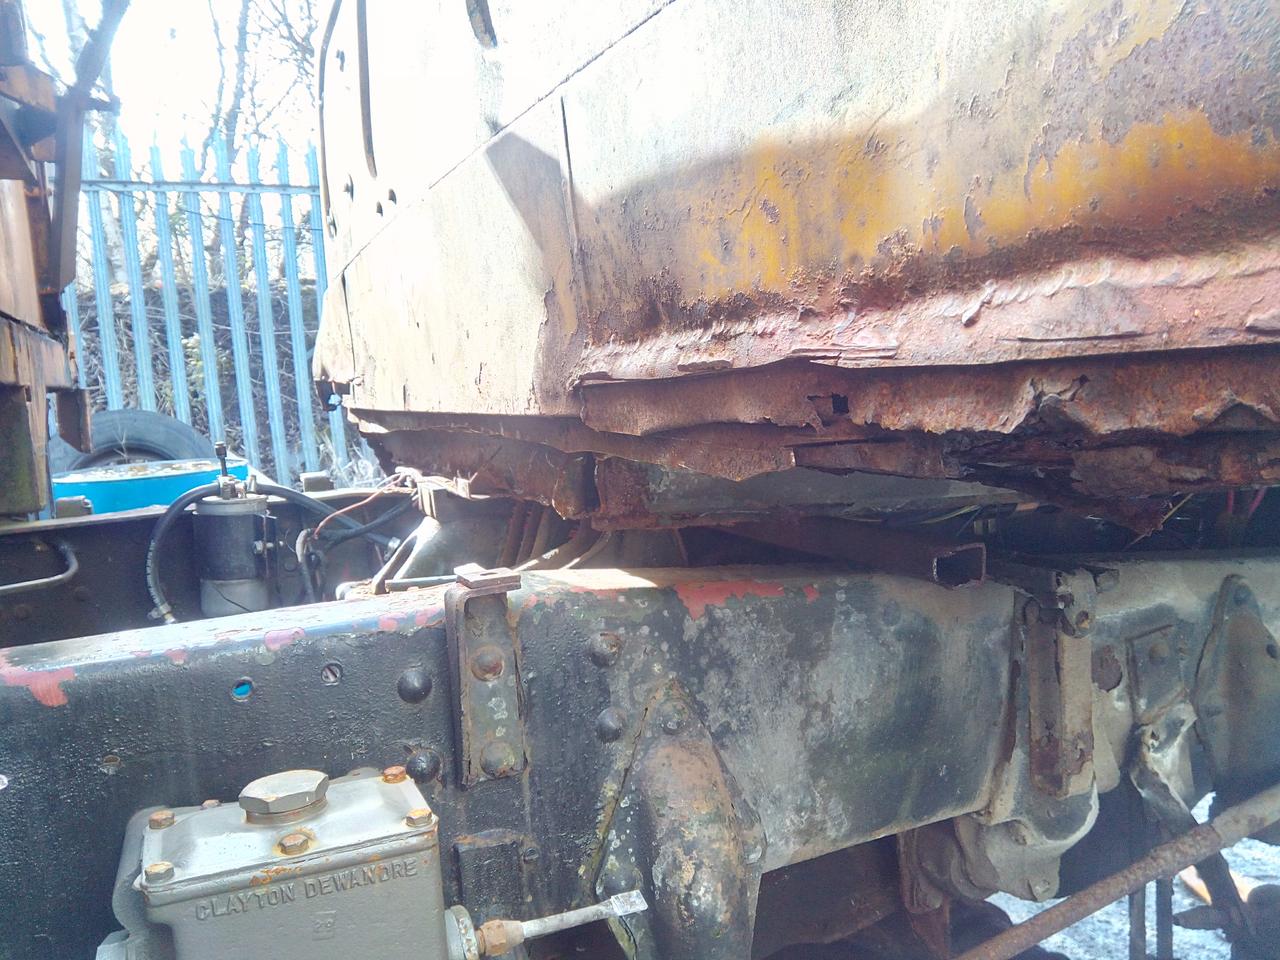 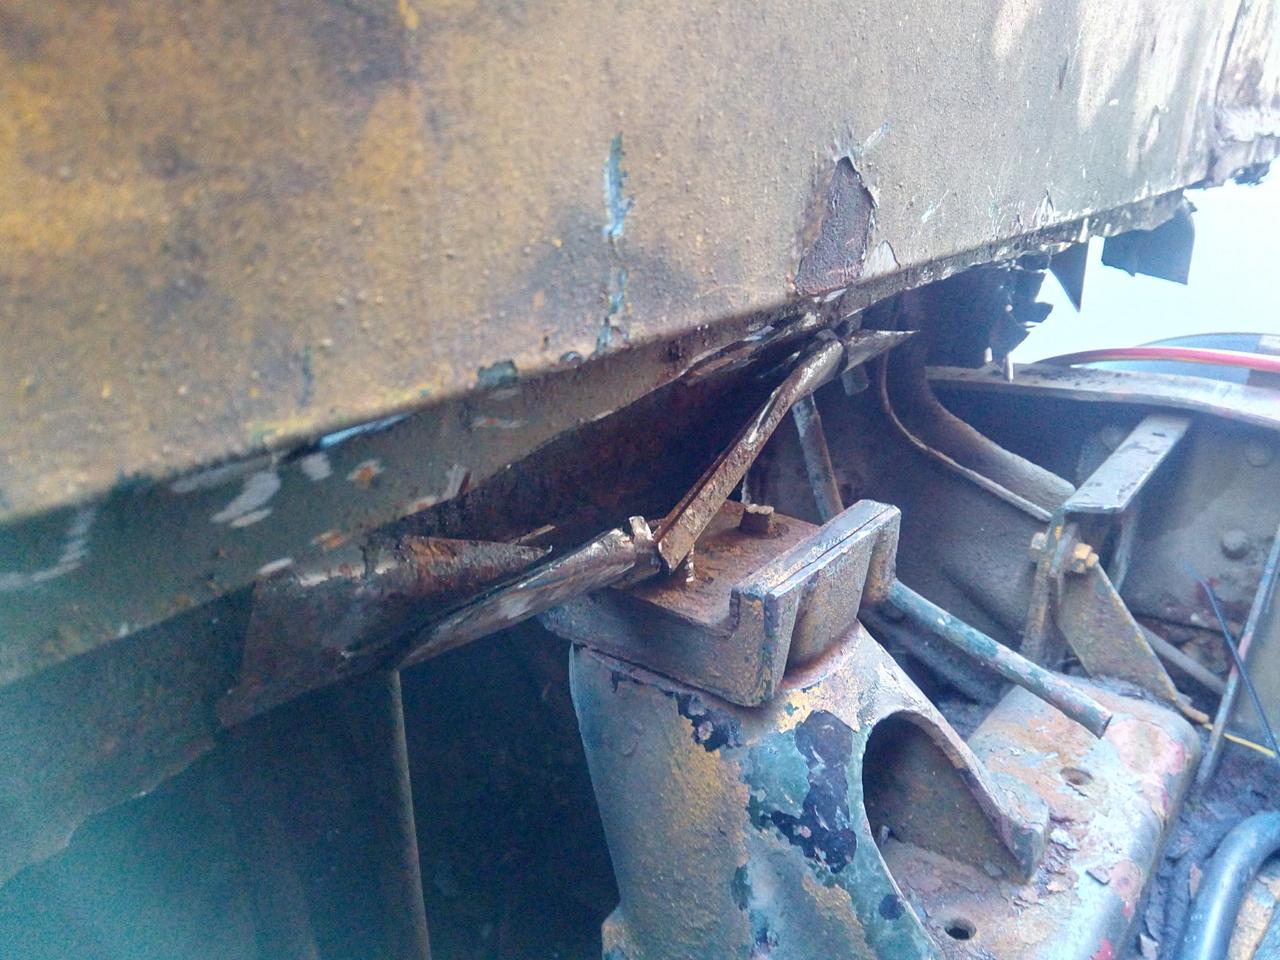 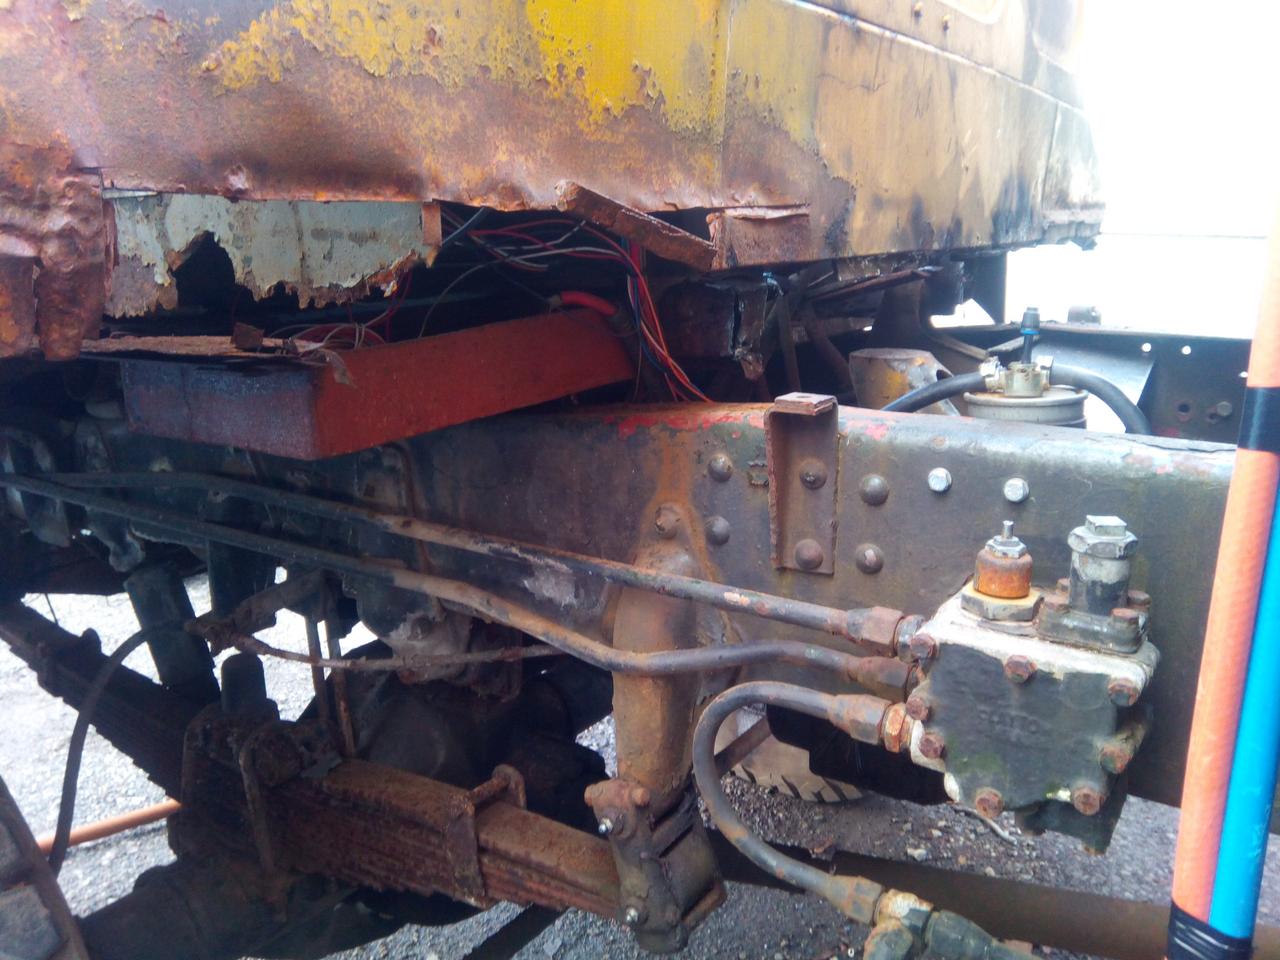 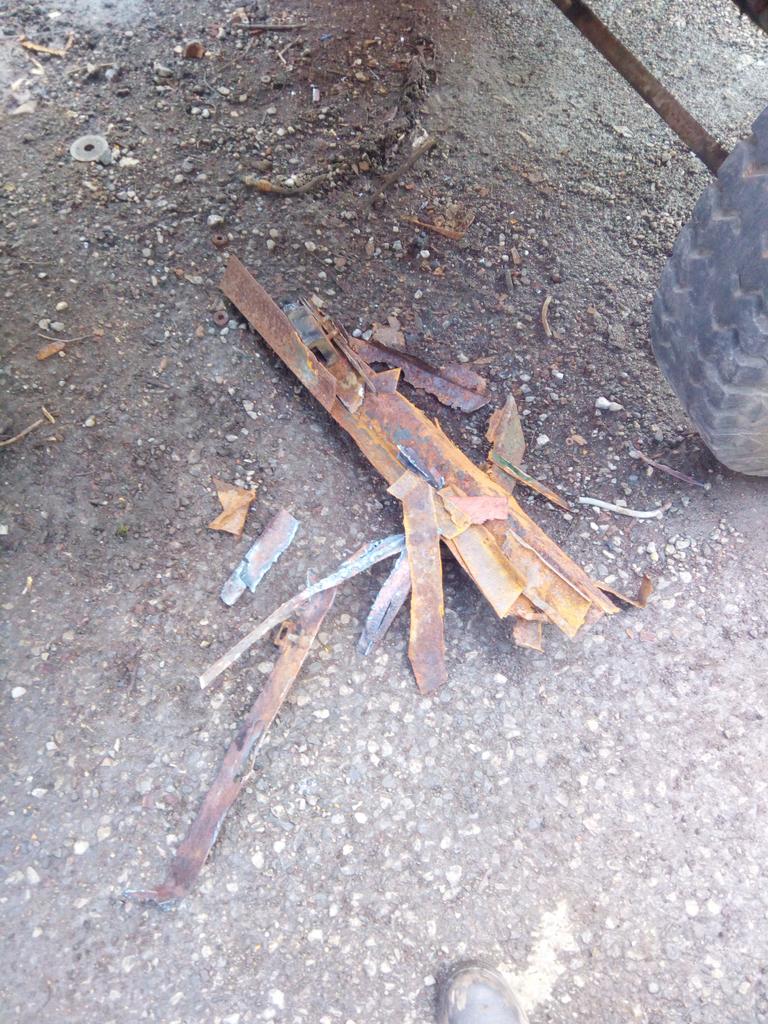 Begone with thee, rot! |
| |
-< Welder. Allegedly a mechanic. Bodger of Things >-
* 1958? Bedford RL - Progress: Glacial.
* 1994 Skoda Favorit - It's baaaaaaaack!
* 2018 Herald Classic - Gone!
|
|
|
|
Tamber
Part of things
  Shattered. Held together by spite and tape.
Posts: 336
|
|
Jul 22, 2019 22:38:46 GMT
|
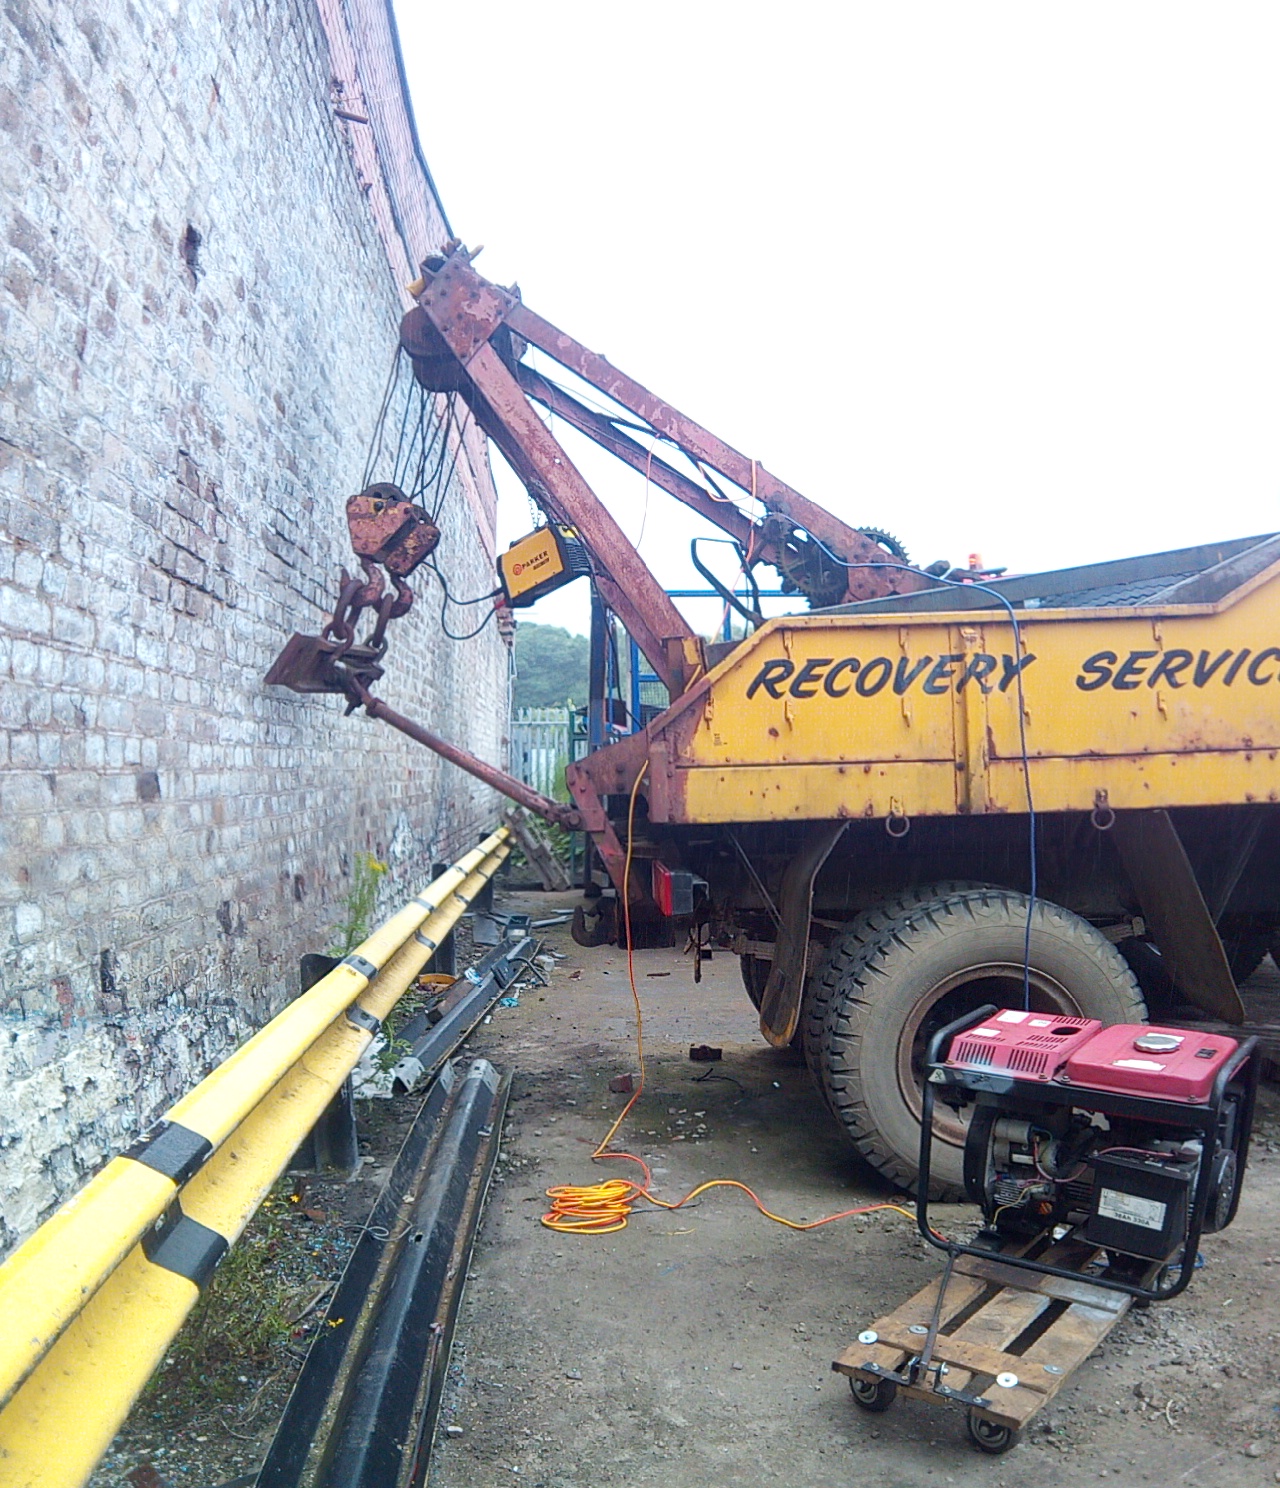
Oh, yeah, you'll notice that the surroundings have changed by the end of that last post. Reason being, by December, the company I worked for was supposed to have completely moved from that yard, to another one just round the corner, and the RL was the last hold-out. (Partly because it didn't run. Mostly because they didn't want to mess with it, because it's my truck.) So I dug out my home-made tow-bar, hooked it up to the back of the forklift, got my brother to sit in the truck to steer, put the hazards on, and towed it round the industrial estate.  Great fun, and gets a lot of attention. That's the last of the updates from tonight, for various reasons: - It's late, and work awaits again.
- I've dumped quite a lot in one go, again, so you probably need time to digest it.
- CloudFlare seems to have had a hissy-fit, and is currently blocking me from HMVF, so I can't keep flipping through the thread to dig up my image links/figure out what order things were happening in.

|
| |
-< Welder. Allegedly a mechanic. Bodger of Things >-
* 1958? Bedford RL - Progress: Glacial.
* 1994 Skoda Favorit - It's baaaaaaaack!
* 2018 Herald Classic - Gone!
|
|
|
|
|
|
|
Fully digested during morning coffee - 'Next Instalment Please'  |
| |
|
|
luckyseven
Posted a lot
   Owning sneering dismissive pedantry since 1970
Posts: 3,839
Club RR Member Number: 45
|
|
Jul 23, 2019 11:45:57 GMT
|
I hope this has got as happy ending, cos it's making me a bit sad at the moment  Poor ol' giant yellow lump needs to live again. And the truck could do with some love too  Loving reading this though, your dryness is cheering me up no end on a morning when I've already broken two rivet guns and have come in for a sulk  |
| |
Last Edit: Jul 23, 2019 11:46:09 GMT by luckyseven
|
|
|
|
|
Jul 23, 2019 18:46:21 GMT
|
|
^^^ As above! loving every minute!
|
| |
|
|
|
|
|
Jul 23, 2019 19:26:45 GMT
|
|
Great project, keep the updates coming.
|
| |
|
|
Tamber
Part of things
  Shattered. Held together by spite and tape.
Posts: 336
|
|
Jul 23, 2019 20:12:41 GMT
|
I hope it's got a happy ending, too, because I'm nowhere near it yet!  May 2018 May 2018Some kinda-clunky brake-pipe happened. 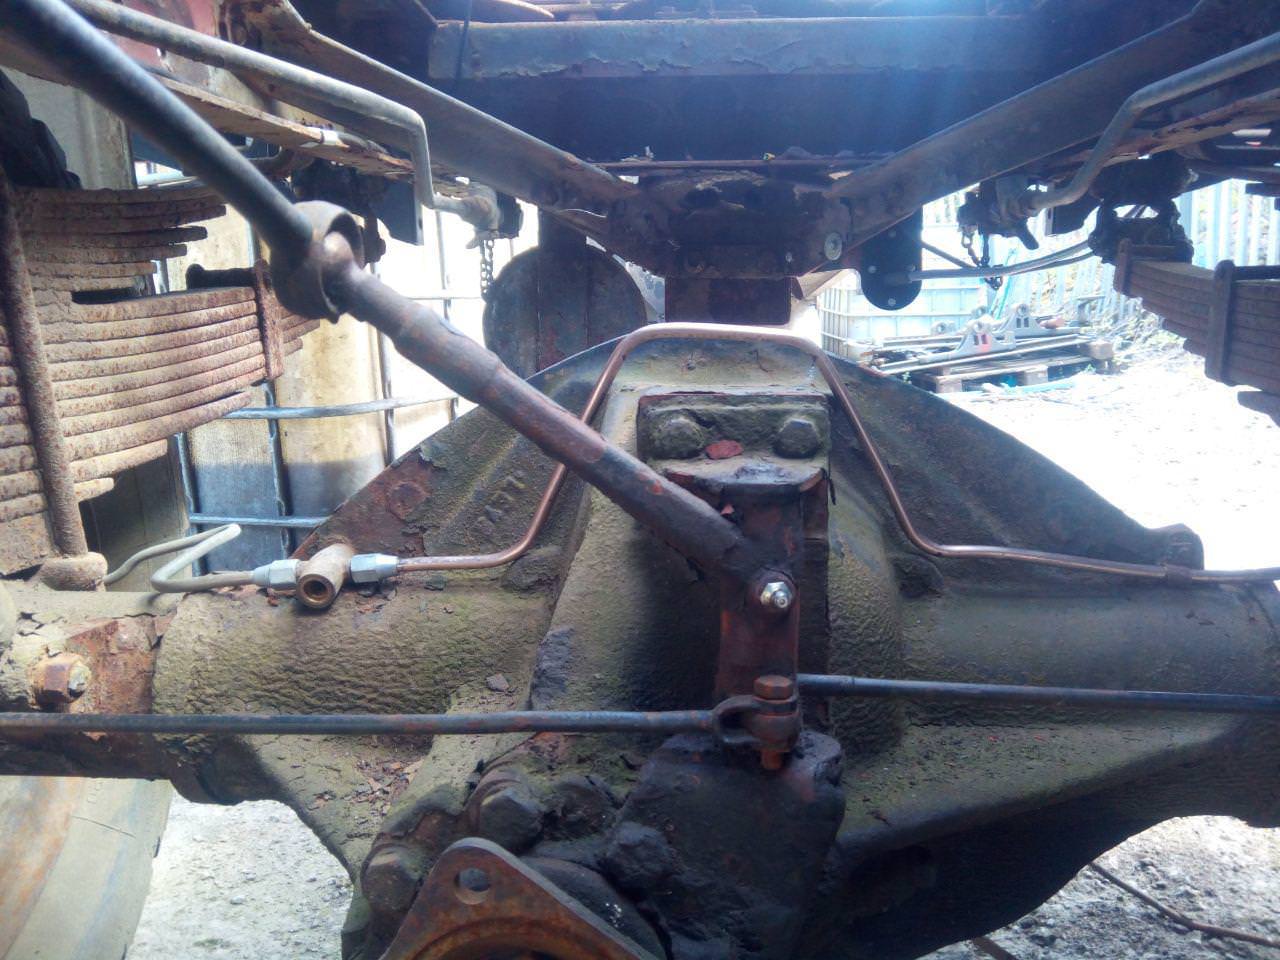 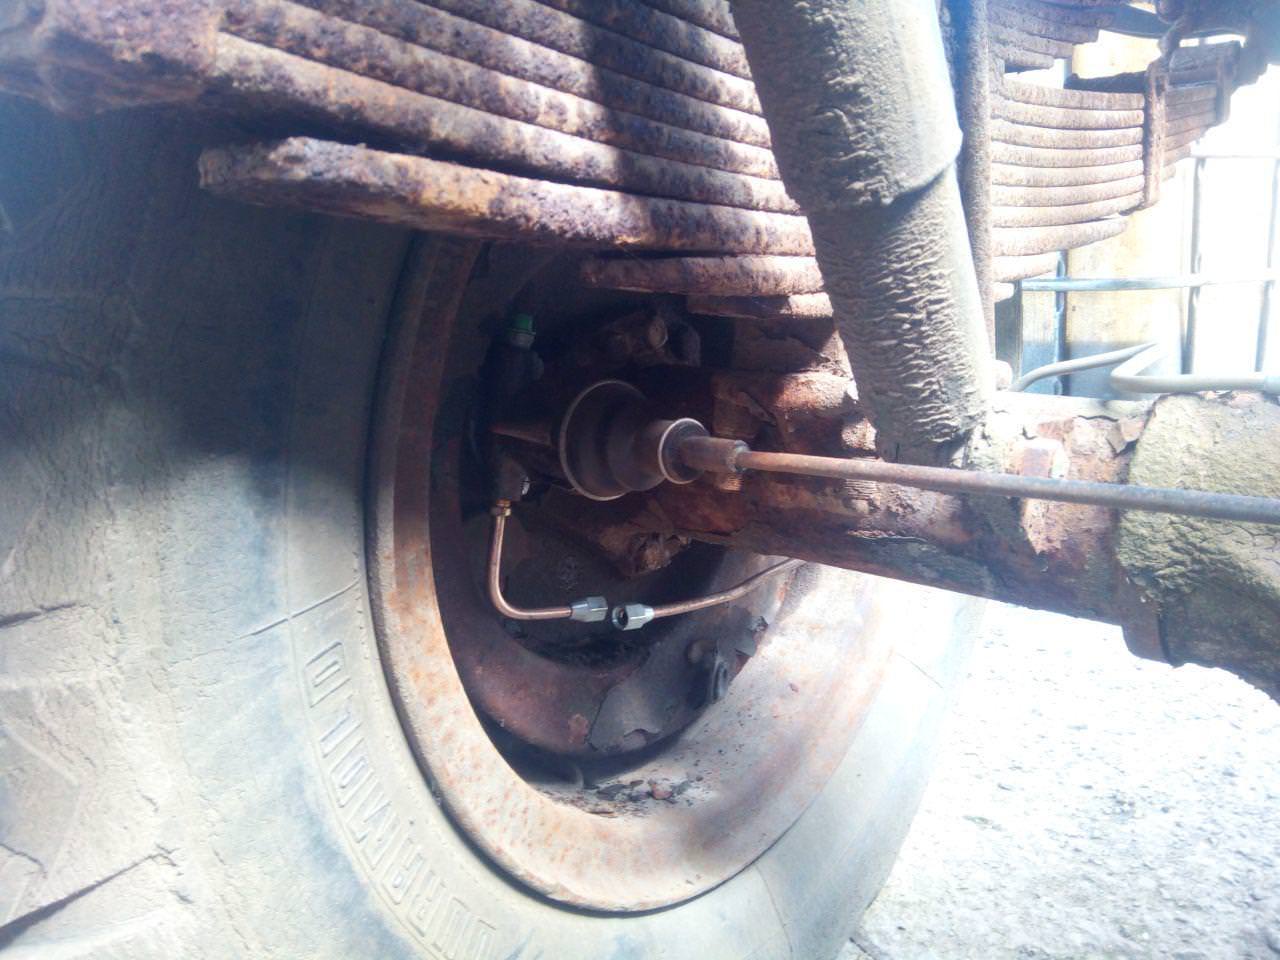 I wasn't really happy with it, especially since I ended up having to join it because I screwed up the last bend. It later gets redone, and most of it gets reused elsewhere anyway. All a learning experience. While I was stood around staring at the truck in bewilderment -- this happens a lot, I'll find myself sitting there staring into space thinking about nothing in particular  -- I kinda decided that I wanted to clean up a bit of the paintwork. So I did. 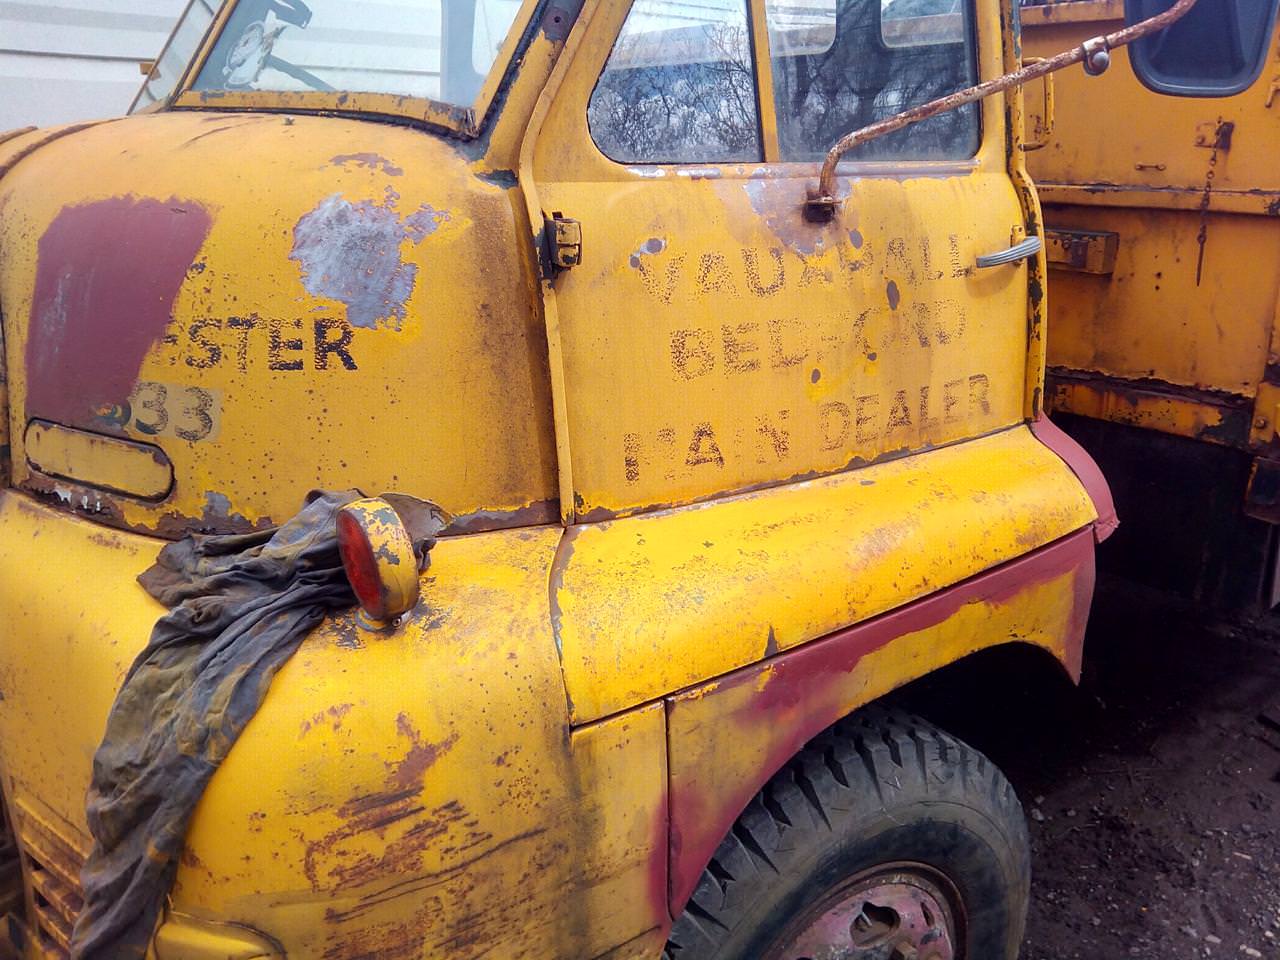 And then I went to prime over some patches where the paint had flaked off, which I got carried away with and resulted in: 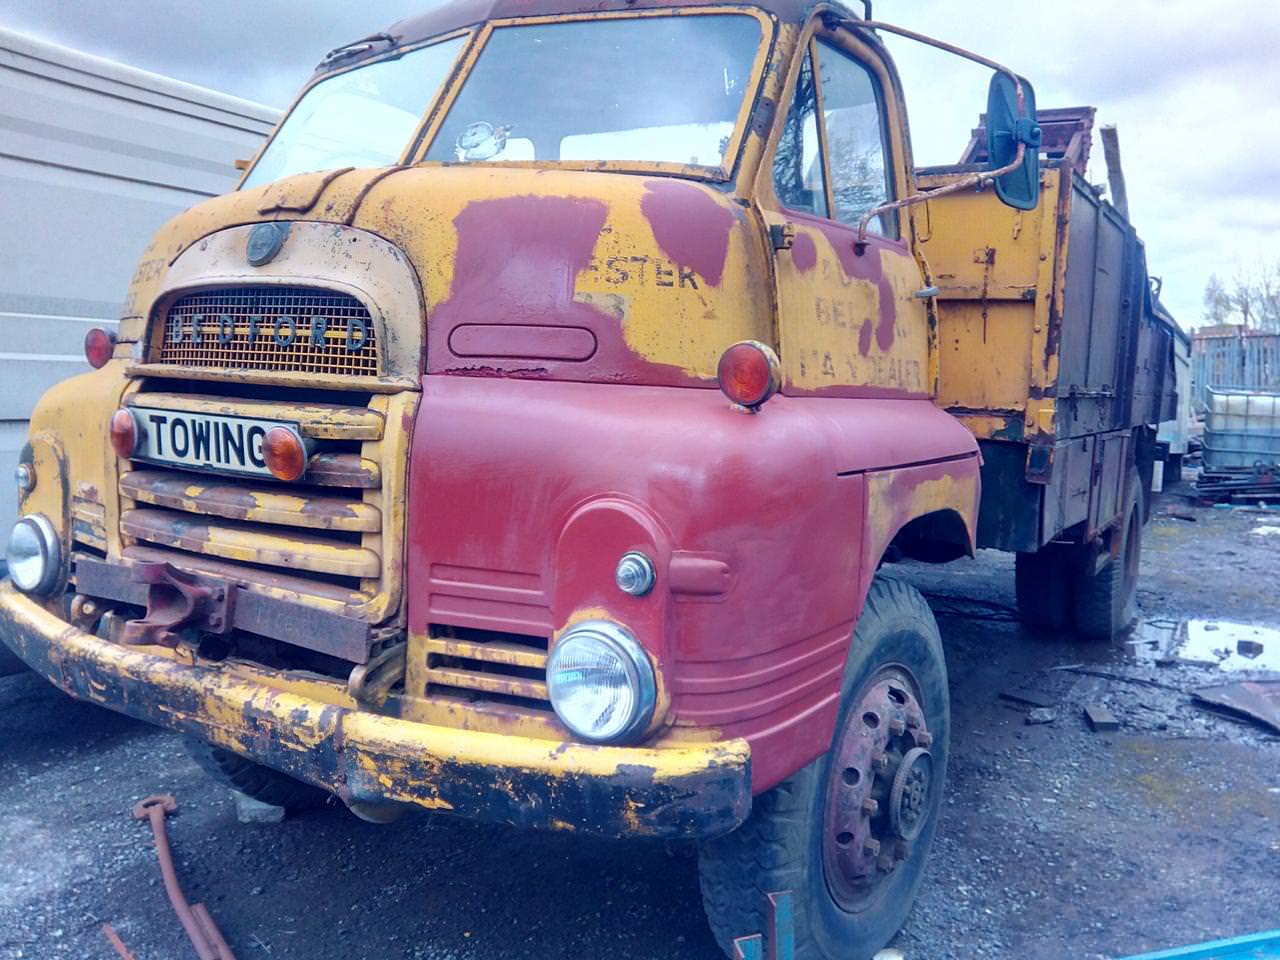 Then I popped the grille off, and picked off all the curled-up paint. Y'know, while there was still a grille left. Thankfully, it turned out to be pretty solid. 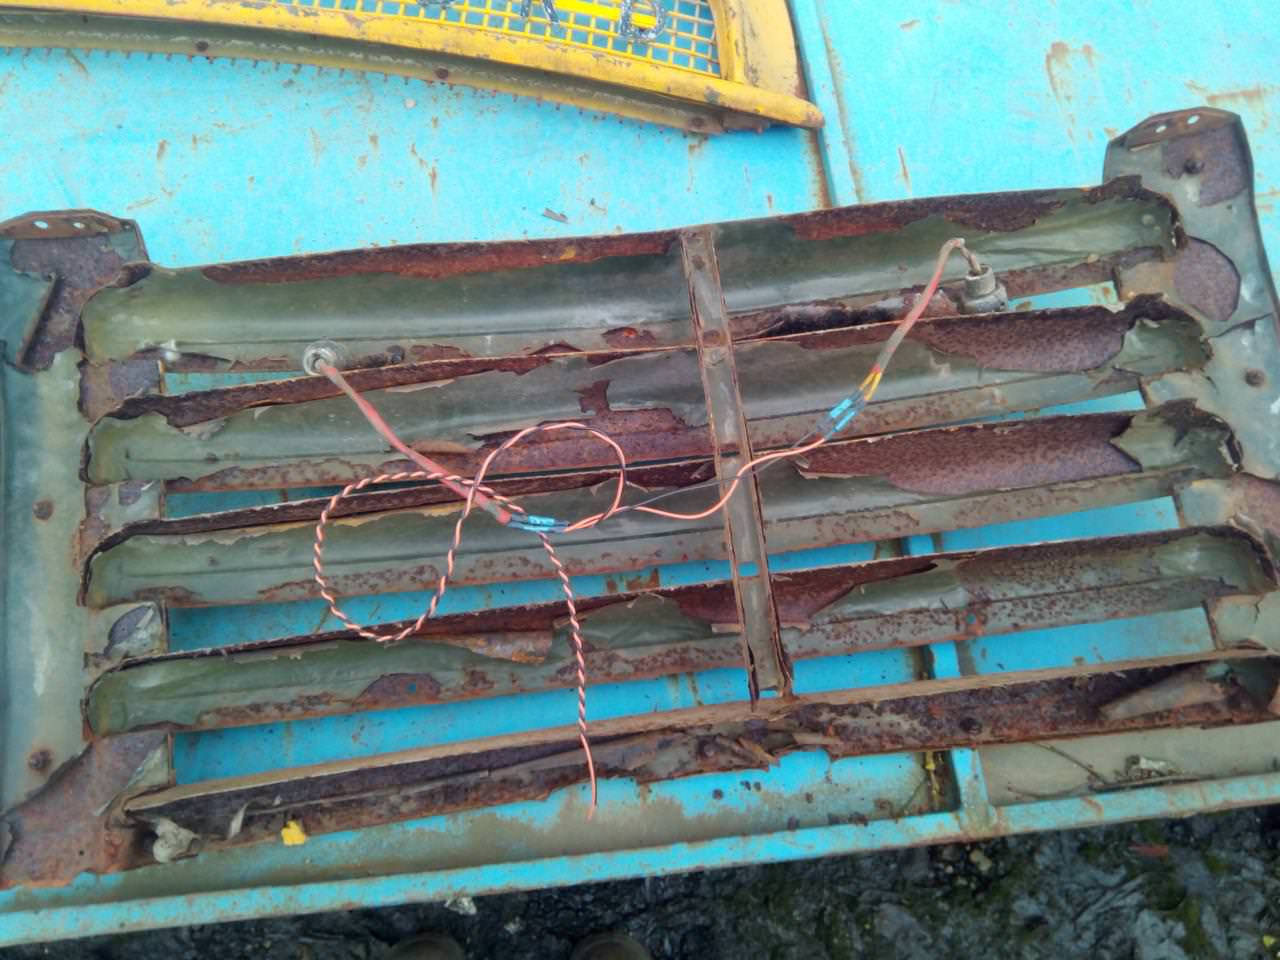 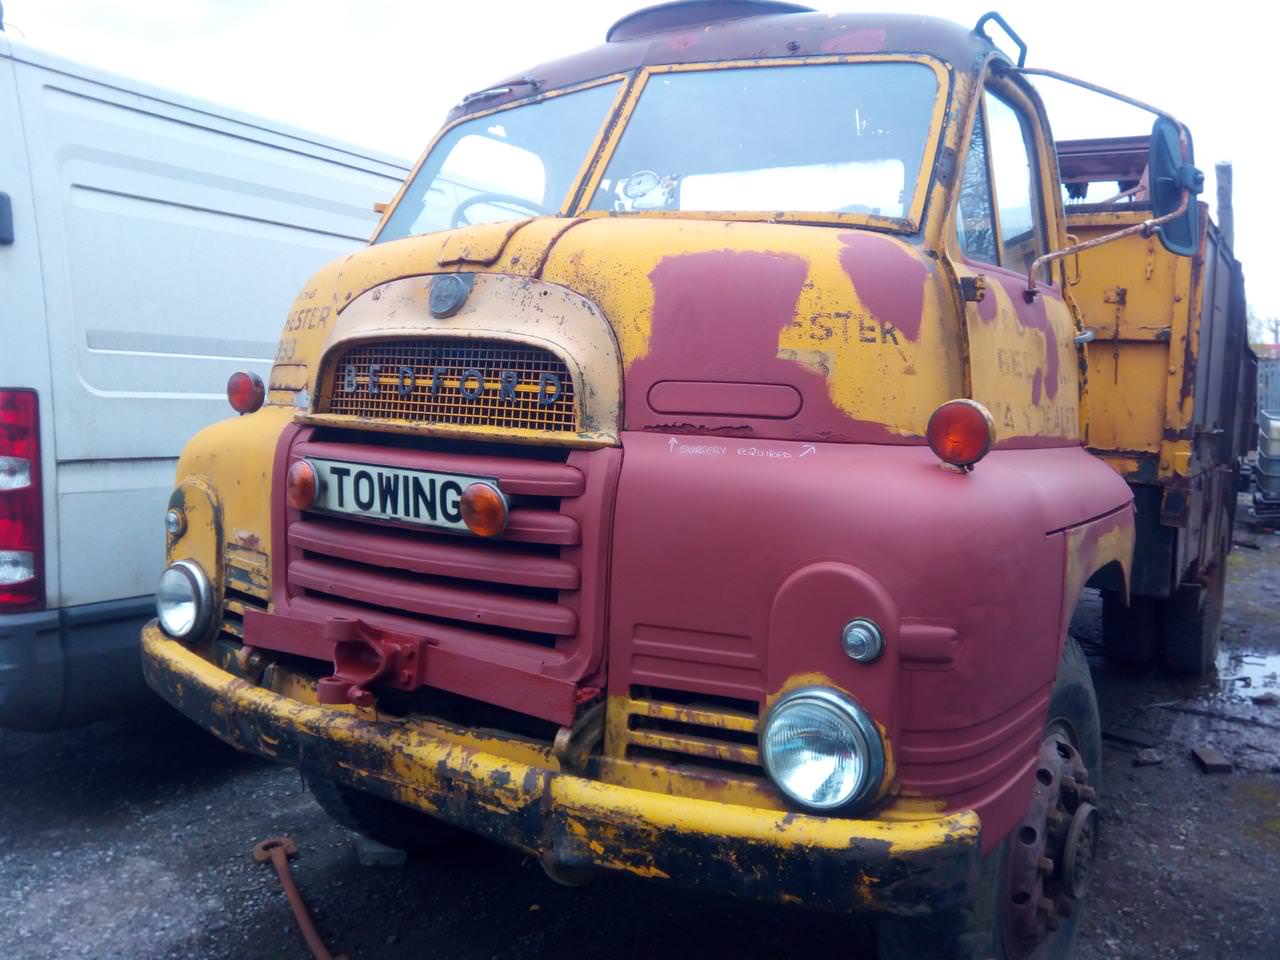 Wire wheel, rust-convert (Kurust), prime, refit. Also fitted a new beacon on the roof, which meant I got to look at how bad the roof is, again.  And with a new beacon, I needed a switch for it. Well, that and some other stuff, so I made up a small panel... 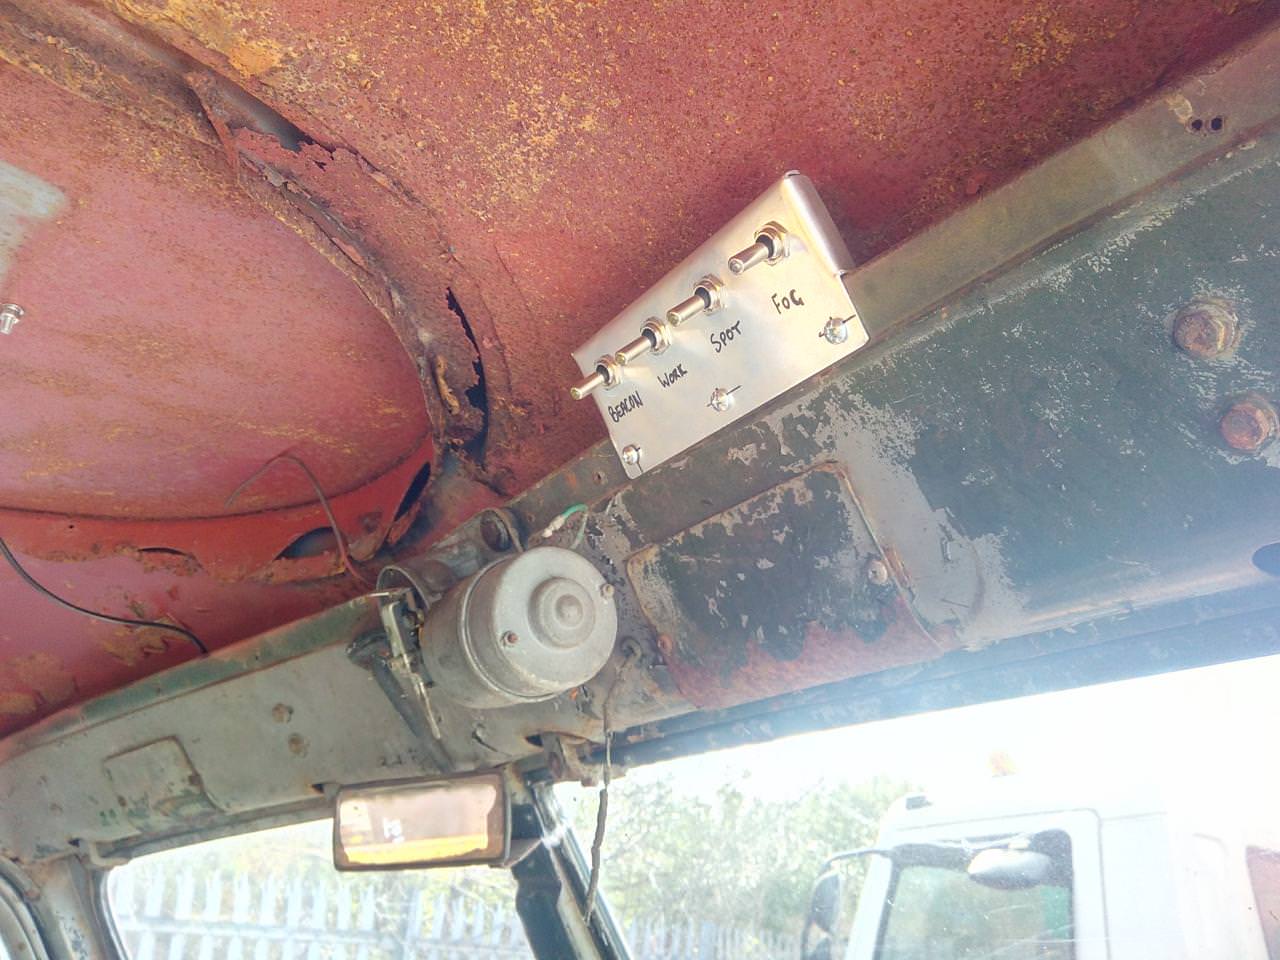 Illuminated toggle switches; three amber, one blue. I was worried, at the time, that the blue one for fog might be a bit too bright; but it turned out that it's high enough up that it's not burning holes in your eyes while you'd be driving.  Early June 2018 Early June 2018Well, since I'd played scrap-man earlier on, it was perhaps time to start putting some metal back in. 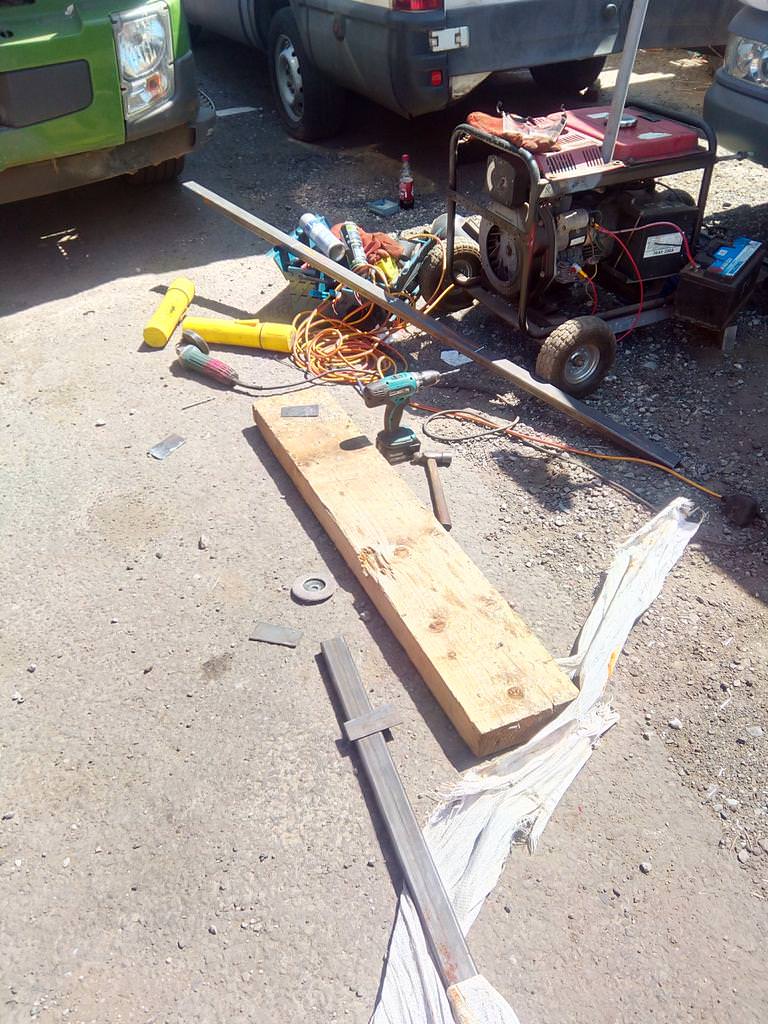 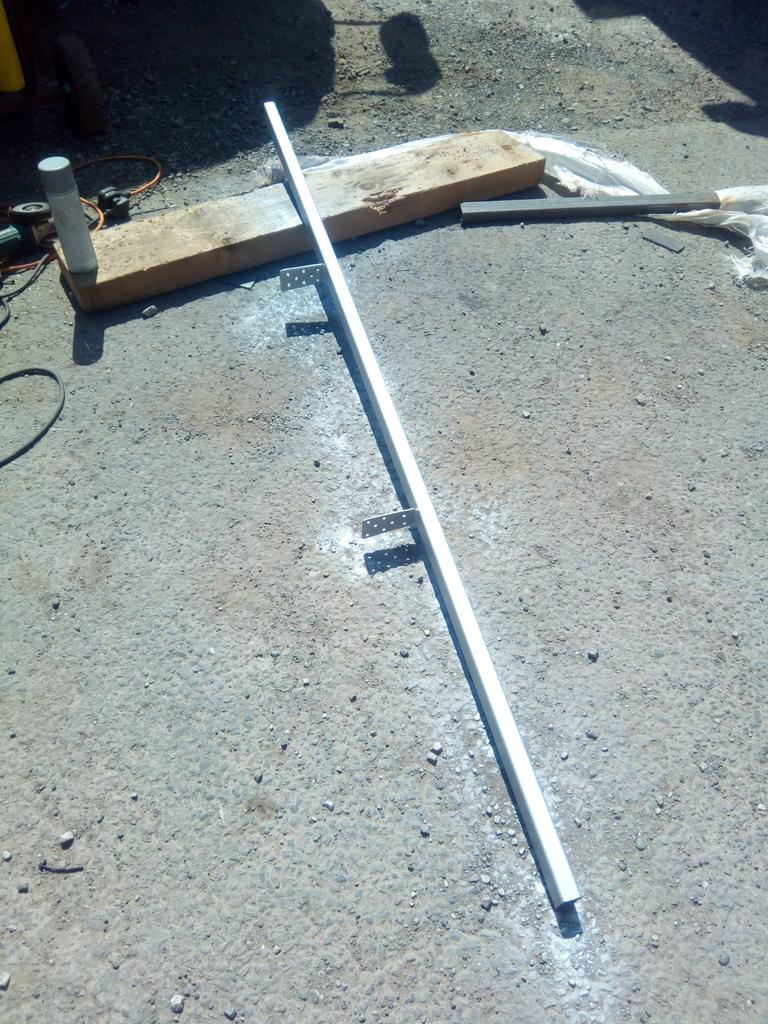 Yeah, that'll do nicely. Let's see where it's going... 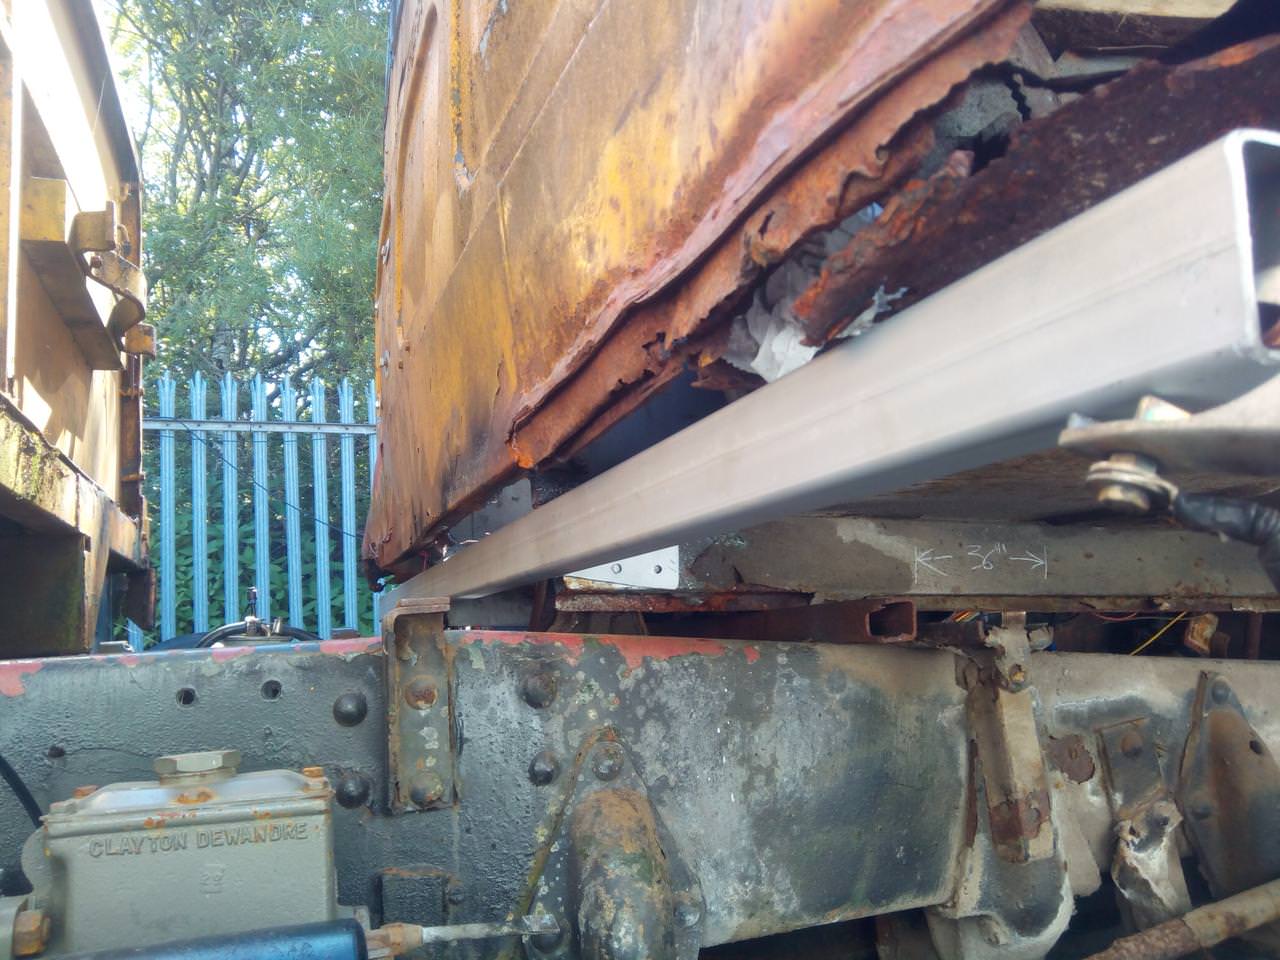 Looks right to me, time to tack it in place. (Cue the sparks and cursing.) 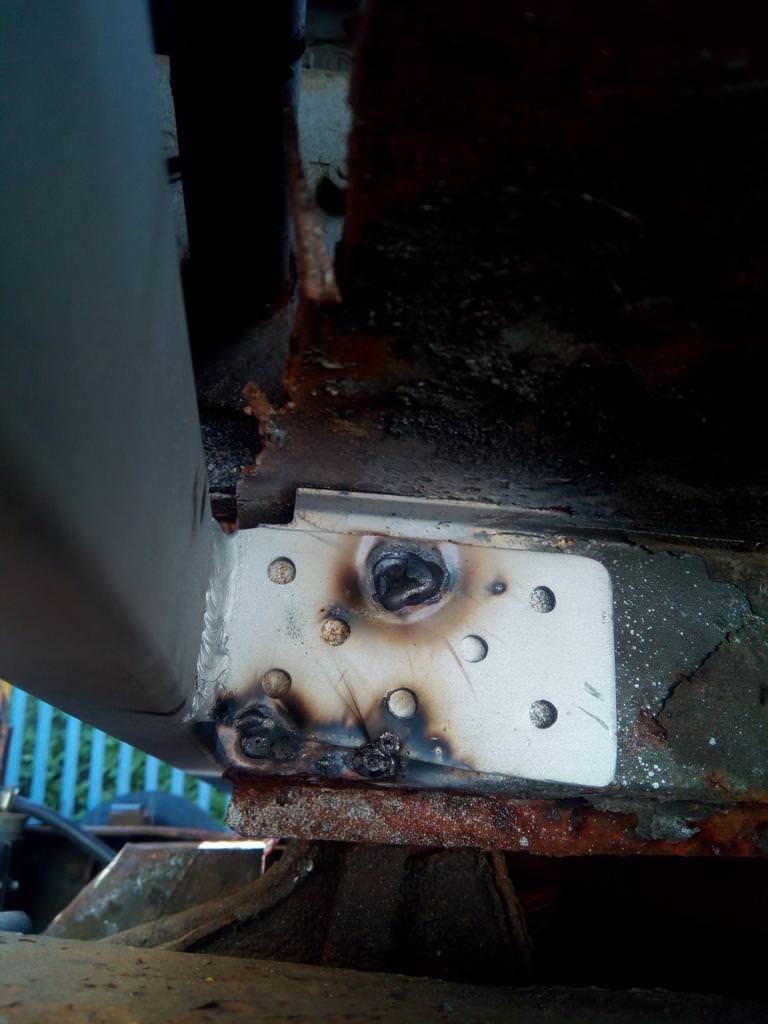 You'll notice that I'm still using a stick welder, at this point. It does not result in the prettiest welds on stuff like this, but it's good enough for now. (I have now got a small MIG welder, but it's not even gone near the truck yet, because the car is still messing with me. (I need to get a dizzy cap and rotor arm for it, but everything takes ten thousand times as long now that I'm in work until the parts places close  )) Late June 2018Tried to persuade myself that fitting an overkill bracket for a beacon counts as progress.  Meet, the Überbräcket. The Überbräcket, named because it's only holding up a twirly light the same as the one on the roof, yet I made it out of a piece of 10mm (3/8"-ish) steel that I had laying around that was the right size, and severely welded it. It's not bloody coming off without taking the crane with it, I think!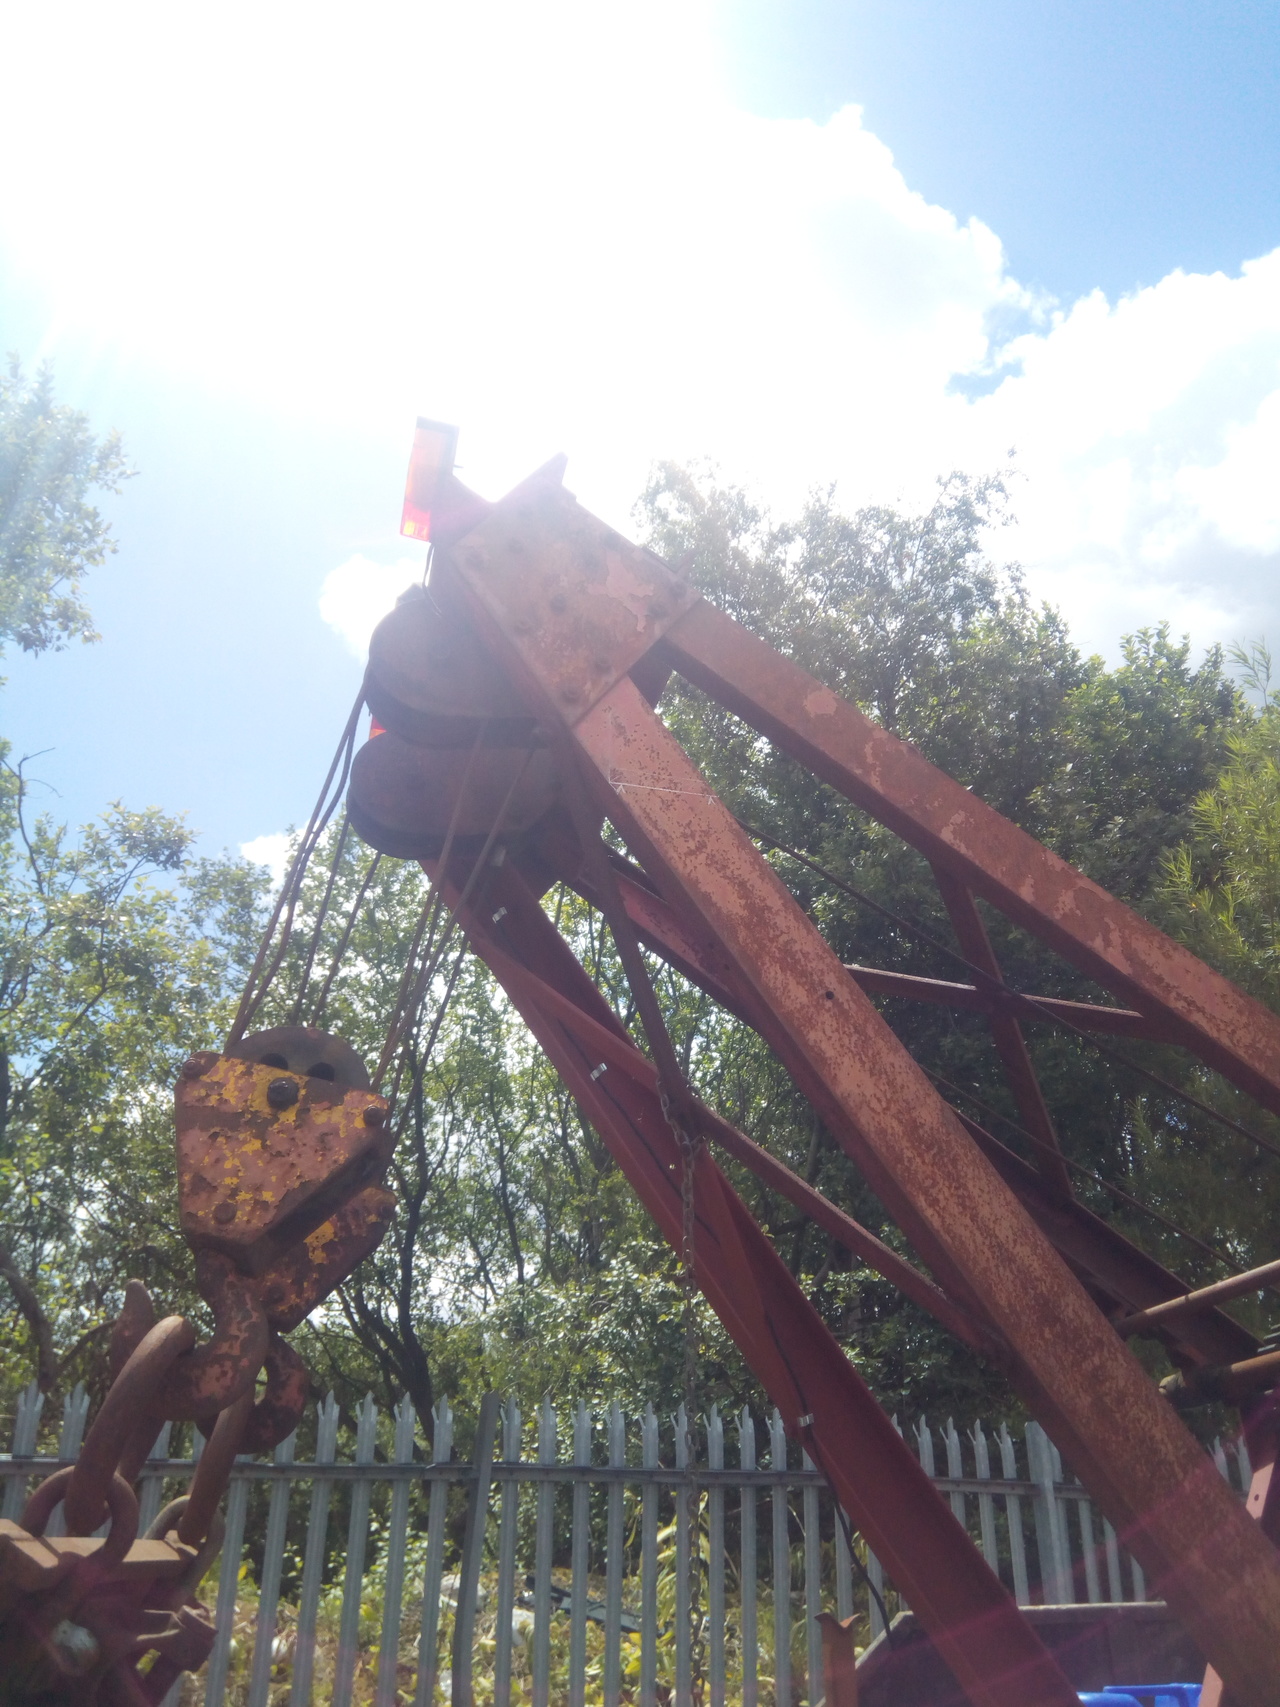 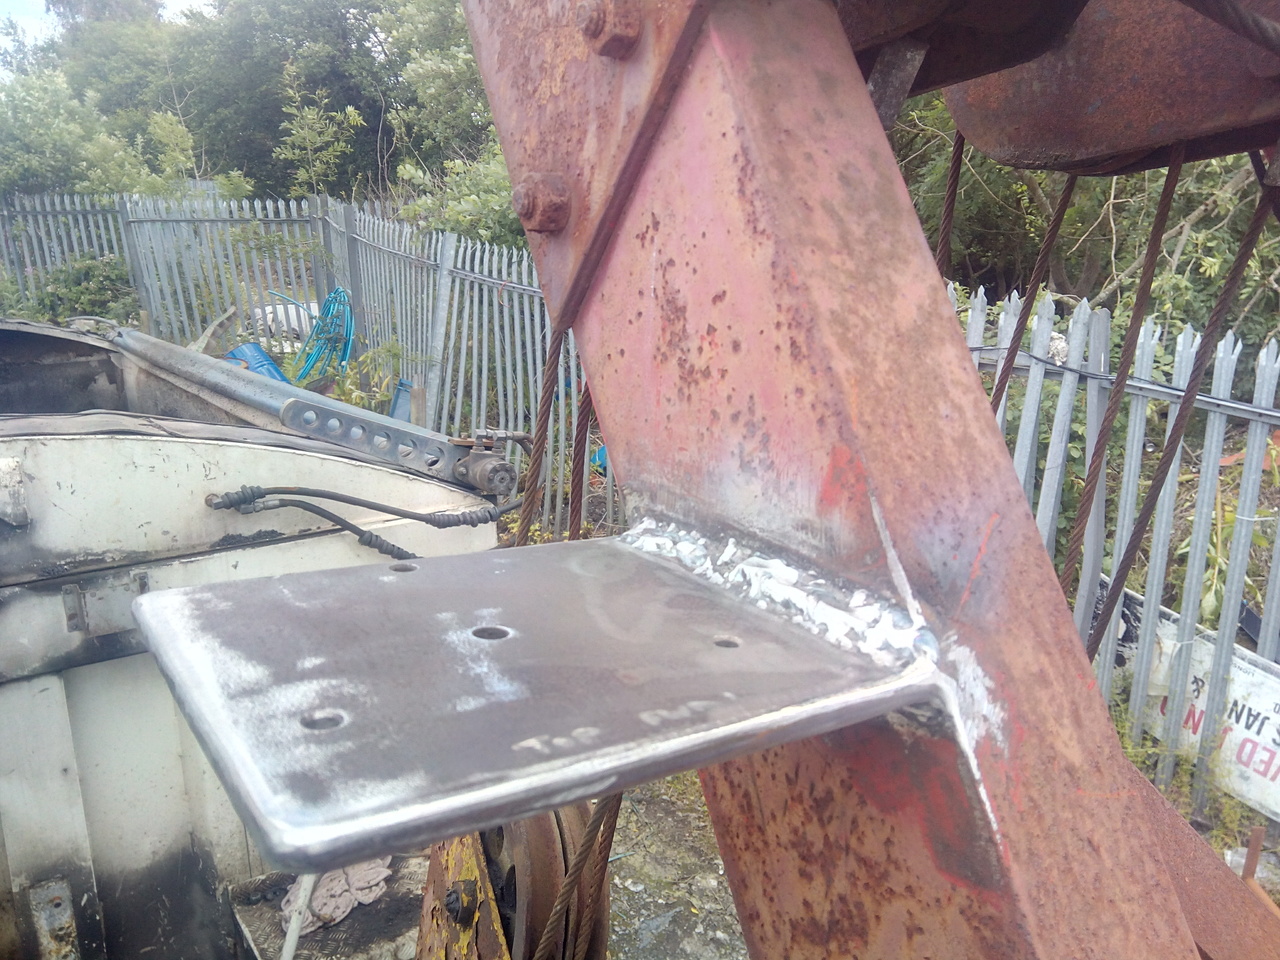 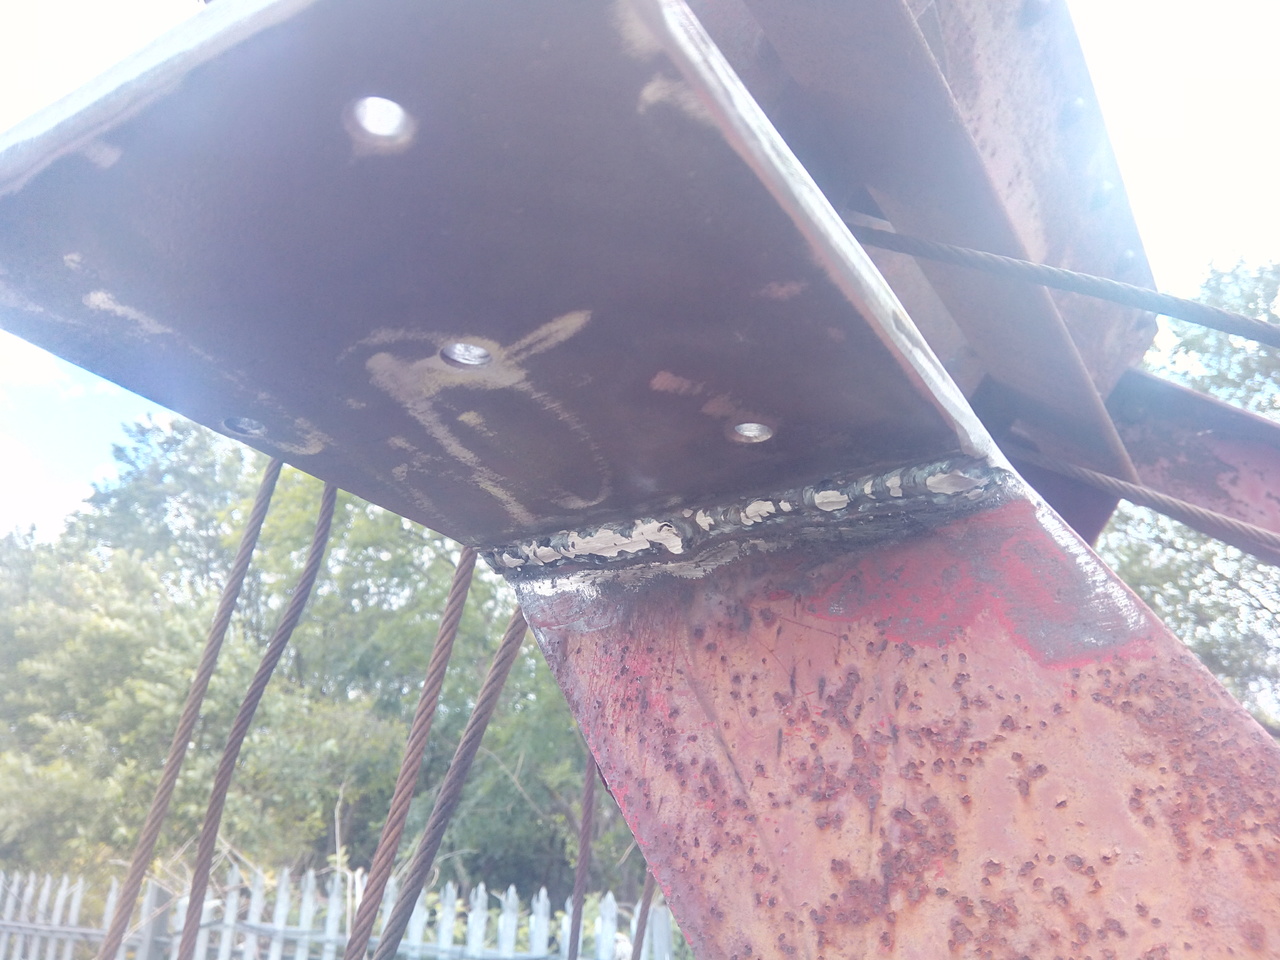 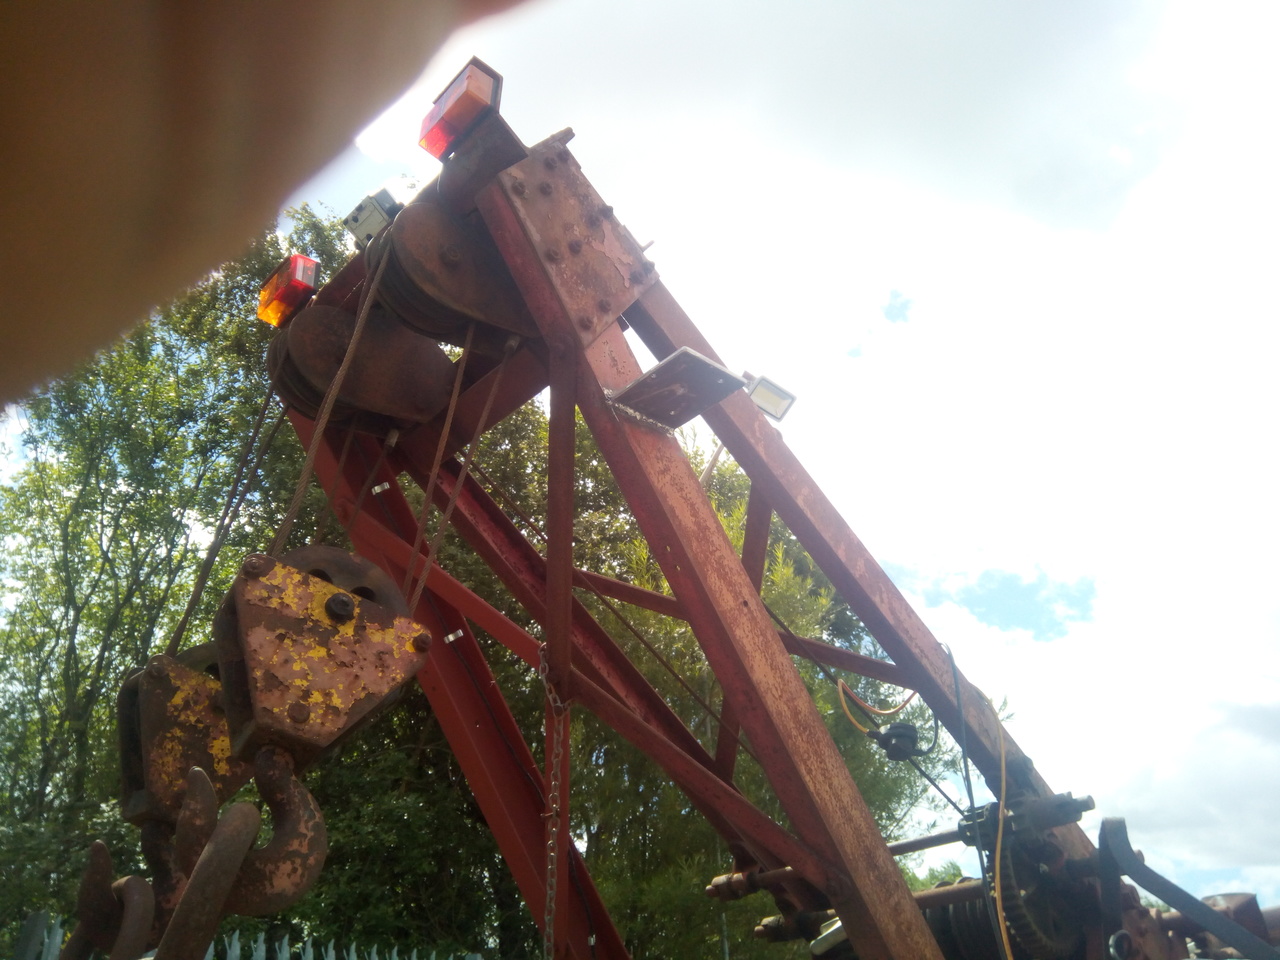 Not much more for it but to put the beacon on it. 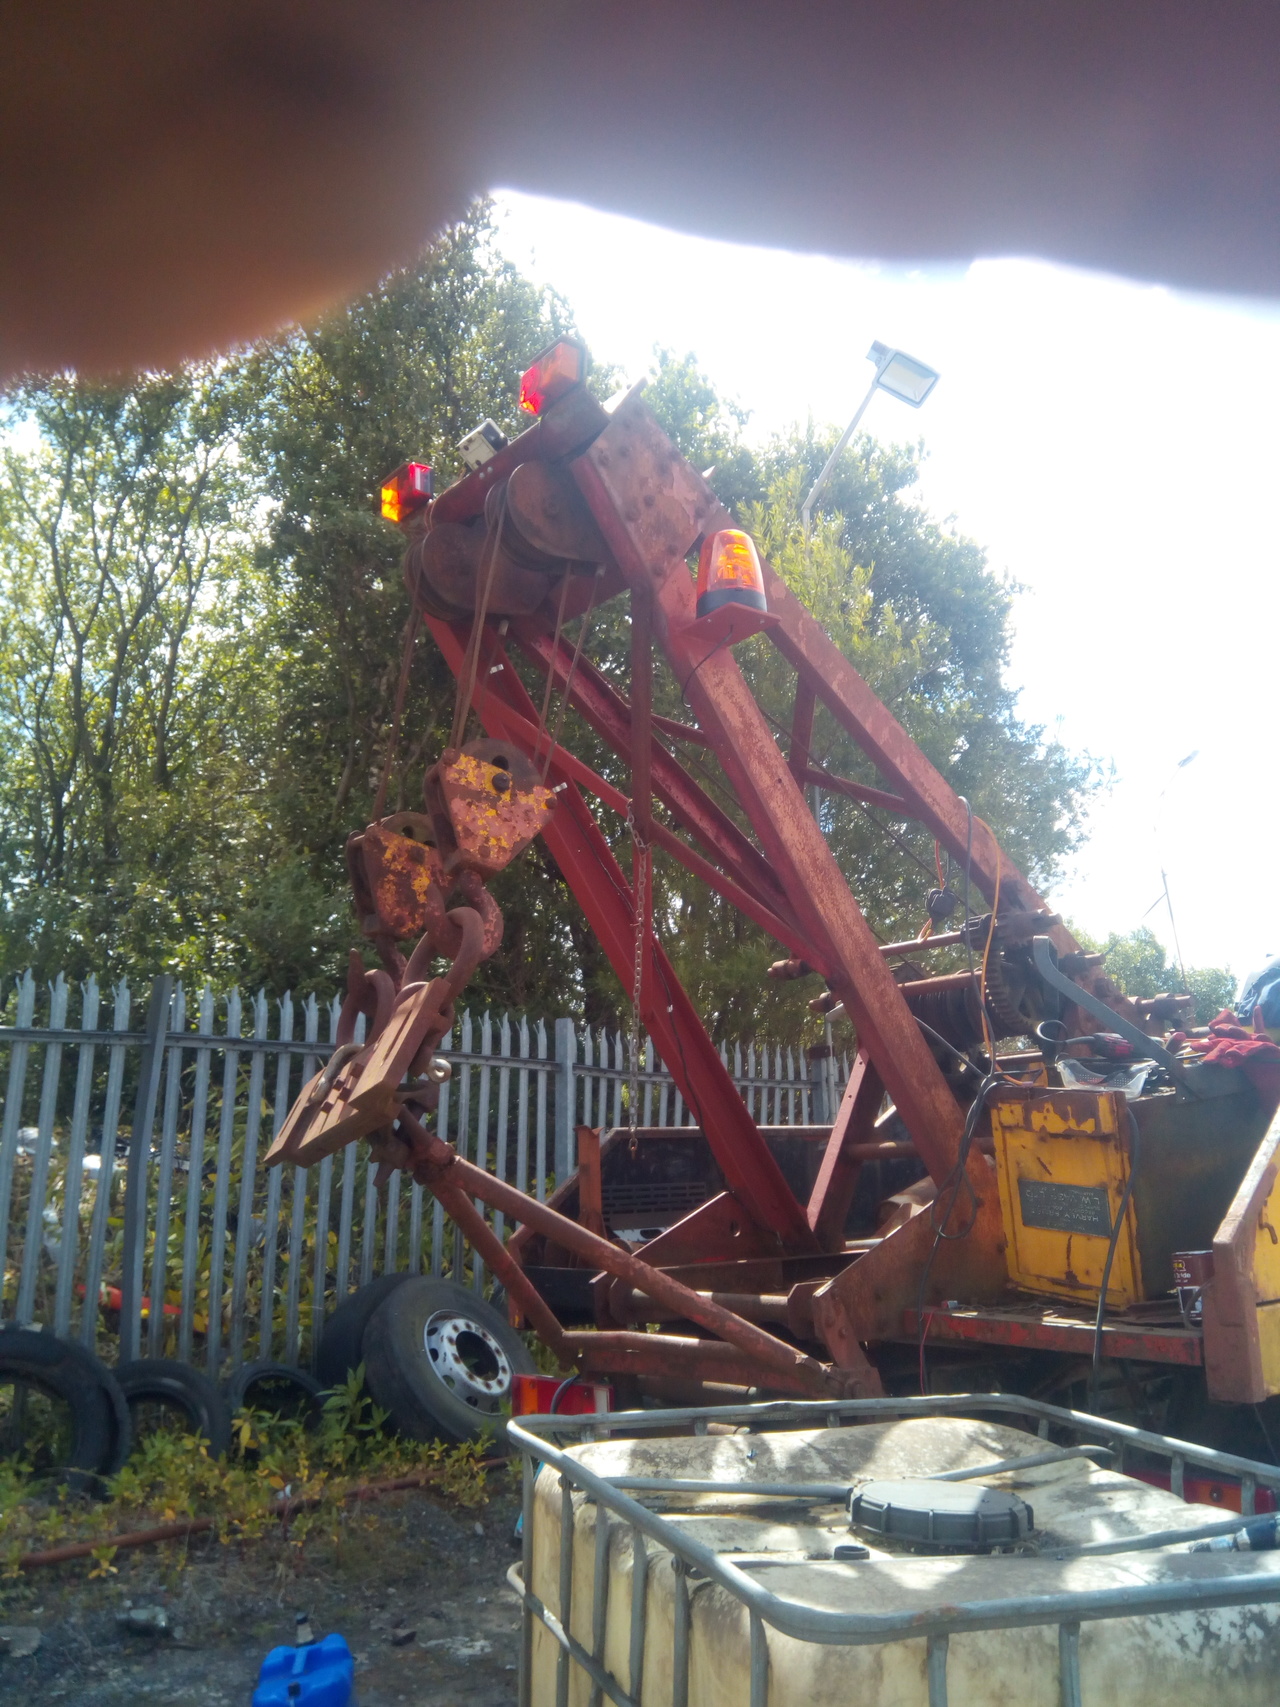 Yeah, sorta like that. I also puttered about with a modern truck wheel that was laying about. (Which I knew wasn't going to fit, but I wanted to see how much it wouldn't fit by. Because measuring n thinking about it is all well and good, but actually seeing it not fit is quite helpful.) 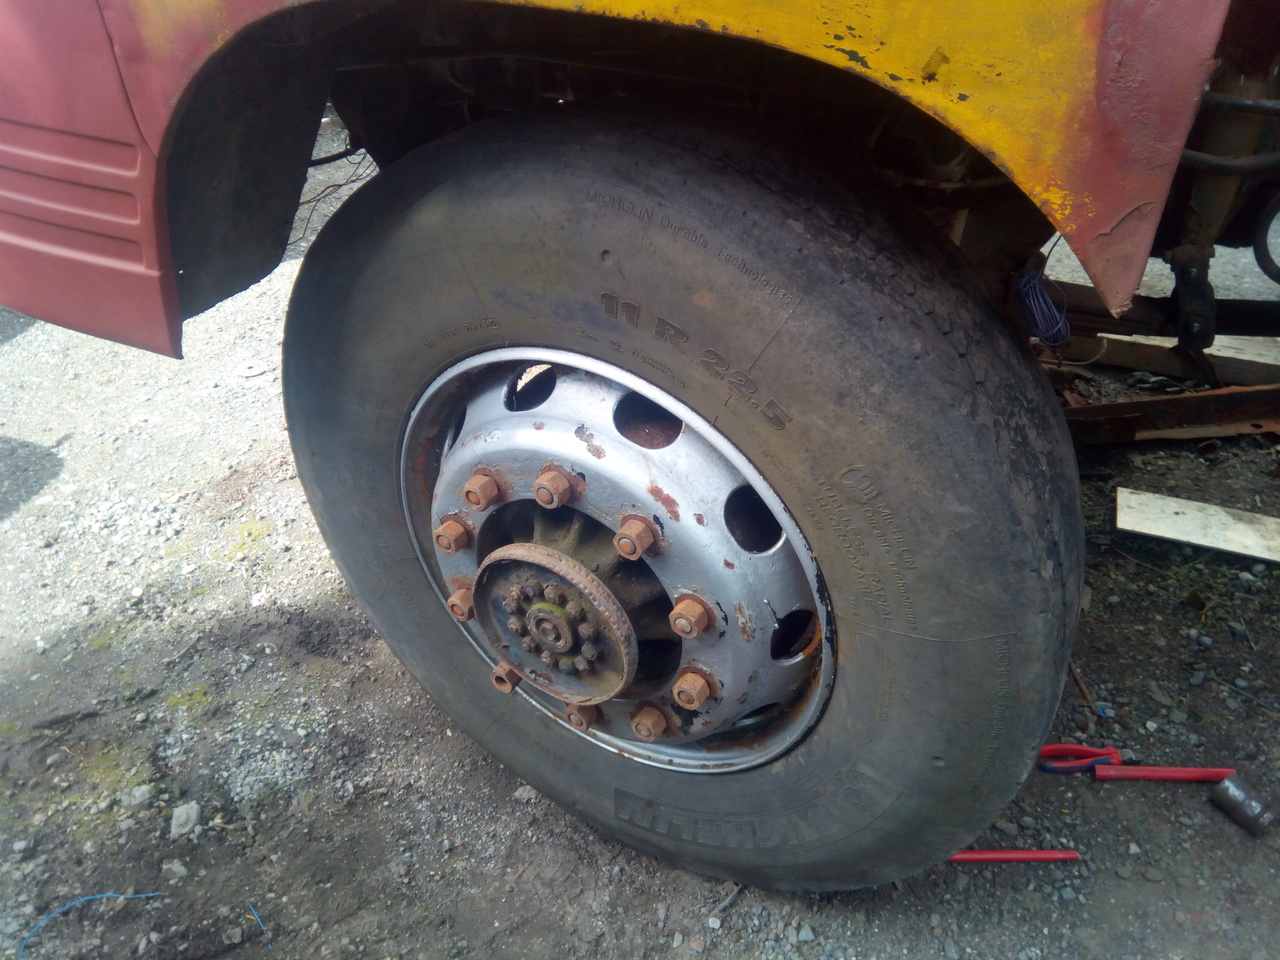 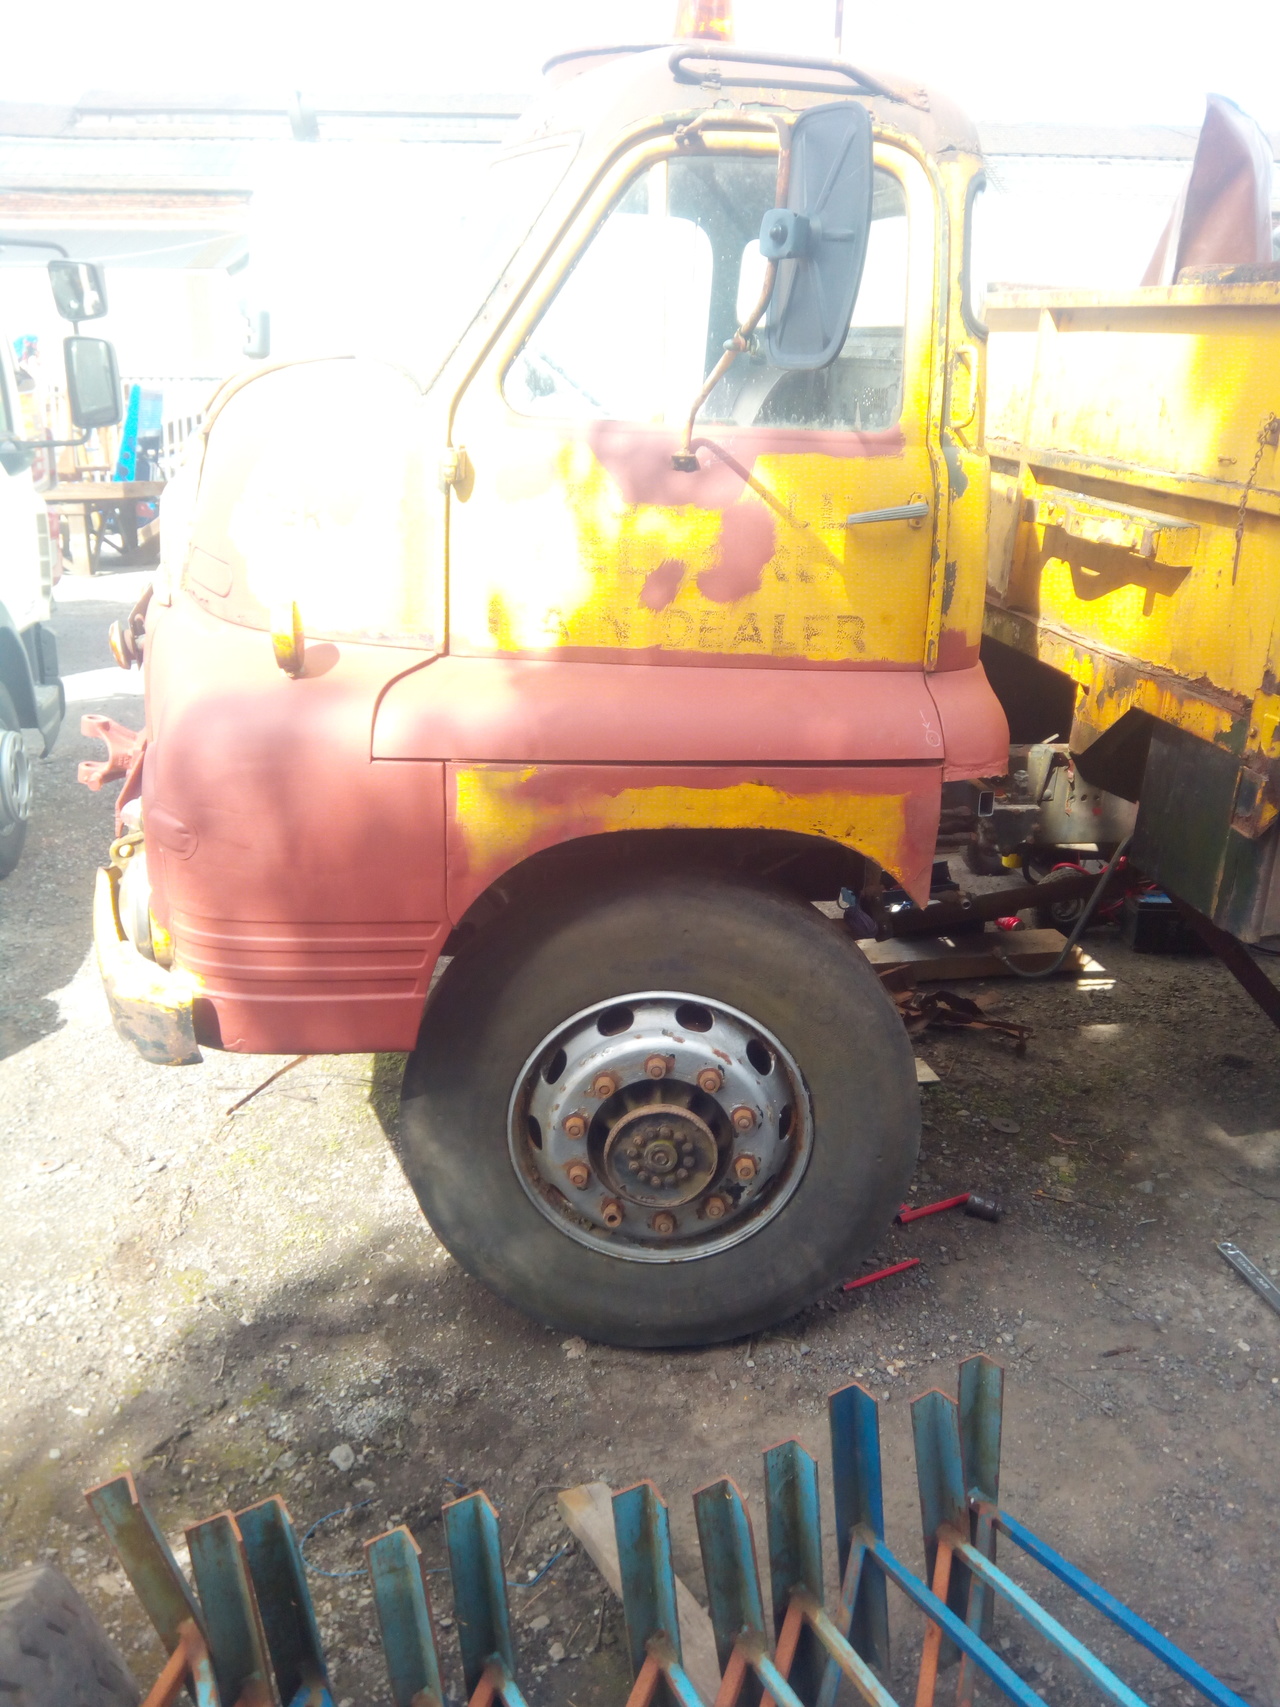 As good as it looks, there's some slight clearance issues. Some faffing about with measuring offsets, widths, etc. ensues. Currently trying to work out what I can get away with, wheel-wise, that lets me fit a fairly standard (modern) on/off M+S type tyre. This 'test wheel' is a 22.5x7.50 and some brief searching tells me that the more normal modern truck wheel is a 22.5x8.25, so I'll try find one of those to check with. Oh, and the offset of the wheel I was testing with puts the inner lip of the wheel hard up against the track rod end, which is less than ideal. 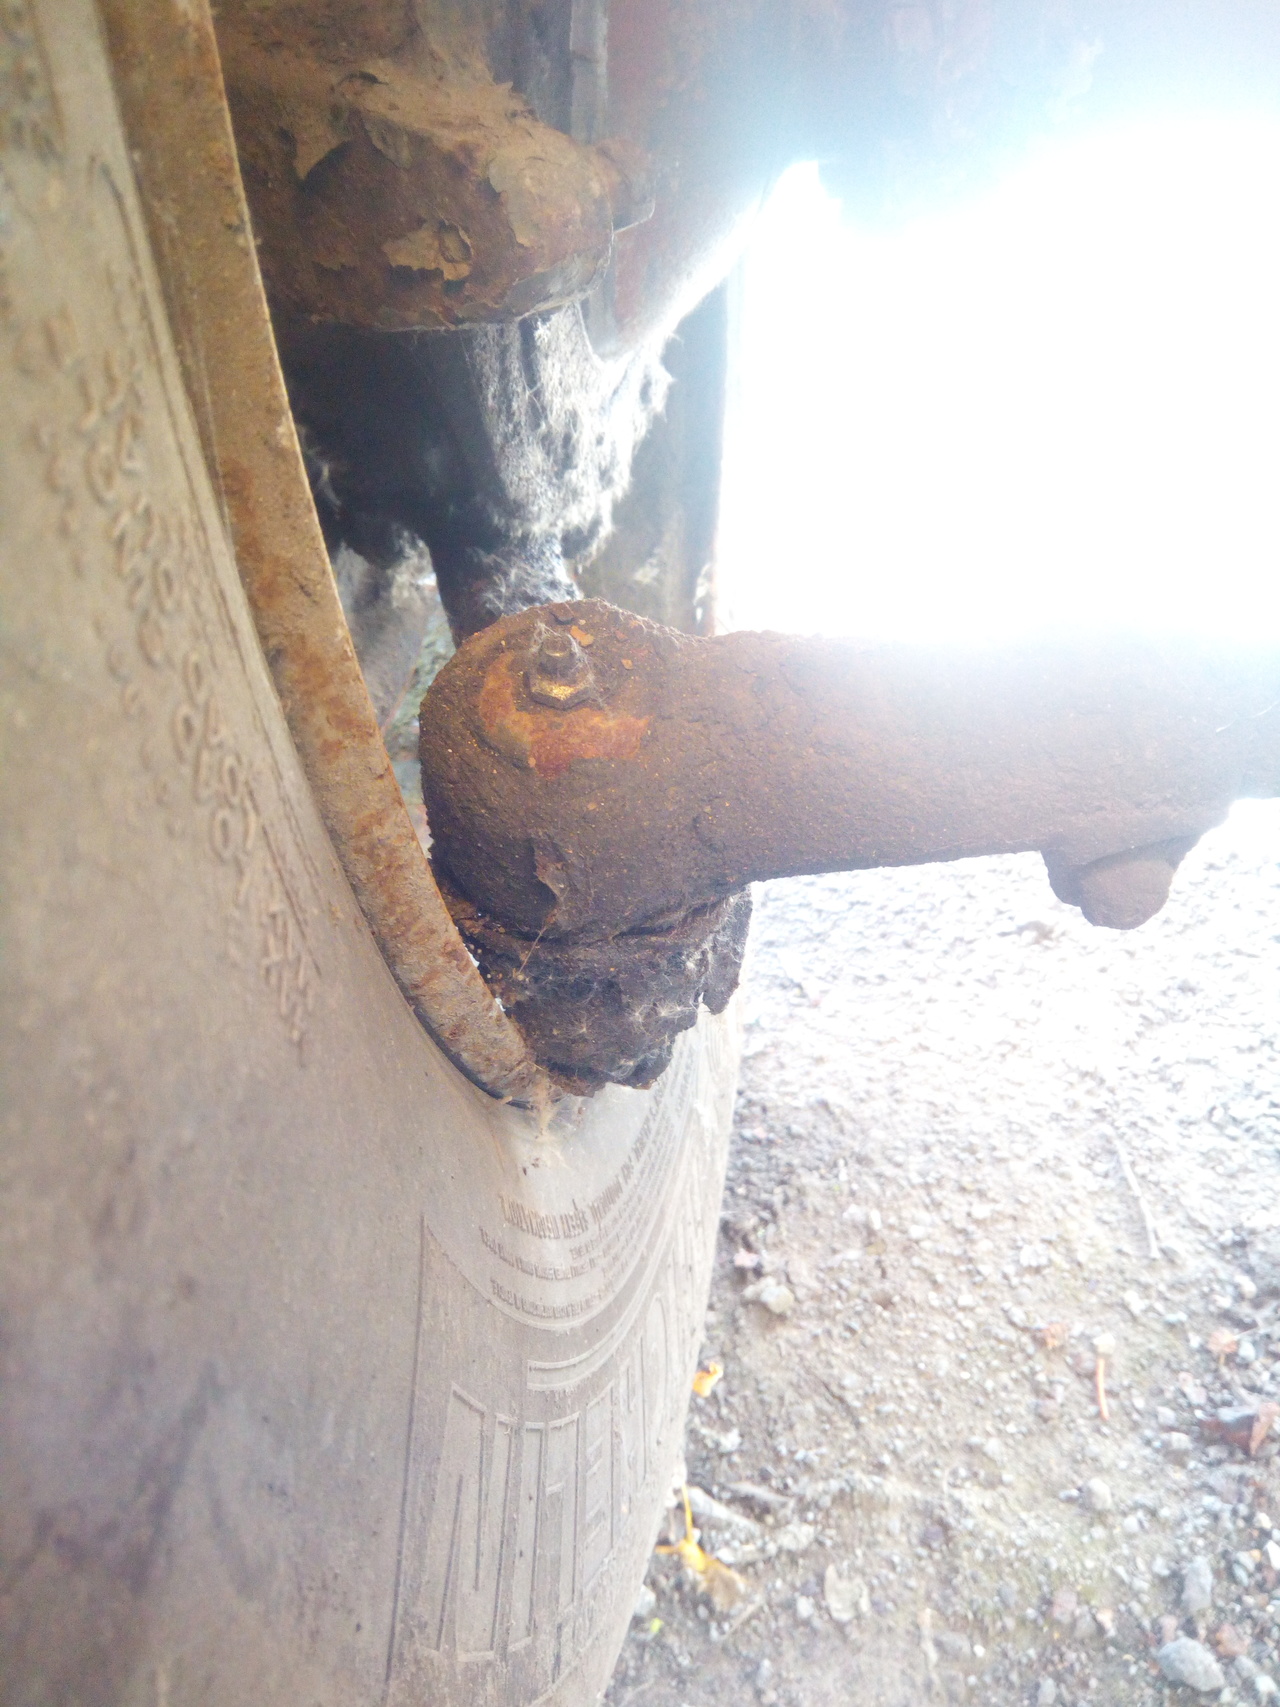 Might be a bit too much to self-clearance, there. Early August 2018Had an attack of the productivity. Booked the weekend (Sat, Sun; as opposed to my "weekend" at the time, which was Weds, Thurs.) off and got stuck in. 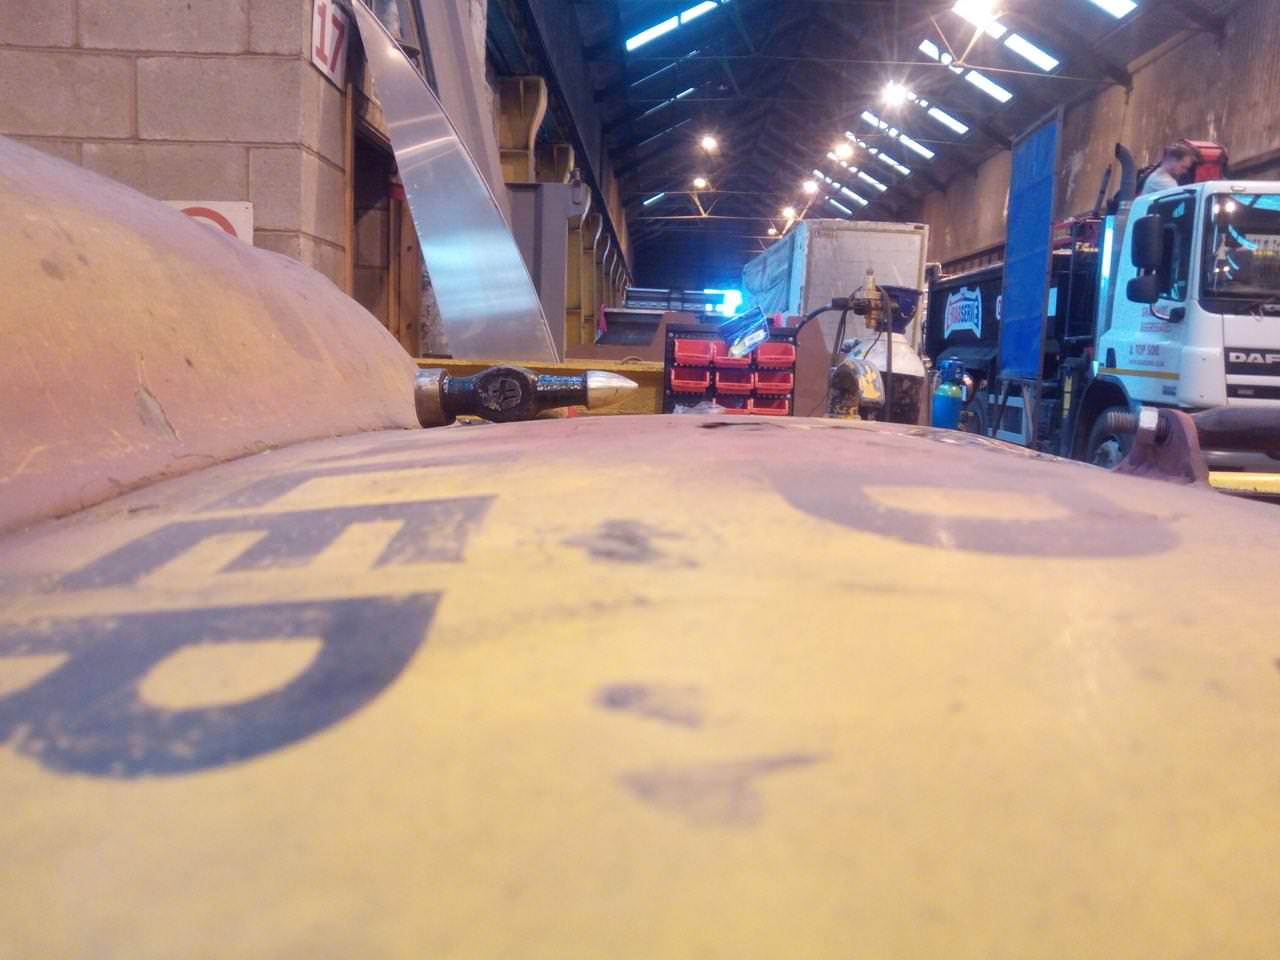 A long way from perfect, but better. Also managed to scrounge up some air tanks from the scrap skip of a local haulage firm, who'd been buying wagons to cut them up for parts. Then dug in work's scrap skip for something that looked about the right length... and ta-da, an air-tank bracket, with some air-tanks. Edges of the bracket isolated from the tanks themselves by some air-hose cut lengthways. 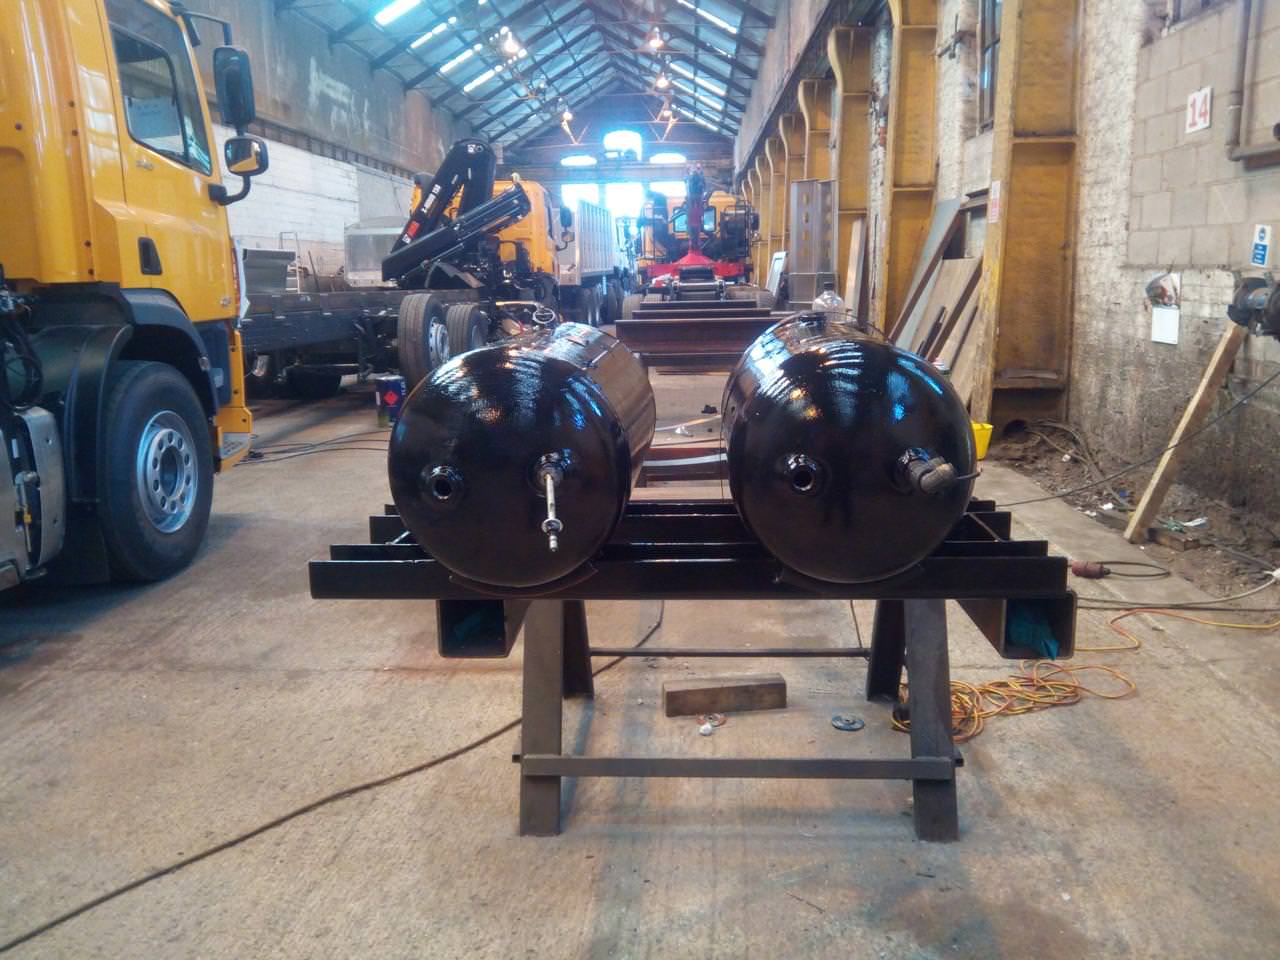 Drag the lot of it out to the truck... 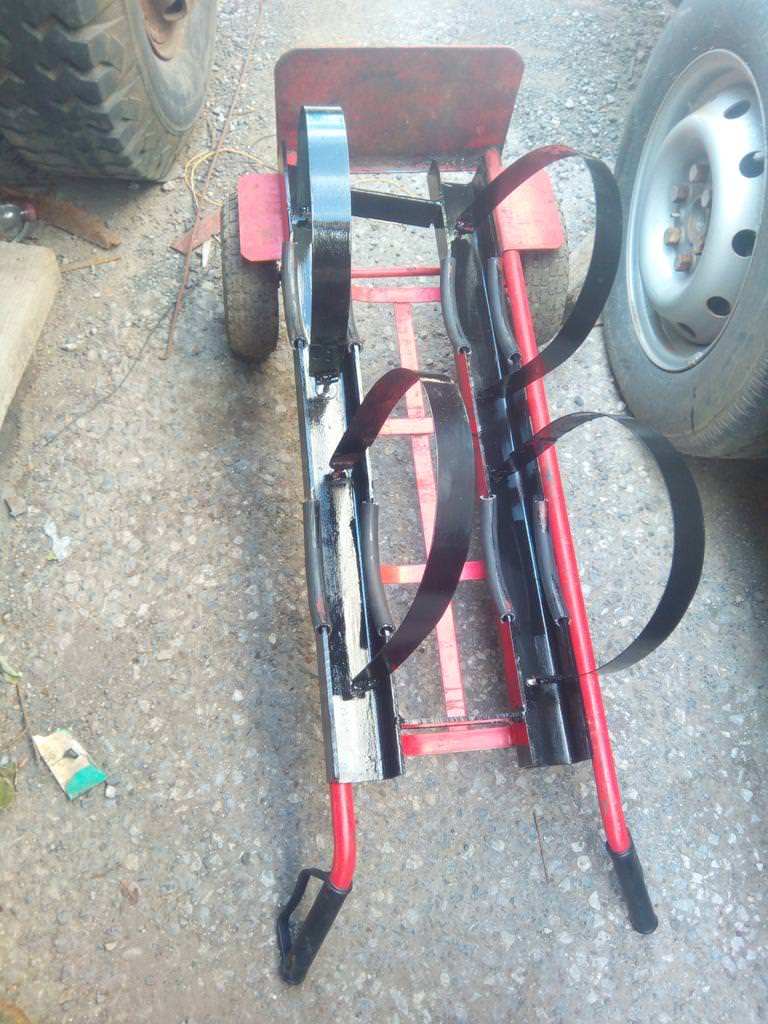 Where it fits in here: 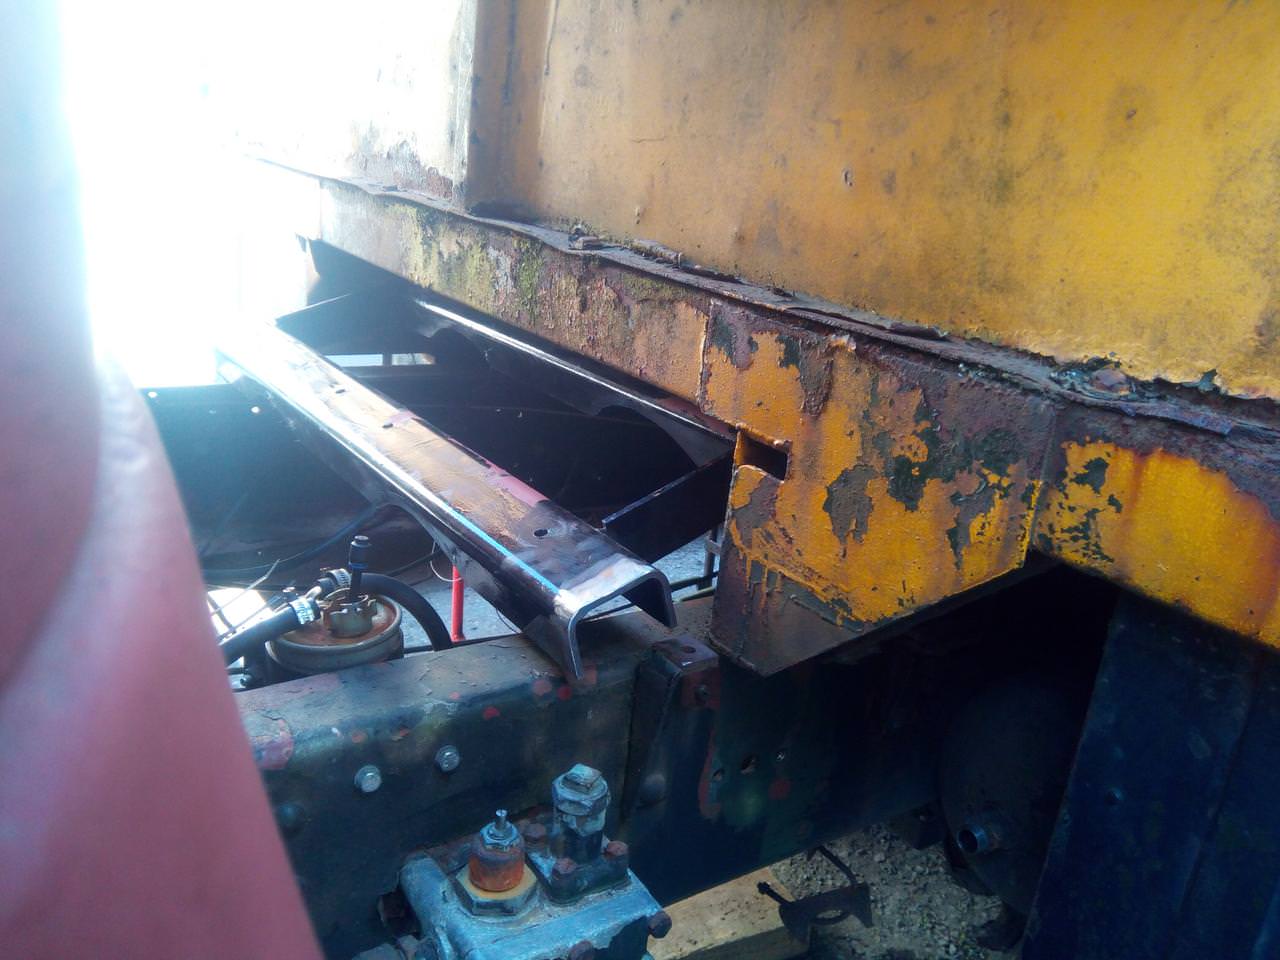 ... I said, WHERE IT FITS IN HERE: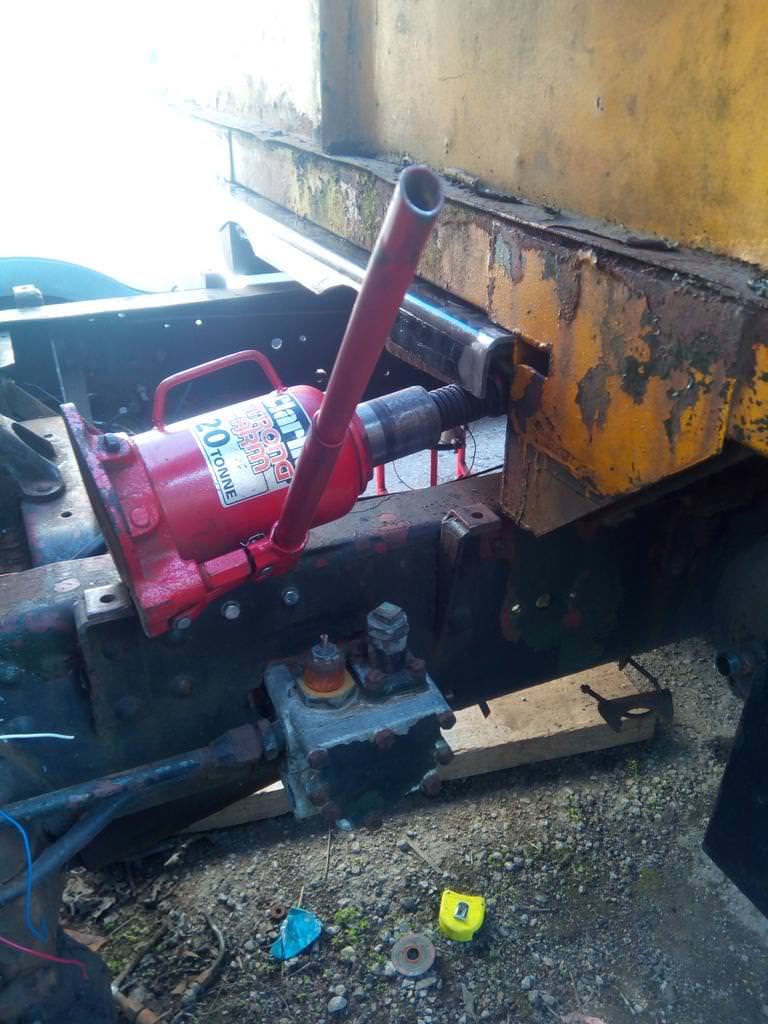 Snazzy. Now to get covered in curse word, bash my head a lot, end up covered in not-quite-dried paint, remove linkages to gain access... and give them a bit of a tack, because I was getting too fed up kneeling on gravel to weld them up properly. They're not coming out in a hurry, though. 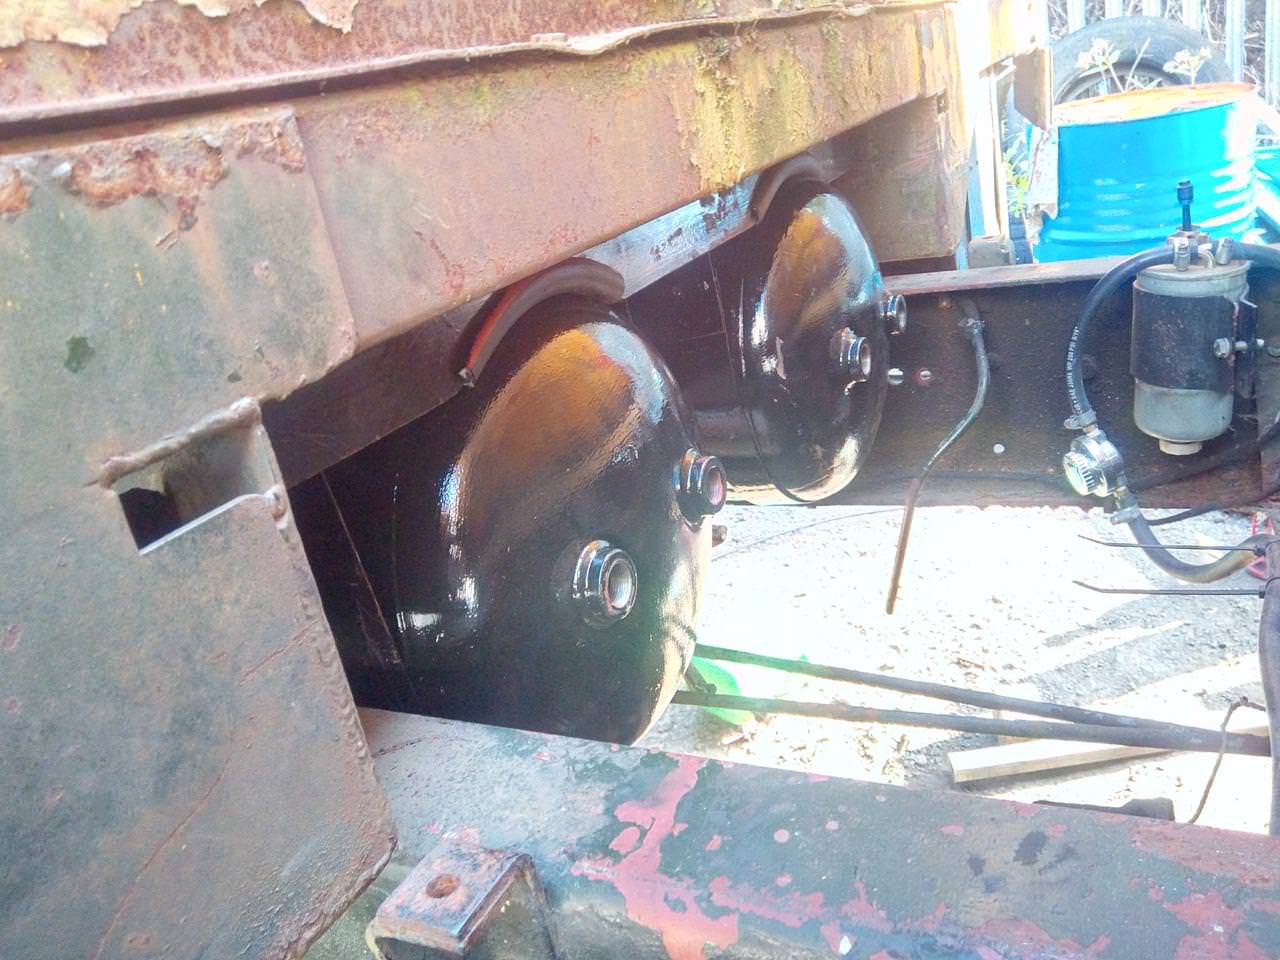 Late August 2018 Late August 2018Cab mount time! 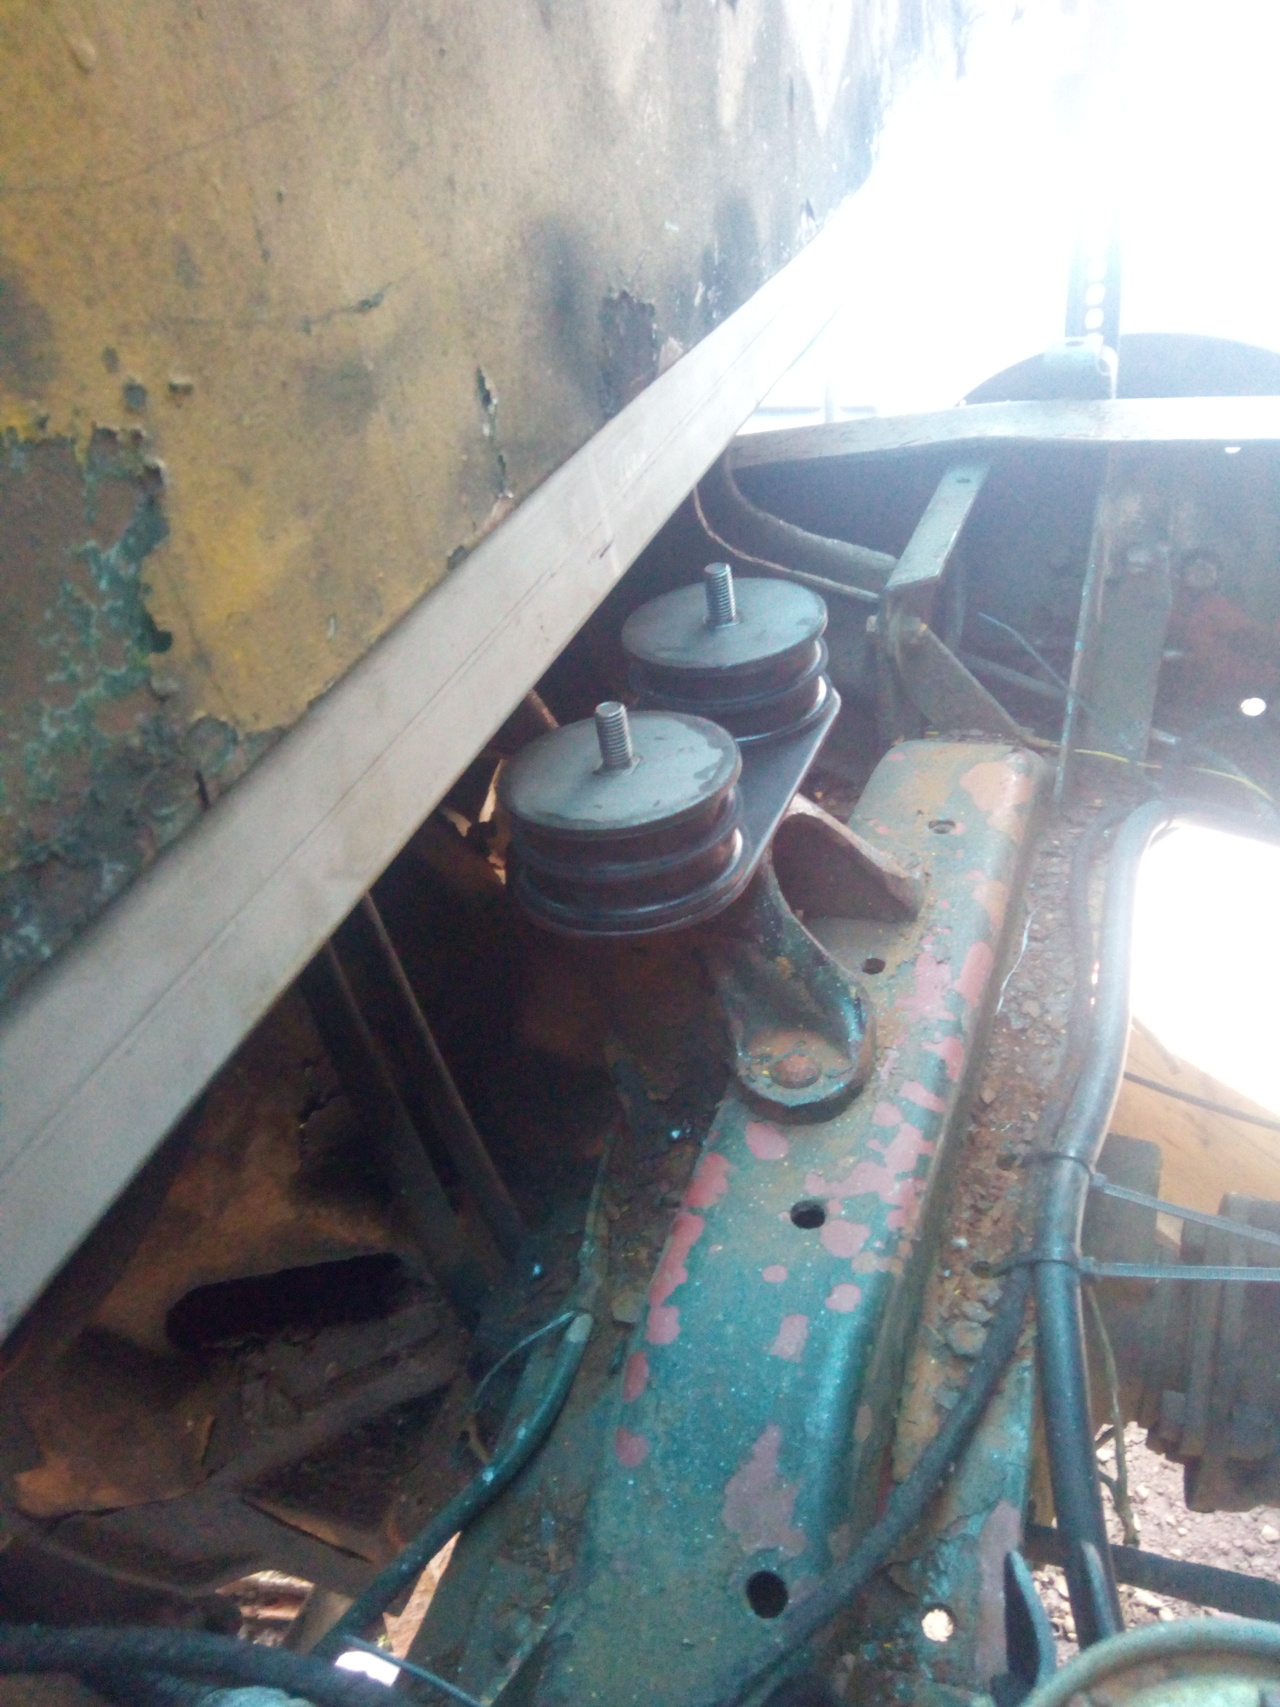 Just your bog standard universal engine/gearbox mounts. I have another pair of them to go, one each, on either side of the front of the cab. But I want to get the rear of the cab made of metal again before I start surgery around the front mounts. And then it turned out I can't measure things properly.  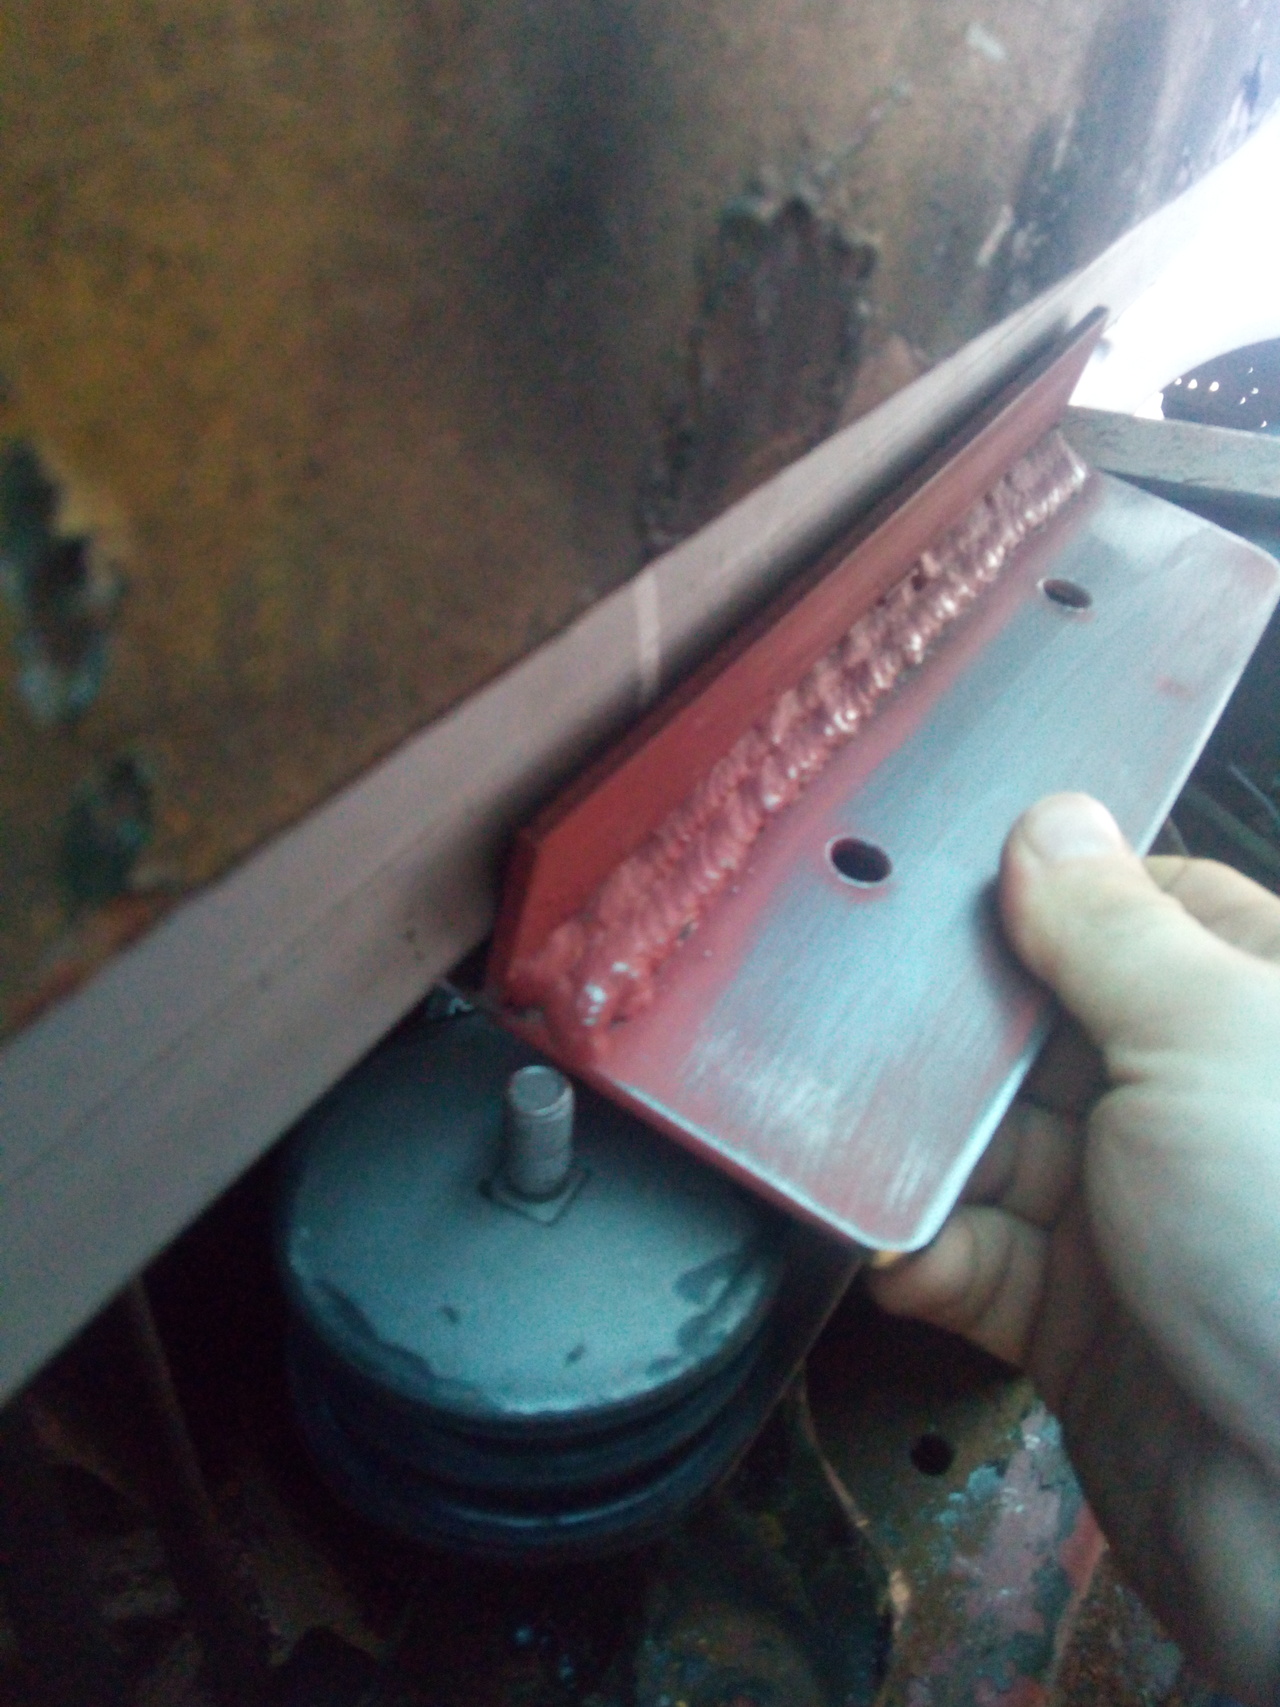 Those holes are meant to line up with the studs in the top of the mounts, and the upright flange was intended to then weld to the box section to spread the load a little bit. It does go on backwards just fine, though, so I'll do some trimming -- remove that upright -- and go from there. 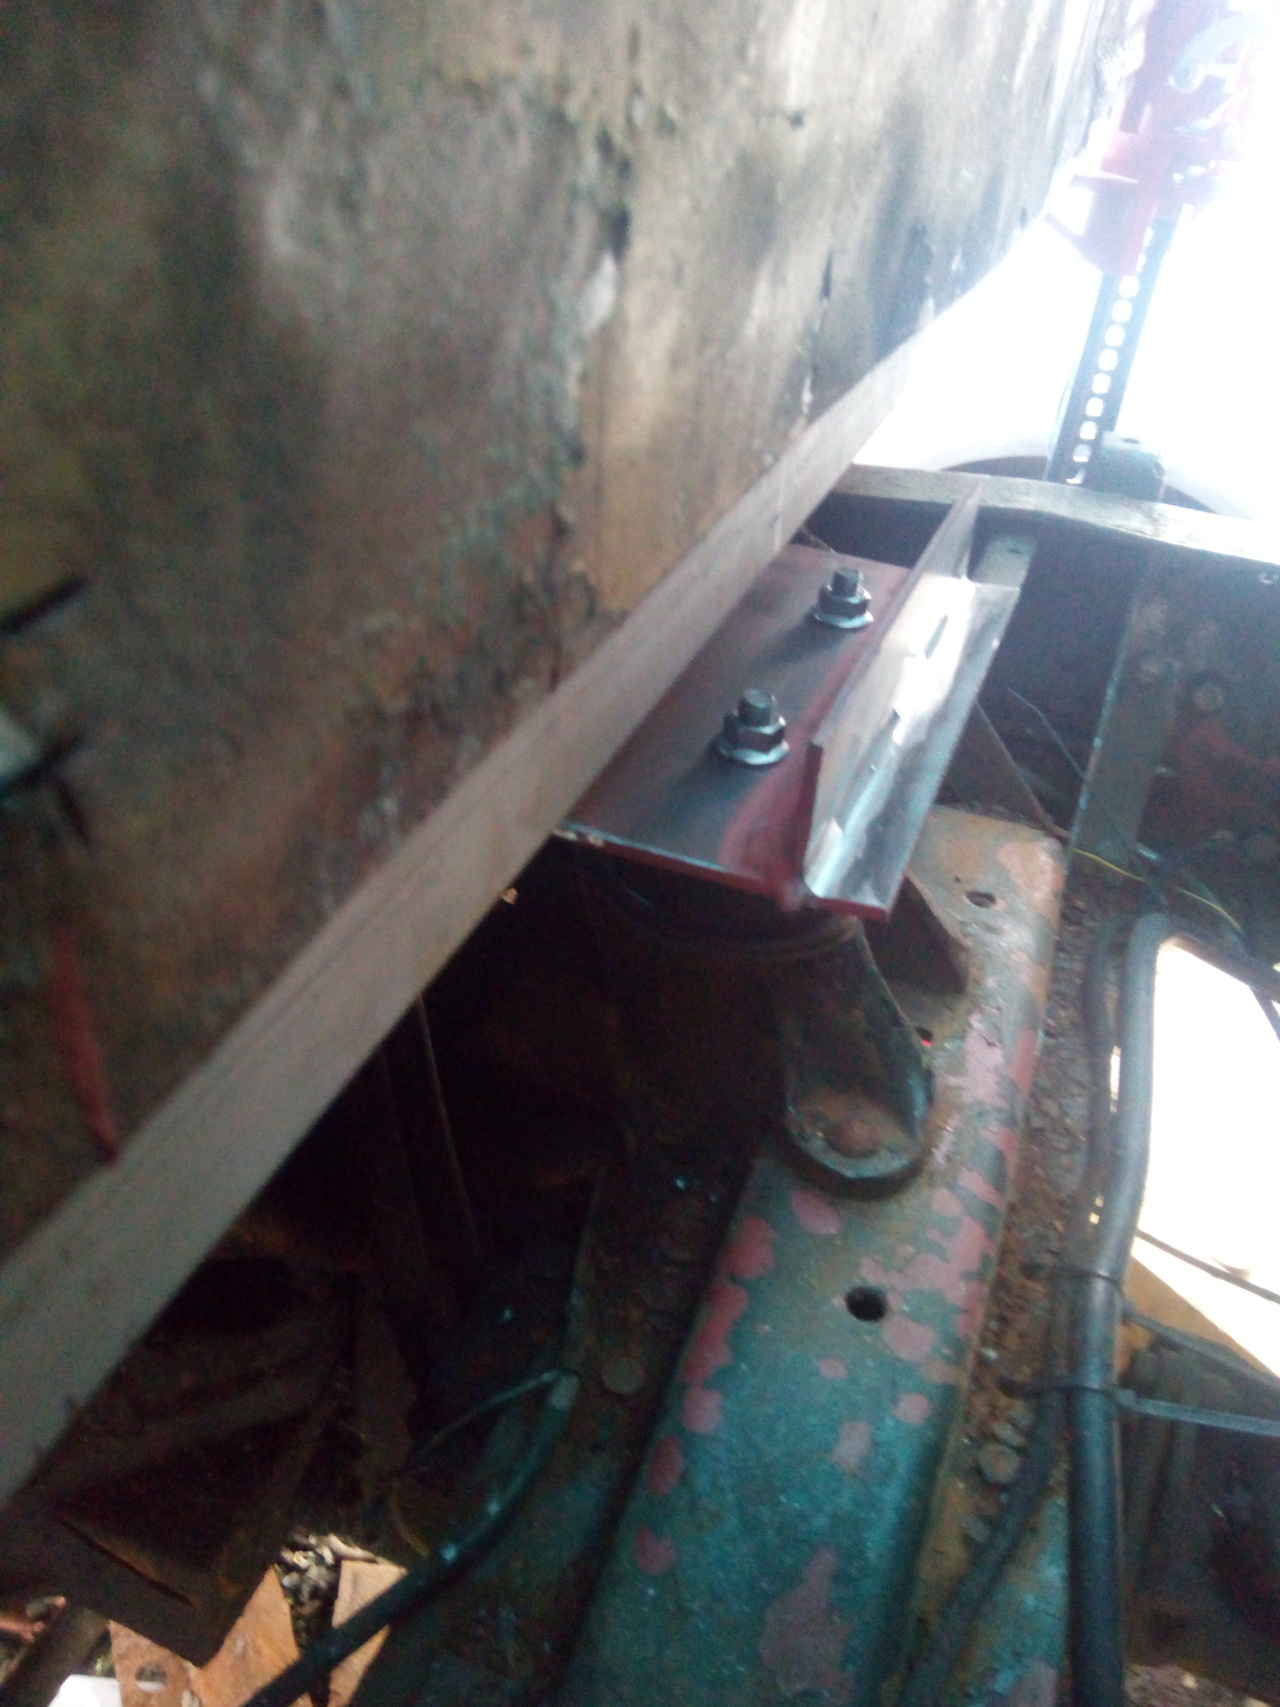 A few days later A few days later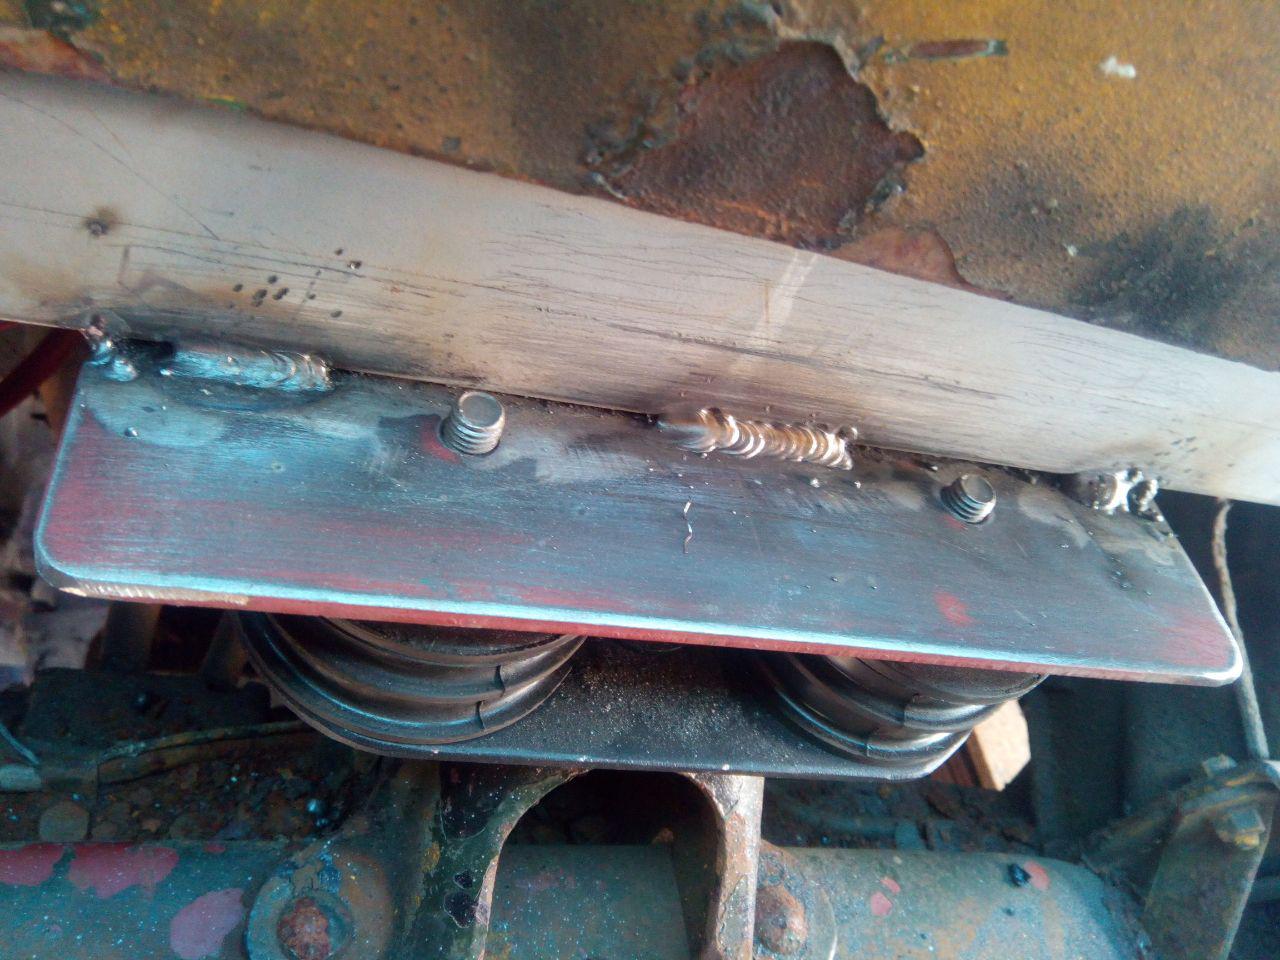 Only stitch welded on this side, because I needed to leave room for the nuts to go on. (And it was tight even as it was; the flange on the nut was pressed up against the box section.) If I were smarter and thought things out better, I would have started that leftmost one from where the tack was, so it'd consume it rather than leaving an ugly glob. Something for me to remember next time, I suppose. 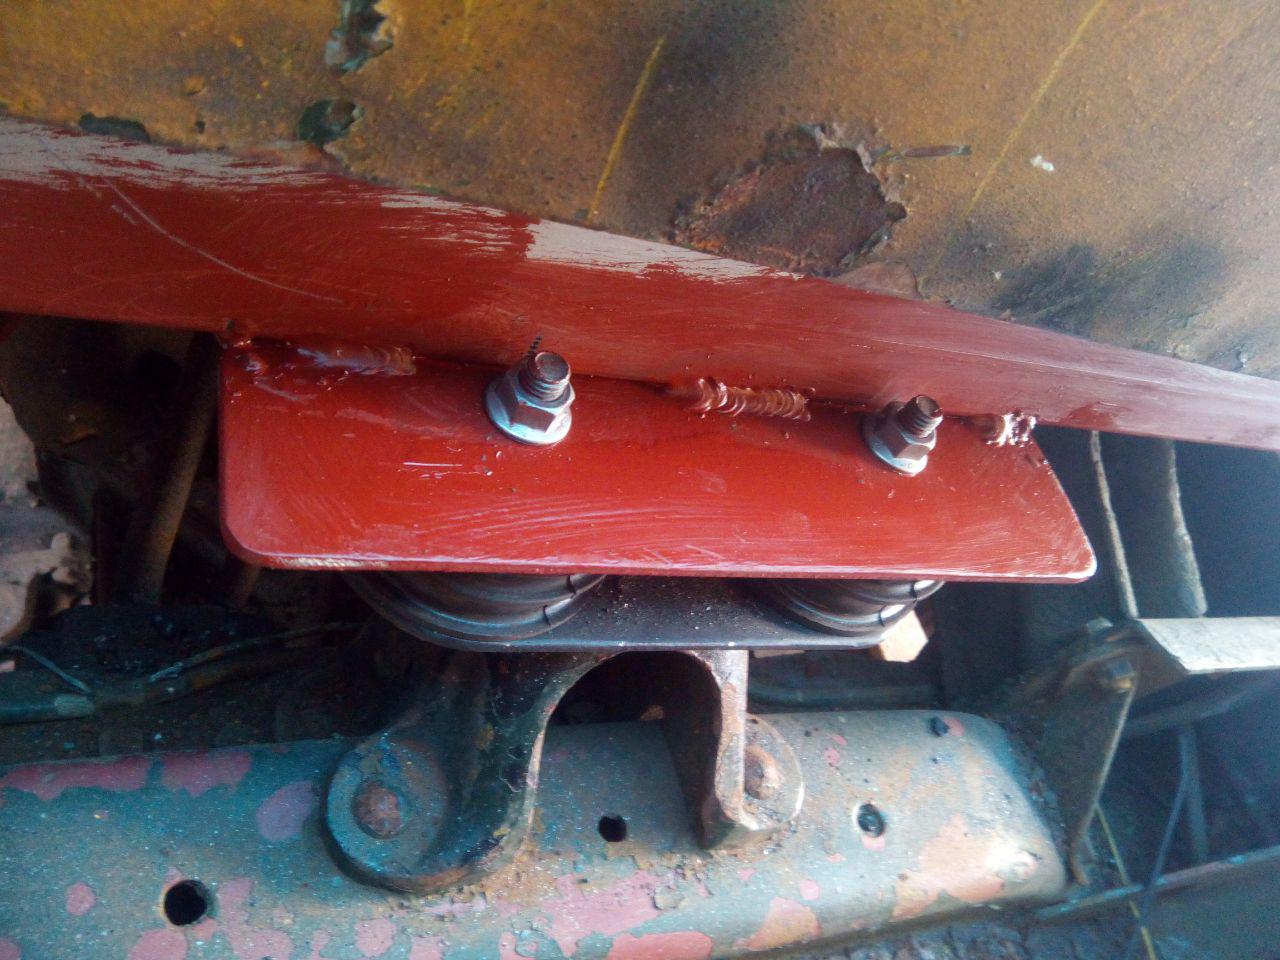 Hide it with paint, I guess. 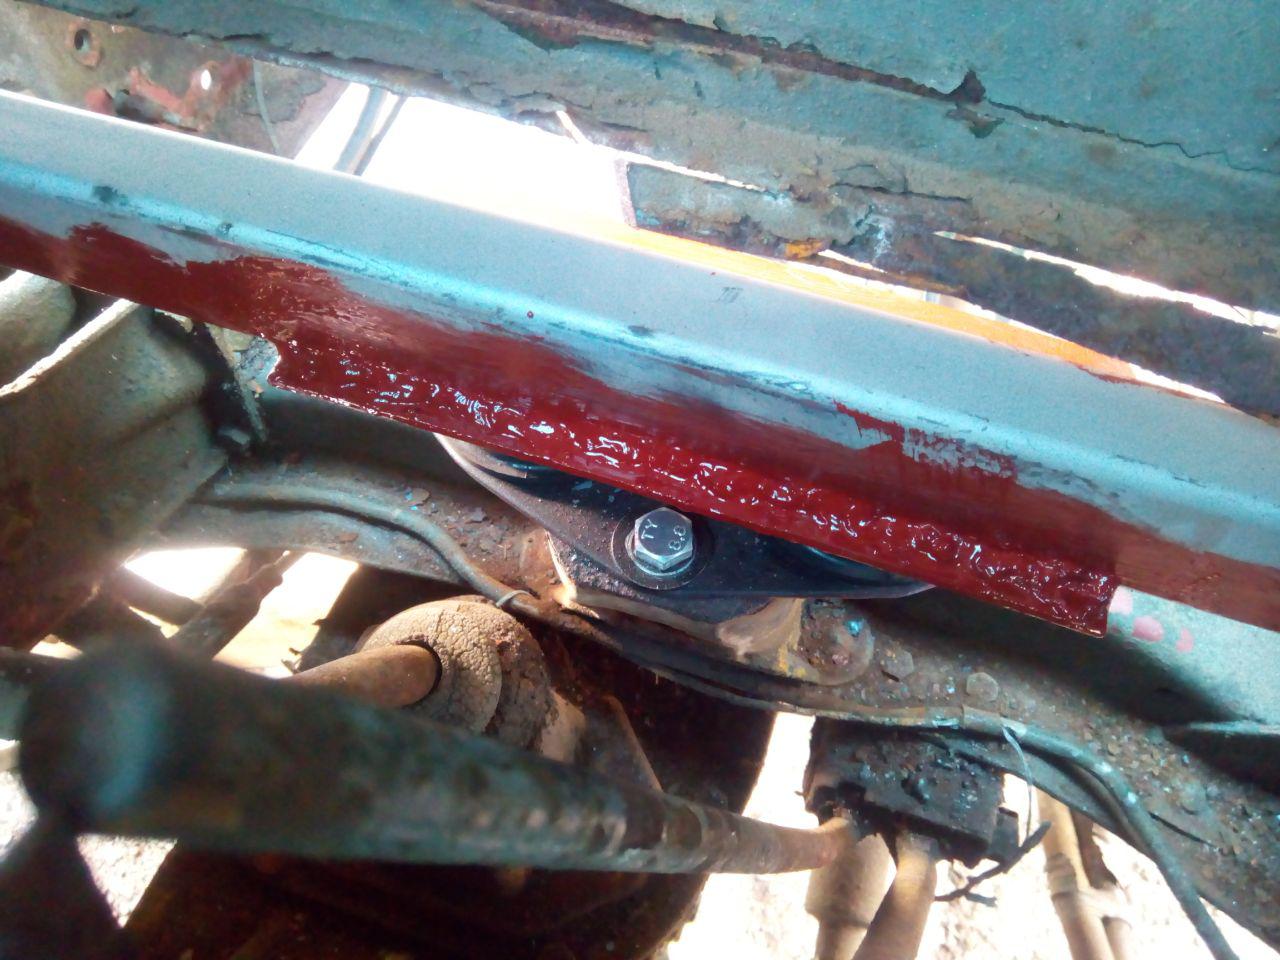 Inner edge was fully welded, despite great personal discomfort, because... uh... reasons. To weld this, I was curled up like a cat, around the front of the passenger seat and half-draped over the engine cover. Really, fully welding it is overkill; the attachment of the bracket only really needs to be as strong as the bolts holding it to the rubber mount. Or, honestly, slightly stronger than the rubber of the mount. Mid-September 2018Went to go change the oil in the air compressor. Couldn't find the filler/dipstick. Hm. 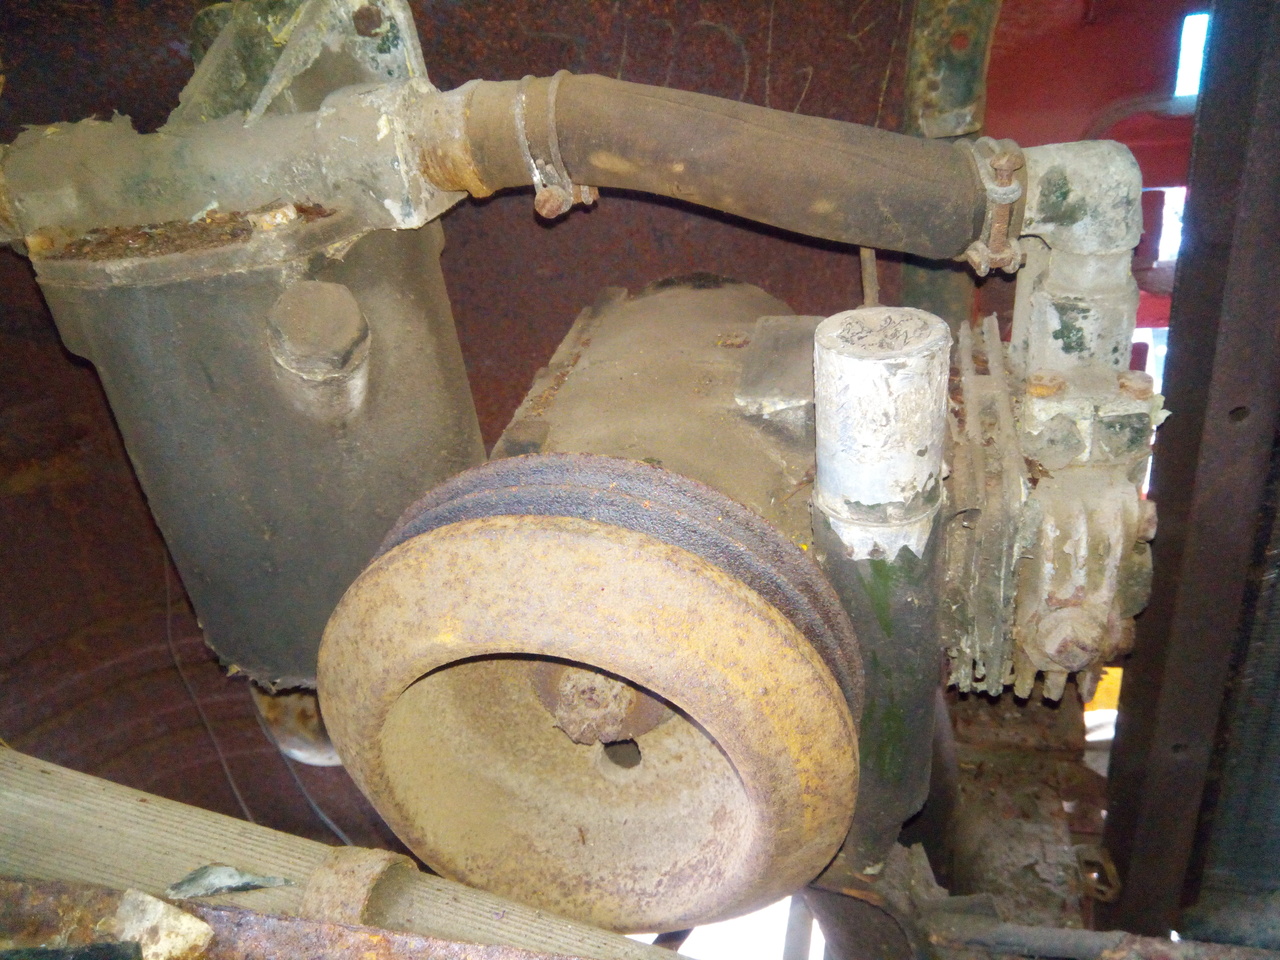 That's a bit of a fox picture, because it should be a knobby knob thing like: 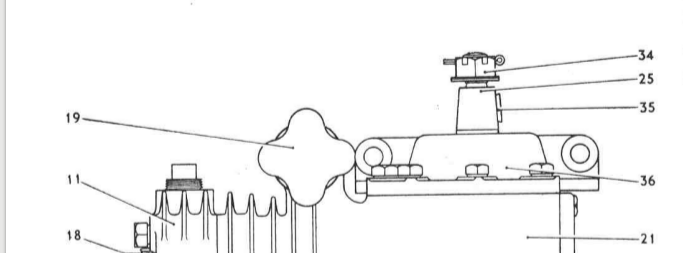 Seems like it met an unfortunate end. And, on the note of unfortunate ends, the whole truck very nearly met one a couple of weeks back. I hooked up the battery as normal so that I could tinker some with the wiring (and make another attempt at getting the engine to fire, just to see if it's possible to limp it to the workshop & back.), I'd just gotten into the driver's seat and had my hand on the key when the oil pressure warning light started to glow dimly, getting brighter and brighter. "Well, that's weird", thinks I, then I start to hear crackling and the cab fills up with smoke. The cab is covered with a tarpaulin, so I'm at this point inside a big plastic bag with the smoke from burning wiring being blown in from the open passenger's door. It's amazing just how long it feels like it takes to undo a battery terminal while the truck's trying to set itself on fire! Anyway, it turns out that the flexible metal conduit from around the battery positive cable had scooted up at some point until it was just barely touching the ring terminal and it was grounding out on the chassis. It wasn't making a good enough contact to cause noticeable sparks when I connected the negative lead to the battery, but enough that the conduit got pretty hot! Once it cooled down enough to touch, I pulled it out and the battery cable inside the conduit was looking pretty ugly. 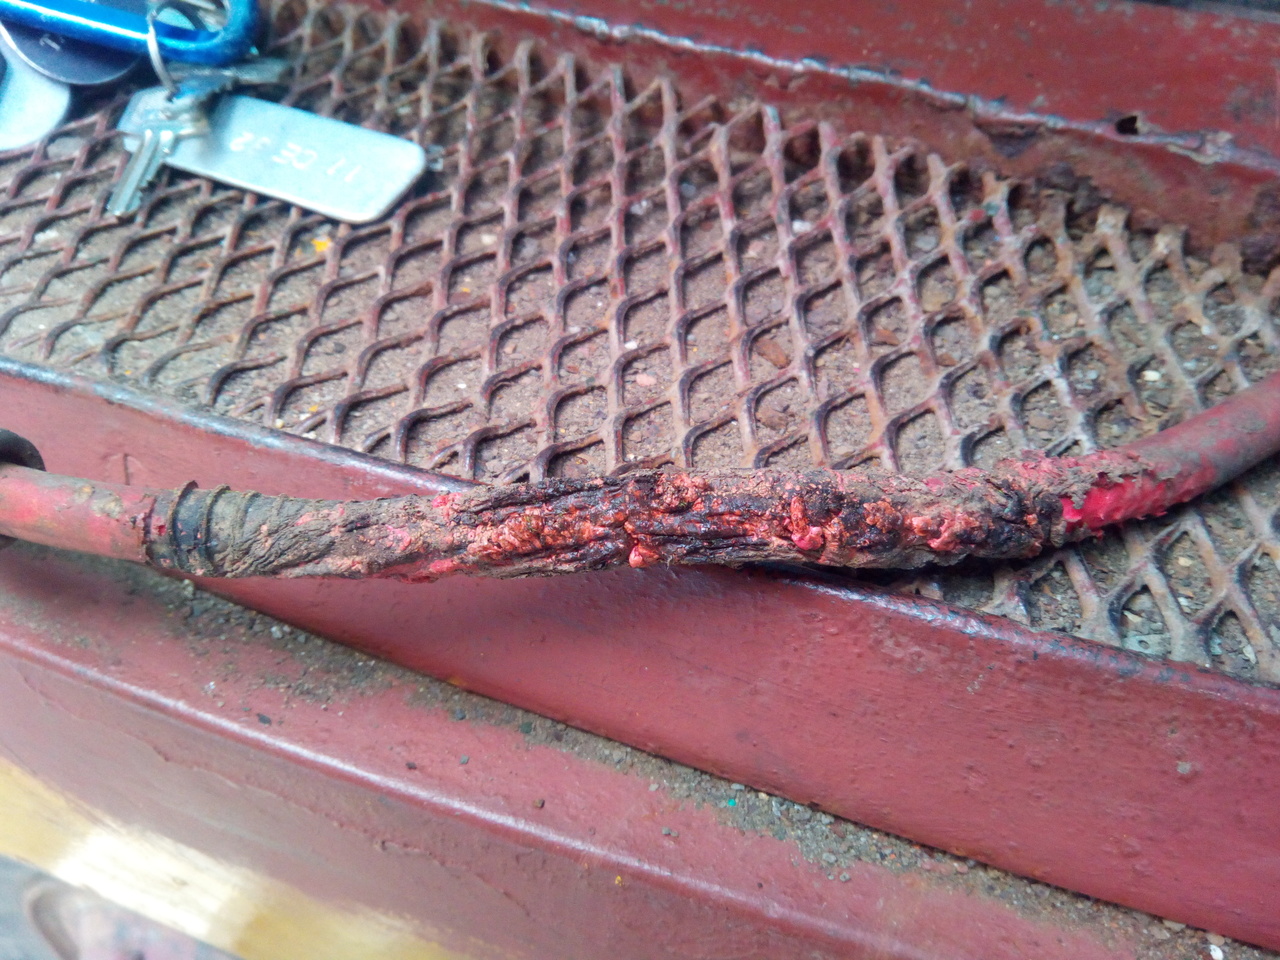 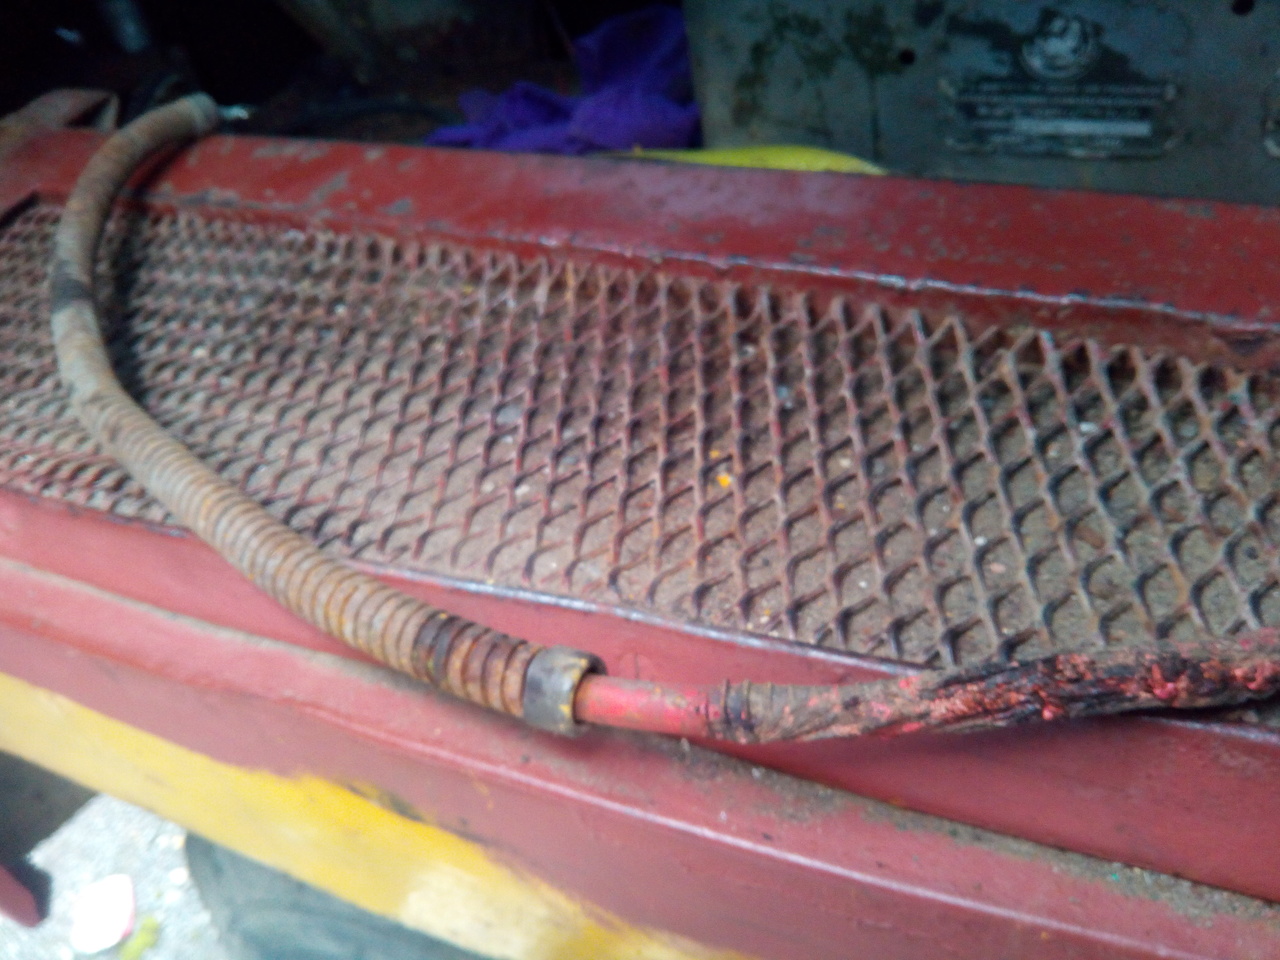 Got pretty lucky there. Had to replace a length of battery cable, and repair a bunch of the wiring that passes through the same area.  Also got my NOS front wheel cylinders in, and pulled them apart to check the seals. 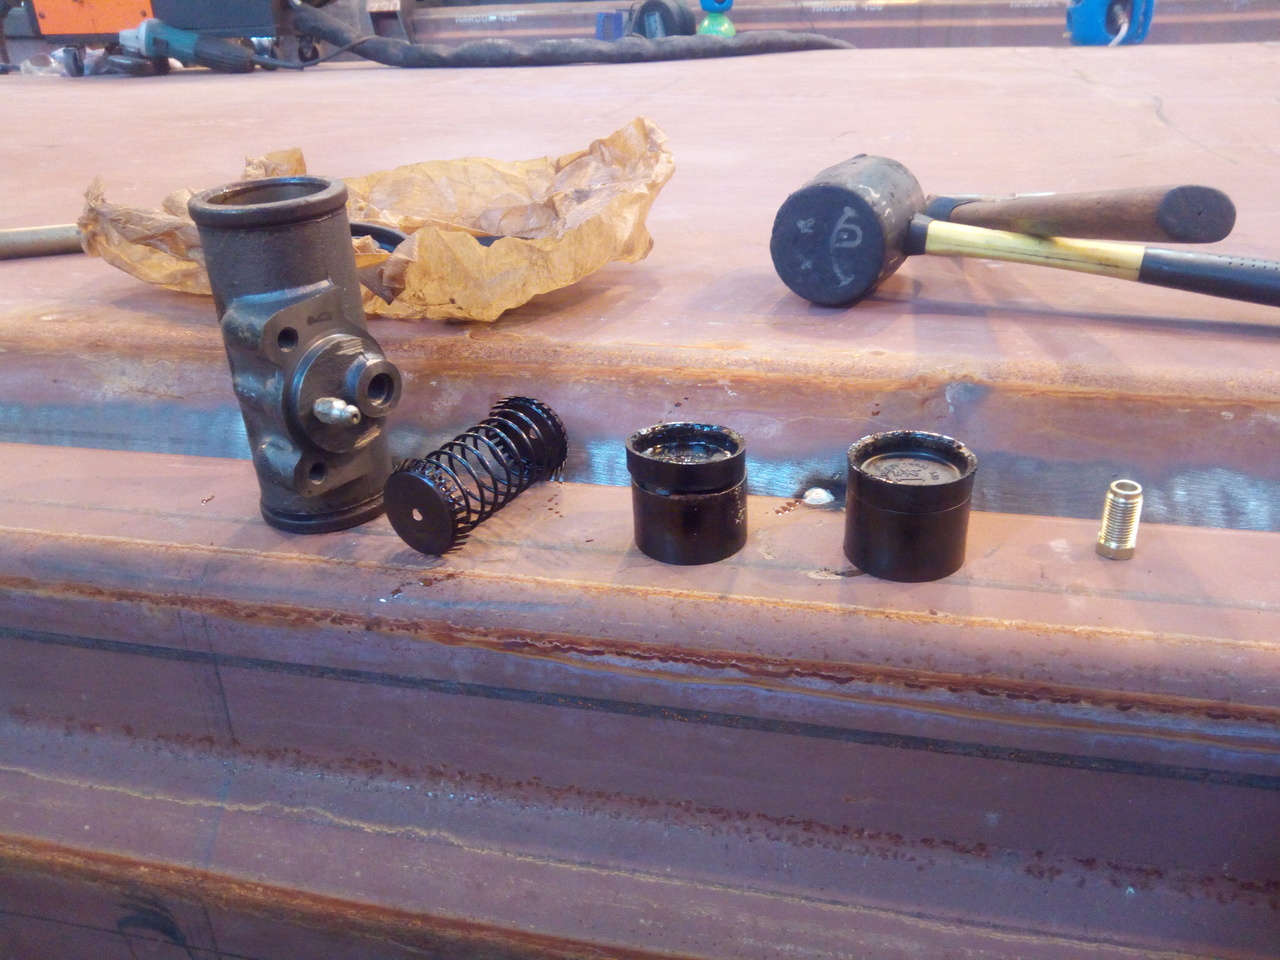 Found a hitchhiker.  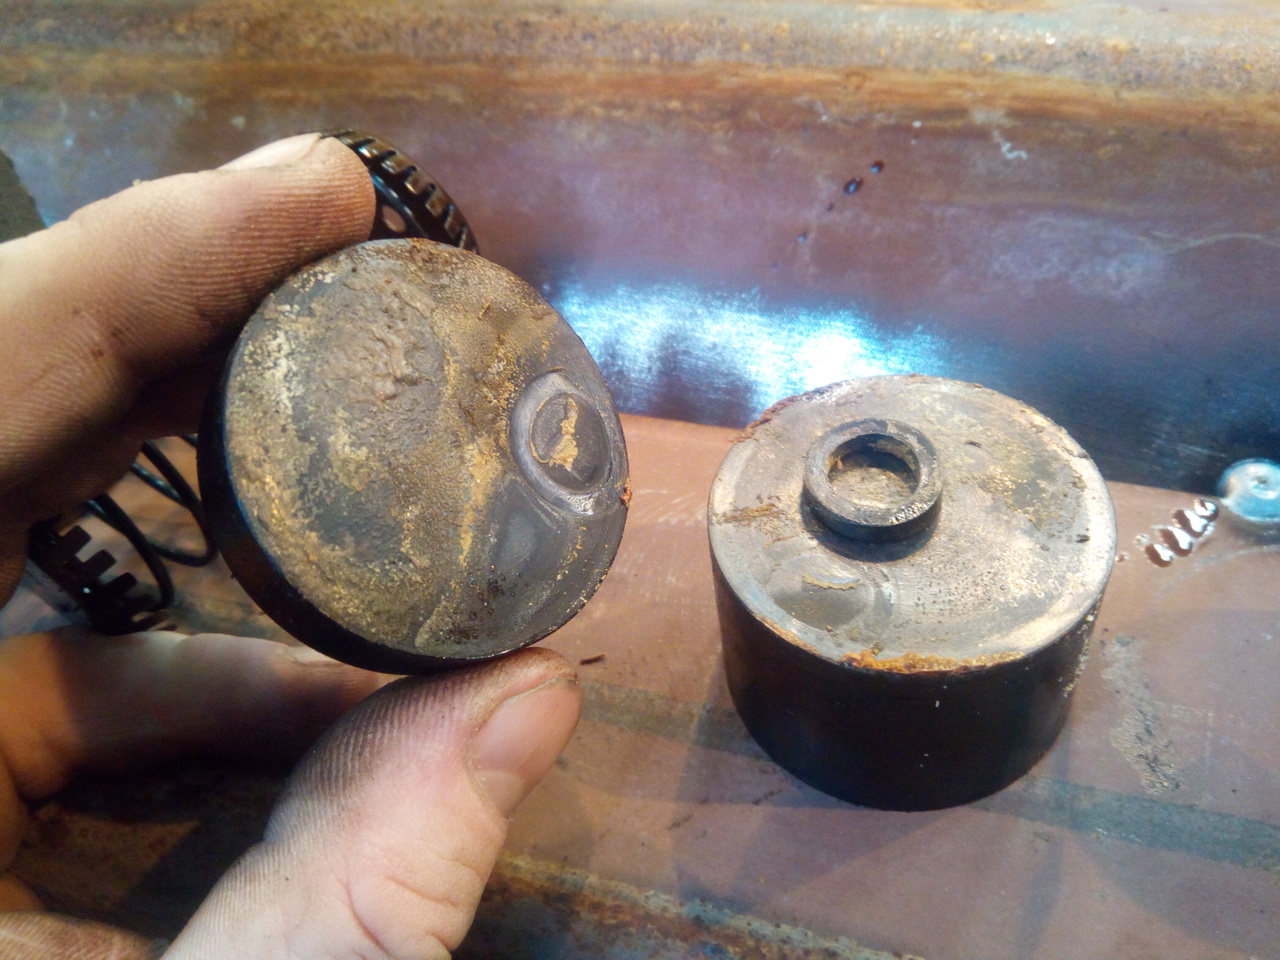 That's probably not seen the light of day in over 30 years. Anyway, the seals all looked and felt fantastic, and the bores were in great condition too, once the thick greasy storage protectant was washed out of them. 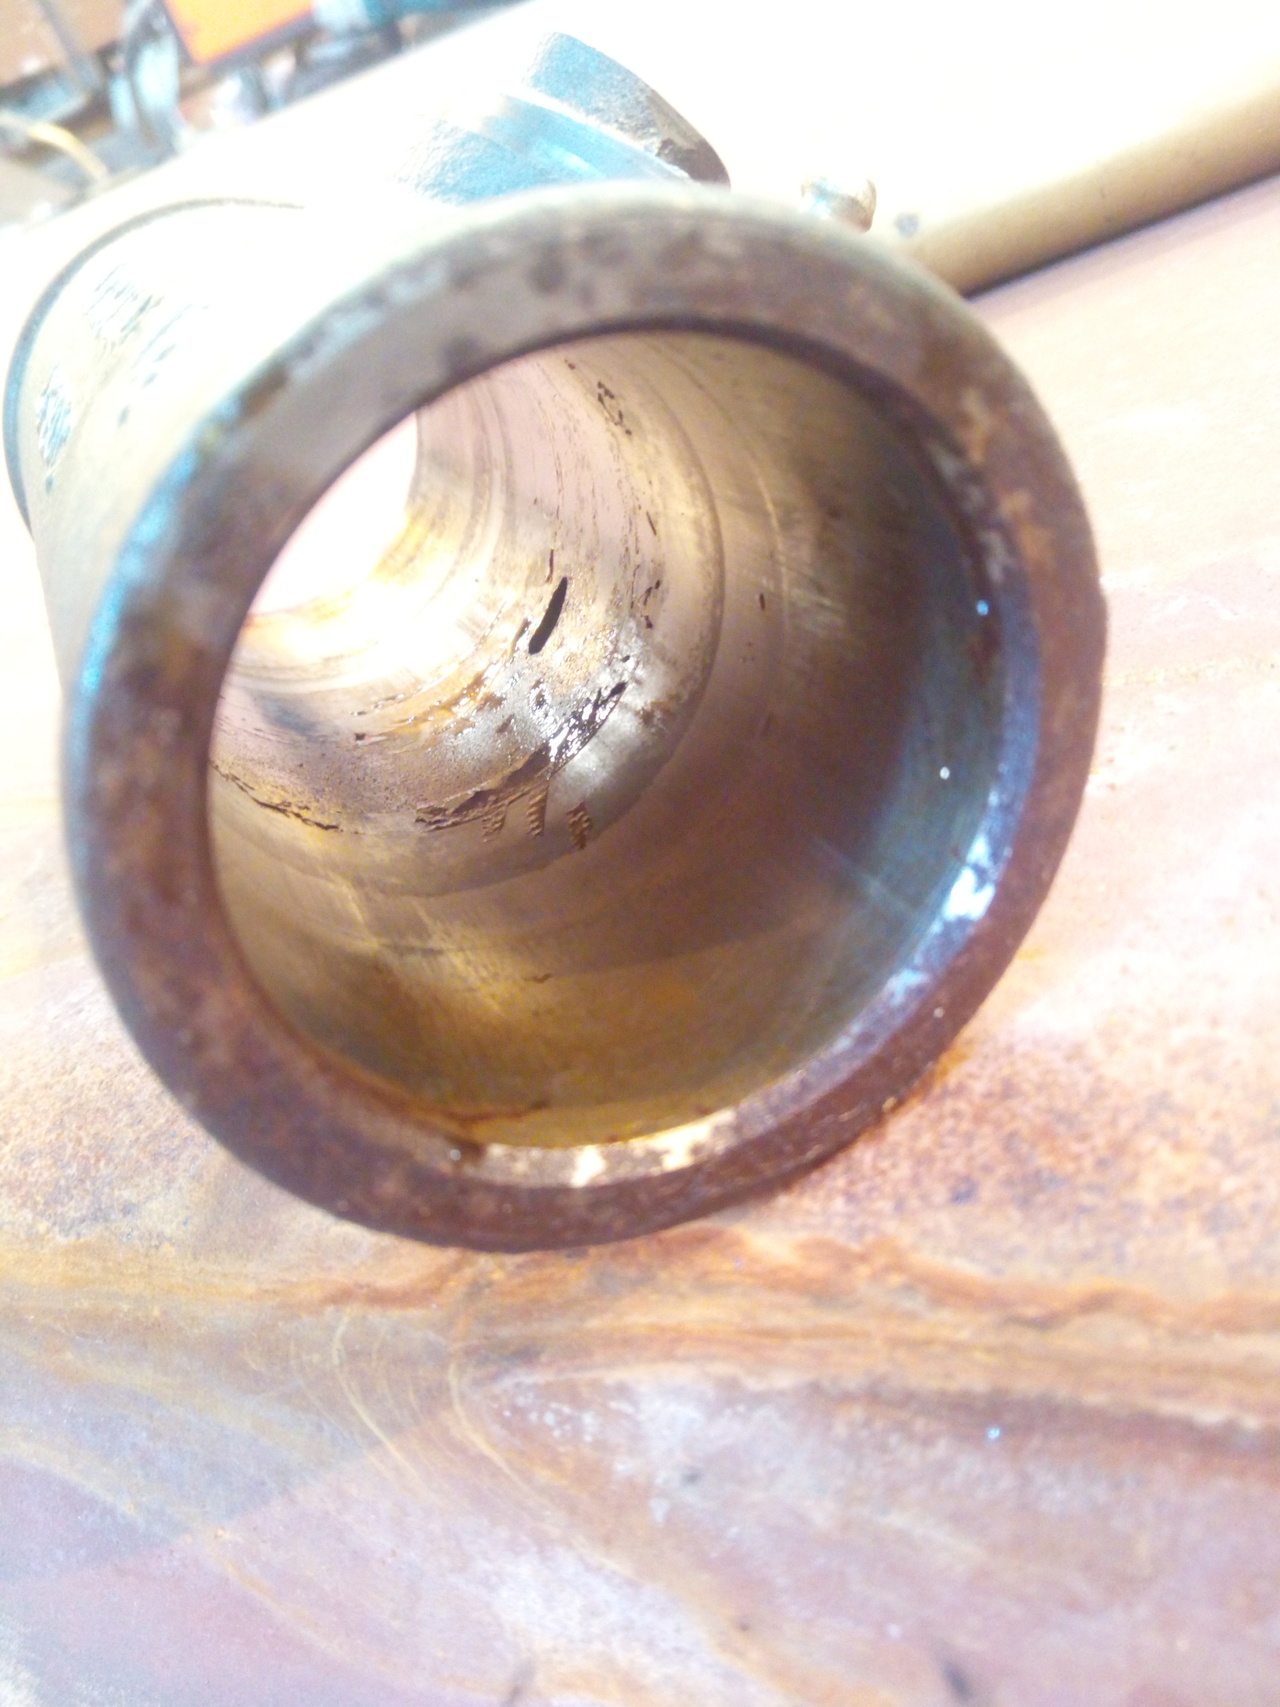 So, looks like I'll be using those, then! (Spoiler: I did. Nothing has gone catastrophically wrong with them yet. Though, to be fair, I've not fully bled them out yet, so they've not really seen full pressure.) Late September 2018Remember that air compressor that I couldn't find the filler on?  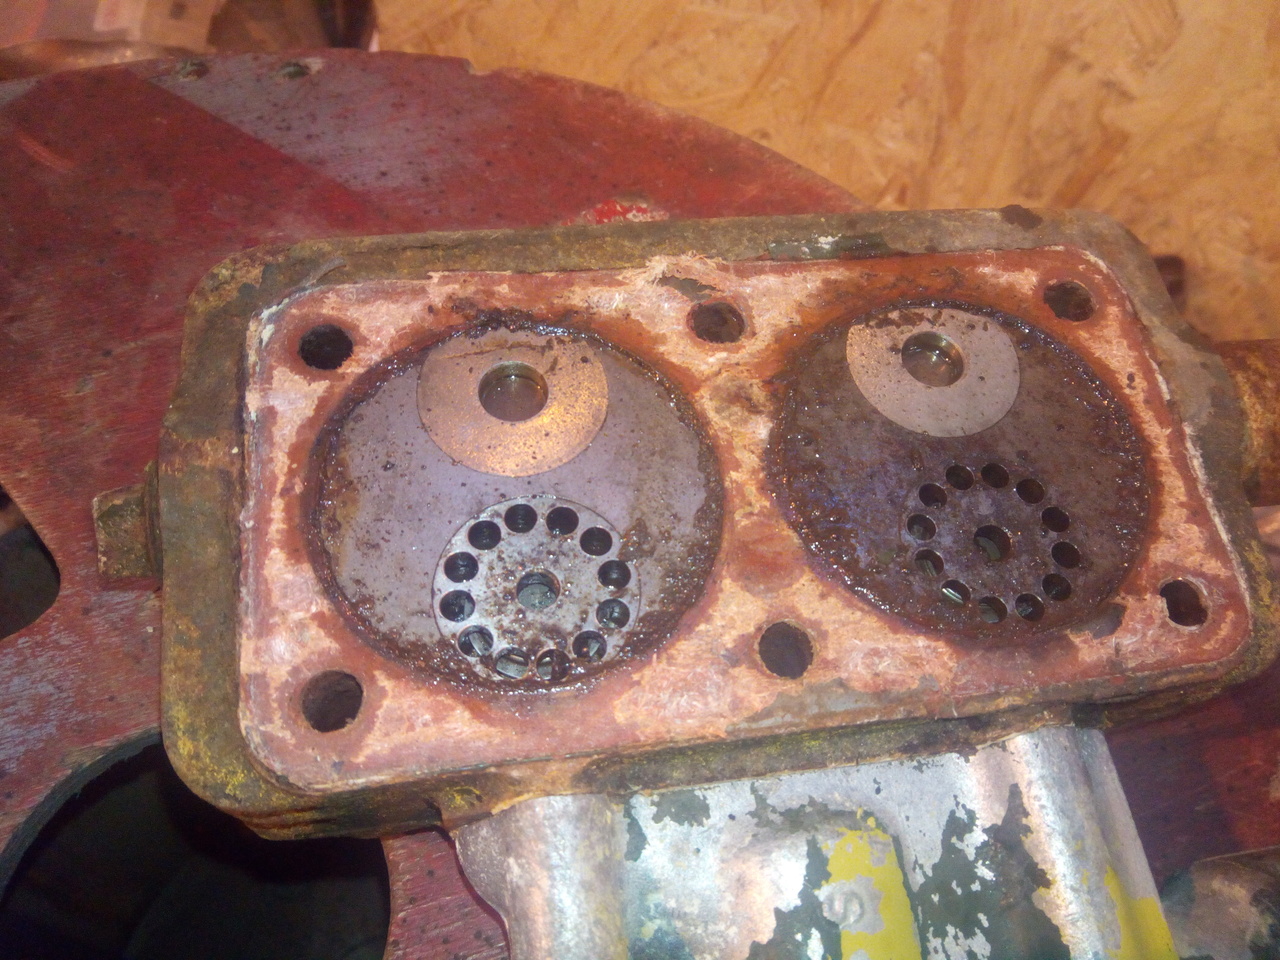 Not pretty, but cleaned up pretty easily and there's no scoring in the bores. The check-valves all seem to work quite nicely, and I cleaned out the passageways as best as I could. One of the bolts holding the inlet manifold down has a pretty gacked thread, so I've got a tap on order to chase the threads in the head just to make sure, and I'll get some new bolts on order. (1/4" UNF, so nothing particularly exotic.) I also had to break up the remains of the filler cap, since it seemed to have bonded itself into the threads and was stubbornly refusing to rotate. (I'd drilled two holes through it so that I could use circlip pliers to try unwind it. It bent the circlip pliers, then the edges of the holes started to break up.) Very careful -- almost surgical -- chipping with a thin chisel, and picks... 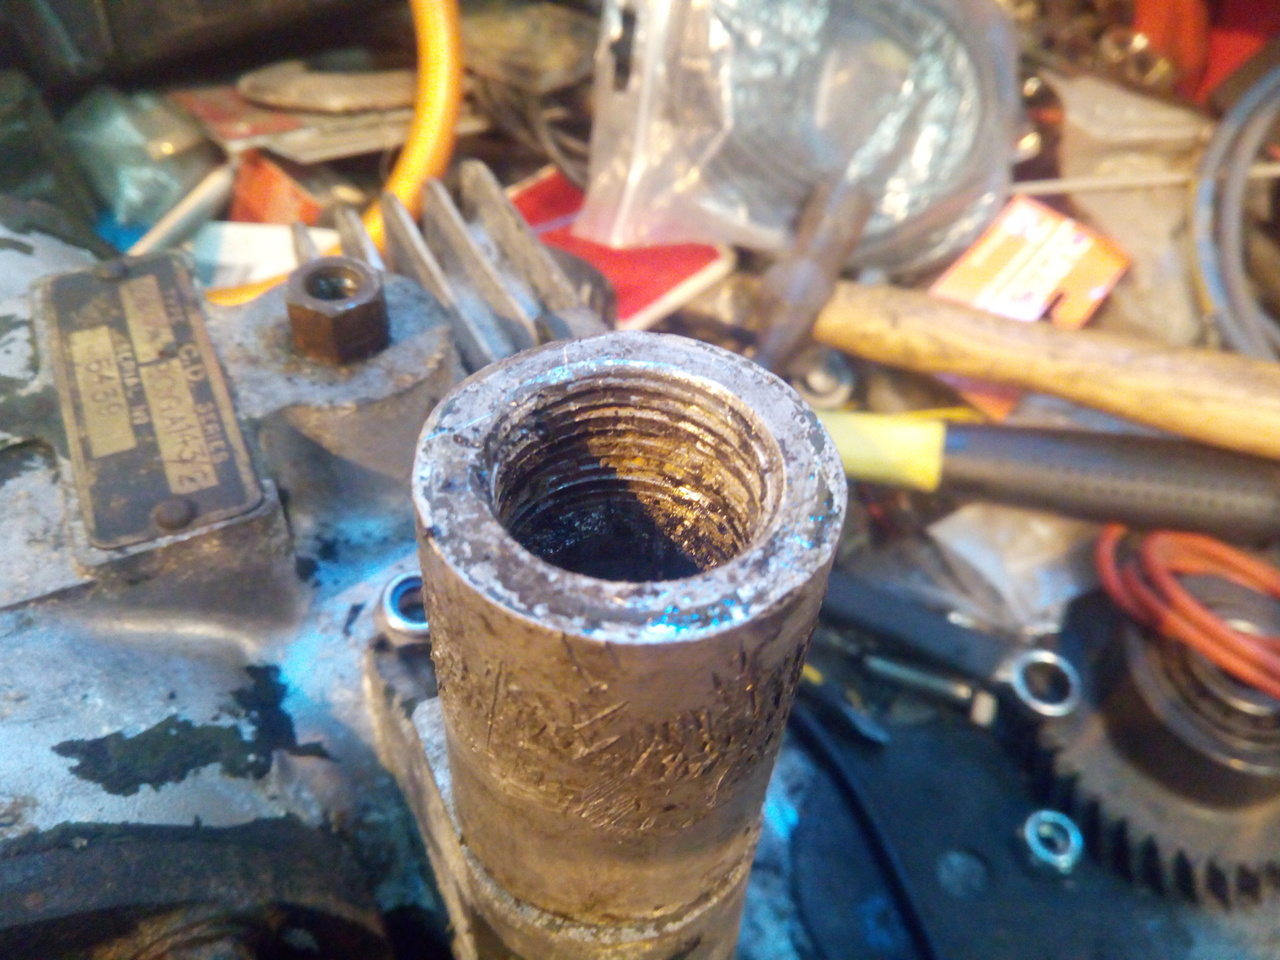 Saved the dipstick, though!  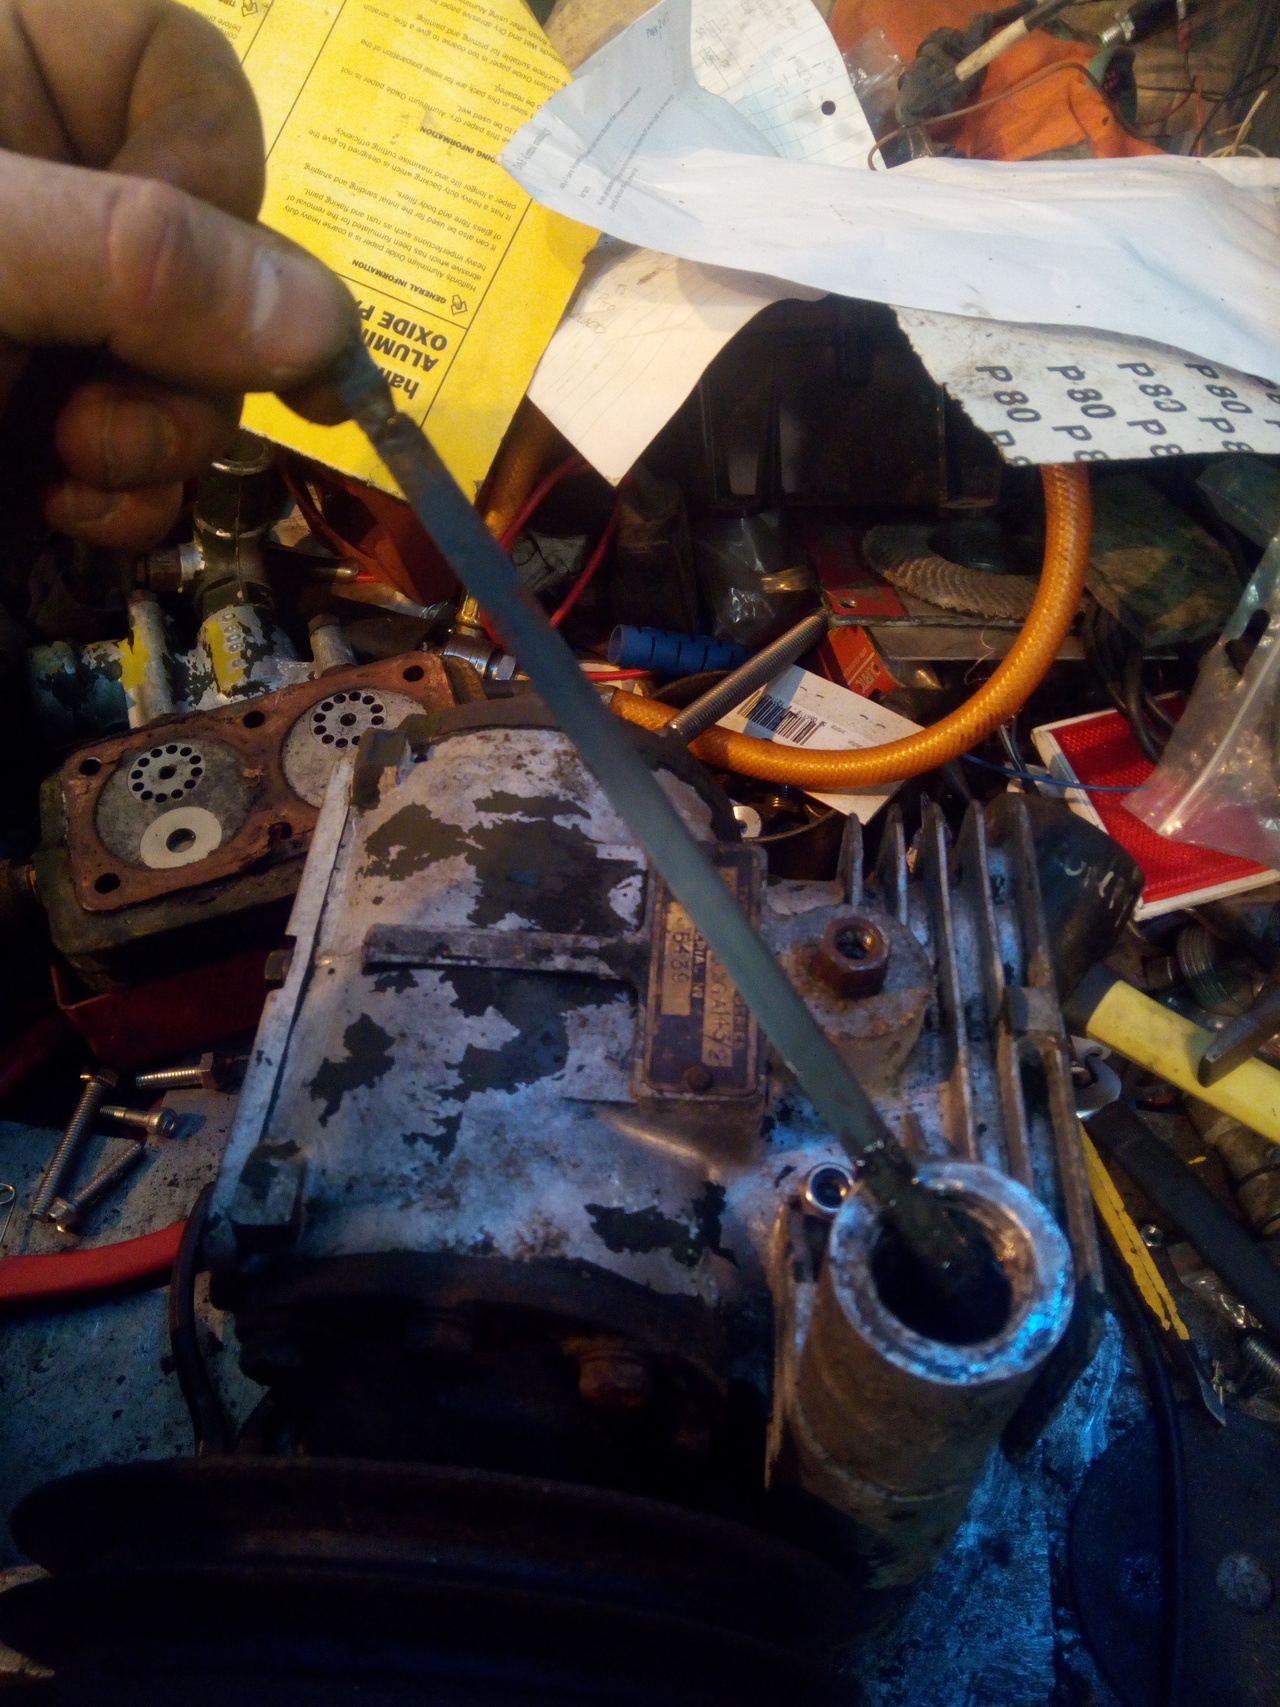 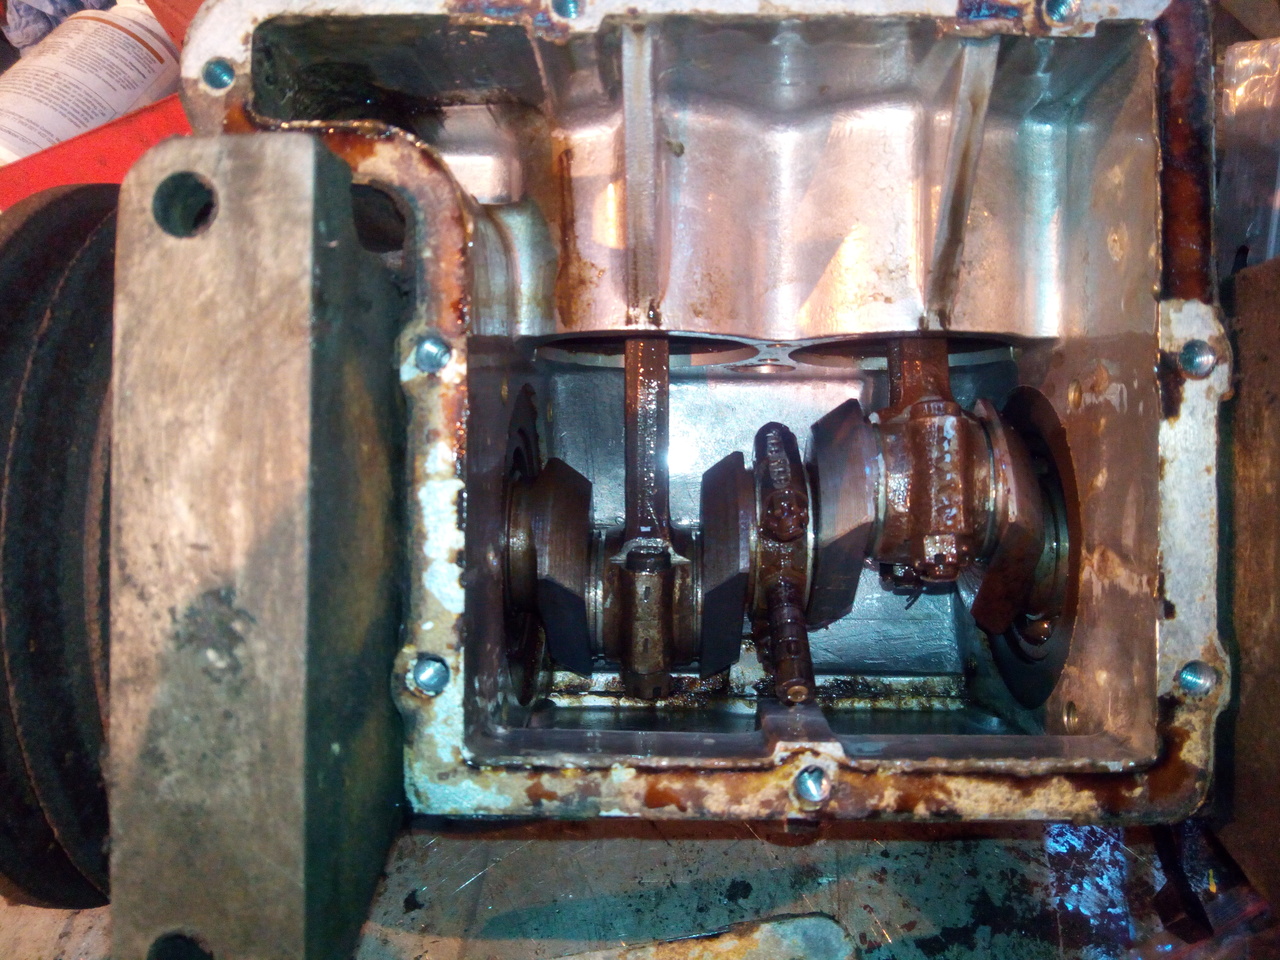 Not too shabby! Now, the sump... Brace yourself, it's not pretty. 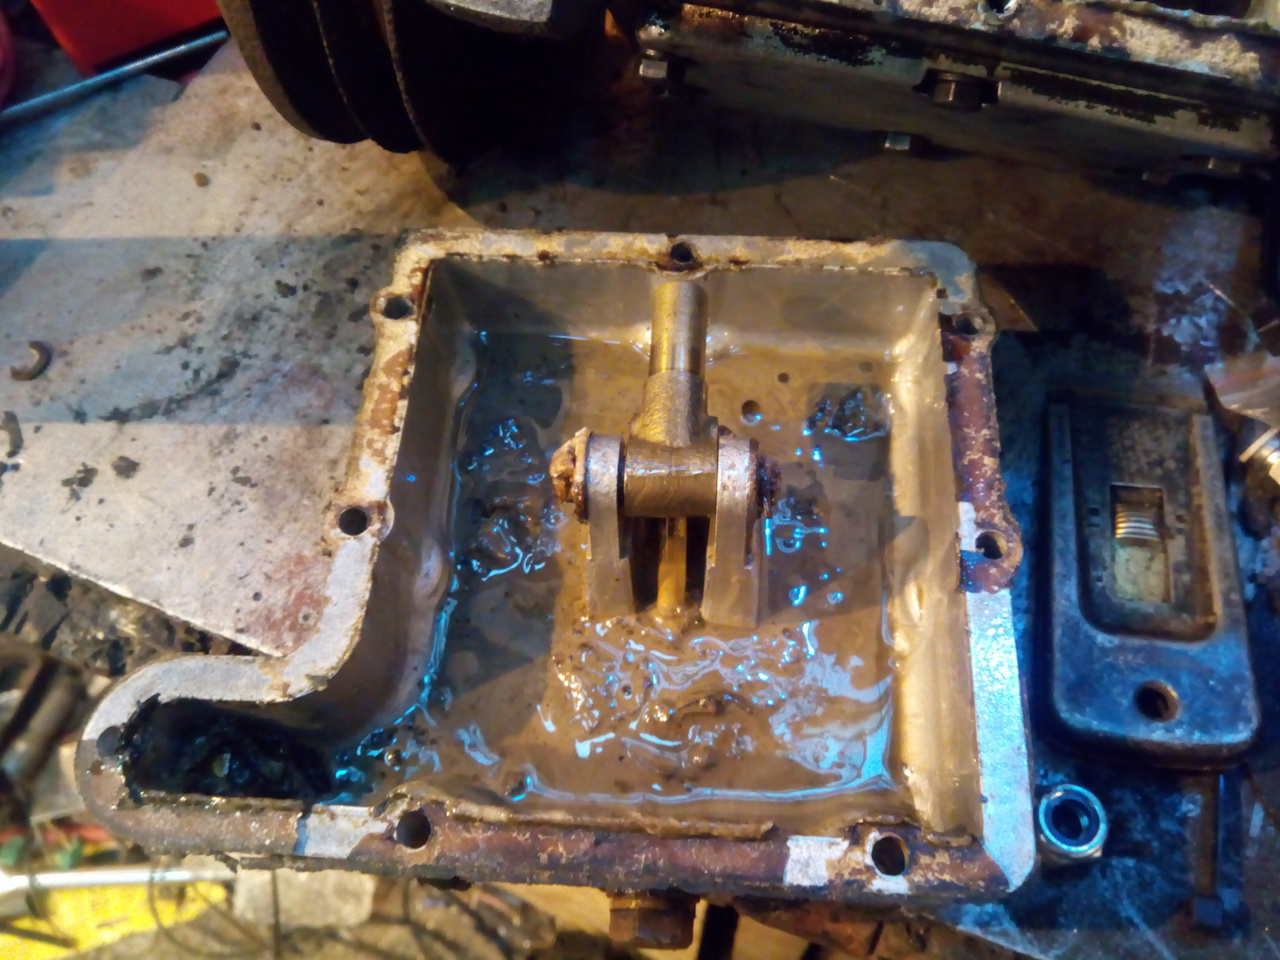 Sludge vs. Industrial Jetwash. 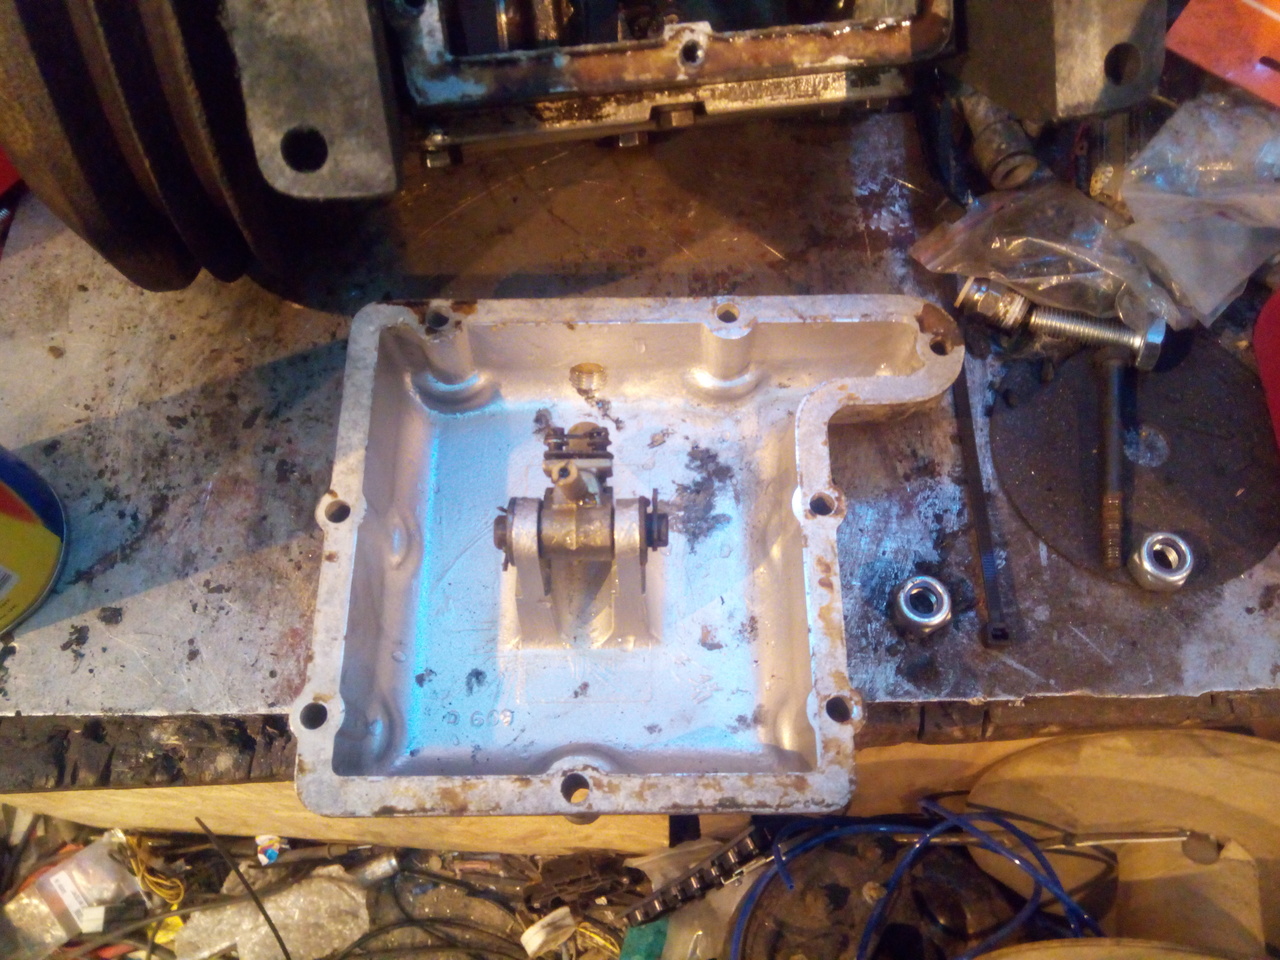 Jetwash wins.  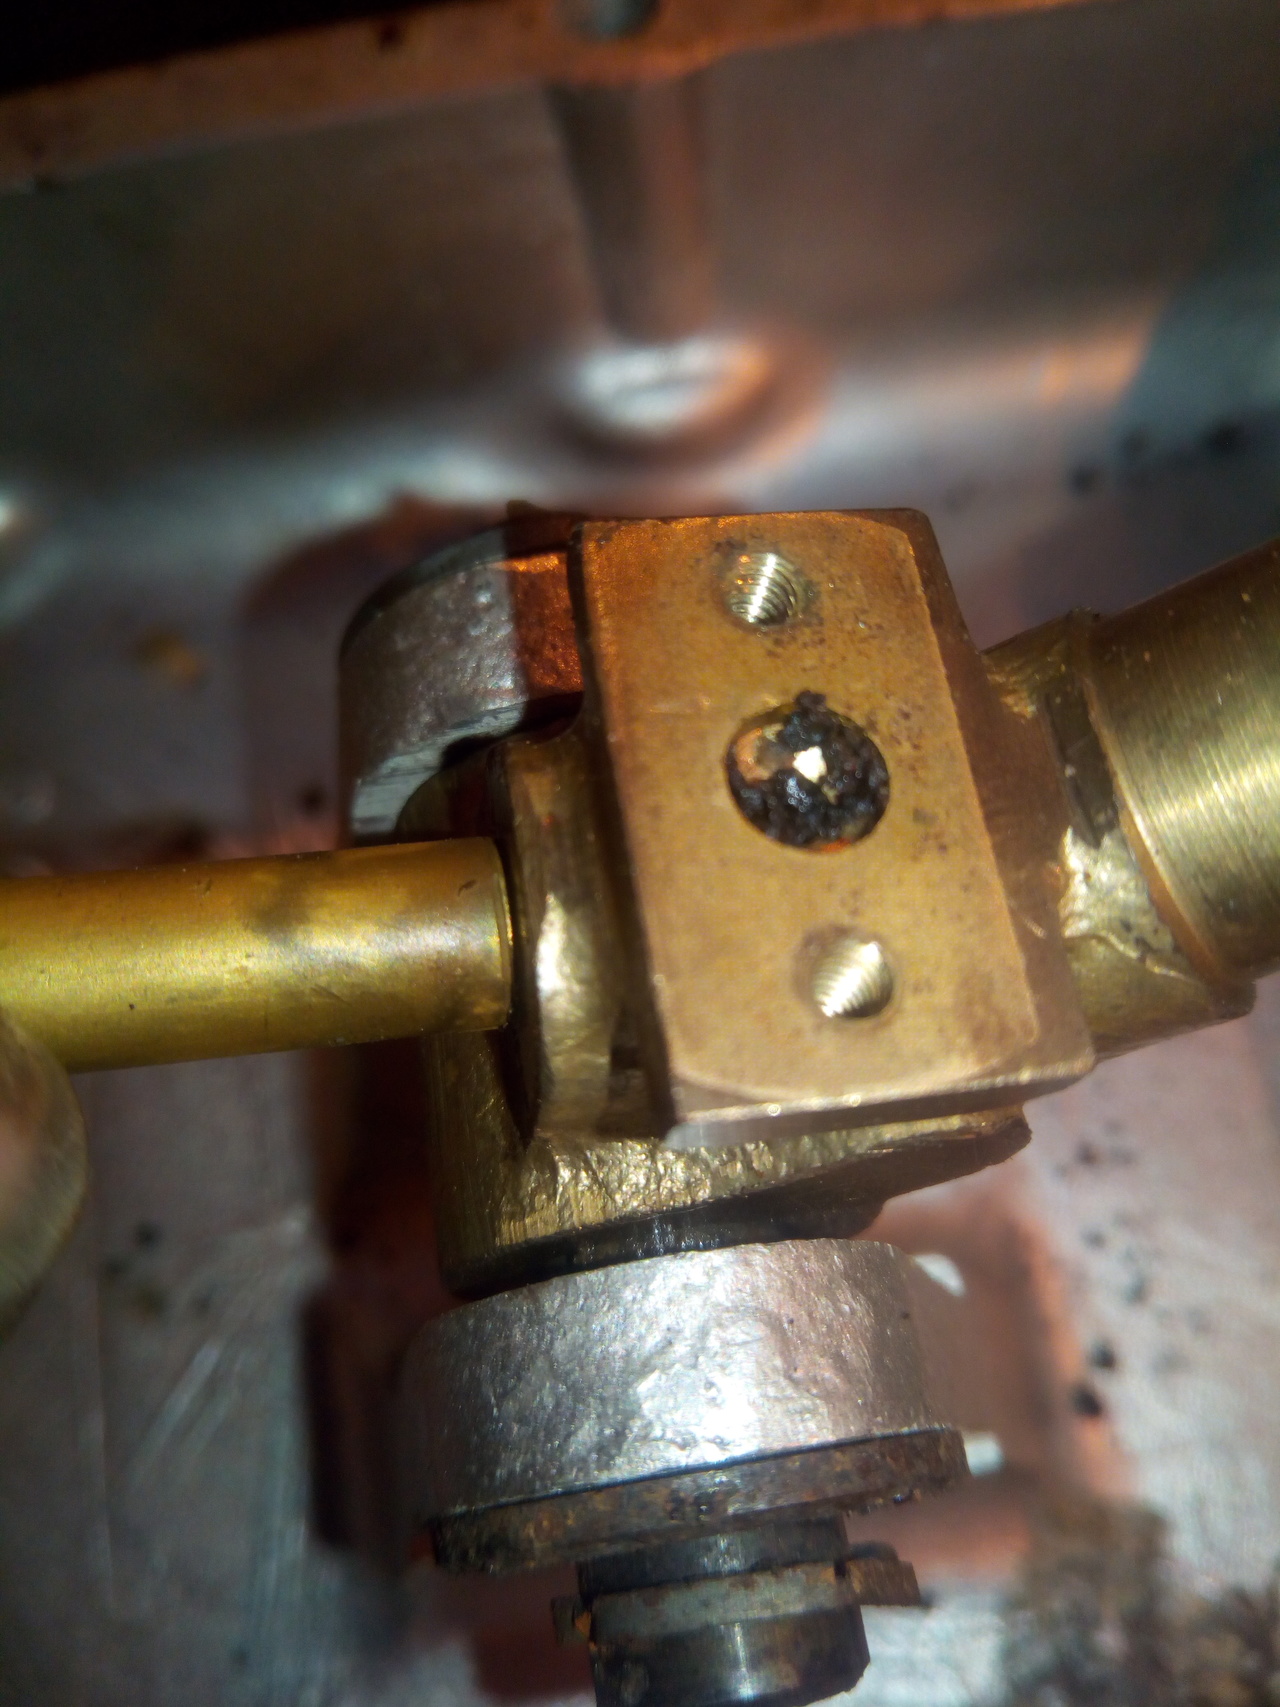 Concerningly, the little relief valve on the oil pump looked like it was stuck open. It's also picked up a few fragments of the plastic filler knob after my previous precision removal process, but it was already showing signs of problems even before then. The back-side of the other part to this relief valve had a much older-looking deposit built up on it, and it was wedged open. 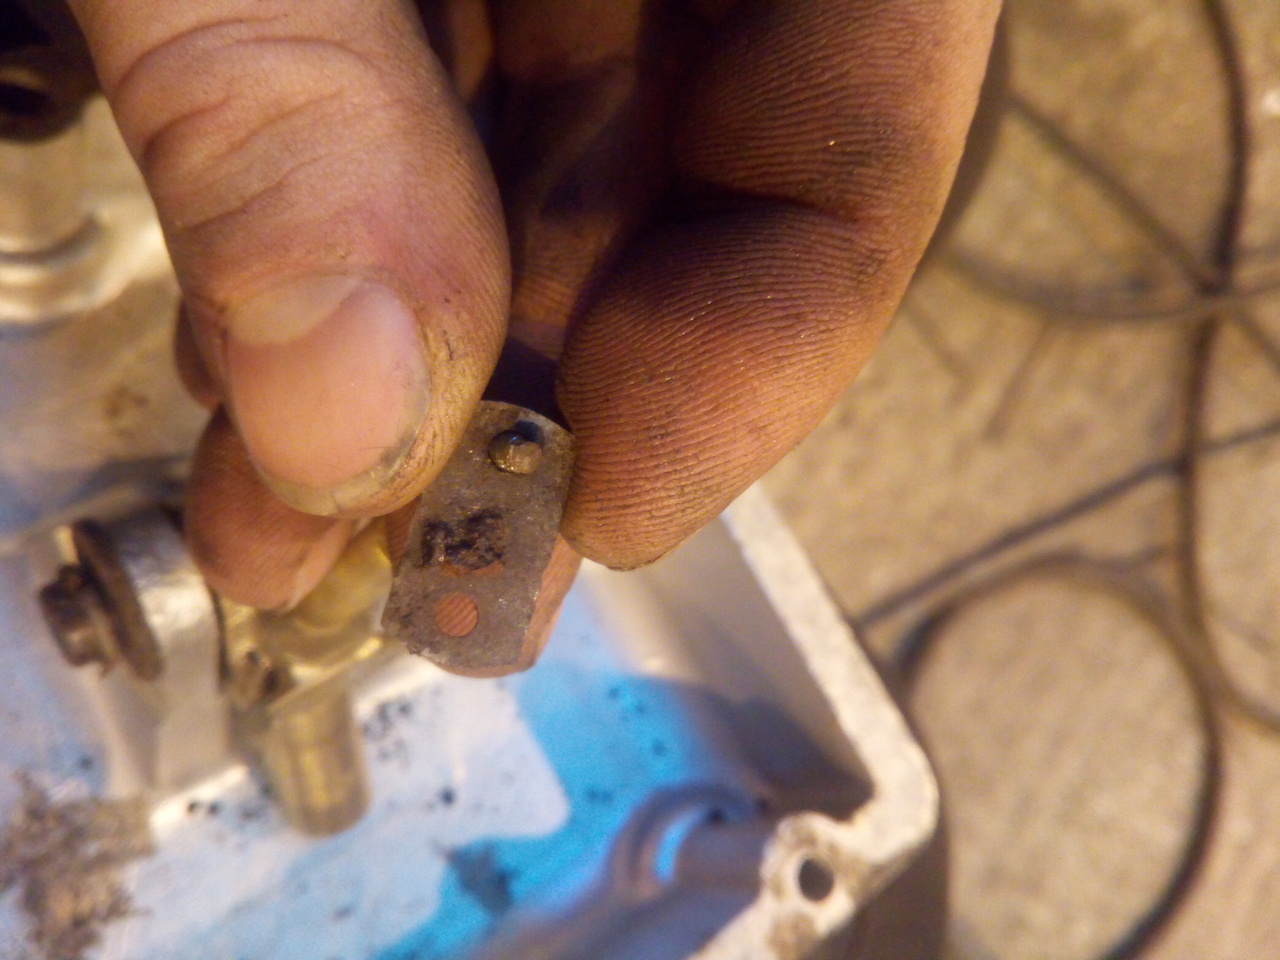 t's a pretty clever little mechanism, this oil pump. The shaft of the eccentric is the pump piston, and it's hollow -- with a little brass orifice in the end -- so that the pressurised oil squirts up it and is forced into the crankshaft; the pressure relief is a flat plate over a drilling, held down by two little screws with springs, such that once the pressure reaches its limit, it lifts the plate and squirts out. Nice piece of design and engineering. 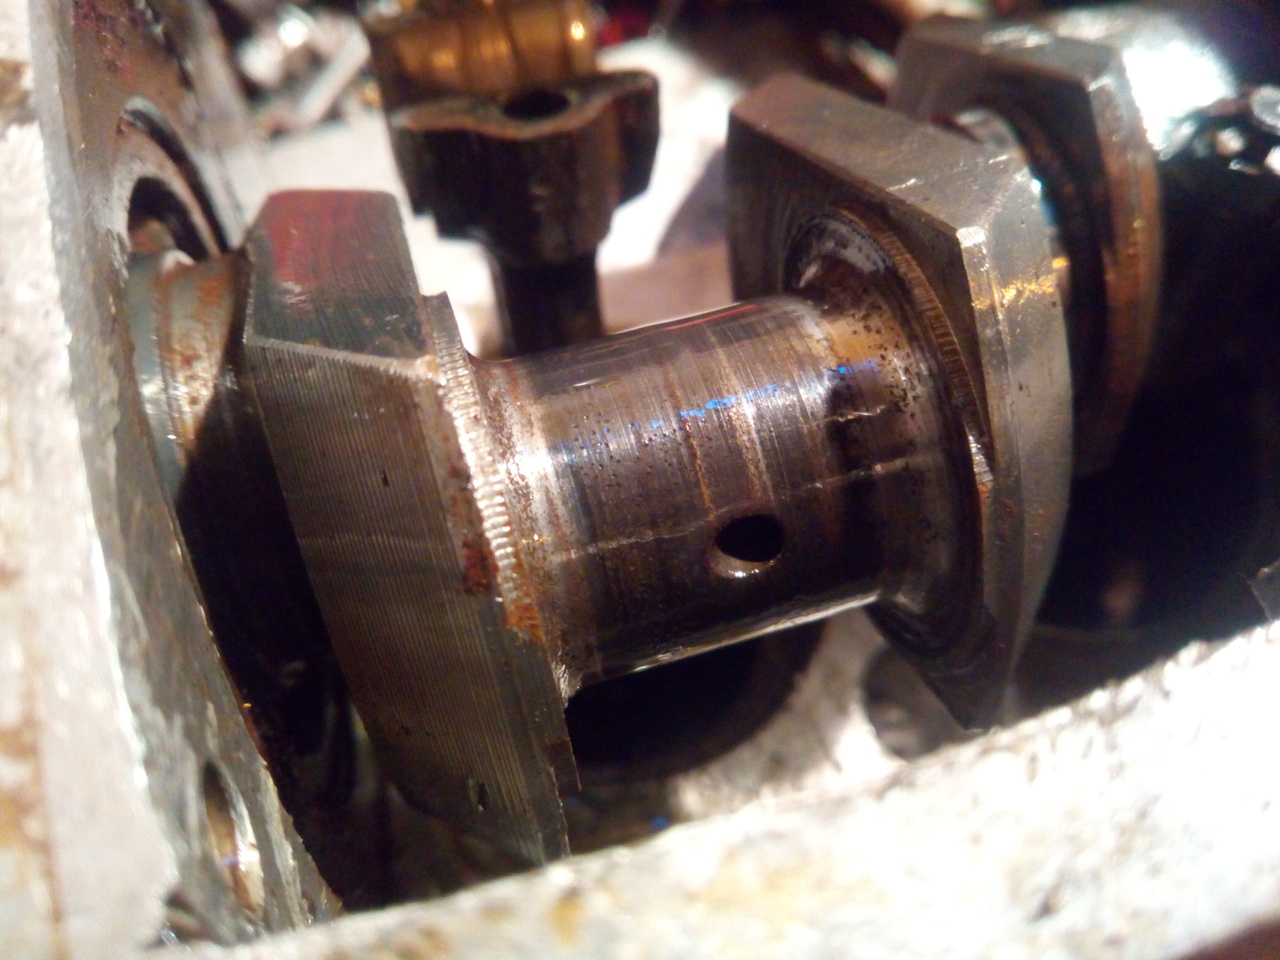 Mm, that's not altogether too pretty. 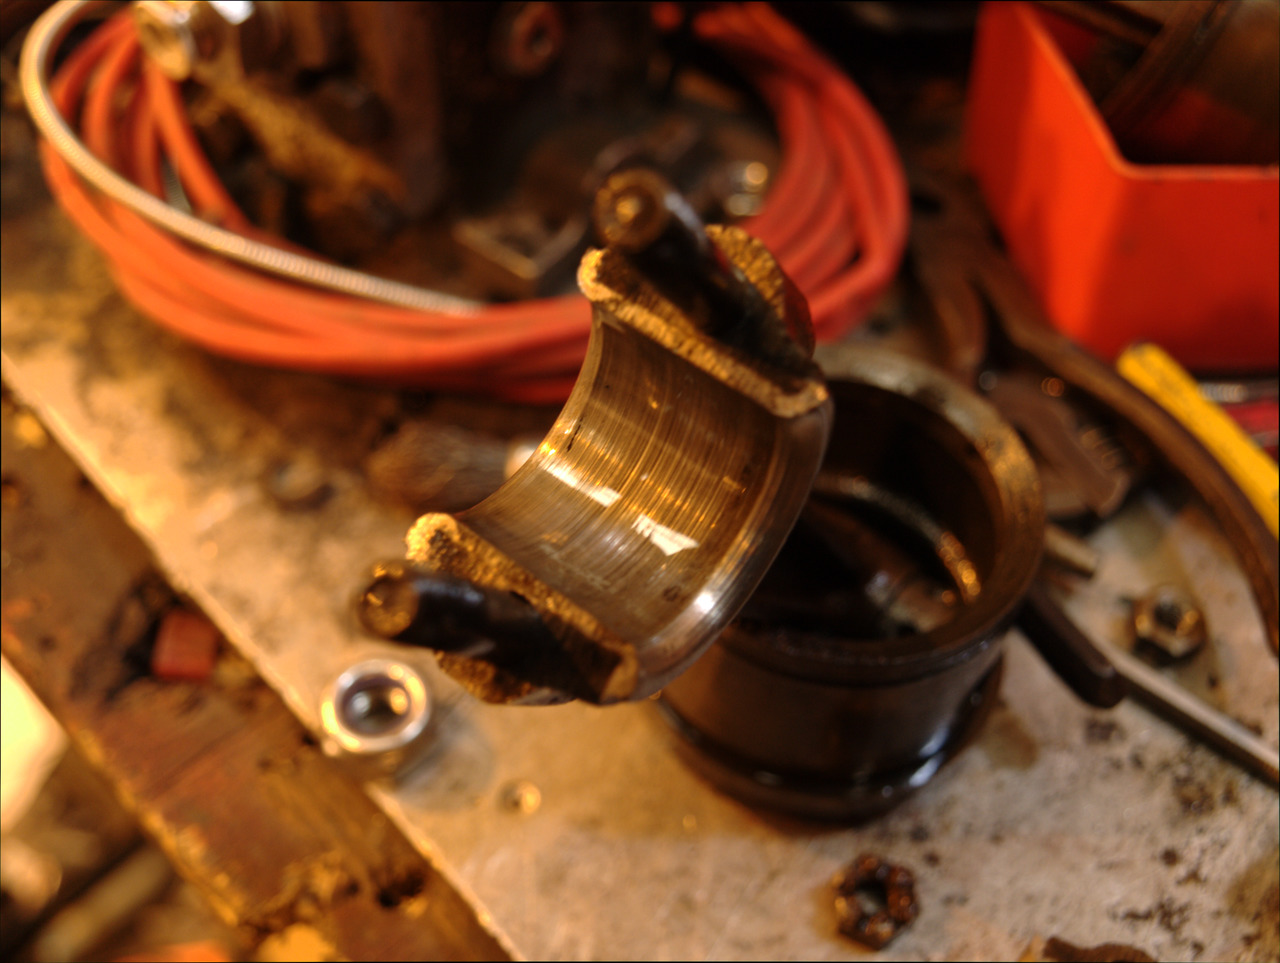 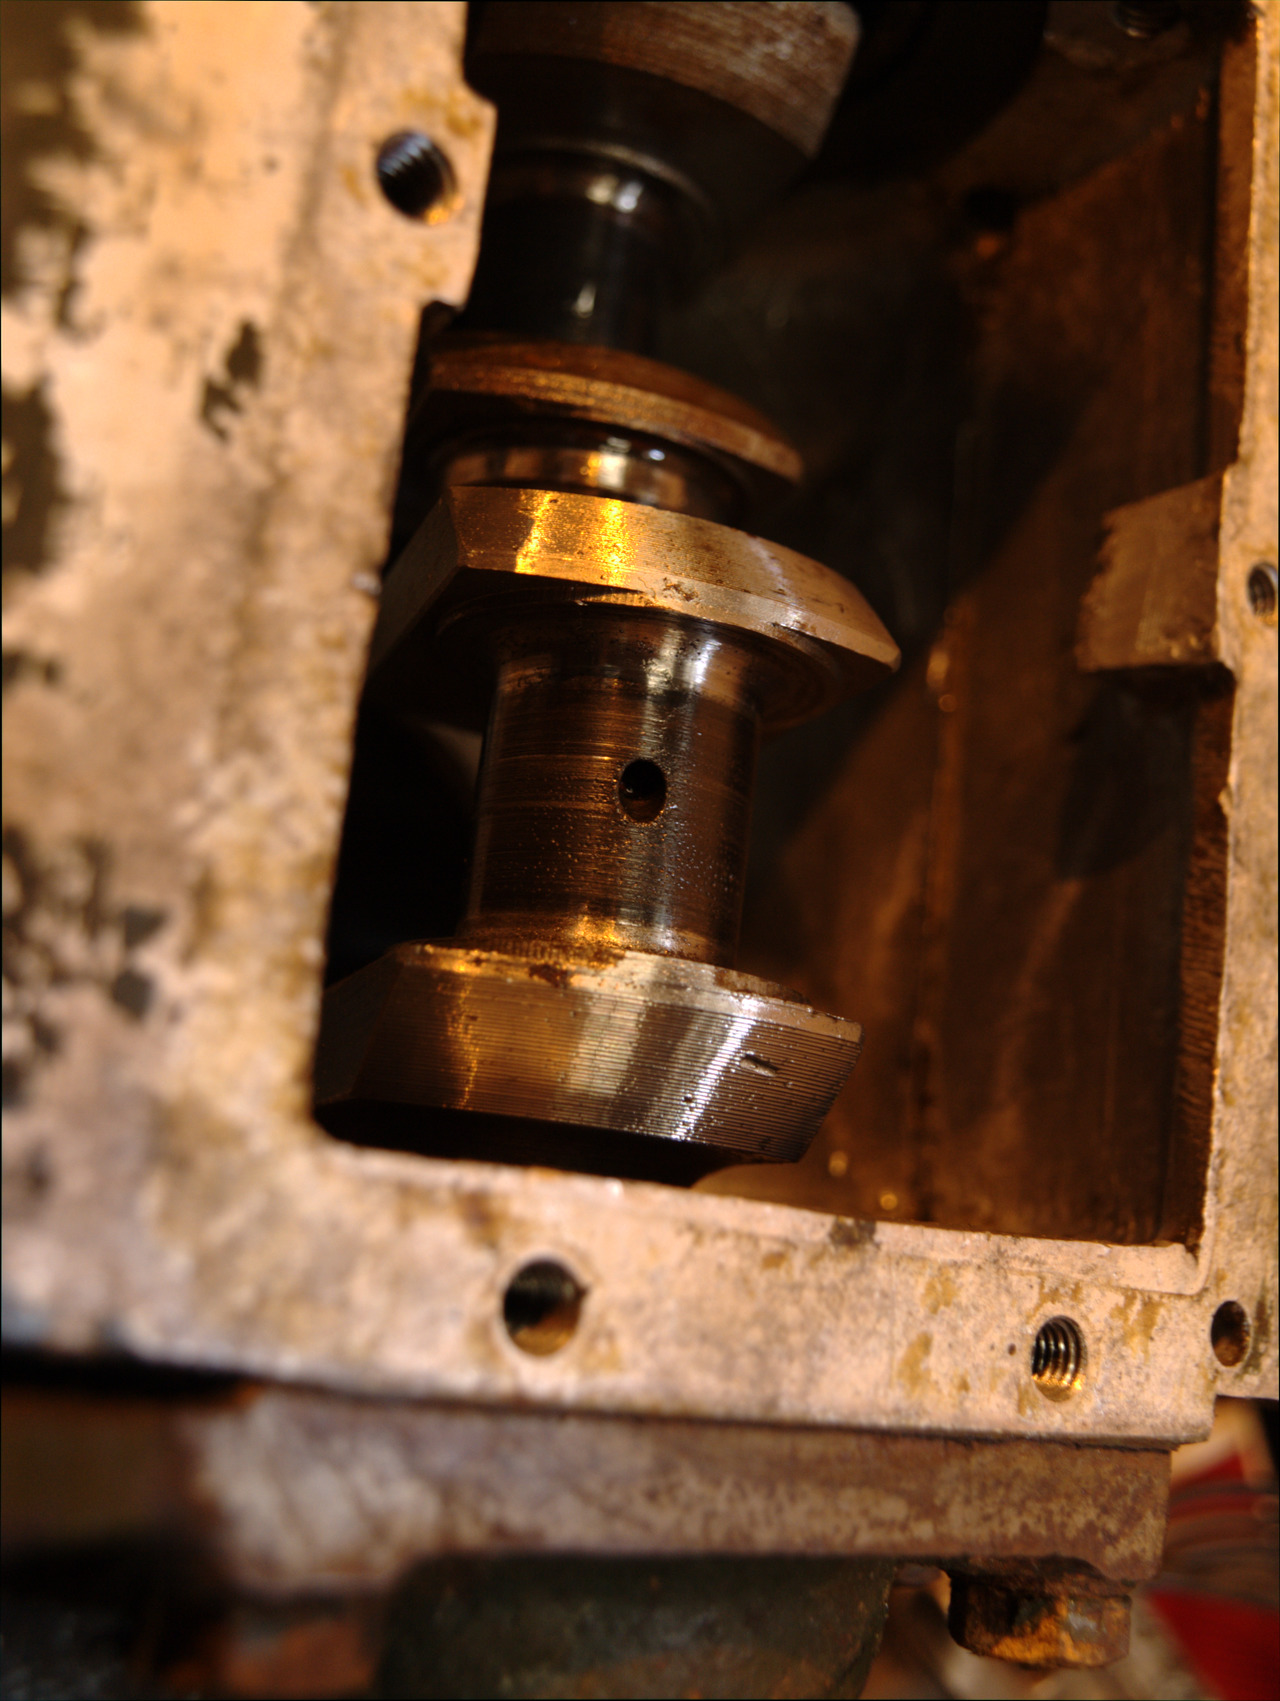 Nor is that. I also cracked open the Drawer of Excessive Precision* for my micrometers and did a quick bit of measuring. The rod journals seem to be within the realm of cleaning up sufficiently with a bit of polishing; the big end bearings having taken the brunt of the damage as expected, being white metal. The machinists precision G-clamps gave me some numbers (I'm majority metric, so bear with me! 😁) : №1 rod journal: 22.22mm, №1 big end (vertical, i.e. in line with the rod): 22.5mm. Clearance of 0.28mm, or ~11thou. №2 rod journal: 22.3mm, №2 big end: 22.45mm. Clearance of ~0.15mm, or a midges under 6thou. Big ends are just a touch out of spec.  I'll see what the crankshaft mics out to after I've polished the journals, I can live with it being a hair undersized so long as I can get the rods to match it. I still need to finish tearing the compressor down fully, measuring the bores and whatnot, but so far it looks otherwise to be pretty good. I'll just keep on keeping on, for now. 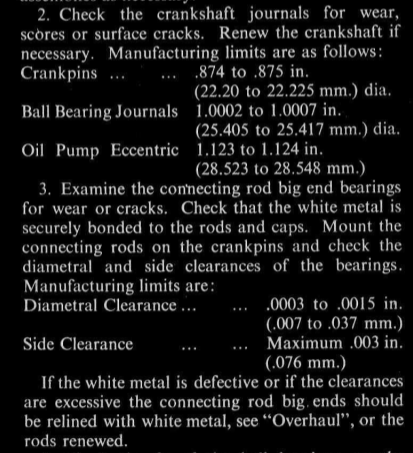 My current thought on the matter is: Fox it, it's out of spec but might not give me problems. Will see. (* Above the Drawer of Insufficient Precision, which houses all my hammers and other tools of "Fit, damn you")Mid-October 2018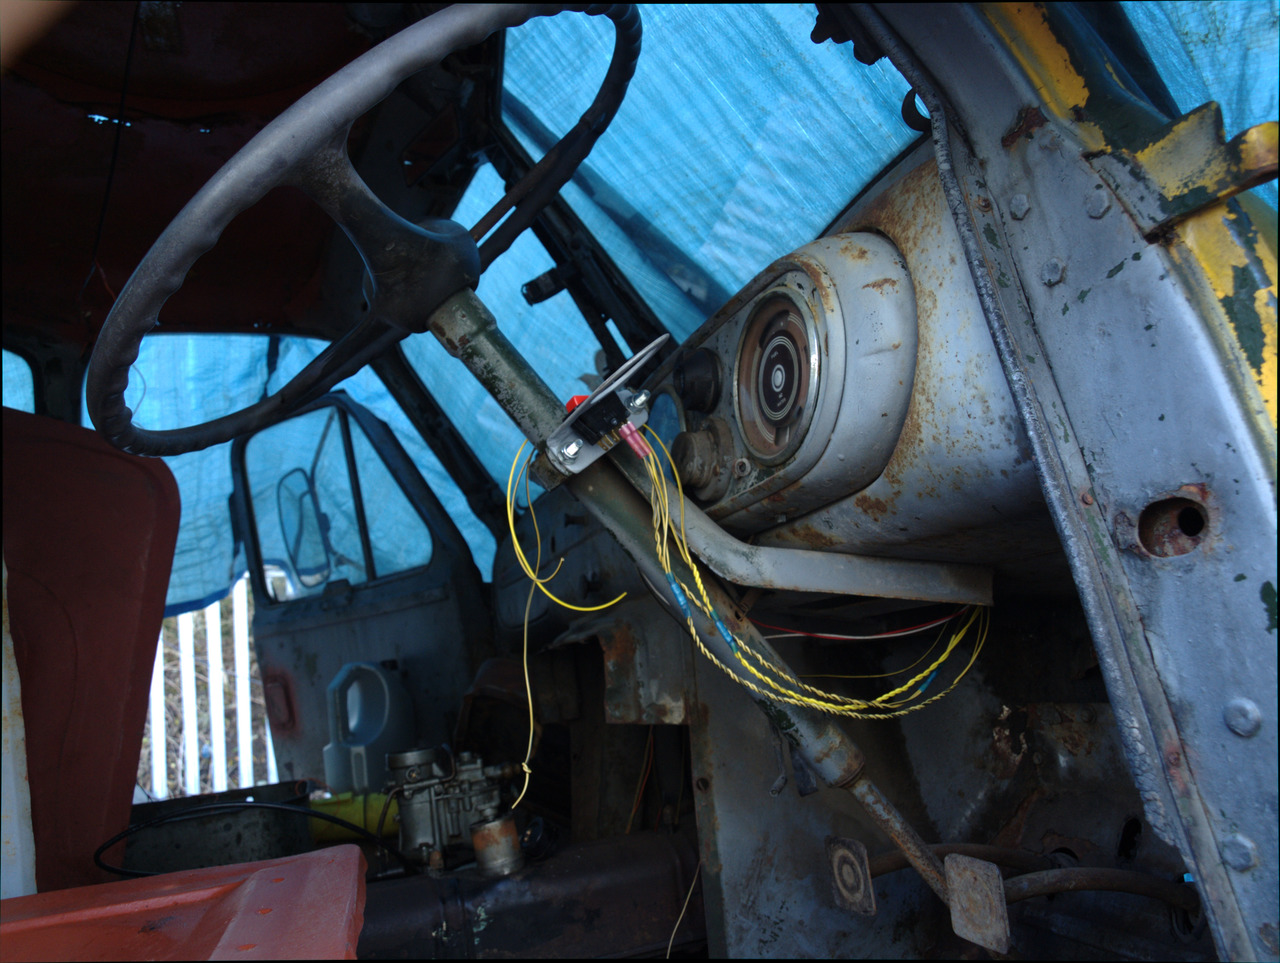 I still need to tweak the bracket for the indicator switch, because it doesn't fit where I first planned it, but that's not the end of the world. All the wiring will be tidied up when it's closer to being completed. The compressor's been broken down a bit further, and I've got a bearing separator on order so that I can pull the ball-bearings off the compressor crankshaft. The ball-bearings seemed okay at first, but I've noticed that one of the front ones was beginning to feel (and sound) a bit crunchy, so I'm going to replace all three. Somewhere, I have a notebook with all the measurements I've made. The bores are both in great shape, not tapered or ovalled; and... I'll have to go dig the notebook up to run through the numbers for the crankshaft, but the rods certainly don't feel loose on the crank after giving the crank journals a gentle polishing. I've also run through the various threads that needed cleaning up (Mostly 1/4UNF; the thread on the nose of the crank is 1/2" BSF, and I'll need to get a new castle nut for that, but I don't see that causing much bother; and the thread for the filler is 3/4" BSP which is handy since I have hydraulic blanks spare in that size.  ) So, yes, 1"-14 Whitworth is 3/4" BSP. But now I have both taps. Even though they're the same. Well, at least another strange Whitworth tap in my toolbox can be a conversation piece.  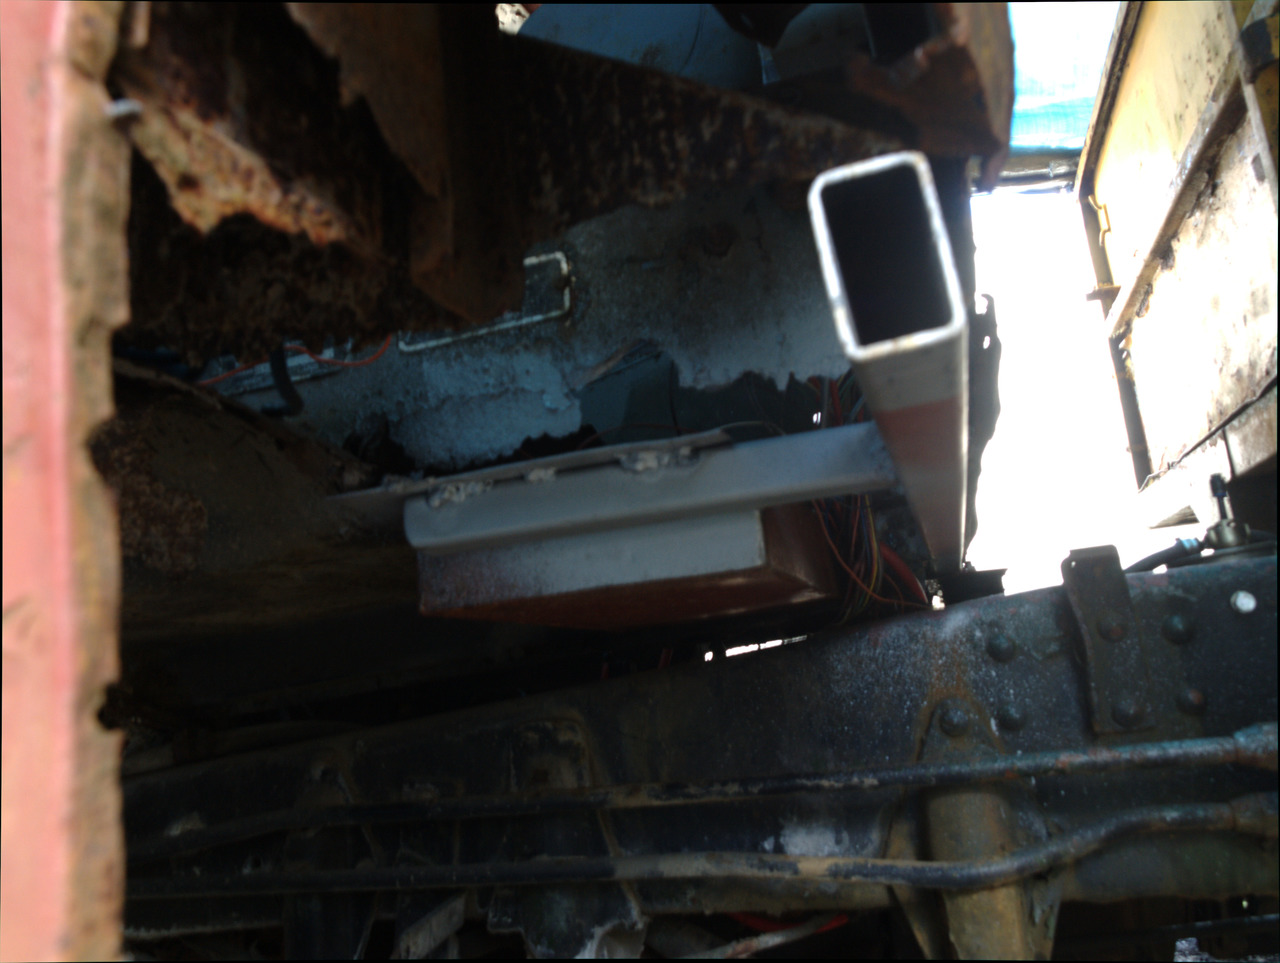 Also, just for context, a picture of the conditions I was working in by October. 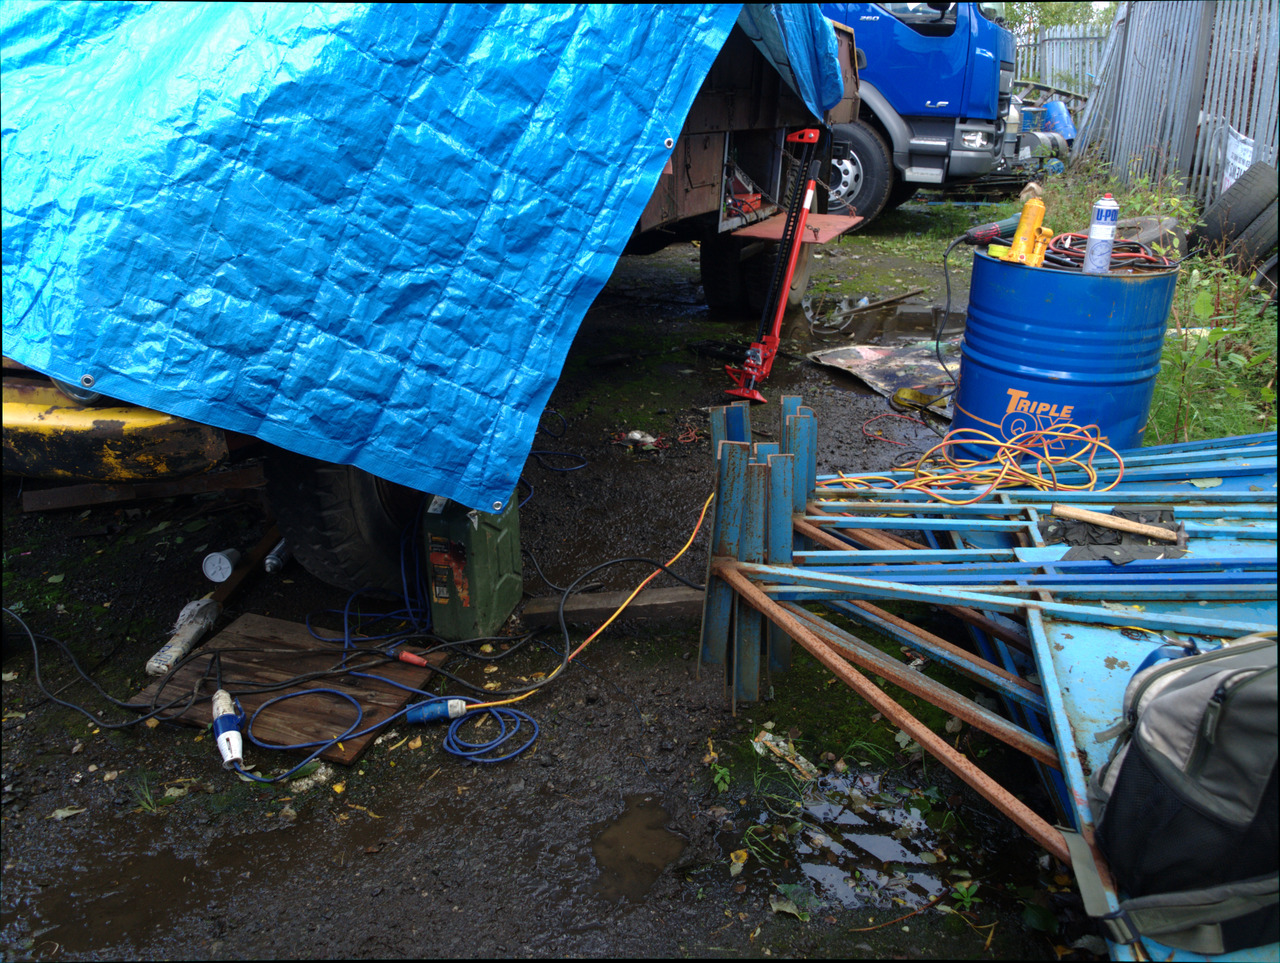 Late November/Early December 2018 Late November/Early December 2018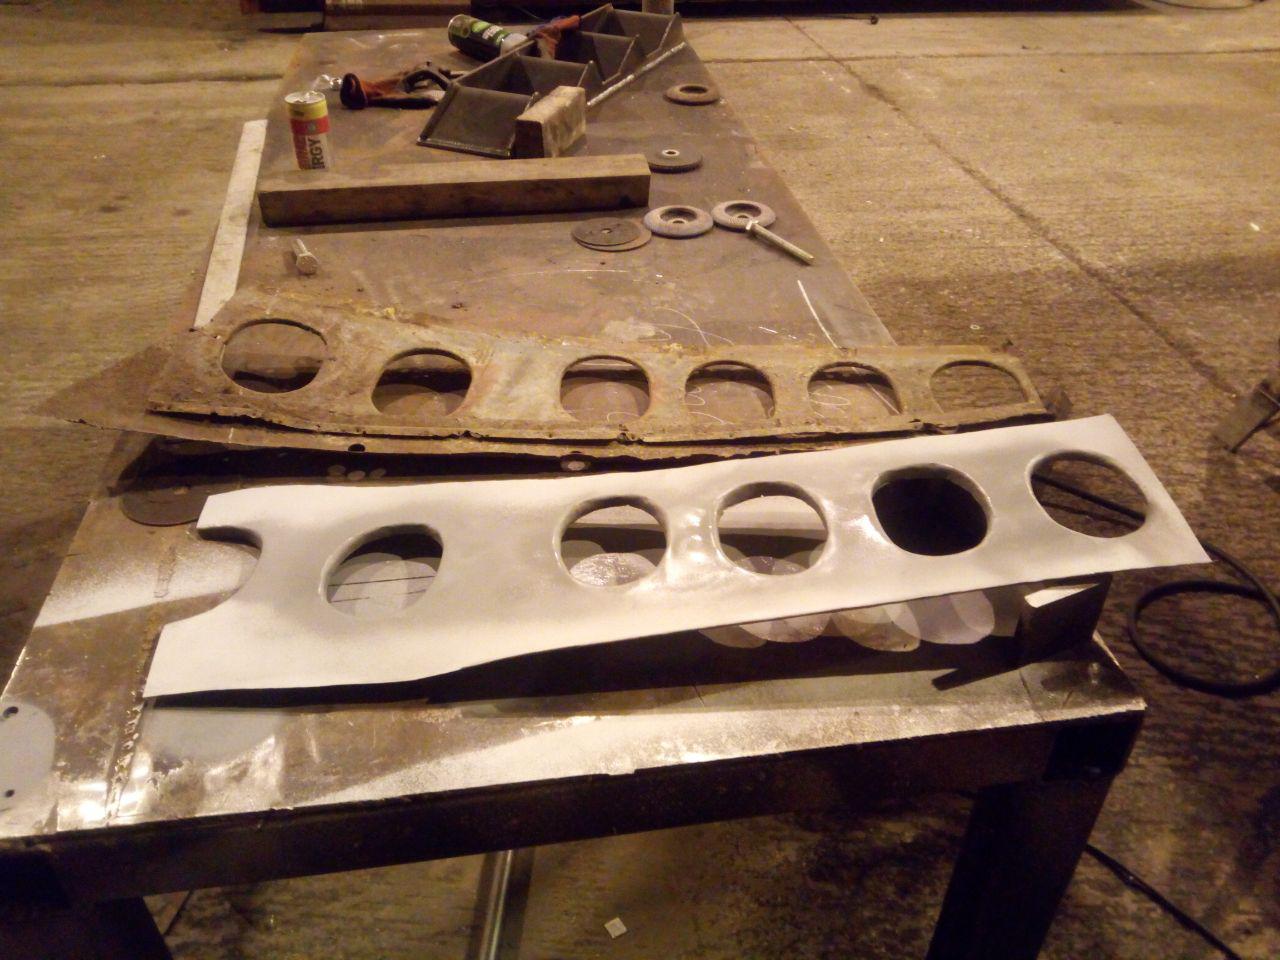 Some tinbashing happened. And wound up everyone in the workshop.  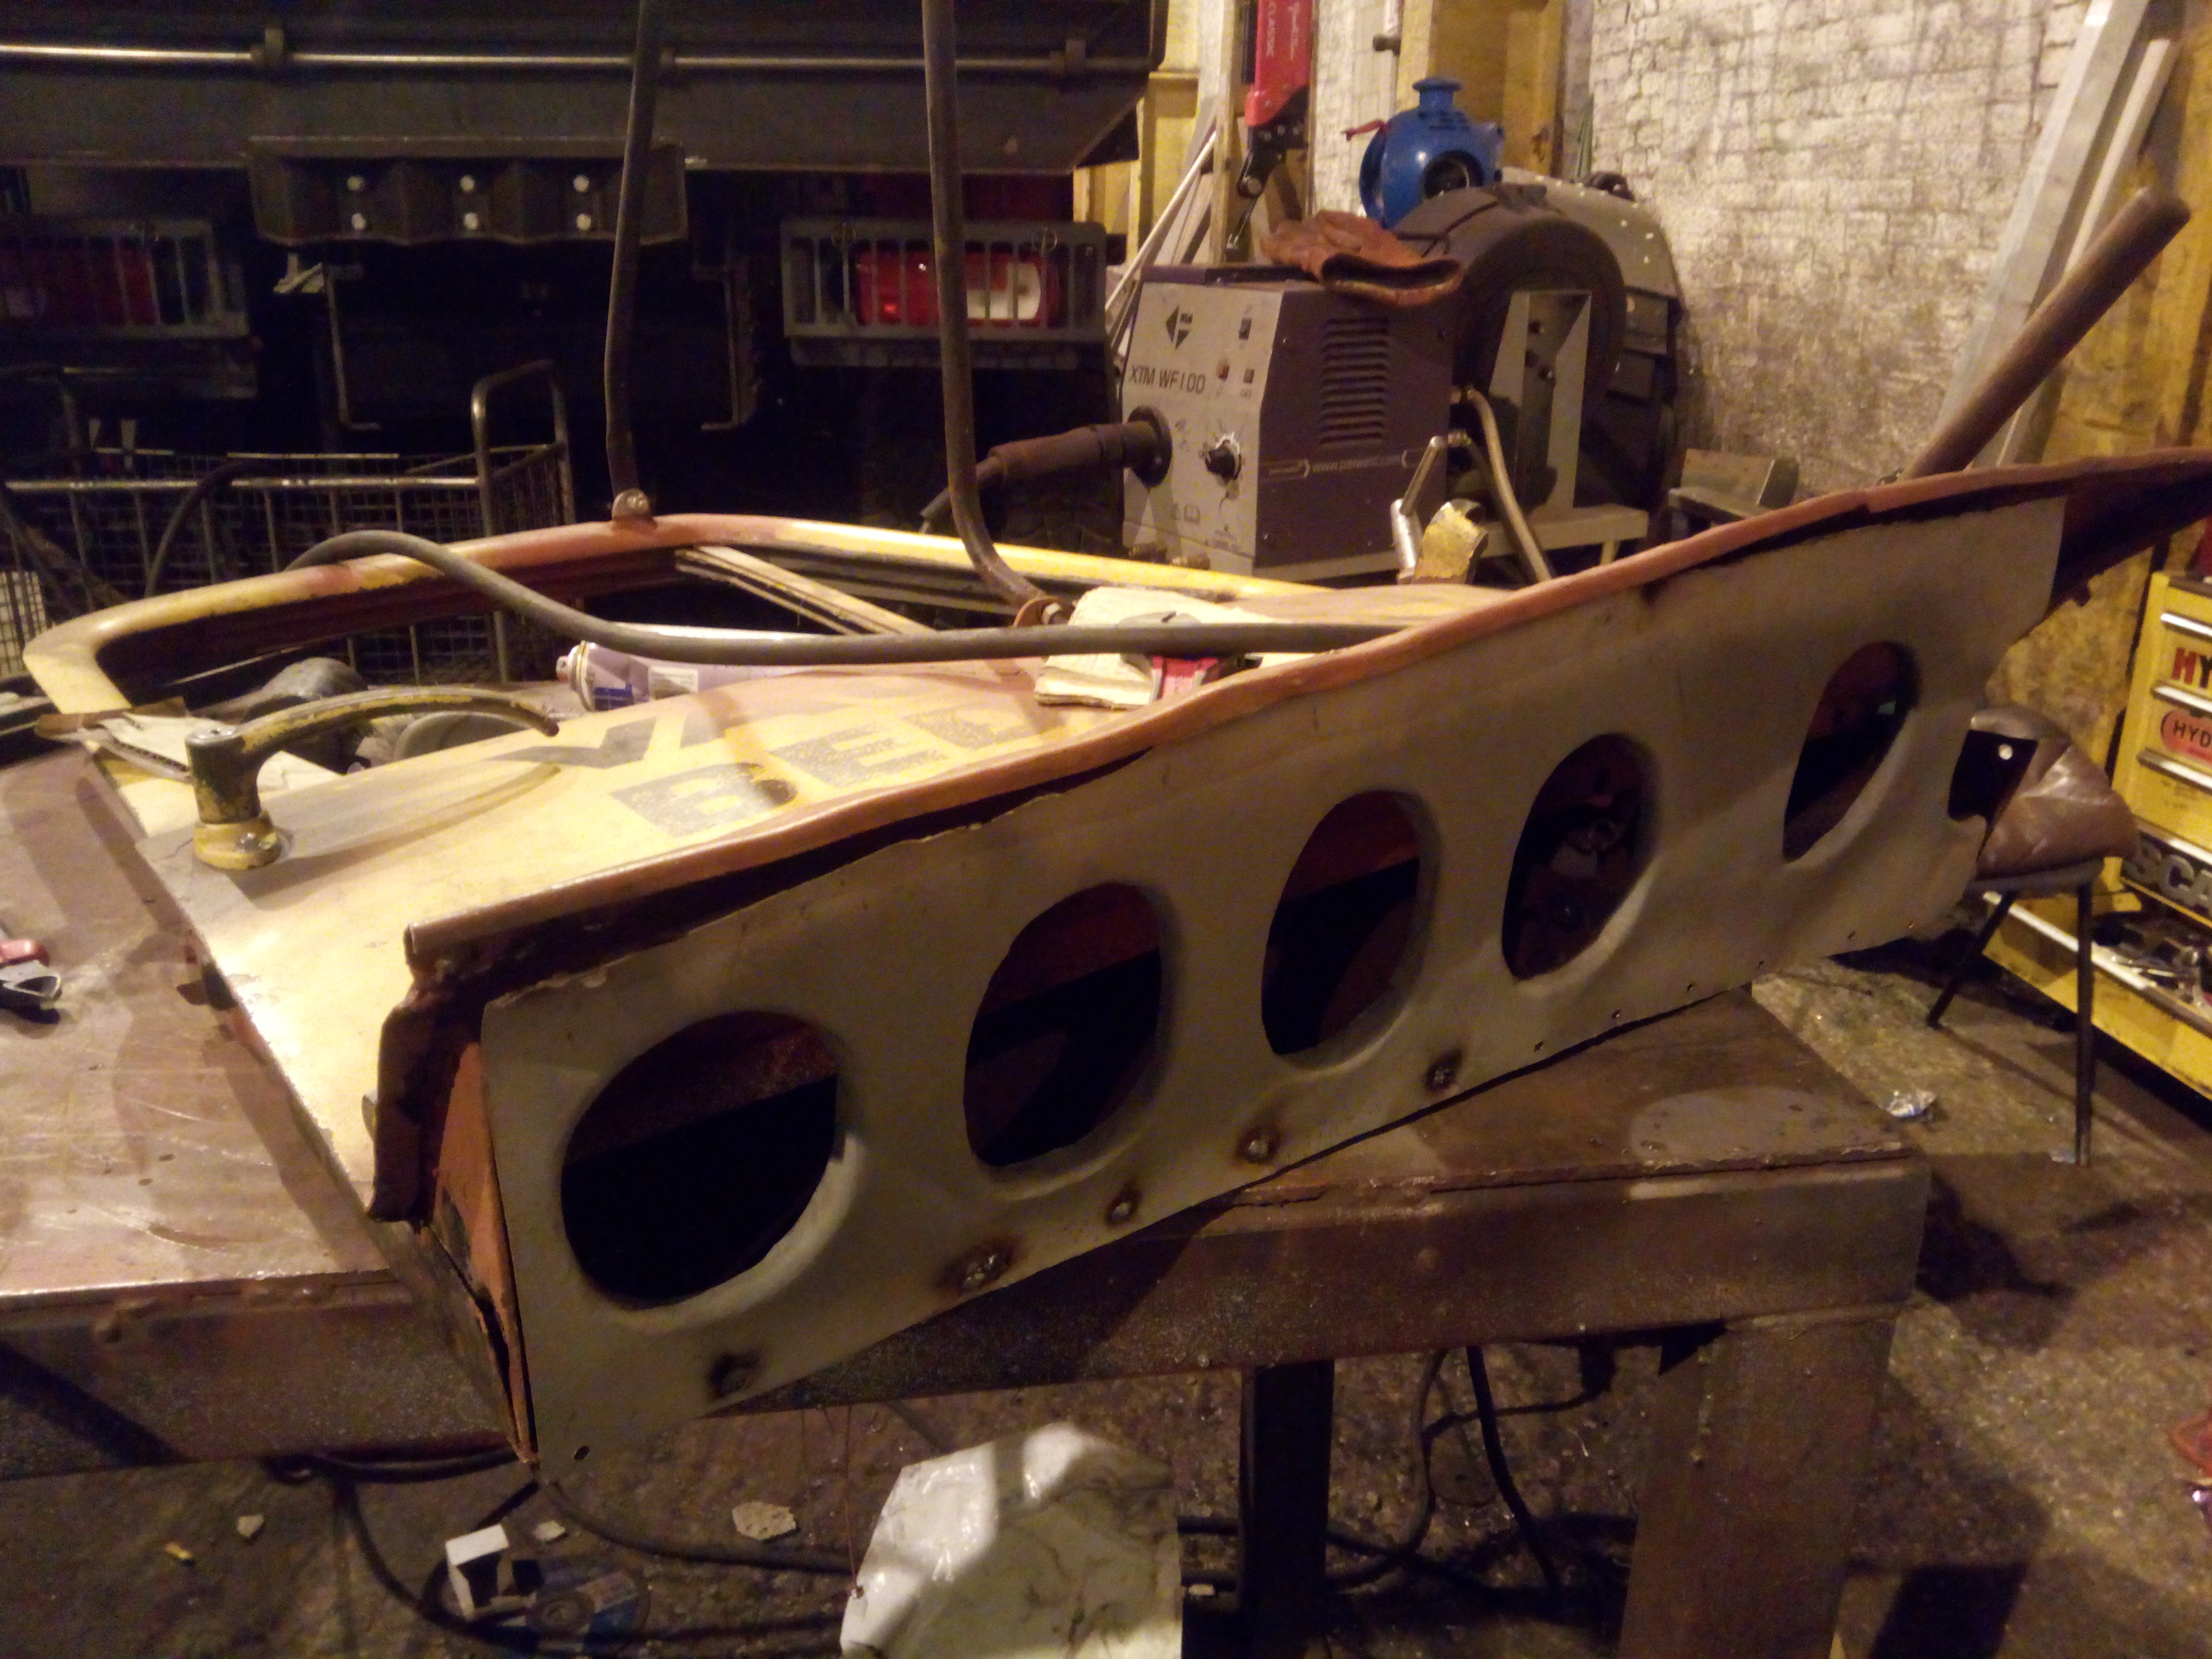 It started to get welded in and bring the door back into shape... And now you're up to date with where the HMVF thread ends. ...and then I quit my job.There's something very satisfying about telling a job that's run you into the ground "Y'know what? I'm out." |
| |
-< Welder. Allegedly a mechanic. Bodger of Things >-
* 1958? Bedford RL - Progress: Glacial.
* 1994 Skoda Favorit - It's baaaaaaaack!
* 2018 Herald Classic - Gone!
|
|
Frankenhealey
Club Retro Rides Member
And I looked, and behold, a pale horse! And its rider's name was Death
Posts: 3,881
Club RR Member Number: 15
|
|
Jul 23, 2019 21:14:03 GMT
|
|
I get a strong feeling of deja vu reading your progress and thank goodness I'm past this stage. Good luck with the continuing resto
|
| |
Tales of the Volcano Lair hereFrankenBug - Vulcan Power hereThe Frankenhealey here |
|
Tamber
Part of things
  Shattered. Held together by spite and tape.
Posts: 336
|
|
Jul 23, 2019 22:20:21 GMT
|
Don't worry, the deja-vu doesn't get any better. At least, it didn't since the last time I saw it.  The next update on this is stuff I've not posted together in one place, so it's going to take me a little while to stitch it all together from a pile of photos on my phone. Nothing really major happened, except for a bit of an escape. (Sadly, not videoed, because I'm a fool and didn't put my camera on charge the night before.  ) It'll make more sense when I get to it.
EDIT: ...speaking of video, I have a video update that I've been putting off editing for about a month, now. Things'll make more sense if I have that done, so I guess I'd best finish editing it and whatnot. Ugh.
|
| |
Last Edit: Jul 23, 2019 22:22:13 GMT by Tamber
-< Welder. Allegedly a mechanic. Bodger of Things >-
* 1958? Bedford RL - Progress: Glacial.
* 1994 Skoda Favorit - It's baaaaaaaack!
* 2018 Herald Classic - Gone!
|
|
|
|
|
Jul 24, 2019 11:42:51 GMT
|
|
Love this...looking forward to the next installment!
|
| |
|
|
|
|
|
Jul 24, 2019 12:25:55 GMT
|
Tamber said: ...and then I quit my job. There's something very satisfying about telling a job that's run you into the ground "Y'know what? I'm out." I could not agree more - I jumped ship 4 years ago before it got the chance to get myself buried - I have worked for myself ever since
|
| |
Last Edit: Jul 24, 2019 12:27:22 GMT by Deleted
|
|
|
|
 ), and without ever having seen it in person.
 ), and without ever having seen it in person.


 Turns out the speedo cable is broken, and I have no idea how long it's been like that; and I still haven't fixed it...


 ) and borrowed work's jump battery trolley. Moment of truth, I pressed the big ol' Lucas starter switch, and it started to wind over, slowly freeing up until it was going great!

 )
)


 ):
):


 Off to the machine-shop with the pieces, superglued together, to see if he could make a new one. And with that, disassembly resumed.


 And also that decently solid-looking floor.


