Tamber
Part of things
  Shattered. Held together by spite and tape.
Posts: 338
|
|
|
|
Right, then, the update to follow on from the video: I'd given it a go trying to start it a couple of weeks back, Saturday afternoon after work, with no success; nothing but backfires, at one point it tried to lob the carb off the manifold (I'd forgotten I'd only plopped it on there for mockup purposes and not bolted it down! Whoops!  ), and the timing light was showing nothing of any use. Some playing with sensor offset got a couple of promising slight speed-up moments, but no real firing. I packed in after an hour or so, as my knees were making their complaints known, but I had an idea of what might be wrong... So I headed down on Tuesday evening, armed with my laptop, to double-check sensor settings. (Tooth 1 offset, etc.) Set fixed timing at 10BTDC, so I should see somewhere in the region of the nice stamped '10' in the flywheel; but I was seeing nothing that even vaguely resembled a mark. Next step: Unplug the coilpack, and with some bodge-wires, hook up an old-style coil so I could crank the engine with all the plugs out and still have it fire a spark to the block such that I can use the timing light. (Just in case the resistance of cranking against compression was causing enough of a slowdown/current draw that it was dropping things out.) Still no visible marks. Re-check tooth 1 offset. (50 degrees.) Re-check fixed timing. (10 BTDC) Move bodge-wire over a pin on the plug: Still no visible timing marks. Move bodge-wire over a pin on the plug again: Timing marks suddenly become visible! And they're right where they should be, in the region of 10 to 15 BTDC. So, one of two things has happened: - I have managed to wire the coil pulldowns backwards by swapping wires in one of the plugs, miraculously managing to get it entirely backwards rather than merely shuffled.
- The scant documentation I found on the Vauxhall Omega coilpack I'm using, is wrong.
So when I had it set to fire at 10 BTDC, it was in fact firing at 70BTDC. No wonder it was trying to explode the carb off! Documentation updated, and coil wiring adjusted to reflect the new reality, and I briefly had it running on ether; which took some juggling! And, unfortunately, I'd forgotten my gopro so you don't get to see me trying to simultaneously spray ether, work the throttle & choke, and run the starter, all at the same time. Spirits suitably buoyed, I made another run down to the unit on Wednesday, once again armed with the laptop. Timing table was re-enabled, a great big handful of timing sprimkled onto the table for good measure... 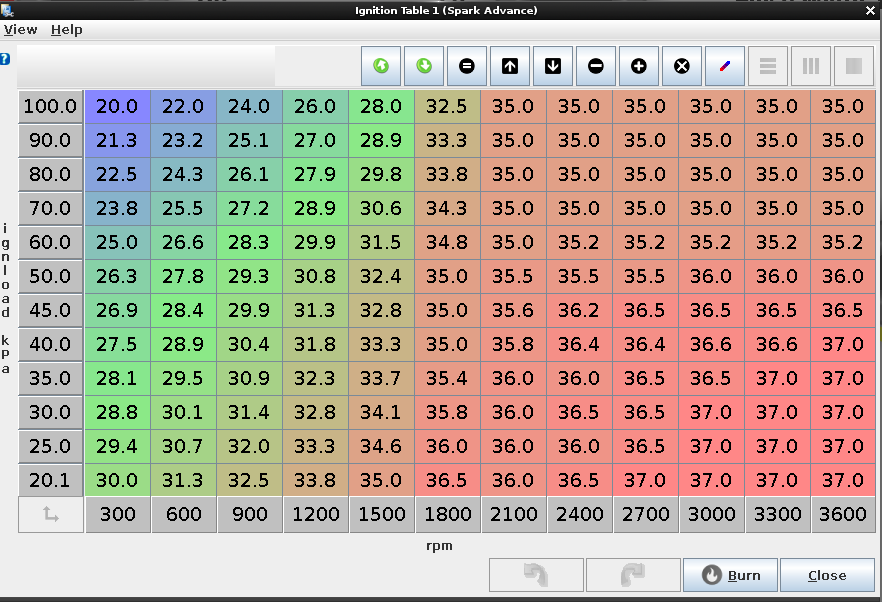 ...the world's worst fuel tank hastily constructed, and we were ready for a real test-fire. As you can see in the video, it startled me when it fired up; it's a lot louder on gasolene than it is on ether!  And it's running on all 6, too! While I was trying it on ether, number 5 cylinder didn't appear to be firing, because the exhaust runner was cold for that cylinder; hence me burning myself on it this time around... I've not tried to really rev it out yet, seeing as it's only on a lightly-wibbly cradle meant to be used to remove it from the truck, rather than for running it; and I dread to think what would happen if I revved it right out to the hard-cut limiter and it tried to make a break for it...  Also, I think I've got a decent location for the coilpack now. I'm just waiting on some longer bolts to do a better job of mounting it, but it should be workable there! And new resistor caps throughout! In red, too, cuz der red ones go faster!  Don't worry, I've since neatened up the leads. Shortened one very slightly too much, but it's fine, I'm not making a new one. It's fine. Just got to find my plug-lead clips, and then we'll be golden! As far as the rest of the engine management stuff goes, there's a good list yet: - Calibration for IAT and CLT. Once I get a sensor curve for these, I'll document it. They're fairly common parts, I think.
- O2 sensor (But that'll have to wait for the exhaust anyway)
- Proper plug for the engine wiring connections
- Retaining fixings for cam sensor
- Throttle - Waiting on inlet manifold stuff yet
- Injectors - Also waiting on inlet manifold
- Fuel pump and associated tank modifications, fuel regulator
- Tuning
- ...probably a bunch more that I can't remember right now...
There's probably more I want to babble about, but it's now 4am and I should go crash. Hope that's proved interesting for folks!  |
| |
-< Welder. Allegedly a mechanic. Bodger of Things >-
* 1958? Bedford RL - Progress: Glacial.
* 1994 Skoda Favorit - It's baaaaaaaack!
* 2018 Herald Classic - Gone!
|
|
|
|
Frankenhealey
Club Retro Rides Member
And I looked, and behold, a pale horse! And its rider's name was Death
Posts: 3,882
Club RR Member Number: 15
|
|
|
|
|
I think if you had done this before I did the Cummins swap the I'd probably still have the Beddy engine
|
| |
Tales of the Volcano Lair hereFrankenBug - Vulcan Power hereThe Frankenhealey here |
|
Tamber
Part of things
  Shattered. Held together by spite and tape.
Posts: 338
|
|
Dec 12, 2022 23:39:43 GMT
|
Steady on there!  We all know it's never going to be great on fuel economy, or power, even fuel injected; but it will be interesting to see what can be done even just with better control over the timing! |
| |
-< Welder. Allegedly a mechanic. Bodger of Things >-
* 1958? Bedford RL - Progress: Glacial.
* 1994 Skoda Favorit - It's baaaaaaaack!
* 2018 Herald Classic - Gone!
|
|
|
|
|
Dec 15, 2022 19:56:15 GMT
|
Steady on there!  We all know it's never going to be great on fuel economy, or power, even fuel injected; but it will be interesting to see what can be done even just with better control over the timing! Power could be sorted with a large blower or suitably spec'd turbo, wouldn't even need a decompression plate. |
| |
|
|
Tamber
Part of things
  Shattered. Held together by spite and tape.
Posts: 338
|
|
|
|
"Luckily for all of us, turbochargers came along to solve the second problem, and make the first problem much, much worse."  I can't rule out a dynamic compression multiplier further down the line, but not for right now! On a different note, I've spent an evening with a thermometer and a multimeter, characterising the sensors I'm using. I've only managed to get data-points down to 16°C or so, since that's as cold as I can get water from the tap and I can't be bothered messing about with the freezer; but I can get additional data at the unit, where it's an ice-rink, anyway. ...well, so long as I remember to take the thermometer, anyway. So, as far as the sensor data goes: IAT: Febi 30981 (1/4 NPT thread. 2-pin JPT connector.) | Temperature (°C) | 68 | 53 | 45 | 40 | 30 | 16 |
|---|
| Resistance (Ohms) | 2000 | 3600 | 4500 | 6000 | 8000 | 13100 |
|---|
CLT: Cambiare VE375035 (Hole & retaining screw mounting. 2-pin Aptiv SICMA connector, green keying..) | Temperature (°C) | 68 | 52 | 46 | 40 | 30 | 17 |
|---|
| Resistance (Ohms) | 178 | 340 | 440 | 650 | 720 | 1000 |
|---|
I still want to get colder points of reference, just to make sure I cover a range appropriate for all the weather conditions and whatnot; but that's a problem for another day. Other than that, I ran the engine again today with a little bit less leaky of a fuel supply, so I had a longer run-time; and aside from it being cold enough that I could watch my fuel separate out into layers, it went quite nicely! 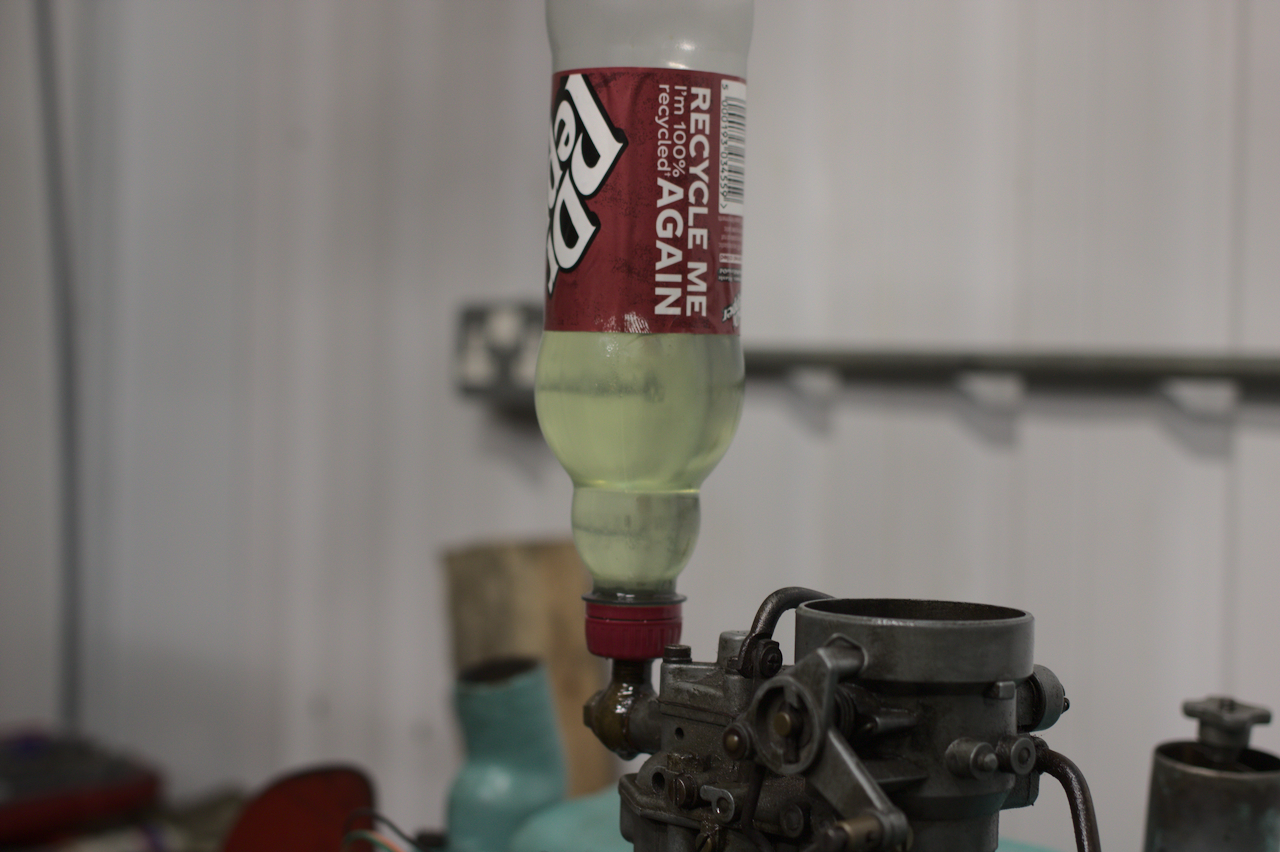 I'd forgotten just how quickly that big lump of iron warms up; no need for aux engine heating on that thing! My next step has clearly got to be getting enough pipework on the engine that I can fill it with coolant even temporarily, so I can run it for longer without risking damage. |
| |
Last Edit: Dec 18, 2022 1:28:42 GMT by Tamber: Add connection details for sensors.
-< Welder. Allegedly a mechanic. Bodger of Things >-
* 1958? Bedford RL - Progress: Glacial.
* 1994 Skoda Favorit - It's baaaaaaaack!
* 2018 Herald Classic - Gone!
|
|
|
|
|
|
|
Love your fuel supply. Why didn't I think of that...  I'll use it in the future. Thanks. |
| |
|
|
|
|
|
Dec 18, 2022 10:32:44 GMT
|
|
I thought I had got some contamination in the fuel as mine did that whilst cleaning a carb yesterday
|
| |
|
|
Tamber
Part of things
  Shattered. Held together by spite and tape.
Posts: 338
|
|
Dec 18, 2022 14:11:38 GMT
|
I thought I had got some contamination in the fuel as mine did that whilst cleaning a carb yesterday I mean, that's what it is, in a way! Ethanol is hydroscopic, it dissolves in water much more readily than it does in gasolene (and you can't get pure ethanol beyond a certain percentage just because it hoovers the moisture out of the air that easily), and then it starts separating out. It just seems that it being so cold makes it do that much quicker than it ordinarily would! Very strange to see it happen right before my eyes, in fuel I'd just poured. (From a small plastic can that's been in the boot of my car for a month or two.) |
| |
-< Welder. Allegedly a mechanic. Bodger of Things >-
* 1958? Bedford RL - Progress: Glacial.
* 1994 Skoda Favorit - It's baaaaaaaack!
* 2018 Herald Classic - Gone!
|
|
Tamber
Part of things
  Shattered. Held together by spite and tape.
Posts: 338
|
|
Dec 18, 2022 14:23:03 GMT
|
Love your fuel supply. Why didn't I think of that...  I'll use it in the future. Thanks. It's a little on the small side! With full choke on, I only get a minute or two of runtime; and with all the thrashing it did trying to start first time (...probably trying to start on nothing but ethanol and trace gasolene, considering how badly it all separated so quickly!) I did lose a bunch of fuel out of the top of it, which was quite the experience.  Thankfully there were no fires, and it settled down into nice smooth running with occasional hints of blue tickles of flame out of the ends of the headers. Ran just long enough to get everything slightly warm. |
| |
-< Welder. Allegedly a mechanic. Bodger of Things >-
* 1958? Bedford RL - Progress: Glacial.
* 1994 Skoda Favorit - It's baaaaaaaack!
* 2018 Herald Classic - Gone!
|
|
|
|
|
Dec 18, 2022 15:24:42 GMT
|
I mean, that's what it is, in a way! Ethanol is hydroscopic, it dissolves in water much more readily than it does in gasolene (and you can't get pure ethanol beyond a certain percentage just because it hoovers the moisture out of the air that easily), and then it starts separating out. You're almost right: hydroscopic means that it absorbs water, not dissolves in it. Which is what you said later, and is how the longlife fuel treatments work. |
| |
|
|
|
|
Tamber
Part of things
  Shattered. Held together by spite and tape.
Posts: 338
|
|
Dec 18, 2022 16:19:41 GMT
|
I appear to have briefly fallen into little a rabbithole of science, with regards to the fuel separation and ethanol blended fuels!  Anyway: According to a study at the University of Nebraska-Lincoln (PDF), E10 can hold about 0.4 to 0.41% of water per volume before it starts to phase-separate. That's about 4ml per litre. Or 3.68 teaspoons per gallon (imp.), if you're that way inclined. (And, of course, E0 or ethanol-free fuel can hold 0% water per volume, so any moisture that gets in there is likely to just sink to the bottom and collect as small puddles. So... seems like E10 is probably better at controlling the small amounts of moisture you get from condensation, so long as you're using the vehicle regularly?) So it doesn't take much to get that separation, and that could well just be moisture from condensation, seeing as I've had that little plastic 5litre can in the boot of my car for a couple of months now. |
| |
-< Welder. Allegedly a mechanic. Bodger of Things >-
* 1958? Bedford RL - Progress: Glacial.
* 1994 Skoda Favorit - It's baaaaaaaack!
* 2018 Herald Classic - Gone!
|
|
Tamber
Part of things
  Shattered. Held together by spite and tape.
Posts: 338
|
|
|
|
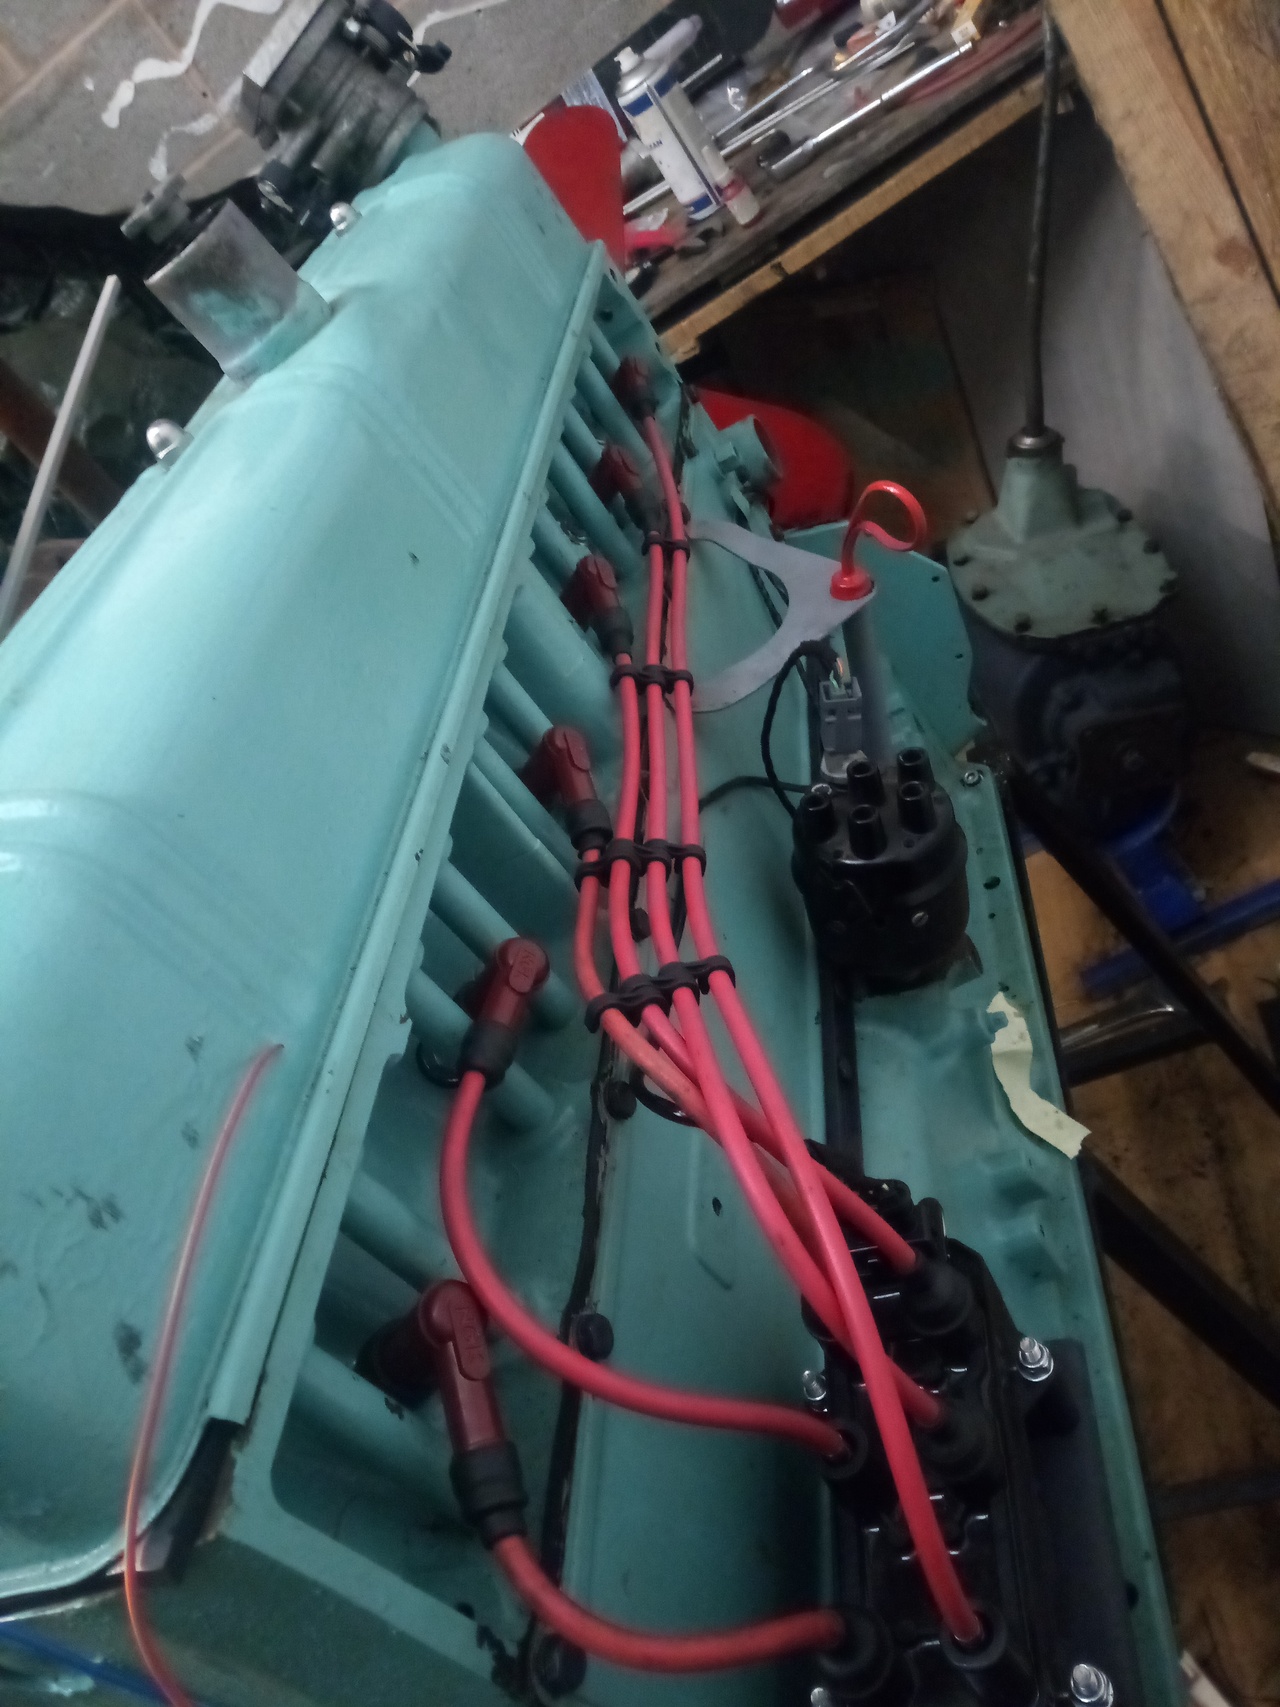 More sparkly-stick ensues. 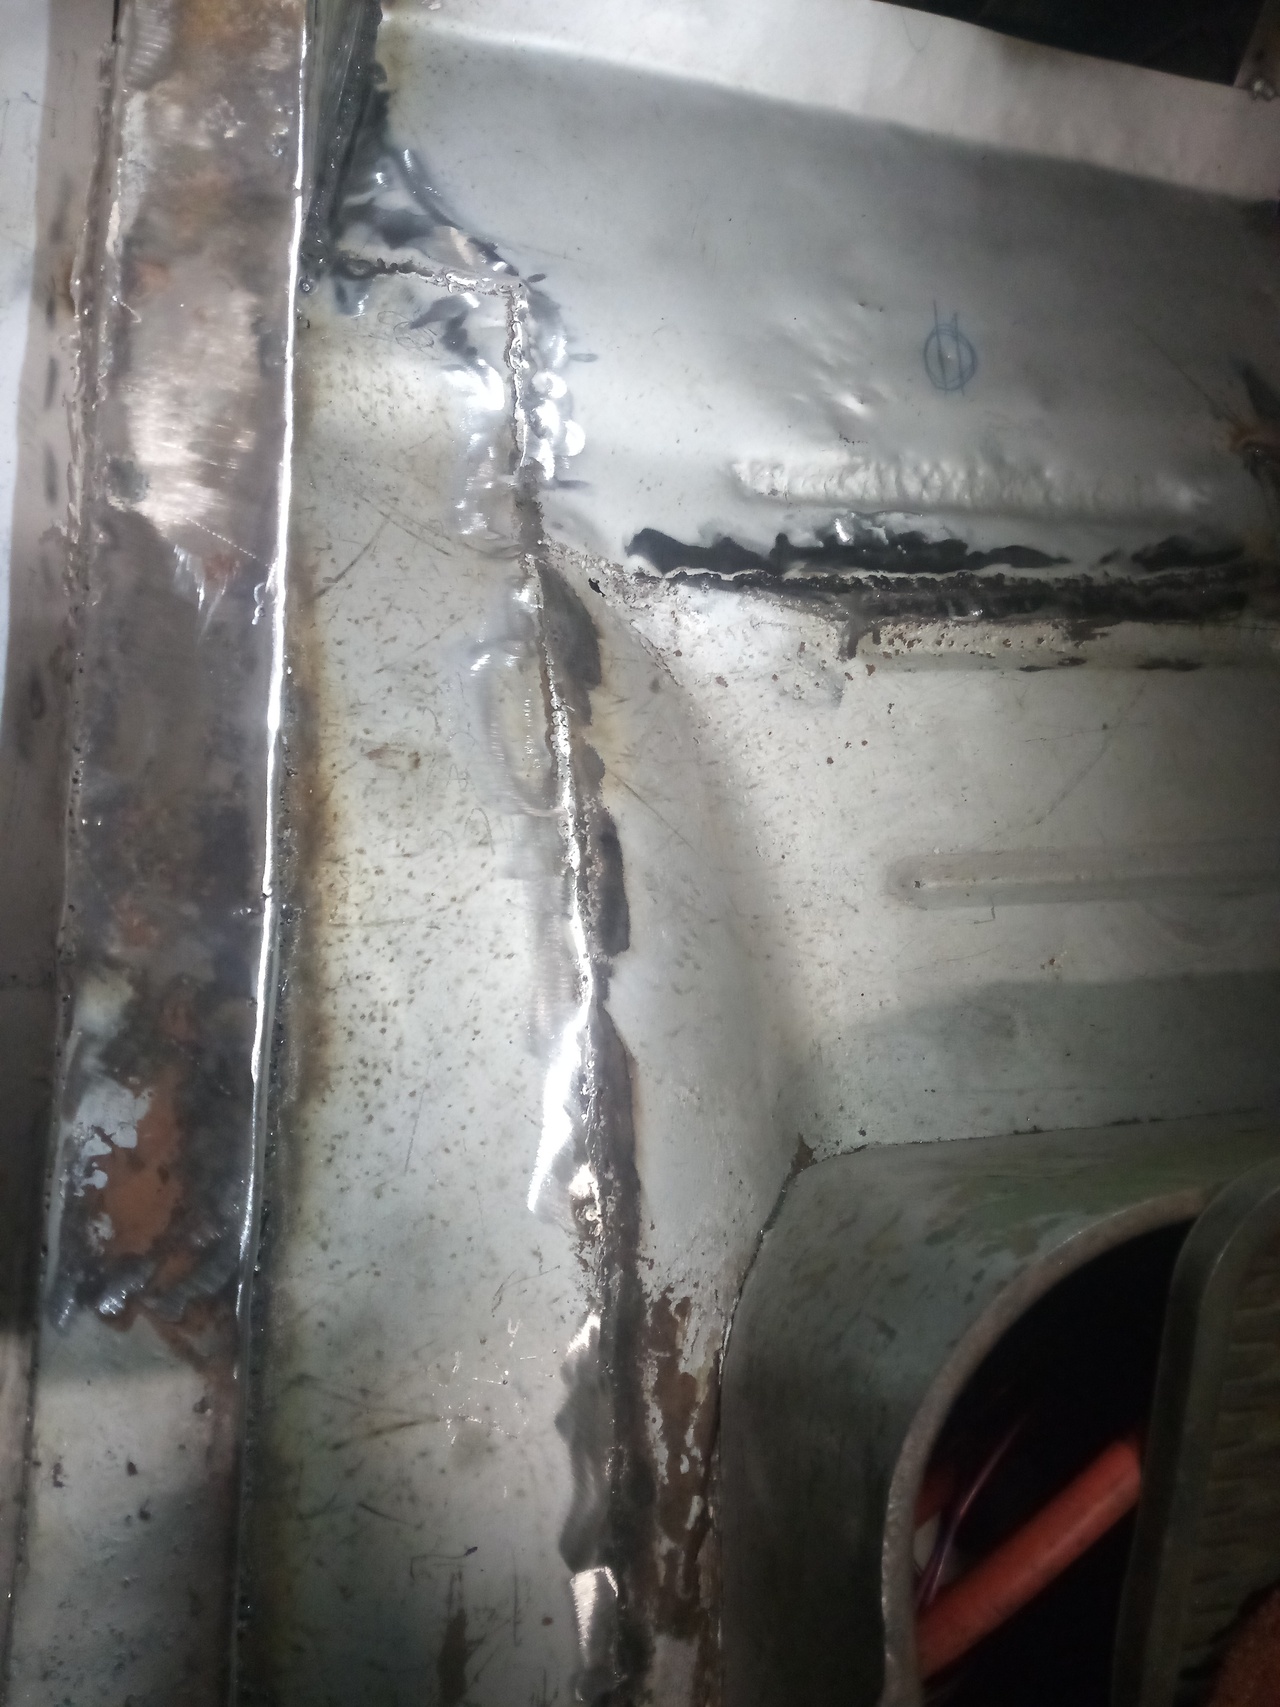 Floor becoming more solid. 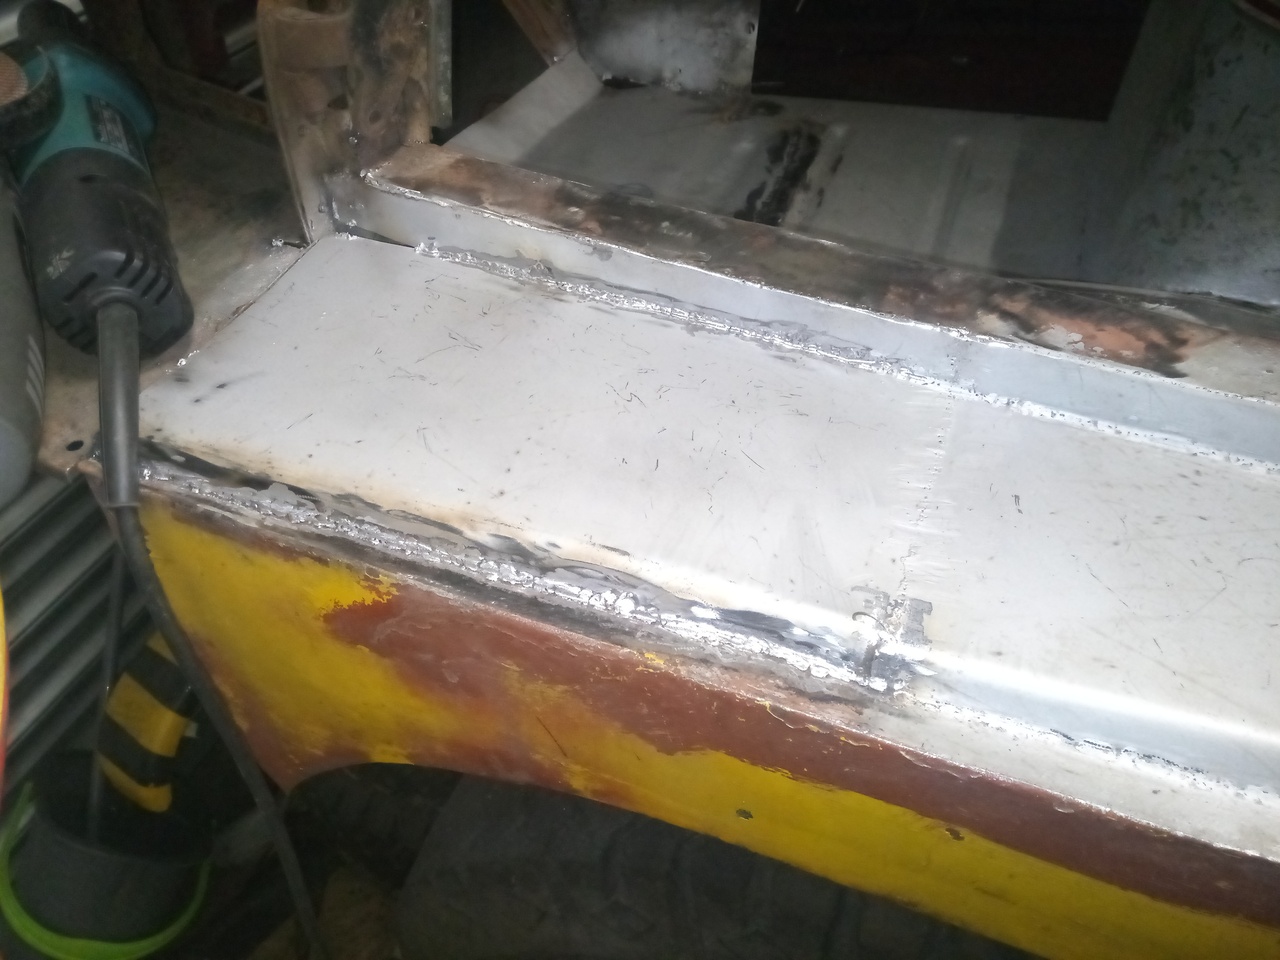 Passenger's door... step? sill? thing? mostly welded in. 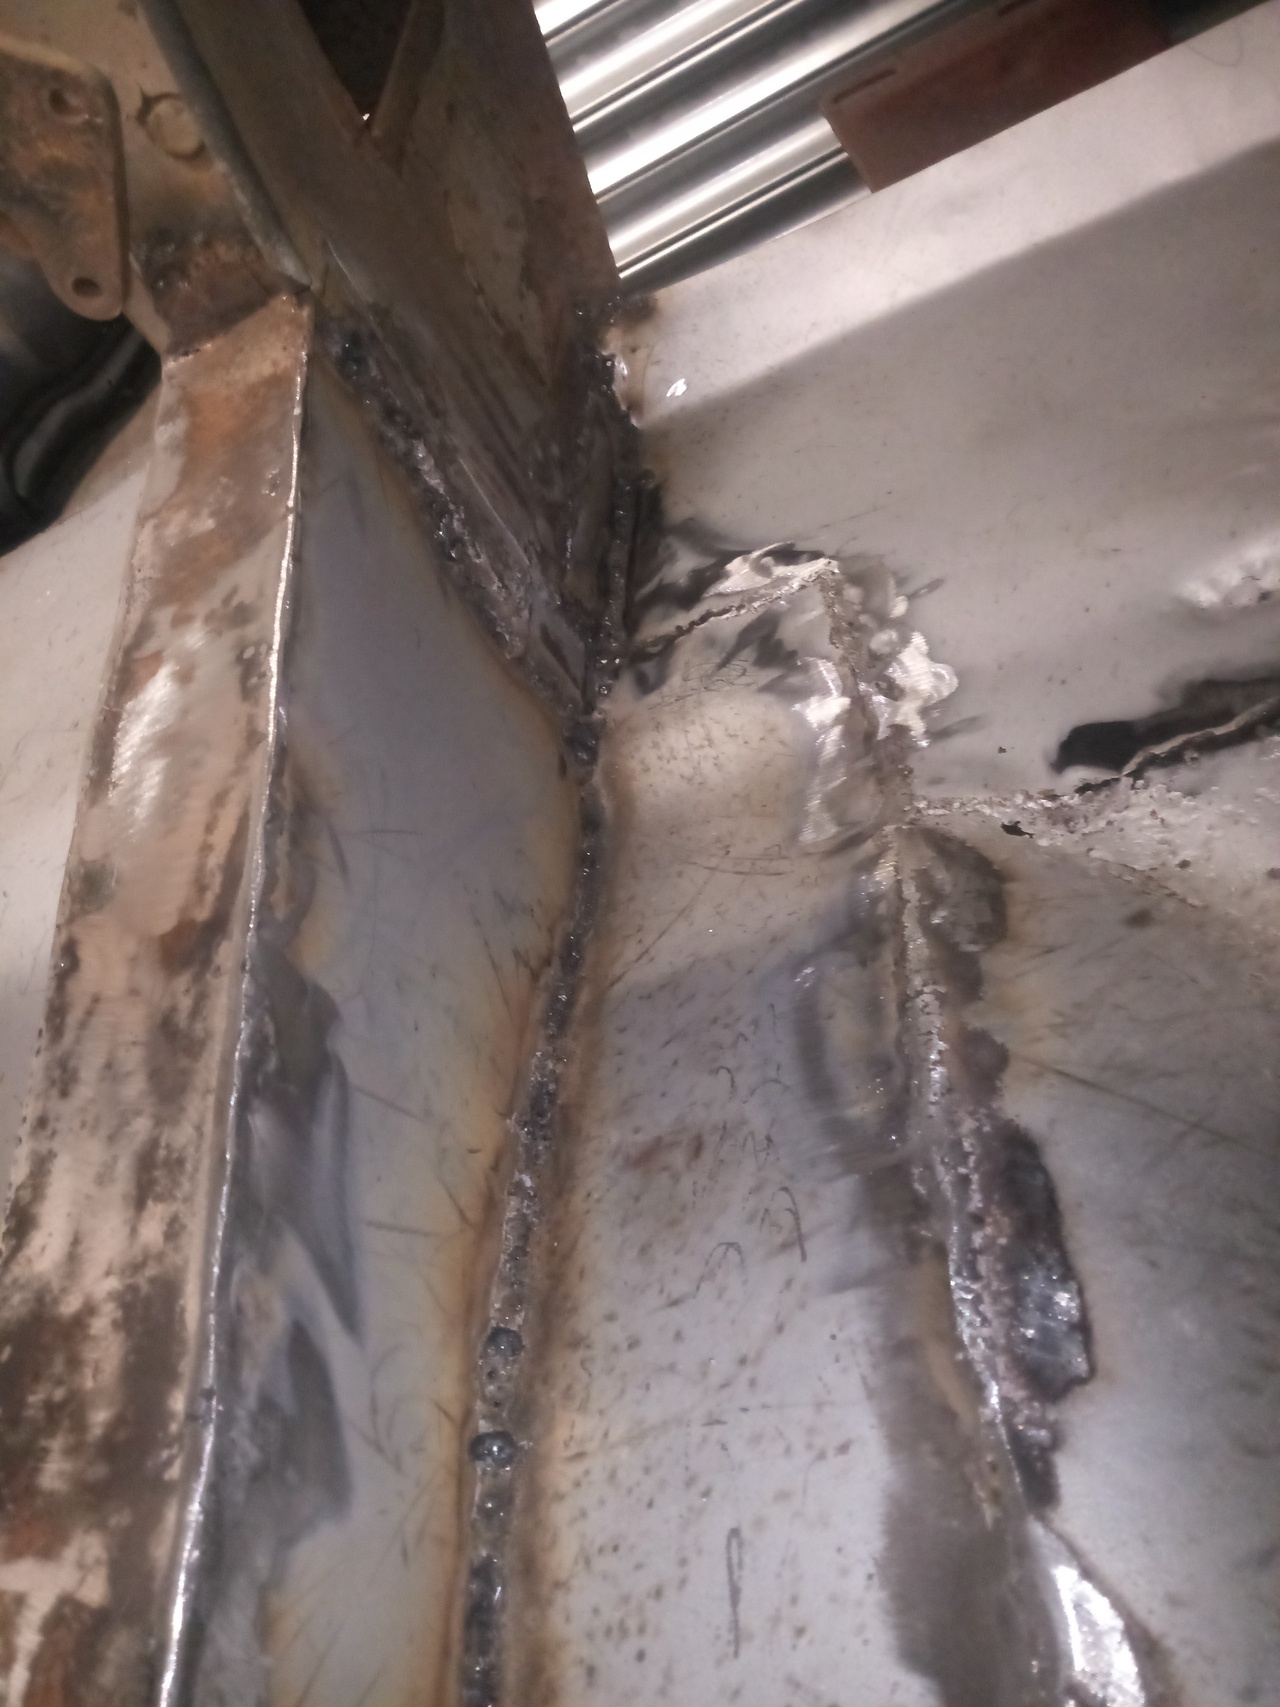 Mostly sorted out the passenger's footwell side of things. Need to grind up the welds on that inner face, but we're mostly there now. One little patch of rot in the remaining floor panel, right on the corner of where the wheel-arch curve meets the new metal, to excavate. Working my way along to the back of the cab, and the passenger's seat-base: 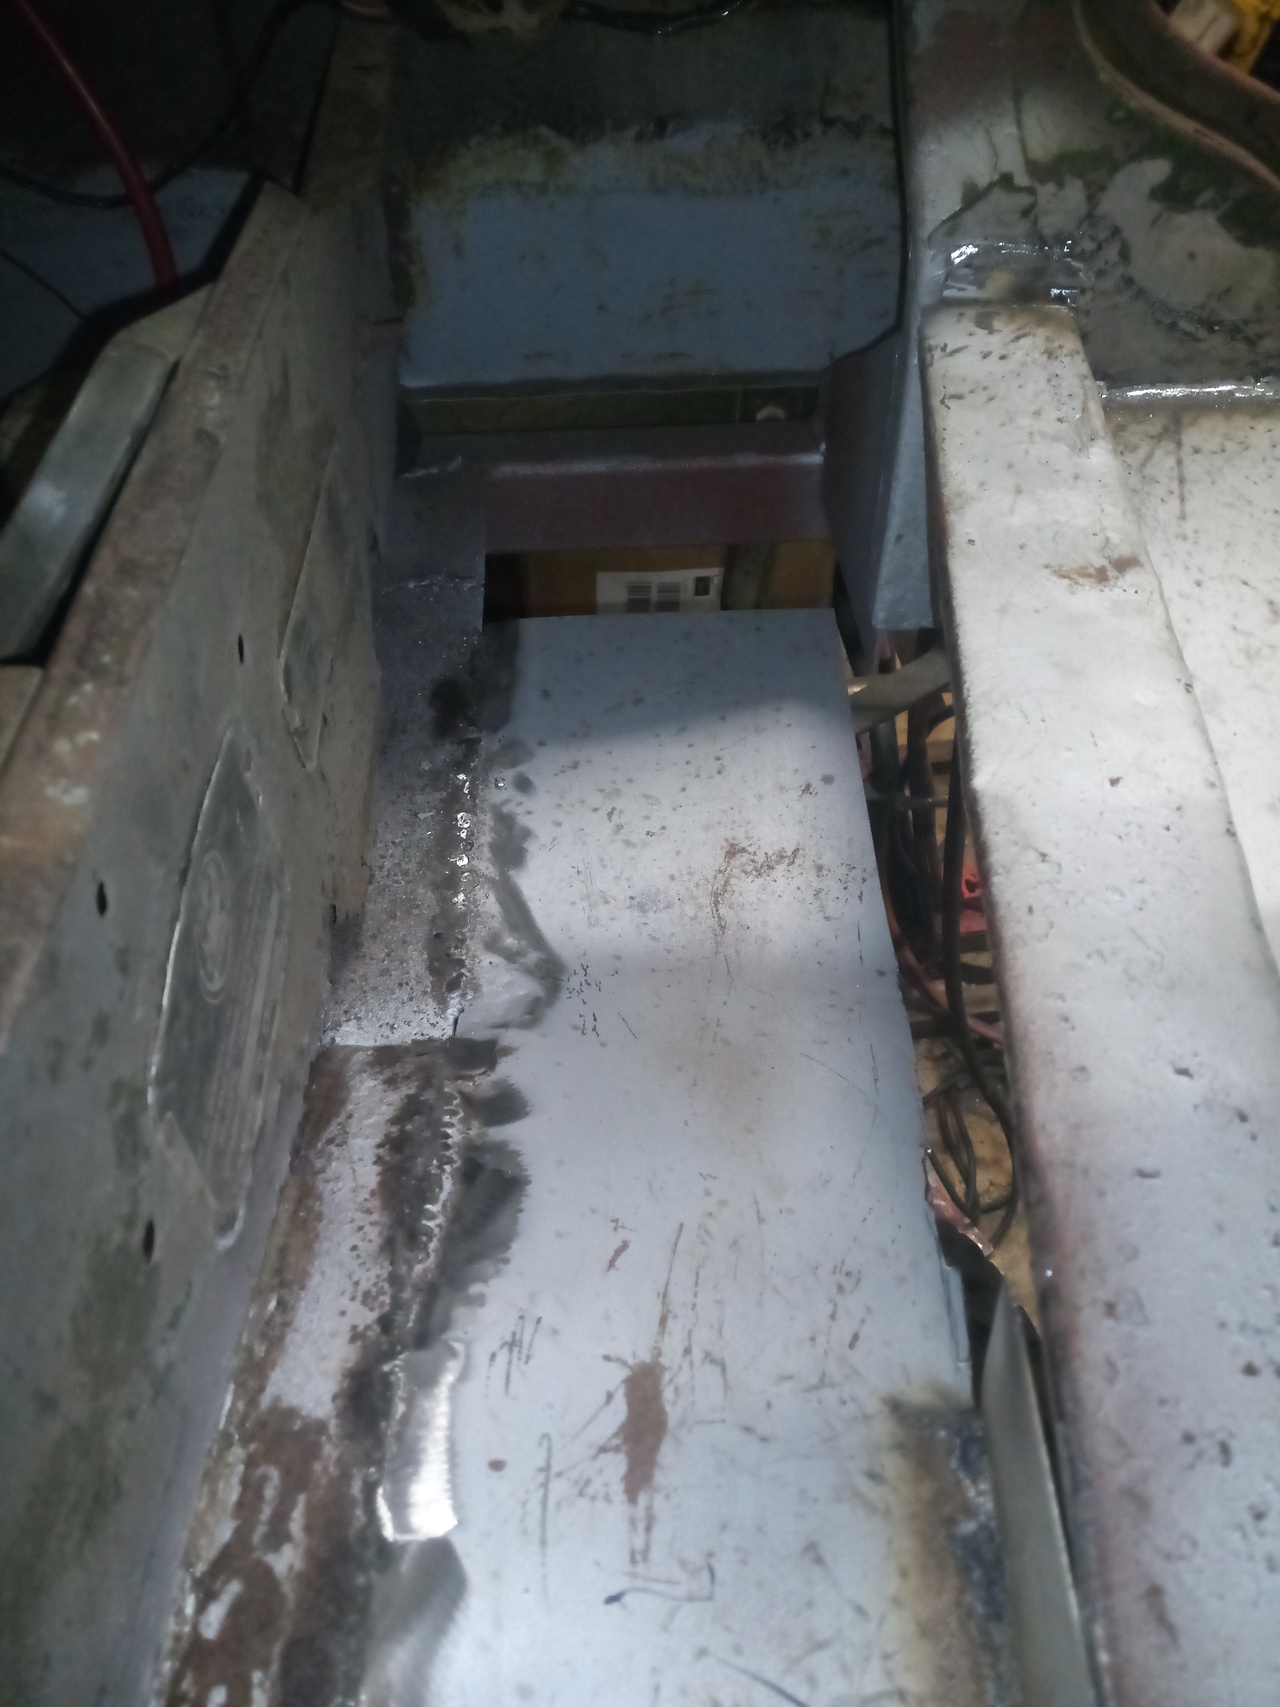  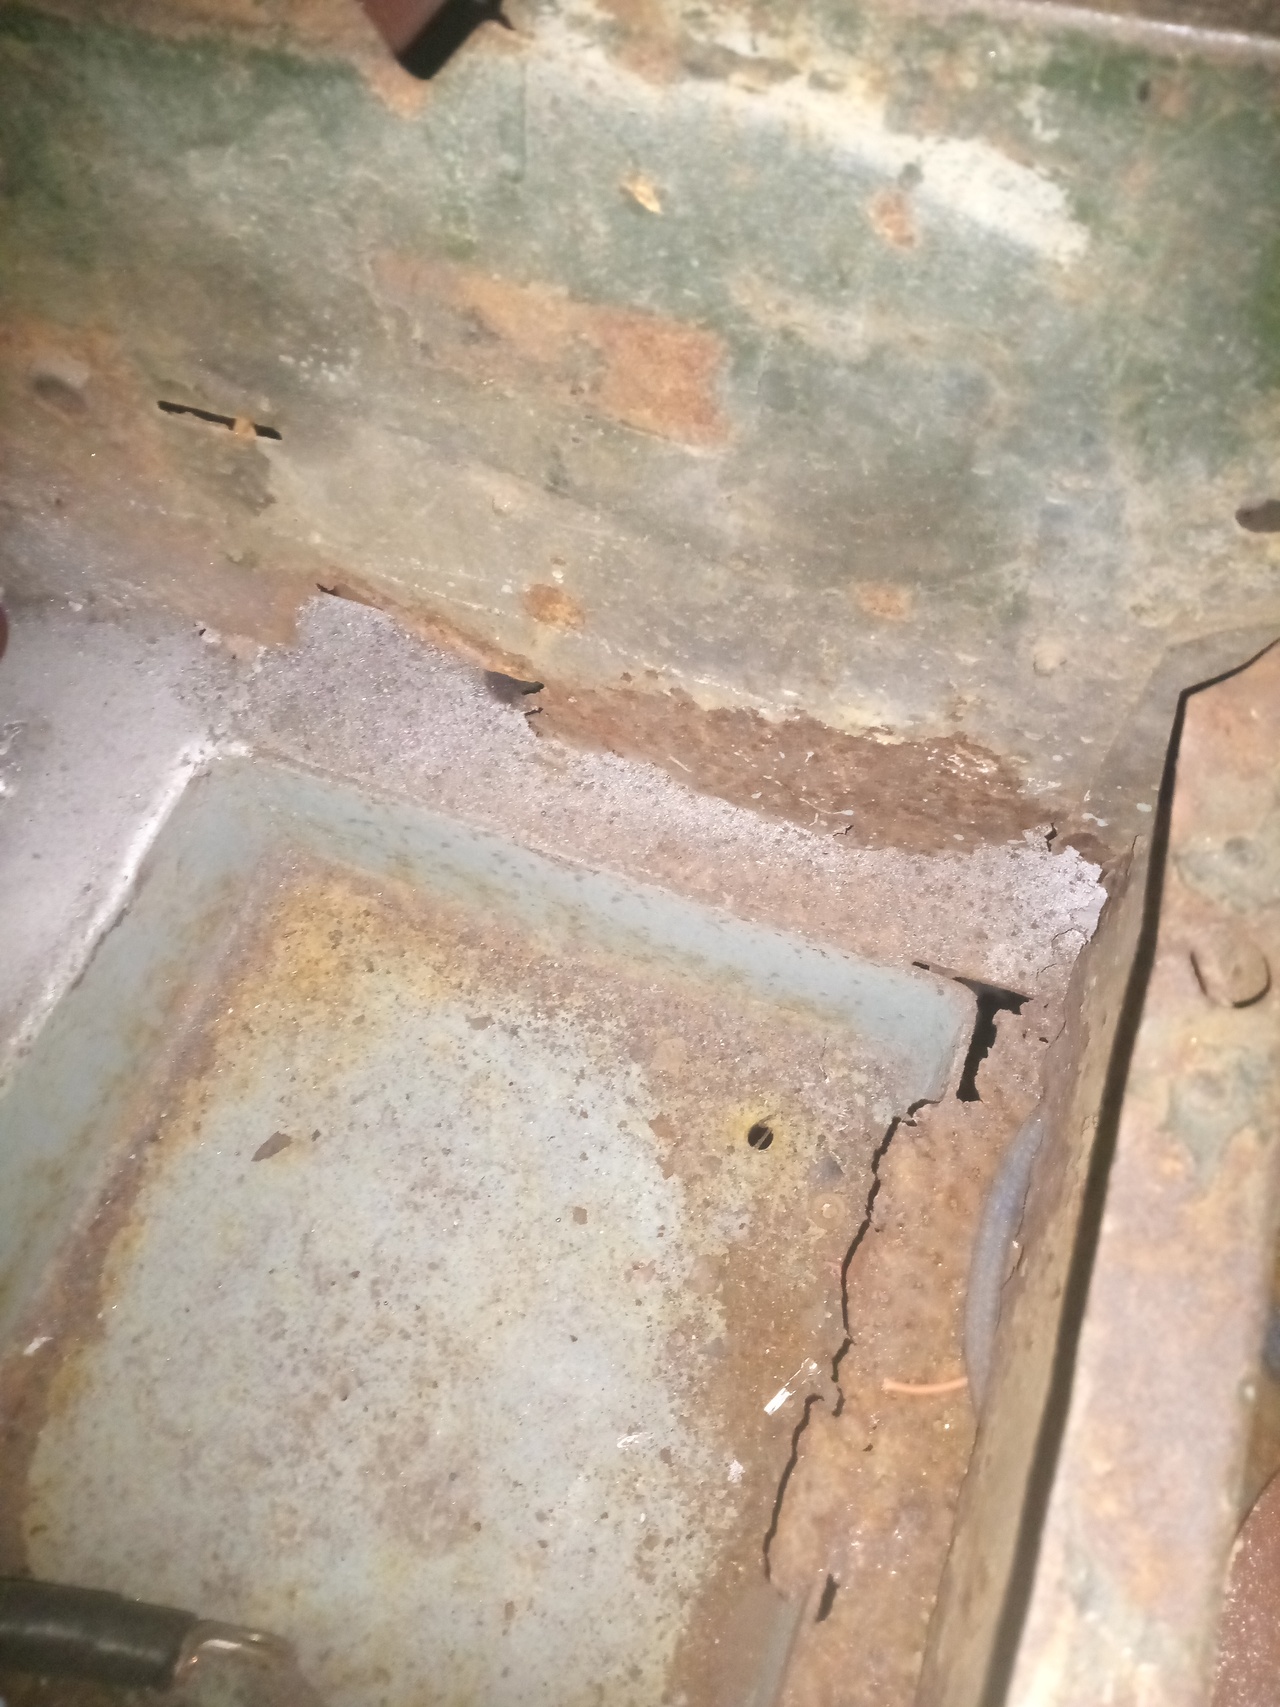 That divider is mostly solid, but the side where the battery box was previously is incredibly lacey, and I've already cut so much out that it's not the end of the world to rebuild that as well. There's a rambly stream of consciousness to video that I made, that I might try and edit into something useful, wherein I poorly explain where I want to focus on next. If I can't make it even vaguely watchable, I'll just type it up instead. Merry Shitscram! |
| |
-< Welder. Allegedly a mechanic. Bodger of Things >-
* 1958? Bedford RL - Progress: Glacial.
* 1994 Skoda Favorit - It's baaaaaaaack!
* 2018 Herald Classic - Gone!
|
|
melle
South West
It'll come out in the wash.
Posts: 2,010
|
|
Dec 24, 2022 16:00:47 GMT
|
It isn't, it's hygroscopic though.  |
| |
www.saabv4.com'70 Saab 96 V4 "The Devil's Own V4" '77 Saab 95 V4 van conversion project '88 Saab 900i 8V
|
|
Tamber
Part of things
  Shattered. Held together by spite and tape.
Posts: 338
|
|
|
|
It isn't, it's hygroscopic though.  You knew what I meant, I got close enough  |
| |
-< Welder. Allegedly a mechanic. Bodger of Things >-
* 1958? Bedford RL - Progress: Glacial.
* 1994 Skoda Favorit - It's baaaaaaaack!
* 2018 Herald Classic - Gone!
|
|
Frankenhealey
Club Retro Rides Member
And I looked, and behold, a pale horse! And its rider's name was Death
Posts: 3,882
Club RR Member Number: 15
|
|
|
|
I thought it was hydroponic  |
| |
Tales of the Volcano Lair hereFrankenBug - Vulcan Power hereThe Frankenhealey here |
|
Tamber
Part of things
  Shattered. Held together by spite and tape.
Posts: 338
|
|
|
|
Language is all made up anyway. -- Anywho! Some cheap second-hand injectors have been ordered from the bay of E for mockup & tinkering purposes (Bosch 0-280-156-061, as found in various VW products. 316cc/min or so at 3bar, high impedance.) even though I'm still noodling with manifold thoughts. Headscratching continues over sensor calibration, though. I think I have the coolant-temp sensor reading properly, but the IAT sensor is being stubborn. If I can't get it to play nice I may have to bite the bullet and order one of the GM sensors that tunerstudio has pre-programmed options for, but I'd rather stick with something I can get at major parts chains here, tbh... -- Also, I blew about two days starting to collate all the specifications info out of the workshop manuals that I have, and make them all into a standalone web-page, since someone asked me about it on youtube! Bedford RL Specifications - As Amended 1968-ish?Other than that, I have not fared well with the return to work, and my health is still causing trouble; but things will keep grinding on! |
| |
-< Welder. Allegedly a mechanic. Bodger of Things >-
* 1958? Bedford RL - Progress: Glacial.
* 1994 Skoda Favorit - It's baaaaaaaack!
* 2018 Herald Classic - Gone!
|
|
Tamber
Part of things
  Shattered. Held together by spite and tape.
Posts: 338
|
|
Jan 10, 2023 19:07:15 GMT
|
Correction, I have bought one injector, apparently.  Should've figured that was too cheap to be the full set, even used... Ah well, it'll do for mock-up work as intended, I guess. Edit: On the bright side, this does let me confirm that 14mm injector O-rings fit very nicely in 12L hydraulic compression fittings (Extremely snug in some more than others, which is probably manufacturer variance), which is good news. |
| |
Last Edit: Jan 10, 2023 19:13:57 GMT by Tamber
-< Welder. Allegedly a mechanic. Bodger of Things >-
* 1958? Bedford RL - Progress: Glacial.
* 1994 Skoda Favorit - It's baaaaaaaack!
* 2018 Herald Classic - Gone!
|
|
Tamber
Part of things
  Shattered. Held together by spite and tape.
Posts: 338
|
|
Jan 22, 2023 20:24:51 GMT
|
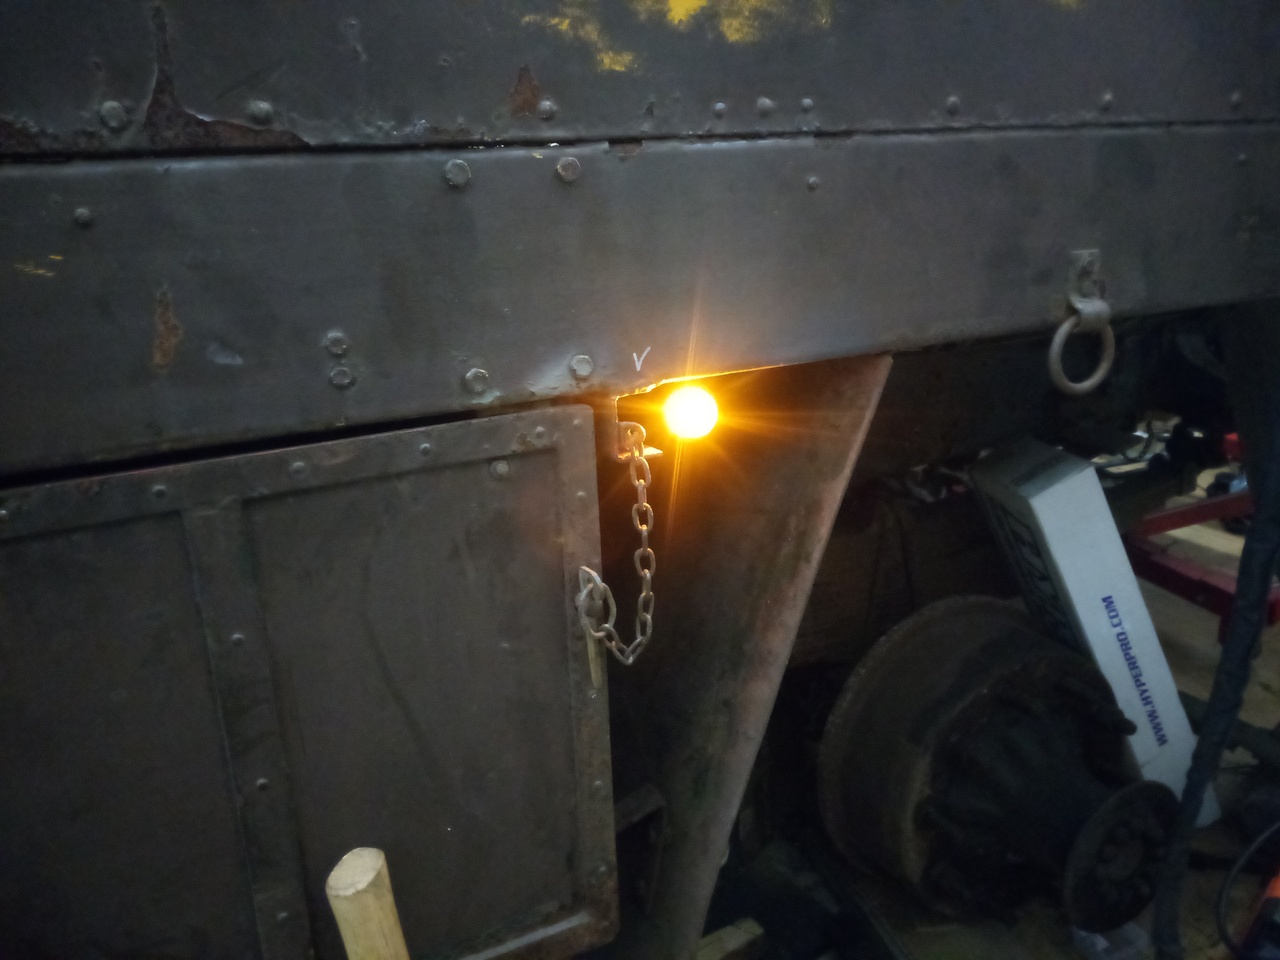 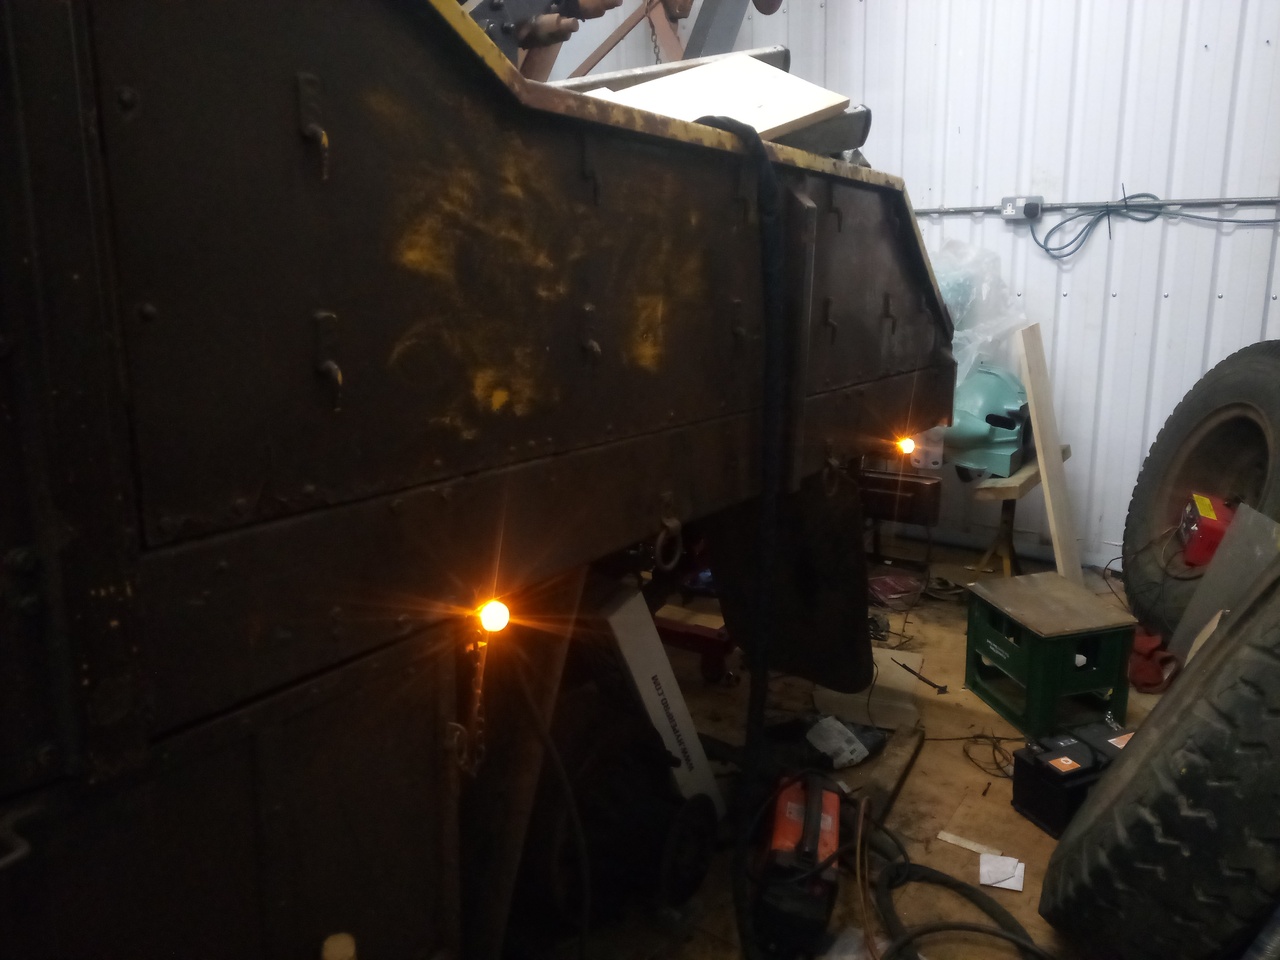 I haven't quite been able to put them all where I want them, but it's a start. I wanted the next one between the lockers, but there's not enough room to get it in there. And definitely not enough room to put it in there and still be able to manipulate the lens to be able to change a bulb: 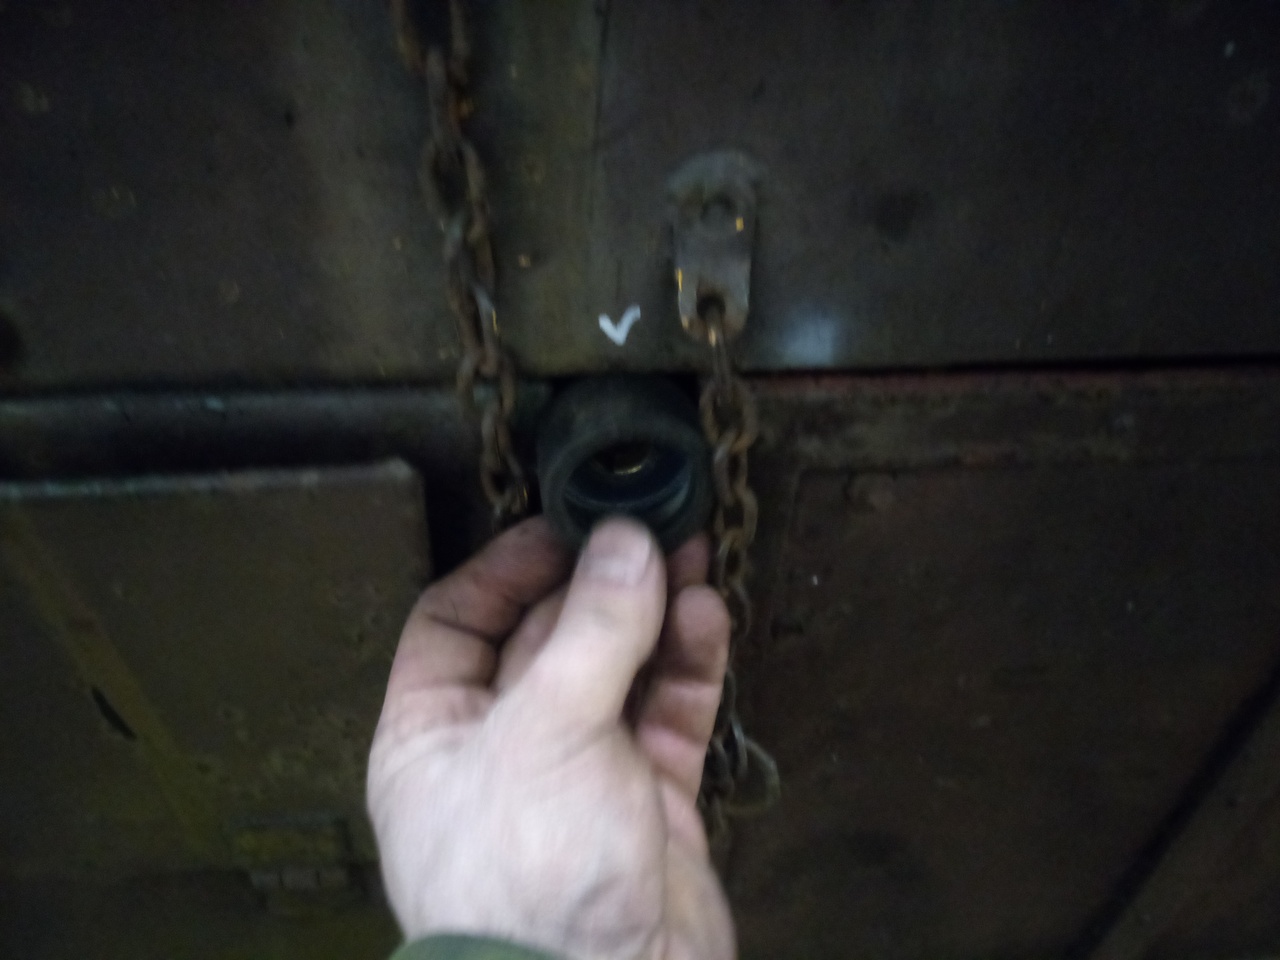 I *could* fit it to the underside of the locker to the left but I done wanna, because I want to keep my marker lights all on the same level, for aesthetic reasons. (I'm sure you'll understand.) I'll do a little more investigation to see what I can do to make that happen, and I'll either: - move the damn locker enough to fit the light in
- get over it and put them on the underside of the locker
- just not fit one there, and put up with the wider spacing to the next one. (it's still sub-3m, so it's fine. but, y'know...)
The next one would go up at the front of the body, but there's an angle-iron bracket in the way that will have to be clearanced. Pretty sure I can just notch it, and leave the rest of it undisturbed, which is my current plan. Anyone have any idea what this used to hold, if anything?  The others, however, I've managed to mostly put 'em about where I wanted, and they're tucked in quite nicely. 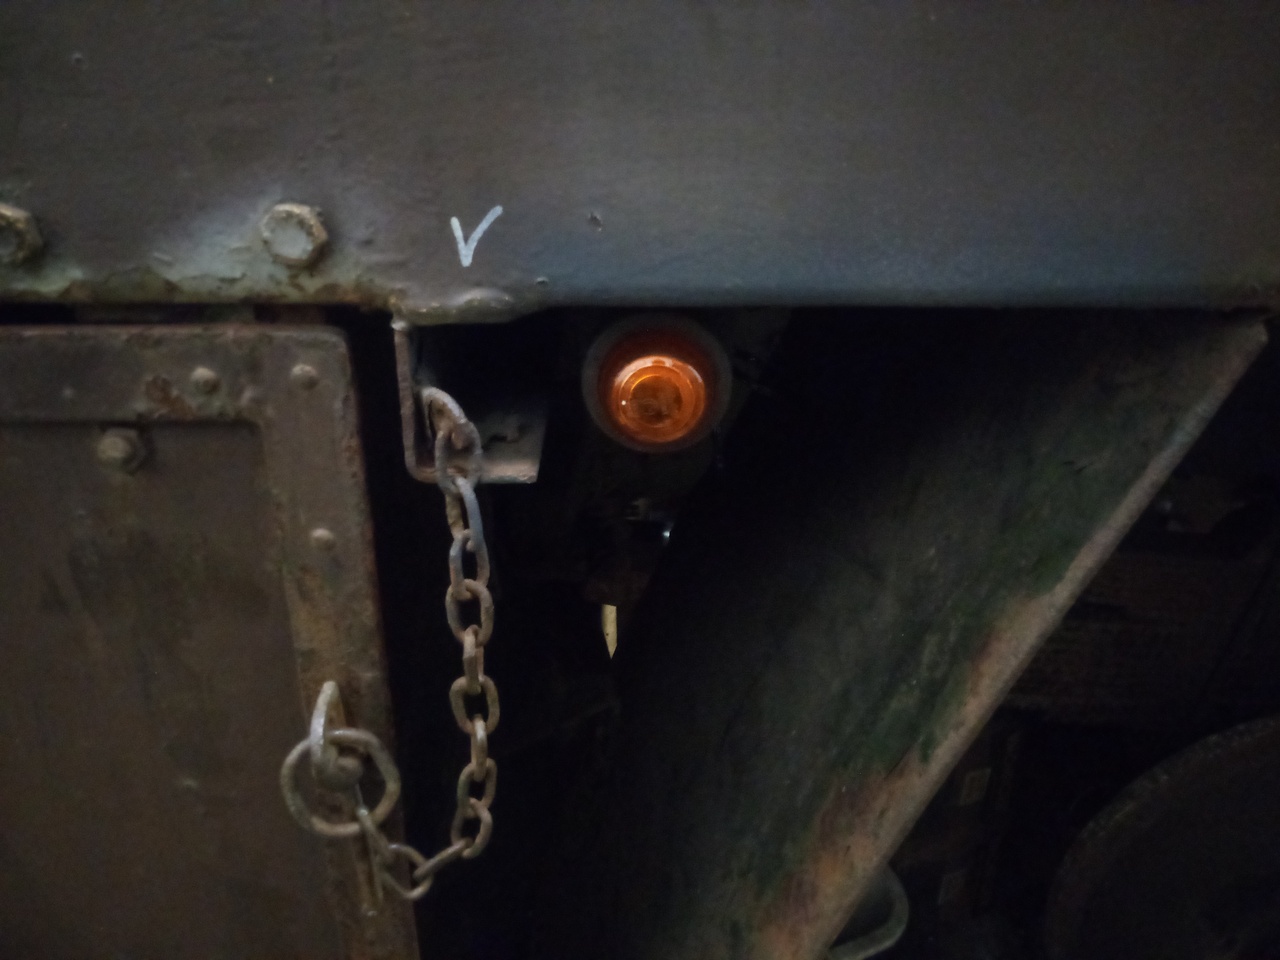 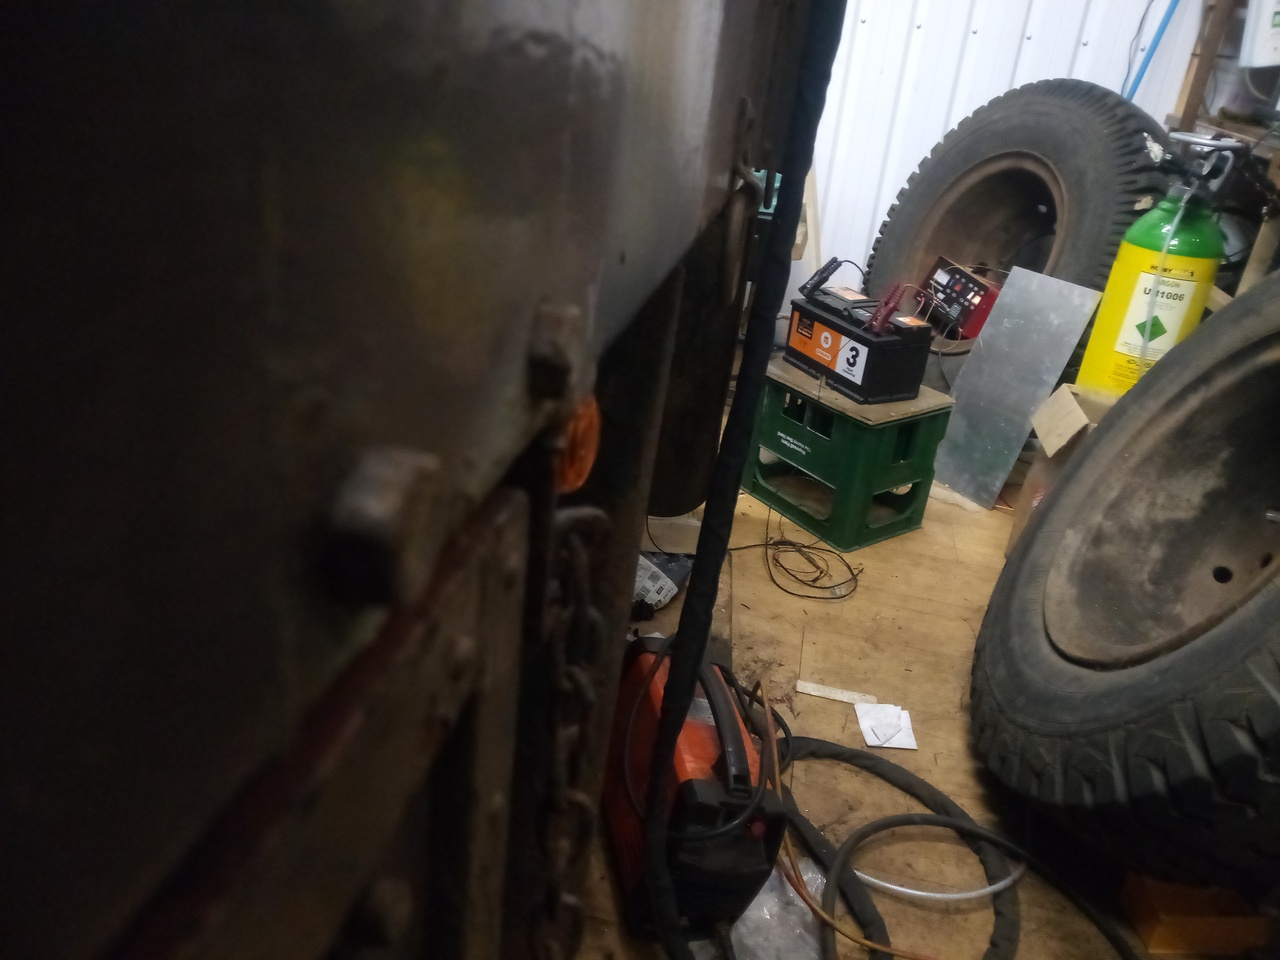 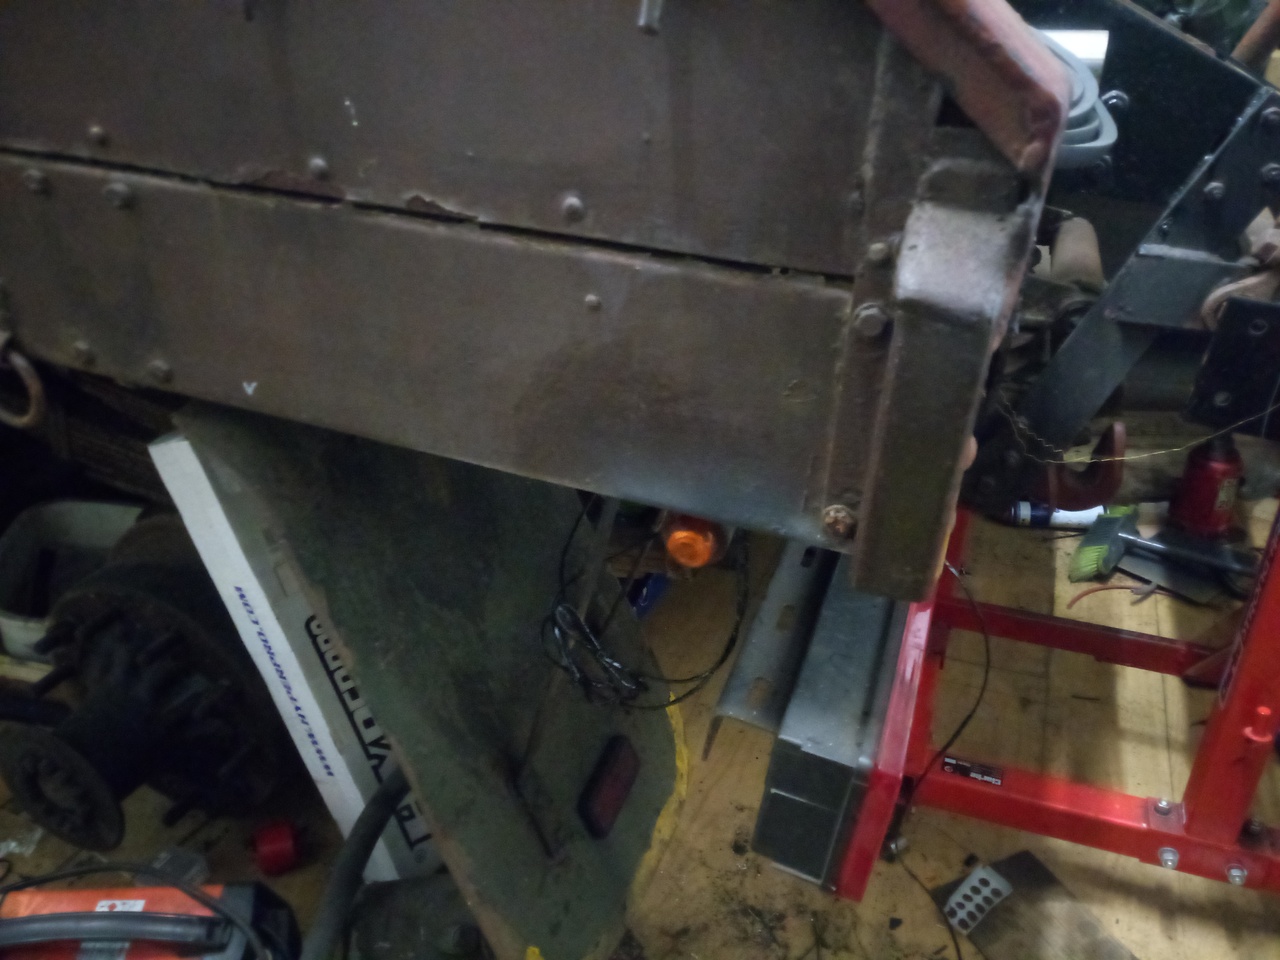
The next thing I've tackled, is those leaking steering swivels. Well, the nearside one, so far, which was the least bad; but the easiest to get to, to work on: 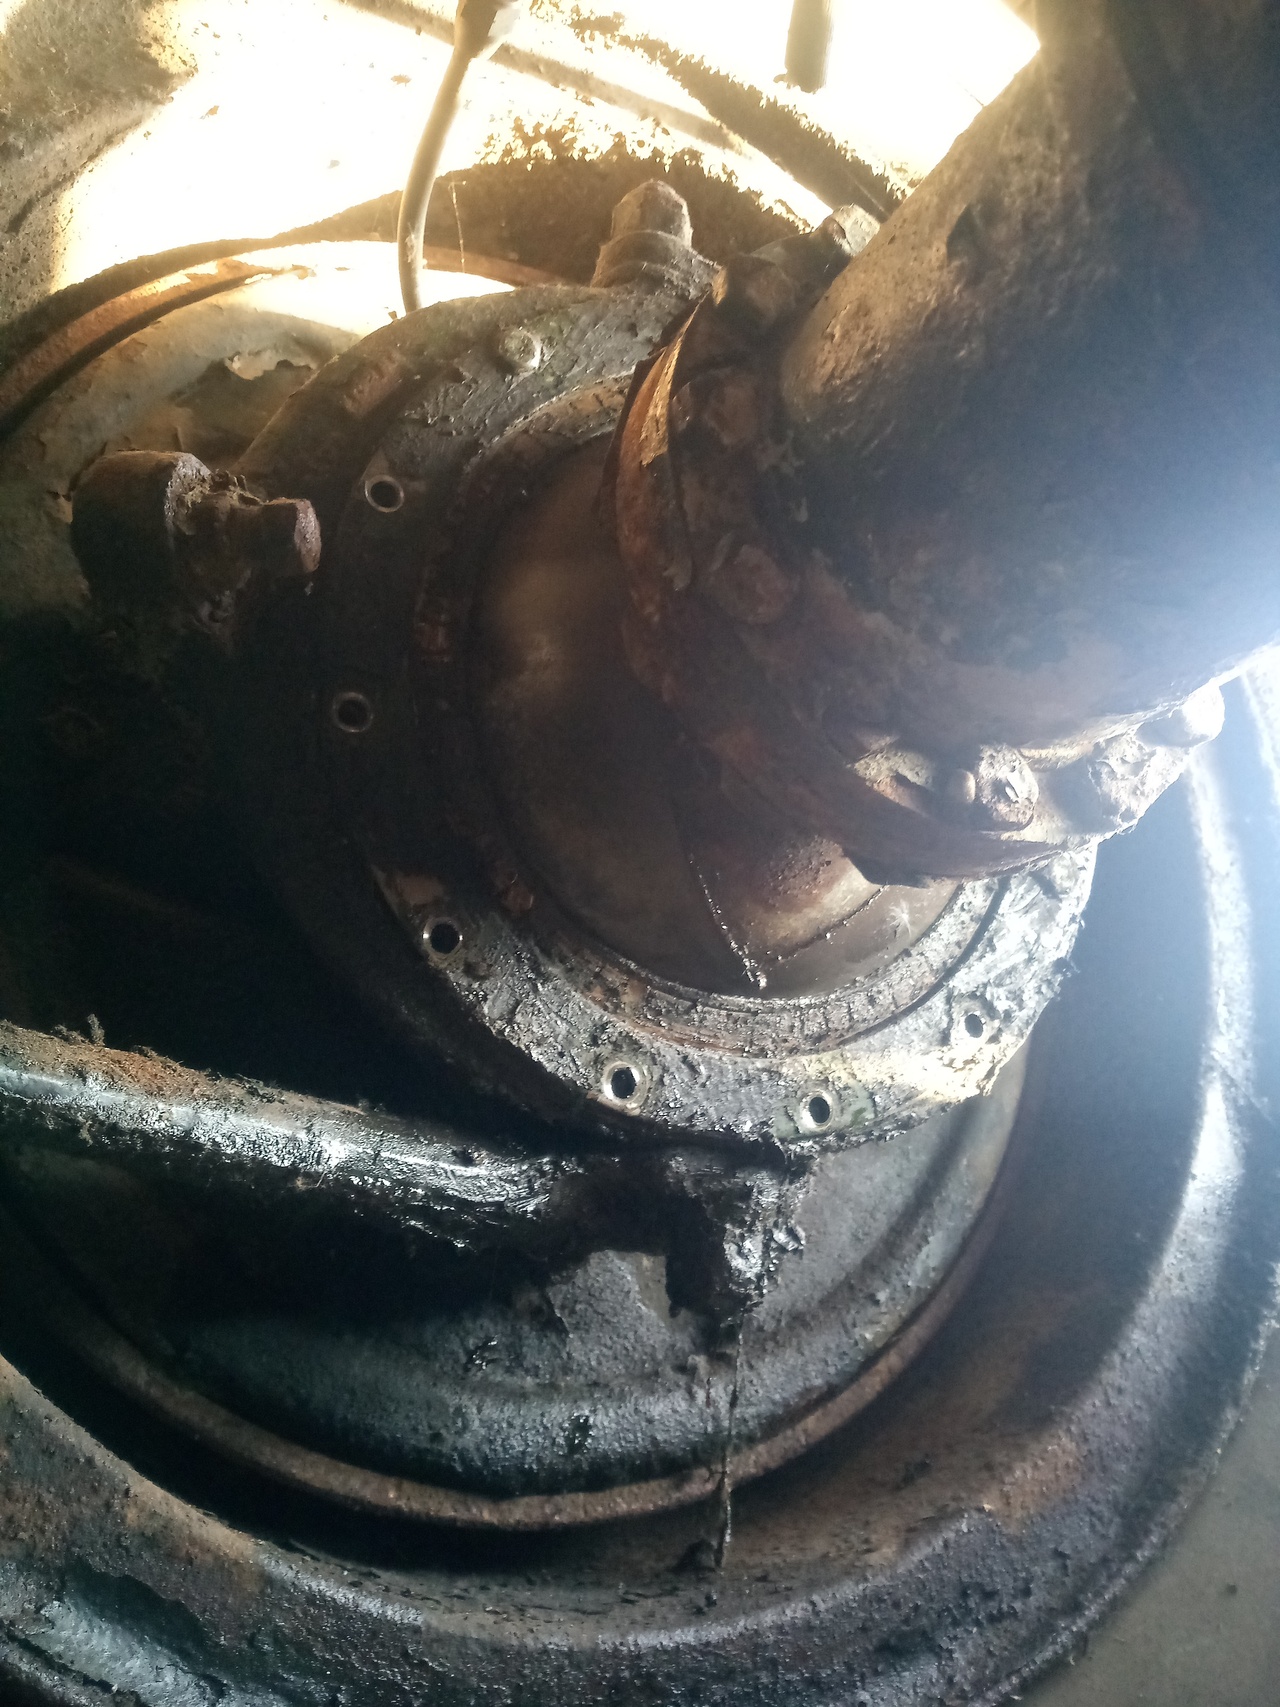 Some serious build-up: 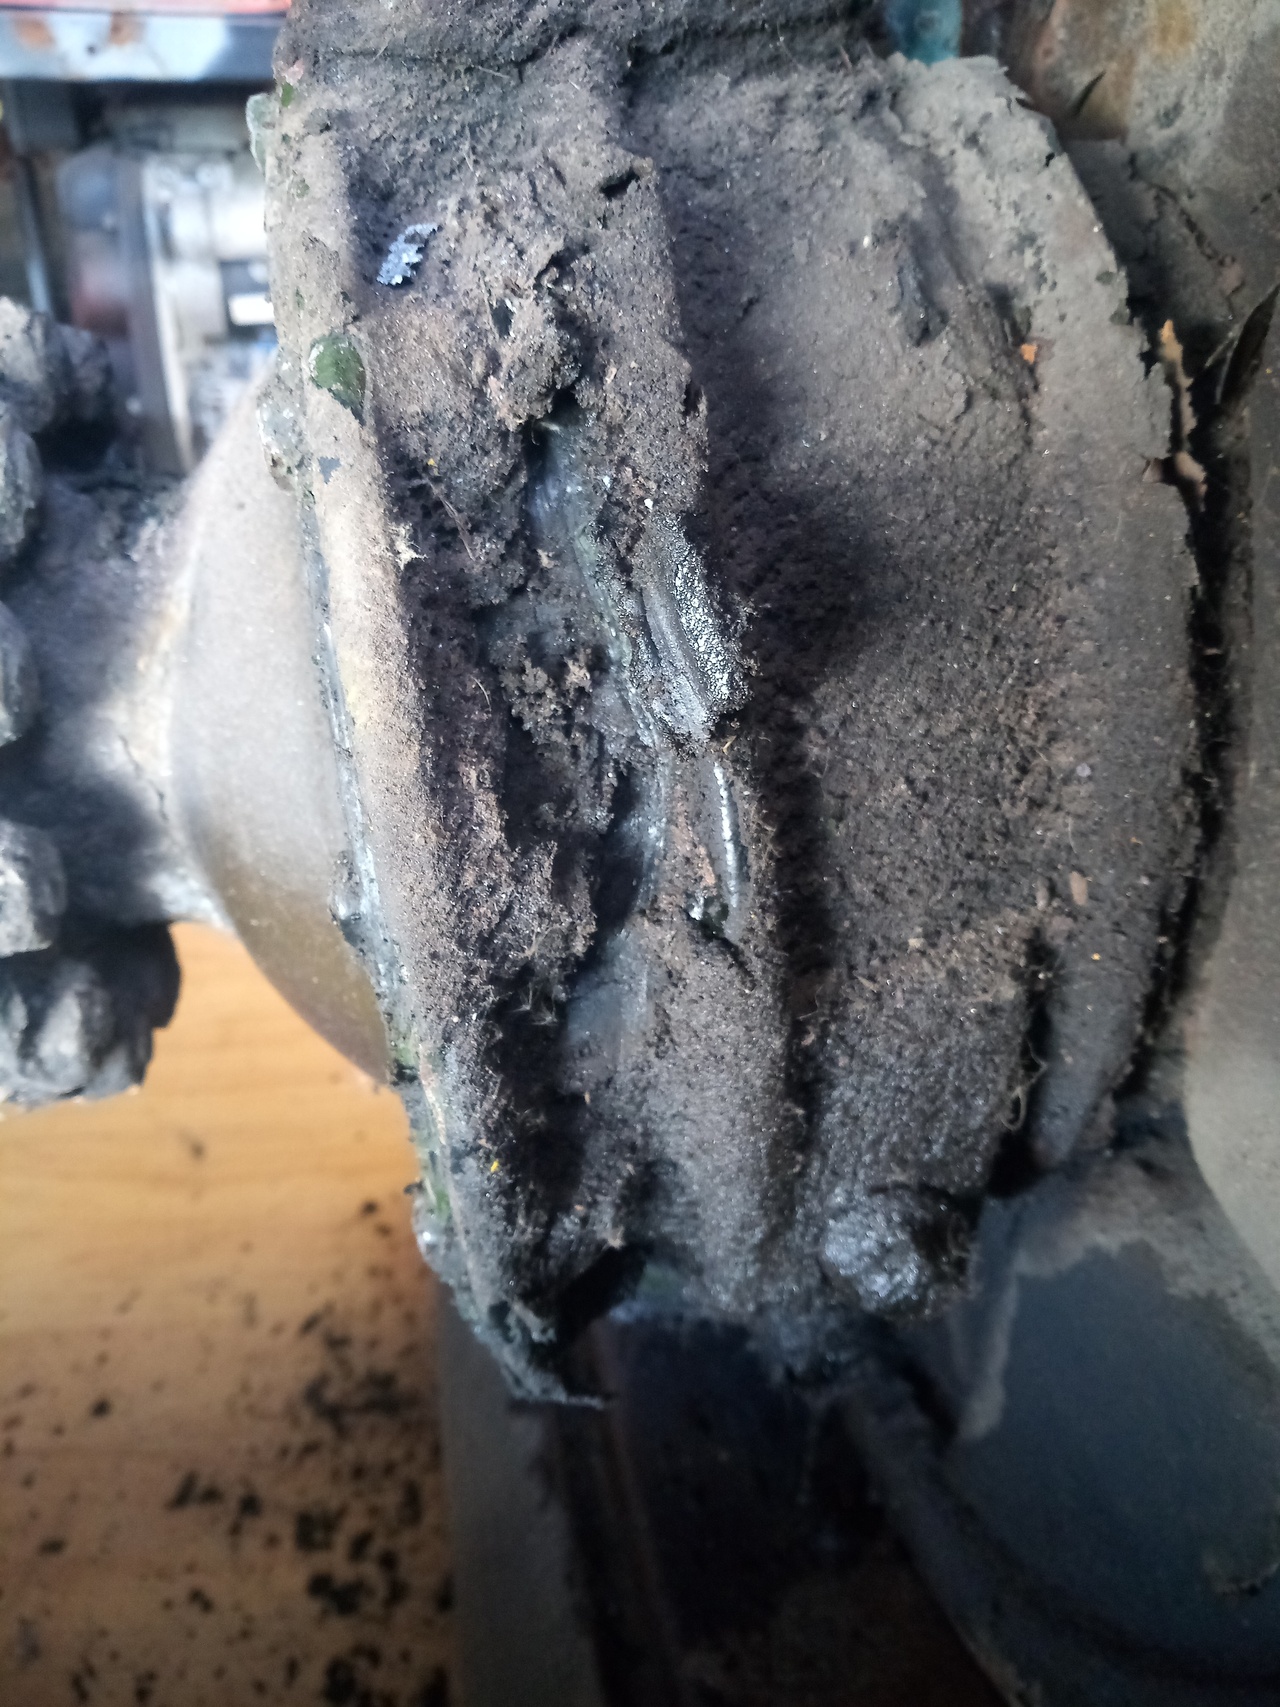 Seal springs removed: 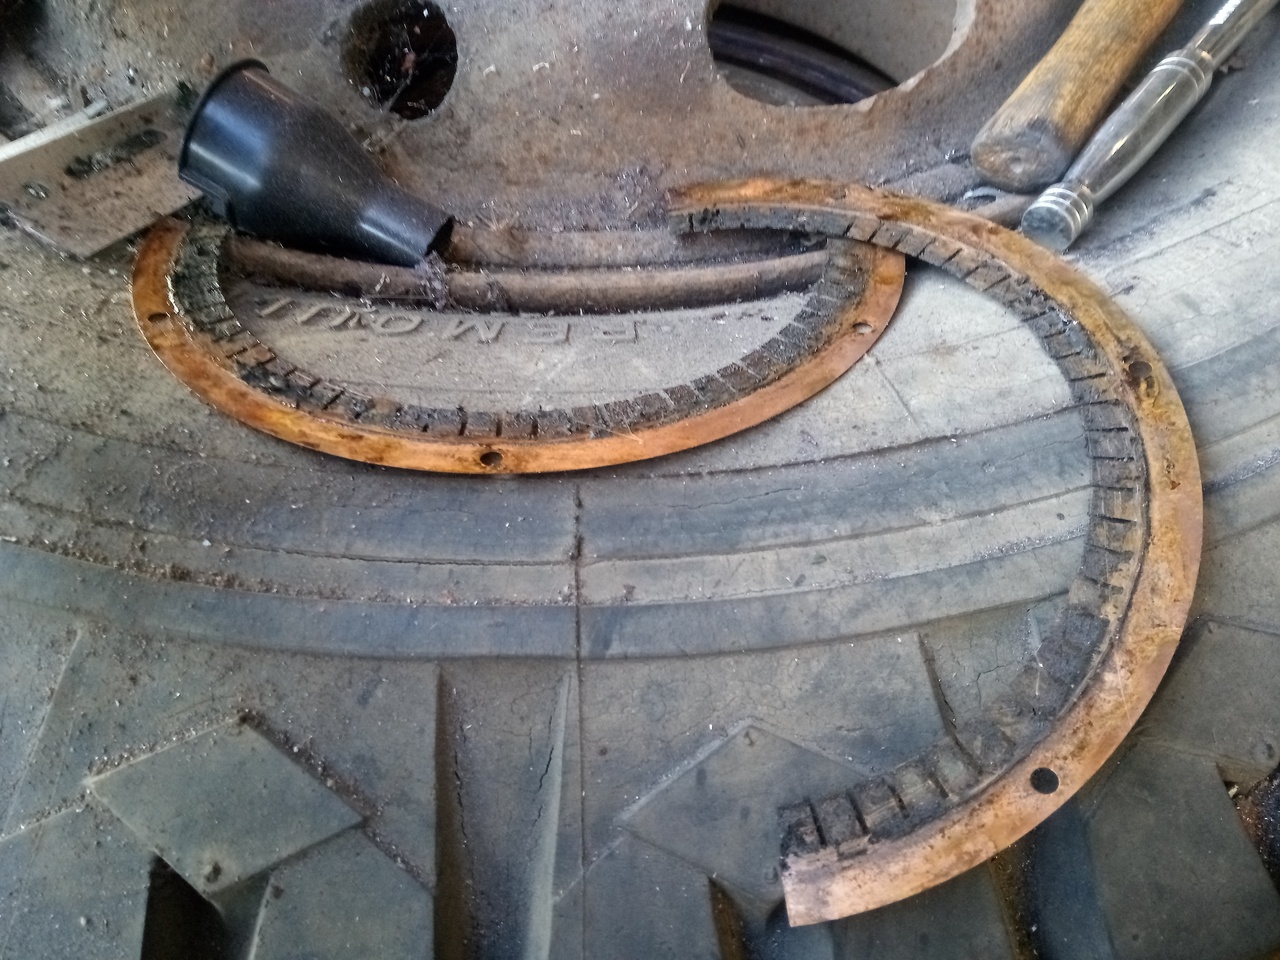 Which exposes the seal: 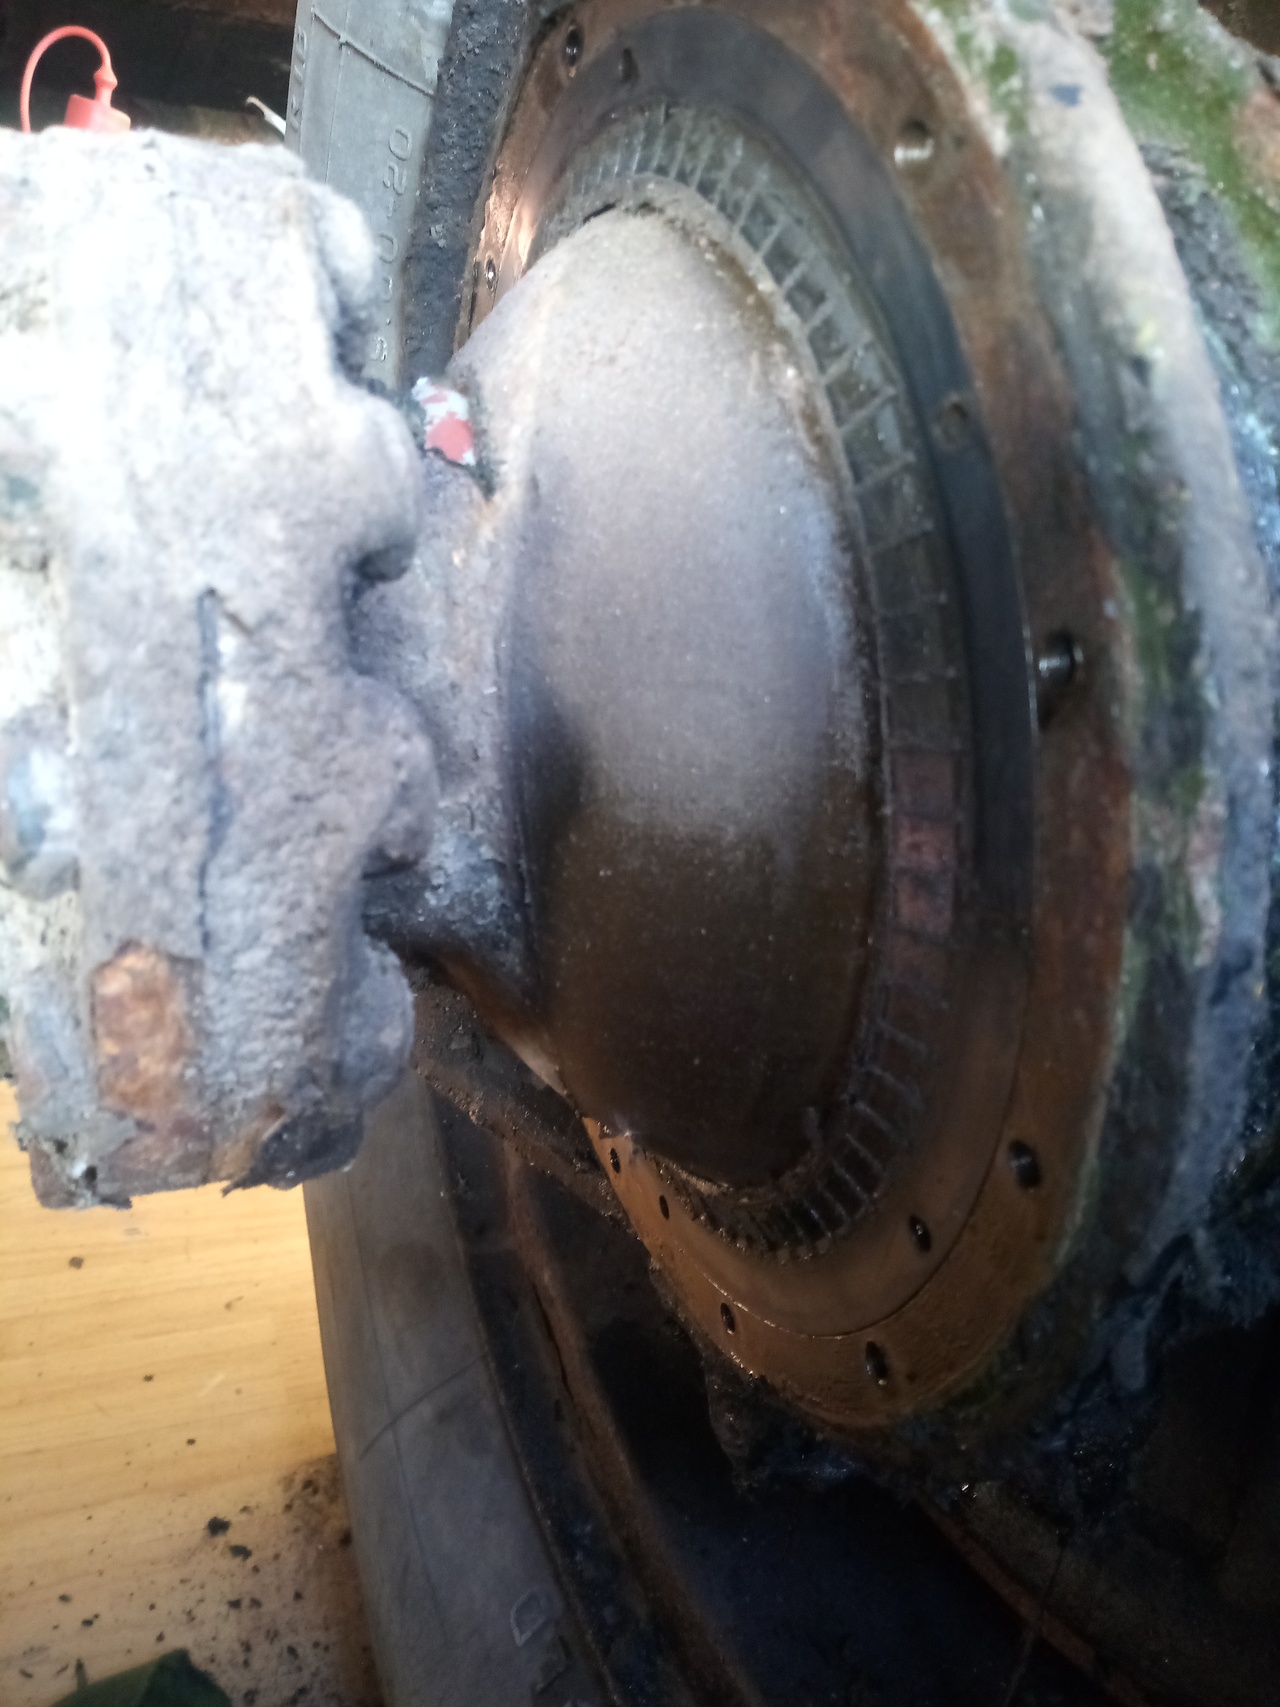 Which, upon removal, releases the schmoo: 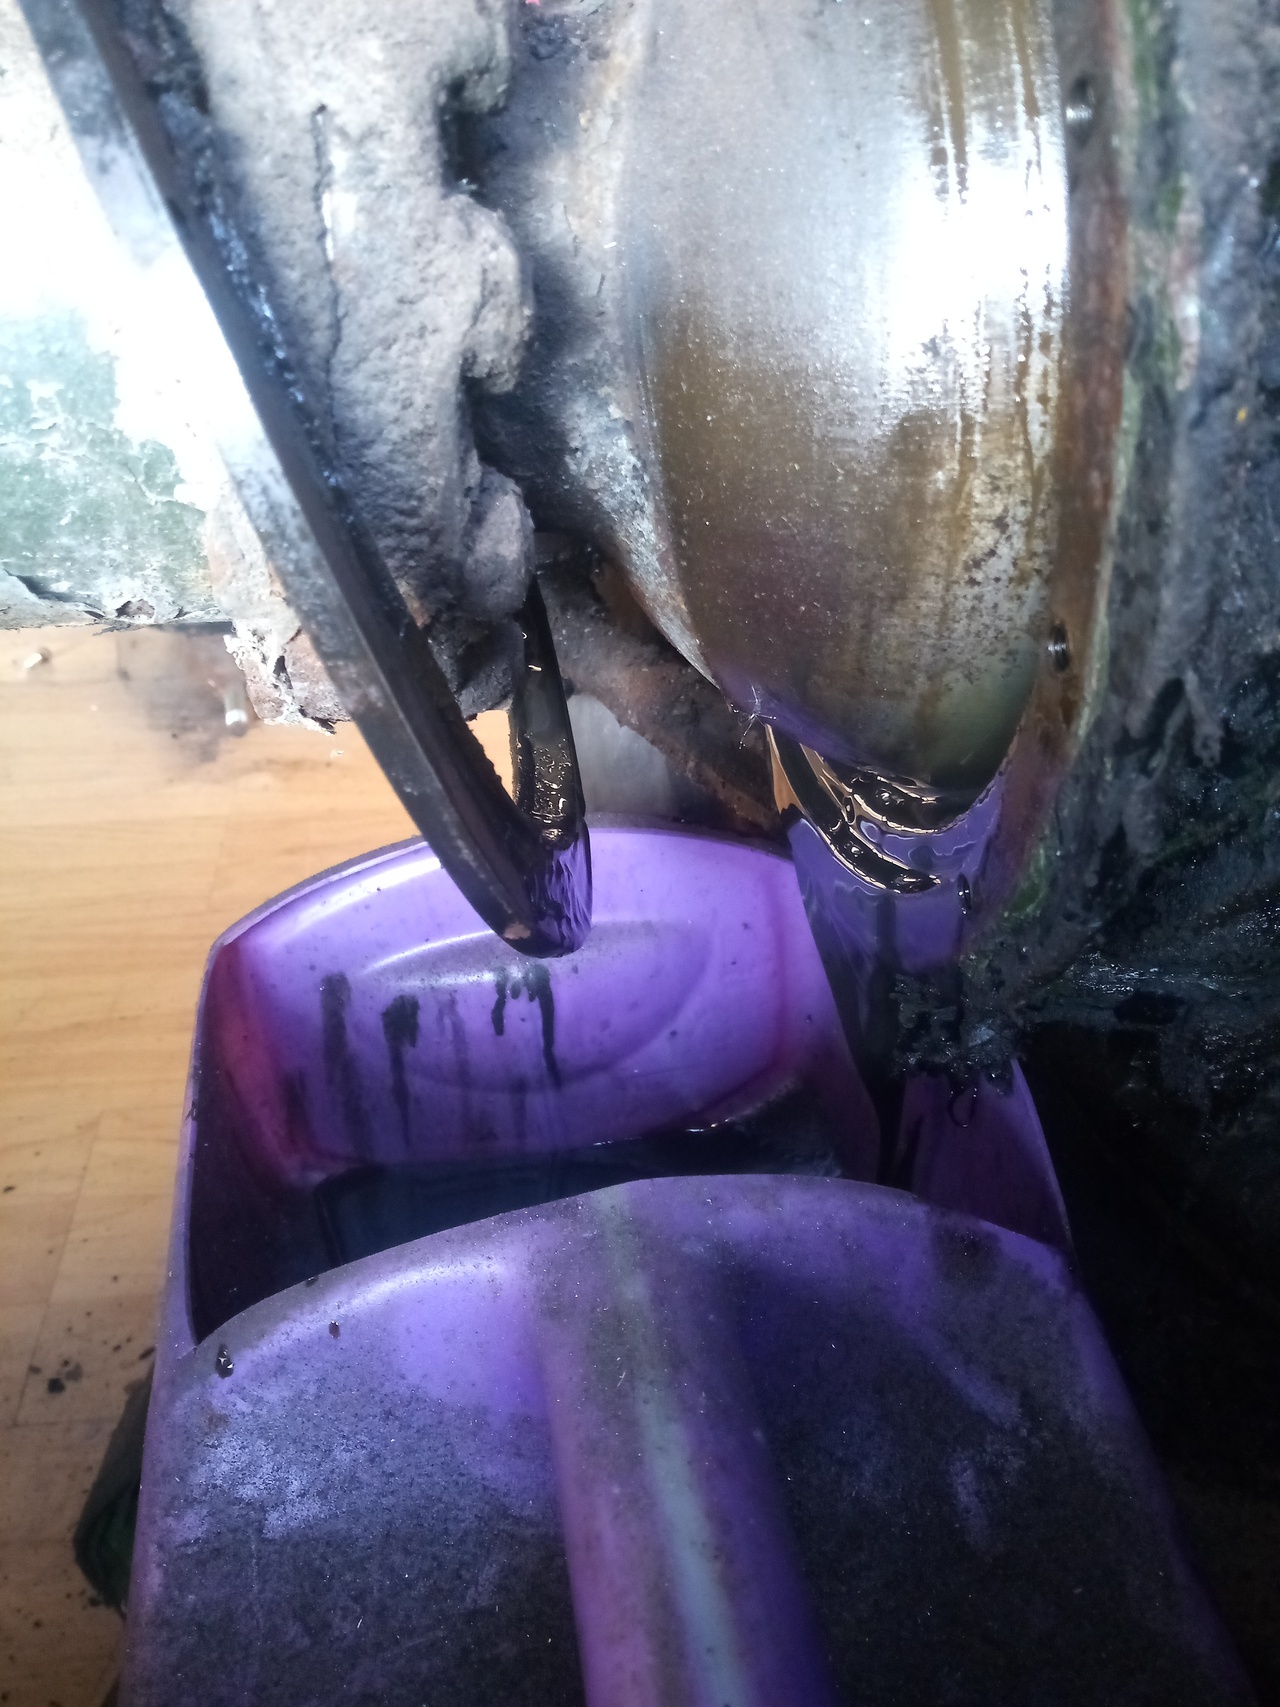 Surface of the swivel has not-entirely-unexpected pitting and wear:  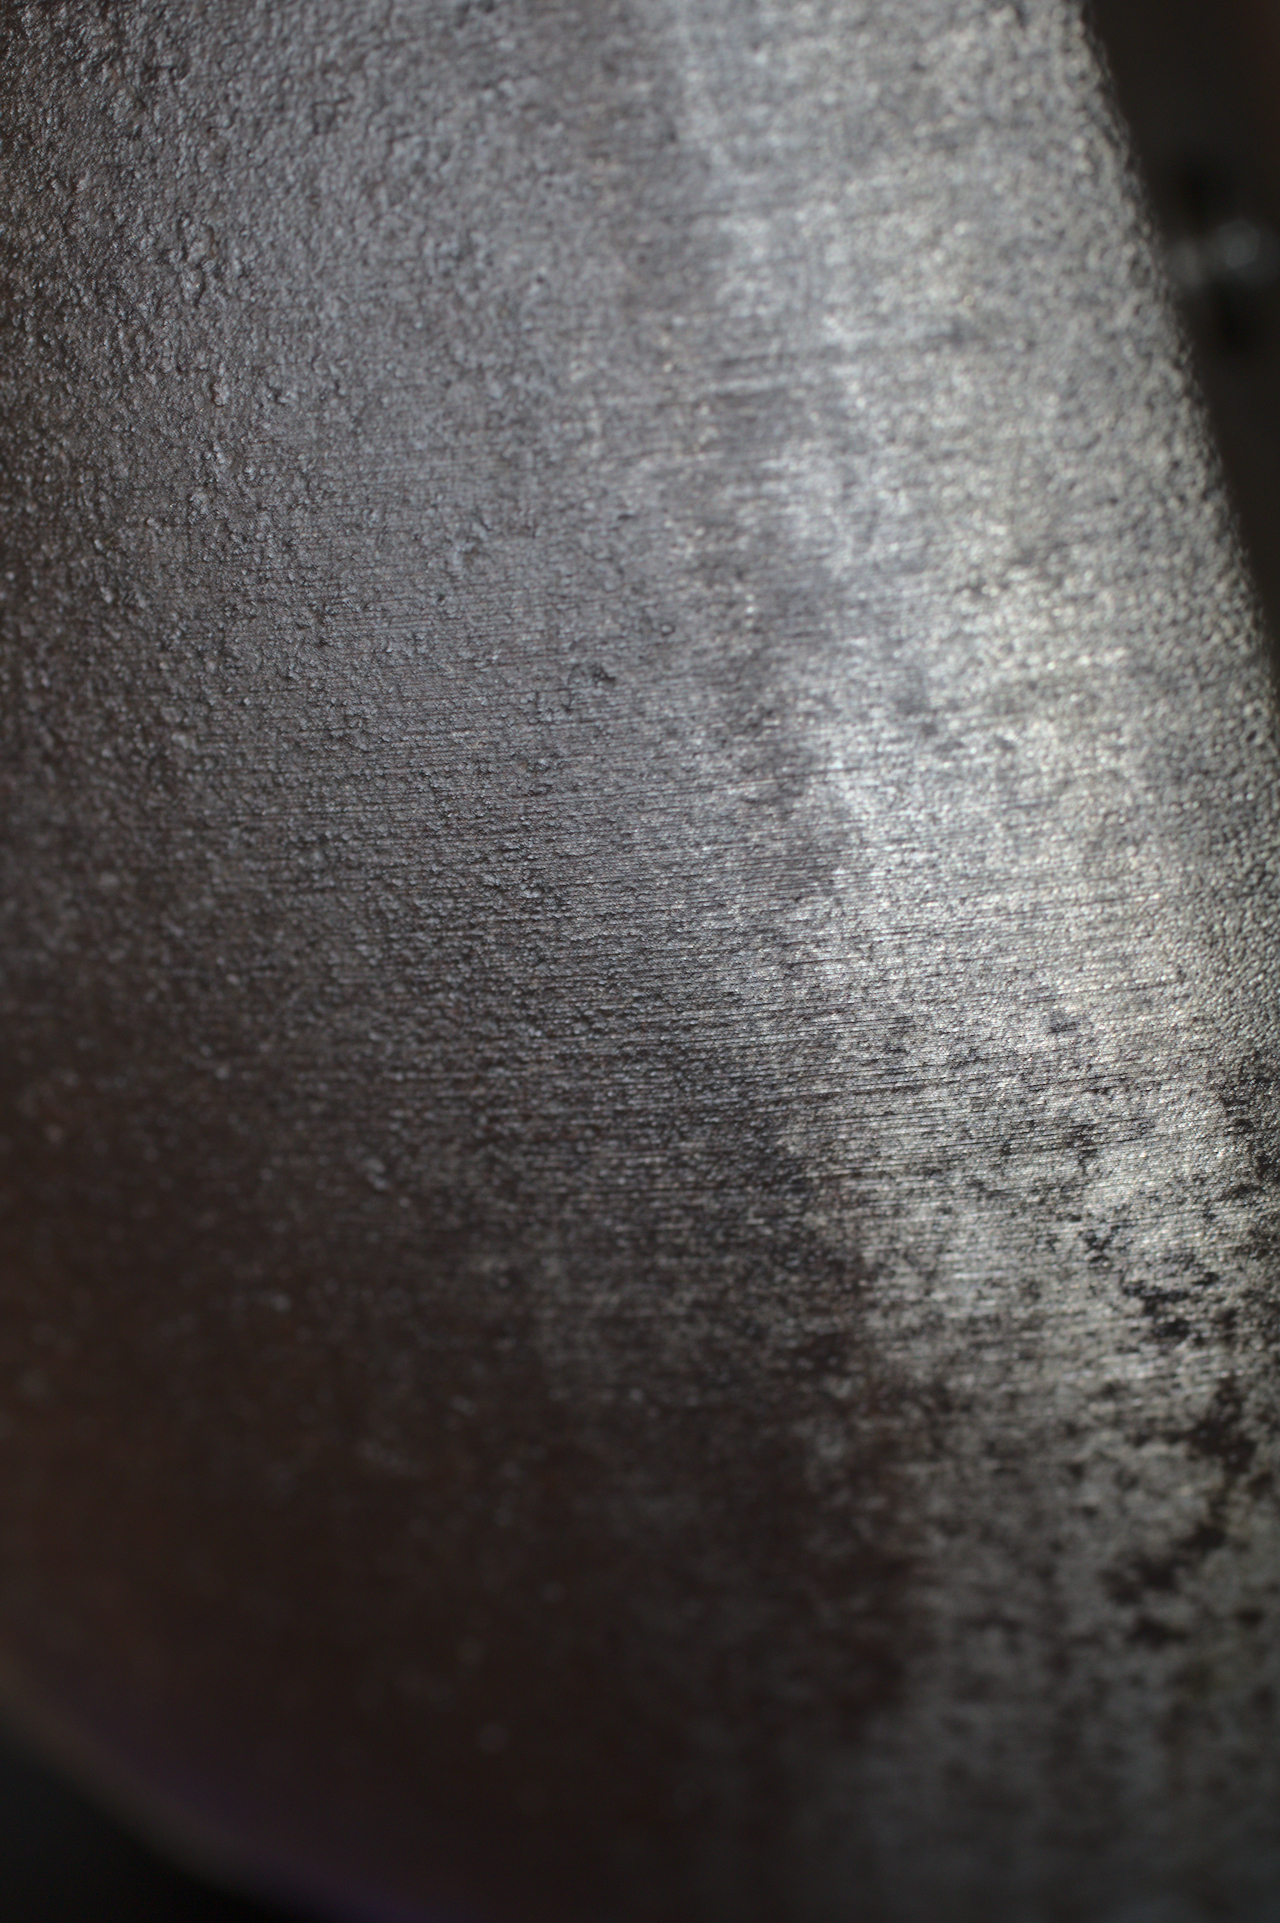 I've given it a gentle buffing with scotchbrite to polish the worst of the rust, and any peaks from the wear scratches, and wiped it over with some heavy weight oil. It's not ideal, I know, but what can you do. At this point, though, the pictures have a break in 'em because it was going ... poorly. I'd cleaned all the old oil, and grot, and hints of rust & any dust from the scotchbrite pad out of the tracta joint; wiped it all down as well as I could, and went to putting the new seal in. The new seal went in beautifully, with a smearing of permatex grey behind it and at the slit cut for installation, to help it seal up; at this point, the seal could be easily rotated in the housing to line it up. Then I went to put the seal springs in, and started to have trouble. The seal springs are a flat, stamped piece of metal with fingers for putting spring pressure on the seal lip, and 3 holes punched in that go over the pegs on the retaining ring just like the rubber seal. Except the holes weren't punched quite perfectly; so I'm struggling to get the damn things on, the whole time in the back of my mind I'm worrying about not having it lined up and not being able to rotate it if the sealant sets. After several attempts, I discovered the misalignment problem, and grabbed a little round needle-file. Some quick work slotted the outer holes slightly, and I got the springs to go on. Then I put the retaining ring into the rubber seal, and all the pegs went in first try! Perfect, I thought! Then rotated the whole mess -- at this point, fairly slowly, as the sealant was setting up -- to line the bolt-holes up. Except the bolt-holes didn't line up. And rotate, and take it out to line it up with different holes, and rotate, and remove realign refit, rotate, etc, etc, etc. until I finally managed to get it lined up in the one alignment that actually fits, with the installation slit in the seal to the top of the housing, and all the bolts went in. By the by, the correct orientation is with the flat of the retaining ring to the top of the housing. Or just mark it before removal. All of this while having to maintain the most awful endurance sit-up/crunch. (I am in shape! That shape is quite round, but it is a shape!) And the end-result was this: 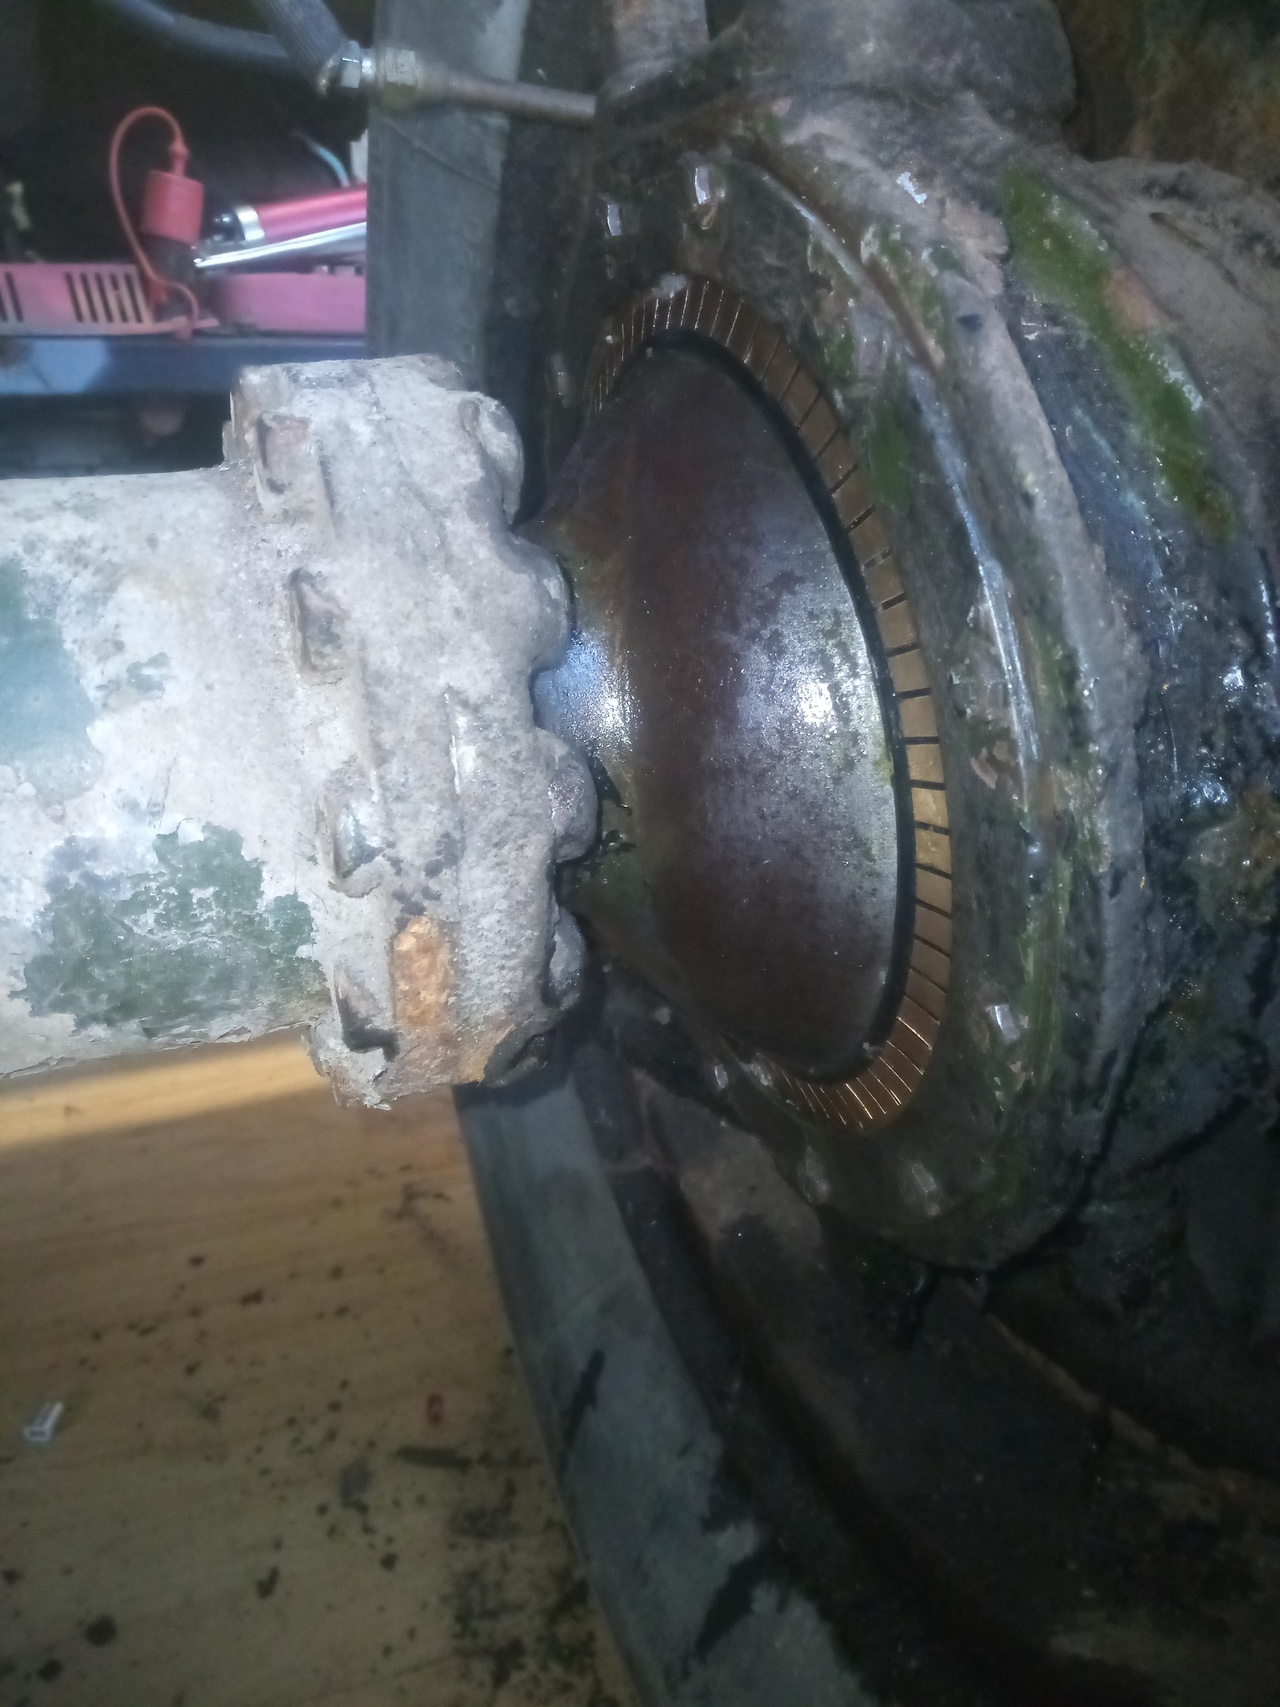 Now for the interesting part! The seal I took out... 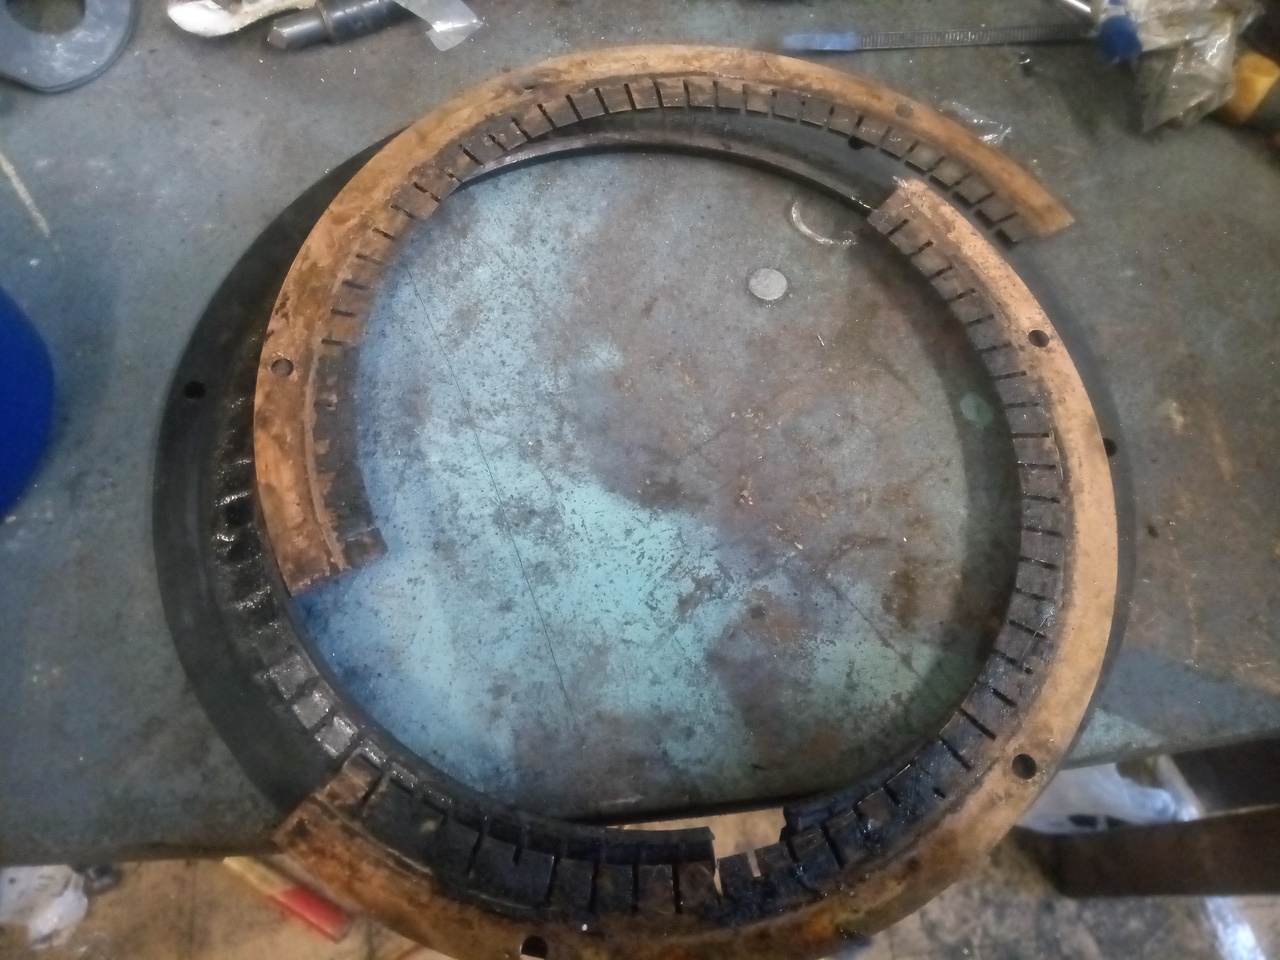 ...is a rubber seal. Which implies, to me, that it's been replaced at least once before! 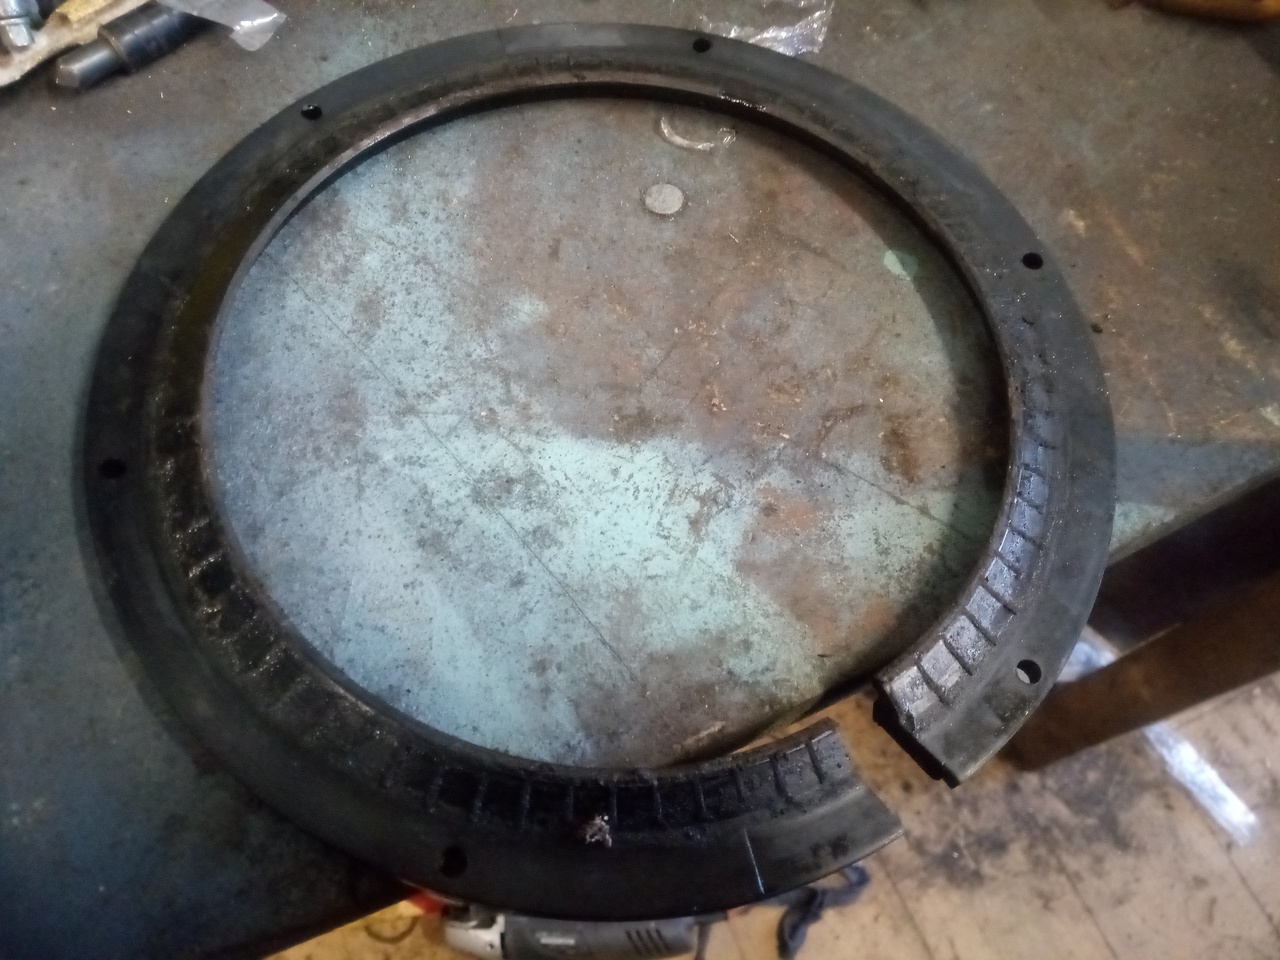 The rubber that wasn't exposed to the elements was actually in pretty good condition, still nice and flexible; but there's definite wear at the sealing edge, which was beginning to feel a bit stiff. I think it'd probably taken a bit of a set, as the wagon stood for so long, and once I started moving everything around with driving the truck again, it just couldn't seal. Much like the rest of the truck, really. It seems to be leaking from just about everywhere! And then, while I was there and figured I hadn't suffered enough crunches, I went and fit my 4-way valve on the bracket I made. 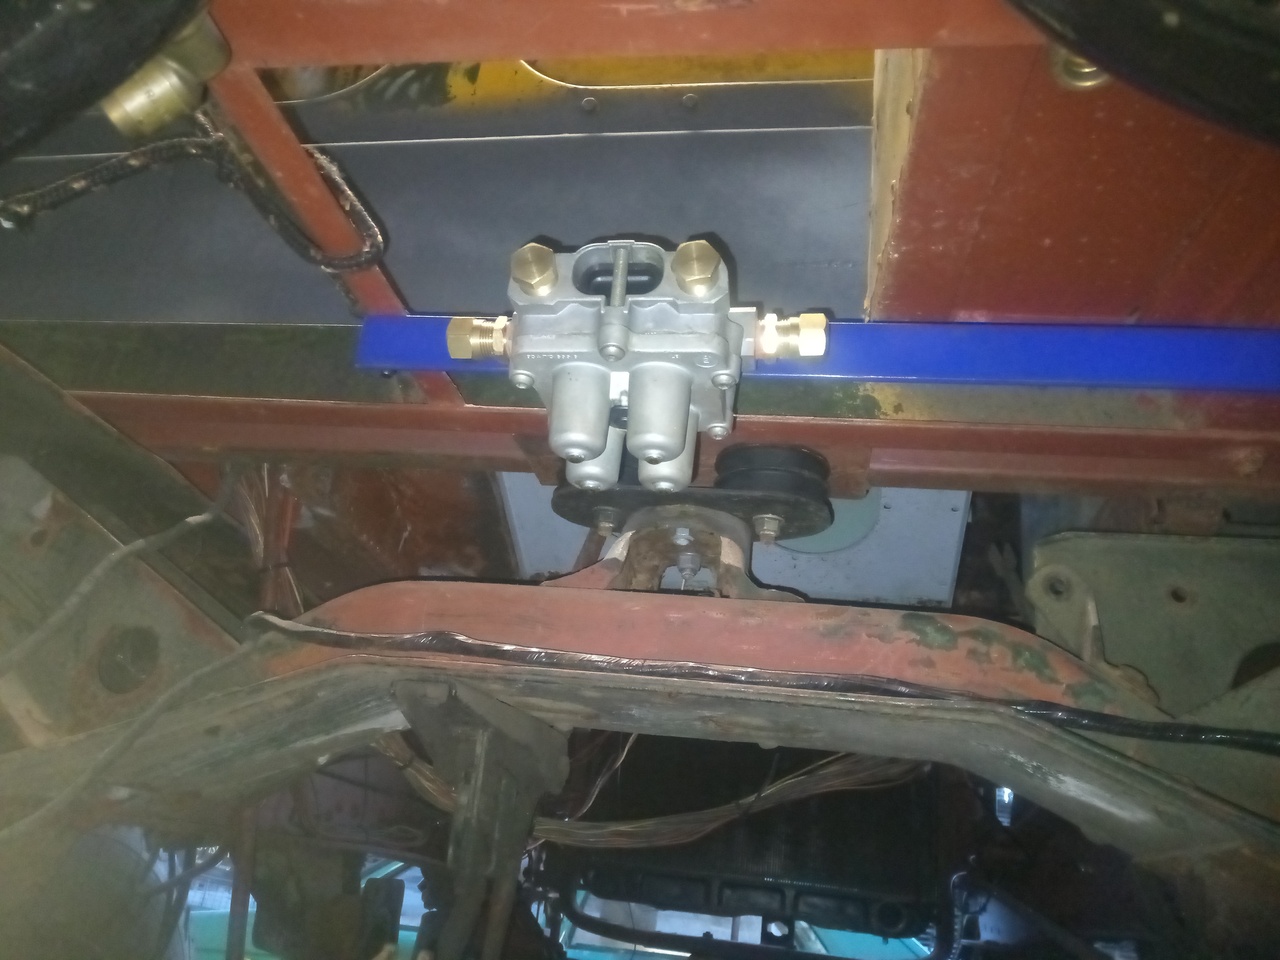 It's blue for the highly technical reason of: I couldn't find my black paint. I have a 5 litre bucket of the stuff that I paid good money for, and damned if I can find it now. I'm sure it'll turn up...  Now I just have to work up the enthusiasm to do the other side...
Oh! And you might notice there was no mention of taking the wheel off to do that swivel seal! That's because I went to undo the wheel-nuts, and the whole stud started spinning. Agh. So my next thought was "okay, no big deal, I'll warm the wheel-nut up" (We do this not-infrequently at work, usually on Scanias with the 7/8 BSF wheel studs.) ...except apparently I have previously absent-mindedly pocketed all my workshop lighters and taken them home.  |
| |
Last Edit: Jan 22, 2023 20:28:35 GMT by Tamber: ...fscked the urls in the photo links.
-< Welder. Allegedly a mechanic. Bodger of Things >-
* 1958? Bedford RL - Progress: Glacial.
* 1994 Skoda Favorit - It's baaaaaaaack!
* 2018 Herald Classic - Gone!
|
|
Tamber
Part of things
  Shattered. Held together by spite and tape.
Posts: 338
|
|
|
|
|
That's both tracta joint seals done, and one swivel refilled with gear oil. Small progress, but it's things to tick off the list!
Also, the documentation project grinds onwards (Mostly involving hours of squinting at material and lubricant specifications charts.), and additional material has arrived for the intake manifold tinkering.
Here's hoping my body plays ball long enough this week that I can make some forward progress either on the manifold, or continue the bodywork repairs. The thought of welding more sheet metal makes me sick, but there's so much of it to do that I've got to crack on with it!
|
| |
-< Welder. Allegedly a mechanic. Bodger of Things >-
* 1958? Bedford RL - Progress: Glacial.
* 1994 Skoda Favorit - It's baaaaaaaack!
* 2018 Herald Classic - Gone!
|
|
93fxdl
Posted a lot
   Enter your message here...
Posts: 2,019
|
|
|
|
|
One way of rescuing swivels, clean out the worst of any pits, degrease, fill with JB weld, smooth off, have used this method on several motorcycle forks to good effect
Ttfn Glenn
|
| |
|
|
|
|
 ), and the timing light was showing nothing of any use. Some playing with sensor offset got a couple of promising slight speed-up moments, but no real firing.
 And it's running on all 6, too! While I was trying it on ether, number 5 cylinder didn't appear to be firing, because the exhaust runner was cold for that cylinder; hence me burning myself on it this time around...


 ), and the timing light was showing nothing of any use. Some playing with sensor offset got a couple of promising slight speed-up moments, but no real firing.
 And it's running on all 6, too! While I was trying it on ether, number 5 cylinder didn't appear to be firing, because the exhaust runner was cold for that cylinder; hence me burning myself on it this time around...


