|
|
|
Sept 17, 2024 8:08:13 GMT
|
|
Just to explain those photos in the previous post - i'd got hold of a spare steering column so i didn't butcher my complete mk3 one. The column is bare using a split collar (not standard fitment) to hold the shaft firm within the outer column. I'm using an aftermarket beefed-up drop bracket to get the column lower. the indicator unit uses the same mount points and handily uses the split collar bolt as the cancelling 'pip'.
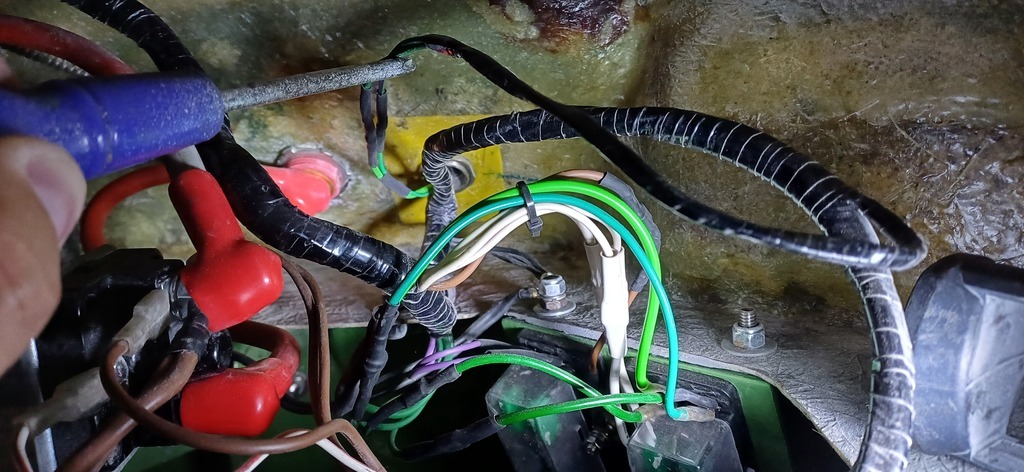
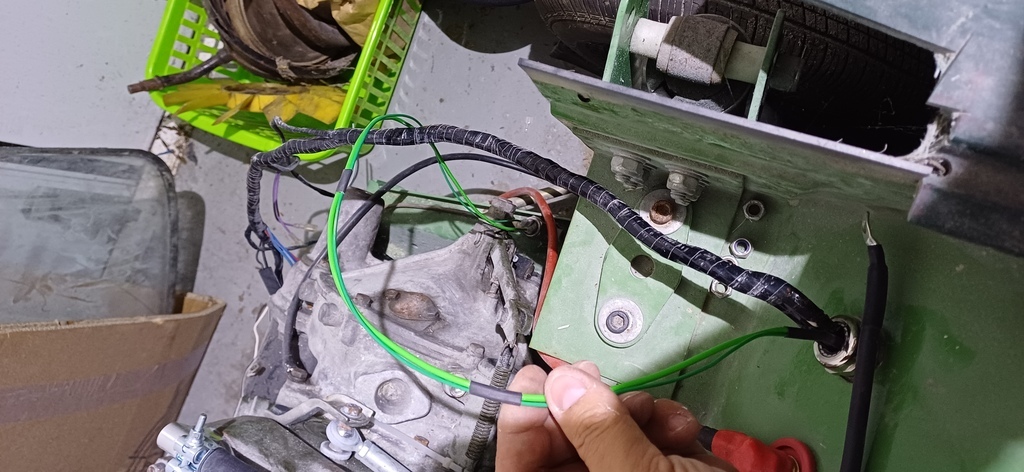
Then it was some time using various wiring diagrams to marry up the cabling - the indicator harnesses are normally either bullet connectors or a single large multi plug. I'd got one that had the plug cut already cut off so could keep my other one un-butchered.
|
| |
|
|
|
|
|
|
|
Sept 18, 2024 22:12:50 GMT
|
|
|
| |
|
|
|
|
|
Sept 19, 2024 19:46:41 GMT
|
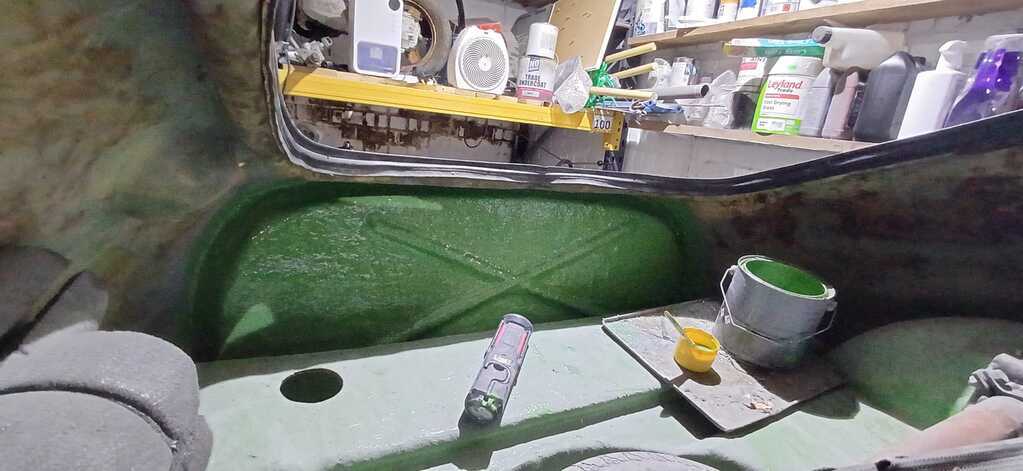
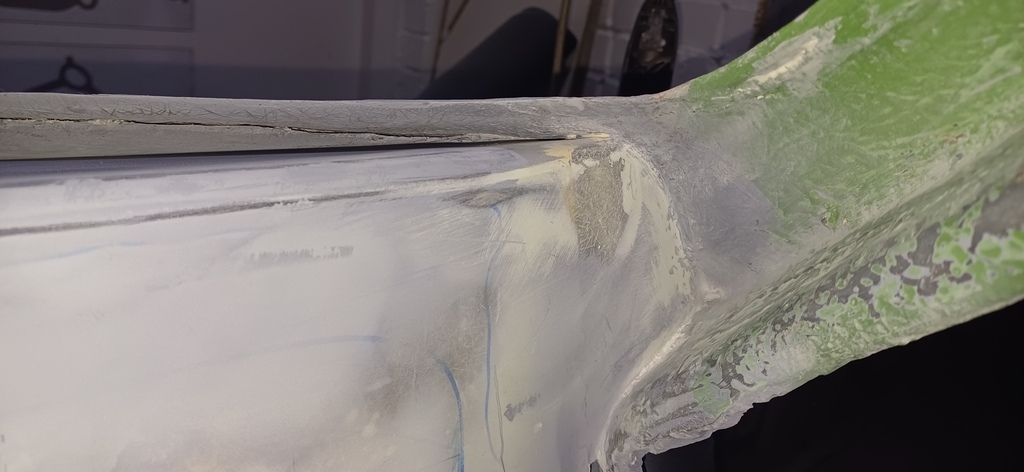
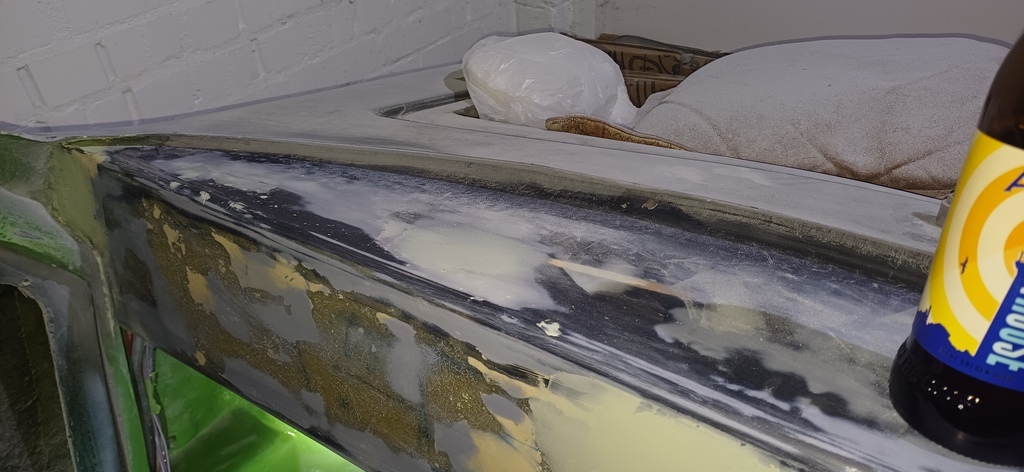
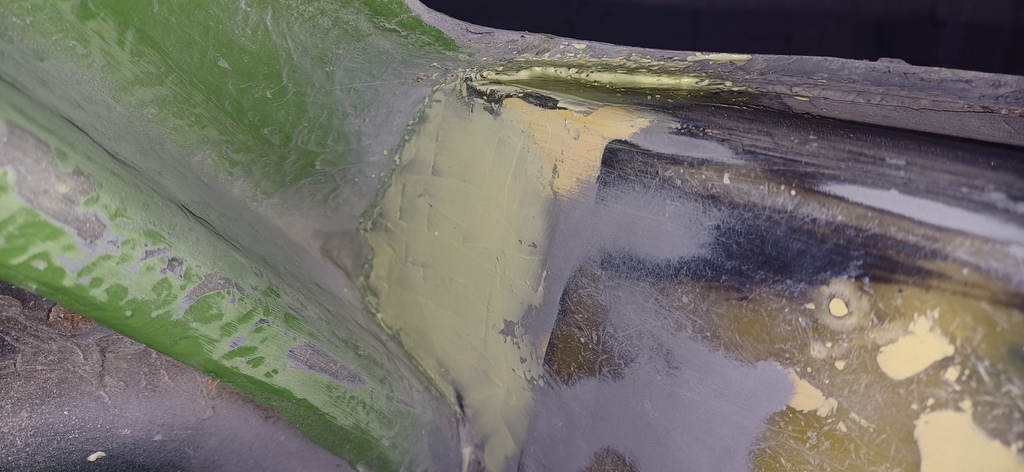
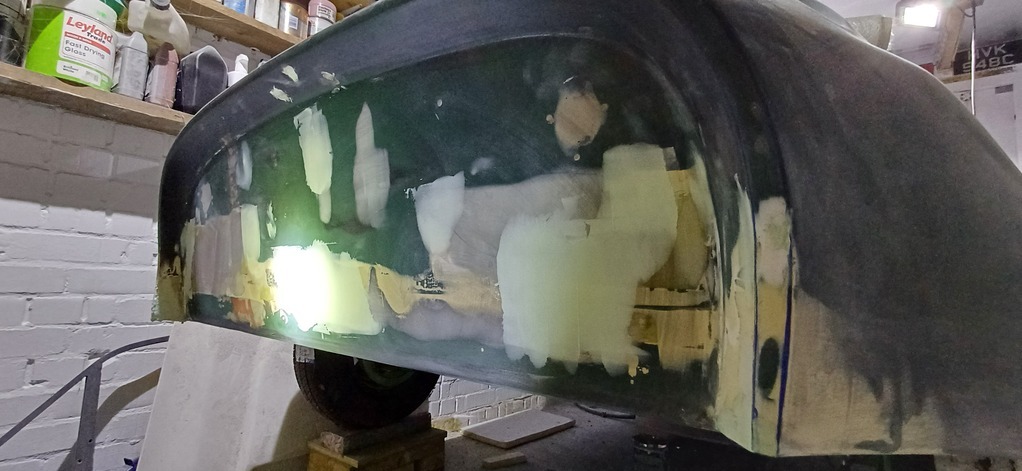
Tonight's job was to put a layer of mat on the back panel to lock in the stiffen ribs I'd glued in ages ago. Quite thin to start with, the back panel had been hacked about fitting monster horrible 70's rear lights. So with all that repair the panel wasn't the strongest so I'd made the ribs but never got round to glassing in. This is prior to getting the outer surface level before cutting the new rear lights in. 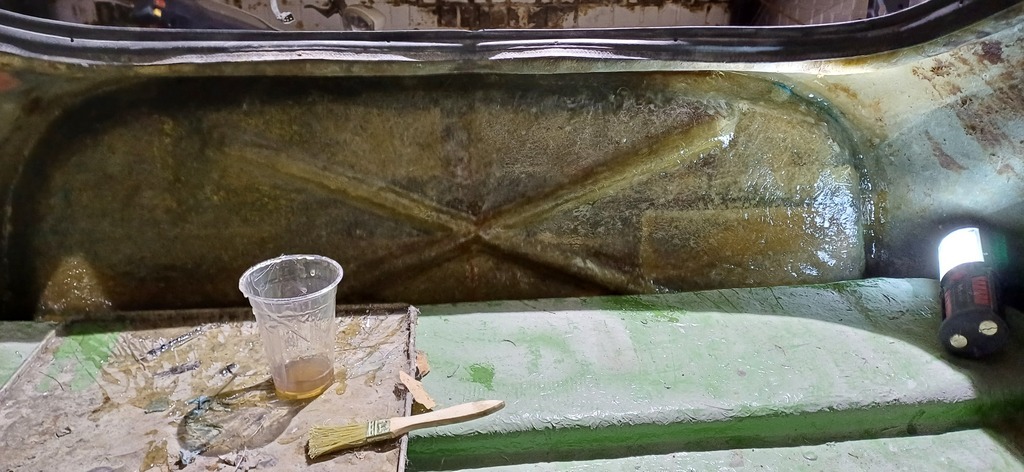 |
| |
|
|
|
|
|
|
|
Oct 17, 2024 15:59:45 GMT
|
|
|
| |
|
|
|
|
|
Oct 17, 2024 17:58:59 GMT
|
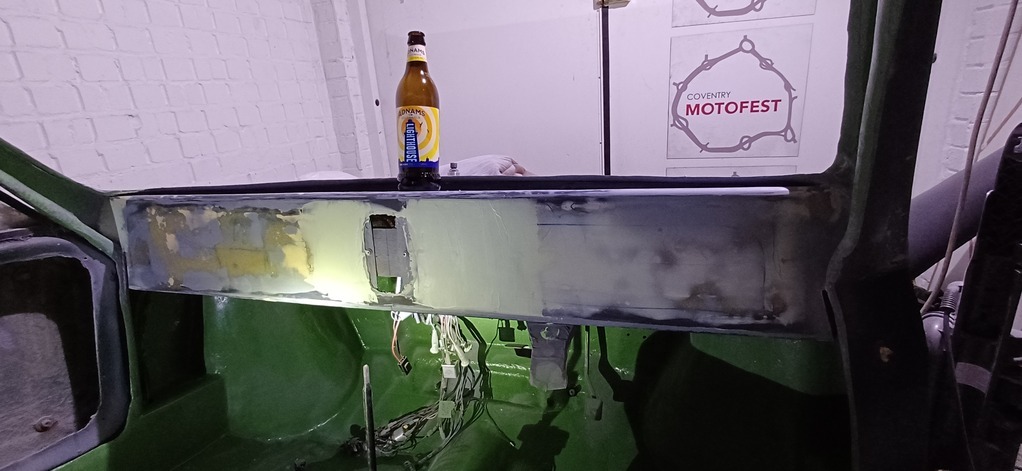
Final section of dash repair paneling glassed in. Self tappers are just to pull the panel tight to squish the glass mat. Then I'll start levelling the face with more glass and a skim of filler. Lots of sanding. 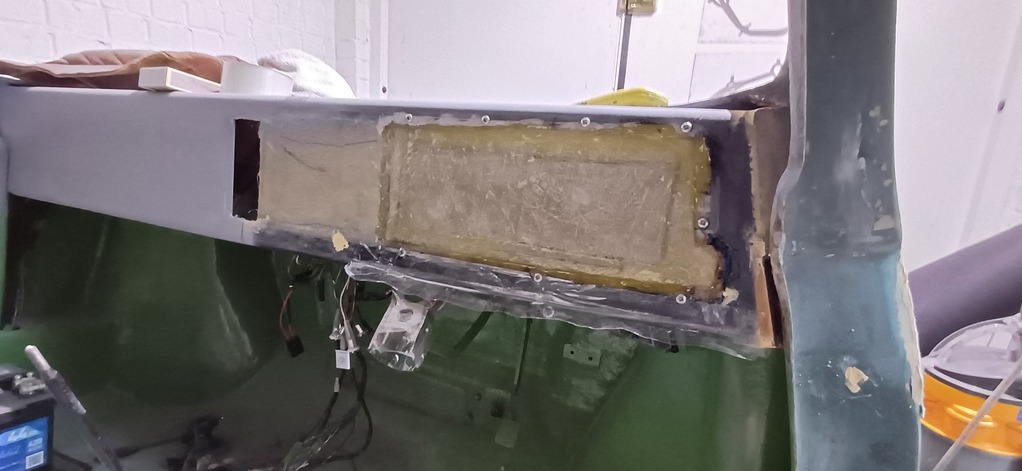 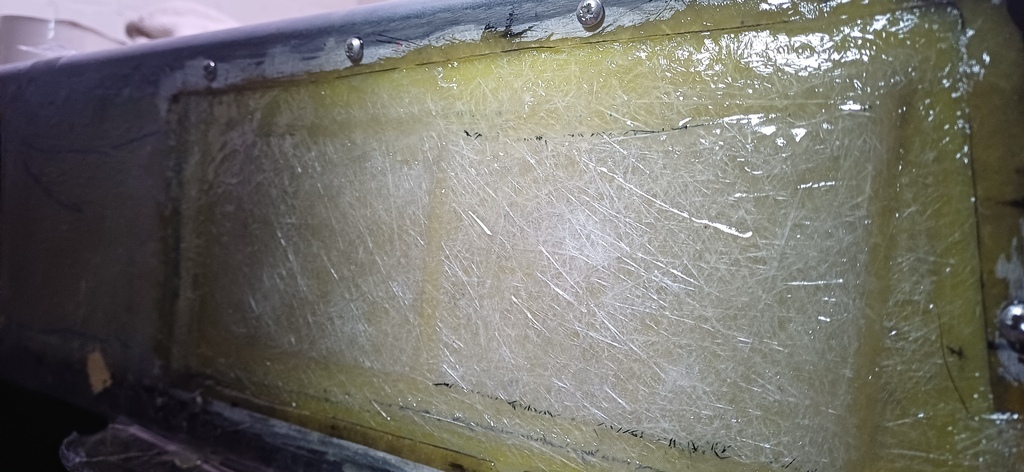 |
| |
|
|
|
|
|
Oct 20, 2024 13:35:55 GMT
|
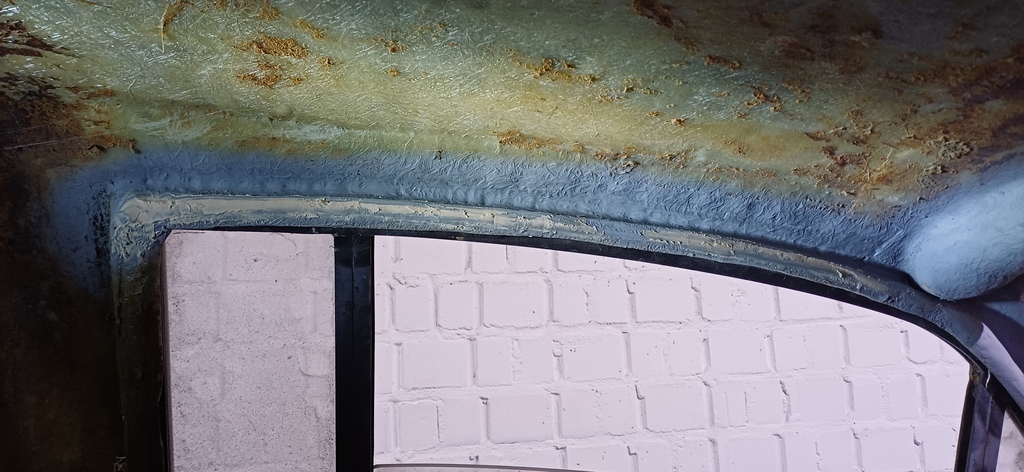
Yesterday was to add some more glass on the dash face around the edges to bond the repair further on to the existing dash. It's cool in the garage so will need a few days to fully cure. I'll use a flat edge to mark up the high spots, skim the low spots then get the da sander on it. 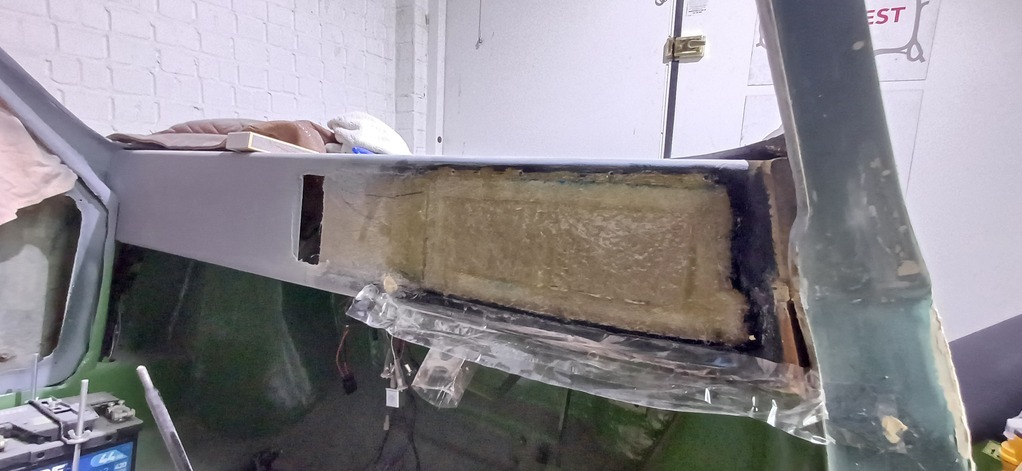 Then I painted the door surrounds after a bit of filler work to smooth out the iffy mouldings. 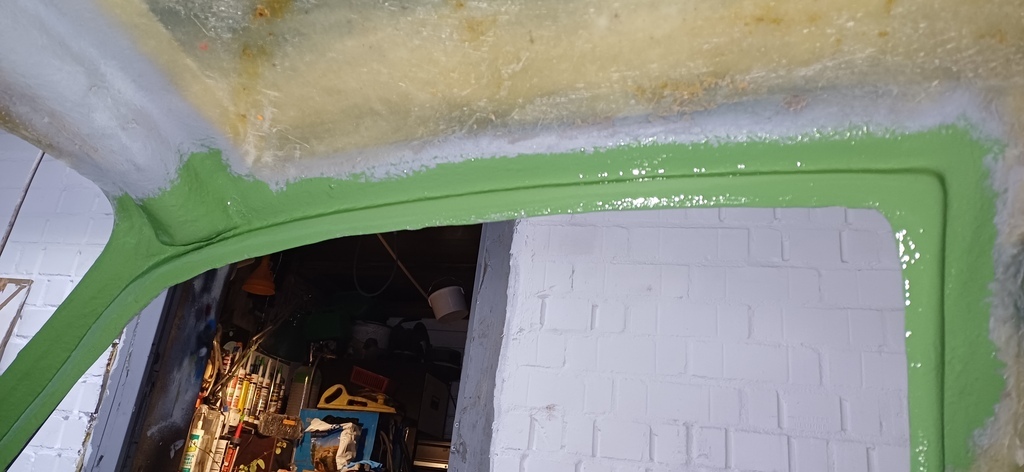 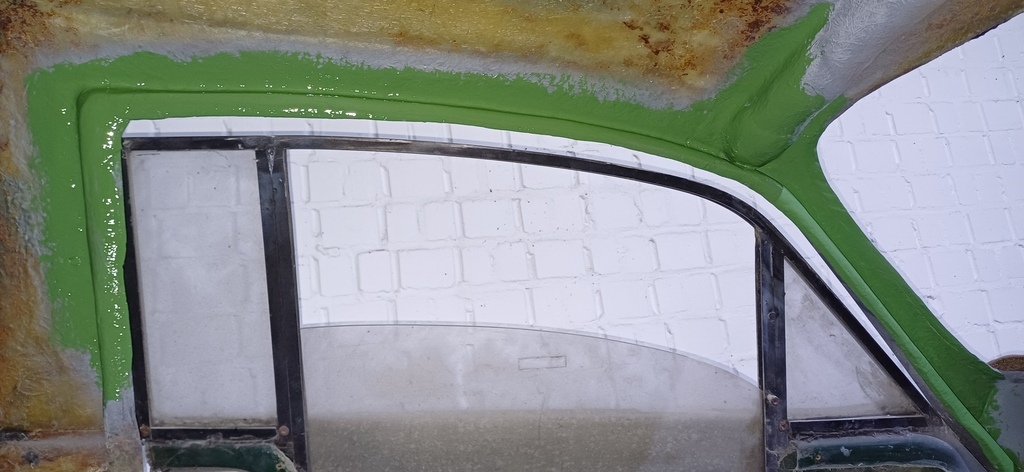 |
| |
|
|
glenanderson
Club Retro Rides Member
Posts: 4,352
Club RR Member Number: 64
|
1979 Mini Marcosglenanderson
@glenanderson
Club Retro Rides Member 64
|
Oct 20, 2024 15:12:53 GMT
|
|
There is fibreglass work in my future. Prepare yourself for a barrage of questions at some point, because after watching you with first the Nein12 and then this, you’re now an “expert” in my view. 😃👍
|
| |
My worst worry about dying is my wife selling my stuff for what I told her it cost...
|
|
|
|
|
Oct 22, 2024 12:03:02 GMT
|
|
|
| |
|
|
|
|
|
Oct 22, 2024 21:27:30 GMT
|
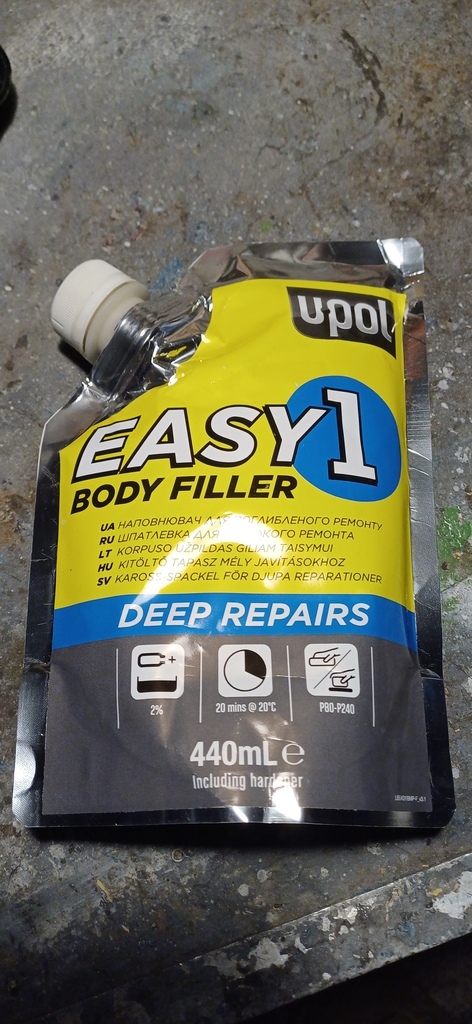
Exciting stuff......levelling fibreglass. This had a tickle with the DA with a 120grit disc, then a skim of upol in the low spots. Next I'll probably give it a coat of primer around the edges then see what the DA shows up. 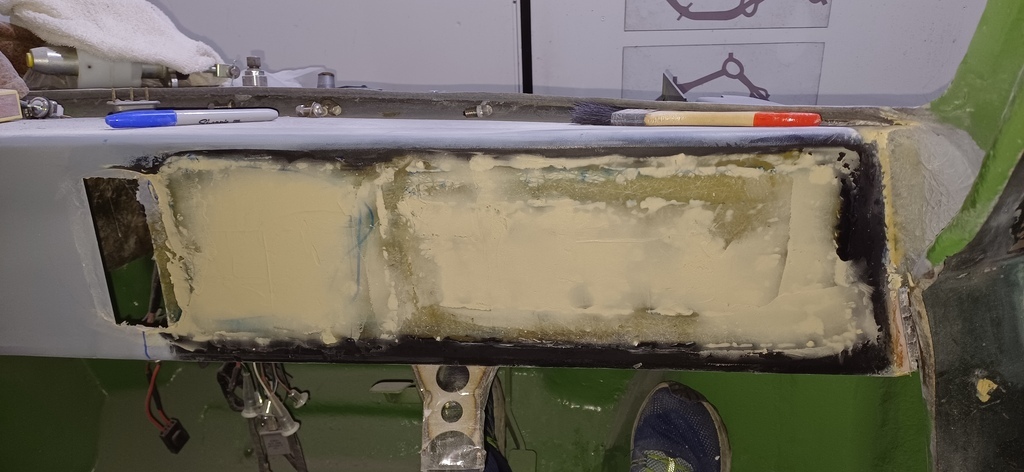 |
| |
|
|
|
|
|
|
|
|
|
After a quick sand with the DA, I've marked the high and low spots 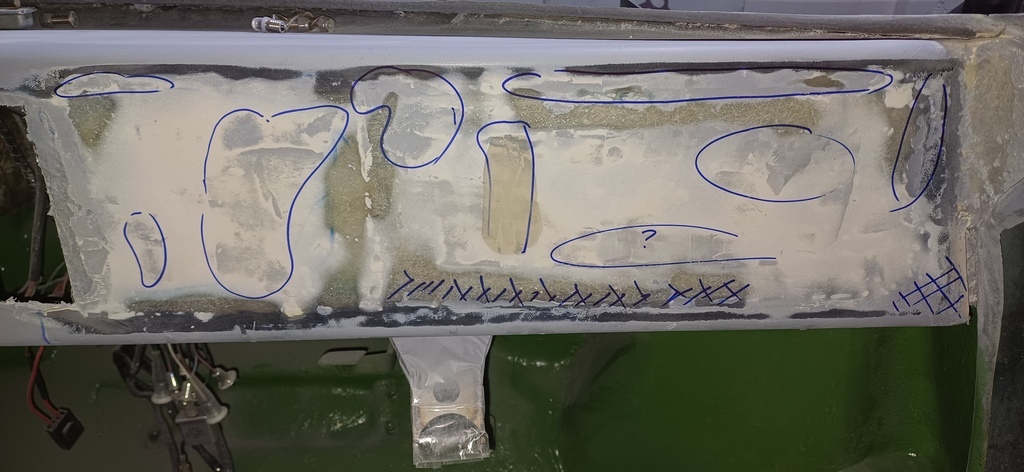 Then a skim of filler 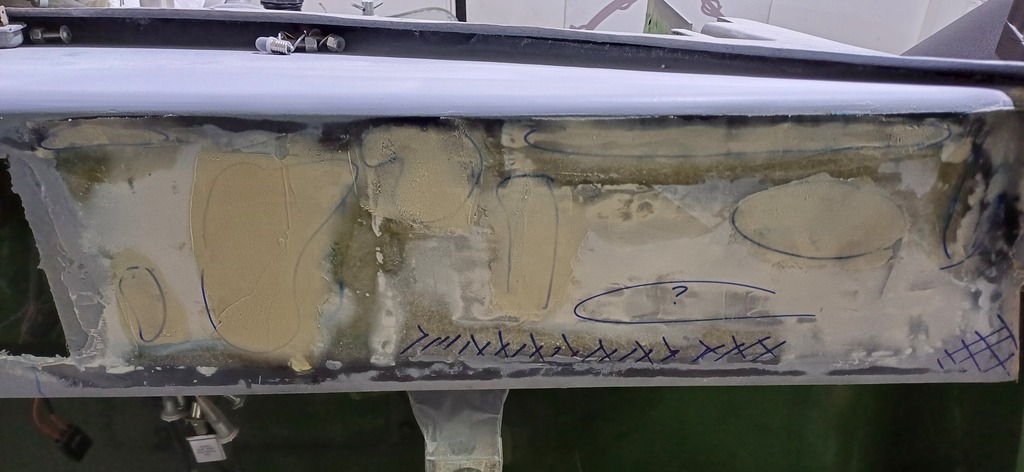 |
| |
|
|
|
|
|
|
|
Another session tonight going at the dash face. Almost there. A few skims of glaze and some levelling in the far corner. 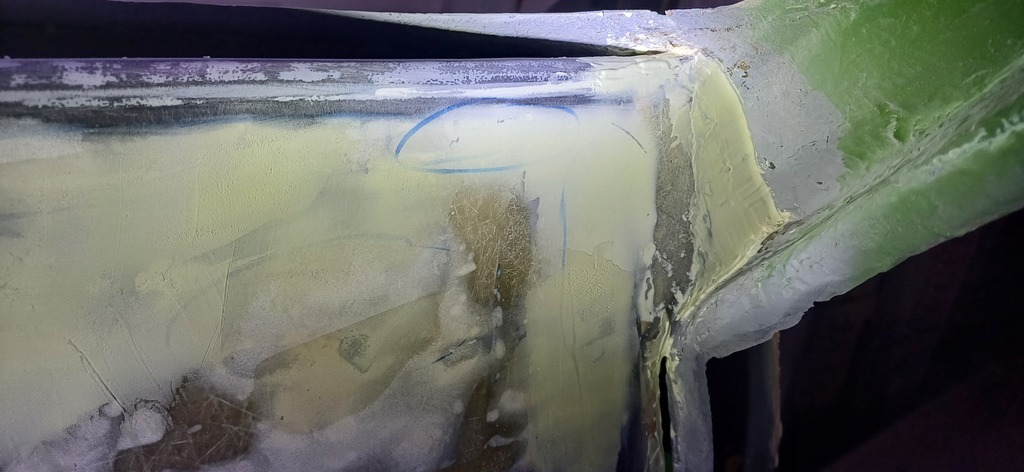 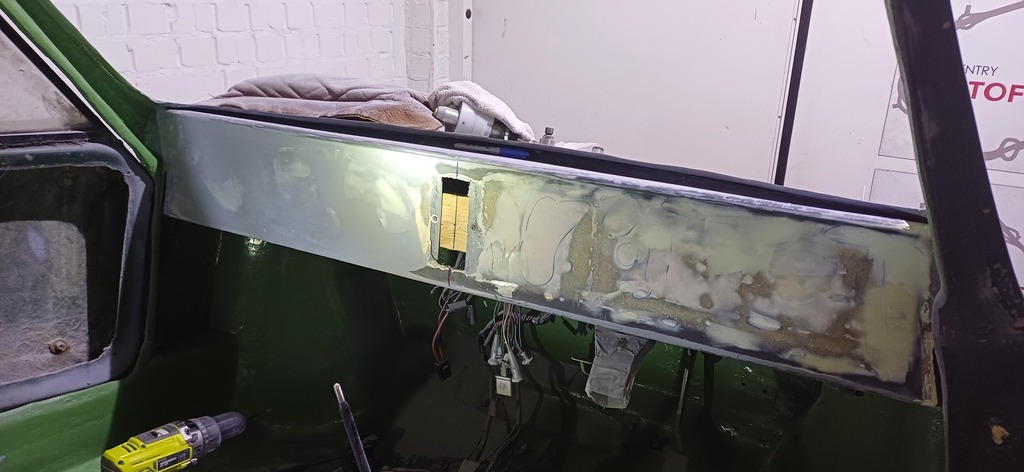 I'm using upol dolphin fine surface glaze. 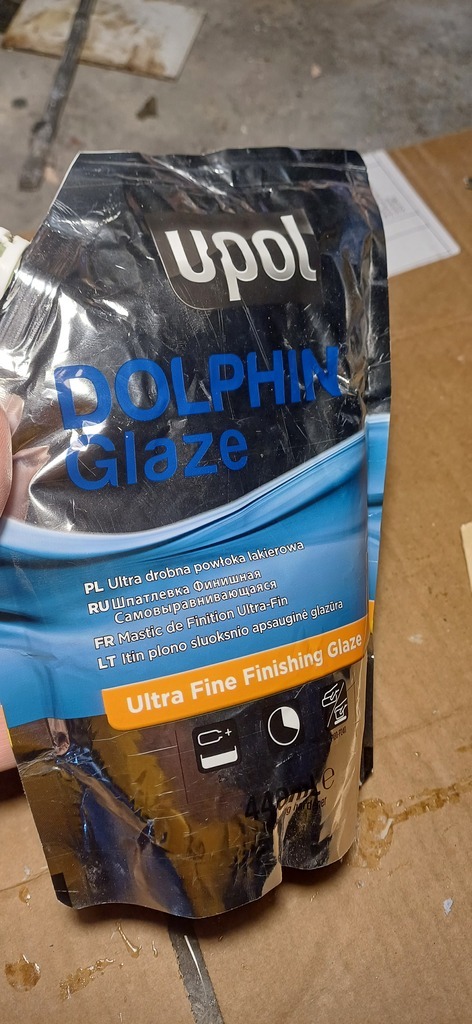 Also treated myself to a new cordless combi drill and torch deal from ryobi which was £109 delivered with 2 battery packs and a charger plus a free 3rd item( I picked cordless hand vac) 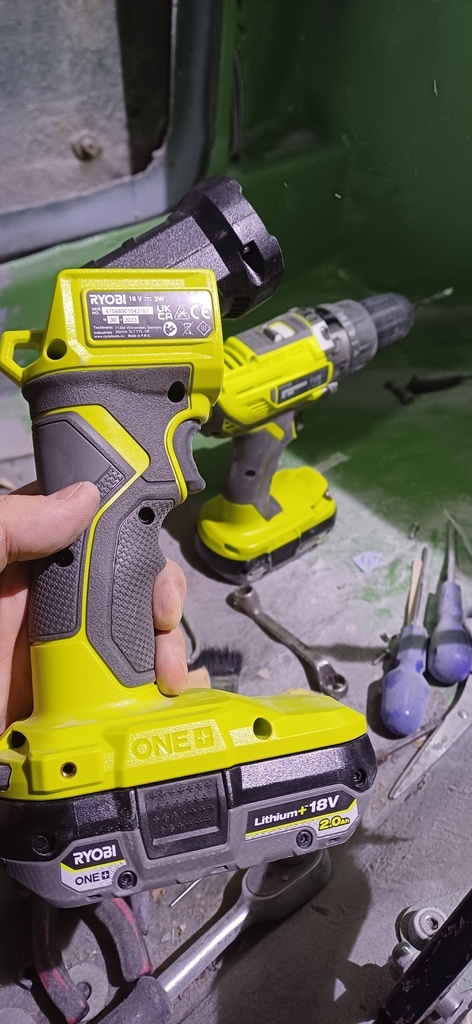 Final job was to screw a wooden backing so I can use a compass to scribe the speedo hole. 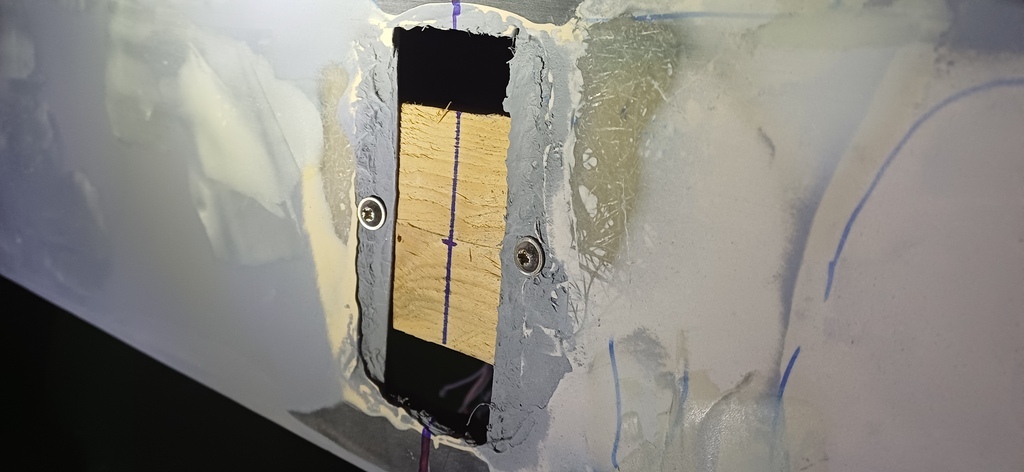 |
| |
|
|
|
|
|
Nov 15, 2024 22:29:05 GMT
|
|
|
| |
|
|


