|
|
|
Apr 19, 2020 13:55:03 GMT
|
New panel ready go - line the welder up and the 'Prince of Darkness' strikes again - another power cut - we are all on overheads through the village - its not unusual to loose power on several occasions over the course of the year when one of the overhead cables gets damaged by weather / falling trees etc That and the whole infrastructure is being used differently, where they had ungraded for industry that isn’t being used, and the morning and evening loads in domestic properties are now being used 24/7... and hasn’t been maintained for that. Still, annoying as it is, it could be worse (as long as you can boil the kettle somehow.... or it’s late enough for gin maybe  ) John - Never thought about like that - Now, gin there's a thought - just getting over a chest infection and now off the medication so the bank of gin can be revisited this evening |
| |
Last Edit: Apr 19, 2020 13:55:47 GMT by Deleted
|
|
|
|
|
|
|
Apr 19, 2020 15:24:21 GMT
|
|
Chris, we are open whenever we get any work. Open tomorrow, and possibly Tuesday - it's all dependant on whether we get any enquiries.
|
| |
|
|
|
|
|
Apr 21, 2020 20:34:18 GMT
|
On a steady plod at the present time - my chest is taking longer to clear up than first thought - however some progress has been made 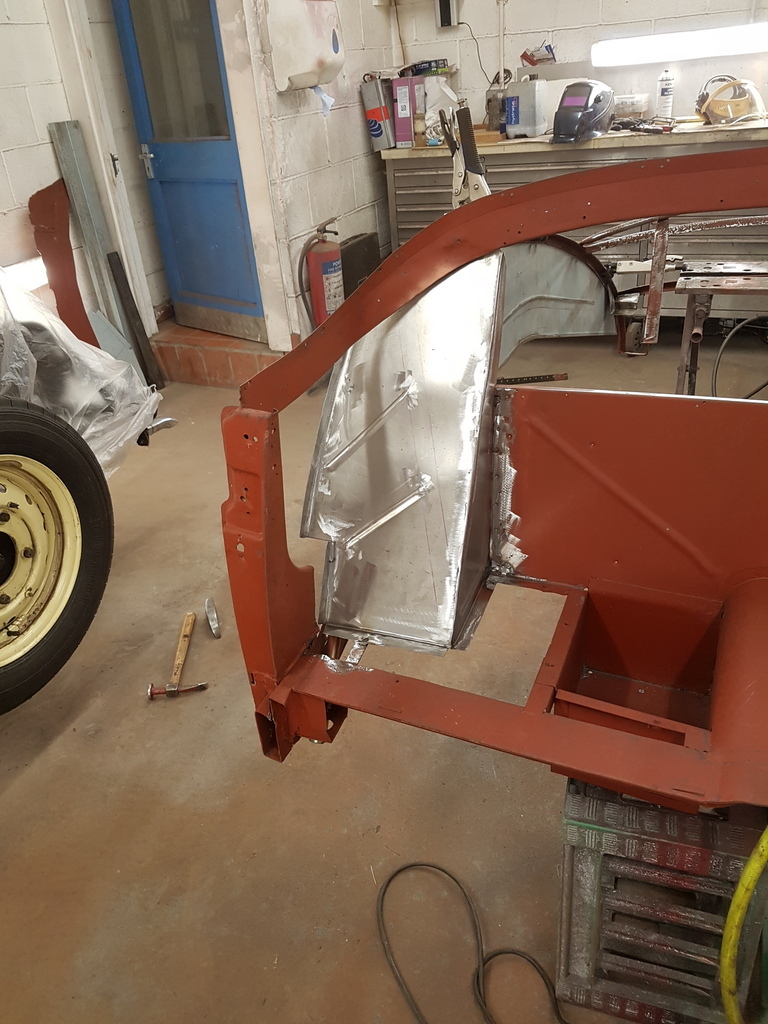 Corner flange panel fitted 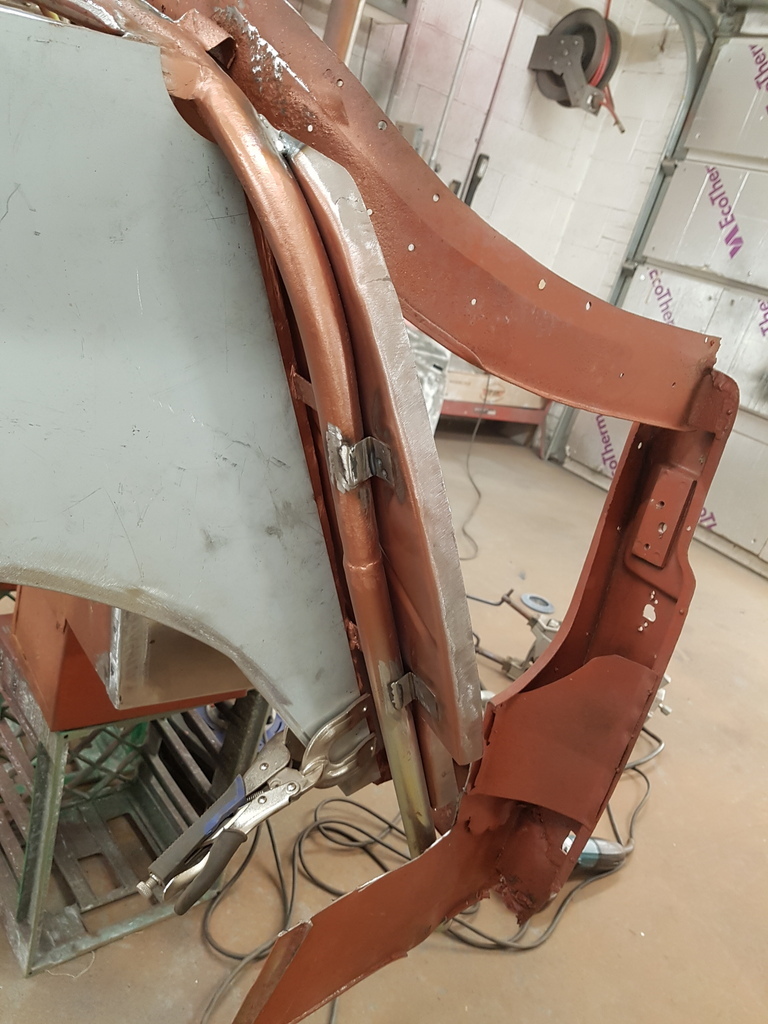 Just a simple welded tab retains it on the outer face 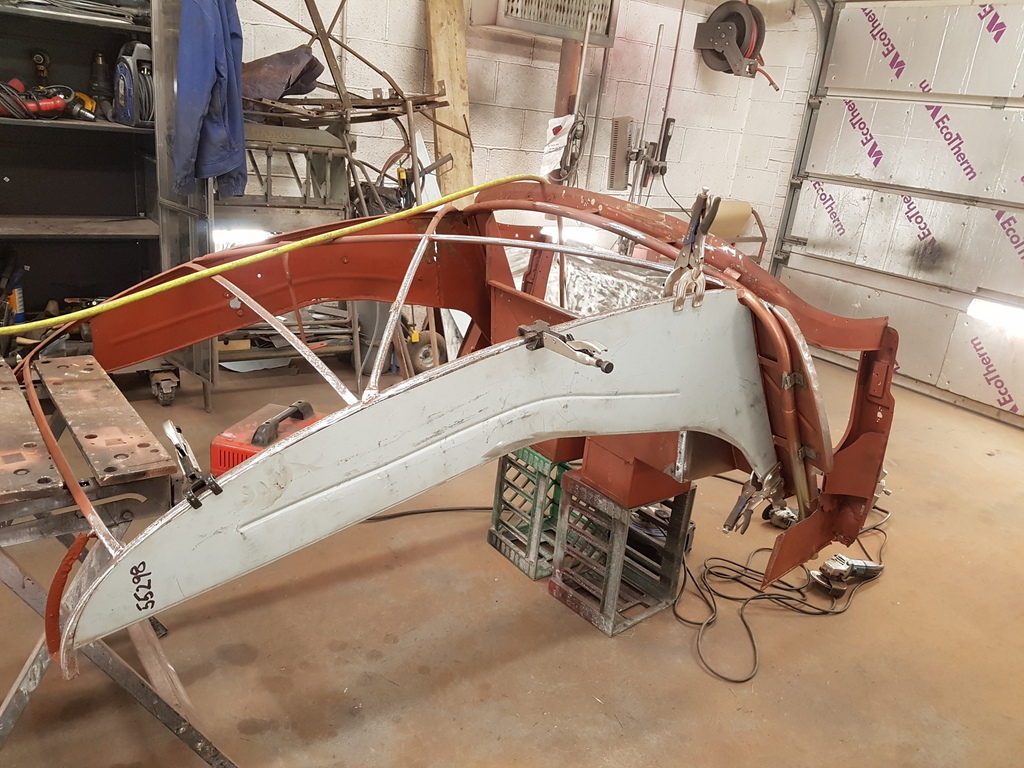 Bracing was then removed and the inner wing / splash panel could be trial fitted Then welded in 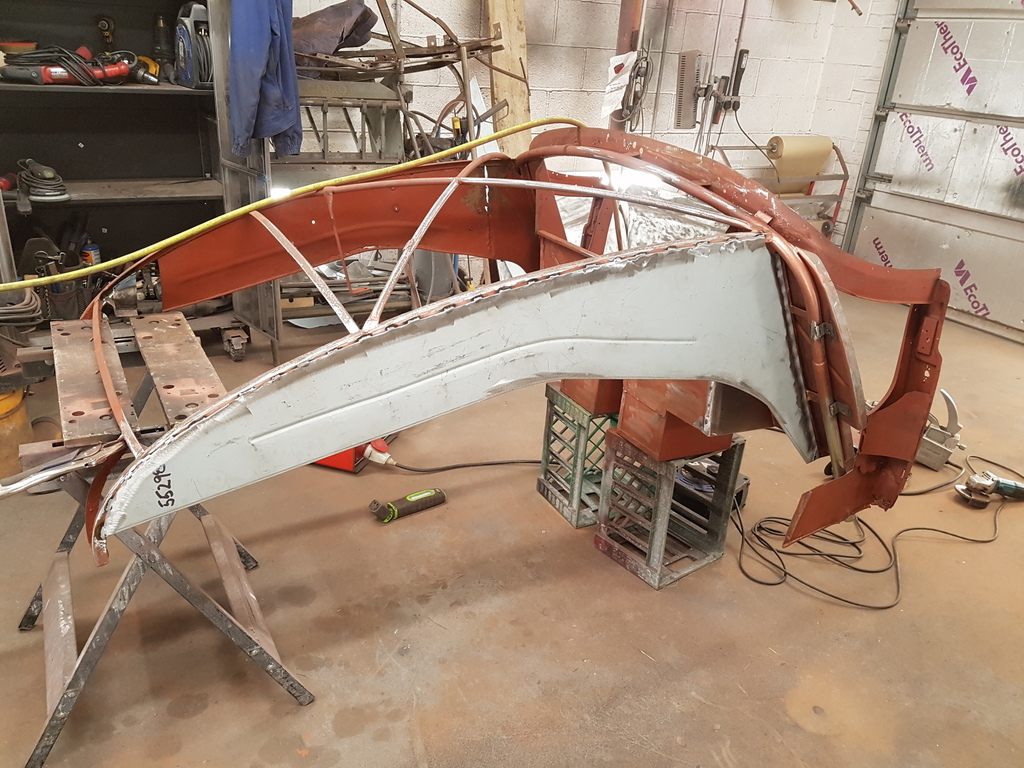 Next job is to repair the rear shroud mounting - this retains the very rear section of the long rear shroud panel 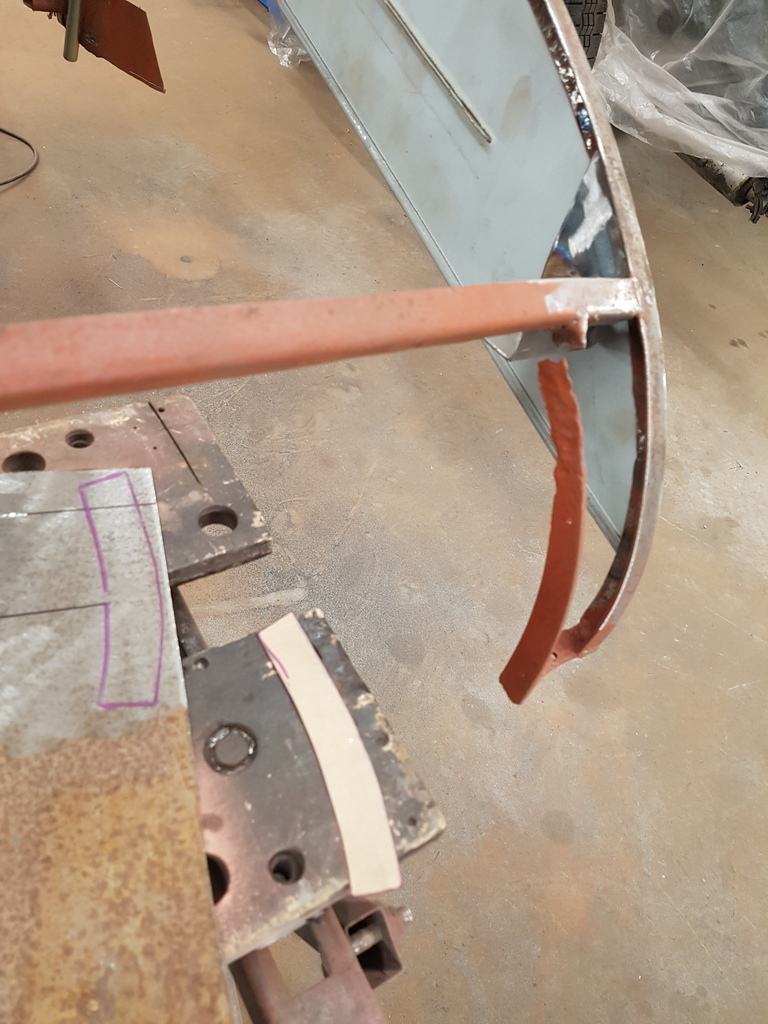 But that is the bulk of the work on the offside completed - the box section sill ties into the bottom of the rear superstructure but until the assembly is mounted back to the chassis and the sill offered up its not worth progressing the lower repairs to the structure 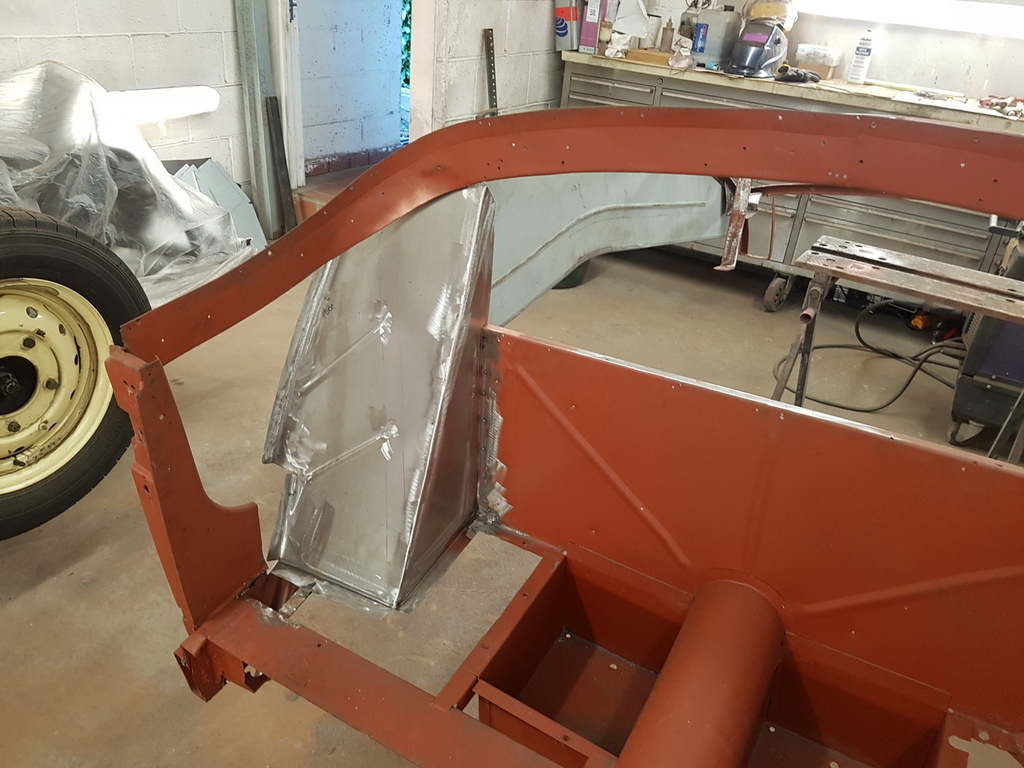 Meanwhile my mate Sid called in to sign the work to date off - with which he was fine with 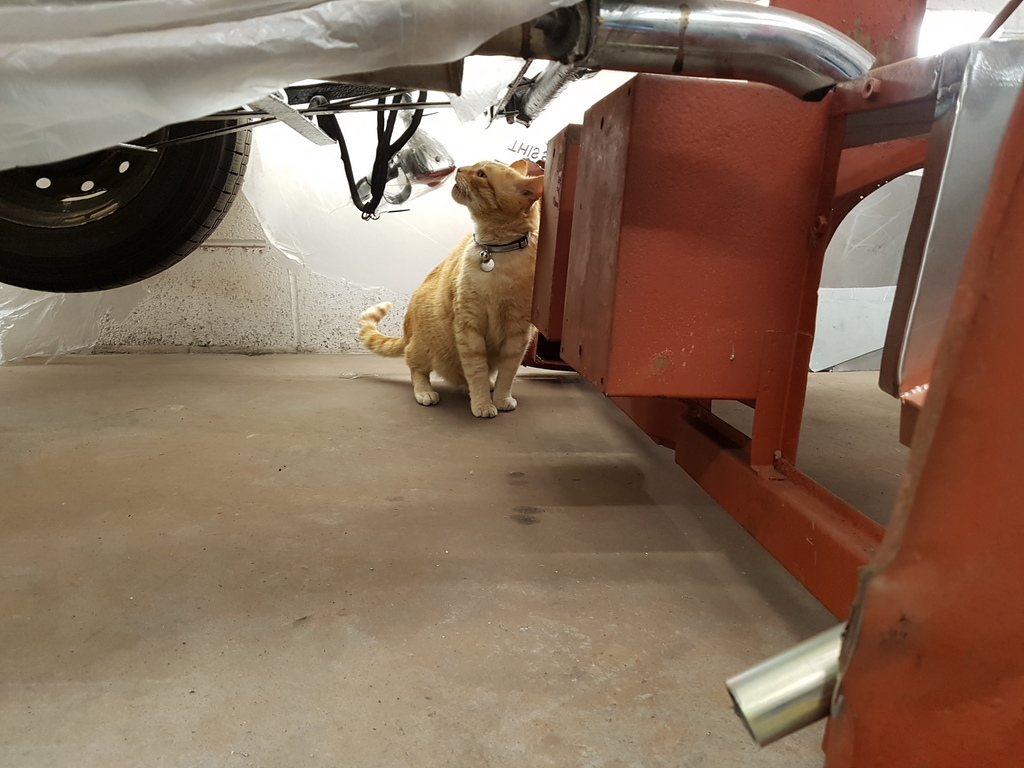 |
| |
|
|
|
|
|
Apr 21, 2020 20:58:11 GMT
|
|
A visit from the quality control inspector I see. I fully expected him to be contemplating your schedule whilst everyone else thinks he is basking in the sun......
Cannot believe the amount of tin worm the car was hiding! Still, it's in the best place for a new lease of life.
|
| |
|
|
|
|
|
|
|
A visit from the quality control inspector I see. I fully expected him to be contemplating your schedule whilst everyone else thinks he is basking in the sun...... Cannot believe the amount of tin worm the car was hiding! Still, it's in the best place for a new lease of life. Sid is really doing the high ended AAA+ inspection there Chris. Mouth open in order to gather every nuance of your work and to see if there are any lingering evils. Quick Hijack. Just to expose you Henry 😉 Your own incredibly high standards are usually maintained by your own QC. After a heavy day at work. 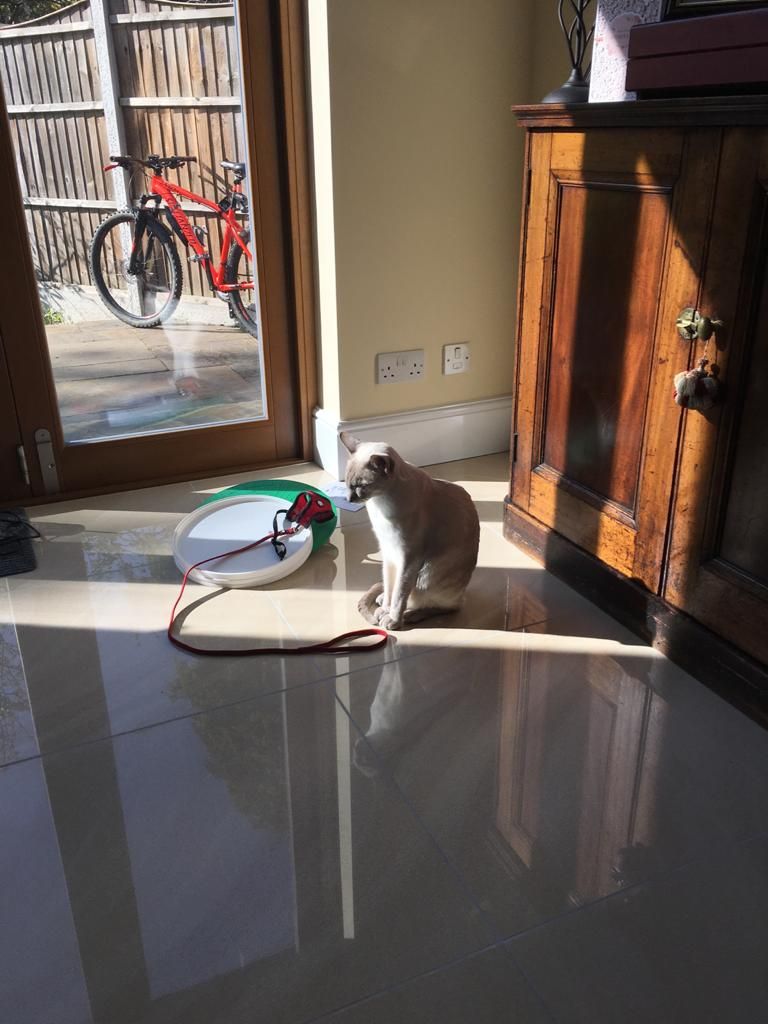 And checking out your efforts. 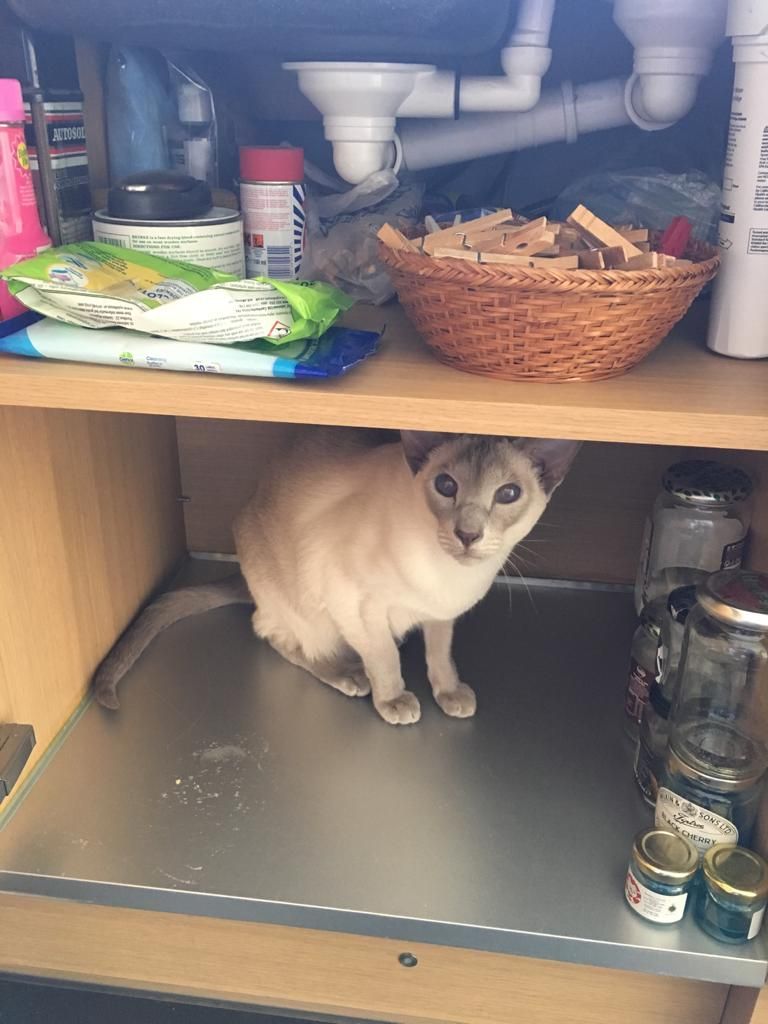 |
| |
Last Edit: Apr 22, 2020 6:59:50 GMT by grizz
|
|
|
|
|
|
|
Just to expose you Henry 😉 Your own incredibly high standards are usually maintained by your own QC. After a heavy day at work.  And checking out your efforts.  Where's Henry from then Grizz? |
| |
Last Edit: Apr 22, 2020 6:53:13 GMT by georgeb
|
|
|
|
|
|
|
Just to expose you Henry 😉 Your own incredibly high standards are usually maintained by your own QC. After a heavy day at work. And checking out your efforts. Where's Henry from then Grizz? Morning George, Henry lives over in Romford, Essexshire. He has been here a few times, always to work, and create chaos by insisting that I up my game, and improve quality. A good man. |
| |
|
|
|
|
|
|
|
Morning George, Henry lives over in Romford, Essexshire. He has been here a few times, always to work, and create chaos by insisting that I up my game, and improve quality. A good man. Ah, not another skip-dive acquirement then?  |
| |
|
|
|
|
|
|
|
|
Rumbled me thinks!☺️
I’ve been called many things but a ‘skip dive aquirement’ is going to take some beating!😉
Sorry for the distraction Chris- carry on please!
|
| |
|
|
|
|
|
Apr 23, 2020 19:48:06 GMT
|
Carrying on then ! 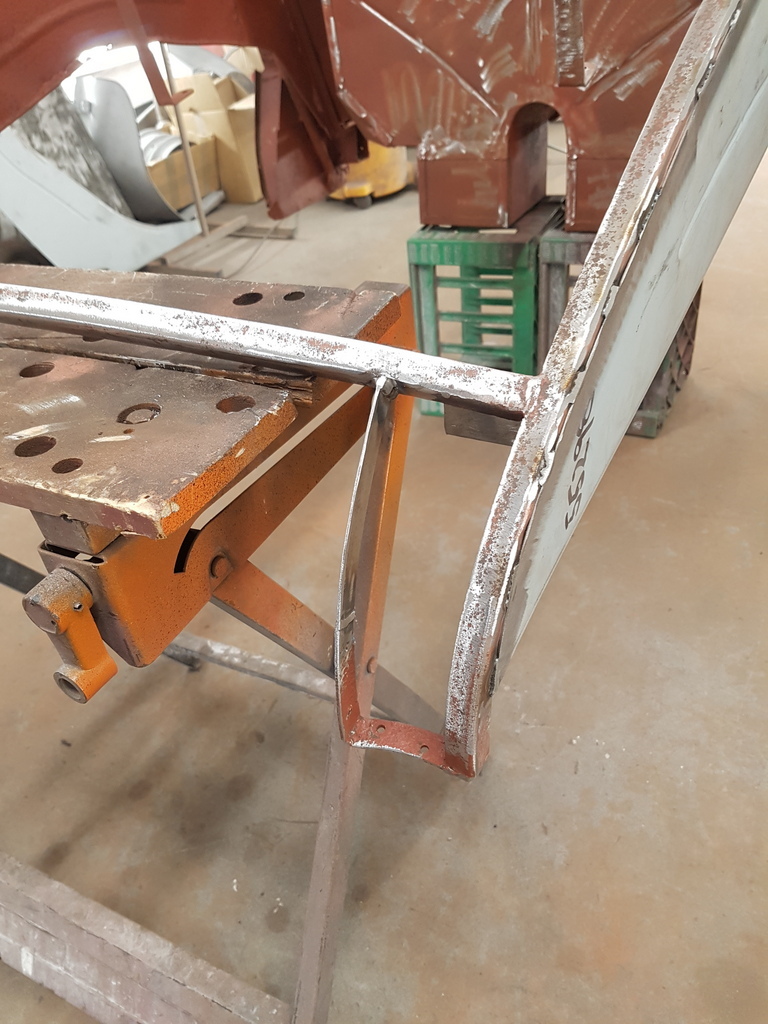 New steel cut & welded in to the broken offside rear shroud panel bracket 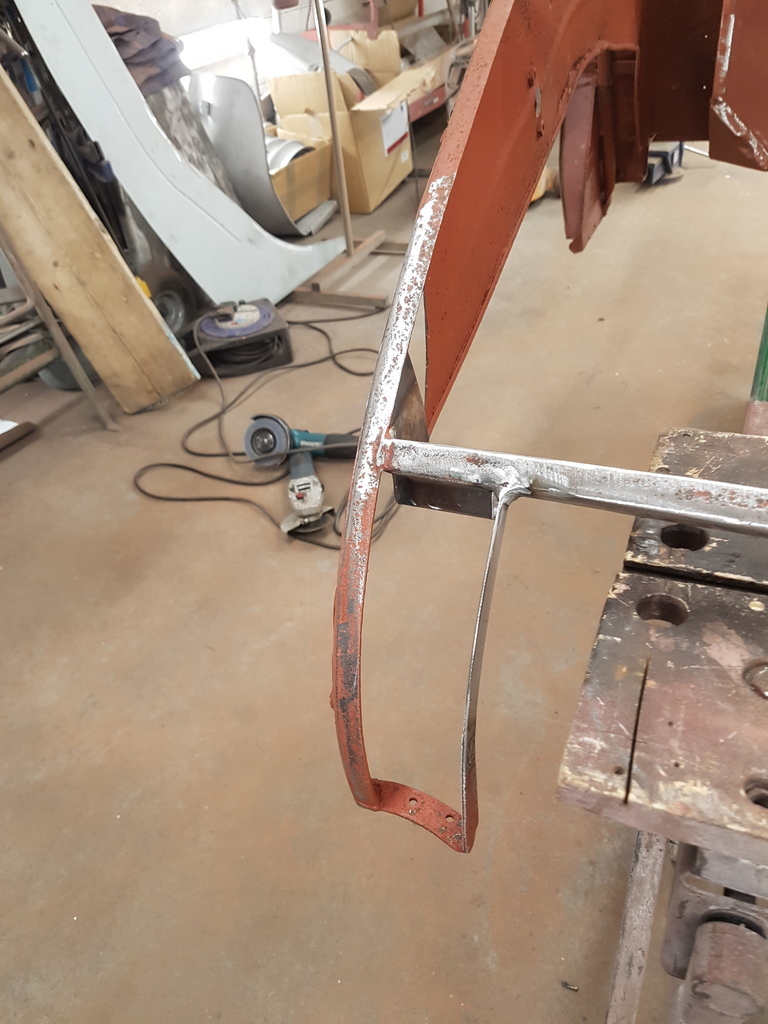 Nearside also completed at the same time 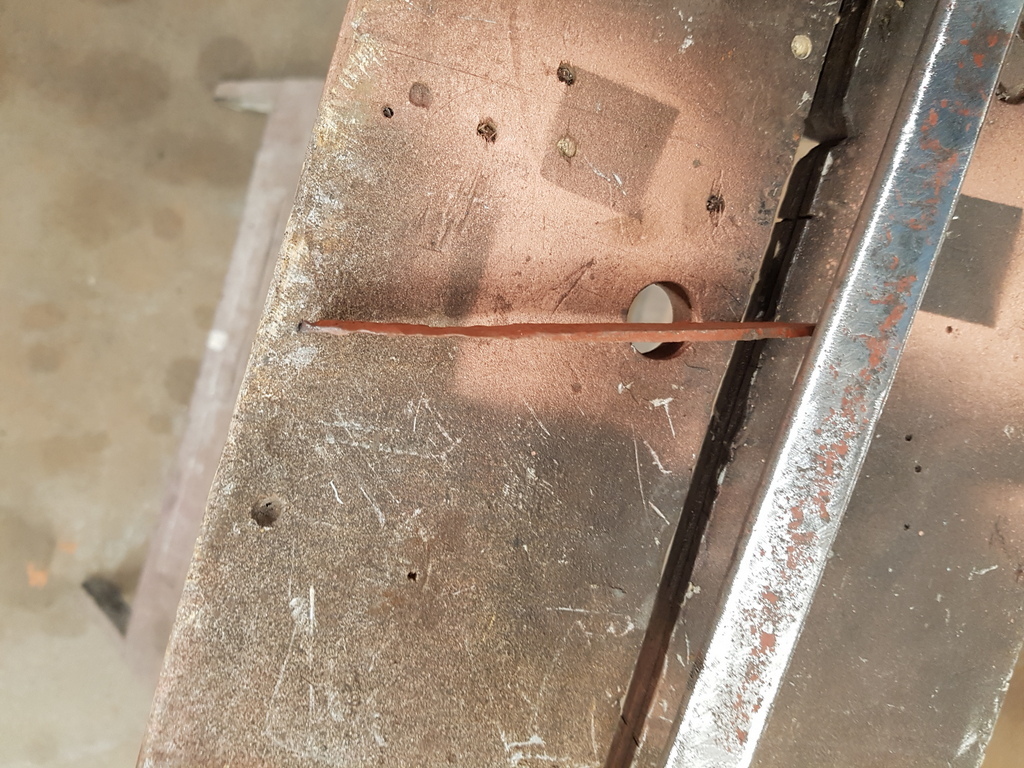 This side was not broken - but well on its way to doing so with erosion greatly reducing the brackets original thickness 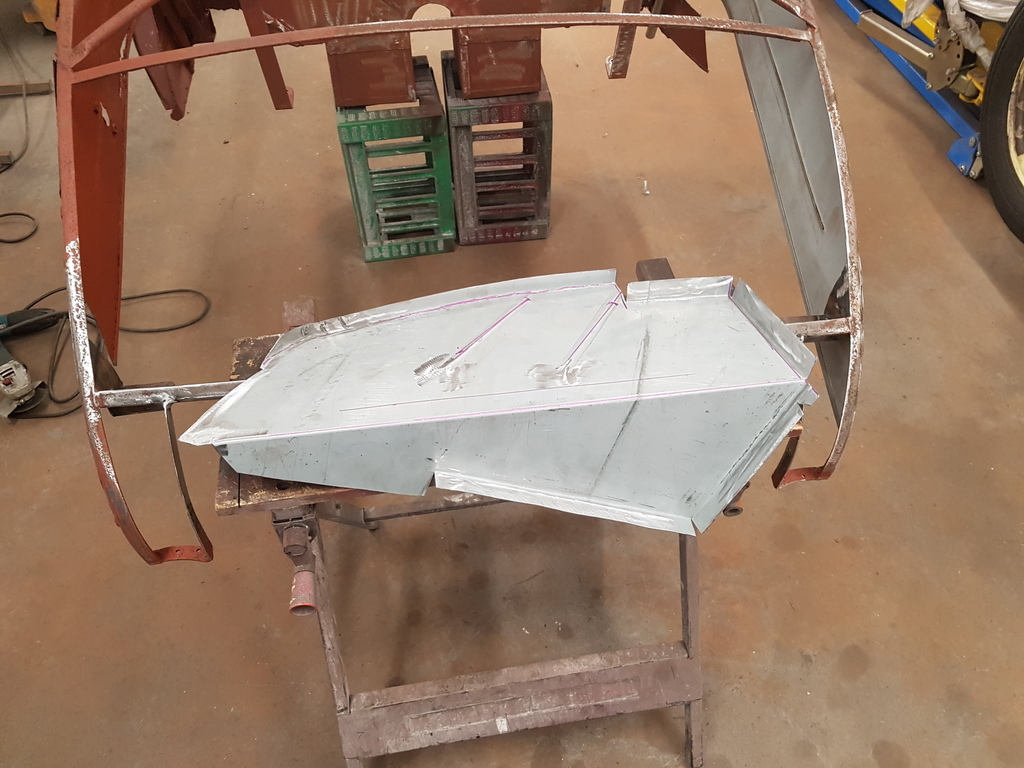 New corner flange panel fabricated in advance of removing the bodged original 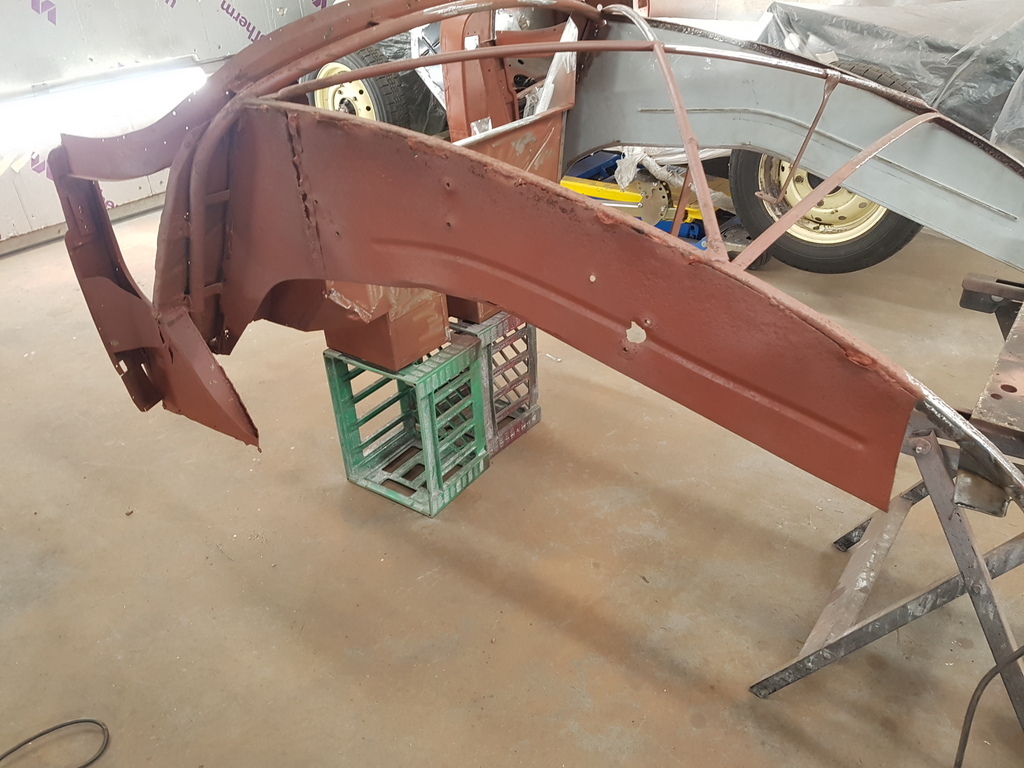 Nearside inner wing / splash plate ready for dissection / removal 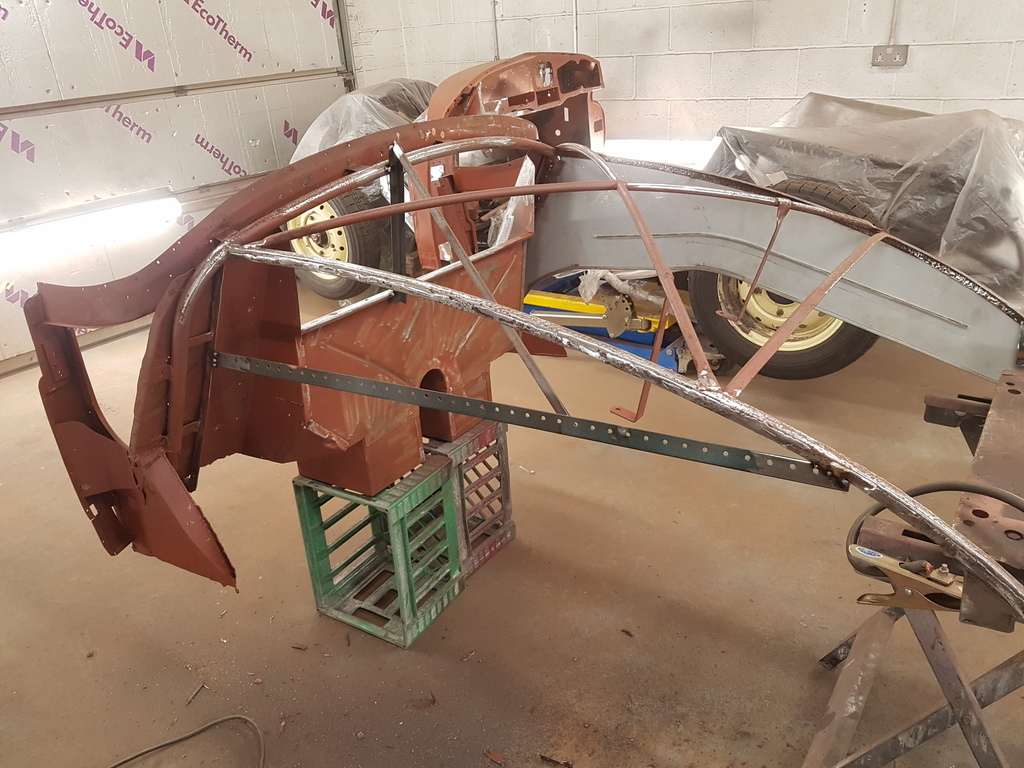 Removed - framework cleaned up & temporary bracing welded insitu 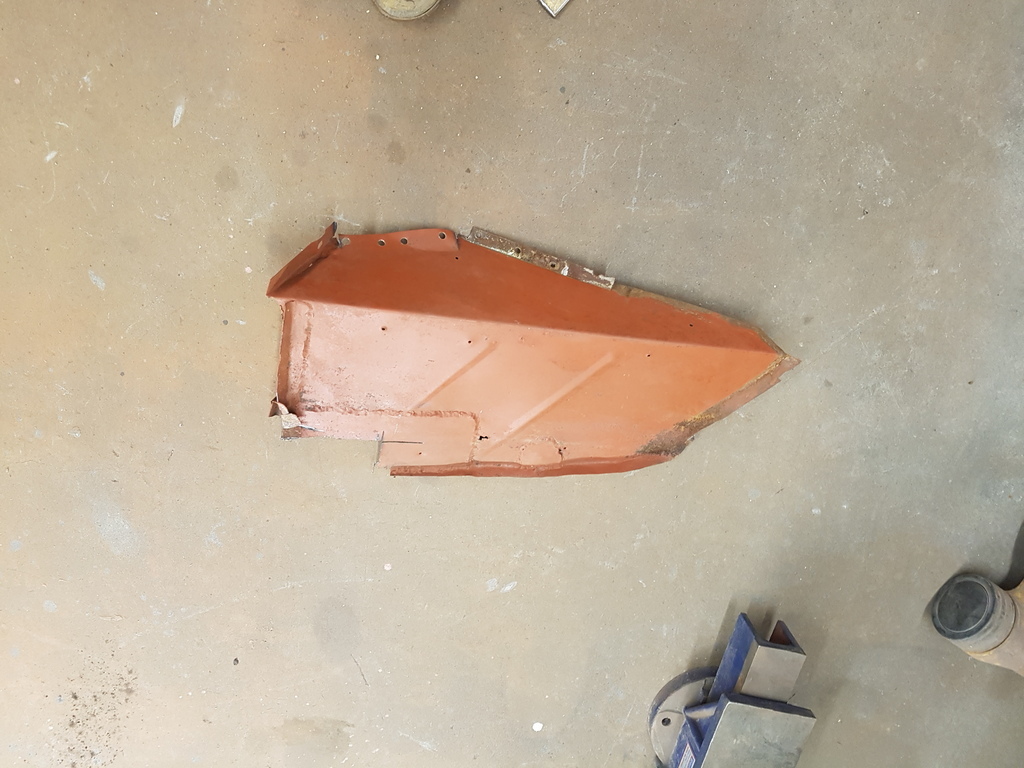 Original corner flange panel removed 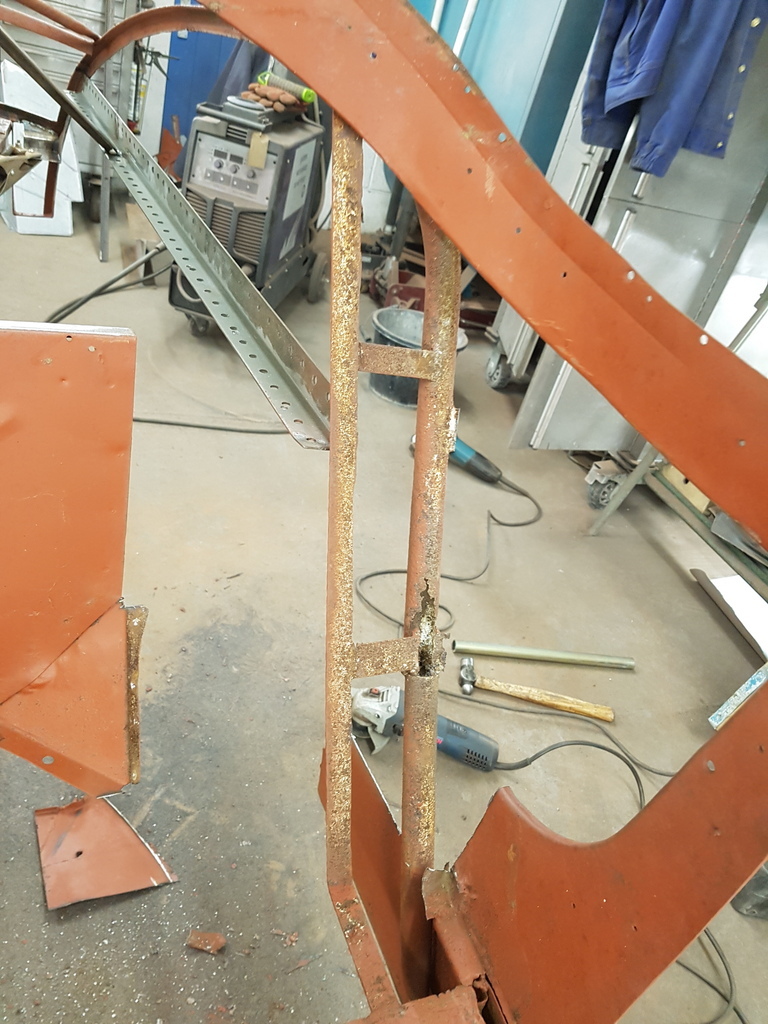 Which now allows access to replace the rotten section of the hoop support frame 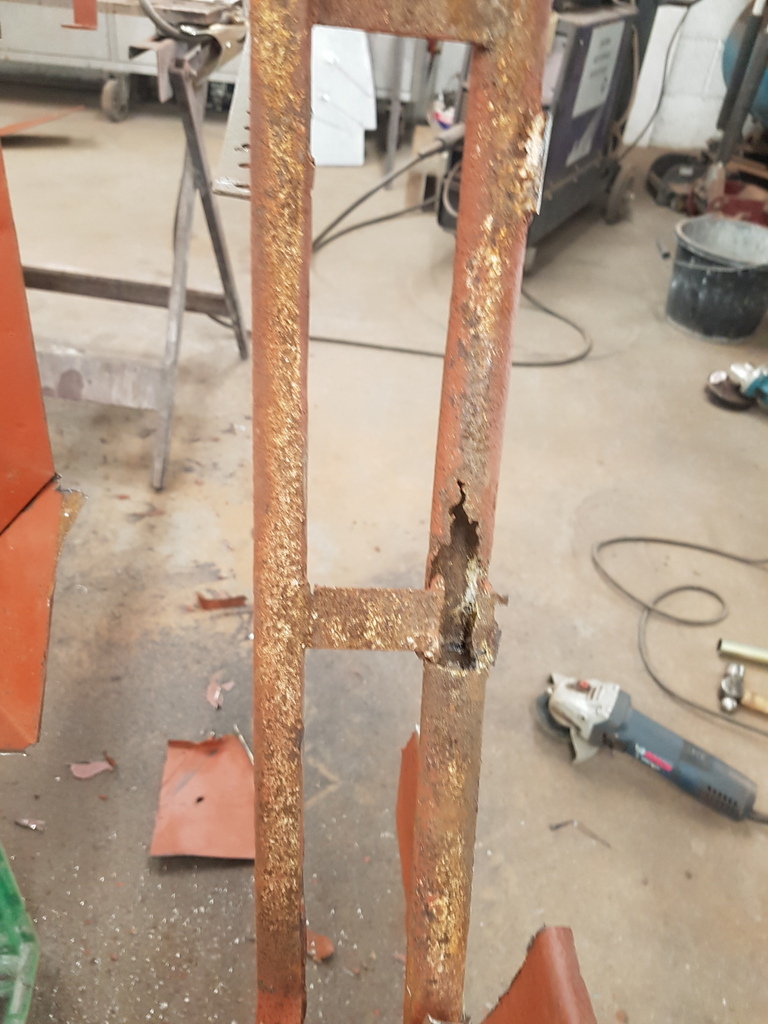 The B post has only just be hanging on to the lower structure too 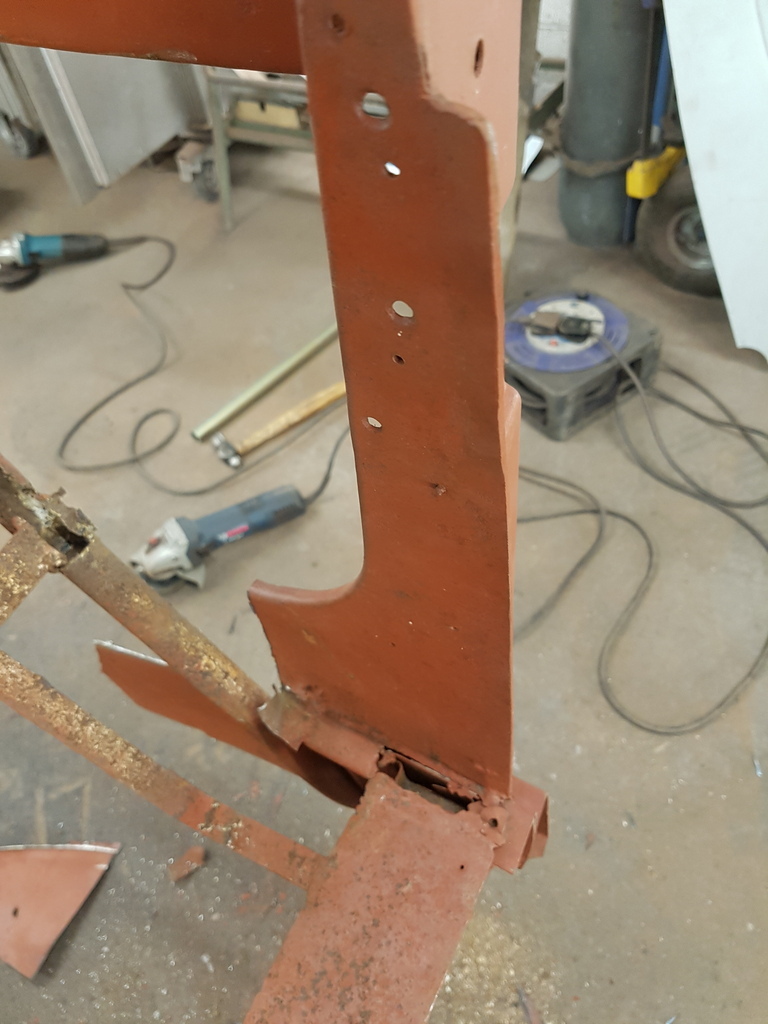 Just 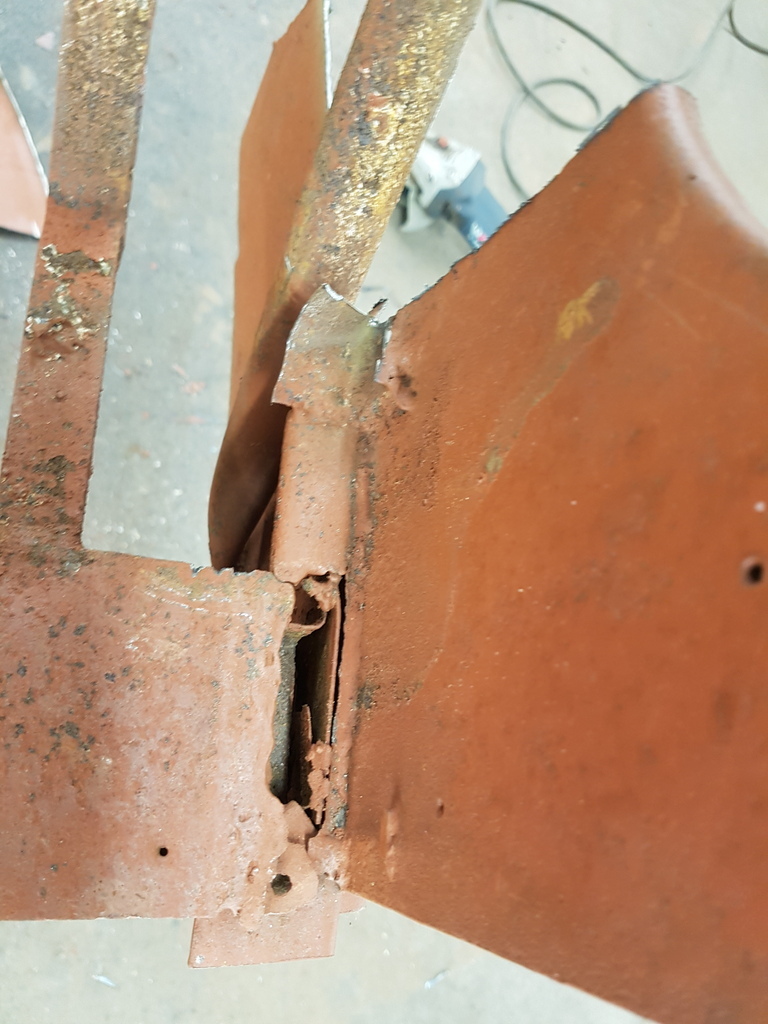 This fillet / triangulated section is to allow clearance for the rear axles panhard rod - its quite thin on the flange edges so I shall be fabricating a new one up 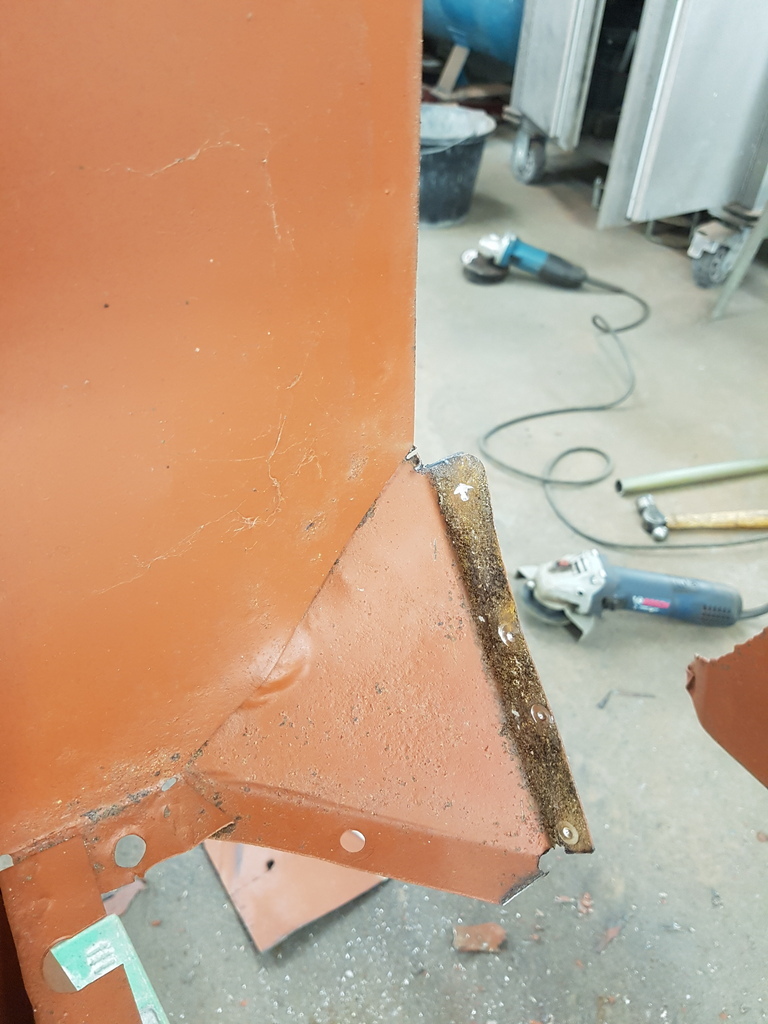 More tomorrow |
| |
Last Edit: Apr 23, 2020 19:52:24 GMT by Deleted
|
|
|
|
|
|
|
Apr 23, 2020 20:37:54 GMT
|
Meanwhile my mate Sid called in to sign the work to date off - with which he was fine with  something tasty on there! it has invoked sids flehmen repsonse. |
| |
|
|
|
|
|
Apr 23, 2020 23:40:47 GMT
|
something tasty on there! it has invoked sids flehmen repsonse. You just knew I'd have to go and look that up!  |
| |
|
|
|
|
|
Apr 24, 2020 19:10:30 GMT
|
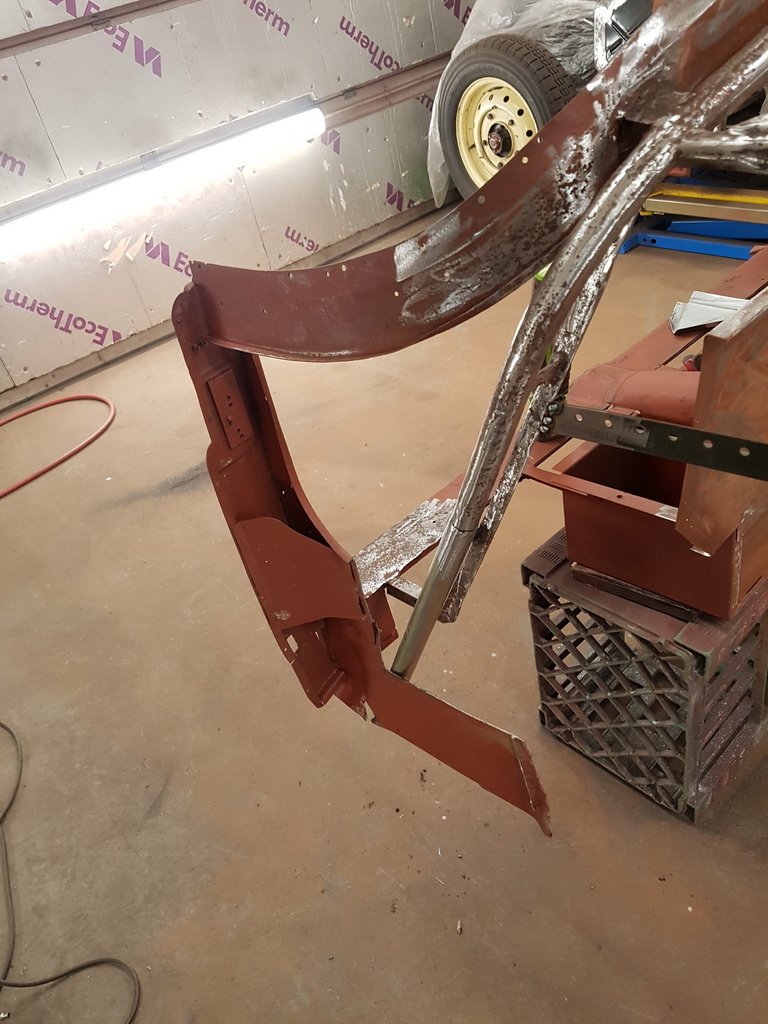 The rotten section of the tube support hoop was cut out and a new section let in / cleaned up 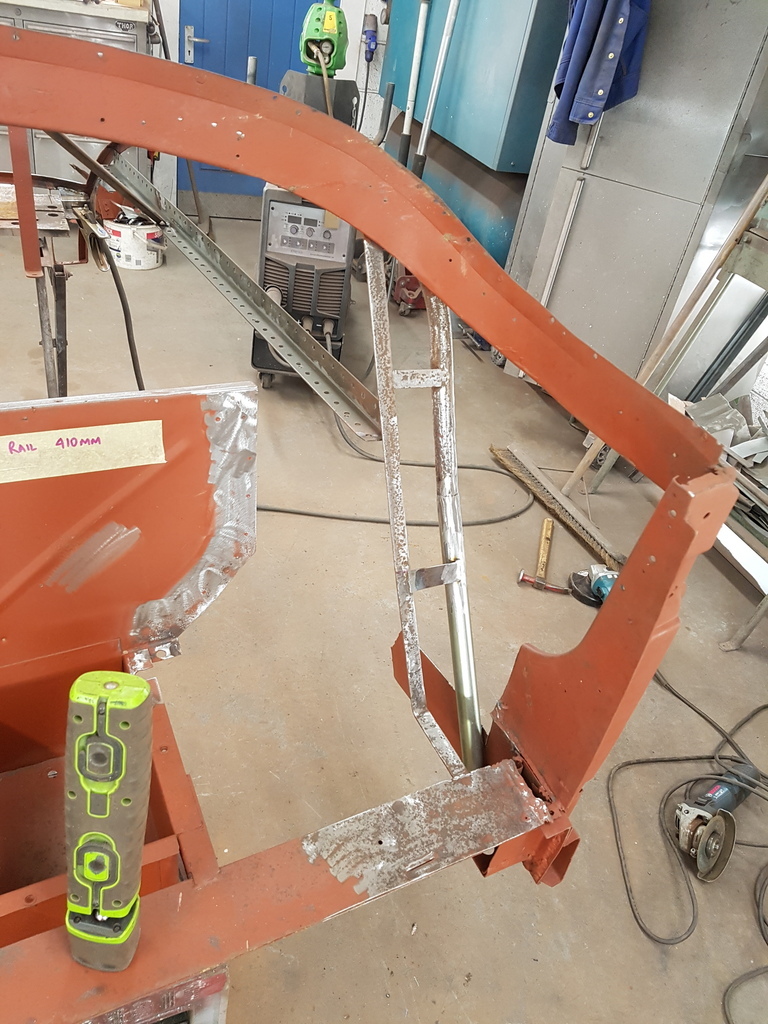 New diagonal fillet fabricated & spotwelded in 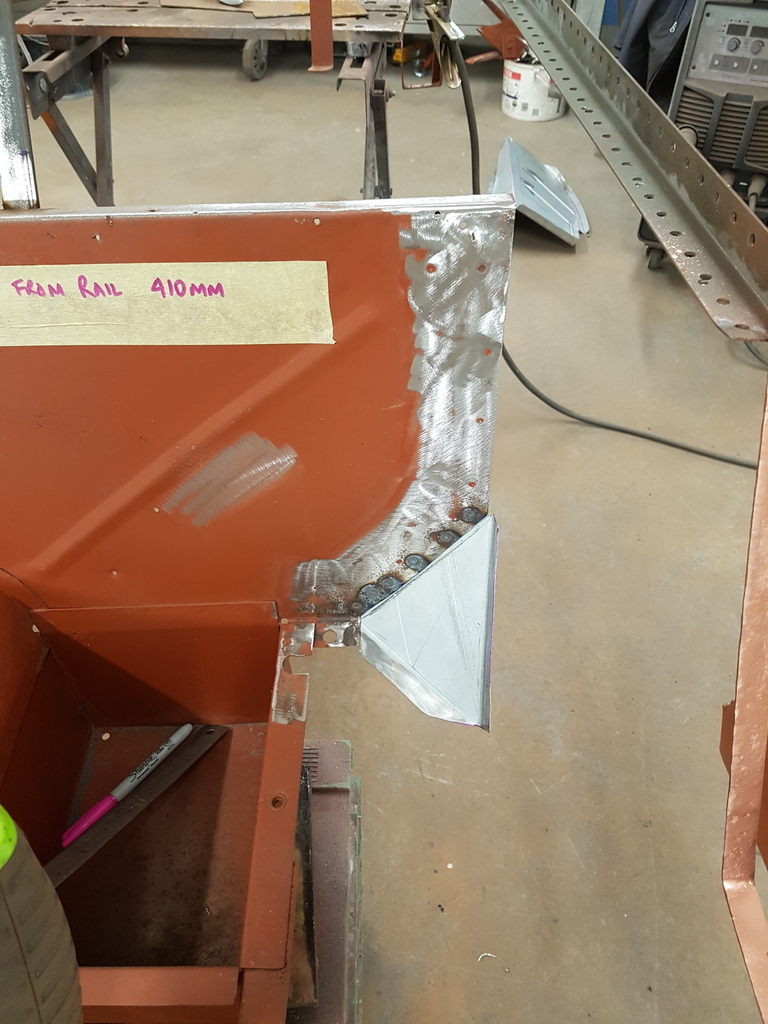 Then the steel work which be covered by the corner flange panel was treated with a weld through primer 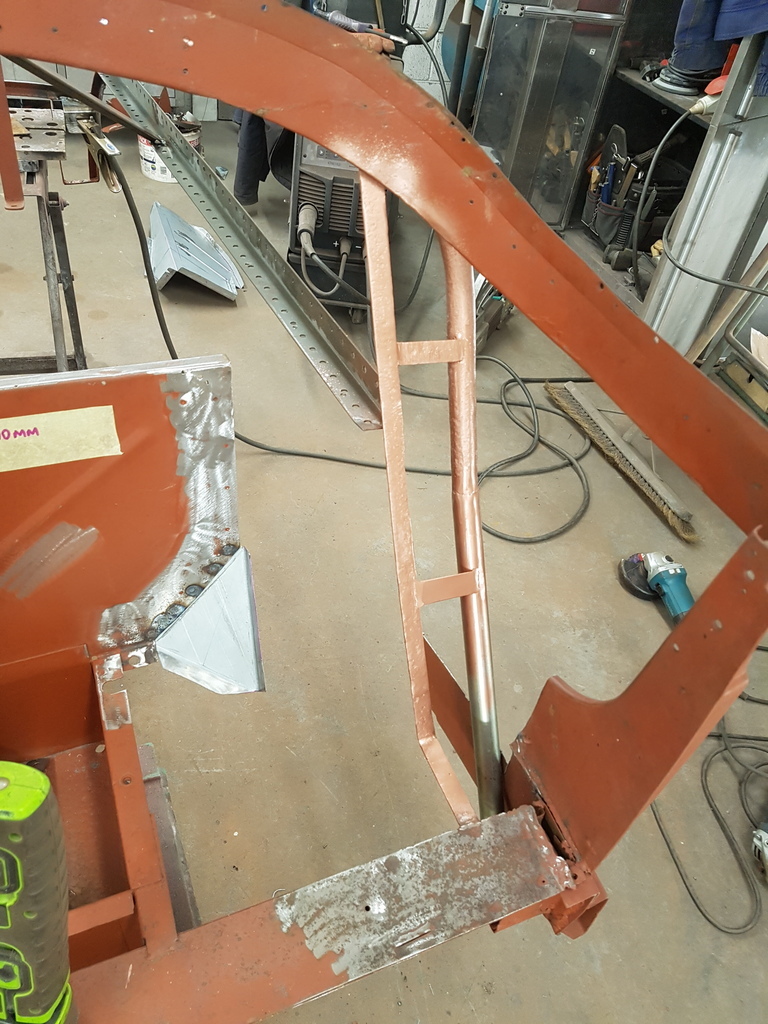 New panel trial fitted 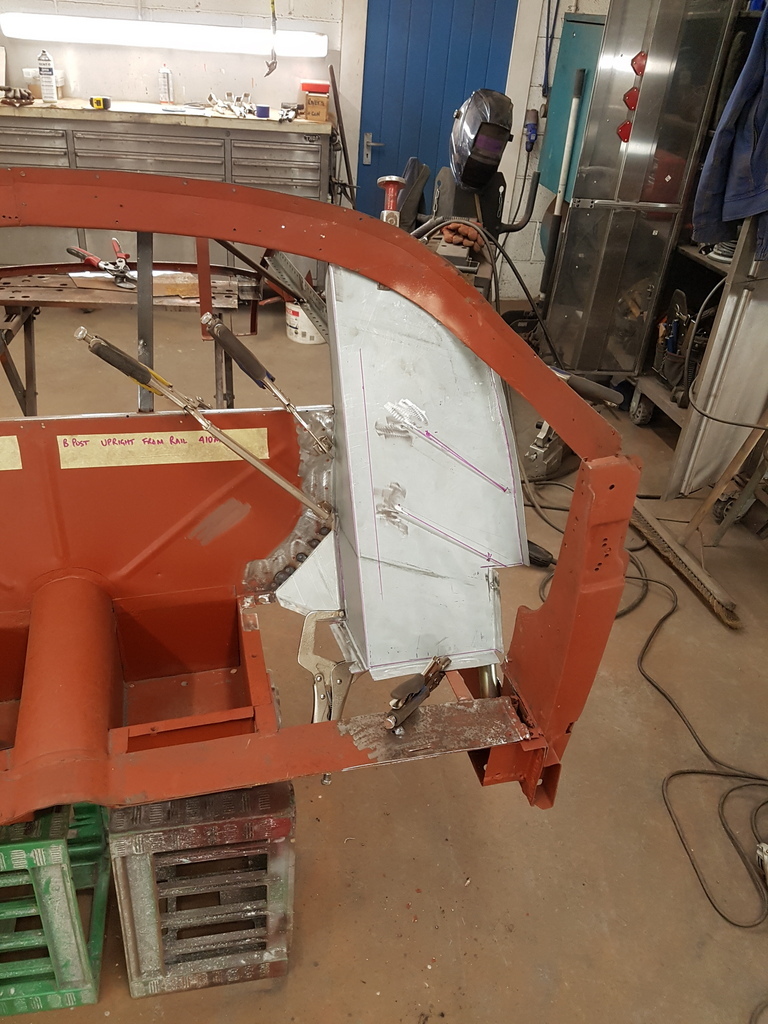 Then welded in 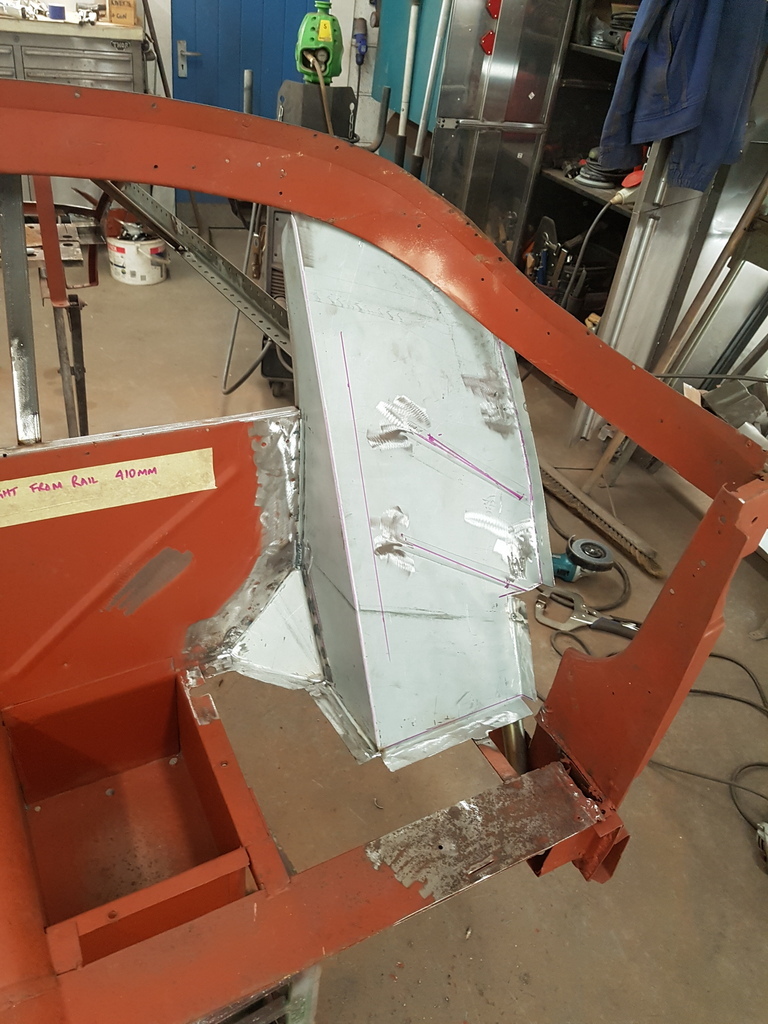 Complete with the rear tab brackets 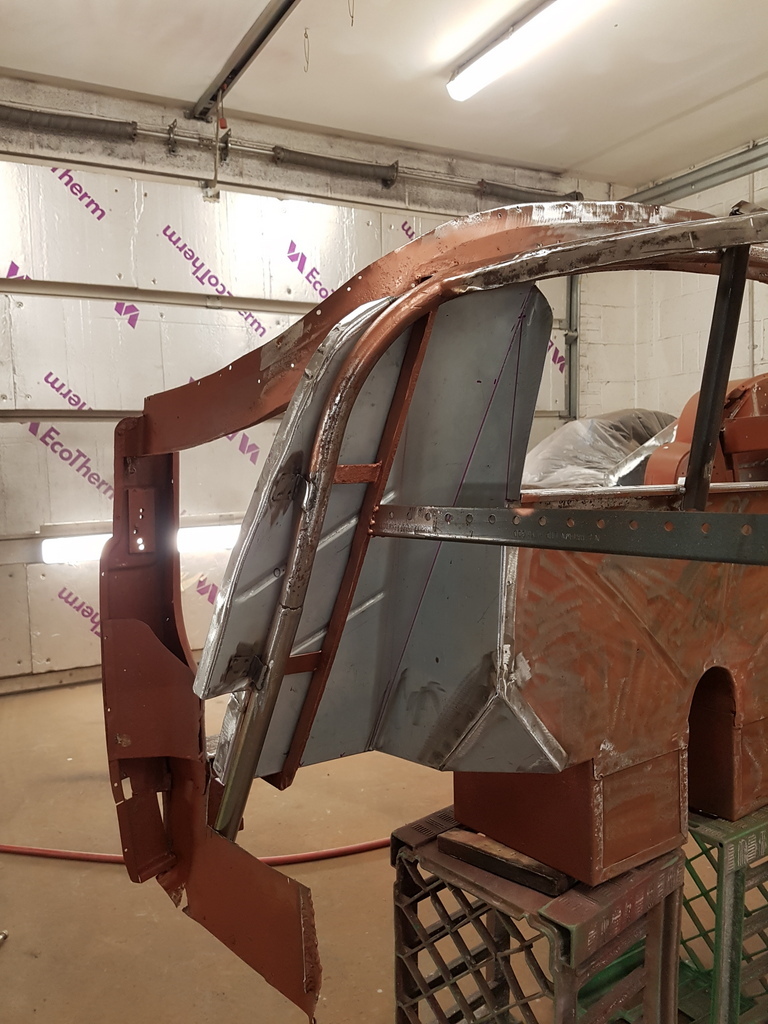 The temporary bracing could now be removed allowing the rear inner wing / splash panel to be prepped & trial fitted 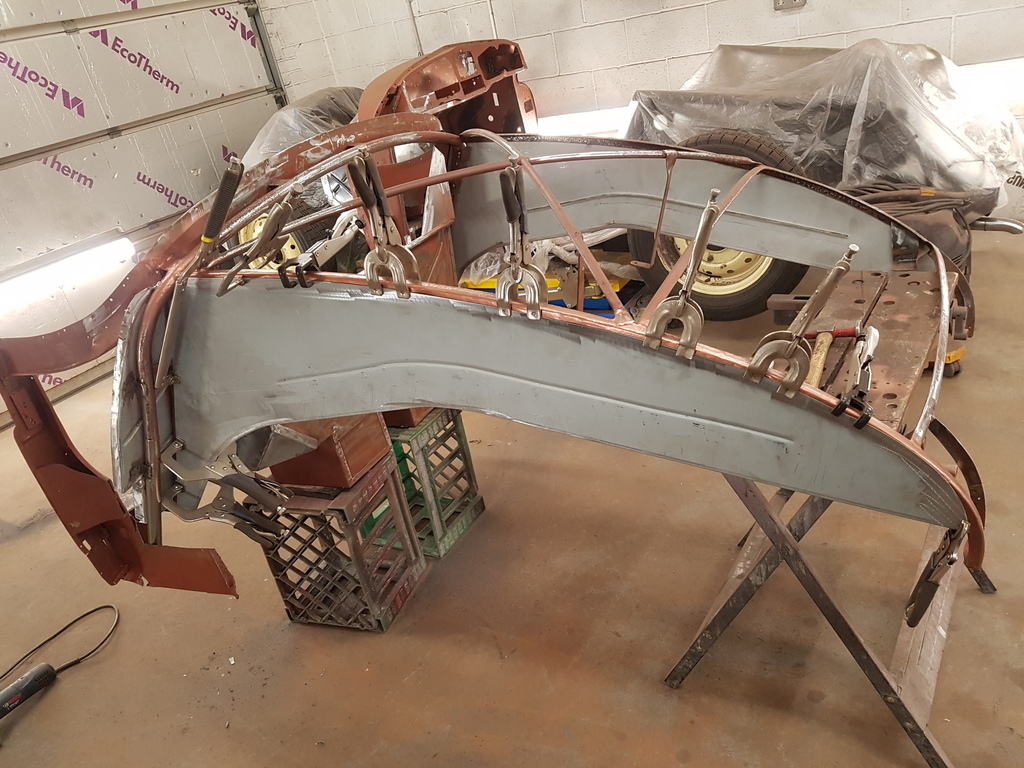 Then welded in 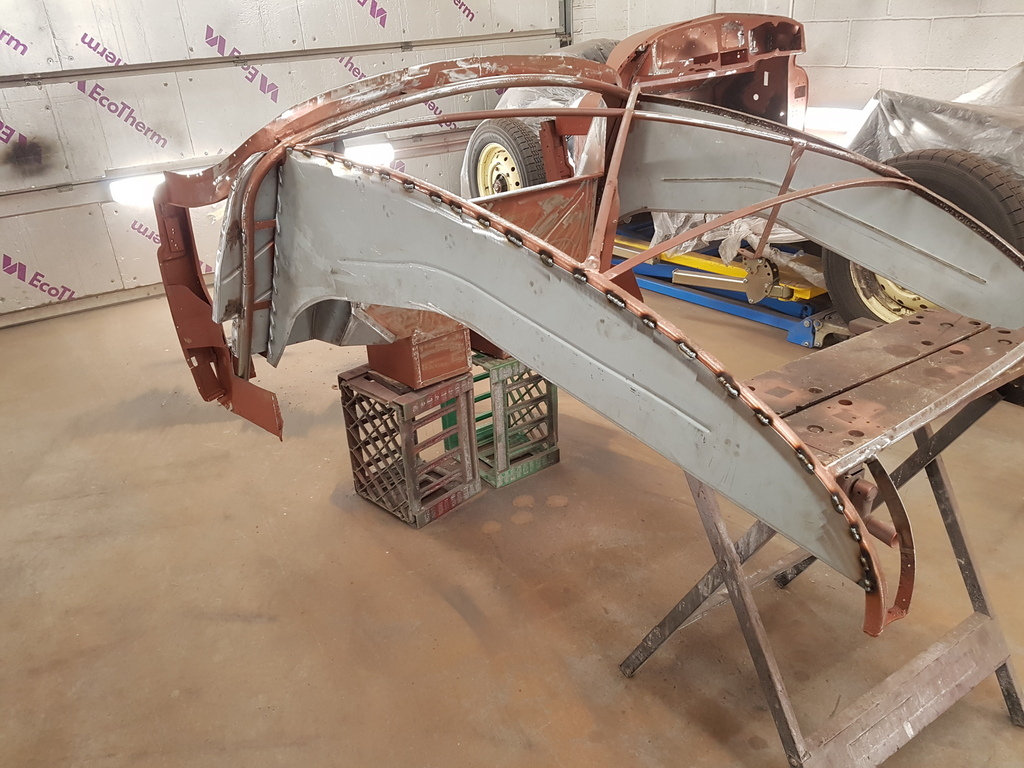 Just needs the weld dressing back slightly in the morning 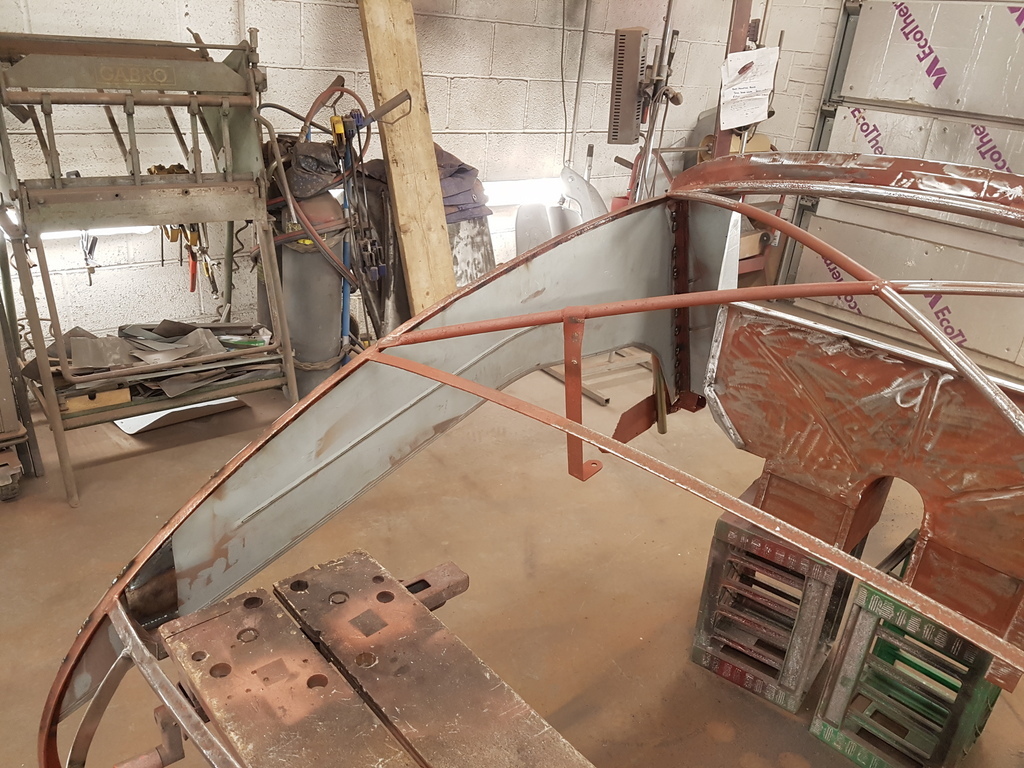 Next job is to sort the mid body mountings - these are at each end of the front rail on the rear superstructure 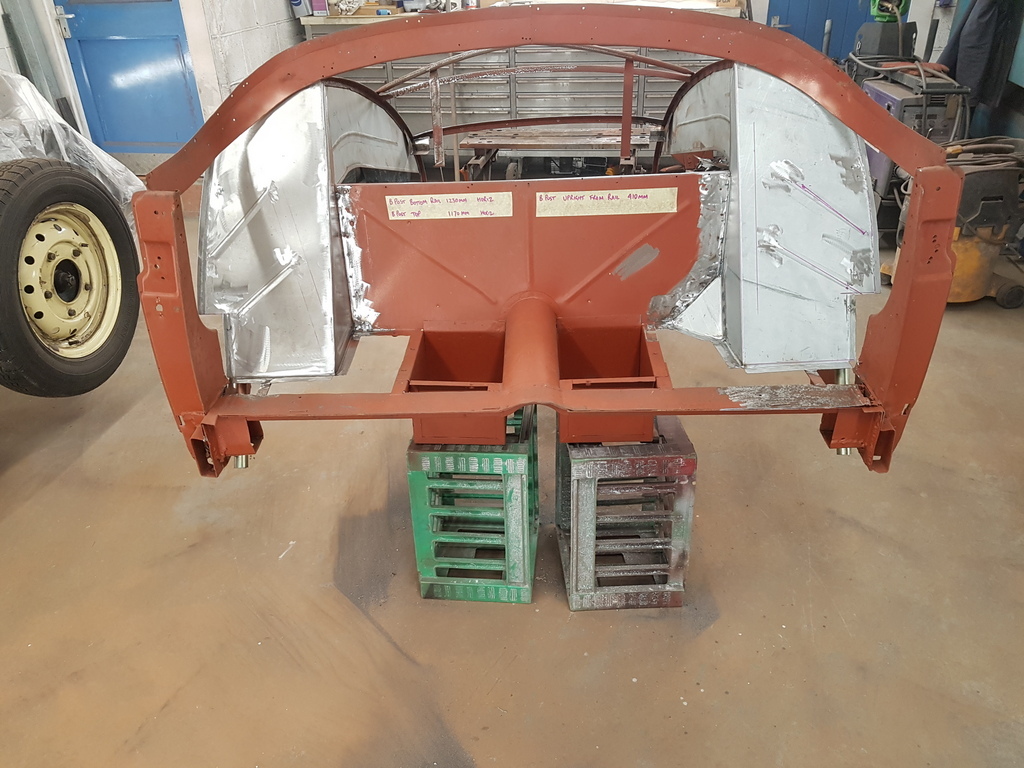 They have seen previous repairs throughout the life of the car 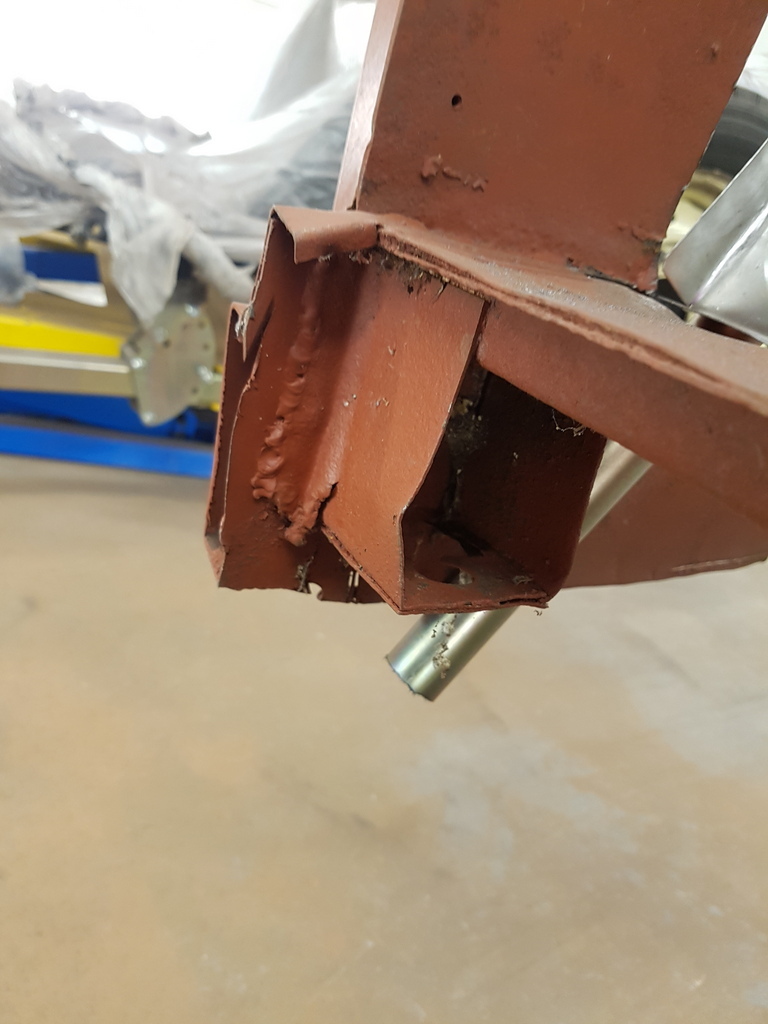 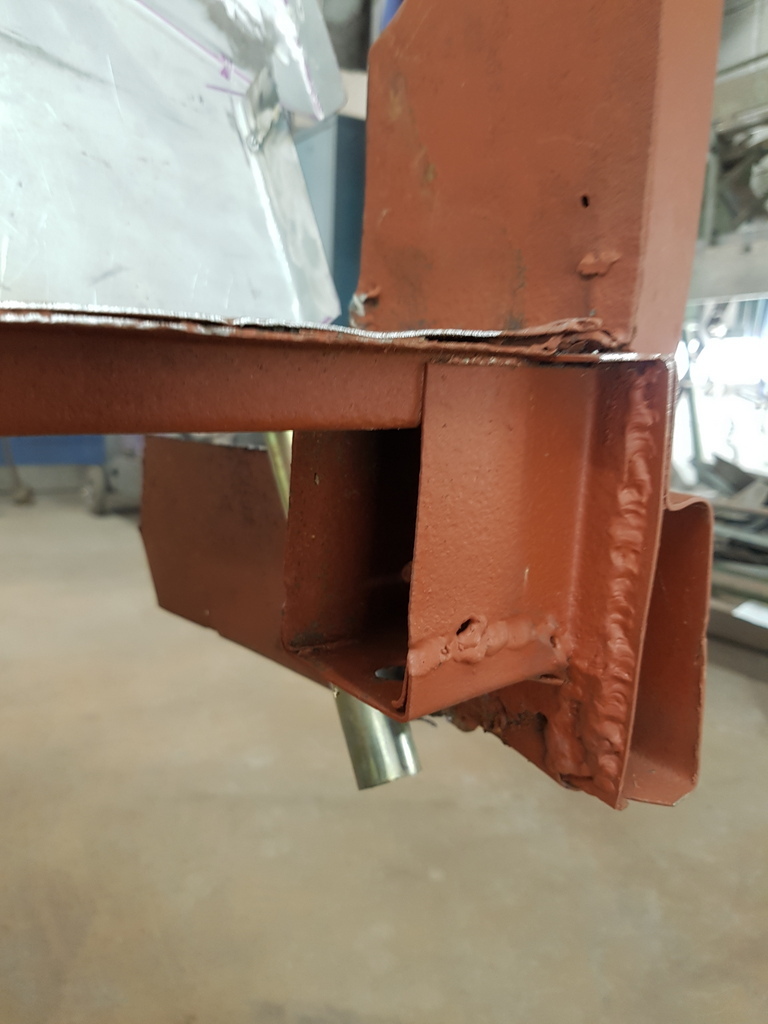 They are both weak and will be replaced - they are also identical to the front mountings on the bulkhead for which I retain a pattern 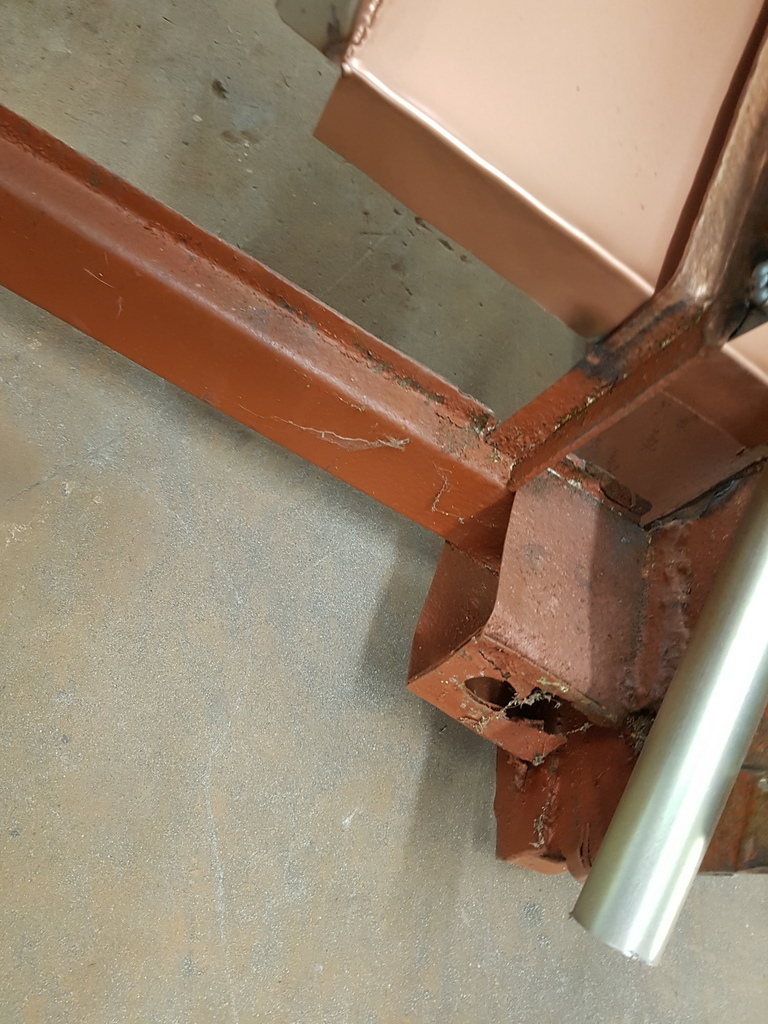 The outer side faces attach to the inner box section sill face 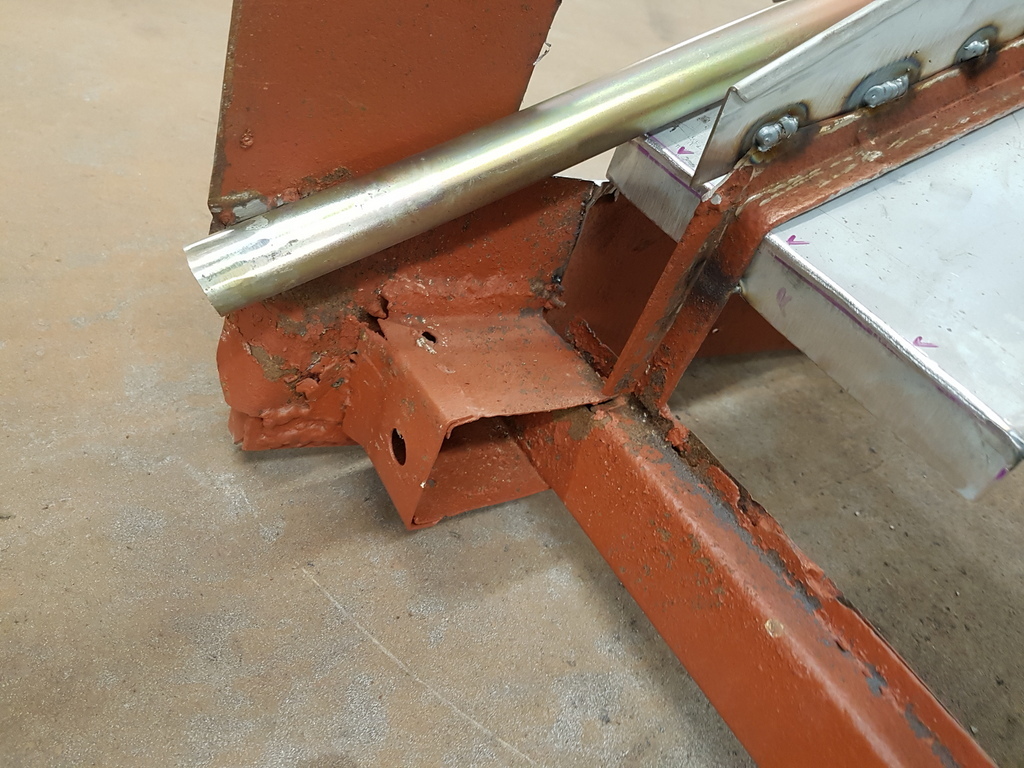 Sills will be replaced so a strong body mounting is essential to tie the structure integrally together More tomorrow |
| |
Last Edit: Apr 24, 2020 19:14:15 GMT by Deleted
|
|
|
|
|
Apr 25, 2020 19:04:12 GMT
|
Progress from this morning amounts to 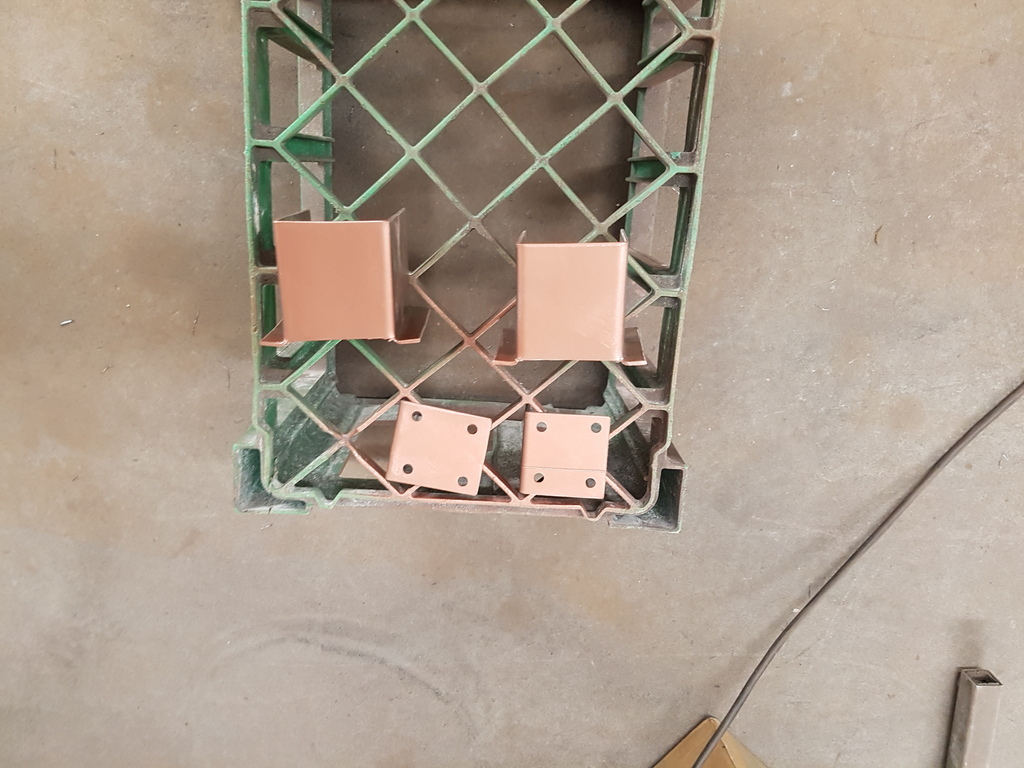 New mid body mountings in the making 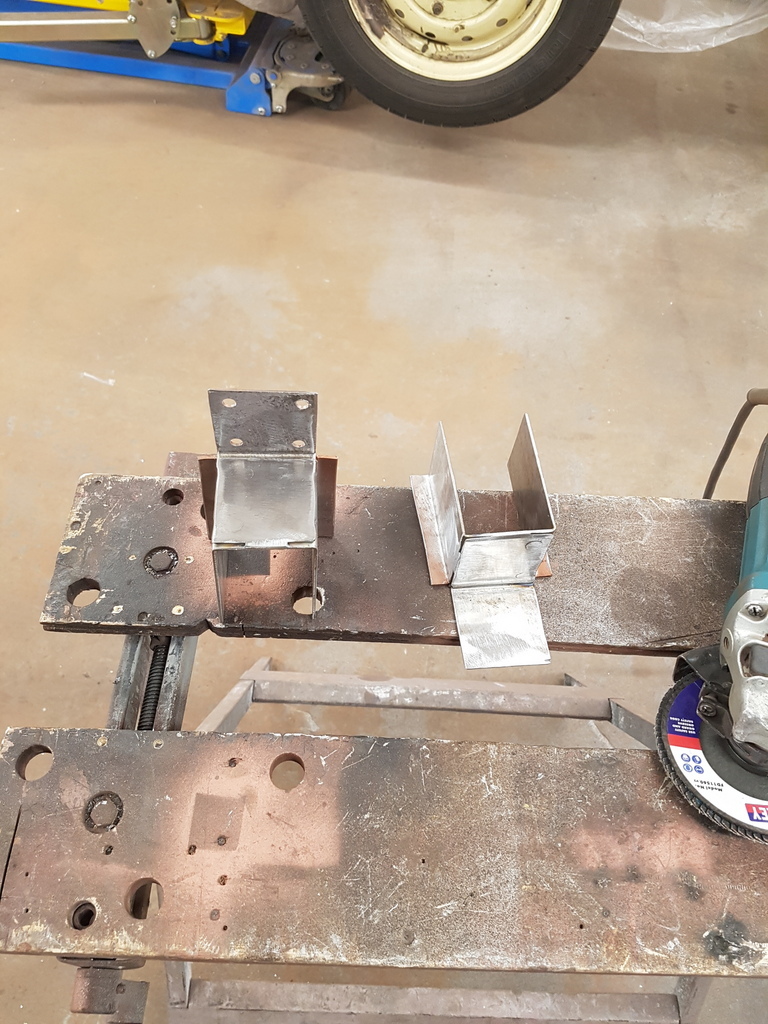 Welded up 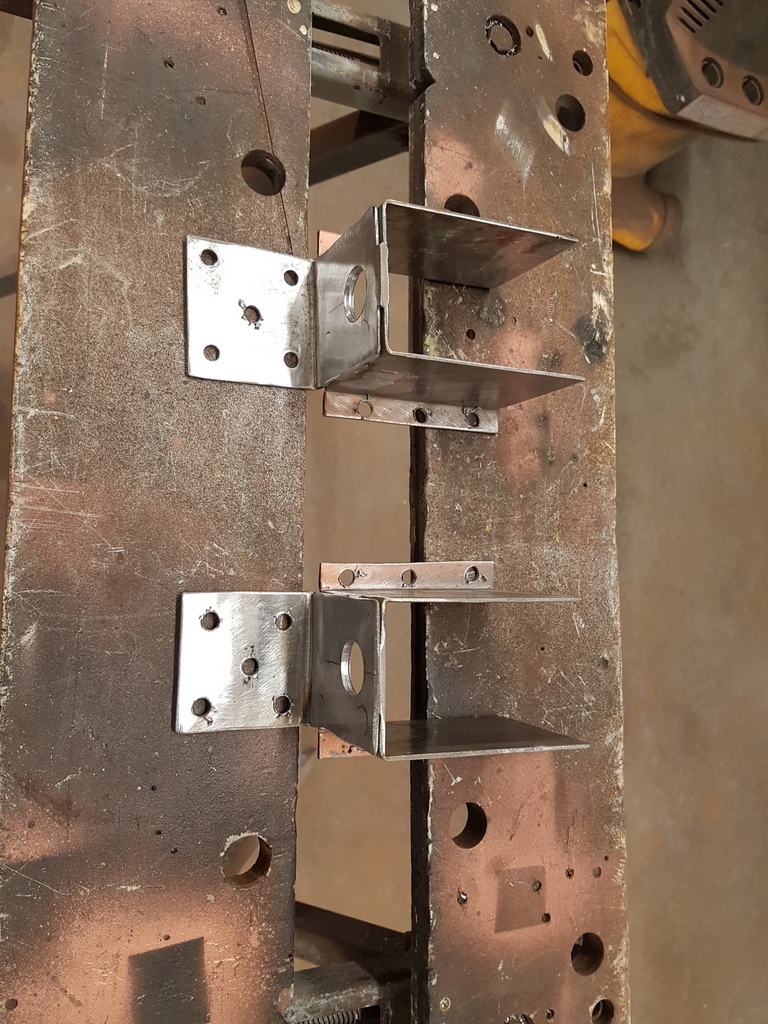 Drilled for the mounting aperture & plug welding holes drilled - just require a clean up around the holes and weld through primer applying - then they can be fitted on Monday 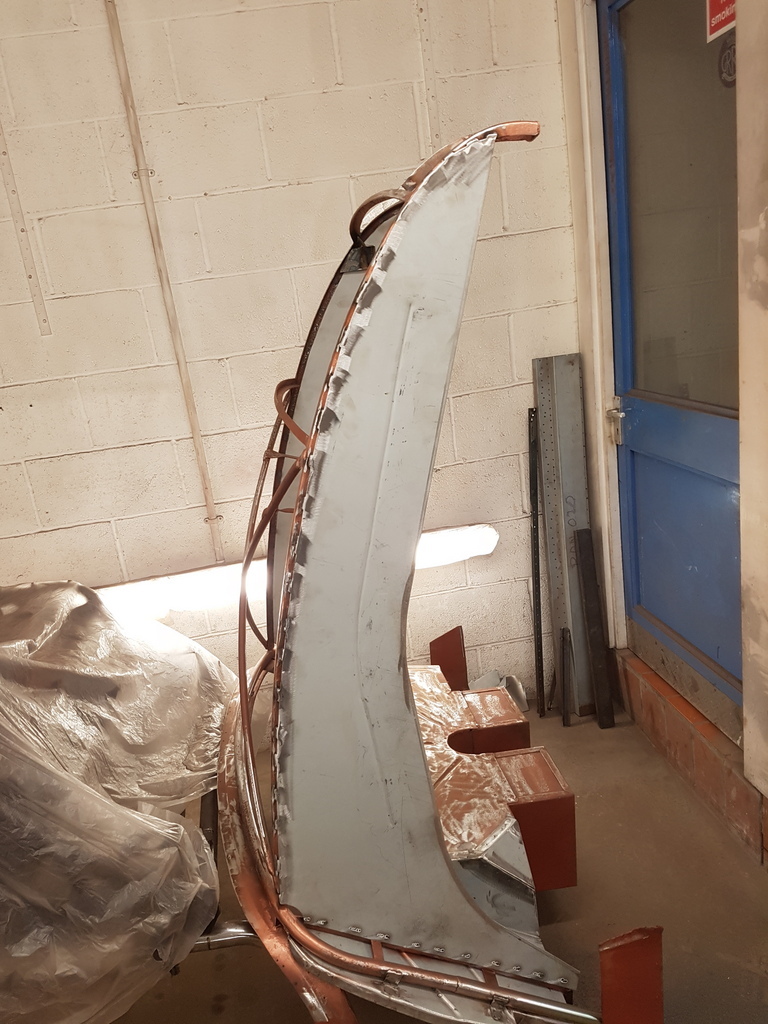 The nearside rear inner wing / splash panel also had the welds dressed back on it |
| |
|
|
Norman
Part of things
 
Posts: 449 
|
|
Apr 25, 2020 19:08:20 GMT
|
|
Great work as always, I am learning all the time. Thanks for sharing, stay safe. Norman
|
| |
|
|
jyd
Part of things
 
Posts: 113 
|
|
Apr 25, 2020 20:44:10 GMT
|
|
Really enjoying this,
thank you for bringing us along.
|
| |
|
|
|
|
|
Apr 27, 2020 19:38:15 GMT
|
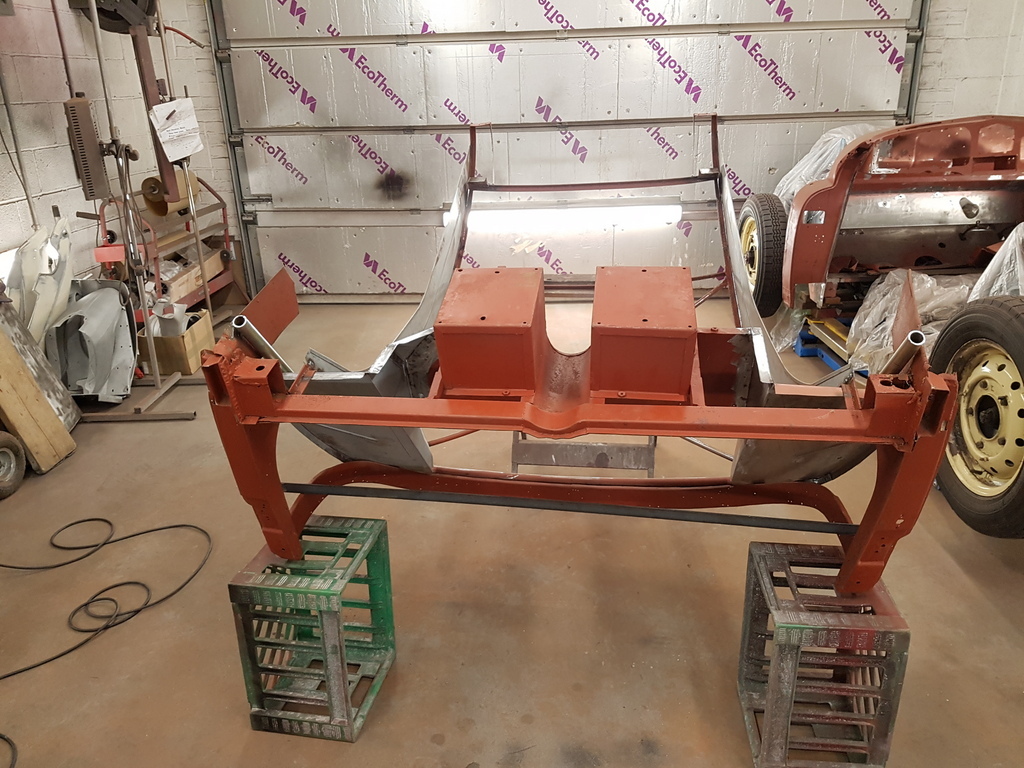 Inverted the rear super structure for better access 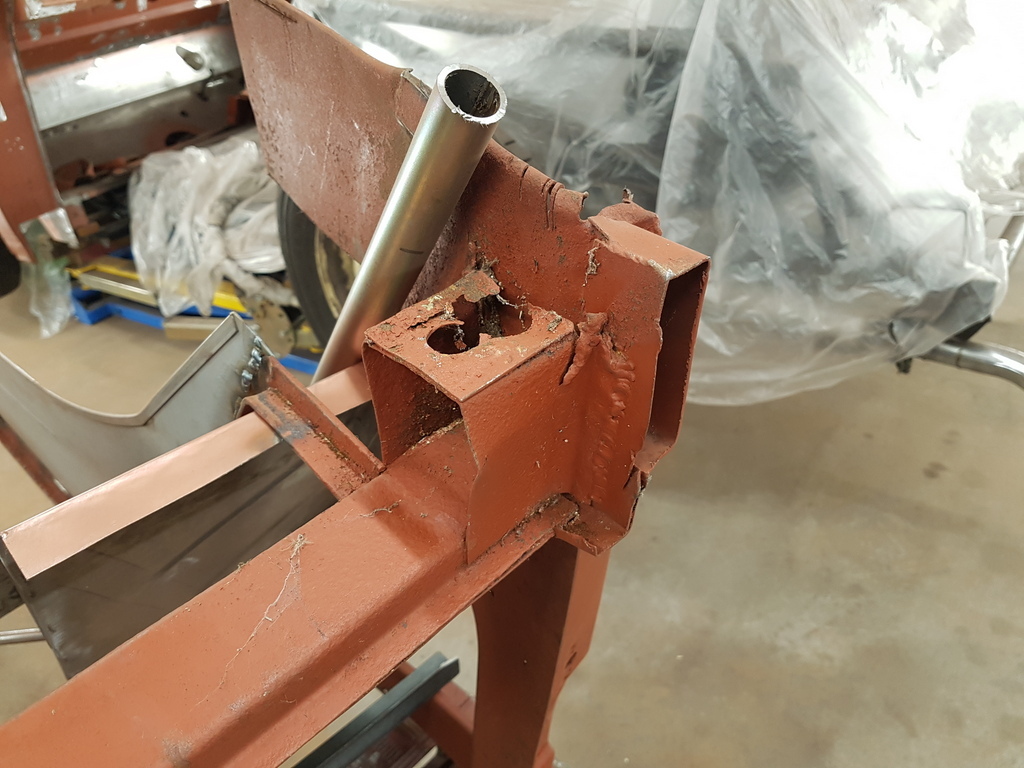 All of this section that forms the bottom section of the B post / body mounting & inner sill face needs to go 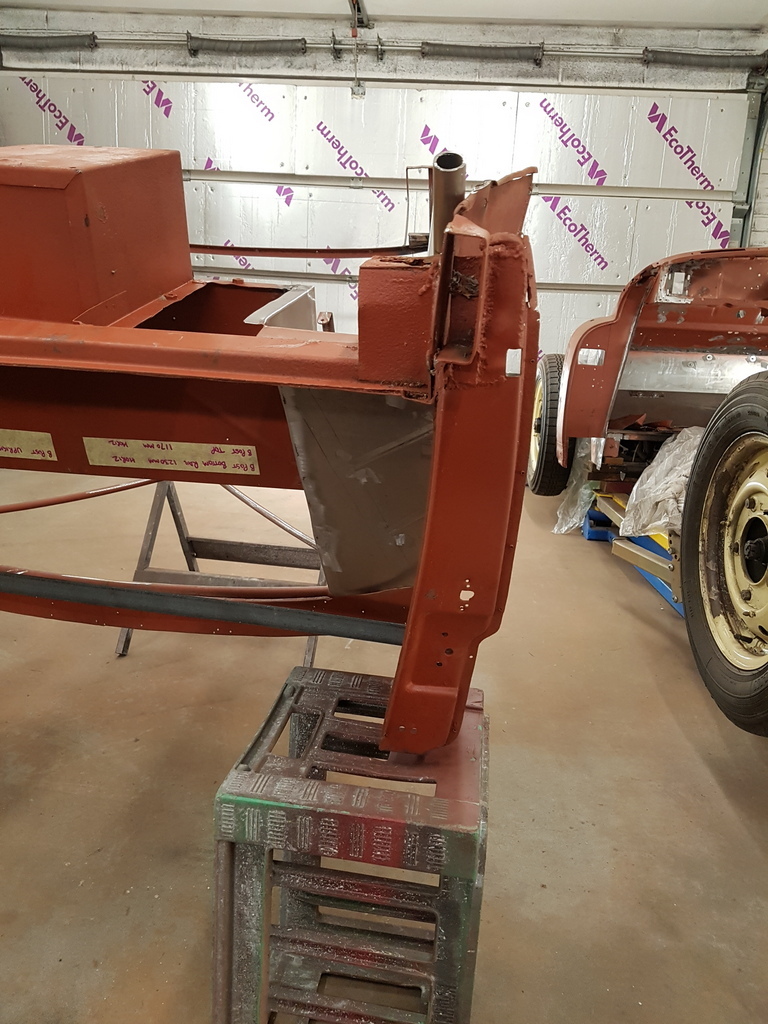 The box section sill actually travels through the bottom of the B post 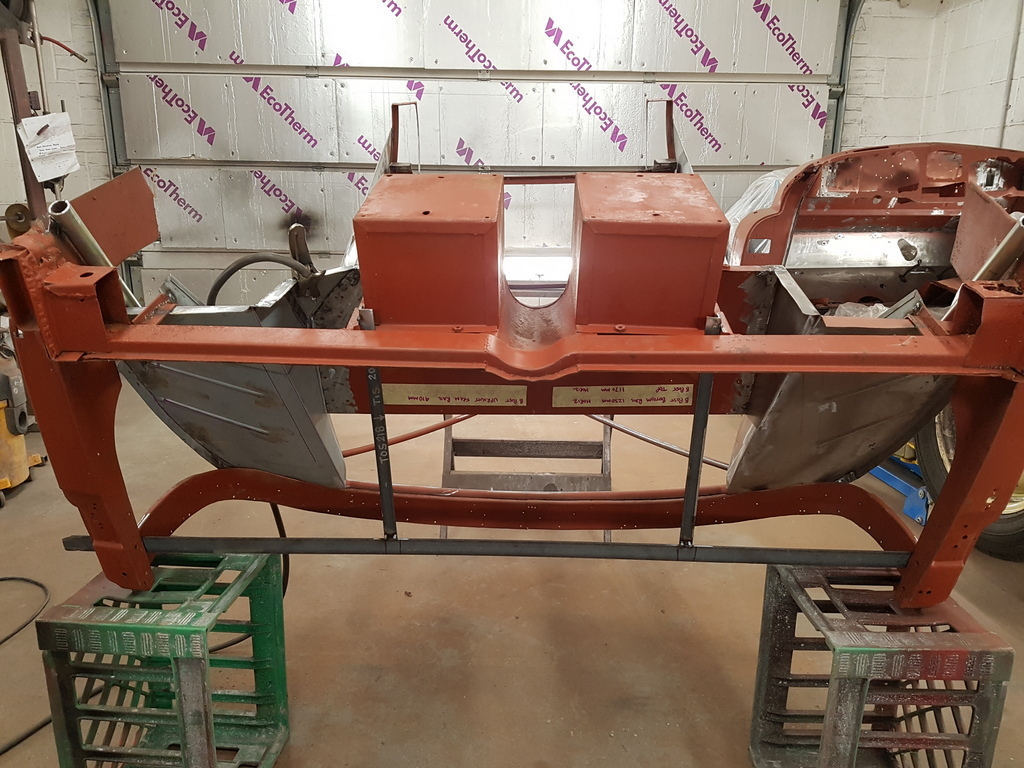 Firstly I added some temporary bracing 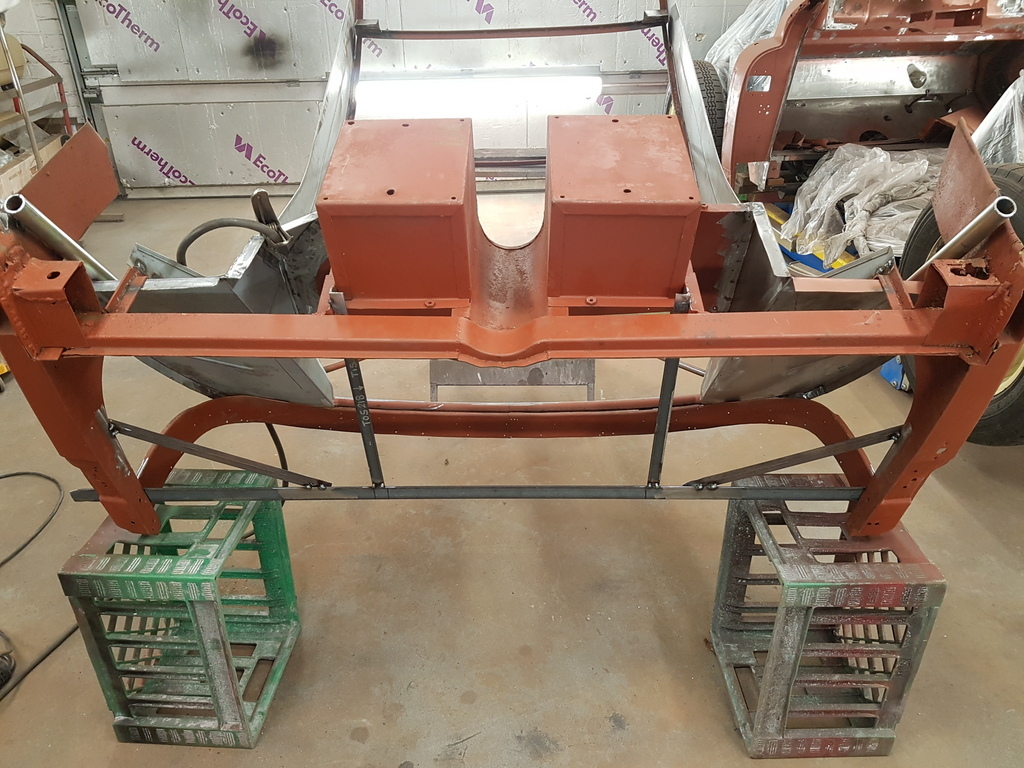 Then added a little more to prevent any spread outwards from the B posts 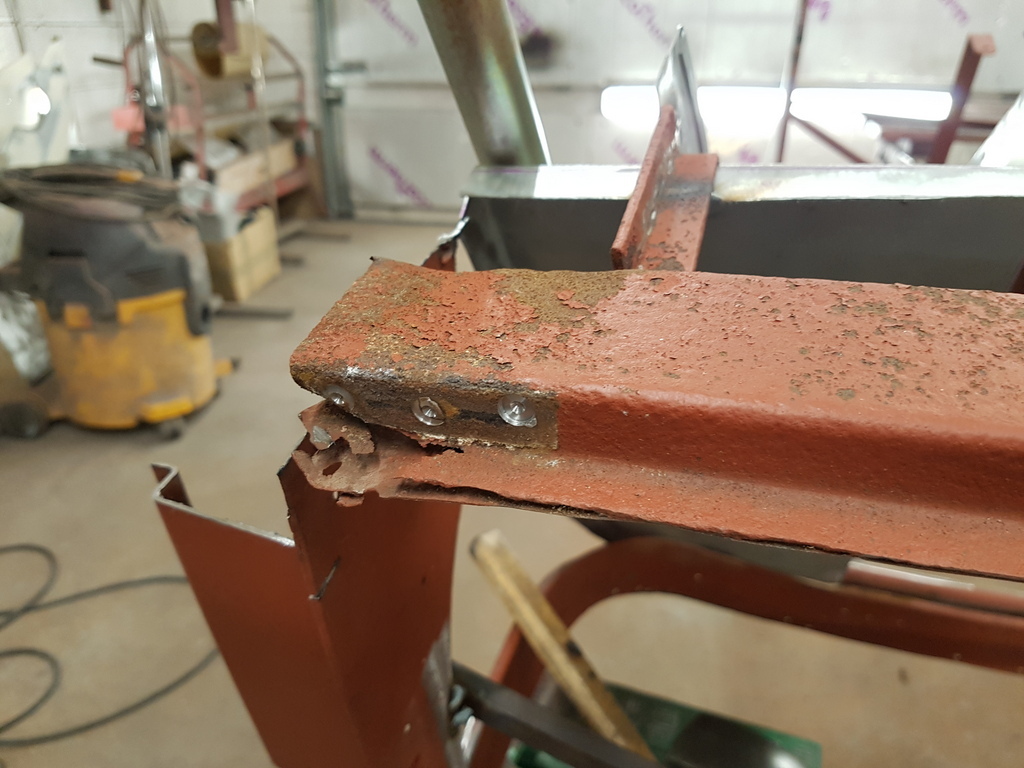 Nearside corner coming apart 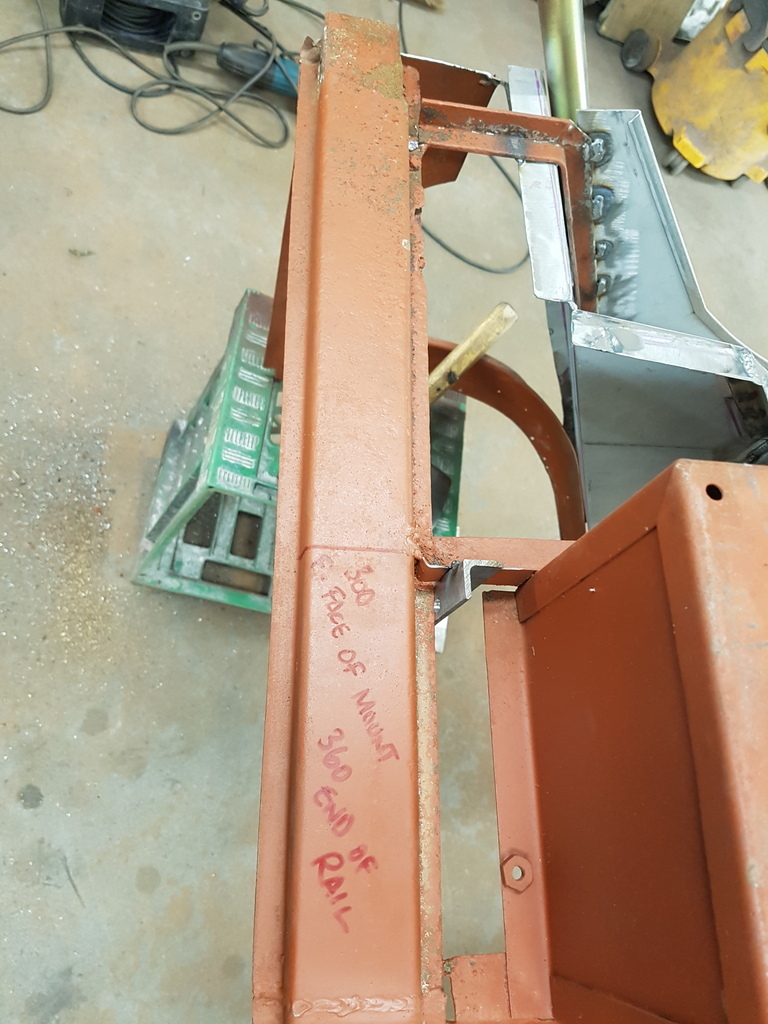 A offset datum line with measurements is a must when undertaking structural works 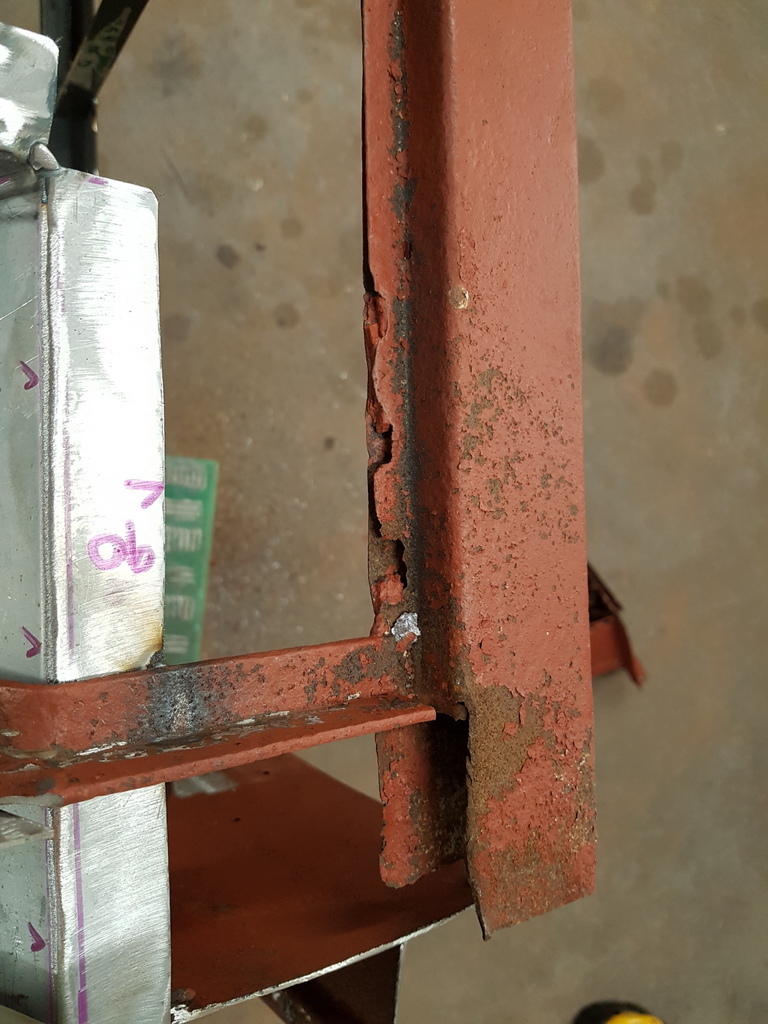 This section of the rail is also going to have go 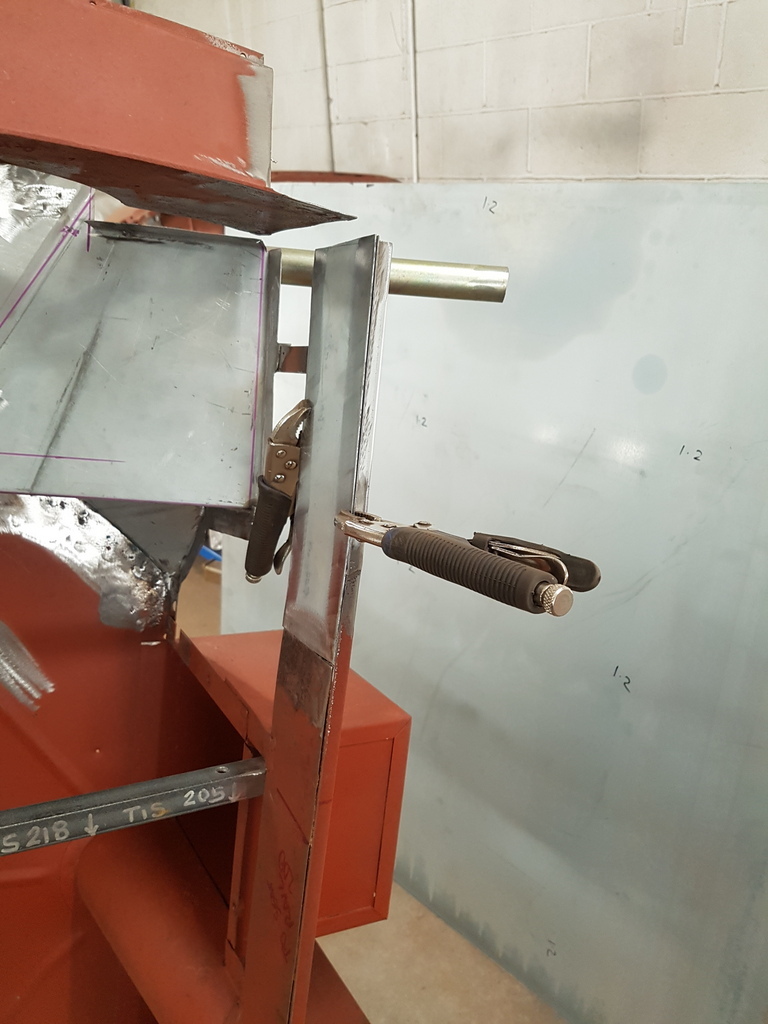 New rail fabricated and on its way in has a 2 part structure 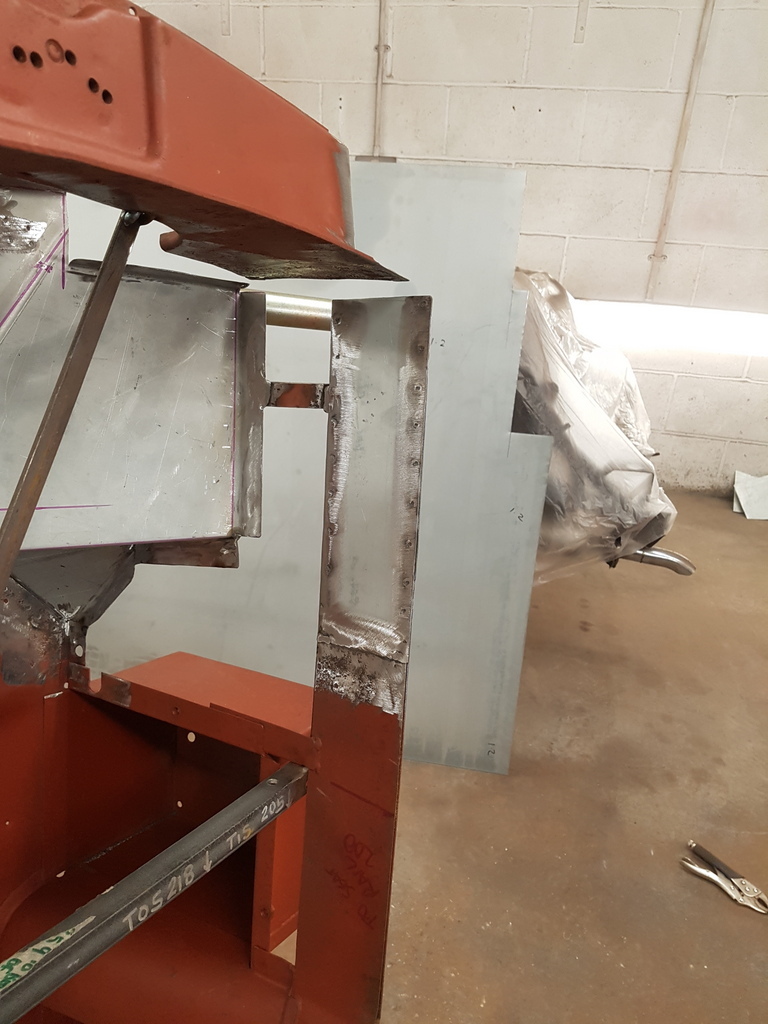 Top section being longer then the top hat section underneath it to ensure strength 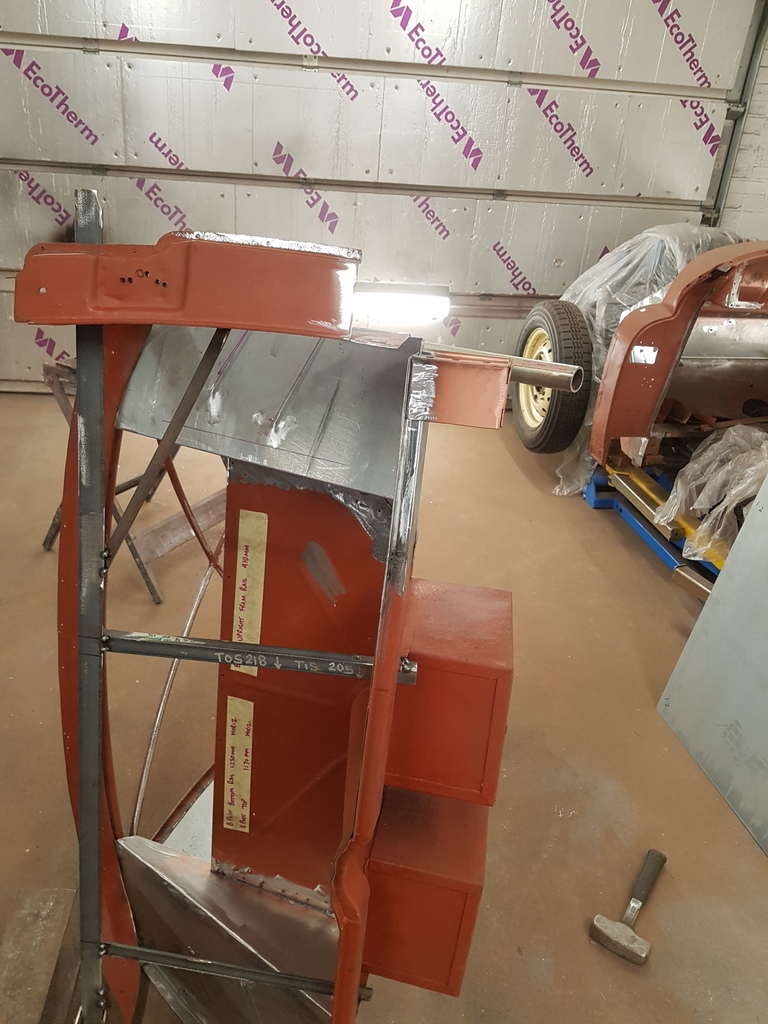 Then added the body mounting to the end of the rail 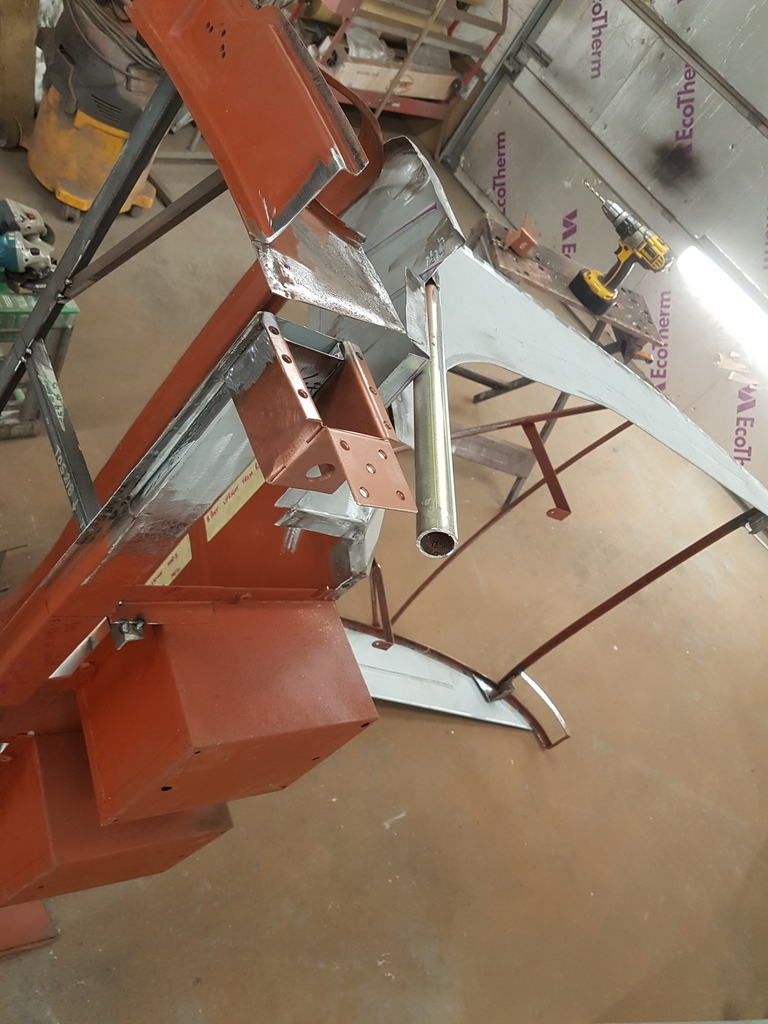 The other side was a near identical process 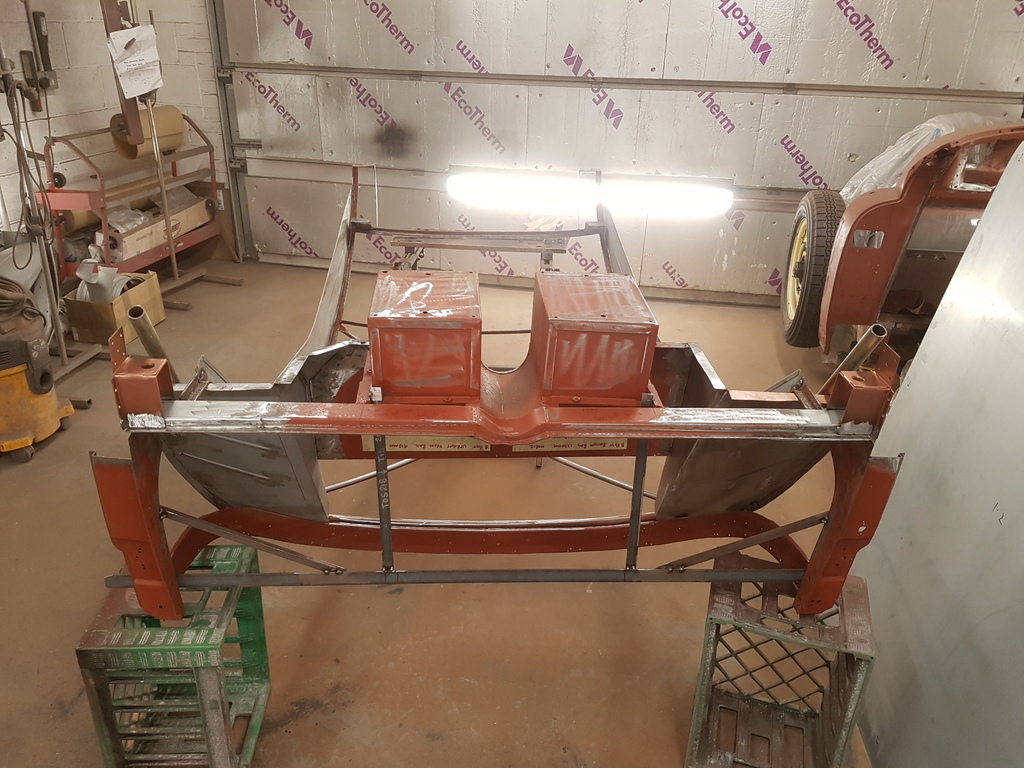 I had a clean up of the underside of the structure whilst I had the access 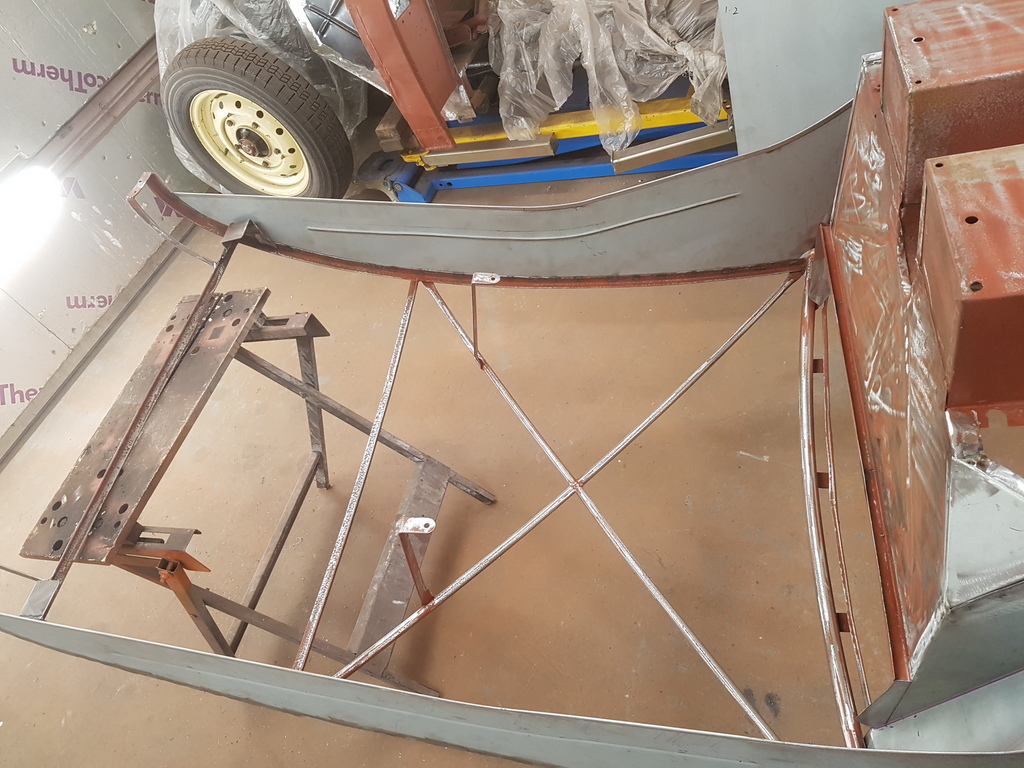 I treated any heavily rust pitted areas with Hydrate 80 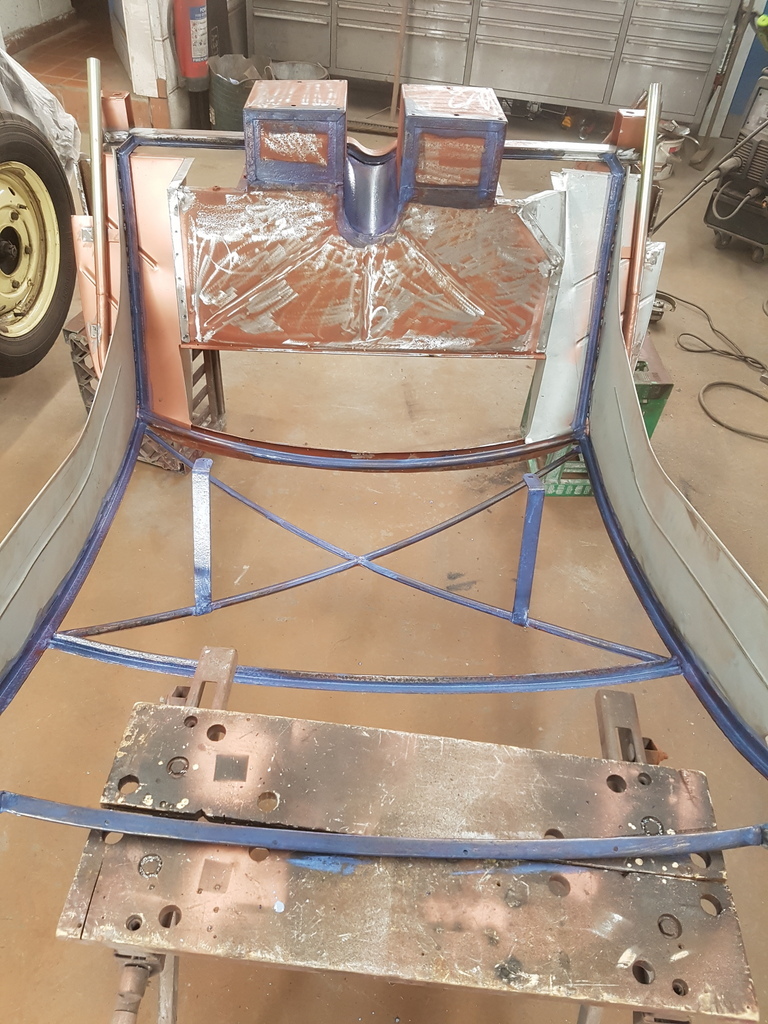 This area is mainly inaccessible from the underside once the structure is back on the chassis & built up 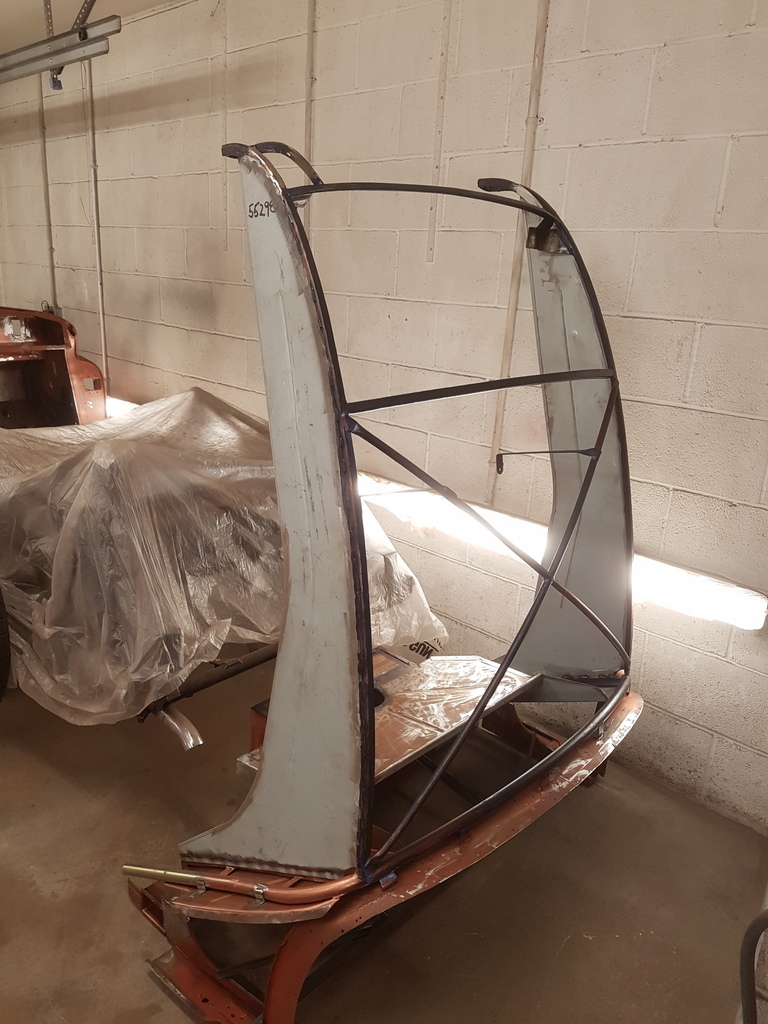 And the top side is completely inaccessible once the rear shroud skin has been refitted  The rear superstructure will be removed again prior to being permanently fitted to the sills - then the inaccessible areas can be painted prior to being covered with the outer skin More tomorrow |
| |
Last Edit: Apr 27, 2020 19:50:22 GMT by Deleted
|
|
Norman
Part of things
 
Posts: 449 
|
|
Apr 27, 2020 19:49:02 GMT
|
|
Hi Chris, Great work as usual. Can I ask a quick question please. What’s the best technique for doing spot welds using the mig welder. I find that I get it ok 8 or 9 times out of 10, occasionally it hasn’t gripped. Maybe I didn’t have the panels tight enough together, any advice welcome. Norman
|
| |
|
|
|
|
|
Apr 27, 2020 20:02:24 GMT
|
Hi Chris, Great work as usual. Can I ask a quick question please. What’s the best technique for doing spot welds using the mig welder. I find that I get it ok 8 or 9 times out of 10, occasionally it hasn’t gripped. Maybe I didn’t have the panels tight enough together, any advice welcome. Norman Norman - Ensuring that the panels are snug fit and close fitting - both surfaces should be shiny bright steel and you need to up power on the MIG well beyond what you would set it at for a normal tack / seam weld - (For example I was seam welding @80 Amps but plug / spot welding @110 Amps - this will vary dependant upon your MIG set up) you also need to ensure that you have a decent size hole for the plug weld - I normally drill 6 - 7mm holes |
| |
|
|
Norman
Part of things
 
Posts: 449 
|
|
Apr 27, 2020 20:19:55 GMT
|
|
Hi Chris, Thanks for the reply, that’s probably what I am doing wrong. I don’t adjust the welder power to spot weld. I will try that tomorrow, I used to drill 8mm holes but I thought that too big. The ones I did today were 6mm. Thanks again, Norman
|
| |
|
|
|
|

 )
)


