|
|
|
Feb 14, 2019 16:20:08 GMT
|
|
|
| |
|
|
|
|
Wilk
Part of things
 
Posts: 528 
|
|
Feb 14, 2019 18:07:41 GMT
|
|
I put my comp 150L in the loft area at the far end near the gable end then ran tubing around the garage with drops at strategic points. Looks like you may have room from the pics
|
| |
If it can be fixed with a hammer, then it must be an electrical fault
|
|
|
|
|
Feb 14, 2019 18:57:04 GMT
|
|
Not sure how I'd get it up there - it's very heavy. I'm really ok with it on the floor.
|
| |
|
|
|
|
|
Feb 14, 2019 19:17:25 GMT
|
Damn you Lance, now I want that hose reel. Bit too spendy for the use I will give it unfortunately  Might look at the basic hose though. |
| |
|
|
|
|
|
Feb 14, 2019 19:59:52 GMT
|
Mark - This is my set up 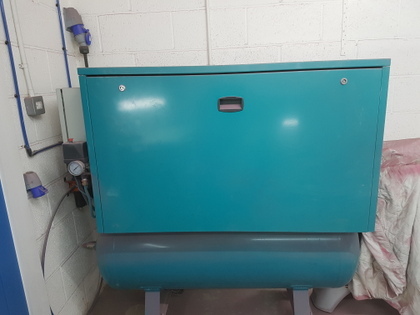 Compressor is custom built to my spec - 23 CFM 2 stage pump - motor is 5.5 HP - 3 phase but supplied via a single phase invertor which is in the grey switch box on the side of the compressor - 270 litre tank - unit is also in acoustic housing 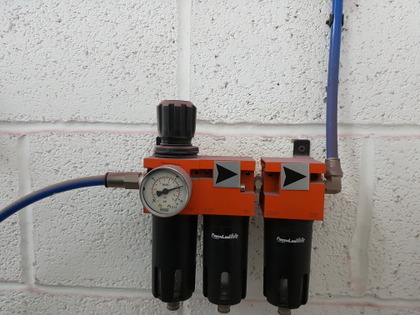 3 stage separator & coalescing which takes the air to a breathing quality for air fed mask  Condensing loop can be seen here - run from your tank feed up into the rafters & return it to the separators - you can always put a couple of right angle elbows into it at the top if you want to run it neatly and form a proper U - I just have never got around to mine but will do it this summer when I redecorate / make some permanent changes in the workshop 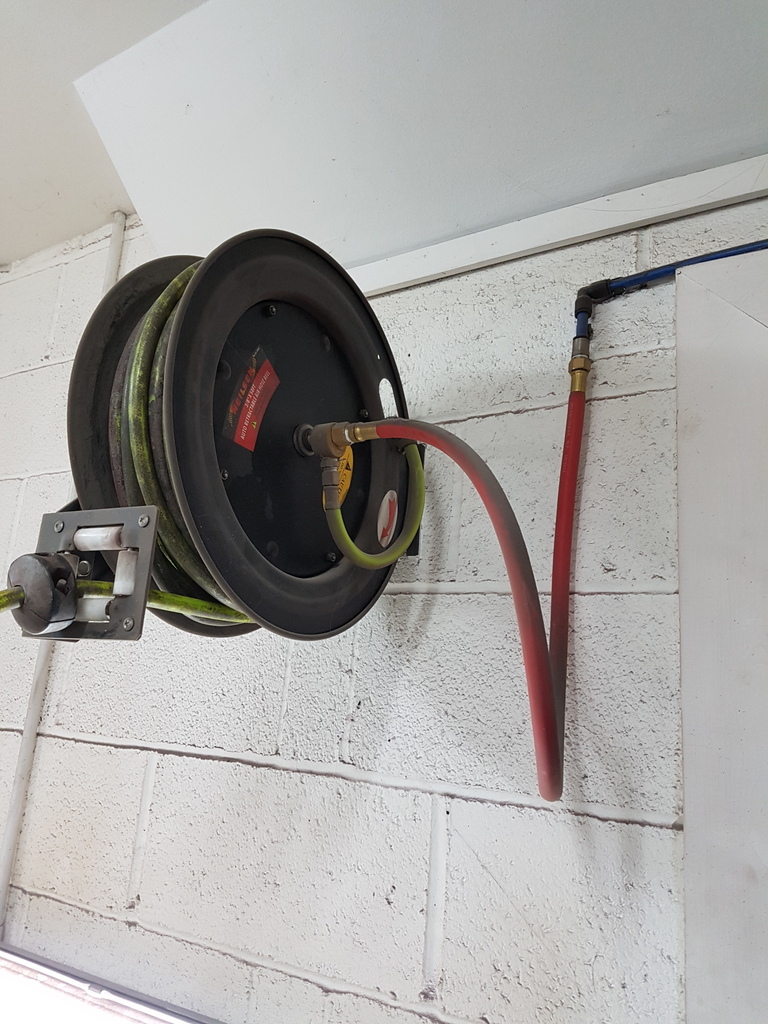 Then run back to the reels - one at the back of the workshop  And one at the front 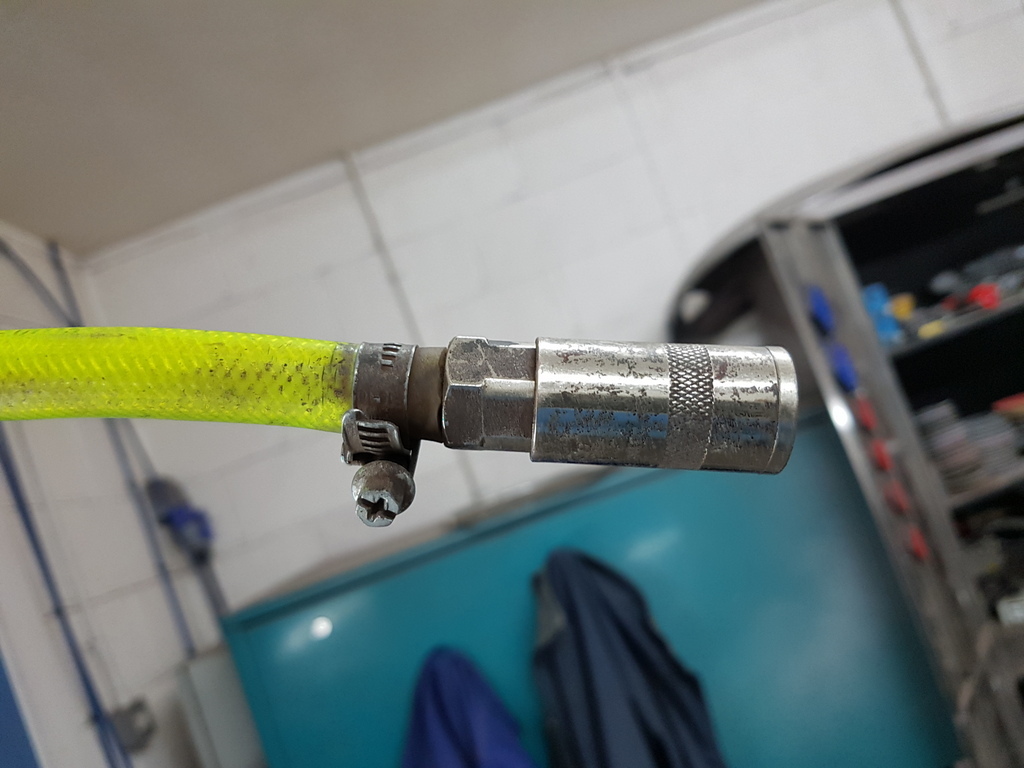 With all of my kit on PCL fittings  The feeds are done in in 13mm plastic with push fit connectors / elbows - all very straight forward and is more than capable than supplying all the pressure / supply that I need - only thing not shown is the air supply to the compressor is external from the filter pans via two lengths of heater duct to two cone filters In a box on the outside wall of the workshop |
| |
Last Edit: Feb 14, 2019 20:01:13 GMT by Deleted
|
|
|
|
|
Feb 14, 2019 20:25:49 GMT
|
|
Chris, is 13mm required? I've found plenty of hose for sale but they are smaller (though I was originally thinking of copper pipe).
I don't have as fancy separators as you just the basic water separators. I normally have them right by the hose take off on the wall but would it be better/ok just to have one (or 2 in series) right by the compressor outlet and then just run the hoses as you have done?
I know about the separate clean air feed for compressor if using the air fed mask, I have my air breather filter on a belt with my mask so not as fancy as yours but then you paint an awful lot more than I do.
|
| |
|
|
|
|
|
Feb 14, 2019 20:33:41 GMT
|
I recently had to replace my compressor (which really meant I finally got the level of compressor I wanted 10 years ago when my wife bought me a 30 gallon oil-free) and I also put in a condensation loop although mine is out of galvanized pipe. Eventually I'll plumb out the rest of the shop, but for the moment this should set me up for having it done right.  Air from the compressor goes through the flexible "whip" to the right side of the loop, up and over to the regulator/filter which sits (rather inconveniently) behind the compressor. The backside of the tee off the regulator is where I plan to come off and go back up to the rafters and branch out throughout the shop.  I also included an 18" stub below the tee to the regulator, with a ball valve at the bottom for easy moisture trap emptying. The thinking being that making it easy makes it far more likely I'll actually do it...  |
| |
|
|
|
|
|
Feb 14, 2019 20:38:18 GMT
|
|
Just seen your this for the first time very impressive but if I had that garage think I would get divorced as I wouldn't come out of it
|
| |
|
|
|
|
|
Feb 14, 2019 20:52:13 GMT
|
Cheers Bob, I like to spend a lot of time in there  So.....condensation loop. It works by the water being heavier than air so it does not/cannot climb the loop into the roof? Have I got that right? |
| |
|
|
|
|
|
Feb 14, 2019 20:59:34 GMT
|
|
From my research when I put it together, it also gives the compressed air time/space to cool, which causes the water to condense out and then drop to the bottom of the loop legs.
|
| |
|
|
|
|
|
|
|
Feb 14, 2019 21:01:36 GMT
|
|
So the bottom of the loop leg should have a valve/water exit? (as yours has?)
|
| |
|
|
|
|
|
Feb 14, 2019 21:21:16 GMT
|
So the bottom of the loop leg should have a valve/water exit? (as yours has?) Mark - Your assumption is correct but you would thought that the air pressure would have forced the water beyond the loop - it doesn't - you can either put a drain on the bottom of the loop or just let any water that forms in the upward loop drain back to the air receiver and then regularly drain the compressor receiver tank has you would do normally - my 13mm pipe is o/d - I would set your separators in tandem at the bottom of the downward condensing loop - then run the feed to the workshop circuit from there - I am trying remember where all my pipe & fittings came from - certainty all came from one online company - Glasgow based I think - I will try to look them up |
| |
Last Edit: Feb 14, 2019 21:22:25 GMT by Deleted
|
|
|
|
|
Feb 14, 2019 23:34:52 GMT
|
|
Thanks Chris, appreciate that. I'll probably sketch something out before I do it for general perusal to make sure I do it the best way.
Another productive evening, sprayed the remaining walls and painted the end wall with is final coat.
|
| |
|
|
|
|
|
|
|
So the bottom of the loop leg should have a valve/water exit? (as yours has?) Given that galvanized pipe is only galvanized on the outside, I prefer not to let moisture hang around any longer than necessary. Given Chris' input, I guess I could/should have a water trap drop on the other side as well for a belt & braces approach, but at some point there is such a thing as overkill...and I was tired of going back to the hardware store for more fittings. |
| |
|
|
|
|
moglite
Part of things
 
Posts: 815  Club RR Member Number: 144
|
|
Feb 15, 2019 11:12:06 GMT
|
I've got the same hose reel in my garage. Yeah they work well as Grumpy says. What he didn't mention, is they are about 10x heavier than they look. Your best breeze block fixings and a 2nd pair of hands highly recommended. |
| |
1967 Morris Oxford Traveller
1979 Toyota LandCruiser BJ40
1993 Daimler Double Six
2007 Volvo XC70 2.4D
|
|
|
|
|
Feb 17, 2019 19:01:29 GMT
|
massive sprayathon is now completed thank goodness, still need to brush paint some of the joists but it's 90% done. Walls are still to be completed on right hand side.  With the good weather I have also got all of the outside done in the first coat, first tin of paint was not quite the right colour, got another mix done which looks pretty good. Skye cat was there to check on my work, she passed it off as ok  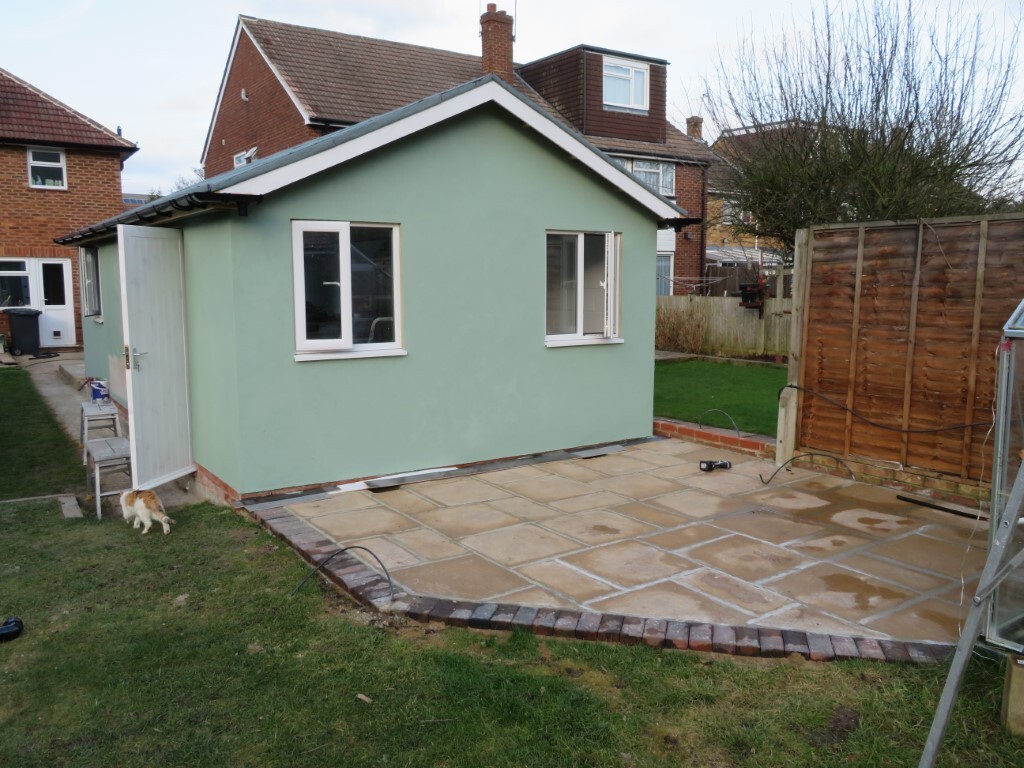 |
| |
|
|
|
|
|
Feb 17, 2019 19:32:48 GMT
|
|
Very Nice Mark that is a nice shade of green.
|
| |
|
|
mk2cossie
Club Retro Rides Member
Posts: 3,061  Club RR Member Number: 77
|
|
Feb 17, 2019 20:52:02 GMT
|
Looking good there blackpopracing  Where on earth is mr? He would love the green garage  |
| |
|
|
|
|
|
Feb 17, 2019 23:04:04 GMT
|
|
Thanks Pete, we got it matched to our front door - which also gets a lot of compliments!
|
| |
|
|
|
|


 Might look at the basic hose though.


