jamesd1972
Club Retro Rides Member
Posts: 2,921  Club RR Member Number: 40
|
1951 Pontiac Chieftainjamesd1972
@jamesd1972
Club Retro Rides Member 40
|
|
|
|
Fingers crossed here for you Phil.
Suppose the problem isn’t just how hard the car will be driven (not very I suspect) but more the ambient temps where you are ?
Thanks for the updates as always
James
|
| |
|
|
|
|
|
|
|
|
|
Okay, partial success. 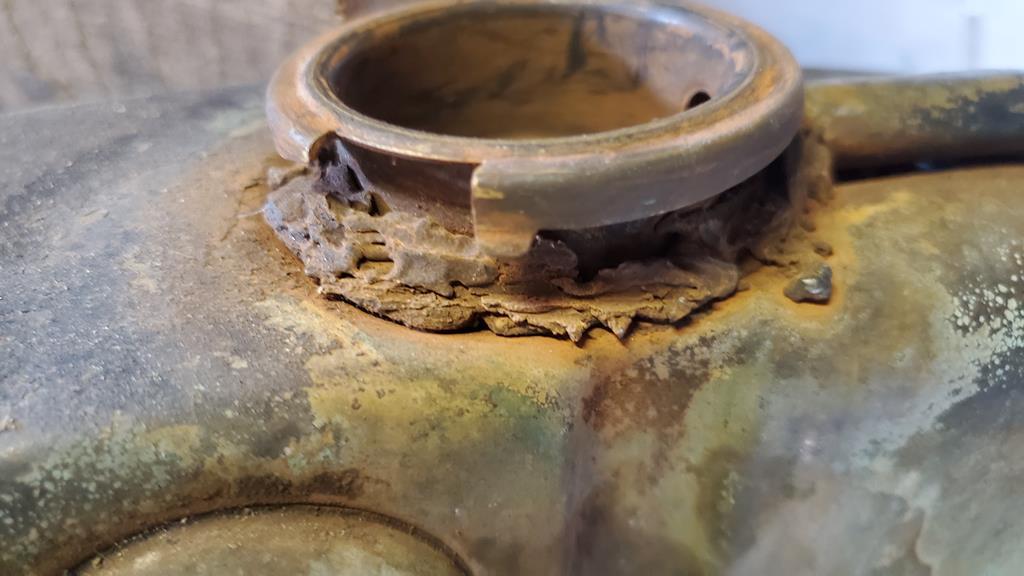 Someone had thrown cold lead at the radiator cap spigot and then hammered at it a little. Or at least, it looked like that. 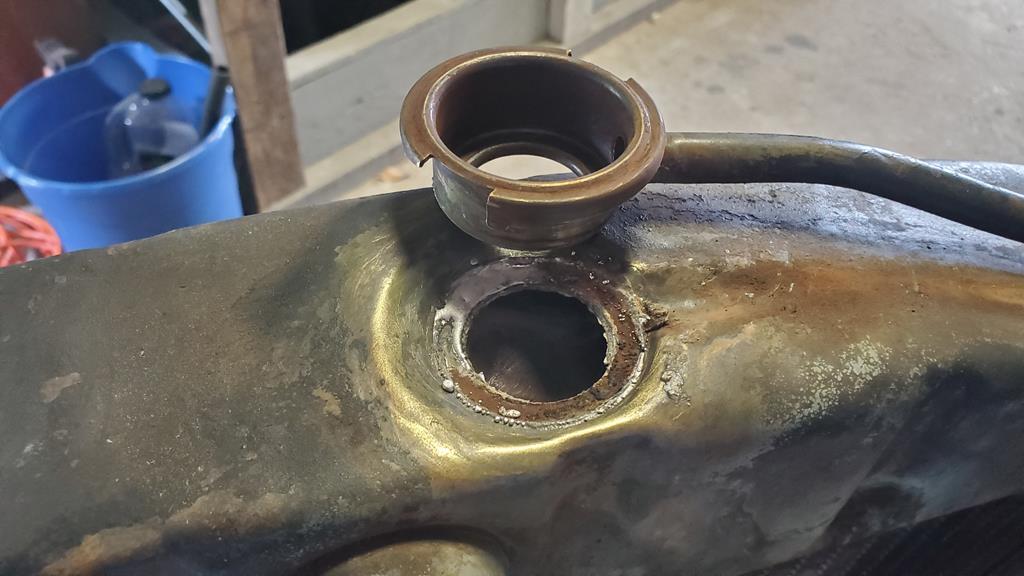 So, I heated it up and pulled it off. Much corrosion. 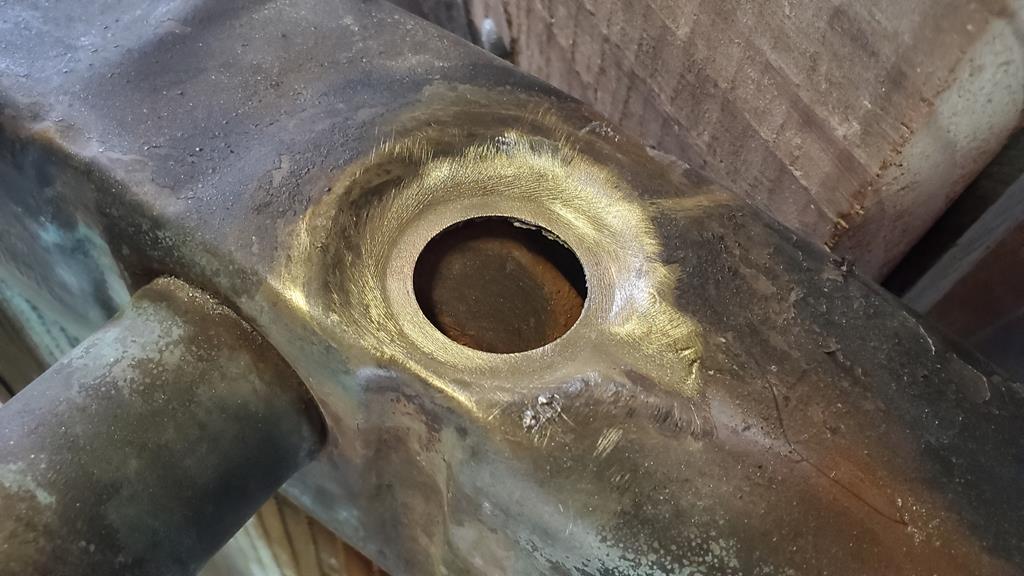 Cleaned it up, added flux. 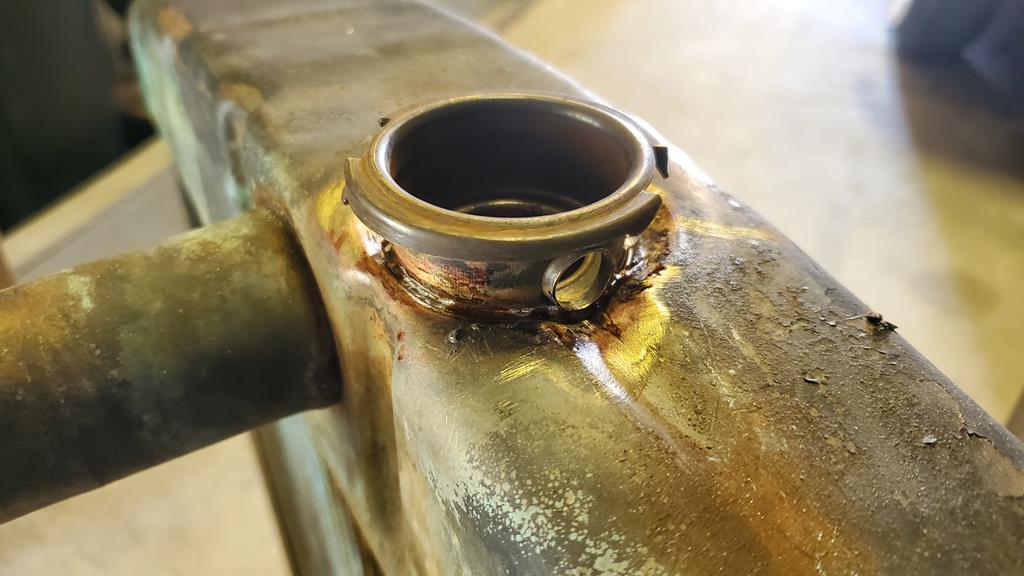 Soldered in place. Doesn't leak now. The gas torch I have has a flame that's too wide. 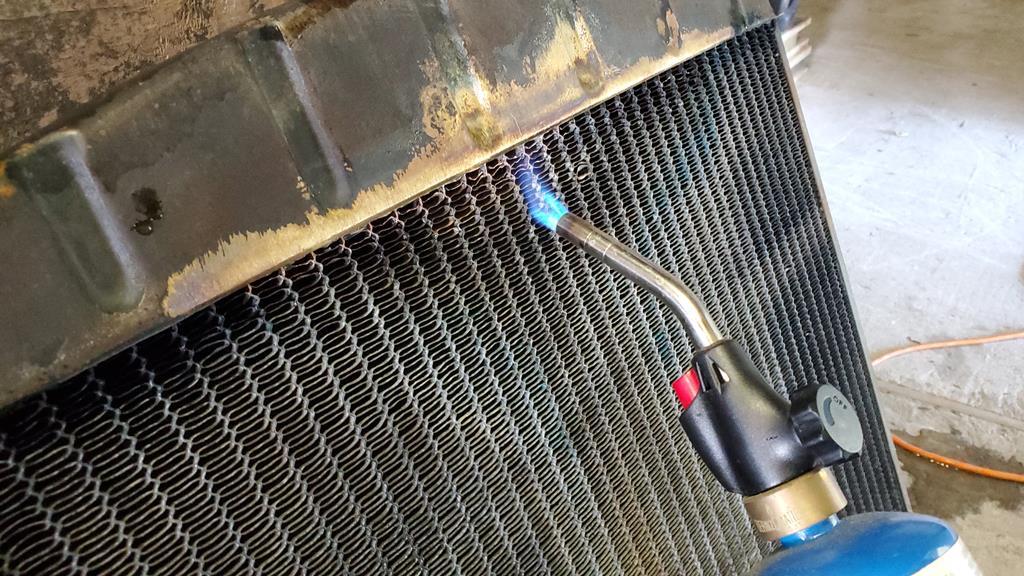 I fixed one leak And started to chase it out. I have bought a torch with a narrow flame- hopefully I can heat up, bend open the fins, clean the surfaces and then solder closed. Phil Great job vs throwing it away. |
| |
|
|
|
|
|
|
|
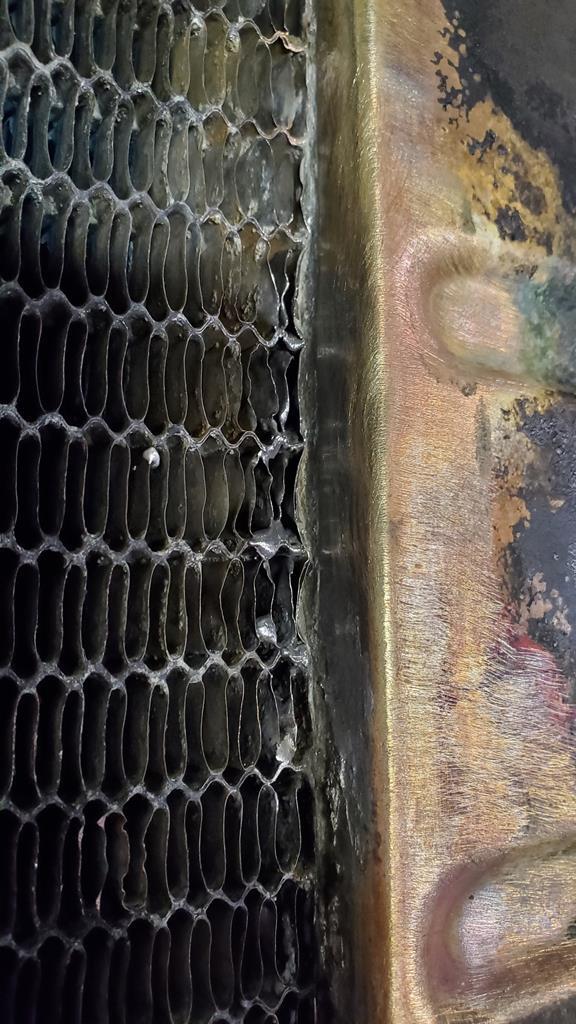 Bought a small torch with an adjustable fine flame. 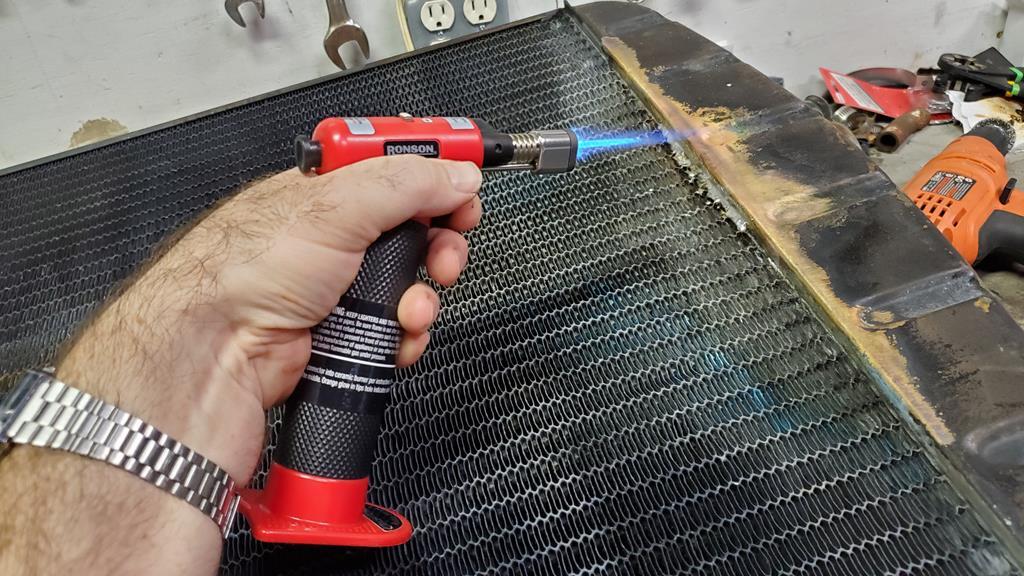 Pried the fins up, cleaned them as well as I could and added flux. 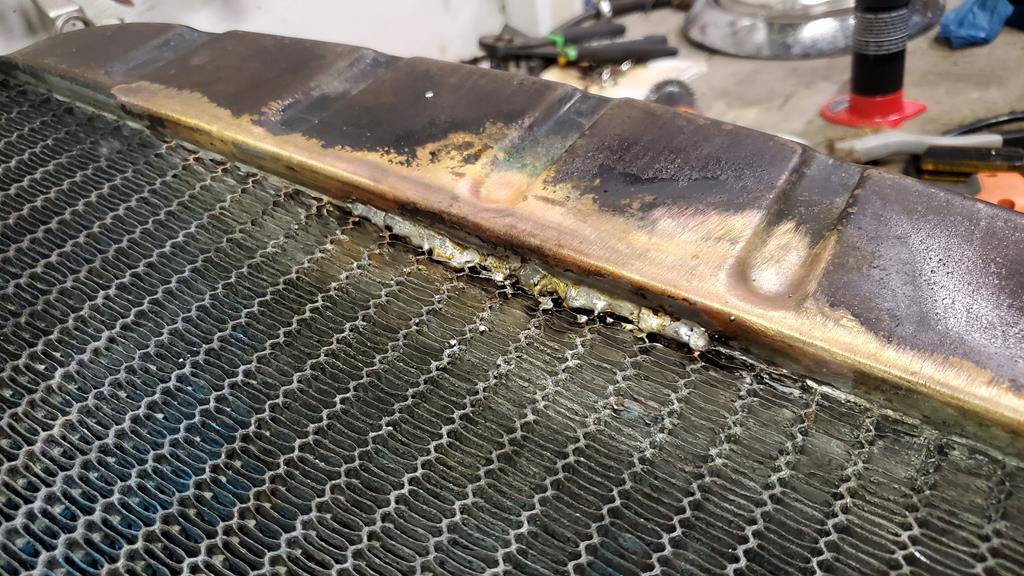 Not the tidiest job ever but we'll see tomorrow if it holds pressure. I hope so but am not holding out mega hope for it. Phil Excellent and fingers crossed that your dedication is rewarded fully. Your solution to every problem is a great example to many of us. Hope the new torch pays off. That would be pretty cool. |
| |
|
|
|
|
|
|
|
|
Why doesn't the rad shop just put a new style core in it? Far more efficient than that type.
I had that core in my original Jag MkII radiator, swapped it out for the modern fin & tube using the original tanks, no problem and far cheaper.
I'd have another chat with the rad guy.
|
| |
|
|
|
|
|
|
|
|
Really don't know. To retain the originality, I think.
I'll see if it works like this first.
James, yes. There aren't many hills around here so the engine really shouldn't get to working all that hard, ambient delta can be a problem in traffic.
Phil
|
| |
|
|
|
|
|
|
|
Why doesn't the rad shop just put a new style core in it? Far more efficient than that type. I had that core in my original Jag MkII radiator, swapped it out for the modern fin & tube using the original tanks, no problem and far cheaper. I'd have another chat with the rad guy. I don't think I'll be talking to him again. Looking at it, if this all goes to pot I should be able to purchase a core that's the correct size, cut the old one out and solder the new one in. I'm happy enough doing that, it's a shame to lose the visual look of the hex core but if it's leaking and is a pig to repair then replacing it with a standard tube-and-plate brass core makes more sense then guess what... I'll do that. Phil |
| |
|
|
|
|
1951 Pontiac Chieftainpeteh1969
@peteh1969
Club Retro Rides Member 107
|
|
|
|
Nice work there Phil the trick with soldering is a good clean surfaces, plenty of flux and don't over heat the metal.
|
| |
|
|
|
|
|
|
|
|
What I did with the radiator cap was to clean it down to fresh metal with the wire wheel (gently to scrub the old solder off mostly) then flux it to clean it.. heat it up until the flux browned and then tinned both the radiator and the cap spigot. I then placed the spigot in the hole and heated it round until the solder melted, adding just a little more to make sure it wicked between the two.
That method has provided me with good electrical connections in the past with a strong mechanical bond- the tinning process seeming to work well because good overall adhesion is visually easy to make.
The fins.. that was just a case of heating it up enough to get it to wick a little, let it cool then pooling it into the holes and then reflowing it once it had cooled a little.
My concern is it's leaking deeper towards the center of the core where I cannot get to- I'm really not sure how this is constructed on center of the core where it meets the top tank. It's very difficult to see through.
--Phil
|
| |
Last Edit: Aug 2, 2019 18:37:31 GMT by PhilA
|
|
|
|
|
|
|
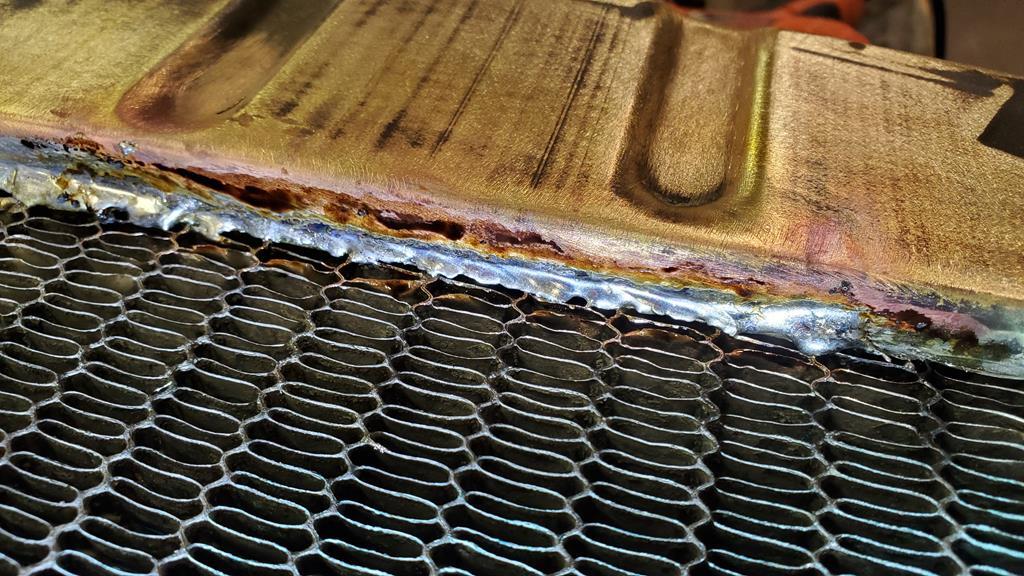 Further inspection with wire brush and bright light showed the seam to be cracked for a few more inches. Cleaned up and soldered. I'm getting better at this lark. 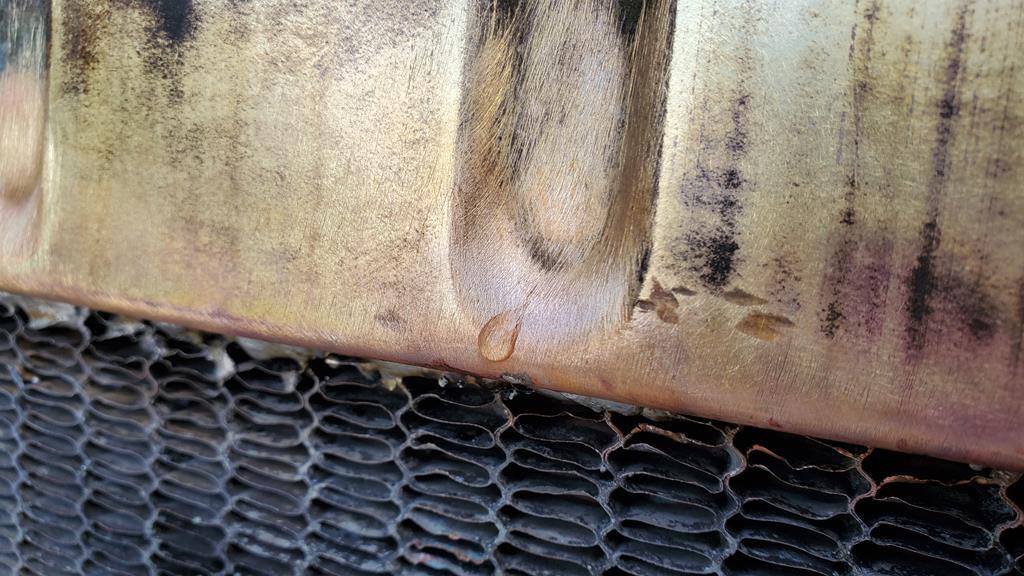 Pressure testing showed up a weep from a small crack. 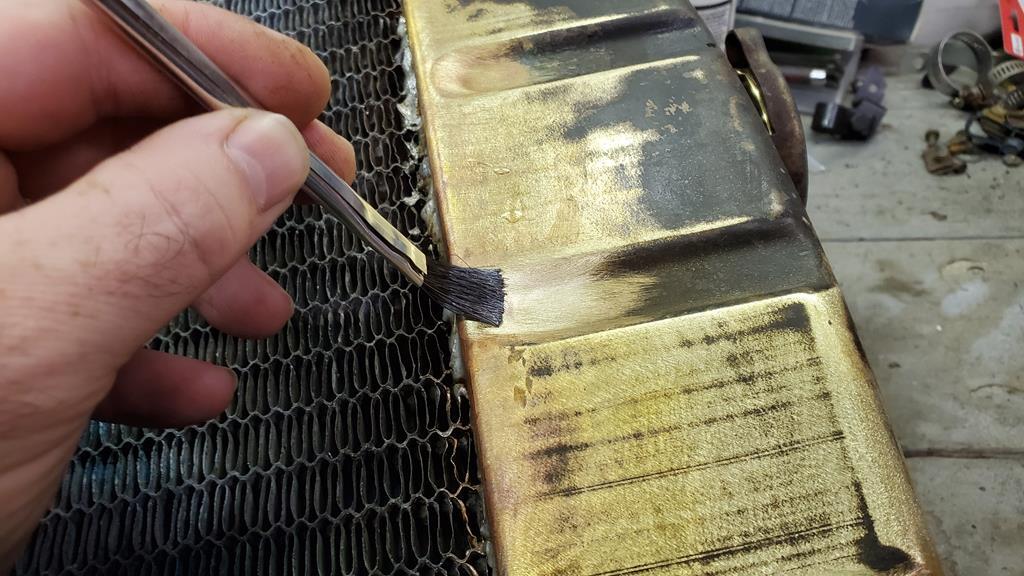 Cleaned with wire brush, flux added. 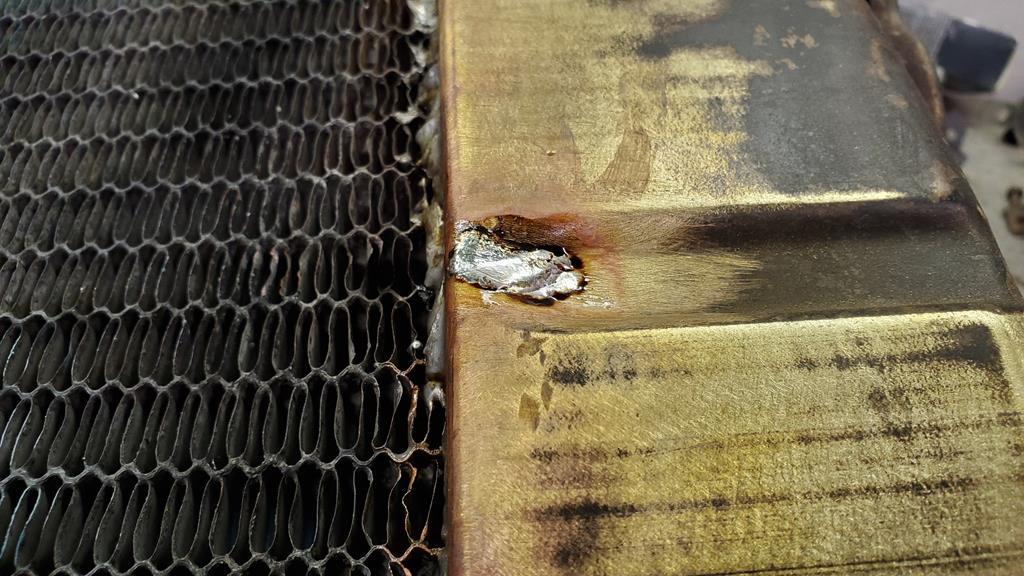 Soldered up. 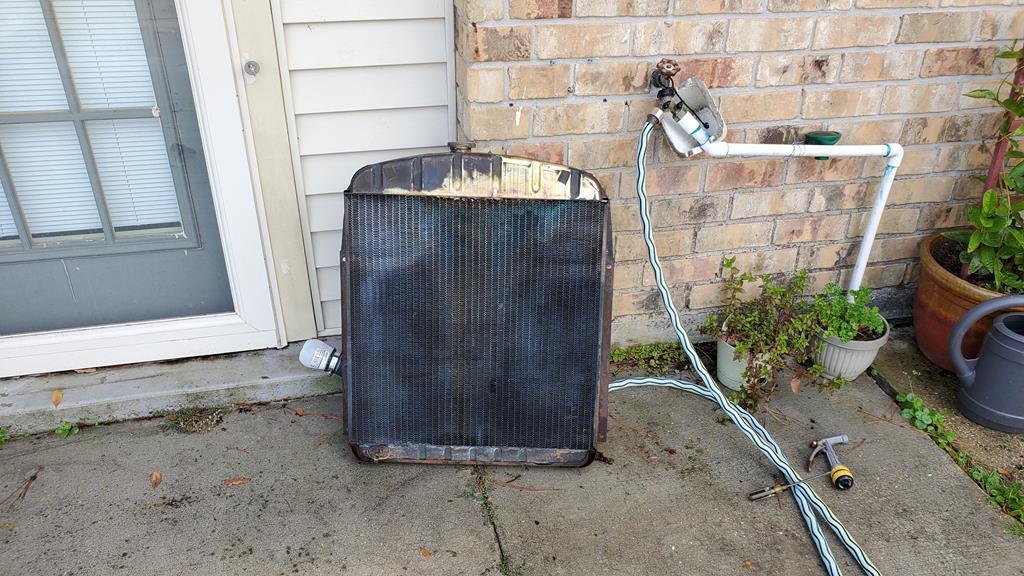 Initial testing on high tech testing rig proved promising. $42 for solder, flux, brushes and a gas torch. Better than $900 in my book. Let's hope it holds! Phil |
| |
|
|
|
|
|
|
|
|
nice job!
didnt someone post up using a bike innertube cut opposite the valve then fitted to the outlets to pressurise the rad??
|
| |
'80 s1 924 turbo..hibernating
'80 golf gli cabriolet...doing impression of a skip
'97 pug 106 commuter...continuing cheapness making me smile!
firm believer in the k.i.s.s and f.i.s.h principles.
|
|
|
|
|
|
|
|
Not a bad idea, that- just runs the risk of getting water into your air pump. I wouldn't want to try pressurizing the entire thing with just air though. You want something incompressible, like water to fill up the space and then try to pressurize that. Think of brakes... If there's air in the system the pedal is springy and ineffective because the air compresses under pressure; difficult to trace and control. A small fountain of leaking water is considerably easier to locate, too.
|
| |
|
|
|
|
|
|
|
|
Just bought the correct snap ring pliers for doing the gearbox on eBay. Typically the style needed isn't readily available any more. So, Snap-On 70A pliers are on the way. Wonder if the warranty on them is still valid?
The problem with vintage machinery is oft the requirement for vintage tooling.
Phil
|
| |
|
|
|
|
|
|
|
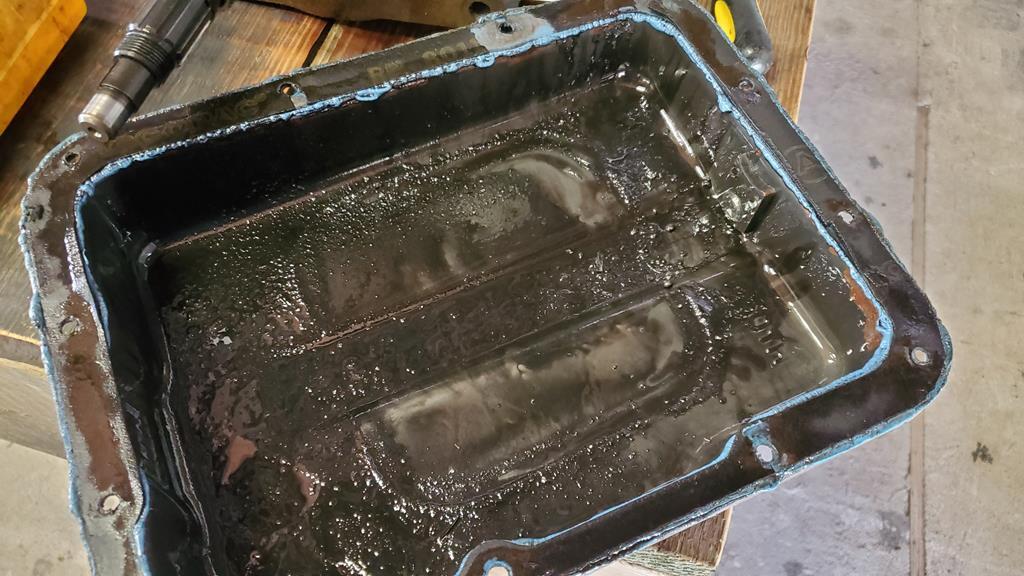 Took the lower oil pan off. Oh dear. That doesn't look good. Let me cut that down a bit with some gasoline... 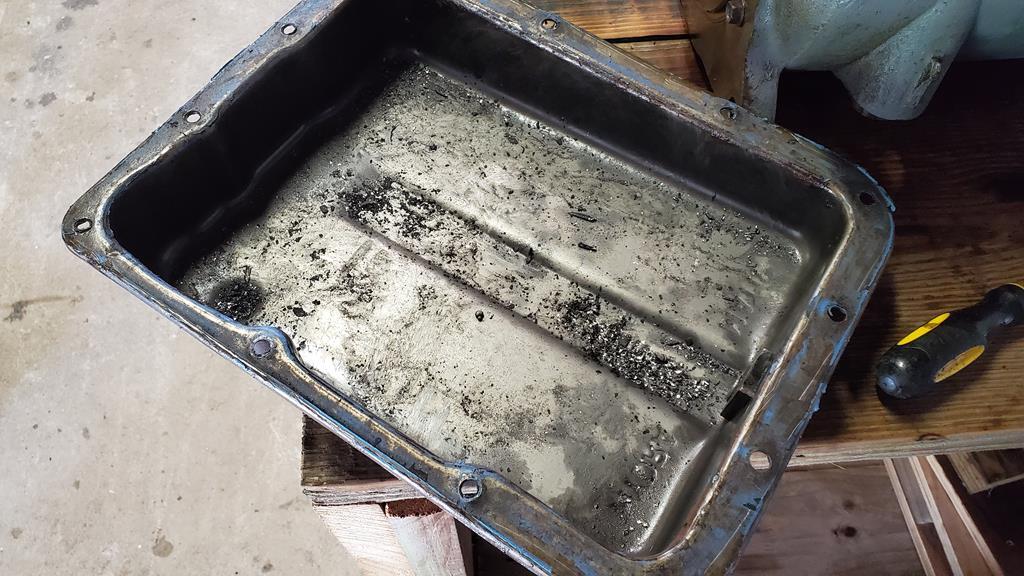 The contents of the oil pan are distressingly metallic. Something has been metal on metal big-time. 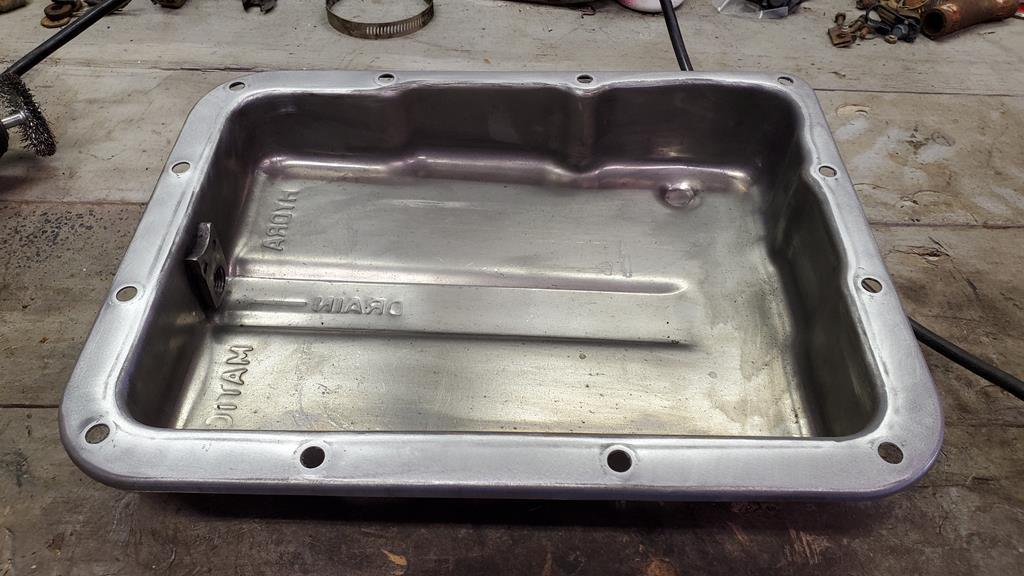 And for comparison, clean... 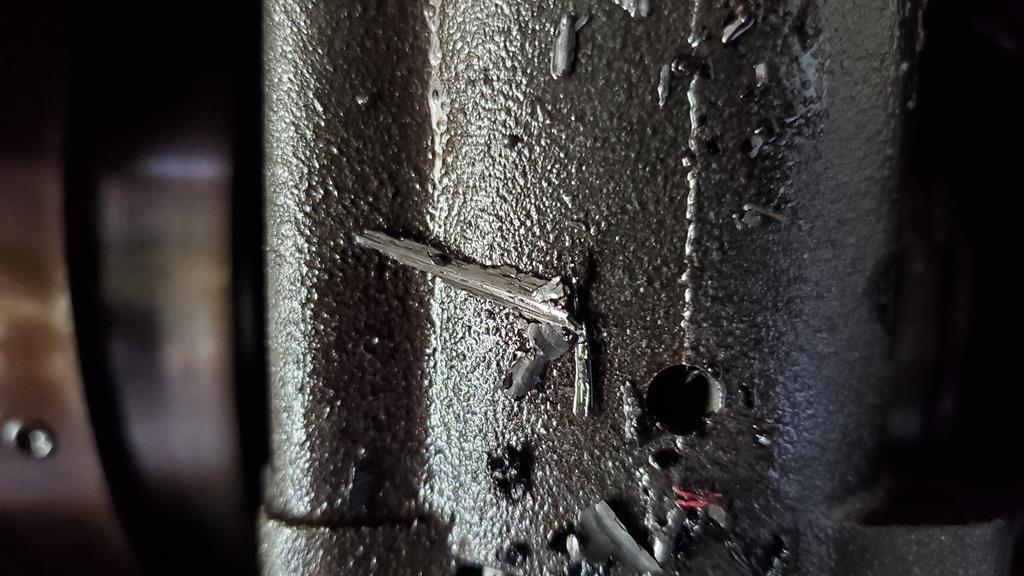 That's some really unhappy looking swarf. 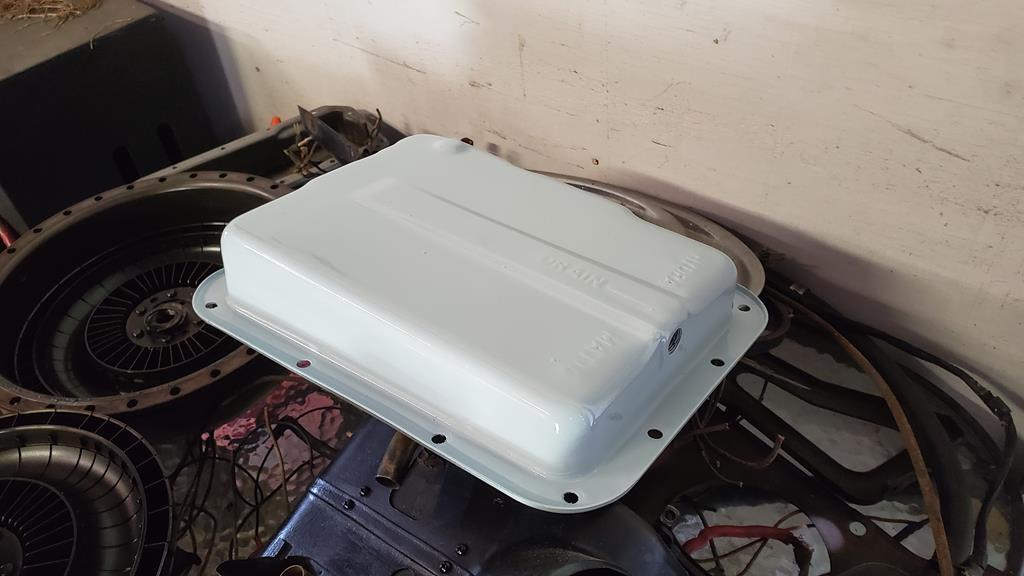 Cheered myself up a little by painting the lower oil pan to stop it from rusting. More to follow. Phil |
| |
Last Edit: Aug 3, 2019 18:12:31 GMT by PhilA
|
|
|
|
|
|
|
|
Perhaps its the remains of the shims that set the end float on the input shaft you spoke of earlier? do these boxes have internal drive bands if so it could it be those breaking up?
|
| |
|
|
|
|
|
|
|
|
The bands look okay, however it could be the clutches. That's going to take the epicyclic packs to come out.
If the friction material has gone and the clutches have been steel on steel.. if that's the case it'll all clean out and will just need new steels and friction plates.
I am hoping that's it.
Phil
|
| |
|
|
|
|
|
|
|
Well, better than expected. 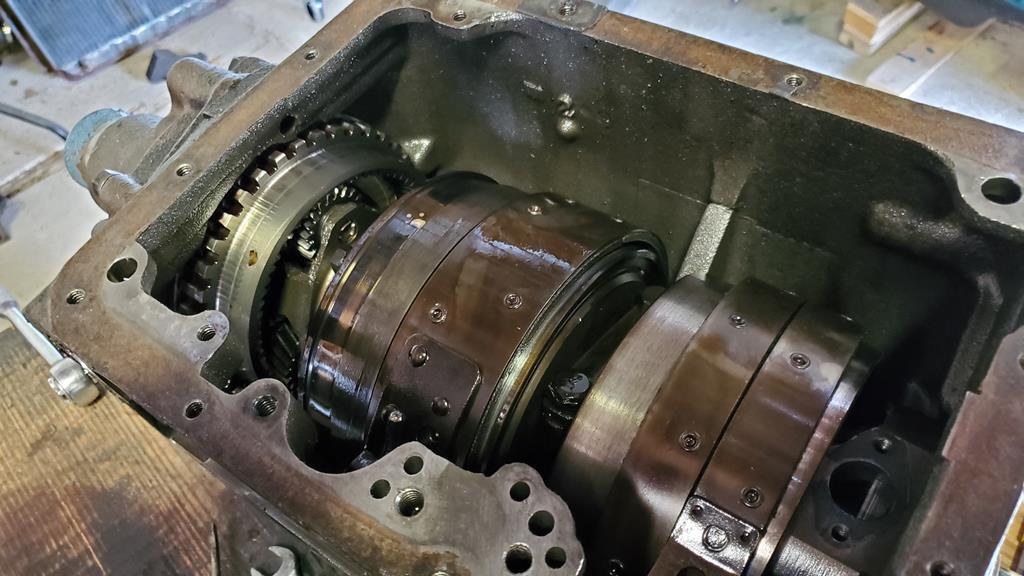 Lifted all the control gubbins off. 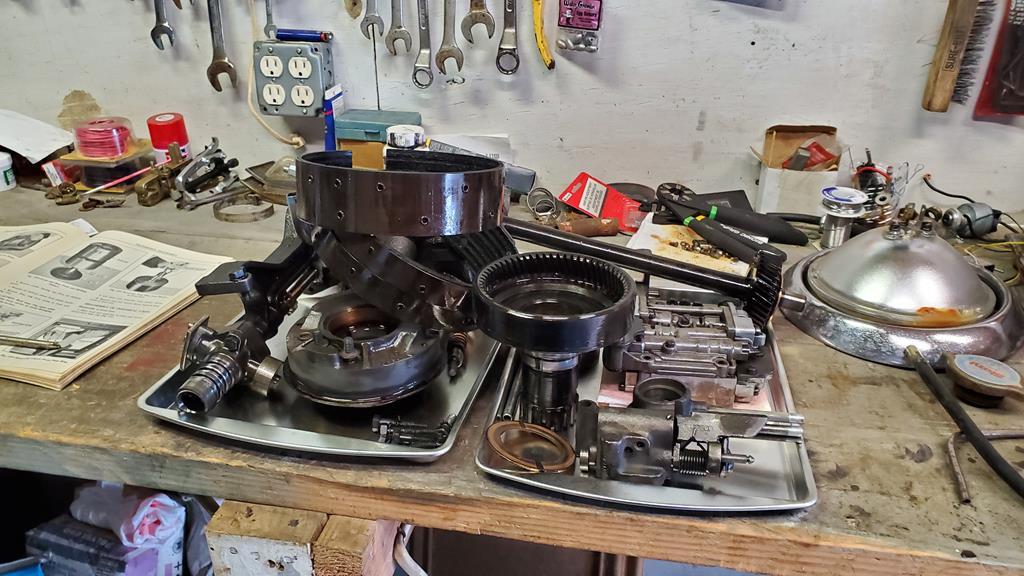 Pile of pieces growing, need more trays... 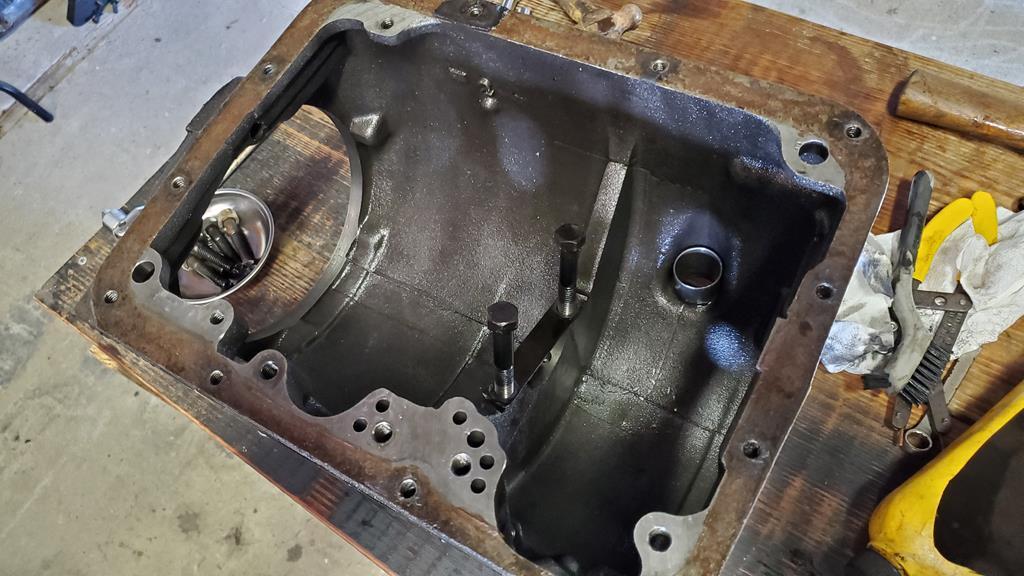 Case is all good. 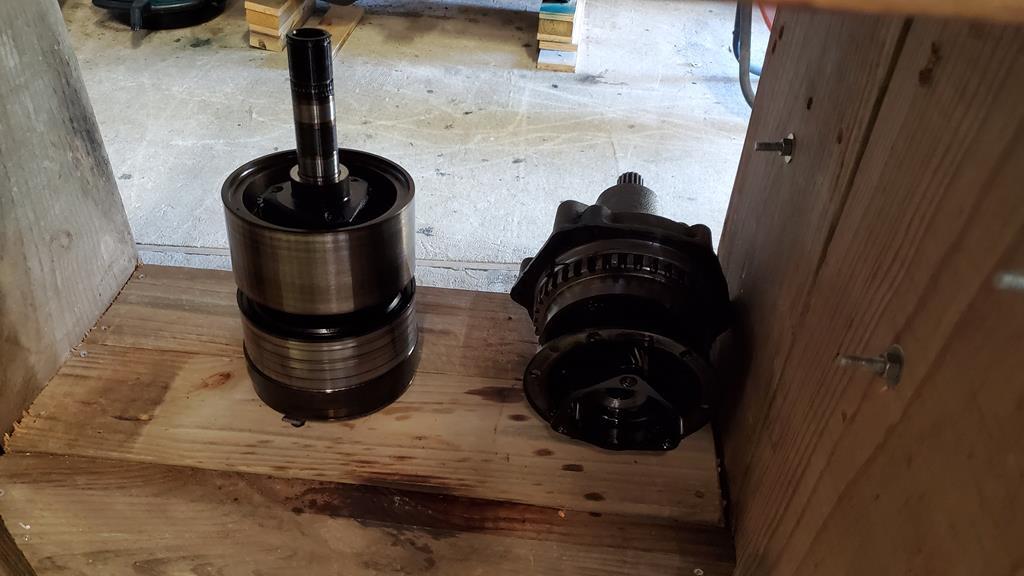 Drums are good, so hopefully the only damage is the clutches. Typically the piece I said "nah, she'll be right" to... Phil |
| |
Last Edit: Aug 3, 2019 23:28:59 GMT by PhilA
|
|
|
|
|
|
|
|
Note to self: The brass shim on the right tray is for The bearing surface between the reverse shaft and the rear epicyclic drum.
|
| |
|
|
|
|
|
|
|
Note to self: The brass shim on the right tray is for The bearing surface between the reverse shaft and the rear epicyclic drum. Note to Phil: You are a brave man. |
| |
|
|
|
|
|
|
|
Note to Phil: You are a brave man. My thoughts exactly. |
| |
|
|
|
|
1951 Pontiac Chieftainpeteh1969
@peteh1969
Club Retro Rides Member 107
|
|
|
|
WOW Well done Phil the manual you got has come in useful?
Did you get the flange on the sump flat (around the bolt holes) before painting it?
|
| |
Last Edit: Aug 4, 2019 10:08:59 GMT by peteh1969
|
|


