|
|
|
Jun 12, 2019 23:15:04 GMT
|
|
Tonight I did a huge amount!
I bought 88¢ of bolts. I also cleaned up and painted the clutch pedal blanking plate.
I put my back out last night so updates may be a little slower than planned again.
Phil
|
| |
|
|
|
|
|
|
|
Jun 12, 2019 23:53:58 GMT
|
|
I googled the Corn Head grease. Fascinating what you learn each day! Maybe Alfa guys here will start using this now. What a great car and project. John
|
| |
|
|
|
|
|
Jun 12, 2019 23:56:02 GMT
|
|
Yup, it's strange stuff!
The rest of the grease points will be getting regular moly grease though.
Phil
|
| |
|
|
|
|
|
|
|
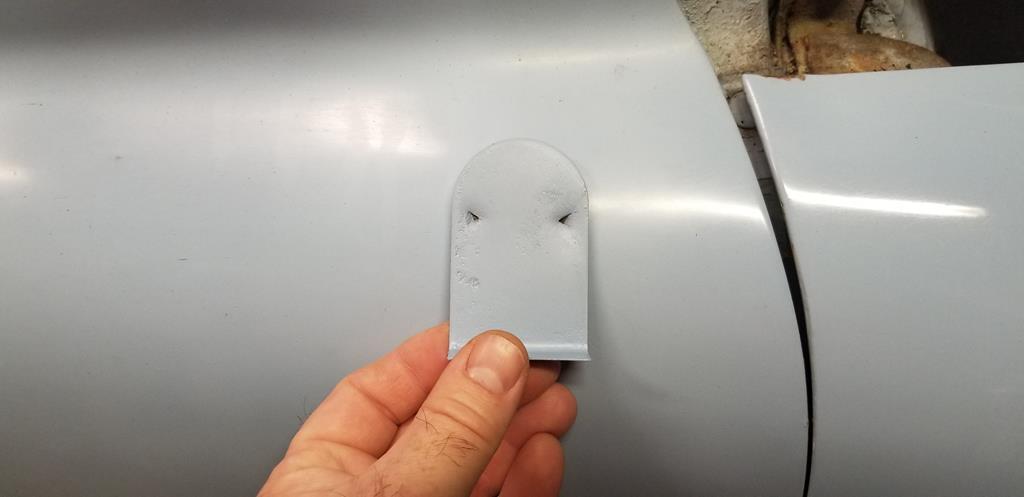 I hadn't thought until now to offer the color I'm painting up against the car. I have to say, that's not a bad color match for a can off the shelf at Walmart. 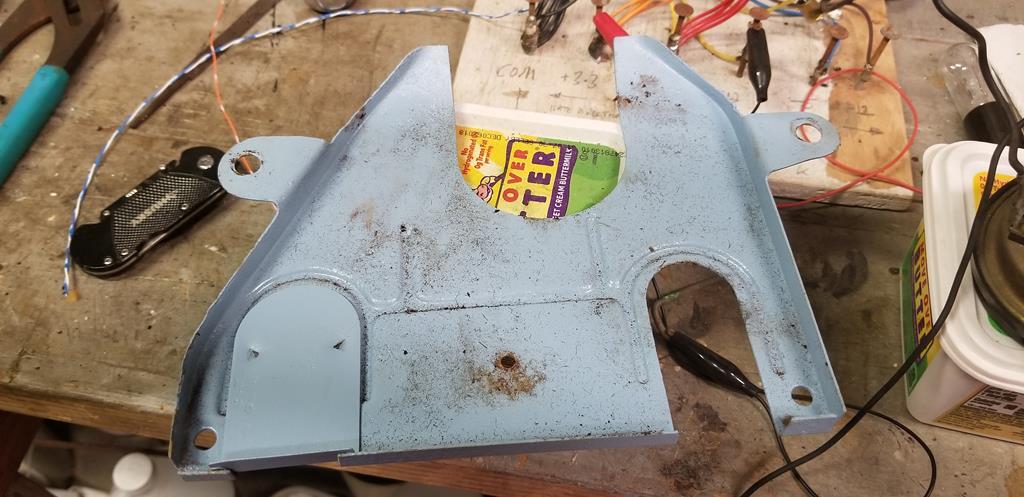 Blanking plate fits into the backplate here. 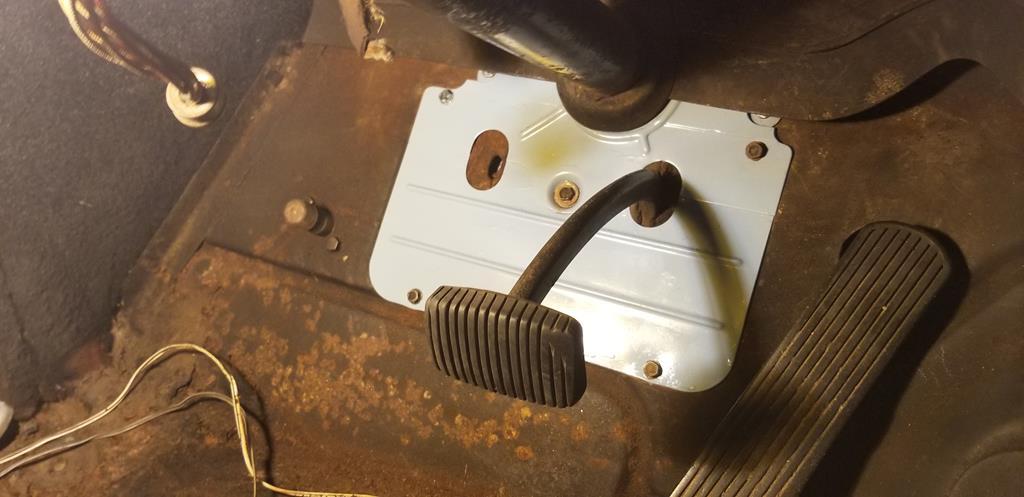 All assembled and fixed in tight. No squeaks or rattles. This makes me happy. Phil |
| |
|
|
|
|
|
|
|
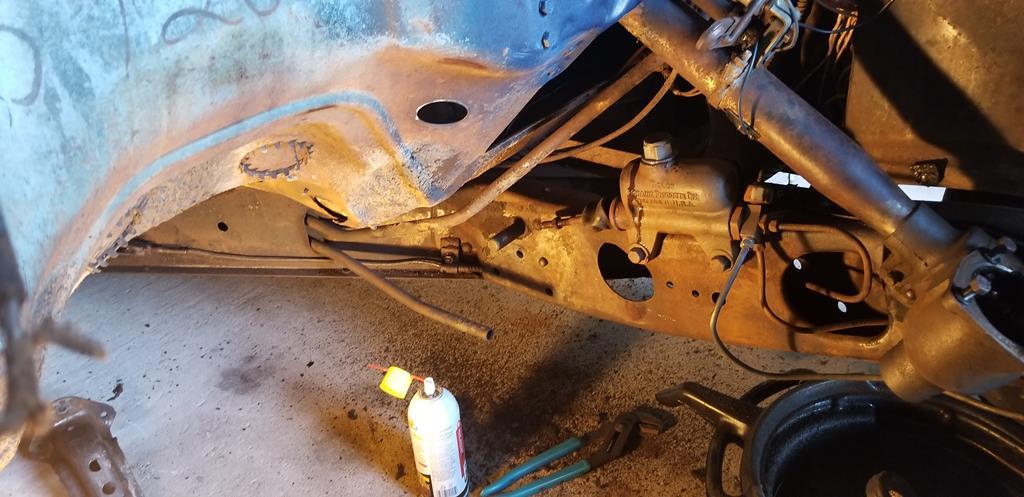 Tonight the day cooled off enough to do a little work on the car. 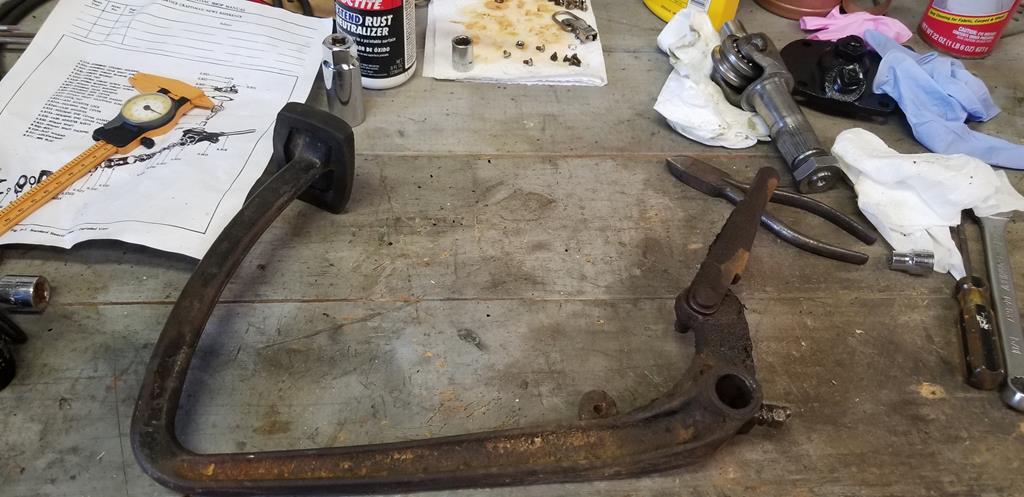 I couldn't get the clevis pin to come out with everything bolted to the car, so unscrewed the adjuster rod and pulled it all off. 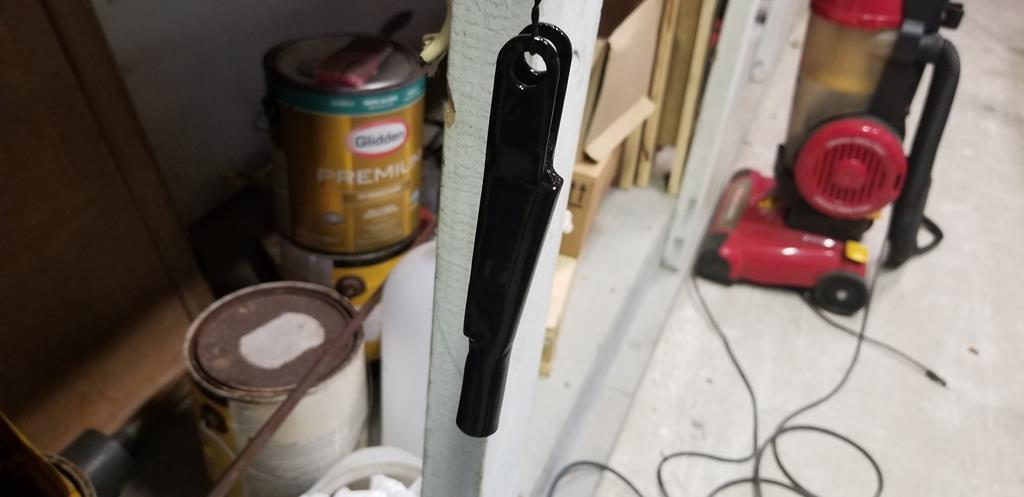 Straightened, cleaned and painted the rod. 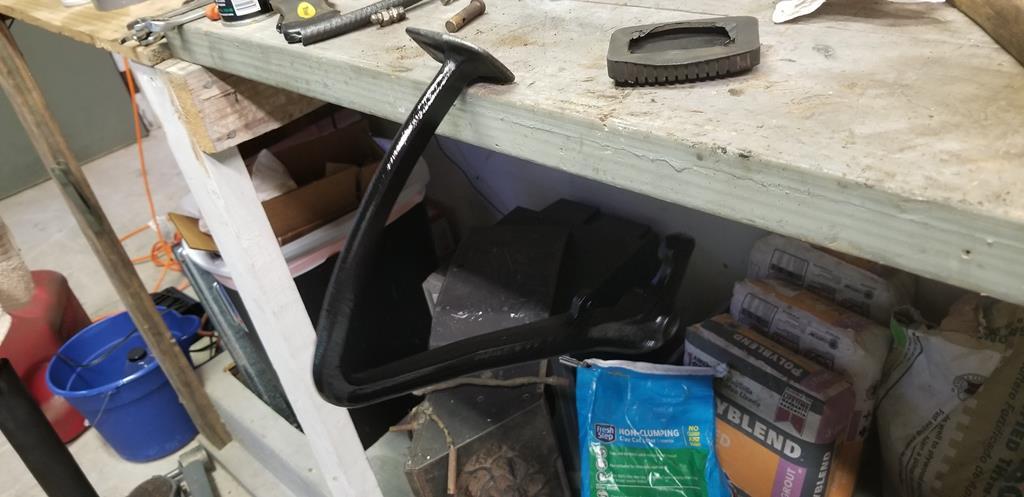 Also cleaned up and painted the brake pedal. 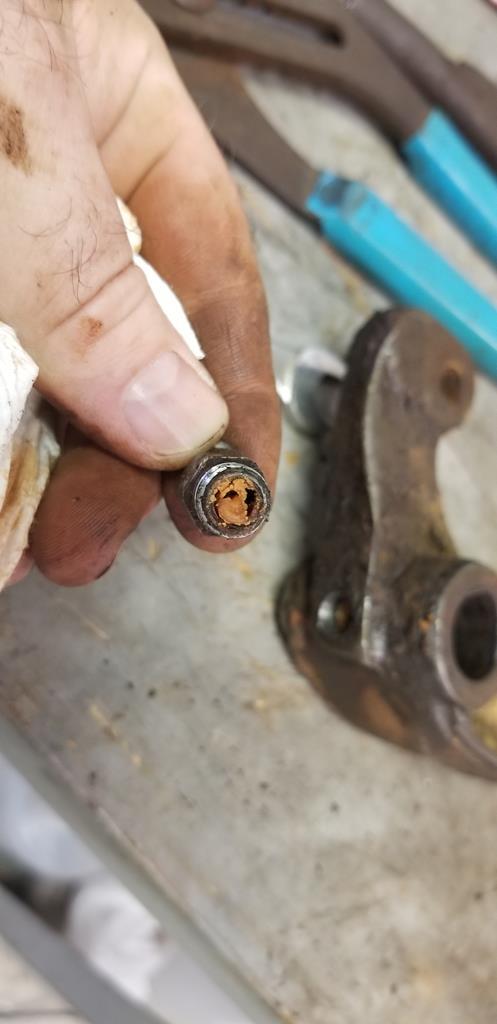 I think the lubrication schedule has been neglected. 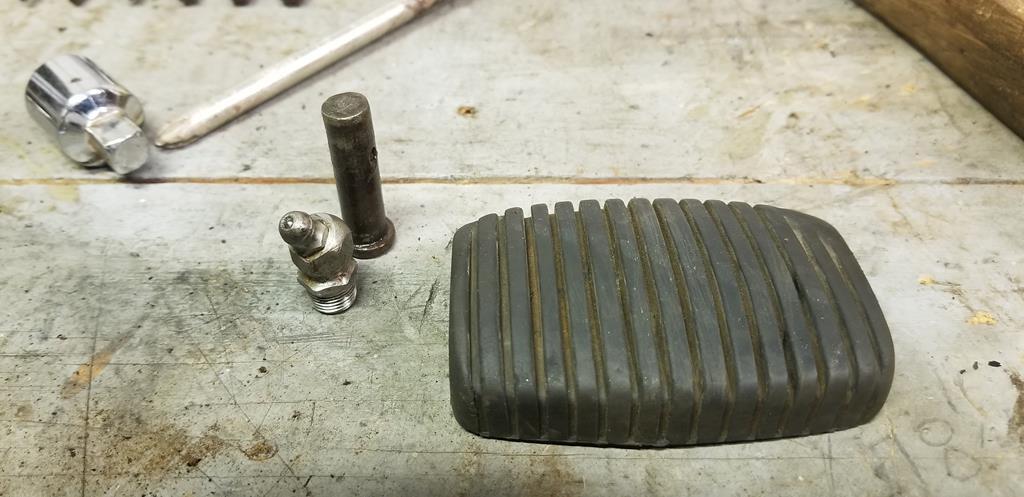 Cleared the grease nipple out and cleaned it up. Cleaned and greased the clevis pin. Paint is drying now. Phil |
| |
|
|
|
|
|
Jun 14, 2019 23:59:01 GMT
|
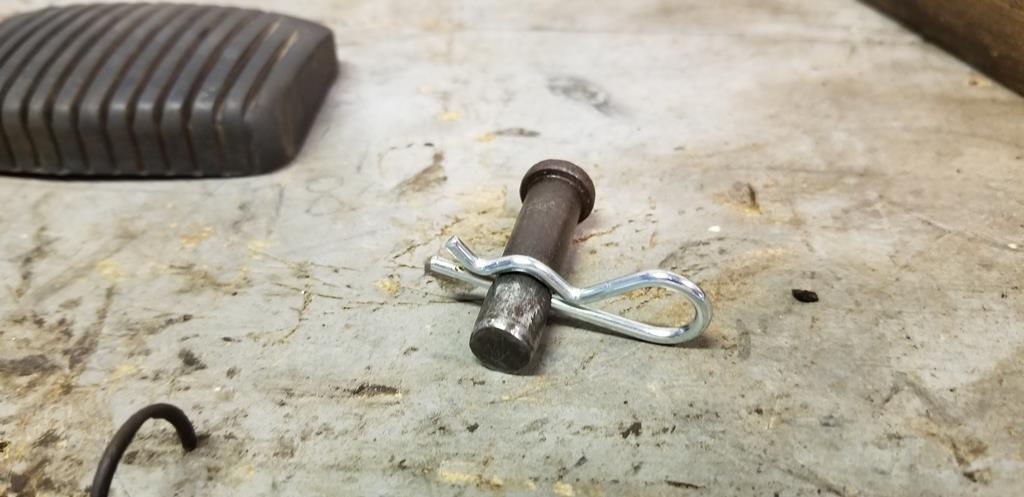 I now have a hairpin for my clevis. 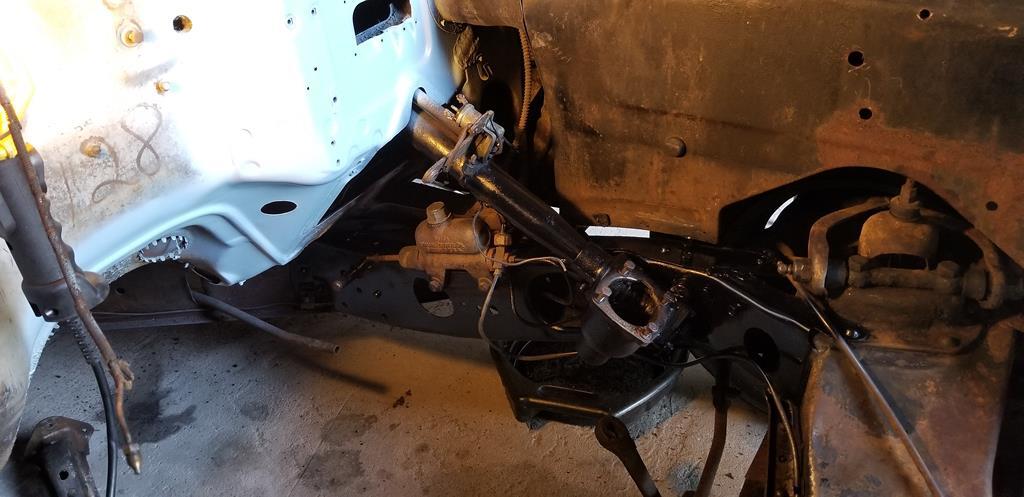 Slowly applying paint; having to dismantle everything to sand down. Phil |
| |
|
|
|
|
|
Jun 15, 2019 10:00:09 GMT
|
Keep going. This is one of my favourite reads - thanks for taking the time to post!  |
| |
1968 Mini MkII, 1968 VW T1, 1967 VW T1, 1974 VW T1, 1974 VW T1 1303, 1975 Mini 1000 auto, 1979 Chevette, 1981 Cortina, 1978 Mini 1000 1981 Mini City, 1981 Mini van, 1974 Mini Clubman, 1982 Metro City, 1987 Escort, 1989 Lancia Y10, 1989 Cavalier, 1990 Sierra, 1990 Renault 19, 1993 Nova, 1990 Citroen BX, 1994 Ford Scorpio, 1990 Renault Clio, 2004 Citroen C3, 2006 Citroen C2, 2004 Citroen C4, 2013 Citroen DS5. 2017 DS3 130 Plenty of other scrappers!
|
|
|
|
|
Jun 15, 2019 12:35:54 GMT
|
|
Well, the trouble with doing paint and stuff is there's a lot of droll work (clean, sand, clean, smooth, paint) for very little actual result.
Phil
|
| |
|
|
|
|
|
Jun 15, 2019 14:16:51 GMT
|
|
I need to go to the hardware store and see if there's anything I can find to repurpose as a dual pipe clamp. When taking the lower heater pipe out I saw that there's a screw hole in the frame where the pipes pass through, to stop them chattering.
Also to note, both heater matrices were disconnected when I got the car, with the heater circuit bypassed. Upon removing the rubber hose, I was presented with clean yellow coolant. This is a good thing; means at least the lower matrix has had anti corrosive mixture in and by the looks of it has no major leaks.
The heater valve is all covered in staining, so I'm guessing either the valve or the matrix (or both) are toast.
I am going to remove the defroster heater box, partly because I want to paint around and behind it, partly to replace the seal that's turned to so much tar and the rest to check the matrix, flush it and see if the valve is any more good.
Phil
|
| |
Last Edit: Jun 15, 2019 15:08:09 GMT by PhilA
|
|
|
|
|
|
|
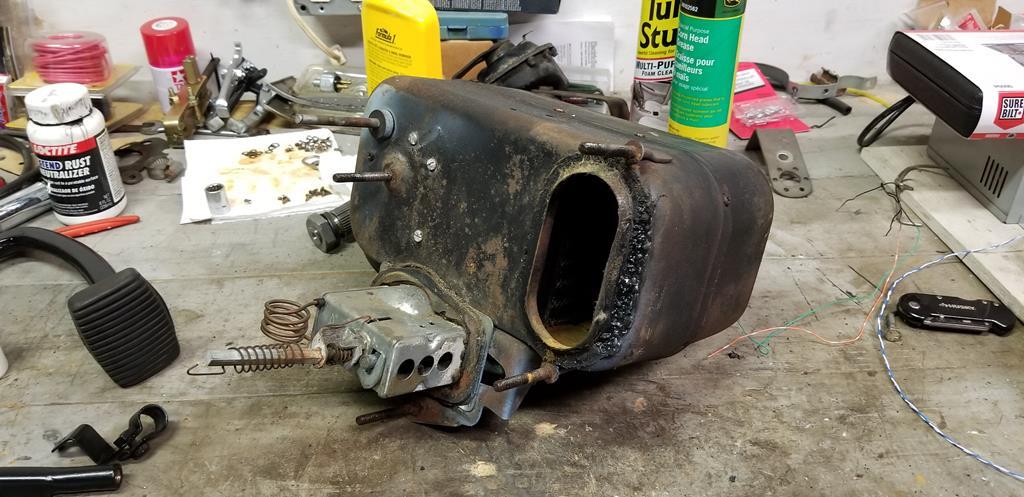 After much swearing at linkages and rusty bolts, the heater (made by Harrison and not finished in the same grade steel or paint as the car) was liberated from the firewall. The car is ahead of it's time again; the entire dash had to come out before the heater could be removed. 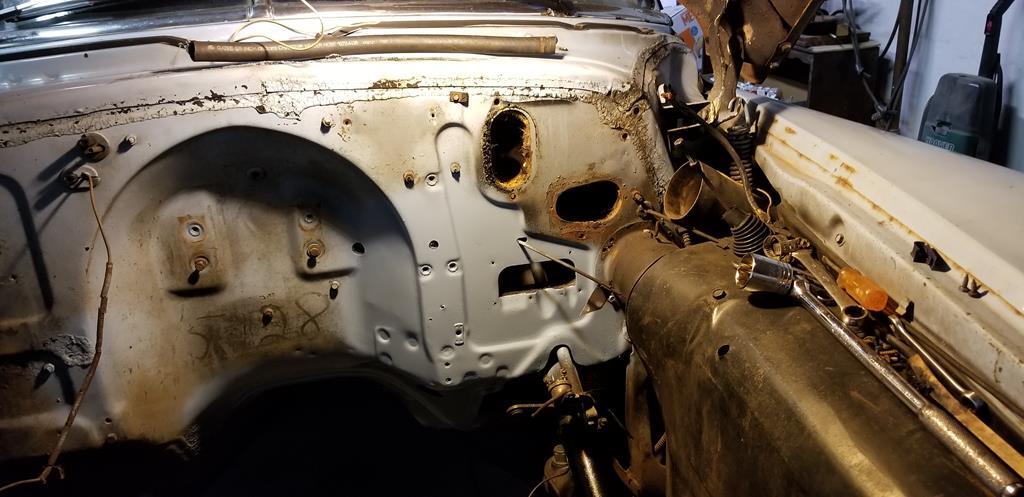 It has left behind quite an empty space, however I think I will need this space in order to remove the heater fan/motor/duct assembly in order to change the fan motor and wiring to 12V. 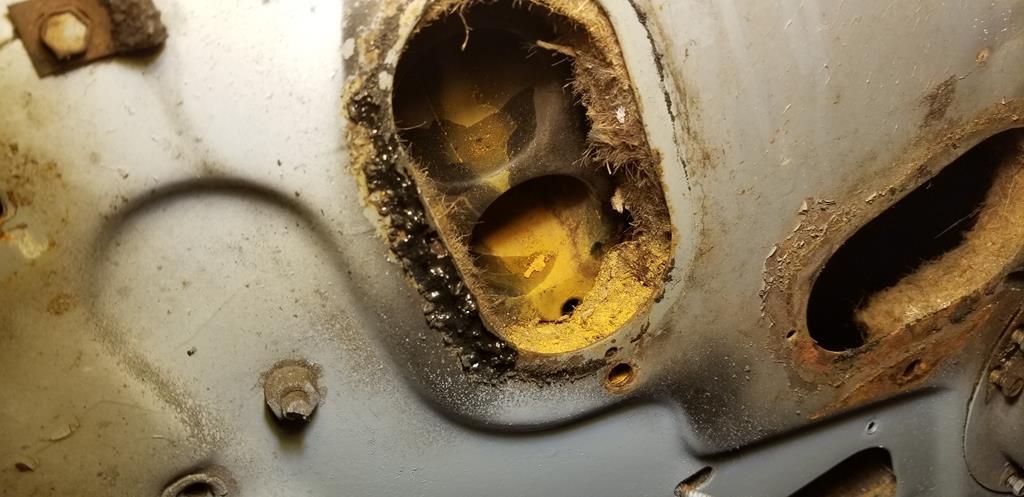 It would appear that the complicated, spring-loaded thermostatically controlled heater valve had been leaking for a while. Probably why the thing was disconnected and bypassed. 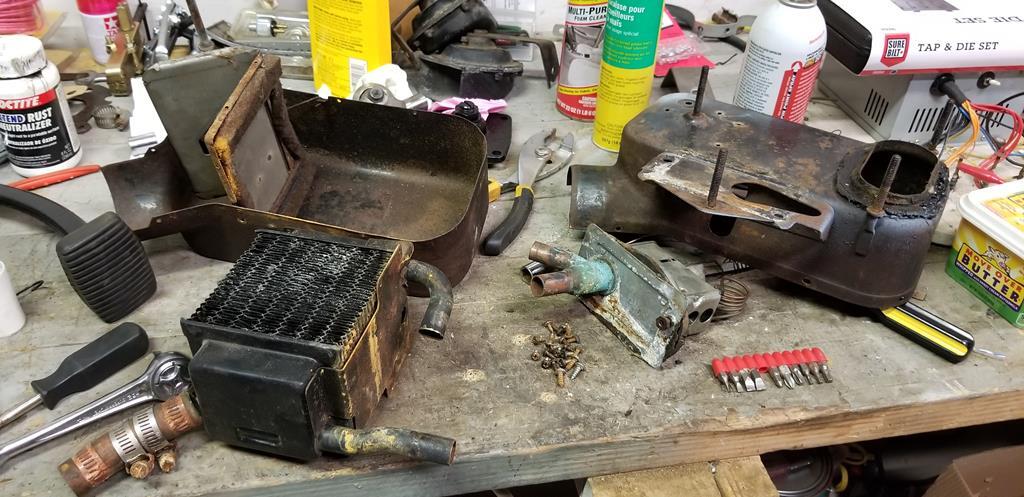 Took the rest of it to bits. I want to clean up and paint the housing. 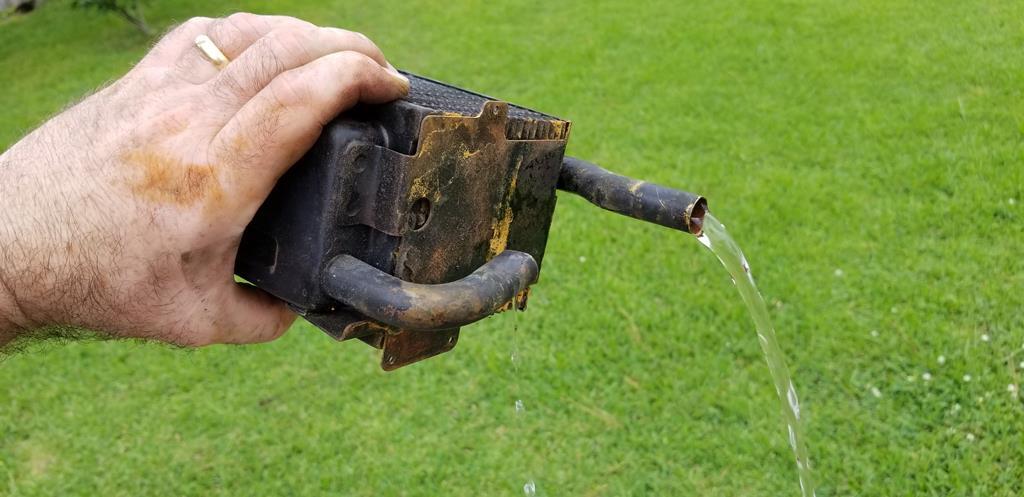 With the box apart, the matrix was removed and flushed though. It flows freely and had very little crud inside. I also put my thumb over one end and applied a little pressure to check for leaks. It doesn't appear to be leaky, only the valve itself. I'm going to see if new valves are available. If they are, and they're not too expensive I'll probably source a new one; if not then I'll try rebuild this one. Phil |
| |
|
|
|
|
|
Jun 18, 2019 14:44:49 GMT
|
|
Ah, it would appear that these valves are exchange core/rebuild items only, and are expensive.
I think pulling mine apart would probably ruin the core value so I'm going to investigate a couple companies who service and overhaul these Harrison valves.
Joy, fun. More money (although I had half expected it).
--Phil
|
| |
|
|
|
|
|
Jun 18, 2019 18:21:45 GMT
|
|
bit by bit ... piece by piece.. the old thing is getting its mojo back.
|
| |
'80 s1 924 turbo..hibernating
'80 golf gli cabriolet...doing impression of a skip
'97 pug 106 commuter...continuing cheapness making me smile!
firm believer in the k.i.s.s and f.i.s.h principles.
|
|
|
|
|
Jun 18, 2019 21:36:05 GMT
|
|
I was wrong. It's a RANCO valve, which means it can be overhauled.
I just stuck it in the freezer, the thermostatic bellows still function and push the valve open.
Phil
|
| |
|
|
|
|
|
Jun 18, 2019 22:34:36 GMT
|
|
Made a phone call to a guy who specializes in repairing these valves, in sunny California.
Waiting on a call back, got voicemail.
Onward and upward!
Phil
|
| |
|
|
|
|
|
|
|
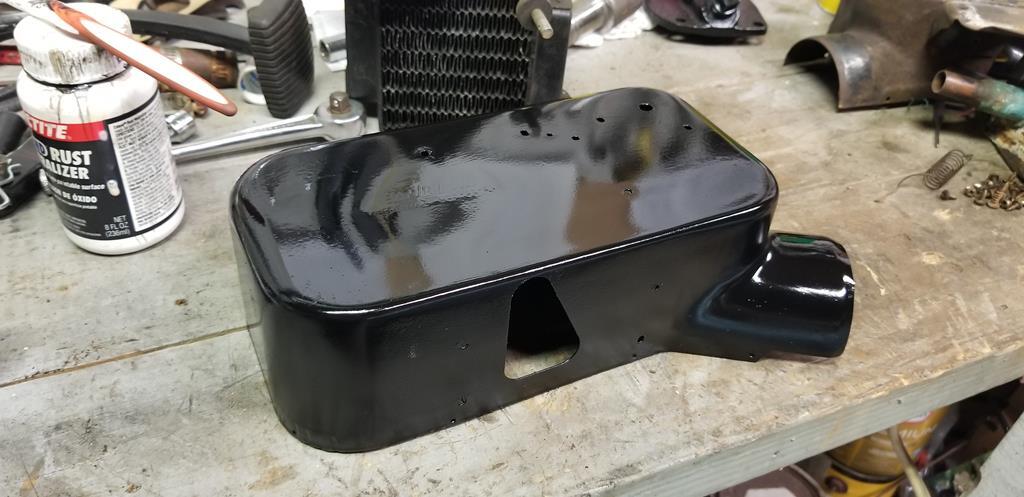 Sanded, rust treated and painted one half of the heater tonight. Phil |
| |
|
|
jamesd1972
Club Retro Rides Member
Posts: 2,921  Club RR Member Number: 40
|
1951 Pontiac Chieftainjamesd1972
@jamesd1972
Club Retro Rides Member 40
|
|
|
|
How’s your back doing ? Still plugging away at it so that’s good.
James
|
| |
|
|
|
|
|
Jun 19, 2019 11:52:04 GMT
|
Thankfully 2 days after it let go it popped back in. I took it easy and so far it's been okay. Heater clamshell has dried to a nice satin finish, happy with that. 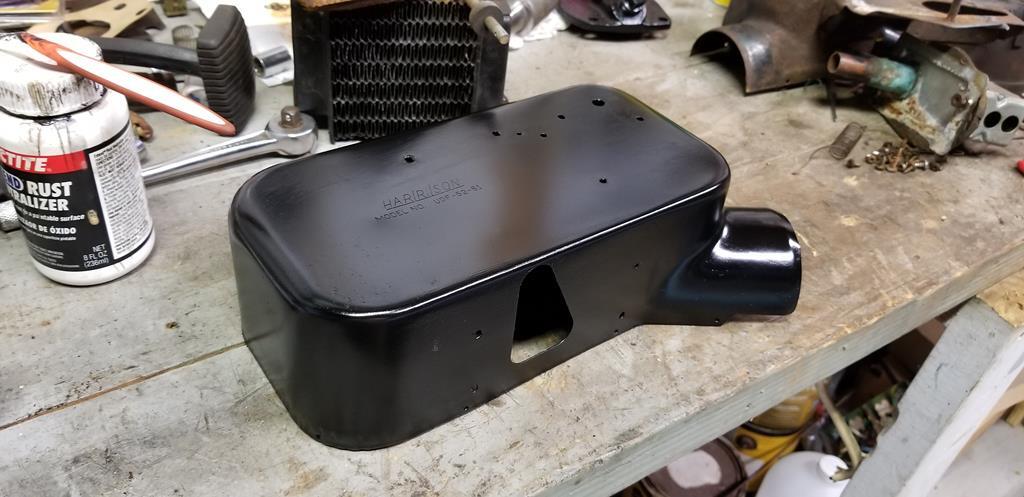 Phil |
| |
Last Edit: Jun 19, 2019 12:57:21 GMT by PhilA
|
|
|
|
|
Jun 19, 2019 16:07:25 GMT
|
|
have you noticed how you ever get sympathy for a bad back from someone that suffers themselves?! 'tis a sod though. keep it moving ...gently mind.
|
| |
'80 s1 924 turbo..hibernating
'80 golf gli cabriolet...doing impression of a skip
'97 pug 106 commuter...continuing cheapness making me smile!
firm believer in the k.i.s.s and f.i.s.h principles.
|
|
|
|
|
|
|
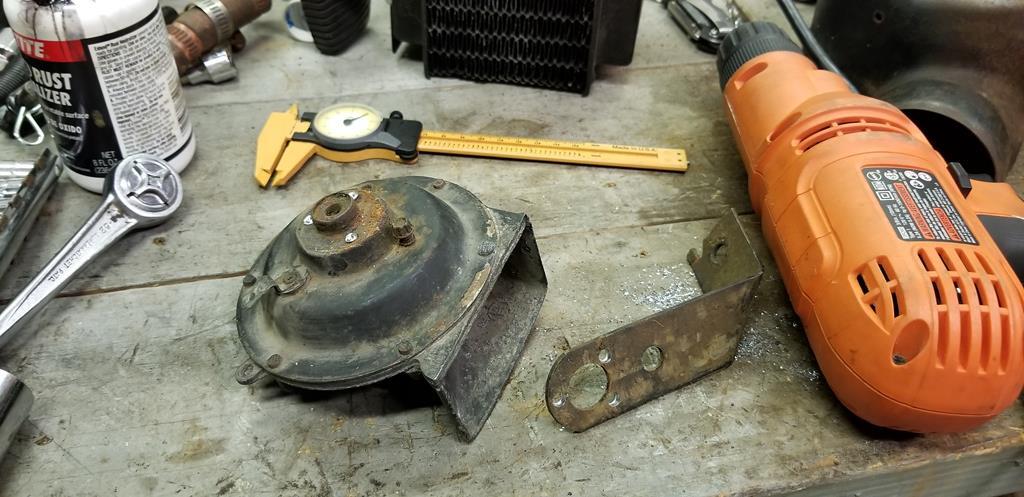 Drilled the spot welds out of the horn brackets carefully. The horns are for a different model vehicle and the brackets are too short and at the wrong angle. 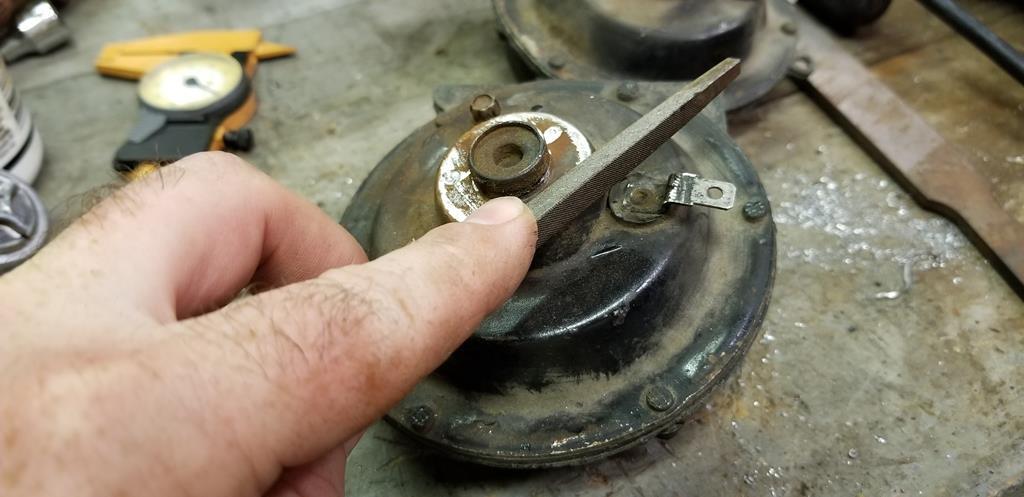 Filed the metal back flush and dressed the edges back down smooth. 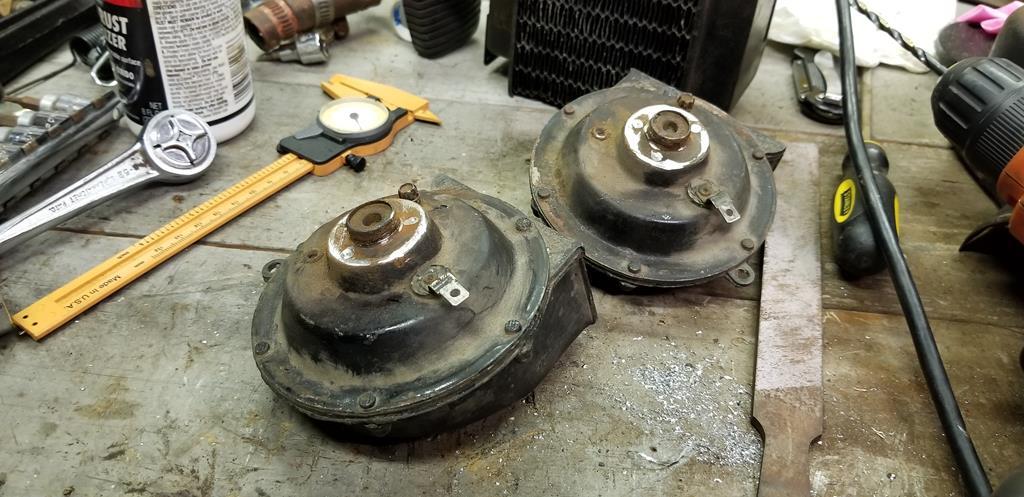 Repeat x2. Looking at pictures of these things all taken apart, there's not much space inside to play with. I think I'll have to make some big brackets and have them welded on to the lower step. I have a neighbor who does mig and tig welding, I'll ask him. Phil |
| |
|
|
|
|
|
|
|
|
Ah ha. You've admitted the thing you can't do!
*probably because you don't have a welder
|
| |
|
|


