|
|
|
May 15, 2019 23:29:23 GMT
|
|
There's a funny 2 legged puller made for these things. They look like the bad guys spaceships from Tron.
There's not enough space to get a hammer on on the other side, the chassis is in the way.
Phil
|
| |
|
|
|
|
|
|
|
|
|
|
Just tried with my little puller and it didn't budge. Larger puller time.
2" wide, 1 1/4” shaft.
Phil
|
| |
|
|
|
|
|
|
|
Tool number two!  Bought a modest puller. Useful because it's adjustable and can also be used 2 or 3 legged. 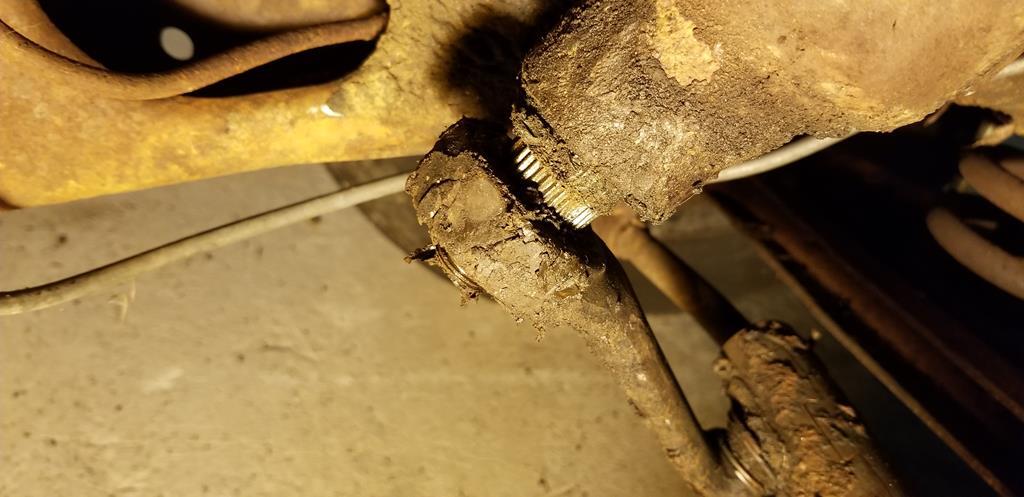 That and the application of 4lb lump hammer saw it yield. I left it there so I can mark splines tomorrow. I already got grease and dirt on my good work slacks... Phil |
| |
|
|
|
|
|
May 16, 2019 23:49:08 GMT
|
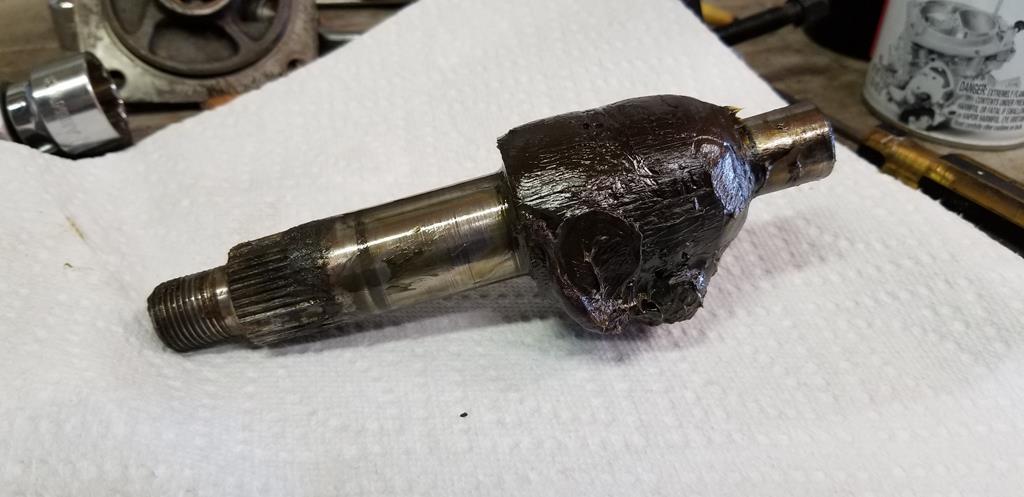 Pulled the top cap off the steering box. The pitman arm shaft pulled straight out. It's got some of the correct grease in but mostly not; shaft is kinda worn but not horrible.  Cleaned the grease off the top cap, cleaned the bearing grease channels out, they were a bit gunky. 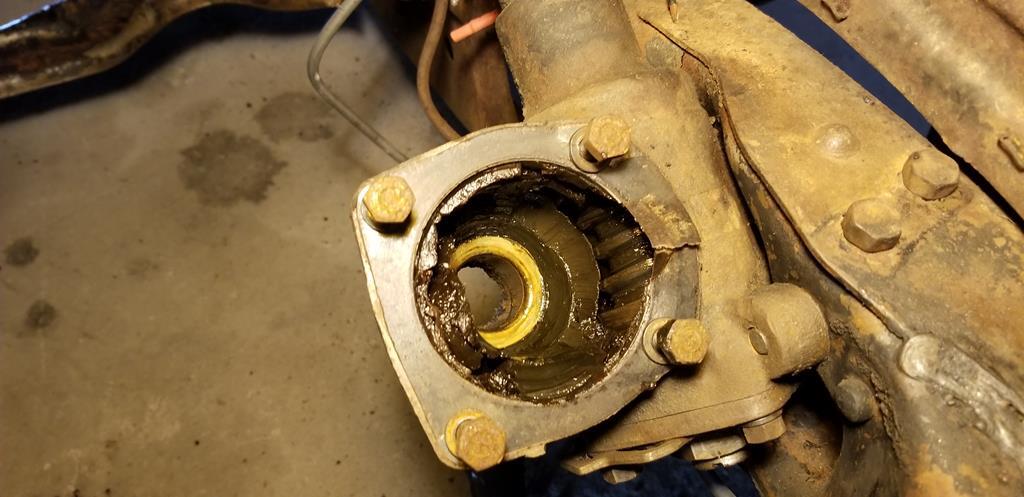 The inside of the steering box is.. suitably yucky. That's a task for another day.  The pitman arm shaft cleaned up okay. Still got a bit of work to clean the gungy old grease out of the back of the worm wheel housing. Worm wheel ball race is a little sloppy. The top cap bearing is also, the bottom likely as well. All three of those being slack will add up to the free play I observed. I'm going to clean the steering box housing up and put the shaft through backwards and see how wobbly it is. Phil |
| |
|
|
|
|
|
|
|
 Tonight, I split the wormwheel from the cross-shaft.  Dunked it all in gasoline and dissolved all the old grease out. 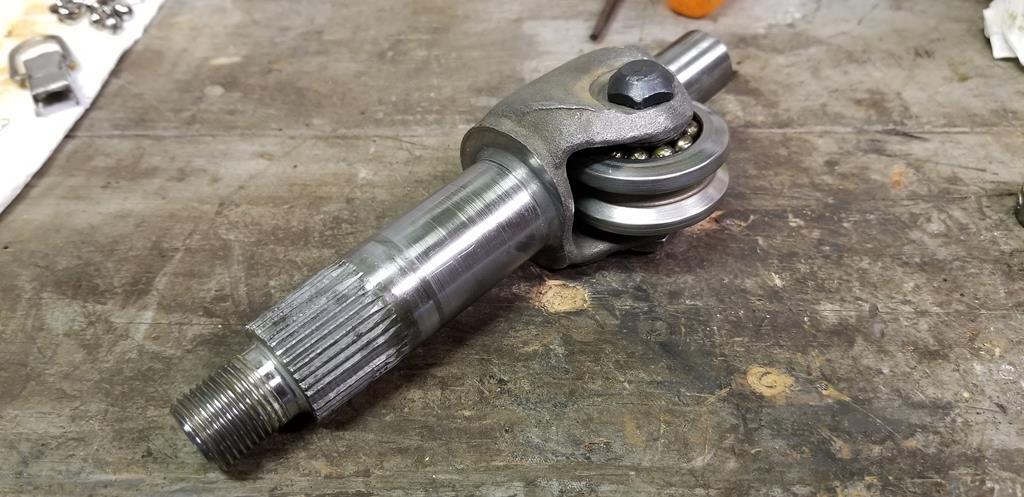 Reassembled it all and tweaked the nut a little which removed a good bit of the slack in the ball bearing. 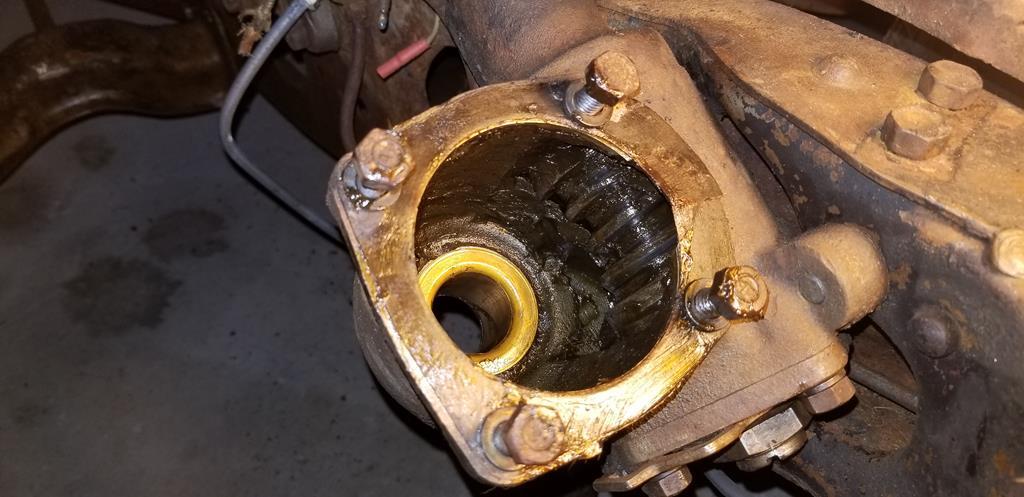 Scooped a lot of the old grease out of the steering box also. I'm going to work on removing the rest maybe tomorrow. 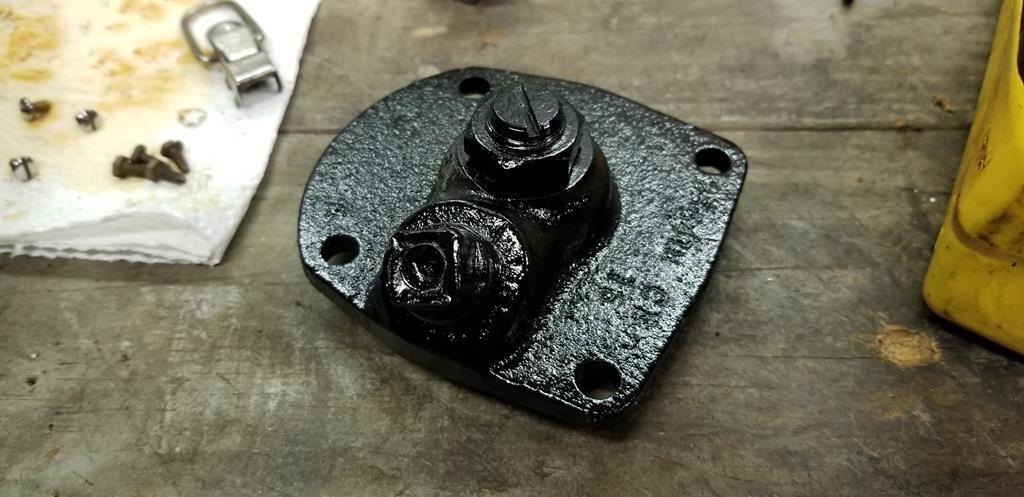 Finished by cleaning up and painting the lid to stop it from rusting. Feels good to get back to things. Need to slacken off and re-torque the bolt and then peen the nut in place before reassembly. The bearings have seen better days but for now fresh grease and adjustment will have to do. Phil |
| |
|
|
|
|
|
|
|
|
I was very kindly gift'd a pair of Delco horns for the Pontiac.
After a little adjustment:
They are a really nice tone and very loud!
Need to make some replacement brackets to fit them on and that'll be set.
Phil
|
| |
|
|
|
|
|
|
|
|
Phil, what will you fill that steering box with? Anything exotic like Penrite's special goop? Great project. John.
|
| |
|
|
|
|
|
|
|
|
John Deere "corn head" grease. It's a semi-solid self leveling polyurea grease.
Phil
|
| |
|
|
|
|
|
|
|
Sounds positively down home good stuff, Phil. love the reaction to the horn!....  JP |
| |
I know its spelled Norman Luxury Yacht, but its pronounced Throat Wobbler Mangrove!
|
|
|
|
|
|
|
|
I ordered some grease for the steering box this morning. Hopefully that'll be in early next week, so I need to clean the old grease out first and cut a new gasket, then it'll be ready for reassembly and paint.
Phil
|
| |
|
|
|
|
|
Jun 10, 2019 23:48:29 GMT
|
Oh boy. I started cleaning up the steering box, frame rail and general driver's side area tonight.  Wire brush, screwdriver, scraping blade.. starting to come up clean.  Beginning to look presentable. More of the same to follow for the foreseeable. 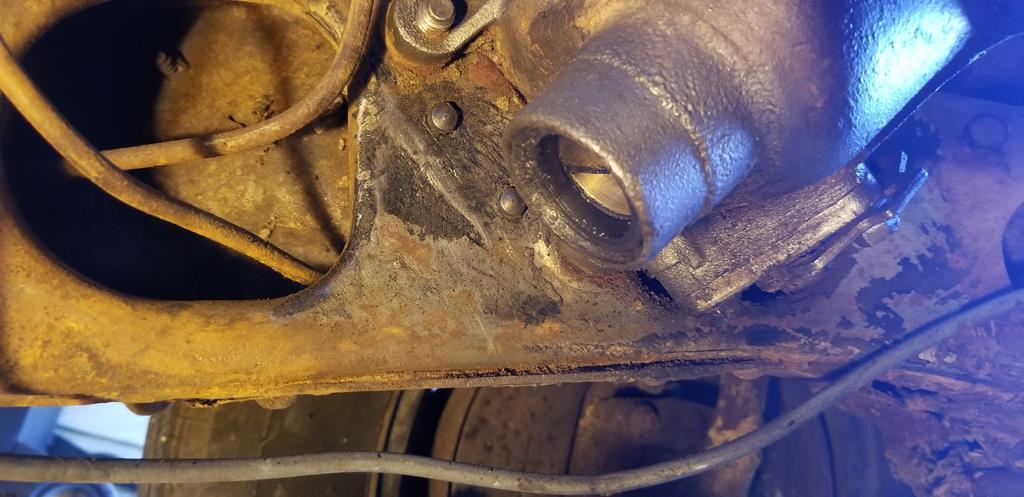 Steering box cross shaft seal needs replacement. 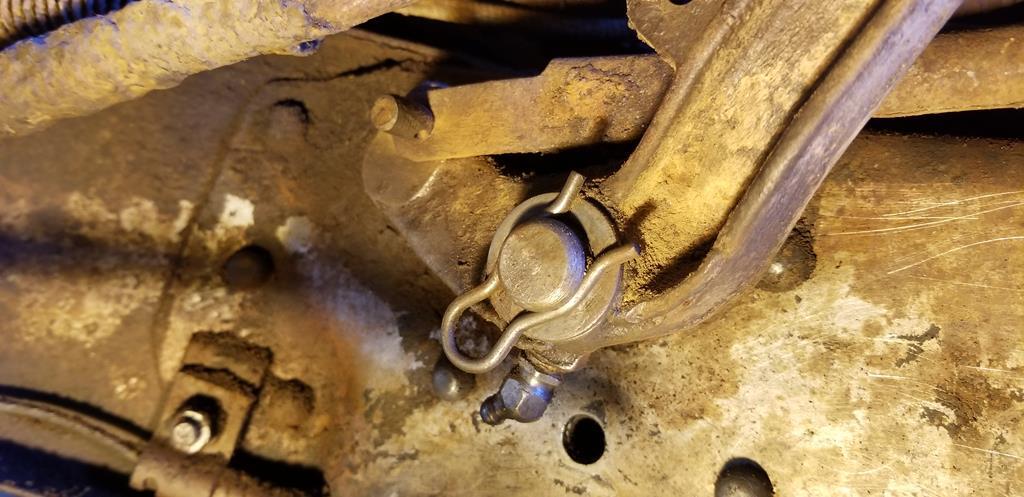 Oho! What's this? Spot what's missing from the brake clevis. To think, I drove that up and down the street... The hole wasn't even visible, there's so much dirt in it. That's been missing a long time. I think that's going to come apart, be cleaned out and reassembled. The tinware around the pedal is all wrong anyway so that'll come out, I'll figure out just how it actually fits and then the brakes won't go SCRRINK when the pedal is pushed, any more. Phil |
| |
|
|
|
|
|
Jun 11, 2019 12:19:18 GMT
|
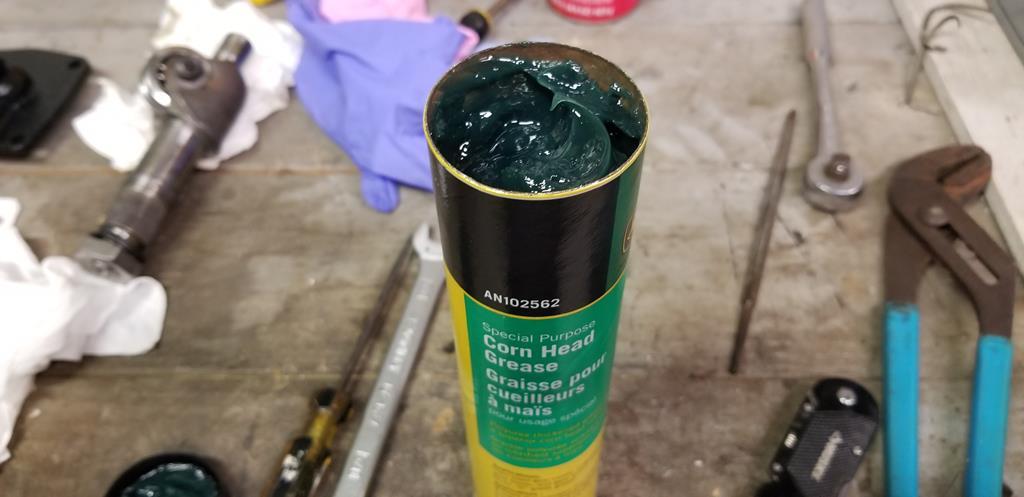 Positive note- steering box grease has arrived. Phil |
| |
|
|
|
|
|
|
|
Jun 11, 2019 12:54:12 GMT
|
|
It's for John Deere corn machines. Bizarre stuff but it was recommended for this application.
Phil
|
| |
|
|
|
|
|
Jun 11, 2019 23:34:30 GMT
|
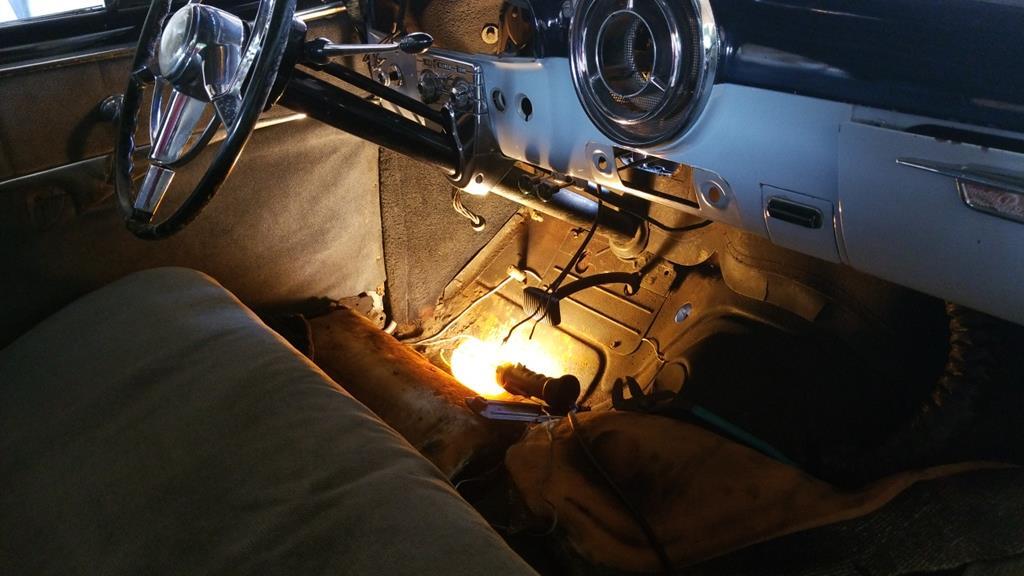 Started tonight with the intention of removing the toe board panels that surround the brake pedal so I could remove the pedal, clean it up and size up an R clip. 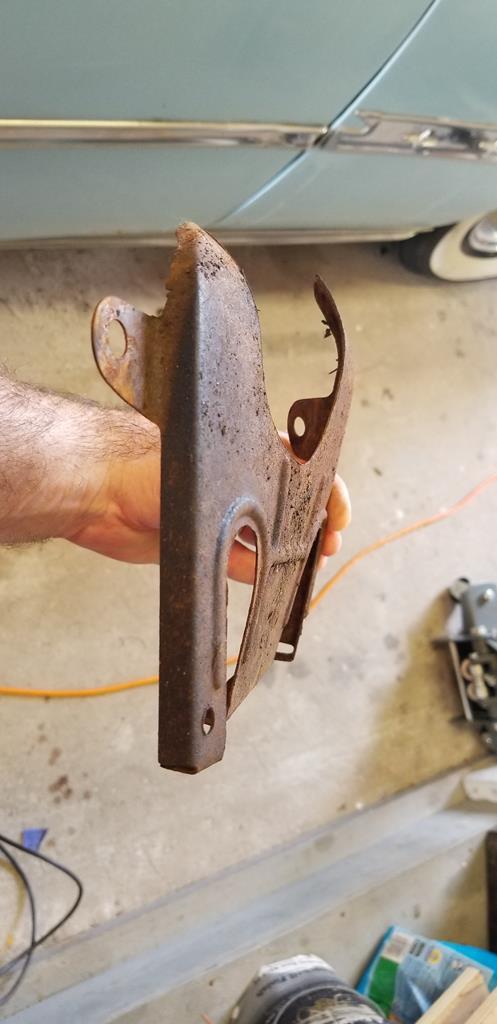 Little wonder the brake pedal would screech upon depression; somebody had inserted the first piece wrong and bent it all to hell. 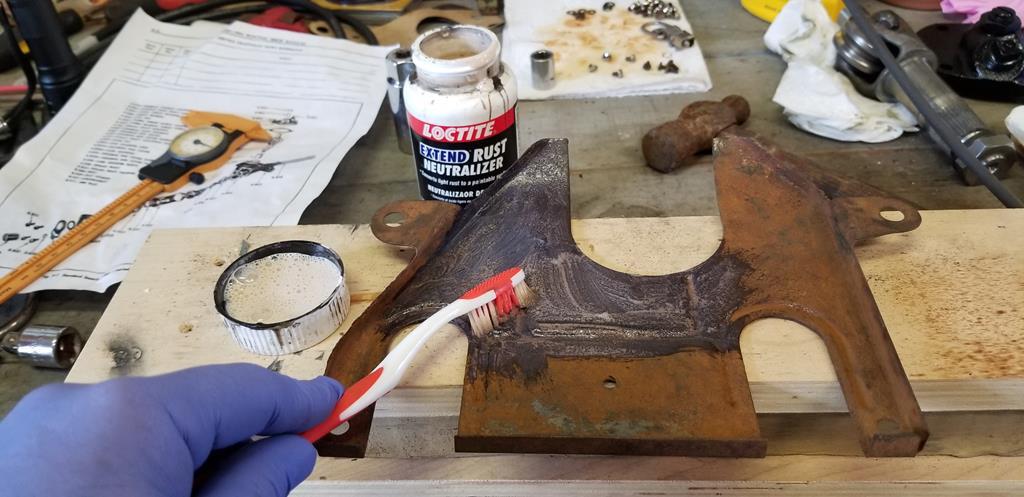 Bashed it straight with a hammer, rubbed it down and applied rust converter. 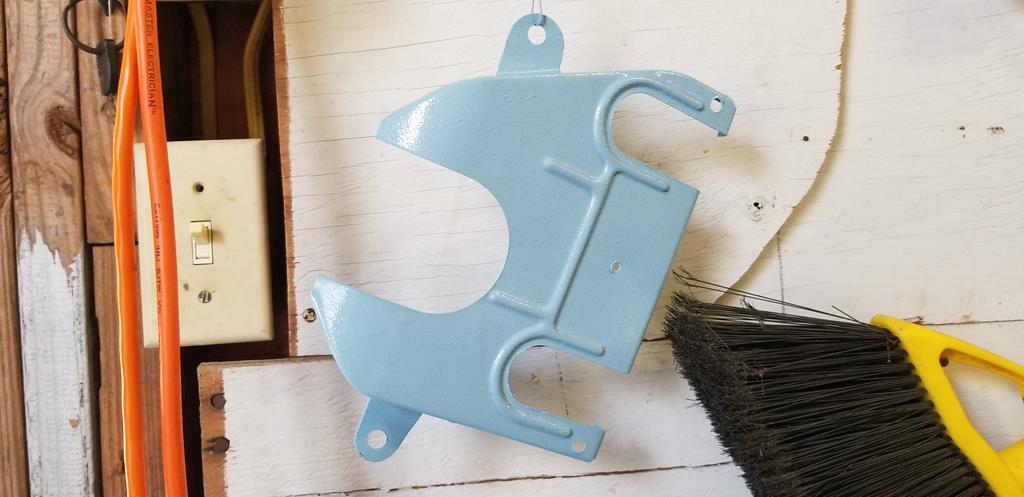 Etch primer then Nearly The Right Blue.  Repeat 2x more. Retire inside for the night, need to get some correct sheet metal bolts to hold it all in place, most were missing. Phil |
| |
|
|
|
|
|
|
|
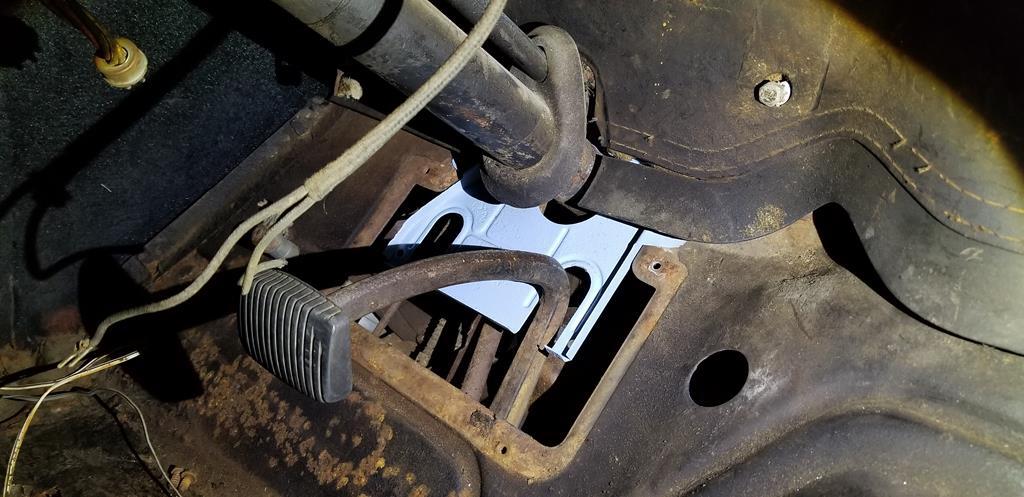 First piece bolted in place. 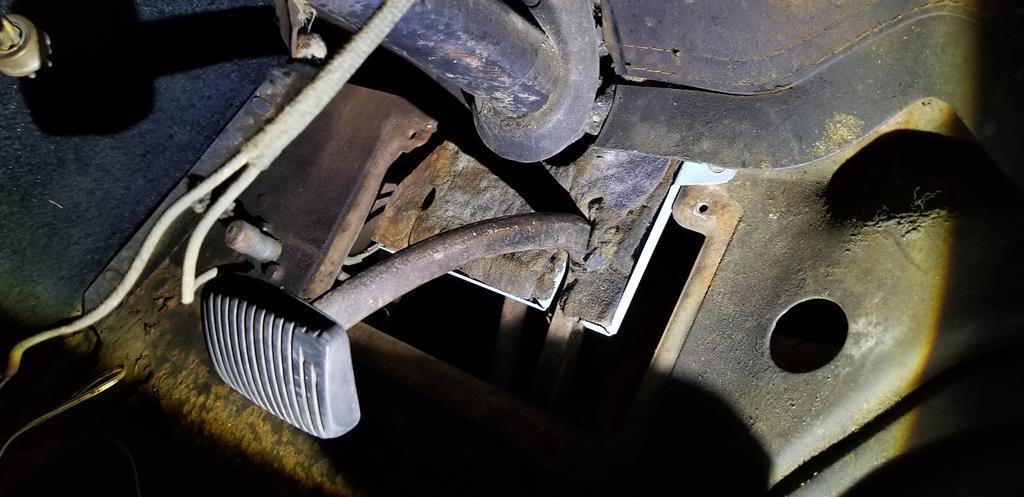 Sound deadening fitted. Found the clutch pedal blanking plate, fitted it for now, needs taking off, cleaning and painting.  Top two panels bolted down with as many bolts as I have. 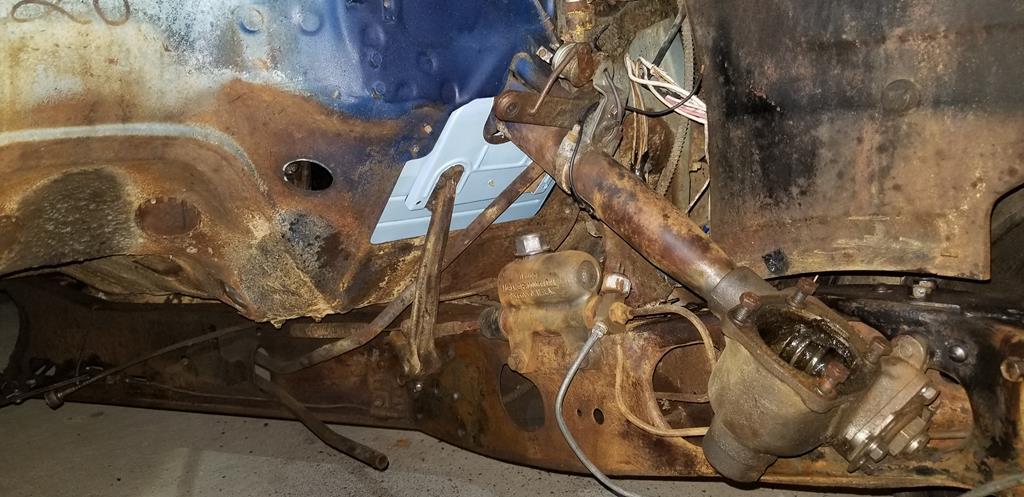 Viewed from the engine compartment. It'll snug down a little better with all bolts fitted. Phil |
| |
Last Edit: Jun 12, 2019 1:22:37 GMT by PhilA
|
|
|
|
|
|
|
|
is that (felt?) pad all that keeps the elements from seeping in around the pedal?
|
| |
'80 s1 924 turbo..hibernating
'80 golf gli cabriolet...doing impression of a skip
'97 pug 106 commuter...continuing cheapness making me smile!
firm believer in the k.i.s.s and f.i.s.h principles.
|
|
|
|
|
Jun 12, 2019 11:46:57 GMT
|
|
Yup, sure is.
Phil
|
| |
|
|
|
|
|
Jun 12, 2019 12:15:37 GMT
|
|
nice.....
given some of the proper engineering on other parts of the car , that looks a pretty lame effort on the part of the factory.
|
| |
'80 s1 924 turbo..hibernating
'80 golf gli cabriolet...doing impression of a skip
'97 pug 106 commuter...continuing cheapness making me smile!
firm believer in the k.i.s.s and f.i.s.h principles.
|
|
|
|
|
Jun 12, 2019 12:26:38 GMT
|
|
Not really, that's on the "dry" side of the chassis, and judging my the amount of dirt on it compared to other parts of the underbody, I'd say that effort is adequate.
Phil
|
| |
|
|


