Darkspeed
Club Retro Rides Member
Posts: 4,849
Club RR Member Number: 39
|
|
|
|
Idled a few minutes today after work - scraping off PU sealant that had been used to fix down the carpet covered MDF panels. About a third through 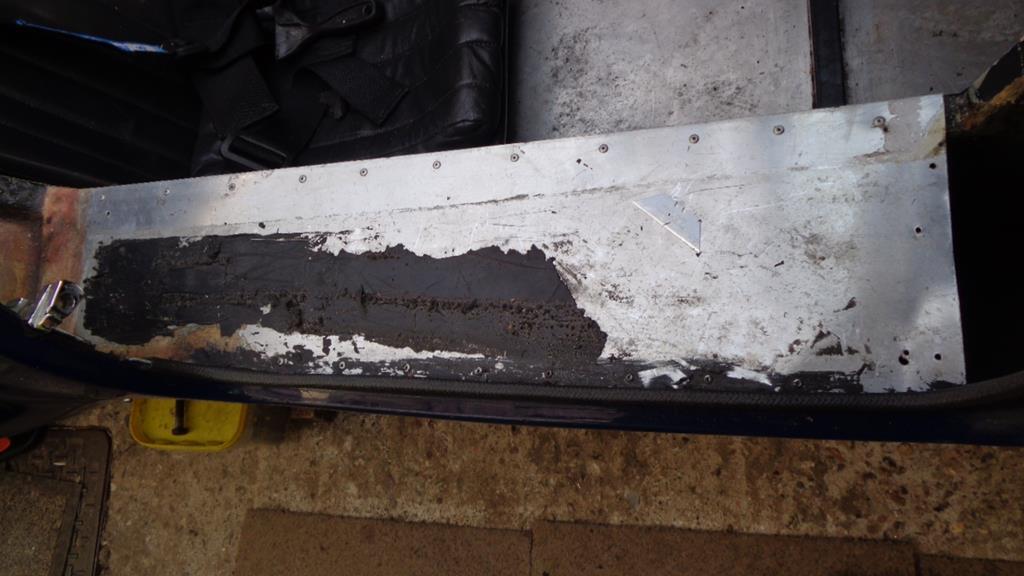 Finished 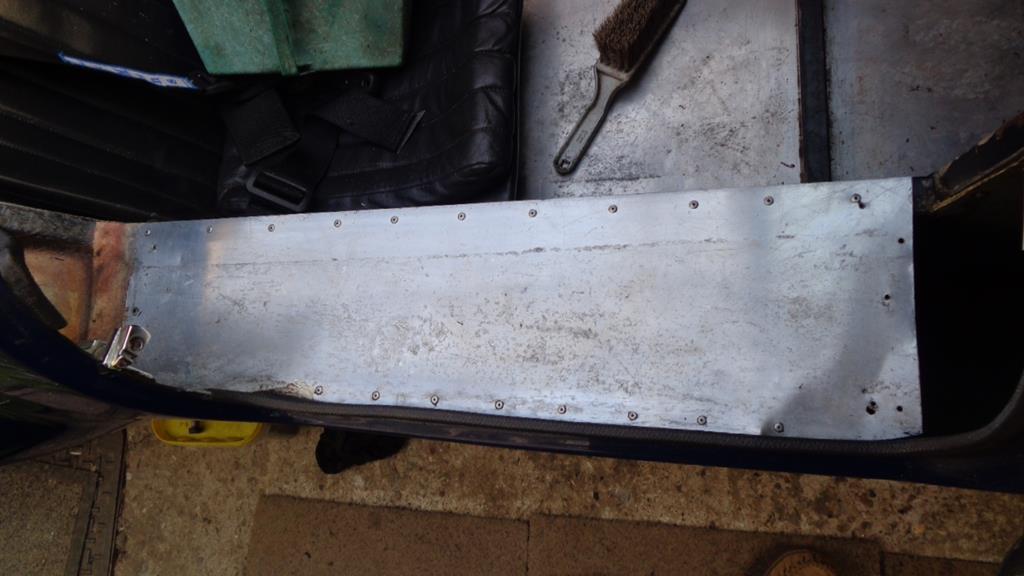 Just the other side to do now. - Will not be going mad and polishing any of this - just cleaning it and retaining the aged appearance. Not ordered up the alloy tubes for the final bit of plumbing yet so really need to get on with that and carry on with the sanding back of the chassis - a few little jobs did get done - I finally fixed one of the Union flag badges to the side of the car to cover the hole from the deleted side repeater. I ordered up and had delivered a 45 degree silicone hose for the final bit of hose back to the water pump and made up two more alloy joiners. In the future the - joiner/45/joiner may get replaced with a single 45 degree alloy tube bend but at the moment I have no way of bending 32mm alloy tube cleanly as a good radius. Got some holiday booked for the May Bank Holiday weekend so I hope to make some good progress soon on these projects. I may even waste some time seeing if I can get the 2.8 to run ! |
| |
Last Edit: May 4, 2020 22:39:42 GMT by Darkspeed
|
|
|
|
Darkspeed
Club Retro Rides Member
Posts: 4,849
Club RR Member Number: 39
|
|
|
|
DIY today - amongst work on other projects - this work being a small side project to assist in getting the garage cleared of a bit of clutter so that the Gemini could be shuffled out so that the garage could get a good sweep out. Also, to do the diff swap works there is not enough room in the garage. The works also done on the Strato's in the other thread was also to facilitate this. For far to many years I have been just piling stuff under the bench and the having to dig through it all when I need to get something at the bottom of it all and I was also getting fed up with tripping over a very expensive TIG welder as I had not got around to finding a decent home for it. So I figured today would be the day that I would drop a shelf across the bench to have far better storage options and a shelf for the TIG. 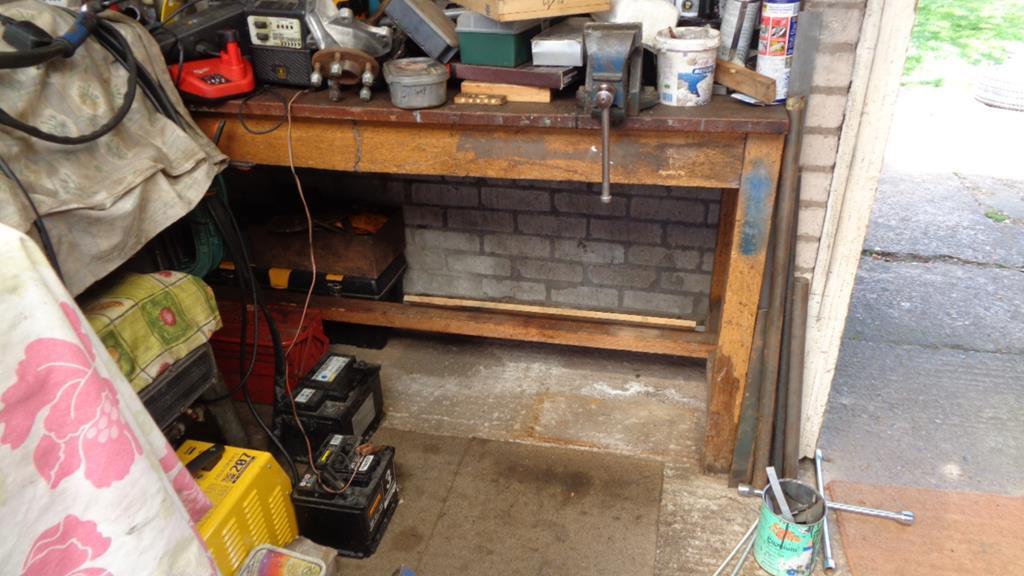 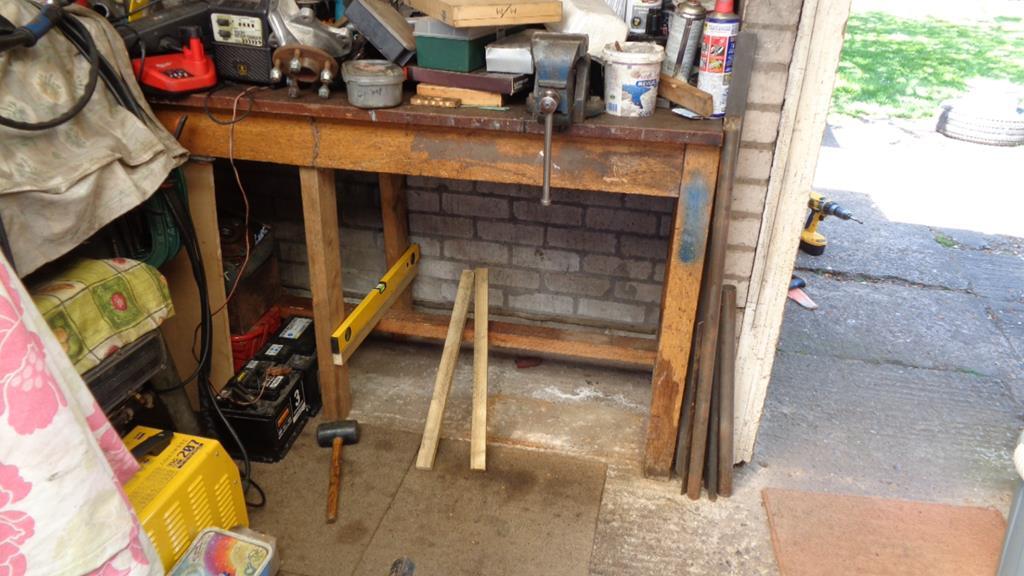 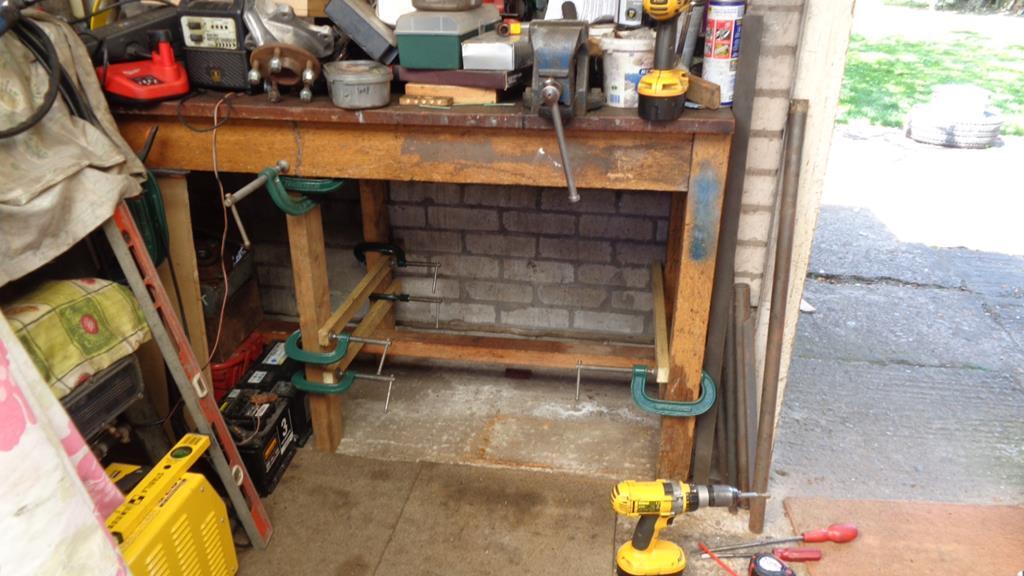 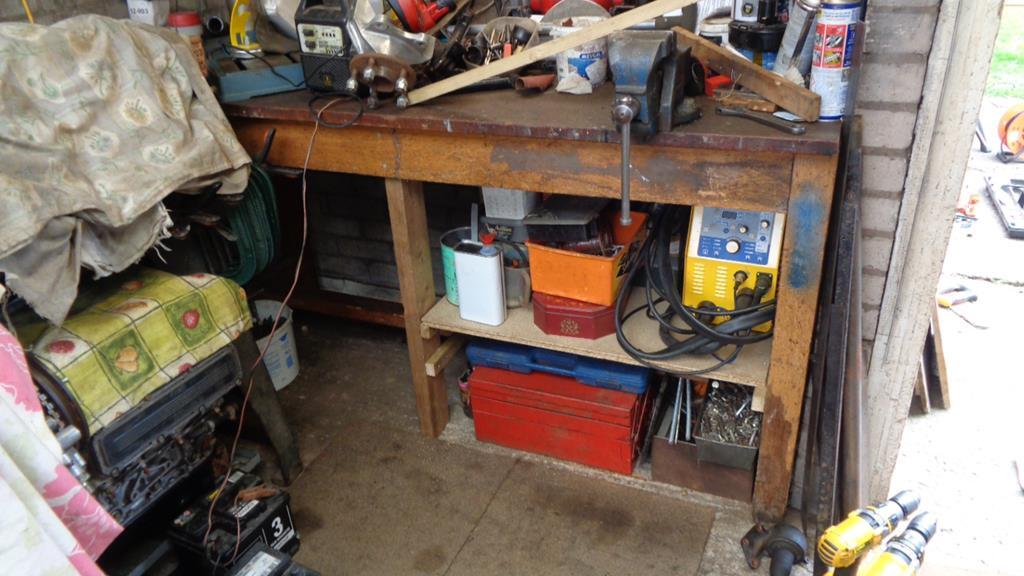 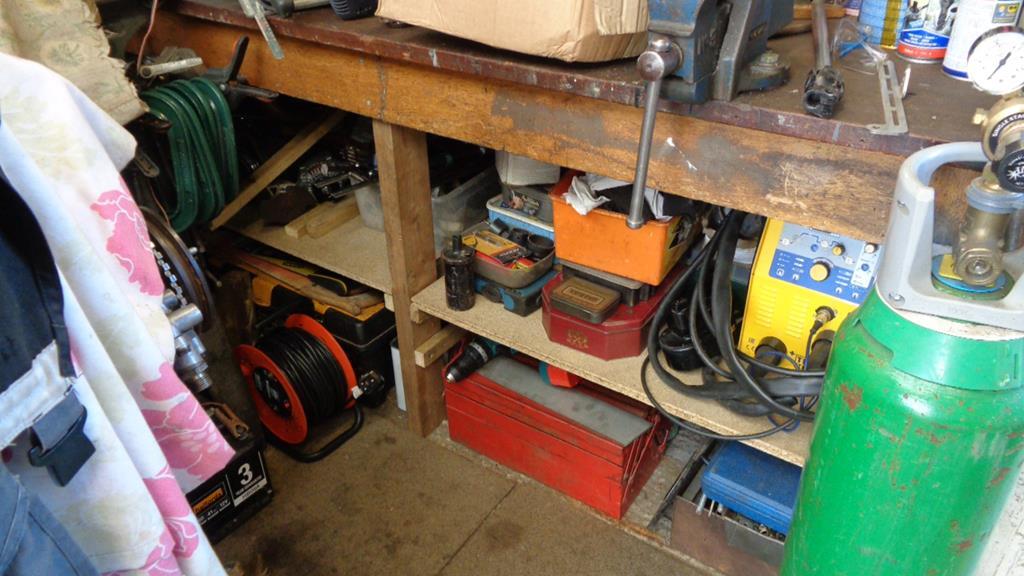 Well worth the effort as I can get to everything I need to much easy than before. All the boxes of parts that were laying under the car now stored so that I can drop the Gem off the stands and roll it outside. 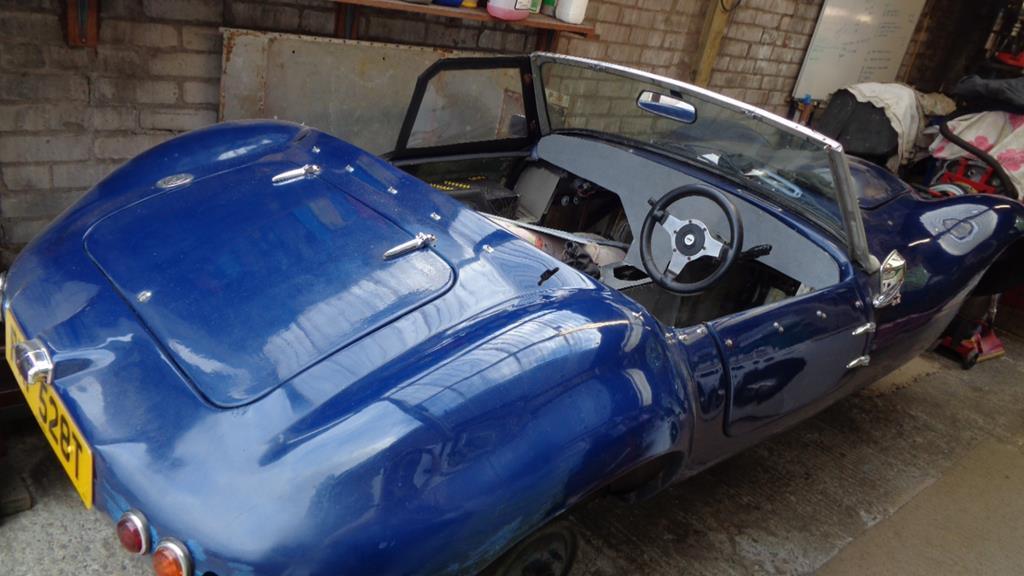 No pictures - but I have also done a little bit of work on the Red Gem in the way of putting the N/S exhaust silencer on and charging a battery. The next round of works will be very weather dependent |
| |
|
|
Darkspeed
Club Retro Rides Member
Posts: 4,849
Club RR Member Number: 39
|
|
|
|
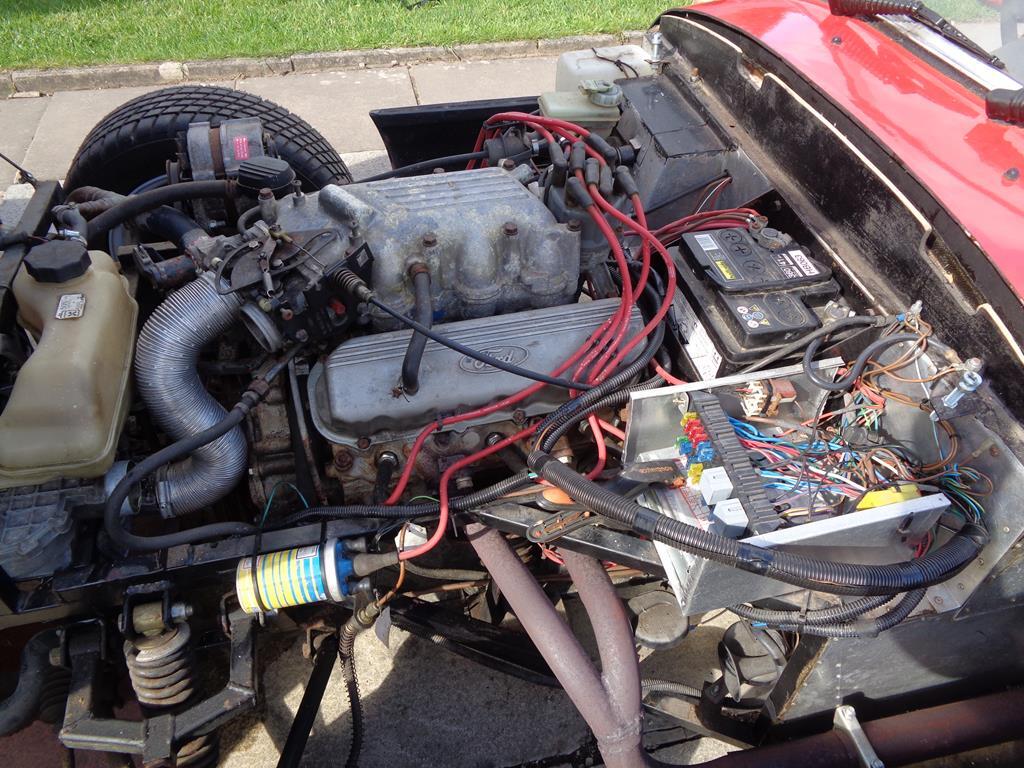
Bit of work on Gem 3 today - the Red one Stuck a battery in it and we had lights, wipers and an ignition circuit but no pump priming action - I was also dubious about the state of the probably 20 year old fuel in the car. The pump relay was doing its thing clicking away for a second but no noise from the pump so after a quick recce the pump was located near the tank just in front of the rear axle. 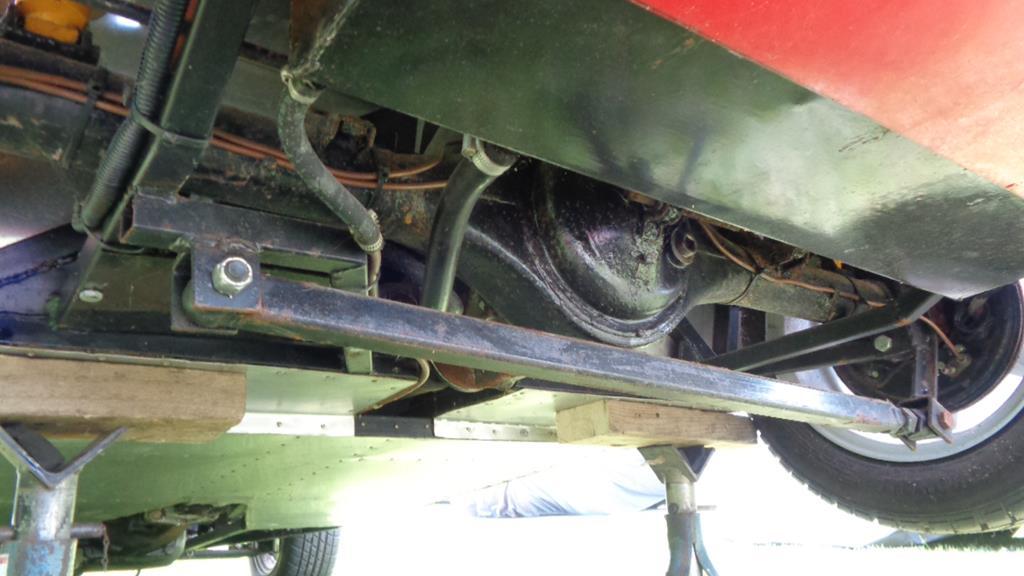 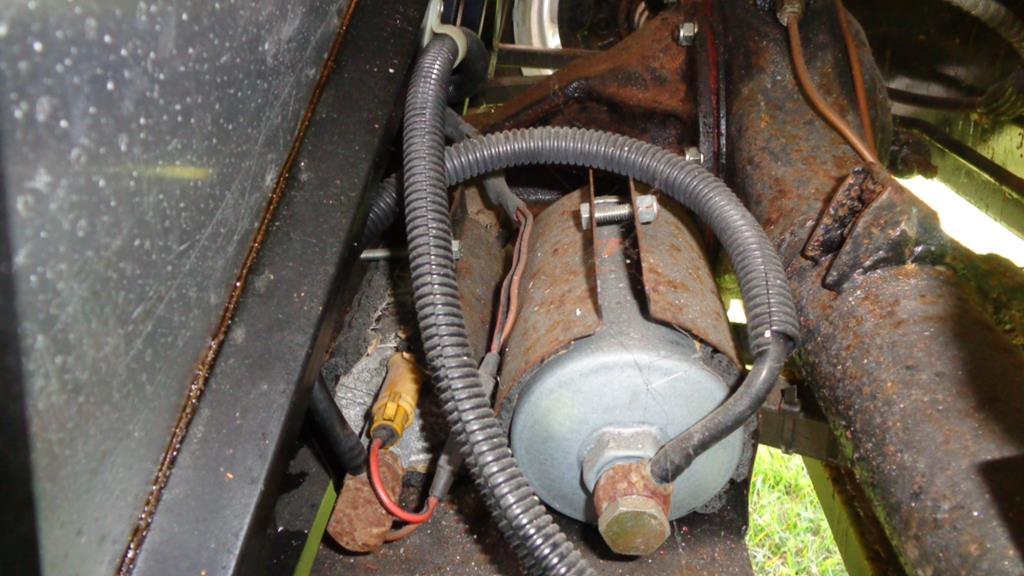 Voltage was present at the connections and the pump pulsed like it was trying to turn but it was stuck fast and taps with a tapping stick did nothing so out it came - and yep the fuel was a bit off. 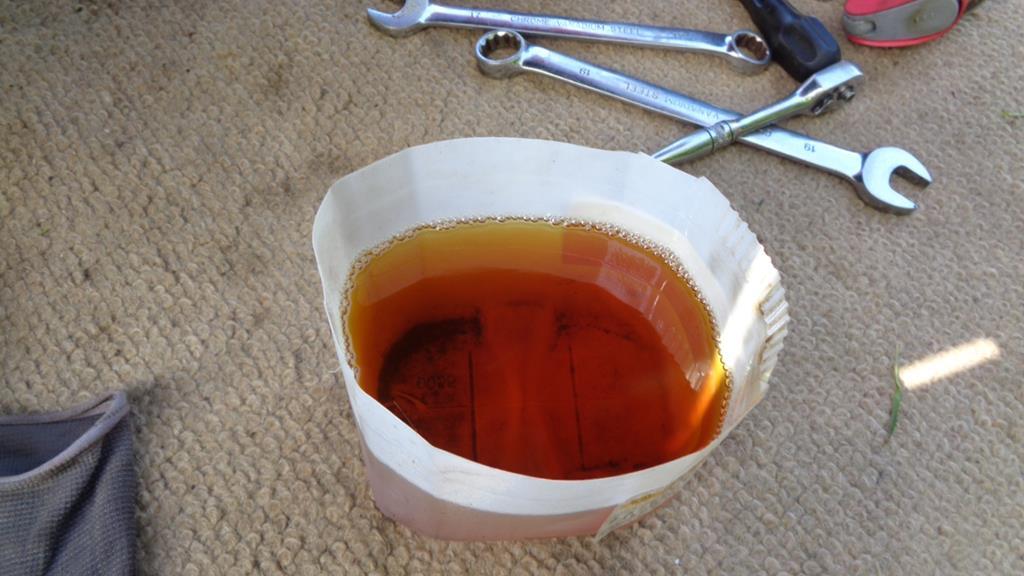 There was not a whole lot of fuel left in the tank so that was one upside but the stuff that was left in there stank. I did have a spare good pump - somewhere - and I did eventually find it after removing the old pump filling it and cleaning it through with acetone a few times and then connecting to a constant 12V supply and giving it the shock treatment - Whatever was holding the pump back gave up its grip and the pump spun into life.  Pump back in and some fresh fuel in the tank and the pump was now doing its thing when priming by circulating fuel through FPR and back to the tank. We then just went for it and gave the engine a crank - there were definate signs of life but not enough to keep the engine running so with the sun burning our necks we called it a day. Time to give things a closer look - especially this 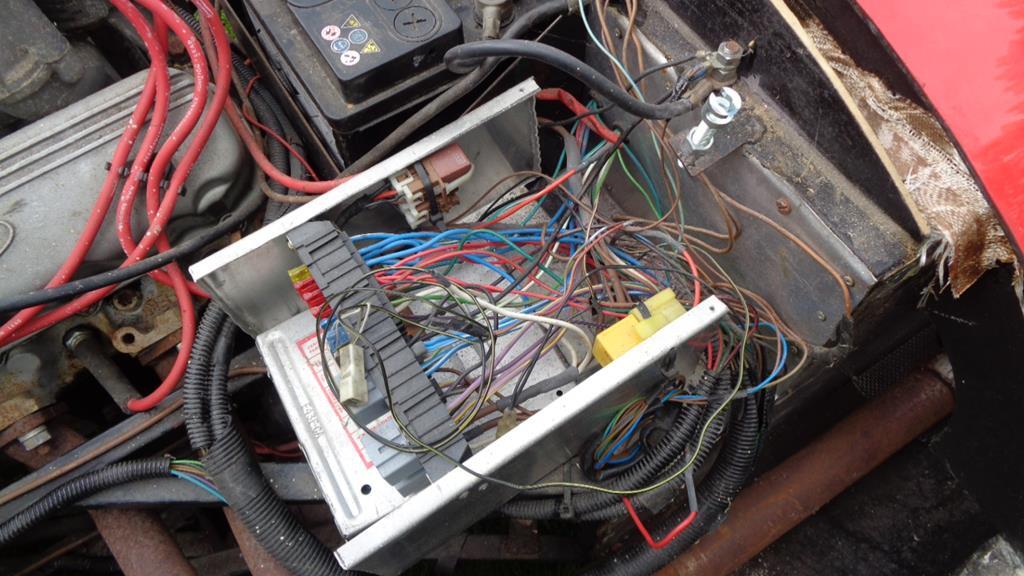 Although I suspect it may well be injector issues if the pump is anything to go by and unfortunately they are tucked out of the way. Something for another day. |
| |
|
|
Darkspeed
Club Retro Rides Member
Posts: 4,849
Club RR Member Number: 39
|
|
May 11, 2020 18:18:24 GMT
|
Had the car running today - does sound very nice - Took a good while to get going and it's taking a lot of cranking before it catches properly so something is still off. I let it idle away up to temp and the fan cut in and did its job. Found a couple of oil leaks on the oil cooler assembly pipework that I will need to sort out but it's not far off a quick drive up and down the road. Photo's of a car running are not all that interesting so I will try and get a short vid sorted. |
| |
Last Edit: May 11, 2020 18:50:39 GMT by Darkspeed
|
|
Darkspeed
Club Retro Rides Member
Posts: 4,849
Club RR Member Number: 39
|
|
May 11, 2020 18:55:39 GMT
|
|
|
| |
|
|
mk2cossie
Club Retro Rides Member
Posts: 3,038  Club RR Member Number: 77
|
|
May 11, 2020 20:07:28 GMT
|
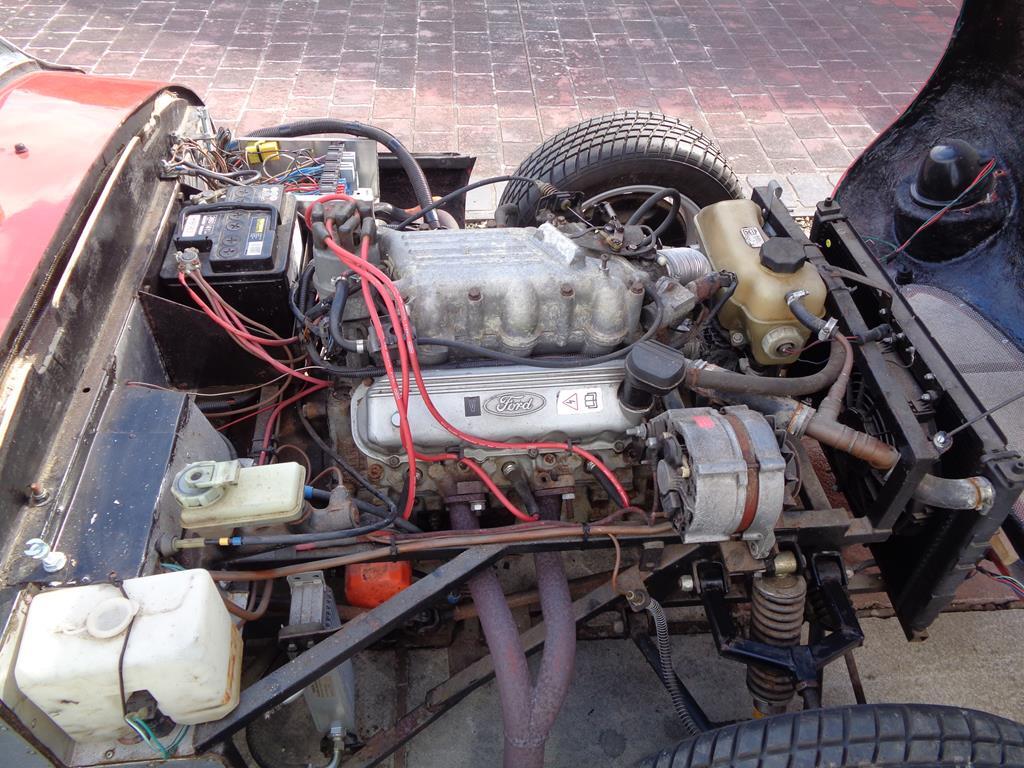
Good god! A 2.8 EFI  Absolutely love the over engineered linkage on them  |
| |
|
|
Darkspeed
Club Retro Rides Member
Posts: 4,849
Club RR Member Number: 39
|
|
May 11, 2020 20:55:48 GMT
|
Good god! A 2.8 EFI Absolutely love the over engineered linkage on them Have to go back to page 13 or so for the introduction to the 2.8 EFI - Must admit that when I took the linkage cover off I had to do a double take of the cam arrangement for the butterflies. Did some reading of the Haynes Granada/Scorpio manual and a Haynes Engine management book after playing with the car today and it looks like the connections on the coil may be incorrectly connected, and a wire found dangling in the passenger foot well could be a missing power supply to the TFI module on the dizzy. If we have a fair day tomorrow I will correct those errors and see if the starting is improved. Mr Haynes is also telling me that the 2.8 is the same power as the 2.9 but 100 RPM further up the rev range 5800 instead of 5700 - it drops a few lbft in torque over its larger capacity replacement but in a car half the weight of a Scorpio it should still prove quite entertaining. |
| |
|
|
Darkspeed
Club Retro Rides Member
Posts: 4,849
Club RR Member Number: 39
|
|
May 12, 2020 12:51:25 GMT
|
So..... The outcome of connecting the missing supply to the TFI module and correcting the terminals on the coil resulted in a very minimal improvement so a deeper delve was clearly required. The engine would run but it sounded really retarded and breaking out the timing light confirmed that the timing was a mile out - How it was actually running at all was a minor miracle. A closer inspection of the dizzy gave clear evidence that muppetry had been in play. There were odd bolts used and washers under the two dizzy mounts! When I compared the positioning of sensor rib to where the manual said it should be it was clear that the dizzy needed to come and get moved quite a bit on the cam drive engagement. 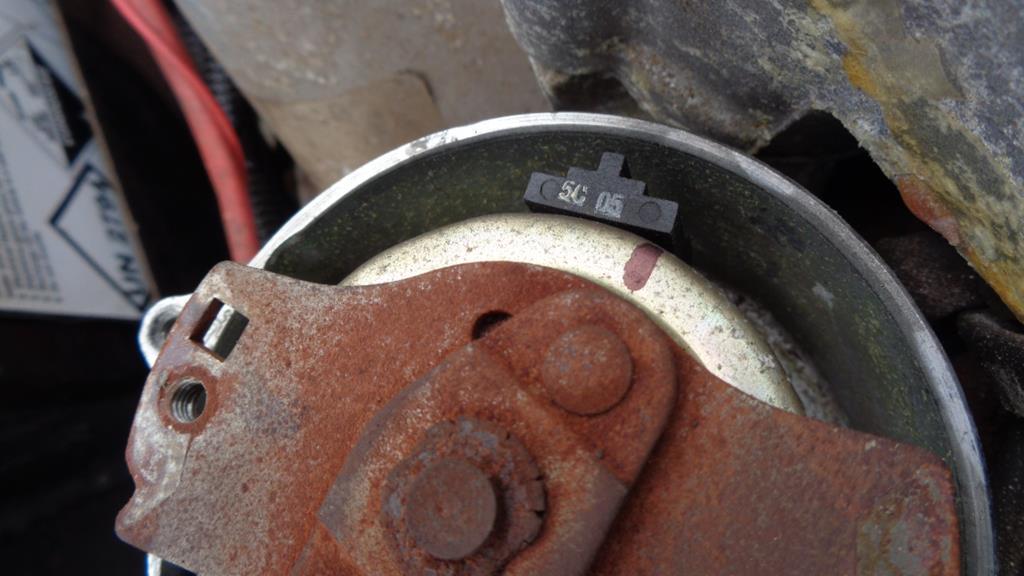 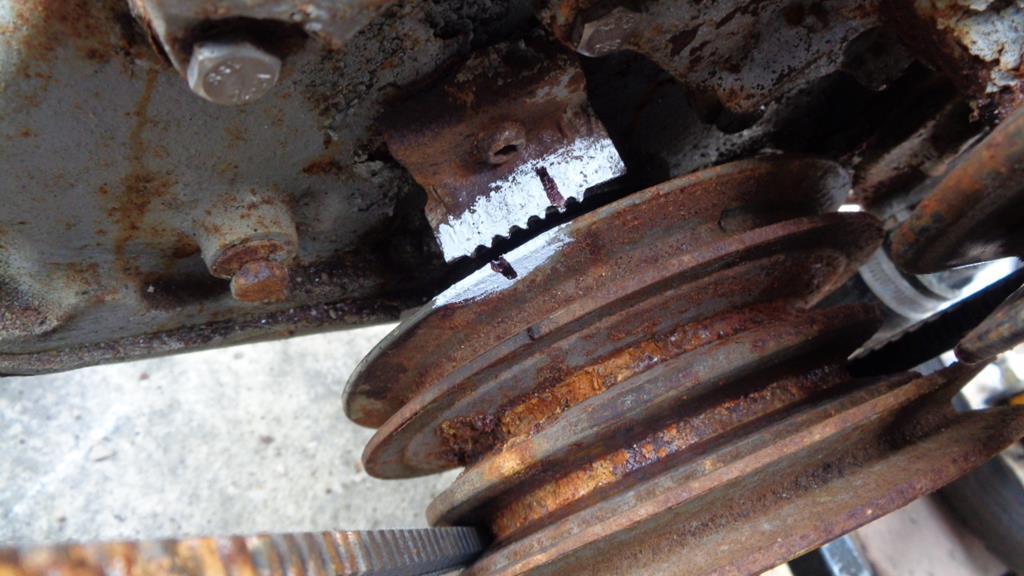 To time the dizzy up you put the engine on 12 degree BTDC and the then line up the trigger vane leading edge with the tall sensor rib - I tried quite a few times to line up the black mark with the rib on the vane that was there it was close but never correct - I then had to go and have a cup of tea - When I came back refreshed astonishingly it was the next vane along that should have been lined up! I found out that the washers under the dizzy mounts were there because the dizzy would not seat correctly due to a large lump of old gasket sat under its seat. Once it was all cleaned up and assembled correctly it fired on half a turn to a much quieter and far more even idle. I still think it may be missing on the N/S bank but a look at the pugs a bit later will confirm that. Its bloody loud though. Oh and doing these few jobs has 100% confirmed that this is a car built by someone who had no prior experience of working on cars let alone modifying or building them. To change the oil filter will involve removing the steering column! |
| |
Last Edit: May 14, 2020 22:33:36 GMT by Darkspeed
|
|
Phil H
Posted a lot

Posts: 1,448
Club RR Member Number: 133
|
|
May 12, 2020 12:57:51 GMT
|
|
I'm guessing you were running it with both air flow meters connected and those photos just happened to be whilst you has removed one pipe for access?.. If not, that could explain the rough running on the NS bank.
|
| |
|
|
Darkspeed
Club Retro Rides Member
Posts: 4,849
Club RR Member Number: 39
|
|
May 12, 2020 18:07:39 GMT
|
I'm guessing you were running it with both air flow meters connected and those photos just happened to be whilst you has removed one pipe for access?.. If not, that could explain the rough running on the NS bank. Yep both meters connected when it was all running - I expect its a slow injector or a duff plug as it just sounds and feels - via the exhaust pulses - that one of the cylinders is weak. I didn't want to give it a full on throat clearing blast as its graveyard quiet around here at the moment and that thing near enough unsilenced. I will pull the plugs and have a look at them now its running well and do a compression test to check on the overall health. |
| |
|
|
|
|
Darkspeed
Club Retro Rides Member
Posts: 4,849
Club RR Member Number: 39
|
|
May 12, 2020 18:53:56 GMT
|
The tame tyre fitter came through today. 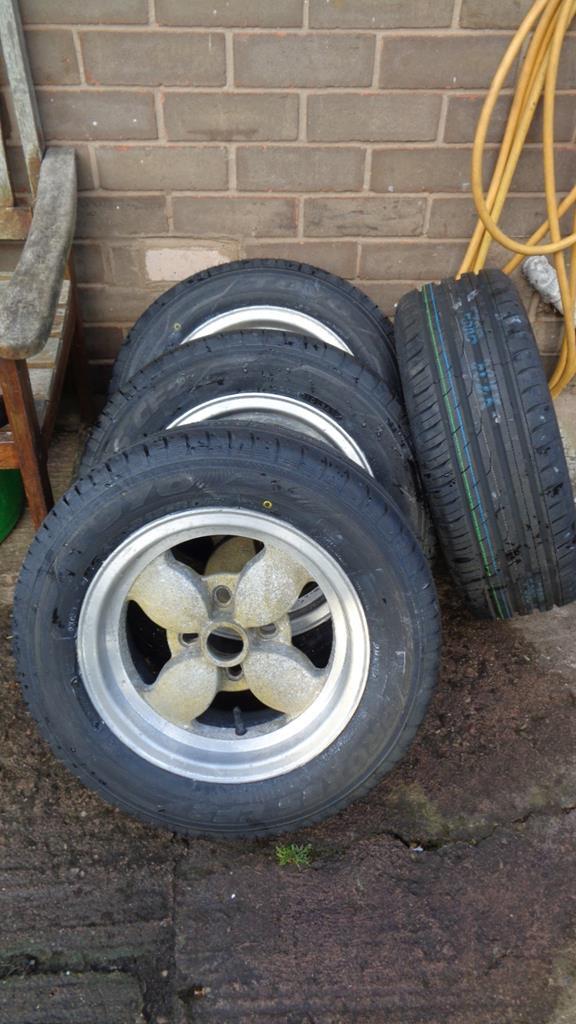 And a couple of dozen hose clamps also arrived so I can get the cooling system all sealed up. Need to order the alloy tubing etc. so better look into that tomorrow. |
| |
|
|
Darkspeed
Club Retro Rides Member
Posts: 4,849
Club RR Member Number: 39
|
|
May 14, 2020 23:03:20 GMT
|
|
Little bit of work on Gem-2 this evening - In between dog walking, Dinner and Clapping in the street! - Strange times.
There was a little bit more poke on the front wheel/arch than I had anticipate with the new wheel tyre combination so I decided to add a bit of extra negative camber to pop the top of the wheels in a little and while my head was stuck in the wheel arch I took the opportunity to drop the spring platform down 3/4 of an inch to lower the ride height a tad. Dropped it all back down and there is a marked improvement in the tyre-stick out but I think I can get away with a little more negative.
More stuff ordered - A pair of 5mm hubcentric spacers for the rear as the centre of the hub on the rear axle fouls the inside of the alloys and some spigot rings to adapt the 72.6mm bore of the alloy to the 63.4 Ford hub. Now how does a 63.4 hub foul in a 72.6 wheel centre I hear you ask? Well it steps from 72.6 to about 60mm after a depth of around 15mm and the hub depth on the back is some 18mm or so. The 5mm spacer gets me clear and the spigot ring gets it all centered. Rear studs should be long enough to accommodate the 5mm spacer but if not I will fit longer studs when the half shafts come out for fitting the new diff.
Made the enquiry to the local aluminium stockist about some alloy tubing and items for other projects so hopefully that will get me all the parts to complete the cooling works.
Must do those brake lines, get some paint on the chassis and start sorting the wiring - and loads of other stuff I have probably missed.
|
| |
|
|
Darkspeed
Club Retro Rides Member
Posts: 4,849
Club RR Member Number: 39
|
|
May 15, 2020 20:06:30 GMT
|
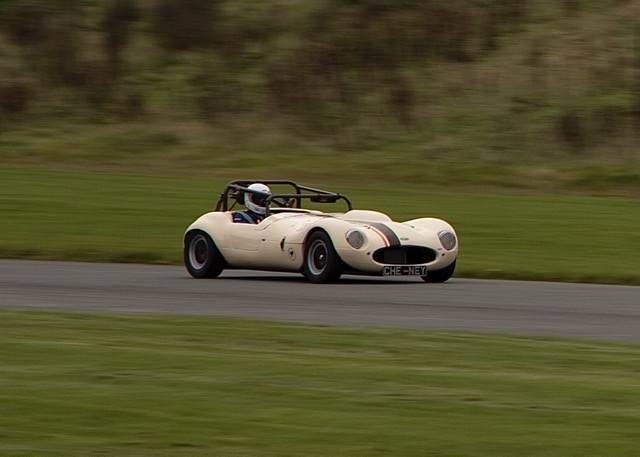
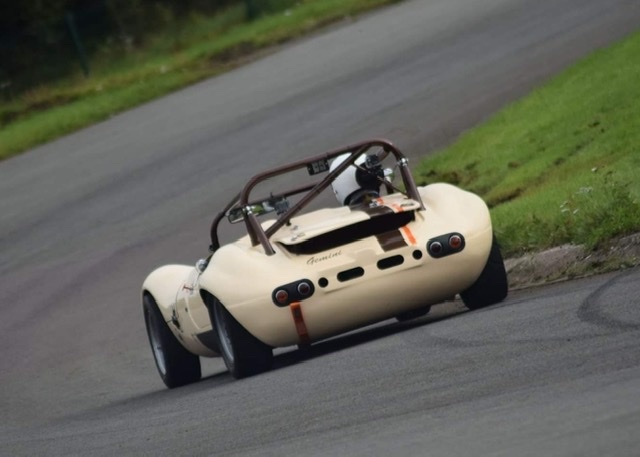
Will get some more pictures over the weekend as with the new wheels and tyres it's really starting to take on the 60's club racer look that I was after. Especially with the fronts being a little oversize. I have placed the order on the alloy tubing - 5 metres of 5/8" and 3/4" is on its way with a 4' x 8' sheet of 0.9mm alloy to make up the panels to fill the holes I have made ripping stuff out here and there. I actually only need about 150mm and 75mm of the tubing for the jobs on the Gem but may as well have some stock for all the other cars I am messing about with. Better get a couple of thousand rivets on order next. On Gem-3 the Lad has got hold of a bottle of injector cleaner for me so that will go in the tank with some more super and see what sort of a job it does. It may be a plug though as I think unburnt fuel is getting into the exhaust and then being ignited by another cylinder as its giving that sort of occasionally pop in the silencer. I also took it for a cheeky burble up to the top of the road an back  - Lad say's it sounds pretty cool even if its running bit off. For something that may not have been run for 20+ years its not doing too badly. Old Fords and all that I guess. |
| |
|
|
Darkspeed
Club Retro Rides Member
Posts: 4,849
Club RR Member Number: 39
|
|
May 16, 2020 21:31:07 GMT
|
Carried on playing with the Gemini's today - Had a further look into the misfire on the V6 - it's No6 and its not the plug changed that and checked for the spark and its decent enough. Pull the lead and its makes no real difference - do it on all the others and there is a marked change it tone as the cylinder drops out - some are more marked than others so I suspect we have a blocked injector on 6 and some weak spray patterns on some of the others. See if the cleaner will make an difference before I resign myself to taking things apart. Whilst playing with the engine I also though I would wind on some negative camber as the O/S front was looking very positive and had plenty of toe out. A quick spin of upper ball joint (read a lot of turns) and a good few turns on the TRE and we got this. Quite a lot of negative camber. 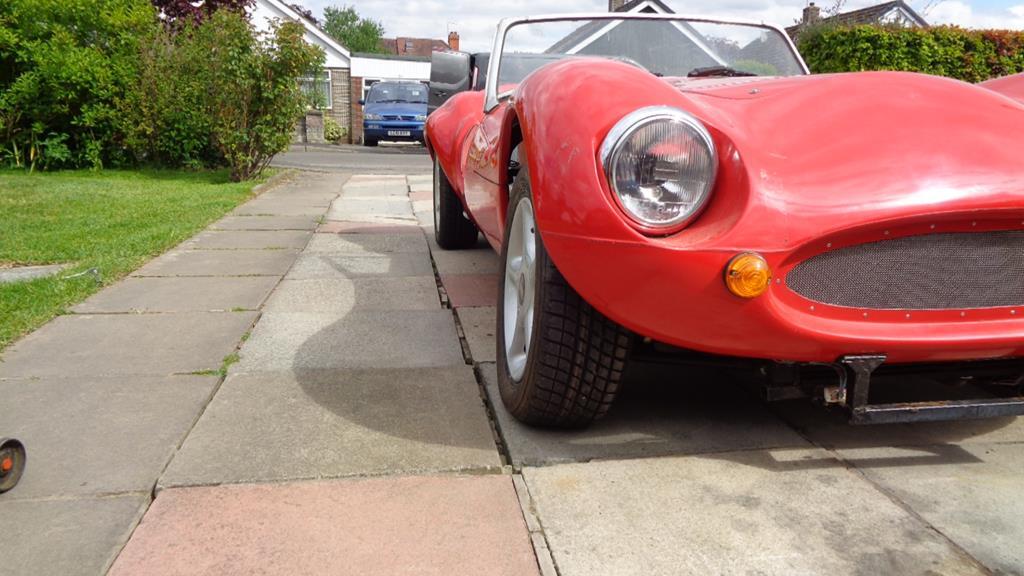 Bolted the drivers seat into the Red Gem and the Lad took it up the road and back - did I tell you how good it sounds Then on to the Blue Gem. This was the result of 4 turns on the upper ball joint which should have changed the camber by about 1.2 degrees negative. 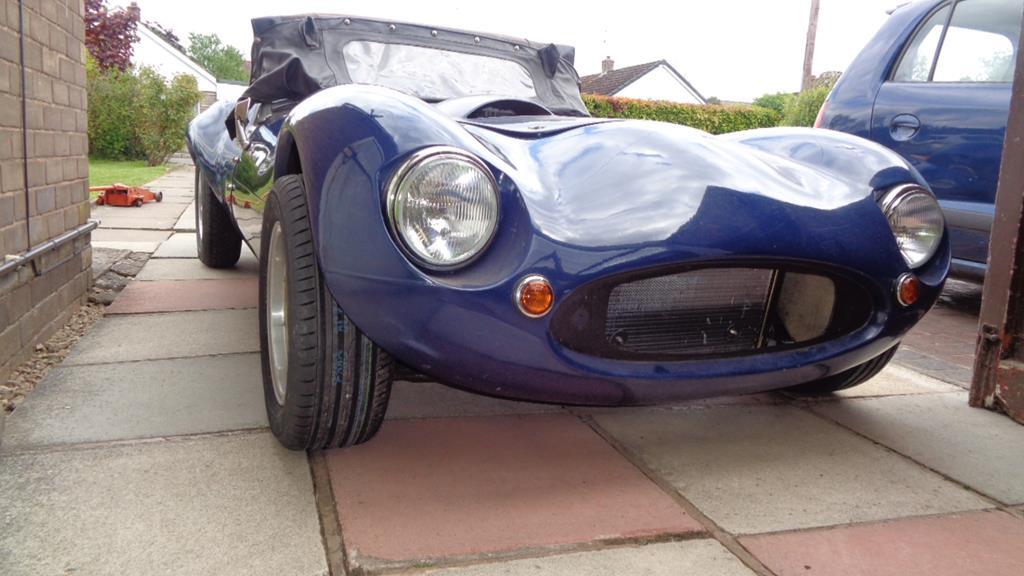 There may have been a bit of positive on this one to start with so a couple more turns are in order which should tuck the top of the tyre in a bit further. The rest of the time was spent putting riv-nuts into the chassis to take the rear hood mounts. These turned out to have 1.5" difference in mounting positions from one side to the other. Re drilling and mounting them then led to the hood sticks needing to be shortened and leveled which was a bit more of a faff than was really required but par for the course with amateur built cars and also involved removing a load of nasty glassfibre that thankfully was not bonded to anything particularly well. All looking far tidier though and a clean up and paint in Satin Black will have it looking much better. Although, I am wondering what the inside of the GF panels would look like painted Aluminium. 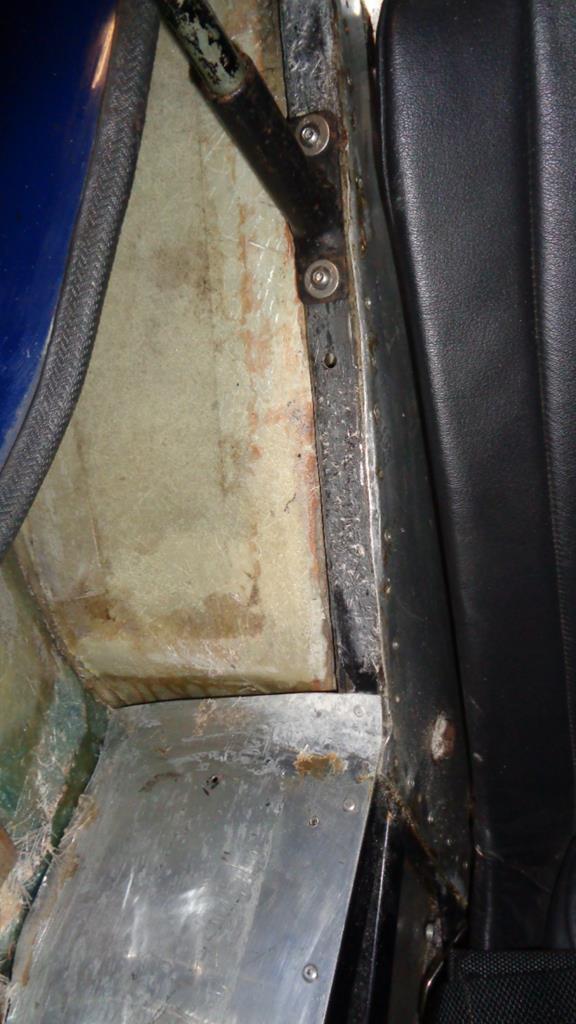 Front of the car is now a fair bit lower at 5" chassis clearance - the 7" at the back make it look a bit daft so winding down the platforms on the coil overs at the rear is now another job on the list. |
| |
|
|
Darkspeed
Club Retro Rides Member
Posts: 4,849
Club RR Member Number: 39
|
|
May 18, 2020 12:42:25 GMT
|
Spigot rings and Spacers arrived - I needed to machine a little of the the spigot rings to get the fit that I wanted but I knew that would be the case - the wheels also have a bigger tolerance than expected on that centre bore as some of the rings are a a nice push fit and some are drop in fit . They do however work perfectly. 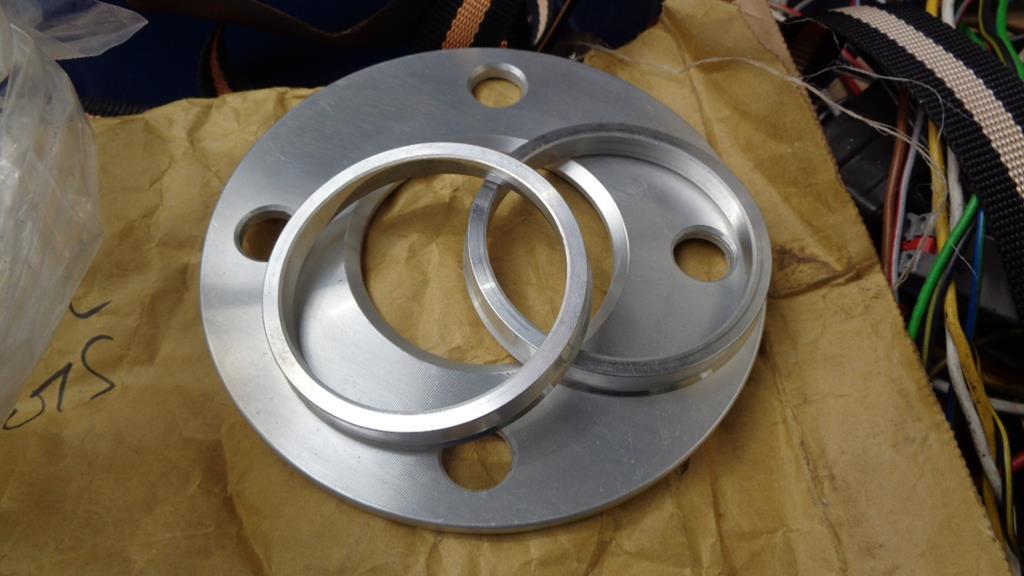 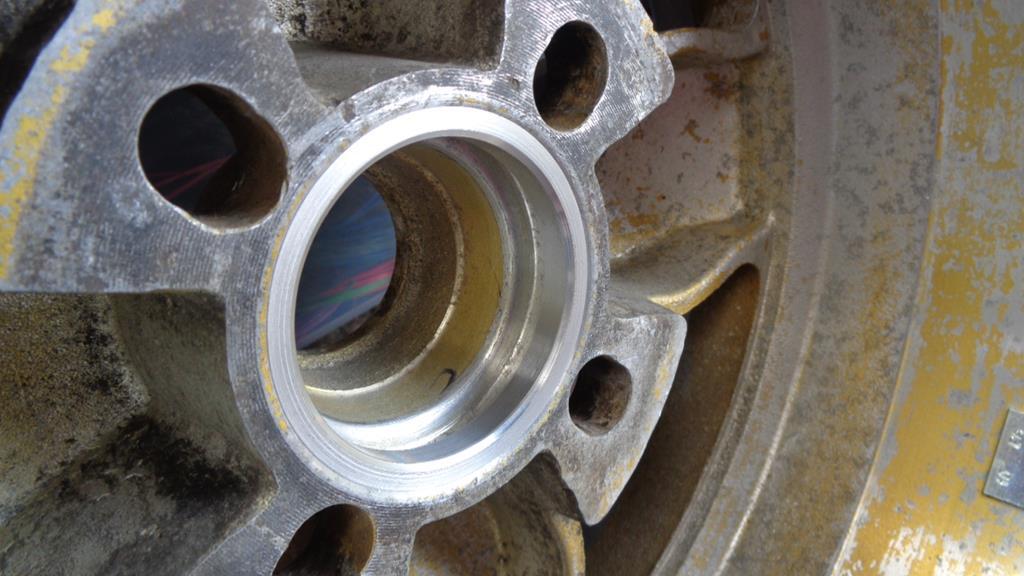 And the wheel fitment on the rear is much more "Racer" than the one above - - must remember to trim back the arch return lips at the rear. 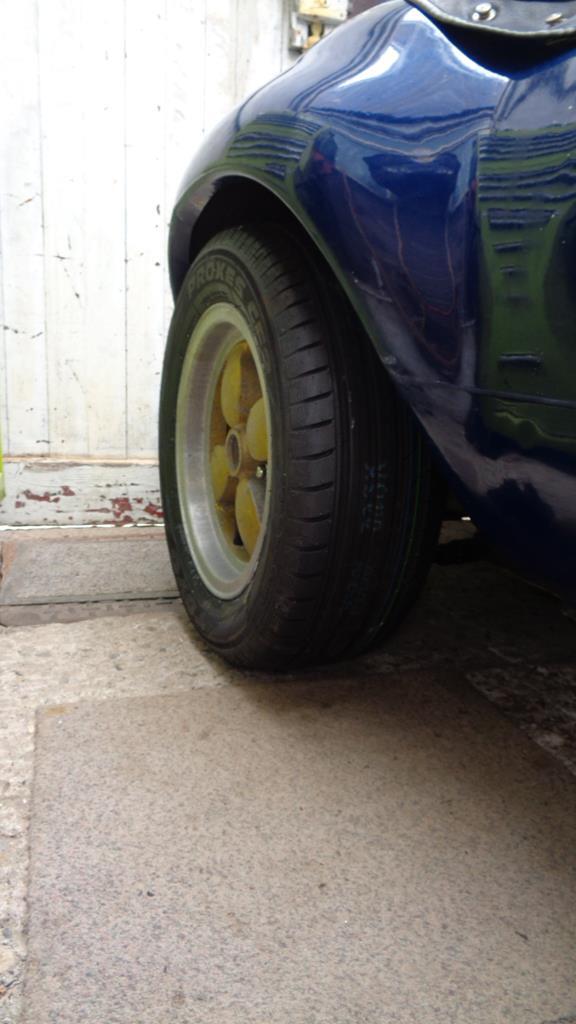 Just waiting on some push in round pipe caps to finish them off. The studs on the rear are just long enough for the wheels with the spacers fitted so I will be installing longer ones when the diff swap works is being carried out. Work this evening will be winding down the rear spring platforms a smidgen and fitting the spigot rings to the front wheels. |
| |
|
|
Darkspeed
Club Retro Rides Member
Posts: 4,849
Club RR Member Number: 39
|
|
May 18, 2020 20:58:36 GMT
|
Spring platforms wound down to 160mm - its 145 at the front and when loaded with driver it should drop the back 10mm and the front 5mm. It actually took it down further than I thought... 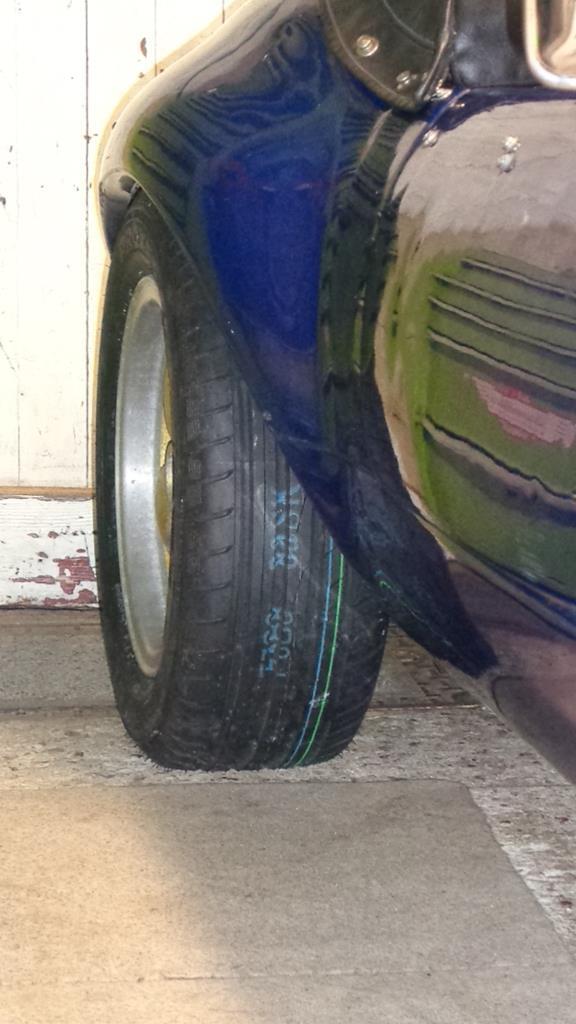 The return lip on the arches is a massive 30mm - I am going to need 25 of those mm, especially as I need to adjust the Panhard to move the axle to the N/S by 3mm 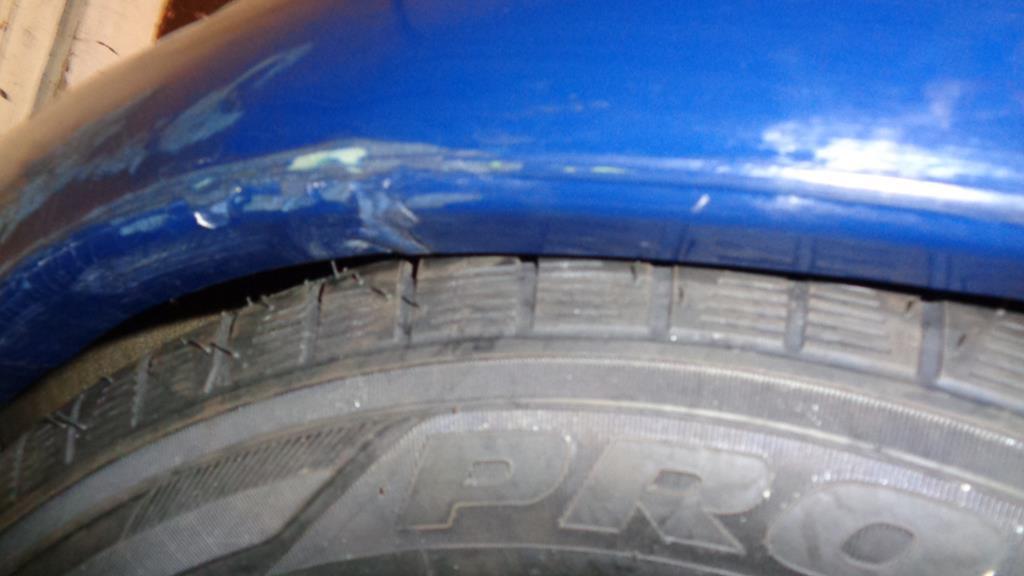 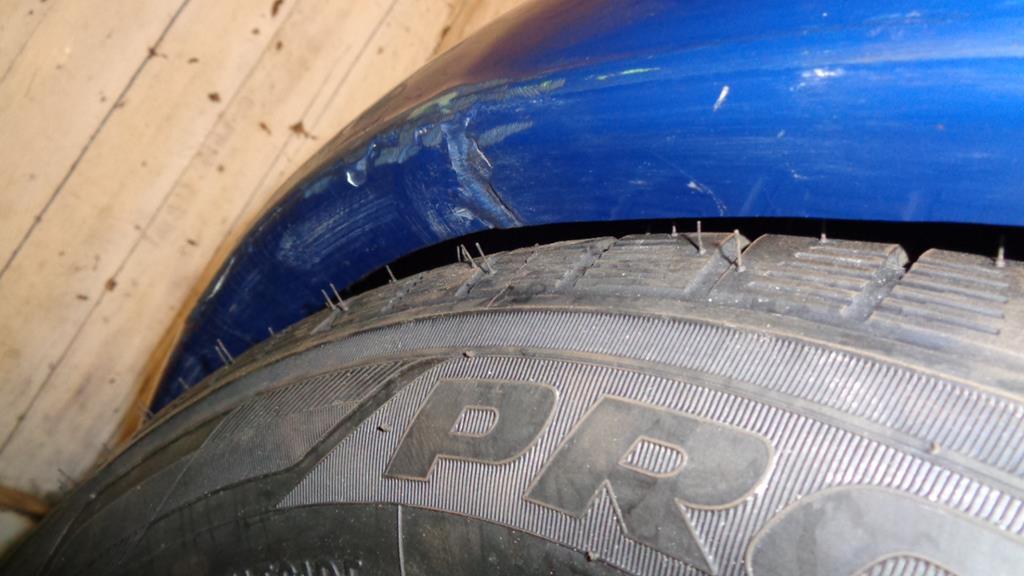 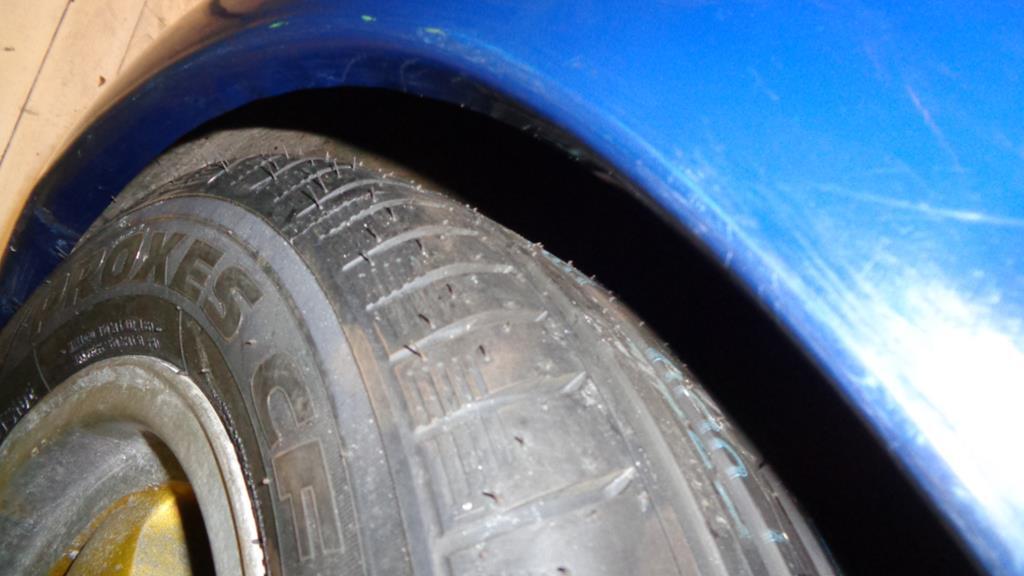 Pleased with the spigot rings they make mounting the wheels on the hubs a breeze. |
| |
|
|
|
|
|
May 18, 2020 22:55:34 GMT
|
|
They look great.
|
| |
|
|
Darkspeed
Club Retro Rides Member
Posts: 4,849
Club RR Member Number: 39
|
|
May 20, 2020 20:48:35 GMT
|
10m of alloy tube from which I will use about 250mm to complete the work on the Gemini Cooling system! 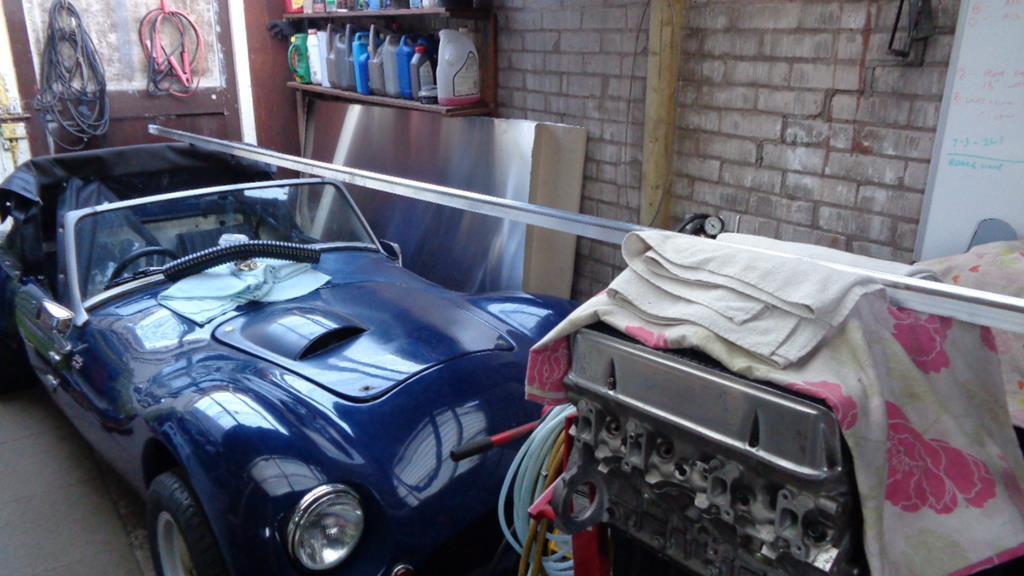 And a few bits of the 4 full sheets sitting behind will also be used on the Gem. |
| |
|
|
timc
Kinda New
Posts: 1
|
|
May 21, 2020 16:40:32 GMT
|
|
|
| |
|
|
Darkspeed
Club Retro Rides Member
Posts: 4,849
Club RR Member Number: 39
|
|
May 21, 2020 18:16:33 GMT
|
Hello, thought I’d say Hello as a fellow Gemini owner. Great thread. Thanks Tim - Nice car you have there. |
| |
|
|
|
|