pptom
Part of things
 
Posts: 475 
|
|
Sept 12, 2018 14:30:25 GMT
|
After the welding was done, I gave the pedals to a mate who bored the pivot hole out to 14mm on his mill, this is to enable the fitment of some acetal lined bushes, previously it was just direct metal to metal with either the pedals or the shaft wearing. 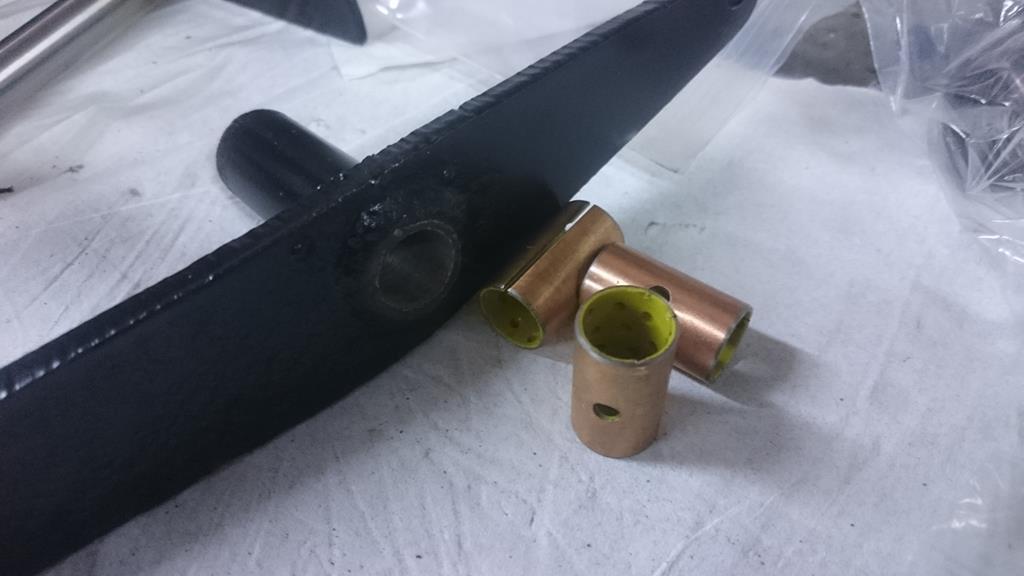 Painted up and fitted with a new return spring and the pedals correctly spaced out with some 0.5mm washers. 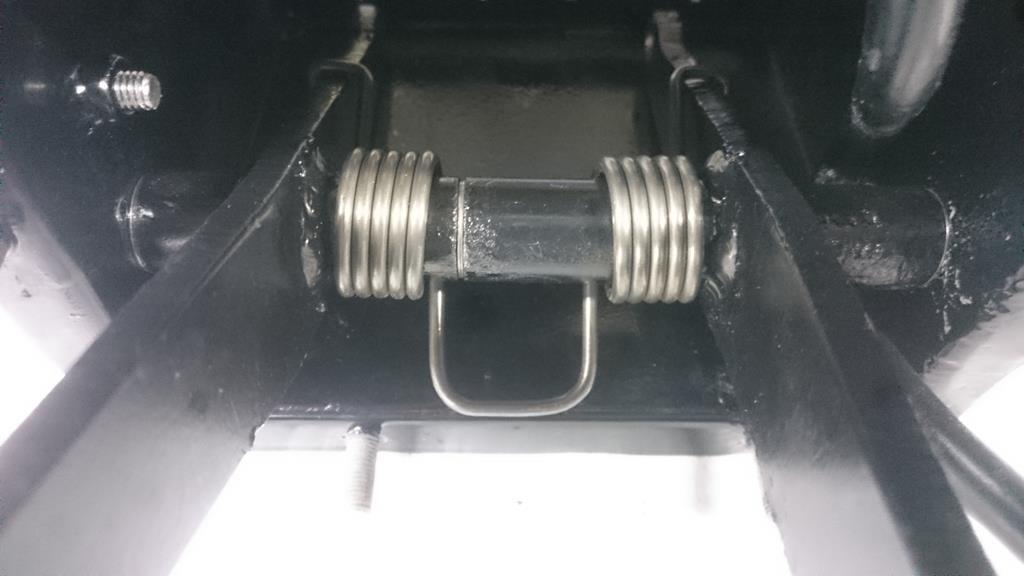 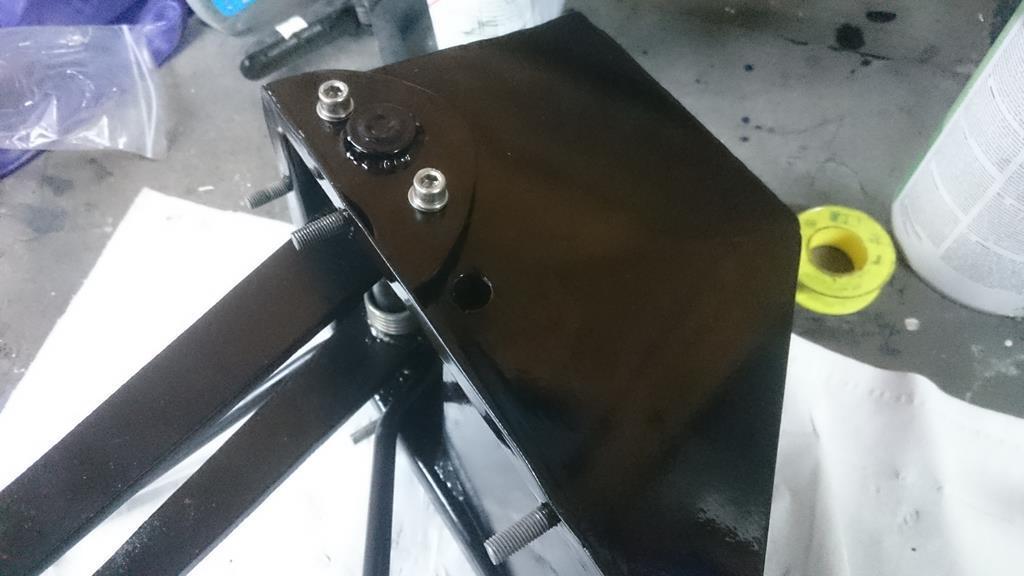 I also made a plate so the fibreglass bulkhead can be sandwiched when it's all bolted back to the car. Should add quite a bit of strength to the bulkhead which I don't really want cracking when I'm braking hard. 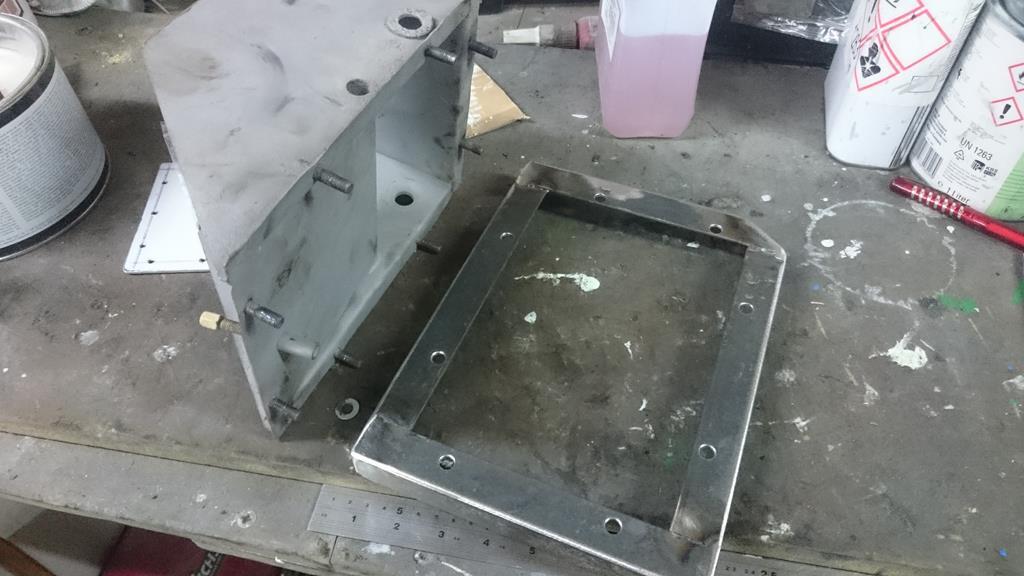 |
| |
|
|
|
|
|
|
|
Sept 12, 2018 17:00:32 GMT
|
|
This is coming along nicely now, it always amazes me how the designers spend so much time on some stuff and other stuff they seem to run out of steam! Just simple things like a bush in the pedals would make so much difference and I know its all down to cost but they weren't cheap cars to start with
|
| |
|
|
|
|
|
Sept 12, 2018 17:16:57 GMT
|
|
land rovers is metal on metal but they had a little grub screw you could take out of the pedal box and insert oil can to lube it up. some people retrofitted a grease nipple (cool idea) oiltite bronze bearing is cooler !
|
| |
|
|
|
|
|
Sept 12, 2018 20:53:47 GMT
|
This is coming along nicely now, it always amazes me how the designers spend so much time on some stuff and other stuff they seem to run out of steam! Just simple things like a bush in the pedals would make so much difference and I know its all down to cost but they weren't cheap cars to start with Looking at it from the manufacturers point of view, most of these lasted 30 or 40 years at least twice the time they were intended to, given Chapmans approach they would have been considered grosly over engineered! |
| |
|
|
pptom
Part of things
 
Posts: 475 
|
|
|
|
Posts have been slow, but I'm still moving forward, manage to do a little bit every day. Recently I've turned this 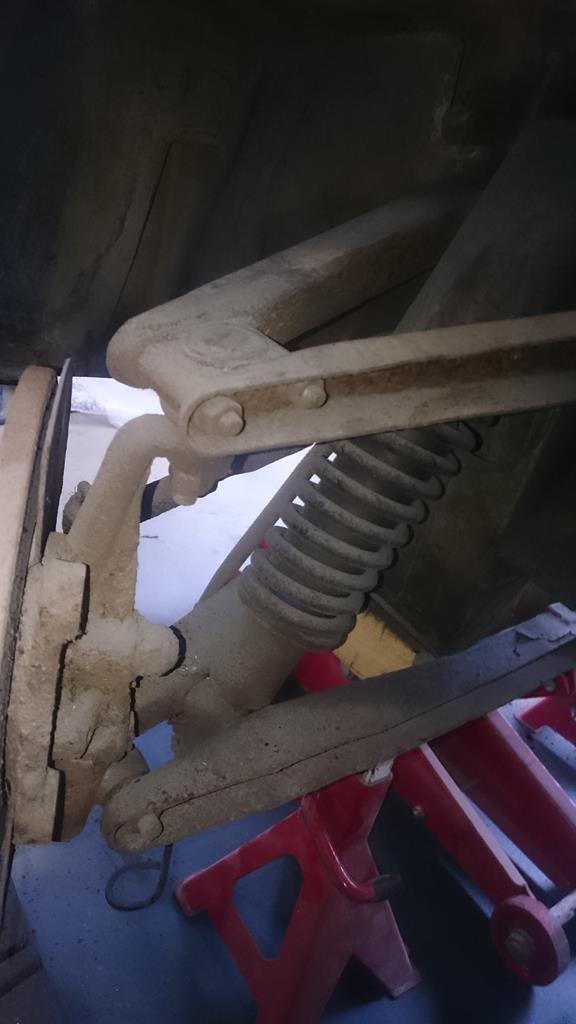 Into this 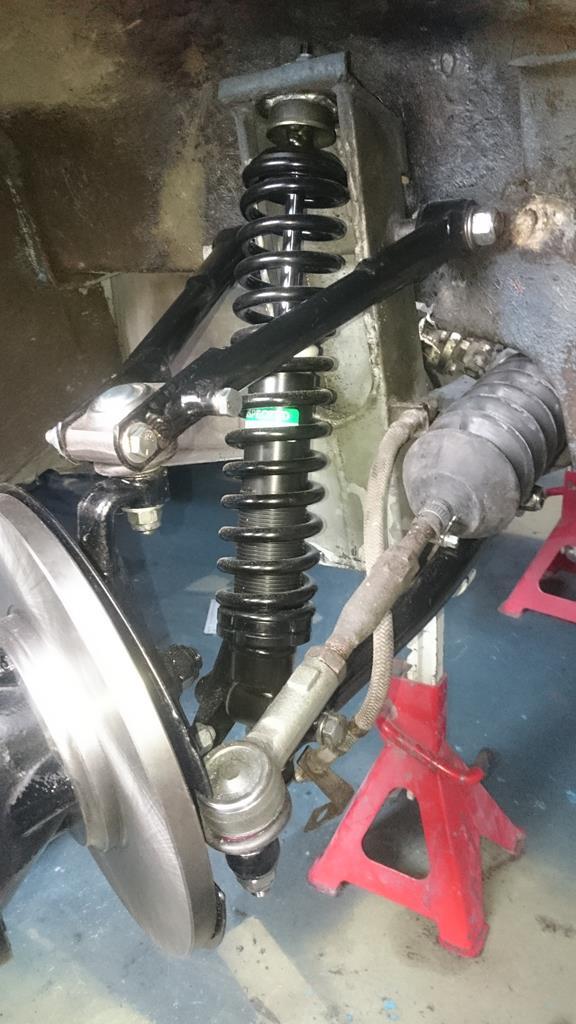 Right at the start of the build there were some tubular front wishbones on eBay which I bagged, Good job really looking at the state of the old ones. 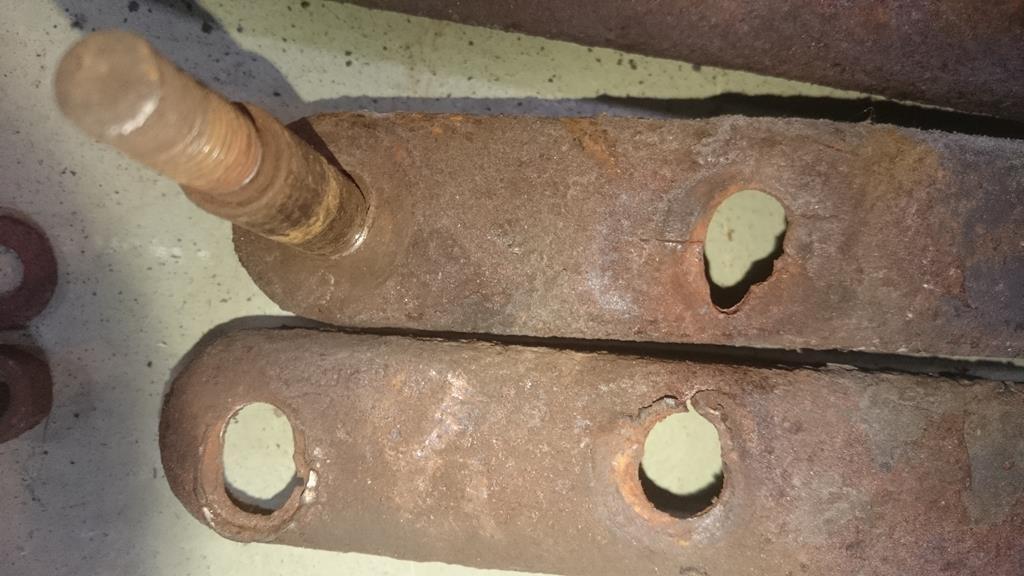 Most of the other parts have been blasted and painted in 2k, the discs on the car had very little wear, but we're corroded, new ones were £13 each, so not even worth having the old ones skimmed. New ball joints and bearings, some new bolts, but most just plated. |
| |
|
|
|
|
pptom
Part of things
 
Posts: 475 
|
|
|
|
|
My current problem is working out all of the trim stuff. I have the crucial pieces, but its all the little clips and screws etc which have either been lost, drilled out or corroded into oblivion. There's not a great deal of info online and the parts lists aren't quite comprehensive enough for me, further research required.
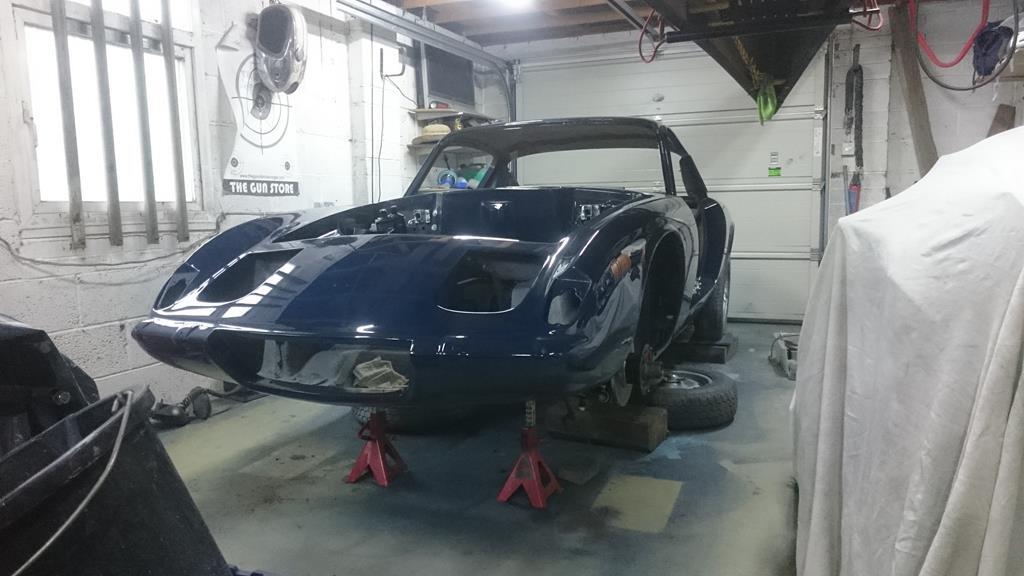
Next job is weather dependent, the doors have had their final coat of filler primer and are ready to be rubbed down, don't want to do it in the garage as I'm slowly getting rid of all of the body dust. they can then have the hinges fitted so they can be hung on the body as soon as they're dry from final colour.
|
| |
|
|
|
|
|
|
|
|
paint looks awesome in photos too !
|
| |
|
|
|
|
|
|
|
|
Looks great! the old wishbones look a bit scarey! another good reason to MOT older motors as I bet there are loads of motors out there with worse suspension than that!
|
| |
|
|
pptom
Part of things
 
Posts: 475 
|
|
|
|
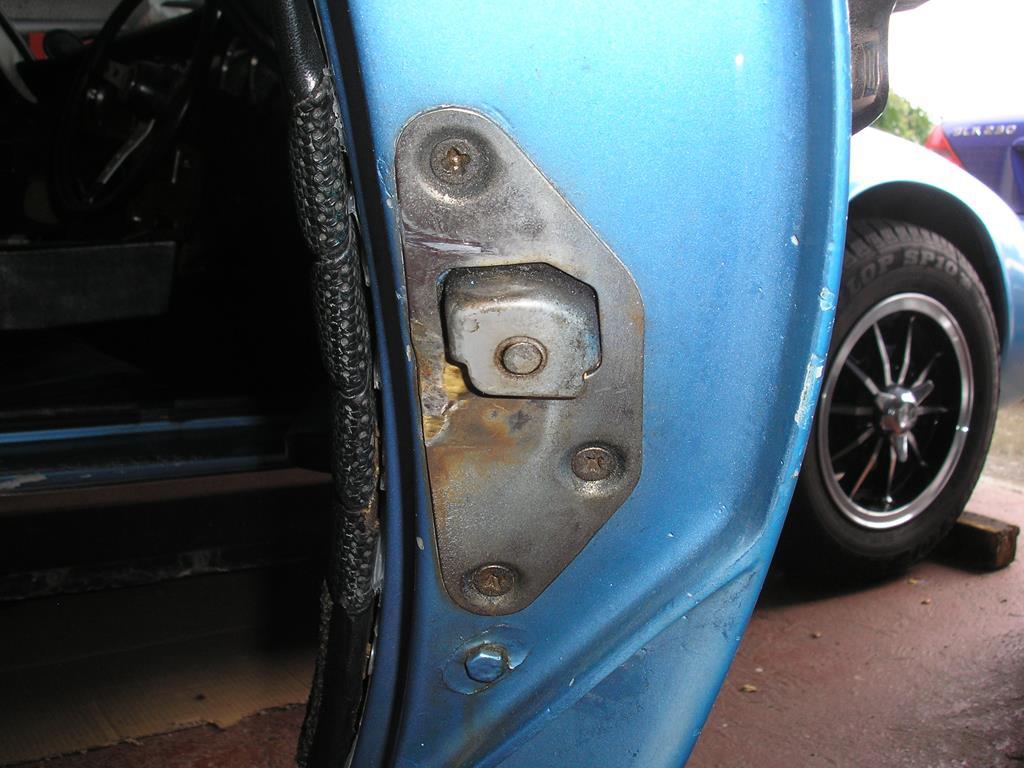
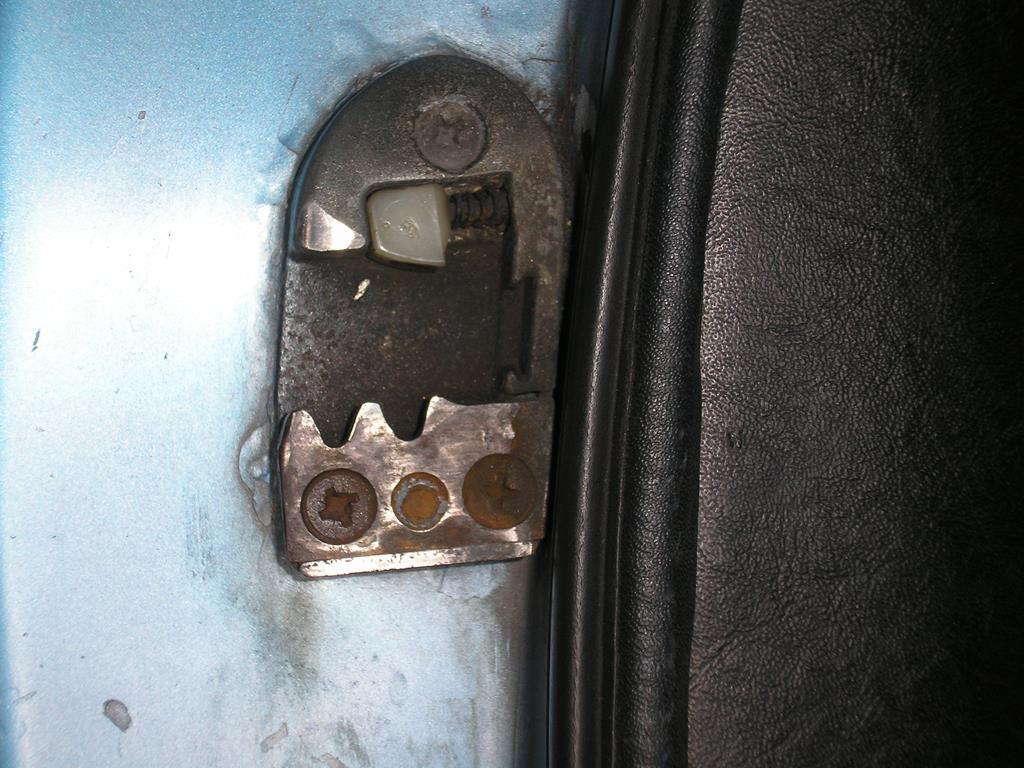
Thanks chaps. I'm trying to get the door parts sorted, I think most of it is from a viva ha or hb? But one of these bits is broken, the other bent. They attach around the latch mechanism on the door, facing the b pillar, does anyone recognise them or know what they're off / a source for replacement? They're chrome plated brass, so not the easiest things to repair. 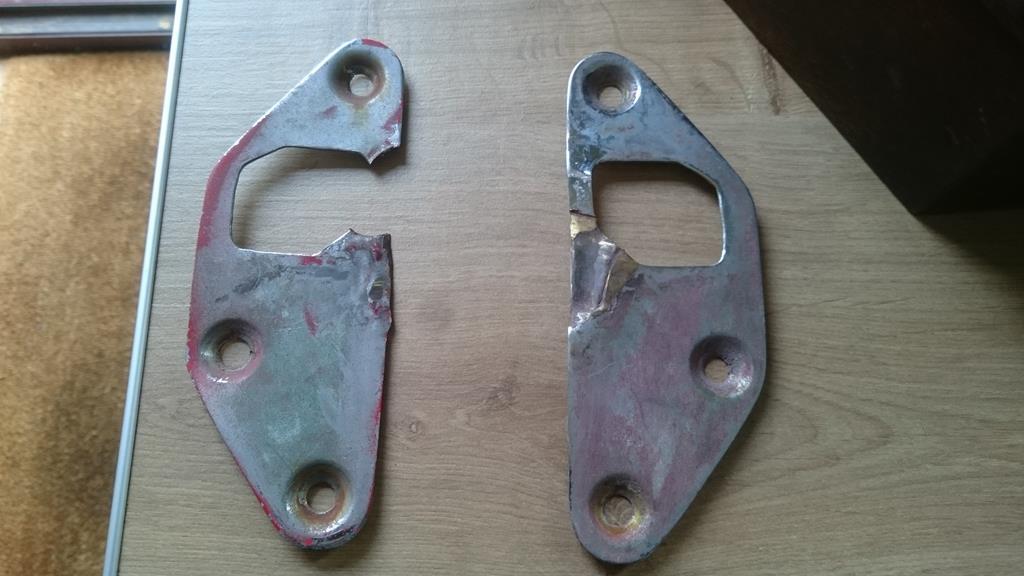 |
| |
|
|
|
|
|
|
|
|
|
|
Can't help with the latch panels I'm afraid, but the paint's looking really sharp!
|
| |
|
|
|
|
|
|
|
|
those escutcheons look really easy to fabricate out of plate
|
| |
|
|
|
|
pptom
Part of things
 
Posts: 475 
|
|
Oct 29, 2018 17:02:57 GMT
|
Couple of issues with my phone so been slack with updates. Finally got the headlining in this weekend. Didn't go too bad, bus as everything else, it seemed to take 3 times as long as I thought it would. Still got a couple of little bits to tidy up, but I'm happy. This means that I'm one step closer to getting the screens installed which will be a major milestone. 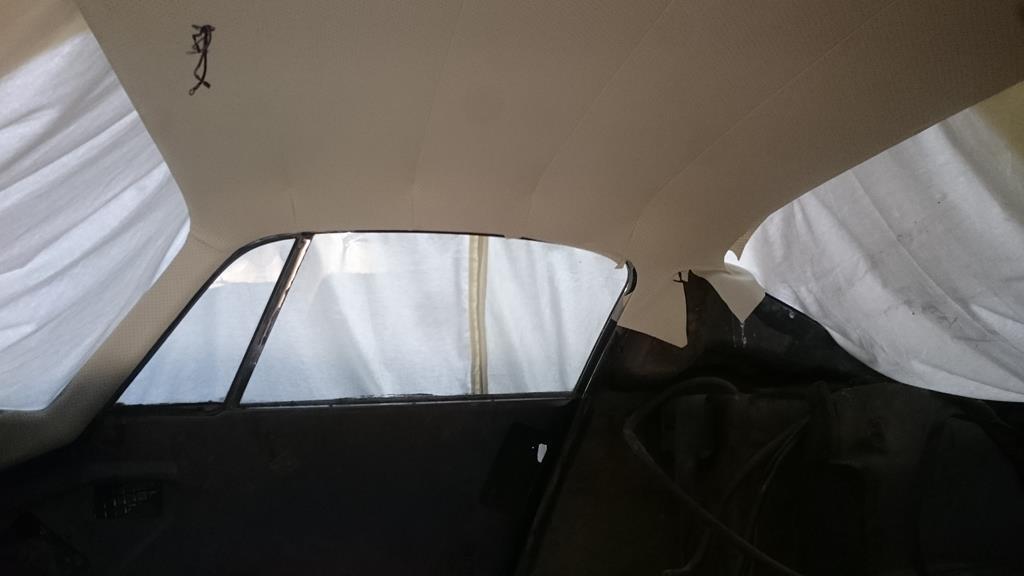 The dash was a mess with all of the varnish peeling off, fortunately the veneer was good underneath and fairly thick too so could be saved. It's had quite a few coats of normal 2k clear to level and smooth it, followed by some decals for the switches and a top coat of clear. Just a few dust nibs to sort out and I can start putting it back together. I've been using this as a filler job, as something to do while I'm waiting for parts or money. It's set me back £15 for the decals as I had the paint on the shelf from another job. 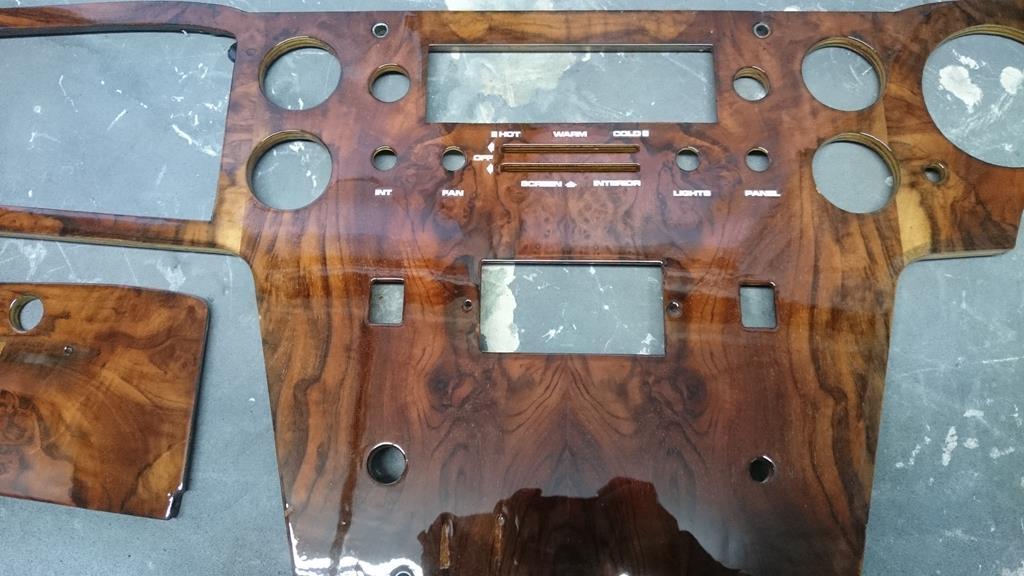 Also made one of my best purchases yet, 2 extra soft, brushed cotton king-size bed sheets which I've sewn together as a cover, my garage is seriously dusty. 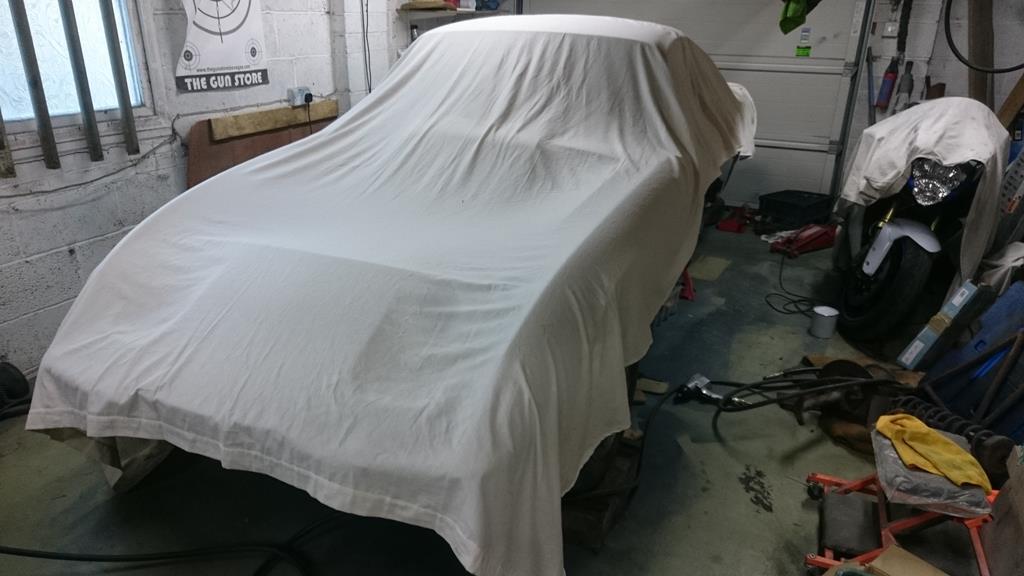 |
| |
|
|
pptom
Part of things
 
Posts: 475 
|
|
Oct 29, 2018 17:20:13 GMT
|
Most recent job which has always taken the back seat is getting the rear suspension sorted. Just got one side stripped and didn't come apart too badly with help of the windy gun. 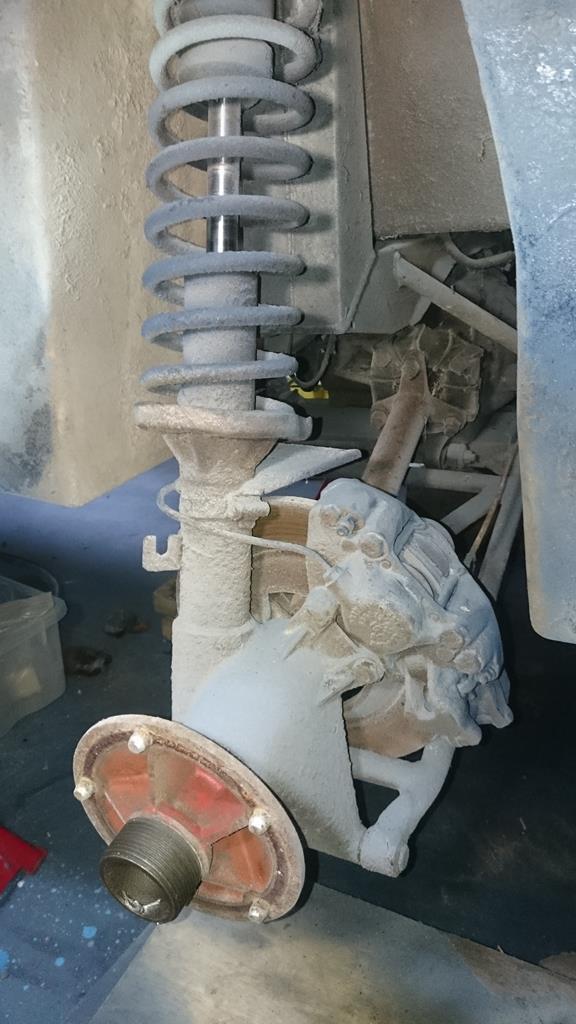 It's all obviously pretty Crusty, but I thought the wishbone was interesting, looks like the special lotus 'banana' version. 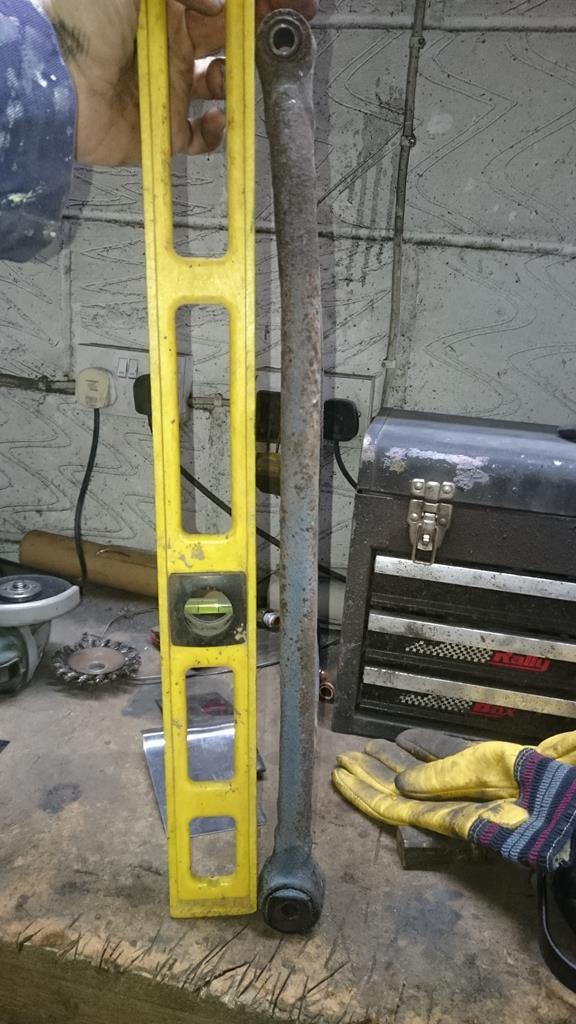 They're meant to be stright, obviously someone has been using the thin wall wishbones as jacking points, which has saved the body. The wishbone has bent so much that its pushed into the brake disc and that has been doing its best to chop through. 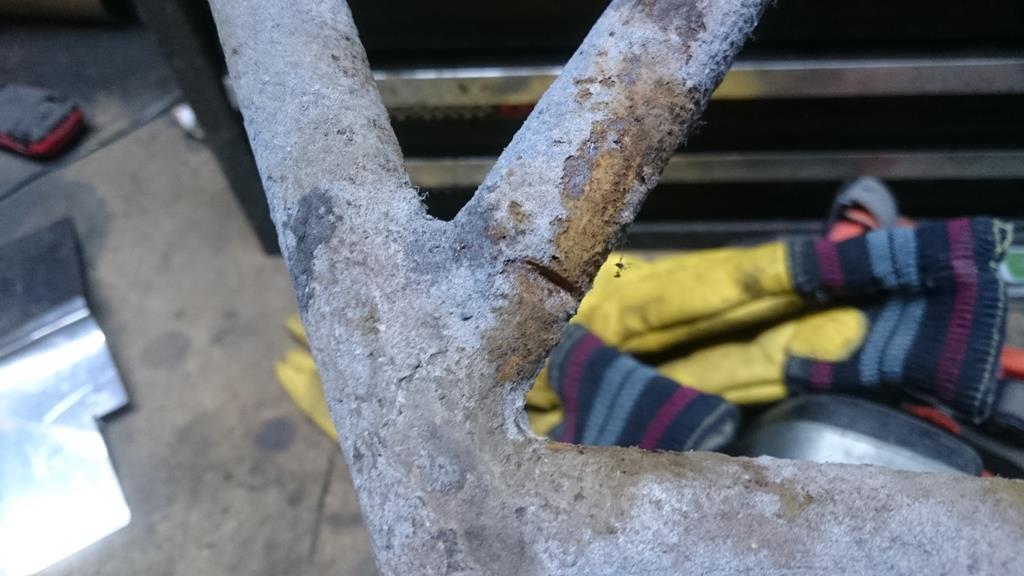 Hoping to get the other side stripped tomorrow and the diff out for a clean and check over this week. I've got some fancy new wishbones to go on, together with new shocks, springs and adjustable spring perches. Just need to clean this lot up and set to work. 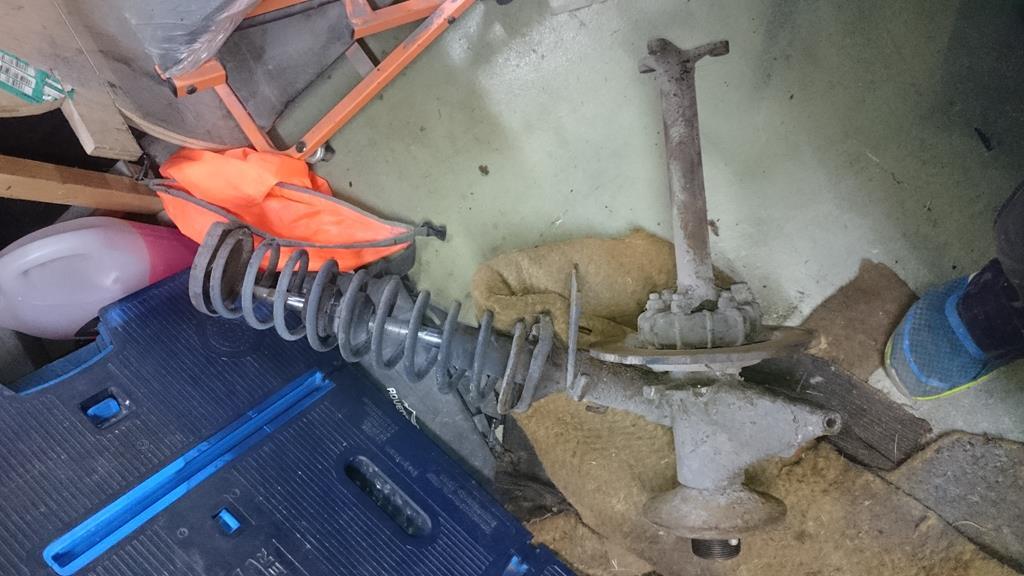 The big dilemma is going to be driveshafts, currently running rotoflex doughnuts which are knackered, they're around £350 for 4 new ones which apparently don't last as 'rubber ain't what it used to be', a mate has some used ones which are apparently half decent, but I don't really want a loose driveshaft flailing around under the car, the other option is a uj or cv conversion, but I'm looking at £600 and there isn't really capacity in the remaining budget! |
| |
|
|
|
|
|
Oct 29, 2018 18:25:39 GMT
|
|
Ive got the spyder ones with a cv joint one end and donut the other, still gets throgh donuts every 4 or 5 years but at least its half the price!
Are your shafts the anti flail ones with a pin in the centre?
If so I would give it a go with the secondhand ones for the moment (I have been using the original ones which were in ok condition on mine as they wear), they are not difficult to change on the car at a later date if you need to.
|
| |
|
|
pptom
Part of things
 
Posts: 475 
|
|
Oct 29, 2018 18:32:17 GMT
|
|
Thanks Kevin, didn't know about the anti flail pin, it's an early plus 2 so poss not. I'll have a look tomorrow.
That will definately save me a massivse chunk of cash, even if I had to replace or mod the shafts for some anti flail ones, my mates car is a later one and he's definately going for solid driveshafts so I'll check his spares.
|
| |
|
|
pptom
Part of things
 
Posts: 475 
|
|
|
|
Sometimes it feels like absolutely everything on this car is completely worn out. I can see why people can end up spending a fortune on restorations. Fortunately I've a few handy mates who've got a network of contacts, I reckon I should be saving about £1k with the below repairs. First off was the fuel tank, it sits fully inside the body so should be pretty safe from corrosion, but I thought it prudent to remove and inspect. Good job I did as there was one obvious hole on the bottom and a weep found from another pitted area when I filled it with water. This is due to it sitting on felt which I suppose held moisture / condensation. It now sits like this 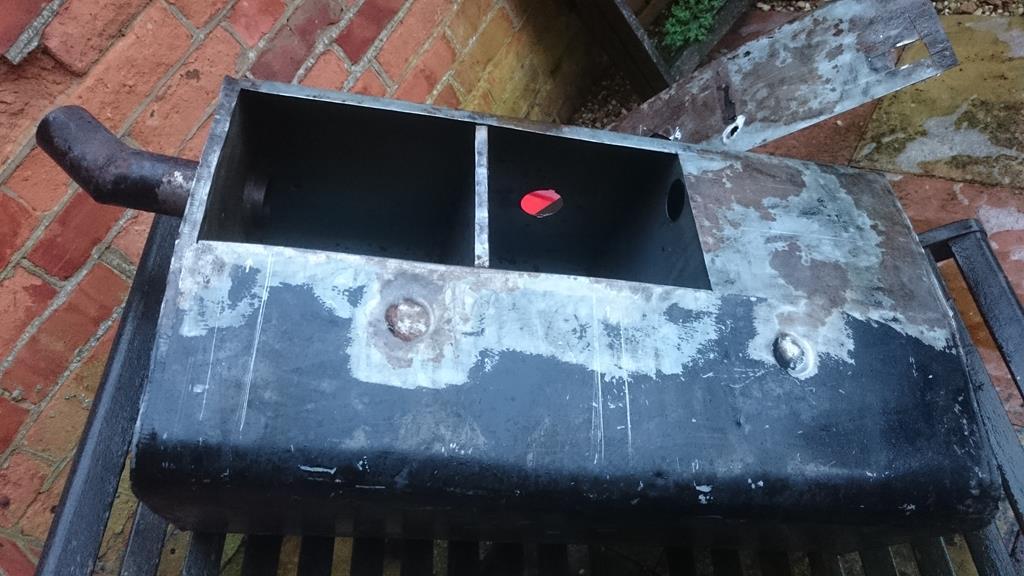 While I'm pretty happy using my tig set I know a fantastic welder who will do a much better job on the thin material. Saving of about £500 on a new tank Next was stripping the rear hub carriers. 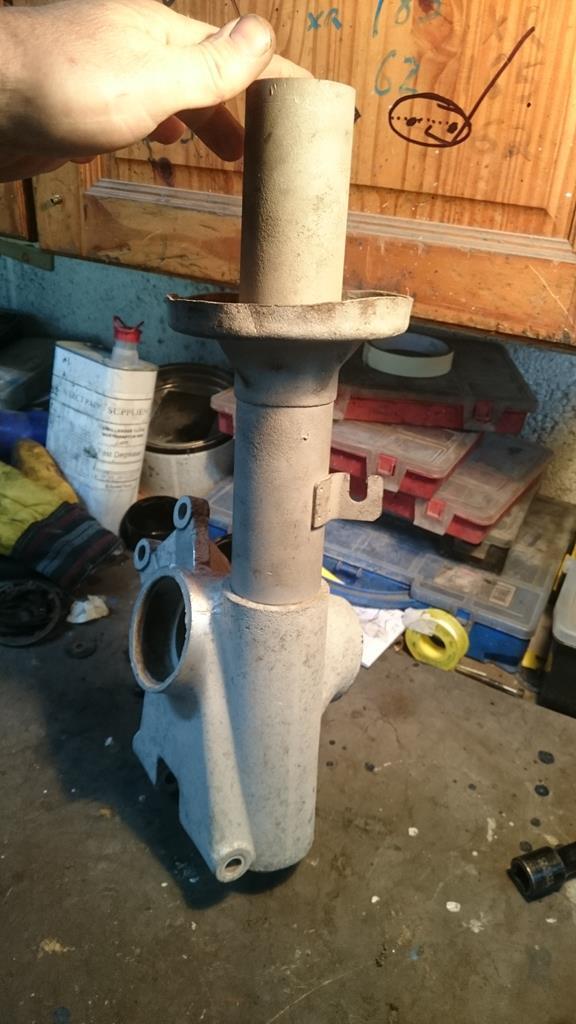 The wheel bearings felt like they were full of stones and this lot hasn't been apart since the old king died. I had to get aggressive 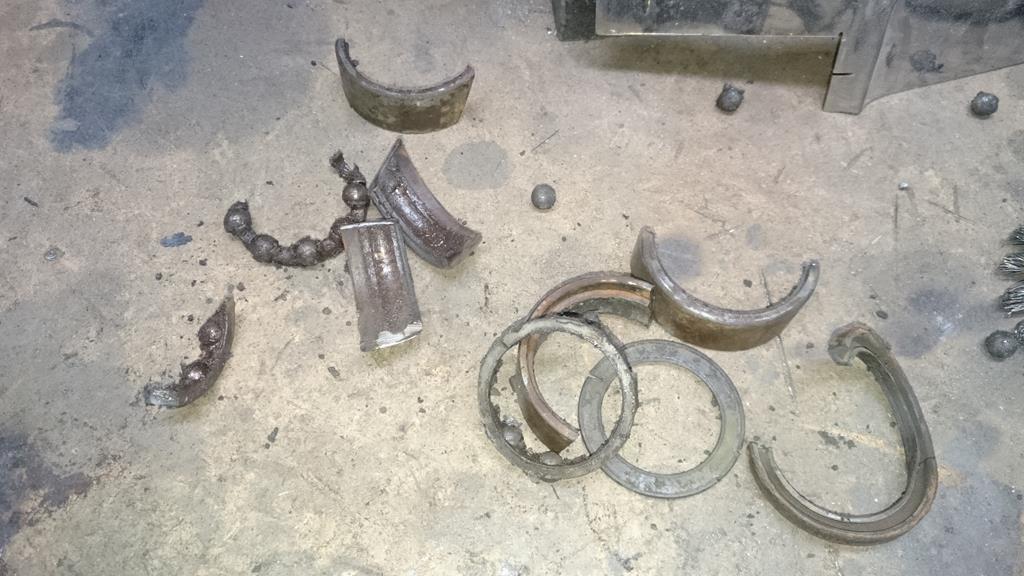 That revealed a major problem on both ally hub carriers. There are grooves which take circlips which hold in the wheel bearings, mine were corroded to hell and falling the bits 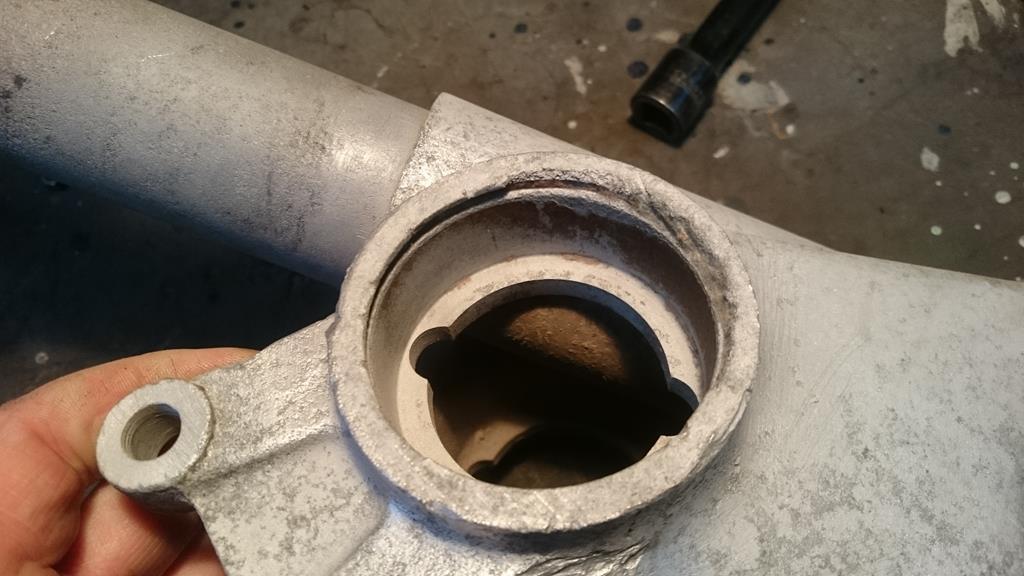 These are available at about £450 each, definitely not in the budget I've hatched a plan and had a chat to a couple of mates and we're essentially going to mill off the offending area, make some new rings with their own circlips grooves and weld them back on. Fingers crossed. It's a right pain, but it's kind of why I started this project, for a challenge and to learn some new skills. |
| |
|
|
|
|
pptom
Part of things
 
Posts: 475 
|
|
|
|
I sent a message to the viva owners club who replied quite quickly that they'd not seen one of those cover plates before. I've also had a close look at mine and they don't look mass produced, particularly the 'rectangular' cutout area looks like it was done by hand almost. I know they brought in a load of parts from other manufacturers, but reckon these are lotus specific. Managed to get the diff out today after much swearing and several nicotine breaks. It's fair to say that it wasn't very well supported: 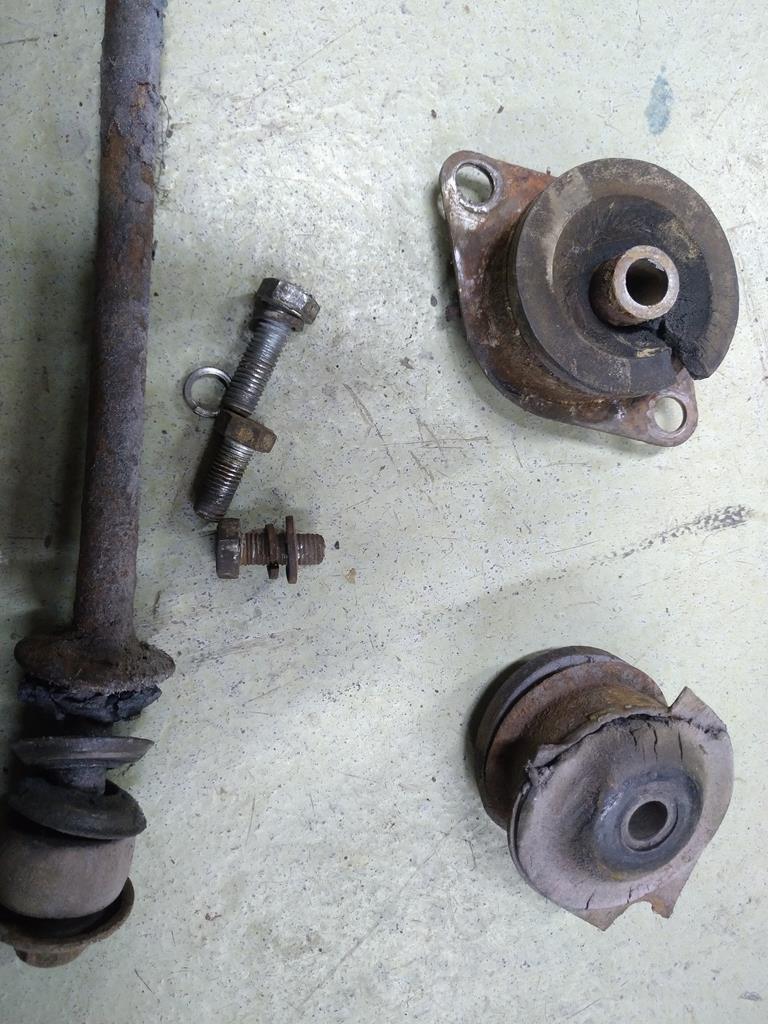 There are meant to be 2 X 1/2" bushes on the torque bars, you can see one, the other looks like a liquorice allsort that's been in a toaster Jet washed the diff and it actually doesn't look or feel too bad, however, due to the absolute pain in the  it would be to remove once the car is built I'll be replacing the external bearings and seals |
| |
|
|
|
|





 it would be to remove once the car is built I'll be replacing the external bearings and seals