|
|
|
Sept 22, 2021 14:31:10 GMT
|
The 200E has developed a fault with the clutch hydraulics, see here: autoshite.com/topic/46862-master-or-servant-updated/It's currently in the workshop, up on ramps. Turns out that the AutoGlass man did not fit the upper trim / seal properly and when I drove the car on Monday (first time since the windscreen was done), I could hear wind and whistling from the top of the windscreen, where it joins the roof. Before going out in the 200E again on Tuesday, I taped up the join and... silence. It looks like the seal has turned back on itself under the top trim, which has caused a gap to appear between the glass and trim. Someone is coming out on Saturday to fix the problem. The 230E has developed a slow puncture. The offside from tyre loses about 20PSI per week. I've taken the wheel off and fitted the world's ugliest spare wheel. 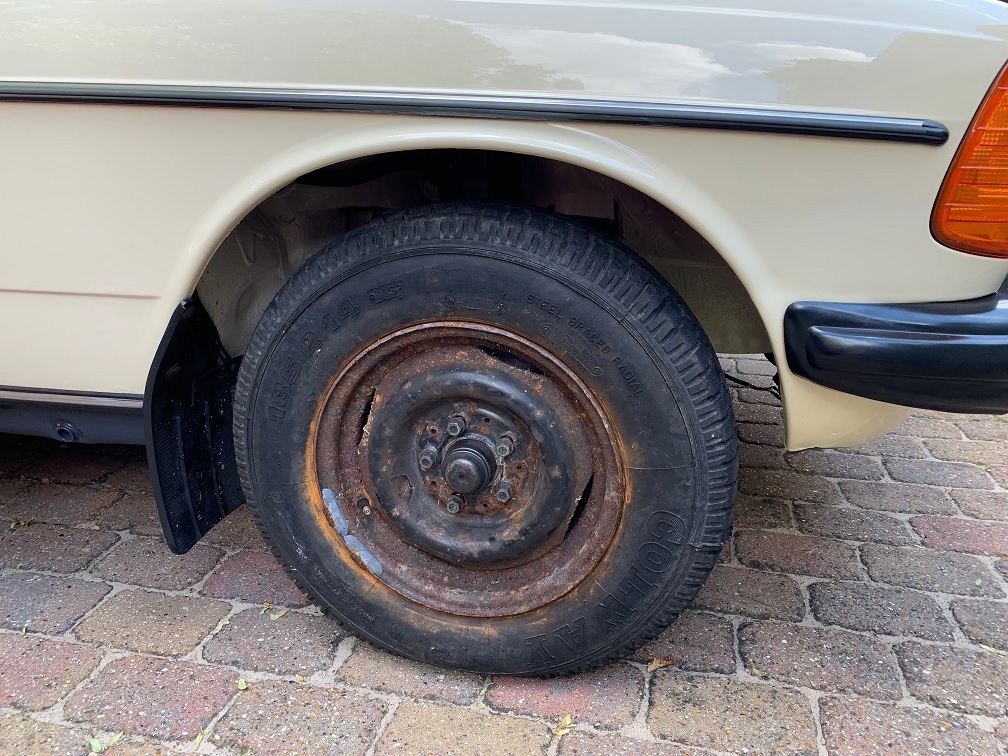 Which I removed from this fine beast a few years ago, before it went to the giant scrapyard in the sky.  I've put my wheel in the back of my Cooper, which is the only one of my three toys that is currently in full working order (now I've done it), to have it fixed tomorrow. 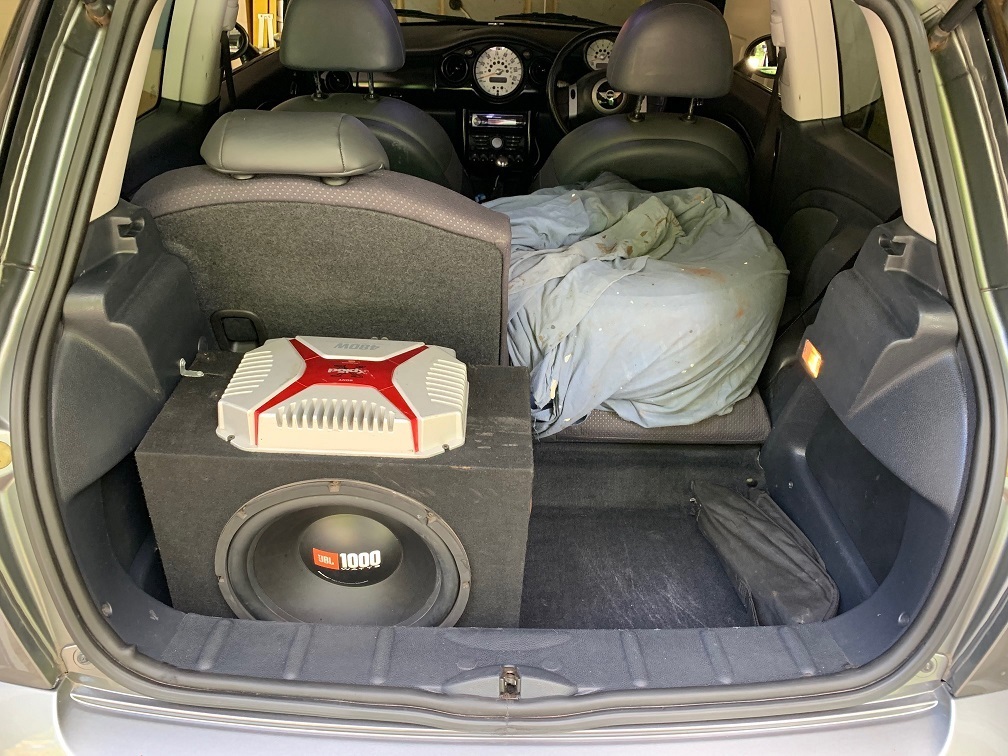 |
| |
|
|
|
|
|
|
|
Sept 28, 2021 15:32:24 GMT
|
|
|
| |
|
|
|
|
|
Oct 23, 2021 13:07:39 GMT
|
The 200E’s clutch hydraulics are now all ok. I was pretty sure that the master cylinder had enough and not wishing to get involved with disassembly of the pedal box, I handed the job over to my friendly mechanic. The new cylinder cost £50 and he charged me £80 for labour. All good but there is a but… 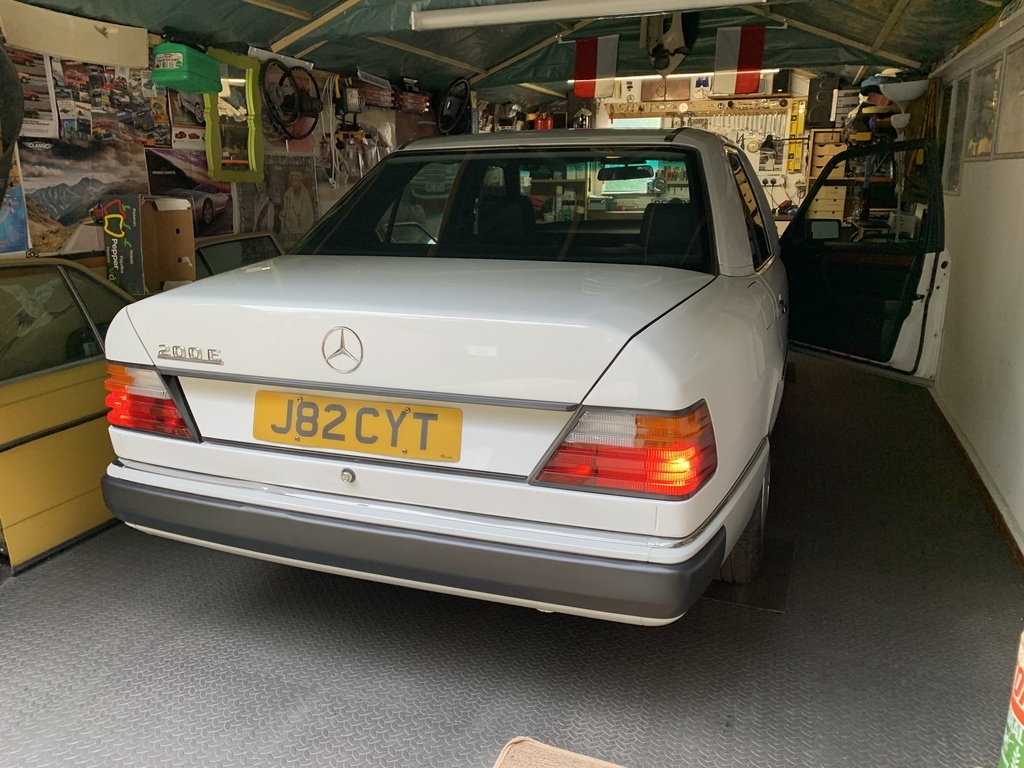 When I collected the 200E on Thursday evening, I noticed that the brake lights were constantly on. I managed to drive it home without Old Bill stopping me and, perhaps more importantly, without anyone driving into the back of me. I investigated the problem this morning. I removed and checked the brake light switch and it was working ok. The problem was that the switch was not connecting with the brake pedal. Neither the pedal box nor the switch feature any means of adjustment. I can only assume that when the mechanic reinstated the pedal box, something didn’t go back in the right place. Perhaps some washers? I ended up fixing a cable tie to the back of the brake pedal to reduce the gap between the switch and the pad that activates it. It’s not the best solution but it works. I recently spent £42 having the rusty front offside wheel cleaned up and the tyre re-sealed. Last week I noticed that the front nearside tyre has started dropping about 20PSI a week. 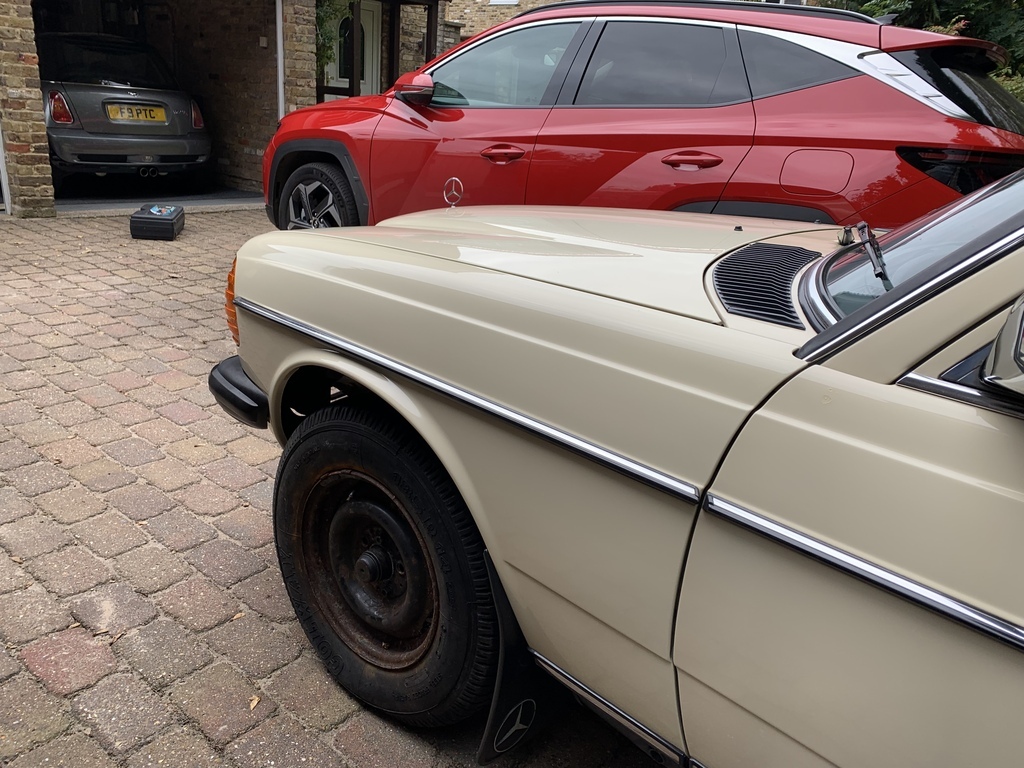 The spare wheel from hell made a welcome return and I’ve spent another £42 having the wheel and tyre sorted. Ideally I should have all four wheels properly refurbished. Perhaps one day. The 230E and my Cooper are now tucked up in the garage and whilst I await a loan car to replace my daily Kia Exceed, which is hopefully going to be fixed soon, I’m going to use the 200E for daily duties. It’s a lot more civilised than the Cooper! 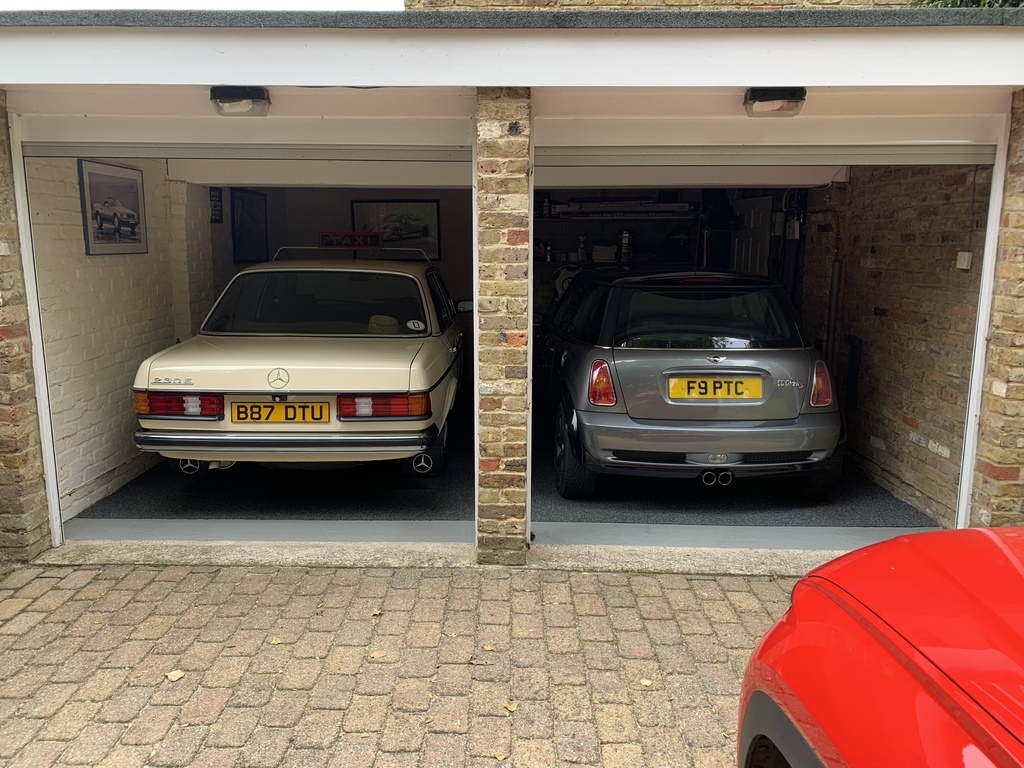 |
| |
Last Edit: Oct 23, 2021 13:10:55 GMT by Peter C
|
|
|
|
|
Nov 27, 2021 13:24:30 GMT
|
Whilst my Kia Exceed was back in the garage having the front suspension fixed, which developed a bad knock following the incident with the skip lorry, I've been using my Mini Cooper for daily duties and on a few occasions I took the 230E out for a drive around the block. I haven't driven the 200E much since I got it back from my mechanic (to have the clutch hydraulics fixed) but I did manage to take it out for a brief drive earlier this week. I noticed that the B-post plastic trim, specifically the seatbelt height adjustment part, was making an annoying creaking sound approx six inches from my right ear and that the unrestrained subwoofer is moving around too much in the boot. I removed the B-post trim and applied gaffer tape to where the seatbelt adjustment part abuts the trim. I haven't been on a test drive yet (it's pouring with rain) but the trim feels more robust and a lot less creaky. Hopefully it will stay quiet. 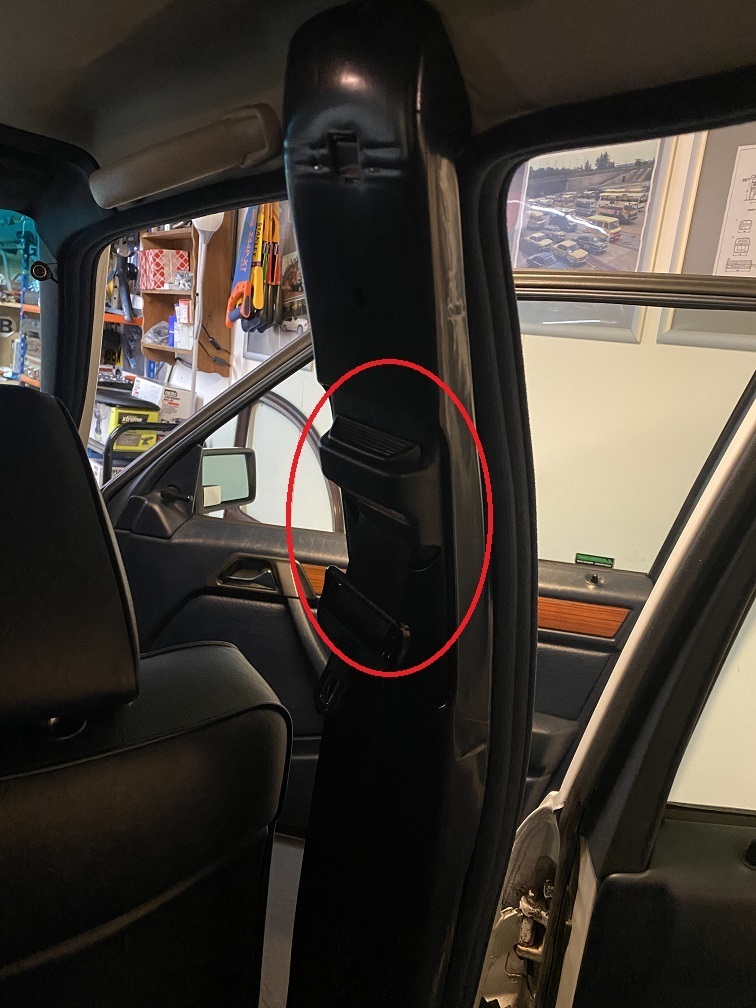 I intended to do something about the subwoofer but as soon as I opened the boot I noticed a musty smell and an unpleasant green growth on my black leather gloves. 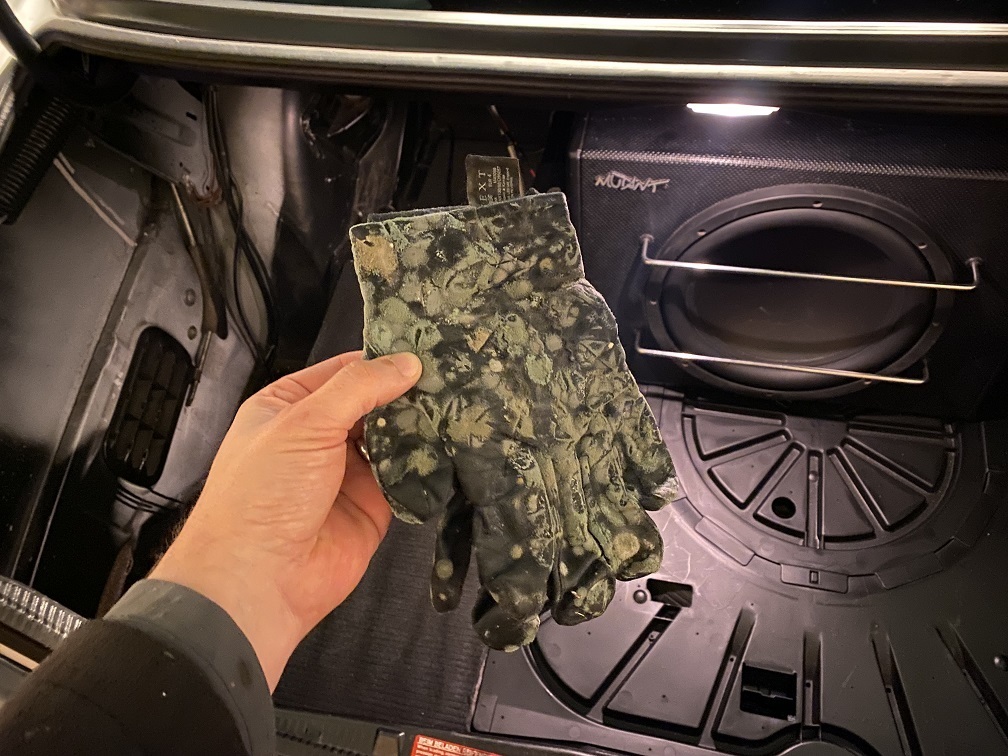 I removed the (aftermarket) rubber load liner, boot carpet and the nearside wing trim, which revealed that the fabric fixed to the boot floor was damp but everything else was dry. 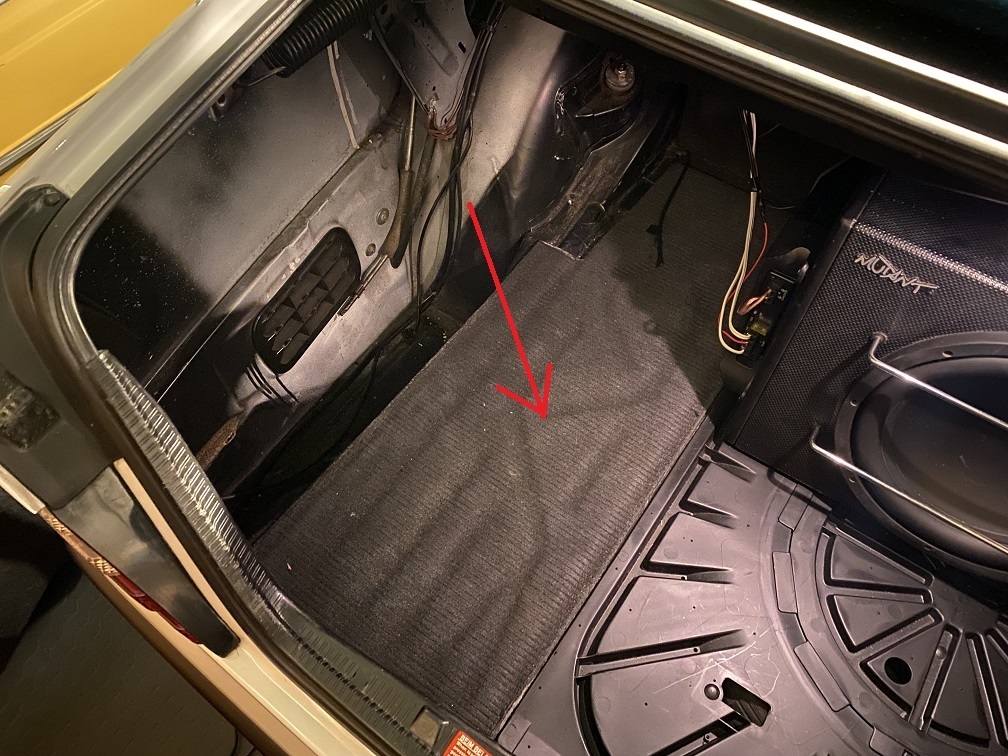 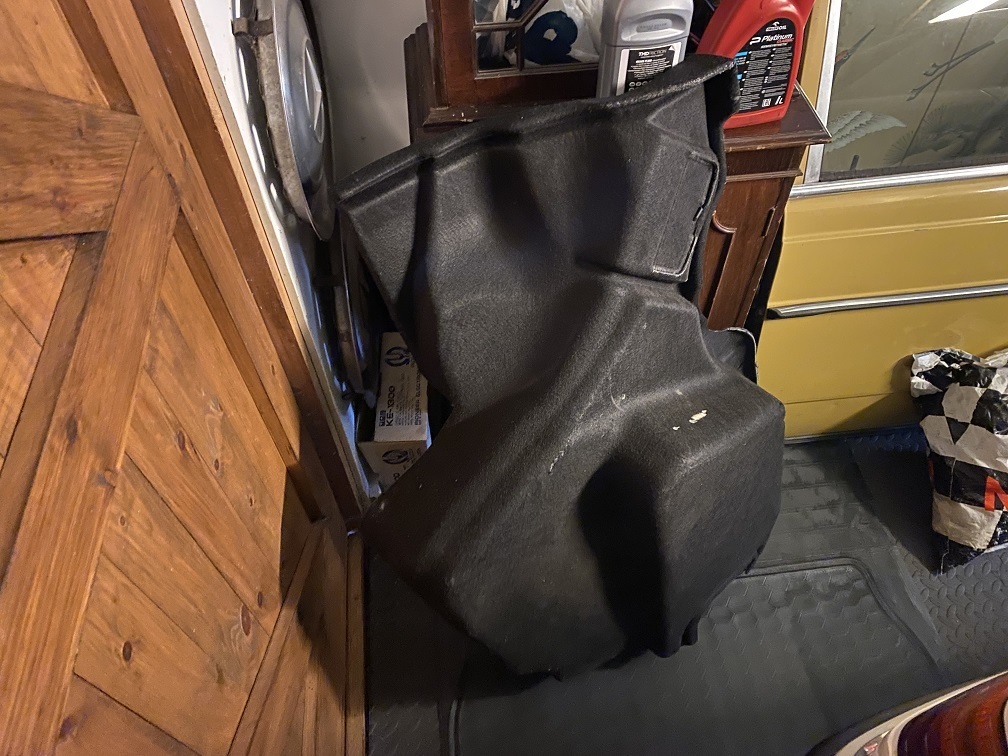 It's too cold in the garage for the fabric to dry out by itself so I helped it out by setting up a heat gun in the boot for 20 minutes. 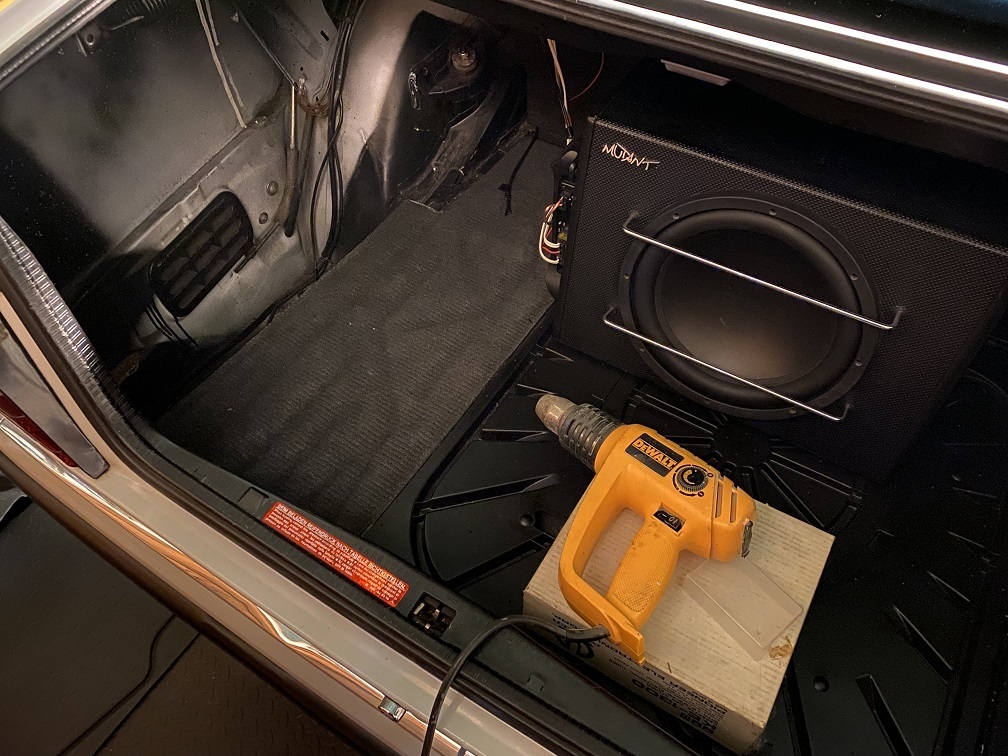 To get some air to the fabric, I wanted to leave the boot open for a few days but I didn't want to disconnect the battery and I couldn't figure out how to remove the boot light - I was planning on taking the bulb out so that it wouldn't drain the battery. I then discovered that the boot light can be disabled by pulling on the switch pin, which is located to the underside of the boot lid. Mercedes thought of everything. 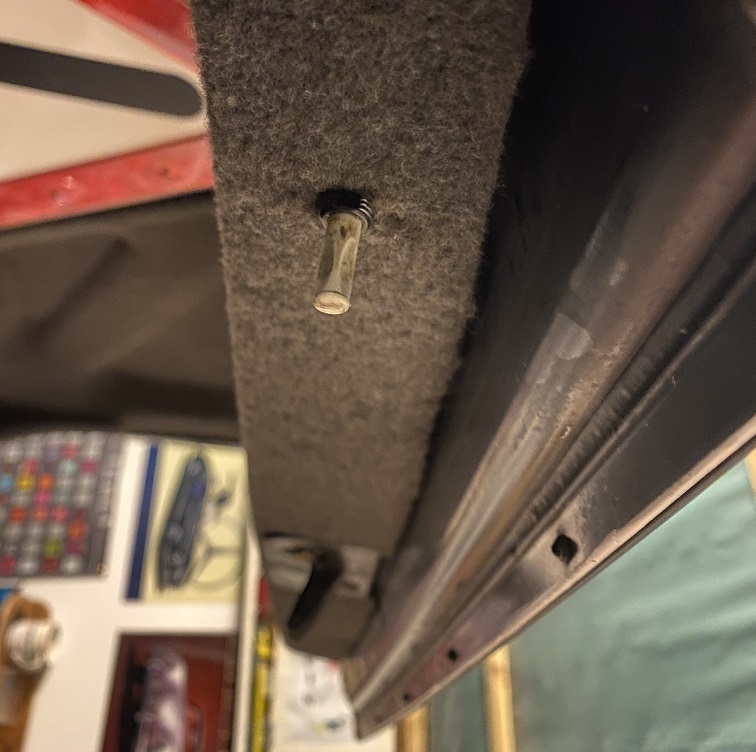 And finally, I've suspended the boot carpet from the garage ceiling to help it dry out. 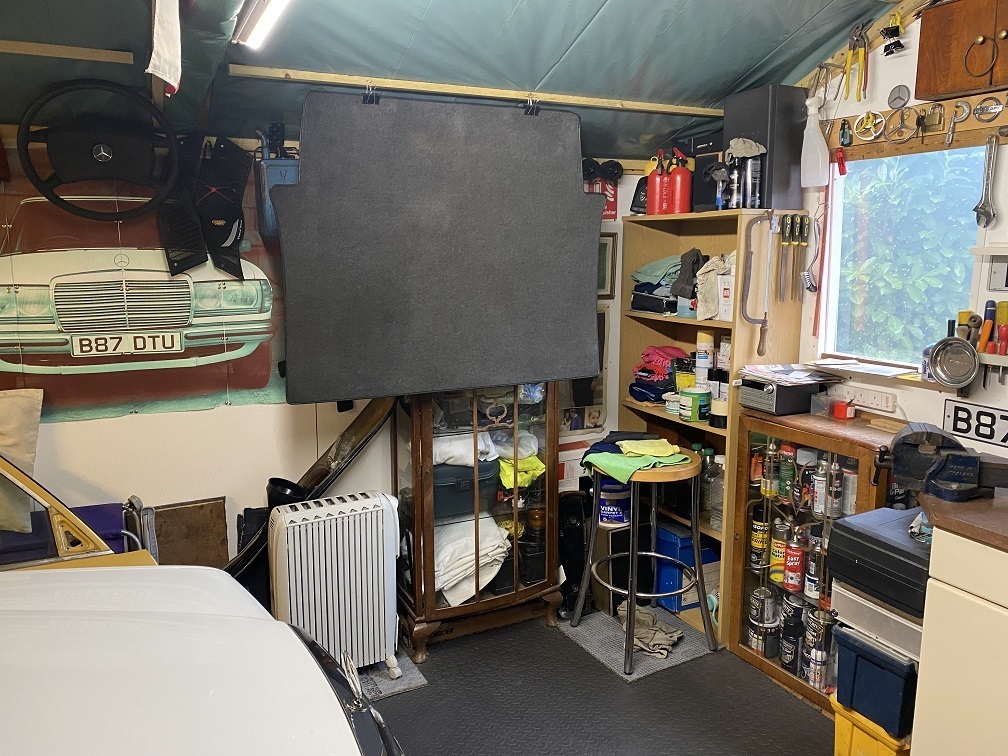 I've looked everywhere and can't find any evidence of water ingress. The damp has only occurred beneath the rubber boot liner where it sits above the fabric. I wonder whether the damp was caused by condensation or perhaps my mechanic had allowed water to enter the boot whilst he had the 200E in his yard for a couple of weeks. Time will tell. As I'm not using the 200E as much as I did before I got my Mini Cooper and I've reached that point where I can't make any more improvements to it without spending thousands, on a full respray, for example, which isn't necessary, I briefly toyed with the idea of selling it. It's not a good idea as I would never see a return on my investment and after all the years I've had it, its become part of the family. Also, I'm not sure anyone would want to buy it anyway. |
| |
Last Edit: Nov 27, 2021 13:27:01 GMT by Peter C
|
|
|
|
|
Dec 18, 2021 15:08:53 GMT
|
Good news. The B-post trim that I fixed* with gaffer tape is now silent, the boot has dried out and there has been no further water ingress. Admittedly, the 200E hasn't seen any rain / water since my discovery so I'm not getting overly excited just yet. To replace the faulty clutch master cylinder, my mechanic had to remove the lower dash panel. The careless curse word caused damage to the panel, presumably with a large screwdriver, whilst trying to lever off the inset plastic trim. 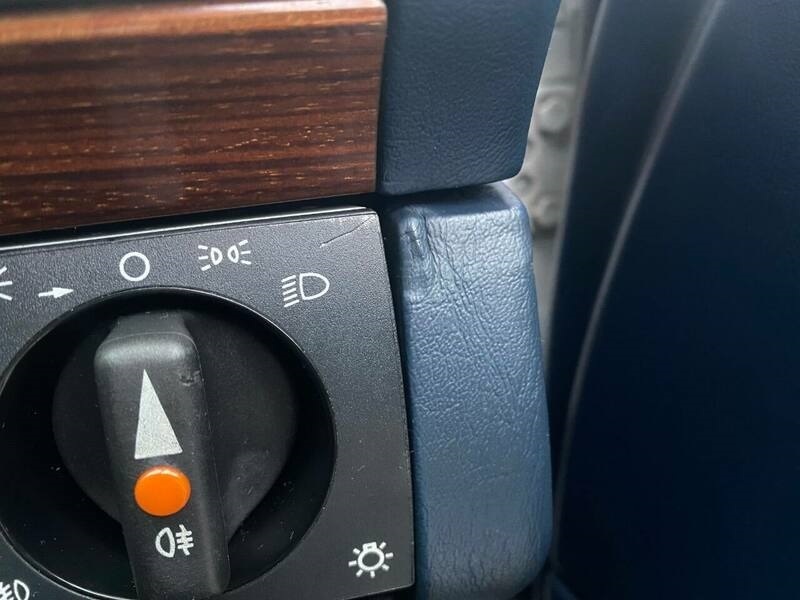 Ok, it's not the most difficult job getting the lower dash panel off but it's a faff nethertheless. 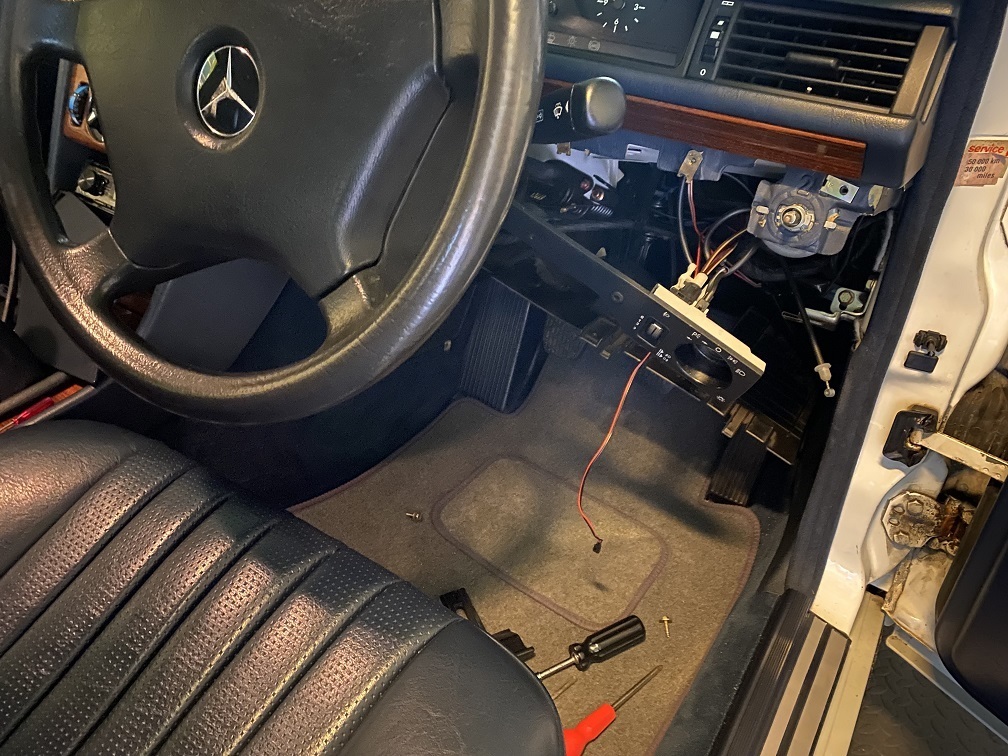 My wife volunteered* to help and out came the iron and dishcloth. Time for a professional repair. 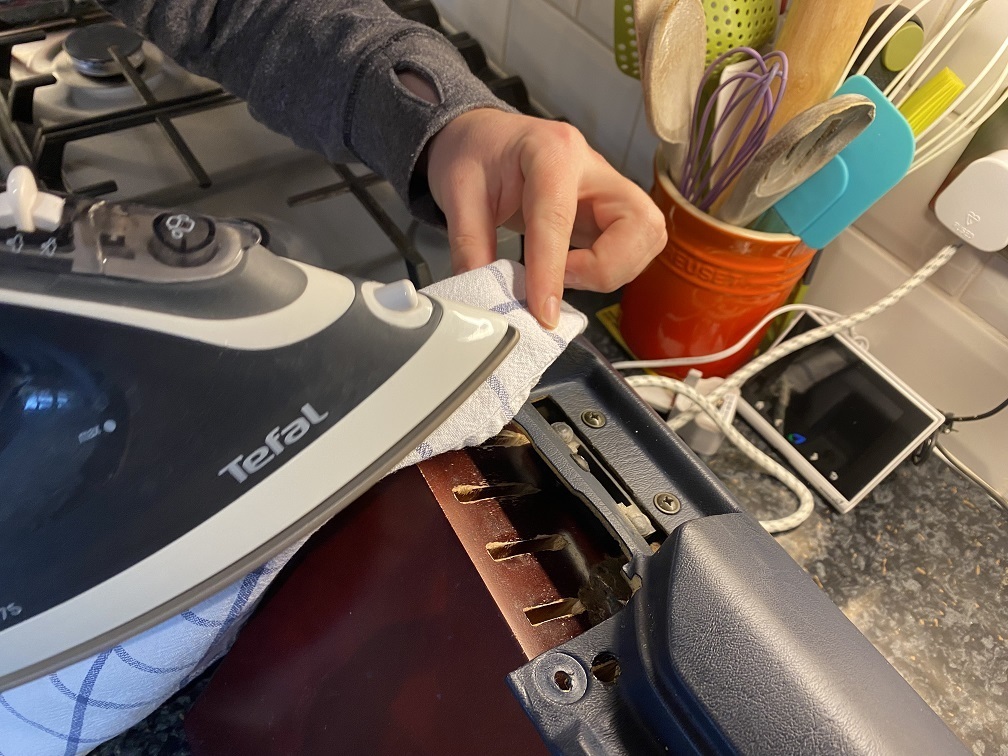 It only bloody worked! Now I don't have to see the damaged trim each time I get in the 200E. 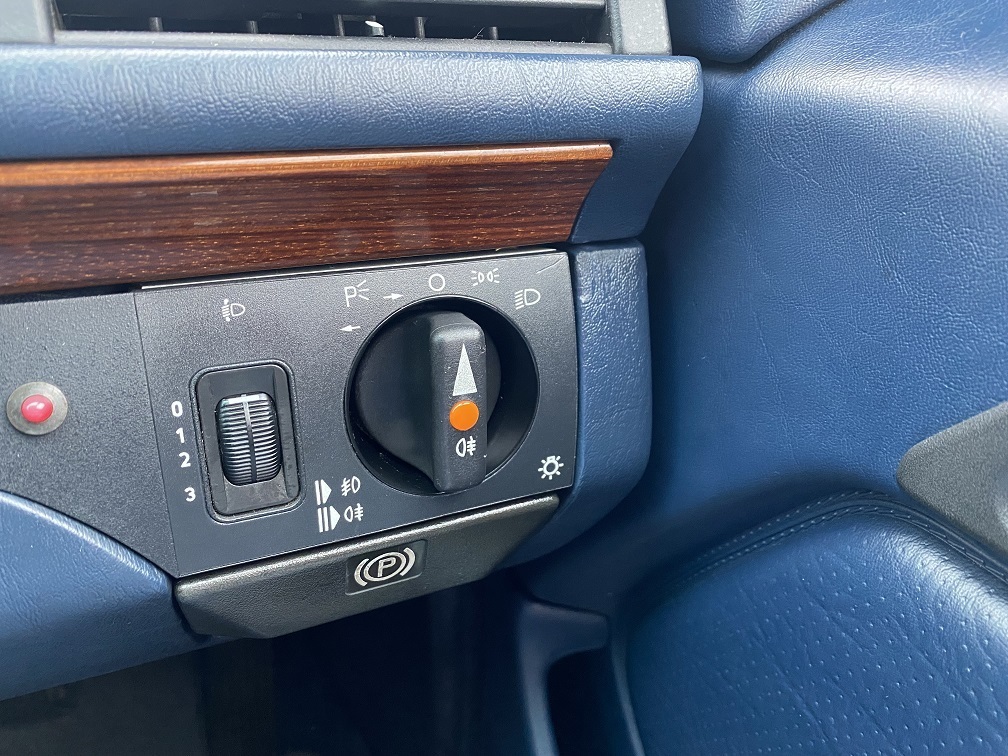 Some time ago I upgraded the 200E's front and rear speakers and installed a 12" JBL sub-woofer and Sony amp. The system sounded decent and the bass was loud and clear. However, earlier this year my Cooper needed an ICE upgrade so I removed the sub and amp and installed a Mutant combo in place - see earlier post. Unfortunately, the Mutant kit has failed to live up to my expectations. The sound quality was generally poor, the bass was not as deep and nowhere near as loud as what I had before. I decided to remove it. I'm now left with a big, clean and clear load space. Win. 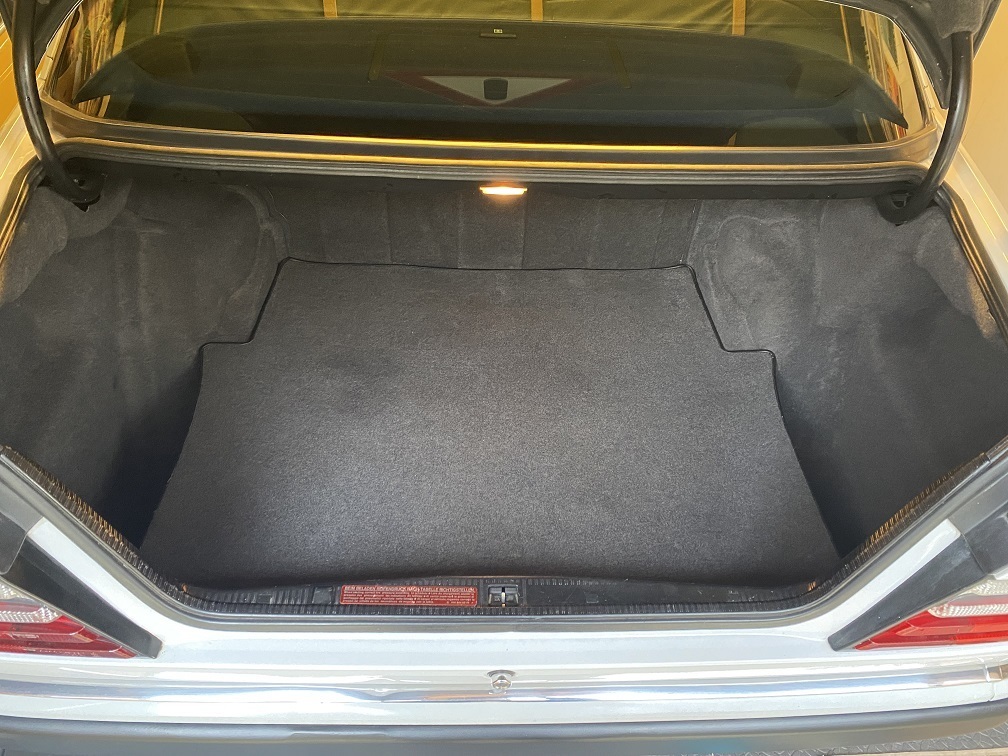 The upgraded front speakers were actually tweeters. I also removed them and re-fitted a pair of Kenwood 4" co-axials, which I had in the 200E before I started the upgrades. For some reason, Mercedes specified unconventional sized speakers in W124s and a 4" speaker is not a perfect fit. 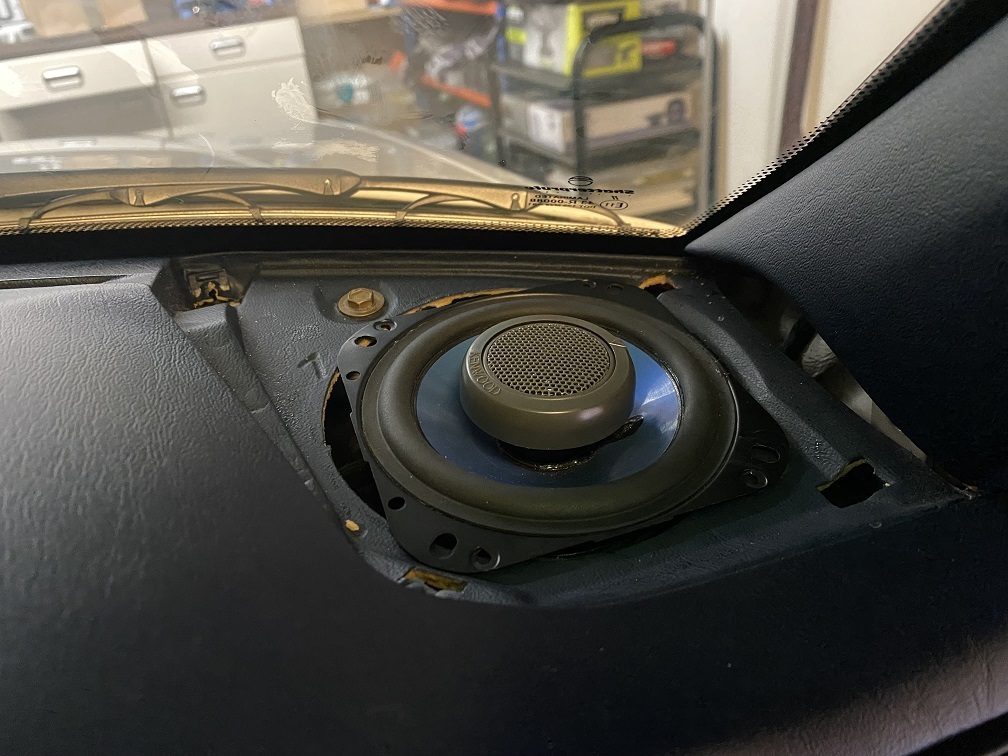 I secured the speakers with speaker-bogey and sealed the edges with gaffer tape. It's not professional but it works. 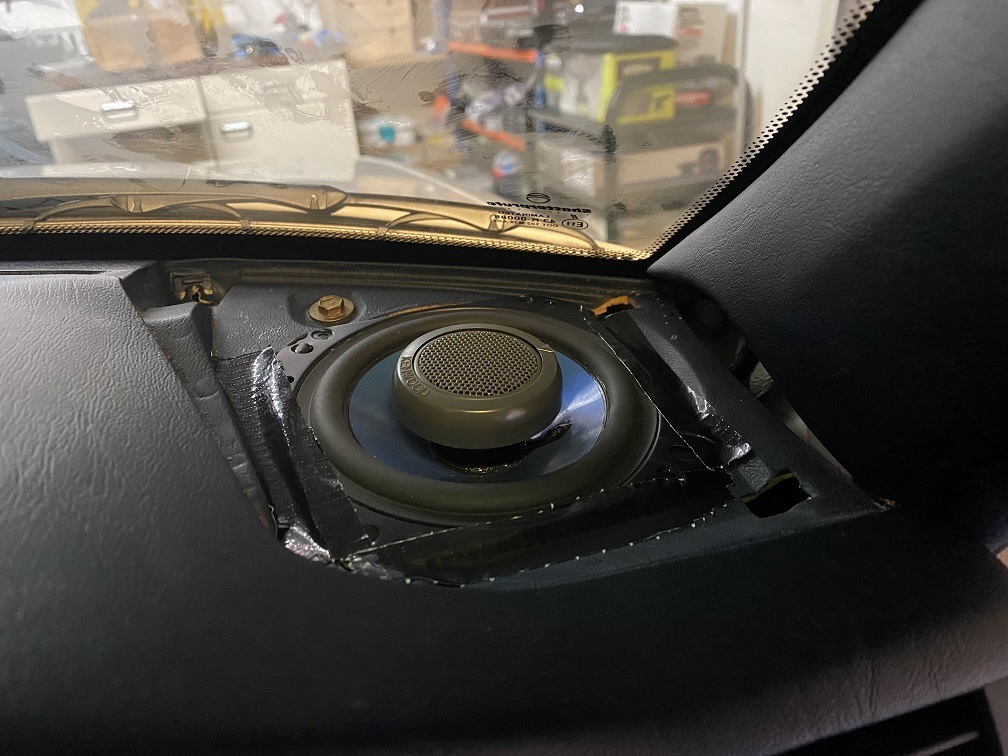 The Kenwood head-unit is actually quite decent and features in-built front and rear cross-overs, which enable full control of which frequencies are sent to the front and rear speakers. By restricting the lower frequencies to the front speakers, they only produce mid and high tones and sound clear, whilst the rear (larger - 5.25") speakers provide a full range of tones. For a standard system it sounds ok and I am not proposing to spend more time fiddling with the ICE. 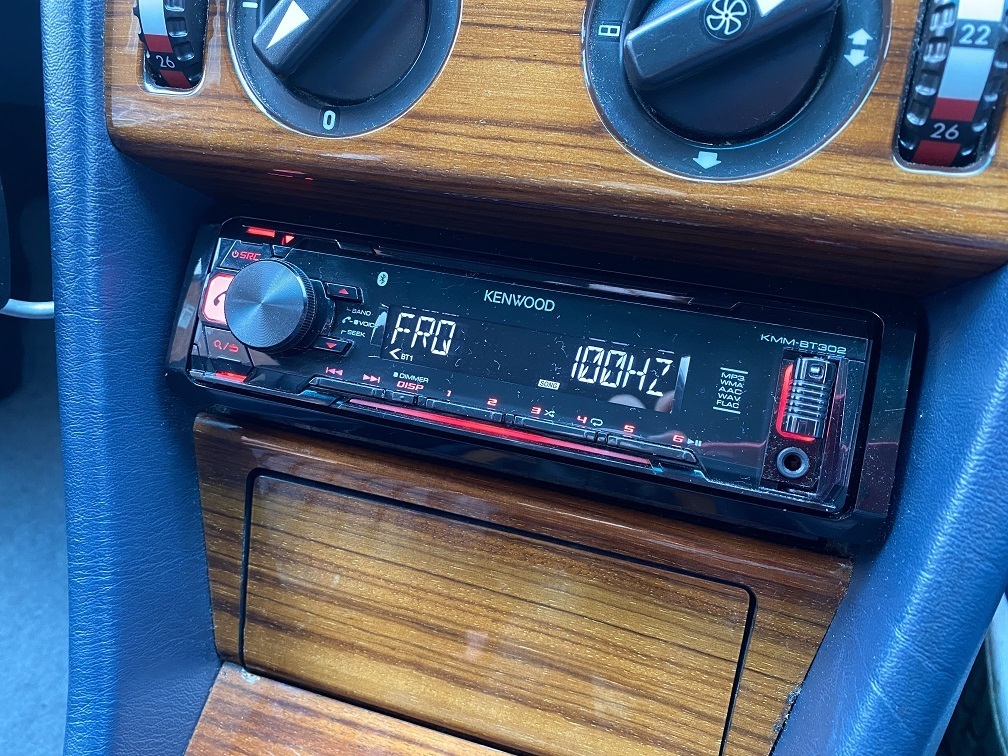 |
| |
|
|
|
|
|
|
|
In this overdue update I have very little to report. Neither the W123 nor the W124 has developed any faults and due to a recent holiday and bad weather both have been resting in their lairs. The W123 should not need any significant attention and I have no plans for any improvements or repairs. A few years ago I attempted to replace the W124's leaking cam cover gasket but failed when ECP supplied me with the wrong replacement gasket. I sealed the old gasket and oil stopped leaking from the front of the cam cover but there is still a dribble at the back, which has caused oil staining on top of the gearbox bellhousing. I intend to obtain the correct replacement gasket from my local Mercedes main dealer and the job properly asap. This summer, Covid rules permitting, I am planning on taking the W124 across Europe to Poland. My wife and (twelve year old) son would not enjoy the road trip so they would fly to Szczecin, where we would rendez vous and head to Kolobrzeg (coastal resort on the Baltic sea in Poland where I have property), spend a week there, then drive to Poznan to see my in-laws, then return to the UK a week later. In total, that's approx 2,000 miles from the UK and across France, Belgium, Holland, Germany and Poland, including the journey home. I've done this trip in my W123 twice before so it should be a walk in the park for the W124.  Before I go, here is a photo taken a couple of weeks ago, with the W124 parked outside a £20M mansion in Weybridge, Surrey. It looked happy there. 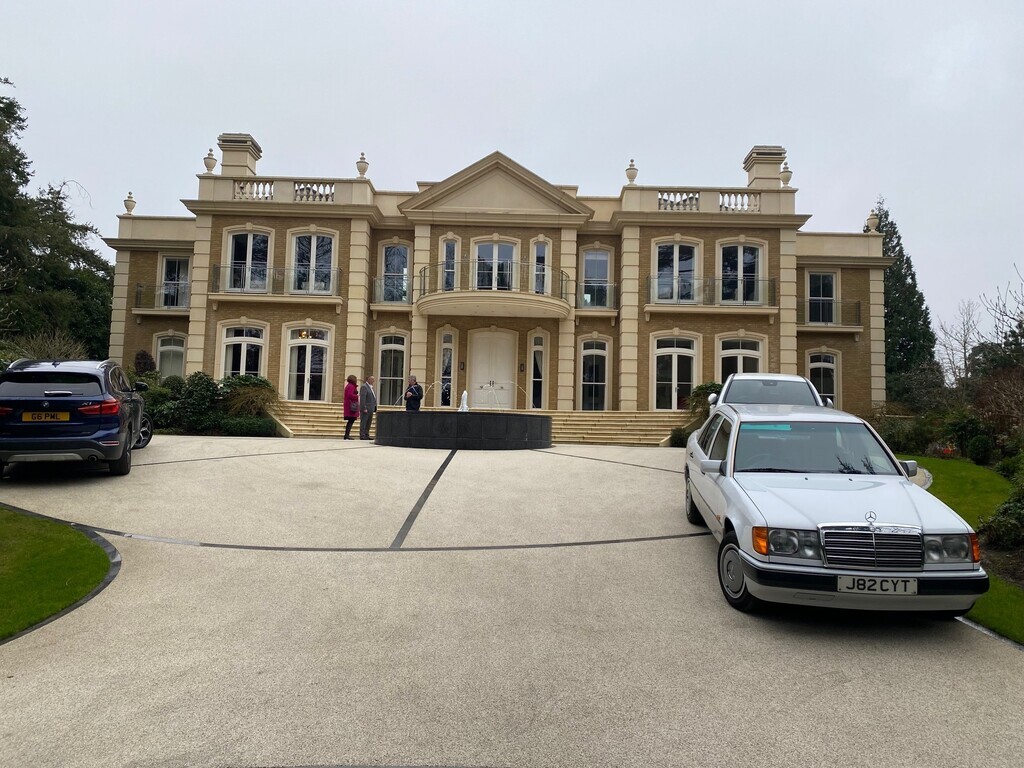 |
| |
Last Edit: Feb 6, 2022 7:13:34 GMT by Peter C
|
|
dandam
Part of things
 
Posts: 72 
|
|
|
|
|
Love the dash repair, looks perfect - my wife’s main skill when it comes to cars seems to be making them dirty !
|
| |
|
|
|
|
|
Feb 23, 2022 17:11:53 GMT
|
I popped into Hughes of Beaconsfield this afternoon, my local Mercedes main dealer. Hughes were once synonymous with W124s, especially the twin turbo 300E that they offered in collaboration with Turbo Technics. Those were the days! Nowadays they stock just boring modern stuff. My 200E really stood out in the car park. 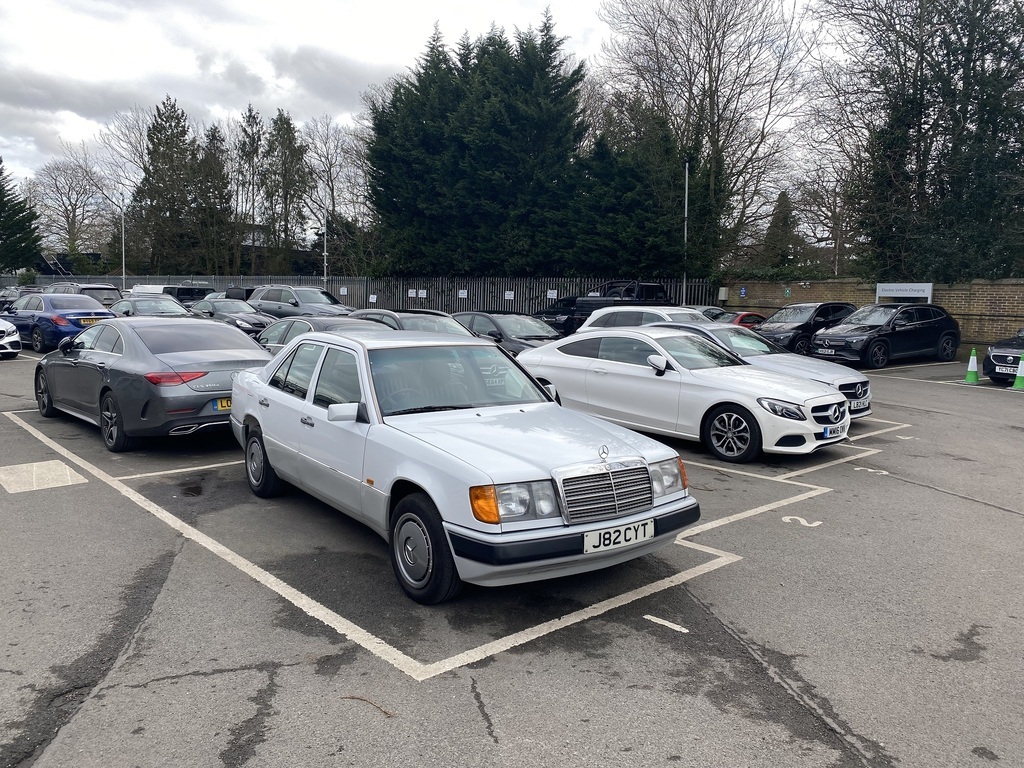 I ordered a new cam cover gasket, which will be ready for collection tomorrow lunchtime. Great service, as always. For added win points, the gasket only costs £12. I had £30-£40 in mind. 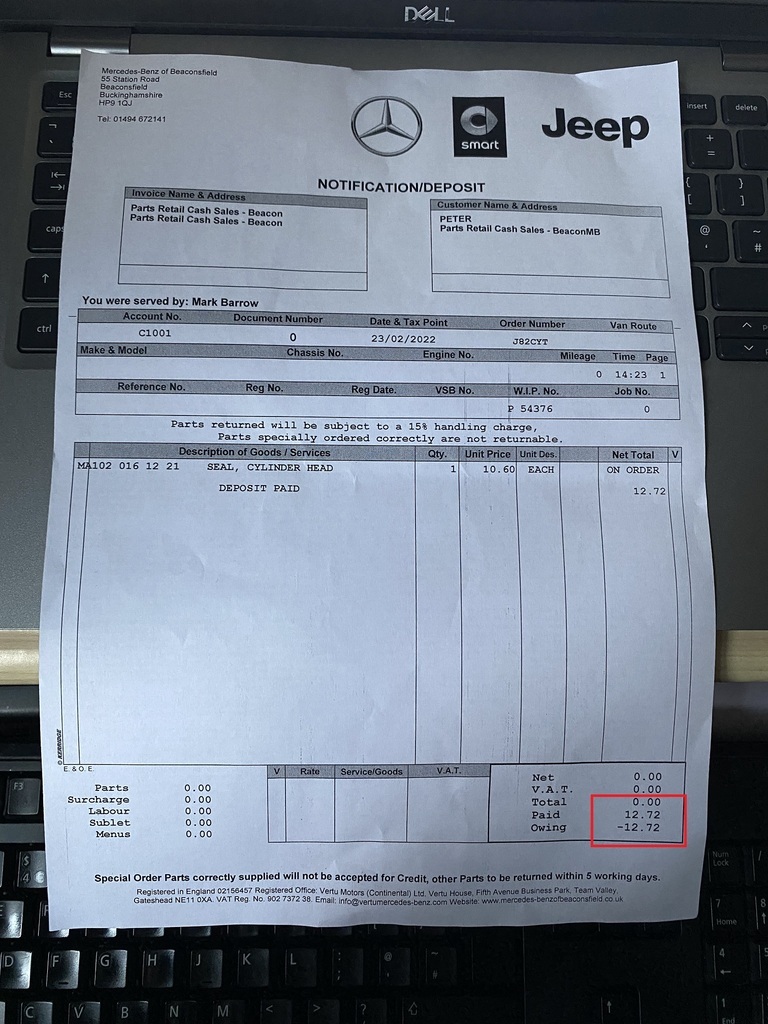 Having saved all that money, I stuck almost 52 litres of Tesco's finest 99 RON E5 petrol, which set me back £82. A full tank would be almost a hundred quid. Easy come easy go.  |
| |
|
|
|
|
|
Feb 24, 2022 16:59:33 GMT
|
As my wife was in Beaconsfield New Town this afternoon, I asked her to collect the cam cover gasket. Looking good! Hopefully I will get the chance to replace the leaking cam cover gasket this weekend. 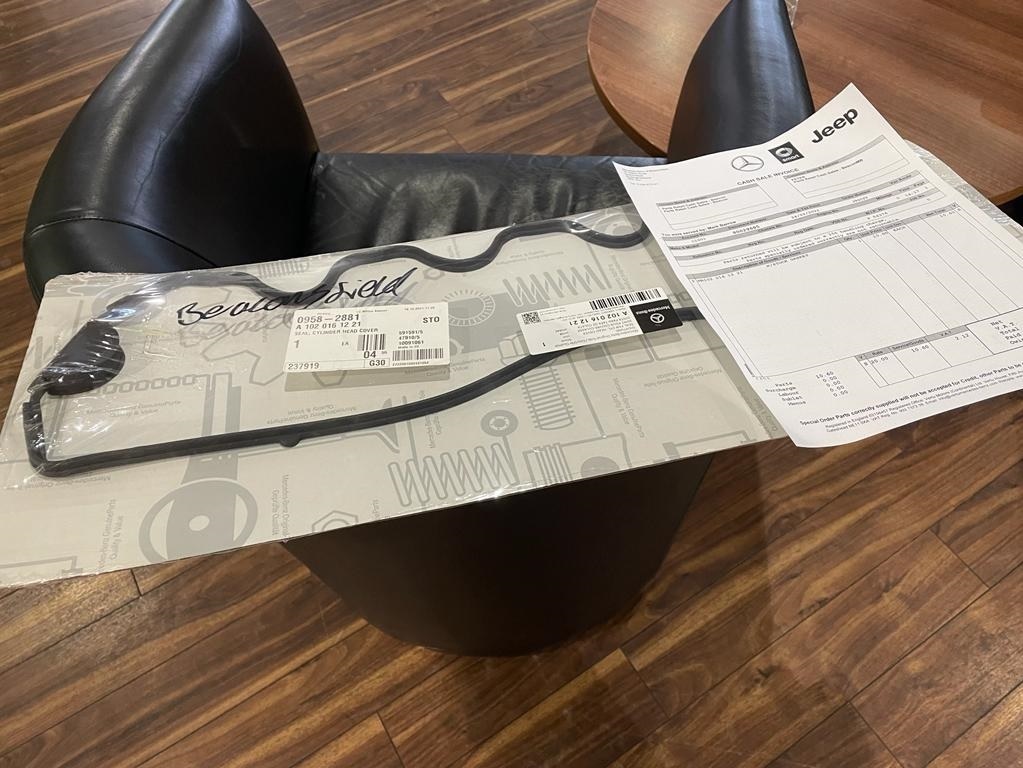 And because she knows someone who works for Hughes, they gave her filthy car a full wash and vac. Win!  |
| |
|
|
|
|
|
Feb 25, 2022 12:51:30 GMT
|
The old cam cover gasket has been leaking from the front and rear parts of the cylinder head. I managed to fix the leak along the front with sealant but despite doing the same along the rear end, the leak persisted. 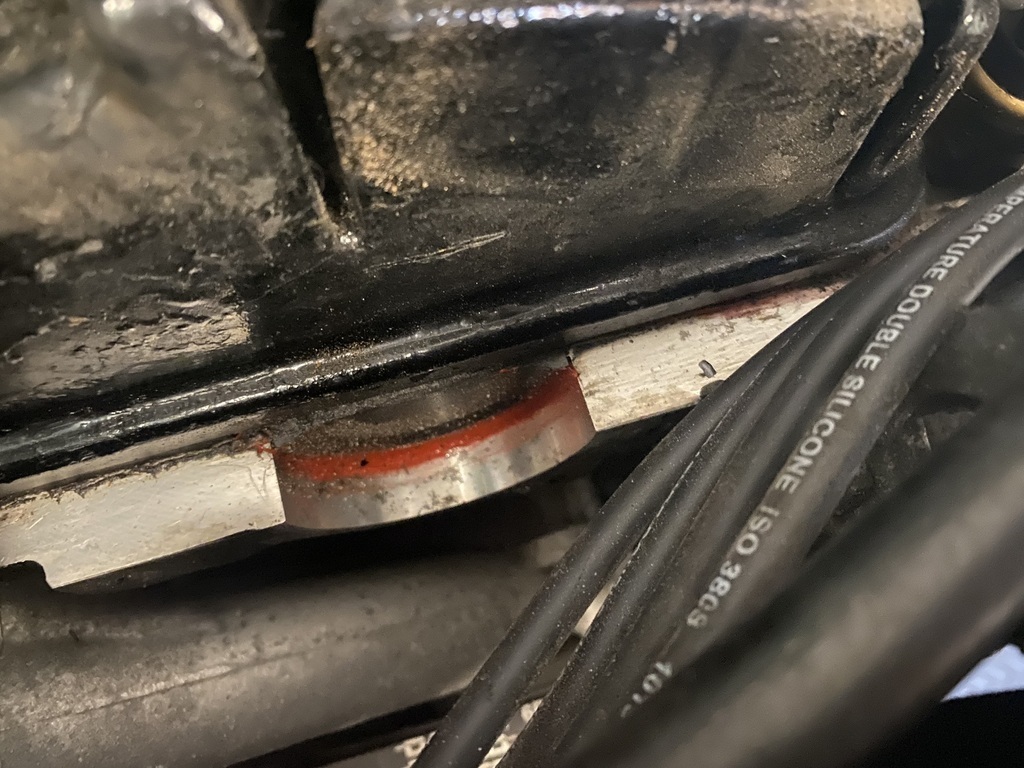 The cam cover is only secured with 5 nuts and came off easily enough. Unfortunately, a breather pipe split during the process. I am not too concerned about this as the pipe had become hard and brittle and was not sealing properly around the cam cover and air filter housing ports, causing oil misting. I will pop over to Hughes later today and get a replacement. 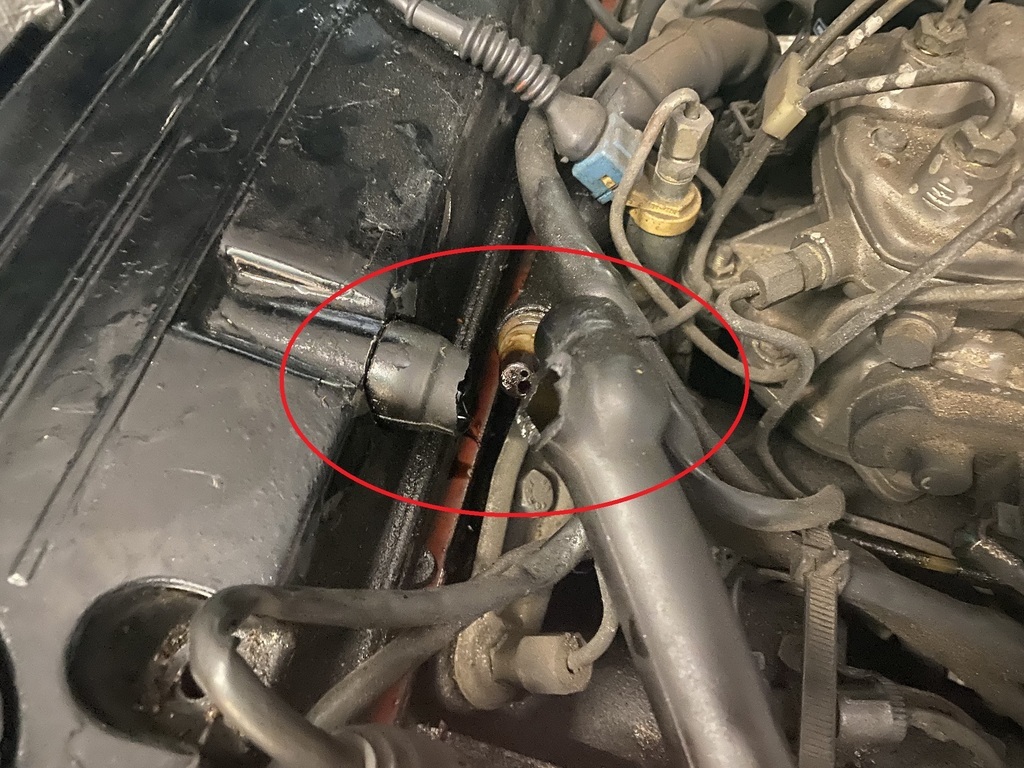 When ECP gave me the wrong gasket, I ended up re-fitting the old one. I used a bit of sealant to give the old gasket a fighting chance of keeping the oil in, much to the disapproval of various experts (from another forum), who suggested that the squished out bits of sealant will end up blocking the oil ways. Turns out they were wrong as I have not had any issues with oil starvation / deprivation and the squished out bits of sealant were still attached to the perimeter of the cylinder head. The old sealant bits came away very easily. 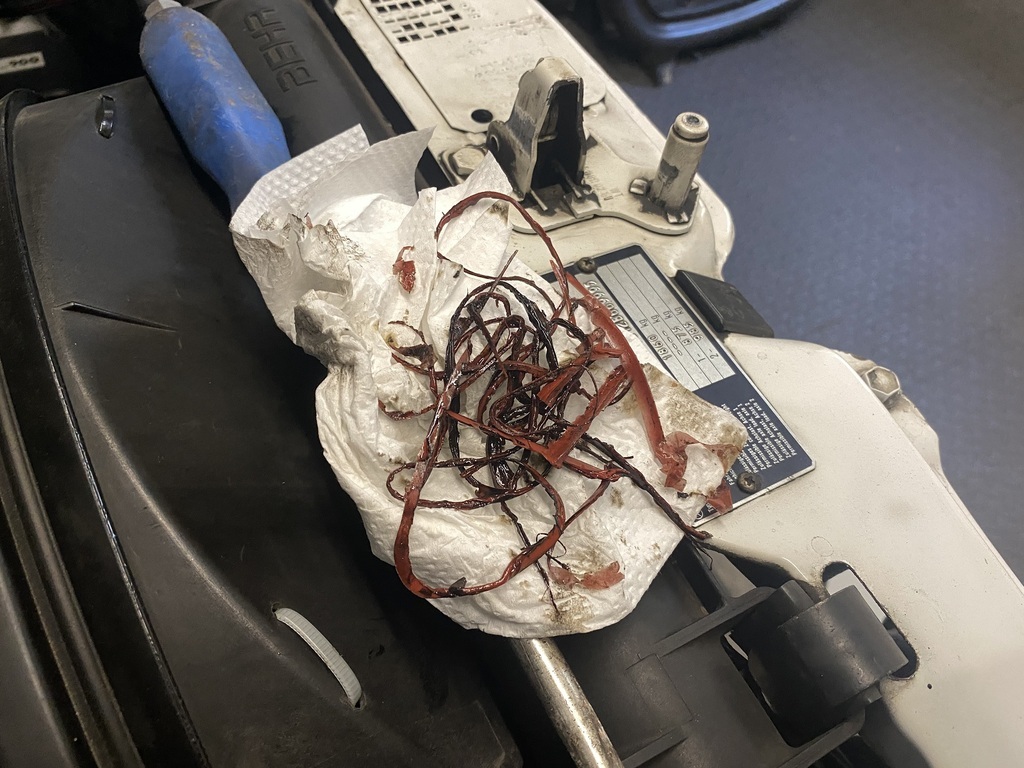 The valve gear and timing chain all look good. 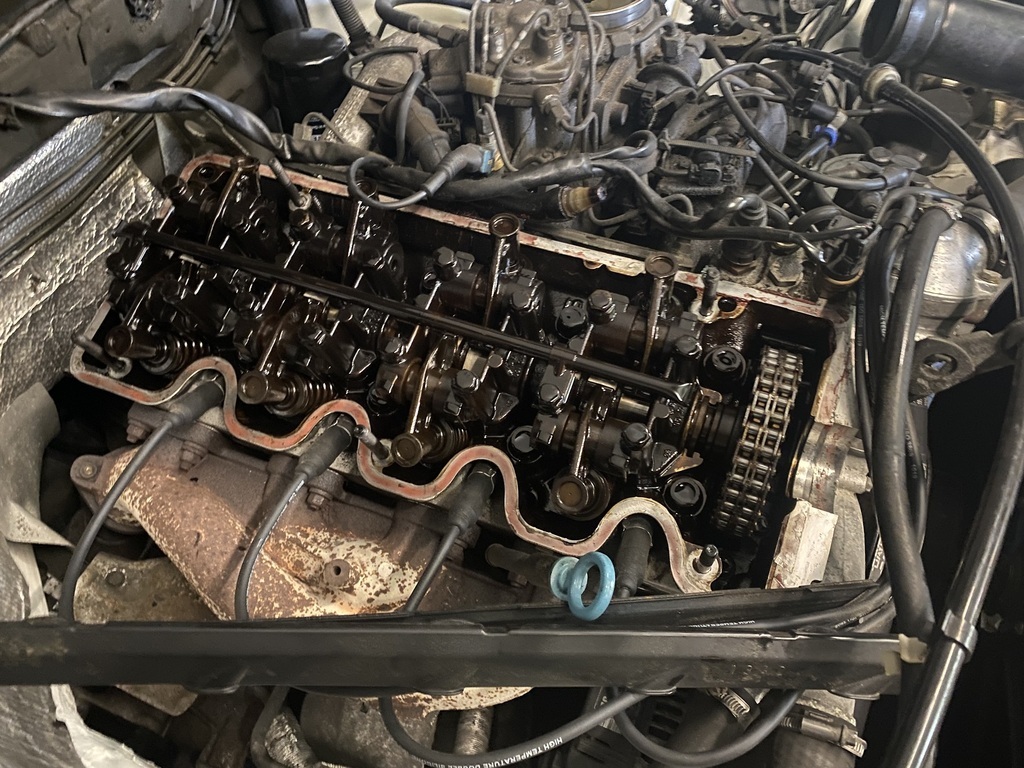 The new gasket went on without any problems - benefit of buying genuine MB parts! 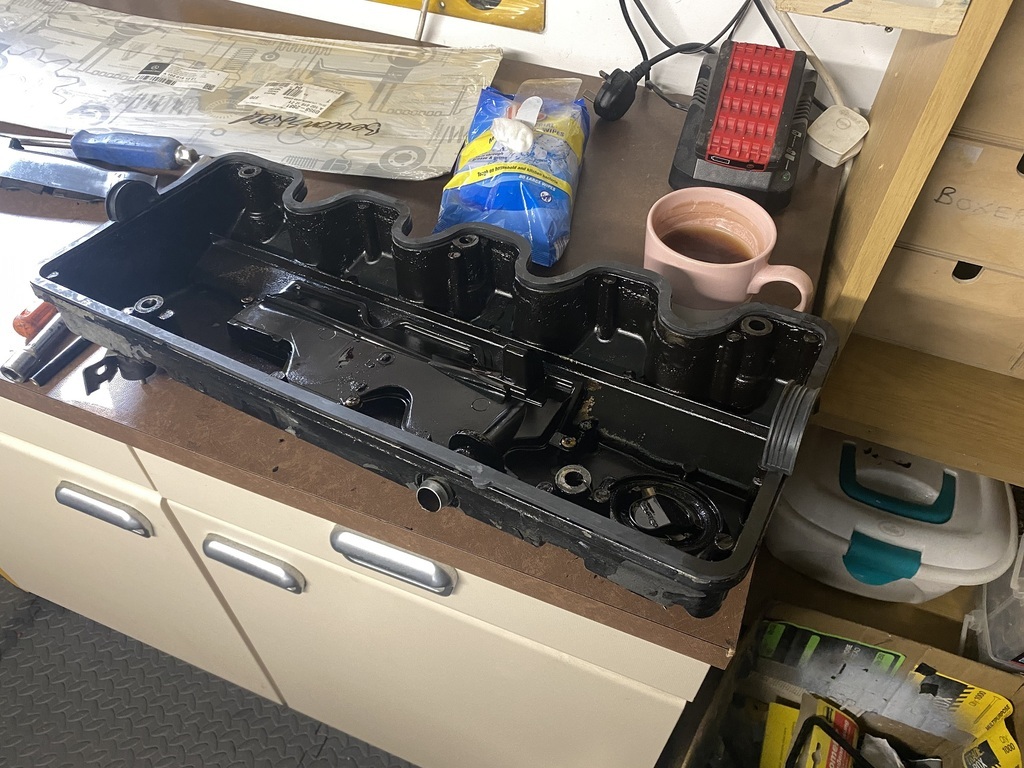 I re-assembled the cam cover, ready to receive the new breather hose. 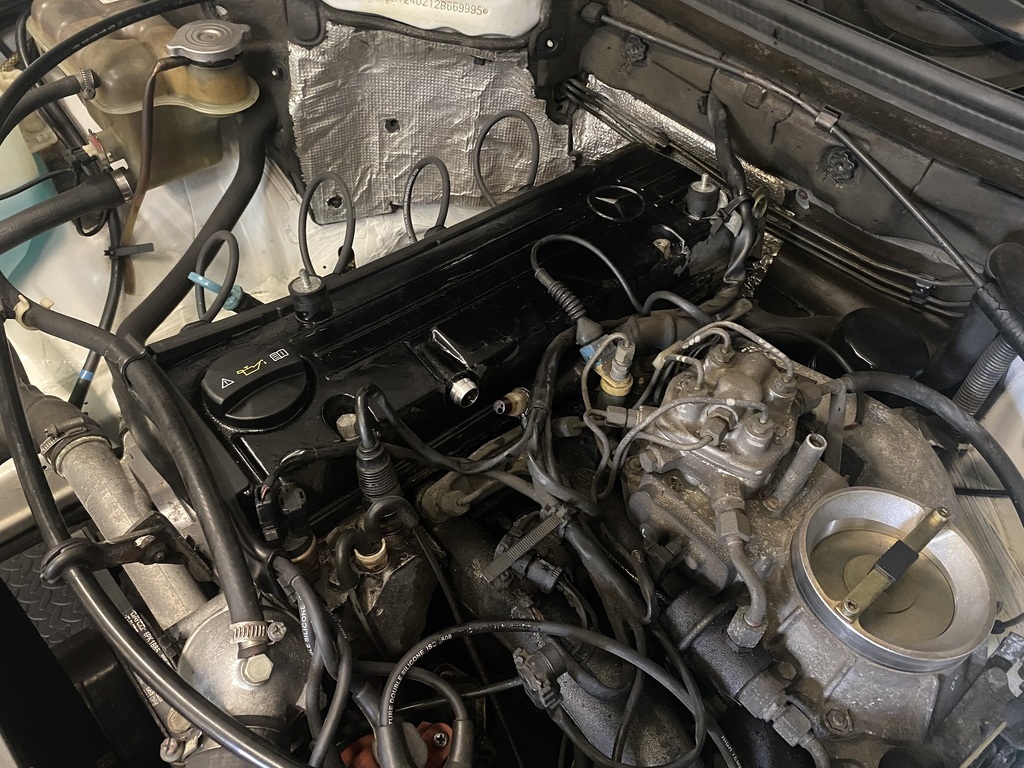 This photo is to remind me where I've left the two nuts that secure the air filter housing to the cam cover. 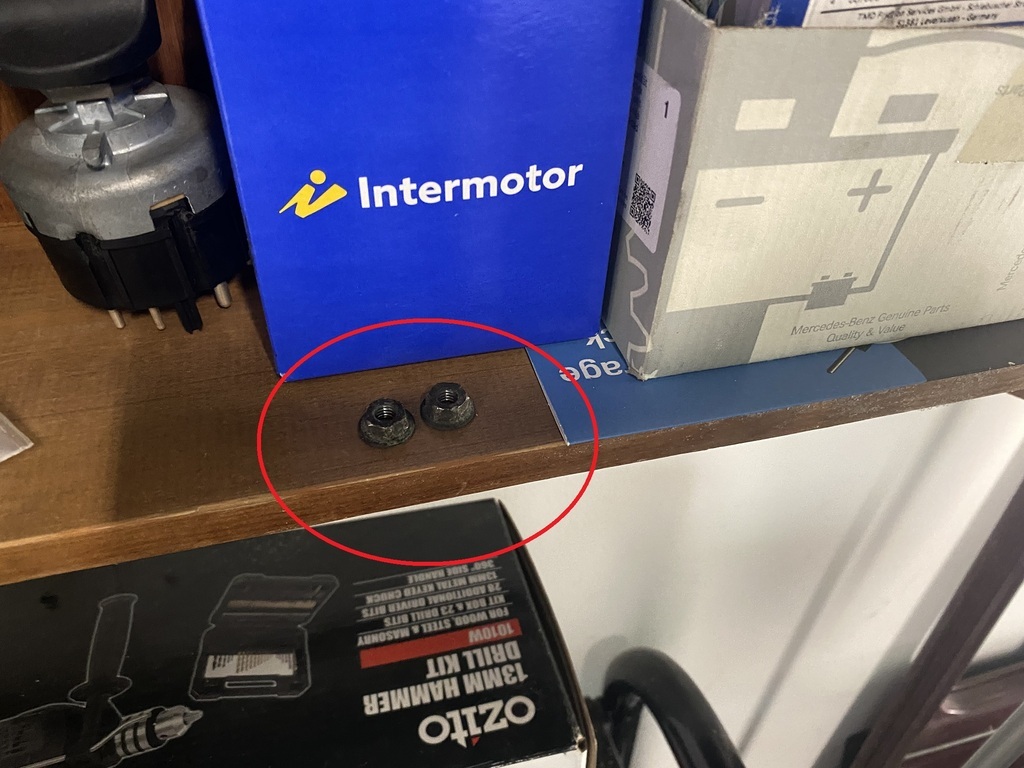 And finally, I've lifted the front of the car, to enable me to re-spray the suspension springs, which have a bit of surface corrosion, which the MoT tester picked up on last year. 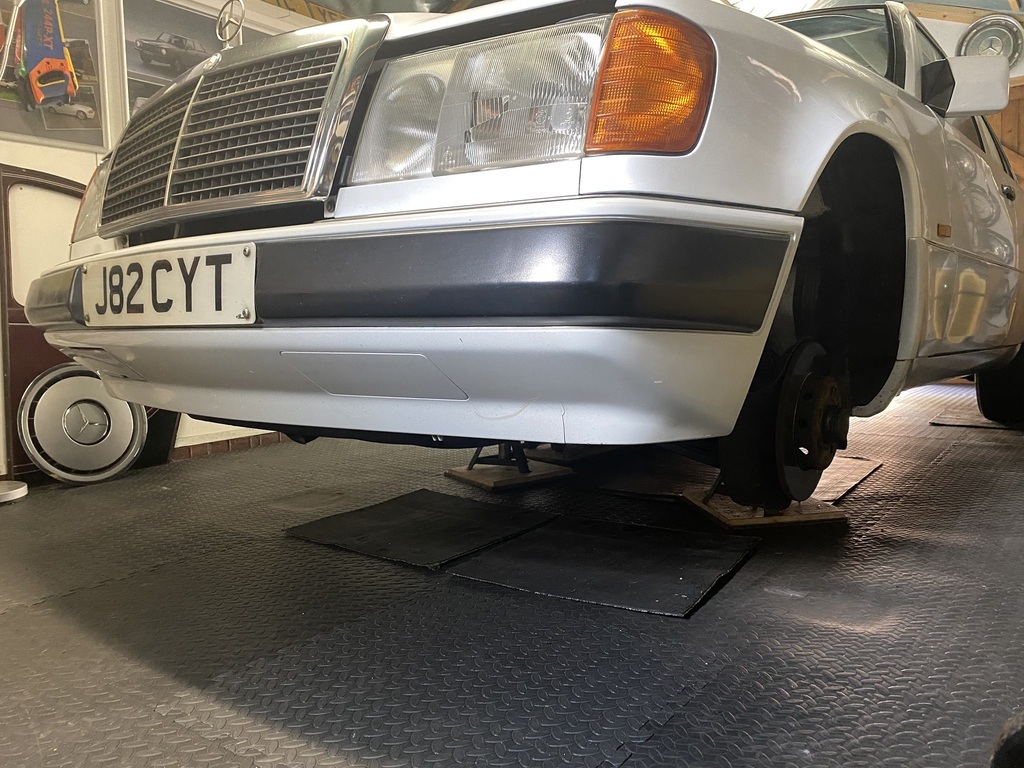 |
| |
|
|
|
|
|
|
|
|
|
I take back what I said about Hughes of Beaconsfield only dealing with mundane moderns. There was a six wheel G-Wagen monster parked in their car park yesterday afternoon, when I popped in to buy a new breather hose. My Mini Cooper looked tiny compared to the giant Mercedes. 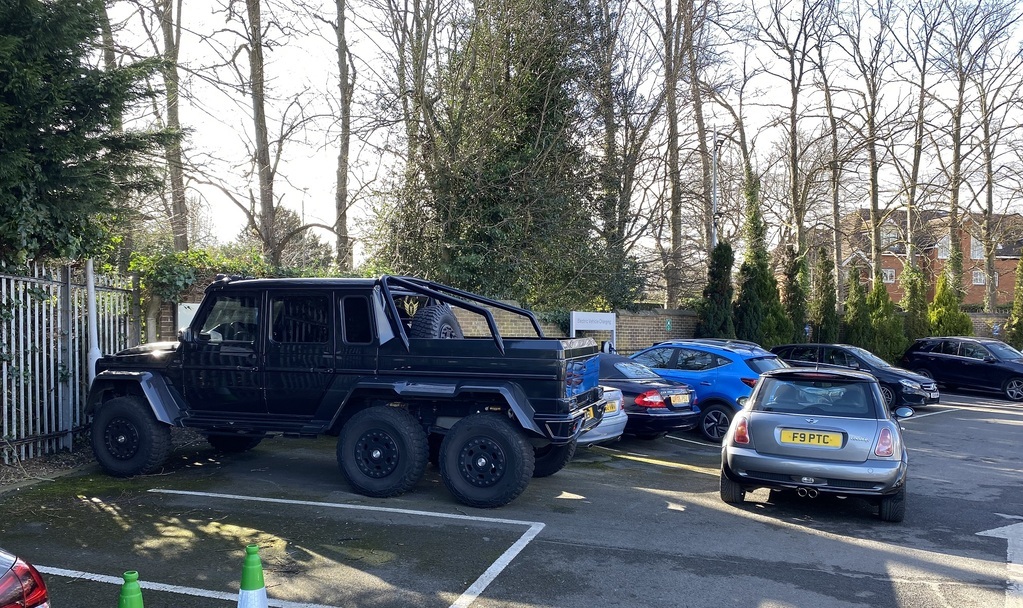 |
| |
Last Edit: Feb 26, 2022 8:54:26 GMT by Peter C
|
|
|
|
|
Feb 27, 2022 17:17:23 GMT
|
WARNING: UNDER NO CIRCUMSTANCES SHOULD YOU ATTEMPT TO DO WHAT I DID TODAY. IT WAS DANGEROUS AND POINTLESS.I lifted the front of the W124 and supported it on axle stands, located under the front chassis rails. Nice and solid. And safe! Unfortunately, unless you want to lift the rear of a W124 by placing the jack under the differential, which I do not, there is no easy way of raising the car with a trolley jack (placed under the jacking points) because there is nowhere to put axle stands. I ended up lifting the offside rear with the standard jack borrowed from my W123 and the nearside with the W124's jack. The nearside went up ok. 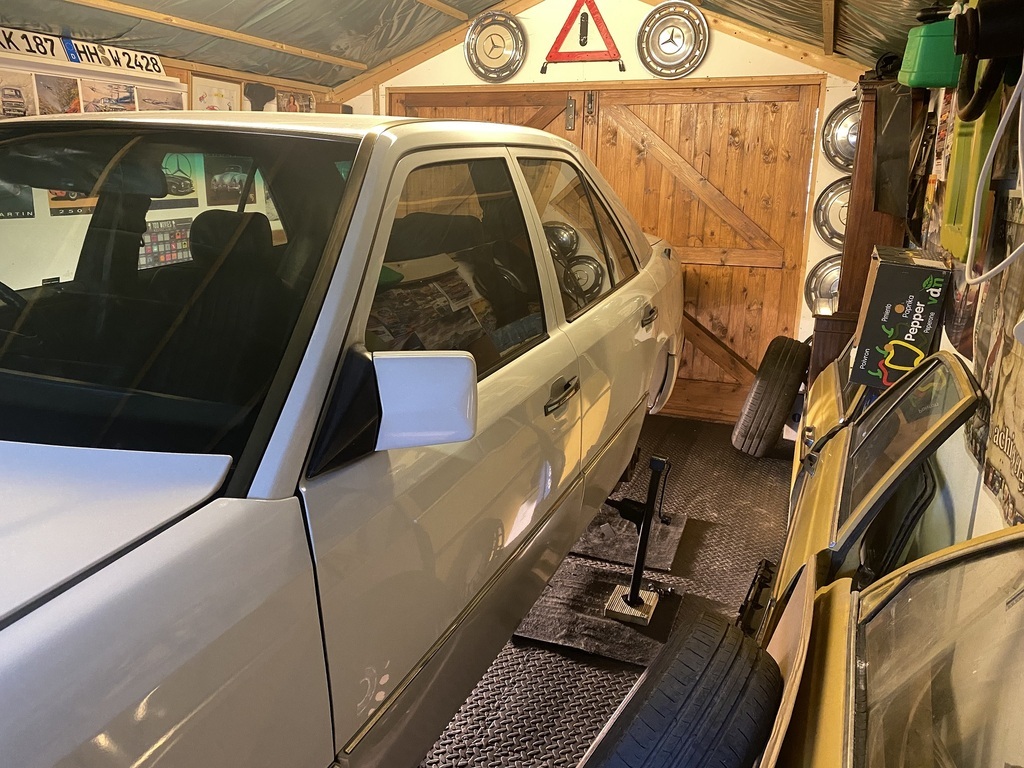 But the jack on the offside wouldn't stand vertical and the rear of the car, whilst stable, could be moved from side to side with one finger, which was far from ideal. 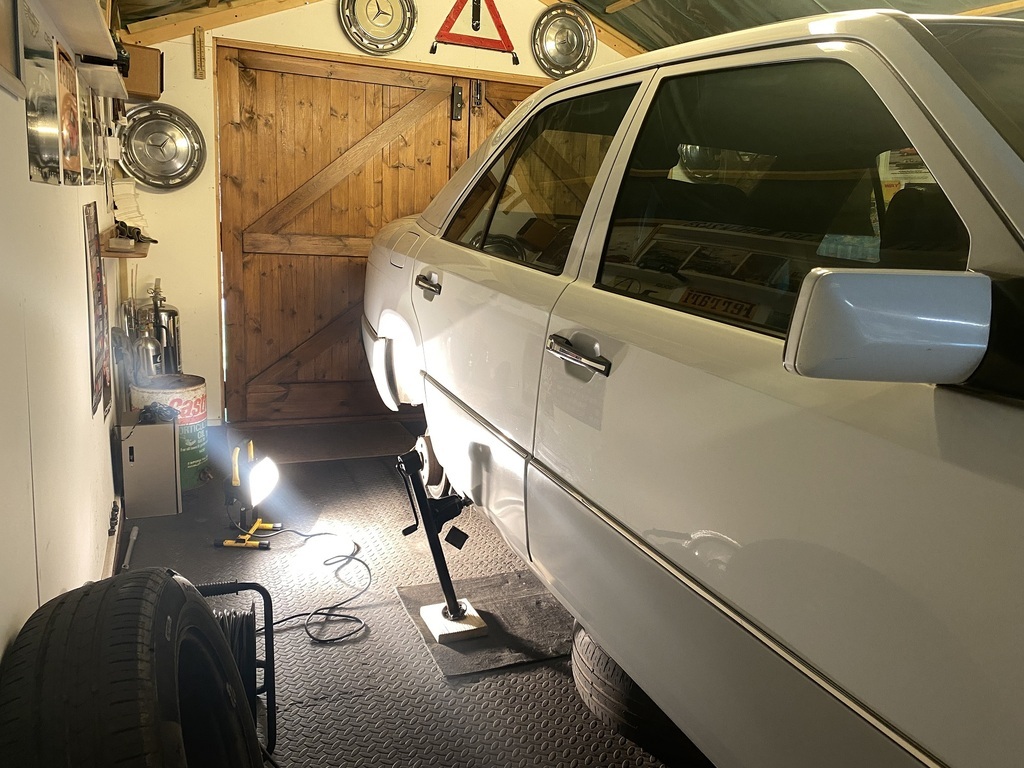 I decided to crack on but ensured that at no point was any part of the head, torso or legs under the car. The rear springs were quite rusty. 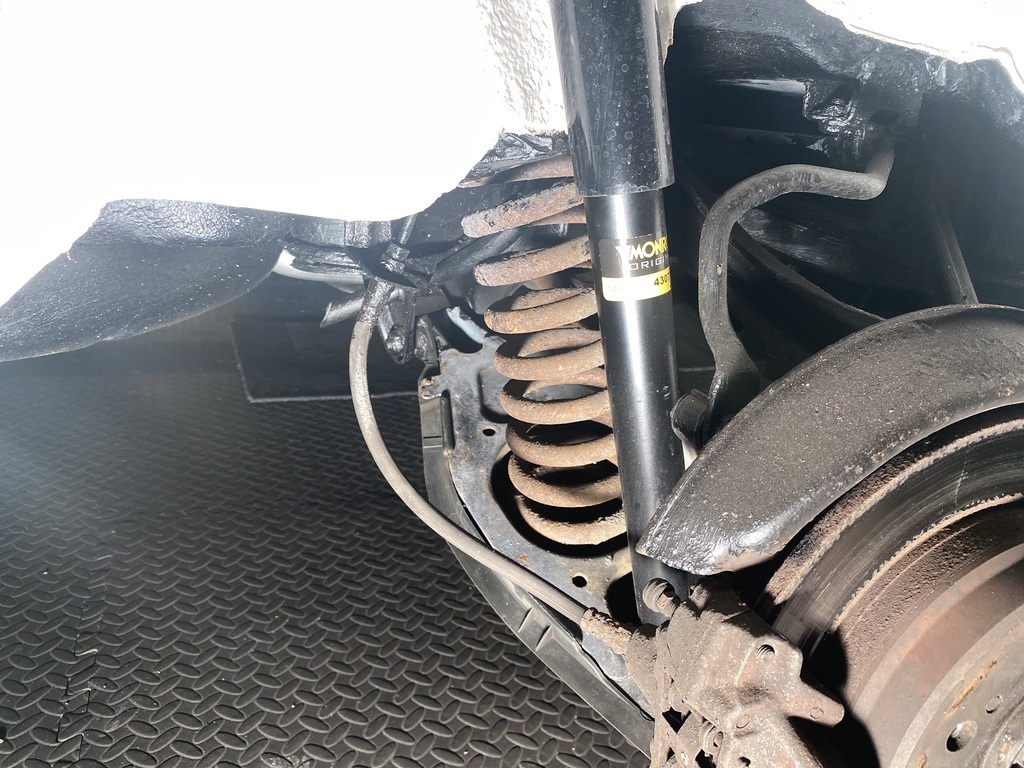 I rubbed the spring down with sandpaper and gave it a squirt of black Hammerite. 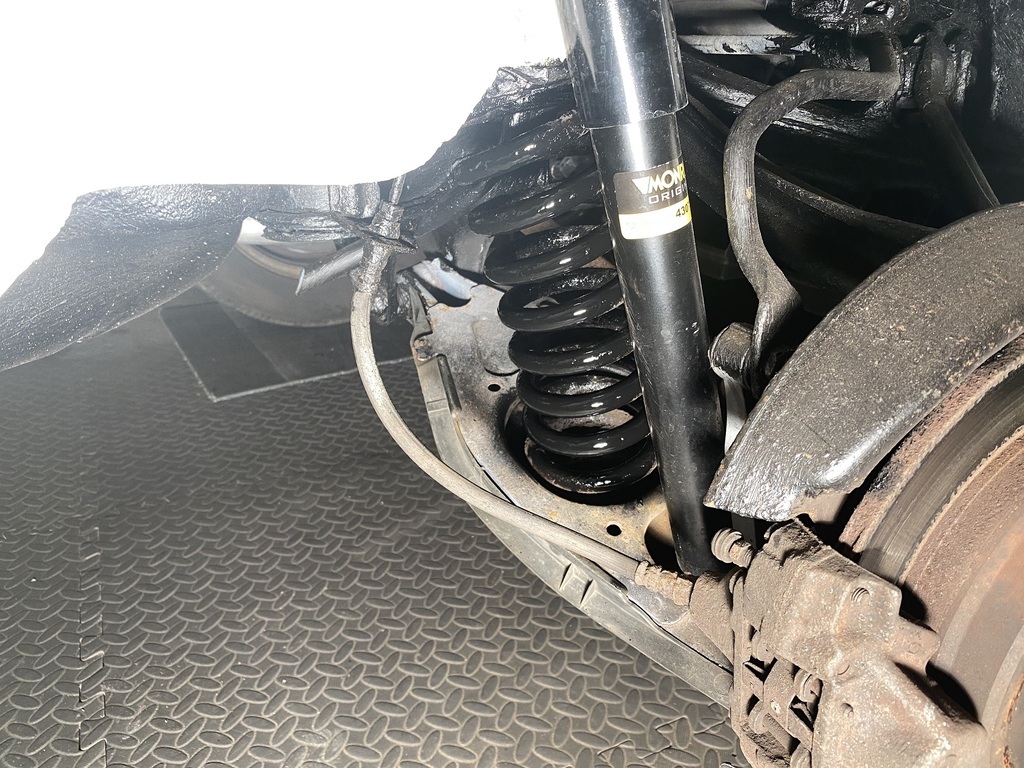 I did the same on the other side and immediately put the rear wheels back on. If the jacks were to fail, at least the car wouldn't have far to drop. 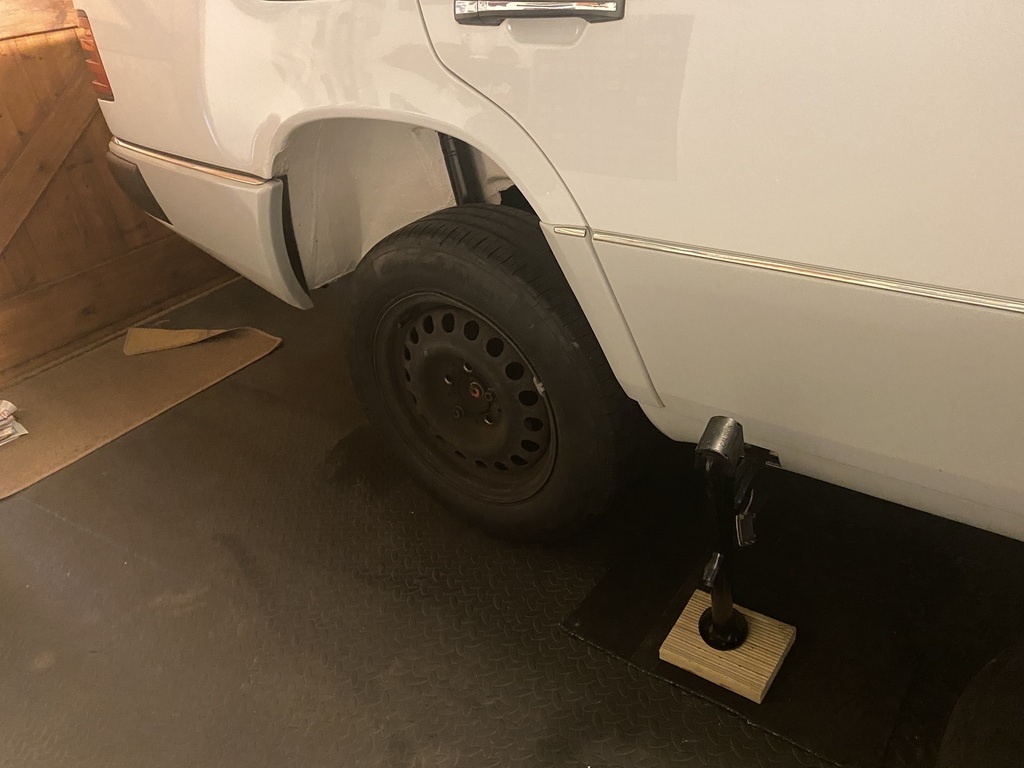 The front springs were less rusty but far from pretty. 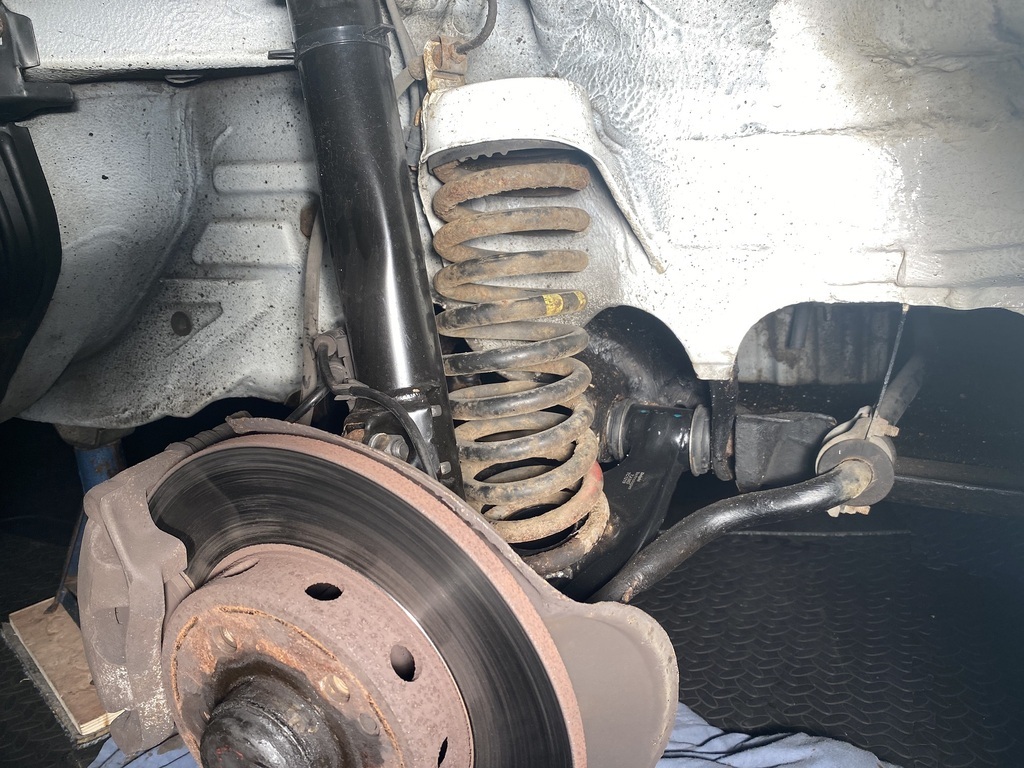 The same procedure later, the springs looked a lot better. 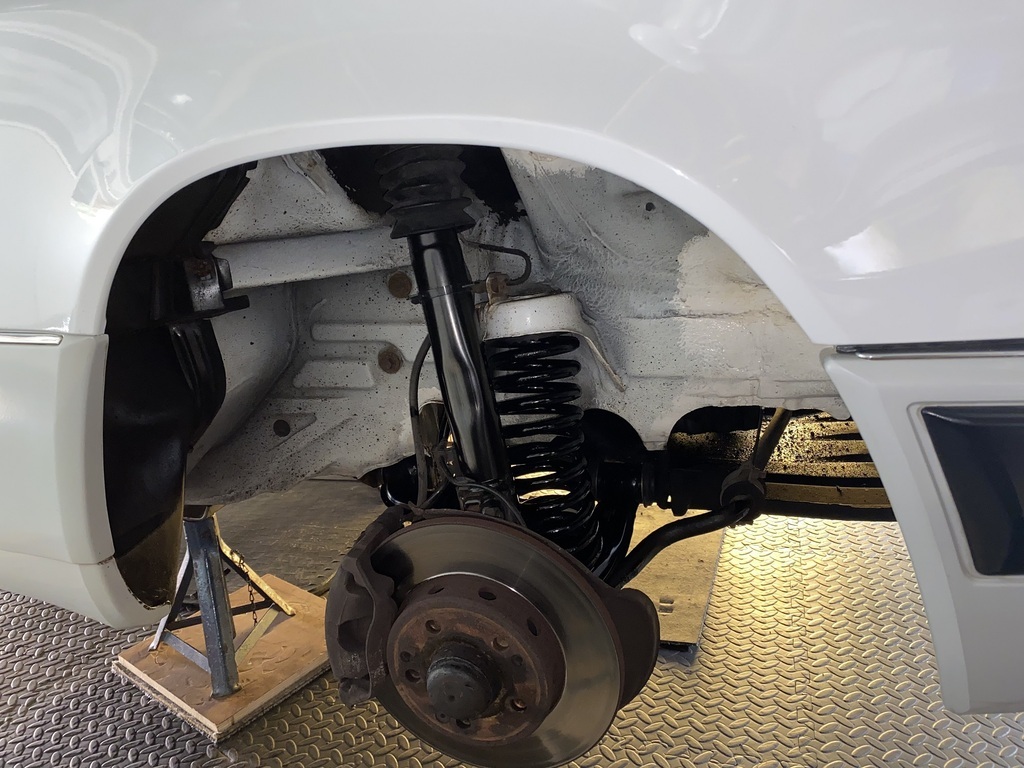 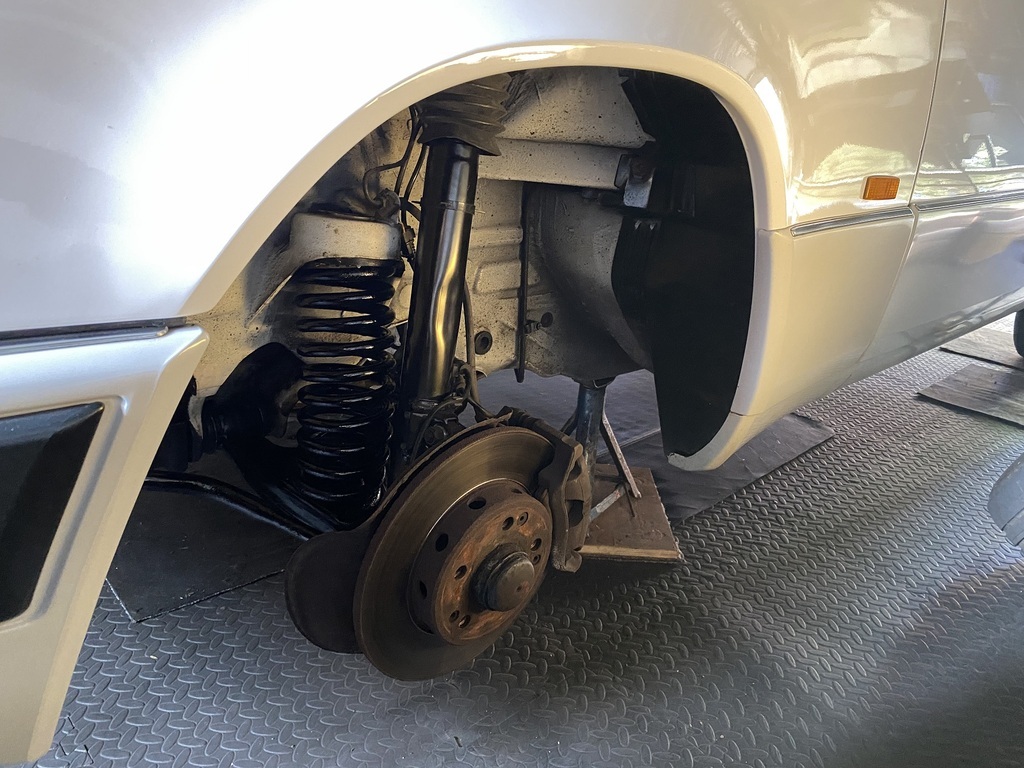 I was pleased with the results of my tinkering but disappointment was only around the corner. In the adjoining garage, actually. I didn't think to check the condition of the W123's springs, which I re-sprayed in the same way last year, before starting work on the W124 and I wish I did. Seems that Hammerite is not flexible enough to adhere to suspension springs for long. 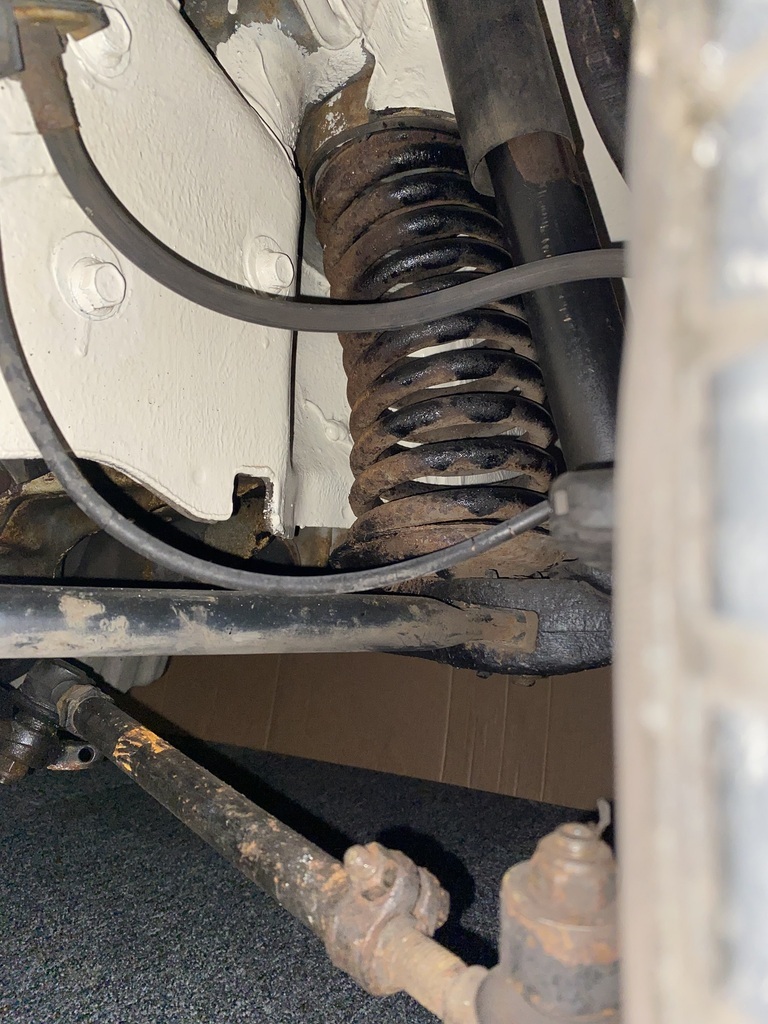 It looks like I will have to repeat this process once a year, before the MoT, to keep the tester happy. Or replace the springs, which would cost ££££. I am proposing to leave the W124 jacked up for a week, to enable the Hammerite to cure, not that I am expecting much from my efforts. A quick check under the back of the W124 revealed that all is well. 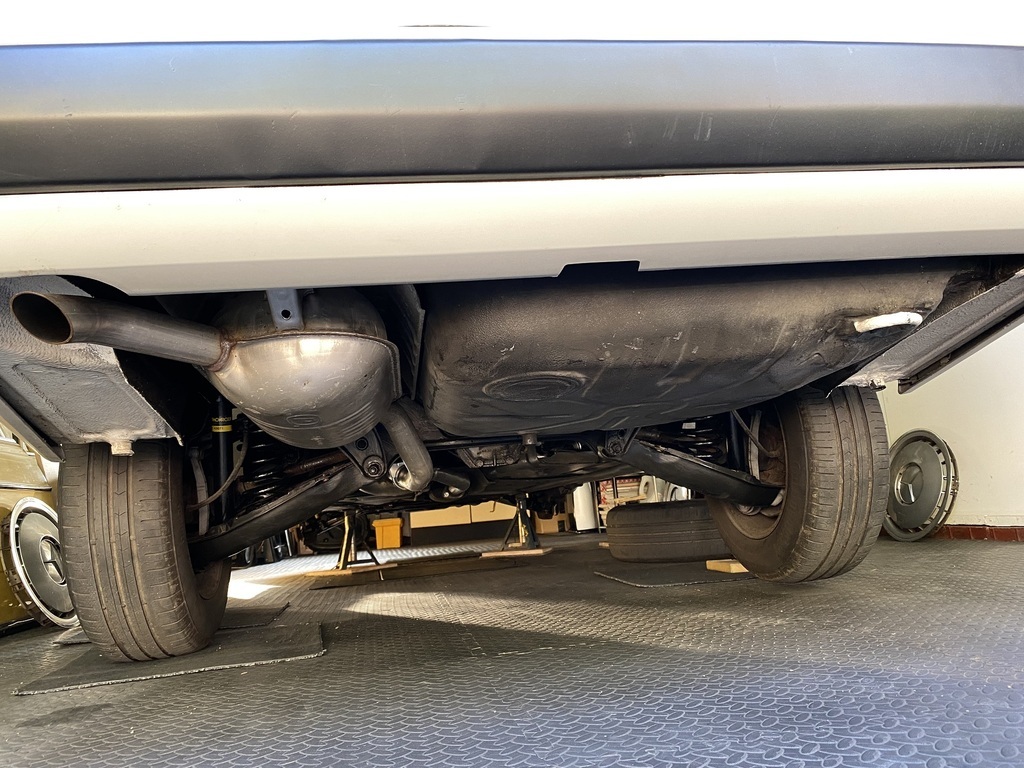 The MoT is due week after next. Wish me luck.
|
| |
Last Edit: Feb 27, 2022 17:17:47 GMT by Peter C
|
|
|
|
|
|
|
I picked up the replacement breather hose from Hughes yesterday and fitted it this morning. All good, nice and easy. The replacement pipe fits better, tighter, around the ports so hopefully it will do a better job of keeping oil mist in. 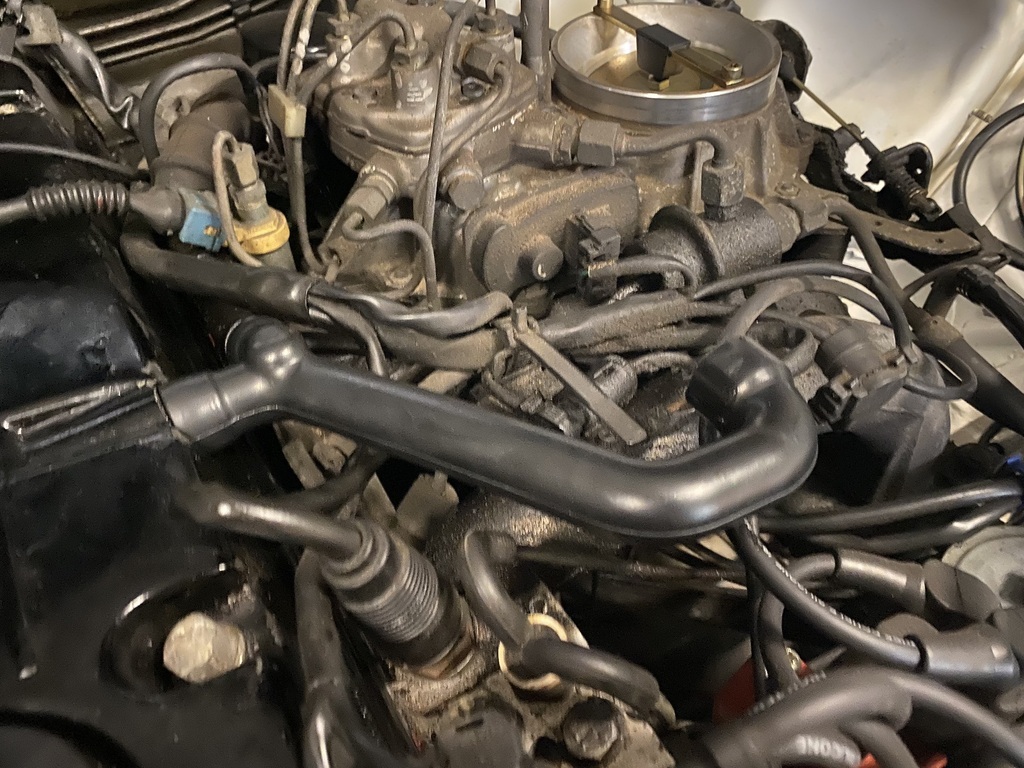 Taking great care, I got the W124 off the jacks and axle stands and reversed it out of the garage. I cleaned the windows with glass cleaner and noted that residue from Hammerite spray has left the surface of the glass very rough. I ended up polishing all the glass with T-Cut. 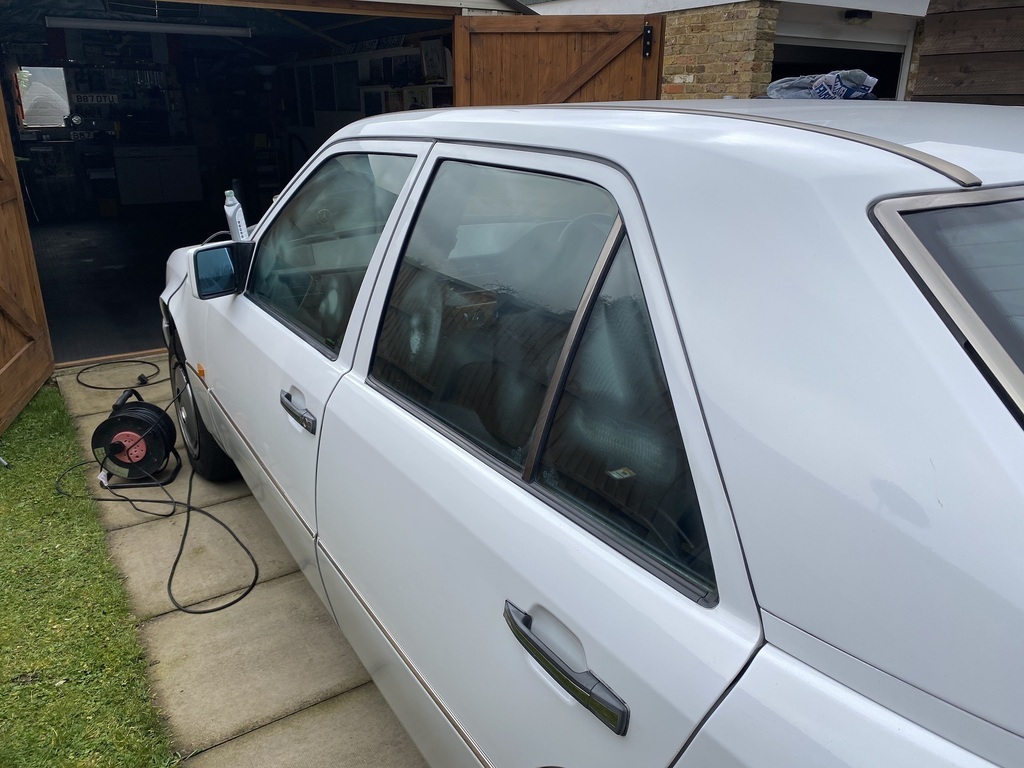 This is how much paint residue came off the front, side and rear windows. 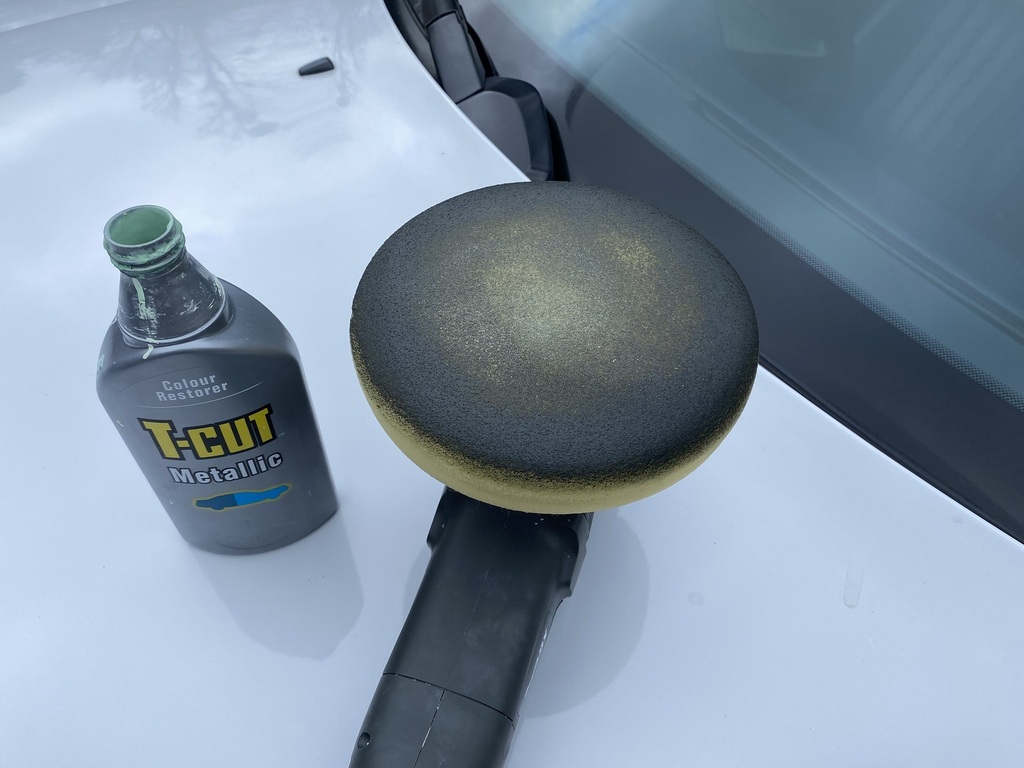 The paintwork has no doubt suffered just as bad but it's too cold to wash and polish a car today. I will do it as soon as the weather improves. With the W124 out of the workshop, I gave the floor a good clean with my wife's best Vileda mop. That was good for my OCD. 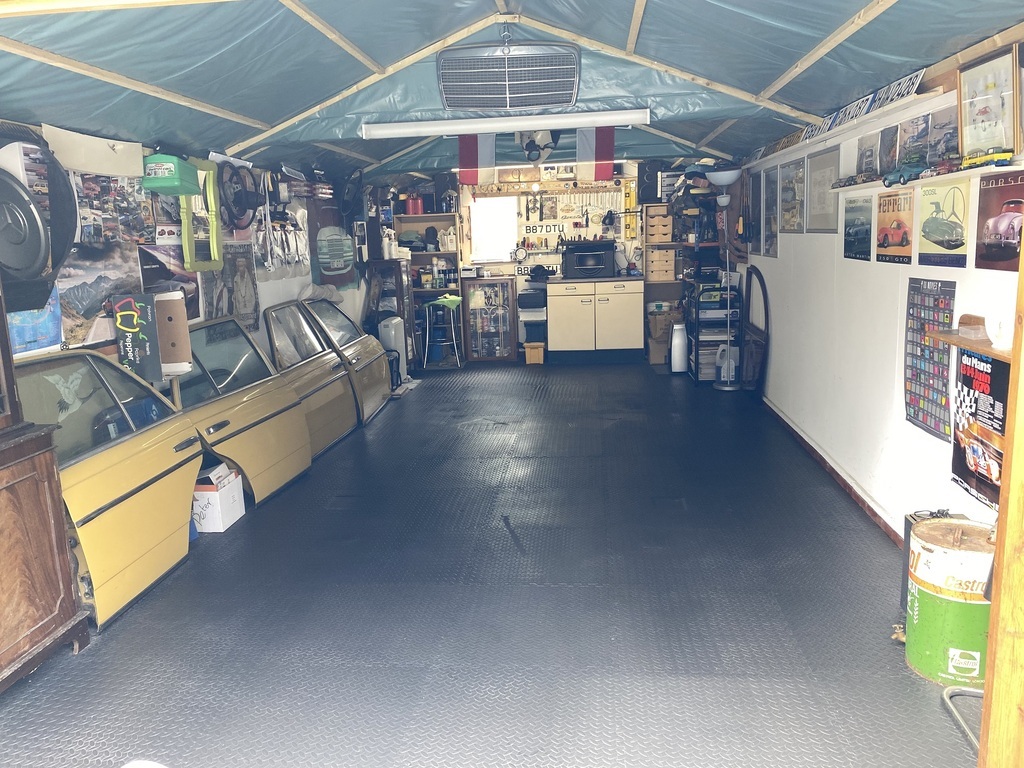 The W124 is booked for an MoT on Friday morning. |
| |
|
|
|
|
|
Mar 11, 2022 16:54:59 GMT
|
The 200E outside my house this morning, looking pretty, ready and waiting for its trip to London. 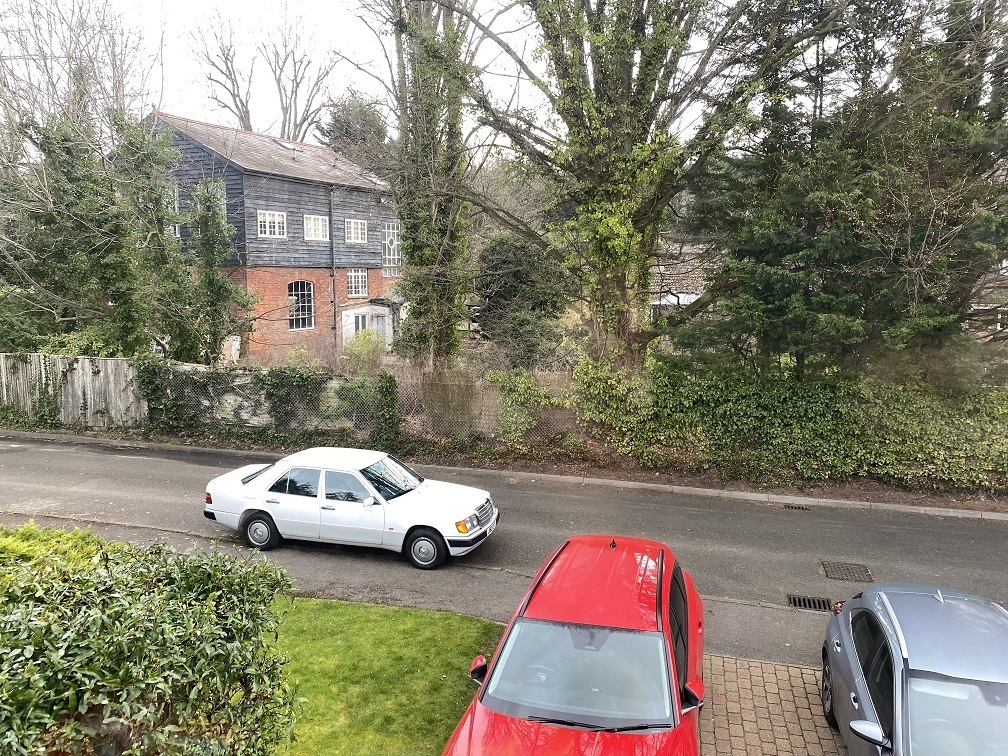 I only use tried and tested MoT testers. These guys are good. 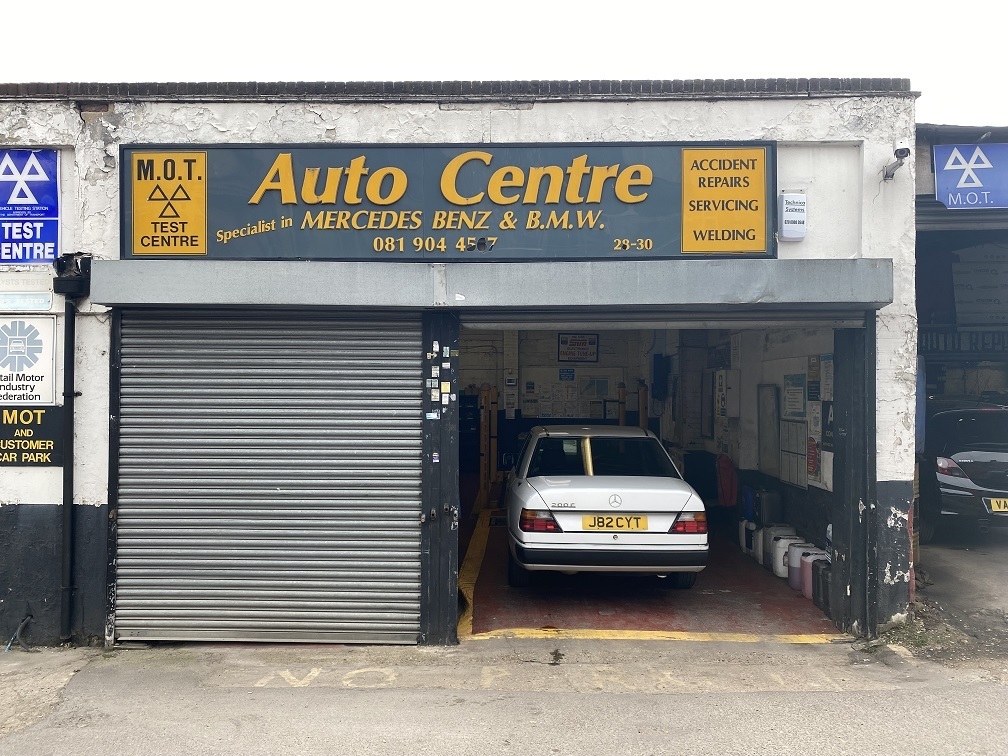 Not sure if the 200E likes heights. The tester commented how clean the underside is. 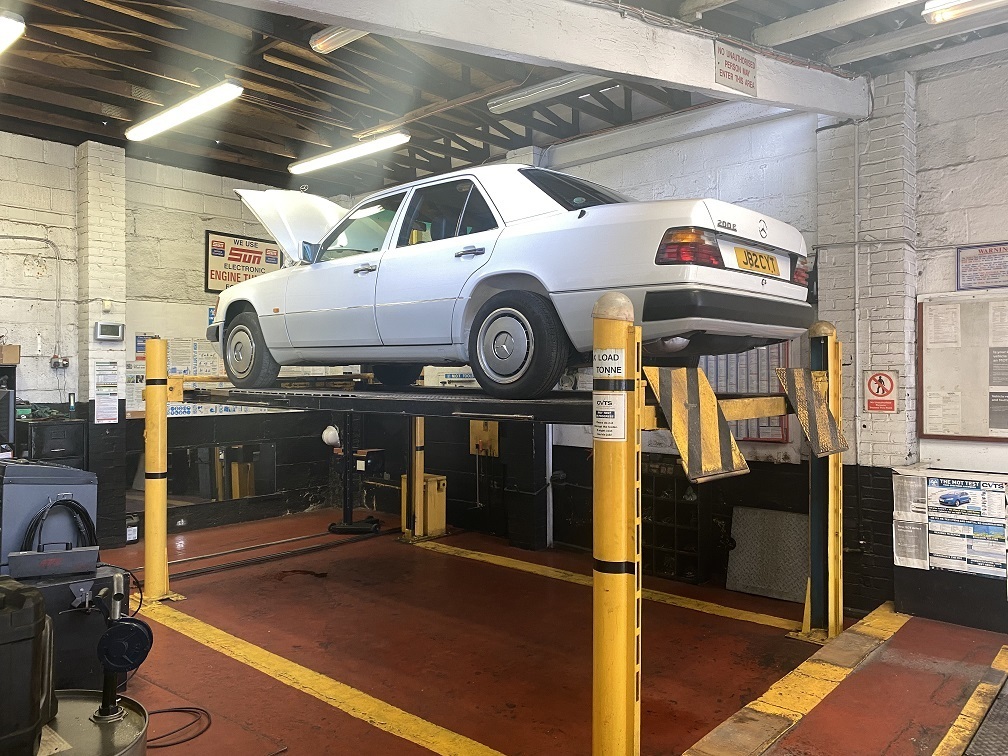 And we have a clean pass. Great result. 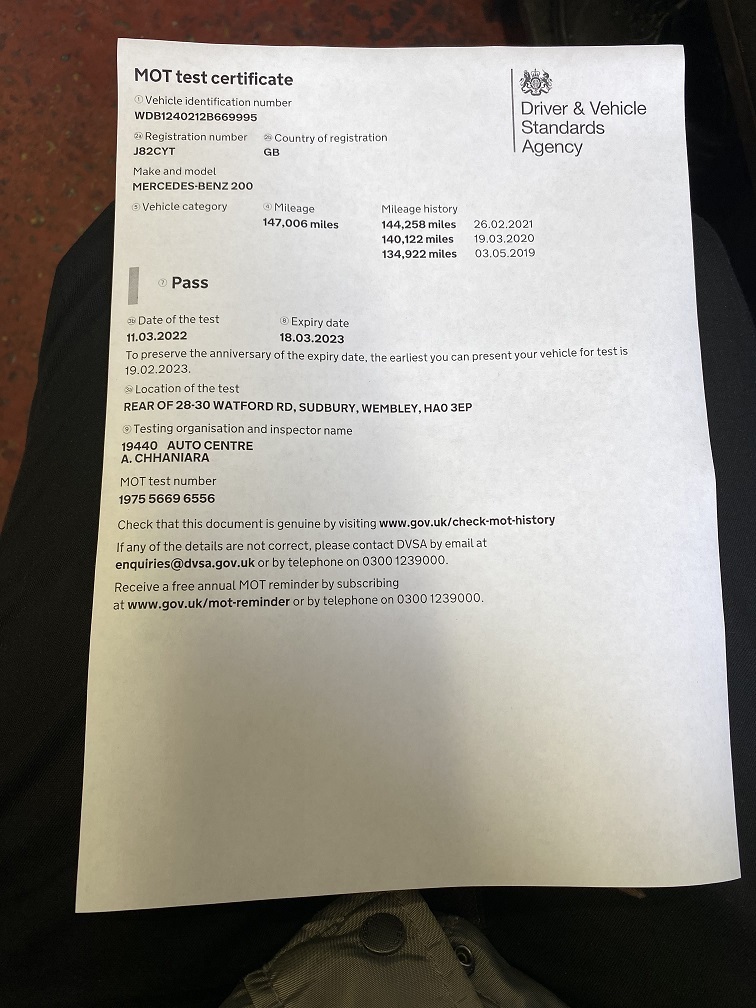 |
| |
|
|
|
|
|
Mar 19, 2022 17:10:46 GMT
|
Nothing exciting to report, just a few photos from today's road trip in the W123. I fancied a drive and a coffee, so I set off on a cruise up the A413. The weather was glorious but the roads in my neck of the woods need a lot of repairs. There are potholes everywhere. 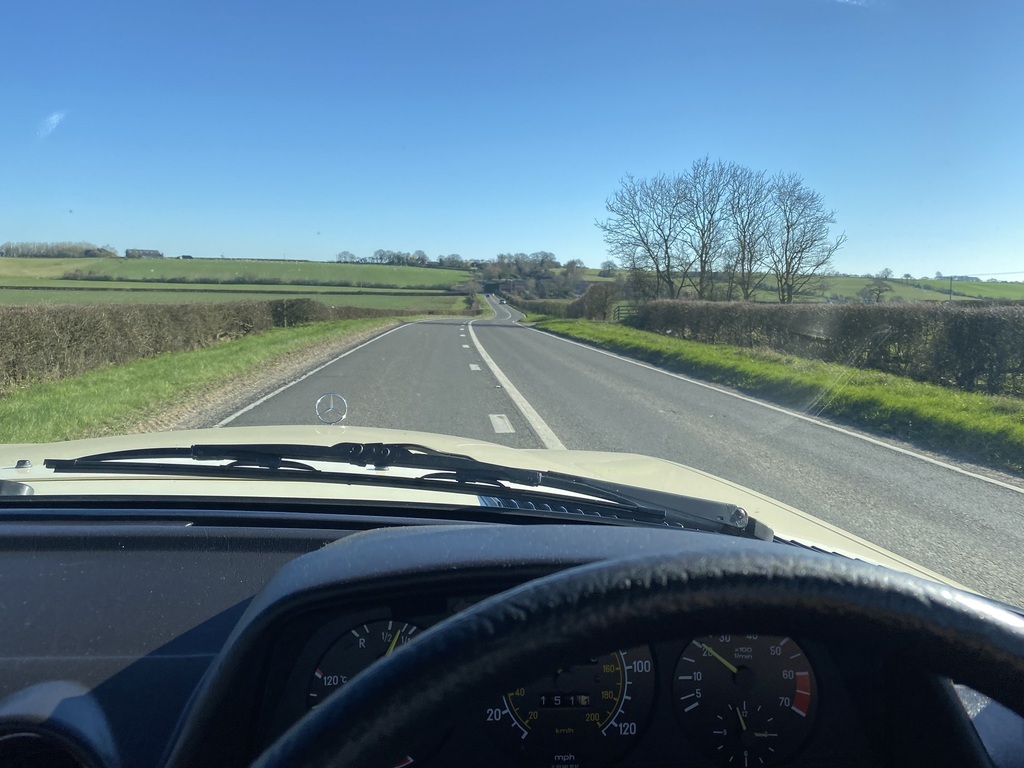 Ultimate in convenience, drive-thru Costa Coffee. I ended up in Buckingham, 39 miles from home. 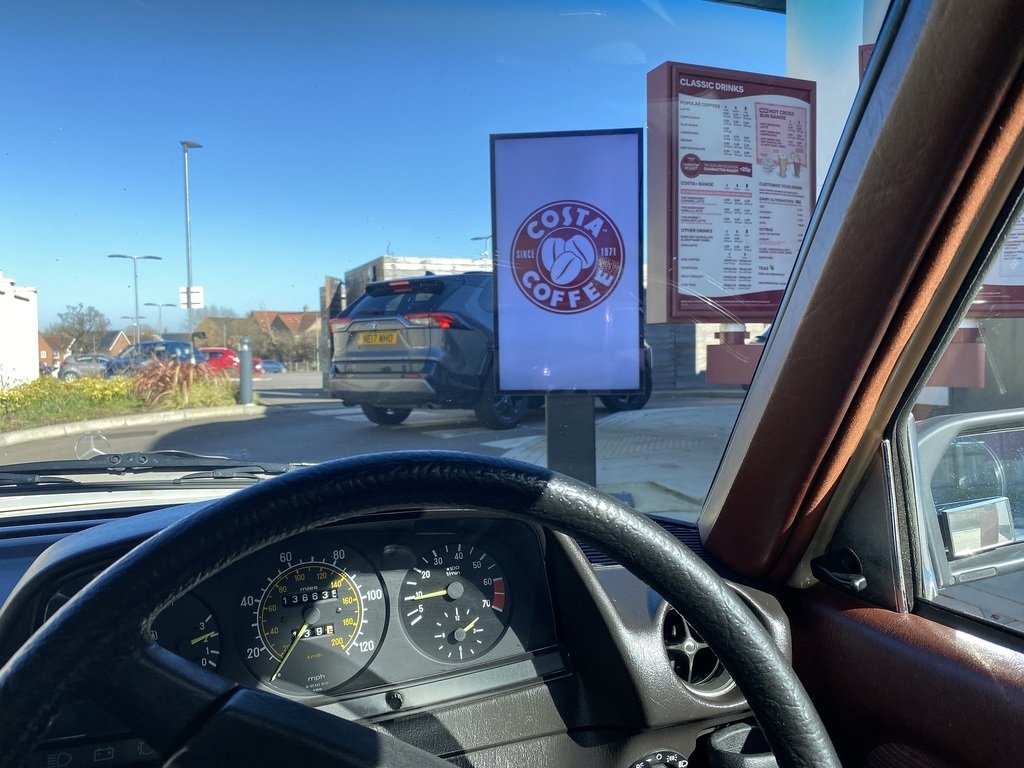 Quite a few classic / sports car owners also took advantage of today's weather conditions but my favourite spot of the day was this Porsche 911, parked in Aldbury. 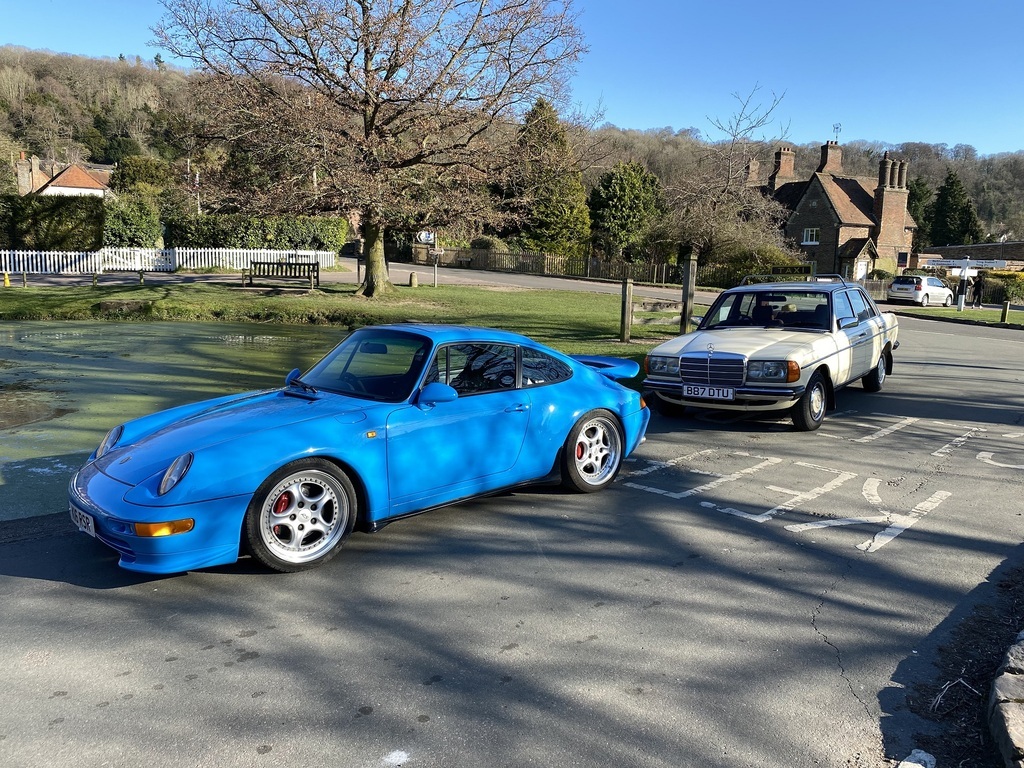 I took a few pretty photos along the way. 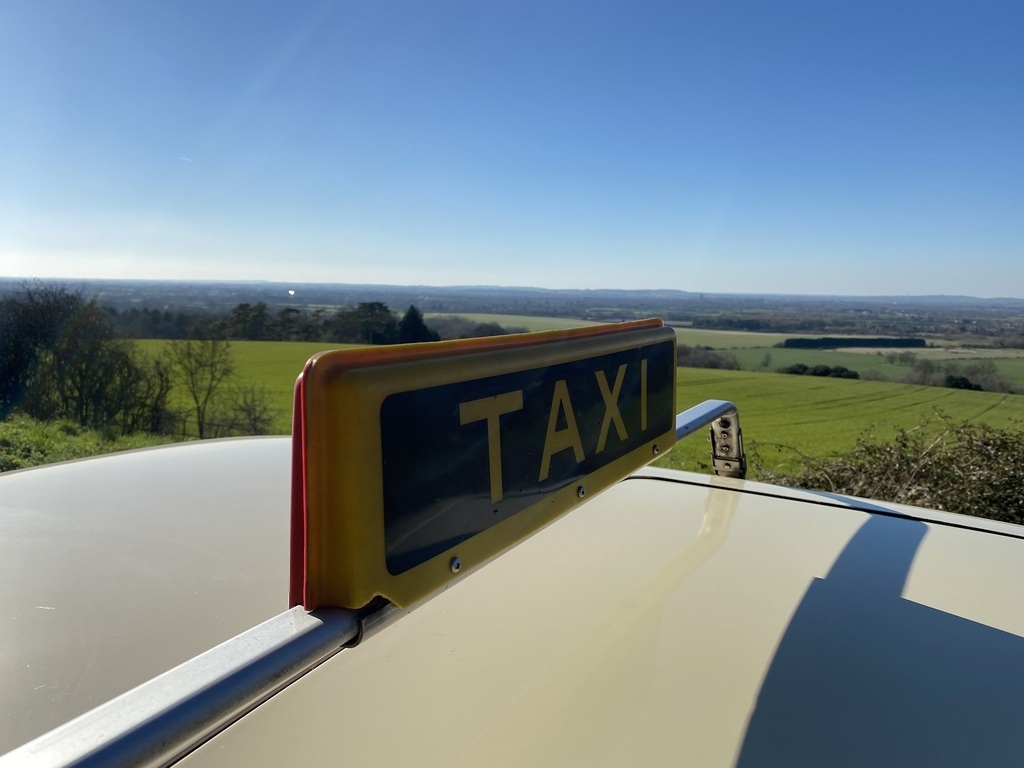 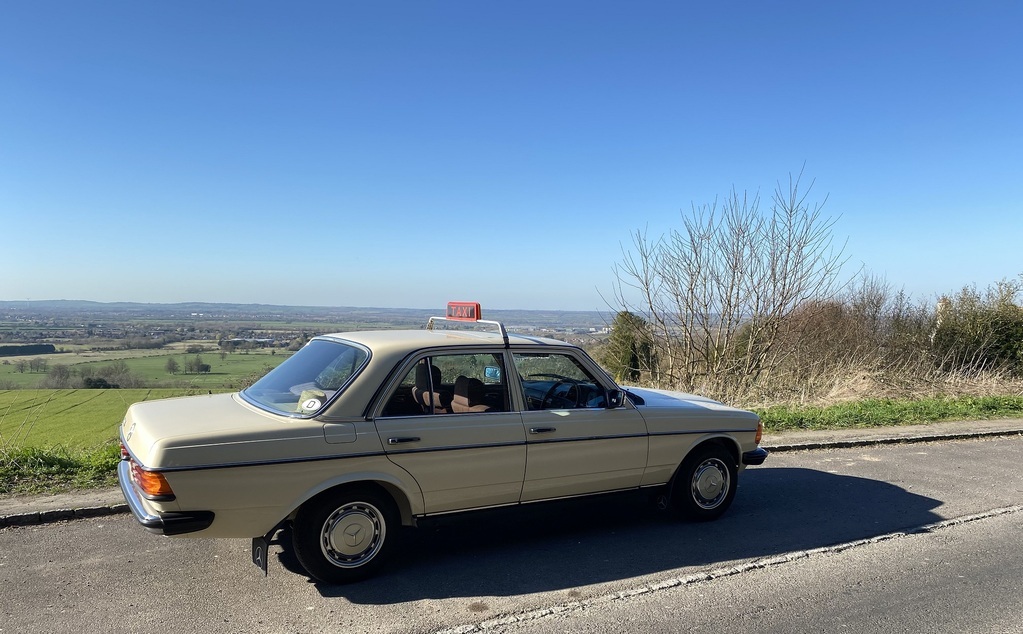 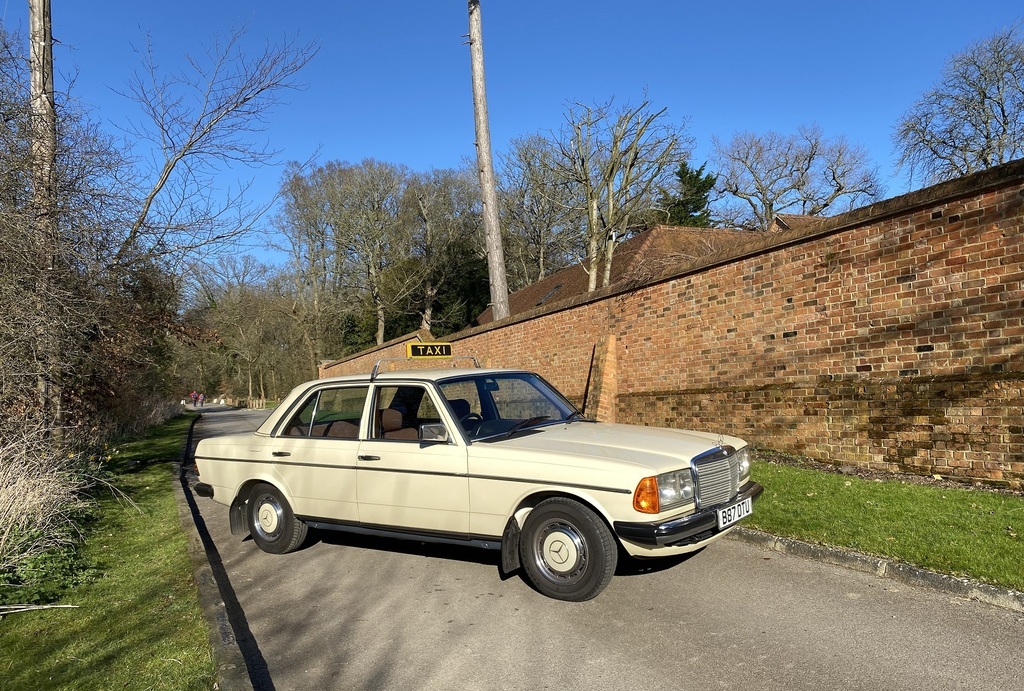 On route home I stopped in Amersham to get fuel. Tesco sell E5 99 RON unleaded for £1.76 a litre, which isn't bad nowadays. The W123 clocked up 193 miles since the last fill up and I put in 25 litres to brim the tank. 193 miles = 310km, therefore the W123 managed 8.0l/100km, which equates to 35.3MPG, which is pretty good for a 37 year old bus. 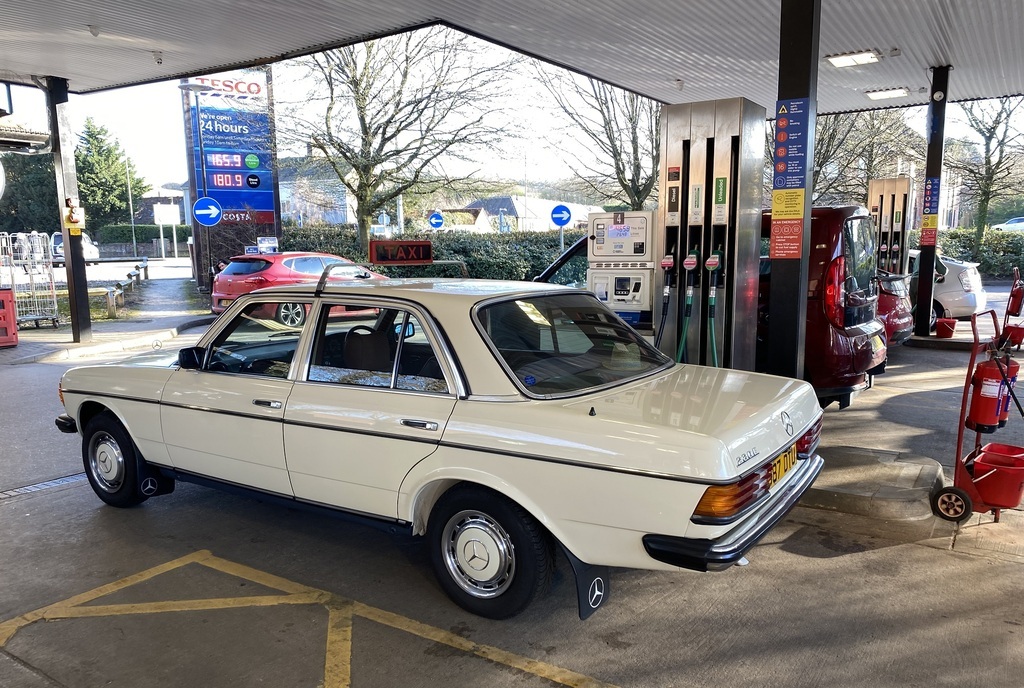 |
| |
|
|
|
|
|
|
|
I managed to get three oil filters for the W123 and one for the W124 from Euro Car Parts today for a grand total cost of £6.01. A good result, considering how the cost of engine oil has gone up recently. 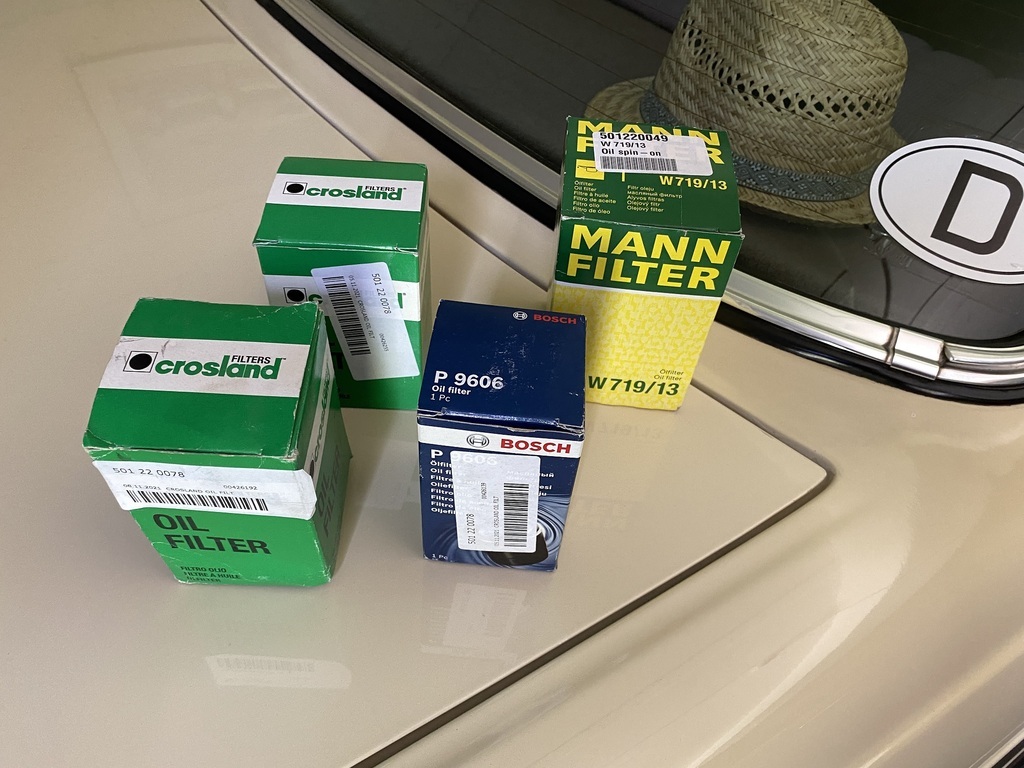 |
| |
|
|
|
|
|
Apr 18, 2022 14:52:11 GMT
|
Changing the engine oil and filter on the W123 is so easy. I didn't even bother pulling the 230E out of the garage. 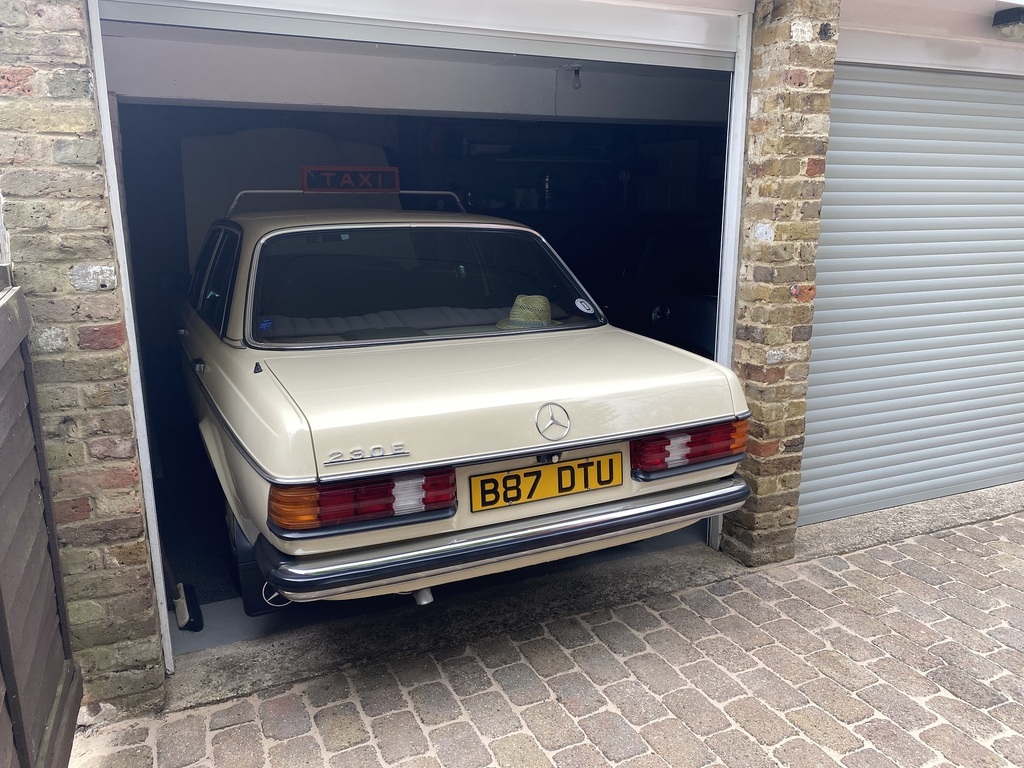 A 13mm socket on an extension bar is all that is needed to get to the (cartridge) oil filter. Access is superb, no need to remove the air filter housing. 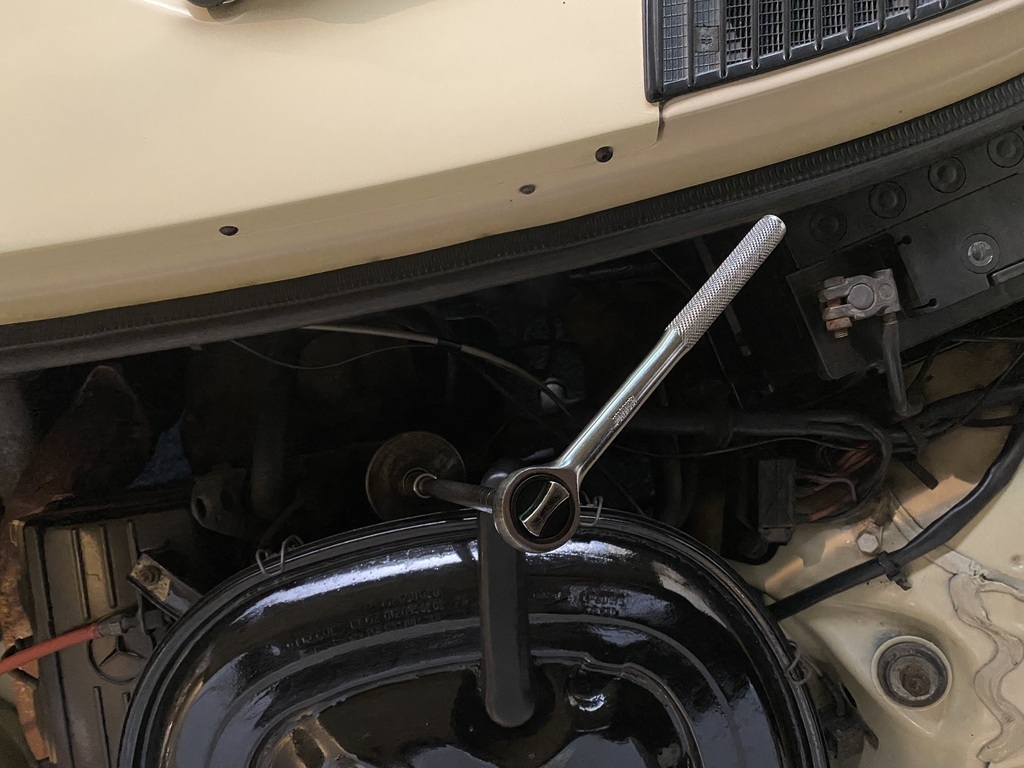 And the same tool enables removal of the sump plug. No need to lift the front of the car, there is plenty of space under the sump. 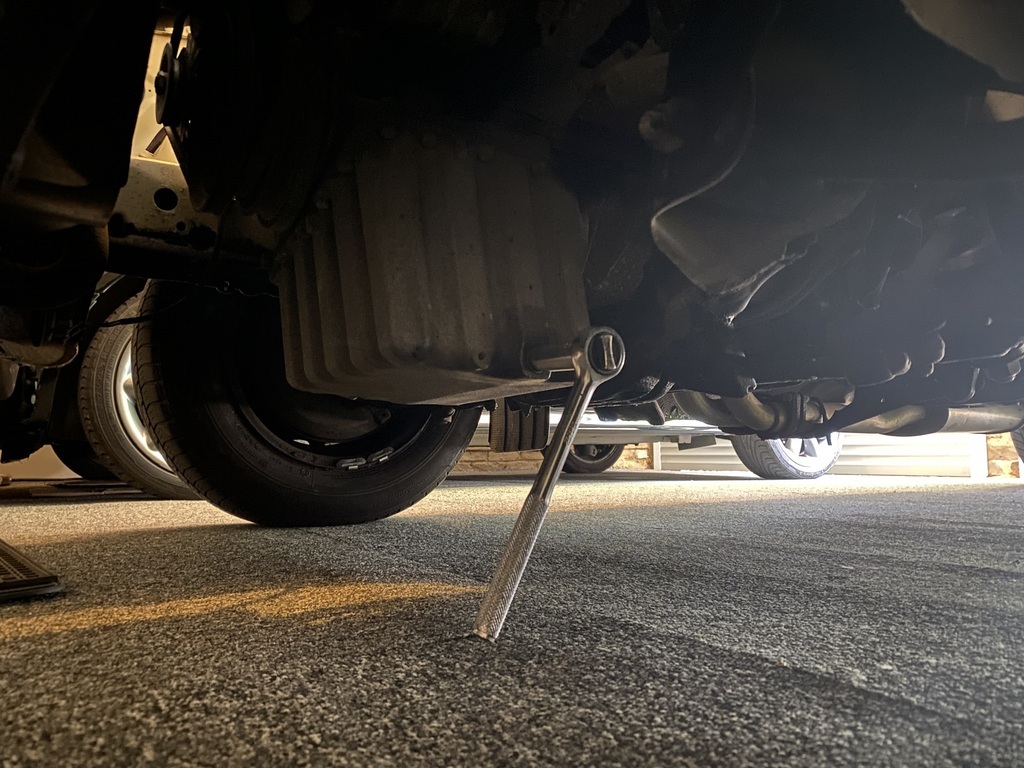 Start to finish the job took 15 minutes and that includes time allowed for the oil to drain out. It was a nice and warm morning so I pulled the 200E out of the workshop to carry out the same task. 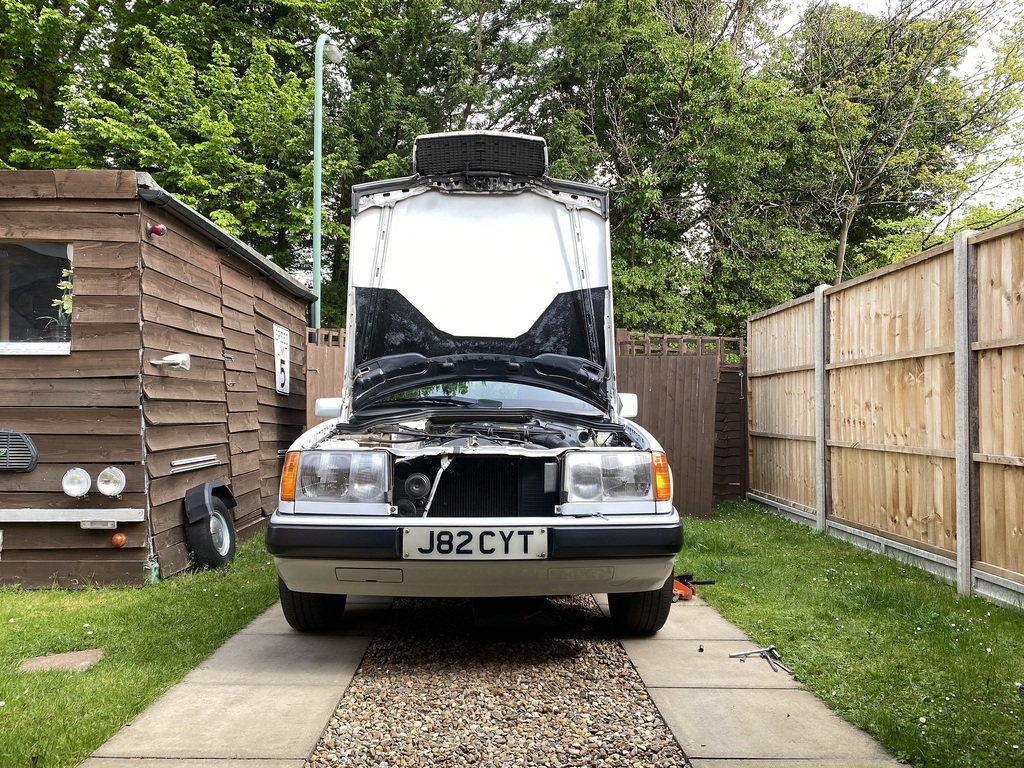 Last time I drained the oil (last year), I noted that the sump plug 13mm head was rounded off. I recall using a 1/2 inch socket to remove and replace it. I bought a replacement plug, ready to fit. The same 1/2 inch socket was needed today to get the old sump plug off. 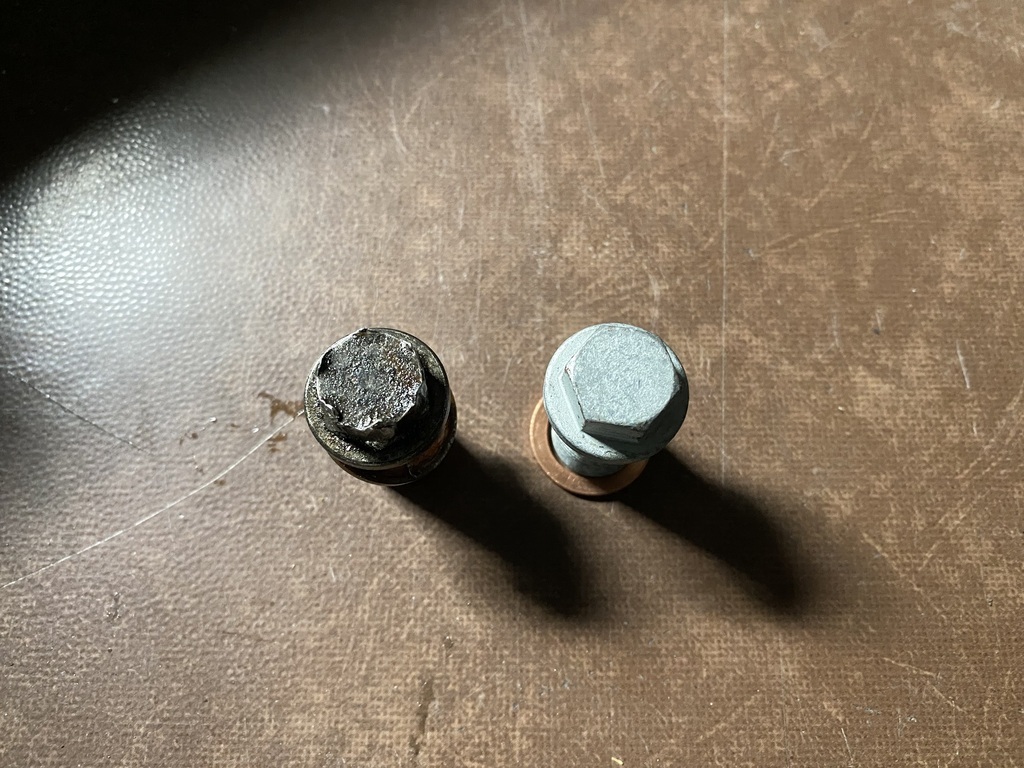 I've raved about this oil filter removal tool before but my praise is well deserved. 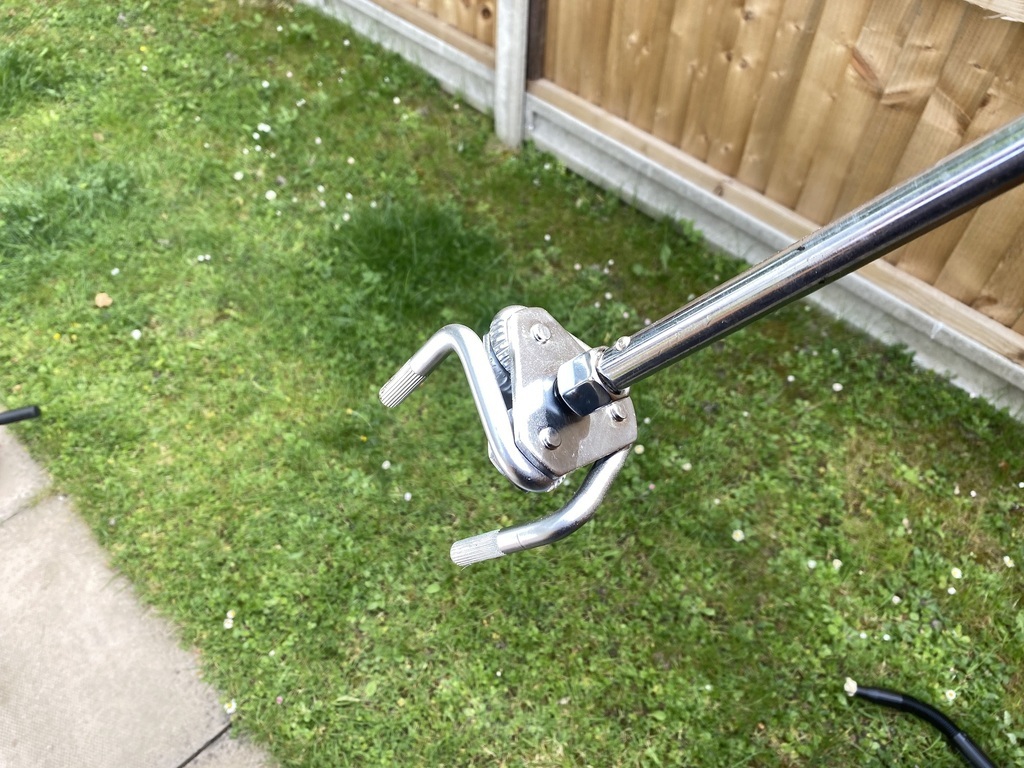 It makes changing the 200E's oil filter so easy. Again, access is not an issue and the air filter housing does not require removal. 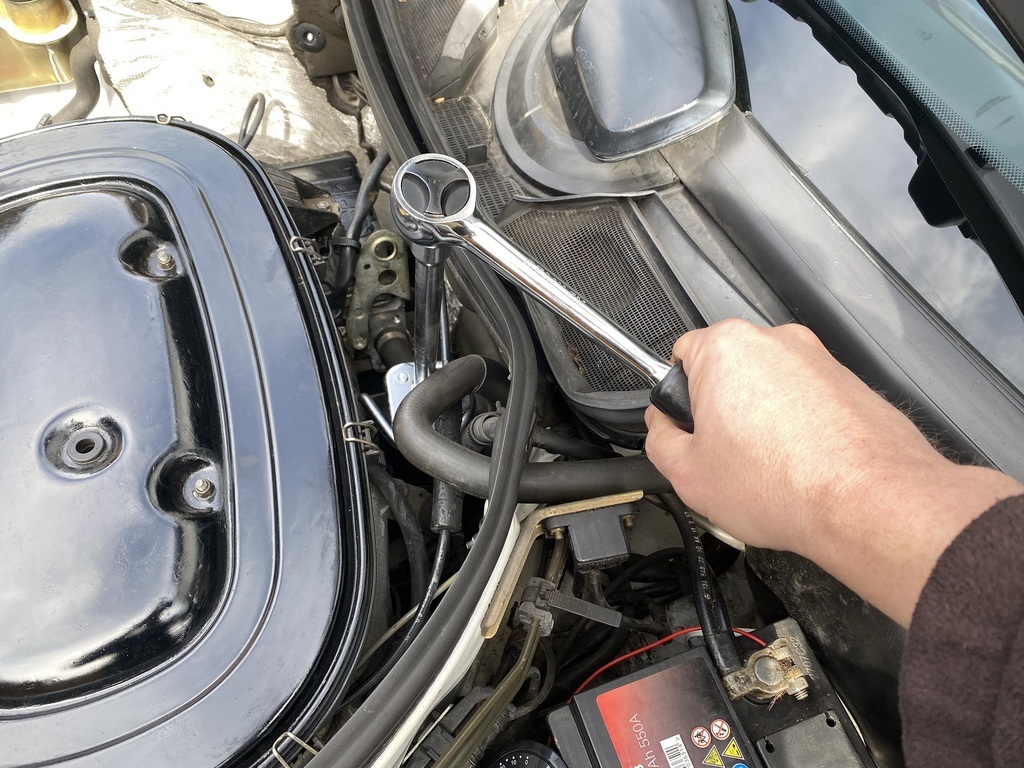 Job done in 15 minutes. With my son's mountain bike strapped to the back of the 200E, we had a family afternoon out and ended up in a bike track / skate park in West London, where within minutes I realised just how little I have in common with today's teenagers. 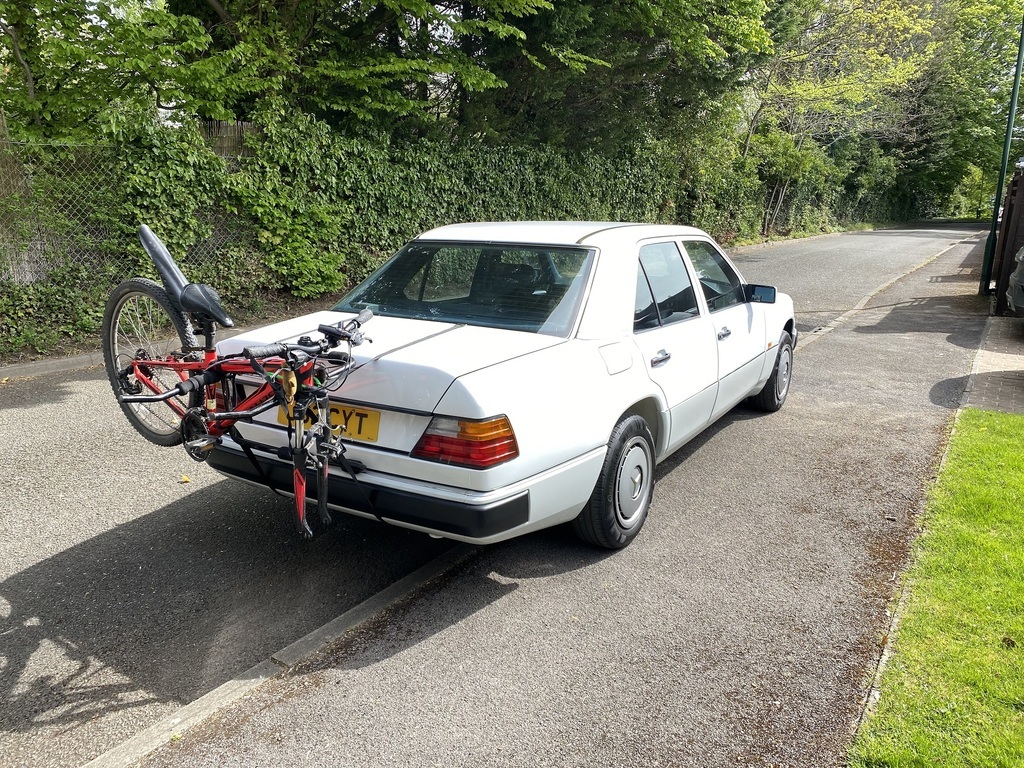 |
| |
Last Edit: Apr 18, 2022 14:53:44 GMT by Peter C
|
|
jpsmit
Posted a lot
  
Posts: 1,274
|
|
Apr 18, 2022 18:22:11 GMT
|
where within minutes I realised just how little I have in common with today's teenagers. Kind of surprised it took that long 😂 |
| |
|
|
|
|
|
|
|
I haven't been happy with the 200E's gearchange, specifically the 1st to 2nd gear movement, despite having replaced the gearbox with a good second hand unit. I asked a few questions here: forum.retro-rides.org/thread/221431/mercedes-manual-transmission-problem-solutionToday was a good time to investigate what could be causing the problem. I started by getting the front of the 200E up in the air. 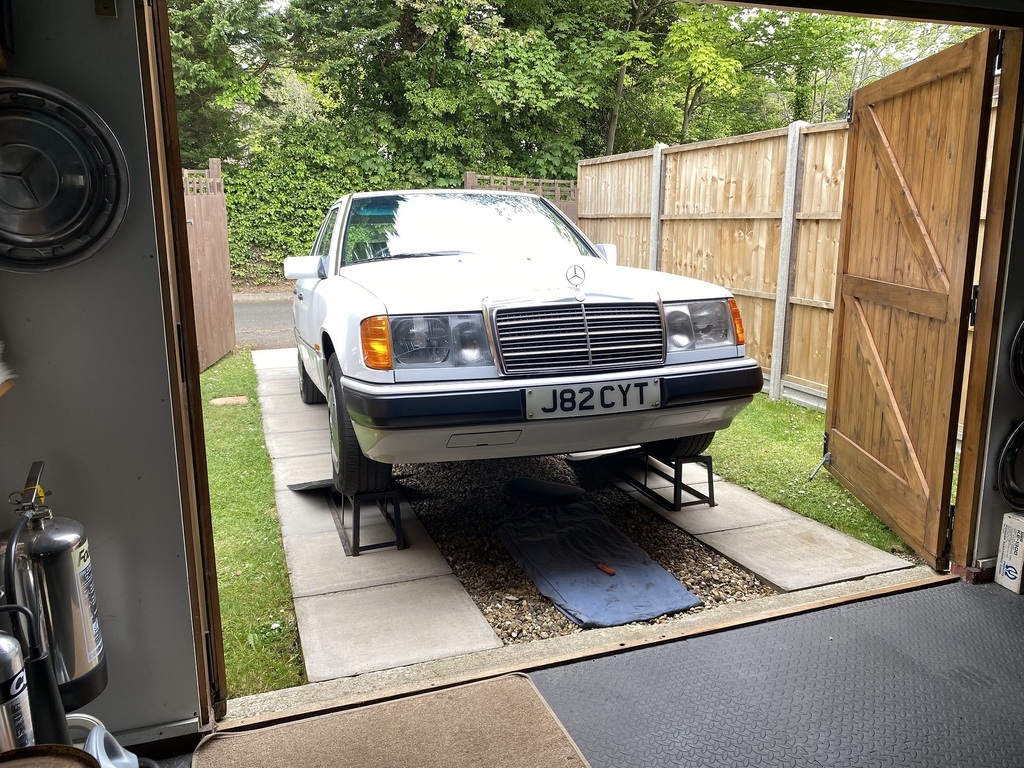 There are three levers on the side of the gearbox, which are linked to the gearshift mechanism via three rods. One lever works the 1st and 2nd gear, another does 3rd and 4th and the third does 5th and reverse. 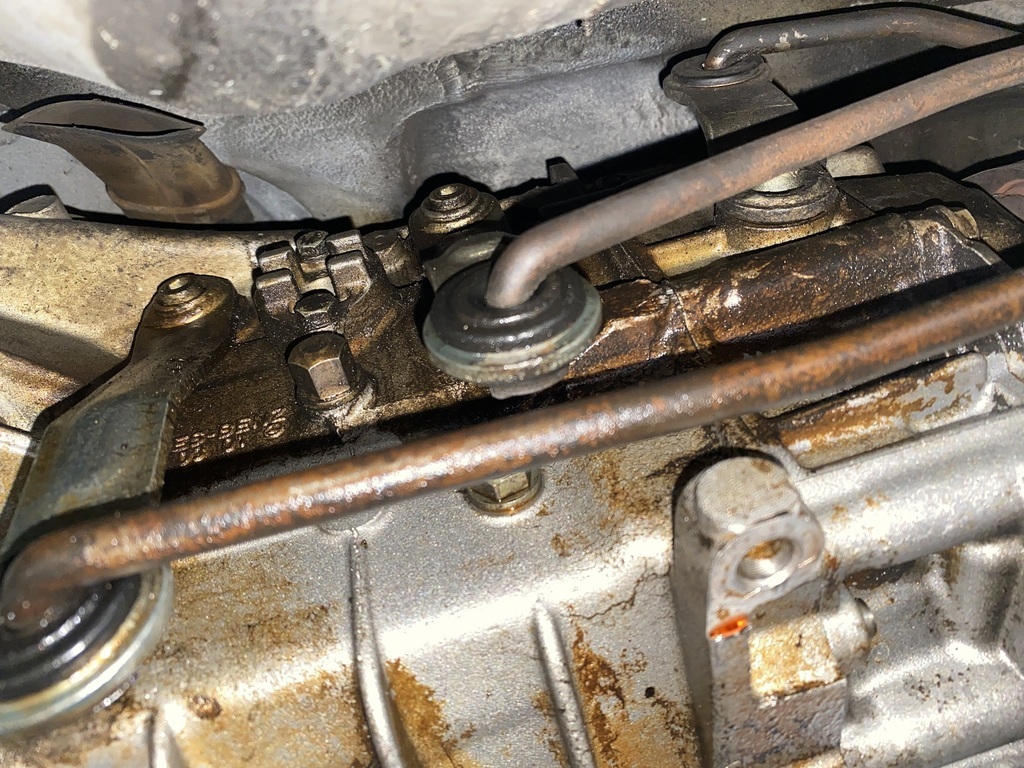 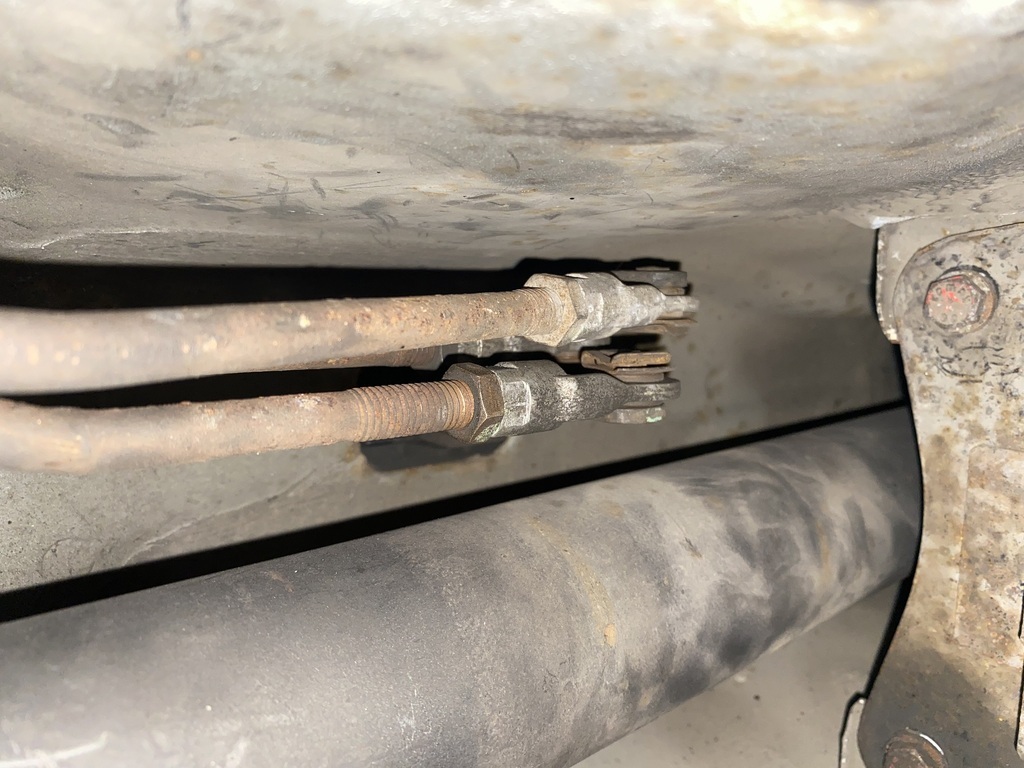 Madmog suggested that I check whether the rod somehow restricts the movement of the lever that serves the 1st and 2nd gears. I disconnected the rod from the lever. 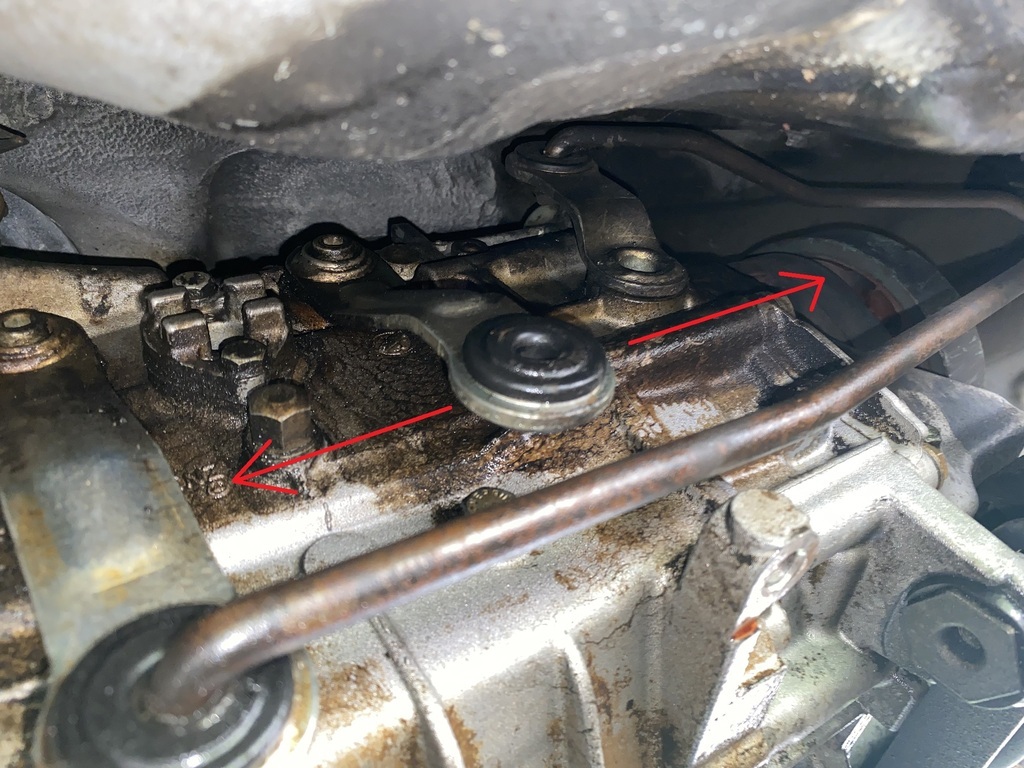 The gearshift mechanism has a lot more range than the lever has movement, so that wasn't the problem. I disconnected all three rods from the three levers that extend from the bottom of the gearshift mechanism. Moving the levers back and forth revealed there was a bit of squeaking and friction. 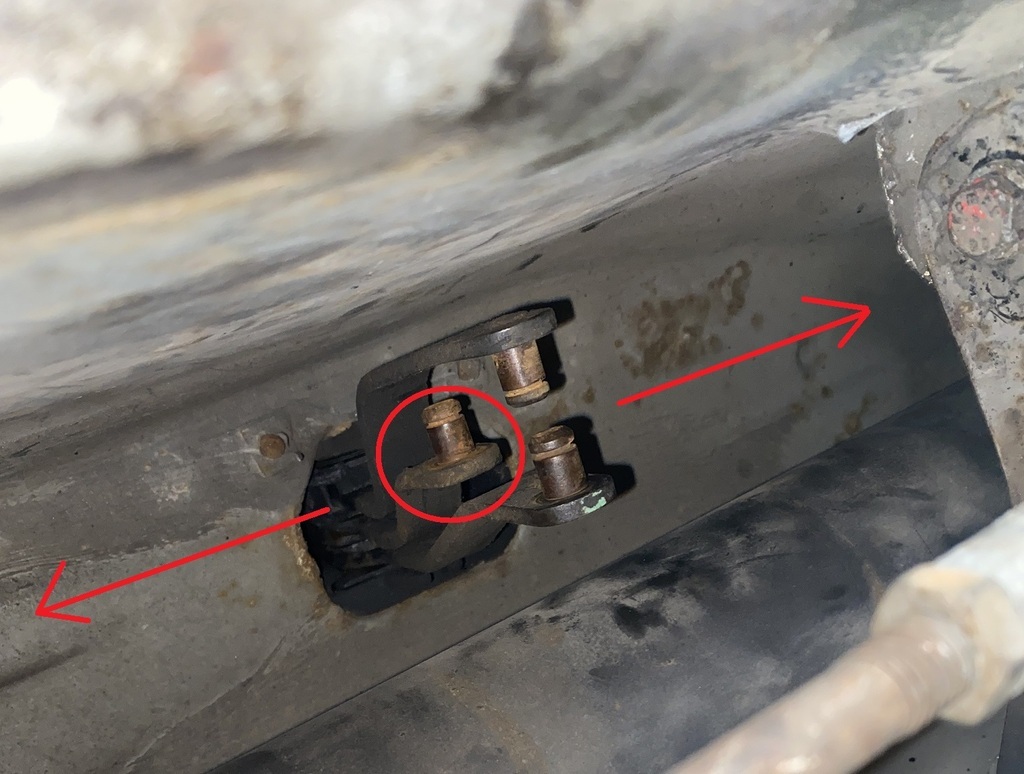 The friction didn't feel significant and definitely could not be felt when operating the gearstick. I removed the gearstick to reveal the top of the gearshift mechanism. 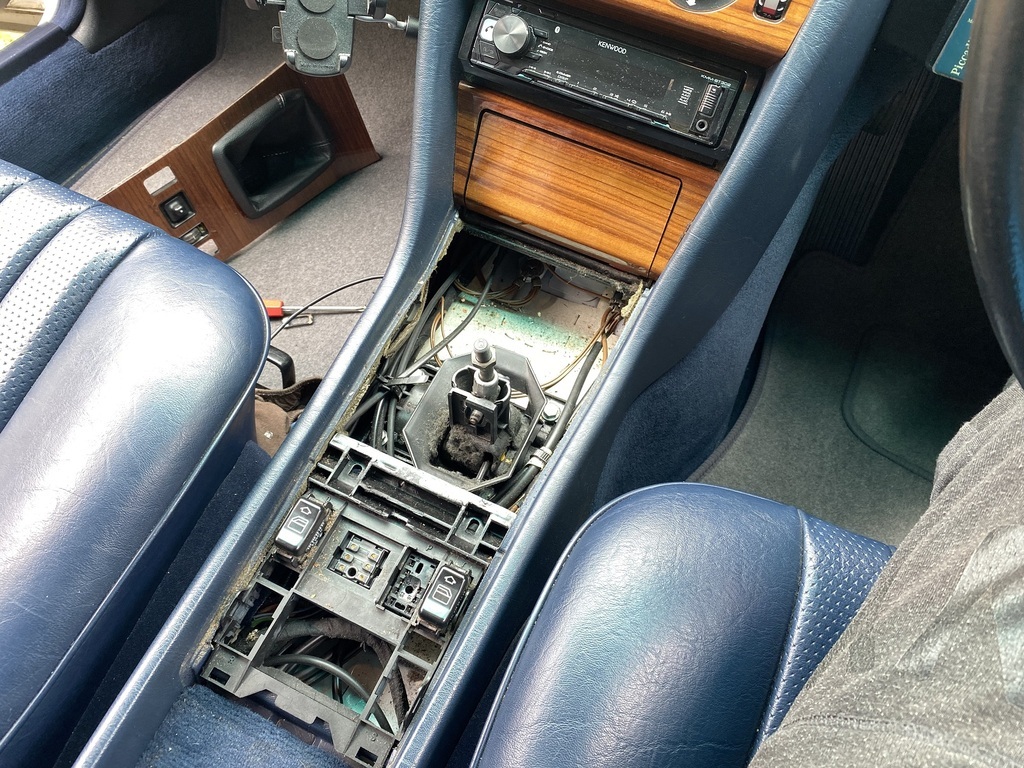 There was dust and dirt everywhere but the mechanism looked intact. 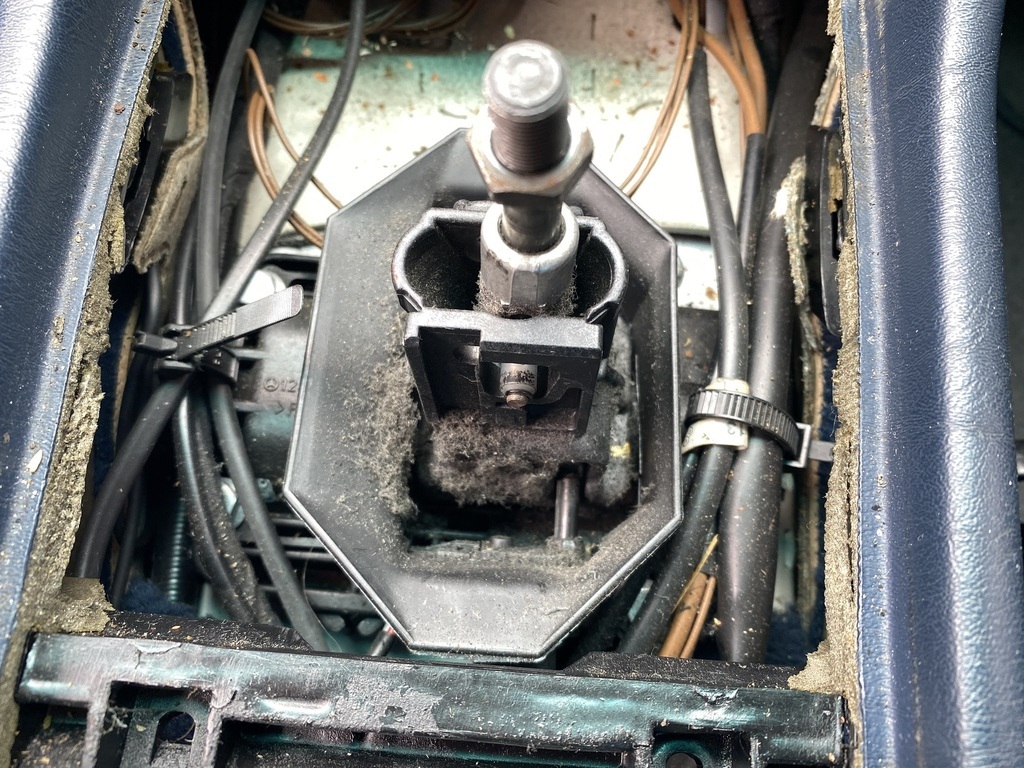 Next step involved undoing four 10mm bolts, disconnecting the reverse light switch and removing the entire mechanism. 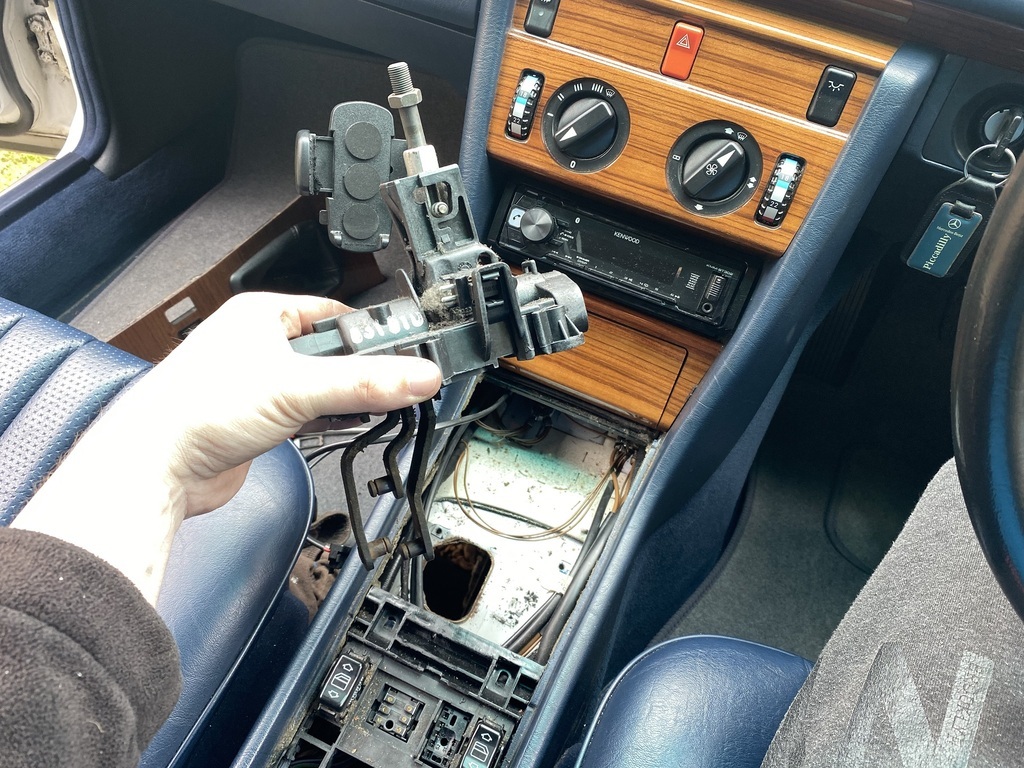 The part of the mechanism where the three levers pivot around a central shaft was filthy. 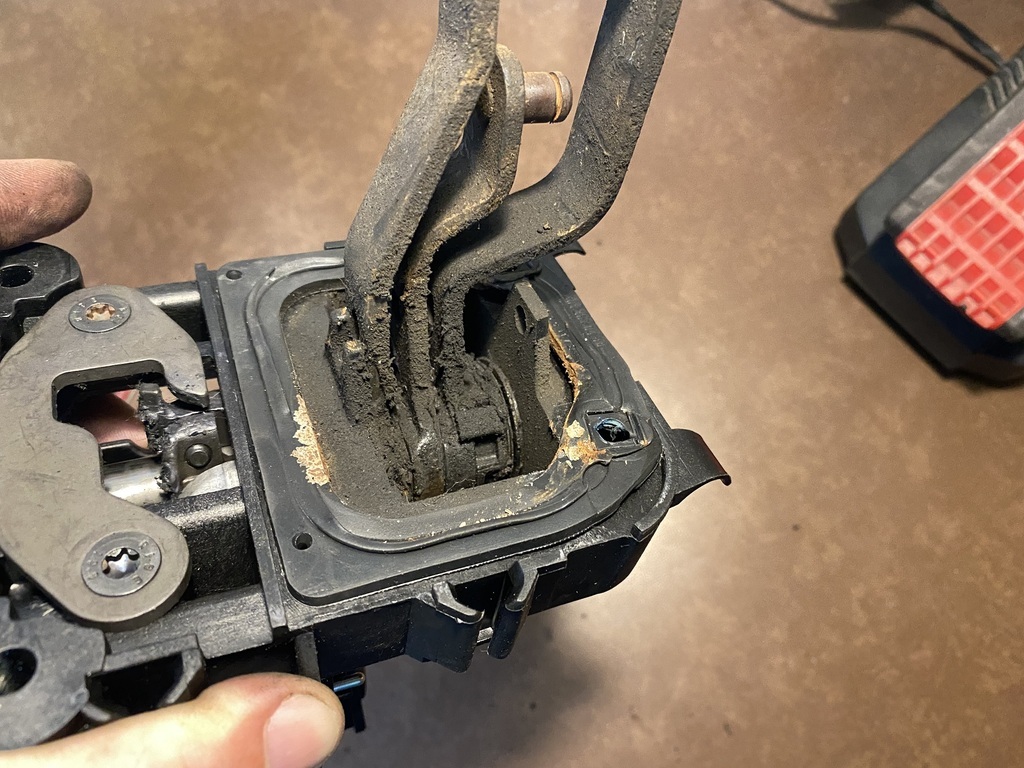 I cleaned the mechanism with Jizer, then sprayed it with 3 in 1 oil, then applied plenty of fresh grease whilst repeatedly moving all three levers back and forth. 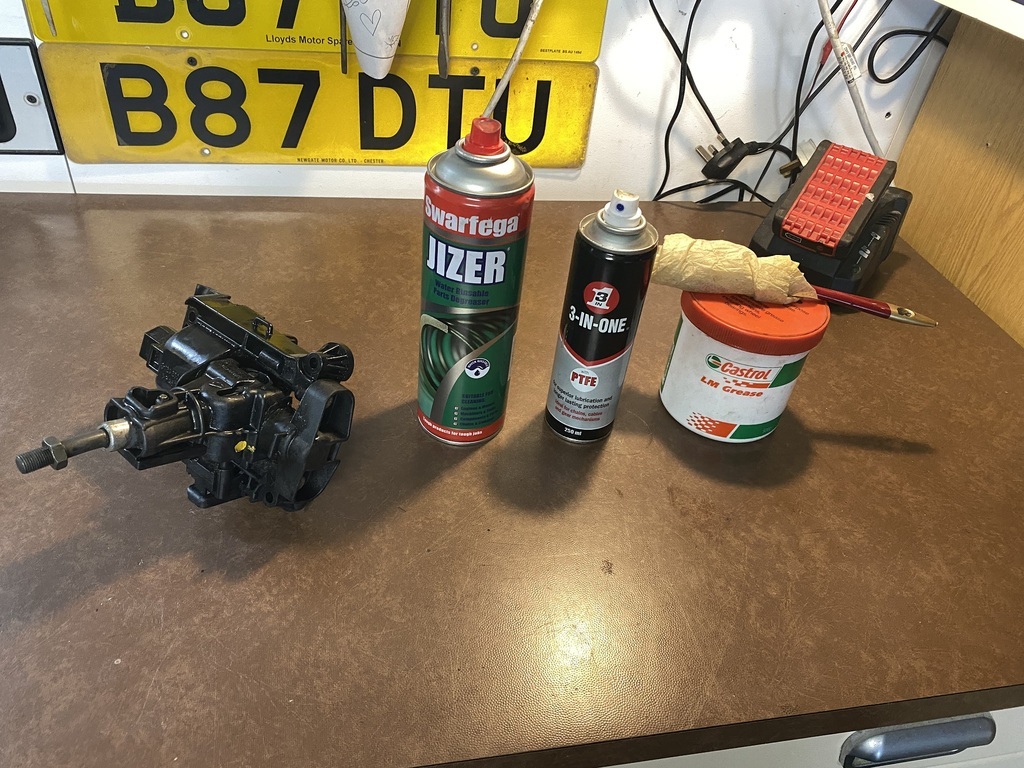 The cleaned and re-lubricated gearshift mechanism was ready for re-fitting. There is nothing wrong with it. 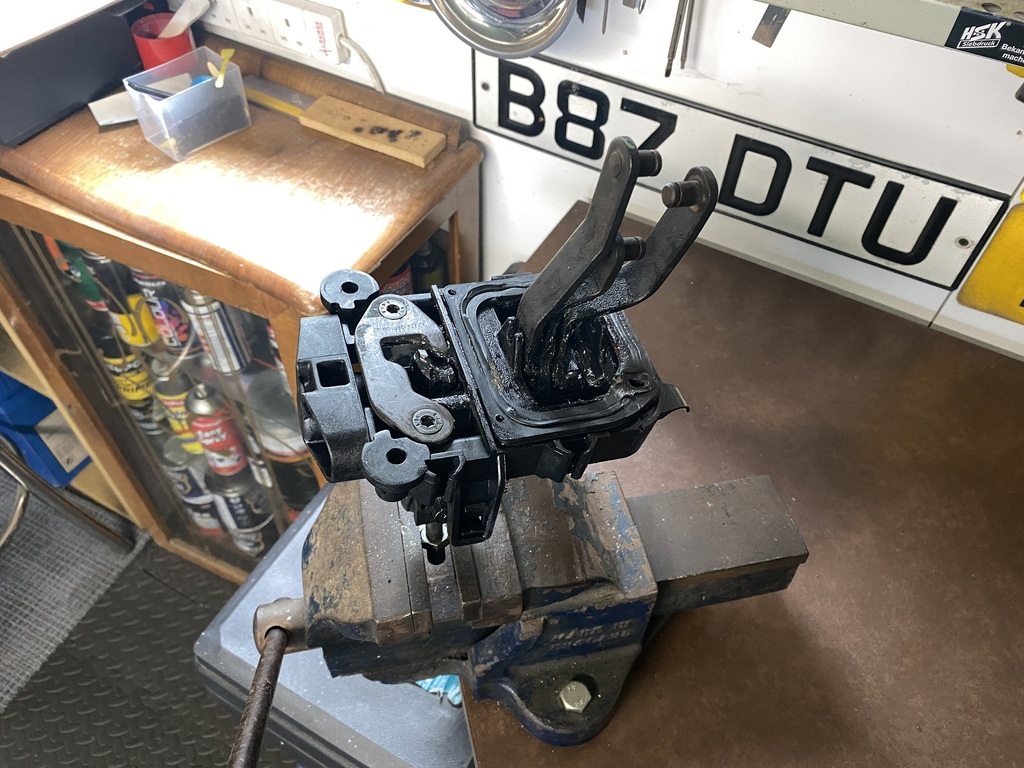 Re-fitting was the reverse of removal, all nice and easy. Bearing in mind that I did not find any significant faults and I made no adjustments to the linkage, I was not expecting the gearchange to be any better. I took the 200E for a drive. I cannot explain why but the 1st to 2nd gear movement is much smoother and the gearbox does not crunch anymore. A W123/W124 manual transmission shift has a very mechanical action, cannot be rushed and under no circumstances must it be considered as smooth but mine works ok now. But what has changed? I would be surprised if cleaning up and re-lubricating the shift mechanism would make any difference as the levers were not exactly seized or stiff before I started today. Never mind, problem solved. |
| |
Last Edit: May 2, 2022 14:45:28 GMT by Peter C
|
|
|
|
|
|
|
|
What you ideally need to do at a minimum is replace the six bushes on the three selector rods, common wear points.A popular modification is to use aftermarket Delrin bushes which far superior to the stock bush.
If you really want to get the shift back to normal then you'll need to overhaul the gear level mechanism itself. Mercedes sell a specific repair kit to do the job.
|
| |
Last Edit: May 2, 2022 15:48:33 GMT by Woofwoof
Still learning...still spending...still breaking things!
|
|
|
|


