Darkspeed
Club Retro Rides Member
Posts: 4,867
Club RR Member Number: 39
|
1970 Ginetta G15 Darkspeed
@darkspeed
Club Retro Rides Member 39
|
|
|
We do have set priorities and #1 is always the "Brew" Progress on the bulkhead had to take a back seat  this week as I was feeling a bit s-queezy but my good mate Mr B has been busy with his own set of carbides and cartridge rolls giving an Imp inlet manifold the works to port it out to suit CD150 Stroms. 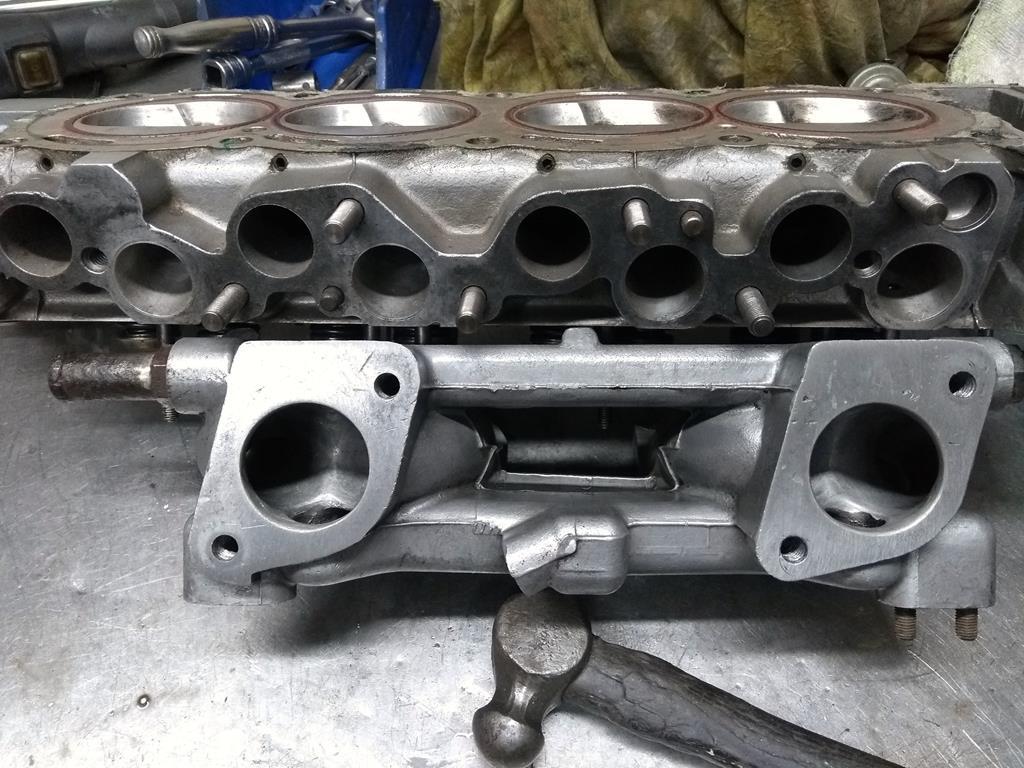 A very modified Carter Imp head and a worked Sport manifold - see those grub screws - the indication of a very modifed Imp head. |
| |
|
|
|
|
|
|
|
|
|
|
What are the grub screws for?
|
| |
|
|
Darkspeed
Club Retro Rides Member
Posts: 4,867
Club RR Member Number: 39
|
1970 Ginetta G15 Darkspeed
@darkspeed
Club Retro Rides Member 39
|
|
|
What are the grub screws for? They are very long and brace the top of the combustion chamber to stop it flexing in the area of that water gallery. There is plenty of material around the other side of the head. But on the manifold side when you hog out the ports to the max and modify the chamber fully to avoid any valve shrouding there is far less material so putting back some bracing in that area is a wise precaution. It takes a fair bit of work to get to the numbers these things are capable of. |
| |
Last Edit: Oct 3, 2019 22:34:04 GMT by Darkspeed
|
|
Darkspeed
Club Retro Rides Member
Posts: 4,867
Club RR Member Number: 39
|
1970 Ginetta G15 Darkspeed
@darkspeed
Club Retro Rides Member 39
|
|
|
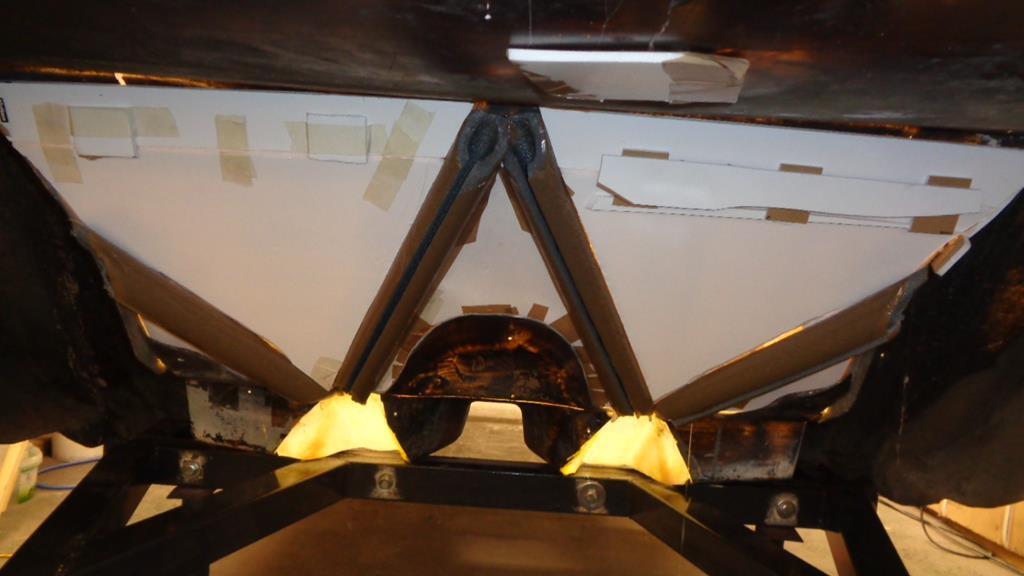
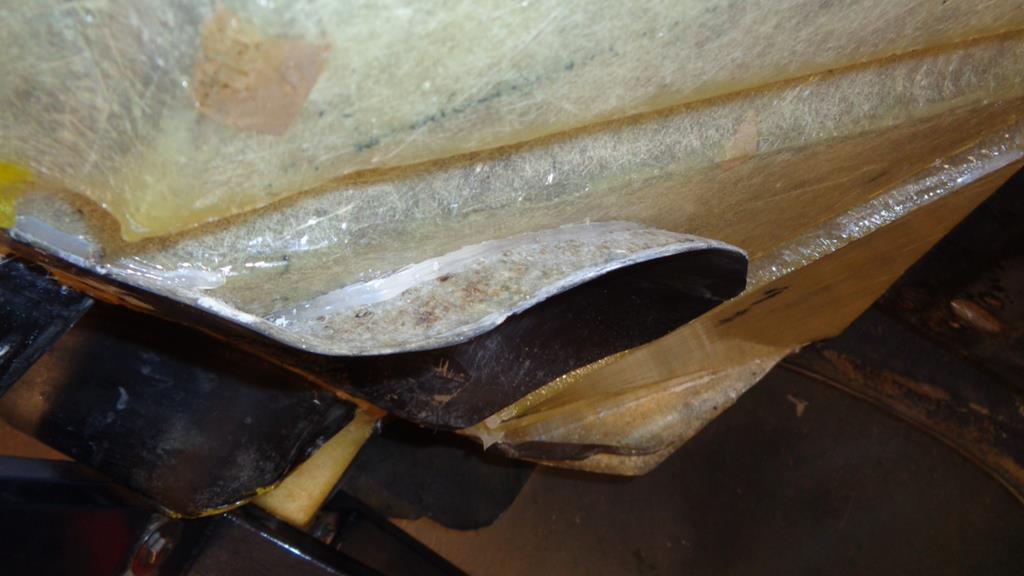
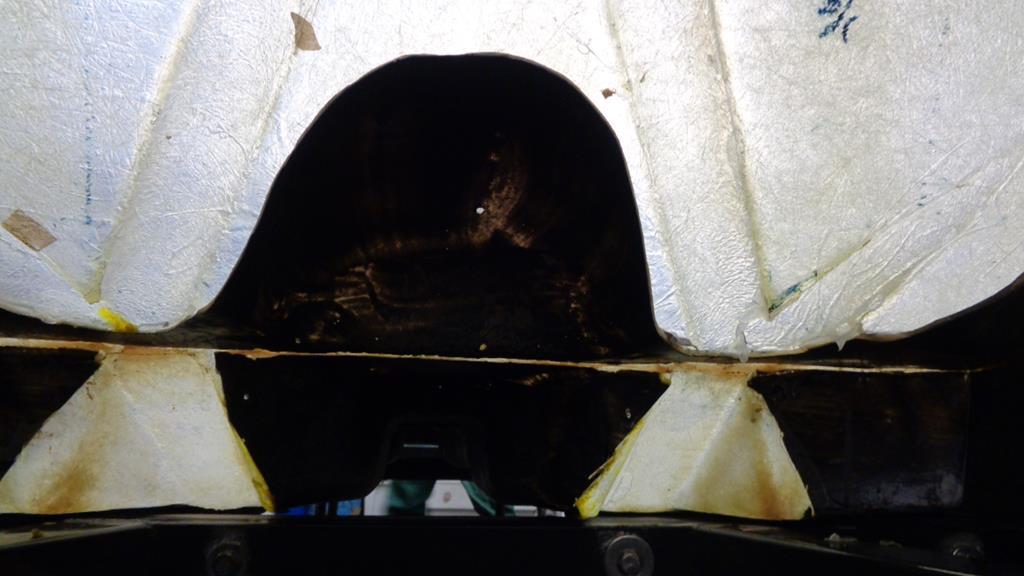
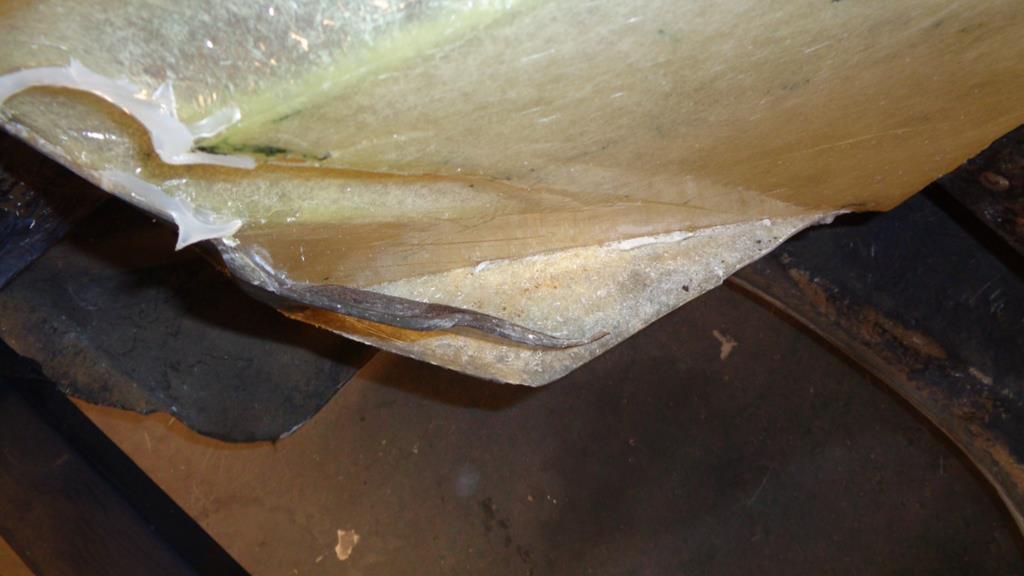
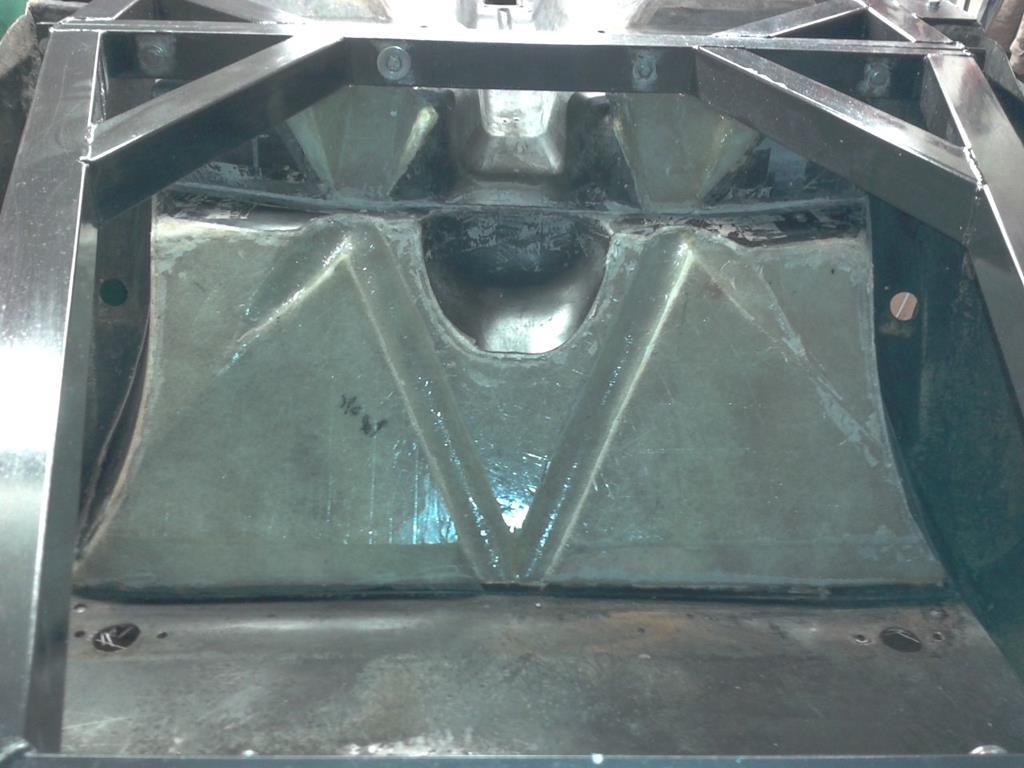
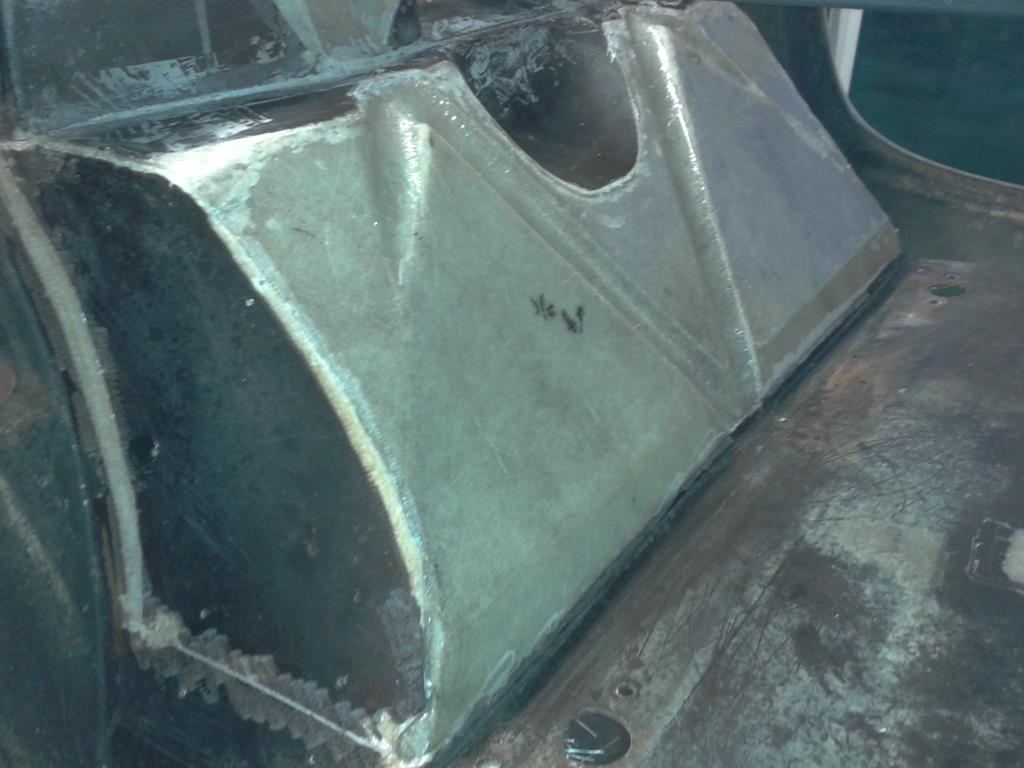
Feeling a bit better today so straight up to Itchy's place after work to get stuck into completing the task with the bulkhead. After the obligatory mugs of tea to lubricate the enthusiasm bones it was suiting up and breaking out the die grinder to fully go over the entire area in preparation for glassing. 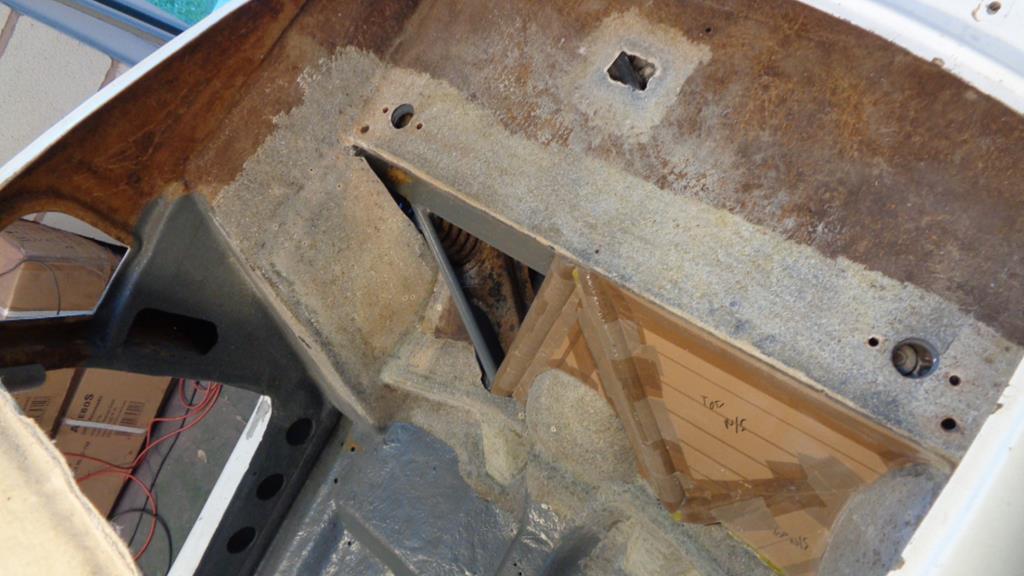 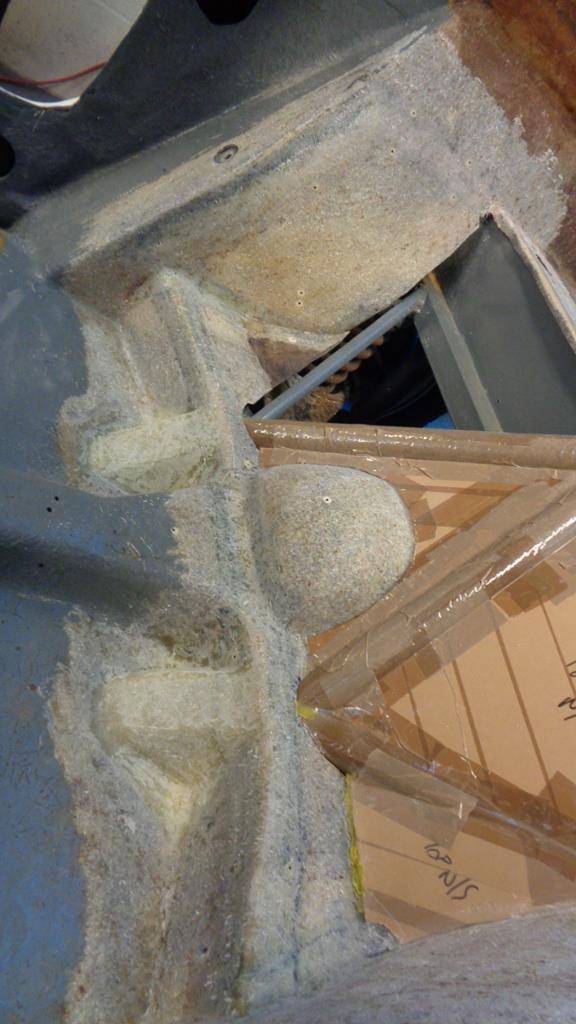 It was then more arts and crafts with foam board, parcel tape and the hot glue gun to complete the fabrication of the bulkhead panel. 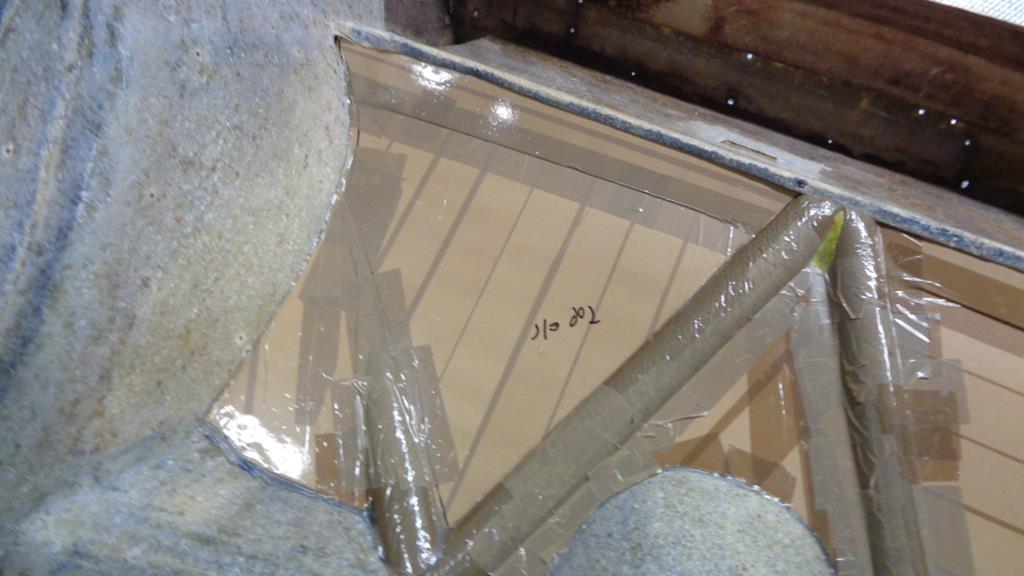 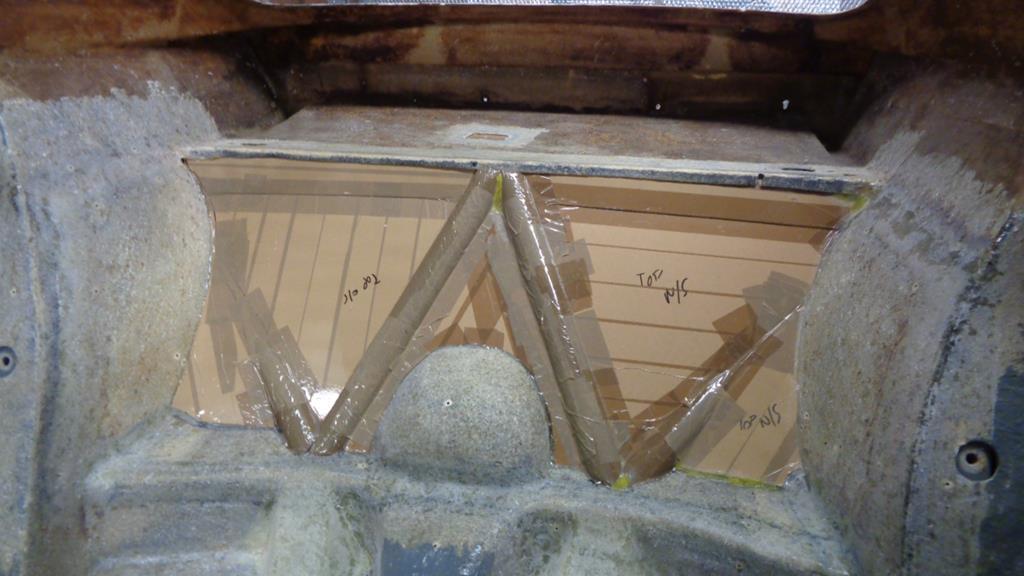 After a few nods of satisfaction on a job well done we retired to the comfy chairs for another brew. |
| |
|
|
jamesd1972
Club Retro Rides Member
Posts: 2,916  Club RR Member Number: 40
|
1970 Ginetta G15 jamesd1972
@jamesd1972
Club Retro Rides Member 40
|
|
|
|
Looking good - going to end up lighter and stiffer than what was chopped out ?
Will you use some of this extra strength by using more / better mountings between body and chassis.
I kind of get the impression that the strength in the body was an under utilised factor in the original design, just there to look pretty and keep the water out.
James
|
| |
|
|
Darkspeed
Club Retro Rides Member
Posts: 4,867
Club RR Member Number: 39
|
1970 Ginetta G15 Darkspeed
@darkspeed
Club Retro Rides Member 39
|
|
|
Looking good - going to end up lighter and stiffer than what was chopped out ? Will you use some of this extra strength by using more / better mountings between body and chassis. I kind of get the impression that the strength in the body was an under utilised factor in the original design, just there to look pretty and keep the water out. James It don't think it will come out noticeably lighter as this car body is really very light anyway - There were rumours in the past of special light weight bodies being made for racing and that may well be the case but this one is just lightweight as that's the way it was fabricated. The body is not stiff enough to add anything much to the chassis, the way you stiffen the chassis is with the chassis works detailed previously - It's in torsional rigidity that the chassis is deficient and the body is pretty weak in that respect as well, mine being poorer than most in that regard as its so light. |
| |
|
|
Darkspeed
Club Retro Rides Member
Posts: 4,867
Club RR Member Number: 39
|
1970 Ginetta G15 Darkspeed
@darkspeed
Club Retro Rides Member 39
|
|
|
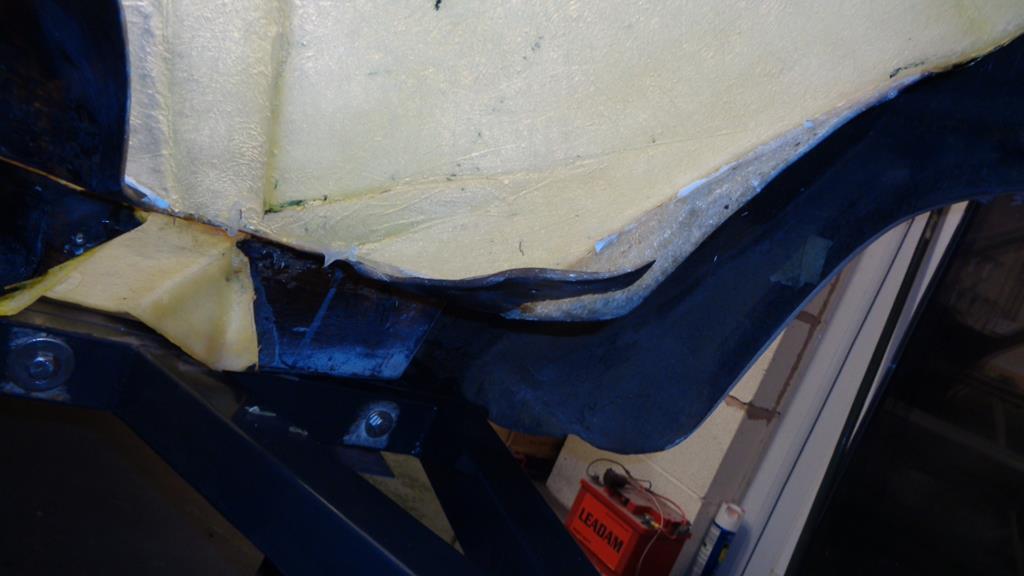
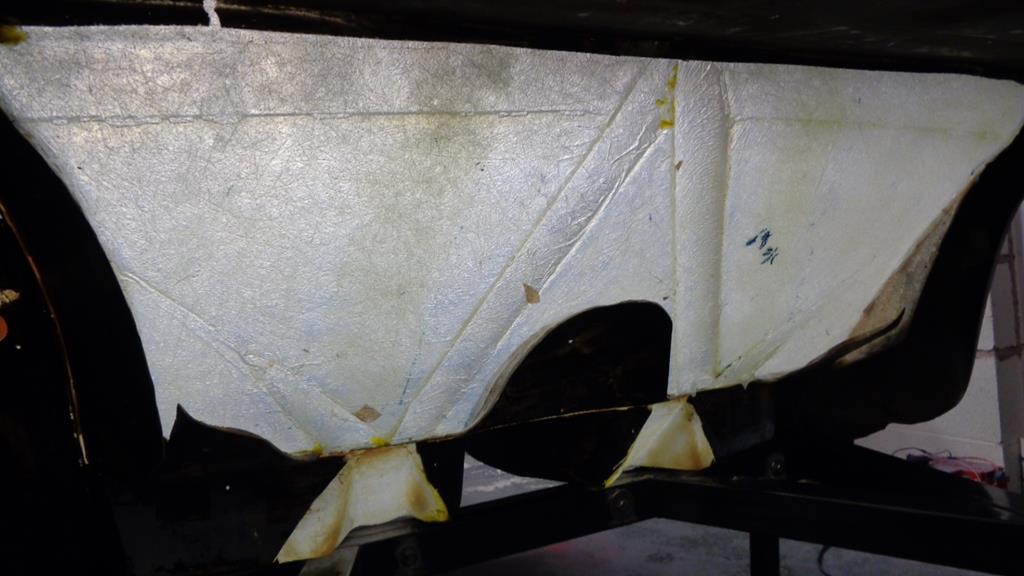
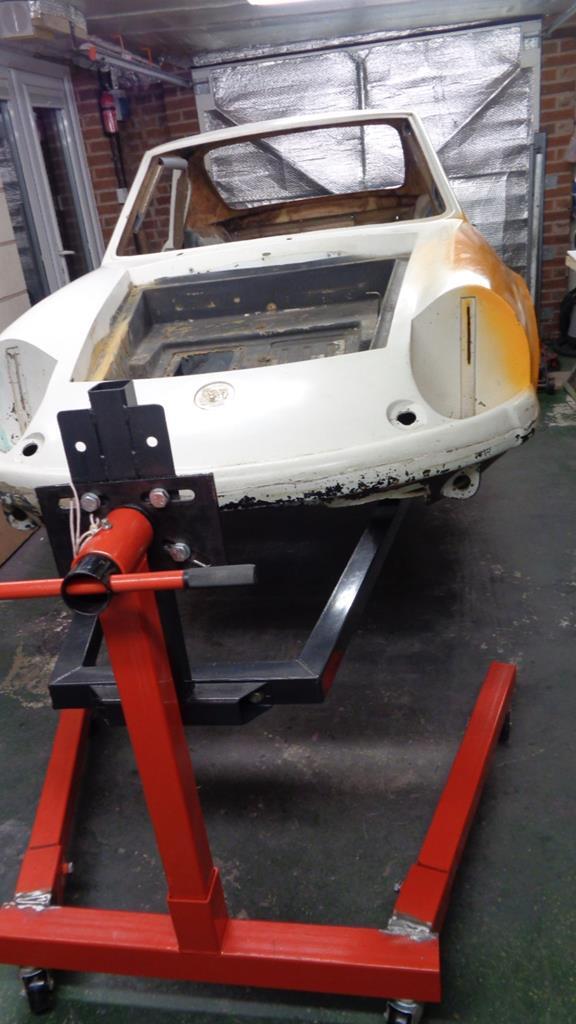
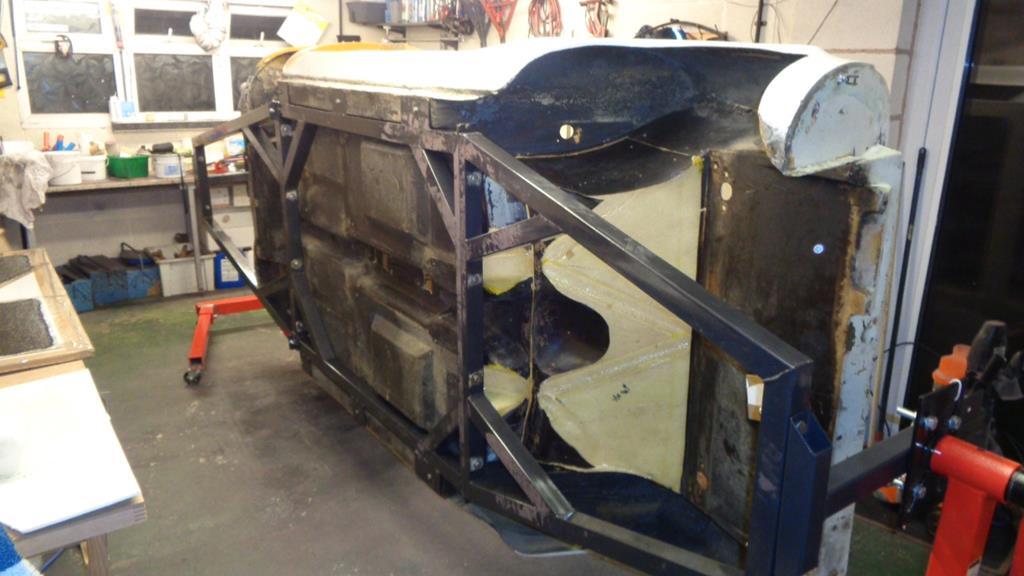
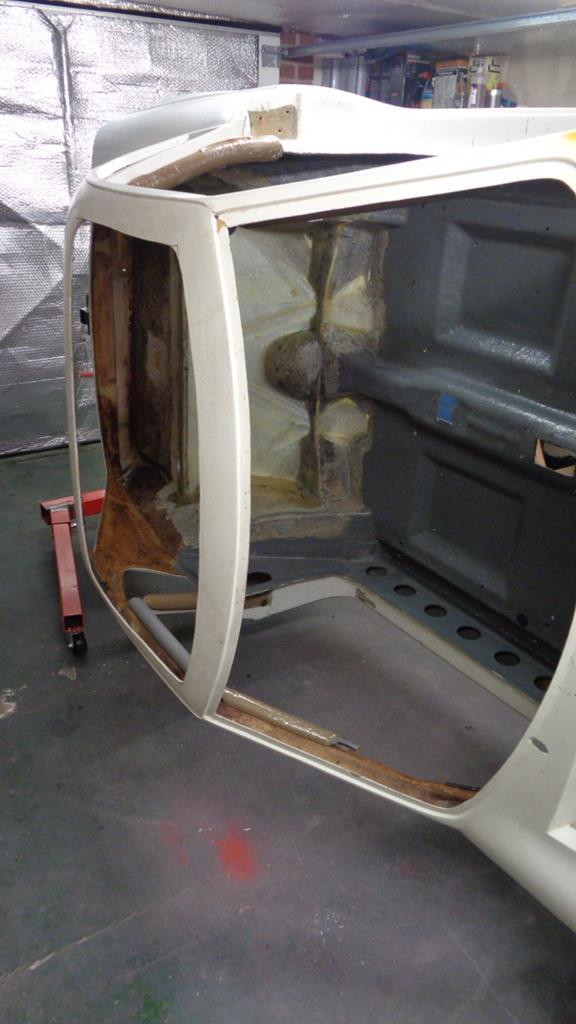
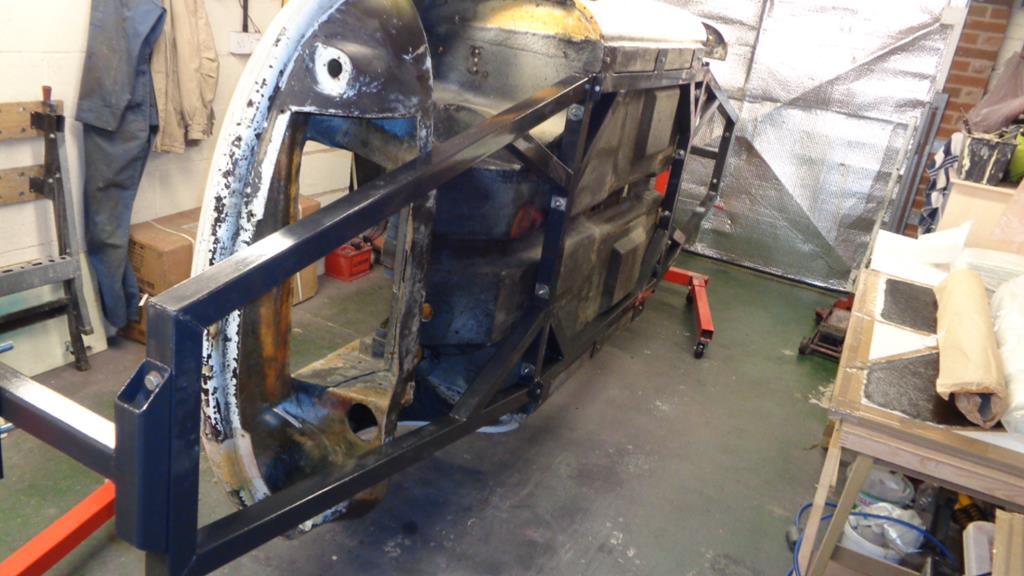
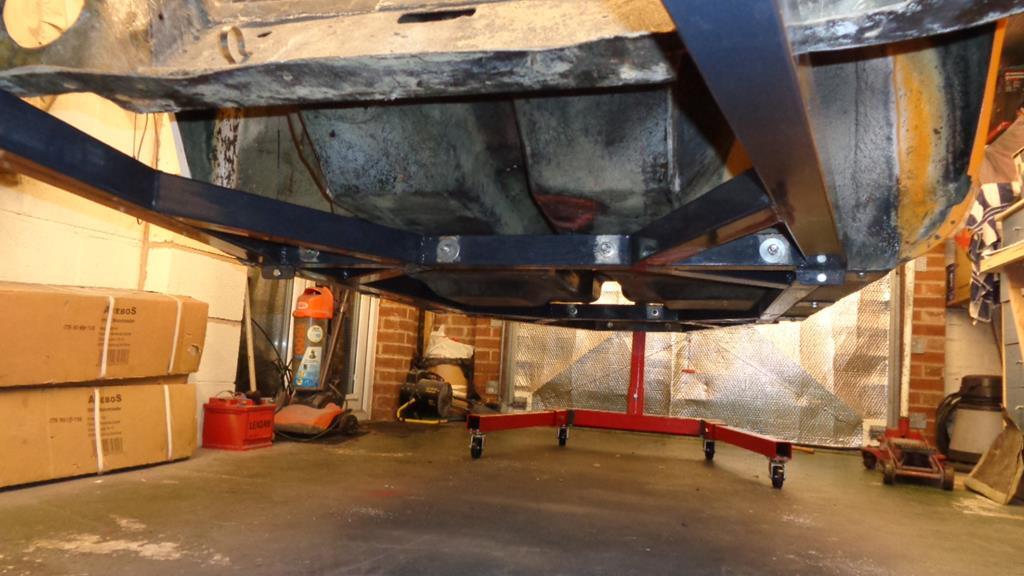
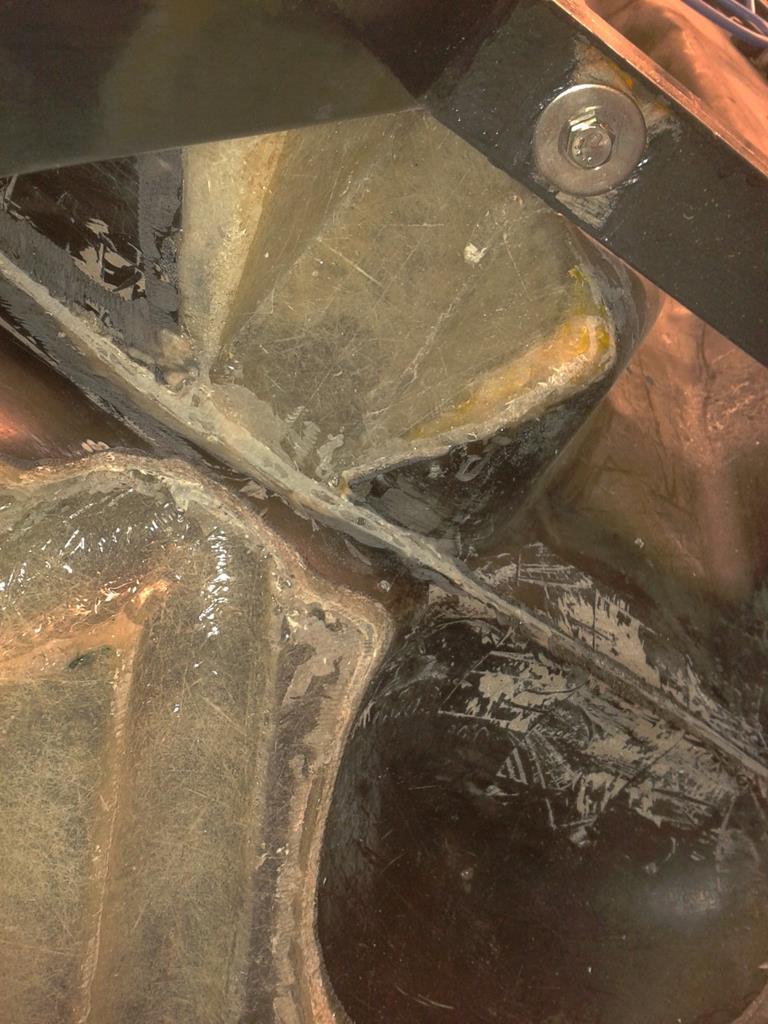
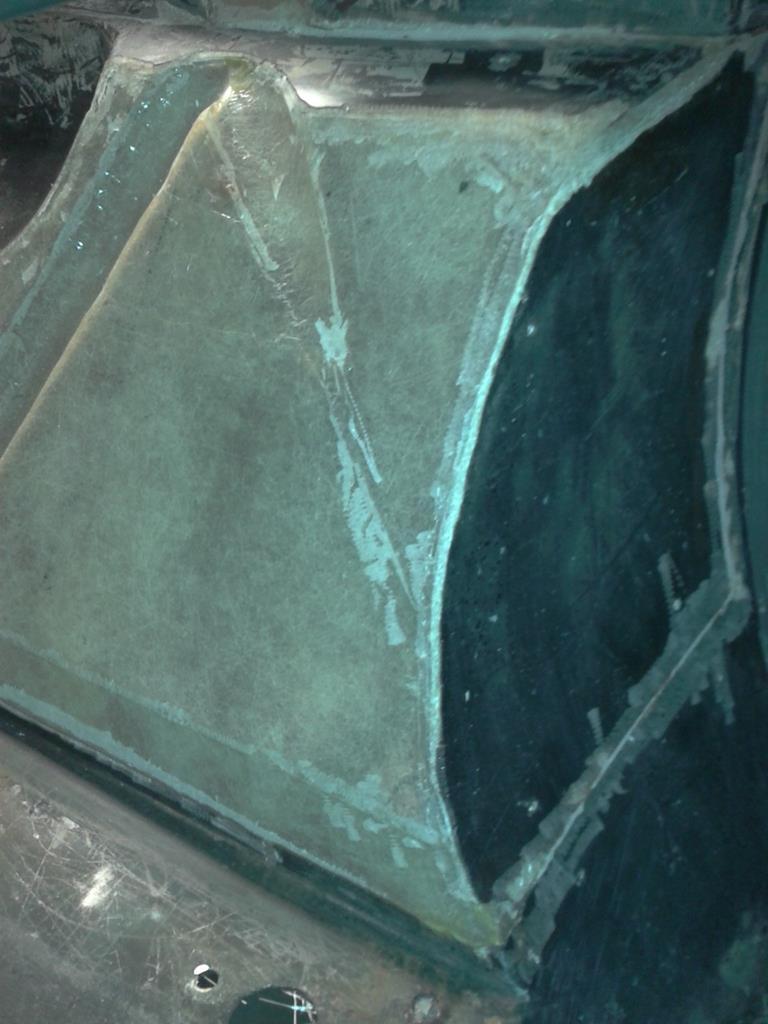
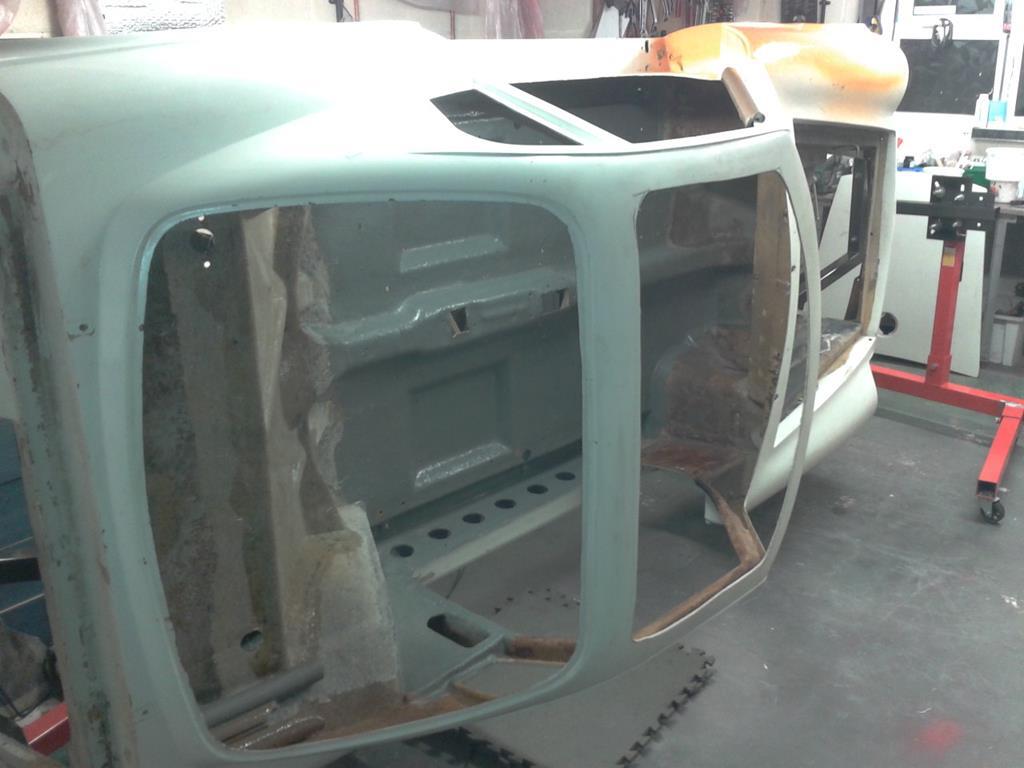
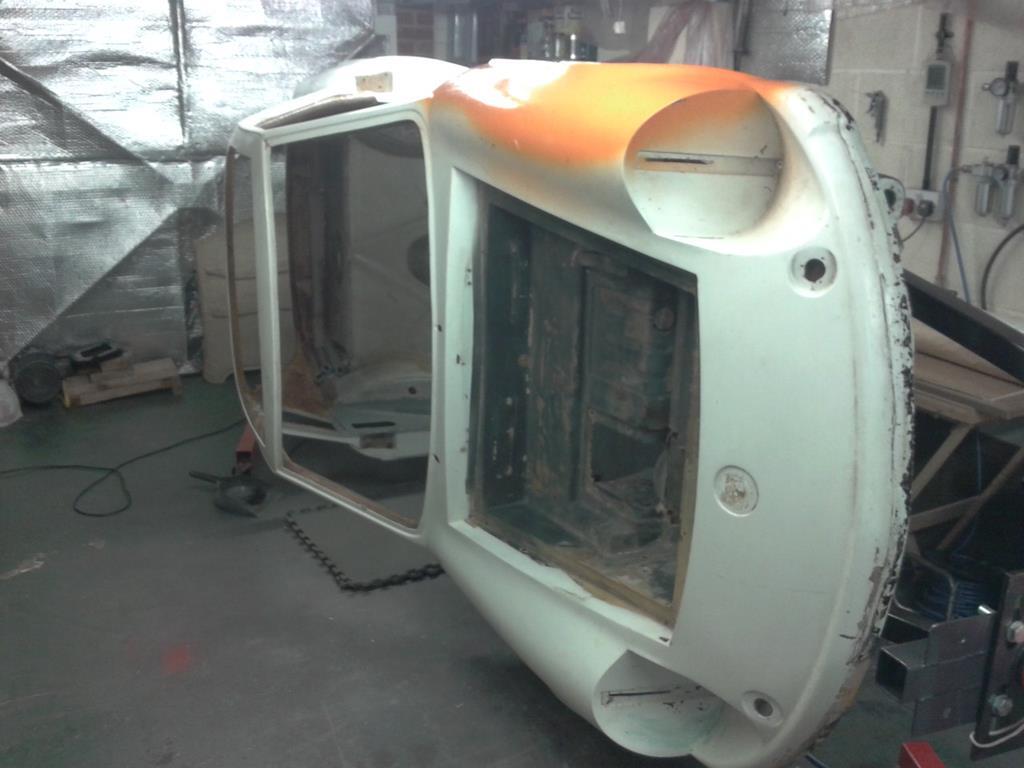
Another productive day at fibreglass central. 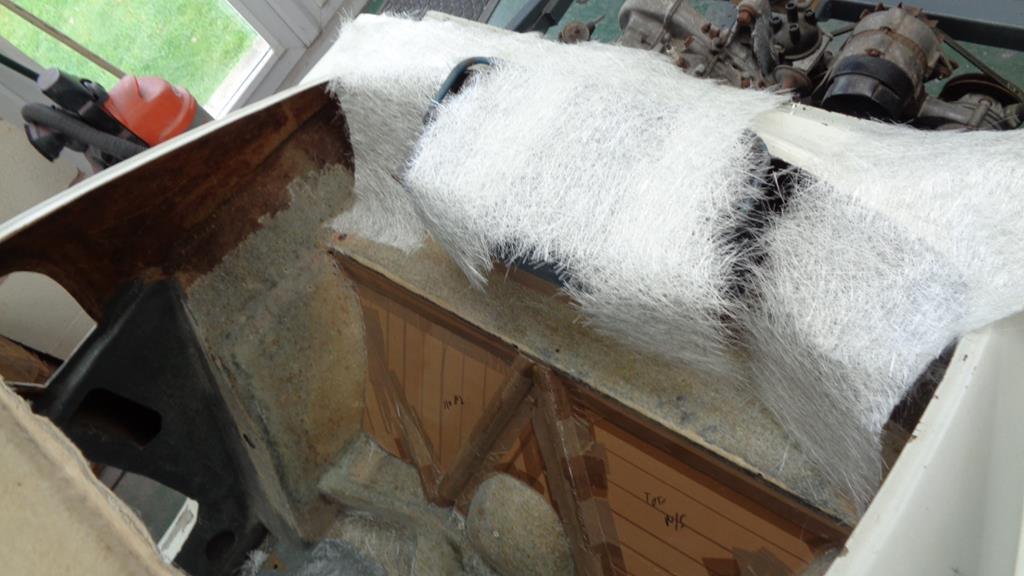 Started off with a first pass on the bulkhead of 3 pieces of 300gm to allow for plenty of movement when working the CSM into the close angles around the lagging and into the corners. The joins torn and reinforced with torn strips to make good. 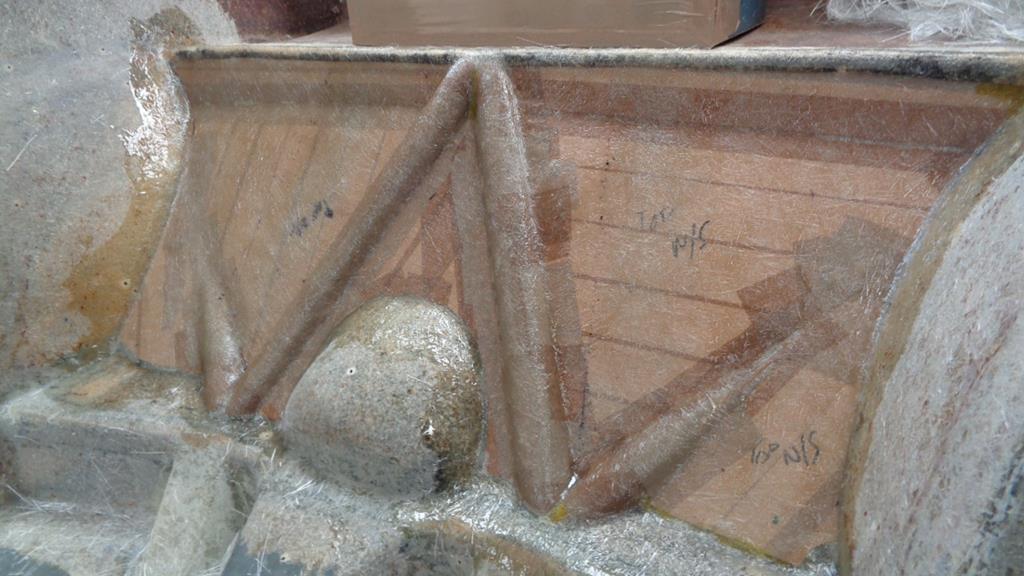 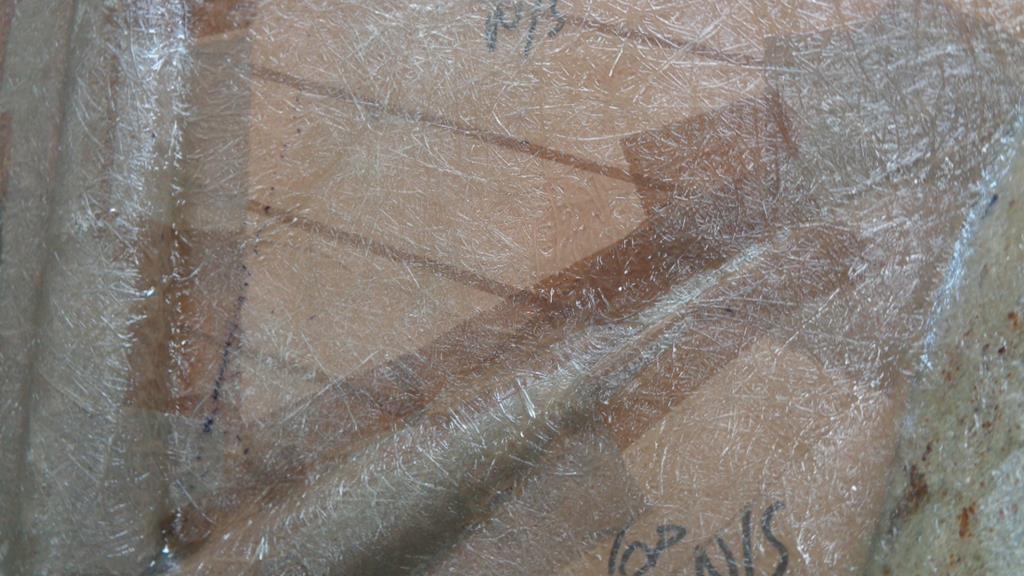 Once that was consolidated it was on with a another layer of 300gm in one piece this time that was again worked well into all of the angles and corners and was left to cure whilst we have lunch. 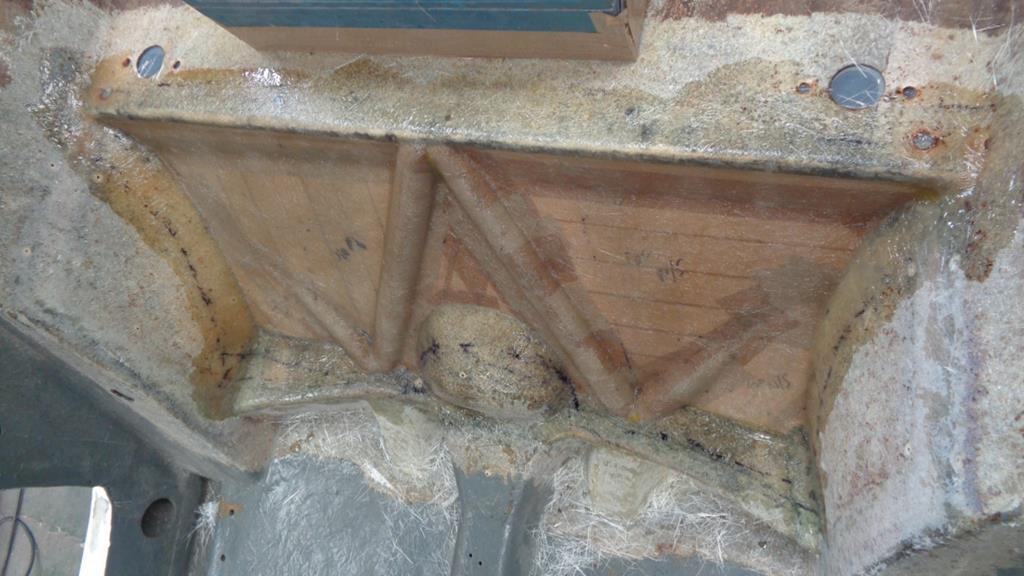 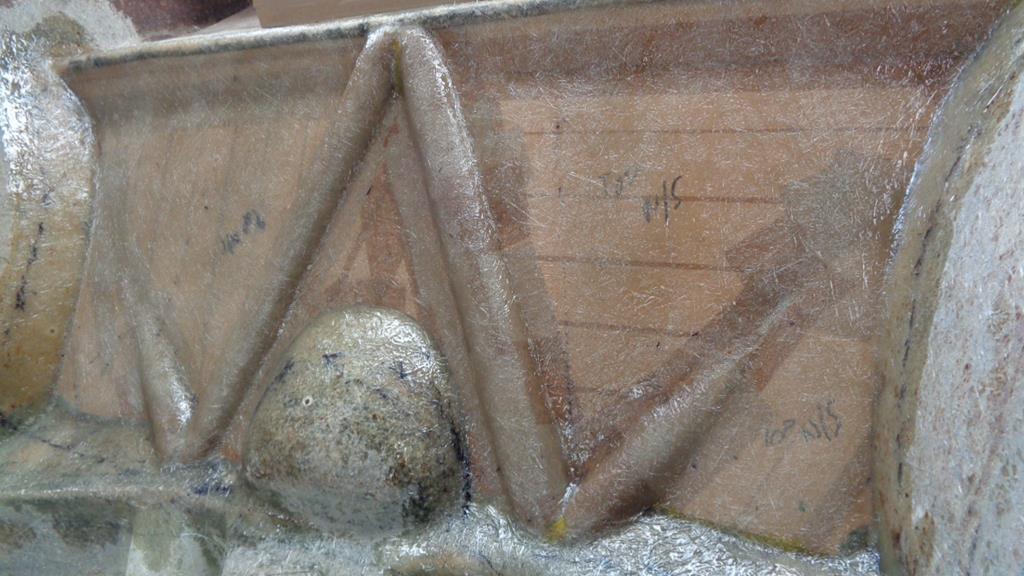 After lunch it was out into the haze of styrene fumes once again to produce a rear wheel arch liner - On the early cars Ginetta fitted a full glass fibre liner that covered the inside of the rear wheel arch - later on they just used a small square of steel to provide a support to the back of the wheelarch where the engine cover seated on it but left the chassis in the arch mostly unprotected. 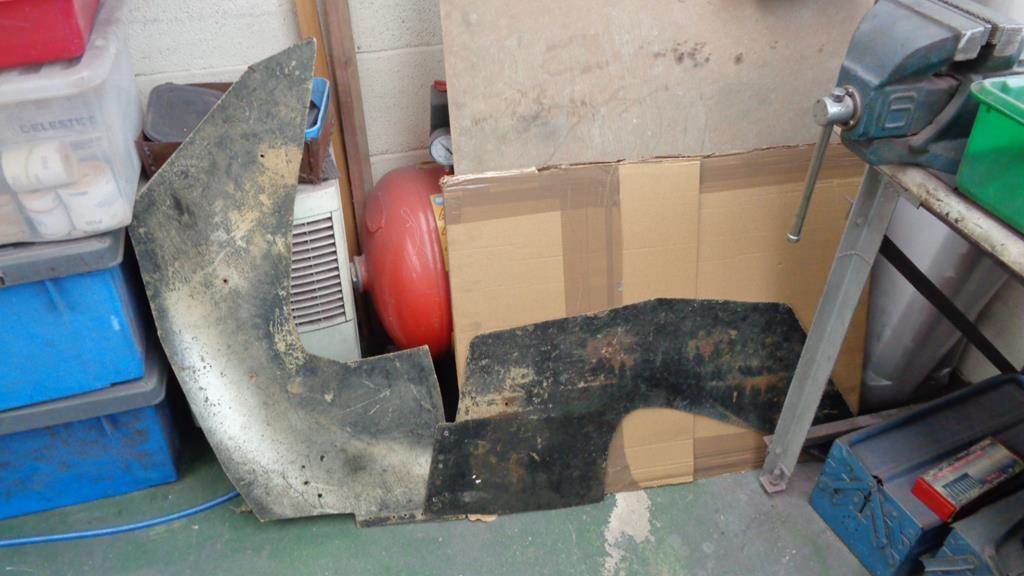 We made a up a flat surface from Polyprop sheet taped to a sturdy bit of MDF - which will also get some use with making the new dash panel for the Gemini - and taped an outline that was oversize of the arch liners as they will be extended slightly to provide a full cover of the chassis. 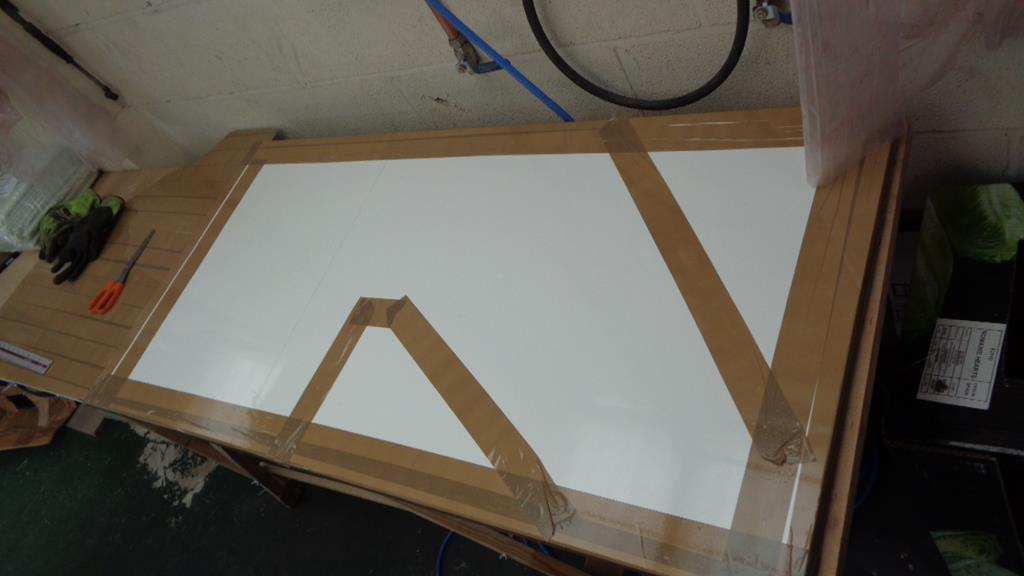 Black gel coat went on at 600gm/sqm - which was left to tack whilst we went for the third brew of the day. 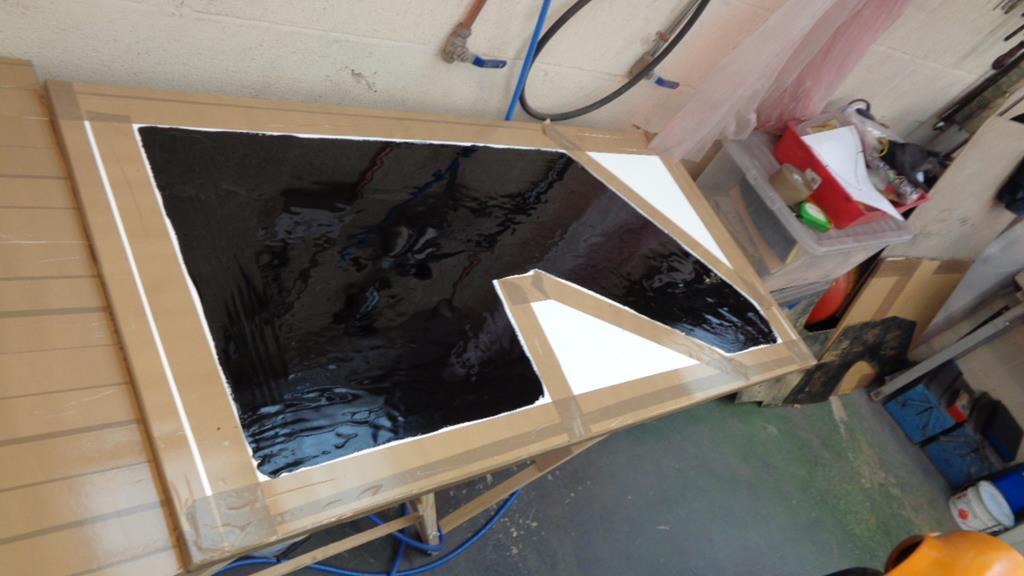 3 x 300gm of CSM was cut to shape and 1100gms of resin with some black pigment was mixed up - if trying to add up the weights. Gel was 250gms used CSM 400 gms Resin 900gms So the full weight of the panel will be about 1.2kgs when its trimmed for fitting - the 3 x 300 + gel will be about 2.5mm thick 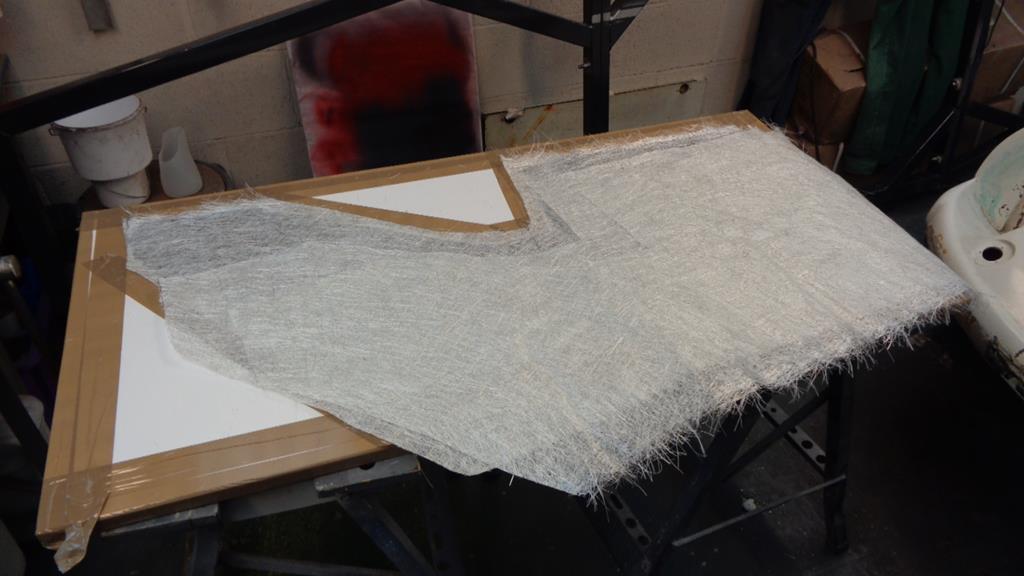 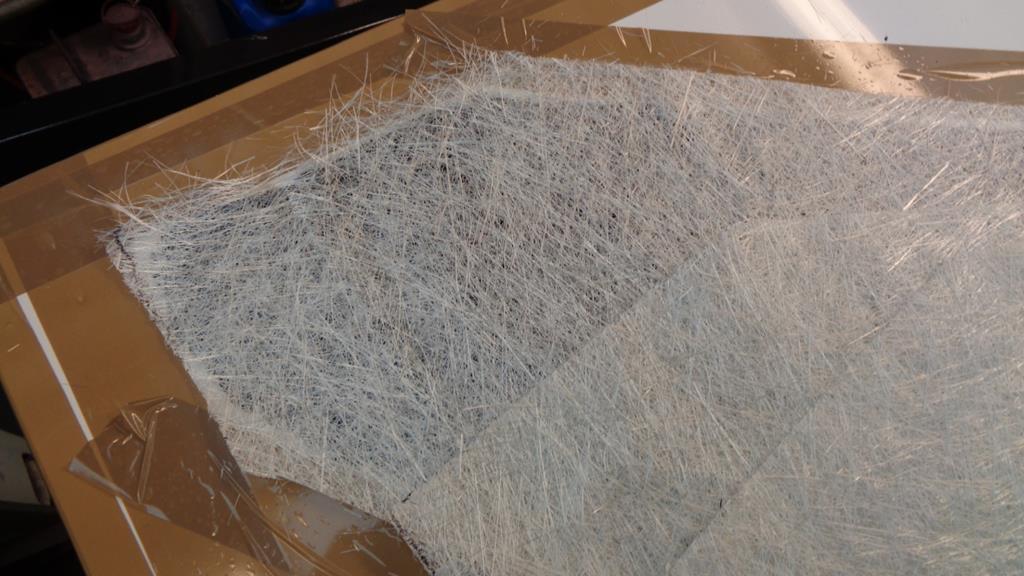 Consolidated with the roller and wicked out. 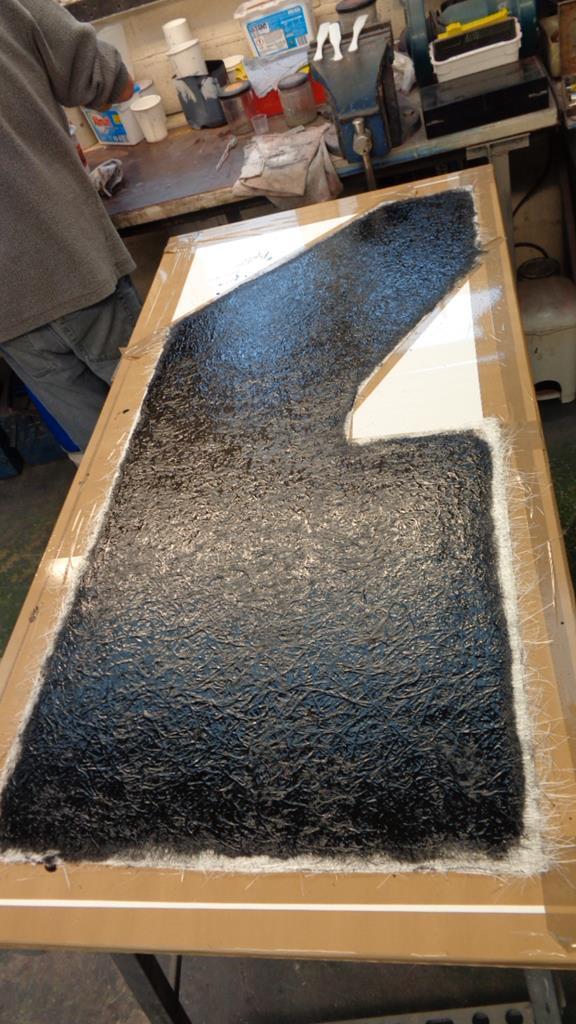 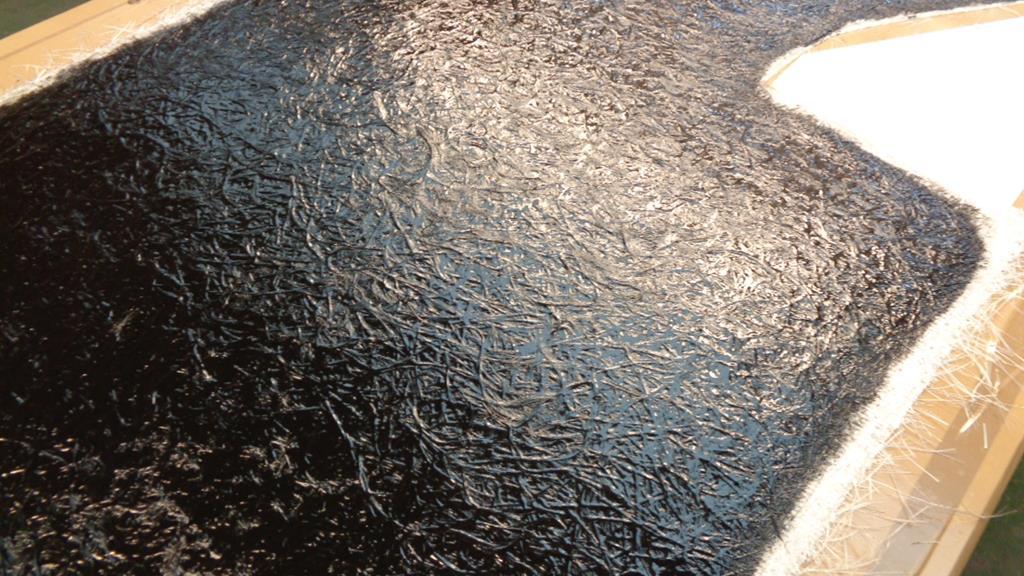 Leave it all to fully cure until Monday when we will remove the body from the chassis and look to fit it onto the rotisserie so that the back of the bulkhead moulding works can be cleaned up - We will also be able to look at the works on the sunroof and may even start the process with the die grinder to feather the edges of the existing laminate. |
| |
|
|
|
|
Darkspeed
Club Retro Rides Member
Posts: 4,867
Club RR Member Number: 39
|
1970 Ginetta G15 Darkspeed
@darkspeed
Club Retro Rides Member 39
|
|
|
Important. I am posting this here as it is relevant not to my thread or posts but to people who are involved with Ginetta's / Classic cars / retro cars in general to just be aware of the person in the link below and his crimes. He has been the treasurer of the Ginetta Owners Club for a number of years and been a very active member of the club. Please do not under any circumstances make any sort link or association whatsoever between the club, Ginetta or any others who are involved with the marque and this scumbags utterly reprehensible activities but as he still owns 3 cars he may well surface in the future with the cars or around the marque. Previously working for JLR and other automotive companies he may well continue in our sphere of interest so I think it is important to try and make as many people as possible aware. www.birminghammail.co.uk/news/midlands-news/pervert-dean-petley-30-facing-17049702That's my bit done - normal service will resume shortly. |
| |
|
|
Darkspeed
Club Retro Rides Member
Posts: 4,867
Club RR Member Number: 39
|
1970 Ginetta G15 Darkspeed
@darkspeed
Club Retro Rides Member 39
|
|
|
Wednesday work party had commenced somewhat earlier in the day than normal with the good old Captain Itchy dropping a few layers of CSM in the hole that someone had cut in the upper rear bulkhead at some time in the past. 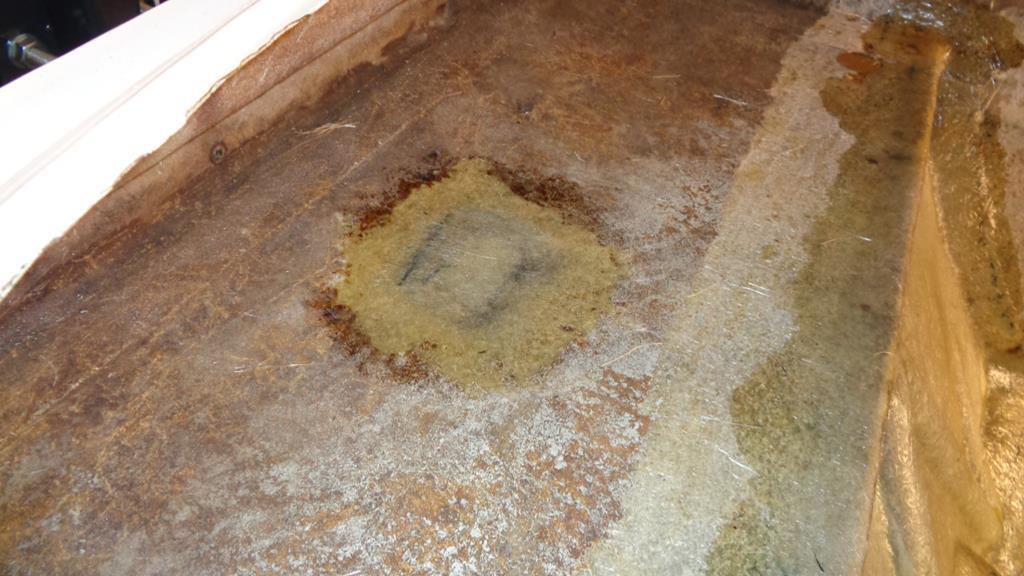 After tea and consideration we figured that rather than get absolutely covered in chips of old glassfibre laminate trimming up the rear of the car and starting on the roof we would leave that for Friday and instead do another wheel arch protection panel. Same lay-up as before just with some Grey gelcoat and a bit of Grey pigment in the resin mix. 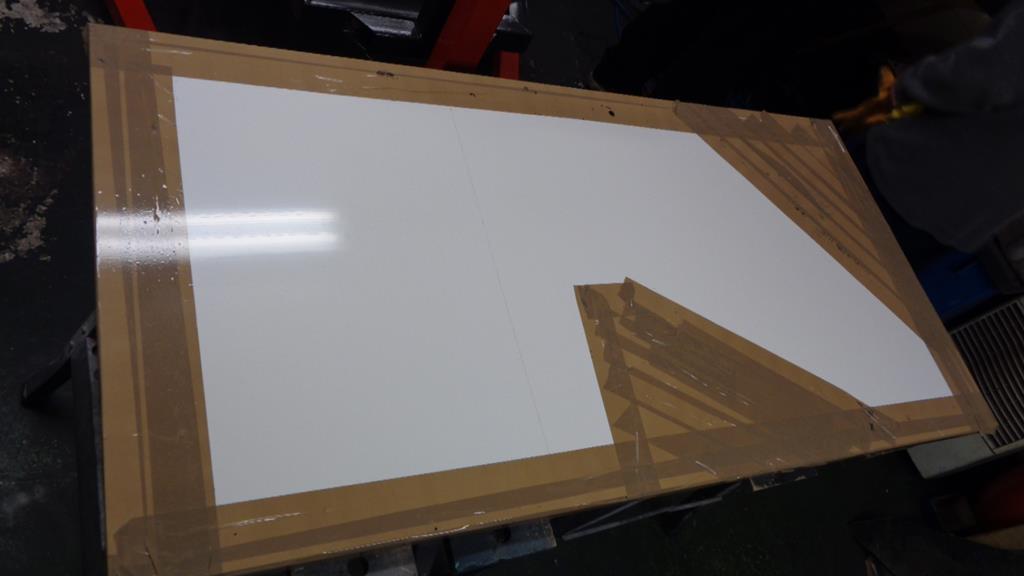 Gelcoat on 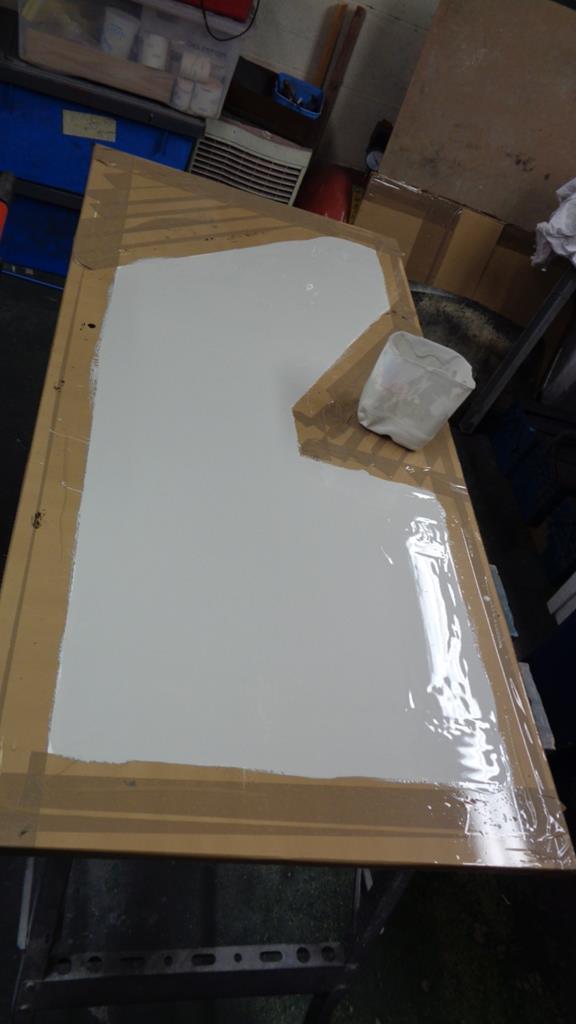 Laminated - consolidated - wicked 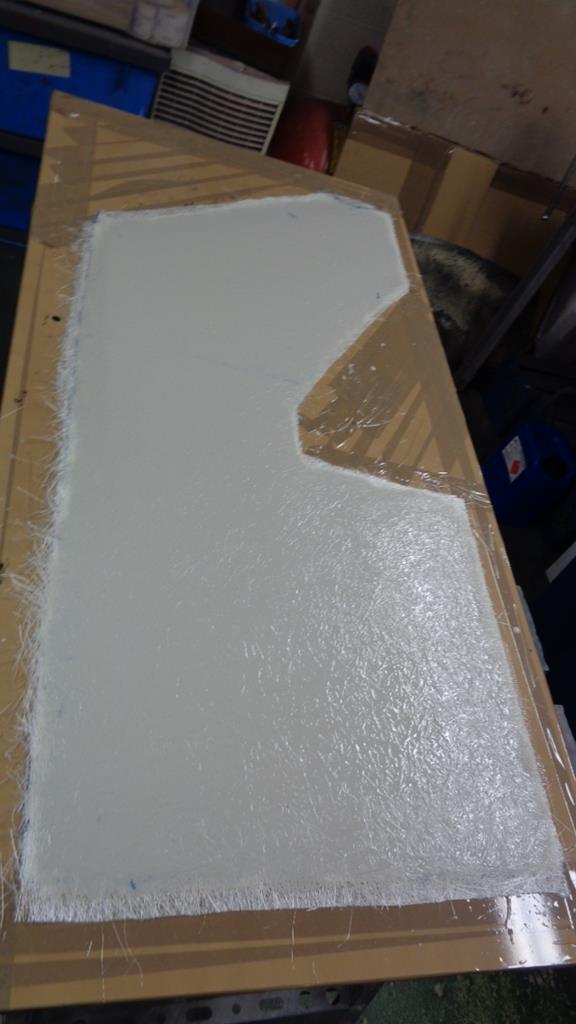  Leave that to one side until the weekend when we will remove and then swap the shape around and make a couple of the other hand. Really looking forward to getting stuck into the cleaning up of the back of the bulkhead and the prep on the roof as its really moving on now. I think this point in the build calls for a little Horace Silver number |
| |
|
|
|
|
|
|
|
|
Jazzzzzzzzzzzz
Cooooooooooool!
Free form - just like the GRP :-)
|
| |
|
|
|
|
|
Oct 11, 2019 15:16:02 GMT
|
|
Watcing all of the glassfibre work has me itching to give it a go myself! First order for that is to make some sort of extended transmission tunnel for my Spit's gearbox. Is the process just cover the thing in closed-cell foam'cardboard, coat that in packaging tape and then blash away? Can't be that simple surely...
|
| |
|
|
v8ian
Posted a lot
  
Posts: 3,828
|
|
Oct 11, 2019 17:33:45 GMT
|
Watcing all of the glassfibre work has me itching to give it a go myself! First order for that is to make some sort of extended transmission tunnel for my Spit's gearbox. Is the process just cover the thing in closed-cell foam'cardboard, coat that in packaging tape and then blash away? Can't be that simple surely... I have made heater ducts from "soft" cardboard meaning the felty type rather than finished glossy cardboard, then all glued together with folded tabs, double check it fits, and then give it a good dose of polyester resin, it was a revelation to me how good the bits turned out from my sceptical starting of the project |
| |
Atmo V8 Power . No slicks , No gas + No bits missing . Doing it in style.
Austin A35van, very different------- but still doing it in style, going to be a funmoble
|
|
Darkspeed
Club Retro Rides Member
Posts: 4,867
Club RR Member Number: 39
|
1970 Ginetta G15 Darkspeed
@darkspeed
Club Retro Rides Member 39
|
Oct 11, 2019 20:59:26 GMT
|
Watcing all of the glassfibre work has me itching to give it a go myself! First order for that is to make some sort of extended transmission tunnel for my Spit's gearbox. Is the process just cover the thing in closed-cell foam'cardboard, coat that in packaging tape and then blash away? Can't be that simple surely... On the "how easy is it" front I find it quite easy to do - However, having see some of the repairs on Ginetta's etc. by others, I can also say that it's quite clear that others find it quite easy to do incorrectly. If you can follow instructions and take care with preparation then it should not be at all difficult - my advice is to practice on a small project first. Main thing is that getting quantities correct is essential. |
| |
|
|
|
|
Darkspeed
Club Retro Rides Member
Posts: 4,867
Club RR Member Number: 39
|
1970 Ginetta G15 Darkspeed
@darkspeed
Club Retro Rides Member 39
|
Oct 13, 2019 22:28:31 GMT
|
Got a good few hours on the car today and completed the majority of the work on filling in the sunroof panel. This car left the factory with a Weathershield/Webasto roll back type sunroof the roof popular at the time was then partially filled back in as some stage and a dreadful glass roof was fitted. Okay we may be able to forgive as it was probably the 80's when when fashionable to do such things to classics.   . First round of works was to drill the roof and the mould for fixing screws - Started off marking the roof 1-1/4" from the lip of the hole at 4" spacings around the corners and a 6" spacing along the sides - root diameter of the screws in the roof and a full clearance hole in the mould. so that the roof would be pulled to the mould. 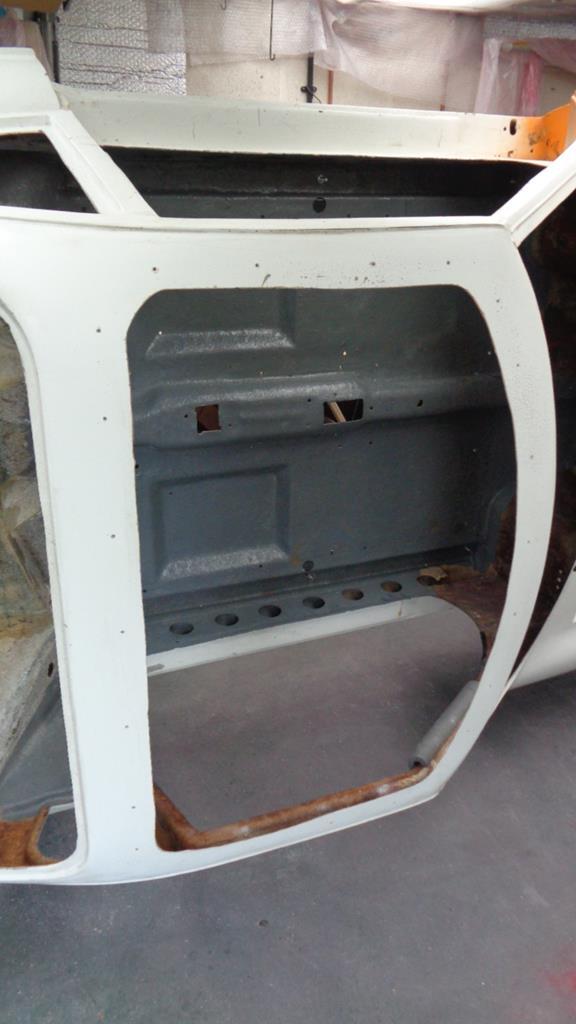 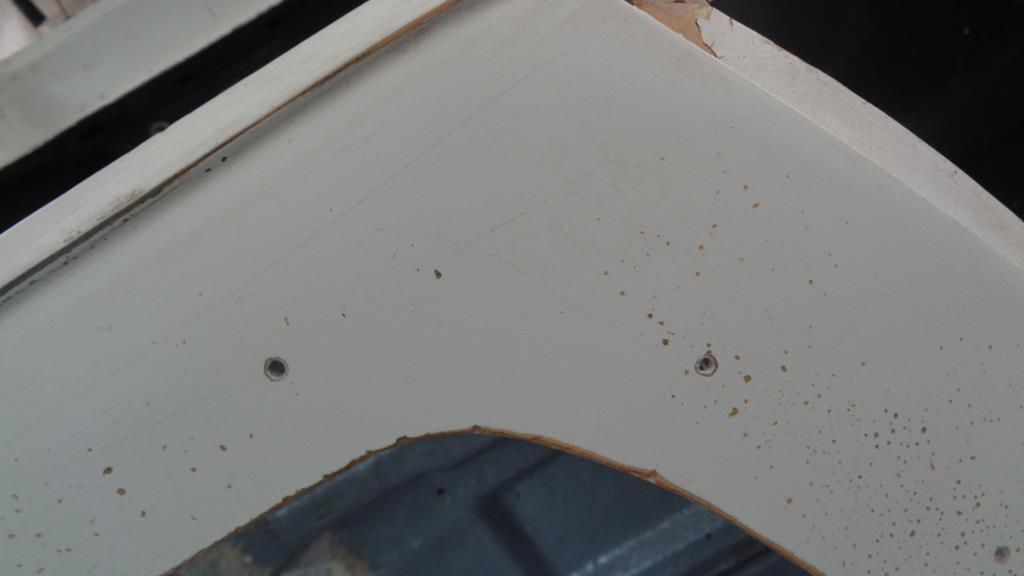 In these pictures you can also see where the body had been ground with a taper back to allow for the material overlaps 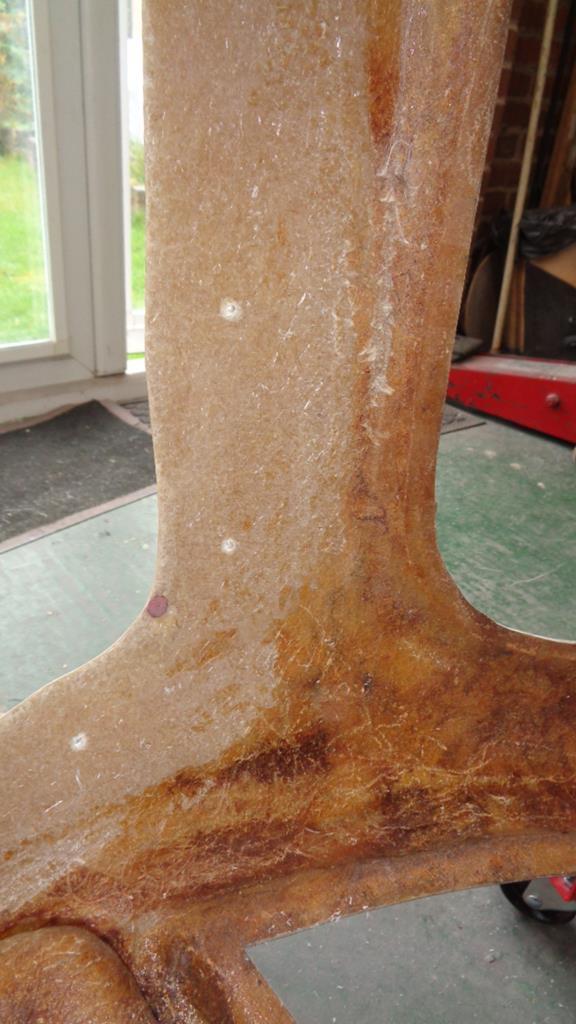 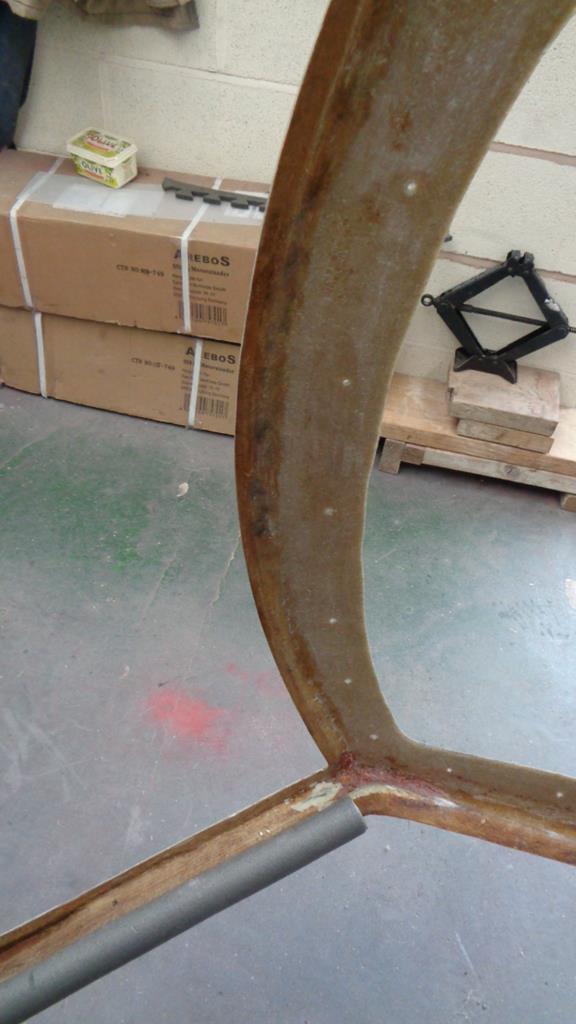 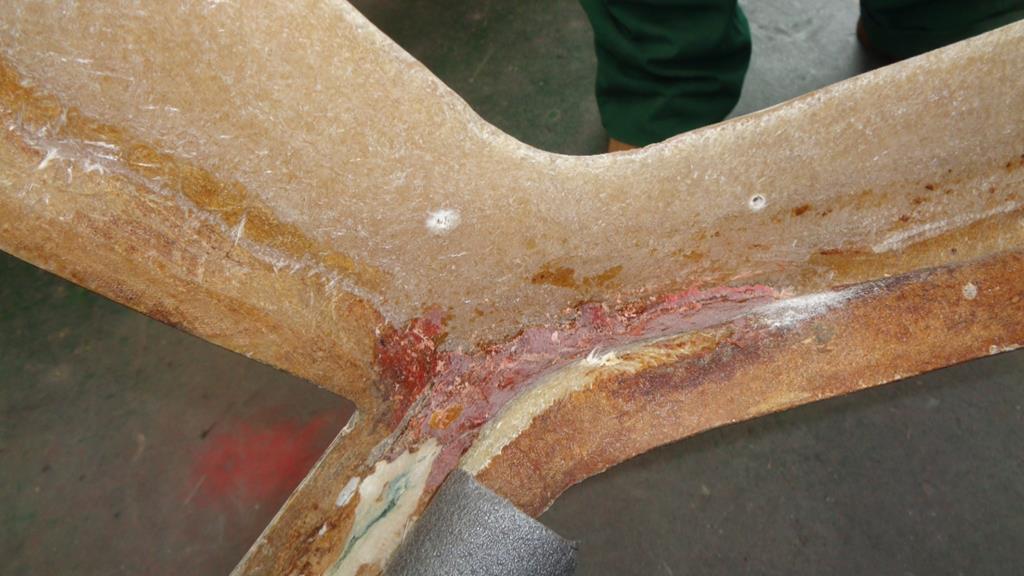 And where one of the original Webasto mounting holes had been filled. 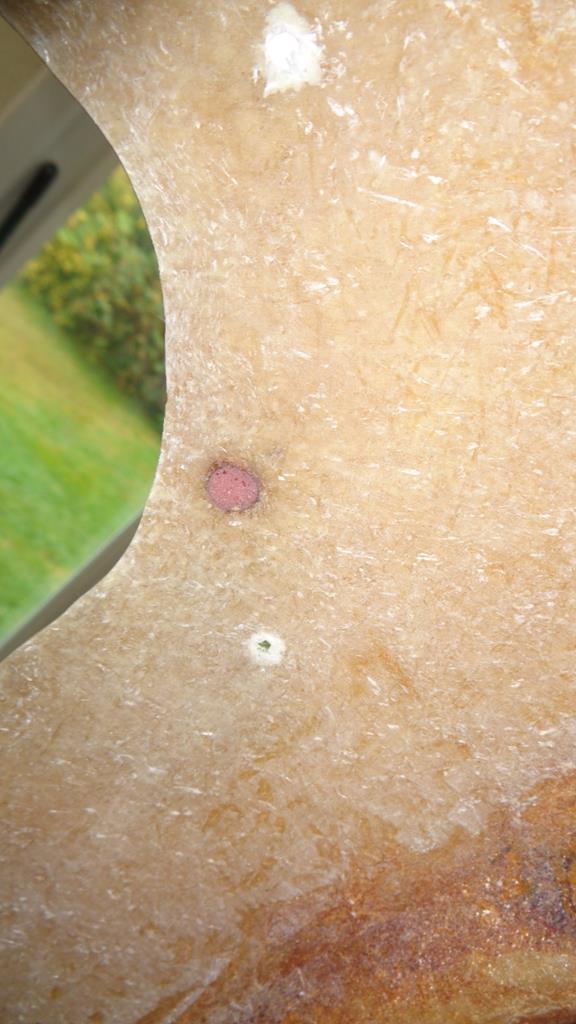 The mould was given a quick polish and then four coats of release wax 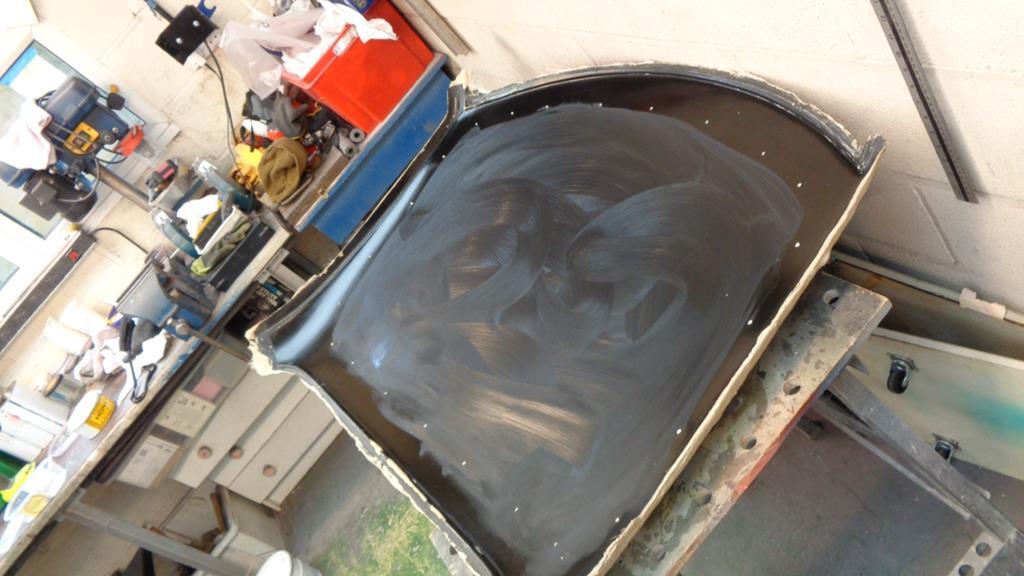 In between waiting for the wax coats to flash off the 5 separate layers of CSM were trimmed to size. The repair for the roof comprises of: Gel coat - A thinnish layer this of gel as the car originally did not have a gel coat but as we have a few layers of paint on the body a thin gel layer does a good job of matching it. Surface tissue - A very fine CSM layer that prevents print through of the following layers of CSM into the gel. First CSM layer - 300gm this is the first layer that will bridge the hole by about 3/8-1/2" Second CSM Layer - 600gm a good solid layer to bulk the panel another 3/8 larger Third and forth CSM layers - 300gm each one a little larger than the previous to provide our final laminate thickness 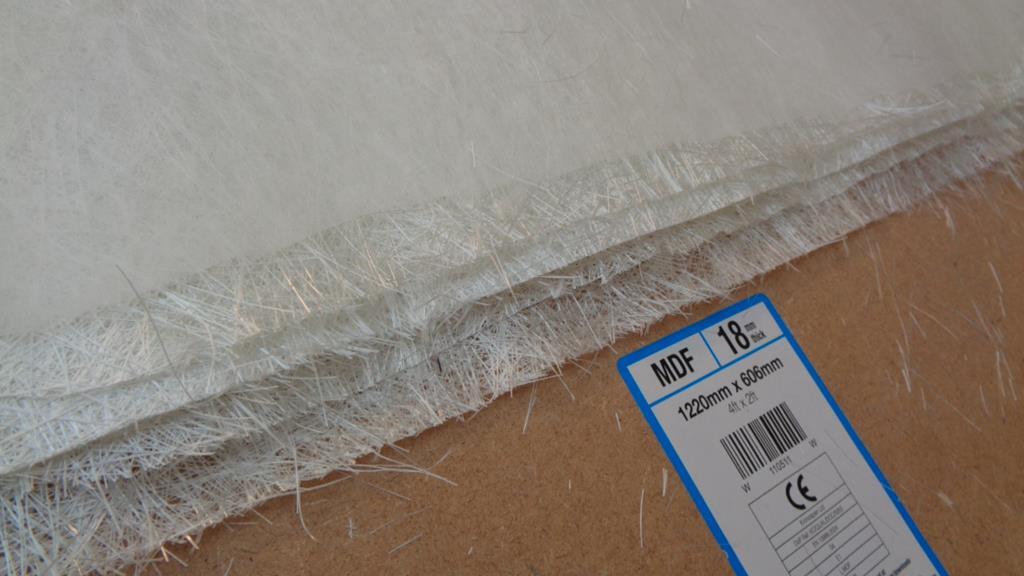 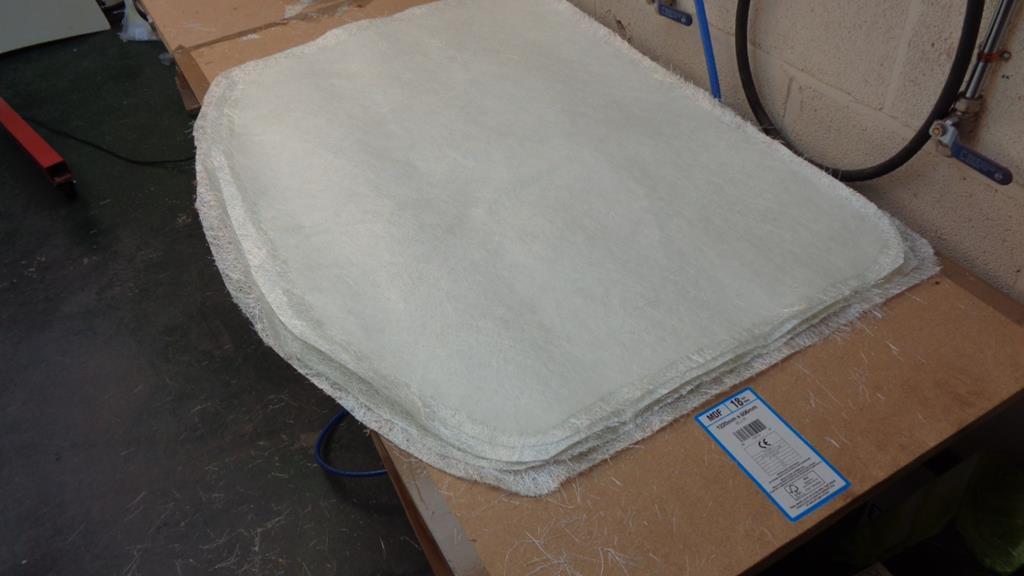 The CSM total weight was around 800gms - the Resin approx 2200gms and the gel 300gms - total weight of repair works - 3.3kgs Fixed in place but before a final once over with a tack cloth 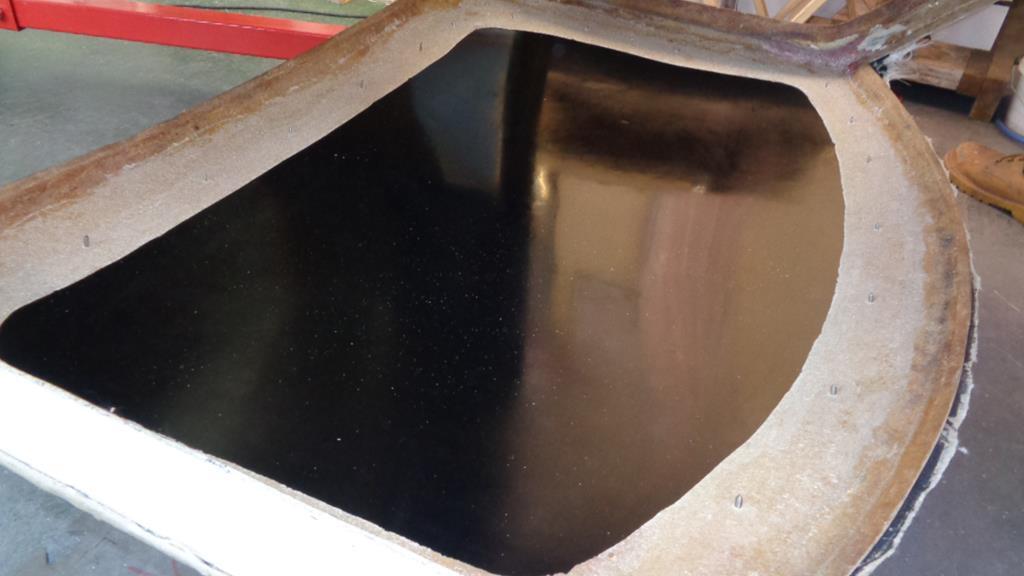 Gel applied 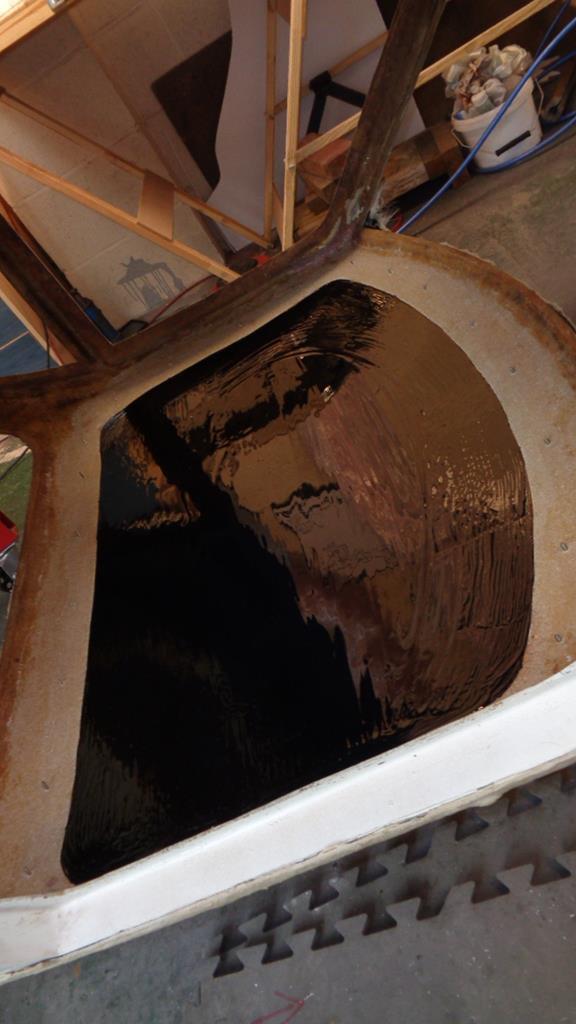 Surface tissue applied to the just tacky gel 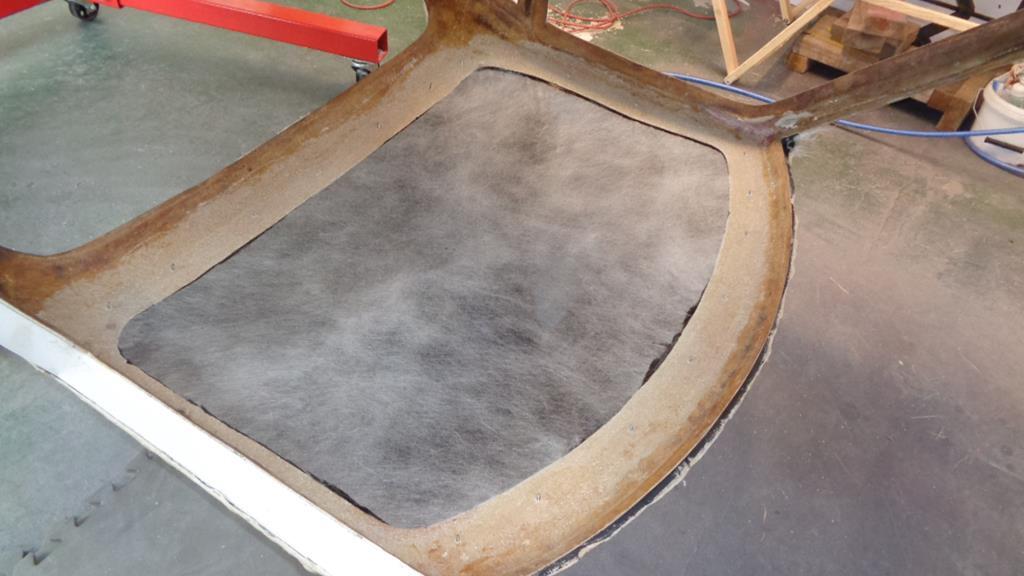 As things get really busy at this point and there is quite a lot of resin getting splashed about the camera does not re appear until... 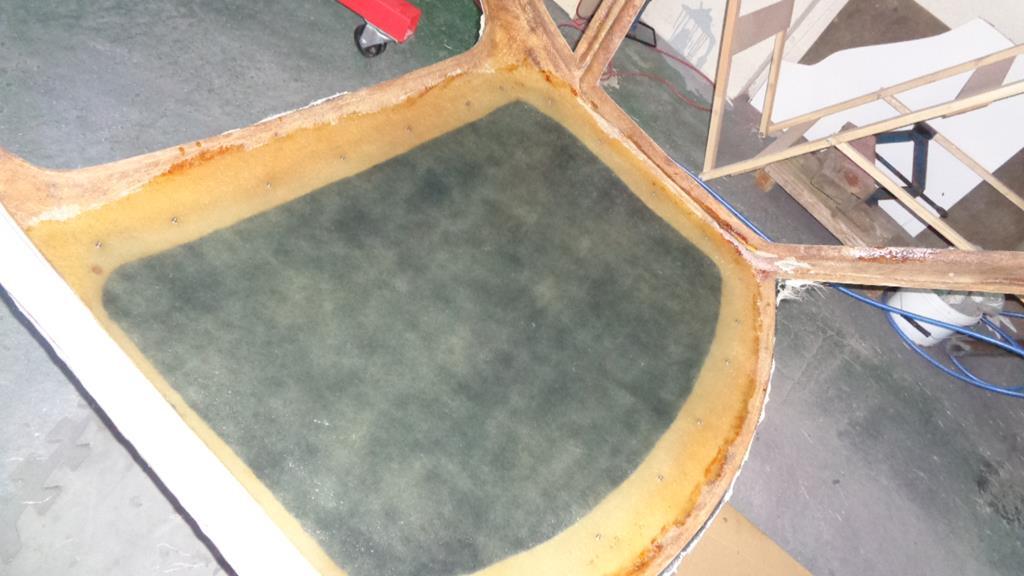 Done - will now be left until Wednesday to fully cure. |
| |
|
|
Darkspeed
Club Retro Rides Member
Posts: 4,867
Club RR Member Number: 39
|
1970 Ginetta G15 Darkspeed
@darkspeed
Club Retro Rides Member 39
|
Oct 13, 2019 23:33:19 GMT
|
|
There was also a casualty to report whilst the works above were being carried out - Itchy dropped his tea mug - The good news was that he had actually finished it so no tea was lost. Phew. At least I know what to get him for Xmas.....
|
| |
|
|
|
|
|
|
|
Is a fibreglass mug healthy?  |
| |
|
|
|
|
Darkspeed
Club Retro Rides Member
Posts: 4,867
Club RR Member Number: 39
|
1970 Ginetta G15 Darkspeed
@darkspeed
Club Retro Rides Member 39
|
|
|
|
How you seen how expensive those porcelain TIG rods are! - It would have to be a very special mug.....
|
| |
|
|
 this week as I was feeling a bit s-queezy but my good mate Mr B has been busy with his own set of carbides and cartridge rolls giving an Imp inlet manifold the works to port it out to suit CD150 Stroms.


