|
|
|
|
Darkspeed
Club Retro Rides Member
Posts: 4,867
Club RR Member Number: 39
|
1970 Ginetta G15 Darkspeed
@darkspeed
Club Retro Rides Member 39
|
Mar 30, 2021 21:10:22 GMT
|
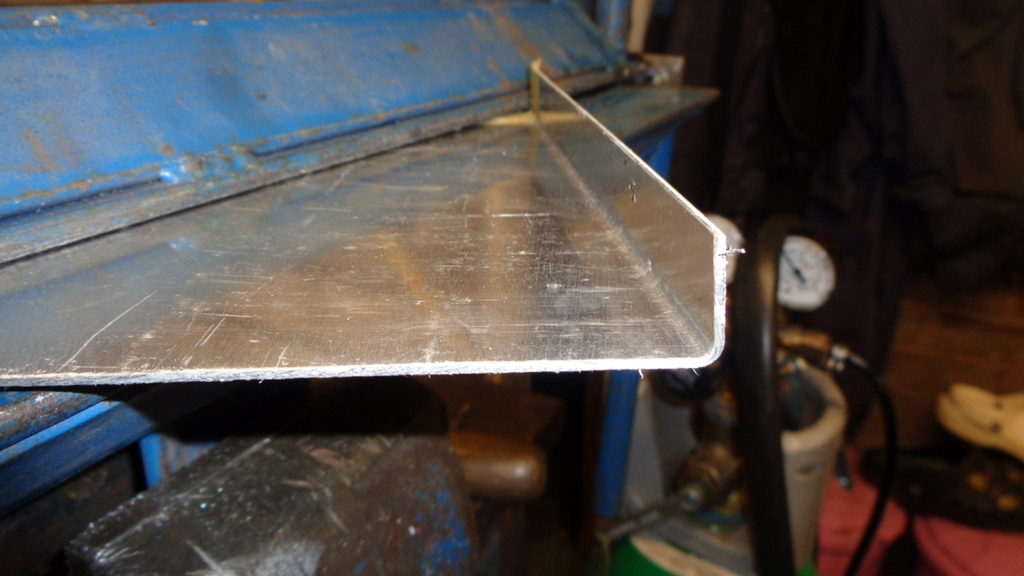
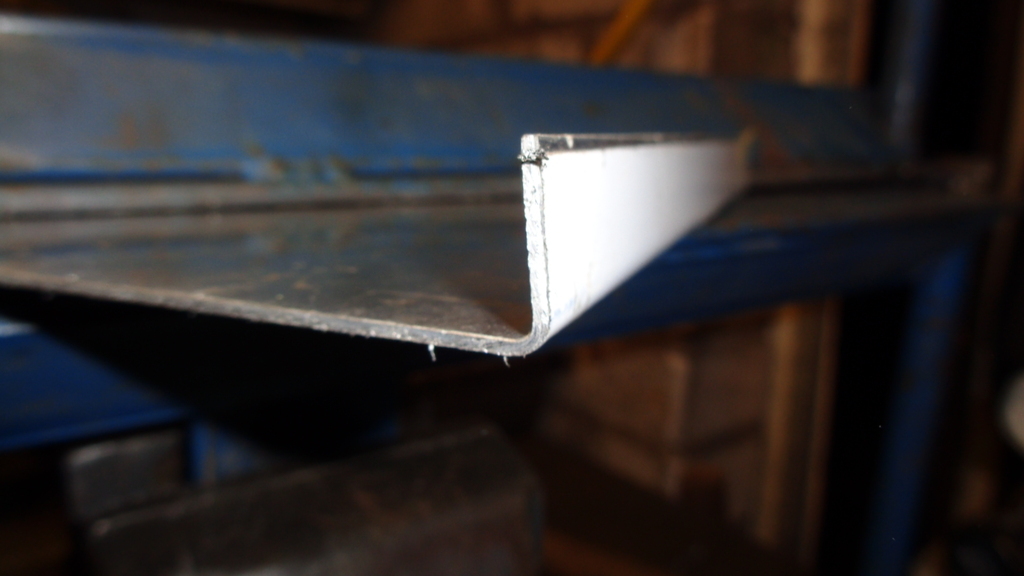
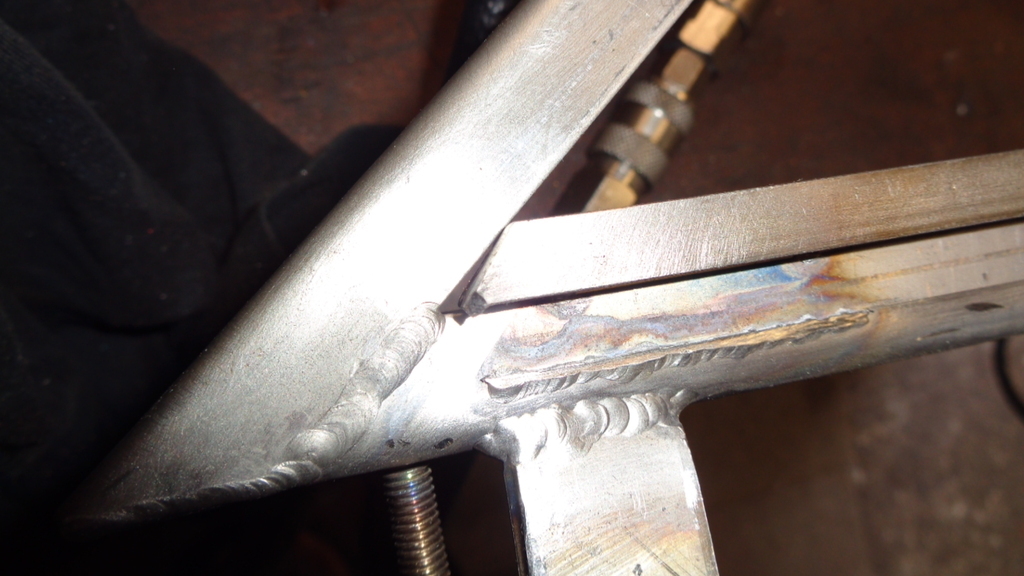
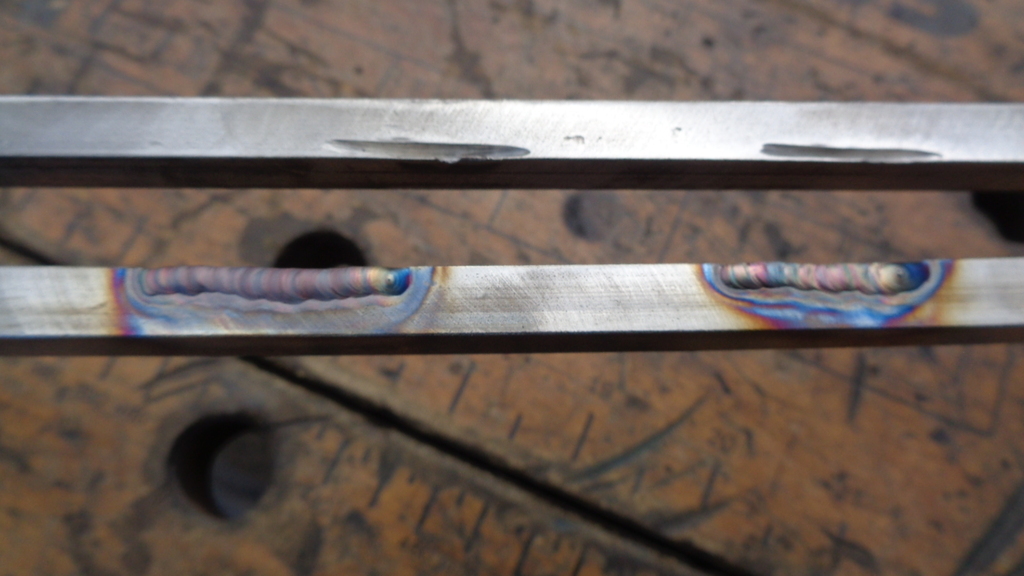
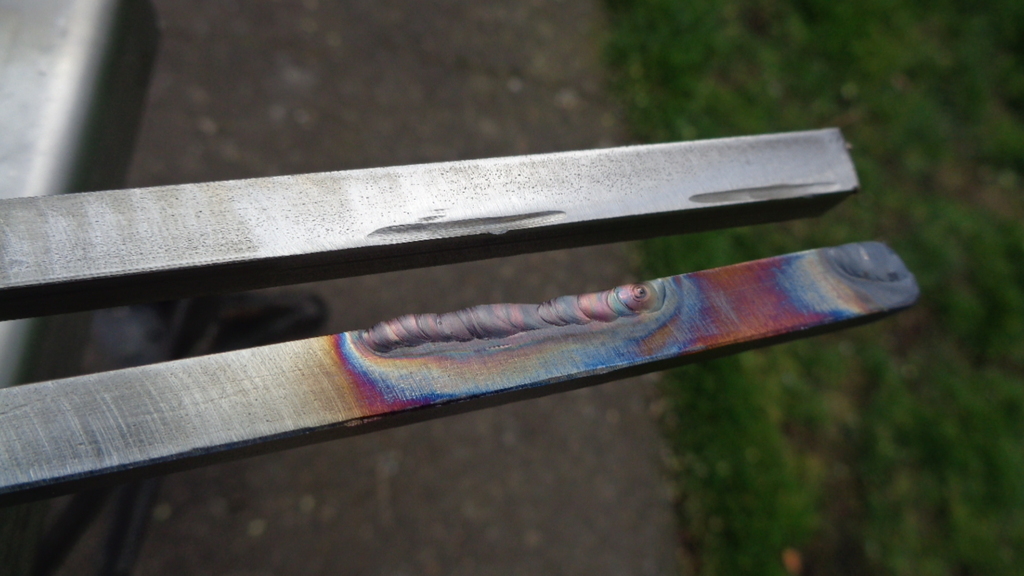
Righty then - welding 0.9mm aluminium - LOL I didn't help myself at all with this one First off I made a shonky cut with some snips on an edge that had been thinned due to bending trying to weld the two parts together with a sort of but weld suspended in mid air using a filler rod twice as thick as what I am welding. And it was a horror show. 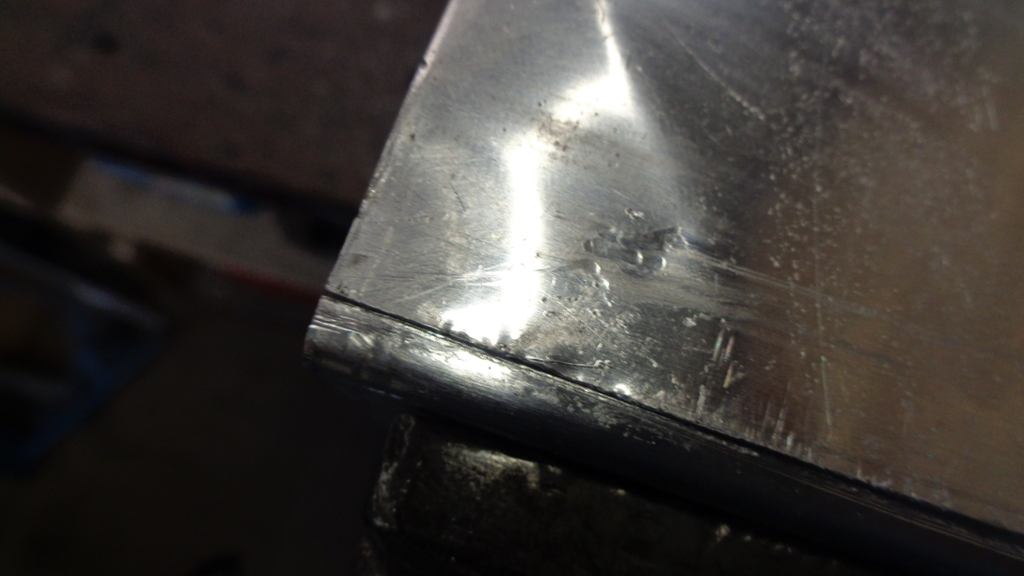 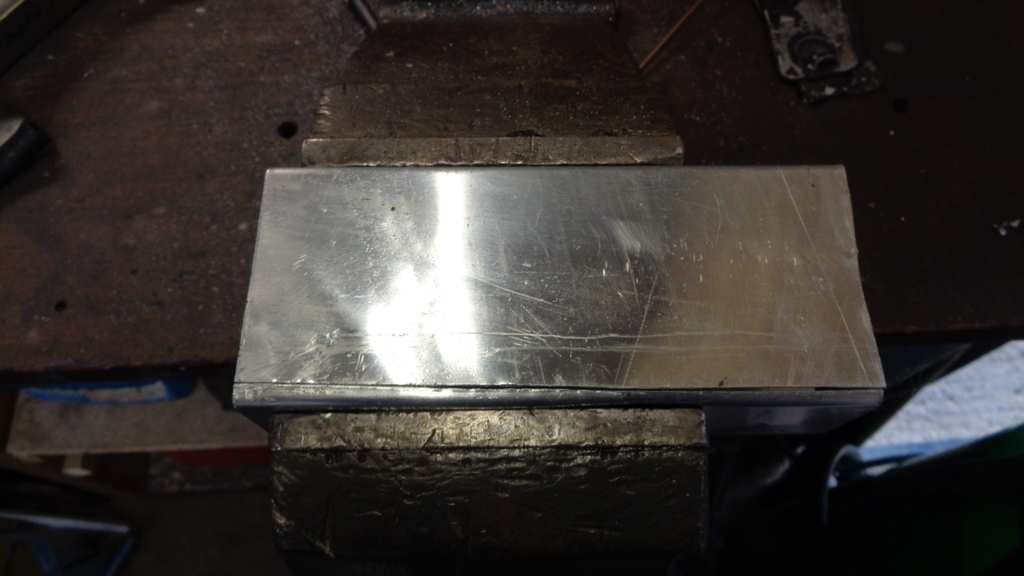 It did exactly as I thought bit would - As soon as the arc was struck it just melted back opening up a chasm - but being a bloke and doing what blokes do - hit with more heat LOL. Stopped and had a think and figured I needed to soak a bit of heat so I backed it with a bit of stainless angle that at least enabled me to weld melt some bits together. 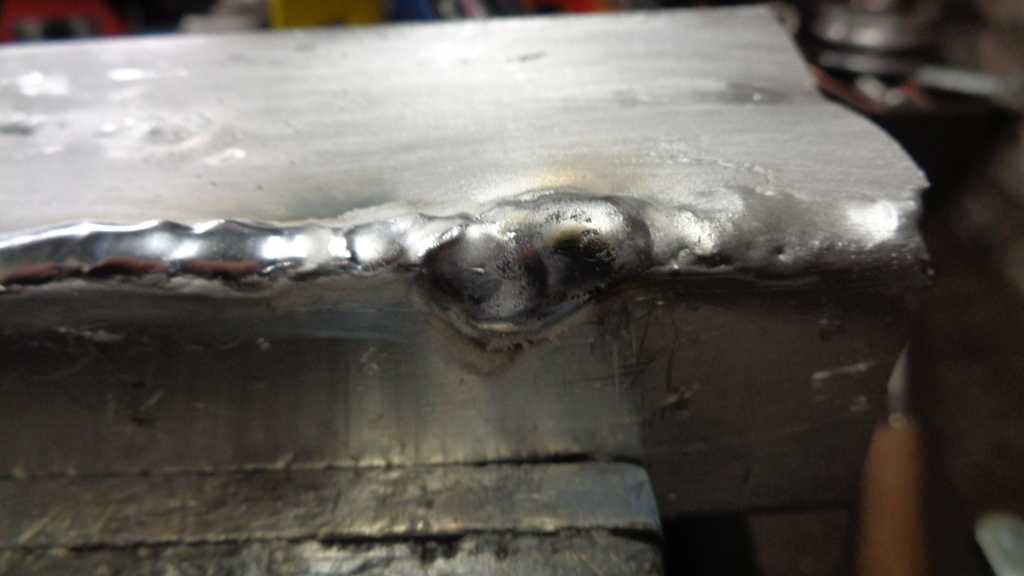 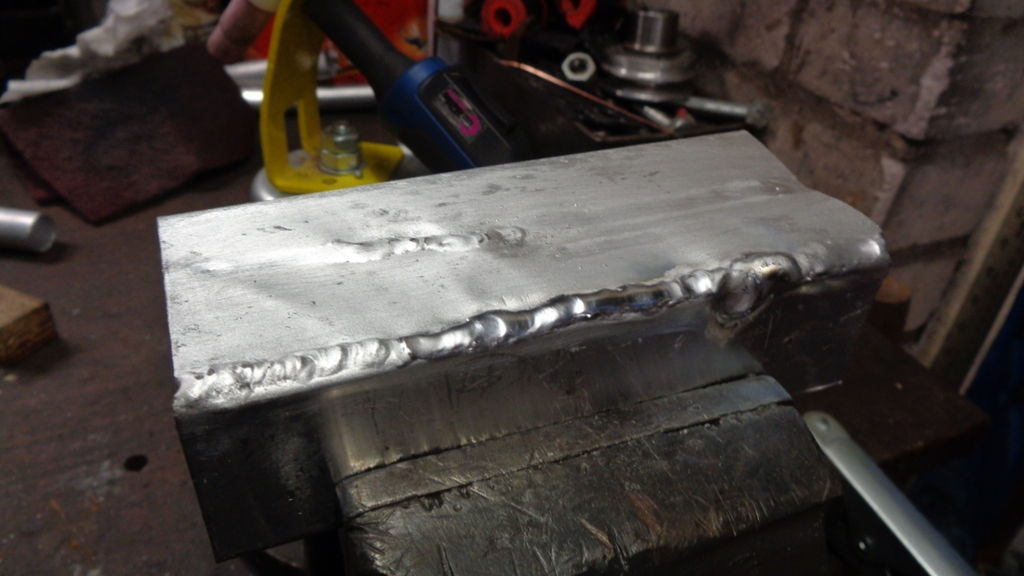 This was welding on welding just trying to fill the horrible burn back holes with tungstens getting contaminated - It was dreadful. So I did the same again ......... Cut another strip right on the bend and this time started with the stainless backing from the off. - It was only mildly better. 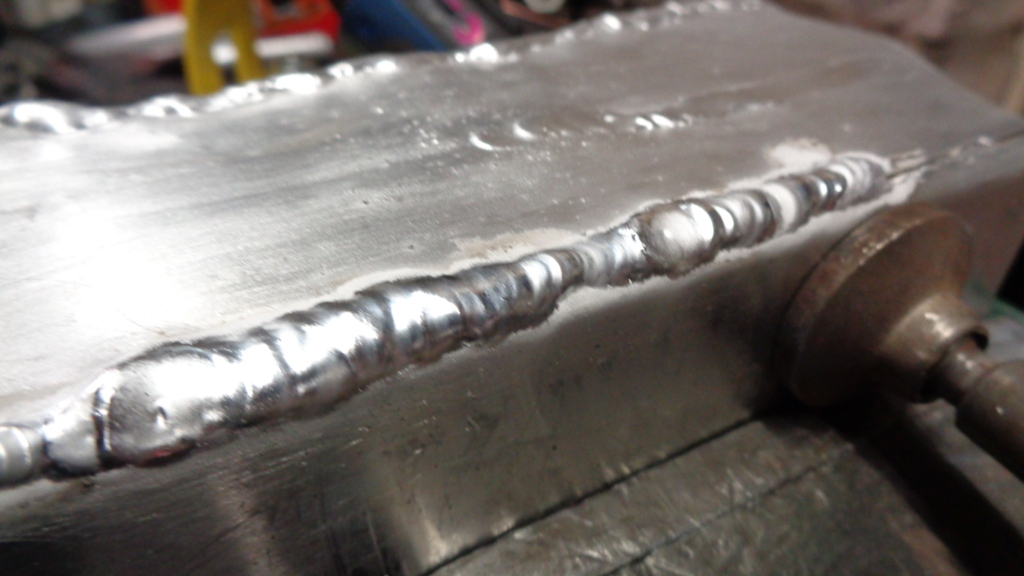 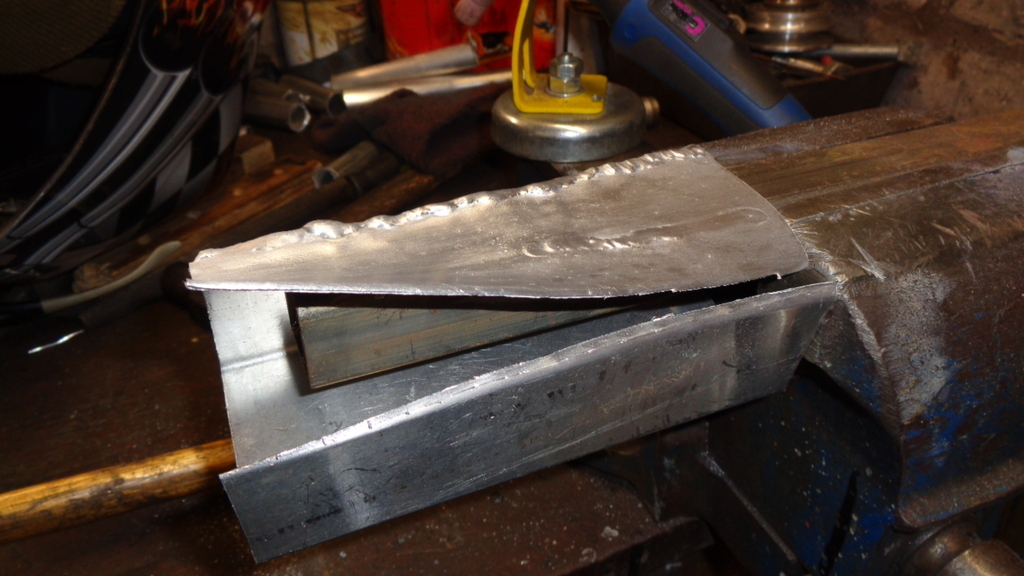 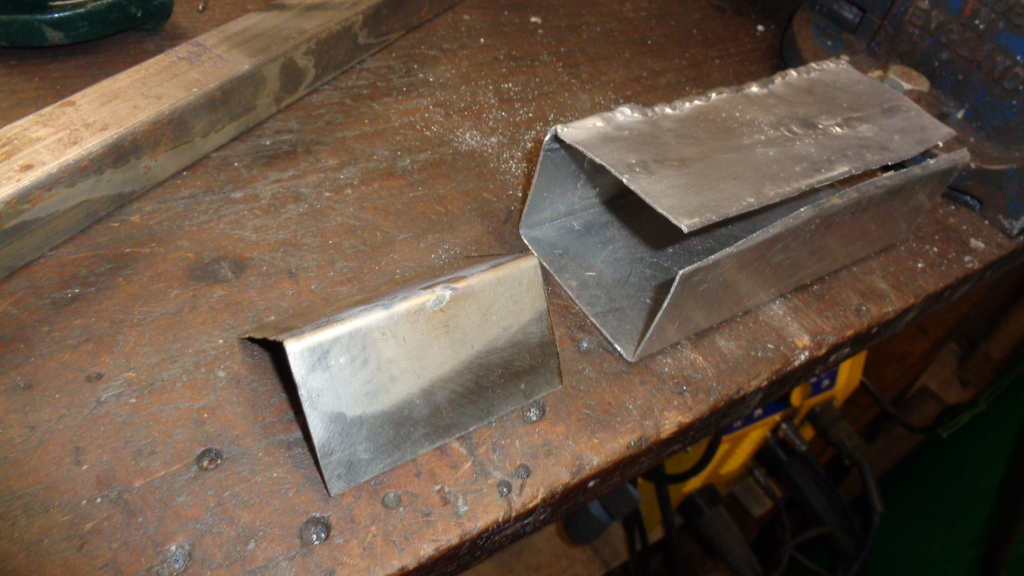 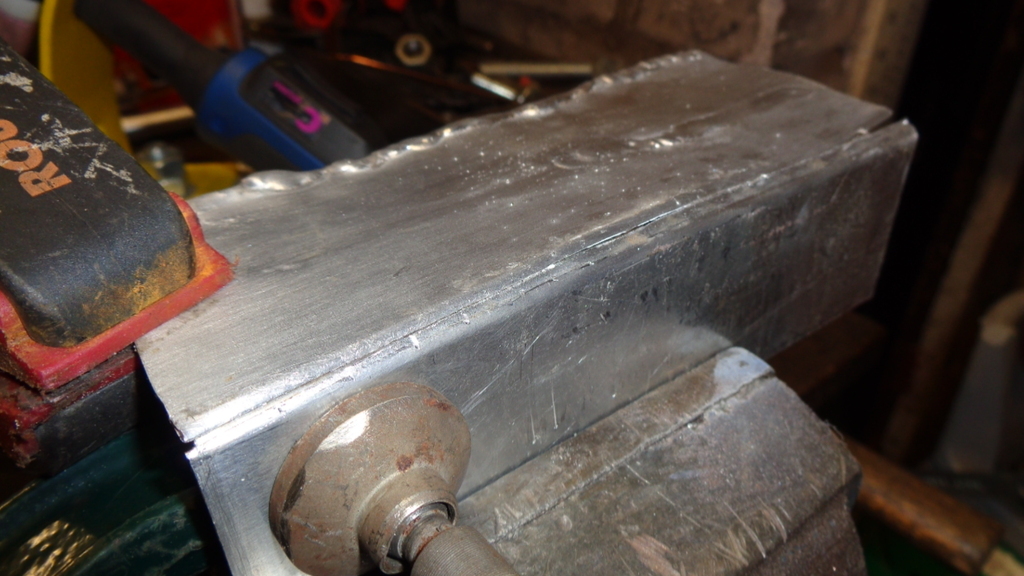 I did try a run or two just on the face of the box - and no problem I can hold a weld pool in 0.9mm no nproblem. Had dinner and watched a couple of you tube vids on welding thin alloy . Well the pro started with really thin 1.6mm ! - warned about using too thick a filler rod for the material and made some filler rods out of 1mm mig wire - "other wise you cannot fill" - he only had 3 mm rods and the issue will be the 1.6 plate will melt and all the 3mm will do is ball on the end of the rod. Lightbulb moment - Ah that's why my 1.6mm rods were balling back trying to weld 0.9. He then moved onto really ultra thin "tin foil" 1.0mm ! loads of effort with cleaning and making sure absolutely no gaps on the 90 join all nicely guillotined - and with 1.0 mm filler rod. Lovely weld as you would expect - perfect set up bench etc. etc. - but what struck me was the amount of parent material that was being used up as well as filler rod - what started as a razor edge 90 ended up with a very rounded bead probably taking the peak down at least 2mm. Hmmm Okay for a final hit even with a filler rod far to big lets try running a bead on top of the bend - which is 0.8mm 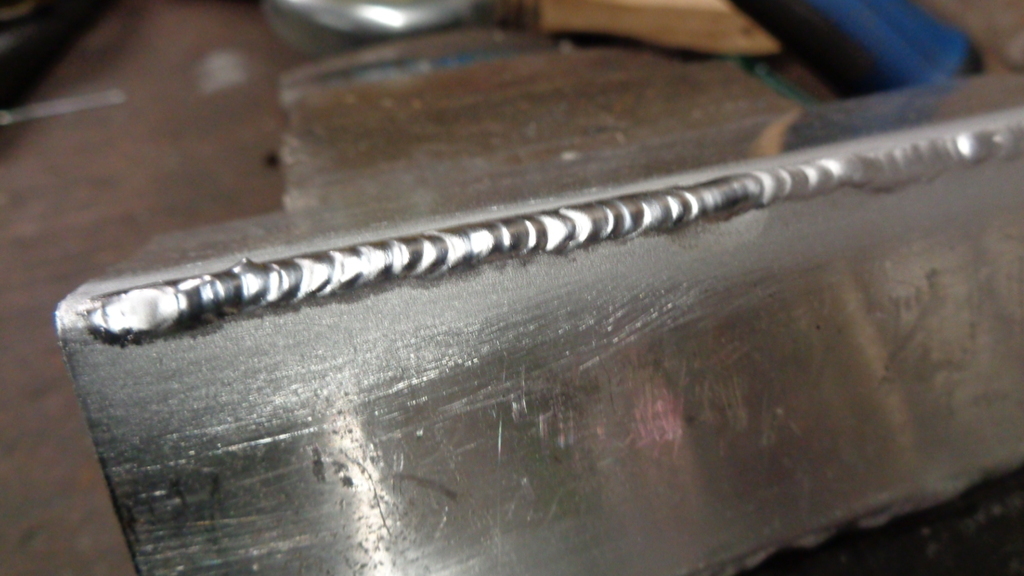 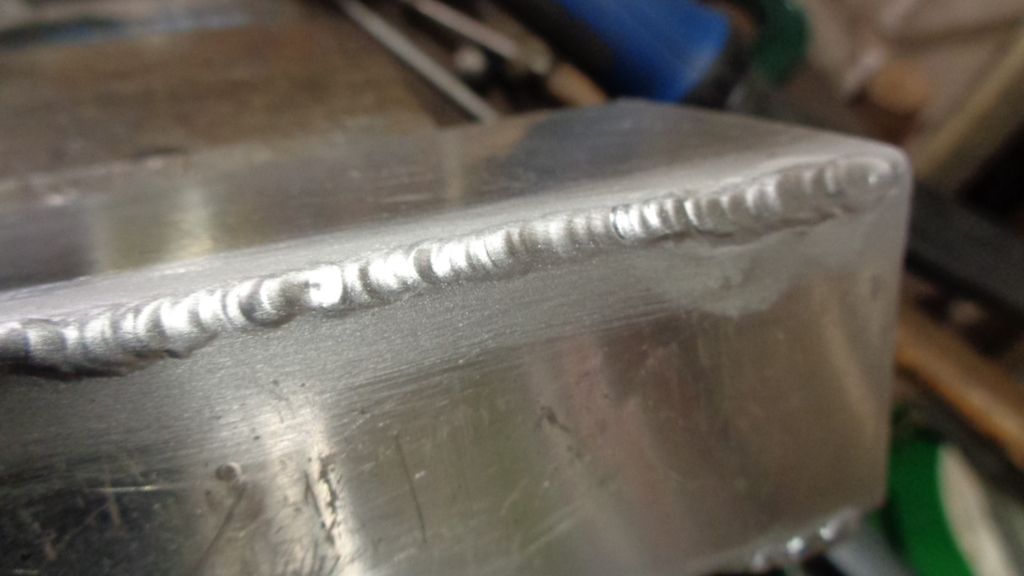 So The trick is when you fold these make sure that the end is a 90 degree joint - the welding will consume the material and give you a nice radius - also making something from 0.9 - for  sake do not bother unless you really have a masochistic streak. For scale that final bead on the top is 4.5mm wide - I probably could have done better with a smaller filler rod. The water tubes were only 1.6 ! - Must be a US thing that anything less than 1/8" is really thin material. So will and make a "really thin" 1.6mm alloy cube next. 2.0mm for a fuel tank will be a walk in the park. |
| |
|
|
|
|
|
Mar 30, 2021 22:48:06 GMT
|
|
At work we use steel angle behind the welds to take the heat out. We use small G clamps each end to hold it tight to the edges.
For a super sexy weld, try running the torch over the weld for a second pass without any filler rod. Just melt the weld again in one long smooth pass, gives a mirror smooth weld all the way along.
|
| |
|
|
Darkspeed
Club Retro Rides Member
Posts: 4,867
Club RR Member Number: 39
|
1970 Ginetta G15 Darkspeed
@darkspeed
Club Retro Rides Member 39
|
|
|
Extended the Easter holiday with a couple of extra days off tacked on each end and this morning was set aside to collect the G21 from Itchy's place where it had been sat for far too long due to the travel restrictions. Used the replacement Mitsi tow barge whilst the L200 is waiting for me to glue some steel into a couple of places on the chassis. The L200 has been replaced for daily duties by the ASX but the L200 will still be with us as a standby and lanes hack as Mrs DS does not like getting her new car dirty. Quite nice having mod cons like a reverse camera for sighting the tow bar, buzzers and bells that tell you one of the trailer indicator lamps is intermittent, and a rear window you can see out of. Shorter wheelbase helps as well.  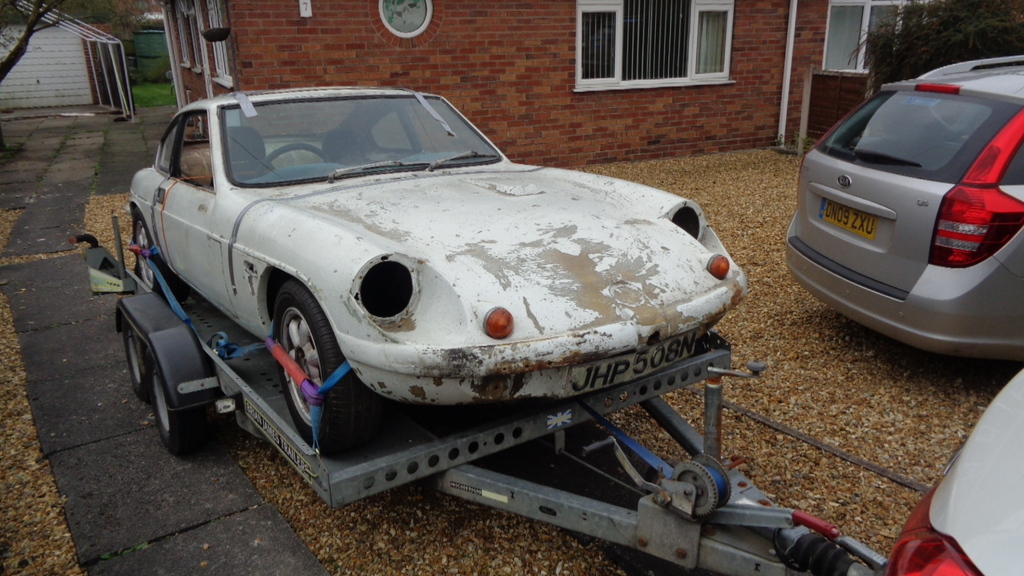 Now got to find somewhere to keep both the G21 and the trailer for a bit as I do not want the front overrun with cars again as there are too many already. |
| |
|
|
Darkspeed
Club Retro Rides Member
Posts: 4,867
Club RR Member Number: 39
|
1970 Ginetta G15 Darkspeed
@darkspeed
Club Retro Rides Member 39
|
|
|
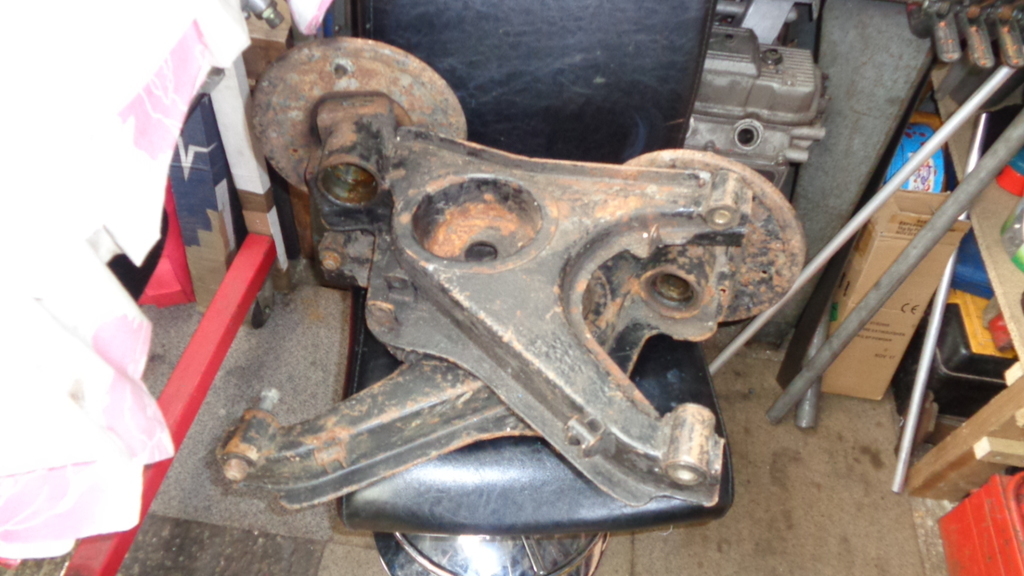
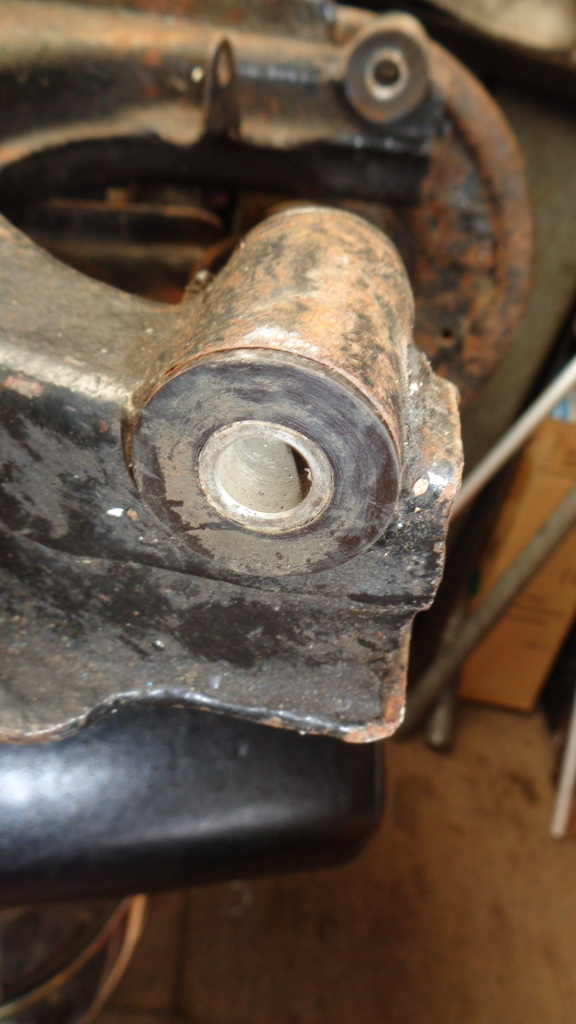
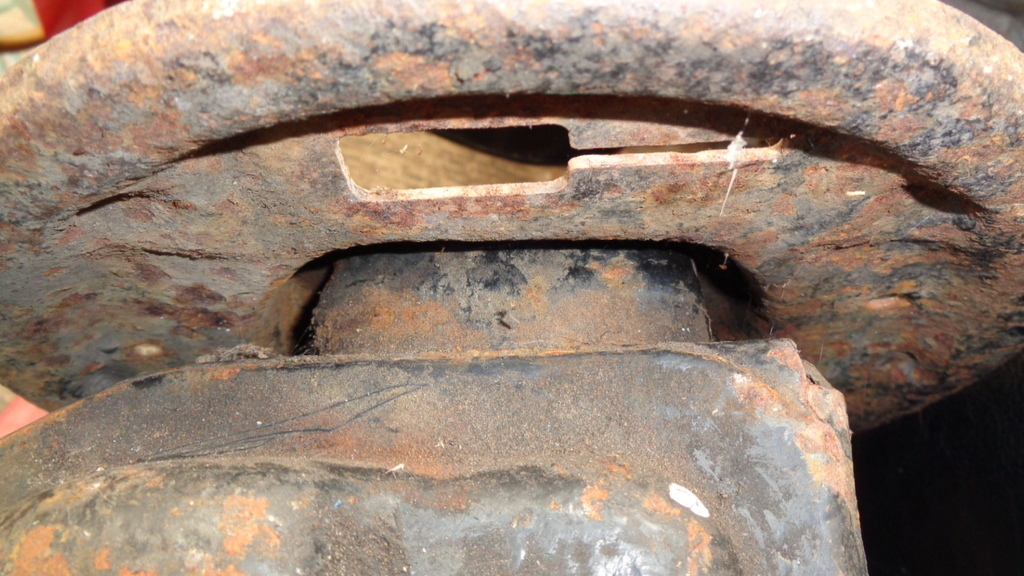
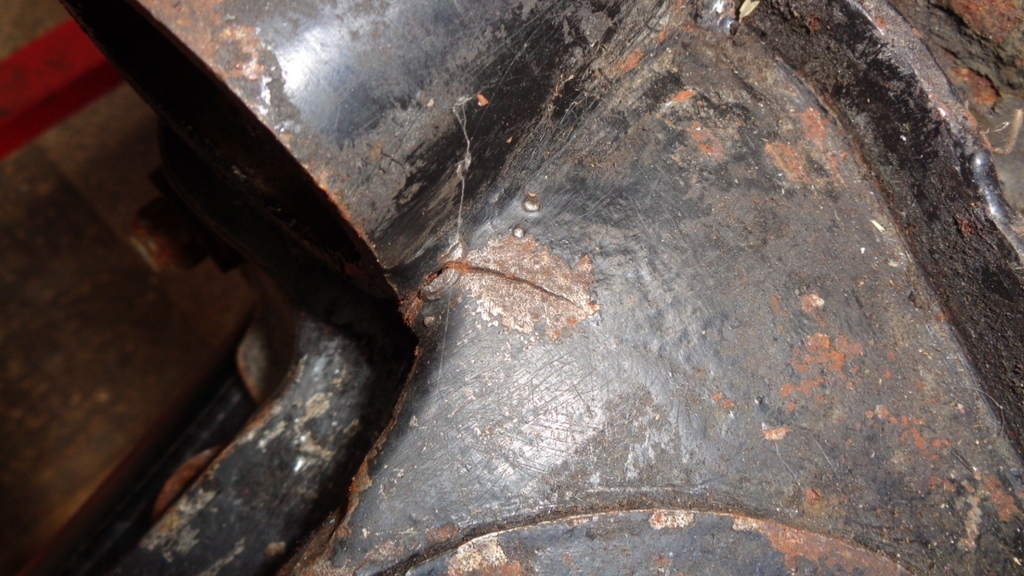
Today we built up a G15 Dropped the car off the stands - it was a bit heavier than when we put it up there as it now had the dash frame and a full cage + door bars installed Placed it outside on some 2x4's on end to get a look at it at the proposed ride height and nope that's not happening on an early chassis car as the wheels are just too far into the front arches - explains why on the later cars they raised the care by taking out the rake of the body compared to the chassis. I also had a good look at the rear trailing arms and although they have a bit more surface rust than the others they are actually in very good condition. No sign of any cracks so have had an easy life and it is those that will be getting the "WORKS" Fitted the driver door, front cowl, bonnet, Rack etc. etc. 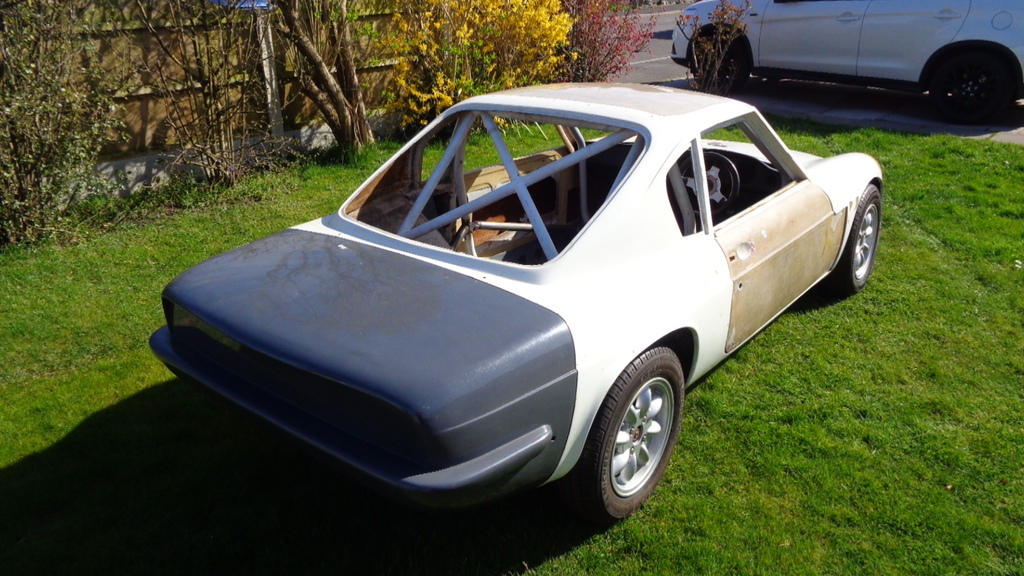 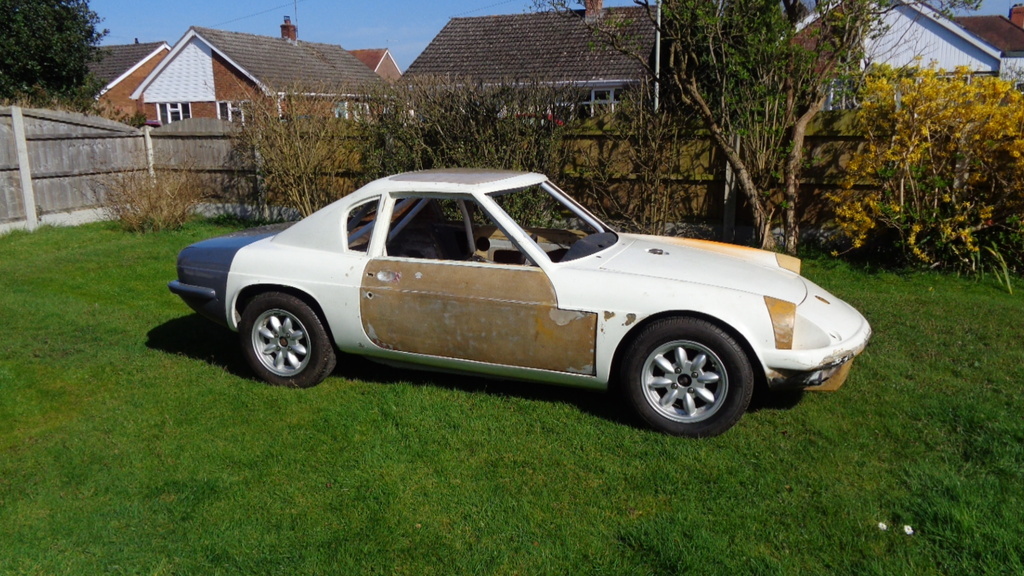 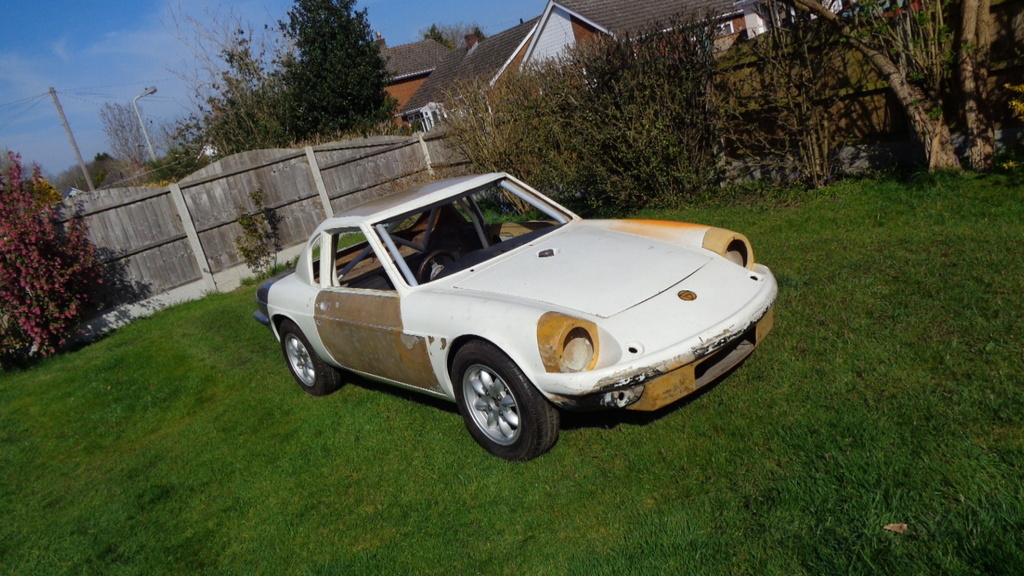 I do believe that this is actual progress as the car is now more complete than when I collected it - 11 years ago ! 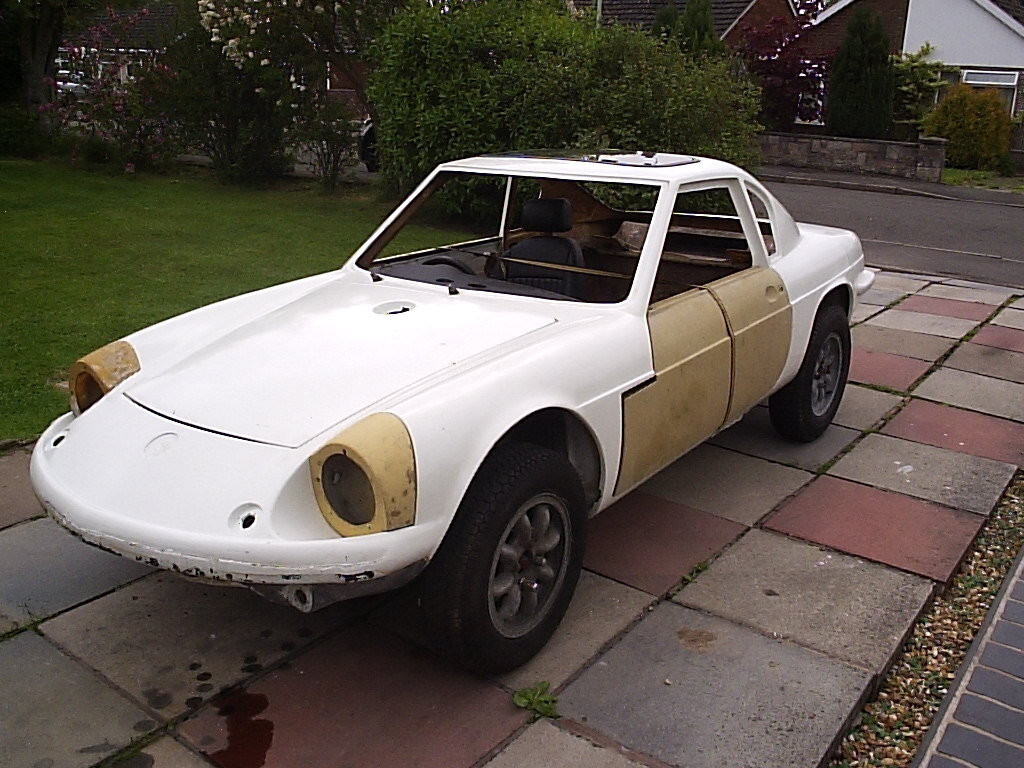 |
| |
Last Edit: Apr 5, 2021 1:26:45 GMT by Darkspeed
|
|
|
|
Darkspeed
Club Retro Rides Member
Posts: 4,867
Club RR Member Number: 39
|
1970 Ginetta G15 Darkspeed
@darkspeed
Club Retro Rides Member 39
|
|
|
Four G15's that I have had a hand in BOY / KBW / SLC / #13 are all at very similar stages in reconstruction - be interesting to see what one makes it over finishing line first. I dropped over to see #13's owner yesterday to collect a couple of gearboxes. the rebuilt standard box for KBW and bthe close ratio - S/C 3rd 4th for BOY 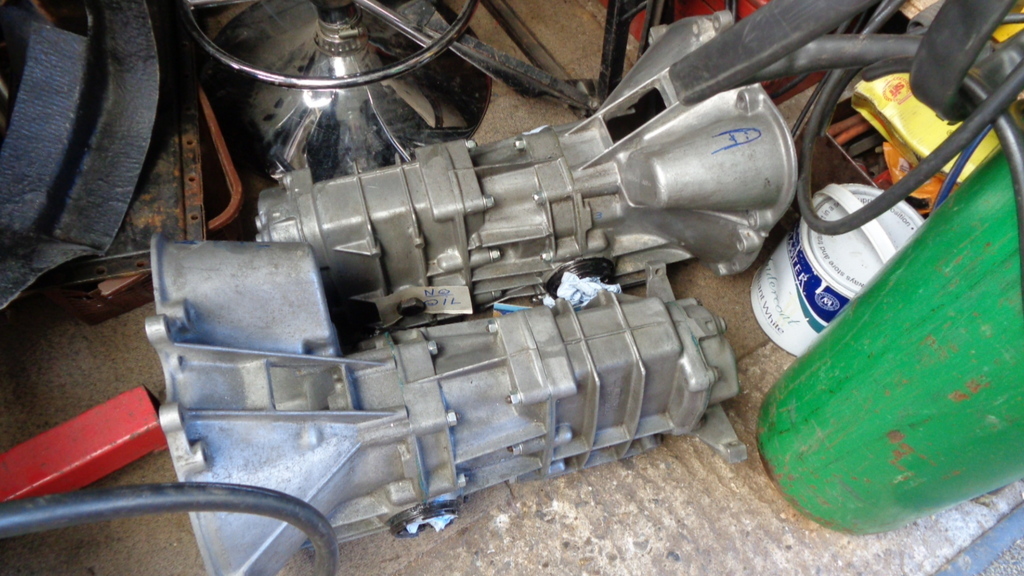 Whilst there I collected my combined 40's manifold - this is a special race long secondaries version of the big bore combined 40's manifold. Here sat next to a Janspeed small bore. 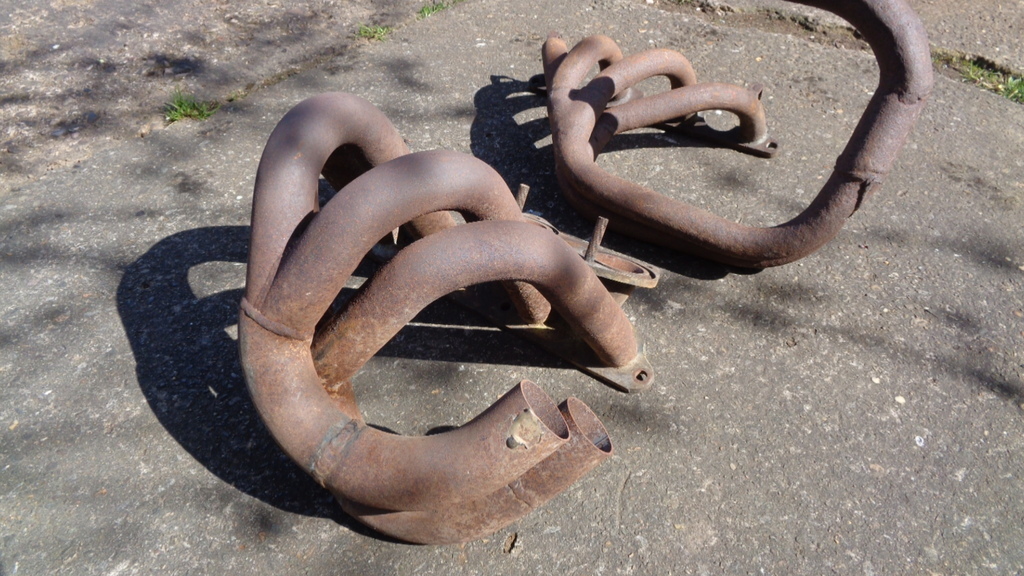 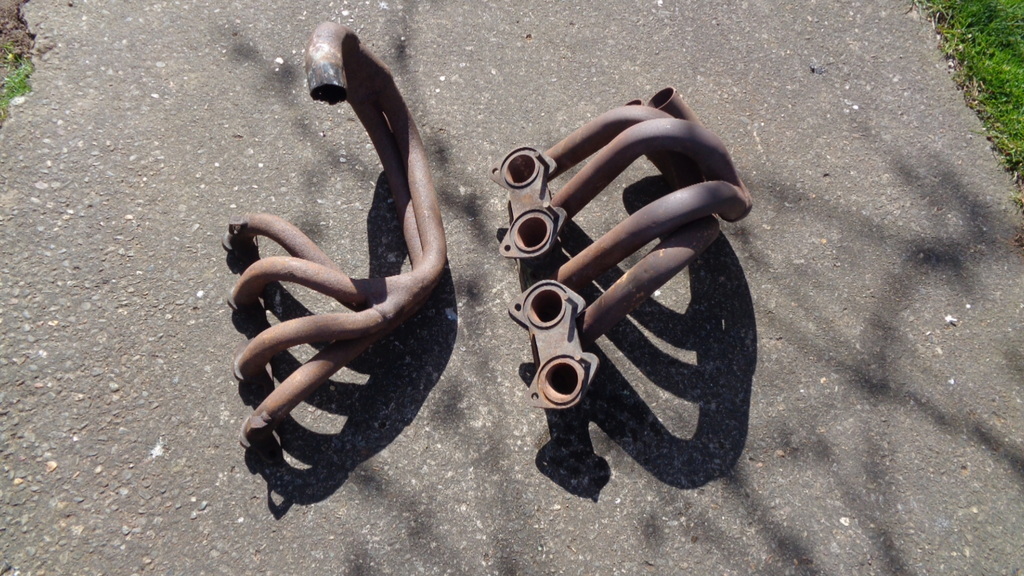 Also picked up the 40 DHLA's that go with the combined manifold and a pair of Weber 40 throttle bodies for some or other project in the future. 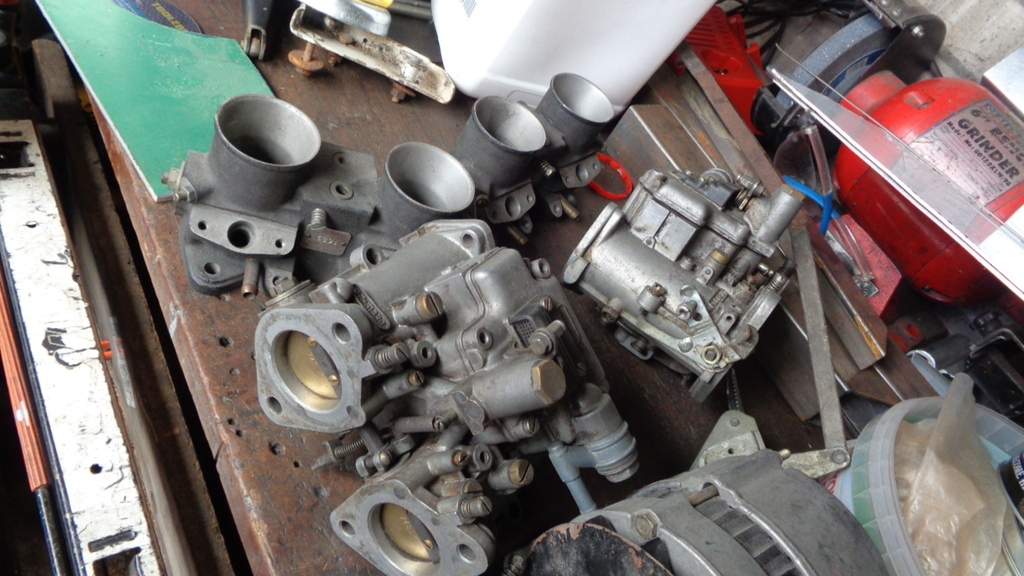 Whilst there I saw a bit of alloy sheet that I could make use of so chopped a bit off for my needs. 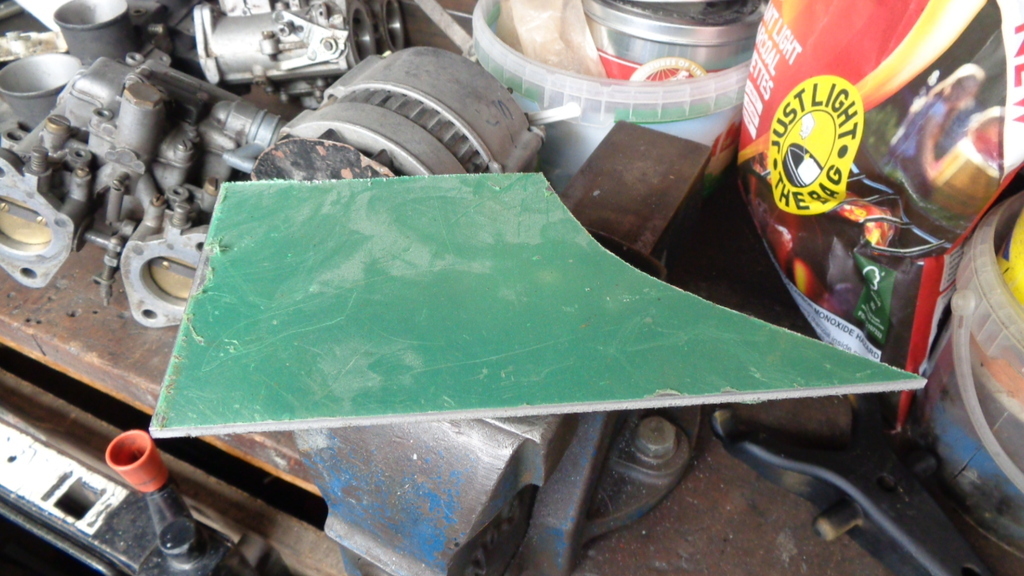 Large capacity sump - section chopped out as it needs to clear the all the block strengthening works on the engine going into KBW. 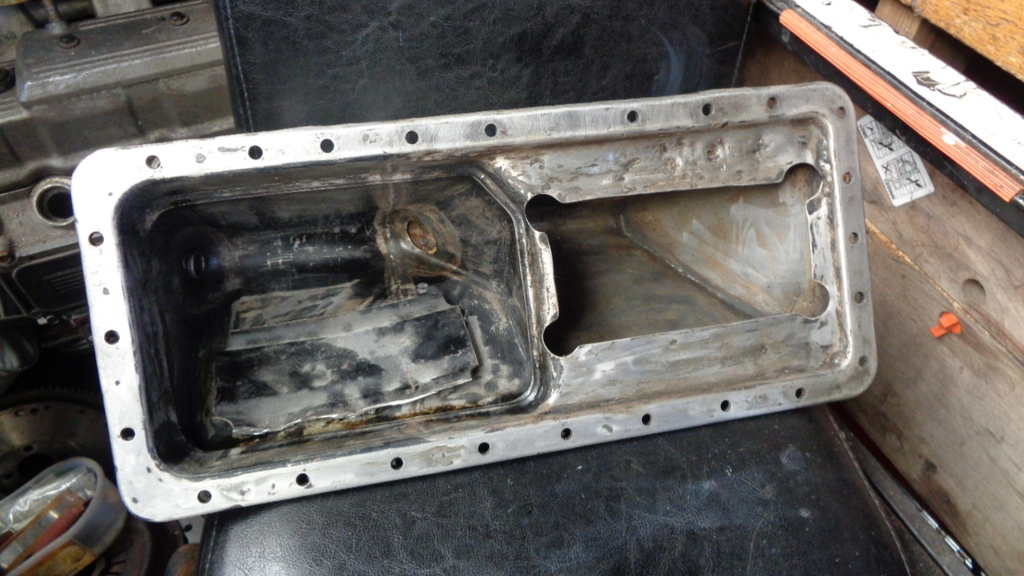 |
| |
Last Edit: Apr 6, 2021 14:49:12 GMT by Darkspeed
|
|
Darkspeed
Club Retro Rides Member
Posts: 4,867
Club RR Member Number: 39
|
1970 Ginetta G15 Darkspeed
@darkspeed
Club Retro Rides Member 39
|
|
|
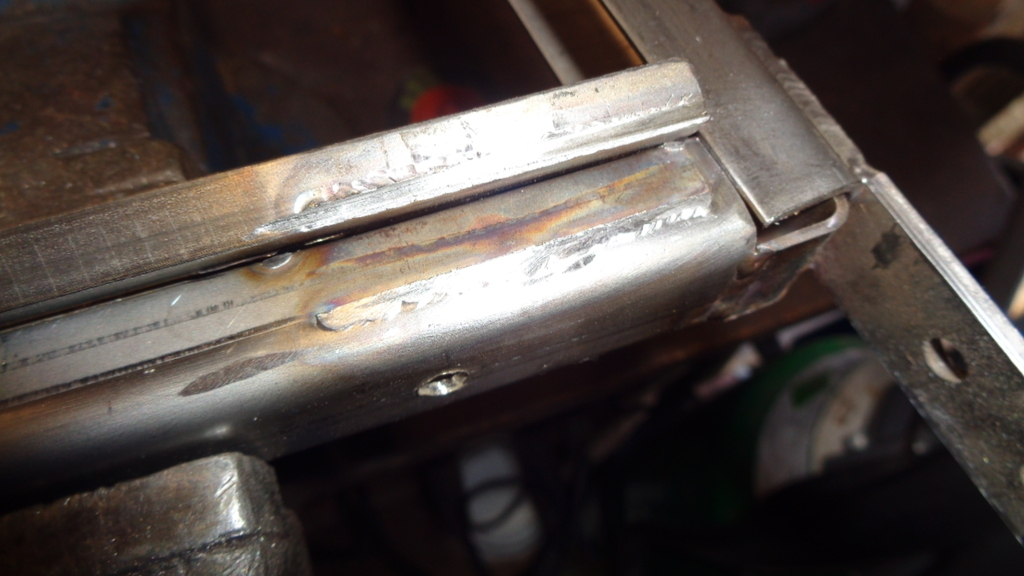
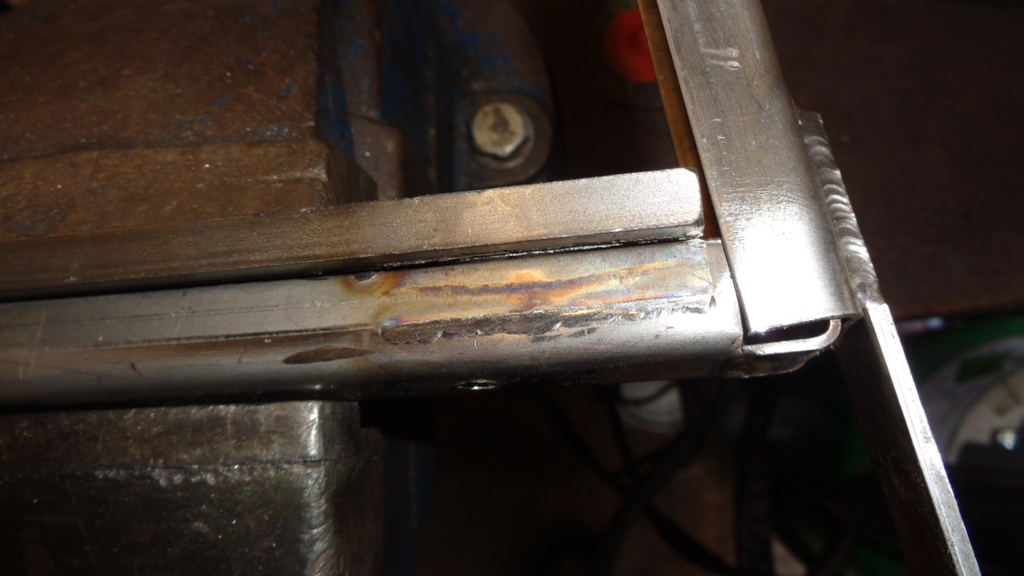
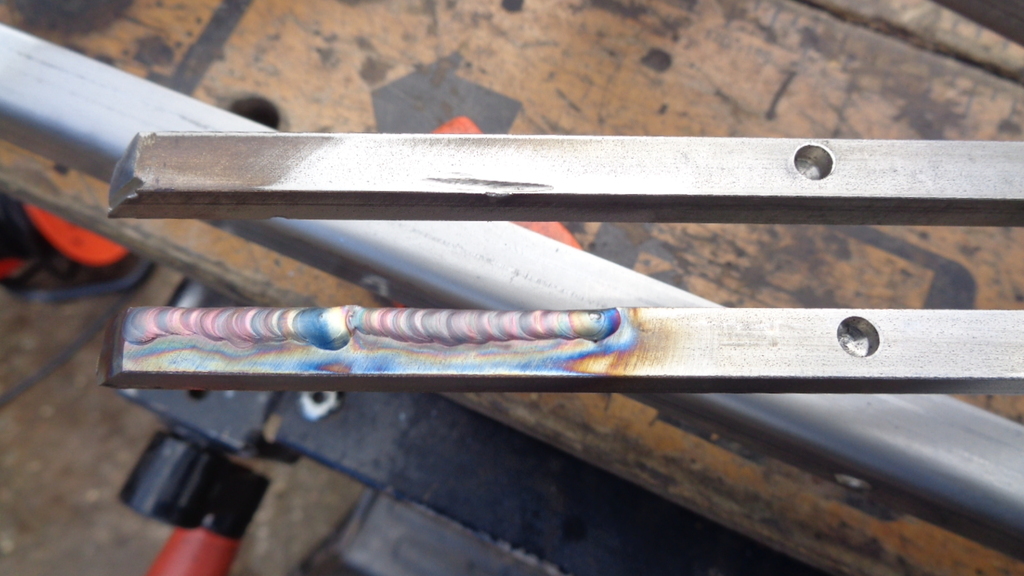
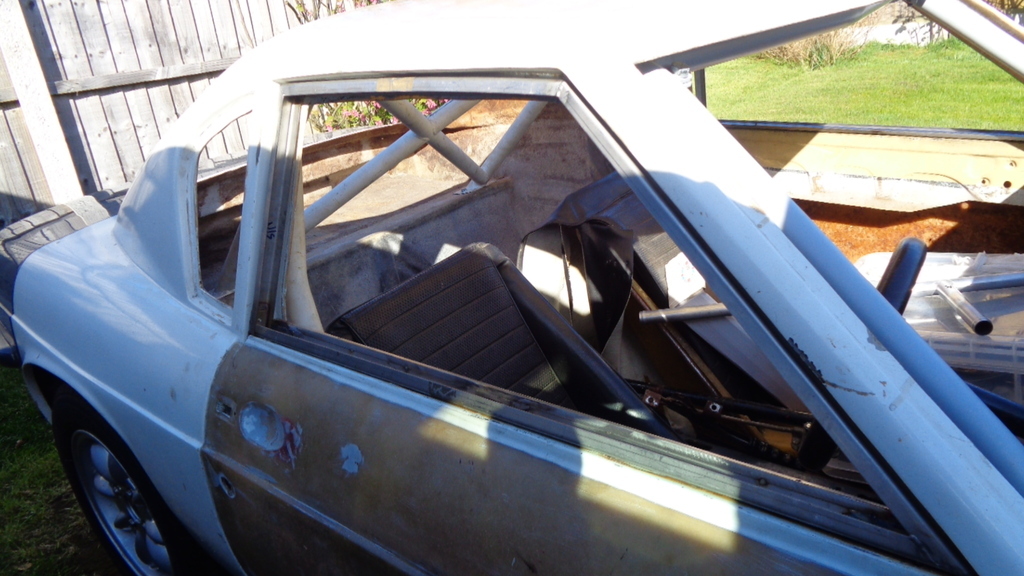
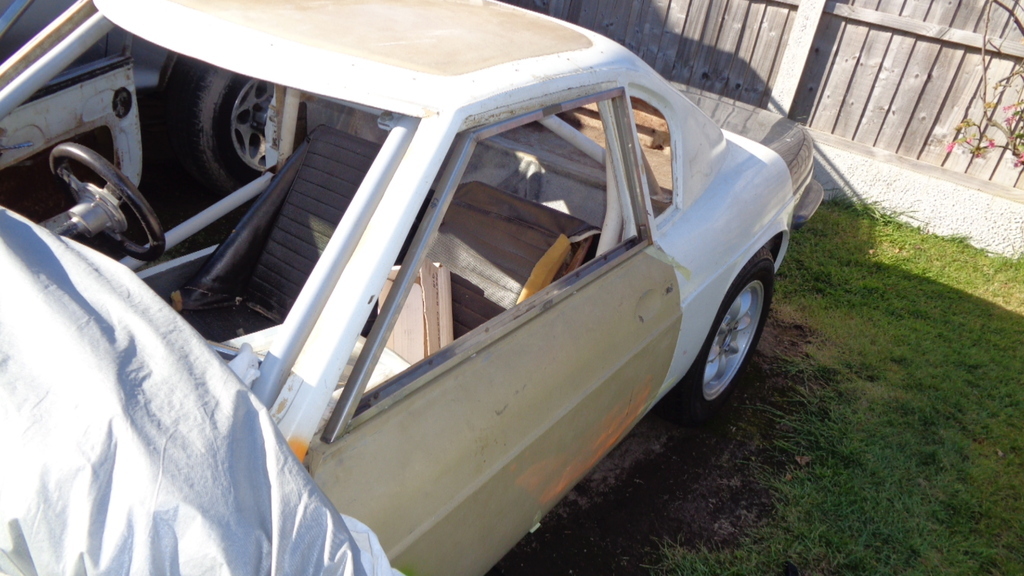
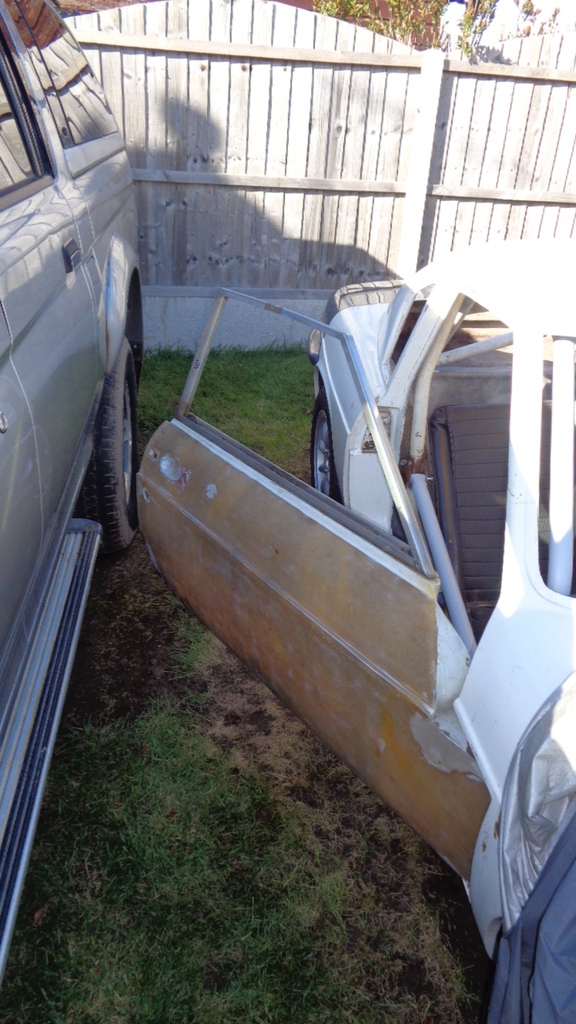
Some time ago I helped out a guy who was making a batch of stainless steel window frames for G15's - I bought two sets for myself - BOY and KBW (now with molebert) and bizzo bought a set for PHX - I cannot recall now if the guy made 10 or 20 pairs - anyway he had quite a lot of complaints about them from people who bought them and kind of responded - sod the lot of you, you ungrateful  - and vowed never to have anything to do with Ginetta's again. One - I really think he undersold them and should have charged more - I would not have made them for what he did. Two - Unfortunately he cocked up when doing the final welding and put the window latch lock bar in the wrong place. The lock bar should be on top of, and not on the side of, the window channel. 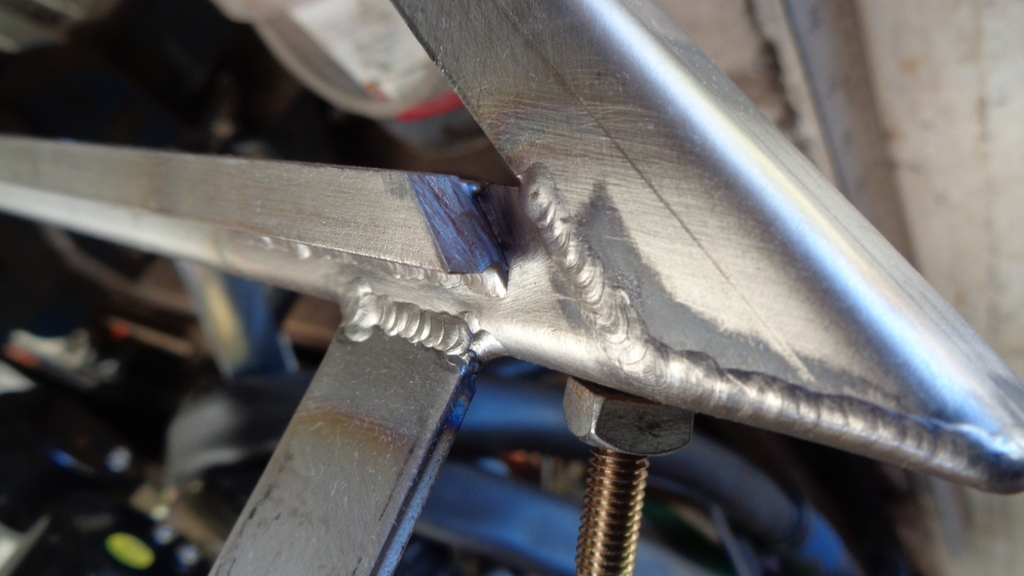 He also welded them on good and solid. 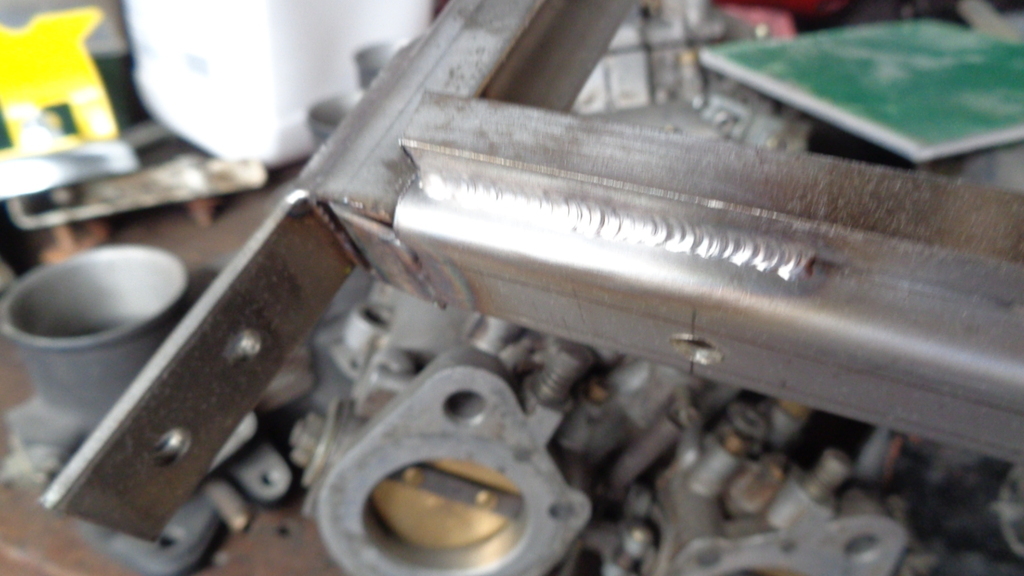 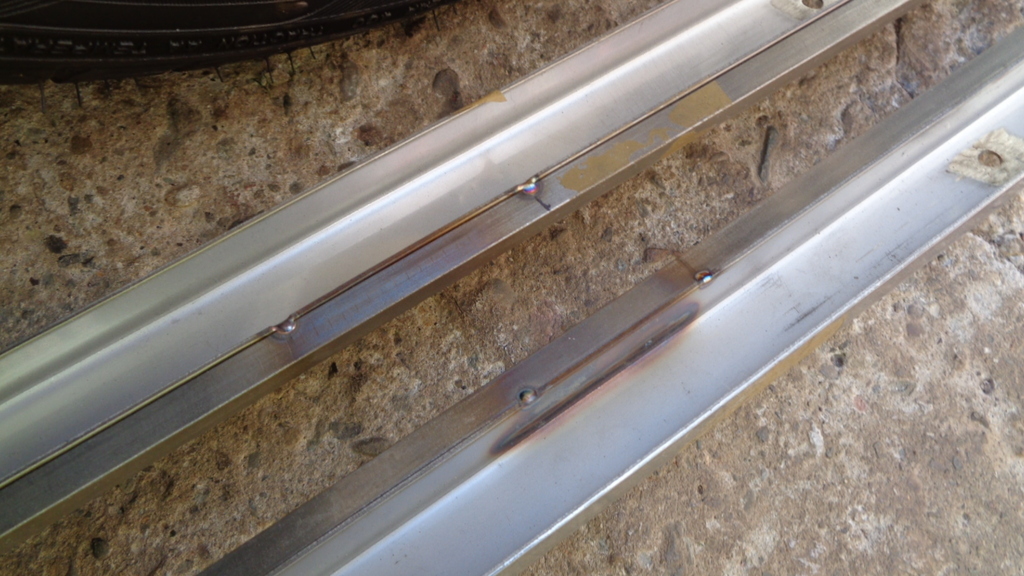 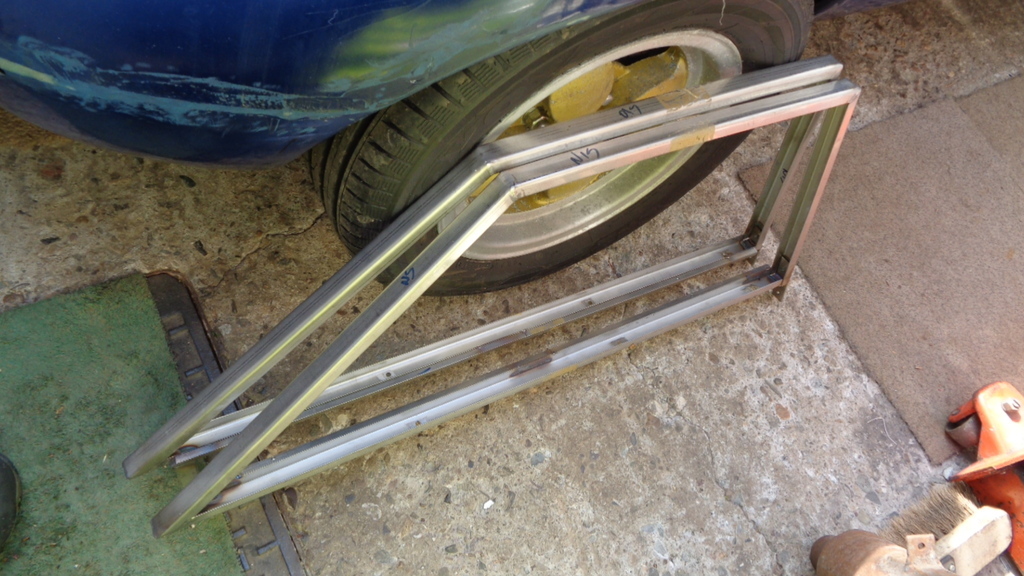 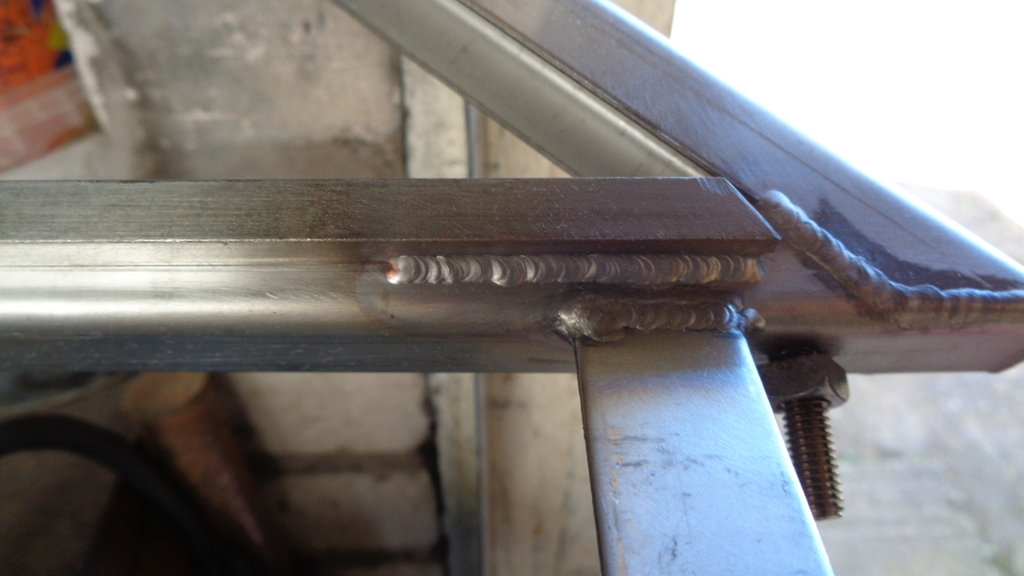 So, my task now is to carefully try and remove those sections - 8mm square stainless and replace them.... I hope its a little easier job than I think it is going to be. 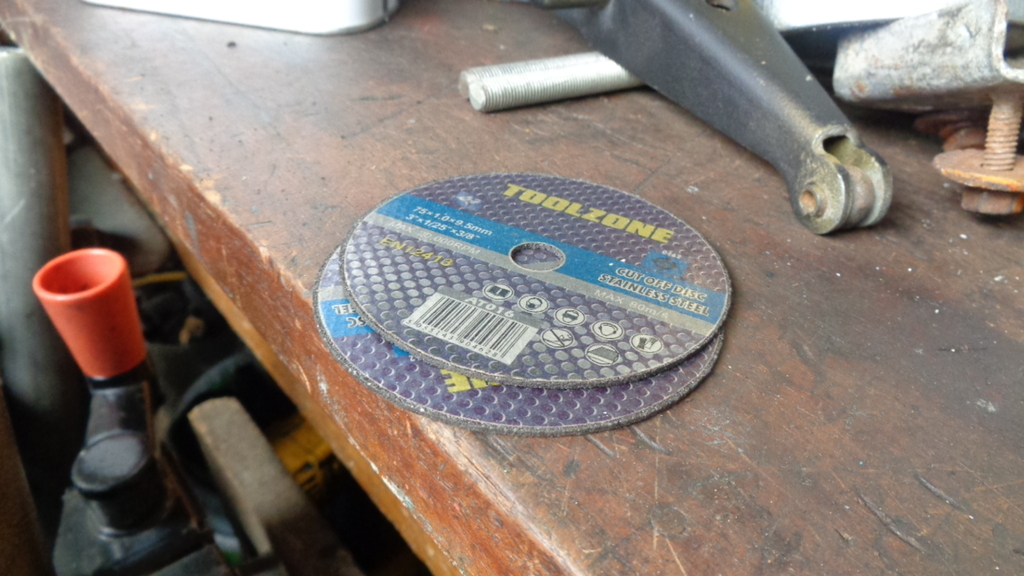 |
| |
|
|
|
|
|
|
|
|
Std 1mm cutting discs (they are for stainless normally) should go through the welds quite easily, might not get the deep penetration undone though.
|
| |
|
|
Darkspeed
Club Retro Rides Member
Posts: 4,867
Club RR Member Number: 39
|
1970 Ginetta G15 Darkspeed
@darkspeed
Club Retro Rides Member 39
|
|
|
Std 1mm cutting discs (they are for stainless normally) should go through the welds quite easily, might not get the deep penetration undone though. Agreed - they should slice through it easy enough and once the top tacks are through and the lower welds "thinned" I should be able to 'crack' the remaining weld by careful levering if not getting deep enough. The top of the channel will be hidden by the new lock bar and the side of the channel will be mostly hidden by a lip on the door top that currently fouls the lock bar and stops the frame sitting on the door correctly. I just want to avoid thinning the channel by hitting it with the disc too much (if at all)- plenty of masking tape will be sacrificed to stop it getting scuffed. Using the small disc in the air cut off tool will allow a lot more finesse. When dressing back I will also use the 2" and 3" Roloc discs so as to take the welds down with plenty of visibility rather than bashing at it with a 4.5" flap disc in an angry grinder. I need to make a nice clear working space in the garage before I start but I do not see too many issues and the stainless welding should be easy enough. |
| |
|
|
|
|
|
|
|
|
I've recently bought a small 90 degree air grinder with a 2" roloc fitting, it's absolutely brilliant for knocking welds off without hurting the surrounding metal, should have got one years ago! I'm using the Aluminium oxide pads - they don't seem to wear out either.
I got a 2" DA unit at the same time, that's pretty good too.
Good luck with it, I'm sure you will make it look great.
|
| |
|
|
|
|
Darkspeed
Club Retro Rides Member
Posts: 4,867
Club RR Member Number: 39
|
1970 Ginetta G15 Darkspeed
@darkspeed
Club Retro Rides Member 39
|
Apr 19, 2021 19:30:27 GMT
|
Captain Itchy has been getting on with work on SLC - with use of his 3D printed hinge template for 100% accurate placing of the holes for the Imp bonnet hinges. Accuracy on a Ginetta ..... It will never open ... holy plop it does. 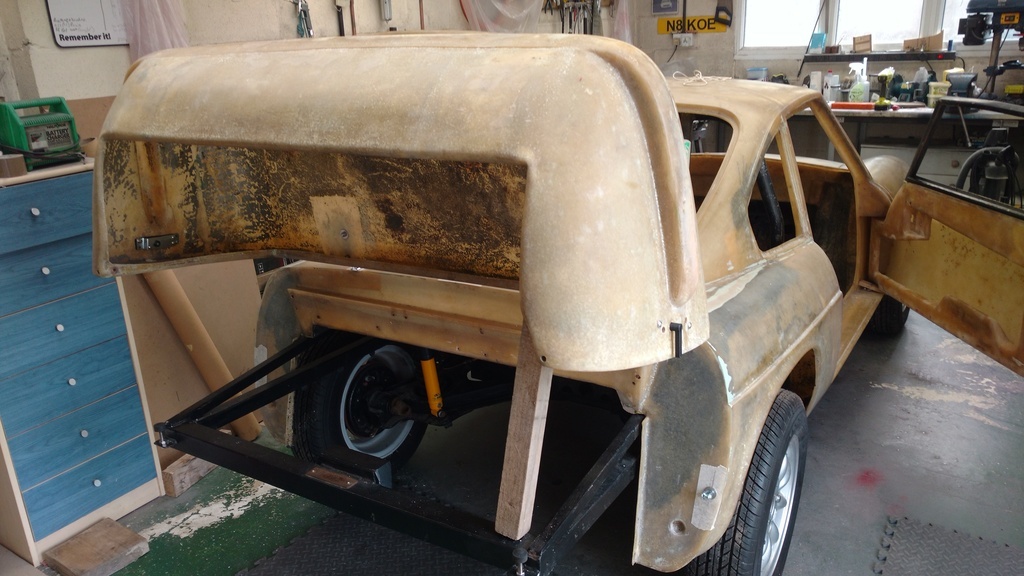 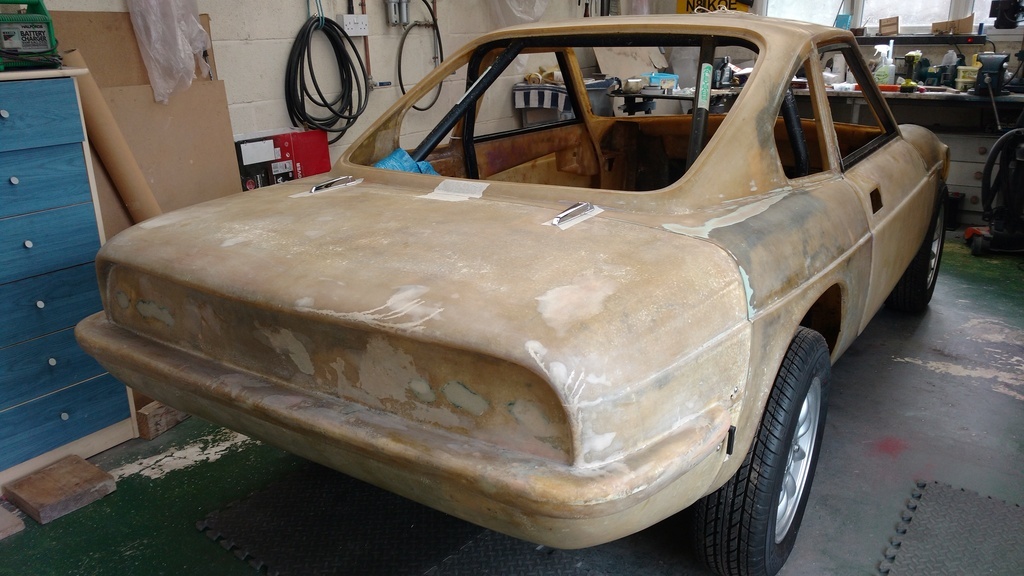 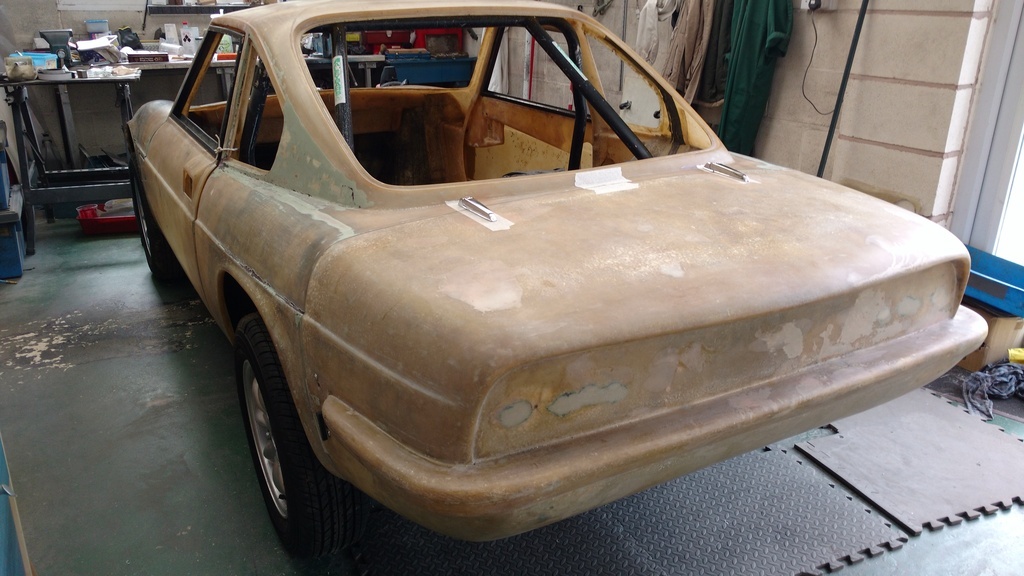 As some kind soul filled the mounting holes in my engine cover I may need to borrow that useful tool. This stage came after much hard work heating and flexing the engine cover to get a better fit to the body. Door hinges - Check Window frames - Check Engine cover hinges - Check Rolling chassis - Check Bonnet next I would imagine |
| |
Last Edit: Apr 19, 2021 19:33:28 GMT by Darkspeed
|
|
|
|
|
Apr 19, 2021 21:30:26 GMT
|
|
Nice work! Didn't know that you could heat fibreglass to change the shape. Is it like woodwork whre you can heat it (in the case of wood with steam), clamp it in a new position and let it cool there and it'll stay?
I've got a fair bit of fettling to do with the boot and bonnet of the Spitfire and that would be really useful if that's the case!
|
| |
|
|
Darkspeed
Club Retro Rides Member
Posts: 4,867
Club RR Member Number: 39
|
1970 Ginetta G15 Darkspeed
@darkspeed
Club Retro Rides Member 39
|
Apr 19, 2021 22:21:45 GMT
|
Nice work! Didn't know that you could heat fibreglass to change the shape. Is it like woodwork whre you can heat it (in the case of wood with steam), clamp it in a new position and let it cool there and it'll stay? I've got a fair bit of fettling to do with the boot and bonnet of the Spitfire and that would be really useful if that's the case! Yep - you can reshape it with heat - I think Itchy said that he needed to get it about 150C to get it warm enough to take the 'set' - I will ask him if he overbent it any to allow for any memory |
| |
|
|
|
|
|
|
|
Dead useful to know  can hopefully avoid cutting and re-glassing bits to get a different shape in them  |
| |
|
|
|
|
|
Apr 20, 2021 20:53:55 GMT
|
|
I'm sorry the G15 window frames went sour. I feel a bit responsible having introduced you to the fabricator. I remember him saying that they were not easy to make because of the curvature in the top rail and we all know how hard it is to work stainless. They seemed to match the patterns he borrowed from me pretty well, just a shame that he fell at the final fence with the window catch placement. From memory I think it was only six pairs that he made.
|
| |
|
|
Darkspeed
Club Retro Rides Member
Posts: 4,867
Club RR Member Number: 39
|
1970 Ginetta G15 Darkspeed
@darkspeed
Club Retro Rides Member 39
|
Apr 20, 2021 21:21:26 GMT
|
I'm sorry the G15 window frames went sour. I feel a bit responsible having introduced you to the fabricator. I remember him saying that they were not easy to make because of the curvature in the top rail and we all know how hard it is to work stainless. They seemed to match the patterns he borrowed from me pretty well, just a shame that he fell at the final fence with the window catch placement. From memory I think it was only six pairs that he made. Hi John, He did a good job and I fully appreciate the amount of effort he put in - As I stated I think he undersold them, no way would anyone have ever got close to replacement stainless frames if he had not taken up the task. They are excellent for the cost and he got no complaints from me even with the slip at the final hurdle. A slip I did not even know about until a few weeks back - As I know of 4 sets within my small group of contacts and only one set of those are fitted - PHX - pretty sure it must have been 10 sets he made. He had this lot there when I dropped in to see him. 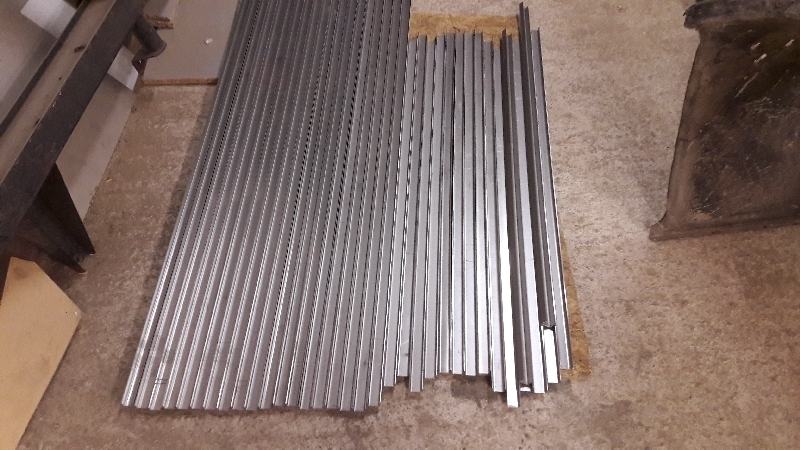 Yep - shame it all went a bit sour in the end he would have have been a good asset for those hard to get Ginetta parts. Do you know how he got on building that car he was working on for himself? |
| |
|
|
|
|
|
Apr 21, 2021 17:36:50 GMT
|
He must have made more frames than I was aware of Andrew. The ones I knew about were just those that I kept here until you came down. Personally, I thought he had made a good fist of them particularly as they were so hard to make. He is very much a perfectionist and it would be most out of character for him to let anything go that was not up to scratch. In hindsight he may well have regretted charging what he did, and perhaps, from what you have said, for taking on the job in the first place. I'm afraid I have lost touch with him so I've no idea what he's up to at the moment. I know he said what he did about never touching anything Ginetta again but time is a great healer and there's nothing lost by asking him if you need some more bits doing. Preferably not stainless steel window frames I would suggest. Ha ha! Apologies for going off thread but here is a photo of my scratch built body which is getting close to panelling. This is my first excursion into the realms of wire form bucks which has worked out nicely. 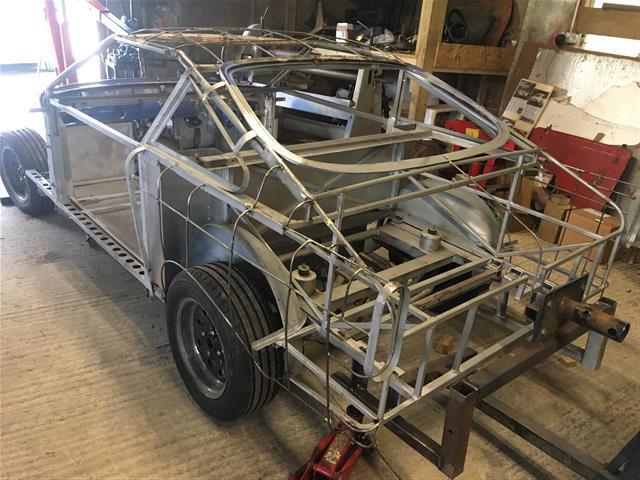 |
| |
|
|
|
|
|
Apr 22, 2021 10:09:44 GMT
|
if it's the guy I'm thinking of, he had a business partner and possibly Derby based? again. long time ago now. if you have his name still look him up on the internet, his car was found nr a woodlands (memory serves me right a ford focus?) but he never was, last time I checked (few years back) a missing persons case was still open  regards Chris |
| |
|
|
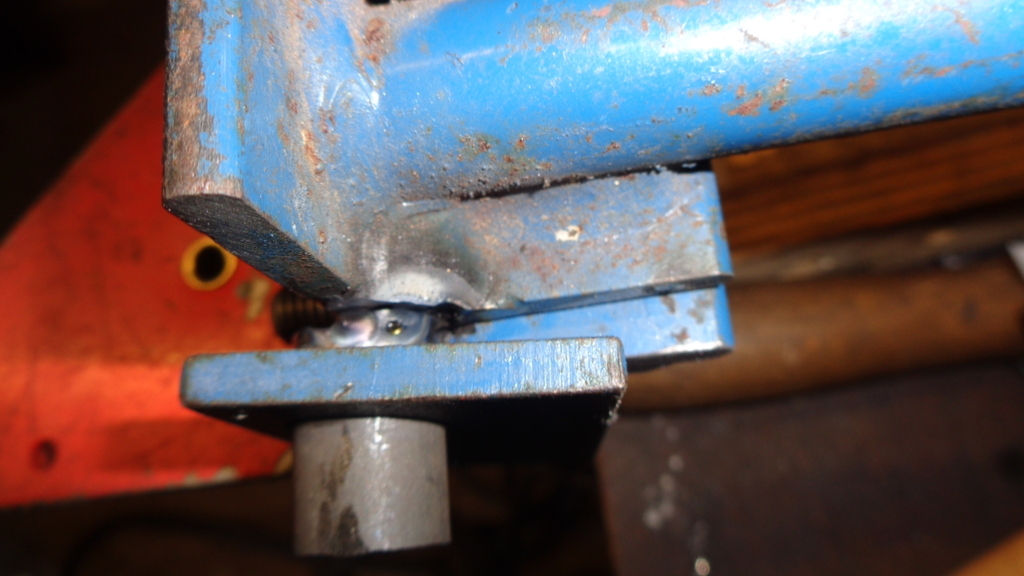
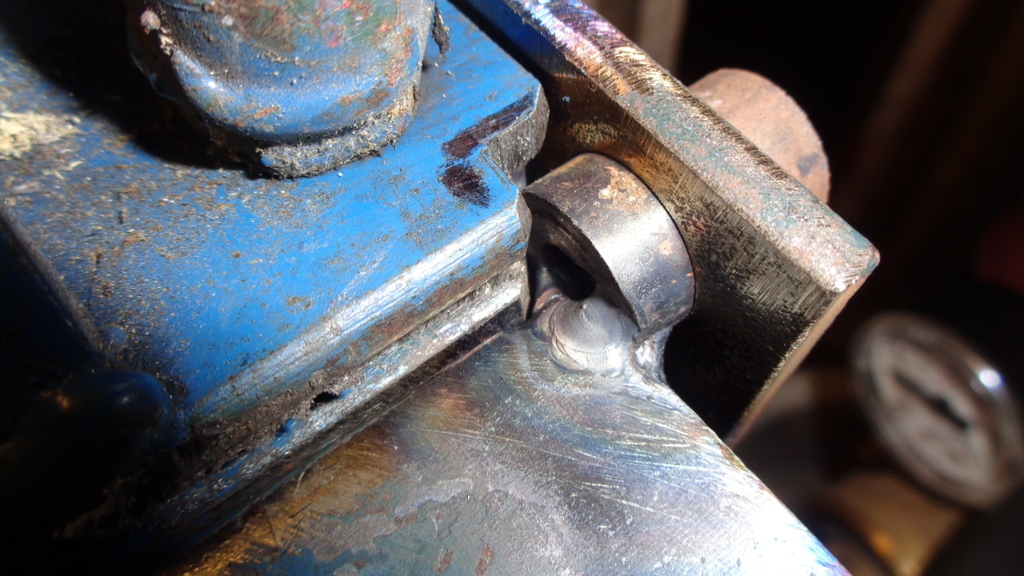
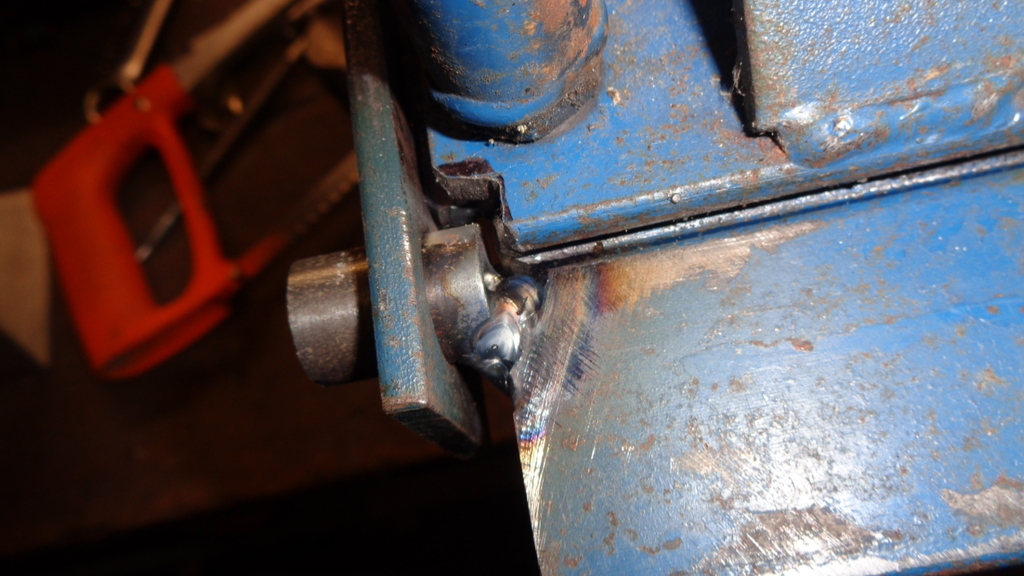
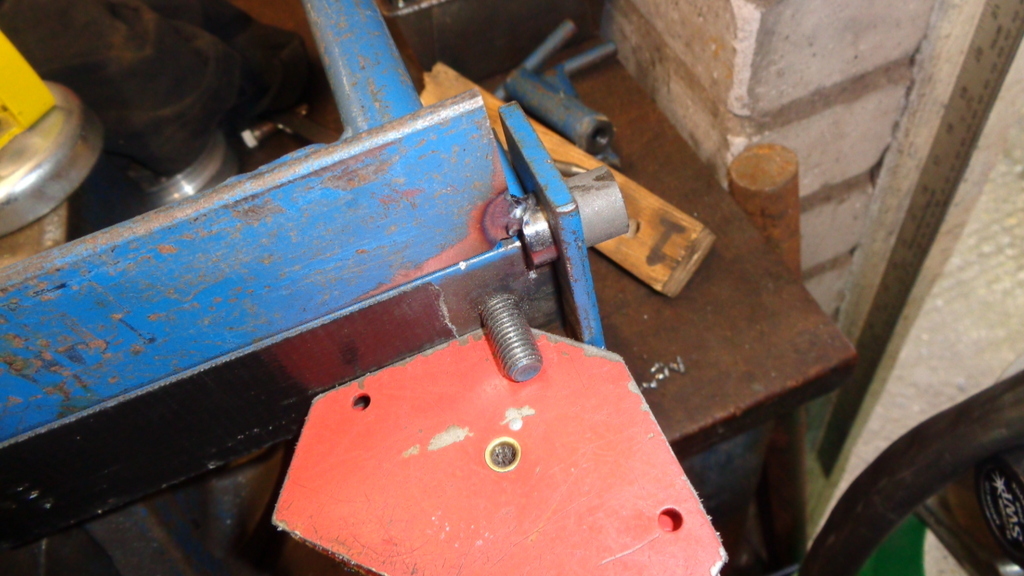
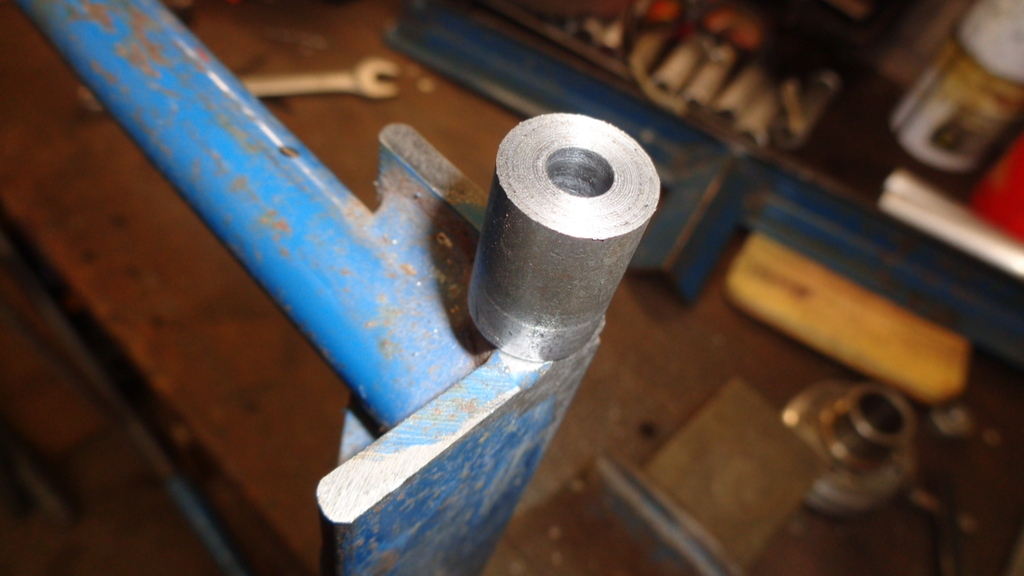
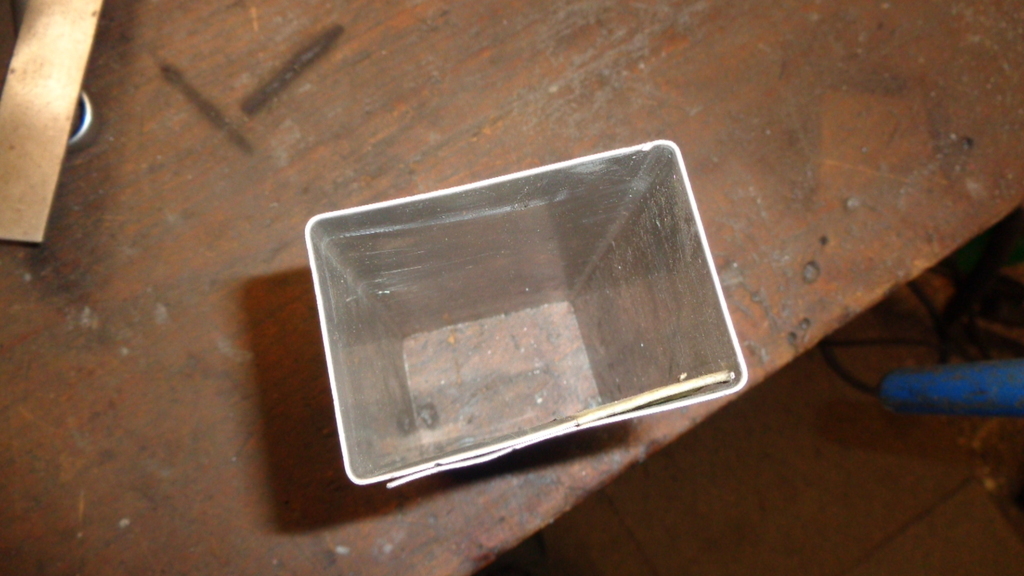
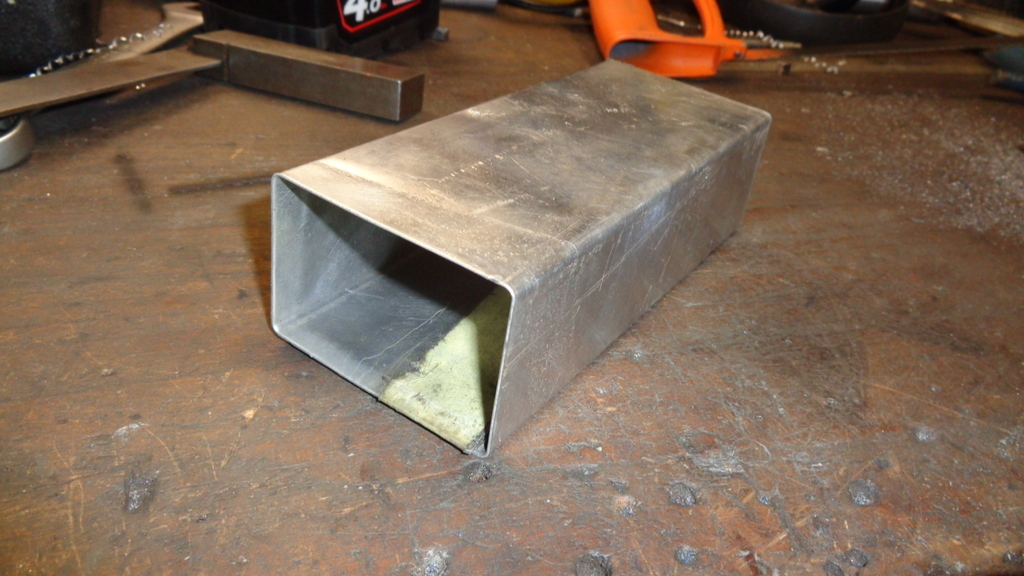
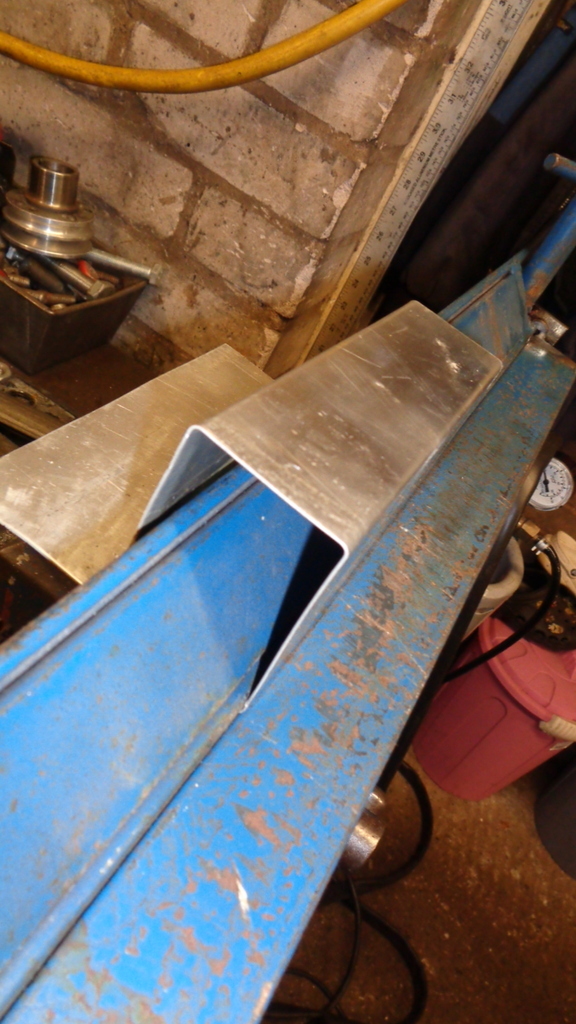


 sake do not bother unless you really have a masochistic streak. For scale that final bead on the top is 4.5mm wide - I probably could have done better with a smaller filler rod.




 can hopefully avoid cutting and re-glassing bits to get a different shape in them

