The 'hard' part of assembly completed I can now chip away at the rest of the engine. I'm taking my time, enjoying the process and tinkering with bits as I go along.
The next stage is the oil pump and filter and connecting tubes. First thing to go in was the oil filter pedestal. I looked at the hole for the oil pressure switch/gauge sender and it just didn't look deep enough. I'd tapped it out with the appropriate 1/8" bsp tap and it fitted one switch I had but It just didn't look right for my Imps sender. Only one way to double check. Out to the 'garage' where little imp is safe and dry..
.jpg)
I removed the sender (luckily very easy access on the Datsun engine) and tested it in the hole. Sure enough it only barely started on the thread. Out with the bsp taps and I ran one in a lot further. Much better...
.jpg)
Tested it in place. Easy access.
.jpg)
I wanted to sort this out now as I could make sure the oil ways were completely clear of any swarf etc. Having to tap this hole out in place after fitment would have been a risky thing.
That done I sealed up the filter mounting side with tape and fitted the unit in place..
.jpg)
Oh but not before taking this pic after assembling all the parts together in one place...
.jpg)
I also weighed the block with crank/pistons in place before the oil system went in too. More about weights soon. But back to the oily stuff. I bolted it all in and set up the chains and sprockets.
.jpg)
Some of the tinkering I mentioned as things went together included milling out as much as possible from all the various plates and mounting blocks. No point in extra weight and anyway- the bits looked nicer for it.
Not that anyone will see them.
But I know they are there in all their lighter machined goodness. You can sort of spot some of my Jenny Craig weight loss efforts going on in this pic on the idler gear mount..
.jpg)
That lot in place I moved on to another little job. For oil changes I needed a sump plug. This neat little stainless item arrived from China..
.jpg)
M12 x 1.25 and I didn't think I had a tap to suit. Luckily I remembered about a set of Cheap taps my neighbour had given me a few years ago. Probably made of cheese but hard enough to tap the required thread I needed. Look at the spelling on the box ...
...
.jpg)
Drain plug sorted...
.jpg)
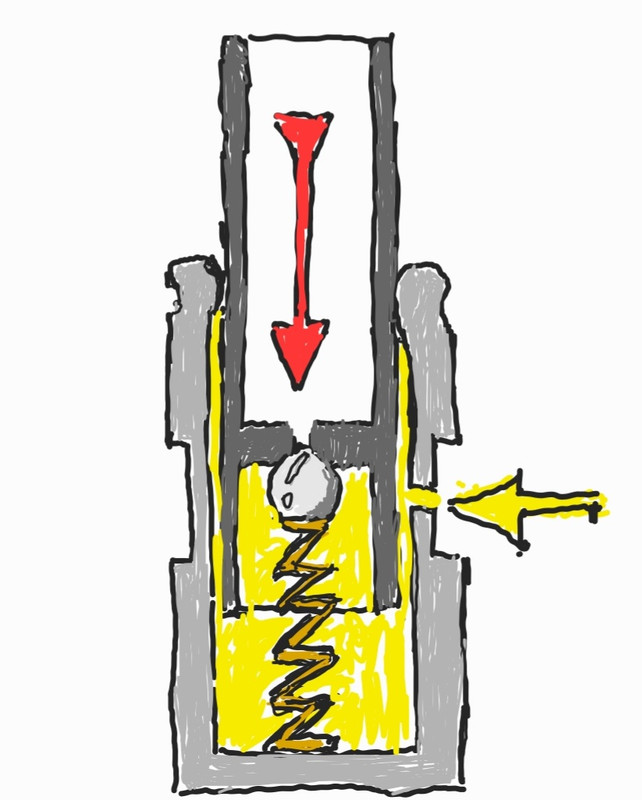
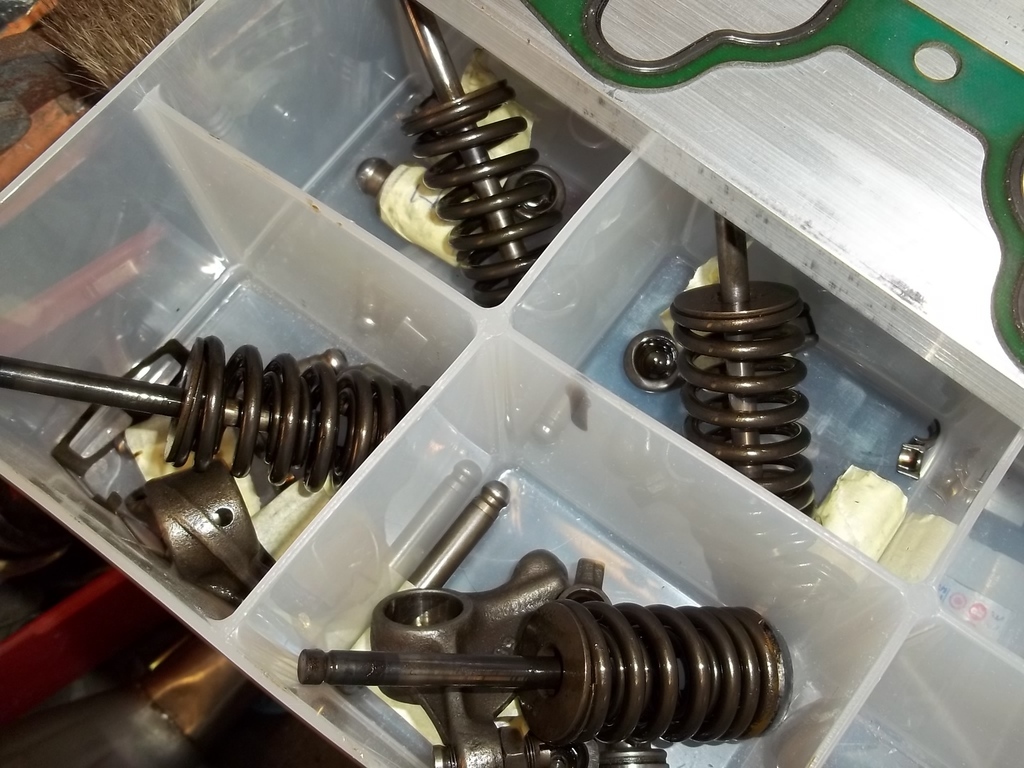
Cylinder heads will be next on the agenda. Give them a clean, strip them down, check and softly lap in the valves etc etc. I'll also be stripping, cleaning and bleeding the hydraulic lash adjusters. For that job I wanted a tray for all the little bits. I popped over to the neighbours farm as she has many many many chickens. Got some egg trays. She also gave me some sponge cake because she knew Id have run out of the cakes Hannah had made me.
.jpg)
I like cake.
Another job I am mid way through is creating a 'thrust' ring to go between the flywheel and the back plate. It's really just a belt and braces fitment in case because why not. As shown in the last post, I feel that the stock Goldwing crank thrust bearings are fairly minimal. This ring I'm building will only come into effect if the Goldwing item gets worn to much. There's about .0006 ~0007" clearance on the crank. Good oil and not sitting at the lights with the clutch pushed in should help things last. But just in case I will add this. I cut some 8mm alloy plate into a circle and then machined a ring up...
.jpg)
.jpg)
Ordered some special Tecast Pa6c oil impregnated engineering nylon which arrived yesterday. I also got a bit of bar which will be used later on in my gear linkage.
See my lovely shiny ring...
.jpg)
More on this next time.
I mentioned weighing the block earlier. I thought it best to weigh all the engine parts (because curious and couldn't wait actually). The block with crank/pistons was 36kg on the pretty accurate bathroom scales. Everything else I weighed with the digital scales. I wrote stuff down and took a pic..
.jpg)
Pretty happy with that really. It includes the clutch assembly and the engine side of the engine mounts. When I first started stripping this engine down many moons ago I had always hoped I might see a final weight of around 80kg - but unrealistic when the block and heads are 56kg alone. I'll wiegh the Datsun engine when its out but google sources claim my A12 is 87 kg so I'm stoked with a circa 10kg increase there. The Subaru leone transmission is about 9kg heavier than the Imp item.
The big benefit is that the flat six is shorter in length and majority of its weight is down low in line with the crank - not up high like my current Datsun is. I'm super happy with how the current car handles so this will be a decent improvement on that.
Plus I get the rear parcel shelf back for shopping bags!
Since I had an empty workshop for a bit I thought I'd reunite Impy one with impy two for a few nights. Maybe I'll get baby imps?
.jpg)
The next stage is the oil pump and filter and connecting tubes. First thing to go in was the oil filter pedestal. I looked at the hole for the oil pressure switch/gauge sender and it just didn't look deep enough. I'd tapped it out with the appropriate 1/8" bsp tap and it fitted one switch I had but It just didn't look right for my Imps sender. Only one way to double check. Out to the 'garage' where little imp is safe and dry..
.jpg)
I removed the sender (luckily very easy access on the Datsun engine) and tested it in the hole. Sure enough it only barely started on the thread. Out with the bsp taps and I ran one in a lot further. Much better...
.jpg)
Tested it in place. Easy access.
.jpg)
I wanted to sort this out now as I could make sure the oil ways were completely clear of any swarf etc. Having to tap this hole out in place after fitment would have been a risky thing.
That done I sealed up the filter mounting side with tape and fitted the unit in place..
.jpg)
Oh but not before taking this pic after assembling all the parts together in one place...
.jpg)
I also weighed the block with crank/pistons in place before the oil system went in too. More about weights soon. But back to the oily stuff. I bolted it all in and set up the chains and sprockets.
.jpg)
Some of the tinkering I mentioned as things went together included milling out as much as possible from all the various plates and mounting blocks. No point in extra weight and anyway- the bits looked nicer for it.
Not that anyone will see them.
But I know they are there in all their lighter machined goodness. You can sort of spot some of my Jenny Craig weight loss efforts going on in this pic on the idler gear mount..
.jpg)
That lot in place I moved on to another little job. For oil changes I needed a sump plug. This neat little stainless item arrived from China..
.jpg)
M12 x 1.25 and I didn't think I had a tap to suit. Luckily I remembered about a set of Cheap taps my neighbour had given me a few years ago. Probably made of cheese but hard enough to tap the required thread I needed. Look at the spelling on the box
 ...
....jpg)
Drain plug sorted...
.jpg)
Cylinder heads will be next on the agenda. Give them a clean, strip them down, check and softly lap in the valves etc etc. I'll also be stripping, cleaning and bleeding the hydraulic lash adjusters. For that job I wanted a tray for all the little bits. I popped over to the neighbours farm as she has many many many chickens. Got some egg trays. She also gave me some sponge cake because she knew Id have run out of the cakes Hannah had made me.
.jpg)
I like cake.
Another job I am mid way through is creating a 'thrust' ring to go between the flywheel and the back plate. It's really just a belt and braces fitment in case because why not. As shown in the last post, I feel that the stock Goldwing crank thrust bearings are fairly minimal. This ring I'm building will only come into effect if the Goldwing item gets worn to much. There's about .0006 ~0007" clearance on the crank. Good oil and not sitting at the lights with the clutch pushed in should help things last. But just in case I will add this. I cut some 8mm alloy plate into a circle and then machined a ring up...
.jpg)
.jpg)
Ordered some special Tecast Pa6c oil impregnated engineering nylon which arrived yesterday. I also got a bit of bar which will be used later on in my gear linkage.
See my lovely shiny ring...
.jpg)
More on this next time.
I mentioned weighing the block earlier. I thought it best to weigh all the engine parts (because curious and couldn't wait actually). The block with crank/pistons was 36kg on the pretty accurate bathroom scales. Everything else I weighed with the digital scales. I wrote stuff down and took a pic..
.jpg)
Pretty happy with that really. It includes the clutch assembly and the engine side of the engine mounts. When I first started stripping this engine down many moons ago I had always hoped I might see a final weight of around 80kg - but unrealistic when the block and heads are 56kg alone. I'll wiegh the Datsun engine when its out but google sources claim my A12 is 87 kg so I'm stoked with a circa 10kg increase there. The Subaru leone transmission is about 9kg heavier than the Imp item.
The big benefit is that the flat six is shorter in length and majority of its weight is down low in line with the crank - not up high like my current Datsun is. I'm super happy with how the current car handles so this will be a decent improvement on that.
Plus I get the rear parcel shelf back for shopping bags!

Since I had an empty workshop for a bit I thought I'd reunite Impy one with impy two for a few nights. Maybe I'll get baby imps?
.jpg)


.jpg)
.jpg)
.jpg)
.jpg)
.jpg)
.jpg)
.jpg)
.jpg)
.jpg)
.jpg)
.jpg)
.jpg)
.jpg)
.jpg)
.jpg)
.jpg)
.jpg)
.jpg)
.jpg)
.jpg)
.jpg)
.jpg)
.jpg)
.jpg)
.jpg)
.jpg)

.jpg)
.jpg)

.jpg)
.jpg)
.jpg)
.jpg)
.jpg)
.jpg)
.jpg)
.jpg)
.jpg)

