Was out riding with the Blenheim Classic M/C group and we stopped at Pelorus for a cuppa.
What should roll in but a tidy blue Imp.!
Amongst other machinery.
Didn't see where the crew had vanished to, but at last got a look at the wee beastie.
Very tidy it is too, but I could not get over the fact that the whole car is about as big as a coffee table.
Power-to-weight on steroids.
Nice update and keen to watch it develop.
Cheers to you both.
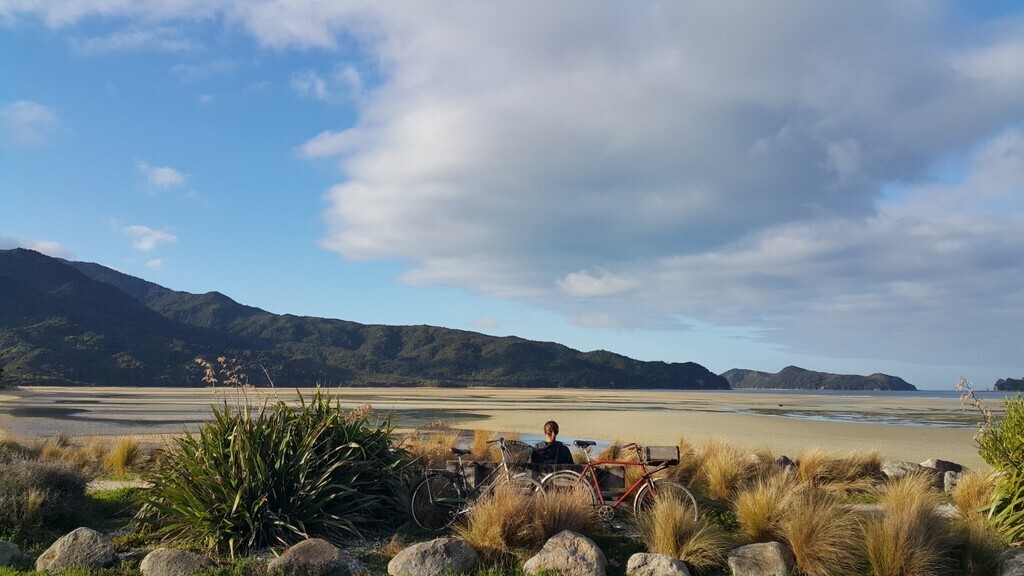
Oh hey there Ken- yes we saw a load of lovely motor bikes! That was our monthly oldschool nelson area cruise. Decided to head there for the yummy pies. It was a good day out! Here's a pic I took later on...
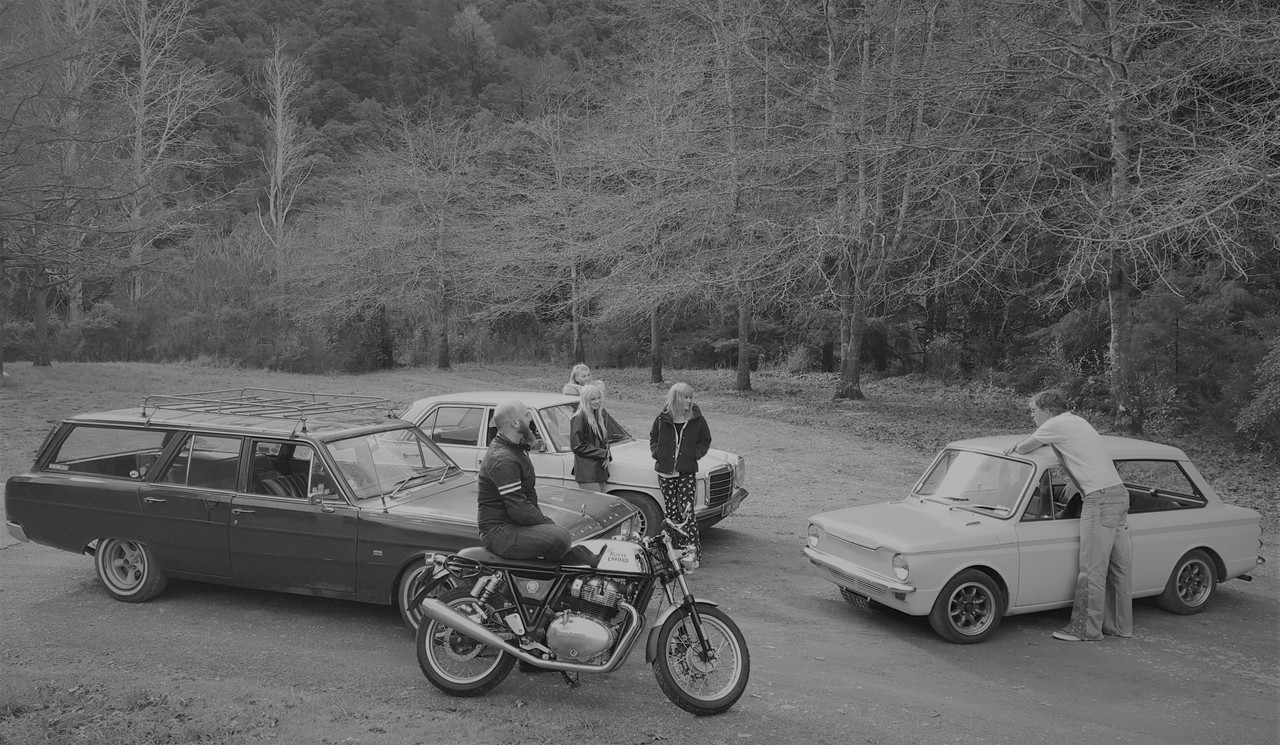
And here is an update! But to save my sanity I might do it in two lots.
So a fella on oldschool pointed out that many bikes don't run tensioners I looked into motorbike oil pump chains and yeah- curse word all have tensioners and they actually run quite loose. I then decided to scrap the idea of spring loaded tensioners because even with the ones I had they were still a bit awkward to fit and didn't quite work in the angle I would have wanted.
So enter stage left my new adjustable tensioner device...
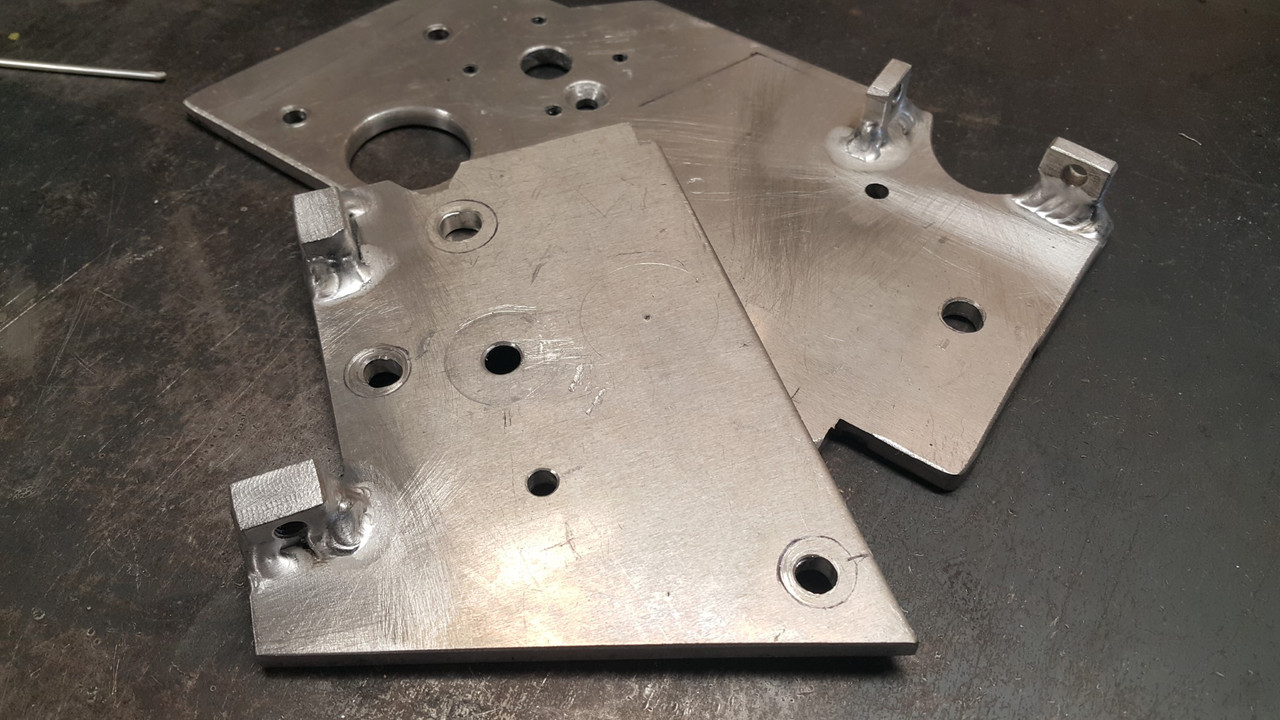
which fits like this...
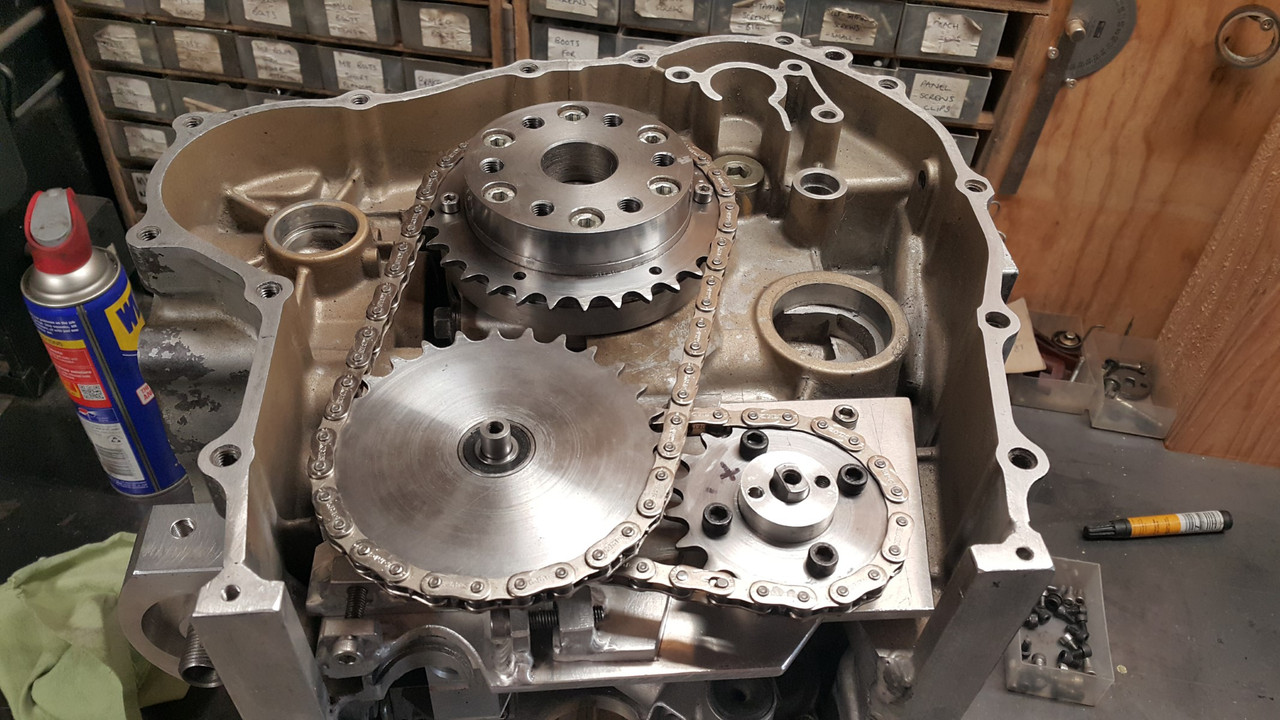
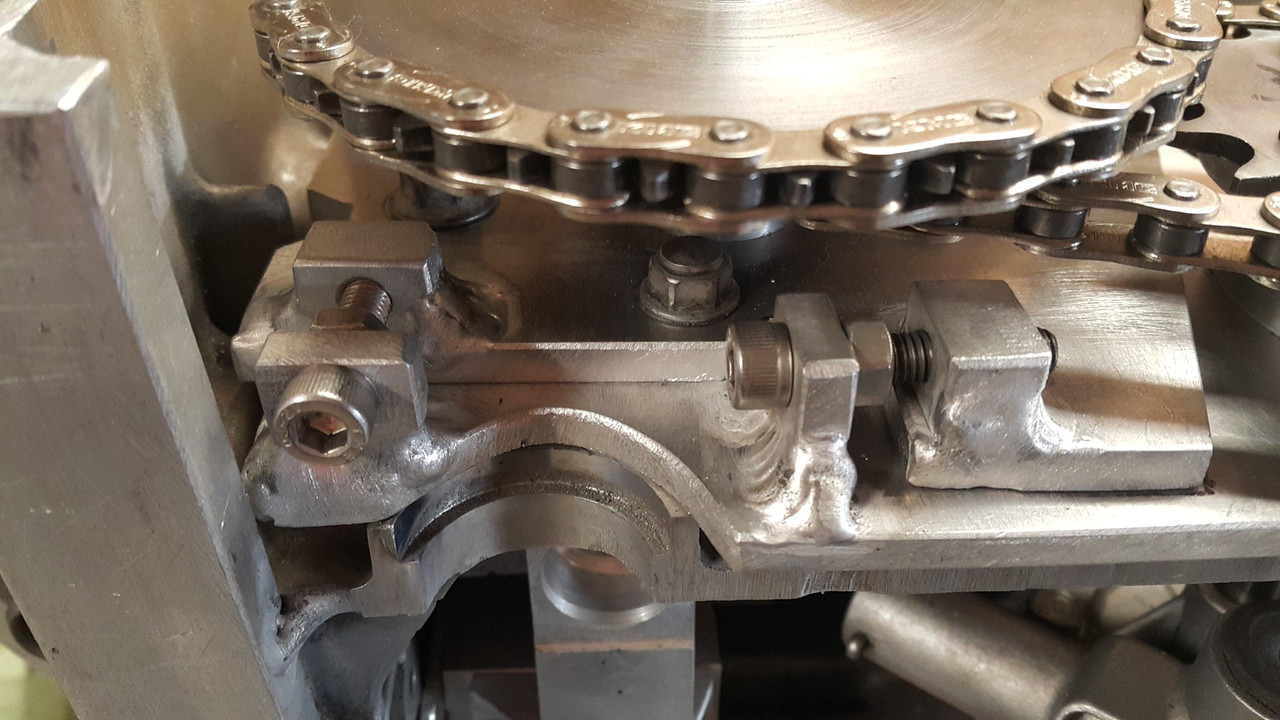
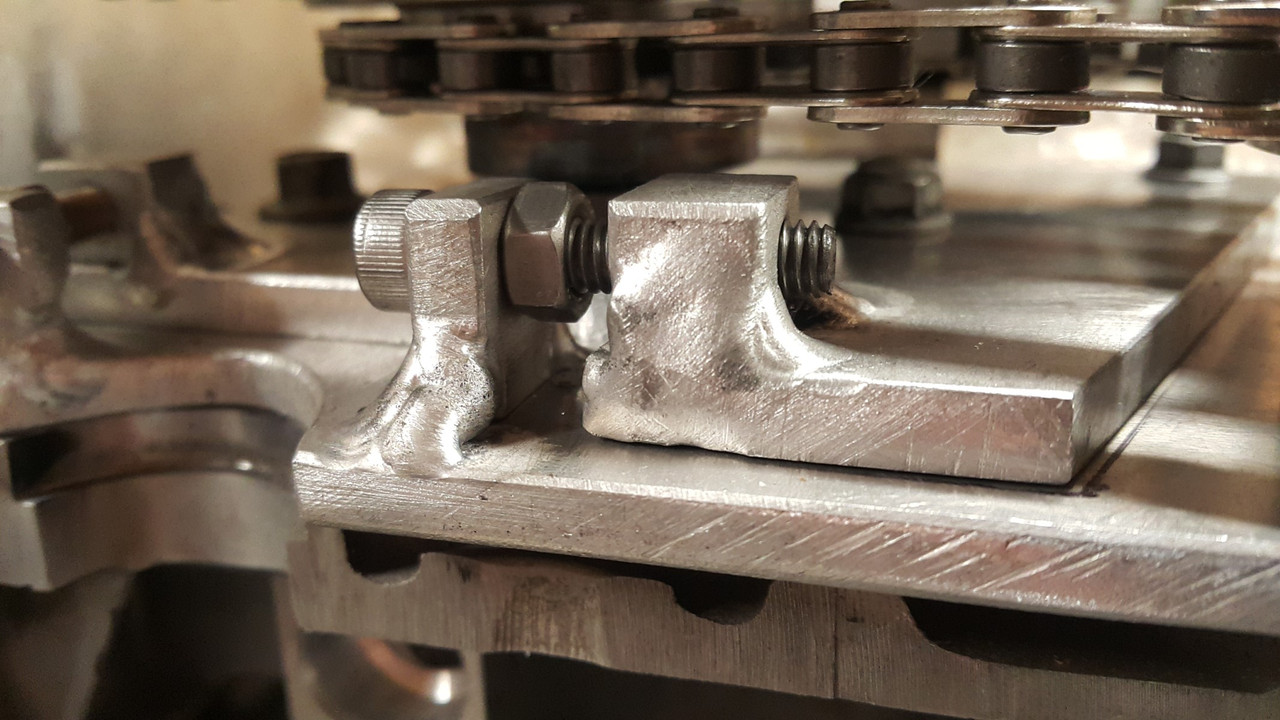
The bolts that clamp it down are actually accessible from below with the sump plate removed so once the chains wear to a point that I'm not happy with I can tension them independently. The will be nyloc nuts replacing those normal nuts on the tensioner bolts when the final assembly takes place.
So with that finally finished I moved on down. The sump cover. It has to be fairly beefy because it could see some hits plus the engine will rest on it when on the bench. It has to be alloy so It can be used as a useful heat sink to pull heat from the oil. It has to look cool for when the Barries look under the car. So some fins were in order.
I bought a big lump of alloy from Ulrich aluminium.
That hurt.
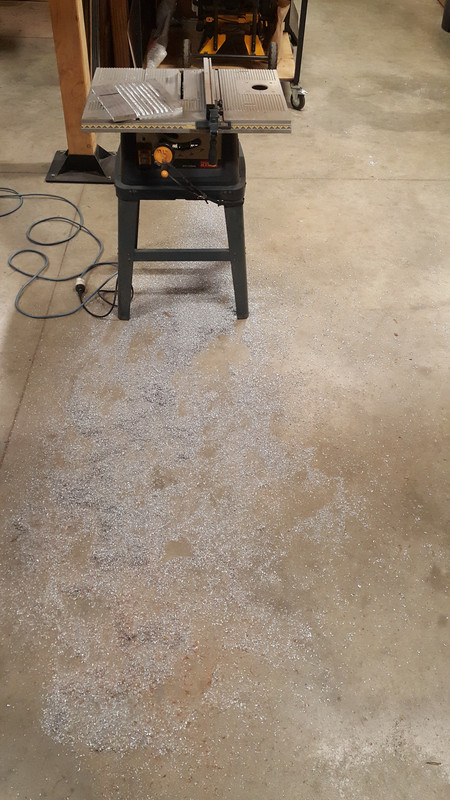
I put it through the old table saw and did some rough cuts just to save on time milling...
Into the mill and did milly things. It was going to take bloody ages thought so I made a new tool which I shall call the DDC.
'Dewalt drill control' ...
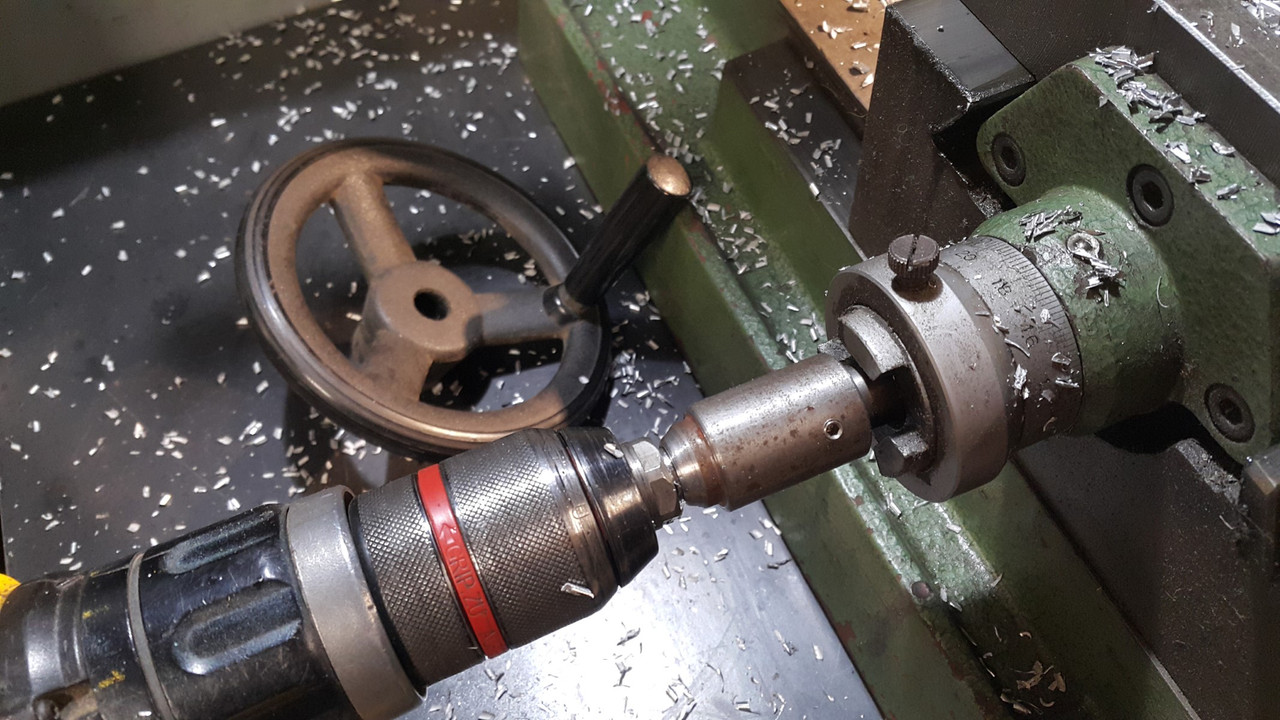
It could always be an MDC. Makita drill control. My cunning design is adaptable.
In action...
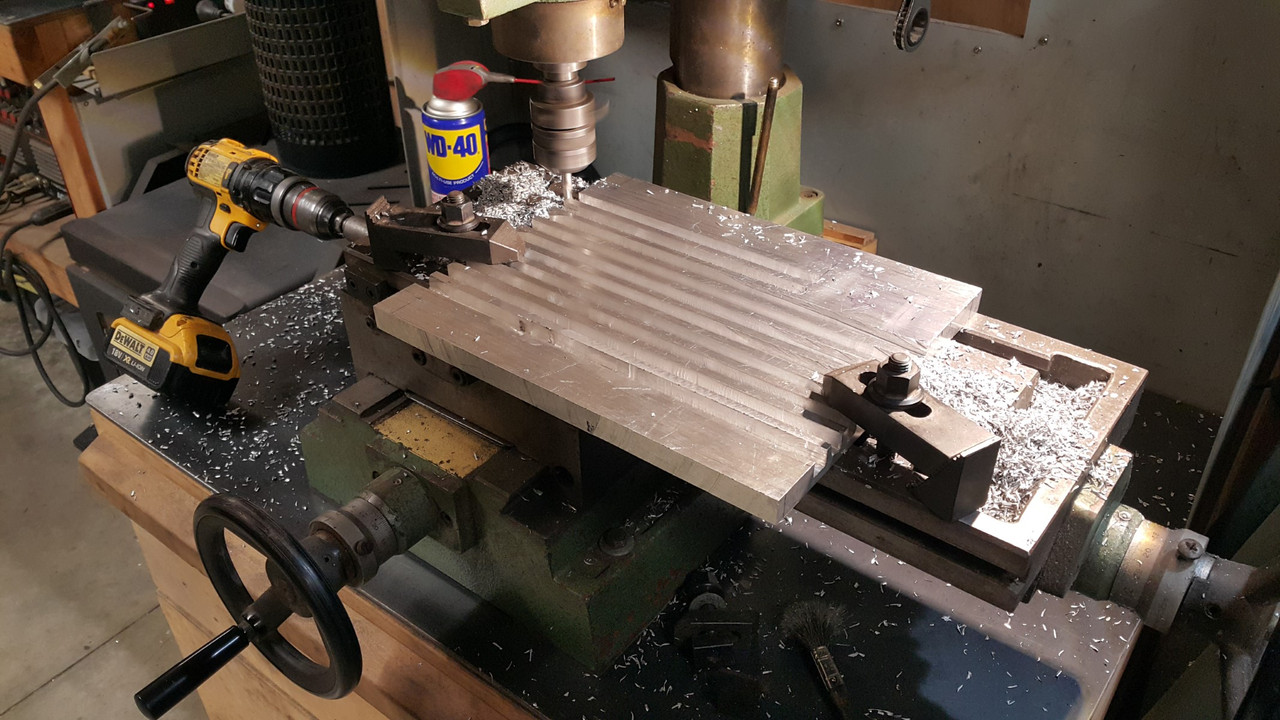
Groovy man...
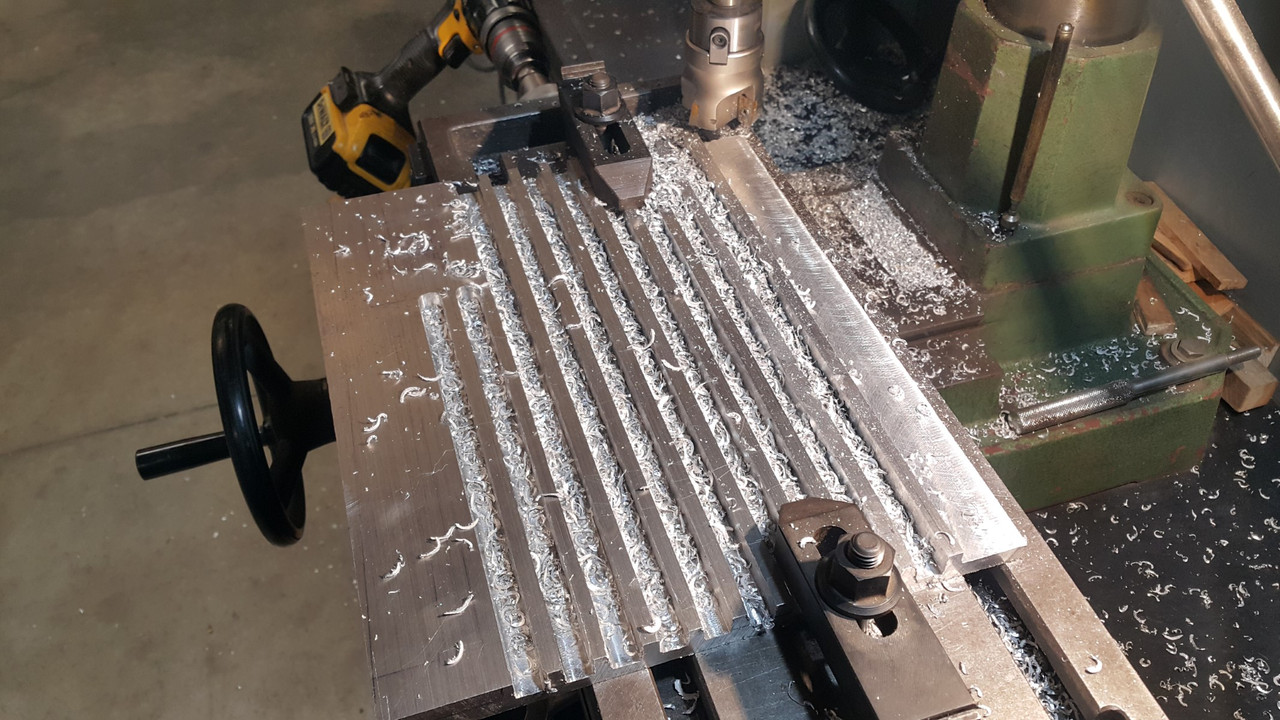
Then the sides taken down...
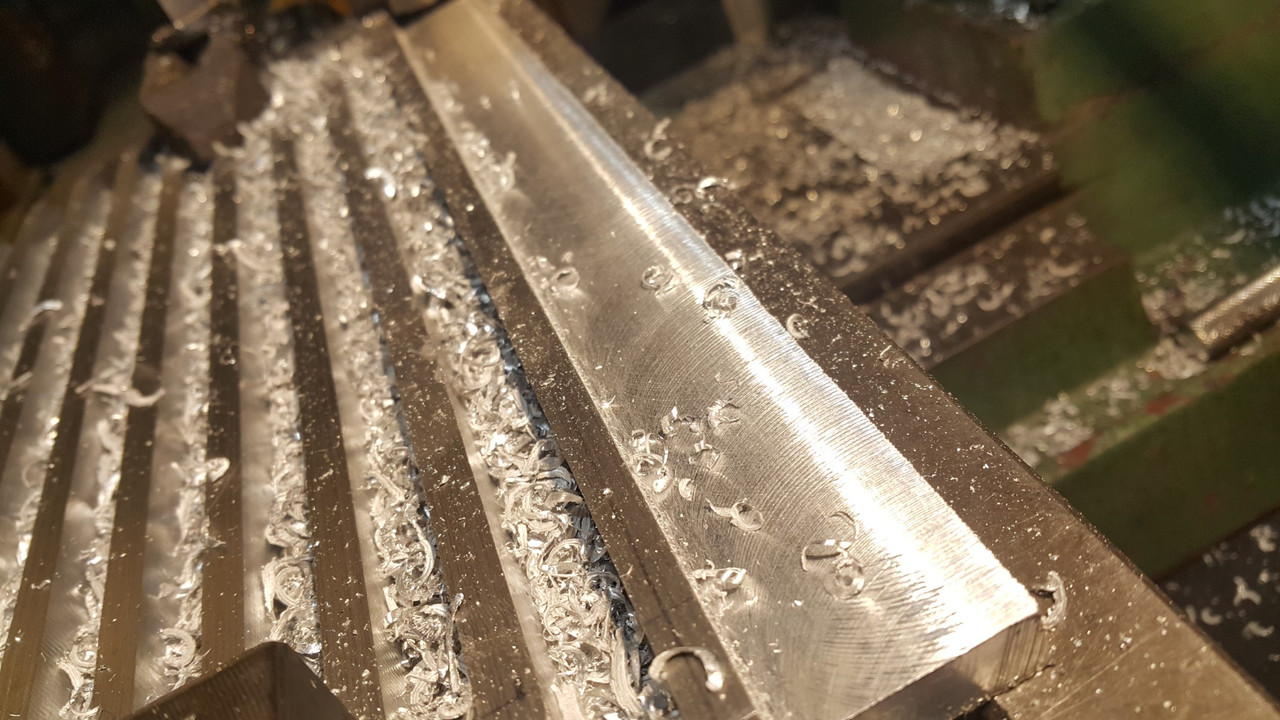
I stopped there. The bit that is left unslotted will be machined to suit a recessed sump plug. I wont do any more until I finish the front cover below the cambelts where I'll also be adding some engine mount points.
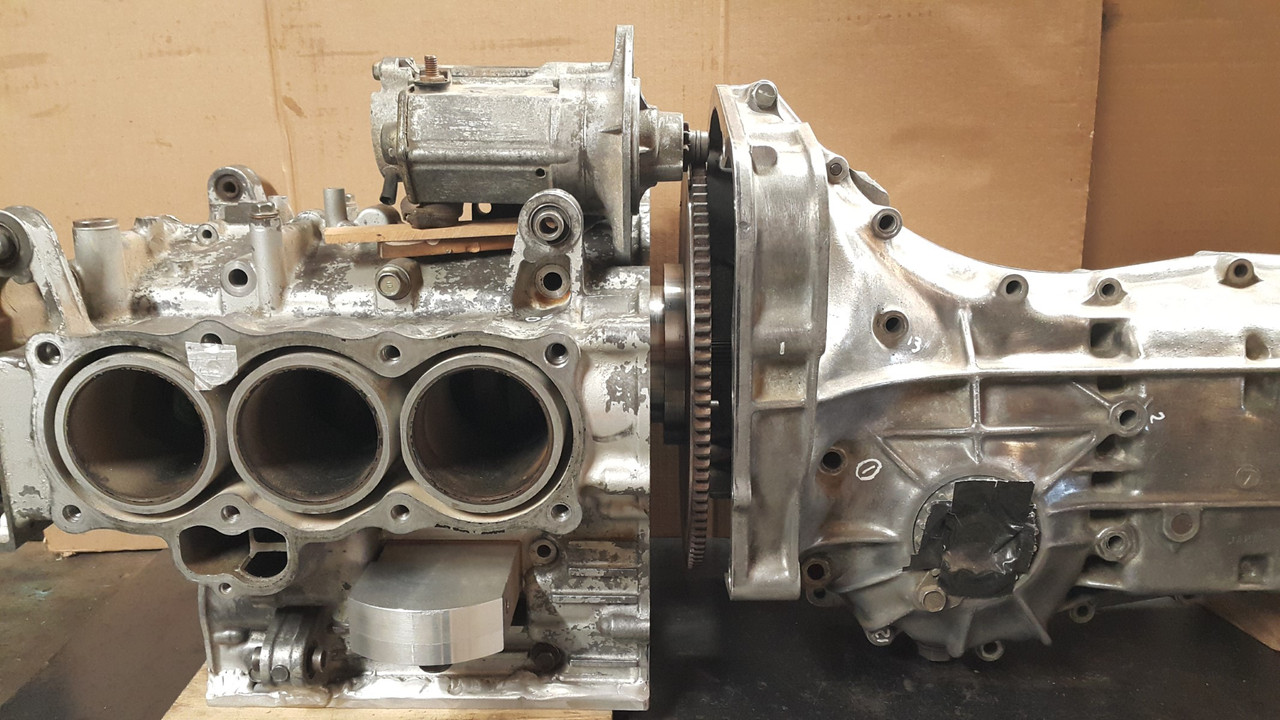
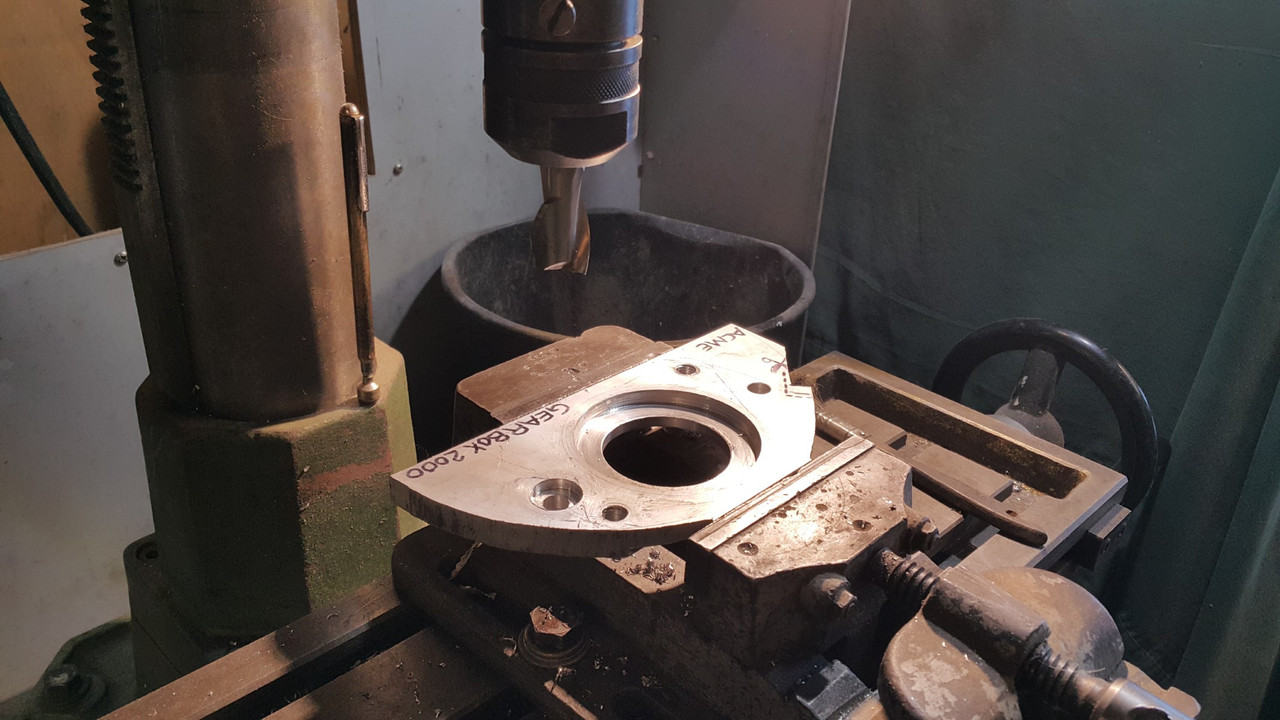
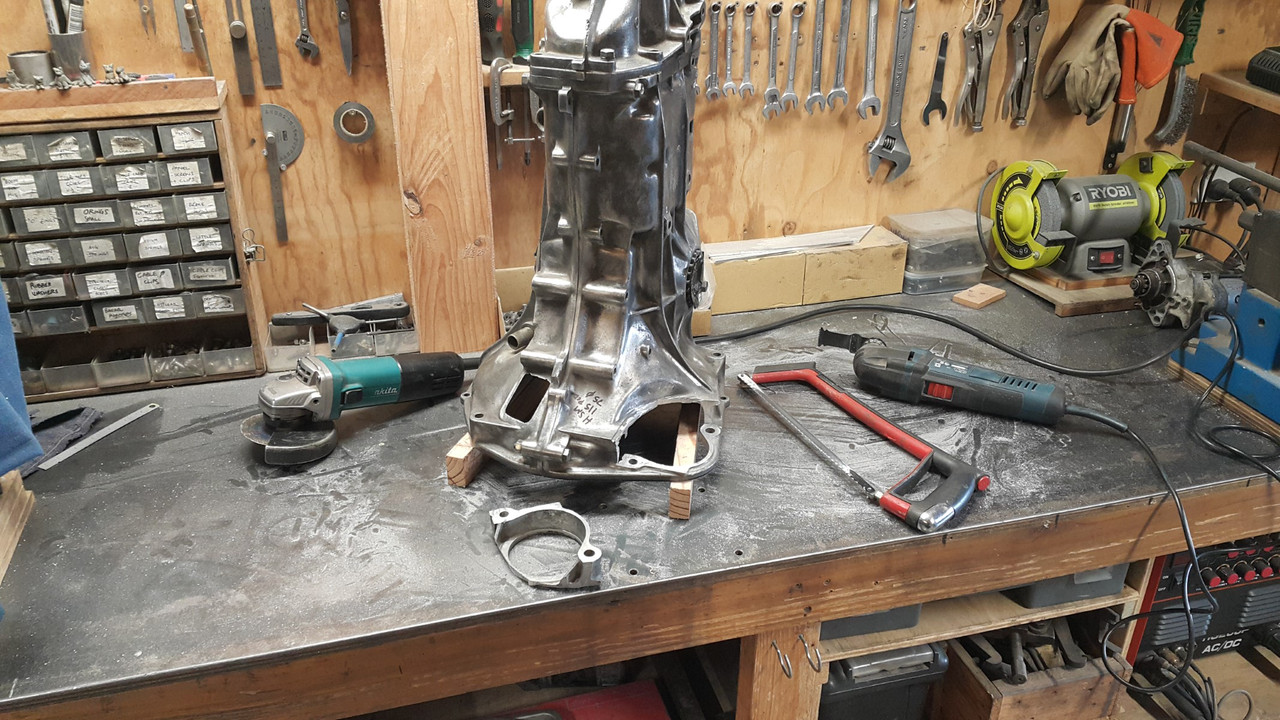
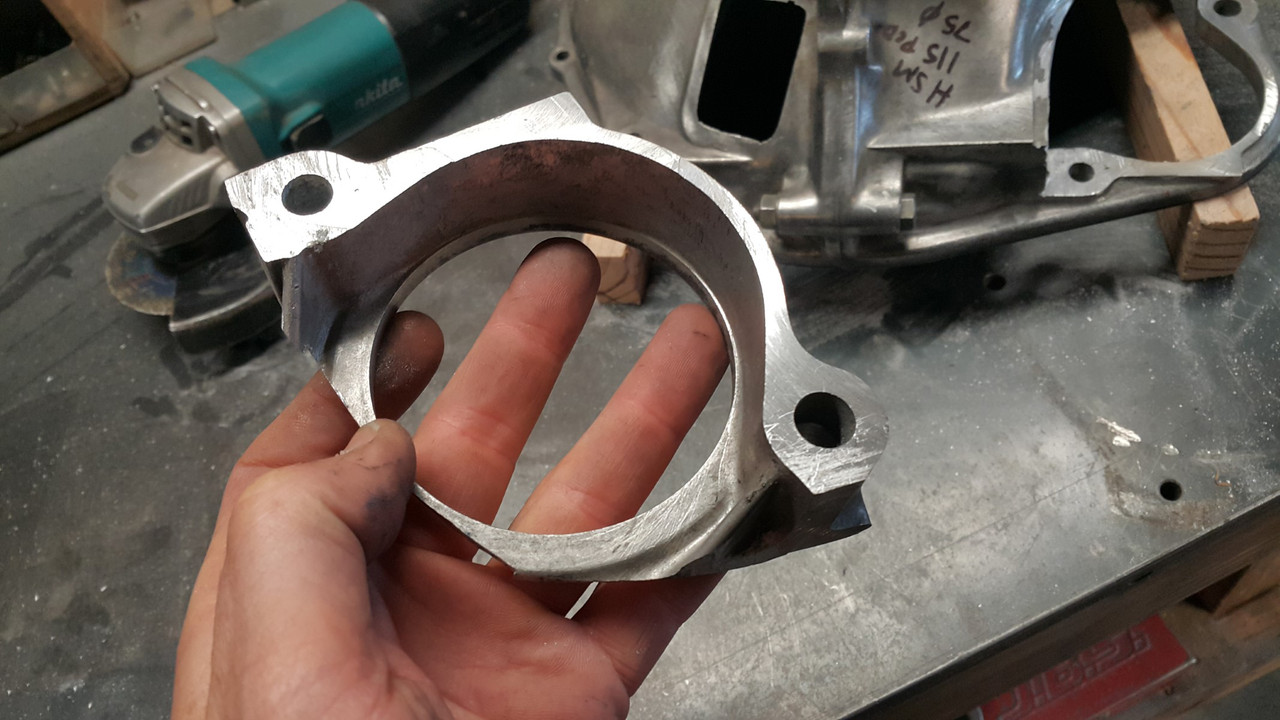
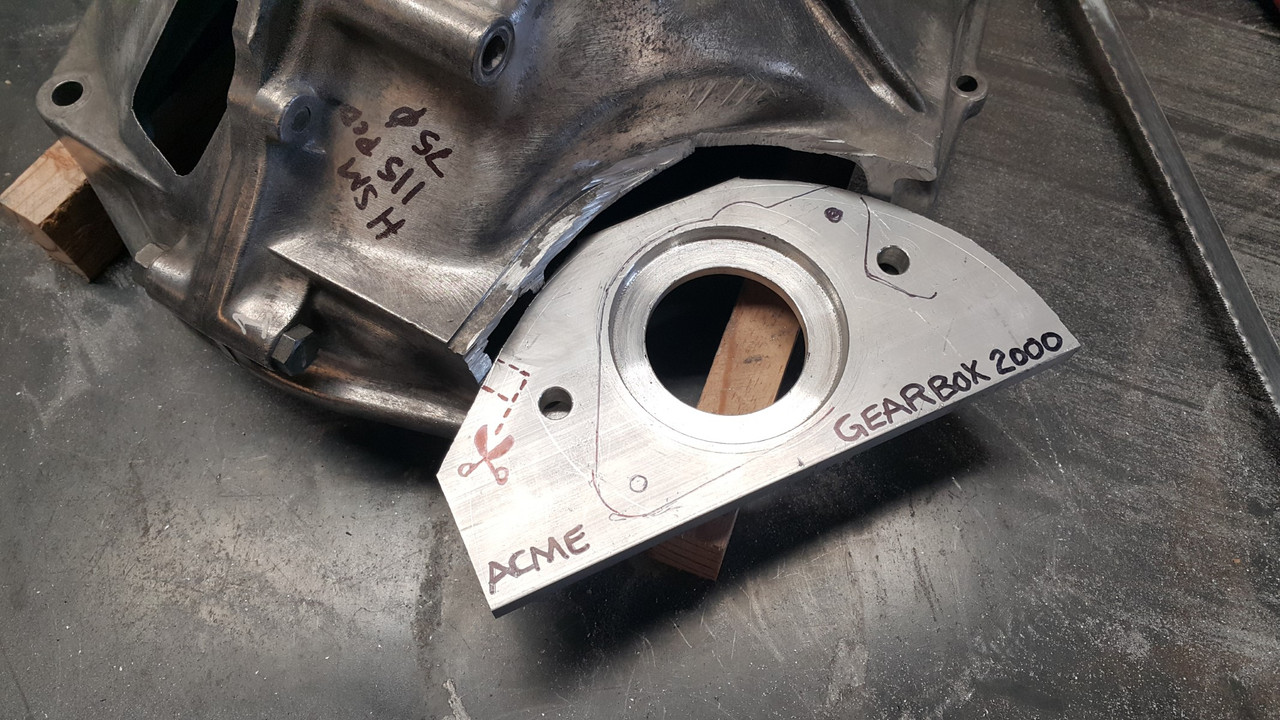
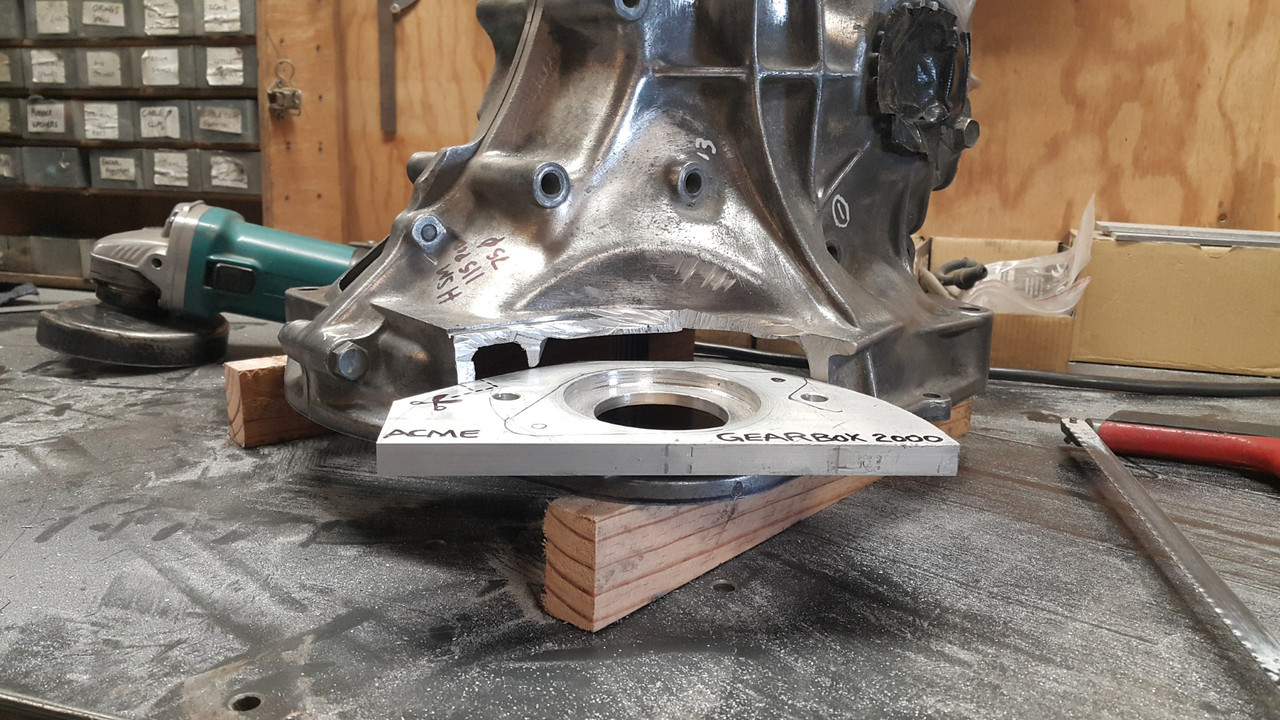
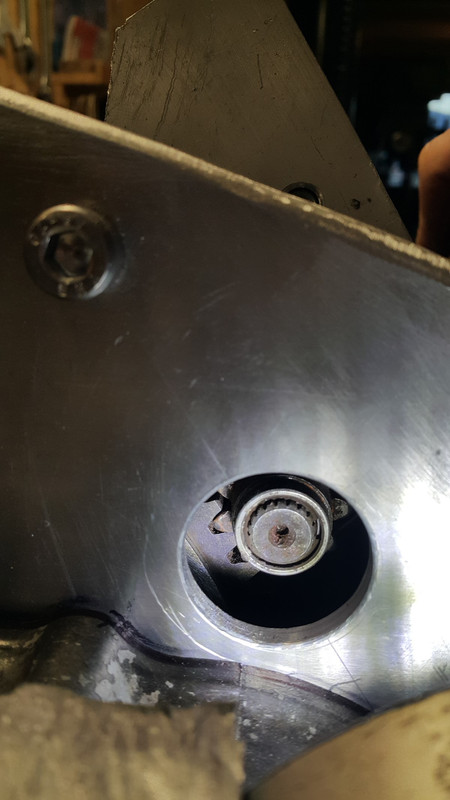
Next up was to finish the adaptor plate that connects the engine to the gearbox bellhousing.
I had machined a bunch of pedestals to an exact length I had worked out to suit the positioning of the spigot shaft on the end of the first motion shaft into the spigot bearing. These pedestals have been machined on the gearbox end to locate within the dowel like spot faced bolt holes on the bellhousing. This way there was no chance of any float in any direction - the box would always be perfectly concentric to the engines crank and the bolts are really just clamping it.
I bolted it all up together...
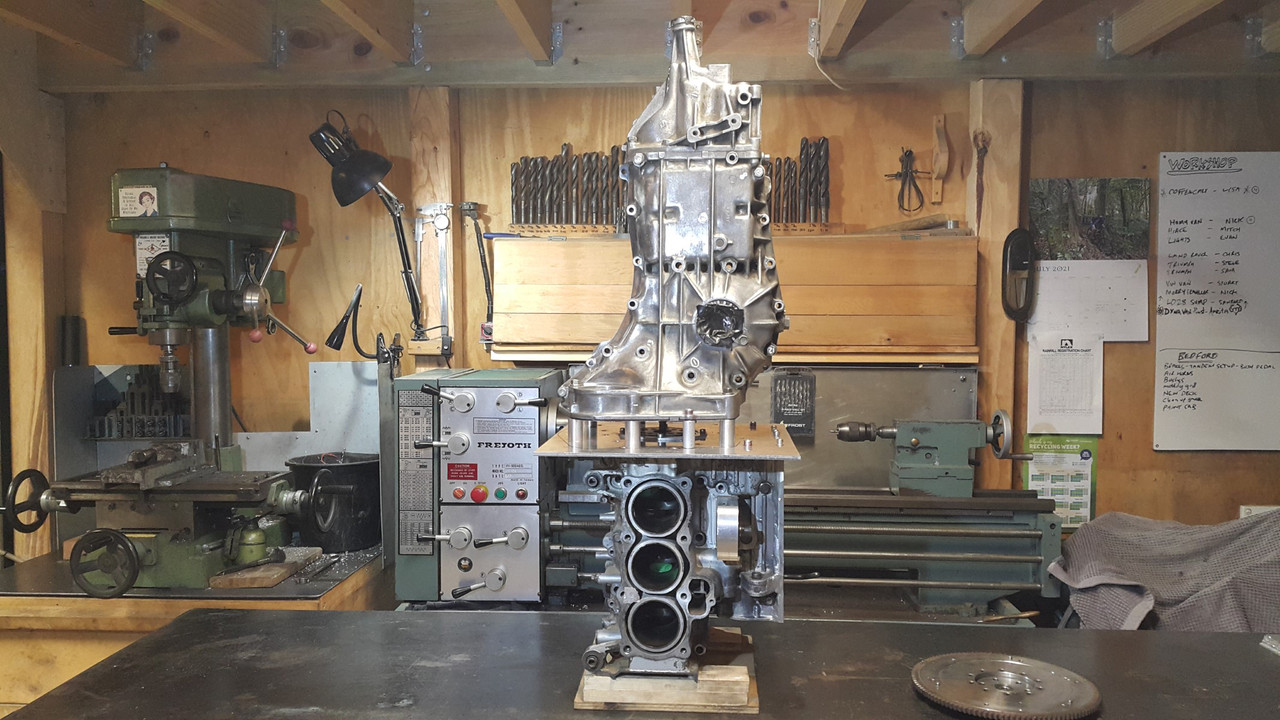
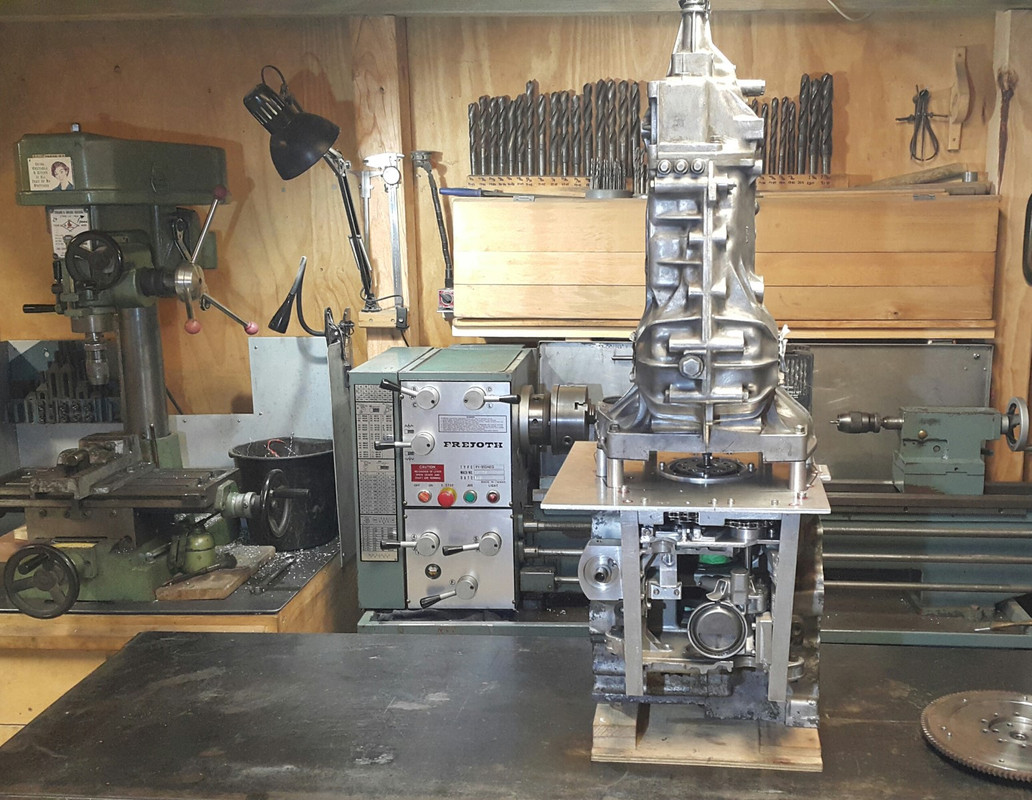
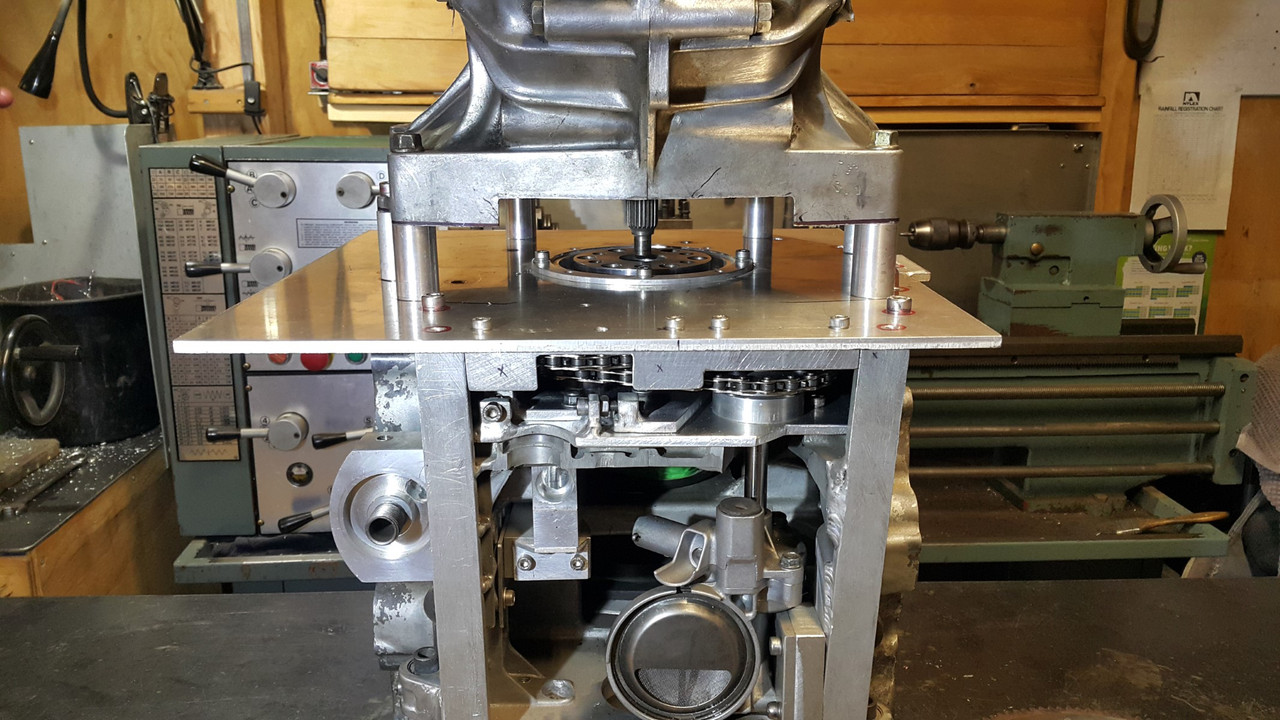
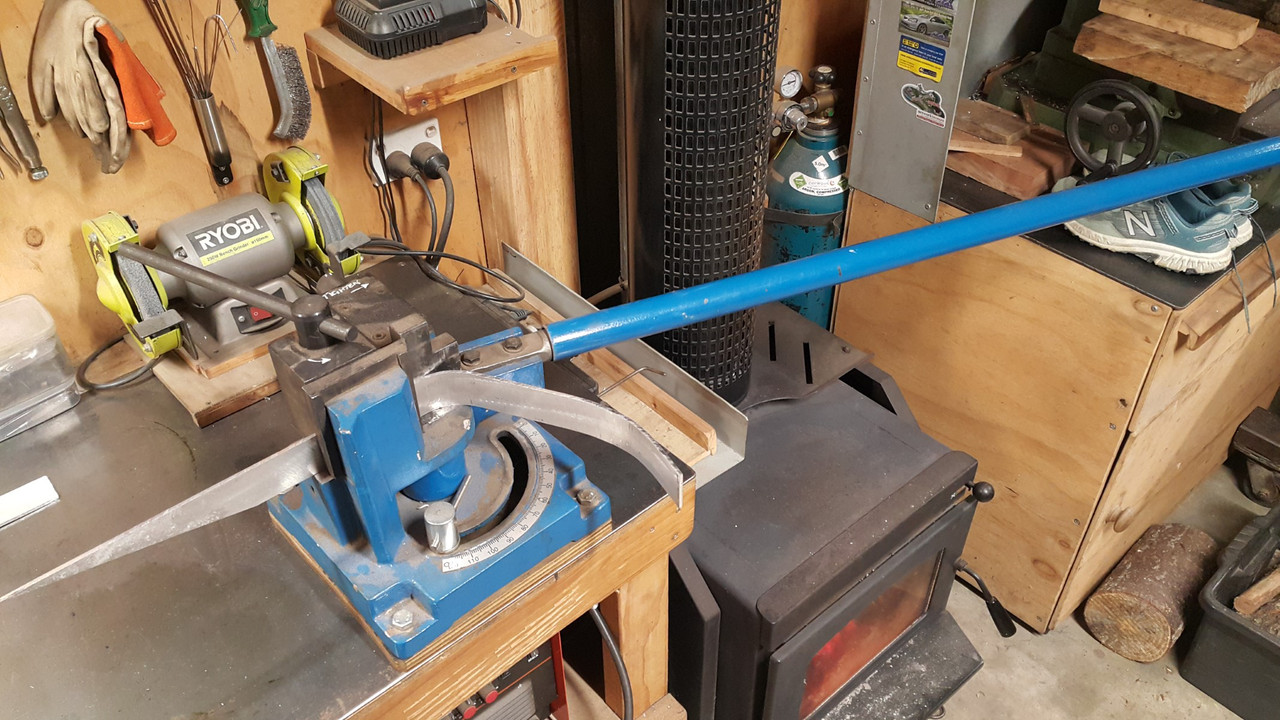
Then cut some strips of 4mm alloy plate and started bending them to suit. Connecting the pedestals...
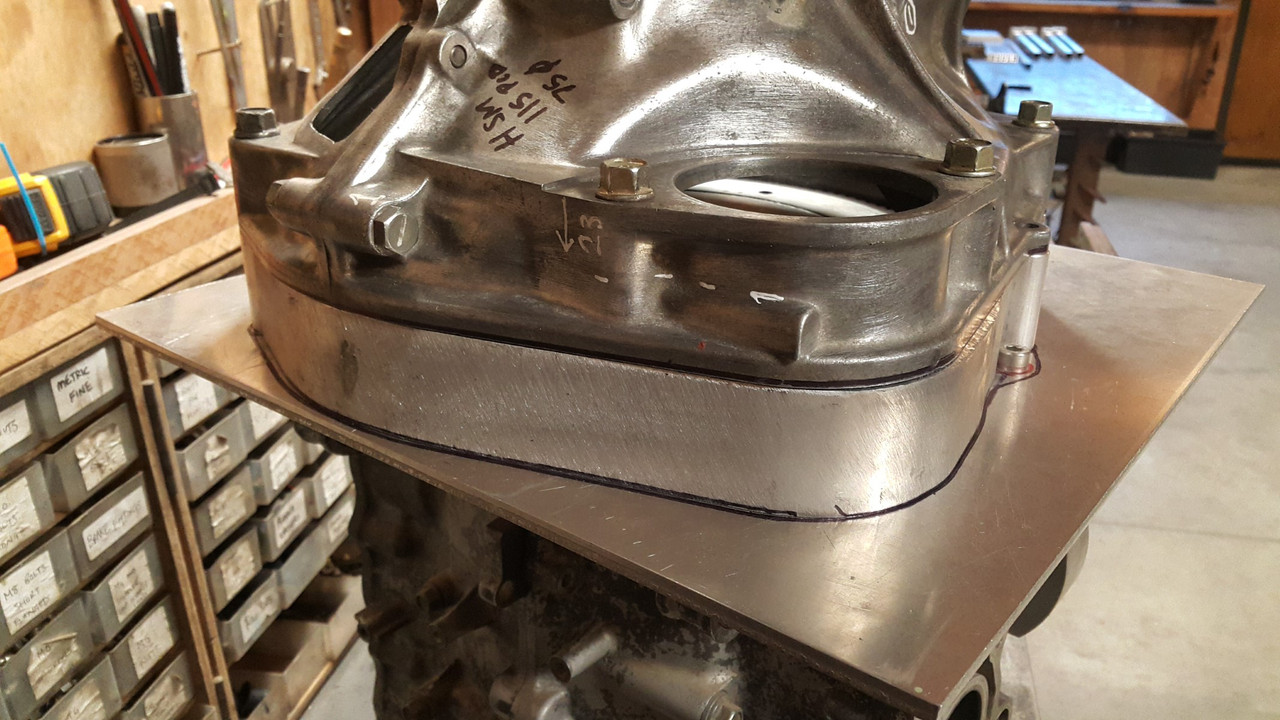
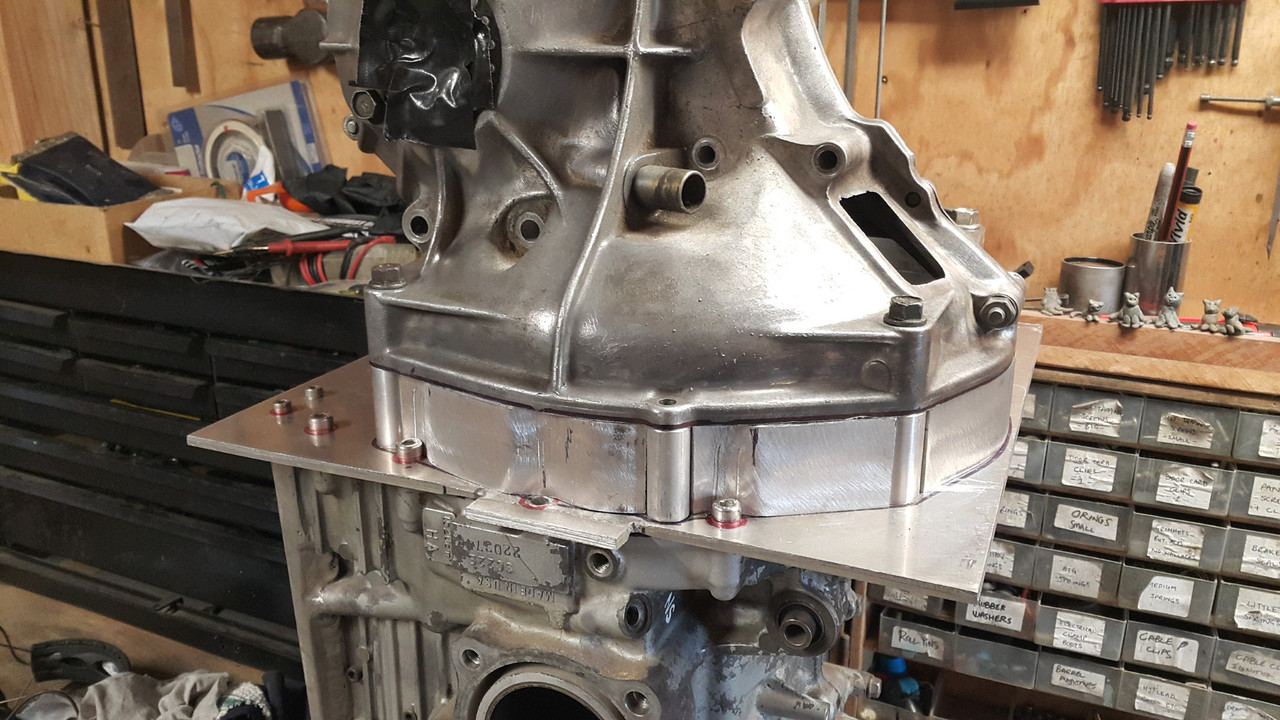
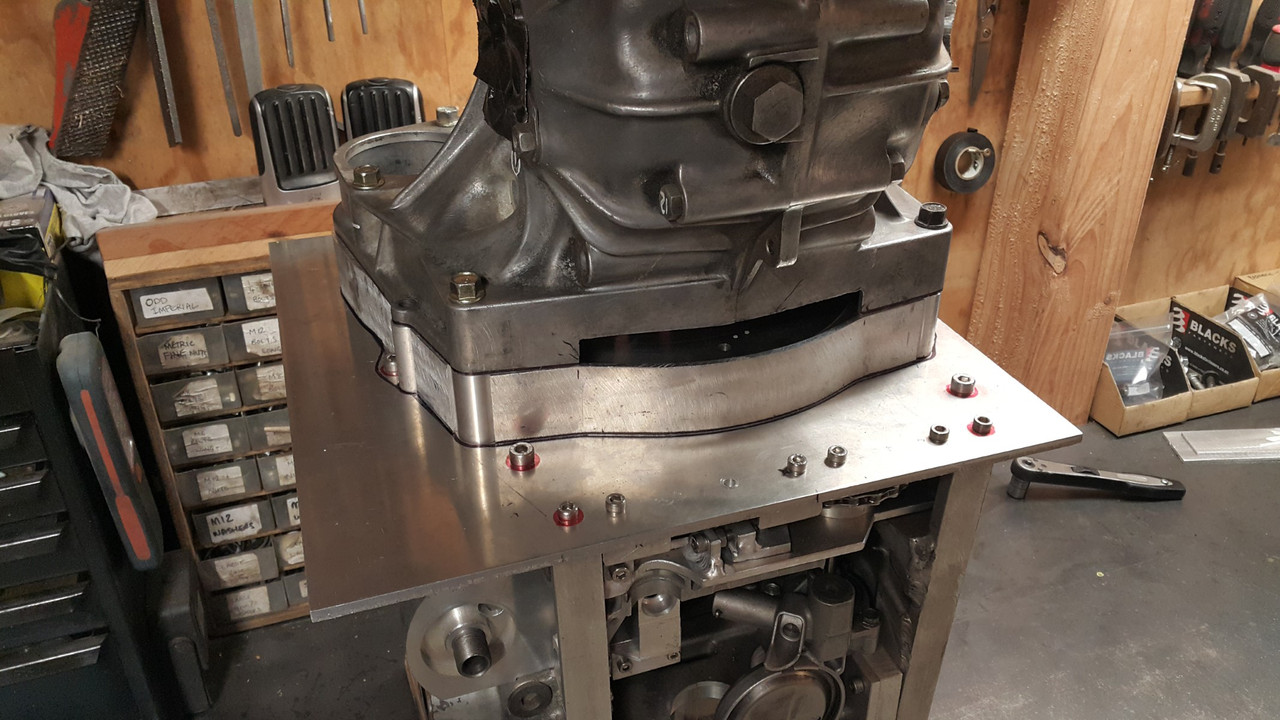
Once I was happy with the fit up of those filler strips I ran a marker pen around them and took it all apart. Then cut the plate back to the lines in the bandsaw.
Well I did so for a while but due to several things including the bandsaw having a totally rooted bearing collapse in the saws gearbox so making blade run off the driving wheel. plus the only course pitch blade having some missing teeth I ended up using the jigsaw.
Anyway- got there in the end. Pieced it back together and it looked like this...
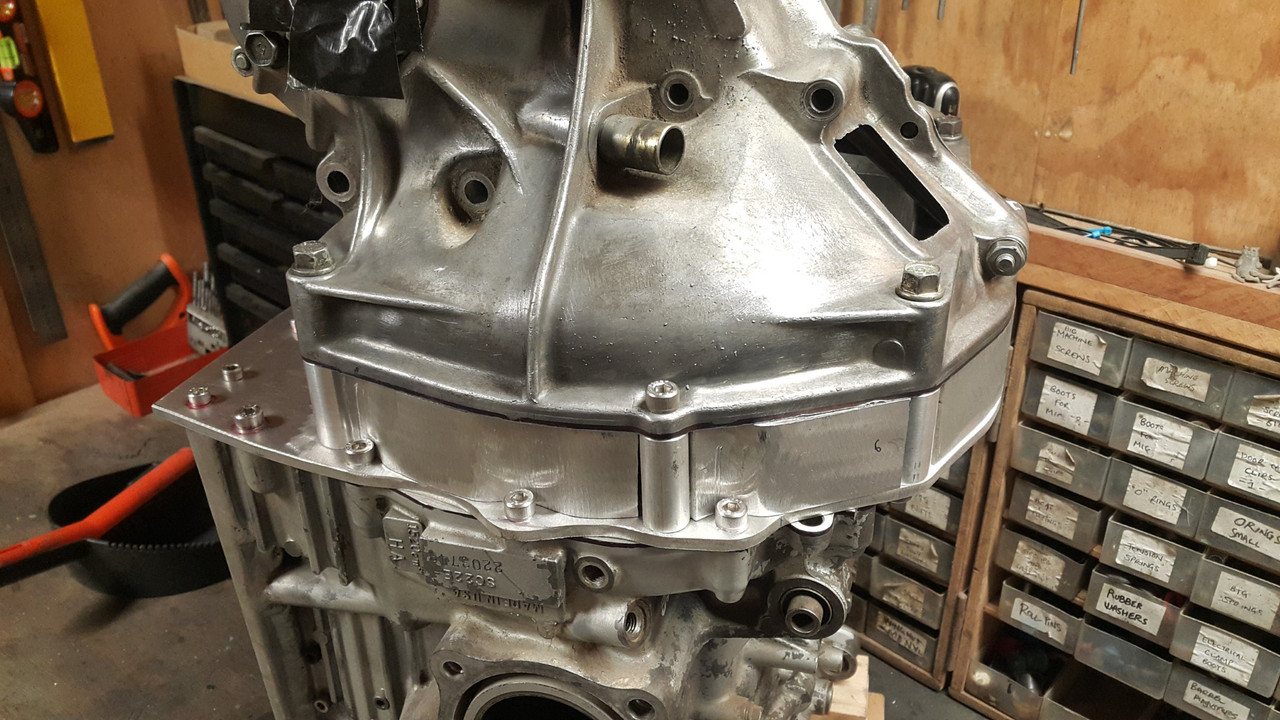
Now time to weld it all together. I knew this was going to be tricky because the whole lot is like one huge heatsink and our current power cable to the workshop and the subsequent circuit breakers I have installed as a safety net wont allow me to run the welder at enough amps for such a mass of alloy - sit on 150 amps for any longer then 20 secs and it would trip. If I had a big enough oven I'd heat the whole lot up together nice and slowly. But I don't. So I just had to be strategic about it and work fast because once I stopped welding the heat soon dispersed. Luckily the welds just have to be strong and functional because it would all be smoothed down with a flap disc for a more factory casting look I wanted.
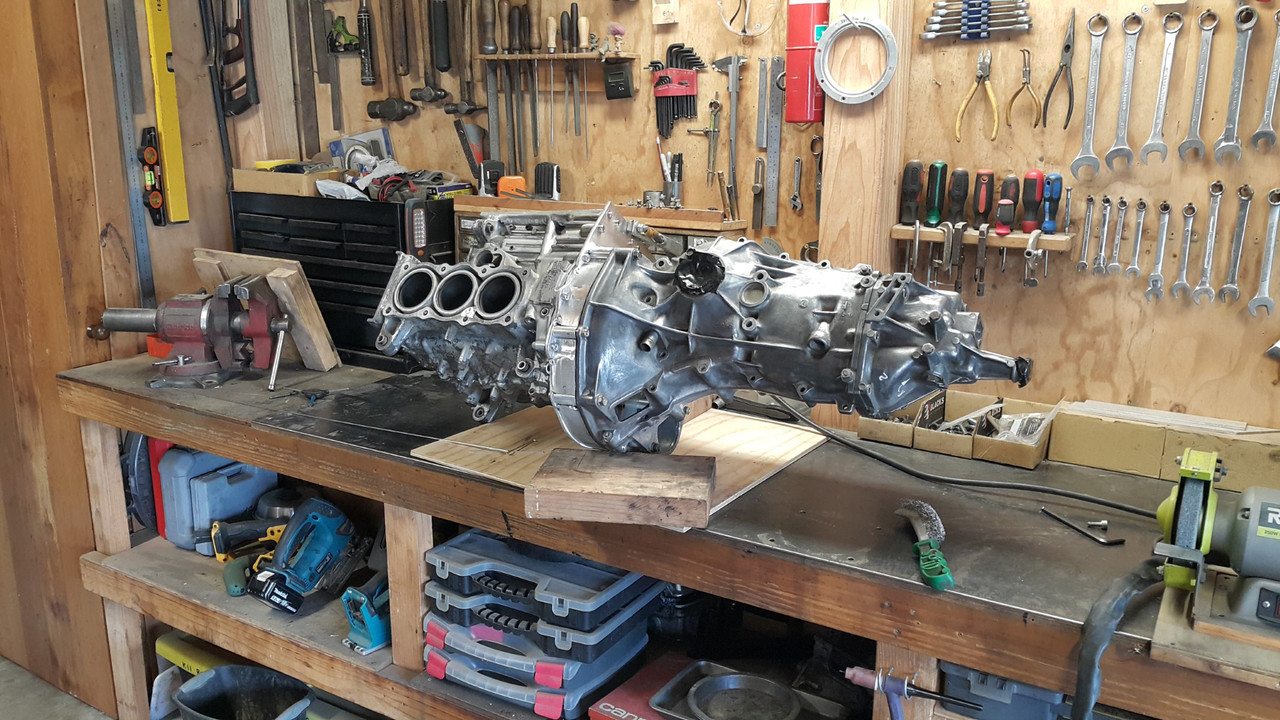
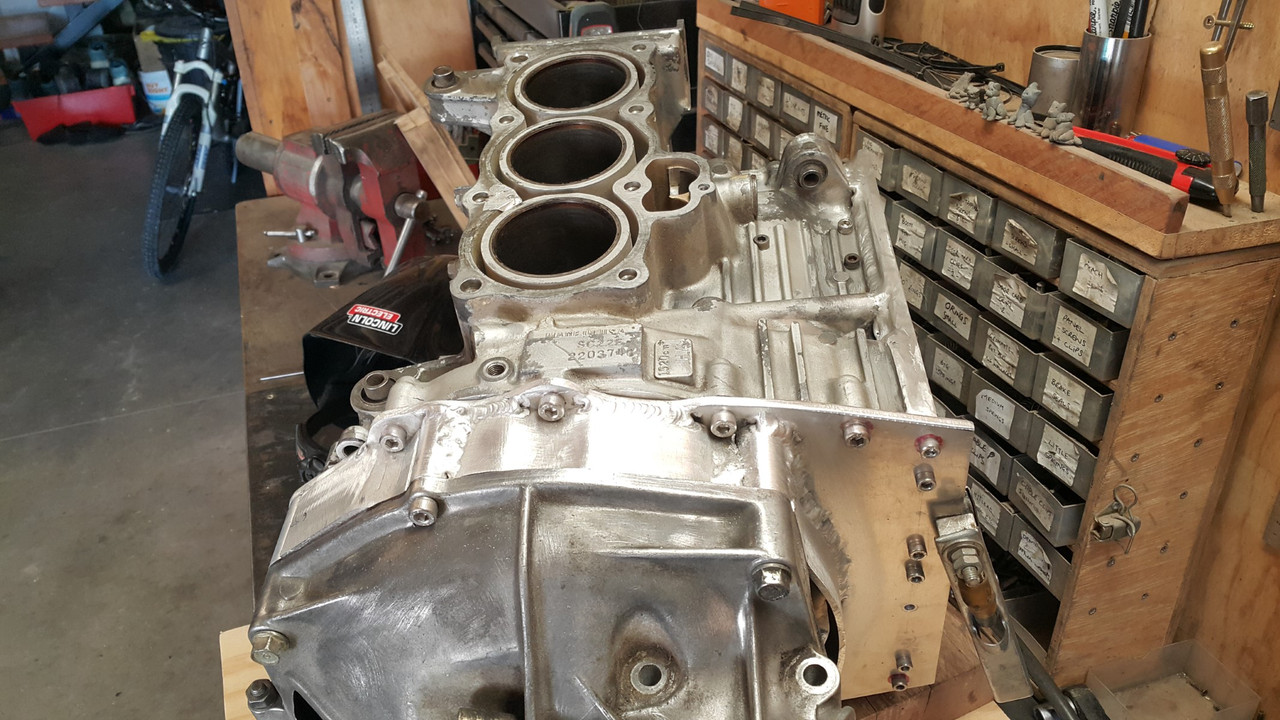
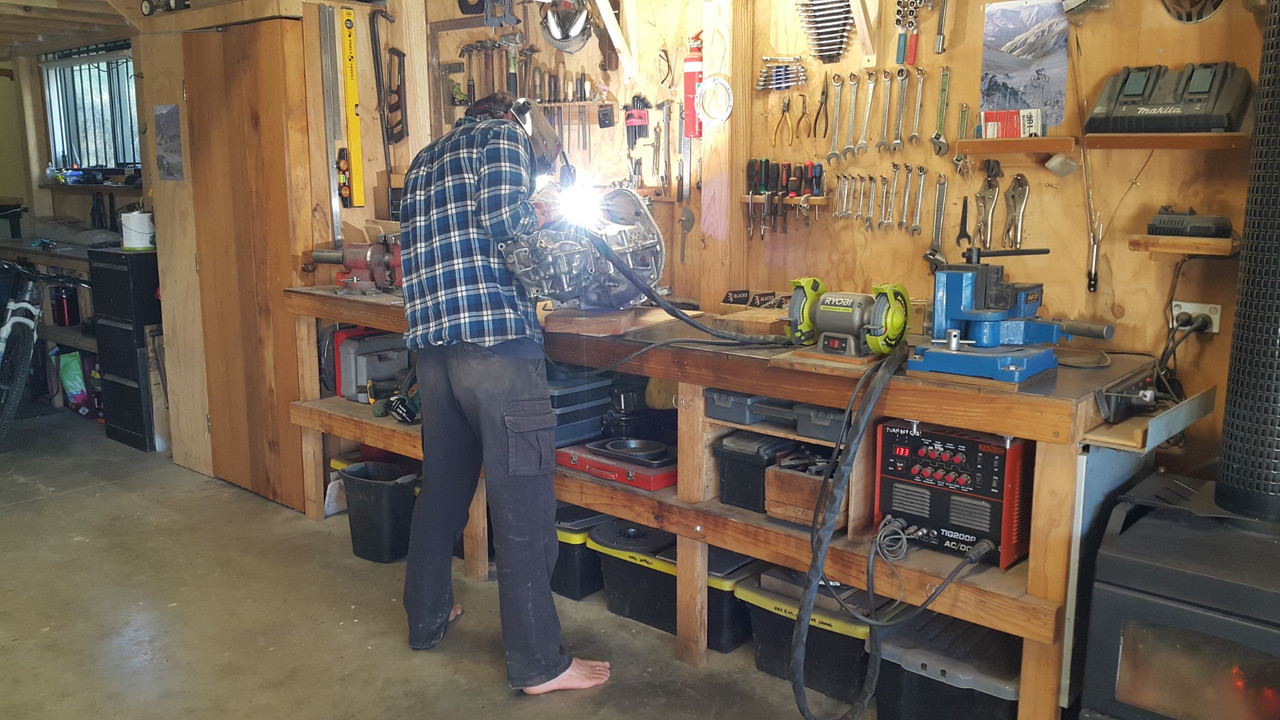
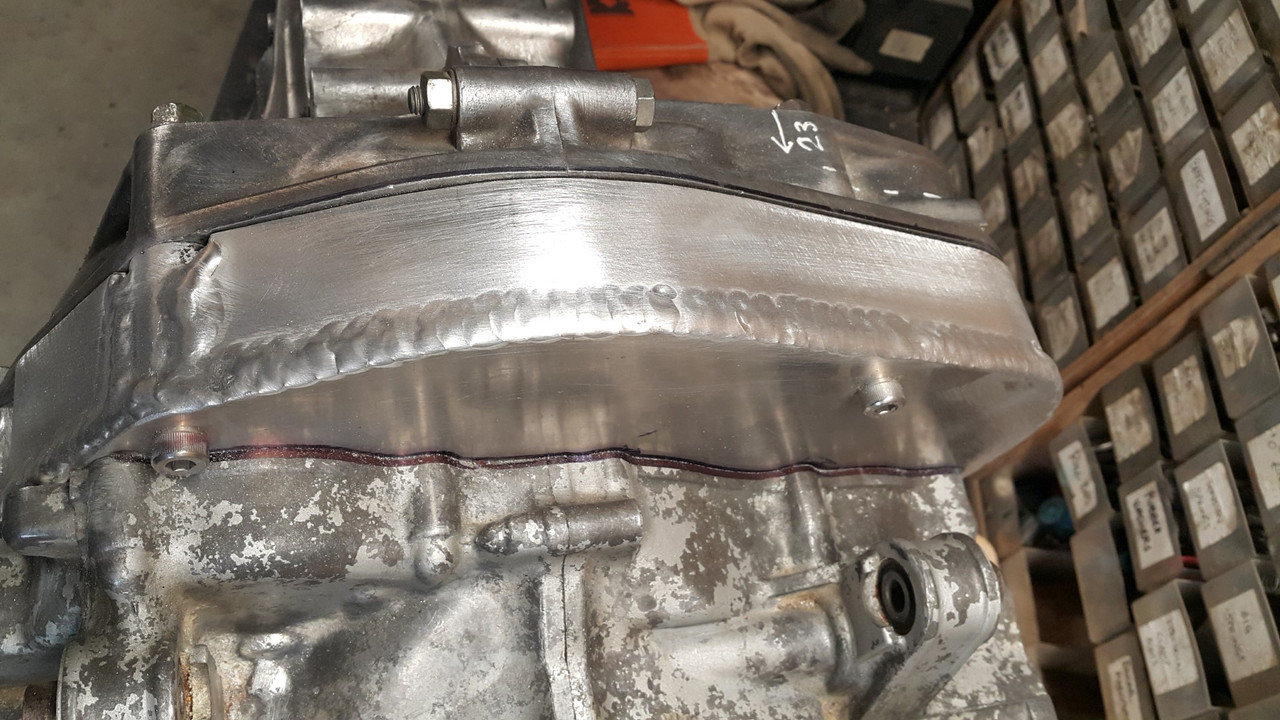
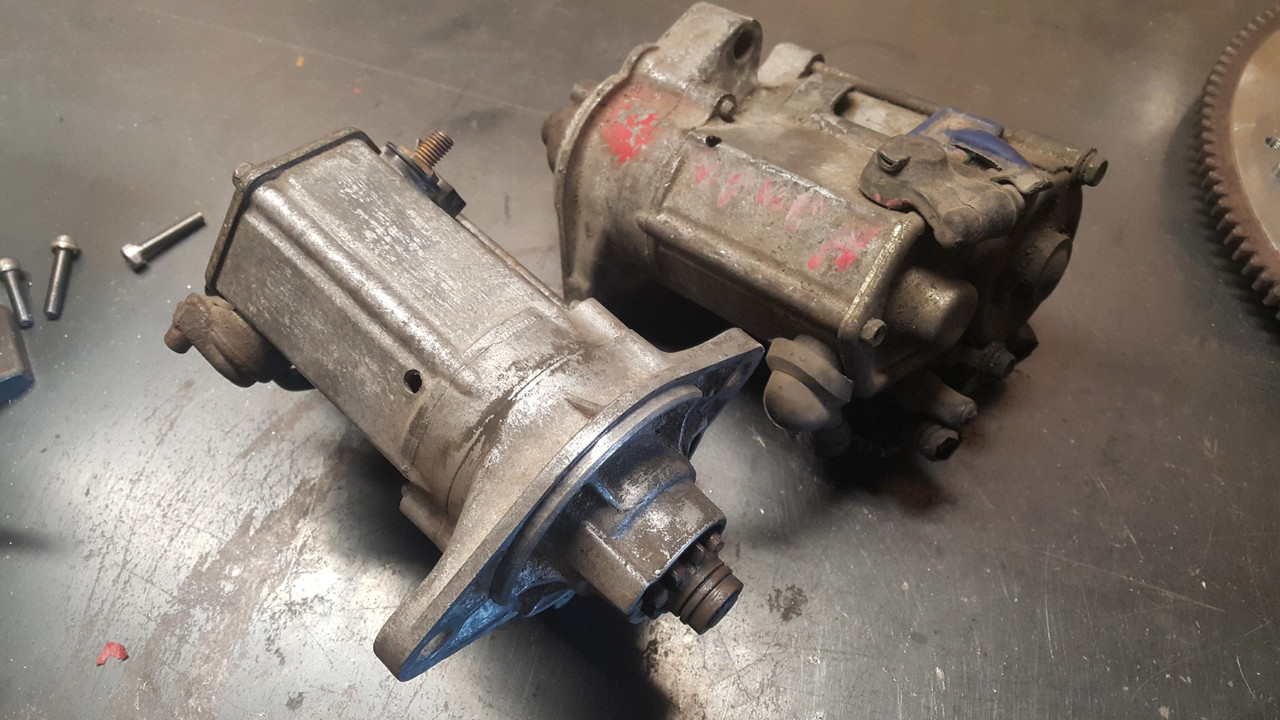
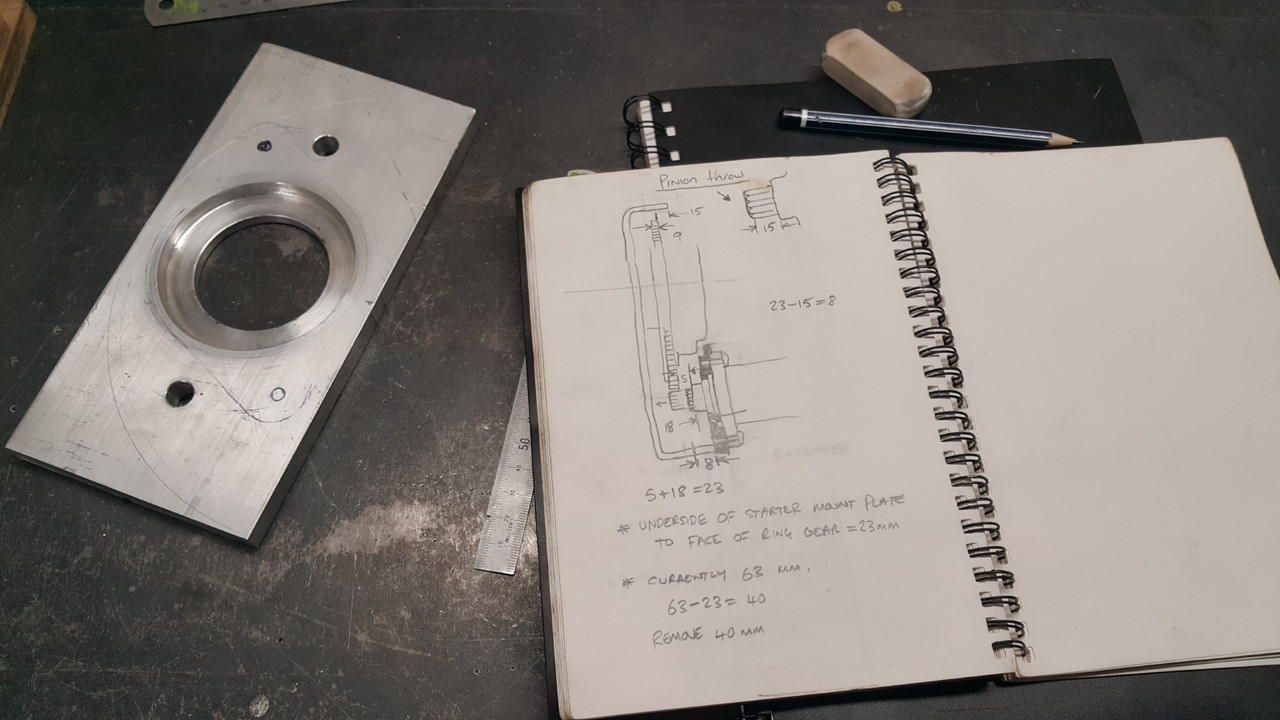
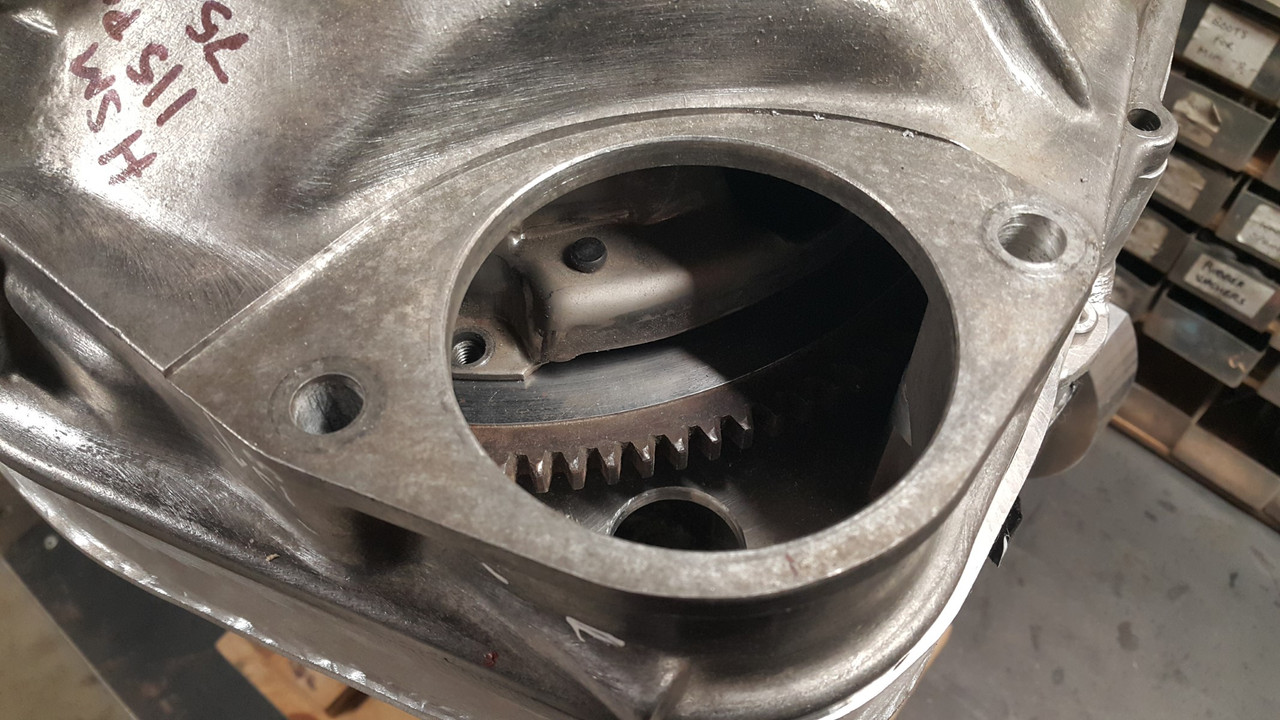
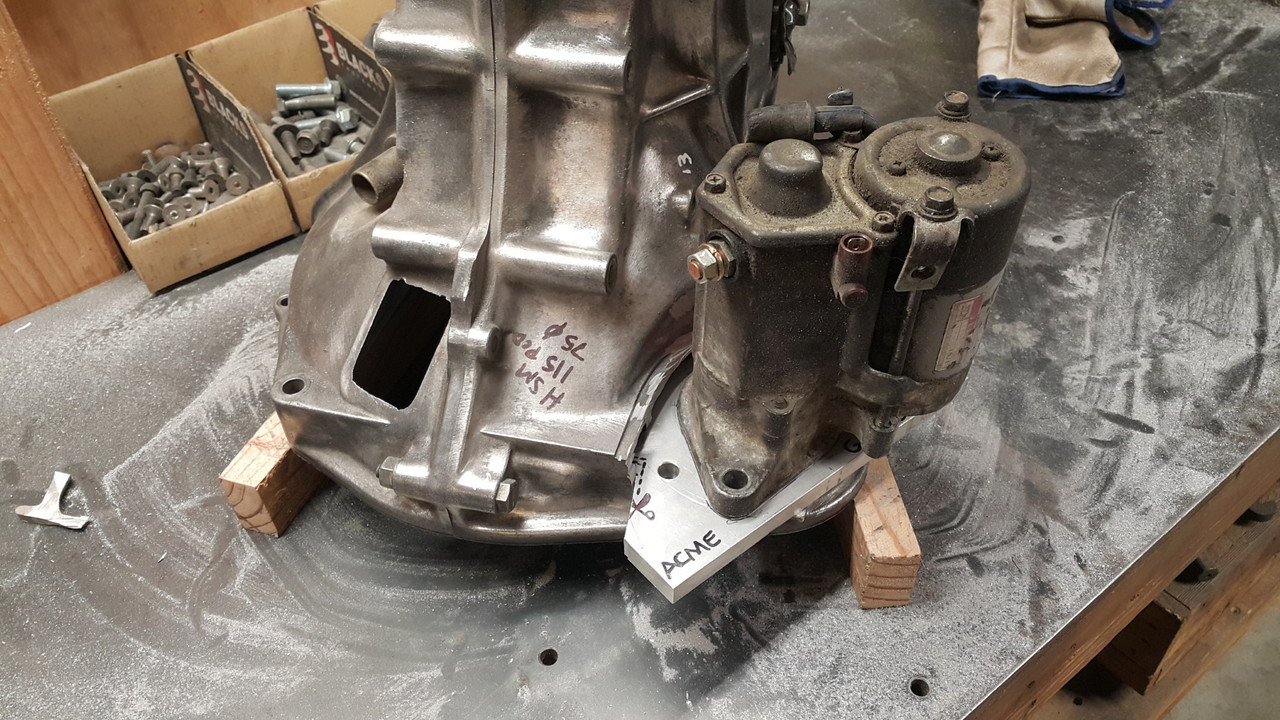
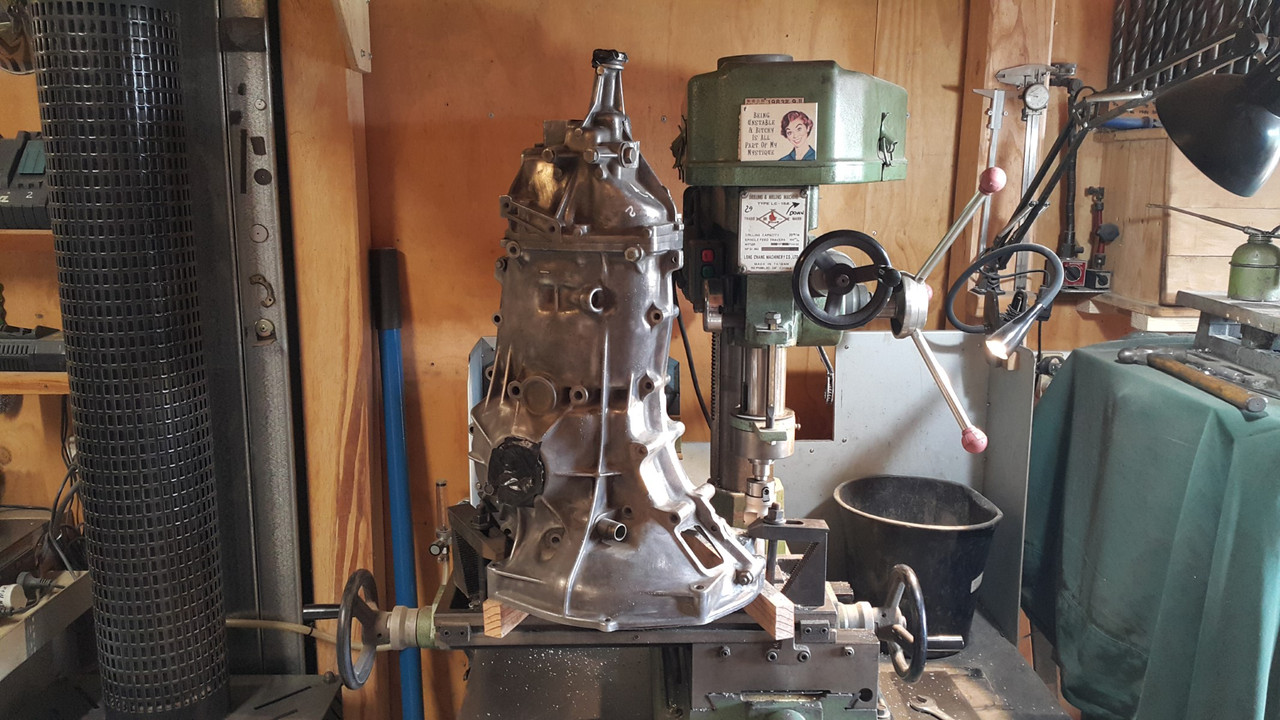
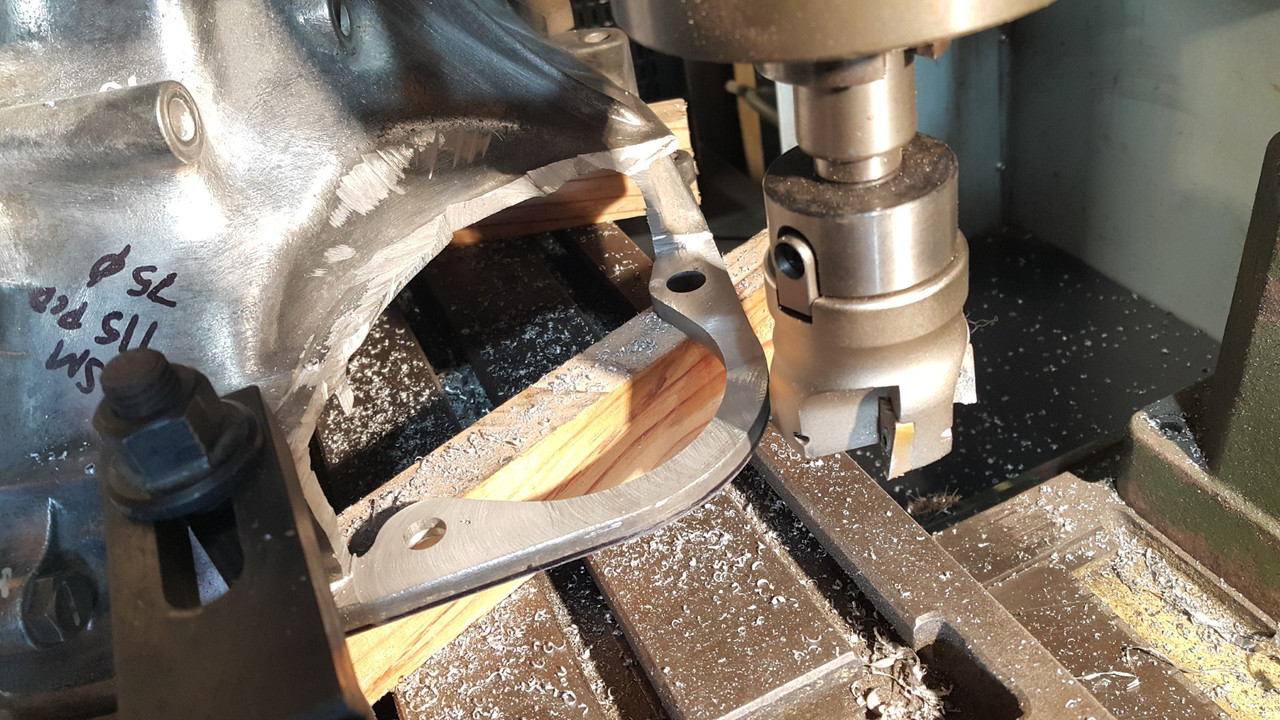
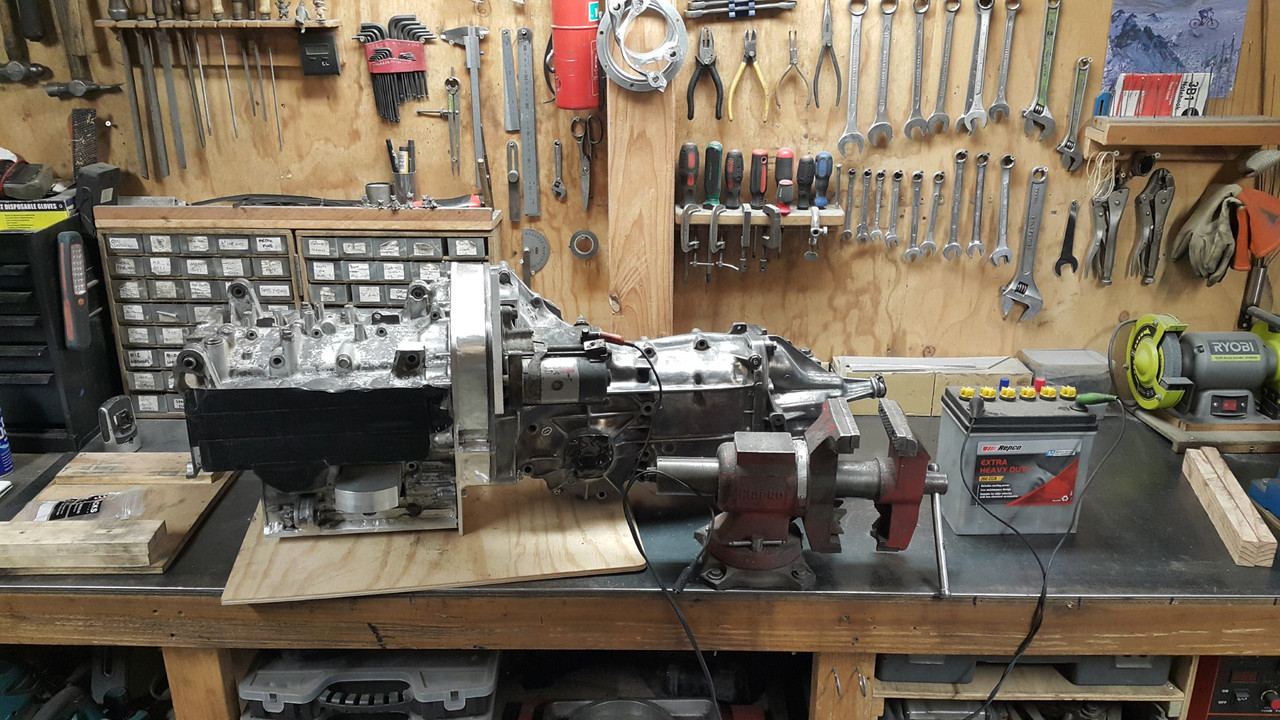
It turned out good and best of all it hadn't warped so the box still fitted correctly and neatly. I was happy with that and it was now time to move on to the next stage which was the starter motor fitment. That will be in the next exciting instalment :-)




.jpg)
.jpg)
.jpg)
.jpg)
.jpg)
.jpg)
.jpg)
.jpg)
.jpg)
.jpg)
.jpg)
.jpg)