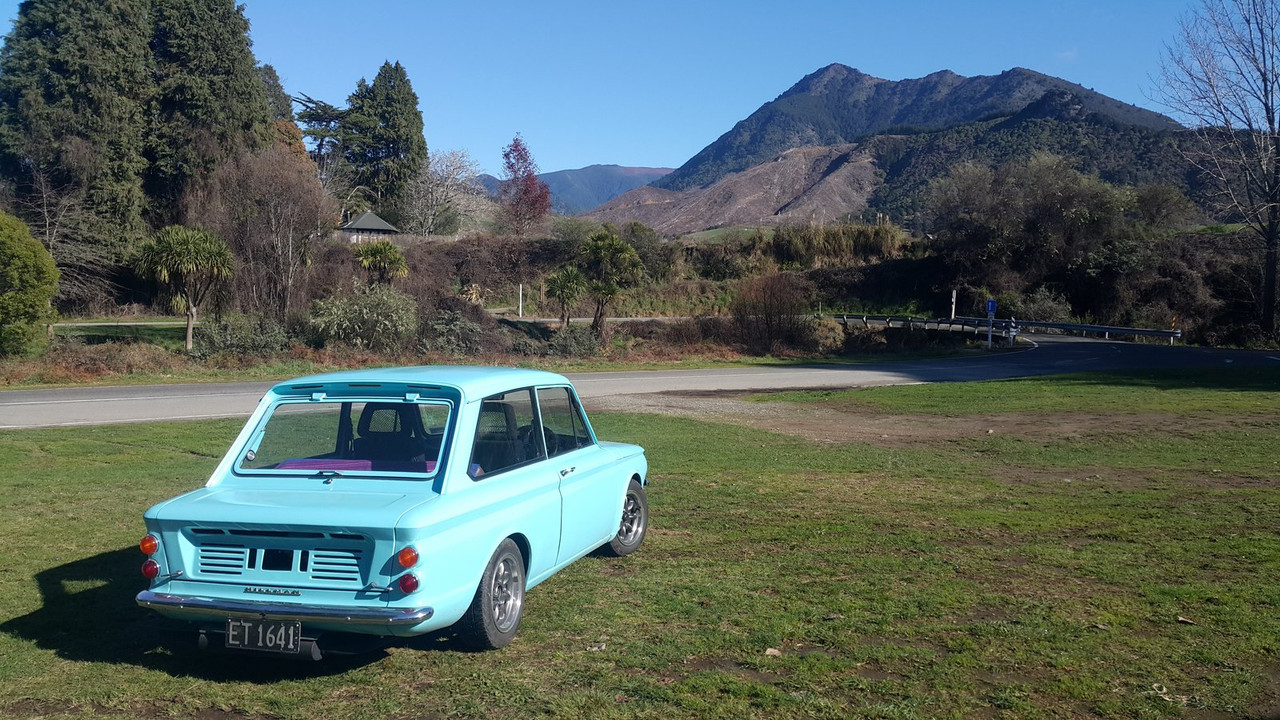
Took the Imp for a hoon on Saturday. Went to visit a mechanic who works from home up a valley not far from us because he has fields of cars and I had spotted some Subaru Leones. Sadly he doesn't have an front wheel drive models because I wanted to nab any gear boxes that I can just as spares in case my decides to detonate. Top bloke though- he knows his scooby stuff having been a mechanic for Subaru NZ. He's given me a contact to try for boxes.
So since it was a very lourverly sunny spring day indeed we thought we'd continue our drive further up the valley and check out a load of nice roads we normally cycle on. It was so much fun. I didn't drive super quick. Just enjoyed the nice handling and it feels quick anyway when you sit so low. I took this pic along the way. (some fellow oldschoolers might know the area because it was part of a circuit I lead folks on for a friday cruise on the weekend of the oldschool nats, Marahau 2014.

We went to Mapua ( a local trendy little seaside village- look it up on google maps) for lunch and hung out with all the posh people there. Then home via the supermarket to end a nice day out in the Imp.
The day before I had picked up some carpet that local lady who makes funky cushions had sorted me out with for cheaps. Proper auto carpet, same as what I had used in my Viva...
.jpg)
The workshop is finally a fair bit emptier having smashed out a few other jobs and got them picked up/delivered. One job we just did was build some hefty steel art deco styled gates and a large set of doors for under an outdoor cooking area for a customer in Nelson. We reckon the gates look really neat so I have to share ...
.jpg)
.jpg)
Now going back in time to where I had finished off in the last post.
The oil pump was now mounted and I had a oil filter mount in place. I had forgotten to take a photo of the inlet/outlet off the mount but picture two tubes coming out of its base and going through the wall of the engine block.
I now had to link those two pipes with things. One had to make it way to the oil pump and the other had to work its way to the back of the engine (as positioned in the Imp) and link up to the main oil gallery into the block. I had to have a good think about this.
Whatever I do to make it work has to be easy to assemble, through the bottom of the engine with the sump cover removed. Once the engines two clamshells are placed together I don't want to ever separate them again for two main reasons...
1 : Because that involves removing the heads so new gaskets required and that costs money and I don't like spending money.
2 : It also involves a tricky little system to fit three pistons into the bores, from the bottom of the bores, using removable piston ring compressors through a gap of about an inch inside. You'll see more on that later.
I am NOT looking forward to that bit.
Originally the Honda oil feed system used pipes and sealed everything with O rings. It works well and makes sense. I could work with that.
I did entertain using lots of AN fittings and hose etc. However there was a few reasons why not. They are a bit pricey. They were not easily available locally, especially during lockdown. It is not at all easy to swing spanners inside this engine block. Did I mention they are pricey ? Ultimately if money was not really an issue for me I would dry sump the engine and run a external pump. But ugly, expensive, external oil tank in the way somewhere, driving the pump off a currently non existent belt drive pulley (not even got to that point yet for an alternator but I have an idea)
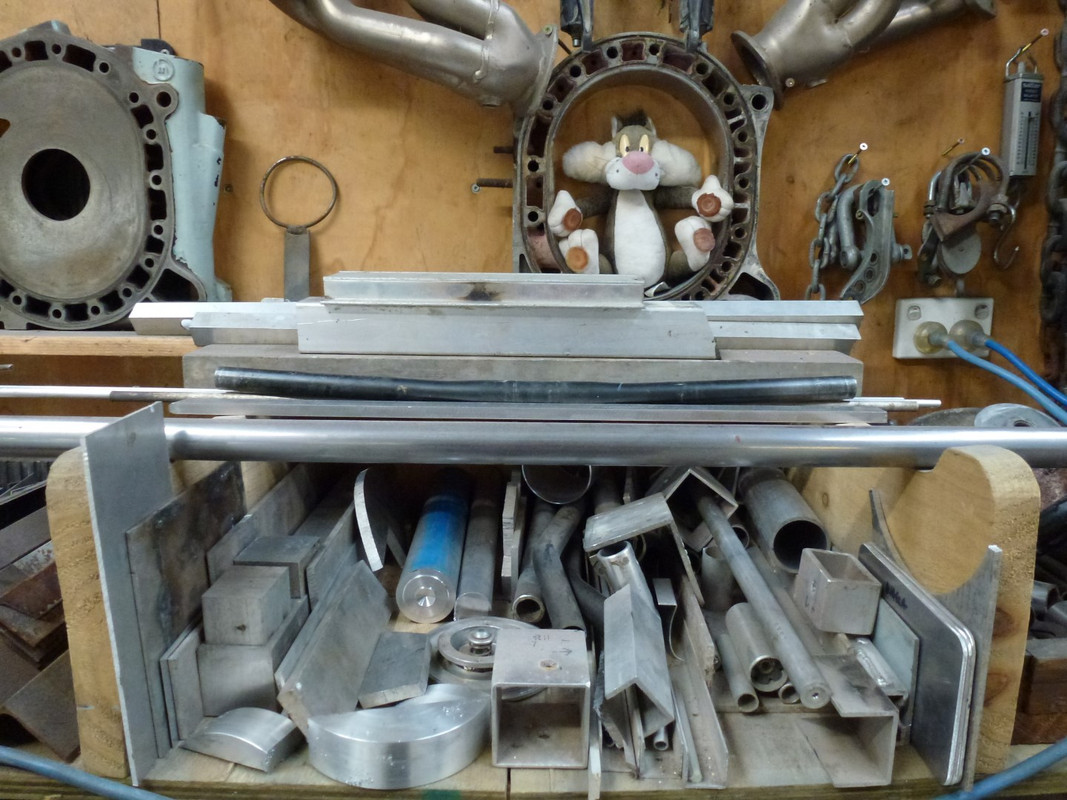
So keep it simple with stuff I have to hand! With that I rummaged through the pile of alloy stock I had and found a few bits that would work...

_(2).jpg)
But O rings were going to be a bit trickier. The size used by Honda didn't match anything I had nor anything I could find on my suppliers website. They were odd. I looked through a Honda parts diagram online and found the Honda part number along with the exact size of the O rings. Nice of Honda to do that! Looked up sizes online and it turns out that they are a JIS standard Oring. I never knew of such things. Actually very common among many Japanese cars. Even better - when I searched through my suppliers website they actually had them!
But wait - there's more!!!
They were cheaper than all the other O rings close in size.
Yay!
But the shop was shut to public and I couldn't visit it anyway.
Boo! Thanks Covid
However- the shop was open for supplying engineering places that were considered essential services. It happened that one of the employees lived not far from me. He delivered some and left them in my mail box.
Yay!
So now I could start what Hannah refers to as the London underground of oil tubes. I worked my way from the oil filter and made various blocks with holes and tubes with grooves. All very carefully measured to fit just right and tight but constructed in a way that it could be taken apart from the sump opening. I was lucky that I happened to have a large drill bit that was spot on for the final pass on the bores to suit the pipes and O rings for exactly the same amount of 'squish' that the Honda factory pipes and fittings have.
I made sure that all the bores were as big if not bigger than the Honda setup so not to increase restriction on the oil paths. You'll see later that I will be over driving the pump in speed by a notch but that's another story. I must add that the job of planning, measuring and machining up all these little bits was a super fun way of spending time during lockdown (in between going for heaps of bike rides on super quiet roads!)
Here's some pics of my subway tube network. These are the two blocks that seal onto the in and out pipes for the oil filter...
.jpg)
The closest hole will feed a pipe heading back to link to the oil gallery. The further most block has a hole that takes a connecting pipe from the pump. Here's a view from the side...
.jpg)
Lets zoom out a bit so you can see where they are in relation to the pump...
.jpg)
You can also see how the pump is bolted to an adaptor plate which is bolted to the inside of the block.
My connecting pipe that goes between pump station and filter station is in two parts so it can be fitted easily from below...
.jpg)
Together its like this (lighter for scale... because all the cool kids measure the dish of their hand machined oil pump pipes with lighters like this)...
.jpg)
Then fitted in place...
.jpg)
Connections man! So I had the pump to filter sorted. The filter to main gallery looks like this...
.jpg)
That pipe sticks out through a hole that was originally for the shifter mechanism ( I think. But whatever... thanks Honda for your convenient hole)
.jpg)
You can see the oil gallery below. I will make a bolt on block with oil ways to connect them. I will also design it so I have the potential to take off from there and add an oil cooler. I would rather run the engine without one. It never had one as a bike but the engine did have more air flow over the engine though. But my engine will have a well finned sump cover to pull off heat plus be free to radiate heat better than on the bike. I shall run it and see. Its not a race car so I suspect that with really good synthetic oil I'll be fine. Its a pretty understressed engine anyway. Maybe I can add an oil temp sender to my filter block and run that through the ECU so I can have it show up on Tunerstudio for evaluation? Hmmmm - I like little things like that.
But either way- keeping it as an option is good. I have yet to make the cover plate (some alloy plate is under my bench for it) that will go over that end. All simple stuff that. Once that's in place I can make a union block to suit the pipes. That cover plate will also have the oil filler and possibly a centre engine mount to suit a cross member but I have not yet decided on that.
Moving around to the flywheel end of the engine you can see where the oil pump drive shaft hangs out, waving about like an unsupported shaft with no attachments...
.jpg)
That shaft needs some motorvation and that is going to be part of the next exciting instalment. It involves Shimano....


 [/quote]


 [/quote]


.jpg)
.jpg)
.jpg)

_(2).jpg)
.jpg)
.jpg)
.jpg)
.jpg)
.jpg)
.jpg)
.jpg)
.jpg)
.jpg)