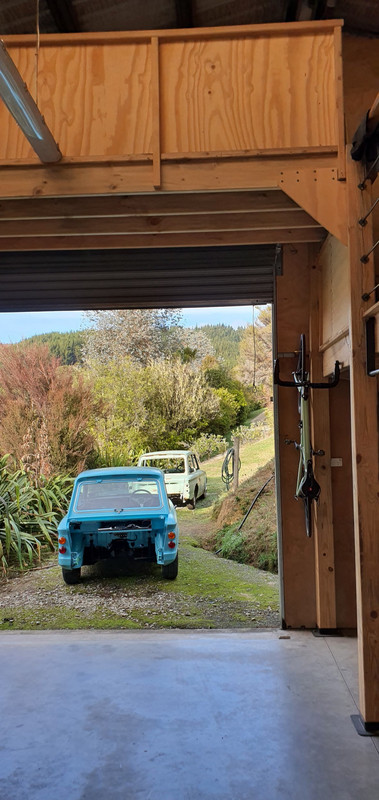
Hey man- I've just seen your comment on my youtube vid. Thanks so much. Here's the update...
Chopping up the Imp shell took longer than expected. I'm pleasantly surprised at how solid they are for what is just a budget small car. It was also even rustier than expected and I'm glad I was not tempted to try and make something of it.
.jpg)
I had to get this shot...
.jpg)
...and this shot.
.jpg)
All chopped up...
.jpg)
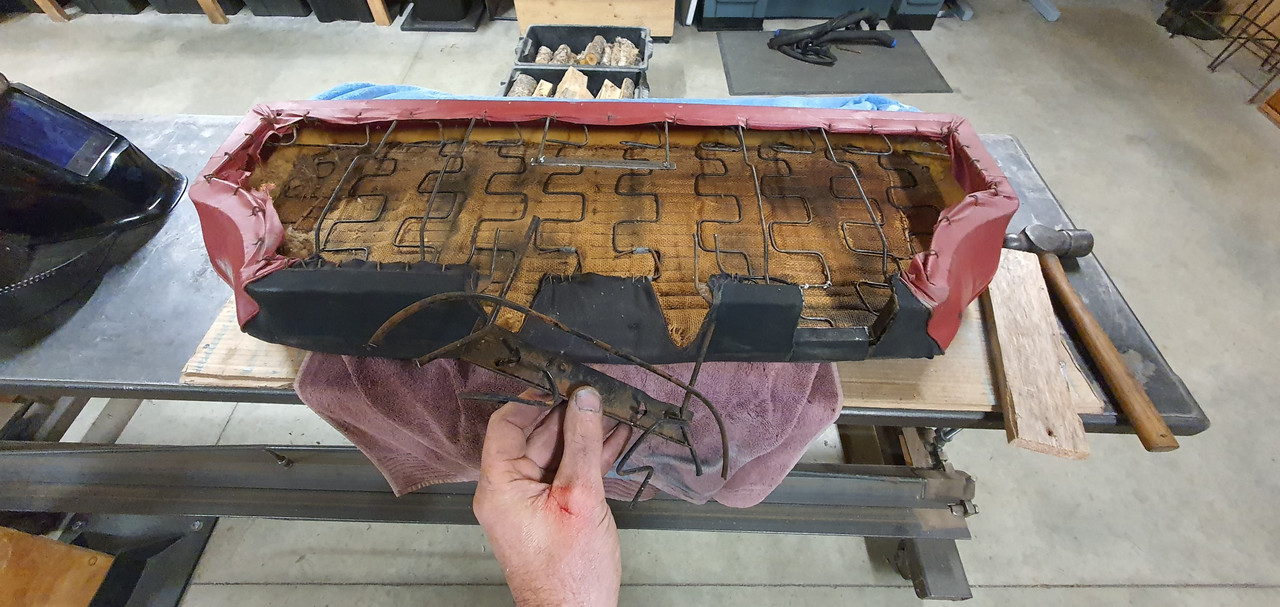
I rescued these bits. I have no idea where I'll stash them. Maybe hang the nose cone from high up on the workshop wall, led lights fitted into the headlamps. I've now got a full spare set of suspension arms too. These could come in handy as bench top jigs if I look into mounting disc brakes on the back etc.
.jpg)
We took the remains to the scrap man the following day and he gave us $78 in return. I had paid $200 for the complete Imp so it now owes me only $122.
Or I prefer to look back at the pies, cakes and coffee we both had in town after seeing Mr scrappy.
Back to the Impy project. I now really only had a bit of wiring to do plus some other little jobs. Wiring first. A bit of work in the 'frunk' to clean up the fuel pump wire routing..
.jpg)
Drained the last of the coolant out while I was there.. glad for the handy drain plug I had added when building the radiator in.
.jpg)
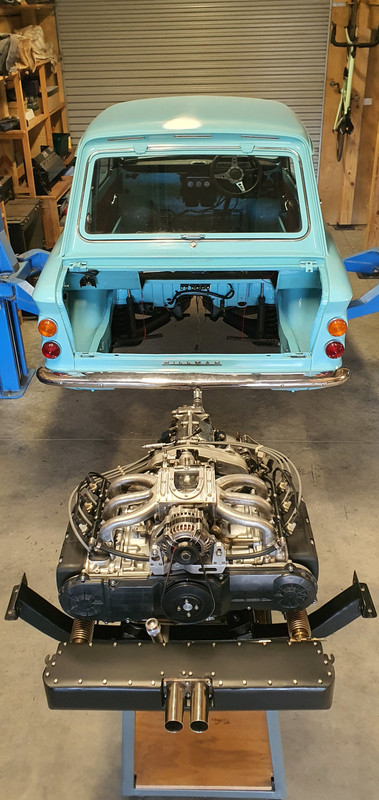
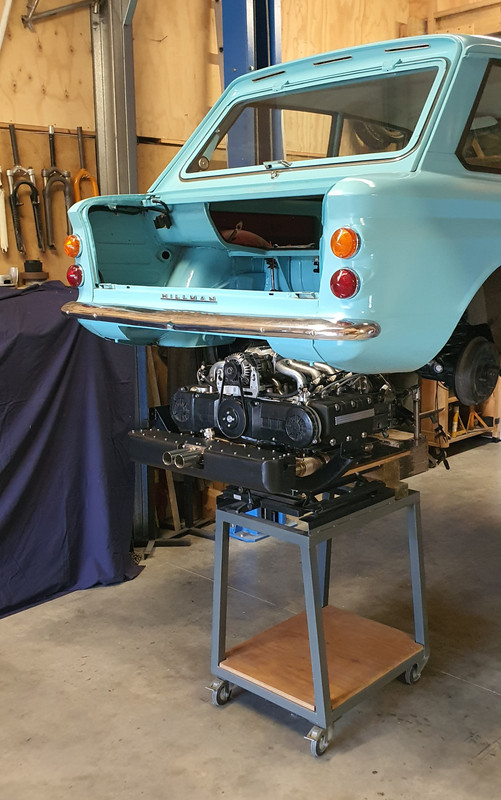
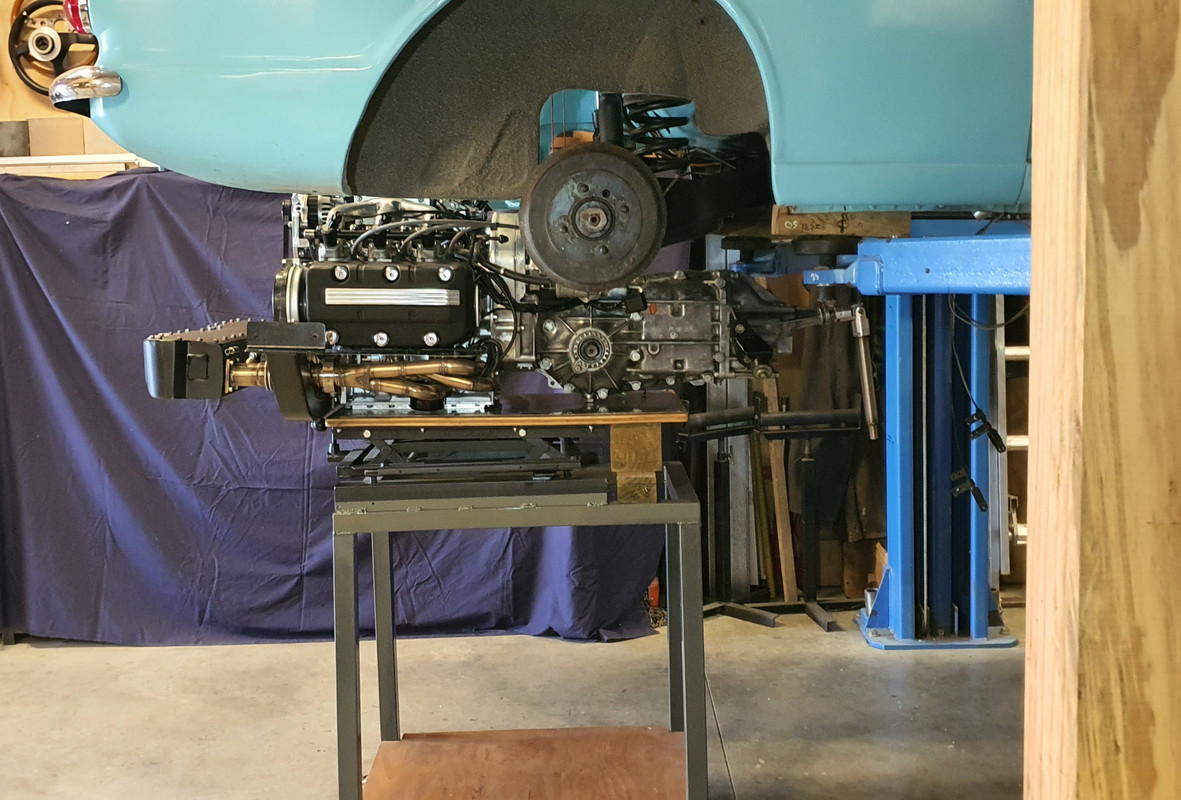
Work where the car needed to be on the hoist was over with but before I lowered the car onto its wheels I grabbed these shots which I really like..
.jpg)
.jpg)
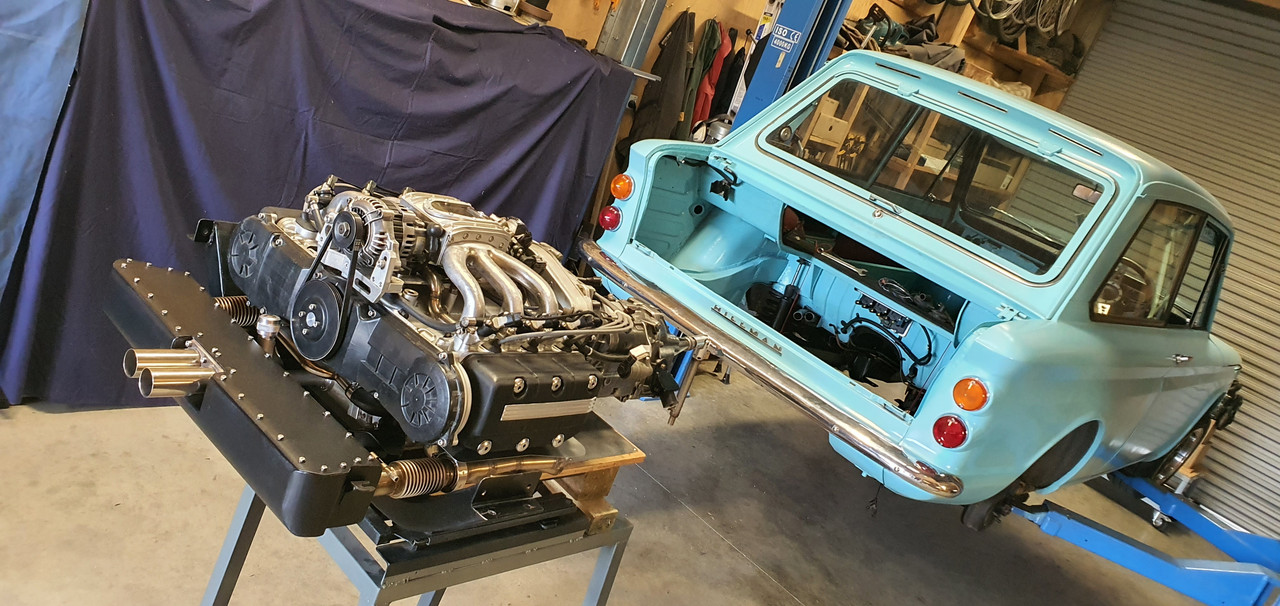
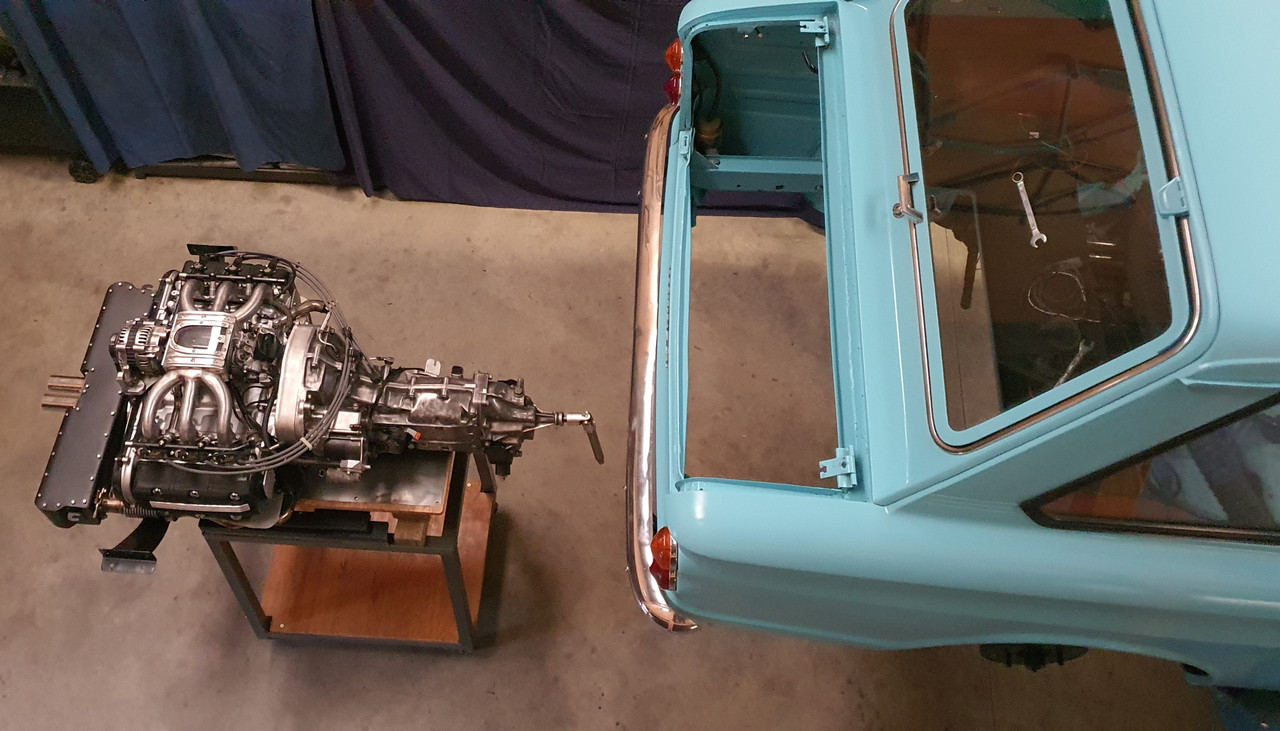
Onto its wheels and rolled away for the first time since fitting the flat six. Wow. Pretty neat occasion in itself. Happy to see it still sat at the same height. Looking forward to weighing it in the future and seeing how much lard/muscle/festive season insulation its put on. I was now able to climb in and out of the doors easily and sort out the final wiring.
.jpg)
Stuff to be done was running the power and ignition wires to the ecu, water pump wires and some sensor wires forward then make it look all serviceable and neat enough. I had to extend the water pump temp sensor wire so the controller could be mounted in a sensible place. Take note of this last bit as I'll be coming back to it...
.jpg)
With the wiring now sorted I could move onto finishing of some other loose ends so to speak. But first I had to start the engine up in the car and check it worked. Which it did after I swapped the two fuel lines in the frunk about so the feed did actually feed the correct line etc - only discovered when I was under the car with a container to clear the lines out of any debris and it came out the other pipe. Whoops.
So yeah. The engine just started up with no fuss on first turn of the key. Simples. Sounded great. The was no water in the system so I just ran it for 30 seconds, gave it a rev and let out a little giggle.
I then painted the parcel shelf cover thing that I'd made in the last update...
.jpg)
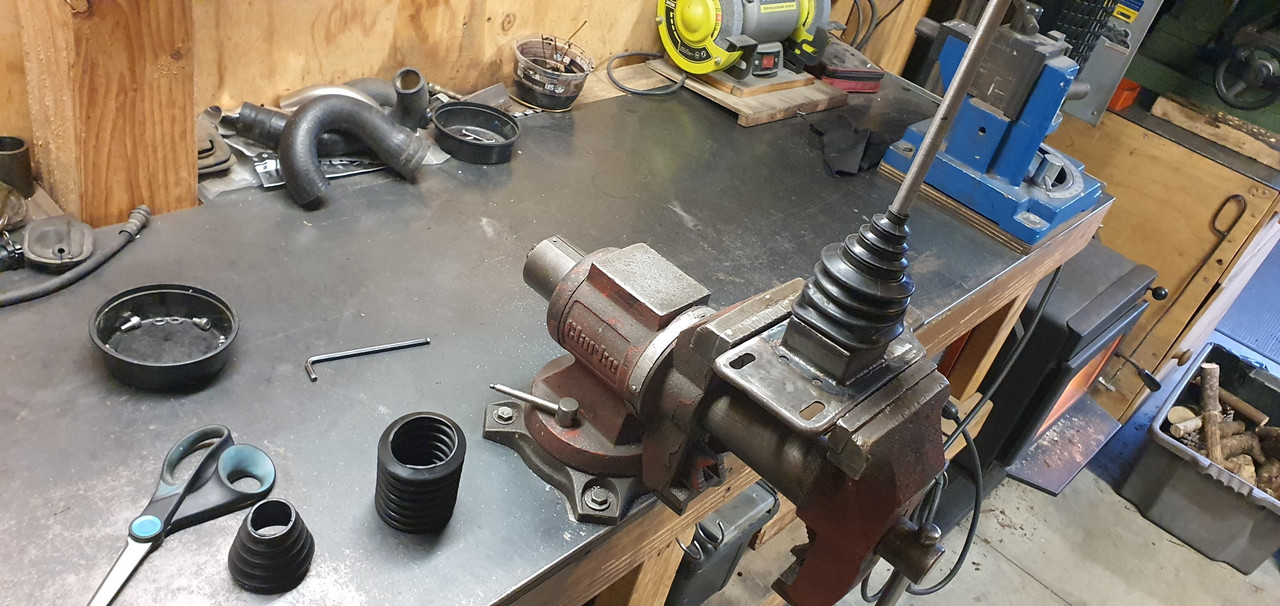
While that was drying I made a little lever for the exhaust valves. I started with an old pulley that I'd originally made for my V6 Viva..
.jpg)
.jpg)
Ran a long length of bicycle brake cable through from the engine bay into the interior via the routing that one of the original Imp heater hoses took. Connected the dots with a tandem brake cable inner..
.jpg)
Out with the rivnut tool and put a couple into the inner sill.
.jpg)
Lever mounted...
.jpg)
Sound levels turned up to 11, small kids scarper, nuns faint and dogs howl in the distance* when lever is turned as such.
.jpg)
*Hopefully.
Next up was filling the cooling system with water.
Not coolant.
I've learned from that mistake and I'm sure I'll be having to remedy some sort of issue which might involve emptying it out again. Turned the electric pump controller on and noticed it telling me the water was a balmy 54 degrees. It definitely wasn't. Its winter here (apparently) and the water was 15 degrees according to my volt meter temp probe. That bloody sensor wire! When I lengthened it by about 800mm I used 12/0.15mm gauge wire. The original sensor wires were 17/0.15. I didn't think 5 strands @ 0.15mm were going to make enough difference to change the reading but how I was wrong.
So this was where I was working early evening yesterday...
.jpg)
I rummaged through my extensive supply of cables, picked out a few that might be ideal and started with some beefier speaker cable that had many more strands. I didn't count them as tiny. I just connected it up and tried it out. Bang on! Both meters read exactly the same. I tidied it all up and we started the engine. Ran it up to temp which took ages because by now it was only about 11 degrees. No leaks and the pump seemed to bleed of air easily. Hannah took a vid of me giving it a cheeky rev. Such fun. You'll see that in the next vid. Interestingly and annoying is that the exhaust valves don't seem to do anything to the engine note at idle. Maybe they will make a difference when asking more of the exhaust?
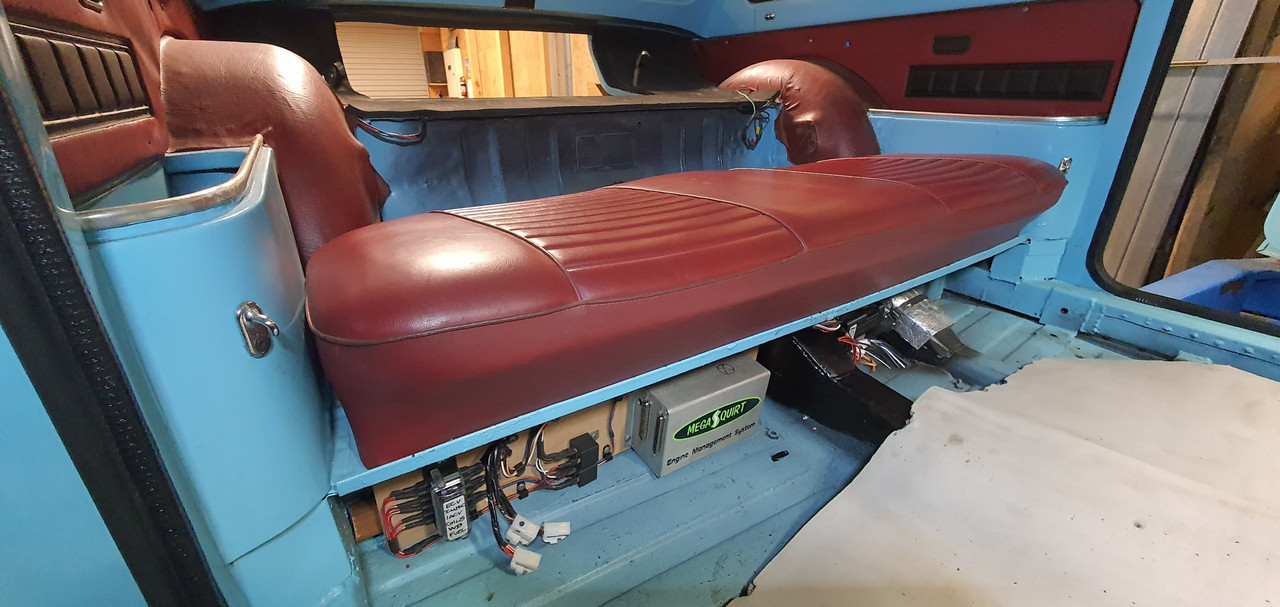
It was by then too late to go out for a hoon. I still had to fit the belts, all of the seats, the nice blue parcel shelf engine hole cover and also the actual engine bay lid. So I spent the evening finishing these tasks off. I'd love to have driven it because it was a clear, albeit cool, day. Lots of heavy rain expected the following few days. Oh well. It was great to see the interior back in. Although the recaros don't match the interior colours I just love seeing them. I like this pic. Old and new. 'West German' seats, old imp interior, sneaky megasquirt and usb cable.
.jpg)
So this morning it was finally time for the big occasion. There were so many things to go wrong, not work, be noisy etc. We just popped a tool box in the front, plugged the laptop in and went for a drive...
Wow. It works! The clutch pickup point was spot on, gear change seems fine in a mechanical way. The gearbox was quiet. No whines. The engine was completely out of tune and we couldn't really tune it properly on this short drive. We did about 12km but a combination of the very cold morning and a very efficient cooling system meant the engine wouldn't get above about 80 when on the move so for much of the drive it was still on warmup enrichment. I now realise that I should have upped the temp setting on the pump controller. I think the default is 85 degrees so it pretty much had the pump running full time. I want this engine to be running at 95 degrees C. But hey - great to know the cooling system works well at cooling.
The exhaust is more than loud enough. There's no insulation above the engine cover so that will refine the interior when cruising and how cool it is to pop into a 5th gear!!! Again, due to lack of tune I couldn't really note what the gearing is like. I never really gave it the full welly because my dash rev counter wasn't working (I have a sneaky suspicion I plugged in the wrong signal wire that currently goes no where)
I just drove the car and enjoyed the fact that this moment was finally happening. Hell - it was March 4 years ago that this engine first arrived on a pallet.
The things that were not so good..
The clutch bite point got lower and lower until it was tricky to get into gear. Either failing slave or master cylinder. I suspect (and hope) its the MC.
Its a bit fumy. Granted it was running pretty rich and the rear cover I've made is not sealed properly.
The gear lever knob moves back and forth with the engine/transmission movement. Not annoying and only noticeable if you keep your hand on the knob (chuckle) while accelerating. I had figured it would because its a very slop free mechanical connection. Maybe stiffer engine/box mounts might help but then I could expect to have more noise in the cabin.
The weather was a bit curse word so we went home, had coffee and cake and I looked over the car.
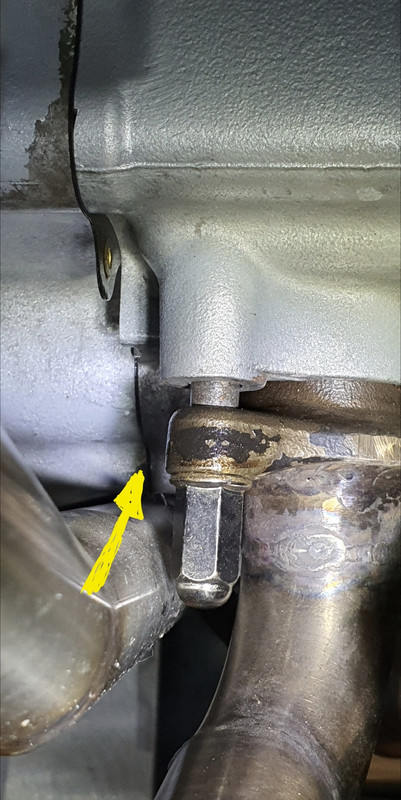
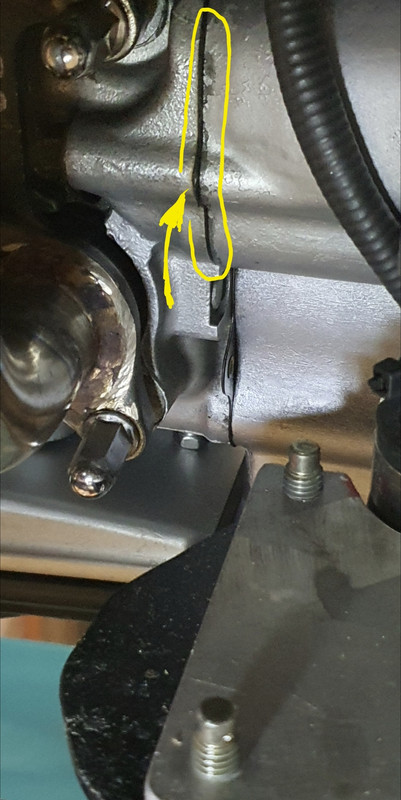
It leaks oil. Typical. It was weeping/dripping from the point between the heads and case sides where the oil drains back into the sump then running back with the airstream and spitting onto the muffler. So there's some of the fumes then. Only happens when the engine is running but its enough to be an issue I want to sort out asap.
The leaks are here. This side where it leaks straight onto the cooling pipe and runs back...
The other side.. Nothing to leak onto but its still getting flicked back by the airstream onto the muffler...
Here's a head gasket.
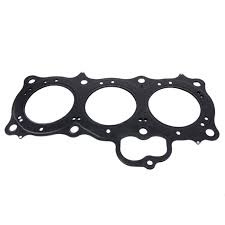
You can spot the drain hole. Its only pinched up at the bottom by one 6mm bolt. If I knew then what I know now I'd have added a thin smear of threebond sealant on each side of the loop to be sure. Oh well.
The mess it made on the muffler.
So that's where I'm at. We checked the clutch. It works fine on the hoist. Bite point still at halfway?. No obvious leaks or traces of fluid from a leaking slave cylinder. Fluid level was fine. I'll check the m/c tomorrow. We bled the system again just to be sure. Only other thing I could suspect would be a dragging spigot bearing but I cant imagine that being the case. Its a new sealed bearing.
As for the oil leaks. I'm going to try removing the lower water pipe in situ and get enough room to apply marine sikaflex 291 or similar. Its under no pressure so hopefully should seal ok so long as I get it super clean beforehand.
We will test it all again, leaks or no leaks, when the rain stops (rain warning for our district this weekend) but for now I am simply chillin' and relaxin' and celebrating the first drive in a flat six powered imp that sounds pretty glorious.


.jpg)
.jpg)
.jpg)
.jpg)
.jpg)
.jpg)
.jpg)
.jpg)
.jpg)
.jpg)
.jpg)
.jpg)
.jpg)
.jpg)


.jpg)

.jpg)
.jpg)
.jpg)
.jpg)
.jpg)
.jpg)
.jpg)
.jpg)
.jpg)
.jpg)
.jpg)
.jpg)
.jpg)
.jpg)